 Threads
Selecting the right products for your next gaming PC build can be a challenging task, especially if you’re under a tight budget. My list of components for the Best Gaming PC Under $1000 is here to help you with exactly that. During my research, I paid utmost importance to factors such as compatibility, performance, and future-proofing, allowing you to get the best possible gaming experience within a set budget of $1000.
Here are all my Best Gaming PC under $1000 picks summarized:

Check out our Personalized PC Build Recommendation Service! Simply complete the form with your specific requirements, and our editor-in-chief, Malik Sajjad, will personally send you an email with a custom PC build recommendation.
– Sameed Hussain
Have a different budget? We have also built the following gaming PCs:
Best Gaming PC Under $1000
Let’s go over our recommendations for the Best $1000 Gaming PC build. Here are our picks:
- Processor: AMD Ryzen 5 5600X
- CPU Coolers: DeepCool AK400 CPU Air Cooler
- Motherboard: MSI B550-A PRO Motherboard
- RAM: G.Skill Trident Z Neo 16 GB (2x 8 GB) DDR4-3600 CL16
- Storage OS: TEAMGROUP MP44 1TB
- Storage Media And Games: TEAMGROUP QX 2TB
- Graphics Card: MSI RTX 4060 Ventus 2X Black 8G OC
- Casing: DeepCool MATREXX 55 MESH
- Power Supply: CORSAIR RM650 80 Plus Gold Fully Modular
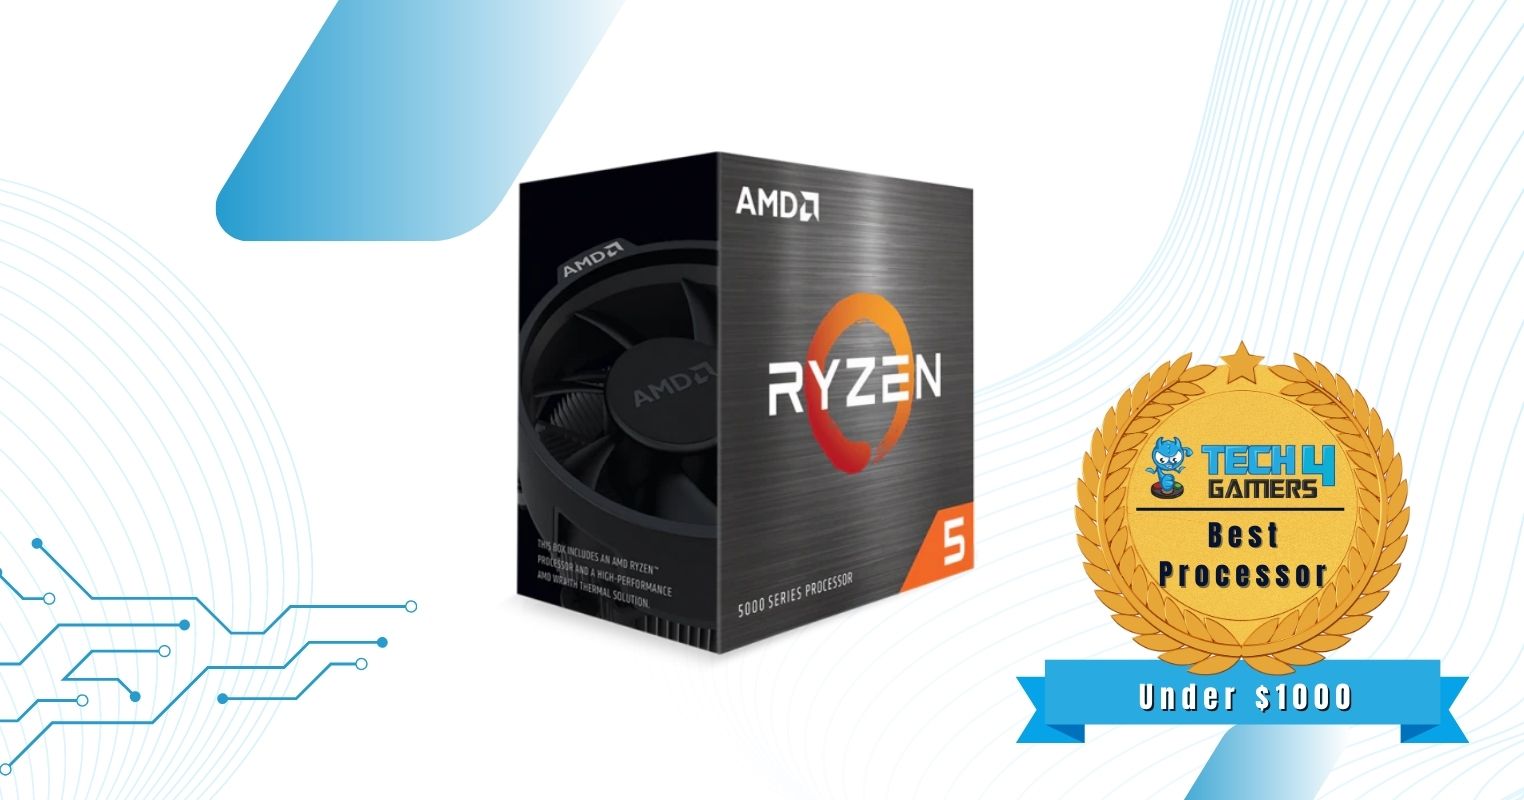
AMD Ryzen 5 5600X
Best $1000 Gaming PC Build Processor
Socket: AM4 | Cores: 6 | Threads: 12 | Base Clock: 3.7GHz | Boost Clock: 4.6GHz | L2 Cache: 3MB | TDP: 65W
Pros
- Decent performance
- Overclocking Support
- Reasonable price
Cons
- No Integrated Graphics
- Not Future Proof
For the processor, I recommend the AMD Ryzen 5 5600X. Despite the older release date of the CPU, I found it to be the best deal you can get in your budget. The processor comes with 6 CPU cores, 12 threads, a base clock speed of 3.7GHz, and a boost clock speed of 4.6GHz. Additionally, its default TDP is just 65W, so you won’t need a high-end cooler to bring down its temperatures.
The specifications of the Ryzen 5 5600X are undeniably impressive, especially considering its relatively low price. When combined with the right GPU and memory, the processor can easily handle all 1080p games, making it your best bet for a PC build under $1000.
- Best RAM For Ryzen 5 5600X
- Best Motherboard For Ryzen 5 5600X
- Best Cooler For Ryzen 5 5600X
- How To Buy The Right CPU
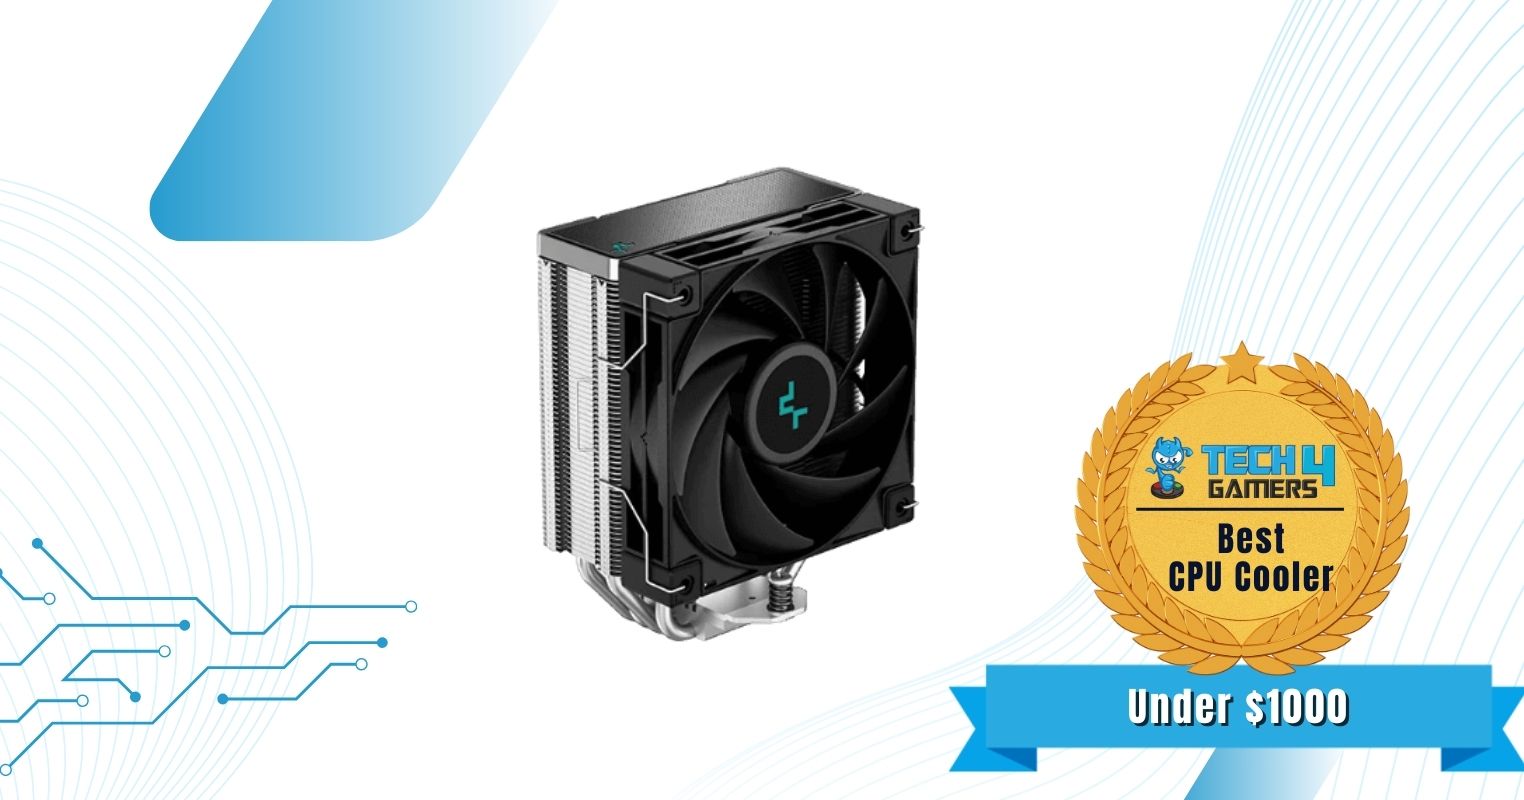
DeepCool AK400 CPU Air Cooler
Best $1000 Gaming PC Build CPU Cooler
Heatsink: Single Tower | Noise Level: 0.35 Sone | Number of Heatpipes: 4 | Fan Speed: 200-1700RPM | Dimensions: 133x91x135mm | RGB: Yes
Pros
- Great value
- Adaqueate performance
Cons
- No RGB
- Can’t handle overclocking
Recently, there has been a lot of competition in the budget CPU cooling space; however, I was quick to pick the DeepCool AK400 for the $1000 build. In my opinion, the AK400 strikes the ideal balance between noise, performance, and price, which makes it the perfect cooler to pair with the Ryzen 5 5600X.
To ensure optimal performance, Deepcool has equipped the cooler with a single 120mm fan, which reaches a speed of 1850 RPM while generating 66.47 CFM of airflow. Not only that, it also runs quiet, coming with a rated noise output of 29 dBA. The CPU cooler itself utilizes a four-heat pipe design, featuring an aluminum heatsink that consists of 54 fins in total.
All in all, you won’t have to worry about the thermal performance of the AK400; however, heavy overclocking might not be achievable.
MSI B550-A PRO
Best $1000 Gaming PC Build Motherboard

Chipset: B550 | VRM: 10+2+1 | USB Ports: 8x Rear, 7x Front | Video Outputs: 1x HDMI, 1x DisplayPort | Storage: 2x M.2, 6x SATA 6Gb/s
Pros
- VRM and M.2 Heatsinks
- Decent storage options
- Affordable
Cons
- Limited Gen 2 USB ports
For the motherboard, I picked the MSI B550-A PRO, the winner of the Best Budget B550 Motherboard award in our Best B550 Motherboards guide. The motherboard comes with support for DDR4 RAM up to 128 GB and an adequate 10+2+1 VRM structure, which also makes it suitable for overclocking.
In addition to that, MSI has employed a reasonable amount of cooling, with the board utilizing a massive heatsink, high-quality 7W/mK Thermal Pads, and M.2 Shield Frozr heatsinks for the M.2 slots. Speaking of which, storage needs are facilitated through the 2x M.2 slots for your SSDs, and 6x SATA 6Gb/s ports.
Overall, I found no issues with the MSI B550-A PRO, and it falls right into our budget, offering just the perfect amount of features to support future upgradability and overclocking potential.
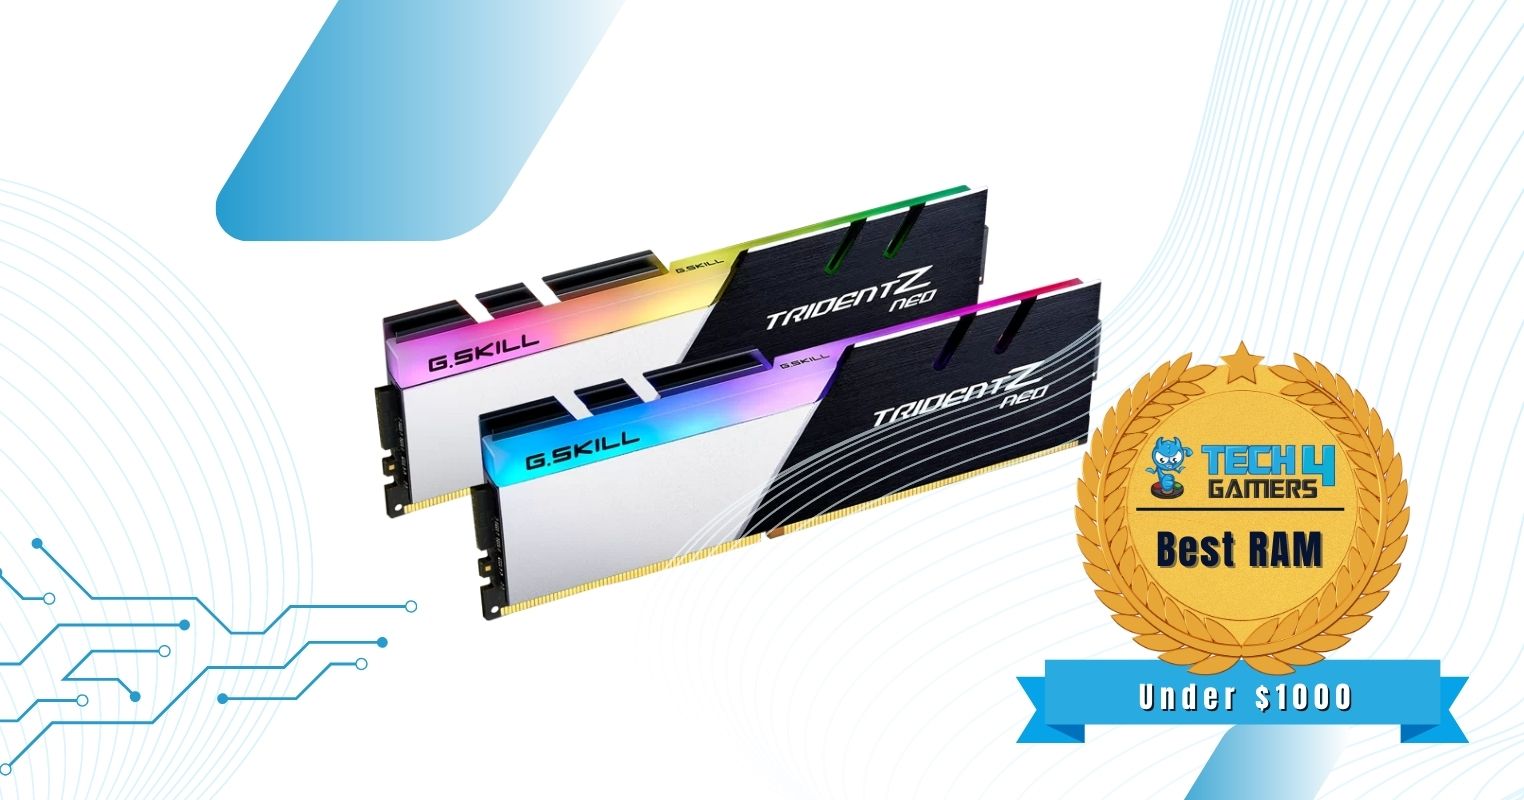
G.Skill Trident Z Neo 16GB (2x 8GB) DDR4-3600 CL16
Best $1000 Gaming PC Build RAM
Memory Type: DDR4 | Capacity: 16GB (2x8GB) | Frequency: 3600MHz | CAS Latency: 16 | Input Voltage: 1.35V | RGB: Yes
Pros
- 8.88ns latency
- Great design
- Overclocking potential
Cons
- Slightly expensive
When it comes to DDR4 RAM, the G.Skill Trident Z Neo 16GB DDR4 has been my go-to option. It also fits well into our budget, which is why I decided to go with it for my $1000 build. The variant of the G.Skill Trident Z Neo that I have picked is a kit of 2x8GB with a frequency of 3600MHz and a CL16-19-19-39 latency. That latency translates to around 8.88 nanoseconds.
The input voltage of the G.Skill Trident Z Neo is 1.35V, which is just right for the performance it offers. It leaves a bit of room for manual overclocking. However, I don’t think overclocking is required given the already solid performance of the RAM kit.
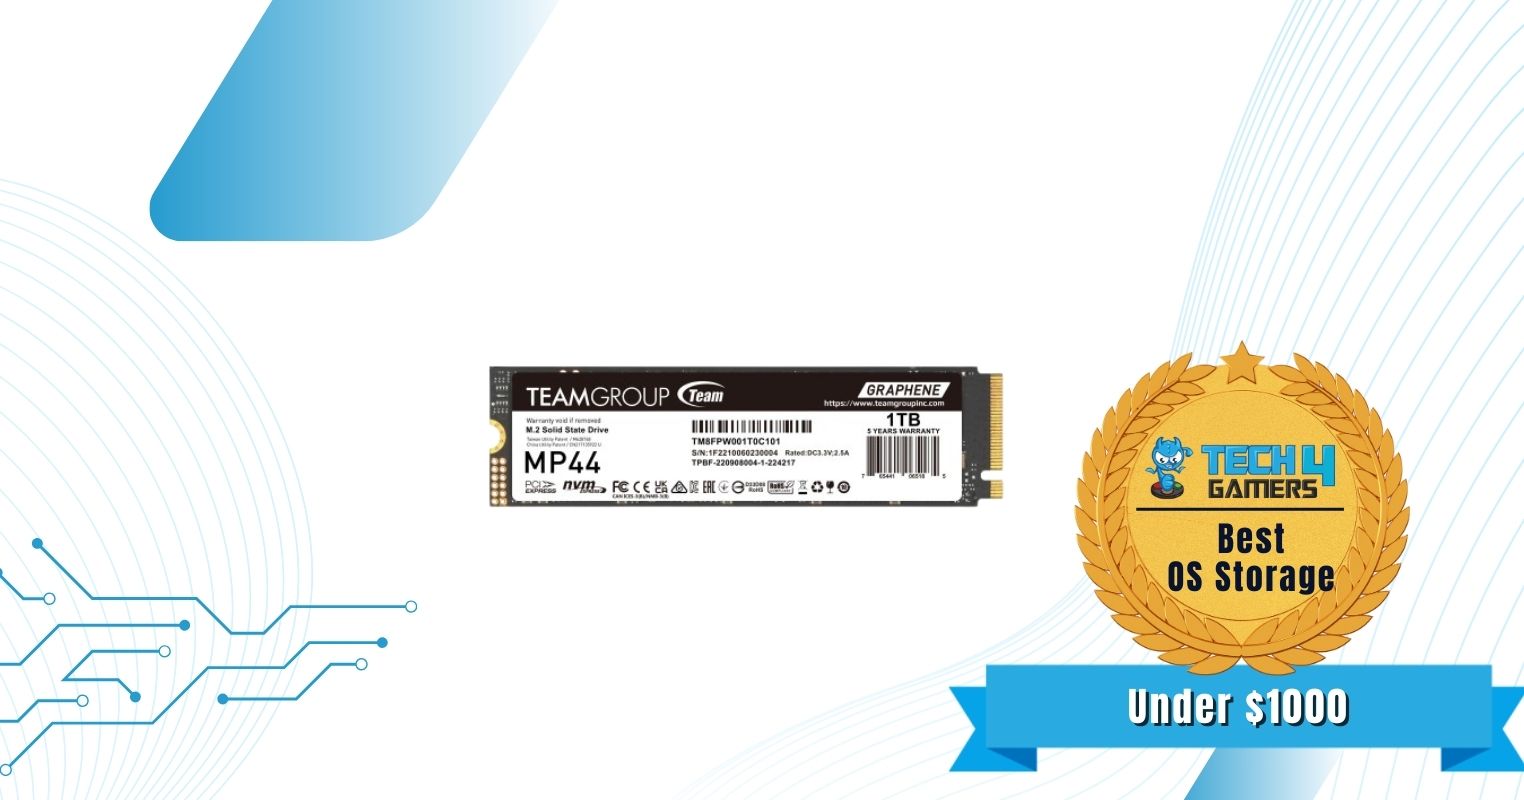
TEAMGROUP MP44 1TB
Best $1000 Gaming PC Build Storage For OS
Capacity: 1TB | Interface: PCIe Gen 4×4 | Dimensions (LxWxH): 80 x 22 x 3.7 mm | Sequential Read Performance: 7400 MB/s | Sequential Write Performance: 6500MB/s
Pros
- Great read and write performance
- 1450 TBW
- 5-year warranty
Cons
- Slightly higher temperatures
Going for a capable SSD that is responsible for storing your operating system is a must for a build under $1000. This is why I opted for the Teamgroup M44 1TB, which ensures lower boot times while also providing you with enough capacity to store all of your essential software.
Storage capacity aside, the Teamgroup MP44 has a maximum sequential read speed of 7400 MB/s, along with a sequential write speed of 6500 MB/s. I found the endurance rating to be rather impressive as well, sitting at 1450 TBW. Combine that with the 5-year warranty, and you get an SSD that will last a reasonably long time.
Check out other SSDs:
TEAMGROUP QX 2TB
Best $1000 Gaming PC Build Storage For Media & Games
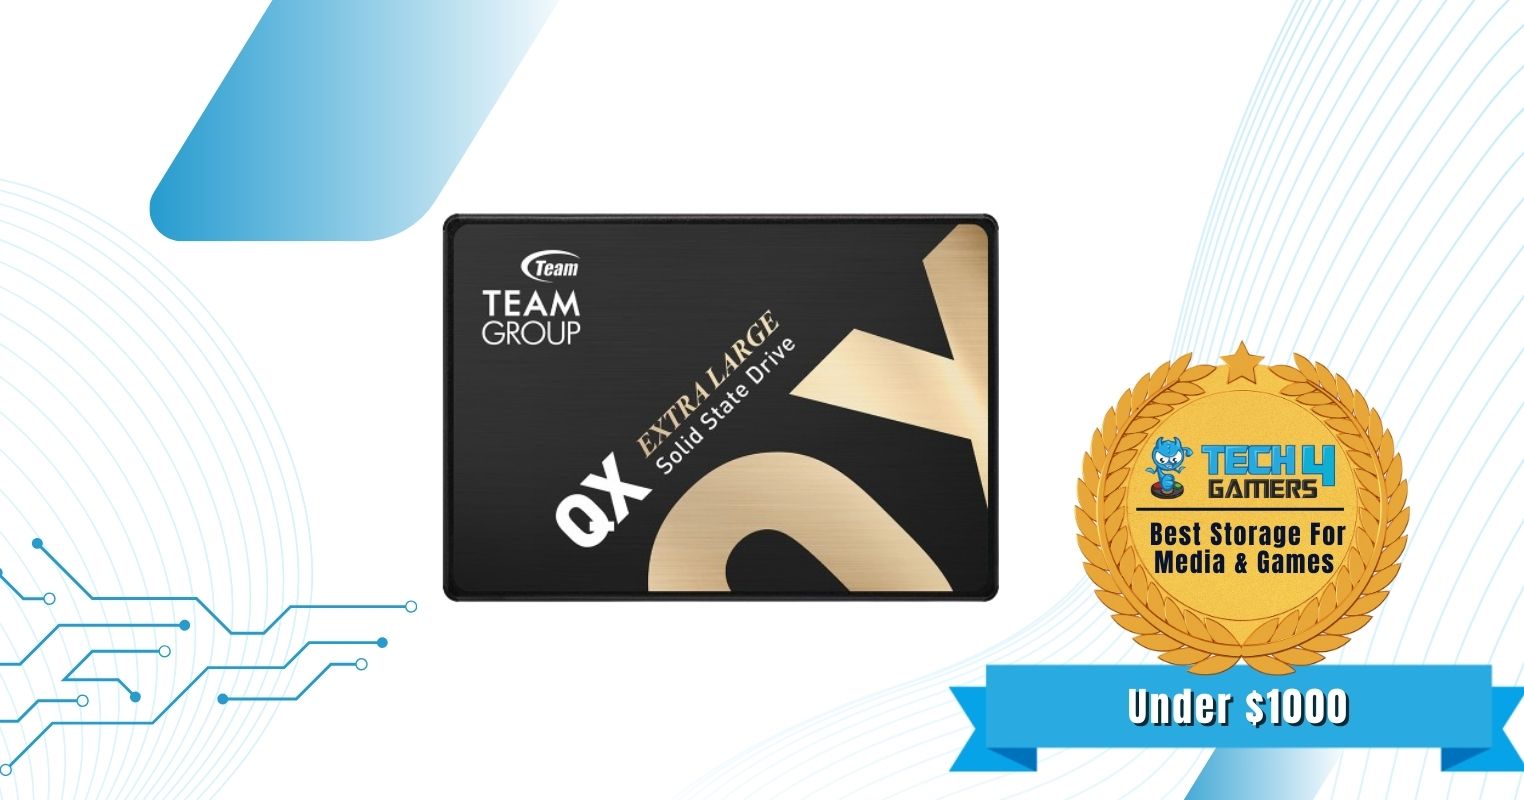
Capacity: 2TB | Interface: SATA III | Dimensions (LxWxH): 100 x 69.9 x 7 mm | Sequential Read Performance: 540 MB/s | Sequential Write Performance: 490 MB/s
Pros
- Budget Friendly
- 2TB Capacity
Cons
- Slower overall speed
Apart from the OS and the necessary software, additional storage for storing games and media files can always come in handy, especially considering the increased sizes of modern triple-A titles. To ensure you don’t run into storage issues right after installing a few games, I picked the Teamgroup QX 2TB, a SATA III SSD that provides phenomenal value for money.
Not only that, but the SSD guarantees quick load times with the Teamgroup QX 2TB, thanks to its decent read and write speeds of 540 MB/s, and 490 MB/s. The SSD is also backed up by its endurance rating of 690 TBW, MTBF of 1,500,000 hours, and 3 years of total warranty.
MSI RTX 4060 Ventus 2X Black 8G OC
Best $1000 Gaming PC Build Graphics Card
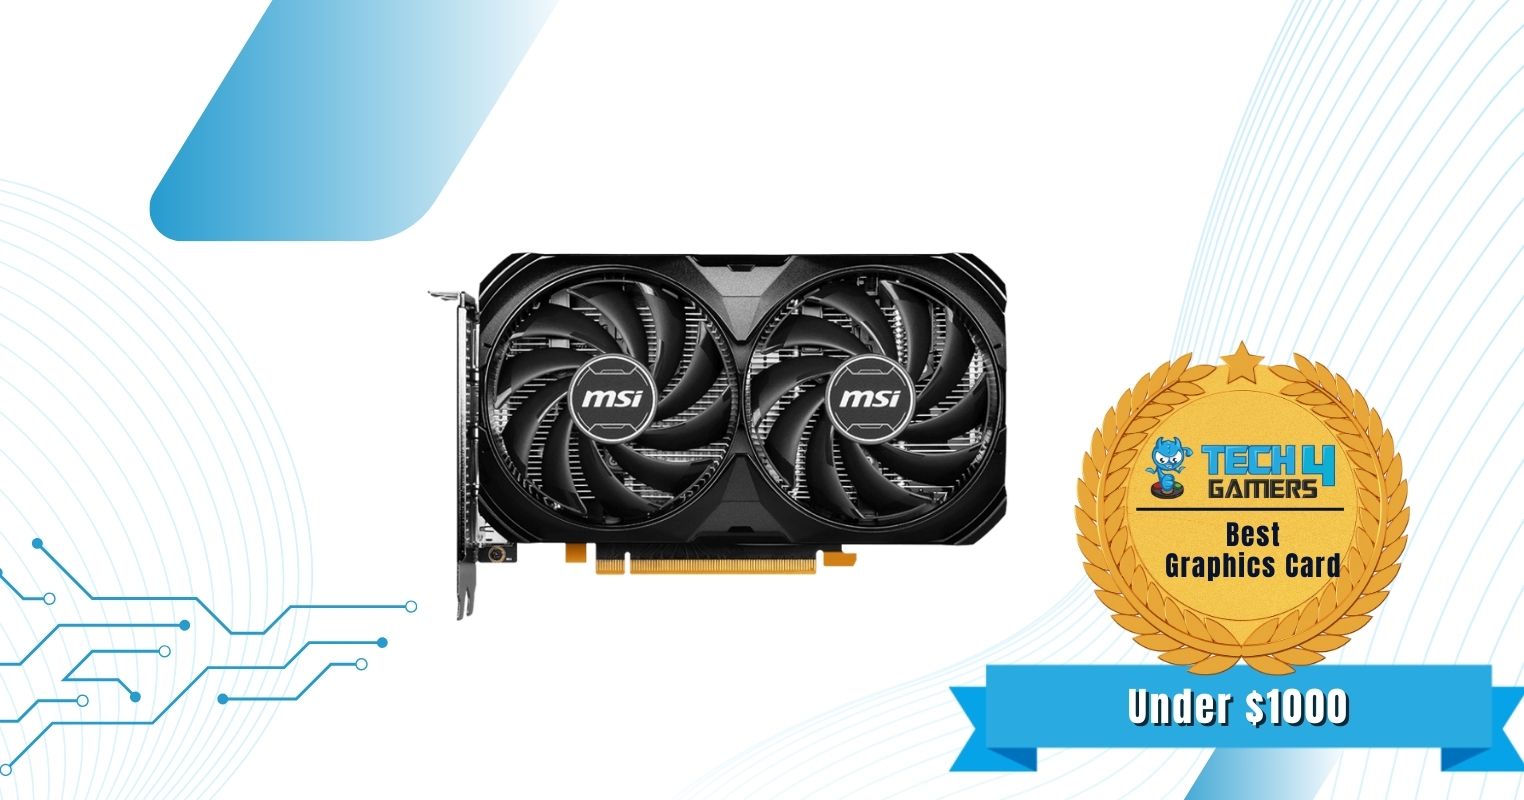
VRAM: 8GB GDDR6 | Clock: 2490 (Boost) | Memory Clock: 17Gbps | Power Consumption: 115W | Slot Size: Dual Slot | Dimensions: 199 x 120 x 41 mm
Pros
- Remarkable 1080p performance
- DLSS 3
- Frame generation
Cons
- Not for high-resolution gaming
With a budget of $1000, a 1080p graphics card such as the MSI RTX 4060 Ventus 2X Black 8GB makes for the ideal fit, especially considering that it poses no bottlenecking issues with our selected processor. Its decent overall performance can be attributed to the high boost clock speed of 2490 MHz, 8GB of GDDR6 VRAM, as well as the presence of 3072 Cuda cores.
You also get access to 4000-series exclusive features such as DLSS 3.0 upscaling and frame generation, which is a bonus. Despite the dual-slot design of the card, cooling has not been skimped out on, with the MSI RTX 4060 Ventus featuring TOXR 4.0 fans that maintain reasonable temperatures even under load.
DeepCool MATREXX 55 MESH
Best $1000 Gaming PC Build Case
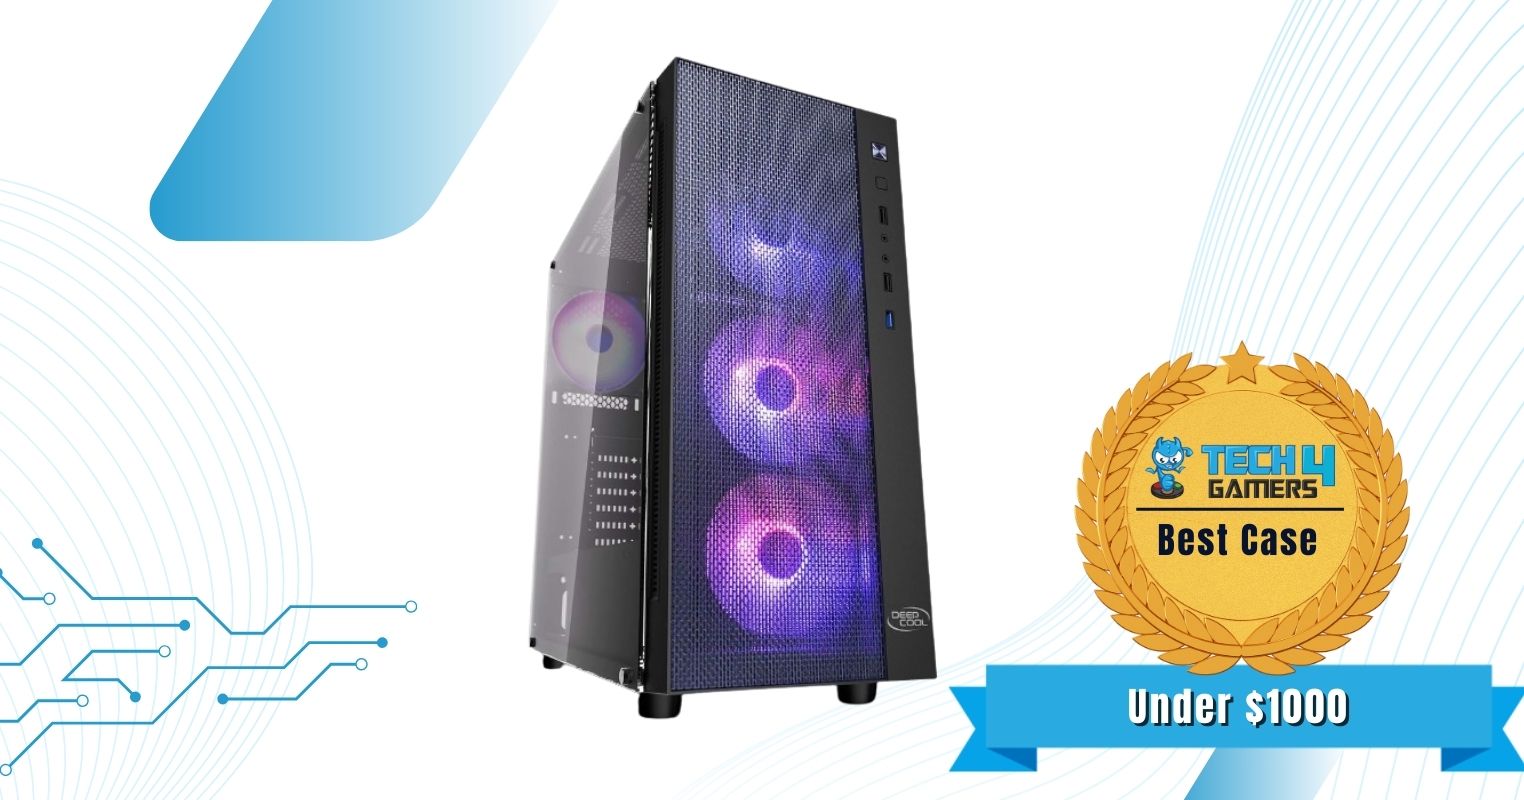
Type: Mid-tower ATX | Colors: Black | Motherboard Support: Mini-ITX, Micro-ATX, ATX, E-ATX | Dimensions: 460×215×480mm | GPU Clearance: 380mm | CPU Cooler Clearance: 160mm | PSU Clearance: 170mm | Drive Bays: 2 x 2.5” SSDs and 2 x 3.5” HDDs | Included Fans: 4 x 120mm A-RGB Fans Front, 1x 120mm A-RGB Fan Rear
Pros
- Solid cooling support
- Budget Friendly
- Good airflow
Cons
- Limited soundproofing.
With pre-installed fans, excellent radiator support, and a tempered glass side panel, the Deepcool Matrexx 55 Mesh packs a lot of note-worthy features without costing an outrageous amount. I’ve also made sure that the PC case provides guaranteed compatibility with all of the previously listed components.
The Deepcool Matrexx 55 Mesh, as suggested by the name, uses a mesh front panel, with three pre-installed 120mm fans. In order to further improve the airflow, Deepcool has incorporated vented portions on both sides of the front panels. Overall, I was impressed by how well the case manages the airflow side of things.
The case supports a 240mm radiator on the top and a 360mm radiator on the front. PSU and Cooler clearance will pose no issues either, and the dual-slot GPU will fit inside the case nicely with plenty of room to spare. I was also satisfied with the front I/O, which incorporates a single USB 3.0 port along with two USB 2.0 ports.
CORSAIR RM650 80 Plus Gold Fully Modular
Best $1000 Gaming PC Build Power Supply
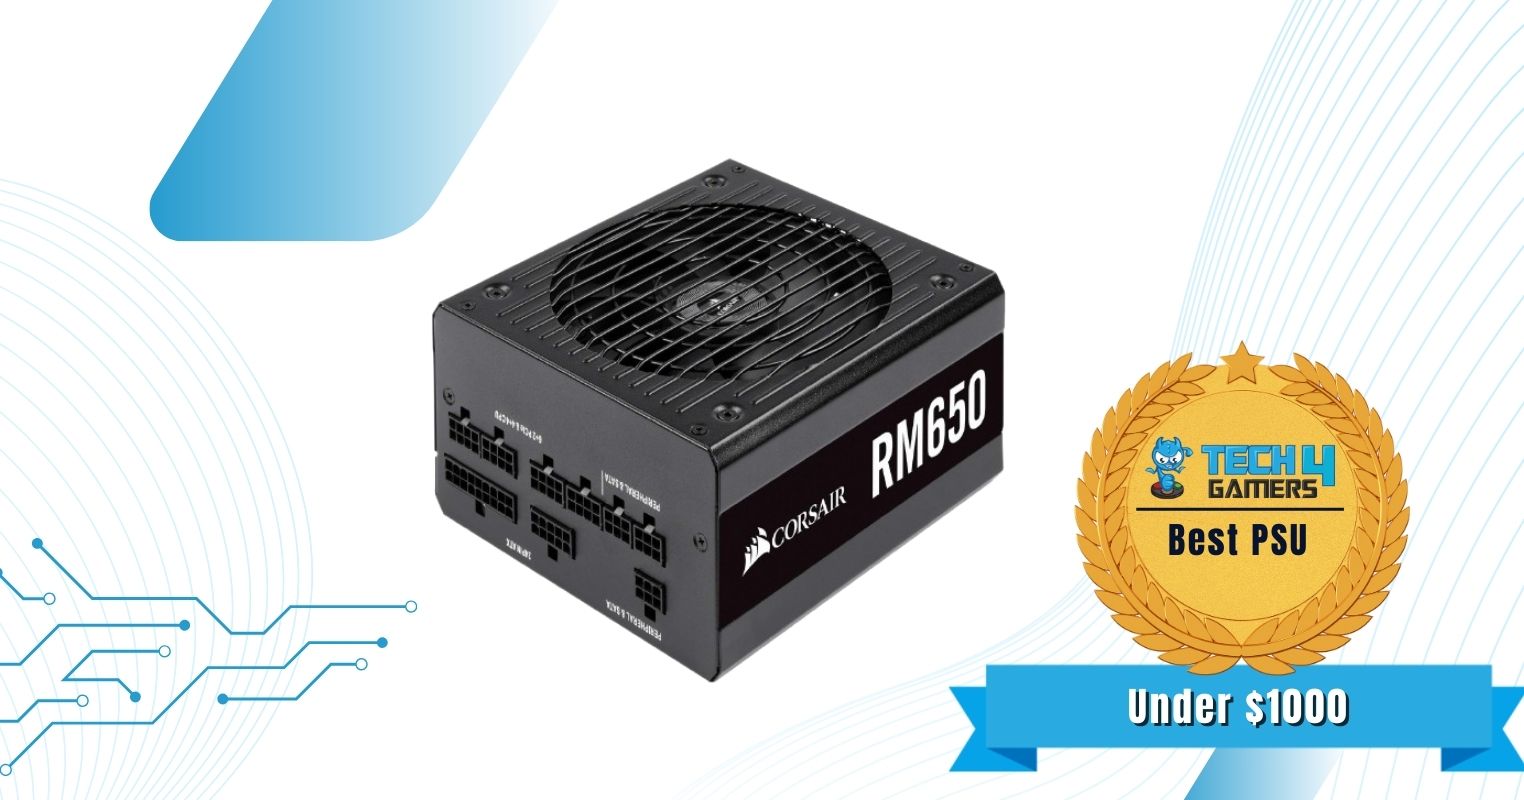
Size: 140 x 150 x 86mm | Efficiency Rating: 80+ Gold | Modular: Yes (Fully) | Wattage: 750W | ATX 24-Pin: 1 | EPS 4+4-Pin: 2 | PCI-E 5.0 16-Pin: 3 | SATA: 7 | MOLEX 4-Pin: 4
Pros
- Remarkable performance
- Gold rating
- Silent operation
Cons
- Mediocre build quality
Responsible for powering the entirety of the system, the power supply unit is one component you will never want to cheap out on. That’s why I went with the Corsair RM650 80 Plus Gold, a 650W PSU that provides excellent performance and low noise levels.
Its gold plus efficiency rating also ensures that no power is wasted. To keep the PSU under optimal temperature, Corsair has incorporated a 140mm fan on top that allows the PSU to maintain lower temperatures. I noticed that the fan doesn’t reach higher noise levels either, which is always nice to see.
Our Tested Gaming Benchmarks
Here is the testing rig that was used for the gaming benchmarks:
- CPU: AMD Ryzen 5 5600X
- GPU: RTX 4060
- RAM: 16GB DDR4 3600MHz (2×8 GB)
- PSU: 650W 80+ Gold
Since my aim is to build a 1080p gaming PC under the $1000 budget that is capable of running all big games at high settings, I went through the 1080p gaming benchmarks only.
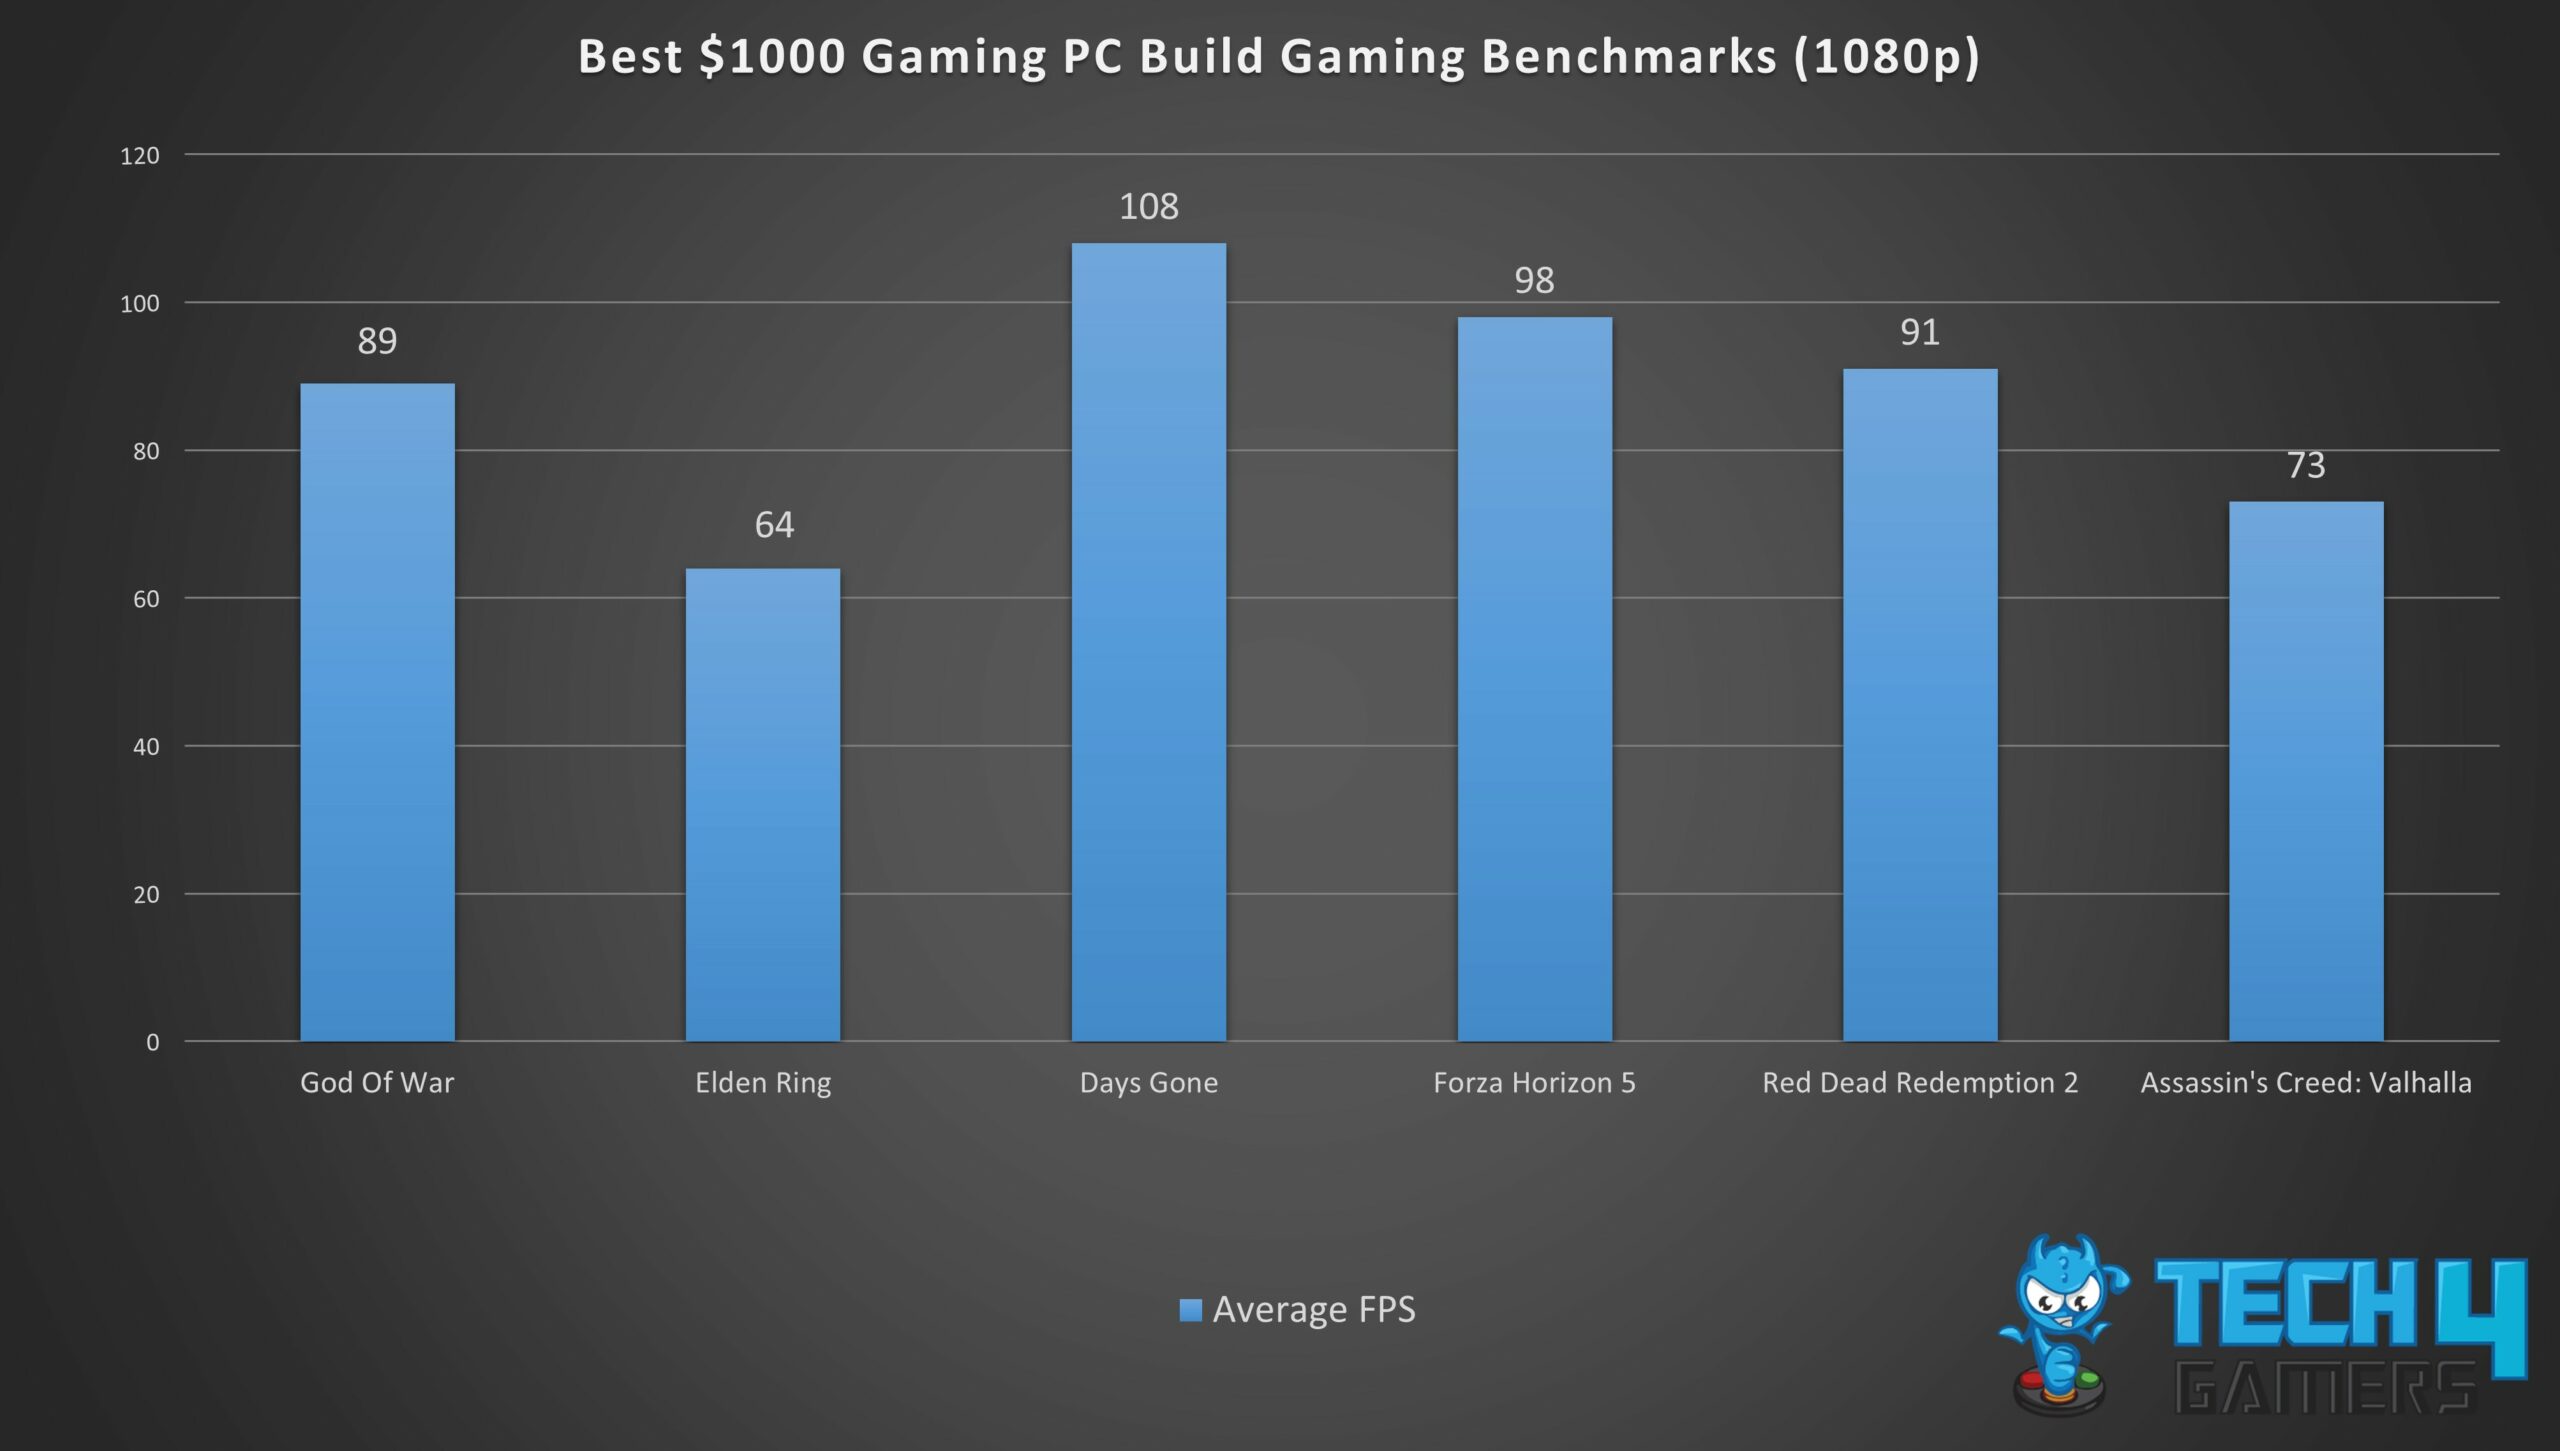
As shown in the above screenshot, the $1000 Gaming PC Build managed to achieve my goal, that is, to run high-end games at 1080p on high settings. It can be seen that throughout the six games, all average framerates are well above 60.
Monitor, Peripherals, and Other Expenses
You might be wondering; I have managed to build a great PC under the $1000 budget that runs all high-end games without any issues. However, what about the monitor, peripherals, and other expenses?
Well, as far as the monitor is concerned, I think that you should be good to go with anything under the $250-$300 price range. Since you’re building a gaming rig, make sure that the monitor offers a great refresh rate; anything above 120Hz should be good to go, with 144Hz and 165Hz being the sweet spot.
Similarly, buying gaming peripherals can also drive up the cost of your budget gaming PC build. So, if you have old peripherals and if you think you can use them, then we highly recommend that you do that. However, if you do plan to buy peripherals, then go with the combo ones, as they offer more value for money.
One expense that you might overlook is the Windows license. Yes, it is basically dirt cheap compared to the other expenses we have talked about, but it should be considered nevertheless.
How To Plan The Best $1000 Gaming PC Build
Now, let’s go over a few factors that you need to consider when you’re planning to build the best gaming PC under $1000.
- Budget: With a budget of $1000, you have to do your best to spend on the most essential things first and then go for the non-essential parts like RGB. I highly recommend that you first outline a strict budget and plan according to that budget.
- Upgradability: Planning your build with upgradability in mind can do wonders for the overall longevity of your system. When shortlisting components, always select ones that you’ll be able to upgrade down the line without the need to fully swap out everything.
- Performance: It is obvious that you need to factor in the performance you need when planning your best gaming PC under $1000 build, and to achieve the best possible performance figures while staying within budget, you need to get the most compatible components. For that, you will have to do some research on which components fall under your budget and which of them are compatible.
- Looks: If you’re a fan of RGB, then you also need to think about what kind of looks you want from your PC. Whether you want an all-white theme or a flashy RGB rig. Keep in mind that going after looks will drive up the price of the components you select.
- Custom Built or Prebuilt: Prebuilts usually save you from the hassle of building the PC yourself; however, that comes at the cost of a more expensive build, which is why I recommend shortlisting the components and building a custom PC that suits your needs.
Tools Required
If you’ve decided to go down the custom gaming PC route and are planning to build your best gaming PC under $1000 build yourself, then get these tools:
- Anti-Static Mat or Anti-Static Wrist Band
- Knife
- Zip Ties
- Thermal Paste
- Standard Flathead Screwdriver
- Phillips Screwdriver (Number #1)
- Phillips Screwdriver (Number #2)
- A magnetic screw tray or magnetic mat (to stay organized)
- Hex Nut Driver
Regardless, I have outlined a few basic mistakes to avoid when building a PC so your experience can go as smoothly as possible.
Basic PC Building Mistakes To Avoid
We have covered an in-depth guide on PC Building Mistakes To Avoid, be sure to give it a read, as it contains lots of valuable information.
Briefly speaking, the following are a few basic mistakes that you must always avoid when building a PC:
- Not proper grounding: First of all, you must always ground yourself when dealing with electrical components. That includes wearing an Anti-Static Band and/or working on an Anti-Static Mat. Otherwise, you might get a tiny shock yourself and even risk damaging the components.
- Not building on a suitable surface: Organization is the key to success in everything, and that certainly applies here. Make sure the surface you’re building on is neat, clean, and suitable. A wooden desk can be good, but never a metal surface as that can short the electrical components.
- Not installing the components correctly: You don’t have to use too much force on anything; in fact, stay as gentle as possible throughout the process. But, make sure that all the components are seated in their right position correctly.
- Applying too much or too little thermal paste: Generally, the amount of thermal paste applied should be equal to the size of a grain of rice. You can also refer to our step-by-step guide on How To Clean Thermal Paste Off CPU for more thermal paste-related queries.
- Incorrect installation of case fans: If your PC does not have the right airflow, then it will begin to overheat, which will ultimately create lots of issues like reducing your motherboard’s lifespan. So, make sure your PC has proper cooling and the right amount of fans.
- Forgetting to plug in some cables: Even though everything is labeled, it is very easy to miss a few headers. Hence, you must make sure to plug in all the cables correctly.
What Our Readers Think
FAQs
As we concluded in the gaming benchmarks, a gaming PC under $1000 should give you plenty of framerates at 1080p ultra settings.
Paired with the right CPU and good memory, the RTX 3060 Ti is actually enough for 1440p. You can run most games at high to ultra settings at 1080p with great FPS. So, even if you have to turn down the settings to mid to high, 1440p is definitely possible.
Wattage alone cannot determine if a PSU is enough for any GPU. However, if we’re assuming that the PSU is of a well-known brand and is built with high-quality components, then yes, a 550W PSU is enough for the RTX 3060 Ti
Recent Updates
- March 20, 2024: All of the component replacements warranted a change in the PSU as well, and I opted for the Corsair RM650 80 PLUS GOLD, which took the ASUS ROG Strix 550W Gold’s spot. Plus, video games sizes have continued to increase, which is why I added the Teamgroup QX 2TB to allow users to store a lot more games along with other media.
- March 16, 2024: I decided to replace the RTX 3060 Ti with the RTX 4060 since it gives users access to more features while also providing slightly better performance. I swapped out the Western Digital Blue SAS10 500GB with the Teamgroup MP44 1TB to give users a lot more room to work with. Also, the Arctic Freezer 35 with the Deepcool AK400 due to its better price-to-performance.
Thank you! Please share your positive feedback. 🔋
How could we improve this post? Please Help us. 😔
[Hardware Expert]
With a major in Computer Science, Sameed is a tech enthusiast who puts his passion for gadgets into words and creates informative blogs. From comparing different hardware to reviewing the best RAMs, motherboards, and graphics cards for your next build, Sameed has covered a wide spectrum of topics that have given him a special insight into every nook and cranny of the tech world. Sameed is also a certified expert at Computer Hardware & Networking.
Get In Touch: sameed@tech4gamers.com


