 Threads

Thermal paste helps maintain the CPU temperature during intensive gaming or other CPU-intensive tasks. It becomes necessary to replace the thermal paste when you hear loud fan noises or the CPU overheats frequently. For that, thoroughly wipe the older layer off the CPU before applying a new one. Although it is quick and easy to clean thermal paste off the CPU with the right precautions, removing the CPU cooler may be a bit tricky.
Key Takeaways
- Thermal paste helps keep CPU temperatures low, maintaining its performance.
- Use a cleaning cloth, alcohol, and cotton swabs to eliminate the thermal paste off the CPU.
- Replace the thermal paste every few months for effective CPU performance.
Precautions
Take note of the pointers below for safe CPU cleaning:
- Do not apply excessive force or rotate the locks in the wrong direction, as it can break the locks on the heatsink.
- Do not apply excessive thermal paste on the CPU. It can seep into other components and cause damage.
- Ground yourself while changing the paste. It prevents the flow of static charge from affecting various PC components.
- Lock the heatsink properly after application.
- Do not use a dirty cloth to clean off the old paste. It can leave dust particles that could damage the heatsink’s base plate or CPU’s integrated heat spreader.
- Handle the components with light hands.
- Disconnect the power source before handling internal parts.
Cleaning Thermal Paste Off CPU
Before beginning the cleaning, I got all the equipment on hand so I would not have to spend time searching while the CPU was disassembled. Leaving the internal components exposed to air for long periods may harm their performance and longevity.
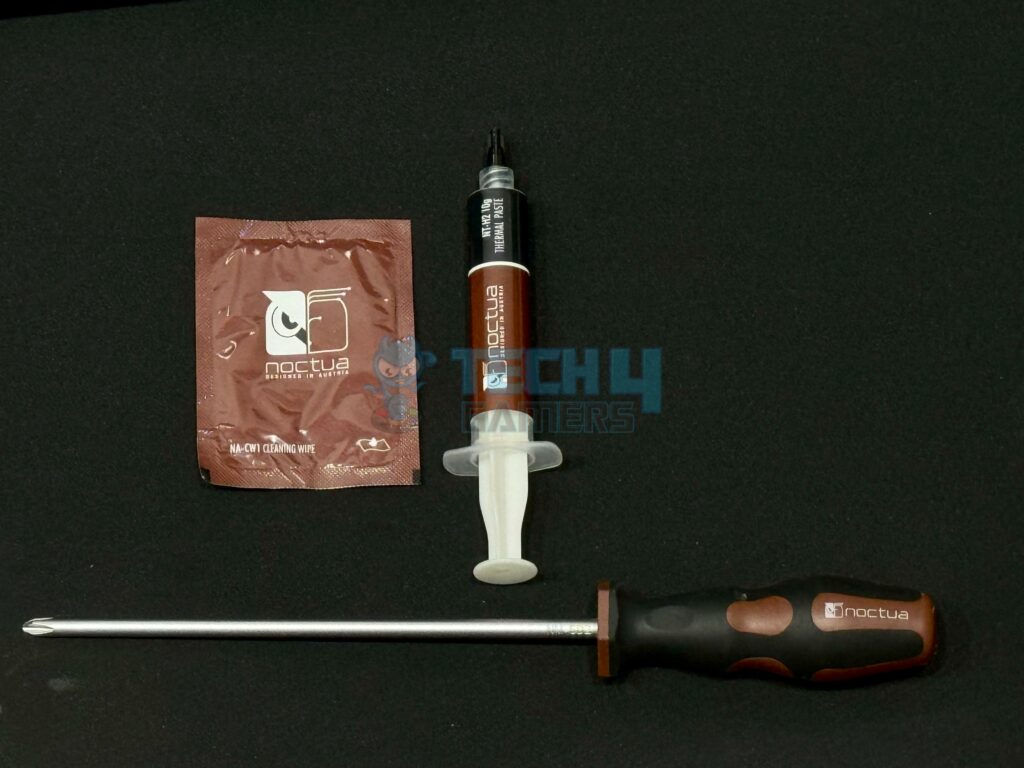
Before you begin the removal and reapplication process, have all the cleaning supplies handy:
Ensure you unplug every cable coming into or leaving your computer. Failure to unplug your PC before removing the PC case and touching internal components can result in a high-voltage shock. Unplug Your Computer
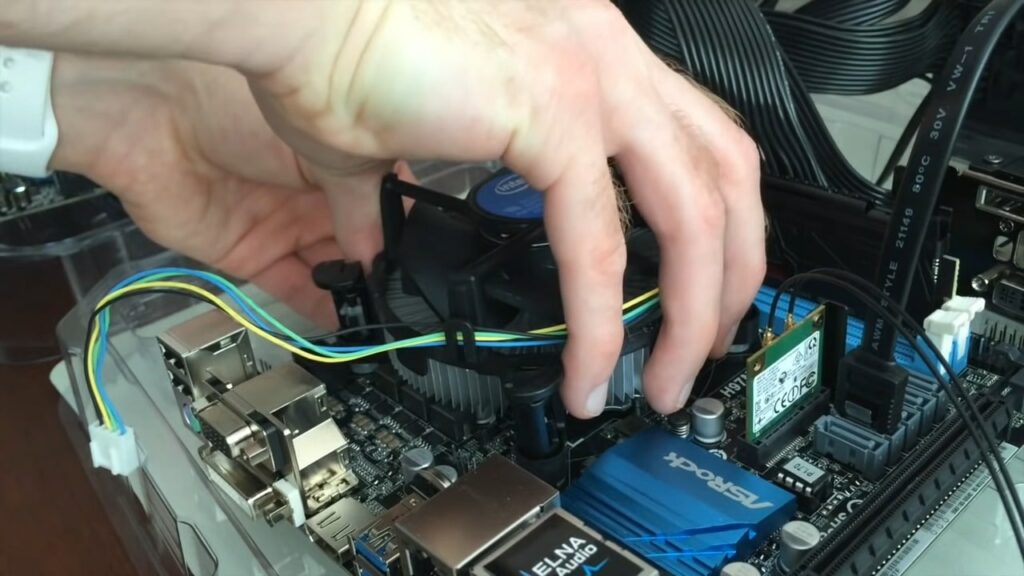
Remove the heatsink before removing the thermal paste from the CPU. I had to be very gentle with handling the heatsink and its locks, as any violent movements or forceful yanking could cause the locks to break and make the component useless. Moreover, locate the cable connecting your CPU cooler to the motherboard and remove it before working on the heatsink. Next, remove the Intel CPU cooler or AMD CPU fan from its position. Once done, lay it sideways to avoid contact between the surface and the thermal paste on the heatsink’s baseplate.Remove The Heatsink
The thermal paste’s lifespan may have ended if it appears cracked or dry. Hold the microfiber cloth and make a gentle swipe on the CPU. Swipe in your direction because circular motion can cause the dried-up residue to fall on the sides of the processor. After cleaning the thermal paste with a cloth, proceed to the next step for a microscopic-level clean. Use a cotton swab and alcohol for this. Avoid getting it dripping wet and leaving big drops on the CPU. Ensure that the swab touches the alcohol’s surface only slightly. Rotate the cotton swab to apply alcohol evenly on all sides. This method is better than dipping the entire swab into alcohol. Handle the cleaning process with care. Gently place the swab on the CPU and clean it in a light, circular motion. Check the swab for thermal paste residue and switch to a cleaner side for continuous cleaning. Repeat this process several times for optimal results. Stop cleaning once you notice little or no thermal paste residue on the alcohol swab. Clean The Old Thermal Paste Residue
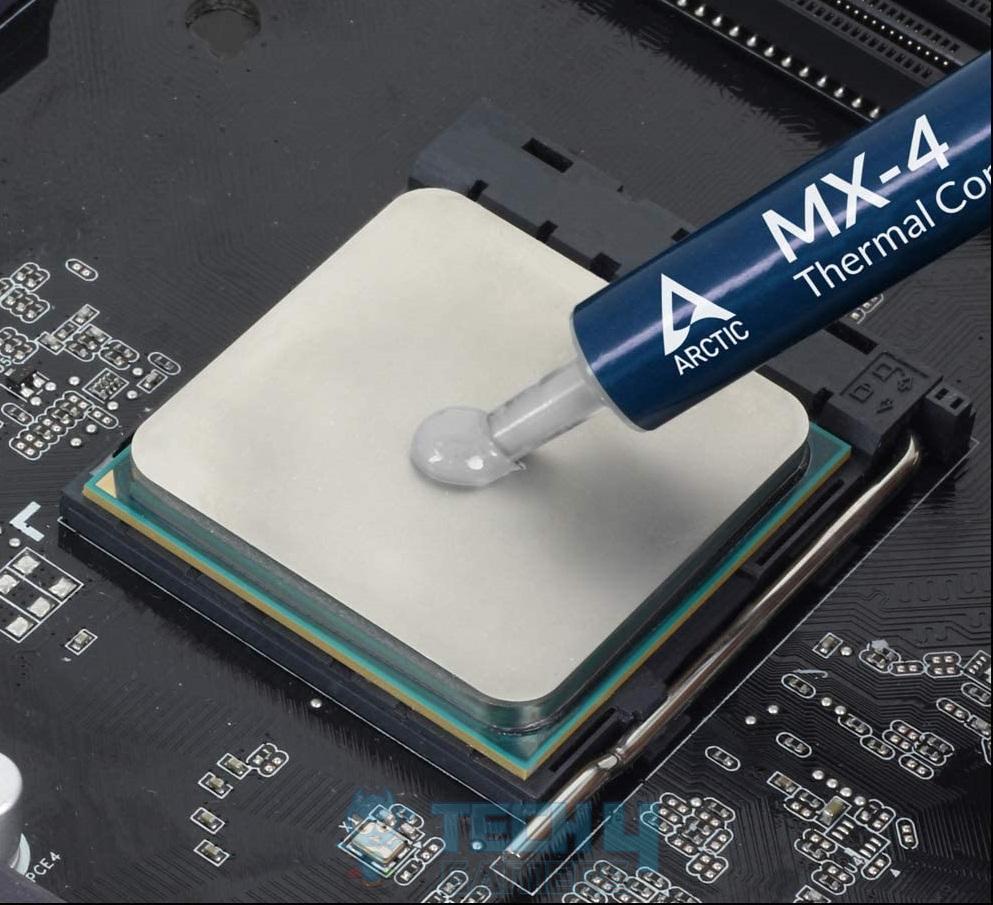
Use the syringe to apply a pea-sized blob of new thermal paste on the processor, then spread it evenly across the CPU. Now, clean the baseplate of your heatsink before putting it back on. Once the heatsink is in place, press the pins and rotate them clockwise to lock them into place.Reapply The New Thermal Paste
Liquid Metal
Liquid metal is a type of thermal compound containing gallium, designed to efficiently remove heat from your CPU. The thermal conductivity of metal is much better than the standard silicon-based thermal paste.
Secondly, using liquid metal creates a metal-on-metal contact that reduces the number of air gaps between the CPU’s integrated heat spreader and the cold plate on your heatsink, resulting in improved cooling performance.
Follow these steps to remove liquid metal from your CPU IHS and cooler safely:
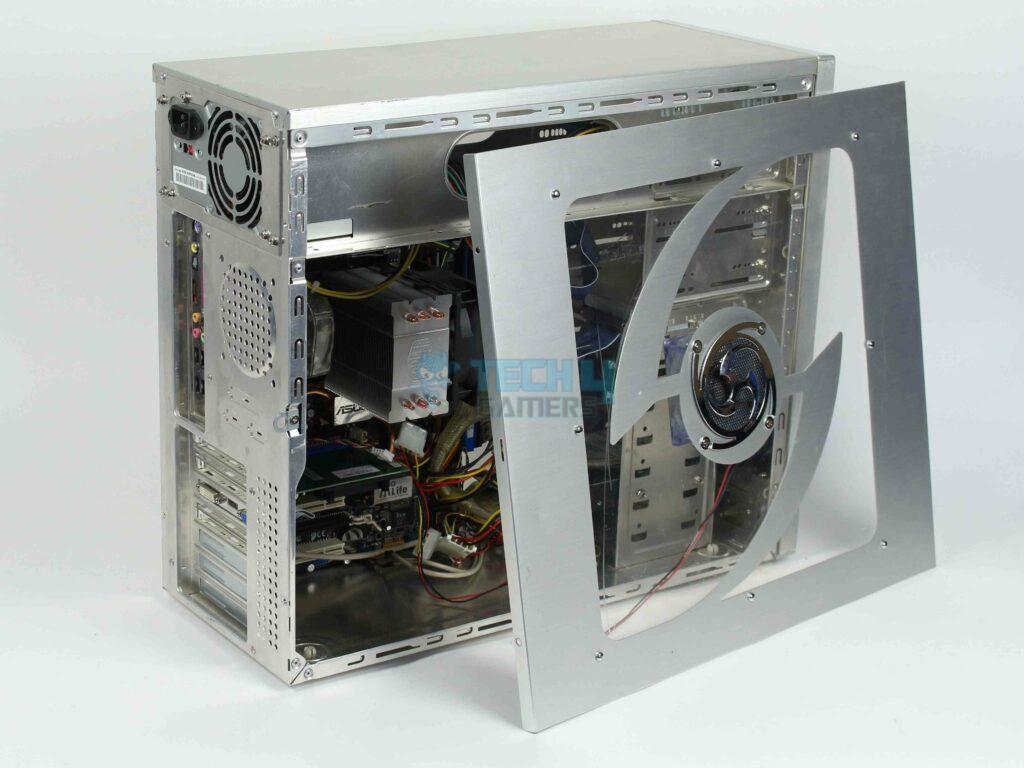
- Disconnect the computer’s power supply > Remove the side panel by undoing the screws on the side.

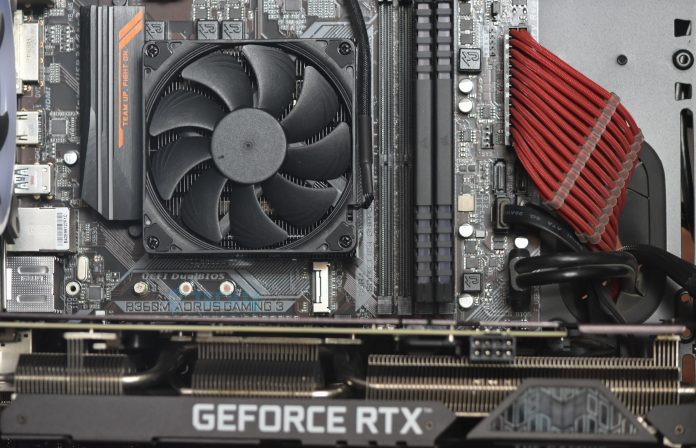
Remove Side Panel (Image By Tech4Gamers) - Locate the CPU fan > Remove the wires off the header on the motherboard > Remove the CPU cooler.

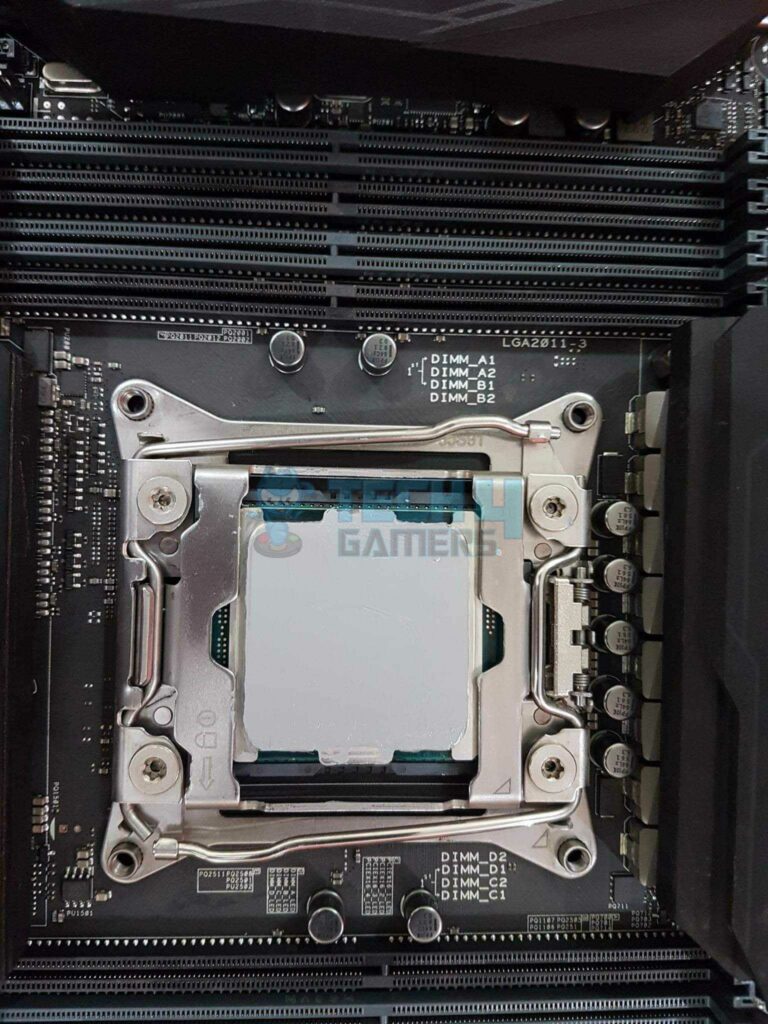
CPU Cooler On Motherboard (Image By Tech4Gamers) - You will see your CPU IHS exposed with some liquid metal on top of it. If you find any spillage of liquid metal during the dismantling process, take an empty syringe and siphon as much of the liquid metal as you can.
- Take a clean cloth and dab in a bit of rubbing alcohol to remove the liquid metal. Repeat this step on the CPU IHS and remember not to clean too close to the edges to avoid spillage.
- After you’ve cleaned the bulk of your liquid metal > Grab a cotton swab > Get all the thermal paste off of your IHS.
- After cleaning the IHS and the cooler, reapply the thermal paste > Put everything back together > Plug in the CPU fan header.
Things To Keep in Mind While Cleaning and Using Liquid Metal
Here are a few things you should keep in mind when dealing with Liquid Metal:
- Be sure to clean thoroughly. Even a drop of unsolicited liquid metal can cause a short circuit.
- Monitor your CPU socket by checking it once every few weeks.
- After application, clean any residues under the CPU. If you get some in the socket, your processor and motherboard will be damaged.
Why Clean Old Thermal Paste?
No matter the quality of the thermal paste, it will dry out at some point and become more and more ineffective in conducting heat from the CPU to the heatsink. If you use a monitoring software app, you’ll notice your CPU temperatures going to extremes. Lower the CPU temperature if the temperature reaches or stays above 90°C for an extended period, and one of the ways to do that is to replace the thermal paste.
While cleaning the thermal paste from the CPU, I had to be very careful while unscrewing the CPU cooler as the locks are pretty delicate. In addition, I tried to avoid any spillage along the edges of the CPU so the thermal paste does not get into any other component and affect its functioning. Lastly, follow all the safety precautions mentioned above and perform the task with utter focus to prevent any mishaps.
Ideally, replace it every 3 to 4 months or when your PC overheats exceptionally. A clean microfiber cloth, cotton swab, and alcohol are necessary. Touch your PC case or buy a separate grounding mat to use when working on computers.FAQs
More About Cleaning PC Components:
- How To Clean PC Fans?
- How To Clean A Motherboard? [Definitive Guide]
- How To Clean Out Dust In PC Building Simulator
- PC Case: How to Clean Tempered Glass?
Thank you! Please share your positive feedback. 🔋
How could we improve this post? Please Help us. 😔
[How To’s & Guides Editor]
Haddi has been in the Gaming and tech Space for over 10 Years Now; he has worked on notable websites like eXputer, Gamepur, Gear Siege, Gearnuke, and plenty more. He is an expert at Games & PC Hardware; you can expect him to solve any problem. People often joke, that if there is any problem anyone can solve, Haddi can solve it faster. Currently, Haddi writes and manages a Team of Experts at Tech4Gamers.
Contact: Haddi@tech4gamers.com


