


It is important to clean your motherboard every 6 to 7 months to remove the settled dust. Not performing this maintenance routine can adversely impact the overall PC performance and lead to bad consequences, like overheating and short circuits, thus reducing the lifespan of the motherboard and connected components.
- Giving your motherboard a routine cleanup is important because if any of its connections get impaired by dust or grime, your entire computer can stop functioning.
- While cleaning the motherboard, hold the fans in place. Unnecessary spinning can damage the fan bearings.
- Remember to use safety equipment, like gloves and protective glasses.
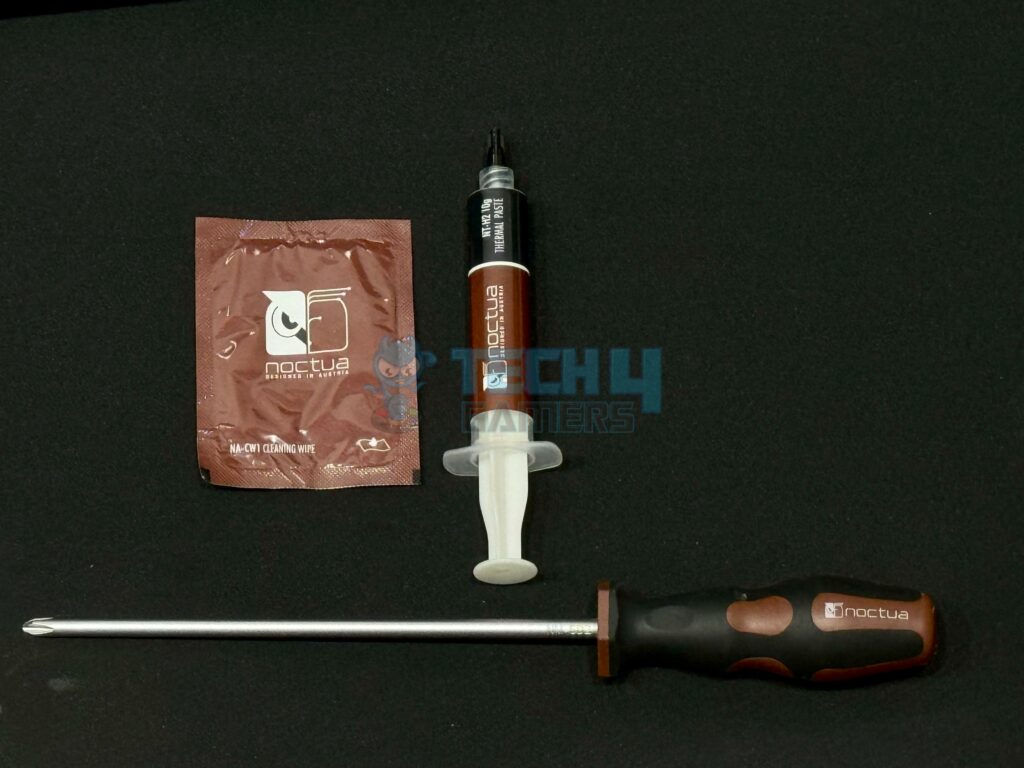
To clean your motherboard, have the following tools nearby:
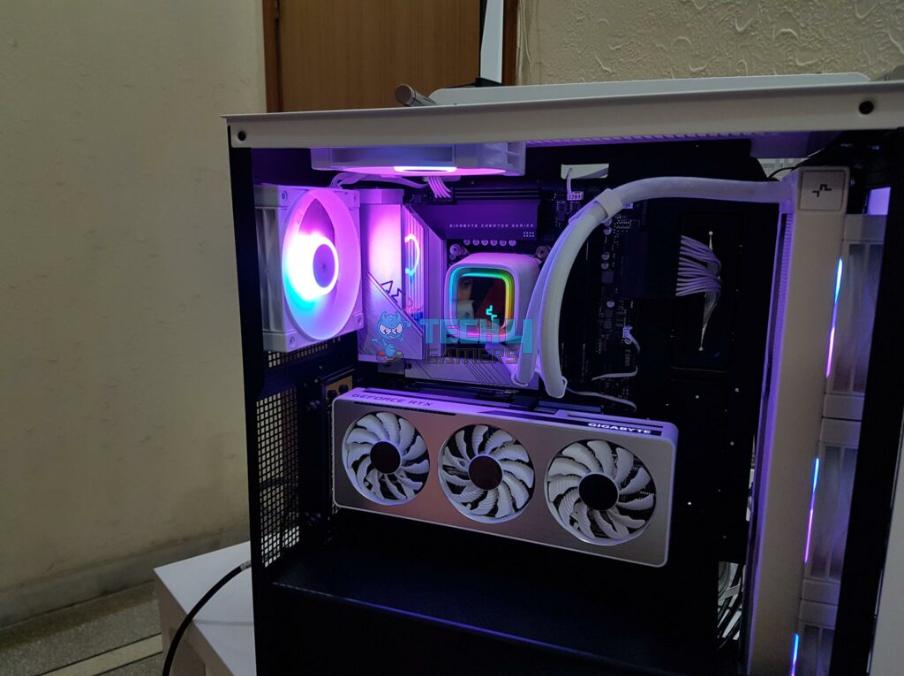
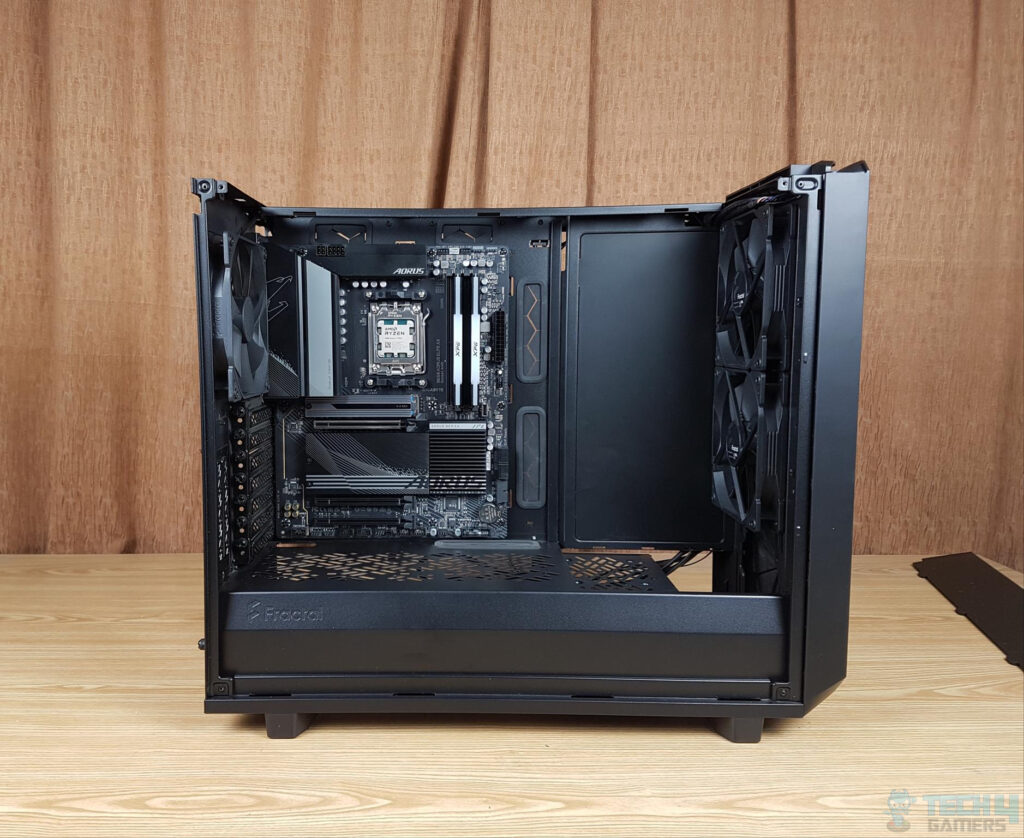
Follow these steps to open the PC case and get started with the cleaning process:Open The Case
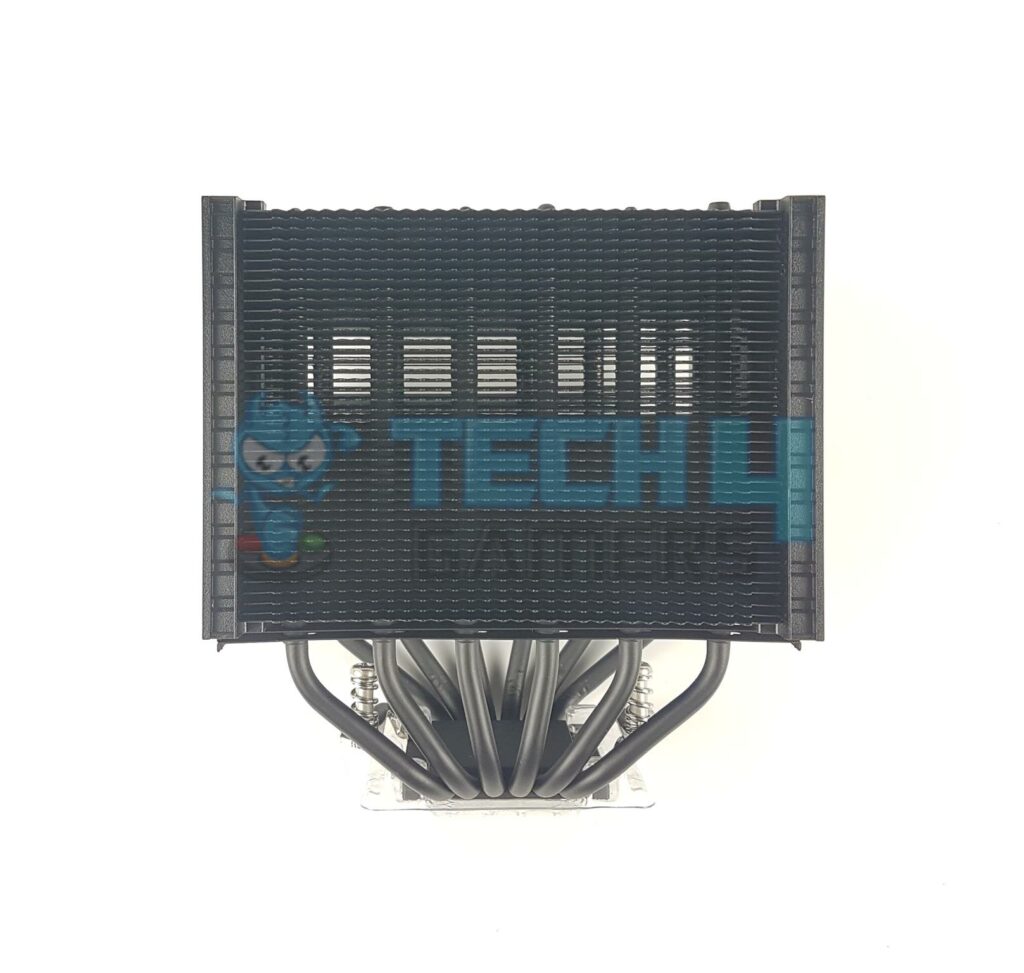
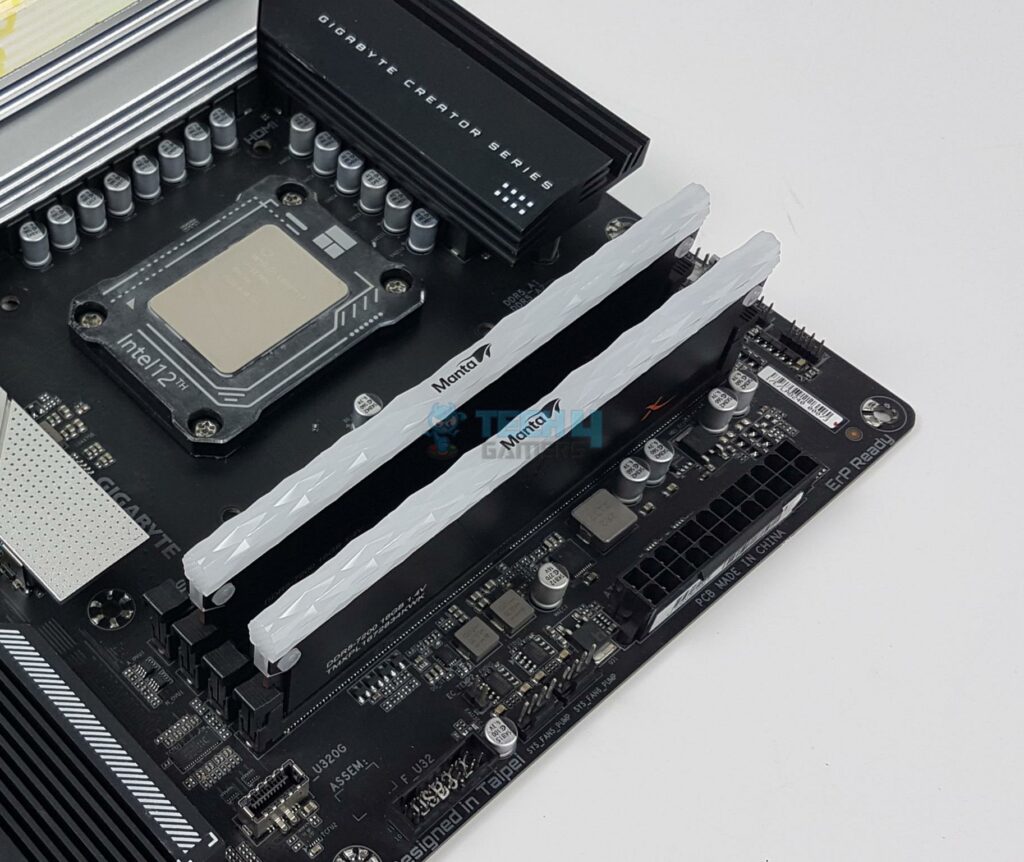
There might be more than one heatsink in some cases, and in others, there might be none, so proceed accordingly:Remove Components
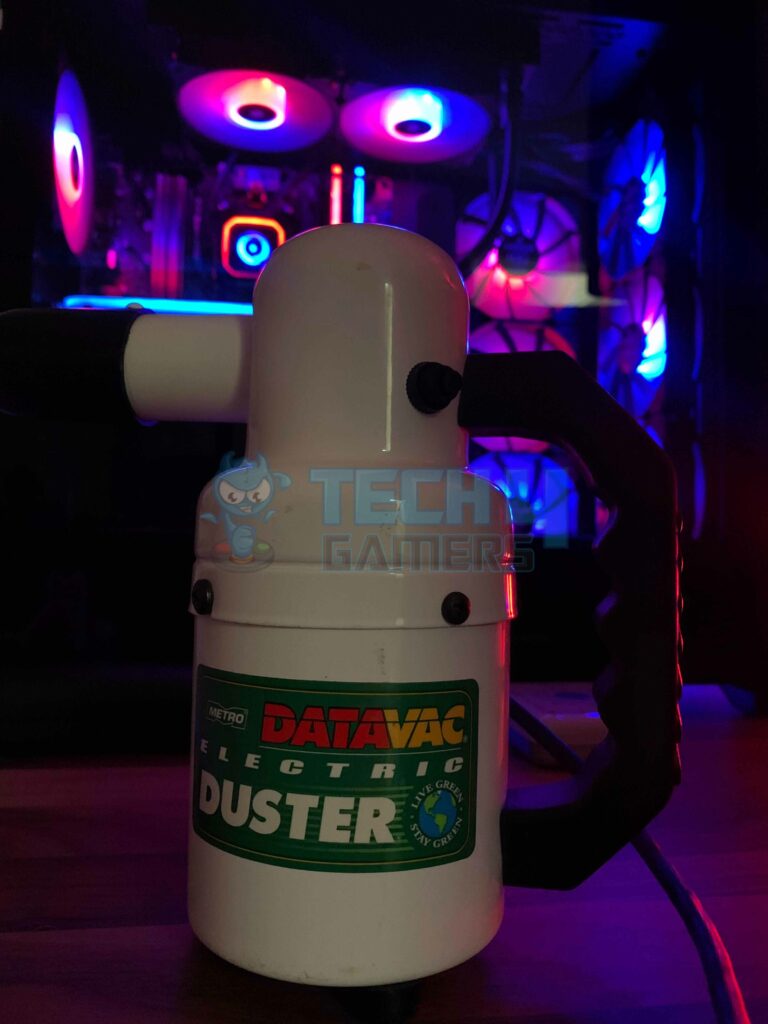
With the heatsinks separated from the motherboard, it’s time to clean them. I used the compressed air to remove all the dust accumulated on the heatsink and its spaces.Clean Heatsinks
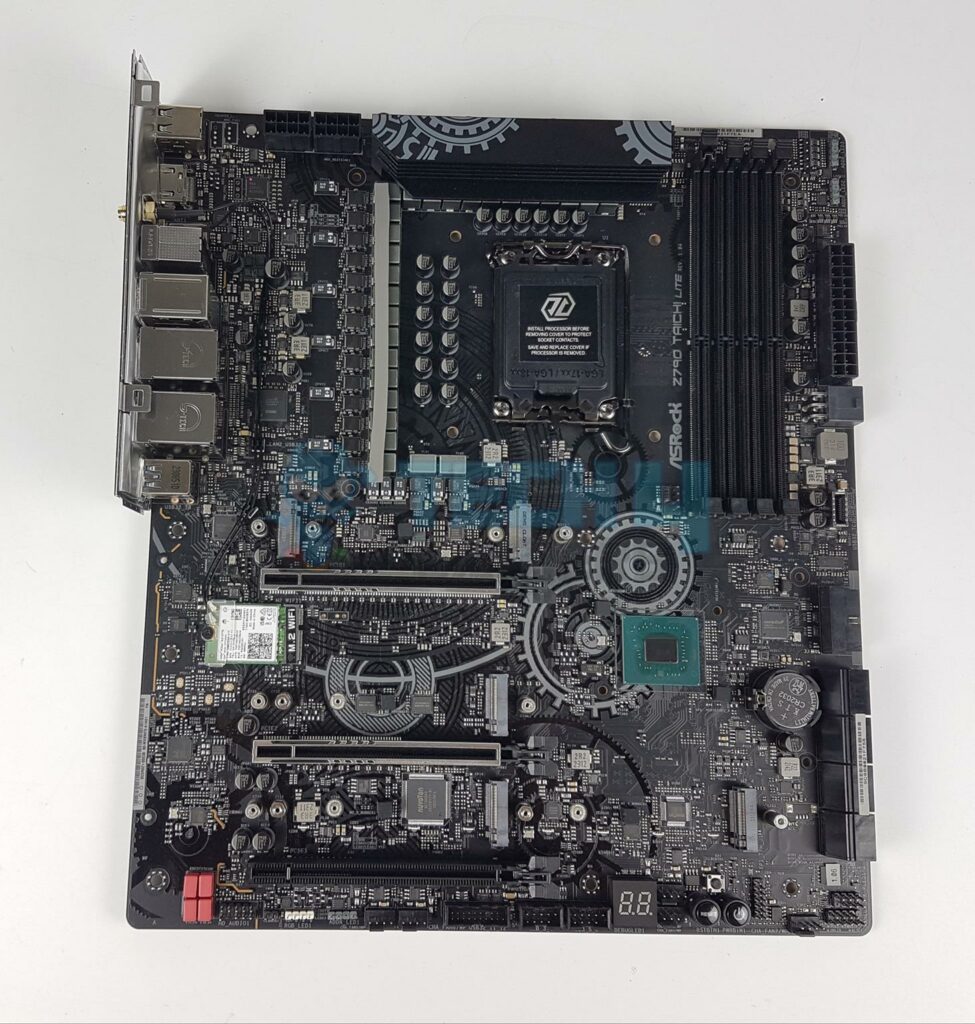
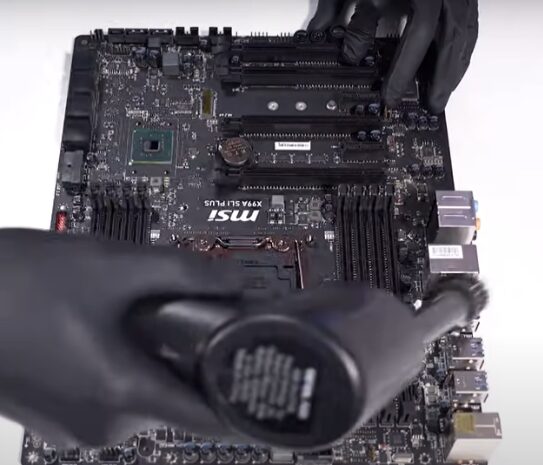
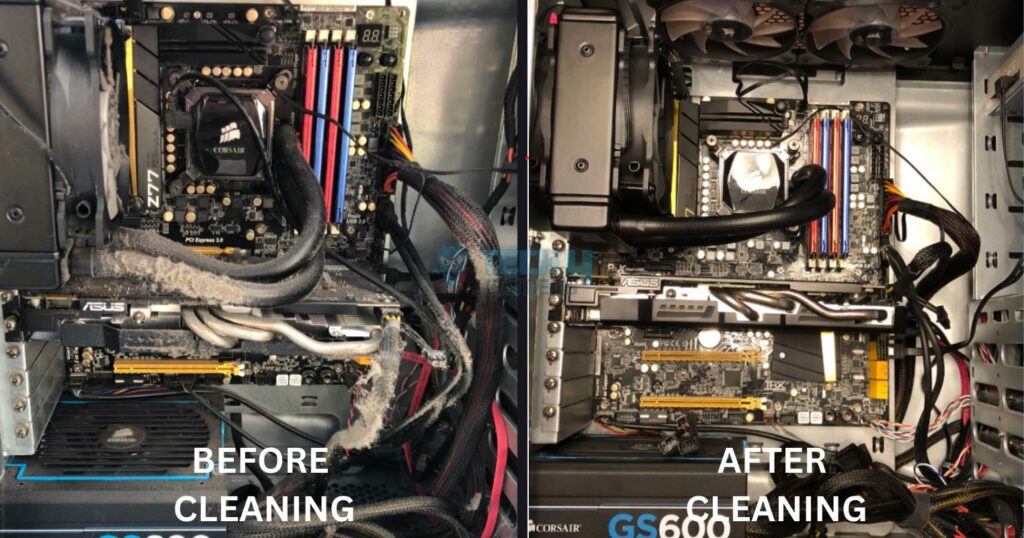
When using a can of compressed air to eliminate dust from your motherboard, it’s essential to adopt a strategic approach. Most motherboards are oriented vertically, so dust accumulates on surfaces such as PCIe slots, DIMM slots, and rear IO ports. So, I started blowing the air from the top and worked my way down for an effective cleaning. Next, I addressed any residual dust that might have accumulated inside the rear IO ports, which can interfere with proper connectivity. Additionally, for larger surfaces, I used a microfiber cloth. Once everything is cleaned, use a soft-bristled brush to remove any remaining dust.Clean The Motherboard
Reassembling the whole thing together is straightforward with these steps:Reassembly
Can You Damage A Motherboard While Cleaning It?
The risk of damage is always present when dealing with motherboard; hence, take the necessary precautions as stated below:
- Static Electricity: It can cause a short circuit in your motherboard’s components, leading to the risk of completely frying the part. Always use an anti-static mat to place your motherboard. Besides, multiple users practice grounding and keeping anti-static mats when cleaning PC components, as seen in this thread.
- Water Damage: Avoid using moist fabric while cleaning, as water can threaten the components. I let my motherboard dry completely before putting it back into the system. To be extra safe, I prefer isopropyl alcohol to wipe the motherboard instead, as it evaporates faster and has lower electrical conductivity, making your system less at risk for a short circuit.
- Physical Damage: Using excessive force while cleaning or separating components can damage them. Be gentle when handling them, especially the delicate ones like CPU socket pins and capacitors. You might have to replace your motherboard if an essential component gets damaged.
Final Words
In my experience, cleaning the motherboard was somewhat challenging, especially when I had to detach the components, although the method stated above helped me carry out the process smoothly. On the other hand, if you are a beginner with little knowledge about handling PCs, I suggest you get help from an expert to avoid damaging the motherboard or its components. But if you choose to do it yourself, proceed with the necessary precautions.
Besides, a user on MSI Forums experienced the DRAM light issue on the motherboard after cleaning. We have a detailed guide you can check out for solutions in case you face the same problem.
Frequently Asked Questions
Use a good-quality microfiber cloth that will not leave behind residues. Normal towels or tissues are not recommended.
Water can seep into the motherboard slots and damage it. Instead, use 99.9% isopropyl alcohol.
It is crucial to clean the motherboard when there is visible dust build-up or the PC seems to slow down. I prefer cleaning every 6 to 7 months, but it depends on your usage.
Related Articles:
- How To Clean Your PC Without Compressed Air
- How To Clean Tempered Glass Of A PC Case
- How Often Should I Clean My PC? [Full Guide]
- How To Disable Firewall? [All Methods Guide]
- How To Vertical Mount Your GPU [Precautions + Steps]
Thank you! Please share your positive feedback. 🔋
How could we improve this post? Please Help us. 😔
[How To’s & Guides Editor]
Haddi has been in the Gaming and tech Space for over 10 Years Now; he has worked on notable websites like eXputer, Gamepur, Gear Siege, Gearnuke, and plenty more. He is an expert at Games & PC Hardware; you can expect him to solve any problem. People often joke, that if there is any problem anyone can solve, Haddi can solve it faster. Currently, Haddi writes and manages a Team of Experts at Tech4Gamers.
Contact: Haddi@tech4gamers.com


Feedback By: