


AIO liquid coolers are a great and efficient way to keep your CPU cool. They are often known to perform better than traditional air coolers. However, installing an AIO cooler is not as easy as expected. A proper procedure must be followed to make sure the installation is accurate.
- Your CPU will thermal throttle if you put a lot of pressure on it when using it without a cooler, potentially leading to hardware failure.
- It is essential to keep the CPU temperature low, as this will help increase the overall lifespan of the component.
- Water cooling is one of the most efficient ways to keep the CPU temperature low.
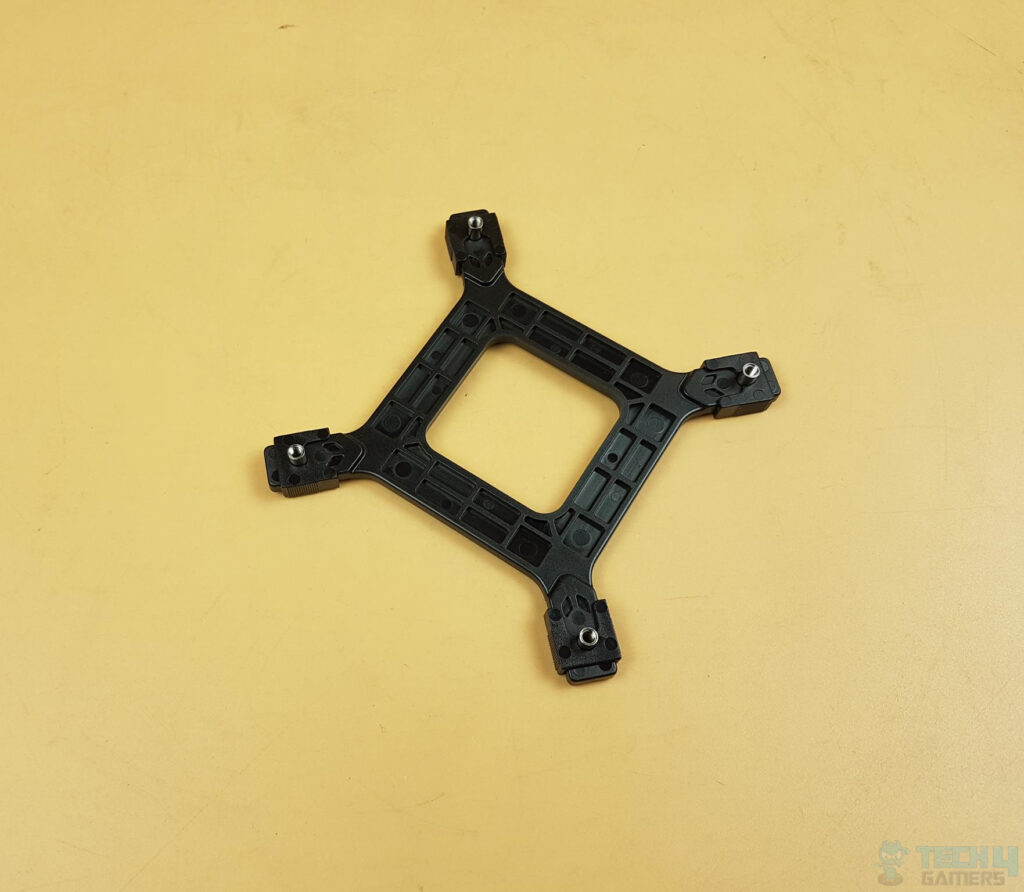
Backplates are the things that enable the connection between your CPU and water block. They are placed behind the motherboard and CPU socket. This is where the screws of your water block mount on, ensuring the connection between your CPU and water block. Follow the instructions below to install the backplate:Install The Backplate
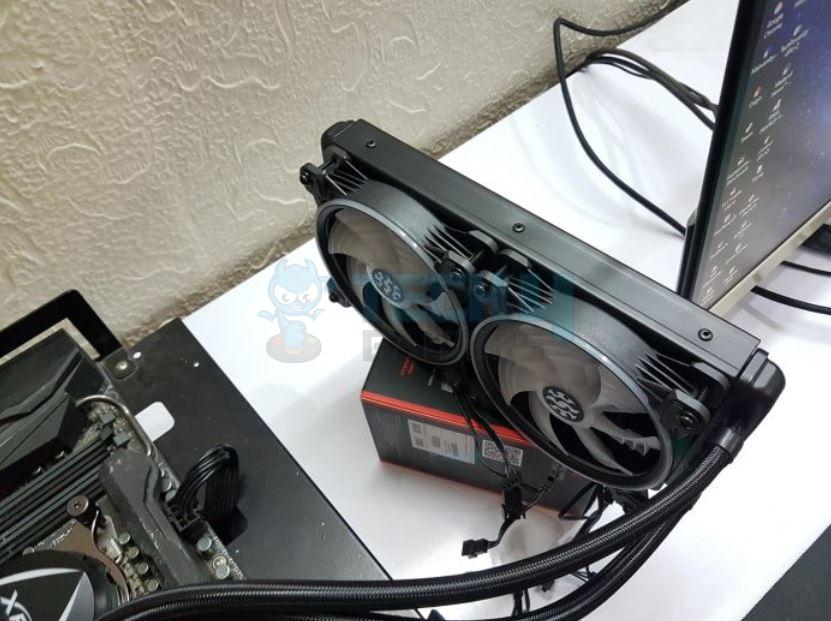
Installing the fans inside the radiator before you install it in the case is recommended, as it gets much more complicated once the radiator is inside the case. Here’s how you can install the fans:Install The Fans

Now, you should have decided on the correct spot to mount your radiator. Now is the time to install it. Ensure you have removed any additional panels or brackets from where you are about to install your radiator. Follow the instructions below to mount the radiator in the radiator:Mount The Radiator
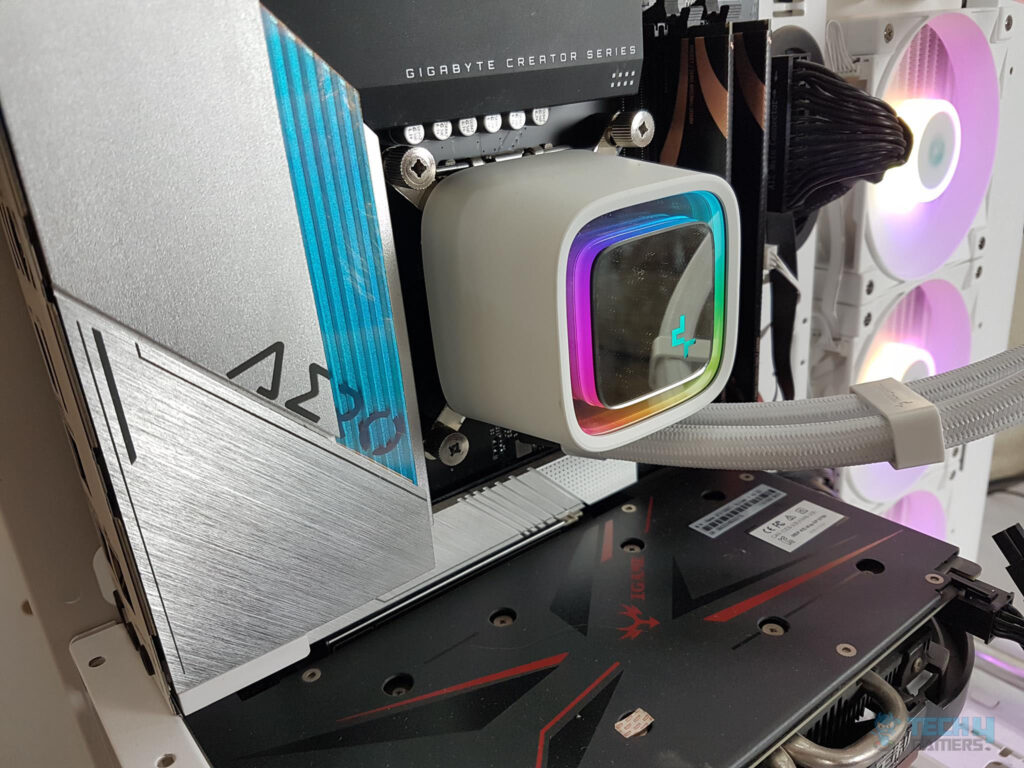
Before installing the water block, remove all the thermal paste previously applied on top of your CPU’s IHS. Most water blocks will come with pre-applied thermal paste, but if yours does not, install a small amount of it on the IHS of your CPU. This is how you can install the water block:Install The Waterblock
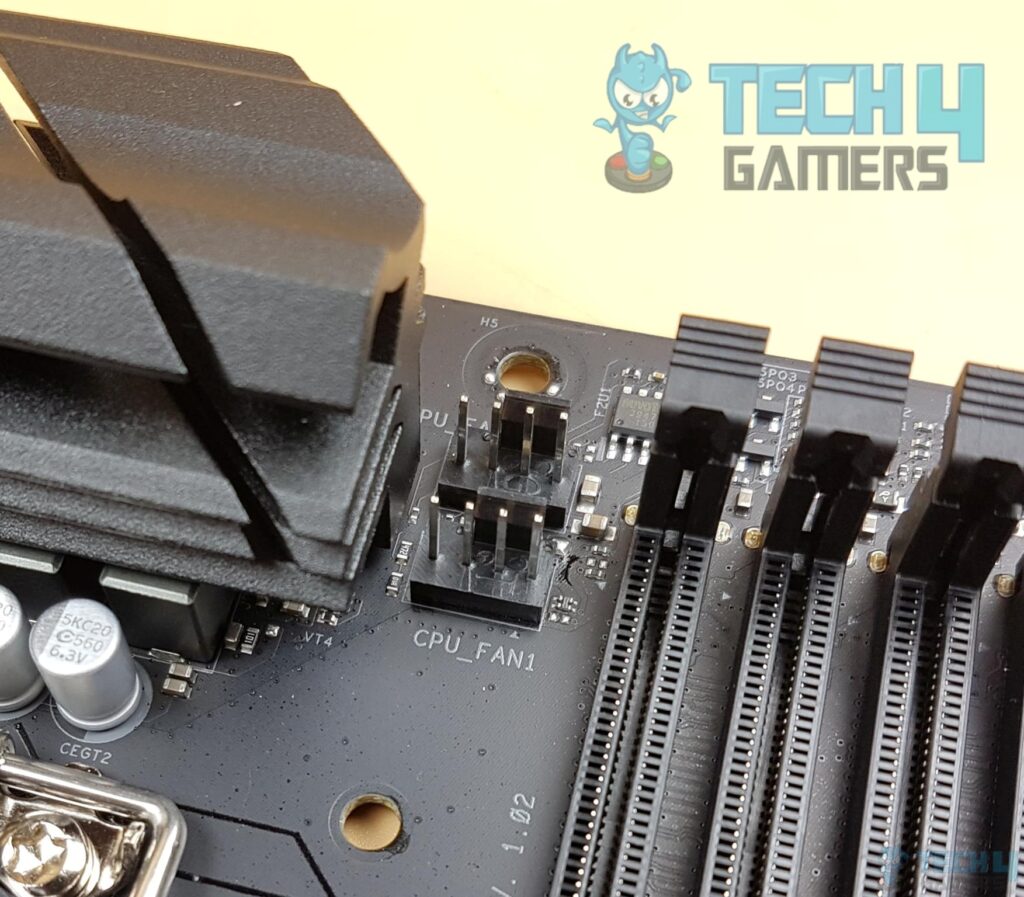
The last step after successfully installing all the hardware is establishing the electrical connection. You must connect your AIO cables to your system for this one. Follow the steps below to manage the cables when installing a CPU cooler:Manage The Cables
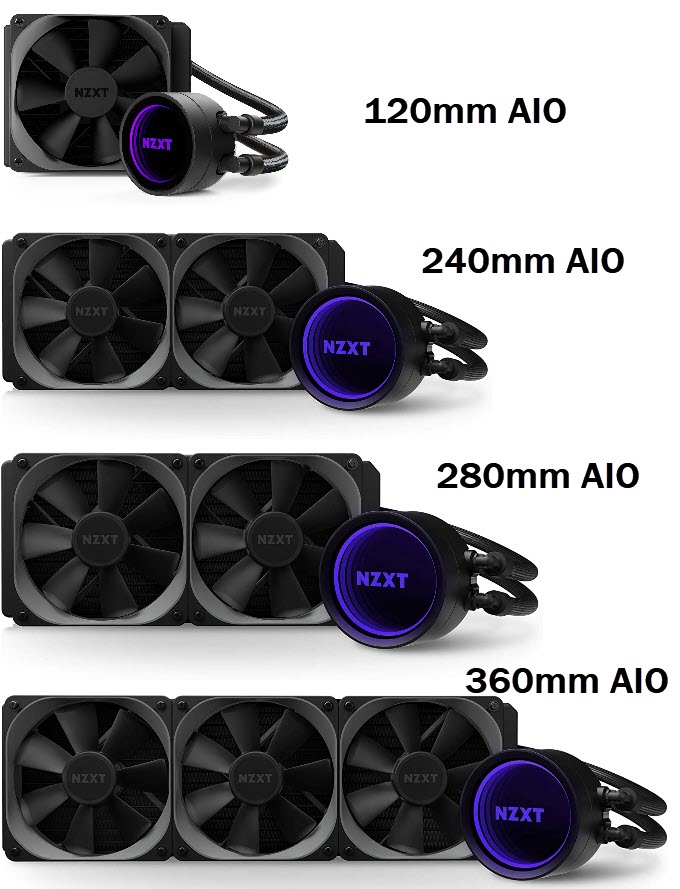
To choose the right AIO size, consider your case’s capacity and your PC’s usage. If your PC pushes the CPU to its limits and causes thermal throttling, opt for a larger AIO. According to us, a 120mm fan suits more minor cases. For better cooling, choose 140mm, but it requires more space and power. After fan size, select the radiator size based on the number of fans. A single fan and 120/140mm radiator suffice for casual users with limited space. Use a dual fan and 240/280mm radiator for mid-sized cases and occasional overclocking. Hardcore users needing maximum performance should choose a triple fan and 360/420mm radiator.How Do You Choose The Right Size For Your Build?
Final Thoughts
This was everything you needed to know about installing a liquid CPU cooler. Hopefully, your CPU cooler is up and running as intended. Not only is your CPU way cooler with the temperatures now, but it is also cooler regarding visuals with the RGB aesthetic. Make sure you constantly monitor its temperatures using the dedicated software.
In an AIO cooler, the liquid absorbs the heat and travels to the radiator, dissipating heat via the cooler fans. If you have a minor PC case, choose a 120mm cooler. For mid-sized cases, you can go for 240/280mm or 360/420mm cooler. A liquid cooler absorbs the heat, relocates it, and dissipates it outside the PC case, leaving no chance for the heat to disperse in the PC case, which usually happens in the stock cooler.Frequently Asked Questions
Similar Articles:
- Answered: How Long Does An AIO Liquid Cooler Last?
- How Do You Change RGB On The AMD Wraith Prism Cooler?
- How Do You Remove The Intel CPU Fan/Cooler?
- A Guide To CPU Cooler Noise Levels
- CPU Cooler Heat Pipes [What, Why, & How]
Thank you! Please share your positive feedback. 🔋
How could we improve this post? Please Help us. 😔
[How To’s & Guides Editor]
Haddi has been in the Gaming and tech Space for over 10 Years Now; he has worked on notable websites like eXputer, Gamepur, Gear Siege, Gearnuke, and plenty more. He is an expert at Games & PC Hardware; you can expect him to solve any problem. People often joke, that if there is any problem anyone can solve, Haddi can solve it faster. Currently, Haddi writes and manages a Team of Experts at Tech4Gamers.
Contact: Haddi@tech4gamers.com


