 Threads
Your Next NAS?
Review Summary
The Synology DiskStation DS218+ is a compact, high-performance two-bay NAS ideal for home and small office use. It offers robust encryption, a user-friendly interface, and supports various RAID configurations. Despite some web-based upload limitations, it excels in scalability and multifunctionality, making it a great choice for centralized storage, especially for content creators and gamers.

Overall
-
Performance - 8/10
8/10
-
Features - 9/10
9/10
-
Build Quality - 9/10
9/10
-
Value - 7/10
7/10
Pros
- High Performance
- User-Friendly Interface
- Versatile Connectivity
- Scalable Storage
- Multi-Functional
- Support for Multiple Users
- Compact and Rugged Design
Cons
- Basic RAM and CPU Configuration
- Limitations in Web-Based File Uploads
- Load Times
- Cost


When it comes to cloud computing, NAS and networking equipment, Synology needs no introduction at all as they are leading the market from the front with their continuous Software and Hardware innovation backed by customer support service. Striving to redefine what a NAS can achieve, Synology combines the features of public and private clouds to develop a hybrid cloud solution with a web-based platform, transforming NAS into a multi-functional device suitable for various purposes.
Synology was kind enough to let us test their DS218+ NAS box. As the name indicates this Synology 2 Bay Nas DiskStation DS218+ box is from their Plus series of the storage and sharing solution which is engineered for high-performance and data-intensive tasks, designed to meet on-the-fly encryption and scalability demands.
Key Takeaways
- The DS218+ is excellent for home users with multiple devices looking for a reliable and scalable centralized storage solution offering robust features and seamless setup.
- This NAS might not suit users looking for high-end performance for extensive gaming or resource-intensive applications due to limitations in CPU and RAM configuration.
- Stand-out features of the DS218+ include its user-friendly setup, DSM interface for versatile functions, and the ability to cater to various needs like file sharing, backup, virtualization, and multimedia streaming in a compact, well-designed unit.
- Why you can trust Tech4Gamers: Our reviews are based on dedicated hands-on testing by our team of experienced hardware experts. Find out more about how we test.
Specifications
Here’s a peek at the specifications.

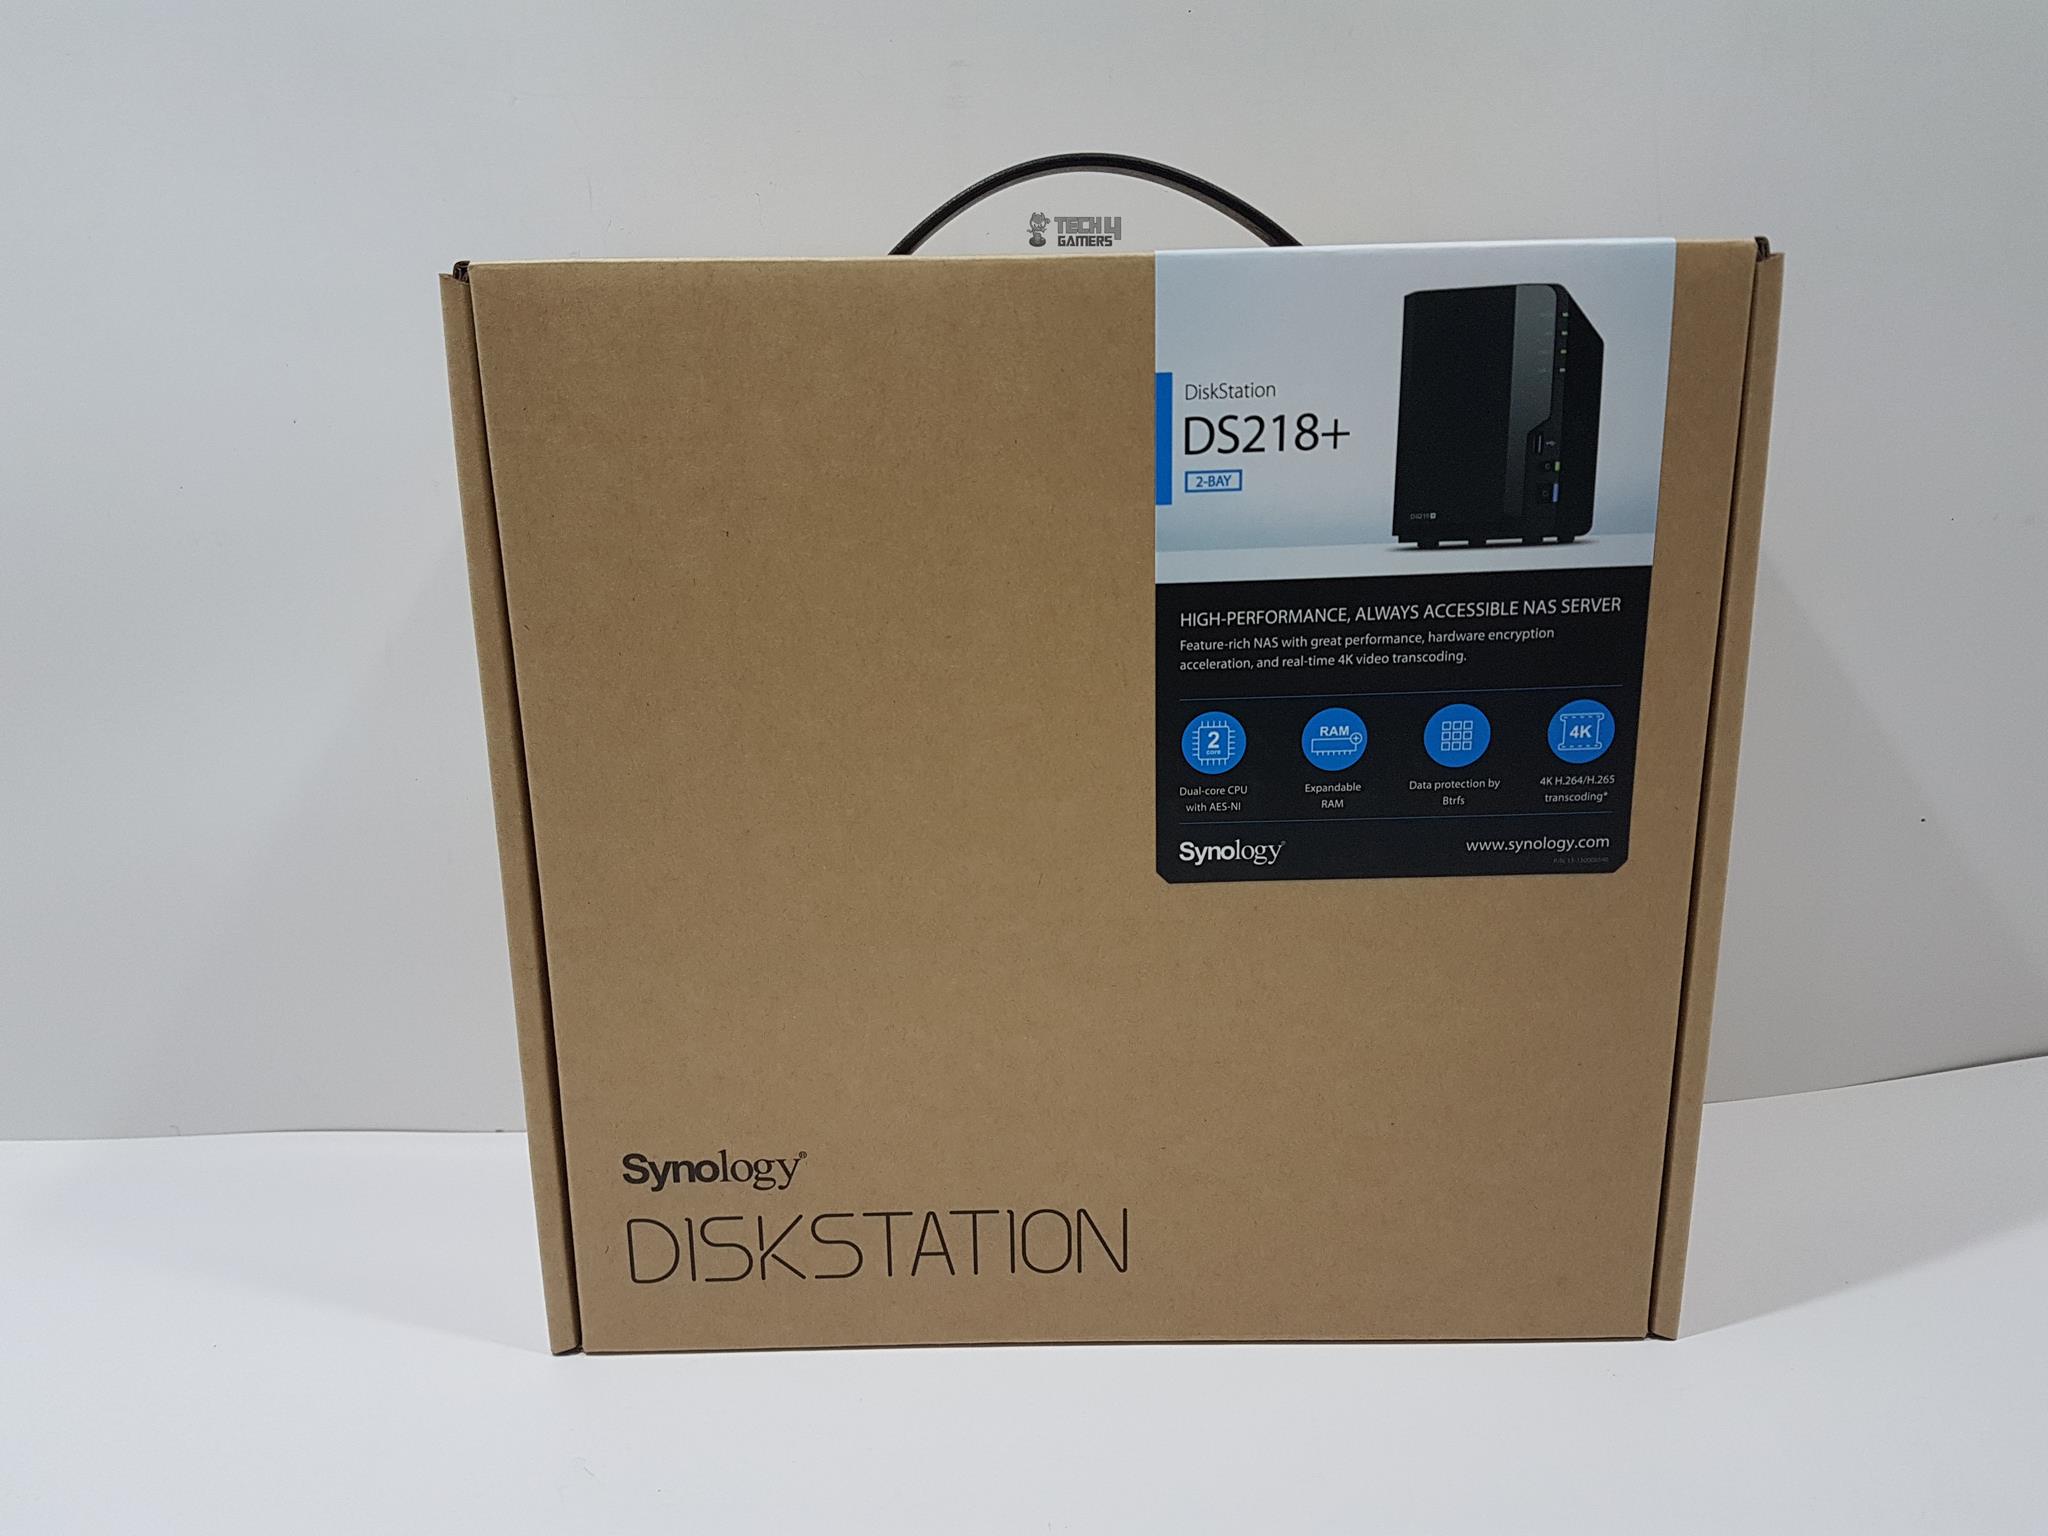
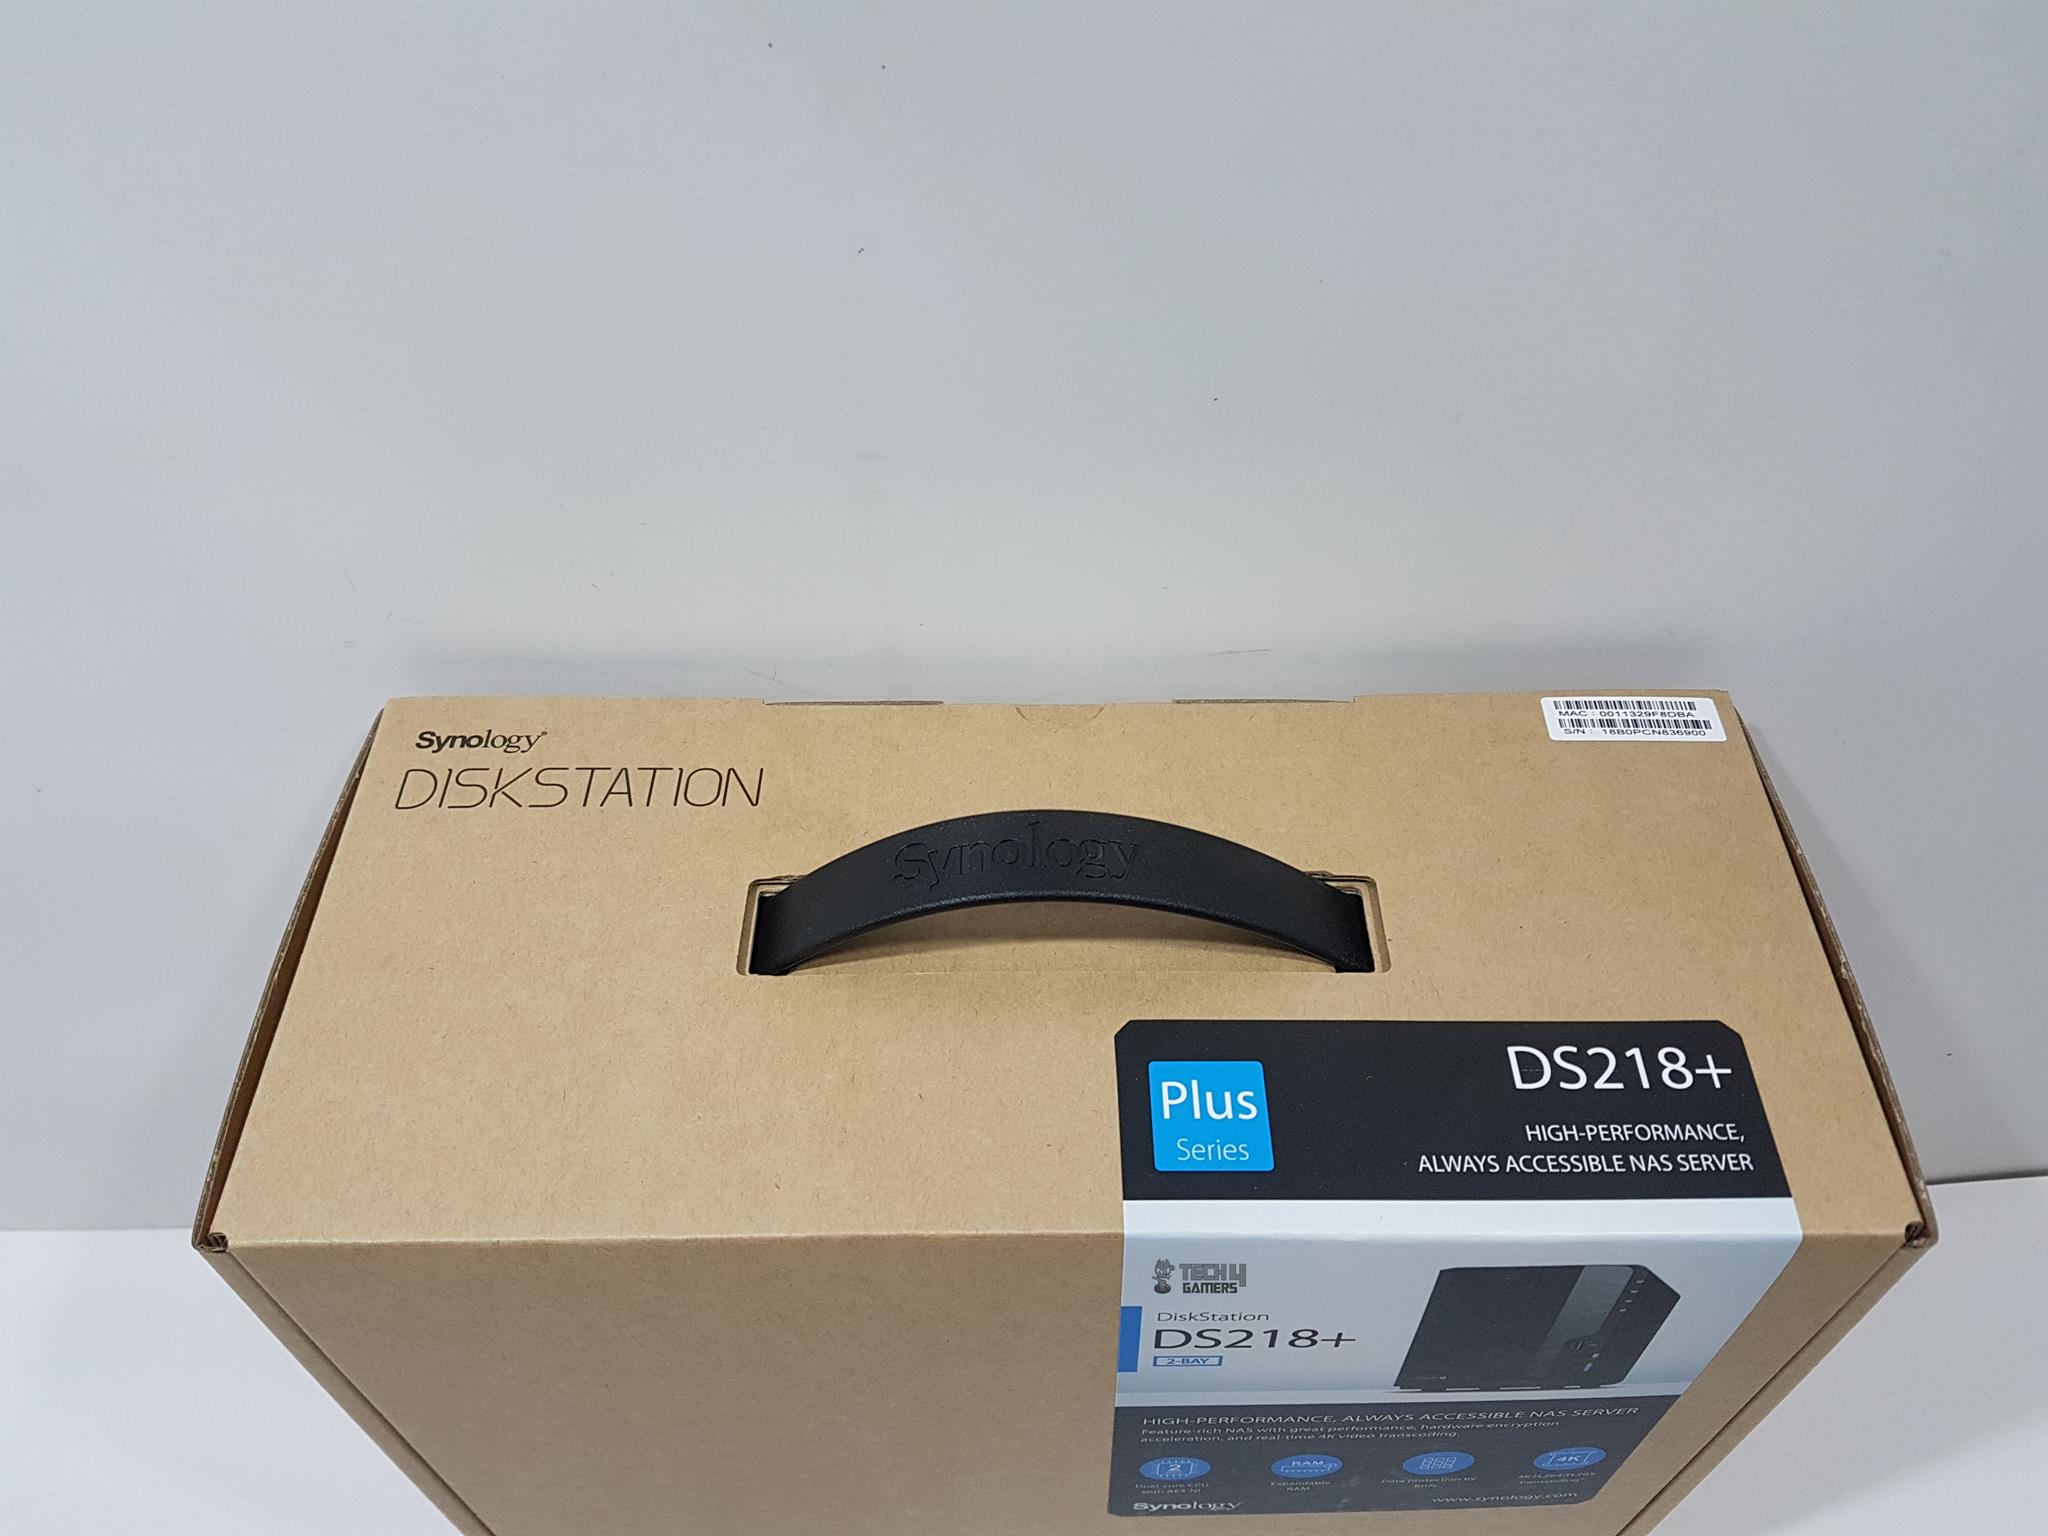
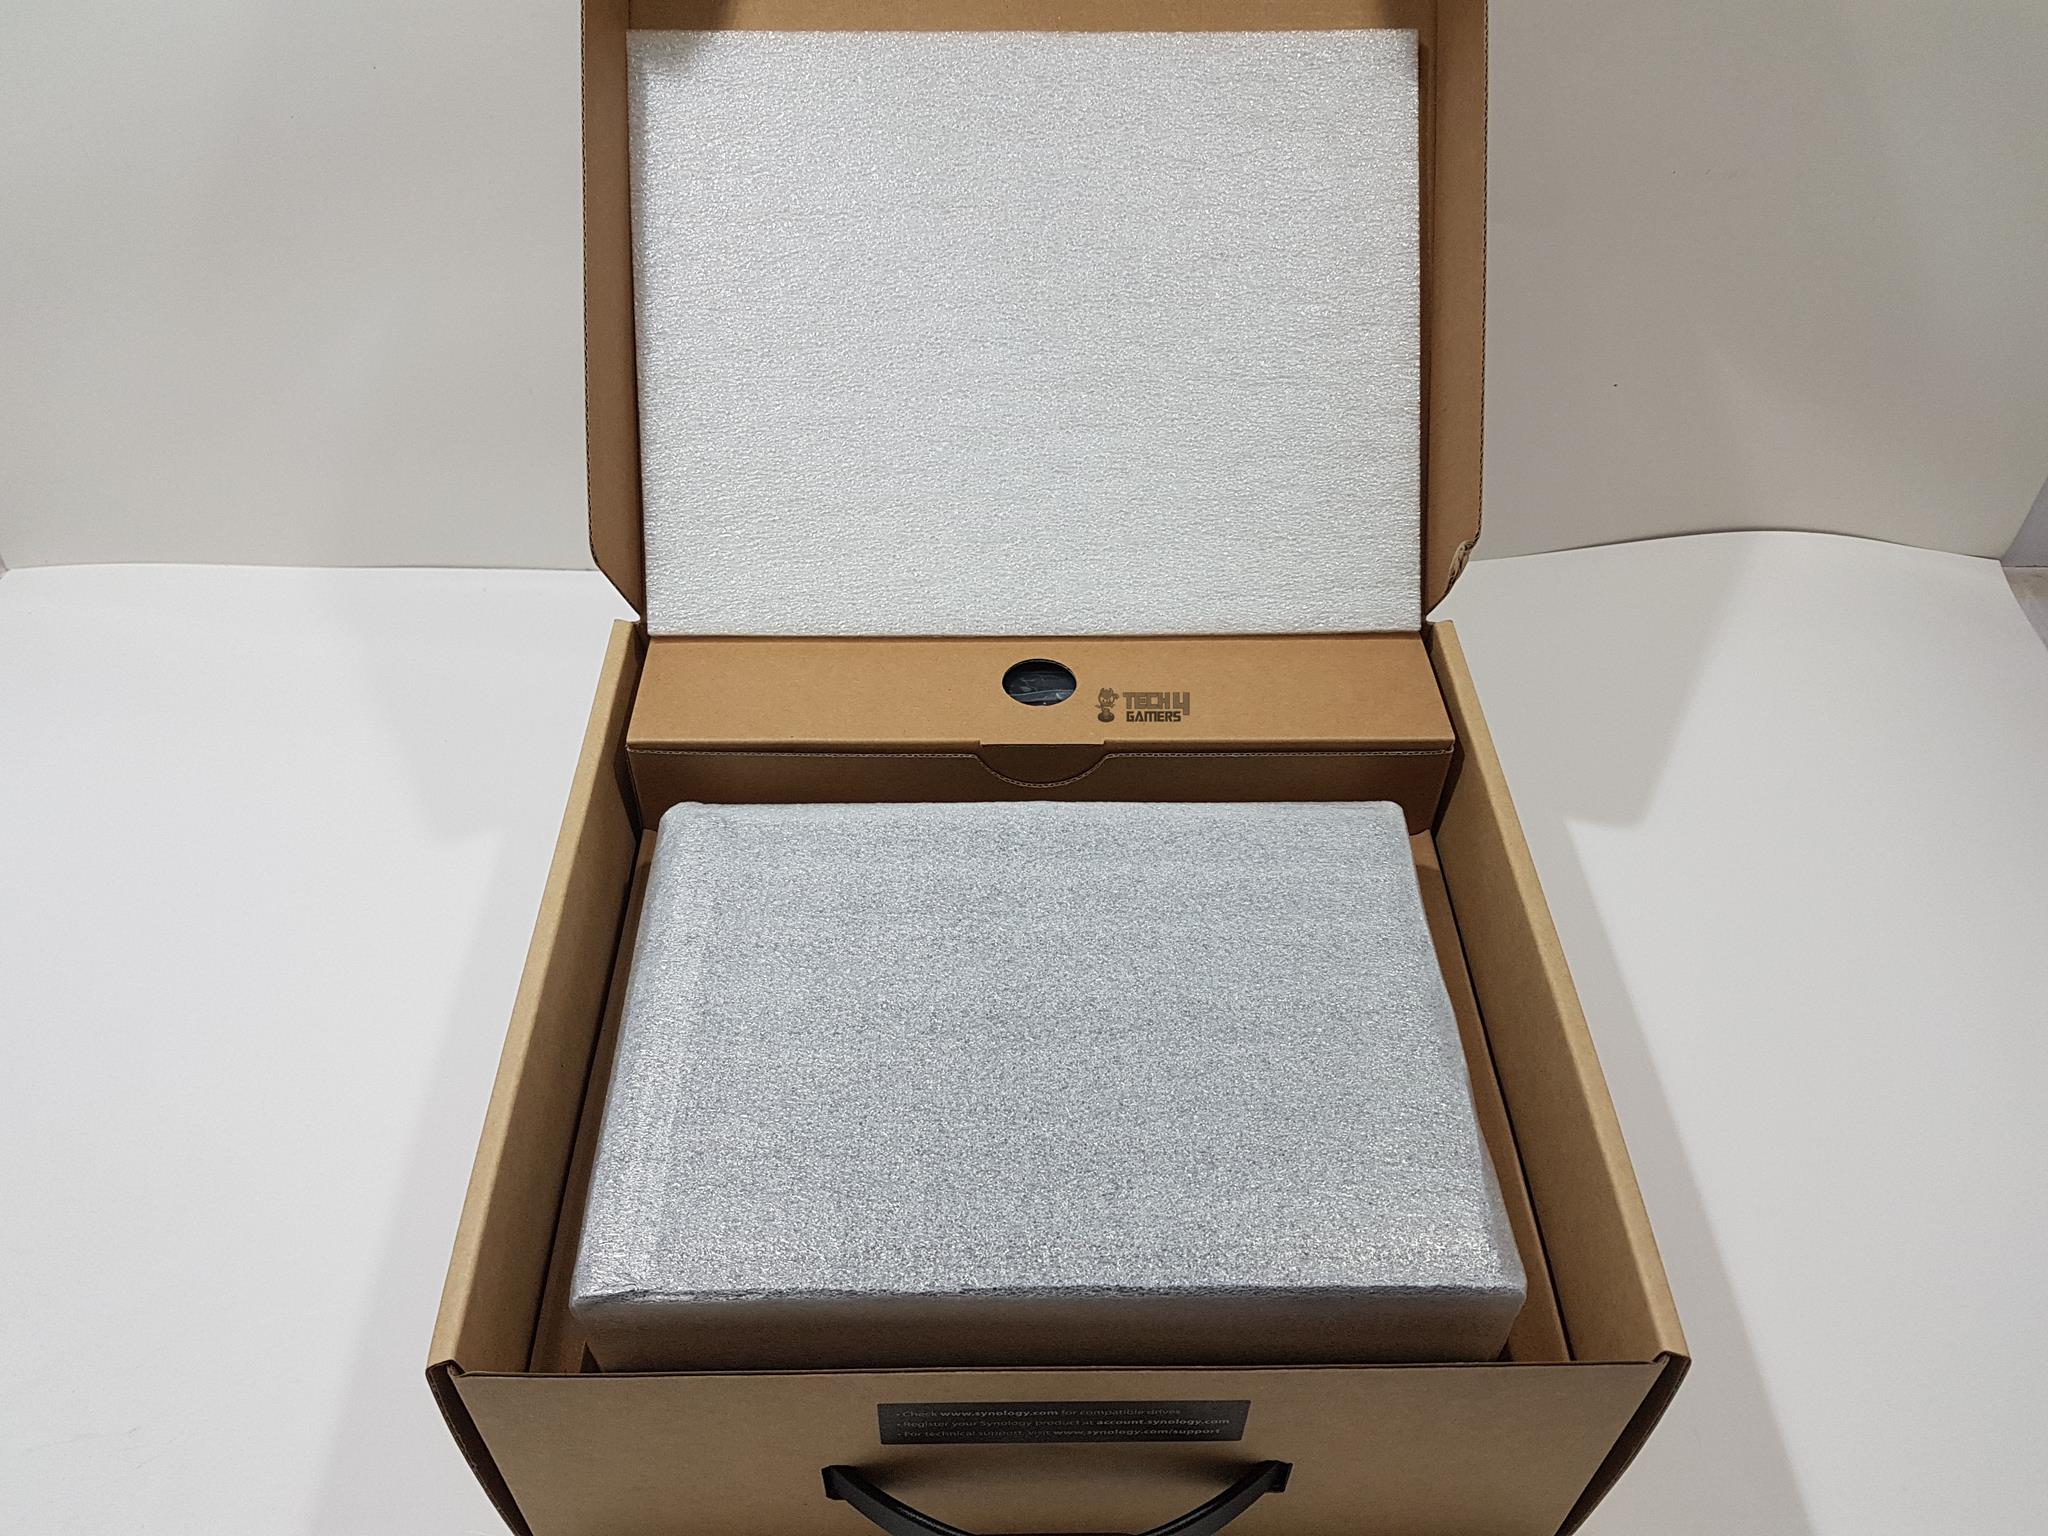
Packaging
The product is shipped inside a rugged cardboard box packing of typical brown color.
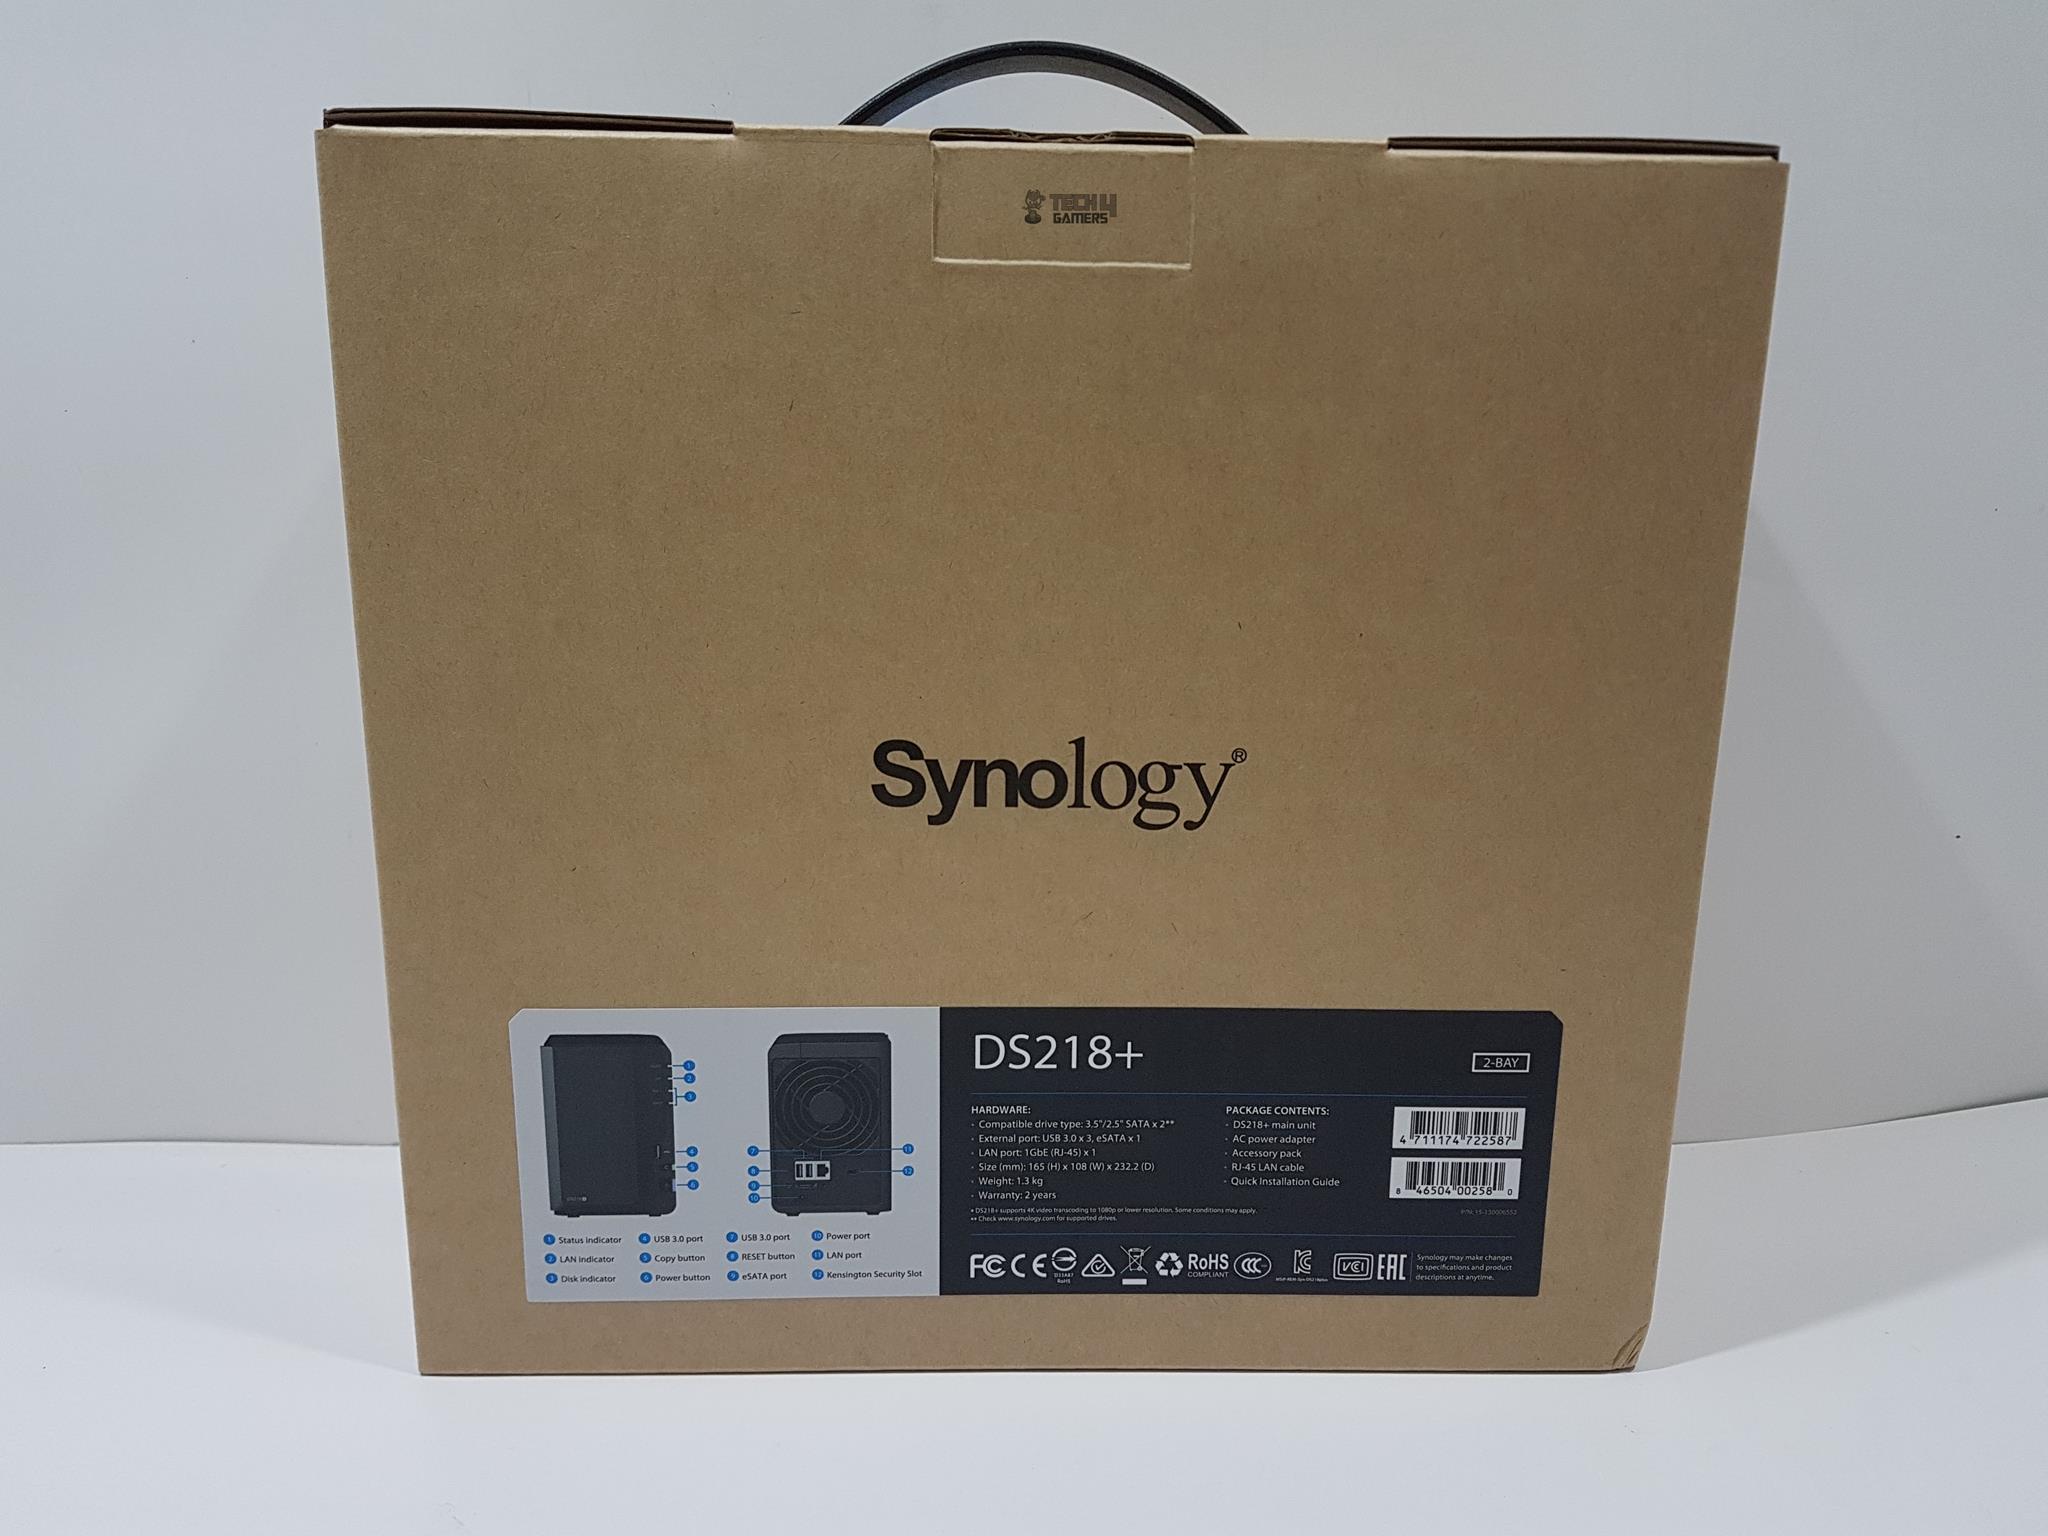
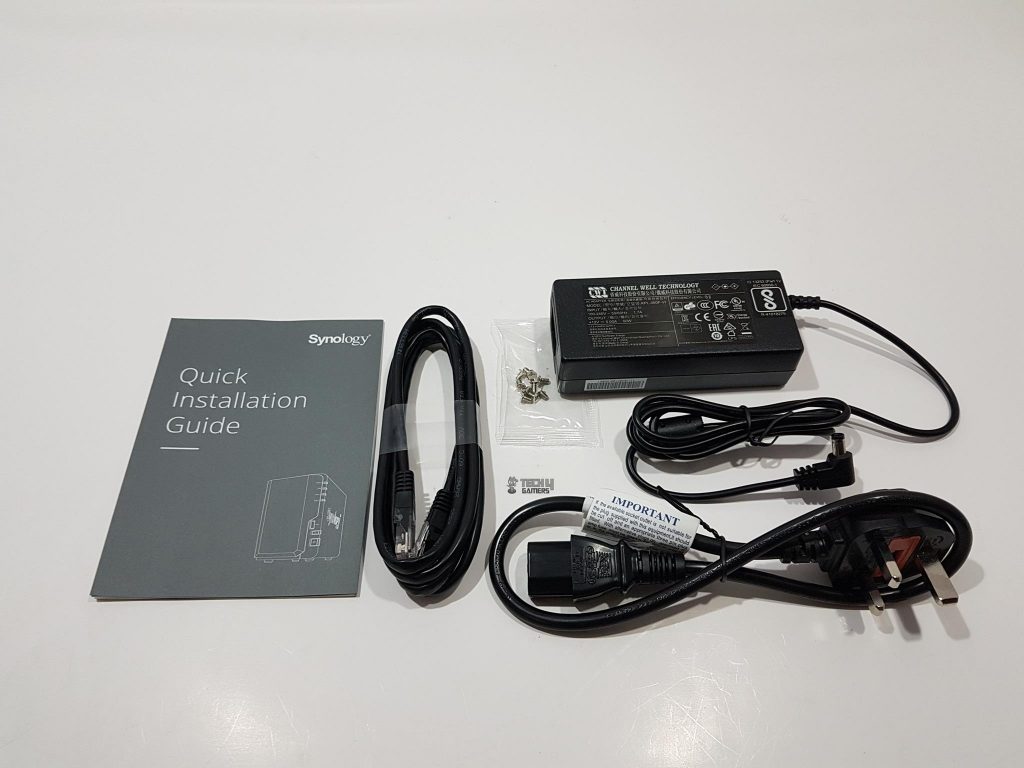
Accessories And Contents
Let’s see what’s provided in the box.
Closer Look
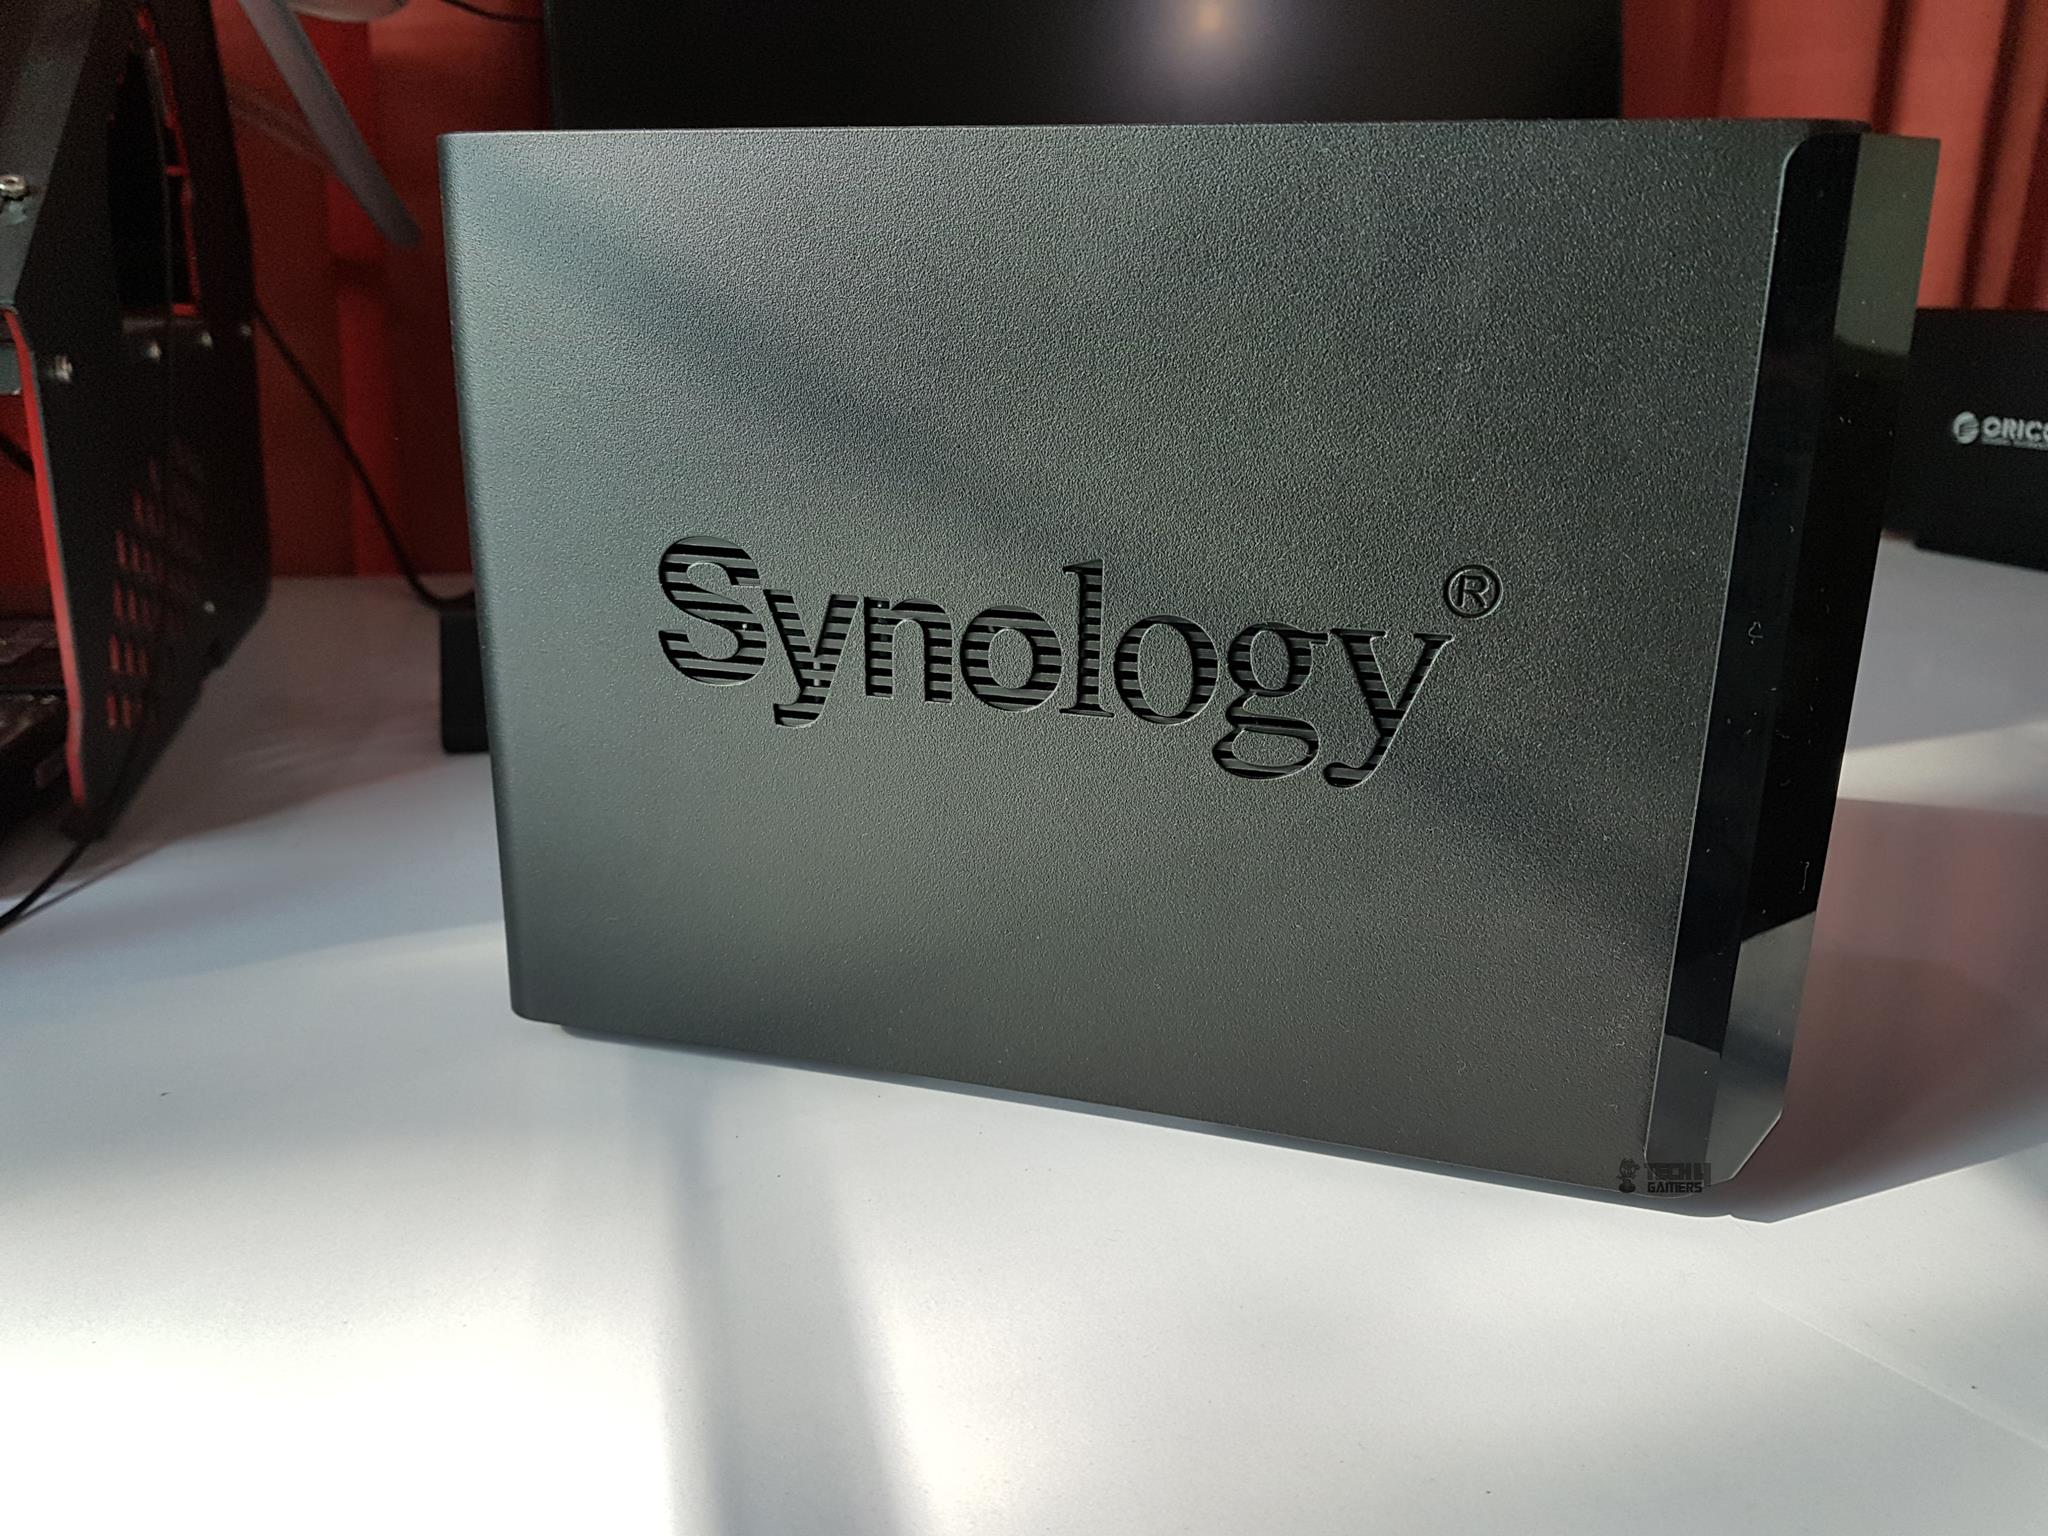
Now, it is time to take a closer look at the unit itself before discussing the DSM and few of the important packages. The enclosure is made of the plastic outer frame which is rugged. The dimension of the unit is 165x108x232.2mm (HxWxL).
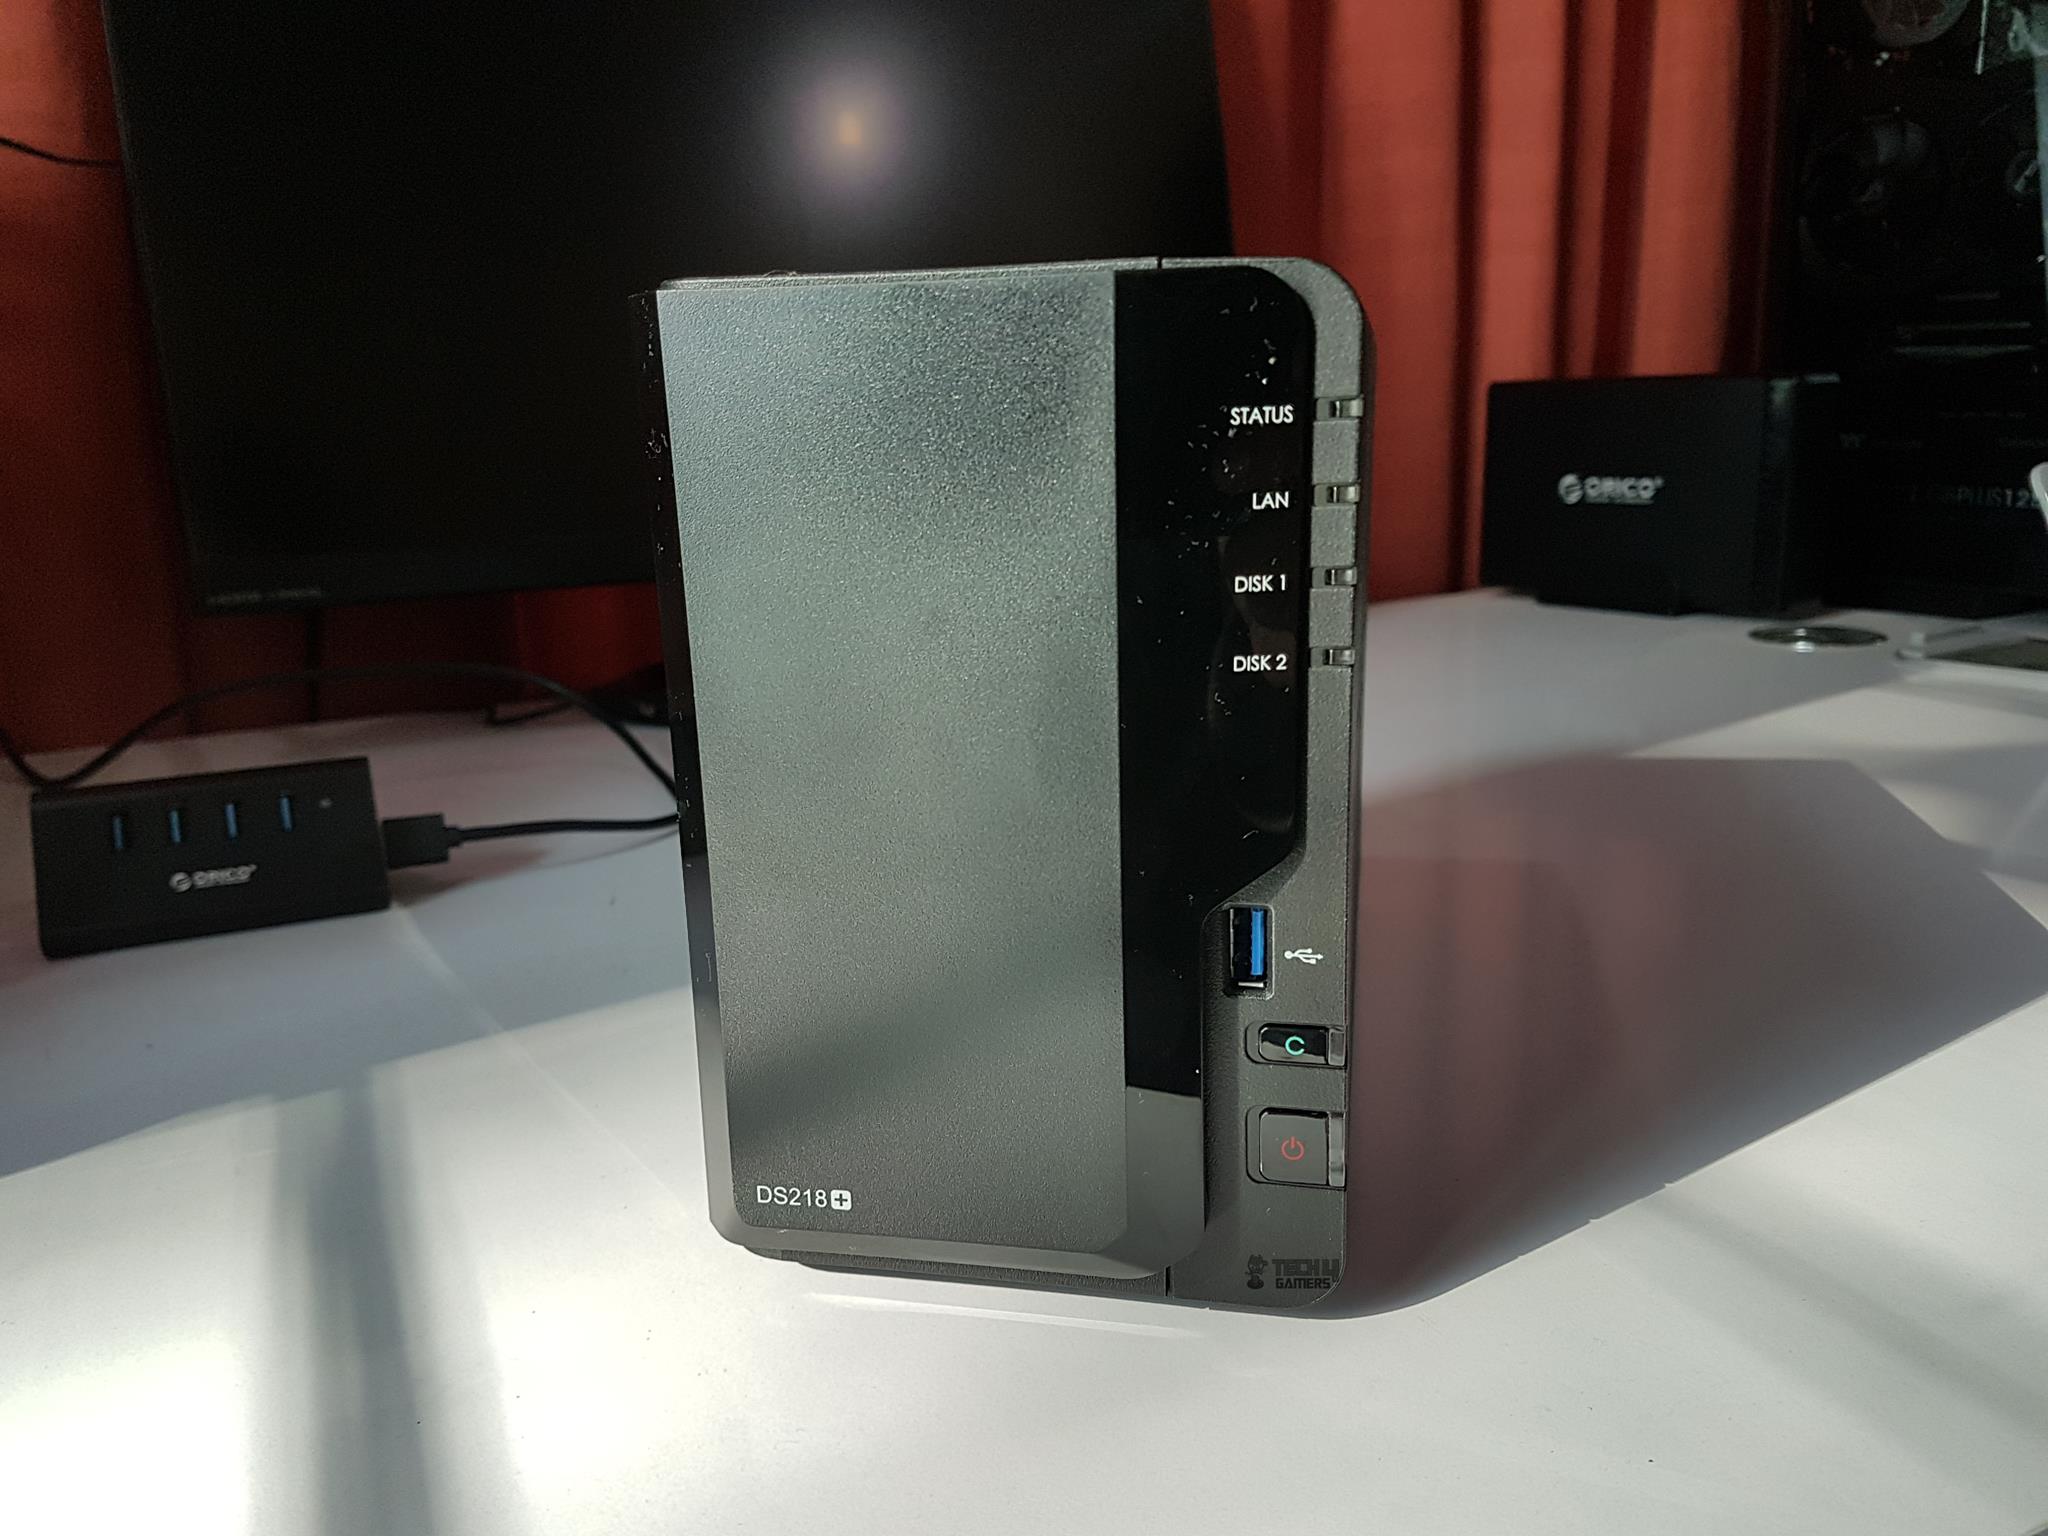
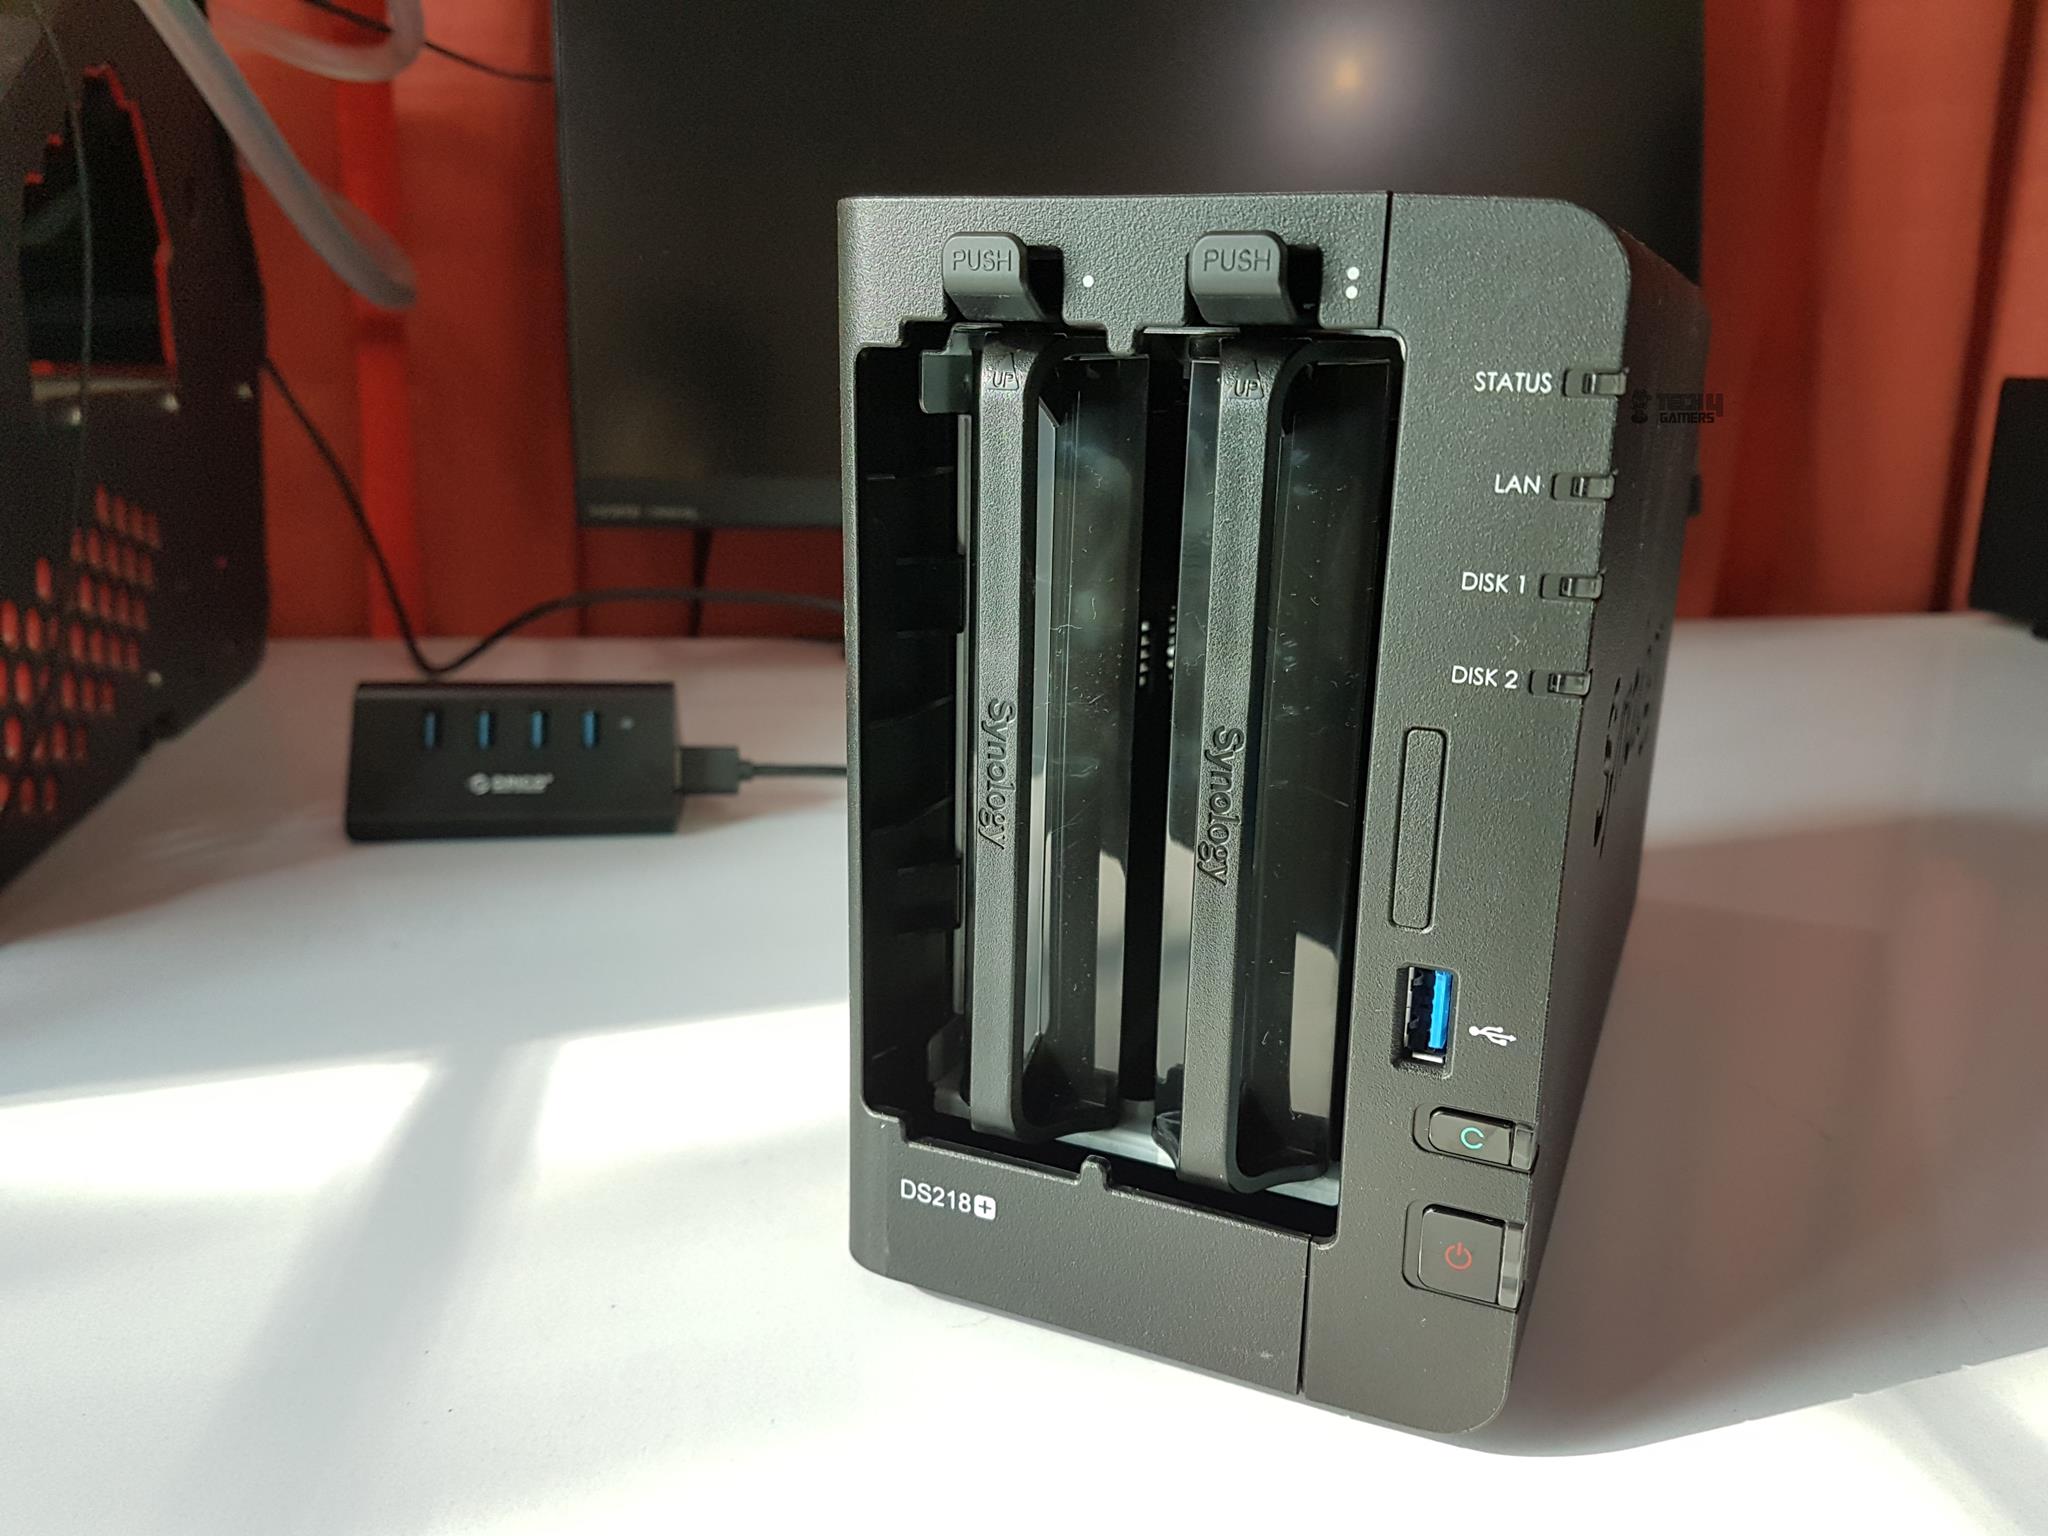
The enclosure’s front sports a removable cover. We find LED indicators on the right. From top to bottom: the DiskStation Status LED, the Network indicator LED, and two LEDs indicating the drive status. Above the bottom, there’s a USB 3.0 port, USB copy button, and Power on/off button. The front cover boasts a dual finish: a matte black body with a smooth, albeit fingerprint-attracting surface.
The DS218+ displays its name in white on the bottom left. Its glossy black finish covers the left, right, and bottom sides. White labels for Status, LAN, Disk 1, and Disk 2 stand out on the right glossy frame, aligning with the LEDs. This sleek cover gives the unit an elegant, bold appearance, elevating its overall aesthetic.
Removing the front cover reveals the two drive caddies. The top latches, labeled “Push,” secure the caddies when slid in. Notably, there’s a white dot for Disk 1 and two for Disk 2 on the main housing’s top side. To slide out the caddies, push the latches up to unlock them, then pull them out easily.
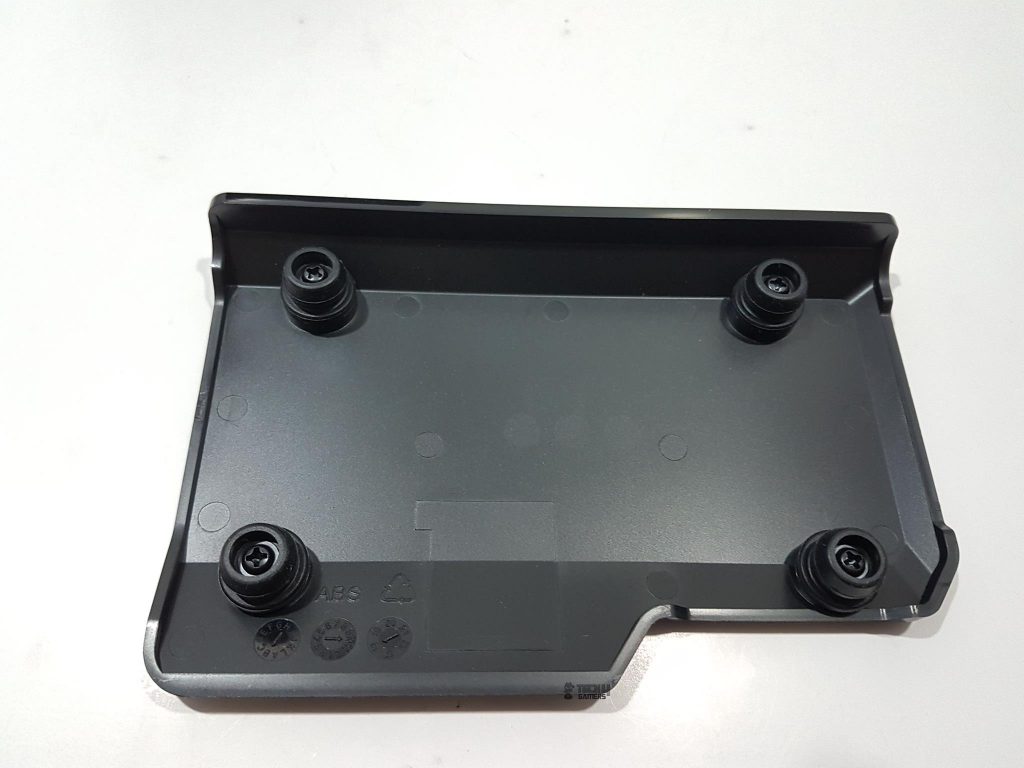
Another striking design element of this cover is its mounting mechanism. It is a smart design for sure. The back side of the cover has four mounting supports with rubber mounts secured to these supports using screws. Idea is that these rubber mounts go inside the unit and occupies the vacant slots to secure the cover on to the main housing. Hence there is no need for any magnetic mounting or screwed mounting. 10/10 to the design team!
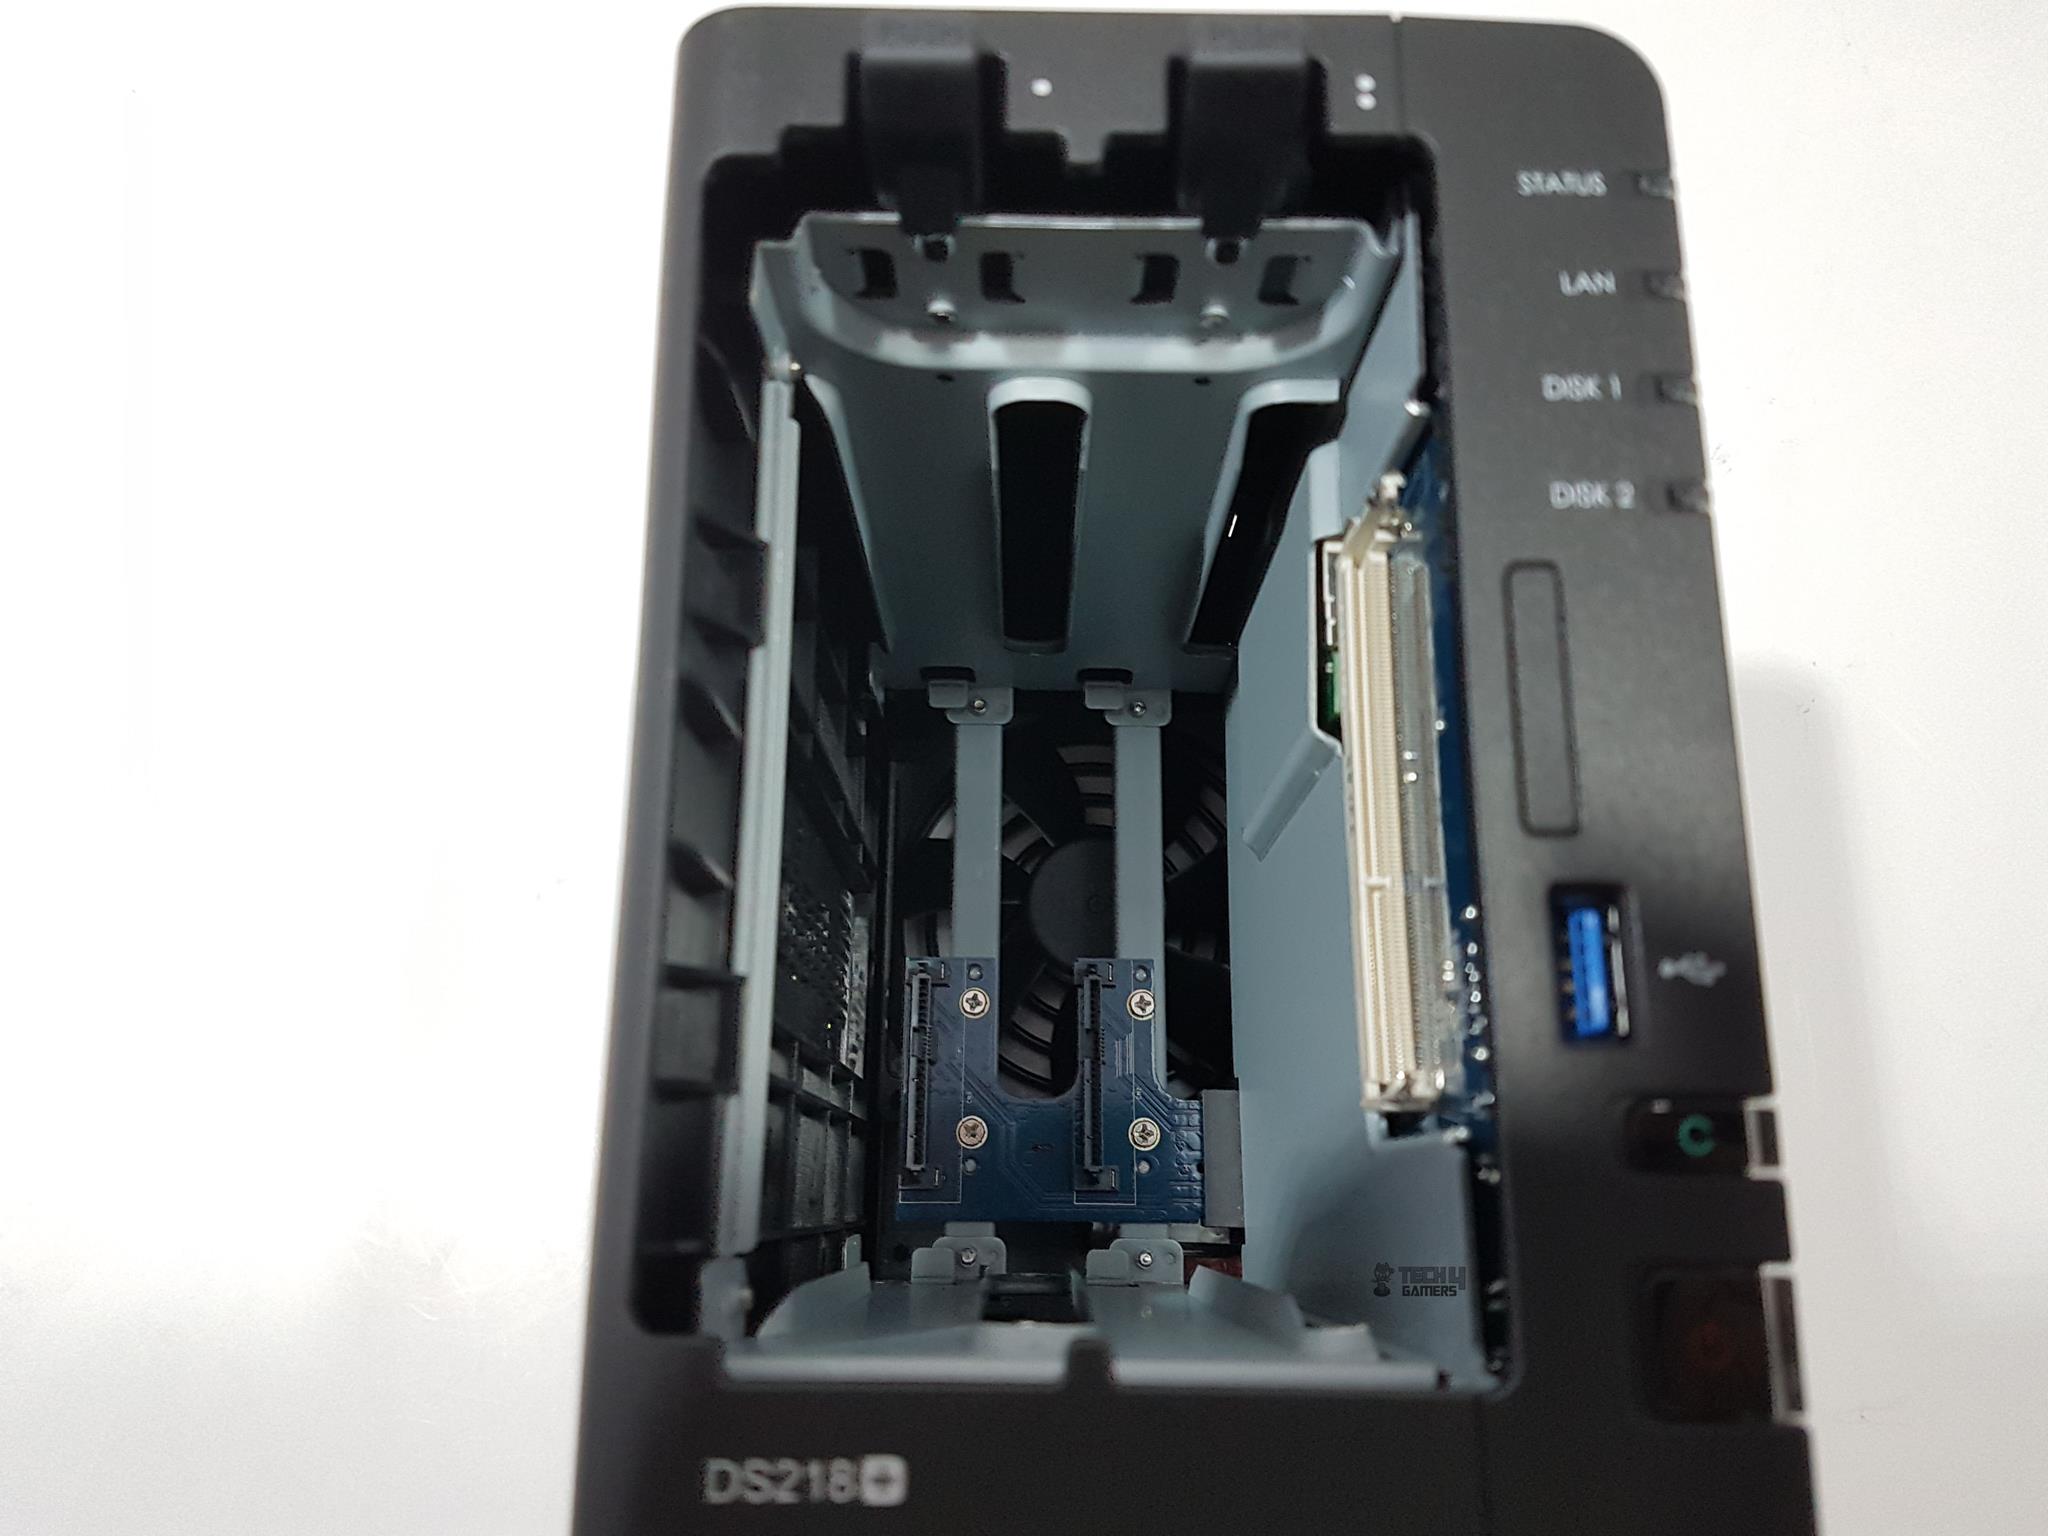
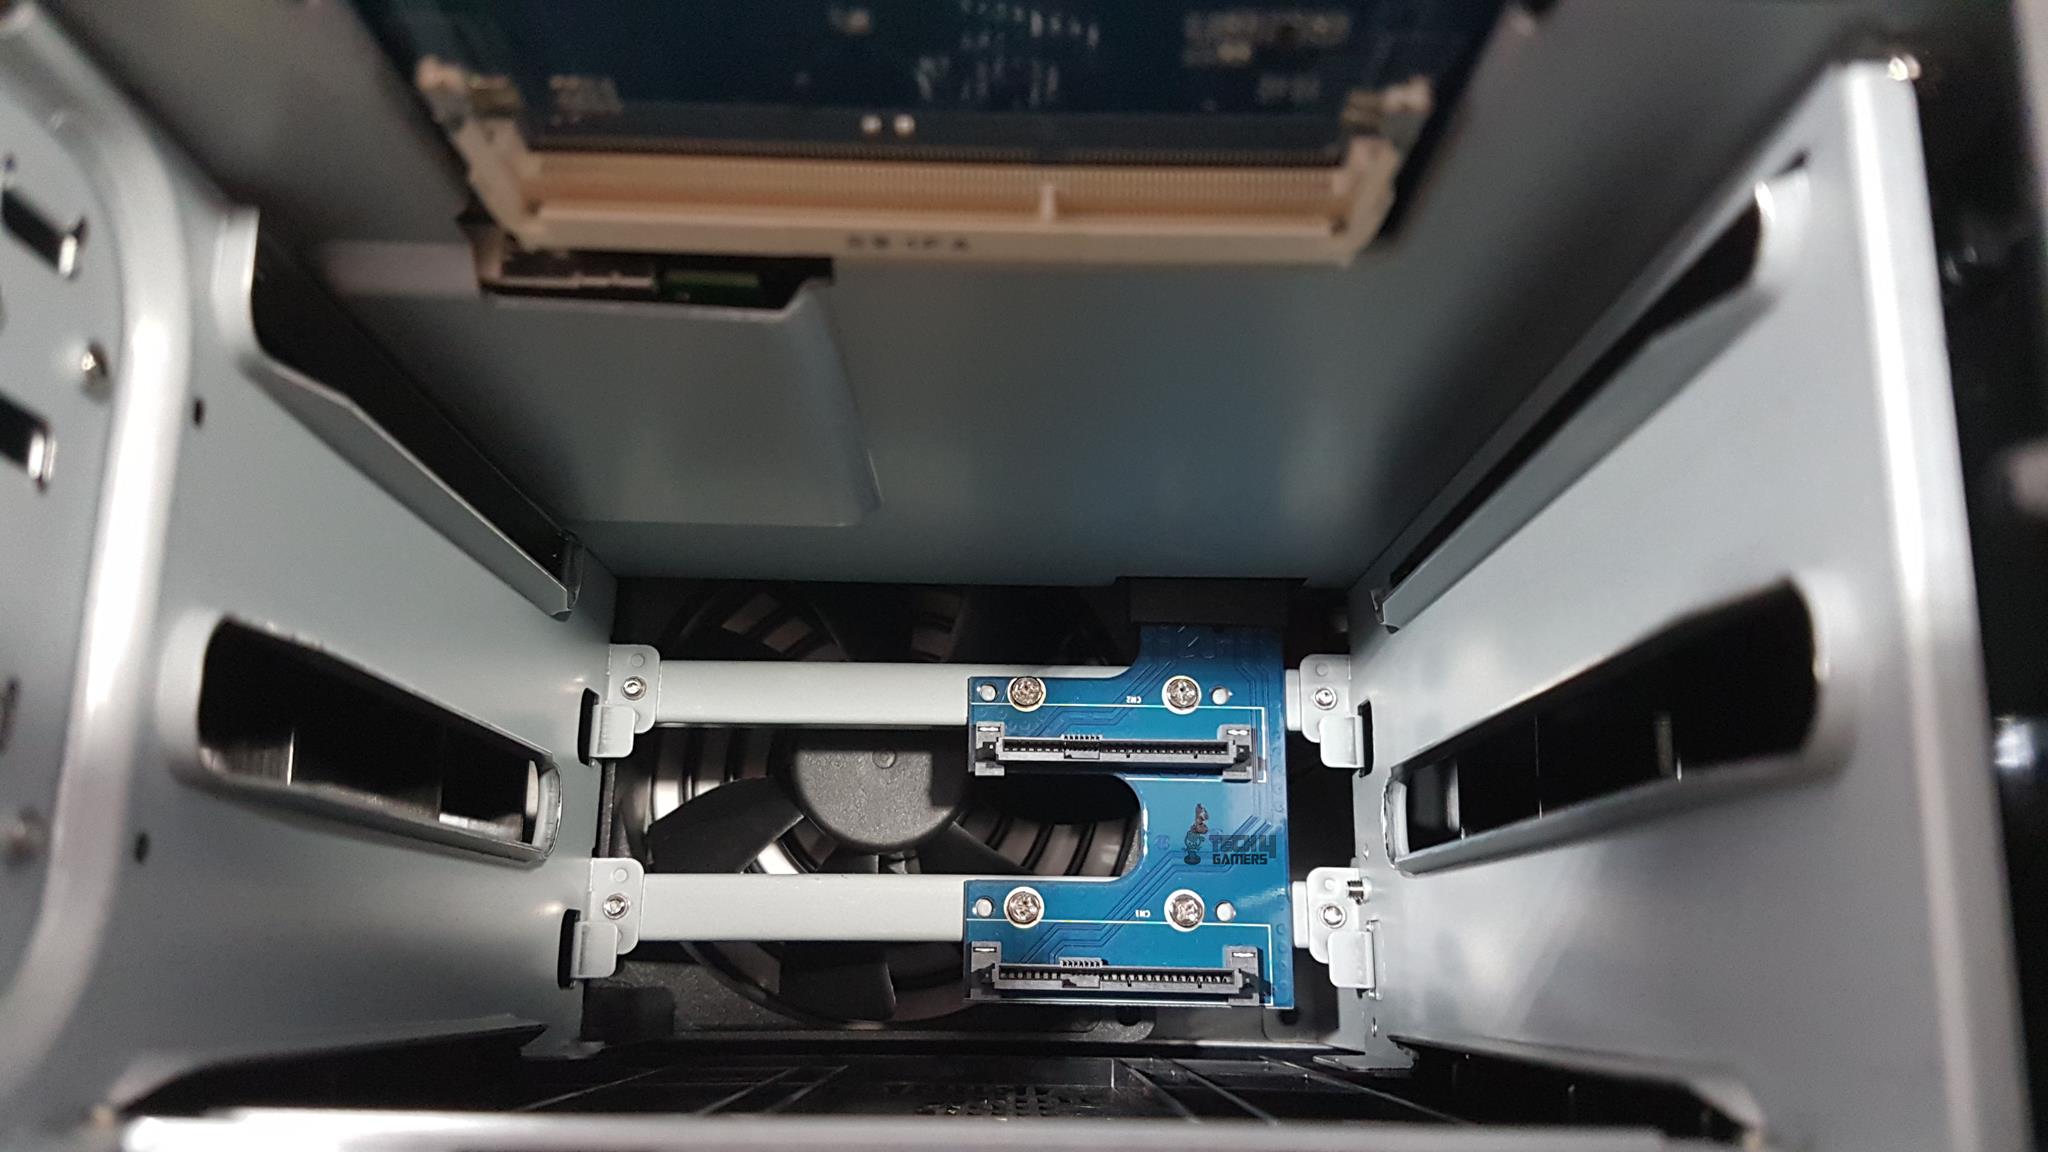
Remove the caddies to show the inside of the enclosure. We can see the steel frame. At the bottom, we can see two hot-swappable SATA ports on to which the drives dock. We can also see the front side of the 92mmx92mm fan. It has 7 impellers and is in black color.
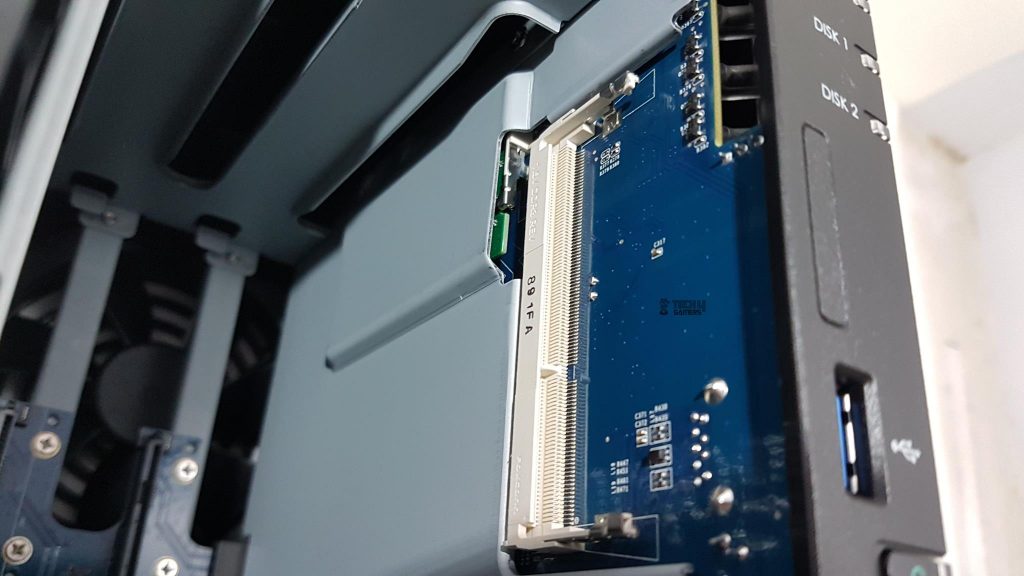
The PCB of the NAS box is in blue color. There is a second RAM slot which is located on the backside of the PCB to allow the user to install additional RAM should there be any need. It is DDR3L and compatible RAM should be using the same interface with preferably 1866MHz for parity.
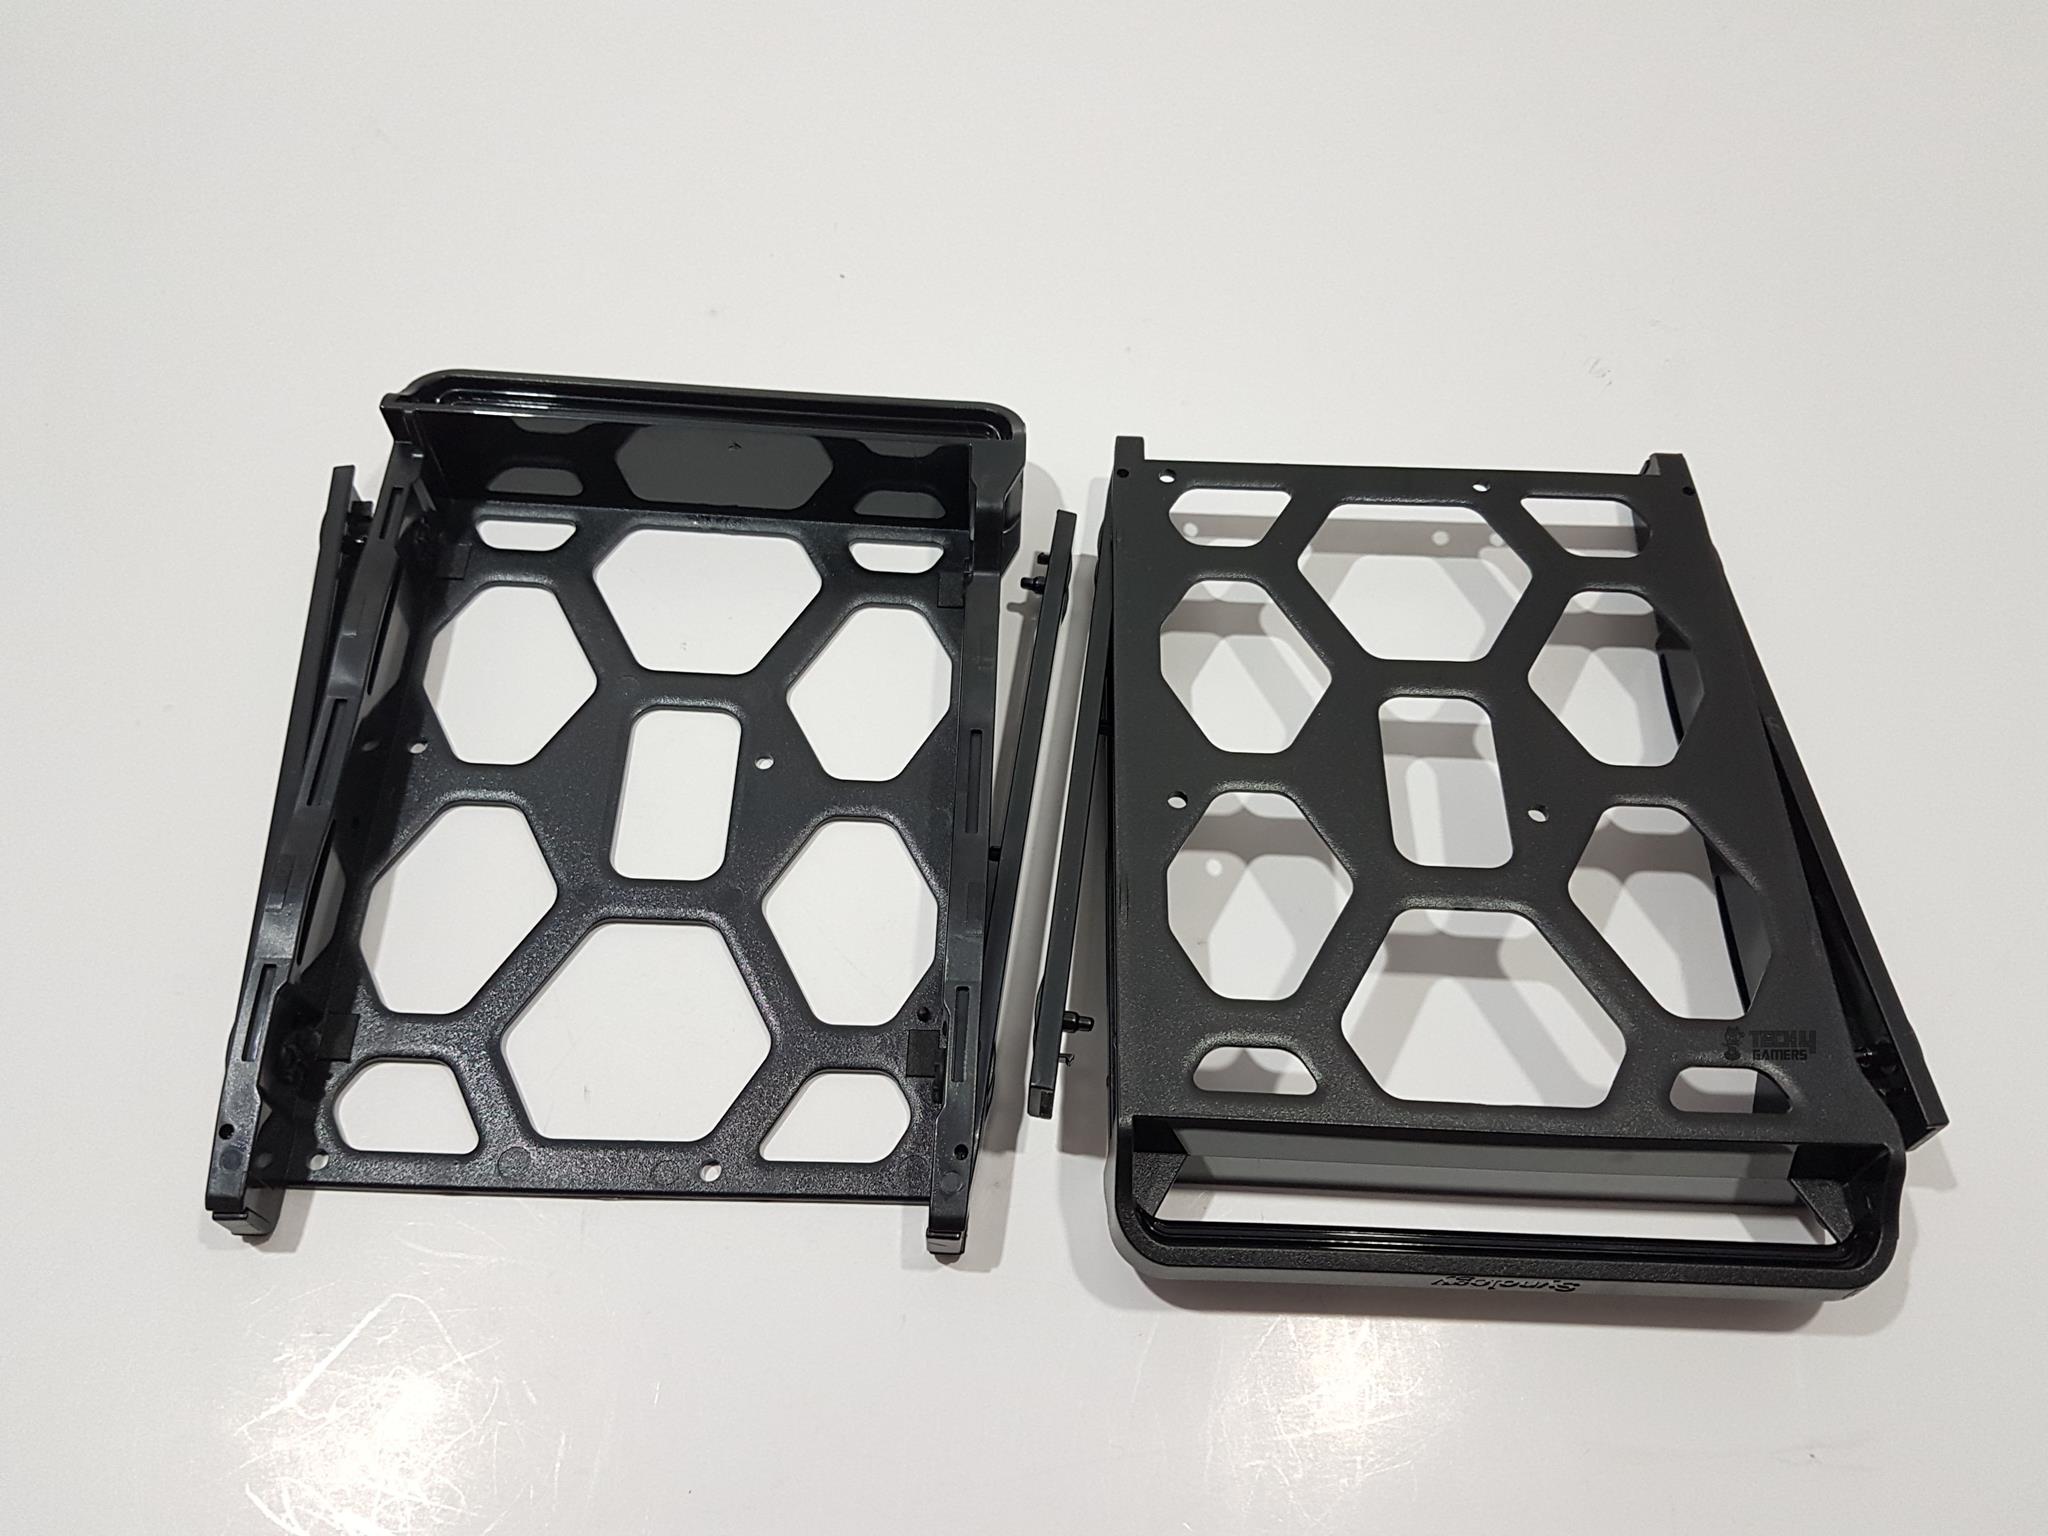
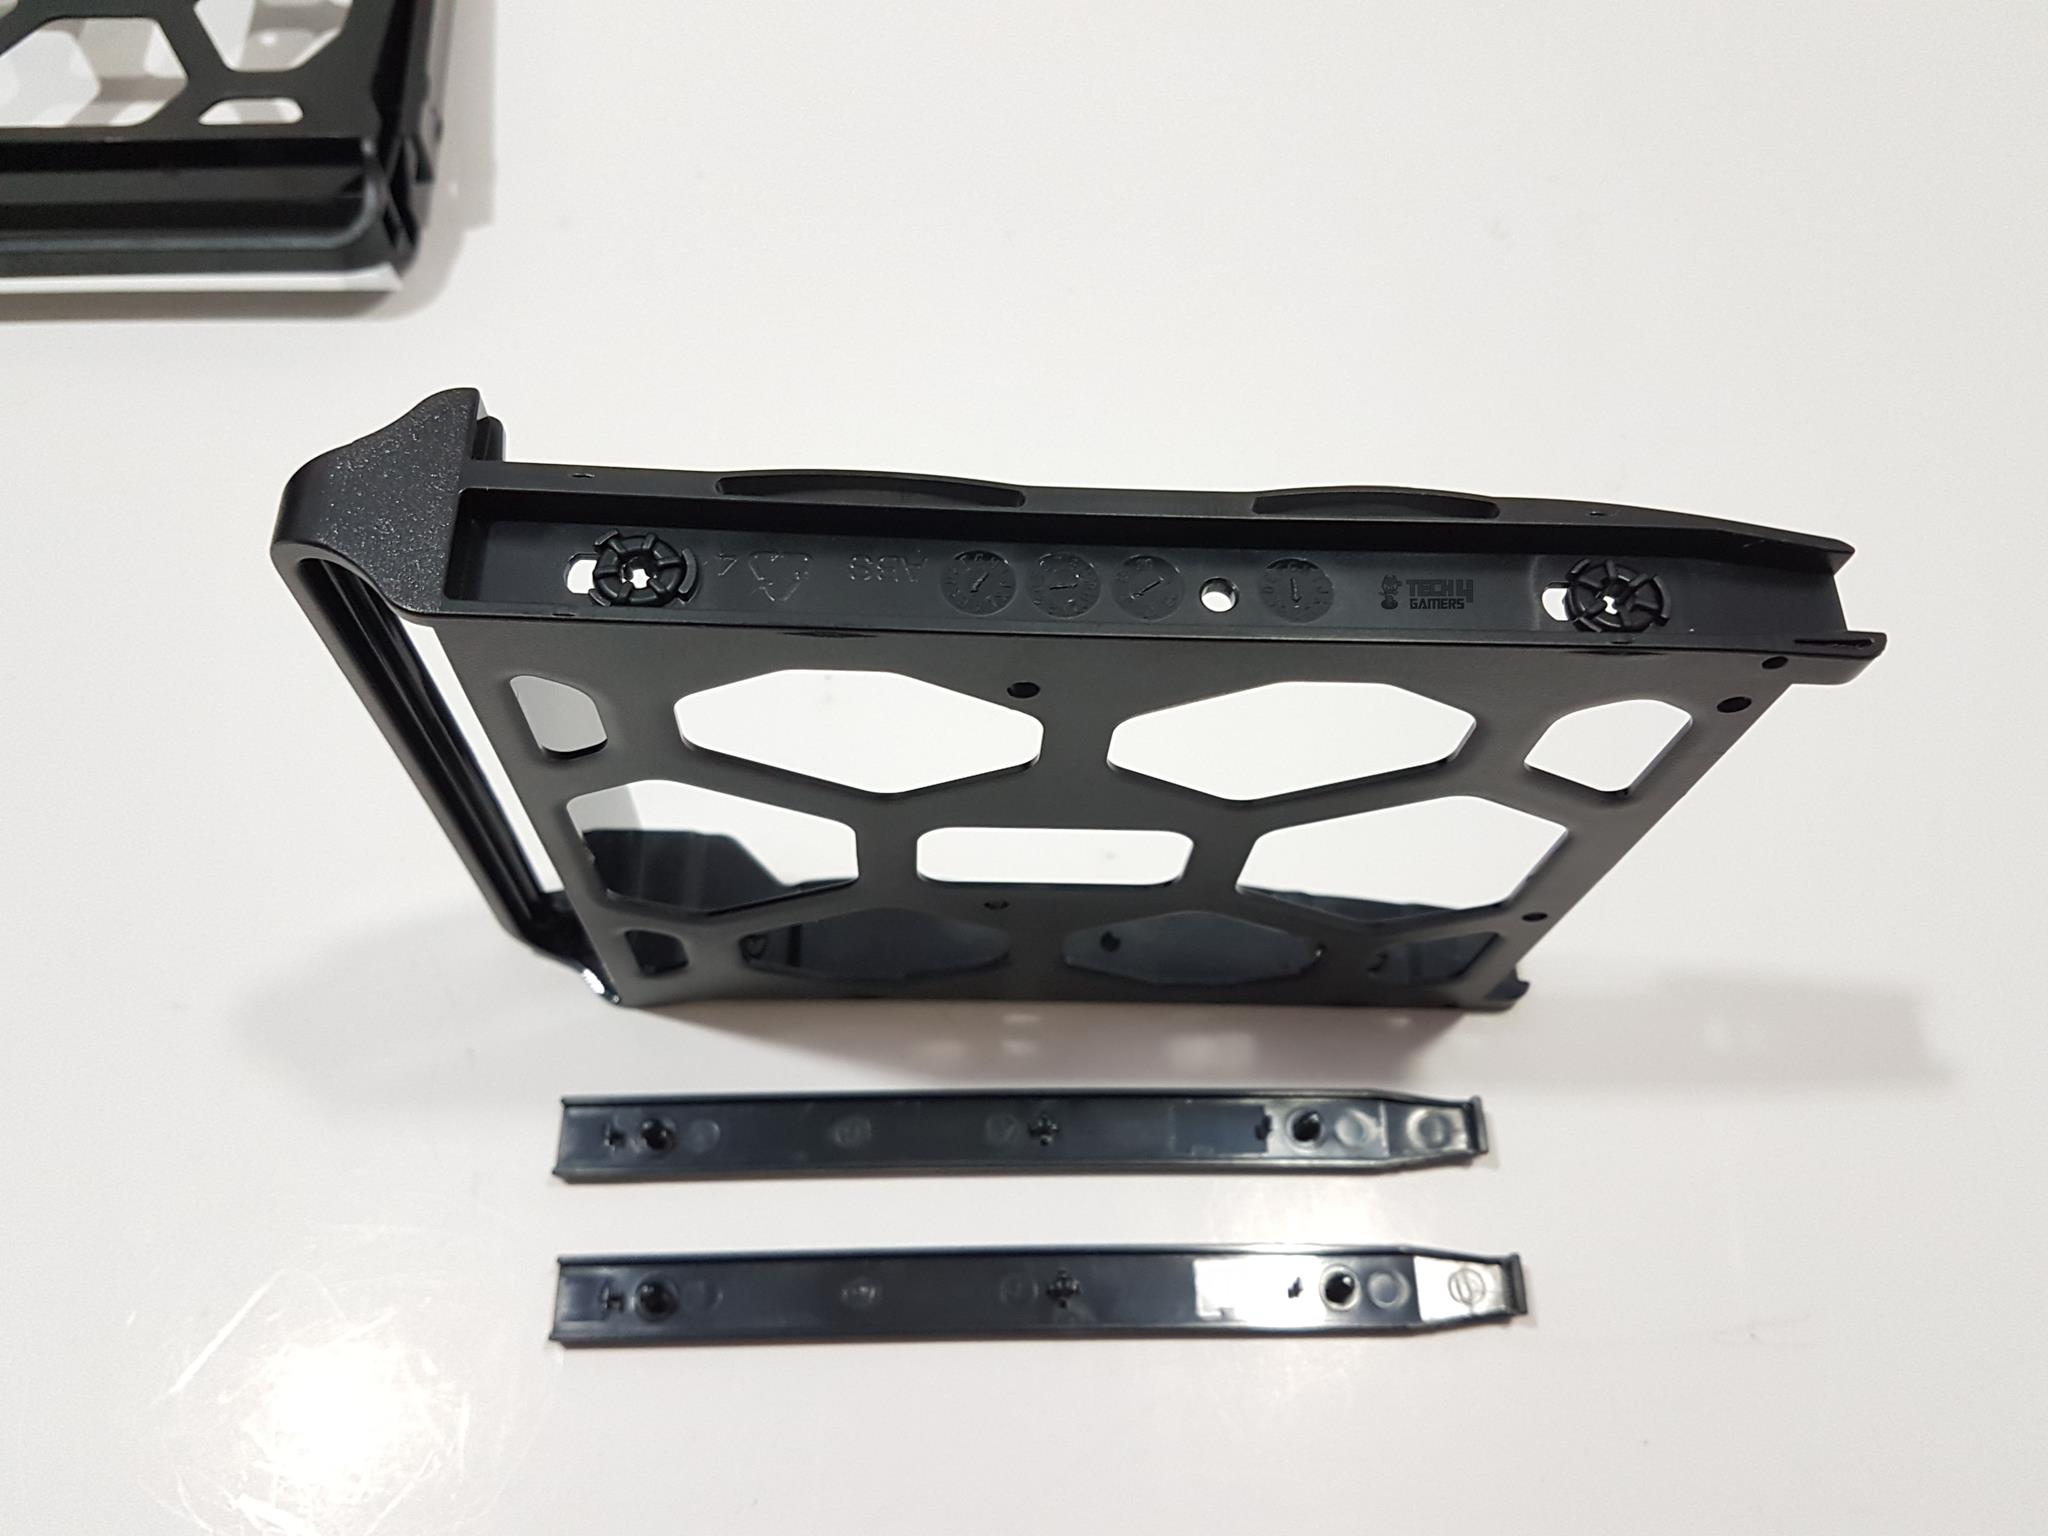
There are two arms per caddy with one on each side. Pull them to take them off. Place the HDD on the caddy and put the arms back on. They will lock the HDD to the caddy. The user can also screw the drive on to the caddy. Please, note that SSD needs to be mounted using the screws.
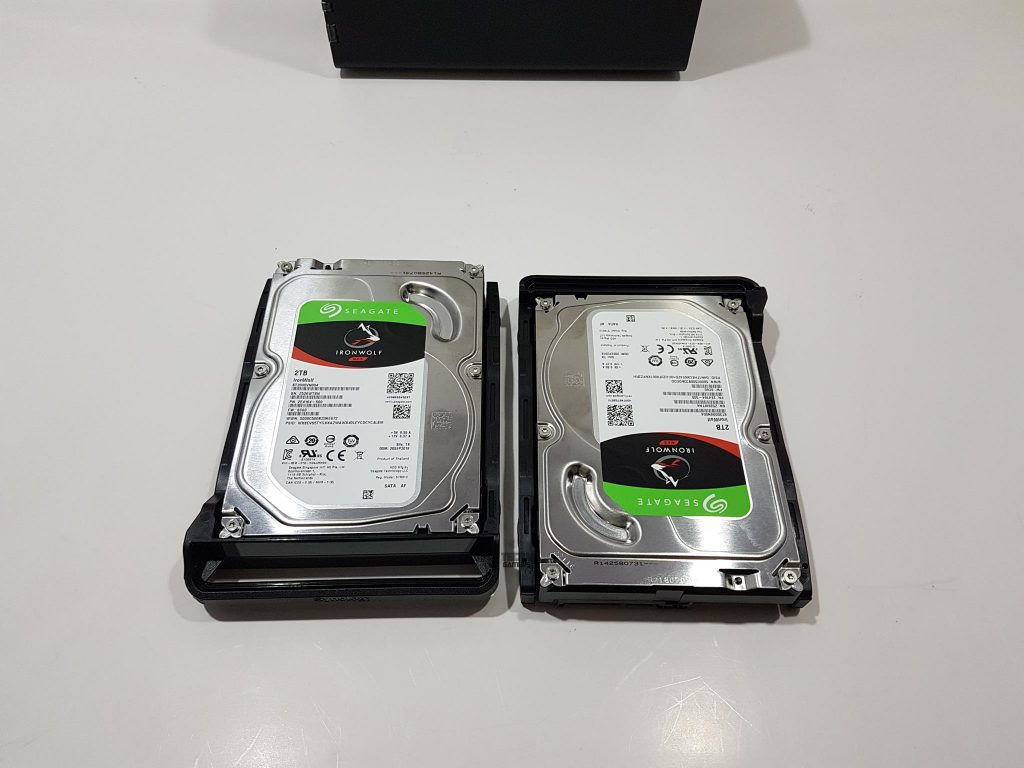
In case you are wondering about the orientation of the drive on the caddy. It is simple. Make sure to face the SATA ports side on the drive facing the open end of the caddy i.e ports side on HDD should not face the handle side of the caddy. See the picture above for the reference.
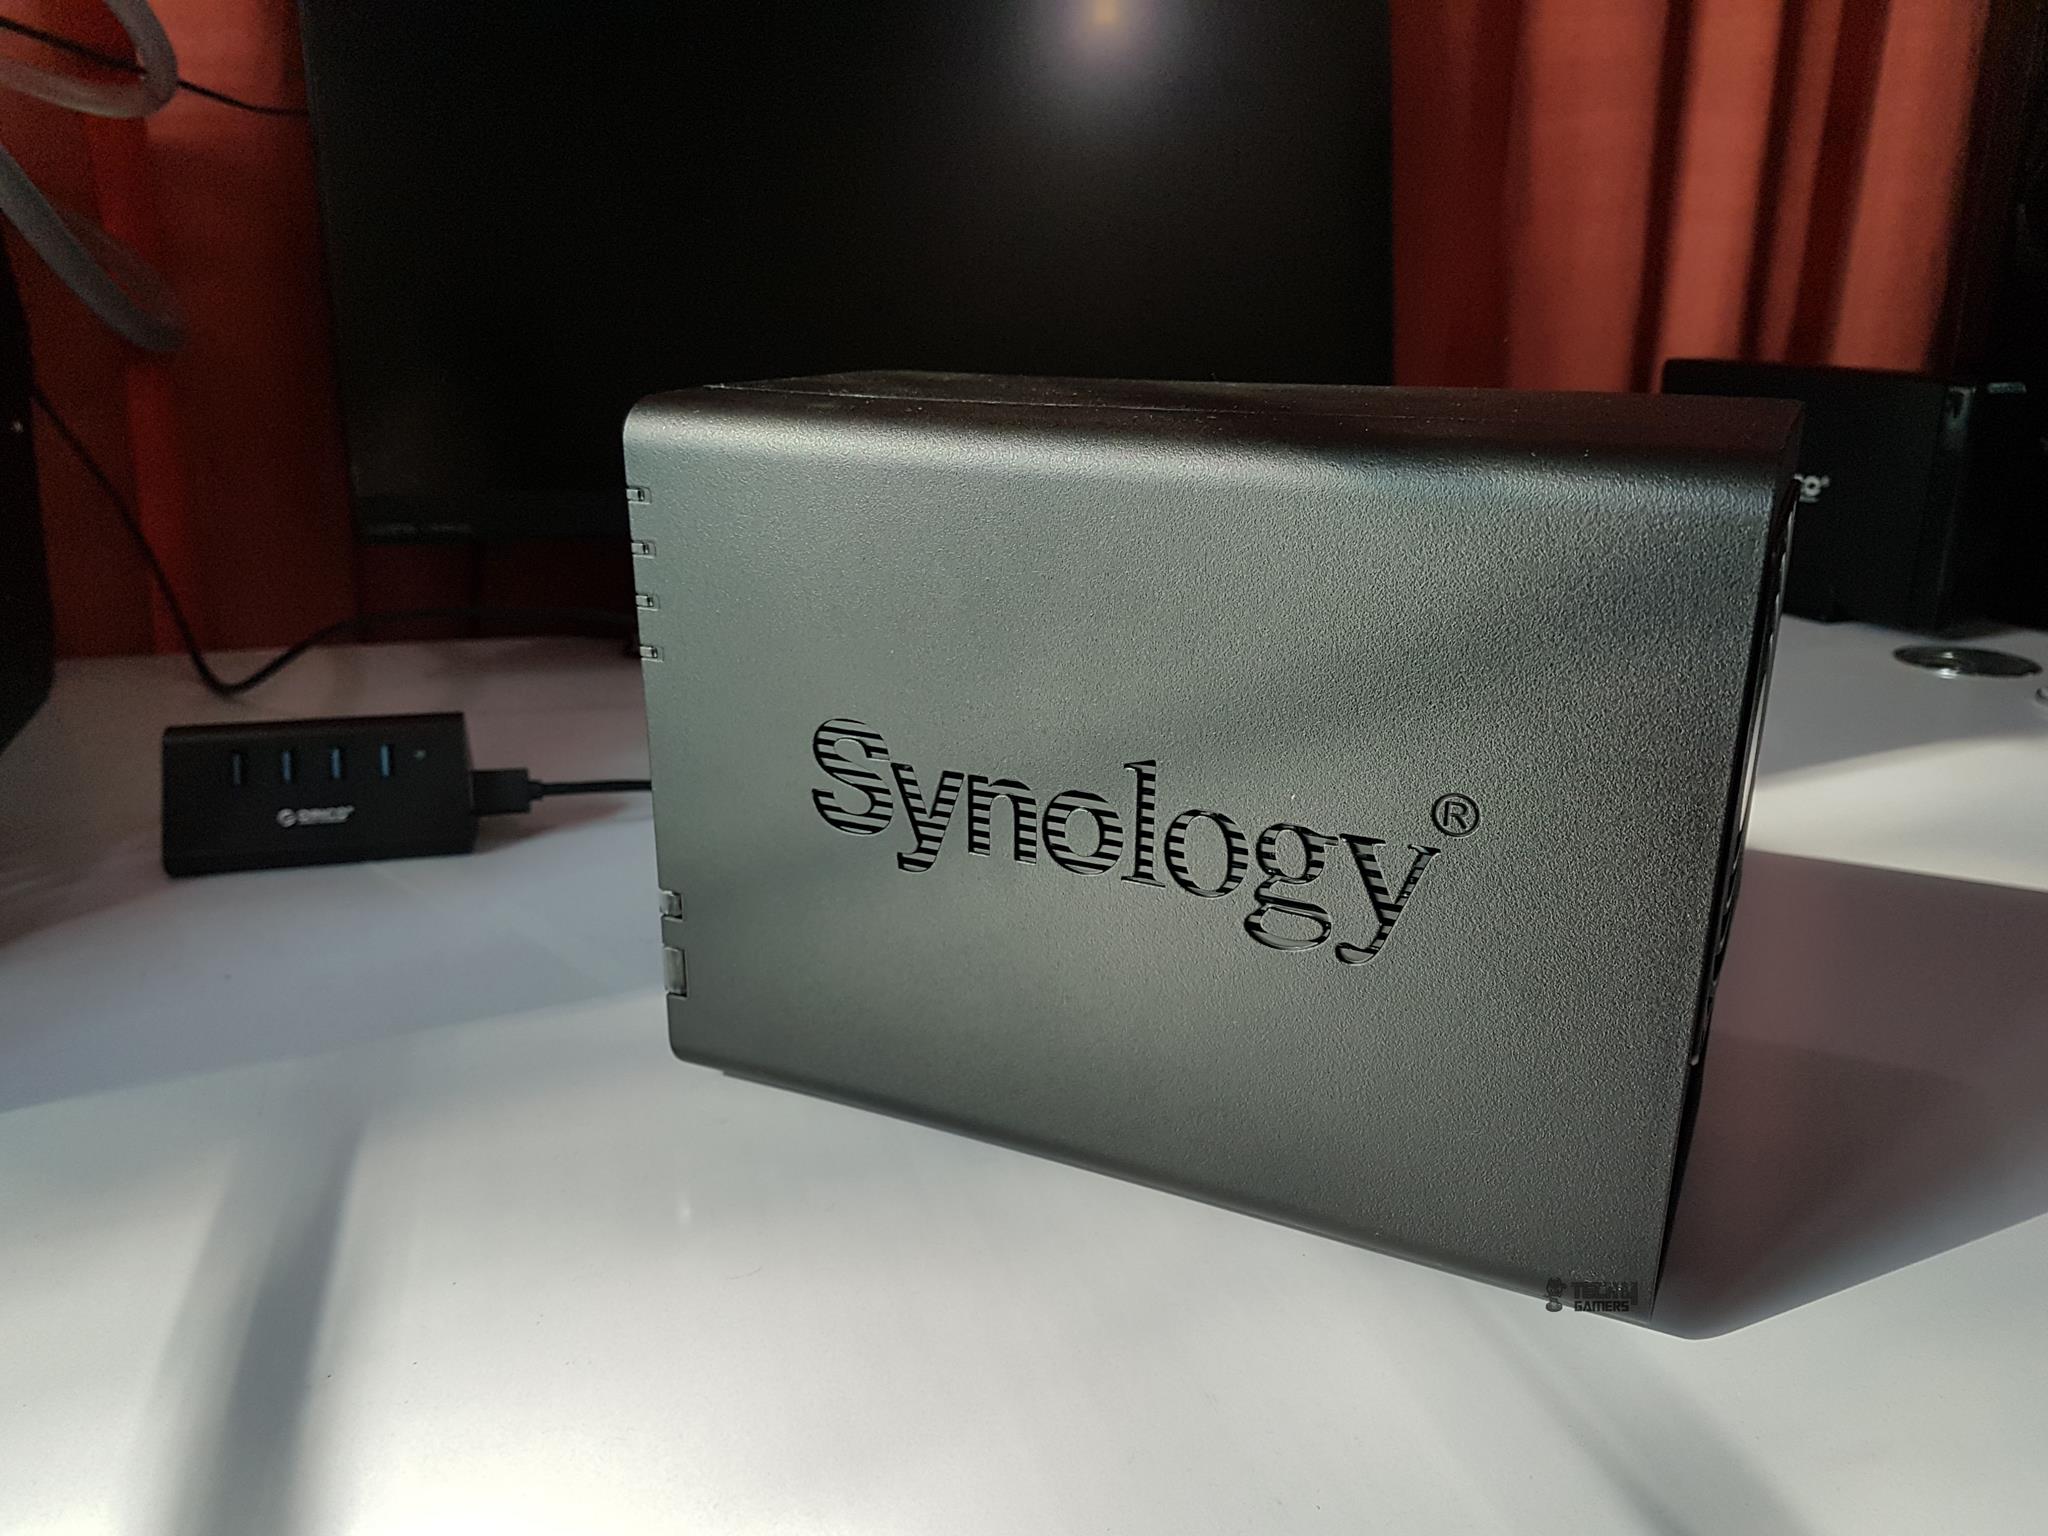
The right side of the unit has large size Synology logo in a cutout manner with the lined pattern. This not only serves the cosmetic effect which looks damn good in person but also it has enabled their design team to ensure the ventilation for the disk drives. The right side has an angular or curvature design on the top frame as well. The overall design is coherent.
The left side of the unit has the same Synology patterned design except that there is no angular or rounded top frame side. A certain portion of the front cover extends over the left side. This glossy and matte combination stands the unit out and gives that stunning look to the unit.
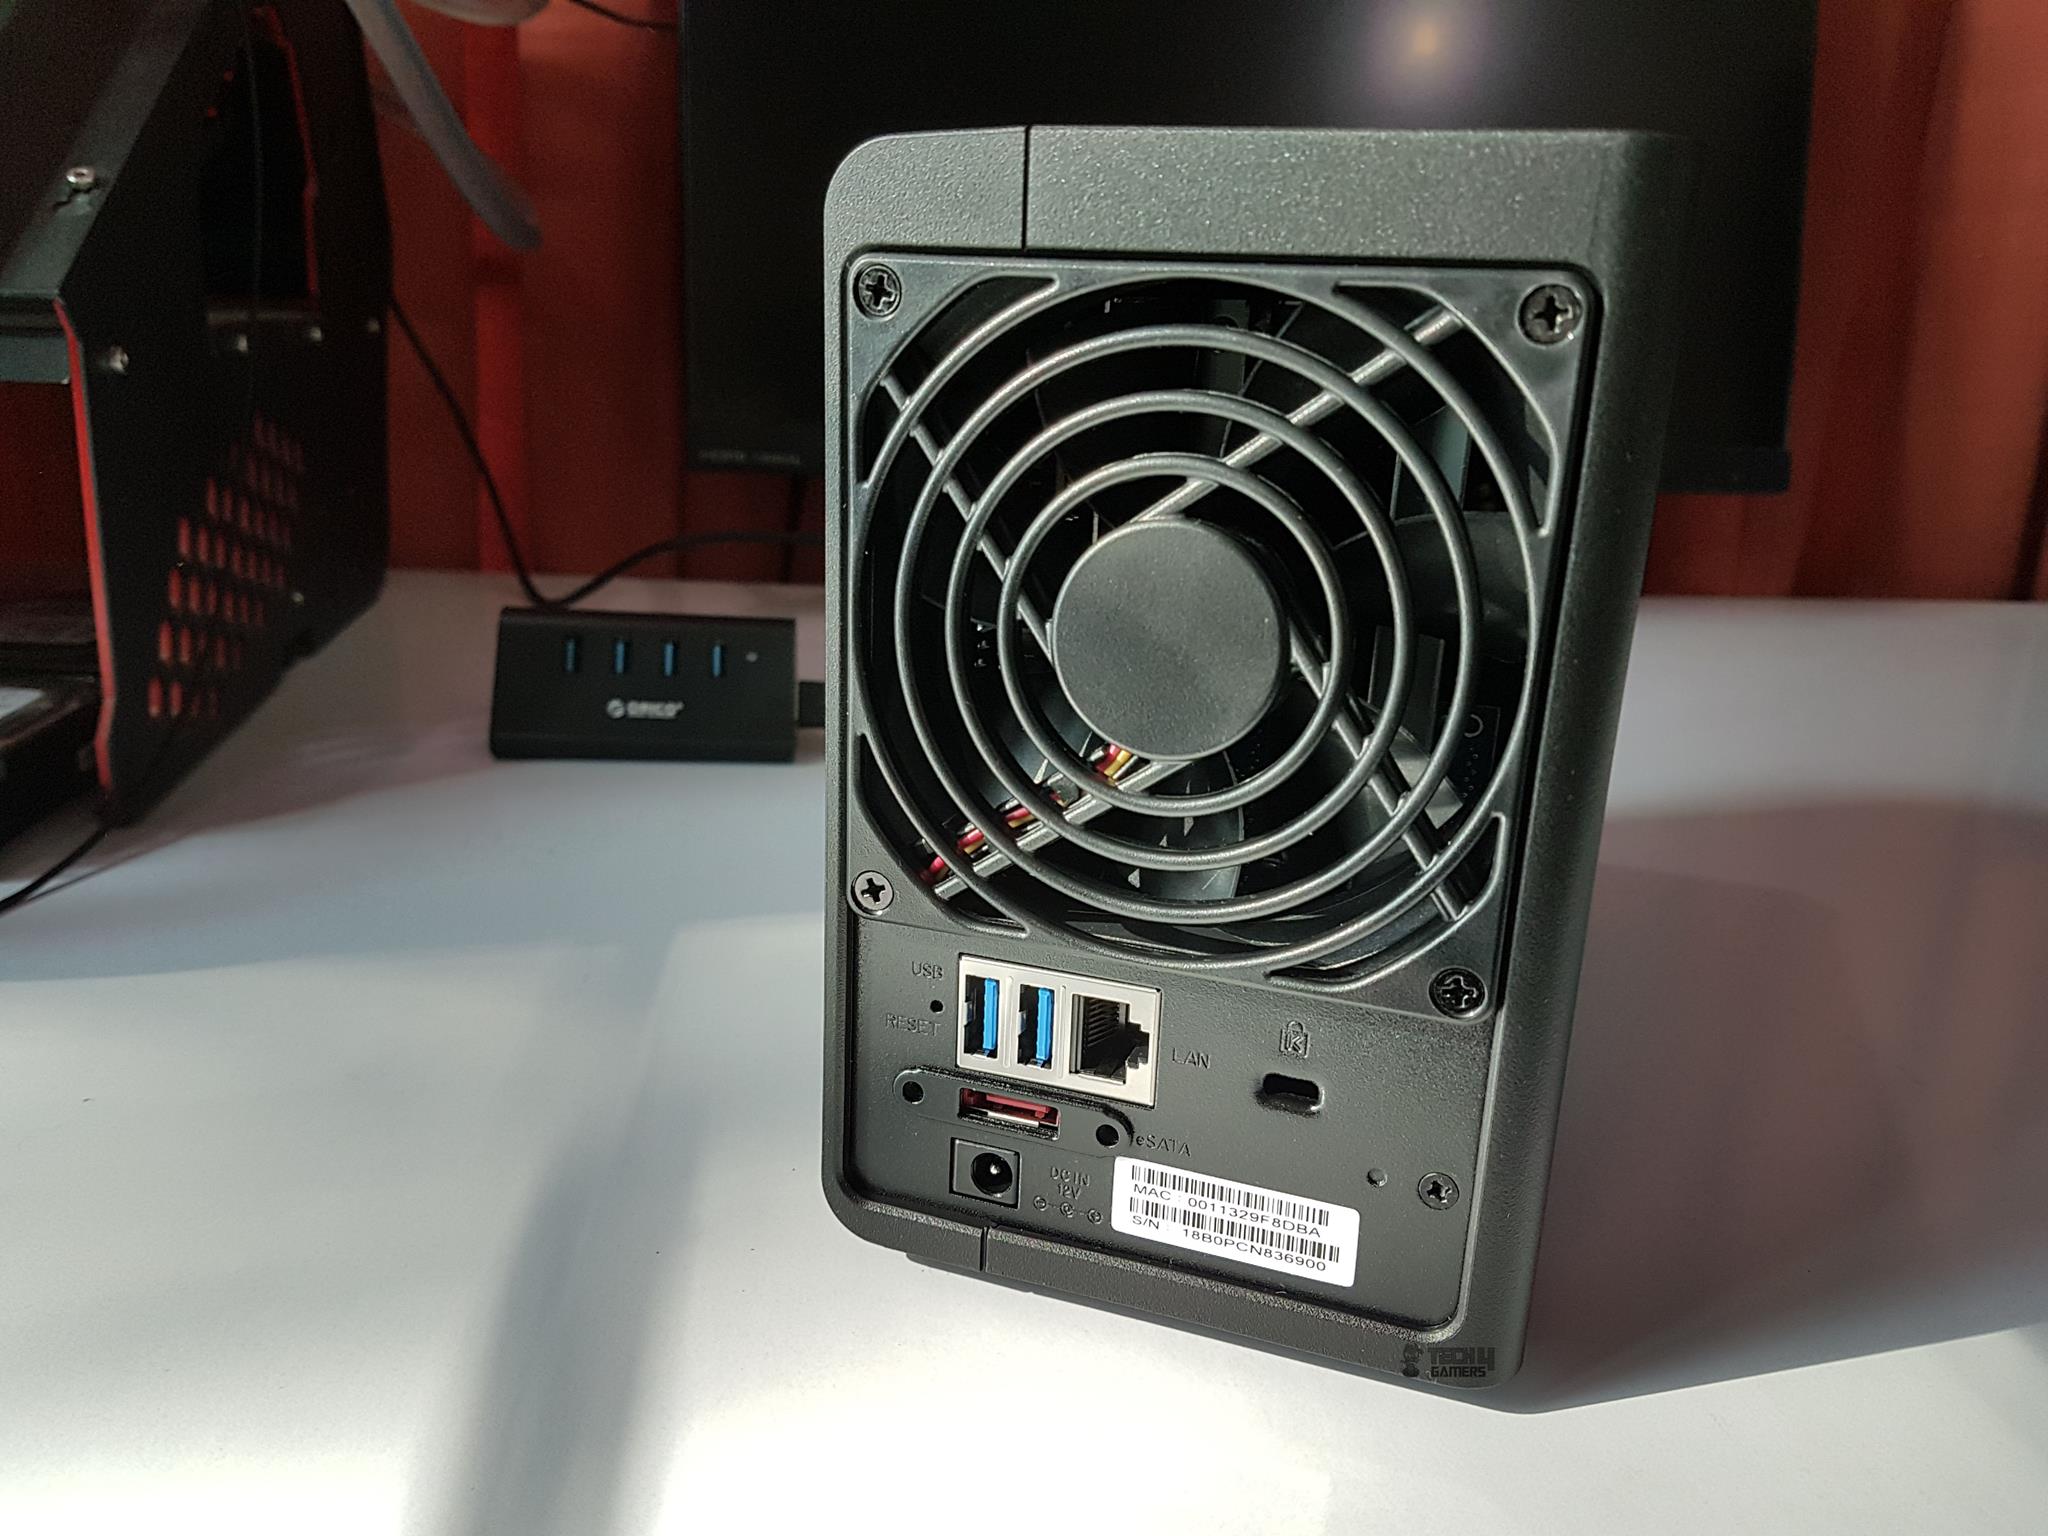
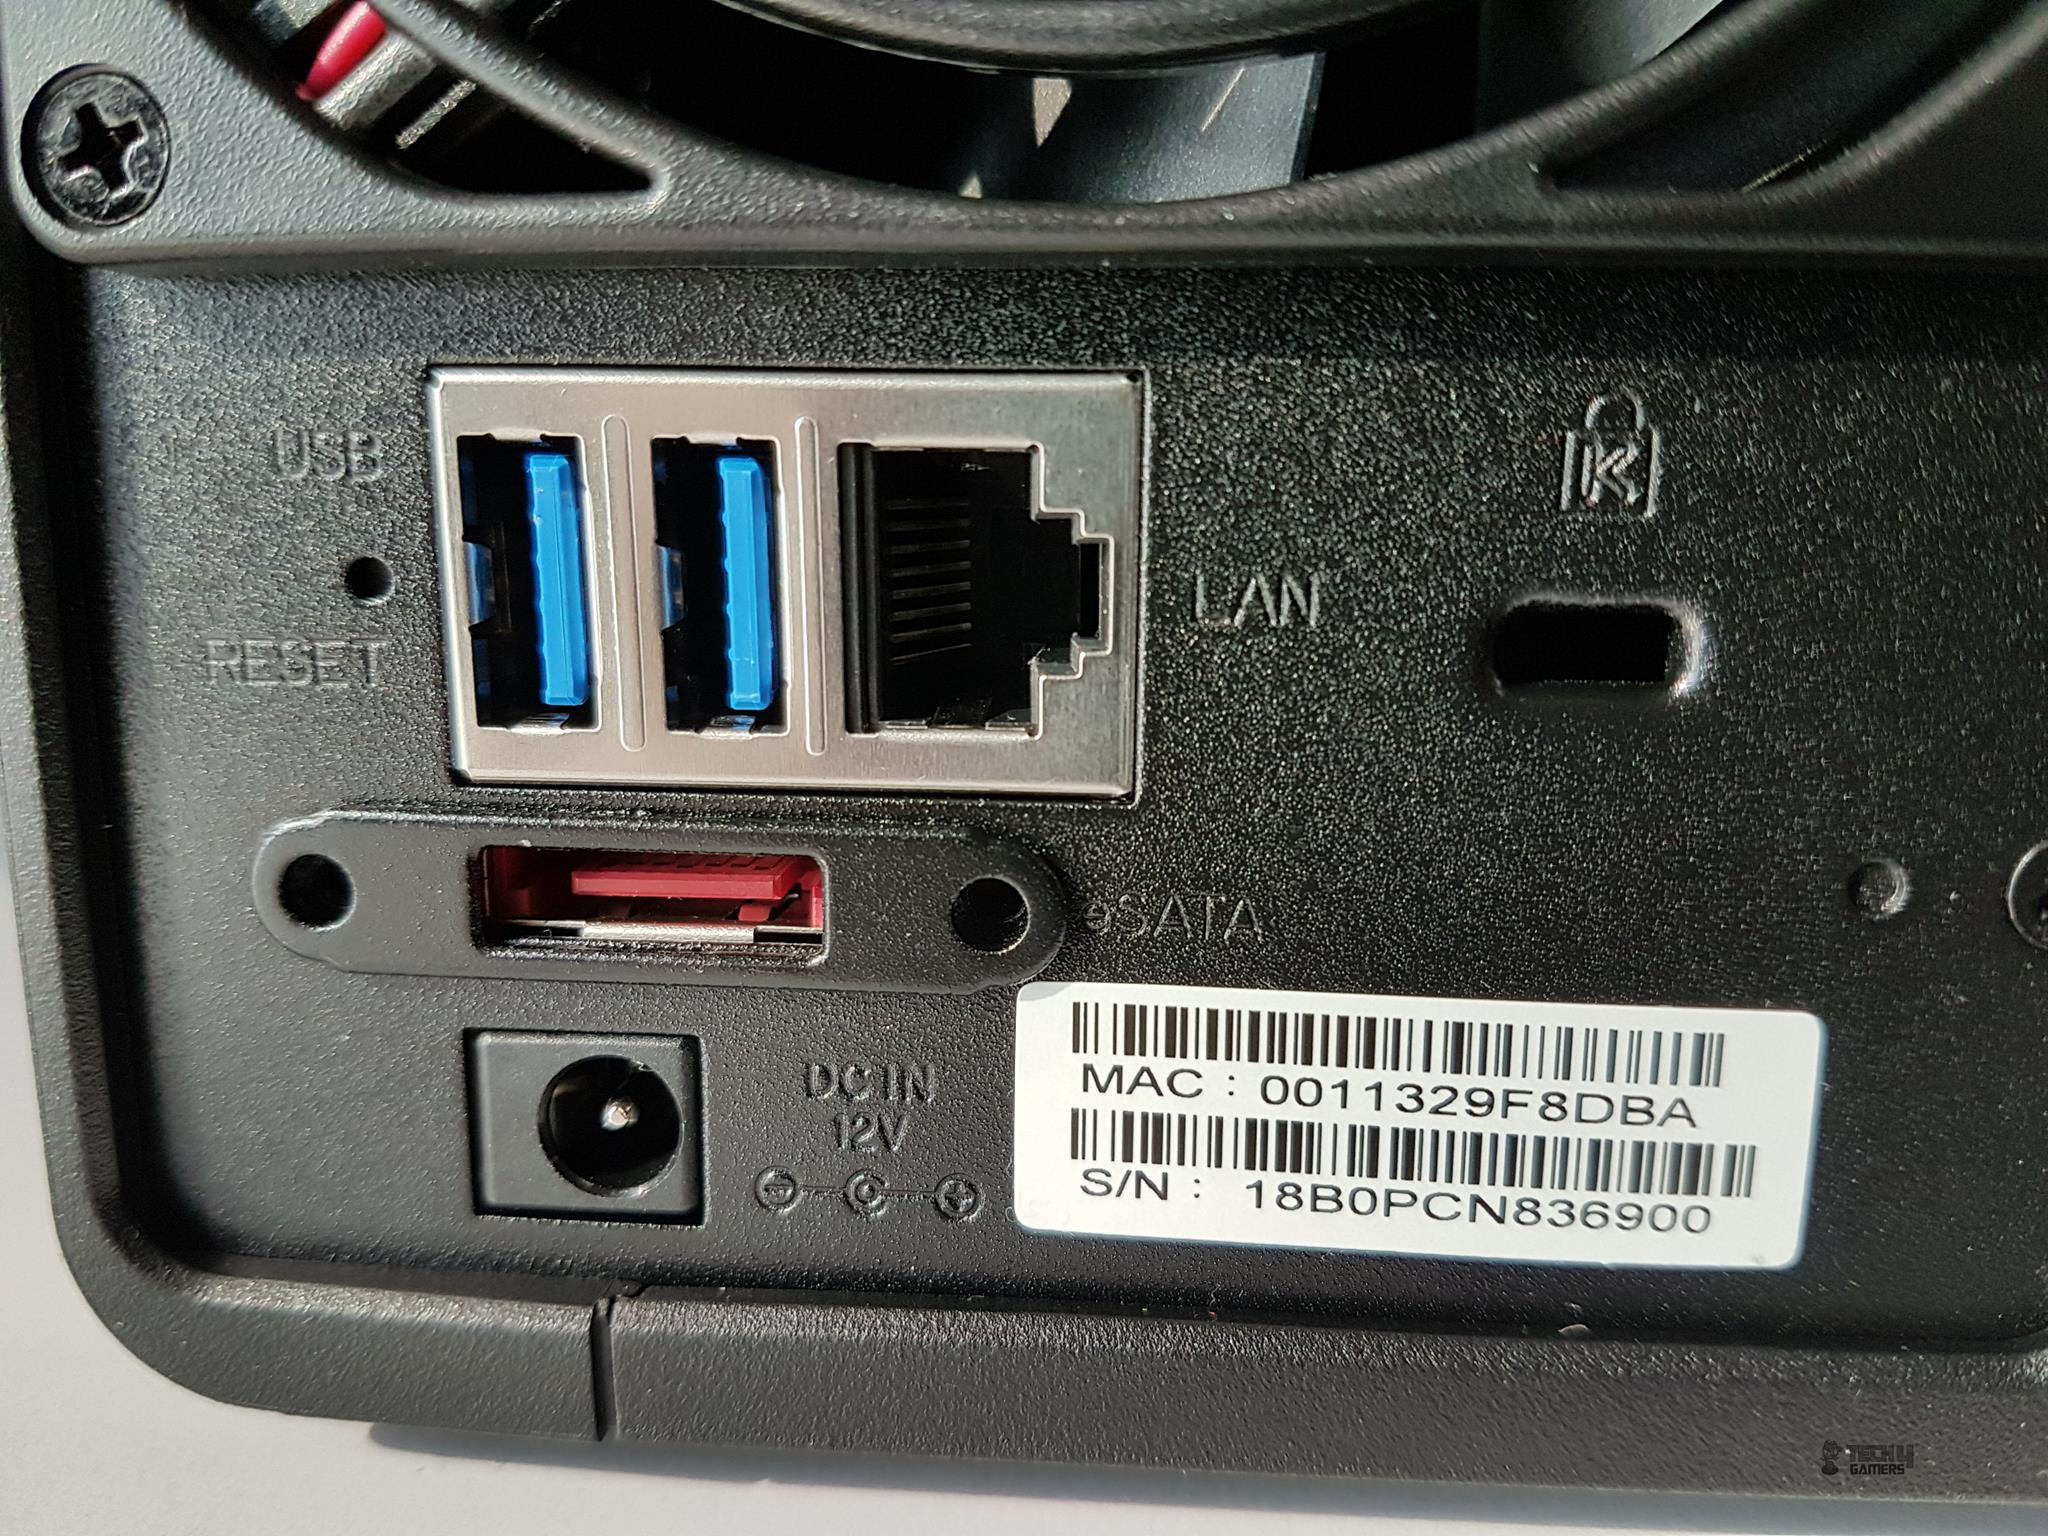
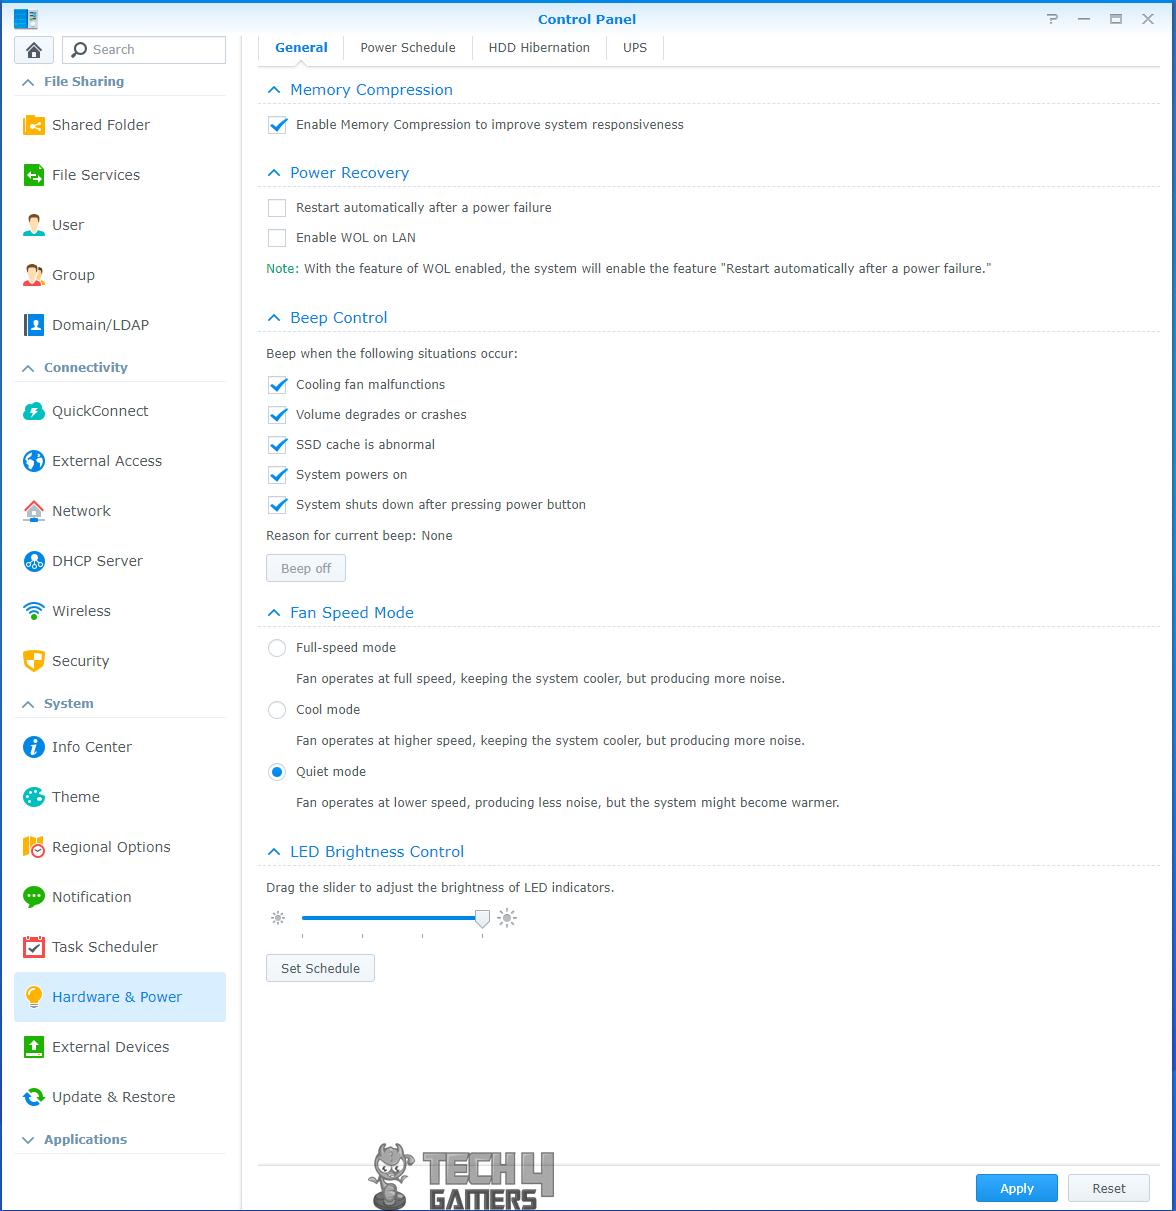
The rear side of the unit has 92mmx92mm system fan to exhaust the heat of the system. There are three modes that the user can access in the control panel of DSM to control the speed of the fan:
- Full Speed Mode
- Cool Mode
- Quiet Mode
The Quiet mode is the default, and it functions exceptionally. When testing with a 200GB data transfer to RAID-enabled drives, Disk 1 peaked at 27°C, Disk 2 at 28°C, at an ambient temperature of 16°C. While virtually inaudible, the unit emits a subtle hum due to disk vibration.
Although there are rubber mounts on the four feet of the unit, they seem to be inadequate to absorb the vibration sound. I simply lifted the unit up and the noise was a goner. I added a thick Styrofoam padding under the unit and the noise was gone like forever. This fan is rated at 19.3 dB(A). the fan grill is plane of the main housing.

The top side of the unit is plain and solid surface without any branding or a particular design. Looking at the unit from the top side gives a clear idea of the gap between the front cover and the main housing. This is smart design as it will allow the unit to breathe some fresh air inside.
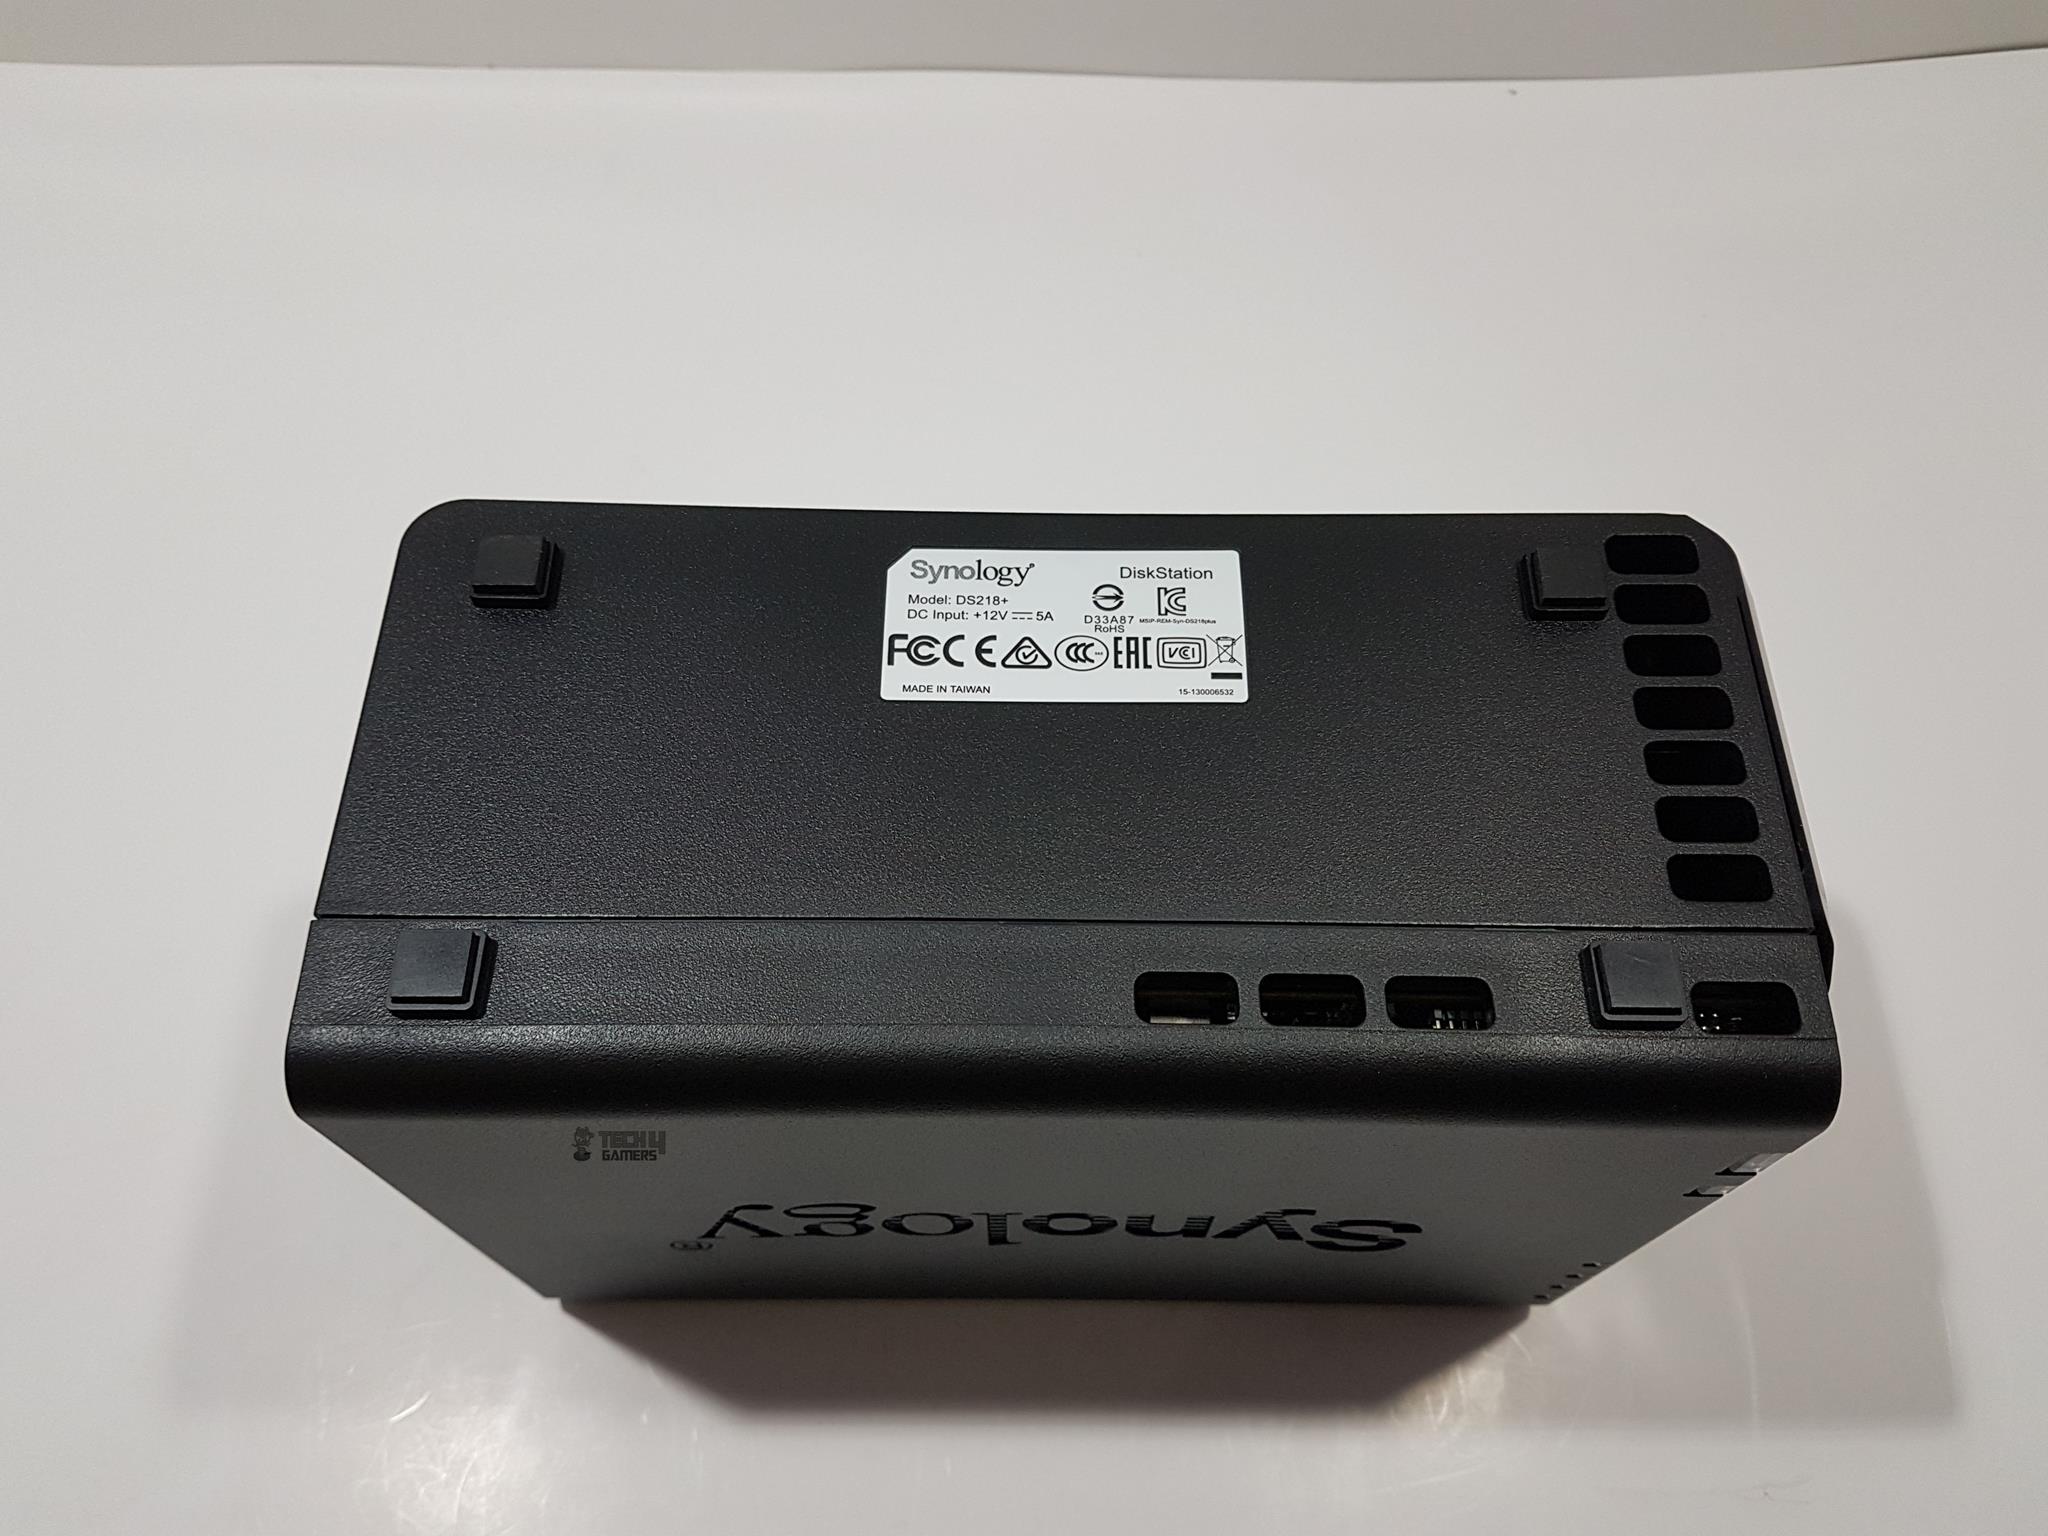
The underside of the unit has 7 cutouts on the front side and 4 cutouts on the bottom or right side of the unit. There are four feet with rubber mounts on them. They have sufficient height to give enough clearance to the unit from the surface for optimal ventilation. An information sticker is pasted as well.
NAS Set Up
Let’s set it up!
Hardware Configuration
Setting up NAS on Synology DS218+ is pretty much straight forward task without any frills. Although, take note:
With that being said, here is what I did for my configuration:
- I bought a Linksys 8-port Gigabit Ethernet switch. Though it is not a managed one I did not need a managed one to test the performance of the NAS box or that of the network as it is quite a basic network setup at my home.
- I connected the switch to the PTCL (Local ISP) DSL Modem using Cat 6 Ethernet cable. Again, even though that modem lacks high-speed ports, this cable could be useful for future upgrades.
- Next, as my motherboard has Gigabit LAN port, I hooked it up with the switch using the Cat 6 Ethernet cable.
- In my last step, I have connected the Synology DS218+ to the Switch. In this way, the NAS box comes on the network with the Internet and at the same time got hooked up with any device on the network.
You can simply connect it to the PTCL modem/router. Here the bottleneck if any would come from the ISP’s modem/router.
Software Configuration
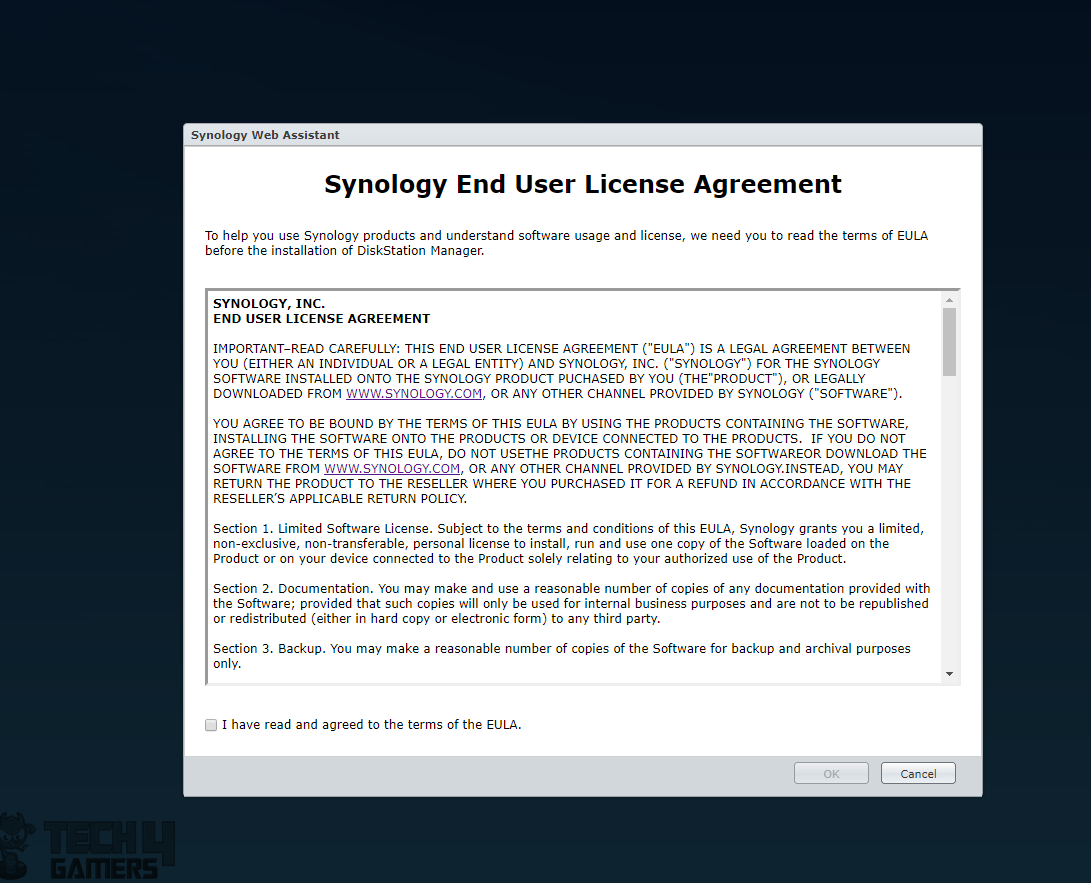
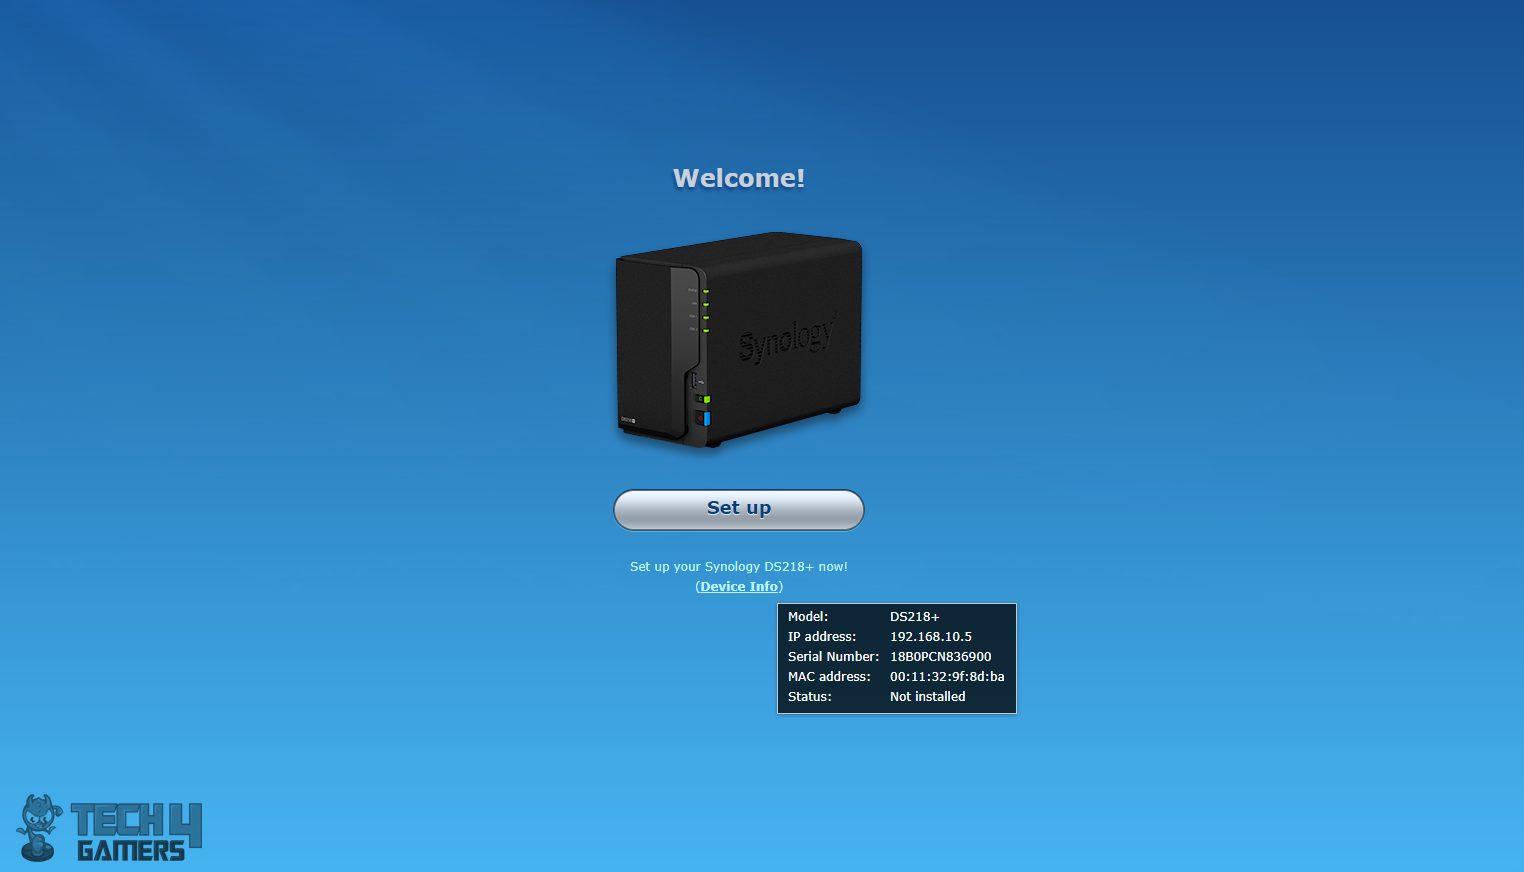
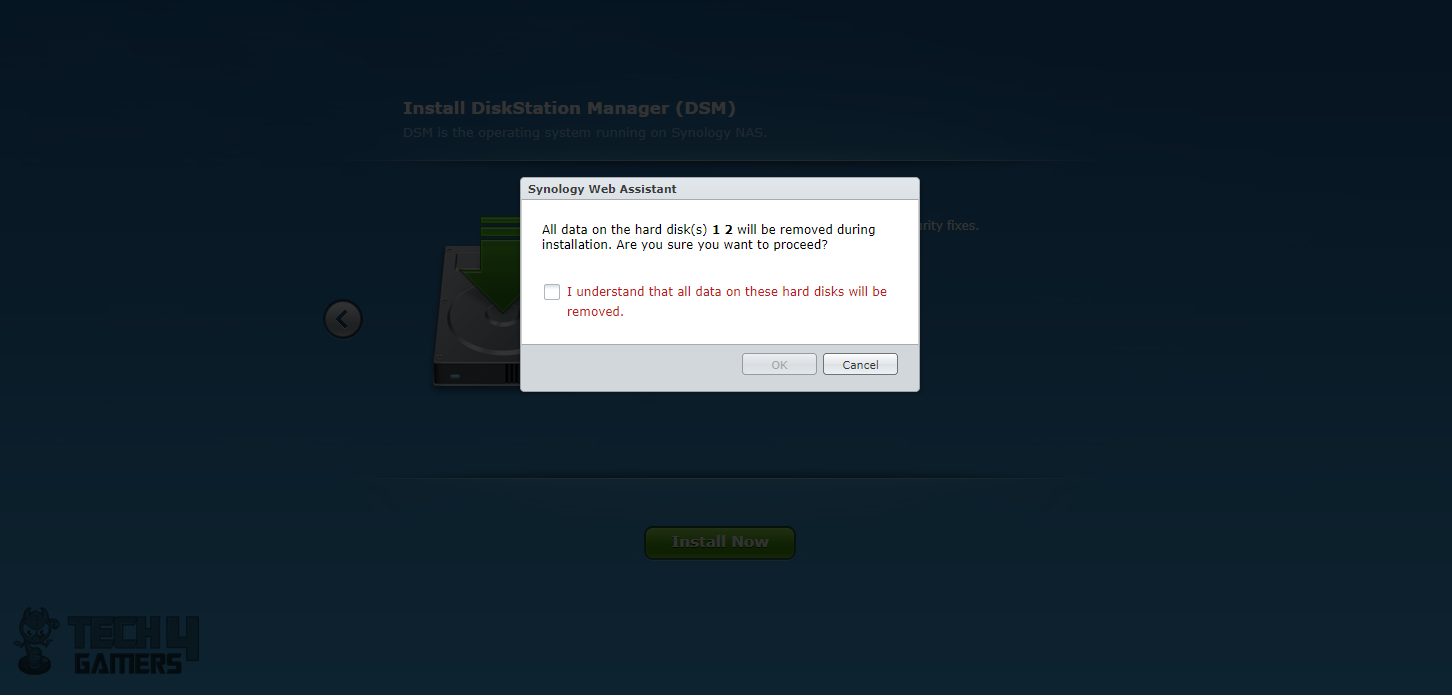
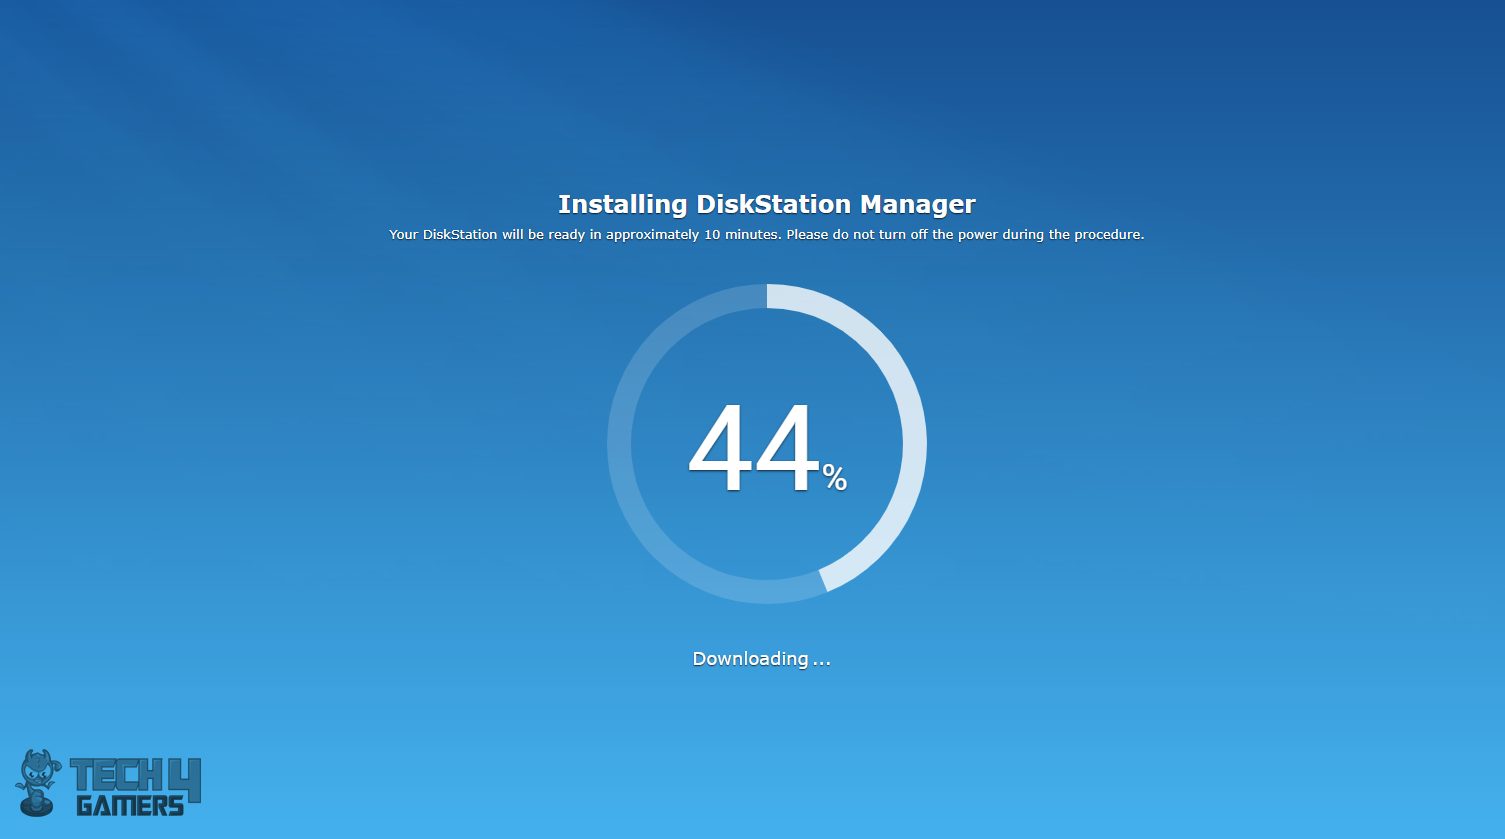
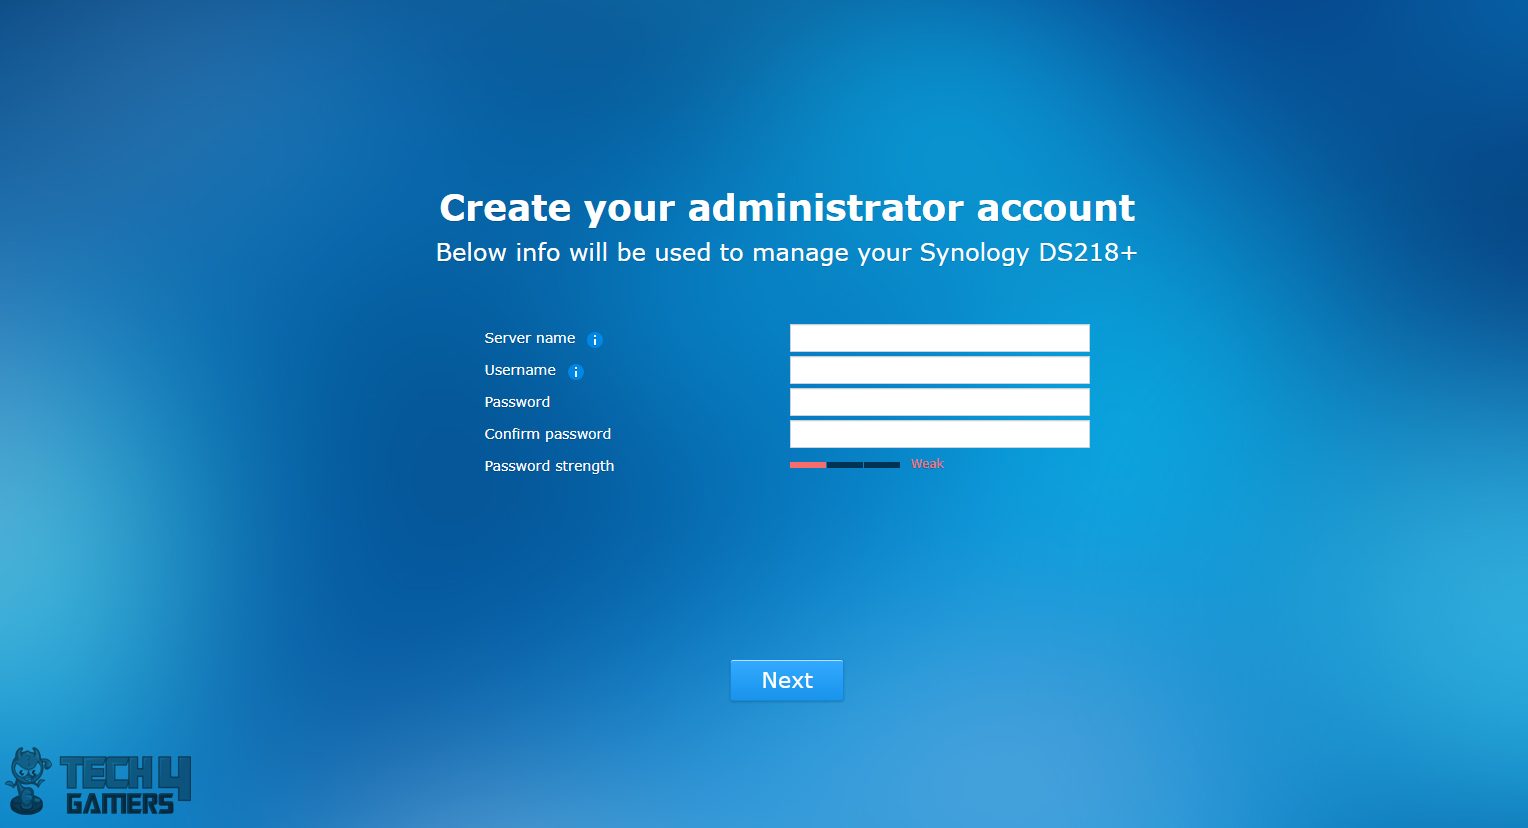
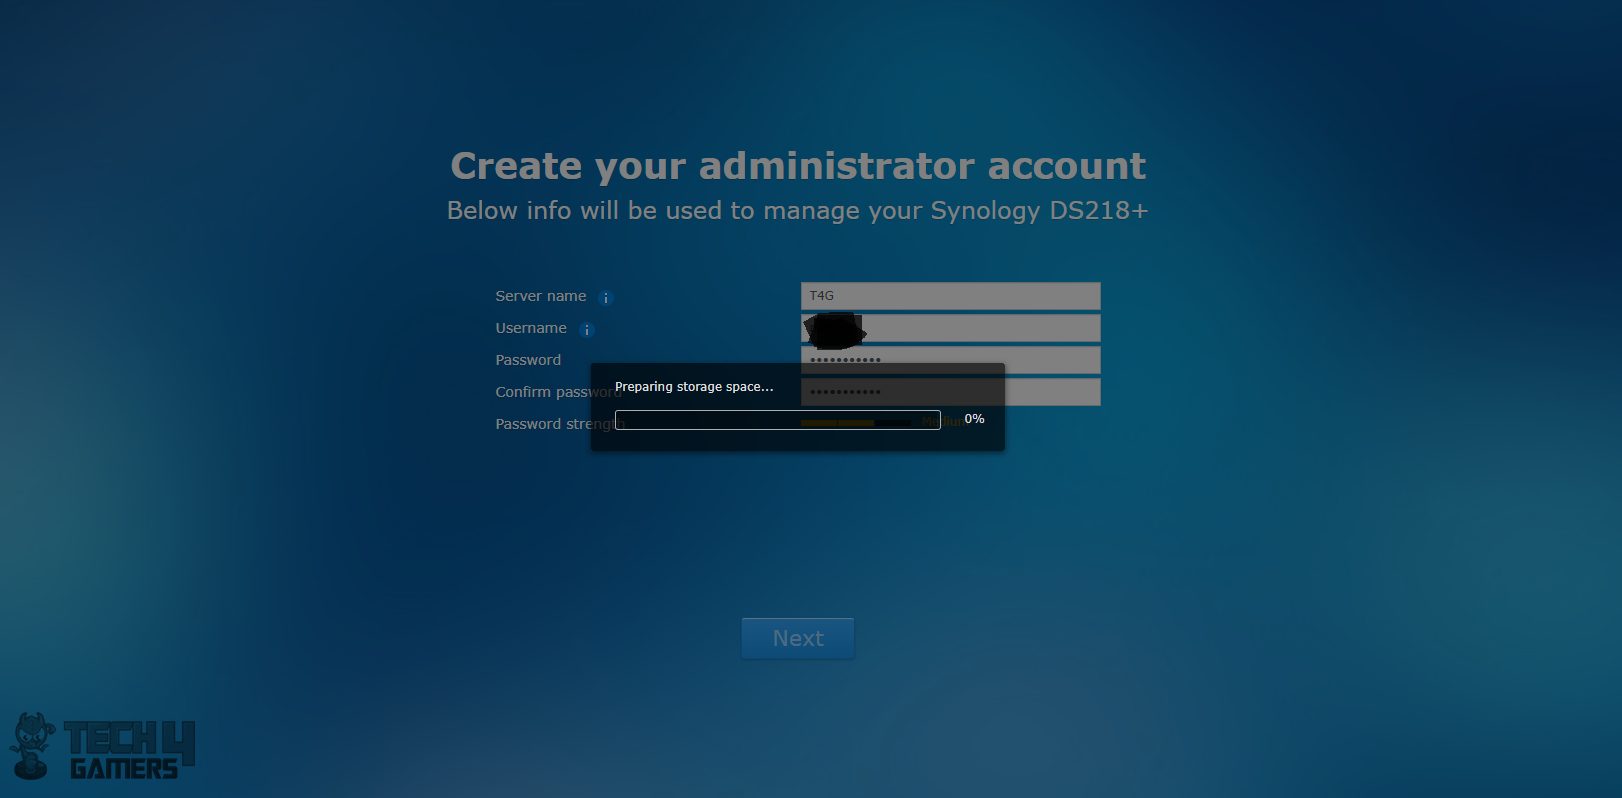
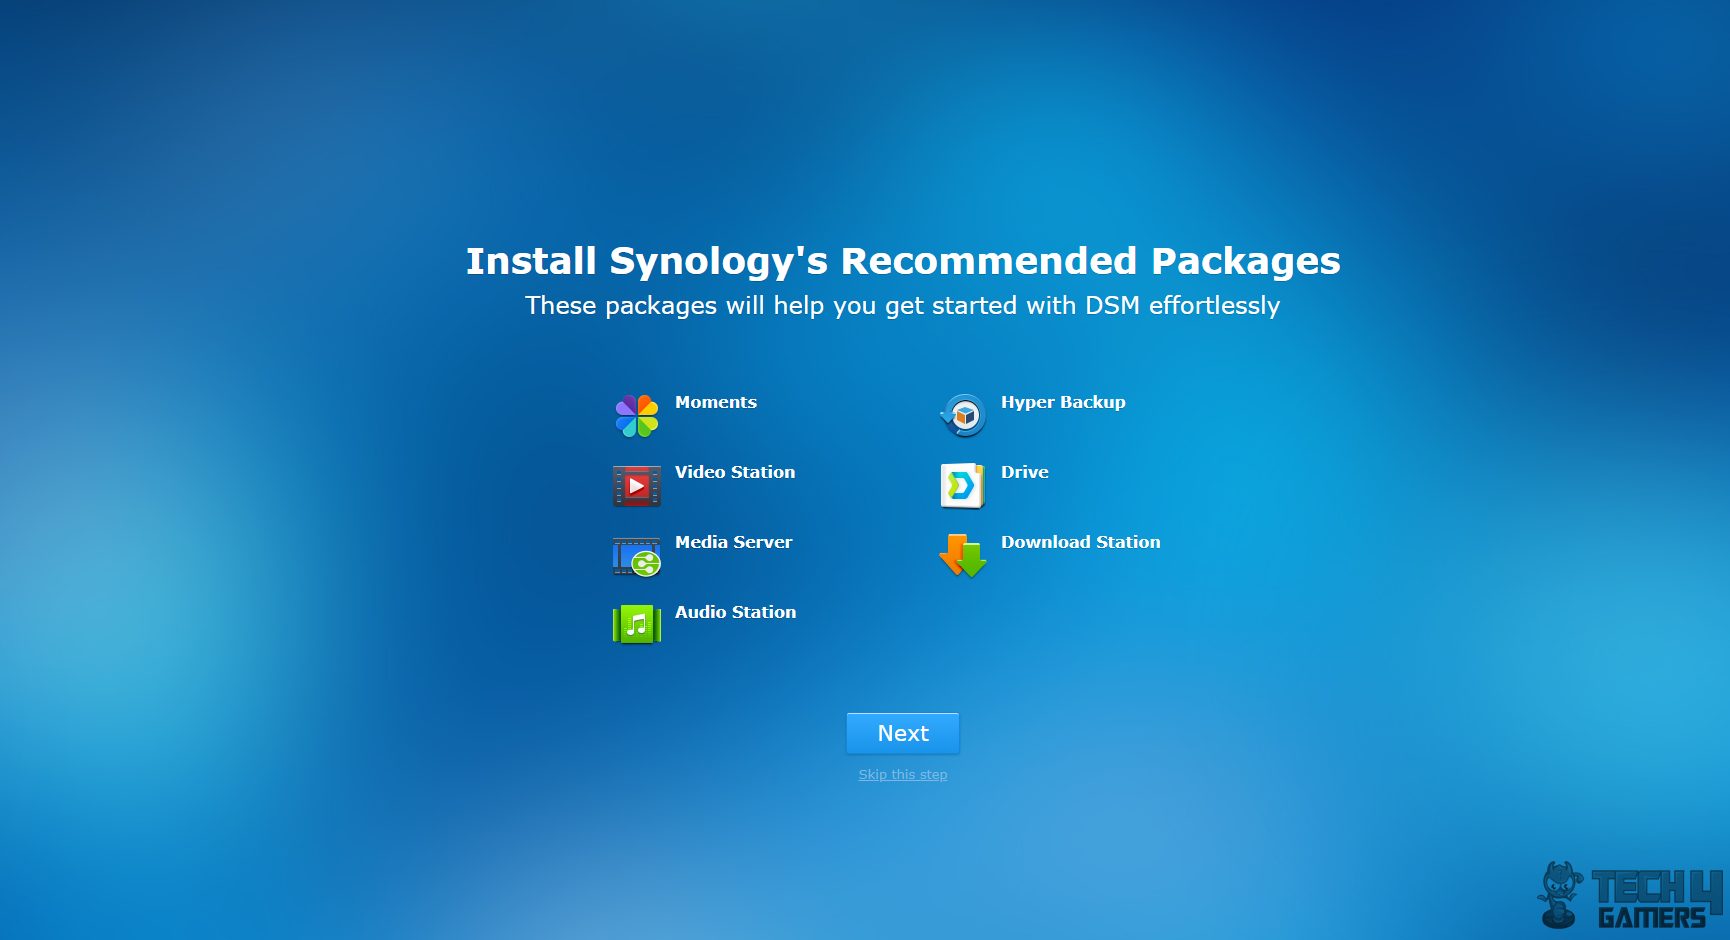
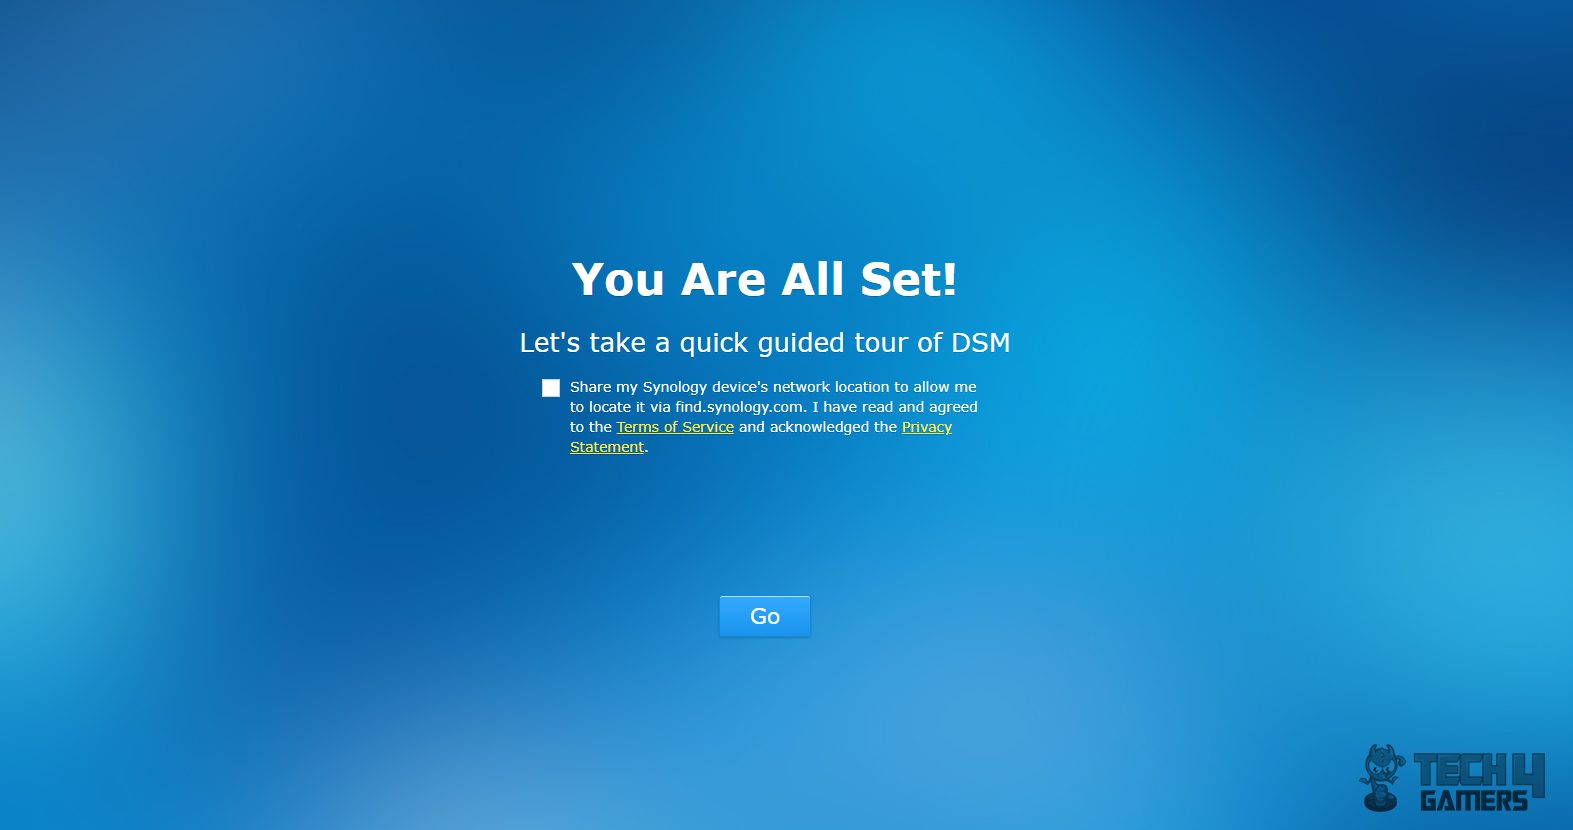
Now, that you know the configuration, let’s proceed on how to set up the NAS box. I am using two Seagate IronWolf 2TB drives as this is a two-bay NAS box. Make sure that your entire network is powered up and online. Open the browser window and type find.synology.com and follow the steps.

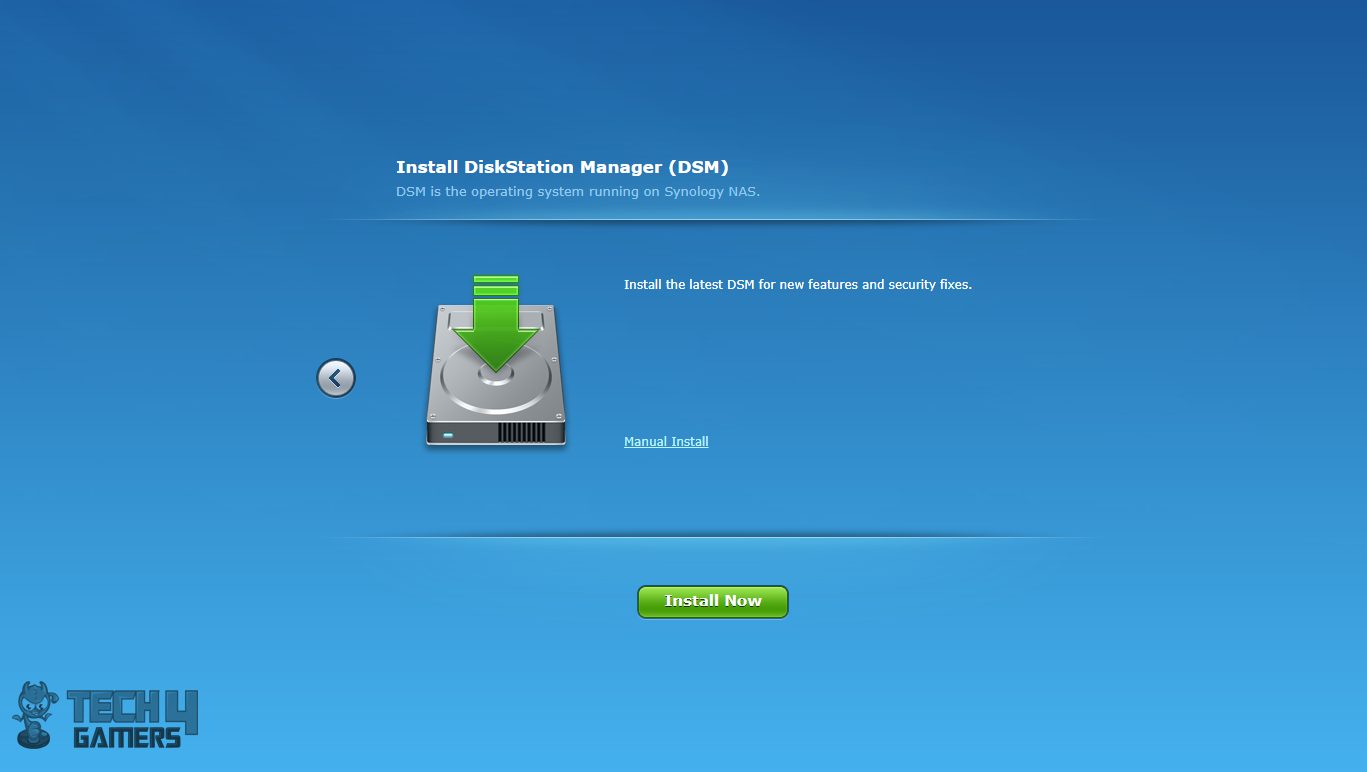


Synology Diskstation DS218+ Disk Station Manager (DSM)
Any NAS station is only as good as its driving force aka software and I mean it. If the hardware is powerful but the software is not good enough to harness that power then it is pointless. Synology was way ahead of this thinking and they have an equal focus on both sides. Disk Station Manager is the name of the software at the heart of the Synology NAS boxes.
But before digging into DSM, I would like to highlight certain aspects and features of the DiskStation that would make you think again if you have been of the view that NAS is just network attached storage. Synology Disk Stations, when combined with the DSM, offer a lot more functionality than just being simple storage. Here are the categorization of the features and functions that Synology offers through their DSM on Disk Stations:
- File Sharing
- File Syncing
- Data Backup
- NAS Protection
- Virtualization
- Productivity
- Multimedia
- Cloud Services
- Management
- Data Security; the following services are available:
- Firewall
- More Efficient HTTP 2.0
- IP Auto Block
- Service-interface binding
- Multiple SSL certificates
- Let’s Encrypt Integration
All of the above is what can be leveraged using the DSM on your NAS. Let us take a real look at the DSM. DSM is built around Linux interface and it is intuitive and highly user-friendly. It is a web-based interface with everything under one window.
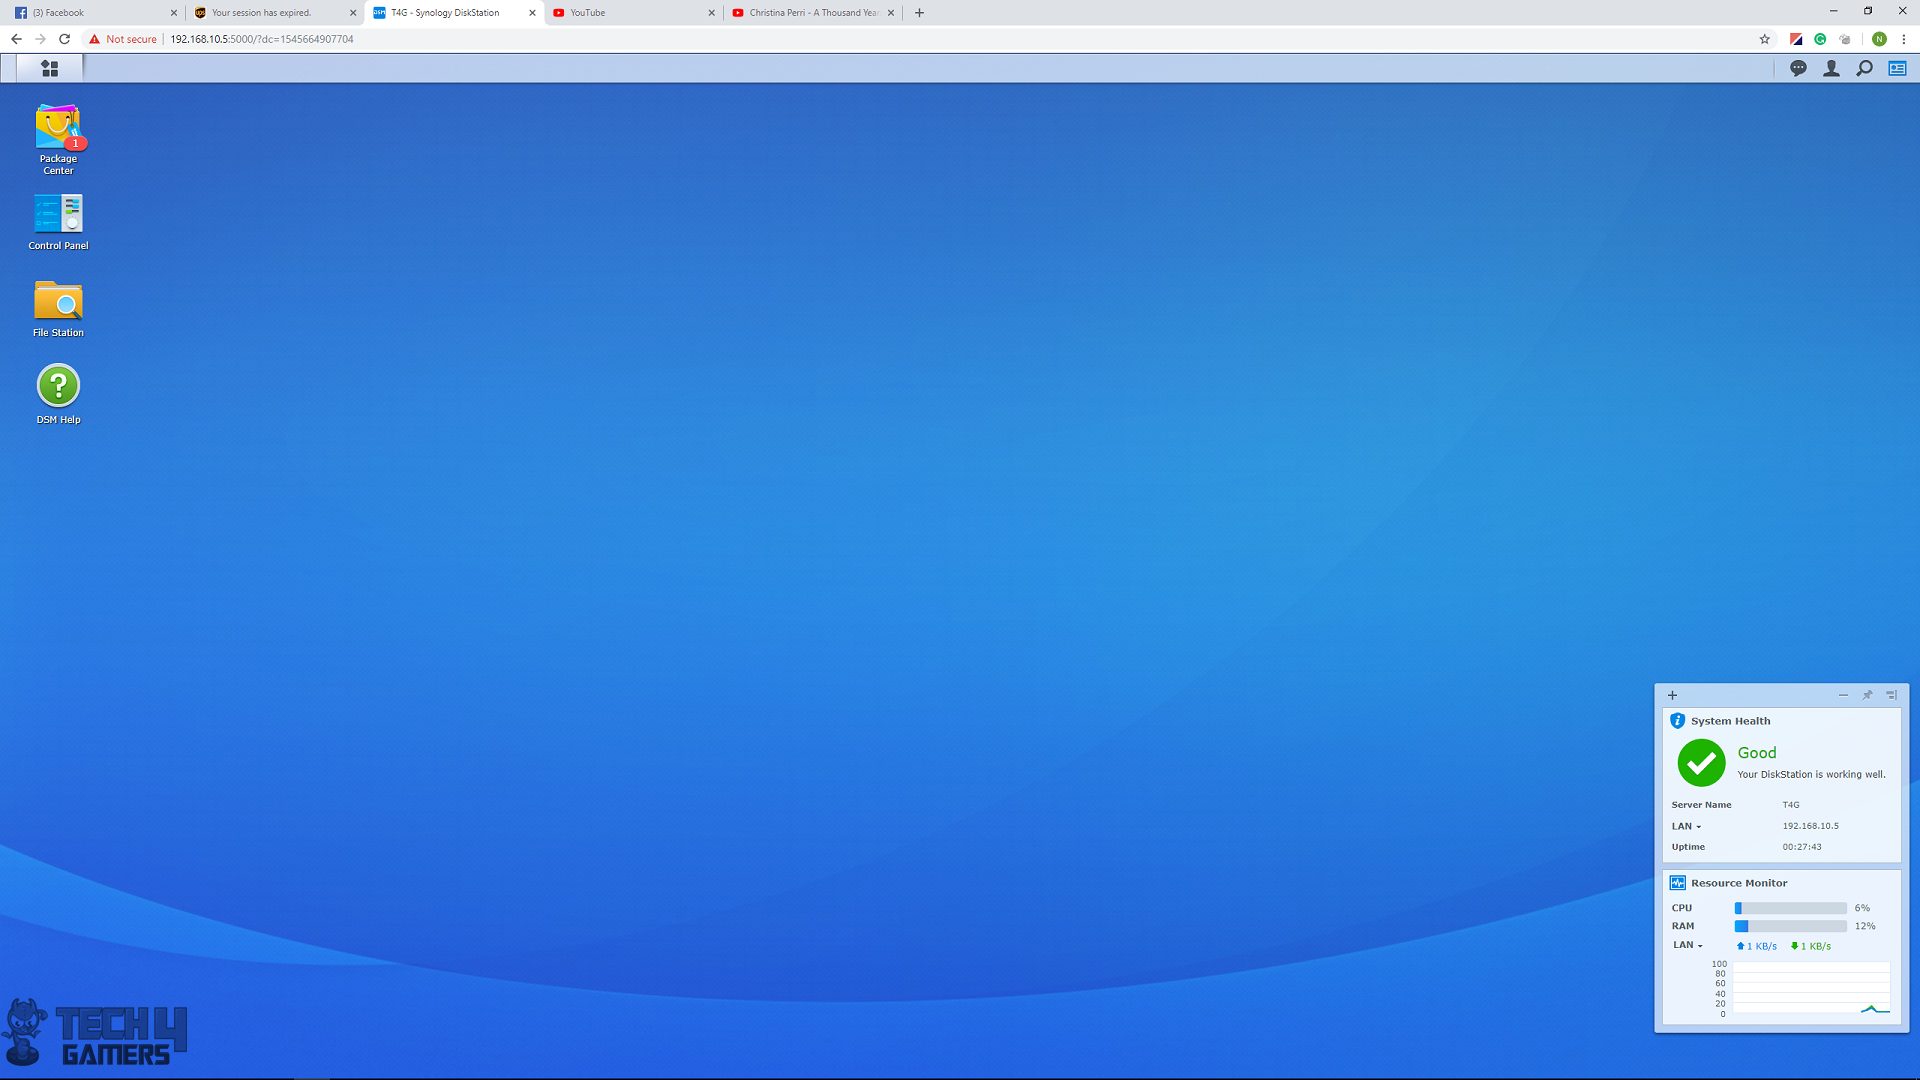
The main interface has a desktop layout.
On the top, we have a browser or window bar or even you can call it a taskbar. All the opened applications will have their instances pointed in this bar.

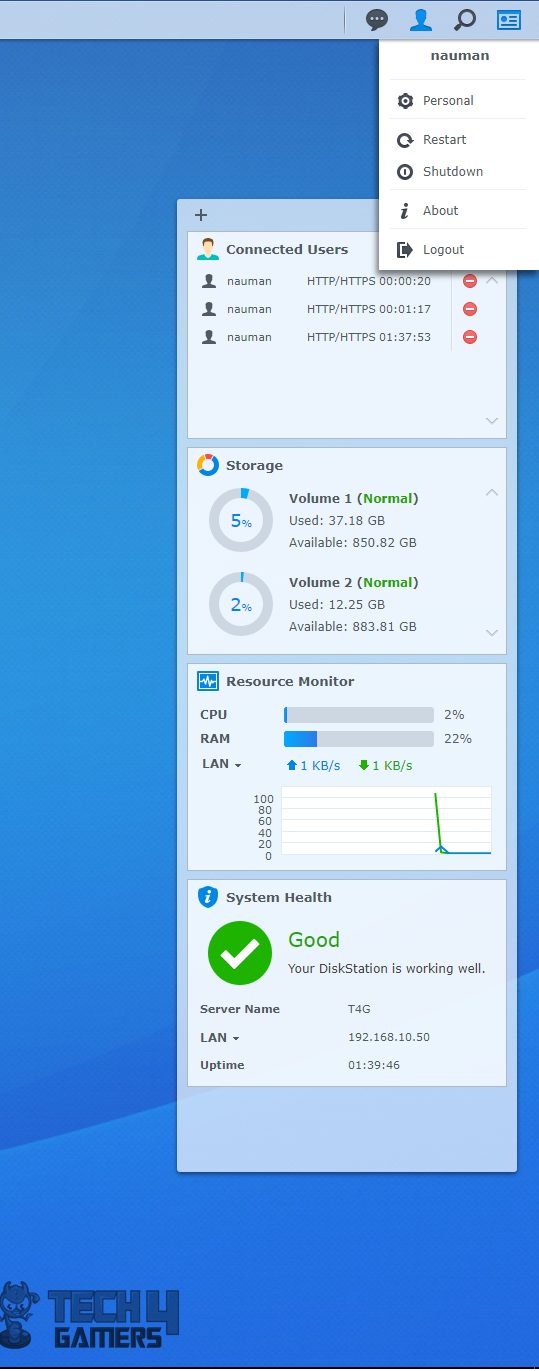
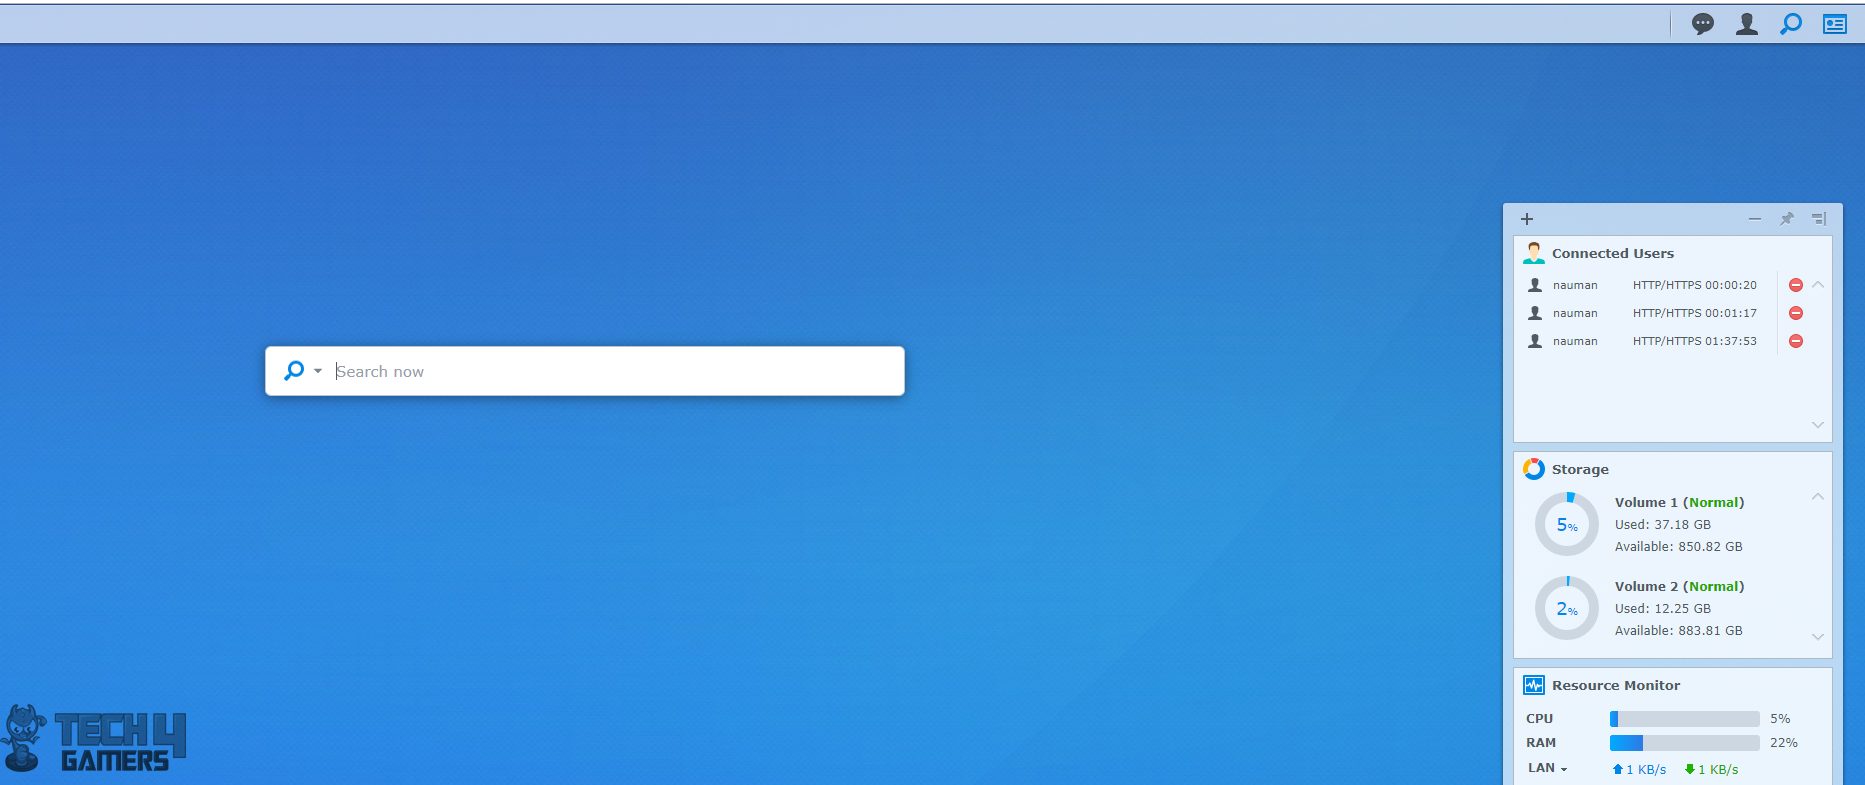
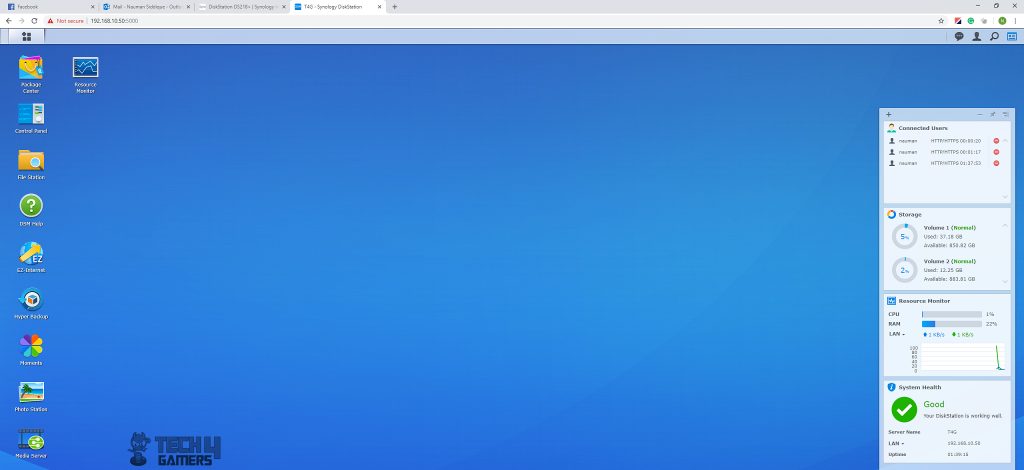
The last icon is the Widgets. It is a toggle button to show/hide the widget bar. The widget is a smart implementation and I have huge praise to Synology for this idea and its implementation. The Widgets allow the summarized presentation of the critical DiskStation information. It can show the Disk drives information like volumes, used space, available space.
Resource Monitor widget shows the hardware resources like CPU utilization, RAM utilization, and LAN speeds. System Health widget shows the server name, LAN, and uptime along with the health status of the Disk Station. Connected users are also displayed. Remote user connections are shown as CIFS.
The widget bar can be docked on the top right, bottom right, top left, and bottom left positions. It can also be set to remain visible on top of other open windows.
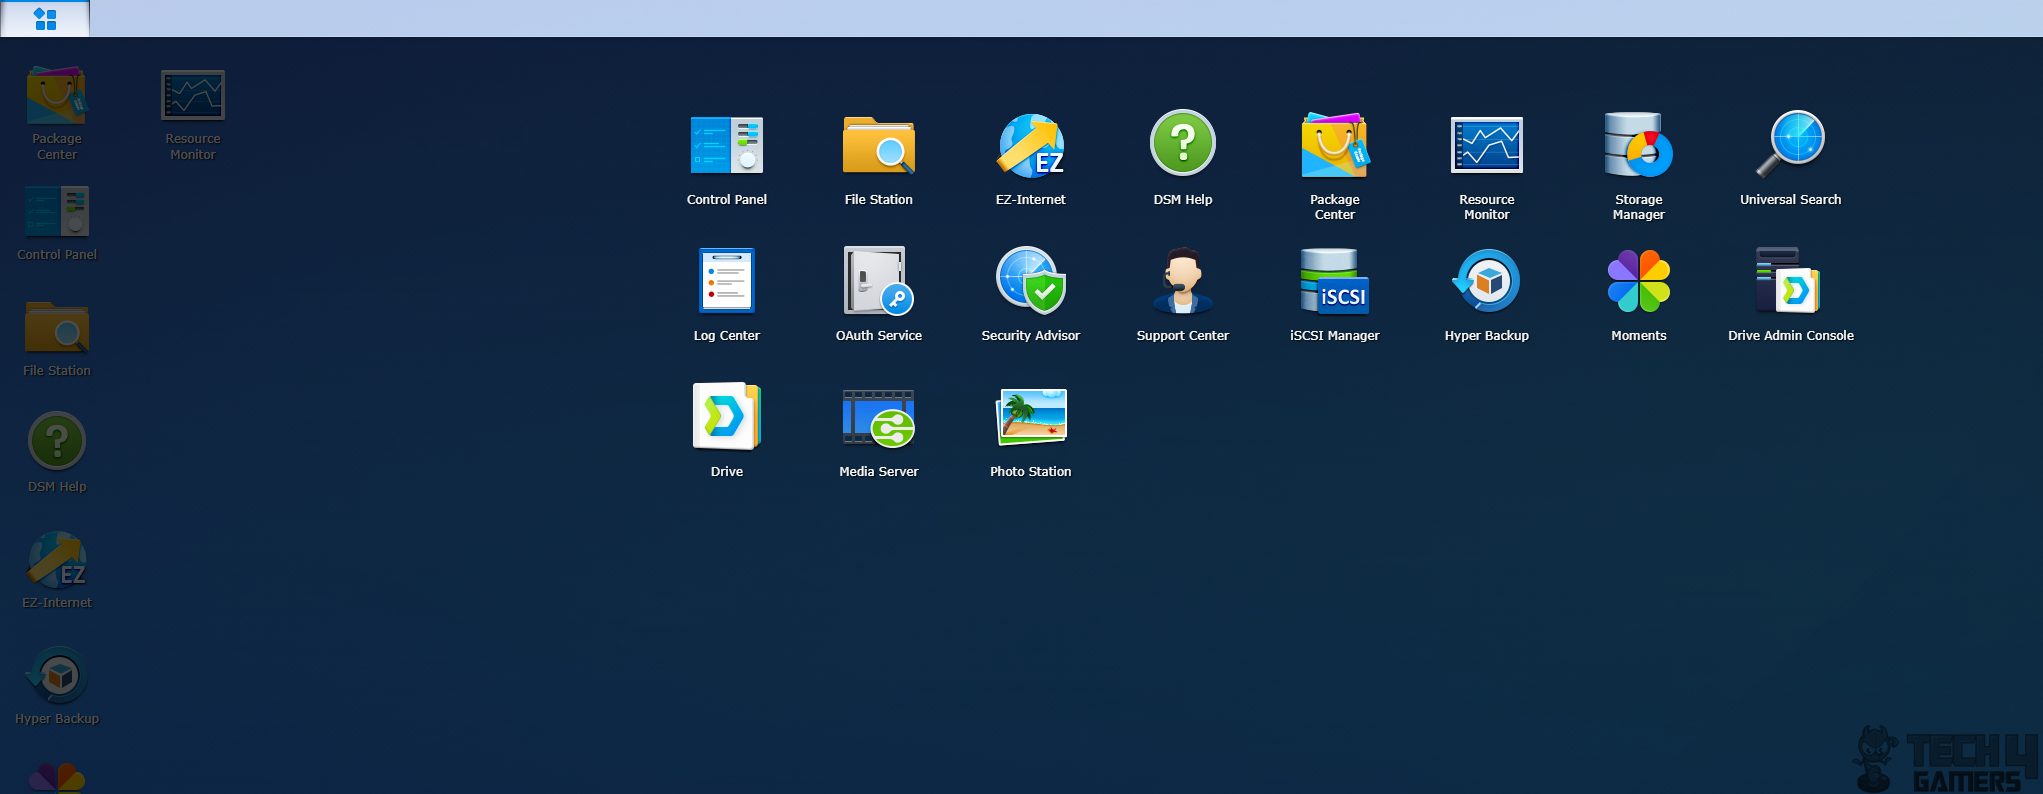
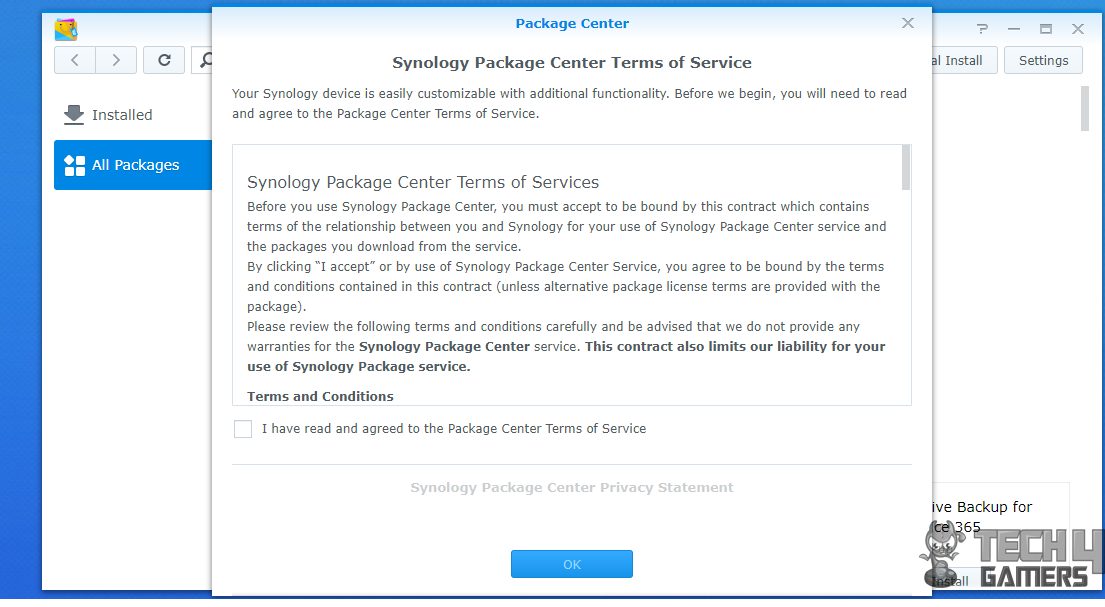
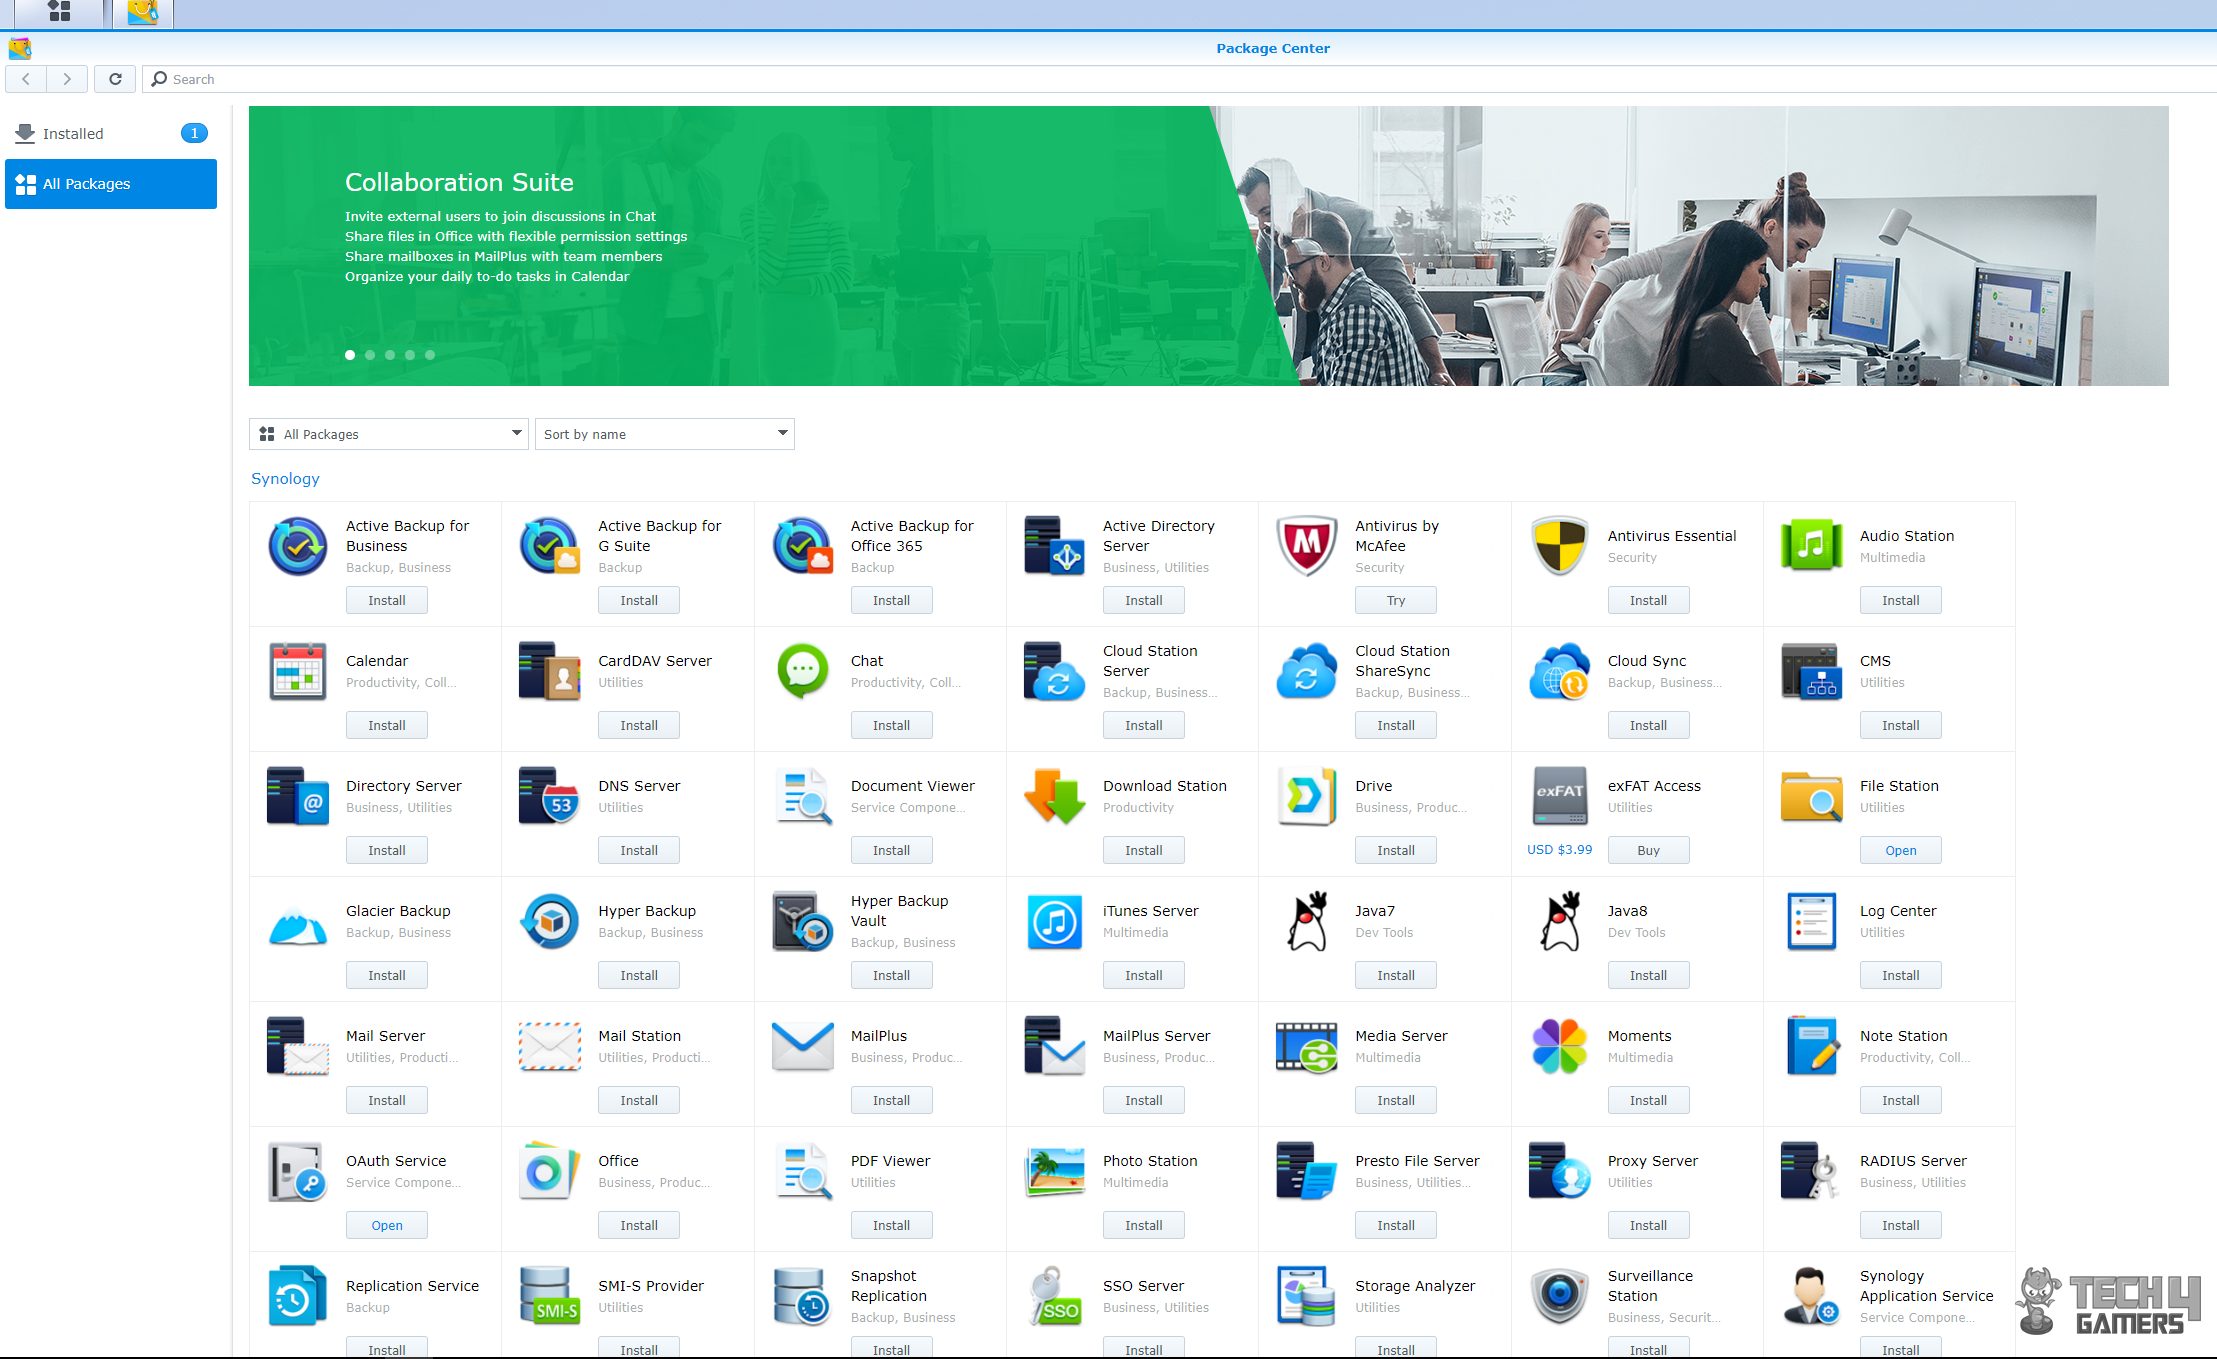
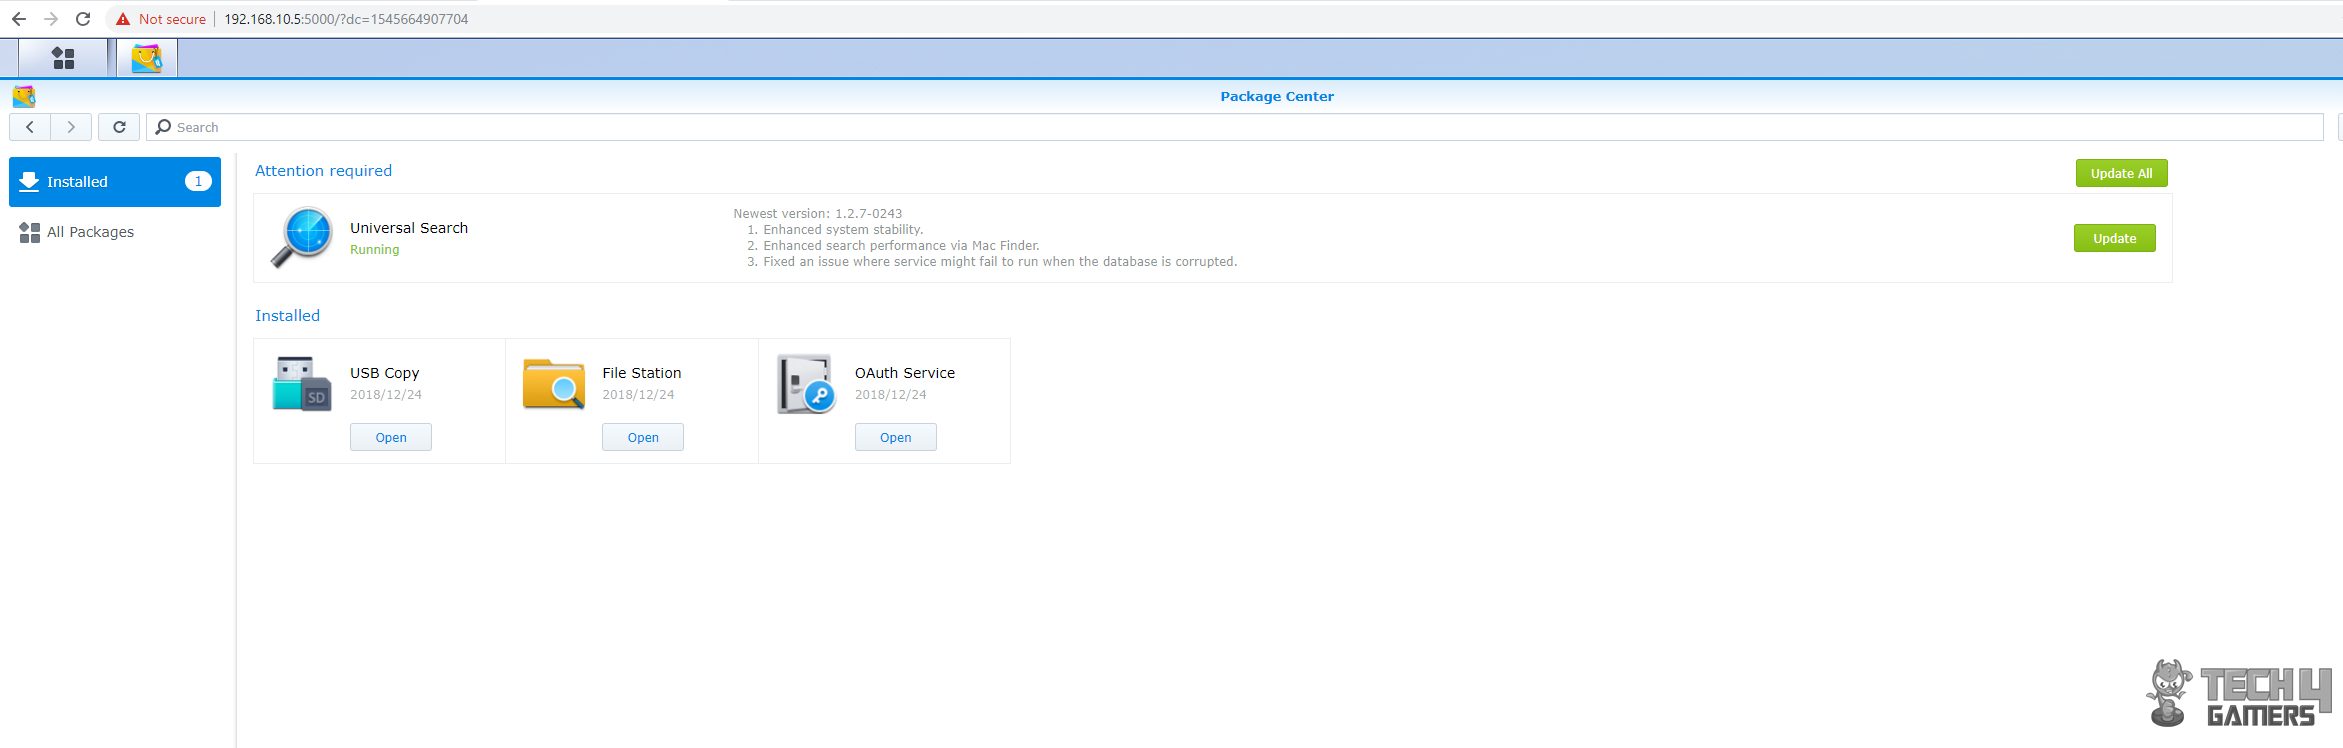
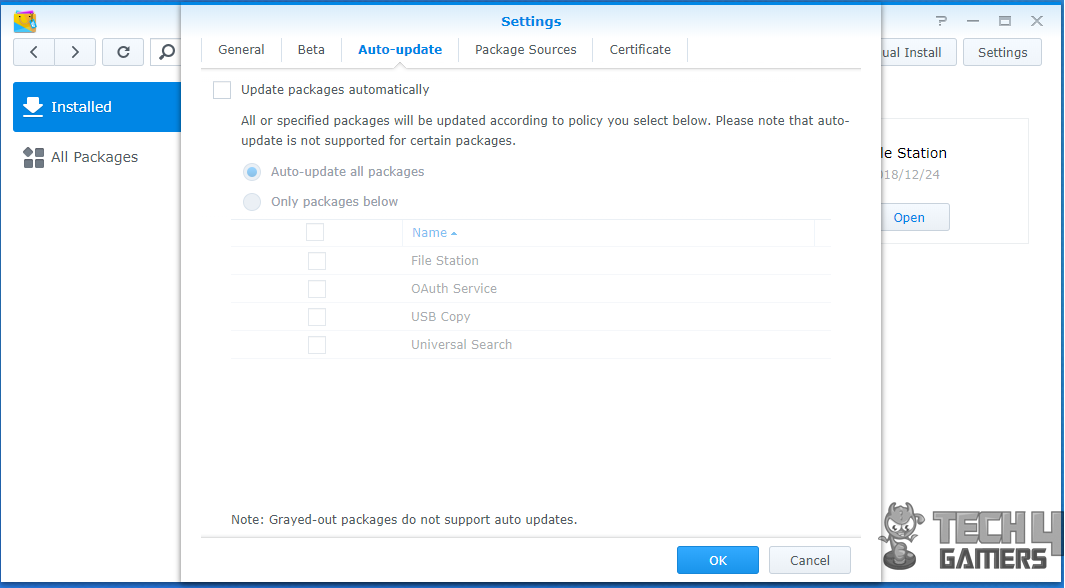
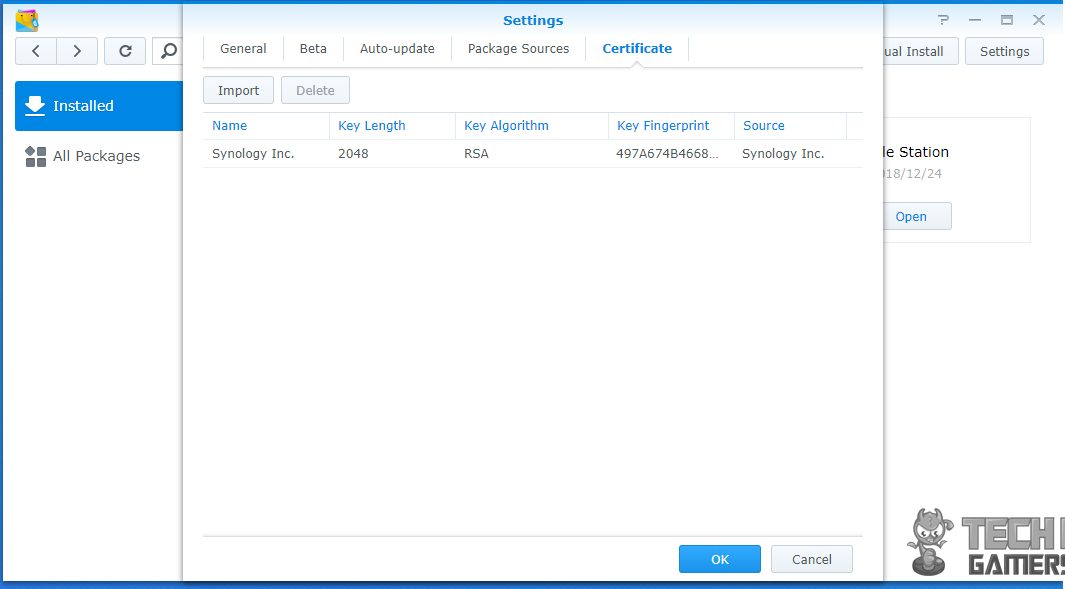
Package Center
There are 4 icons on the desktop by default. The Package Center is on the top. The package center is like a web store from where the Synology apps and third-party apps can be downloaded.
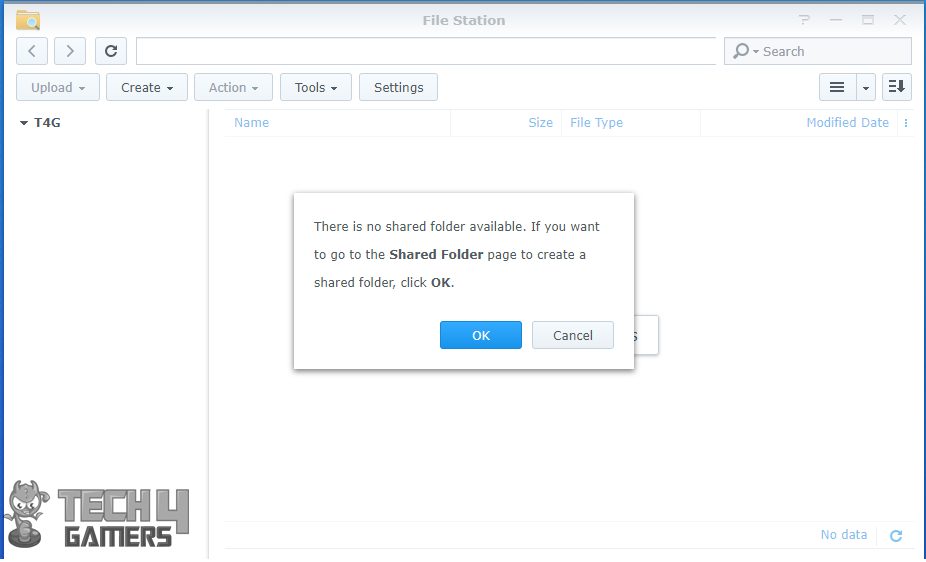
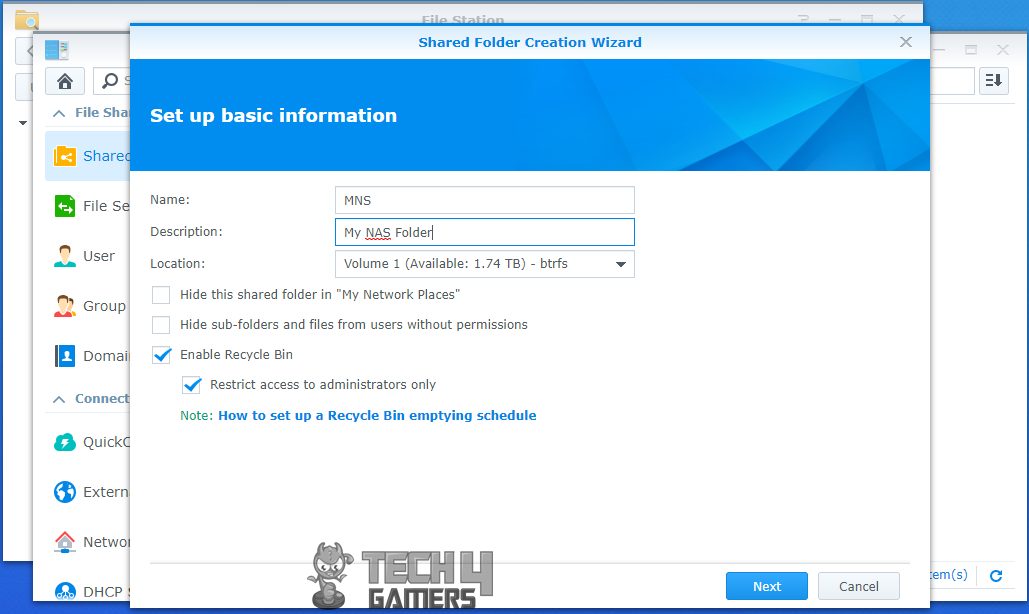
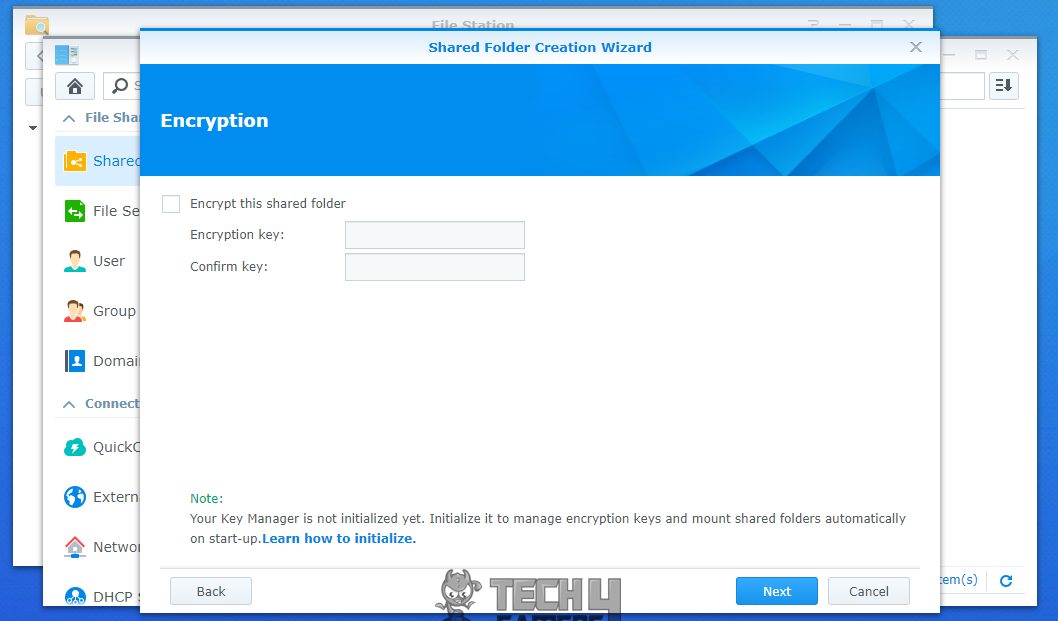
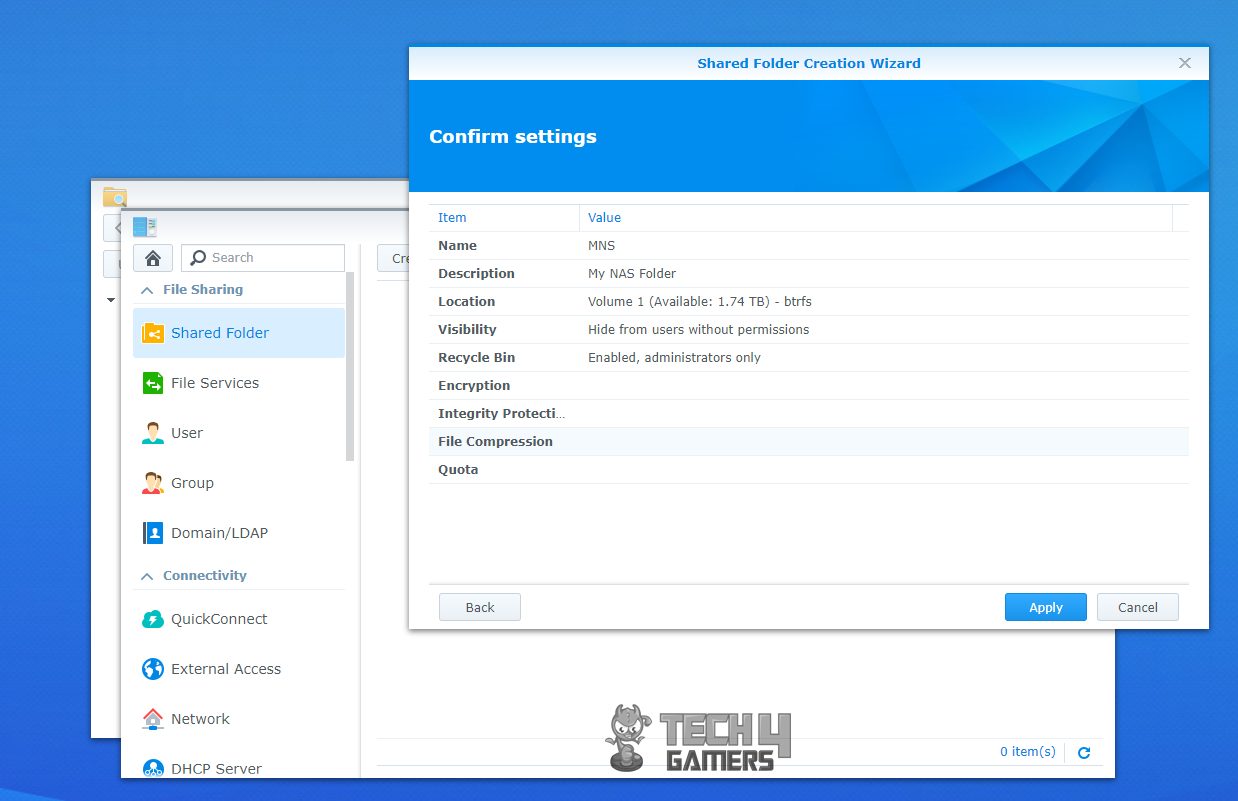
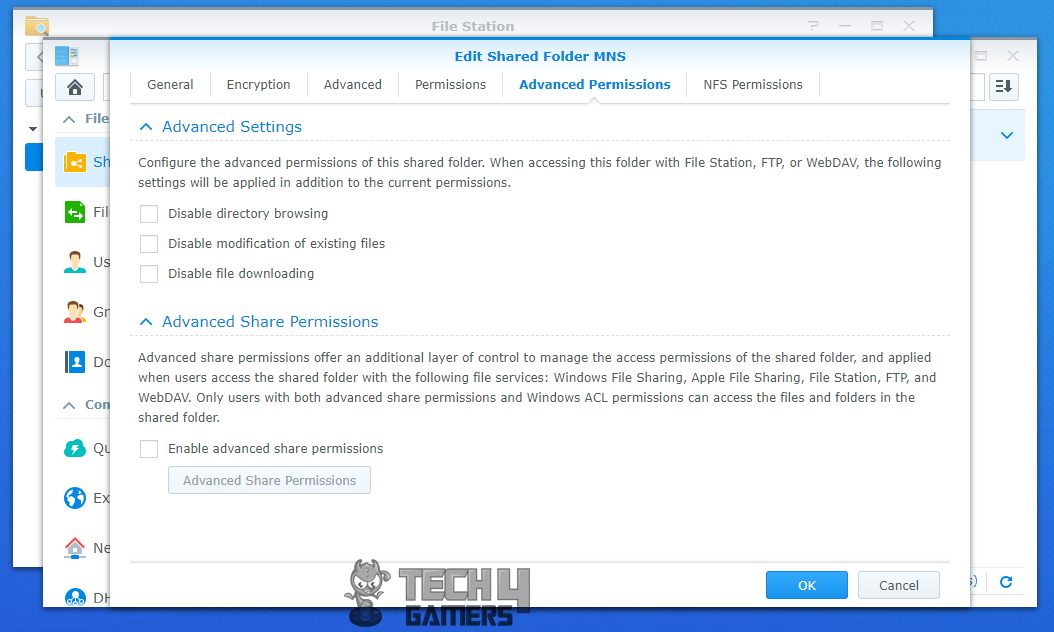
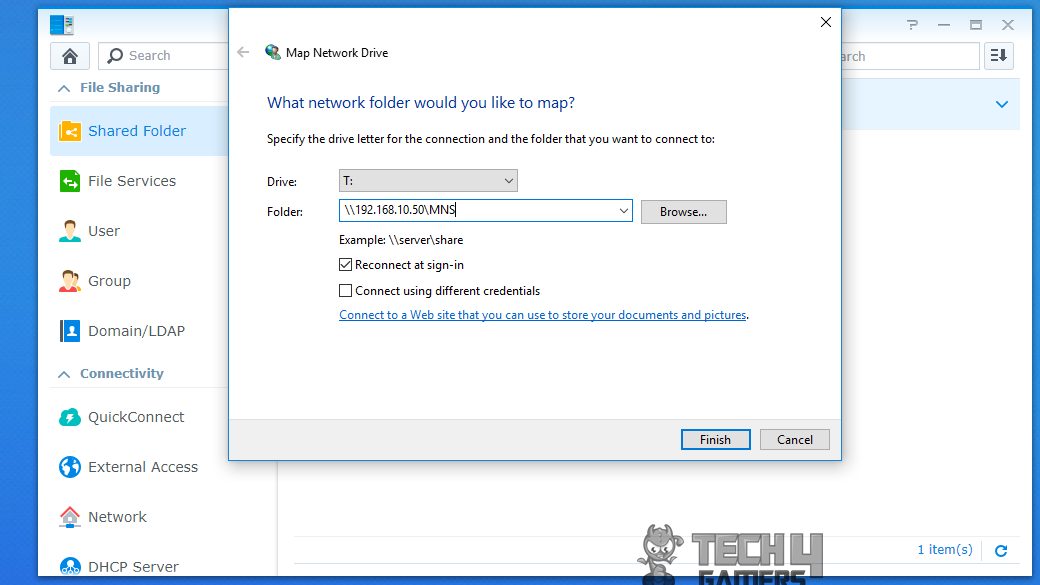
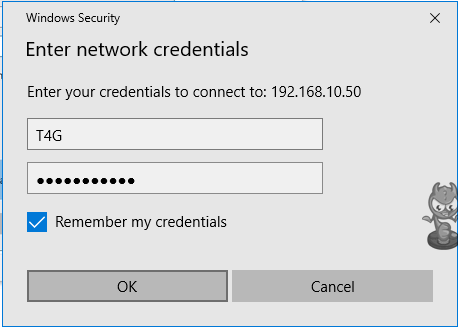
How To Create Shared Folder
Let me show you how to create a shared folder on your NAS disk drives using File Station.


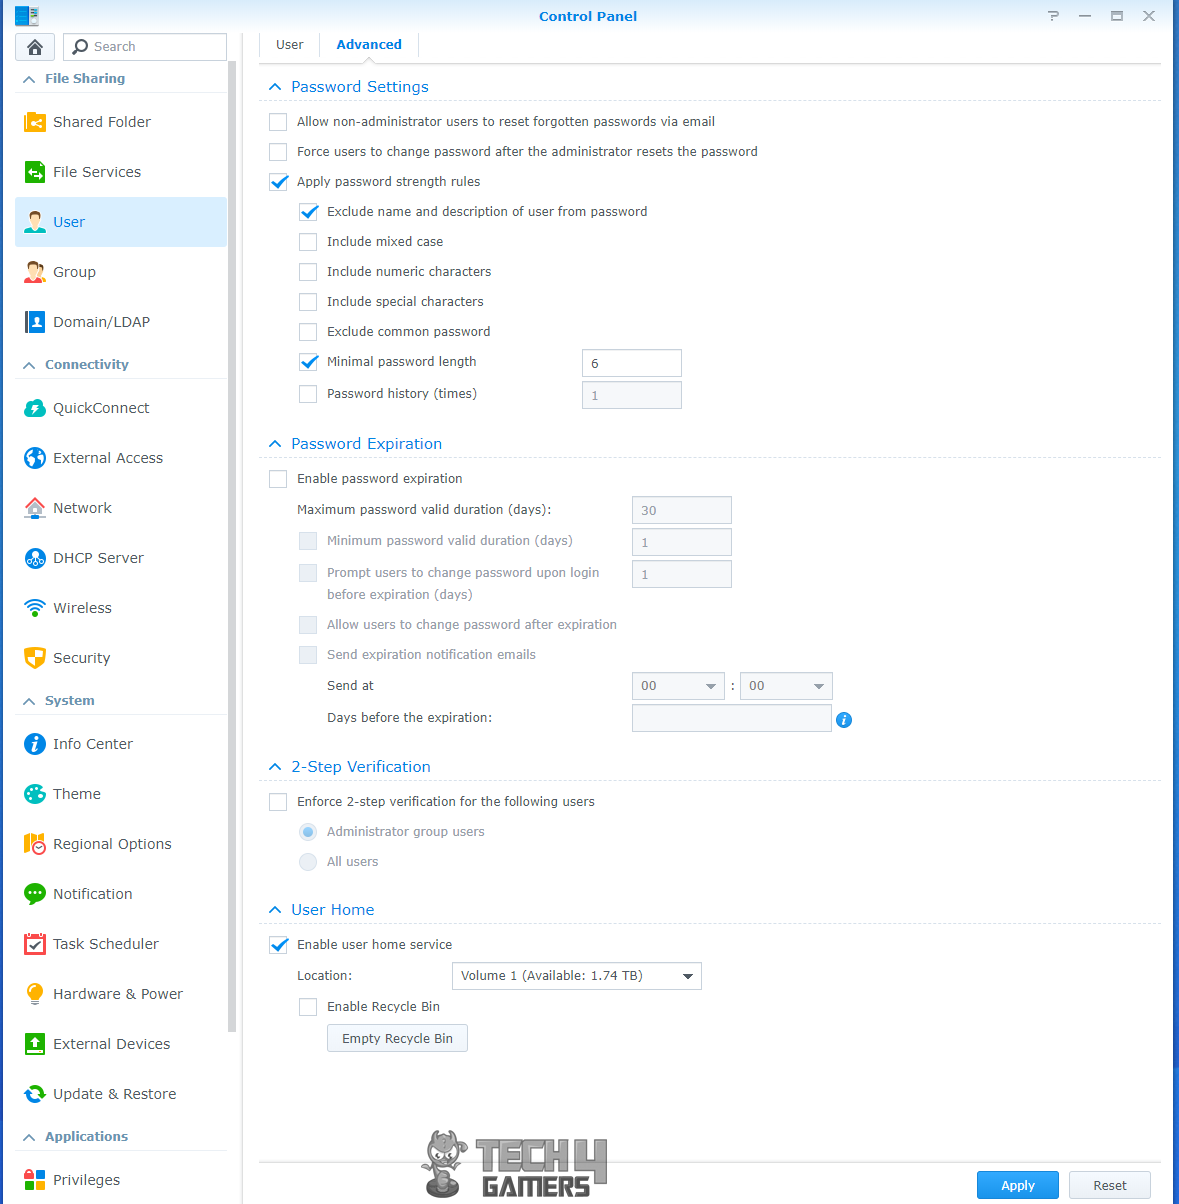
Control Panel
Before digging into the Hyper Backup, let’s take a quick look at the Control Panel. Much like Windows’ Control Panel, the DSM’s Control Panel gives full control over your Disk Station. For each and every setting, this is the place you need to be in. Again, I would not be going into details of each and every option as it is simply not possible to cover all. A bit brief is what is coming below.
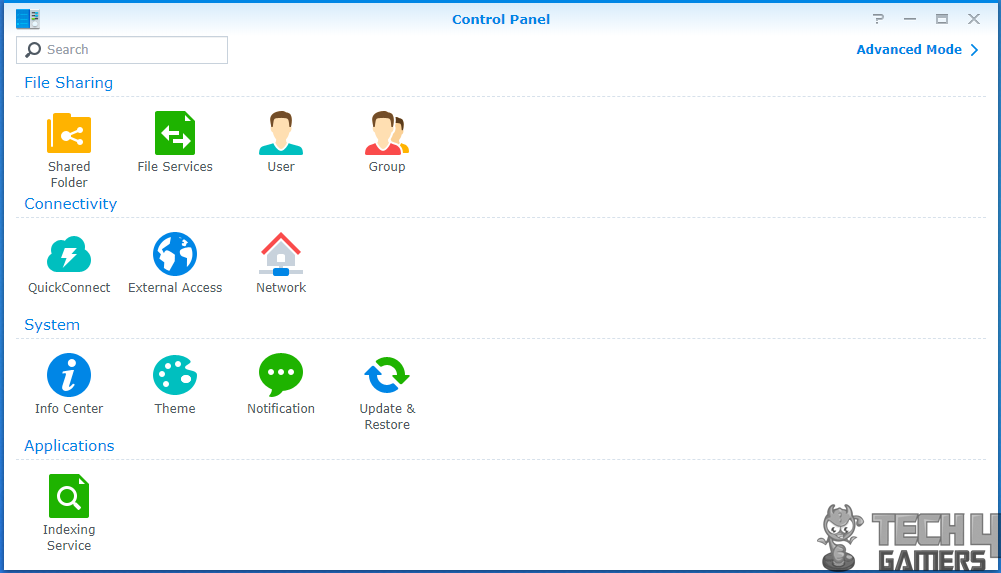
Click on the Control panel on the desktop or alternatively access it from the main menu. The main window shows four categories which are File Sharing, Connectivity, System, Applications. Basic mode is loaded which can be switched to Advanced mode.
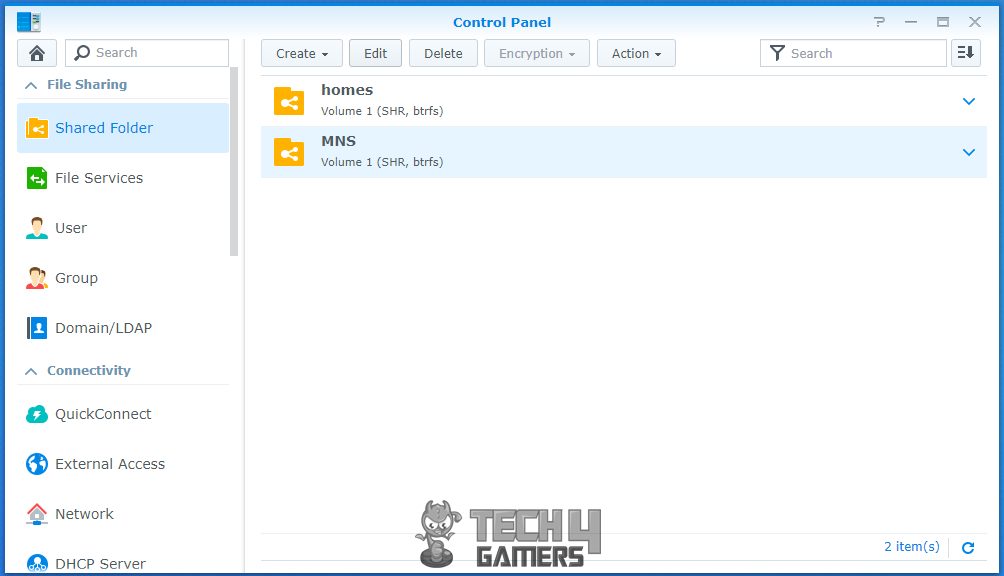
Shared Folder
Shared Folder-related settings can be found in this option. Since I have already covered these settings above, I won’t be repeating them here.
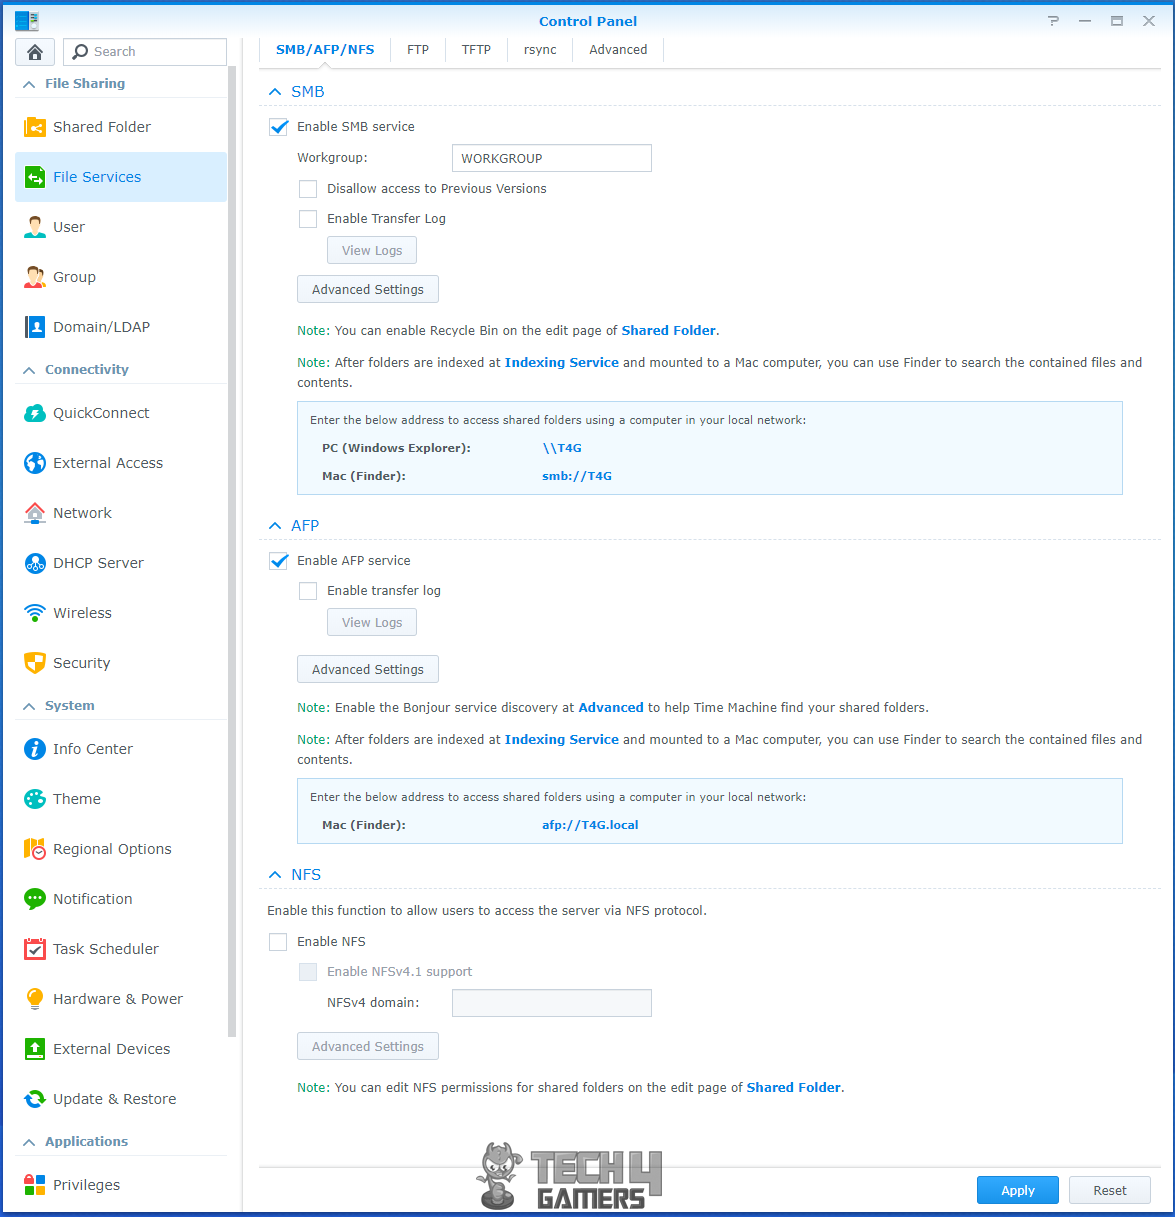
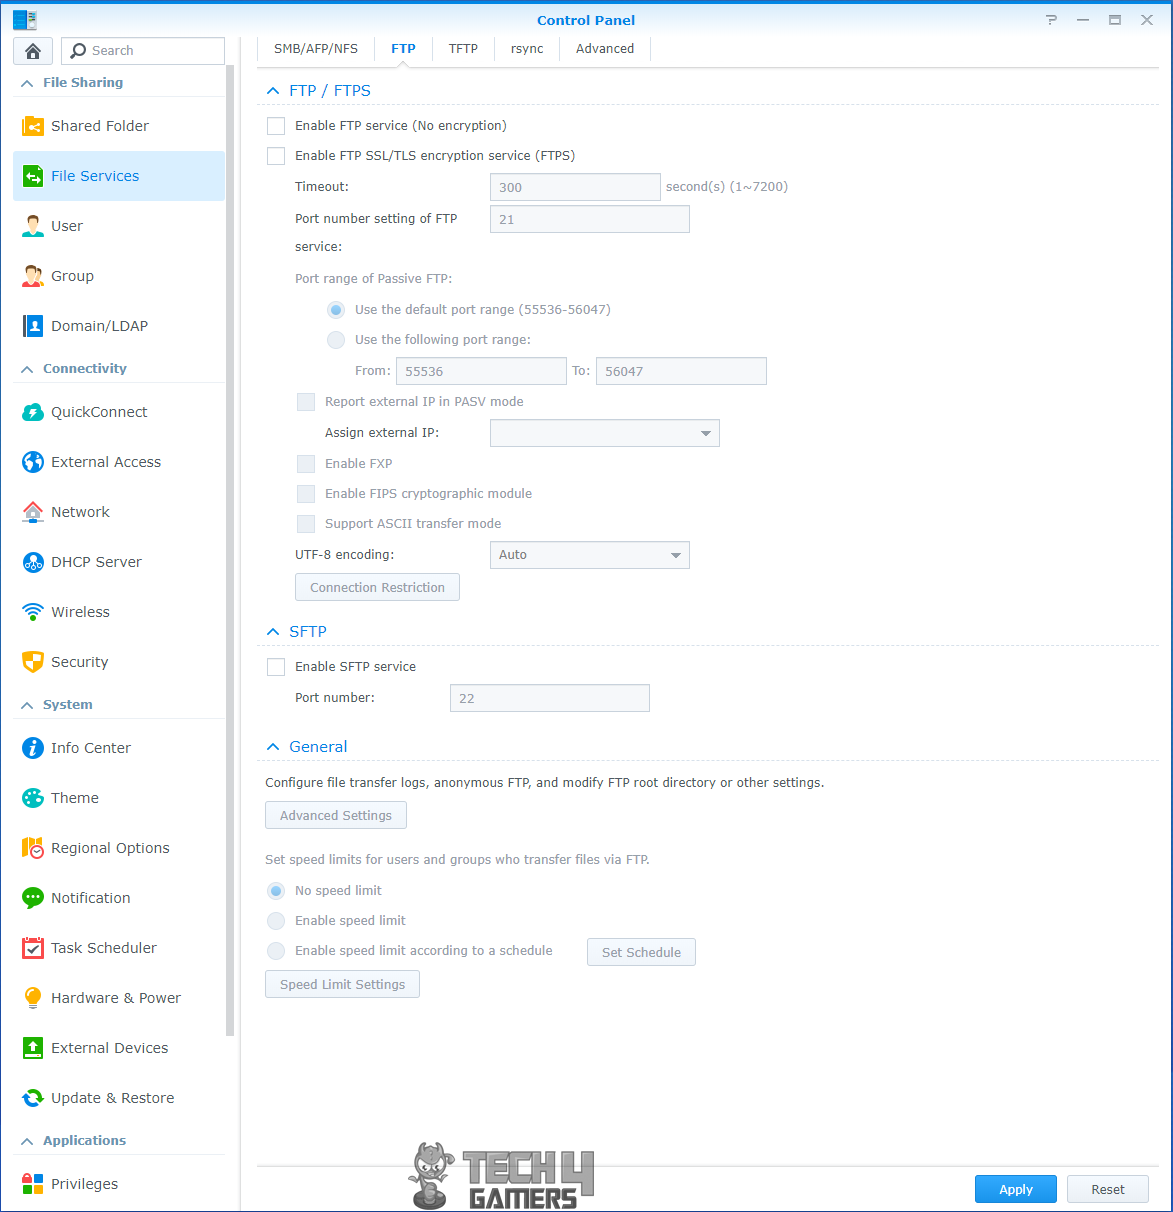
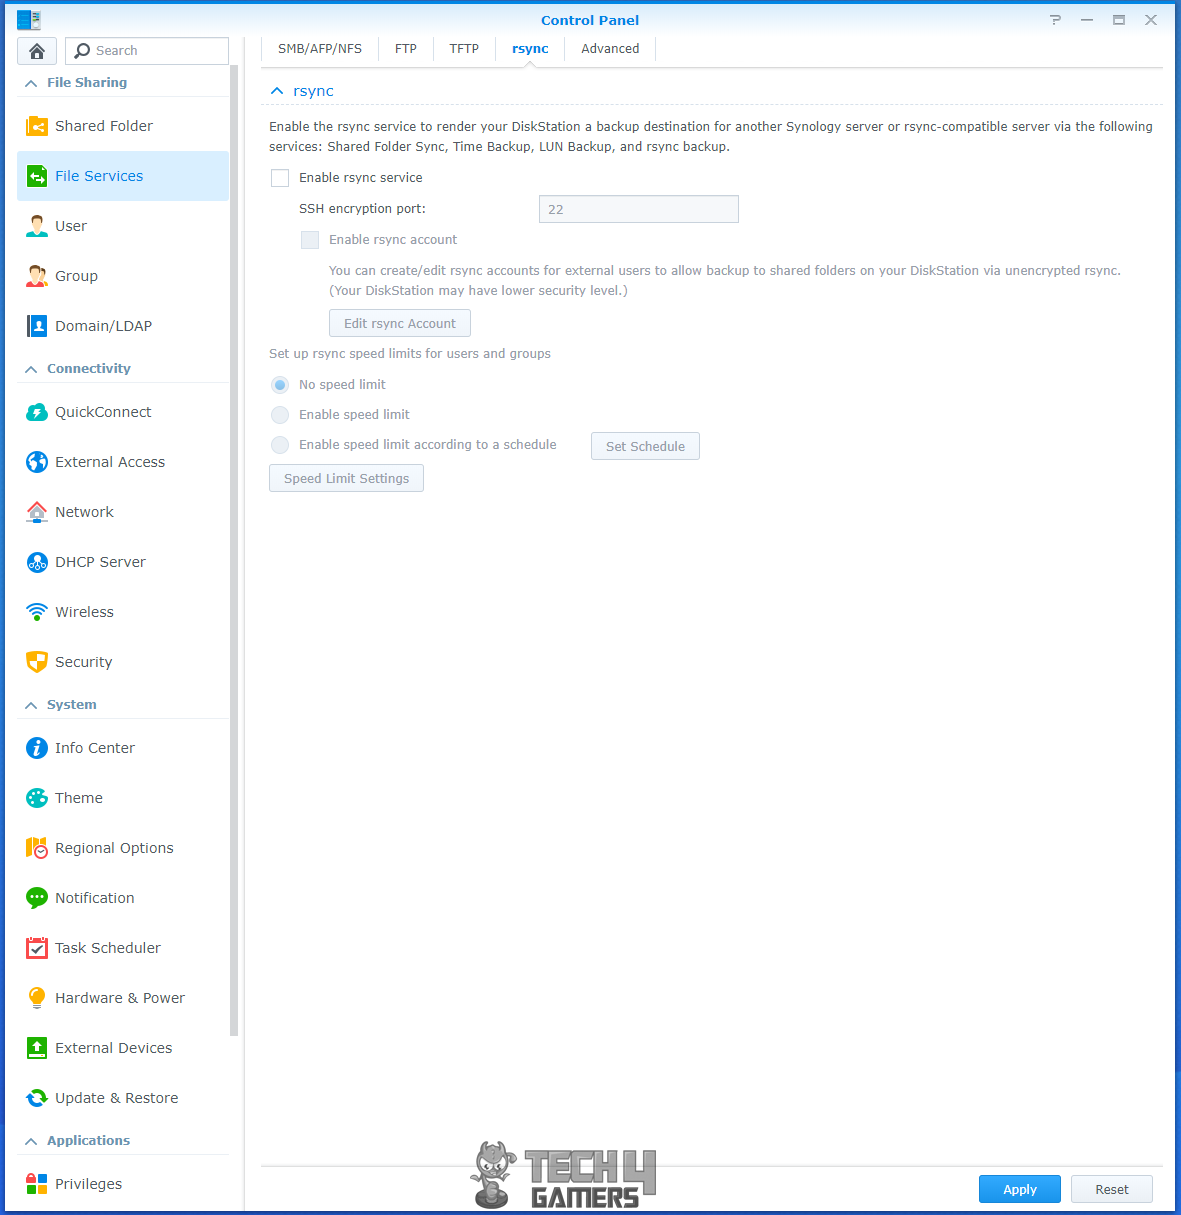
File Services
Here, you’ll find the file service and protocol-related settings.

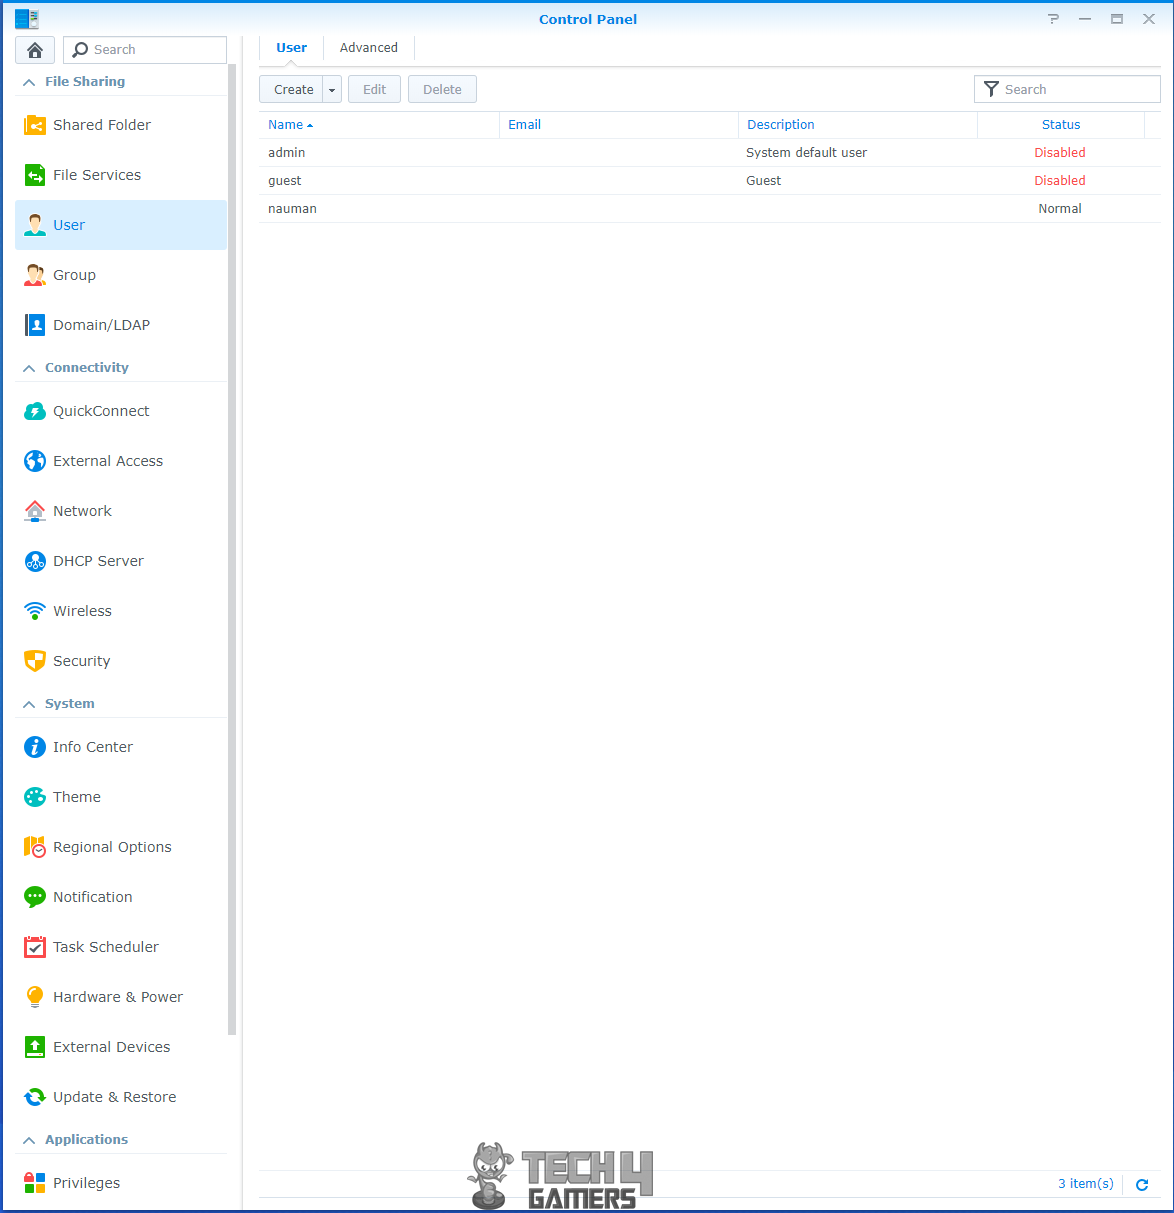
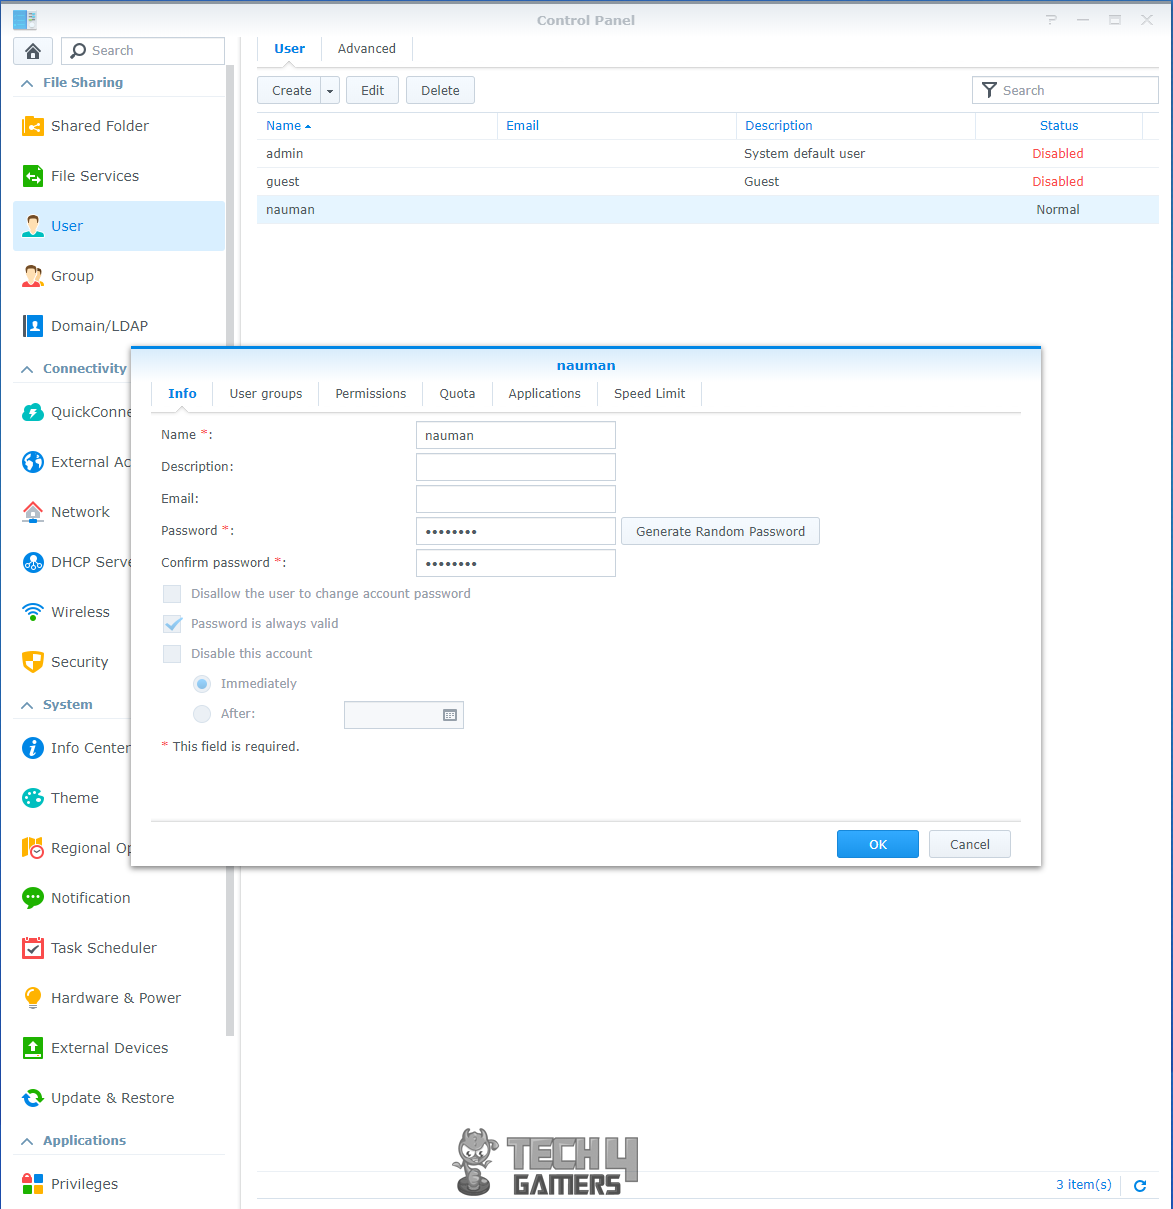
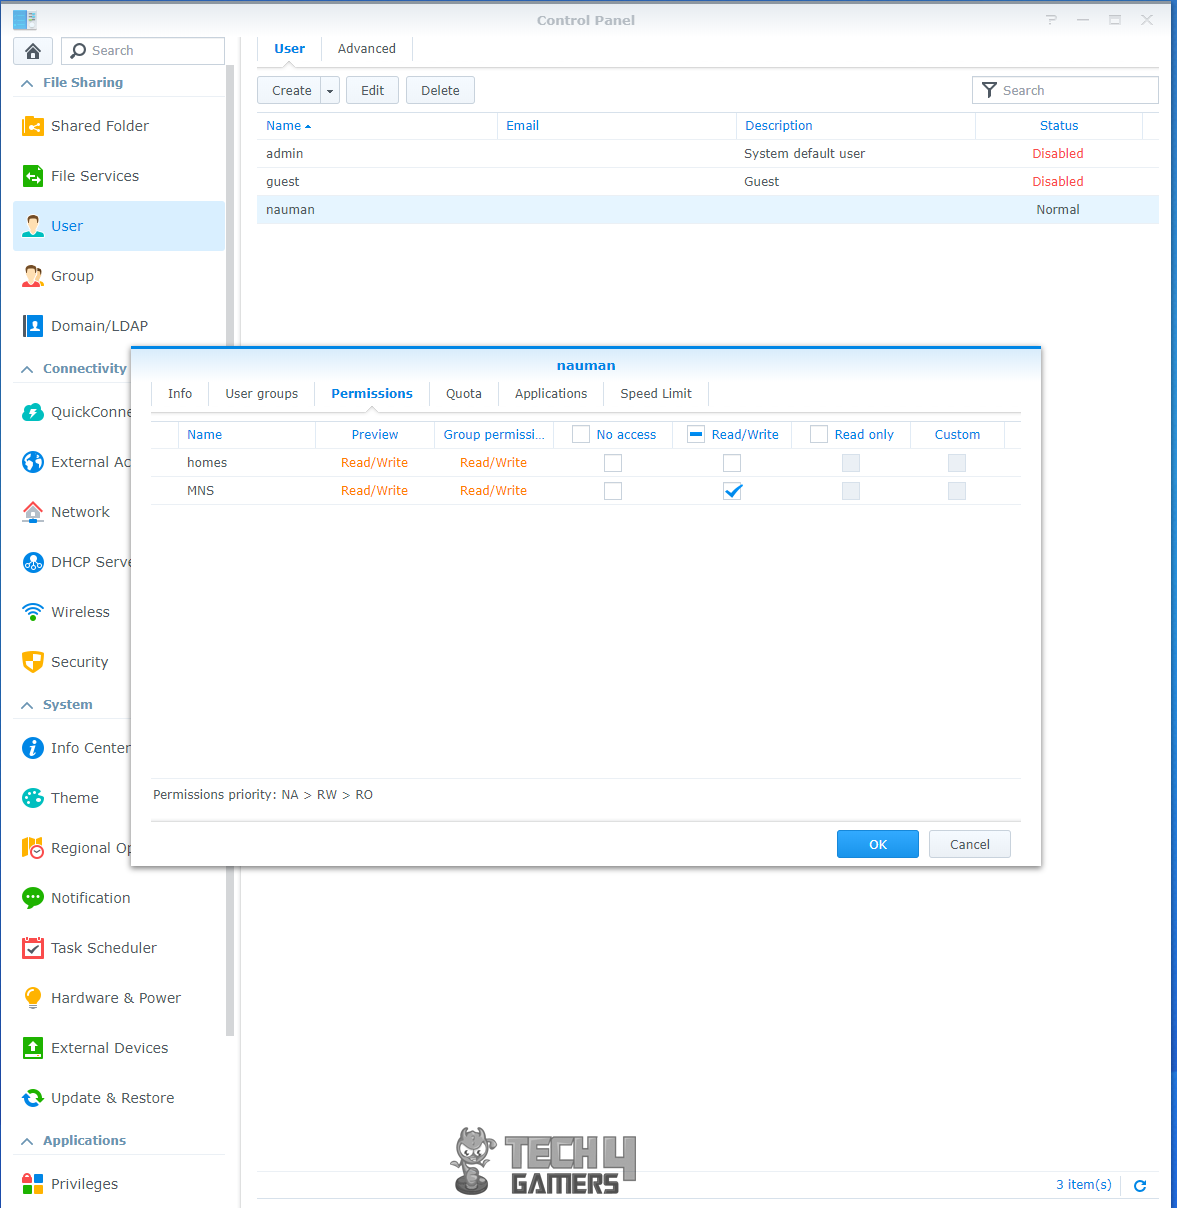
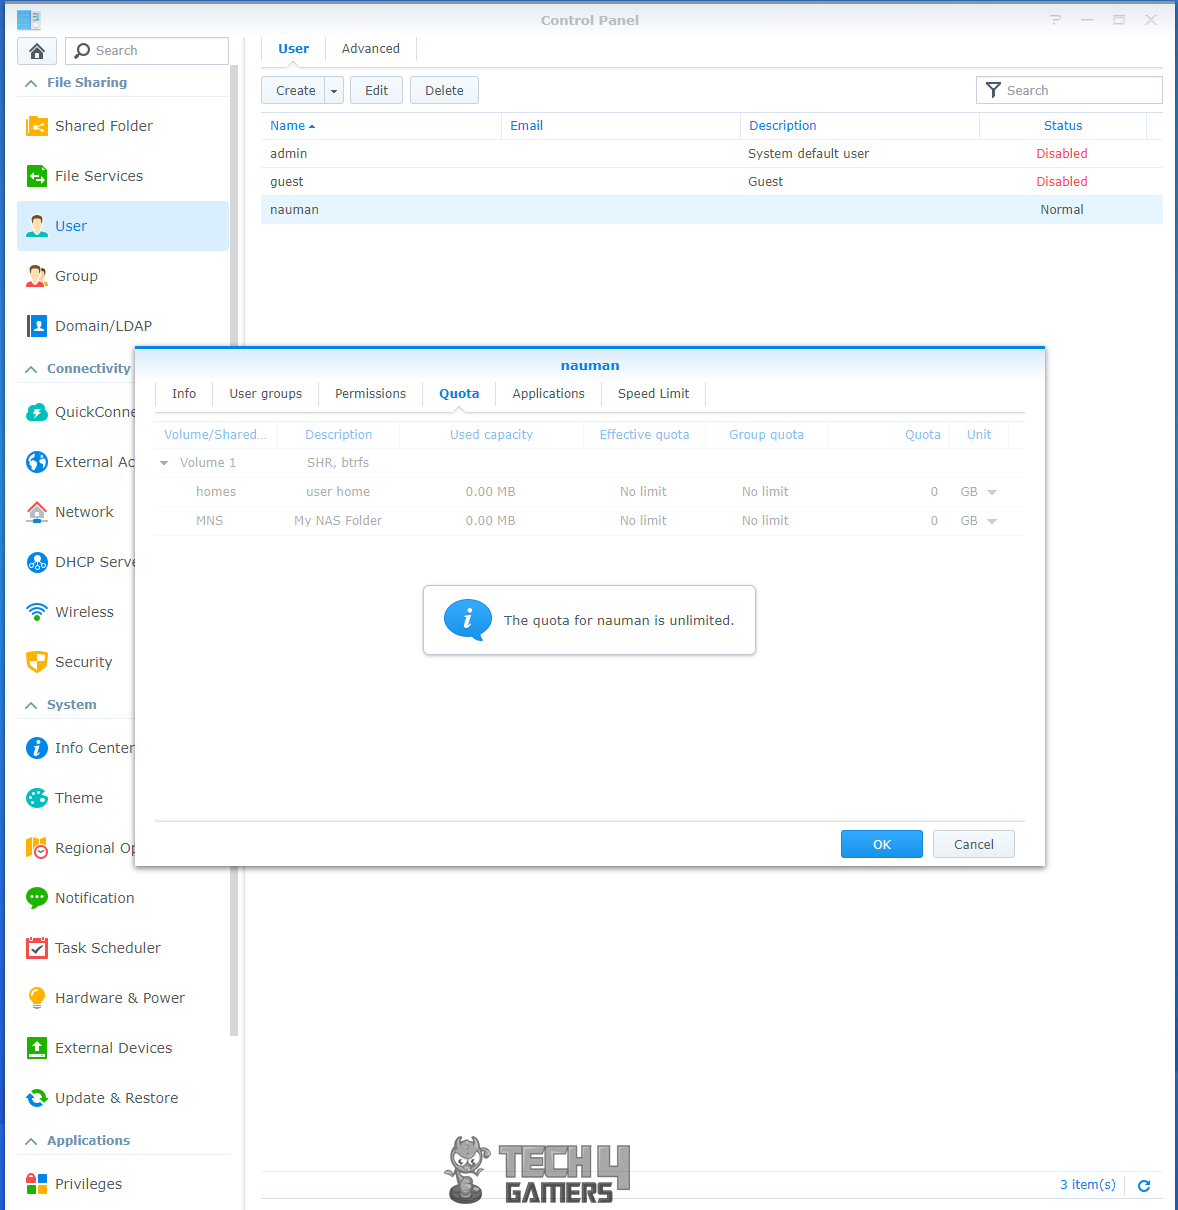
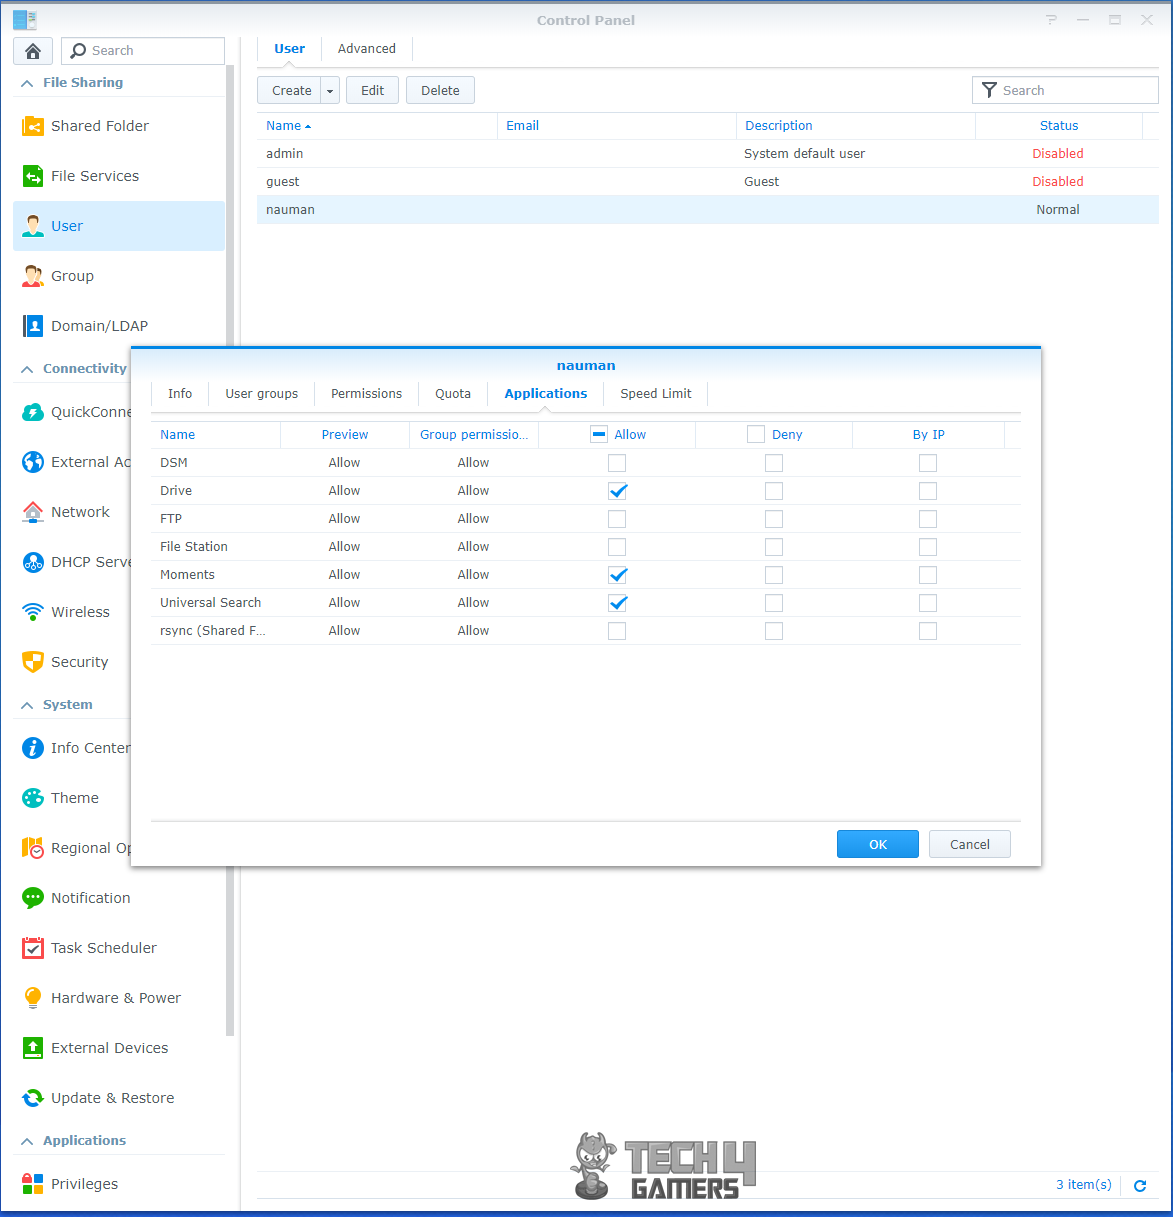
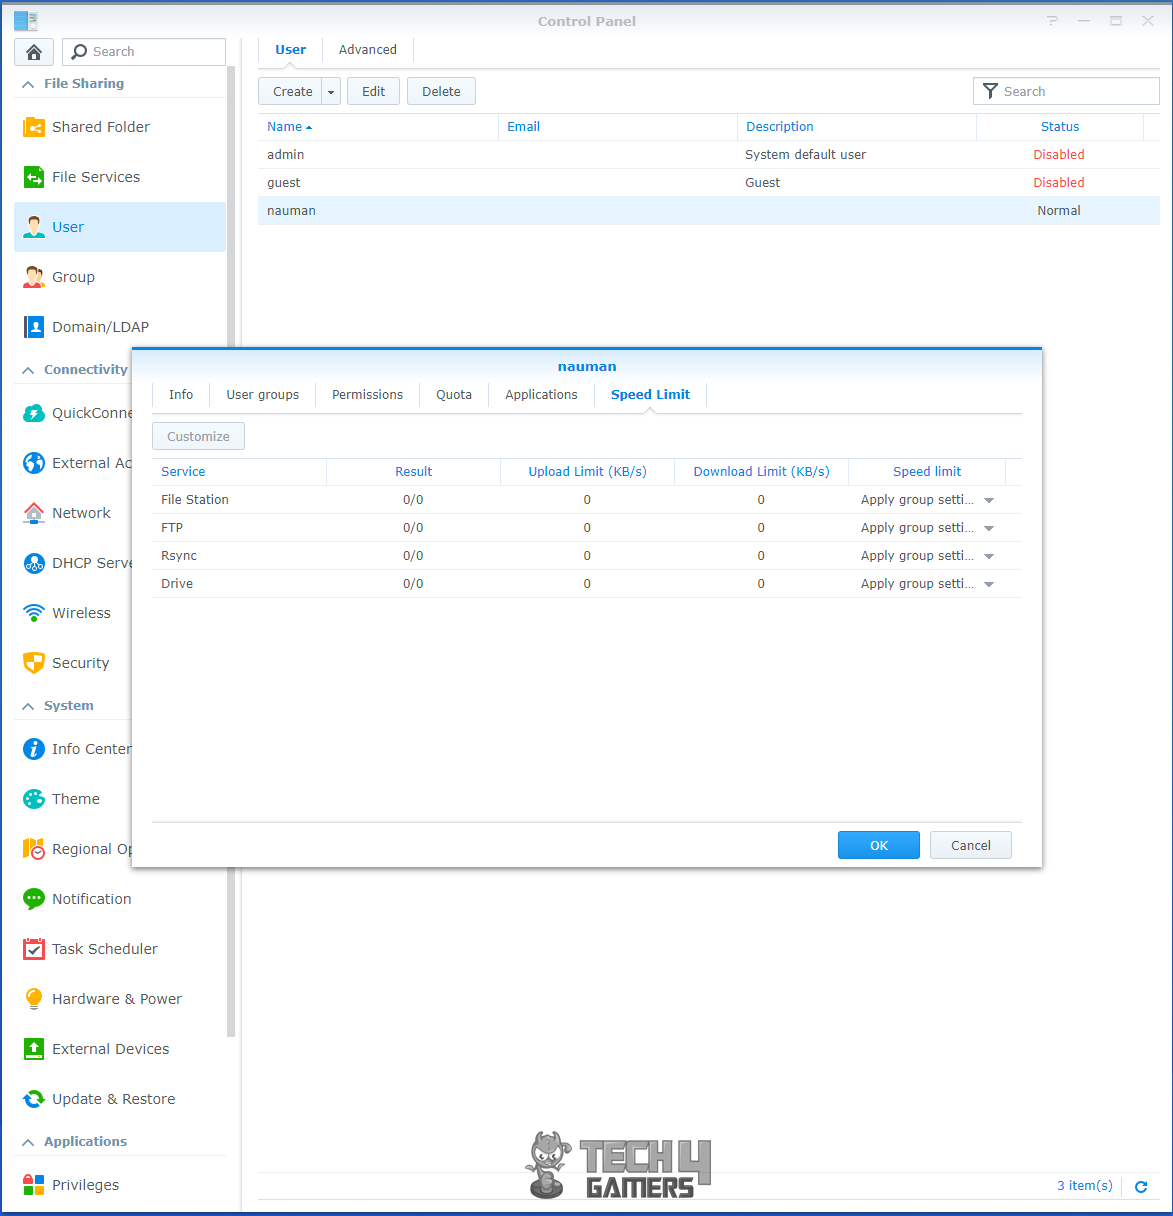
User
The user’s related settings can be found in the User section.

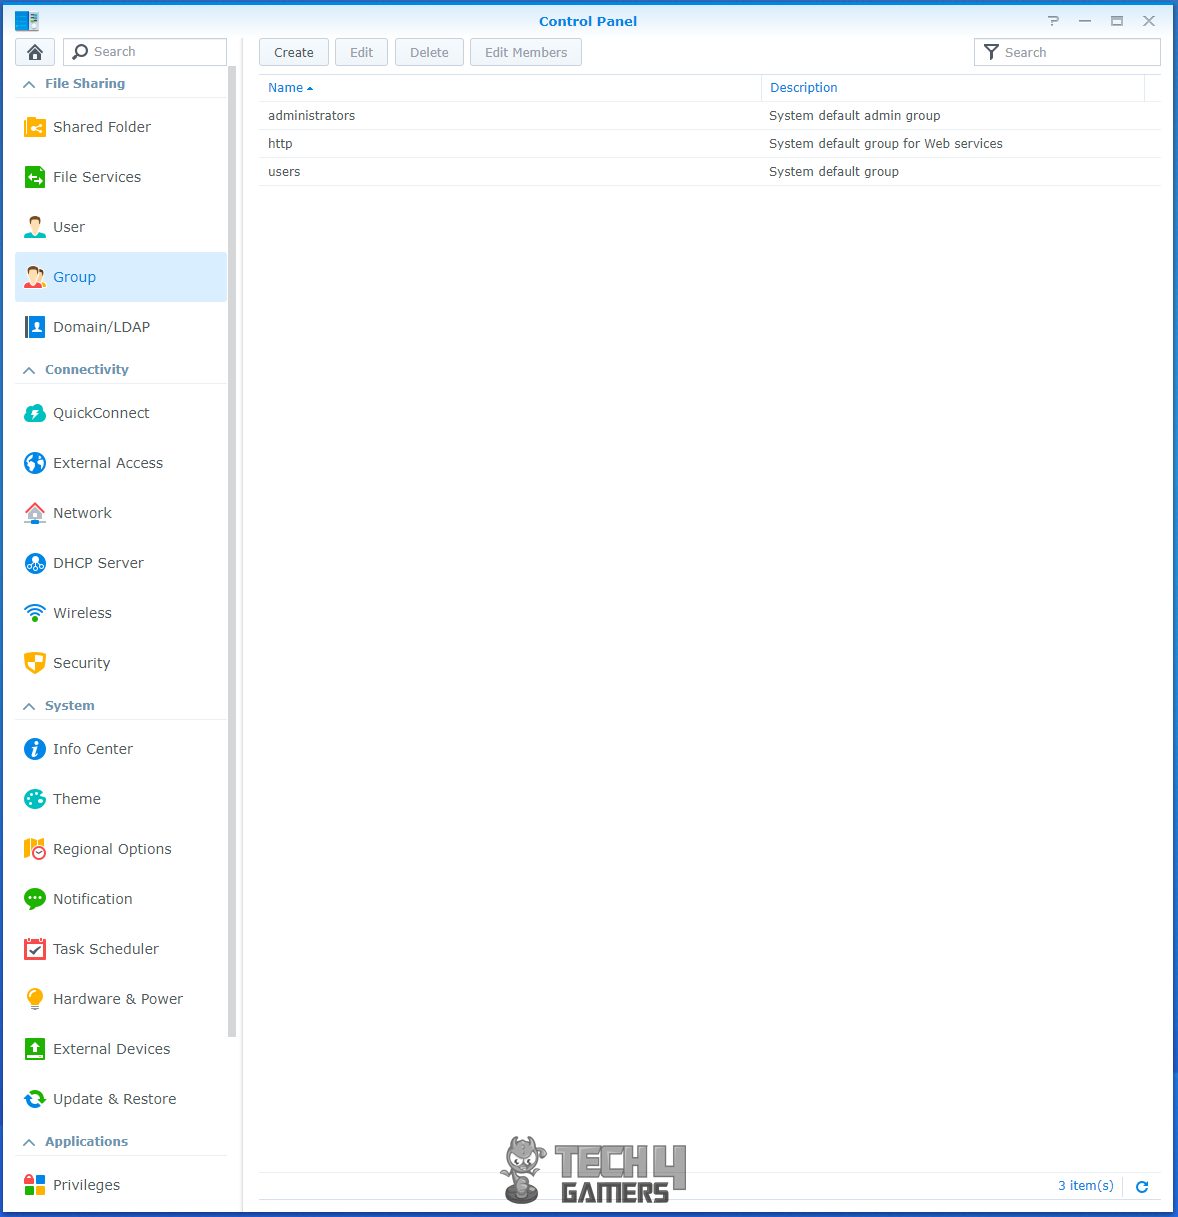
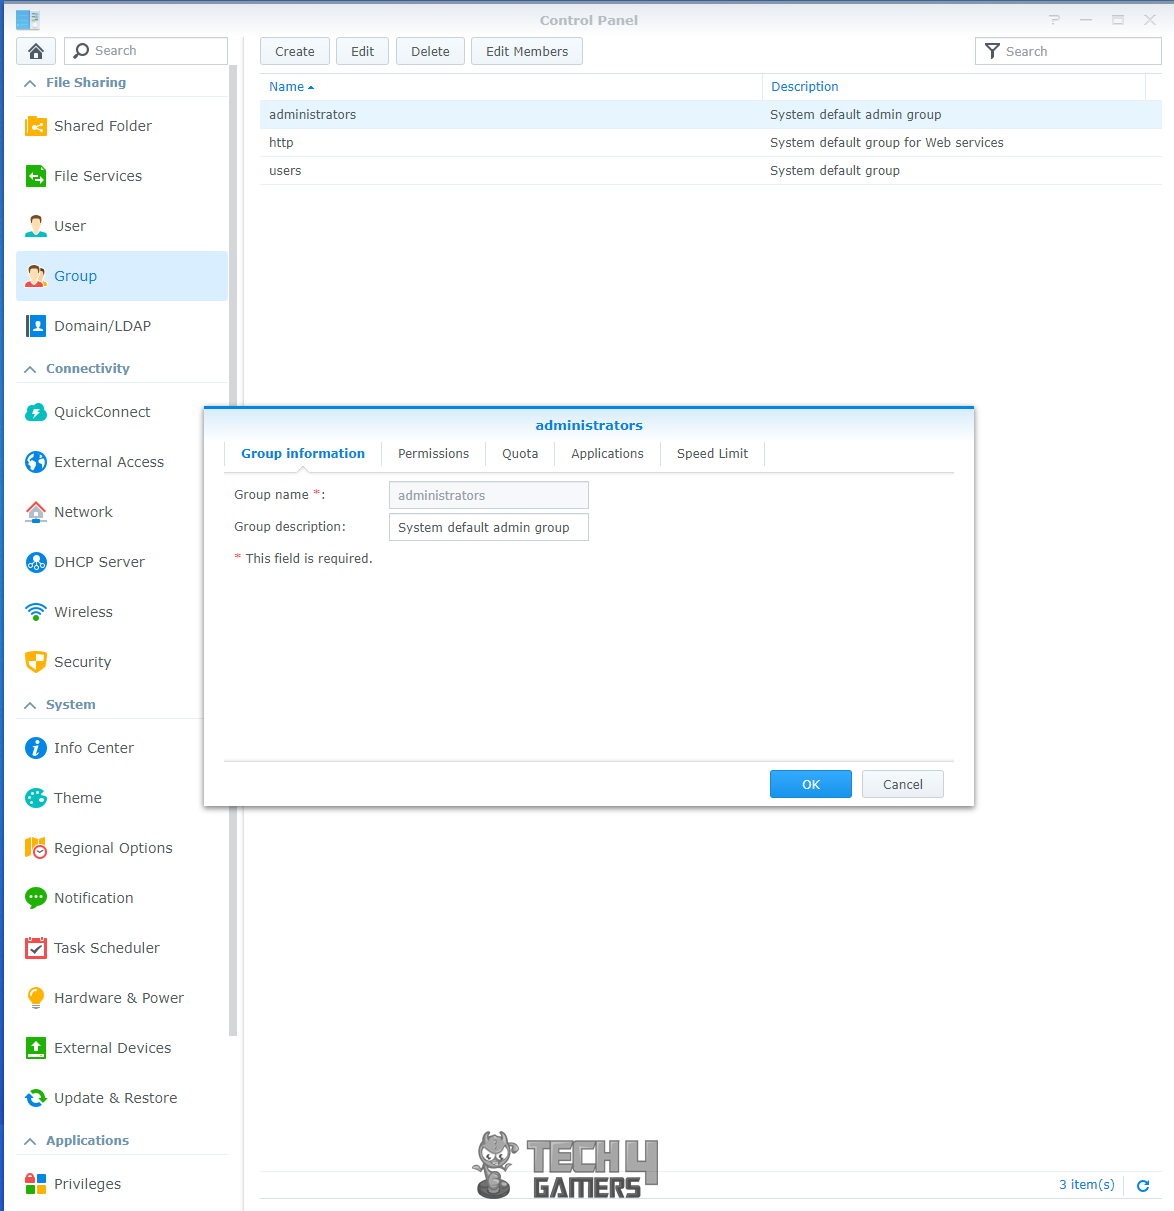
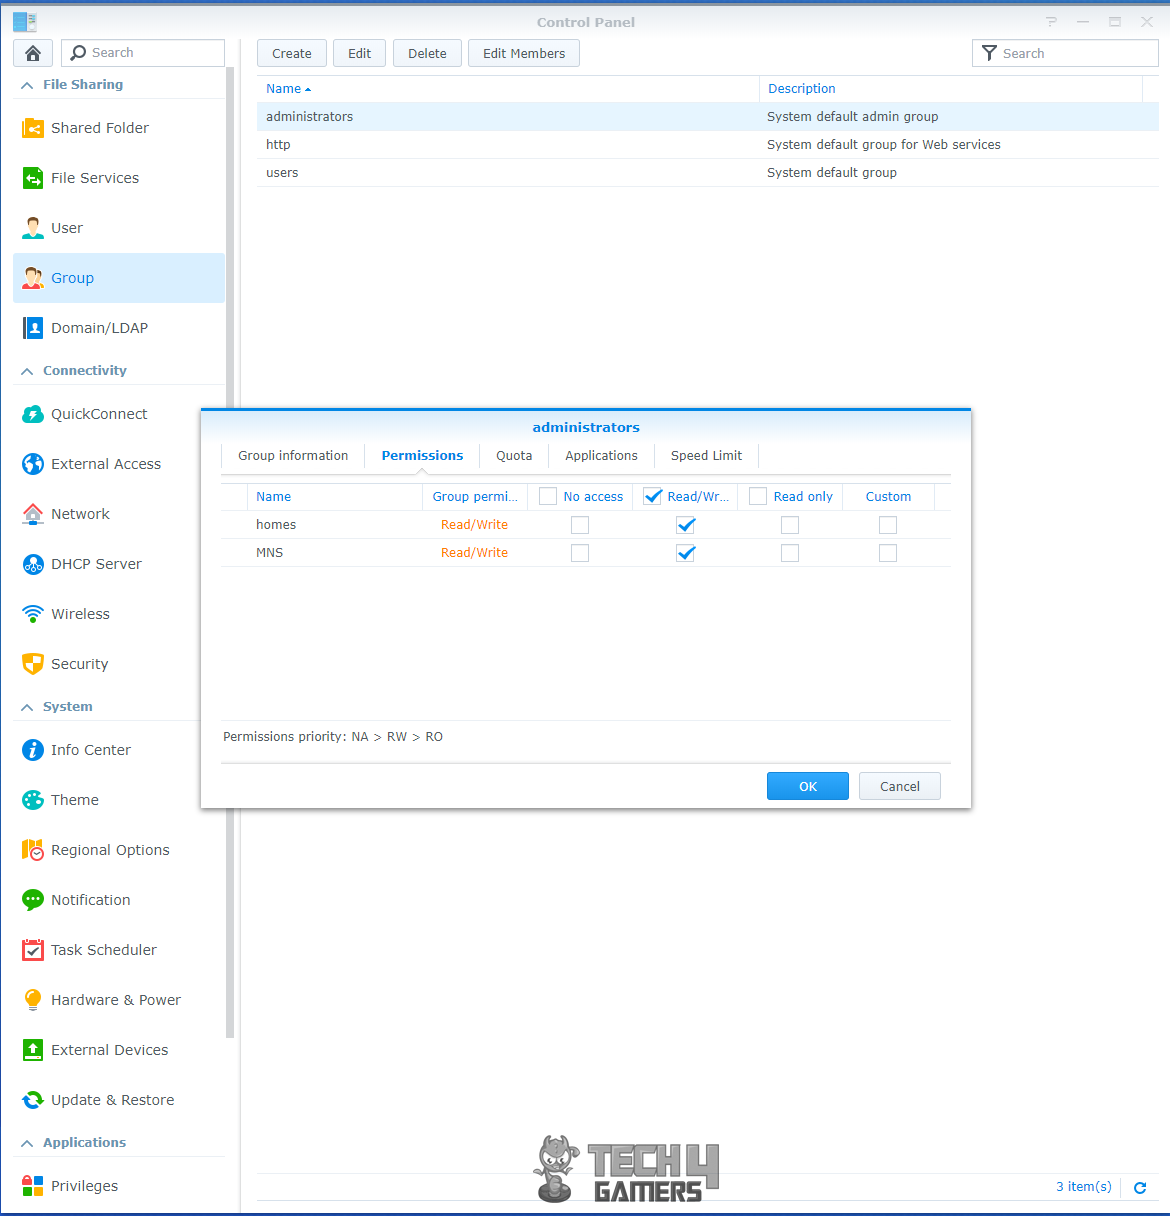
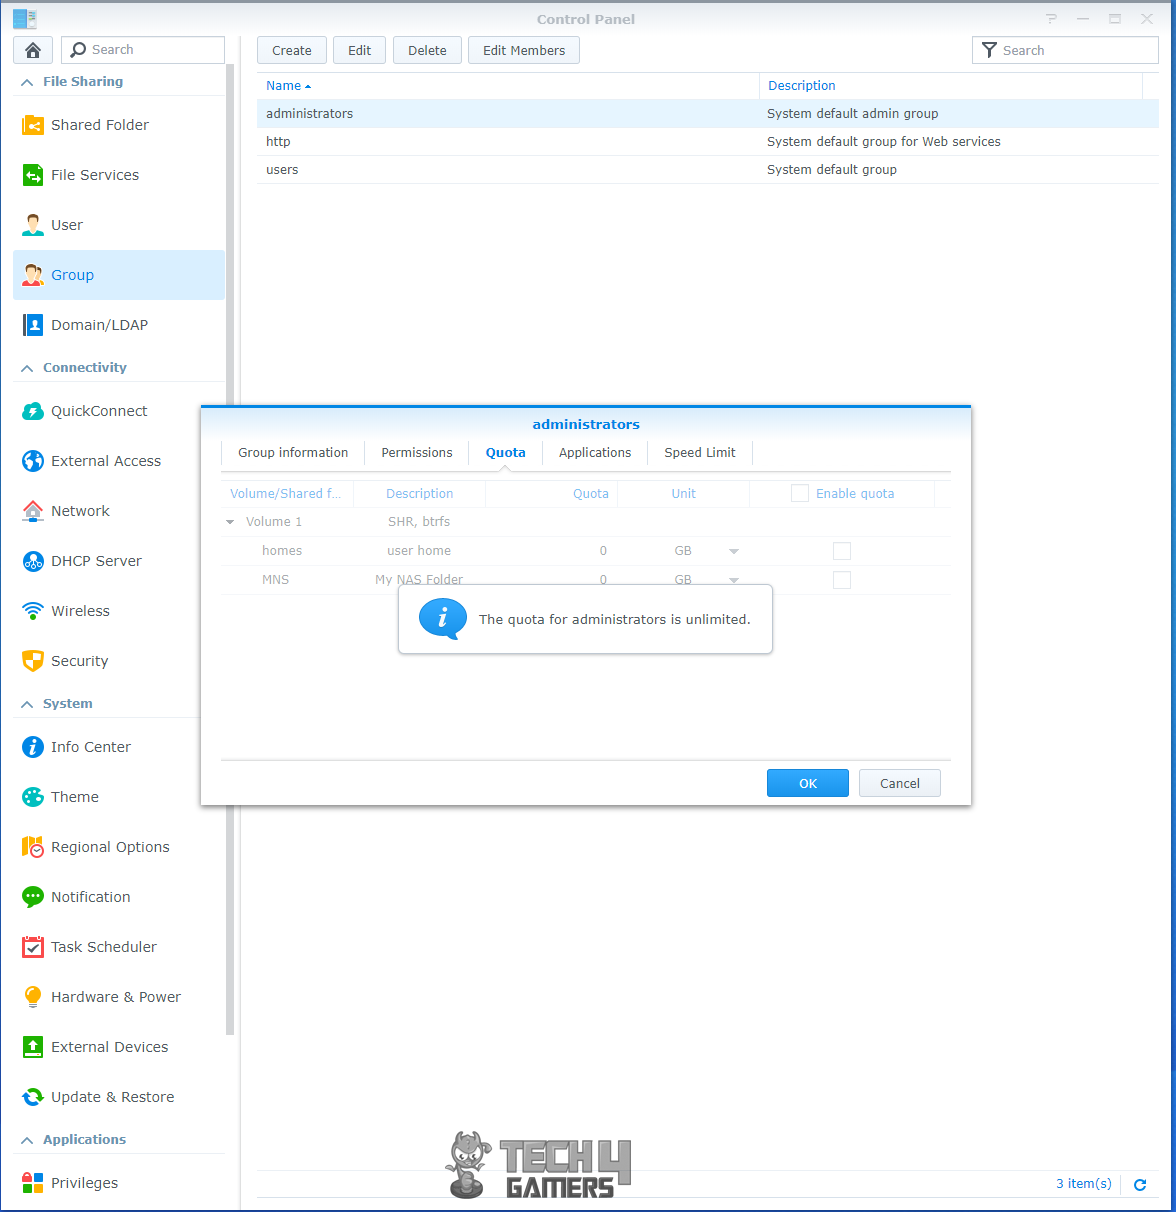
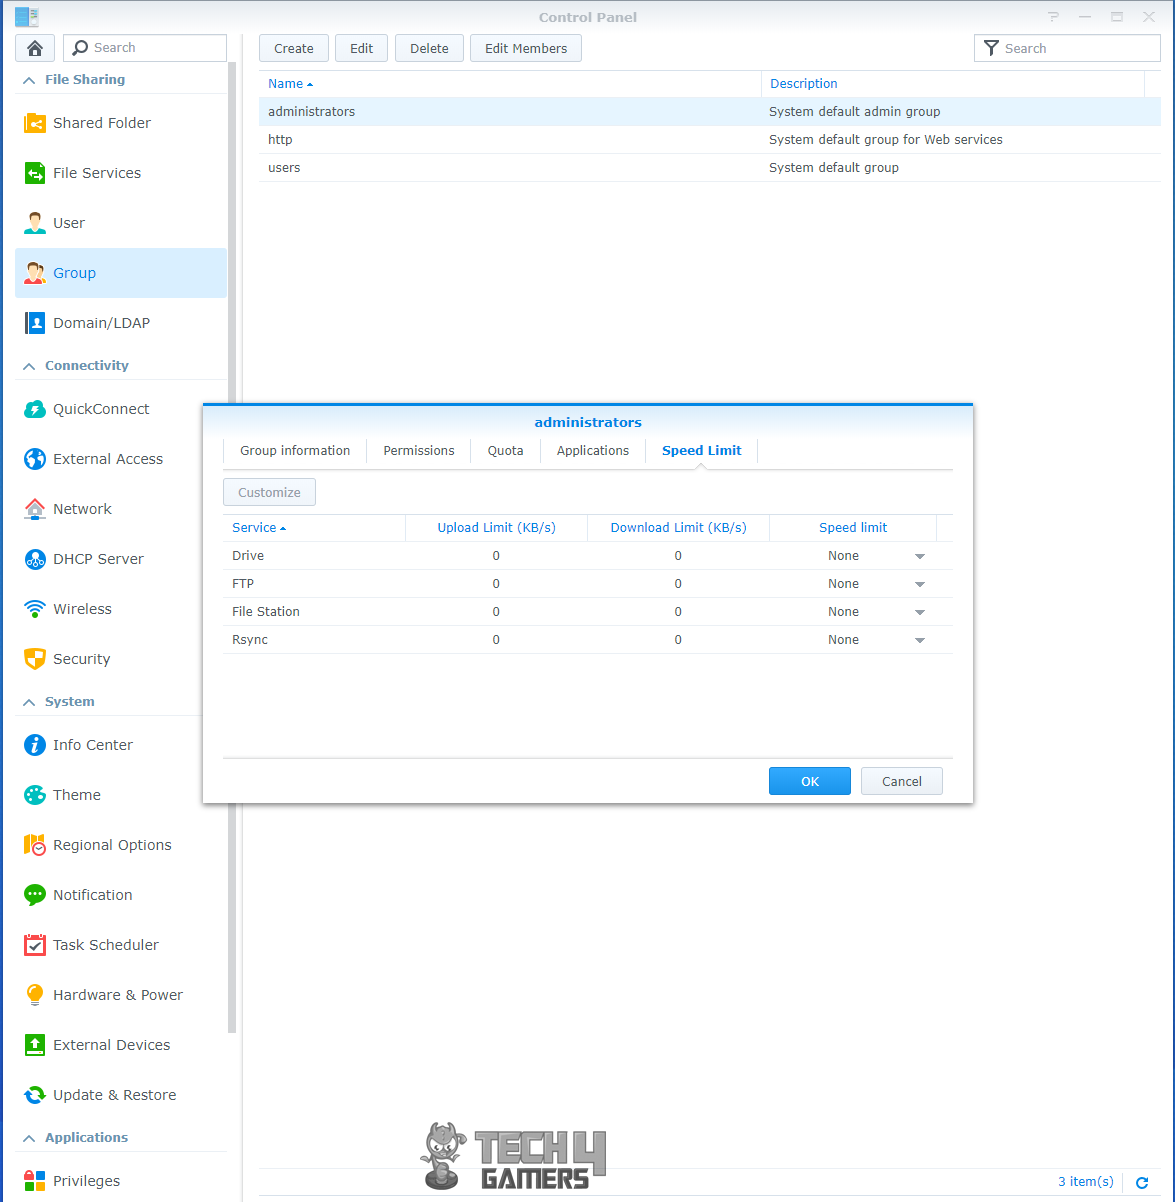
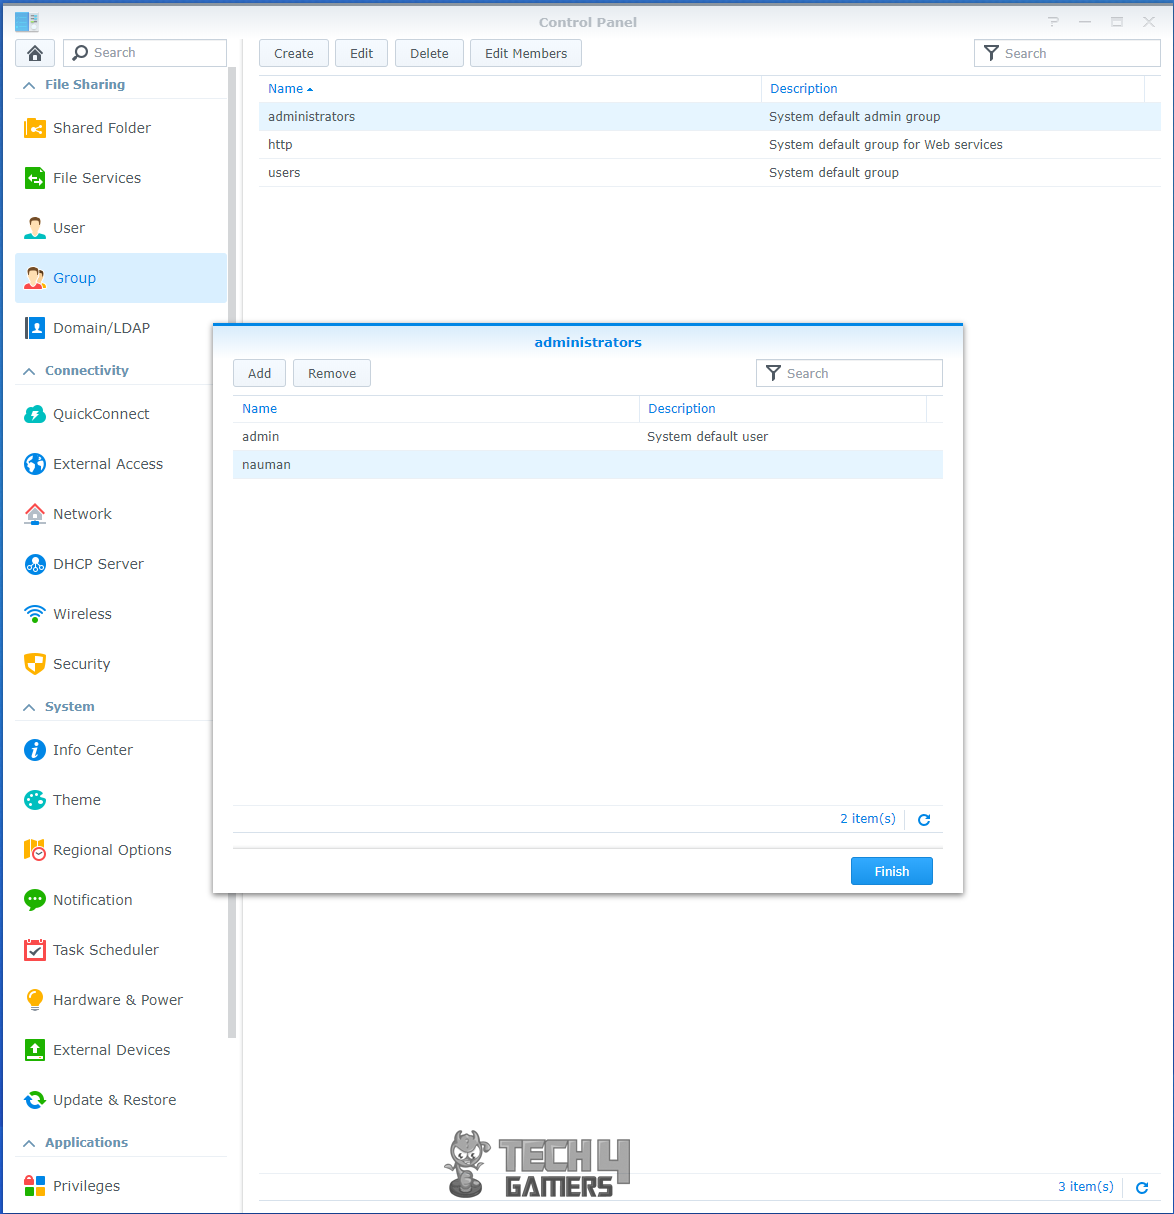
Group
The groups’ section lists the available groups. New groups can be created as per the requirement and existing can be modified.

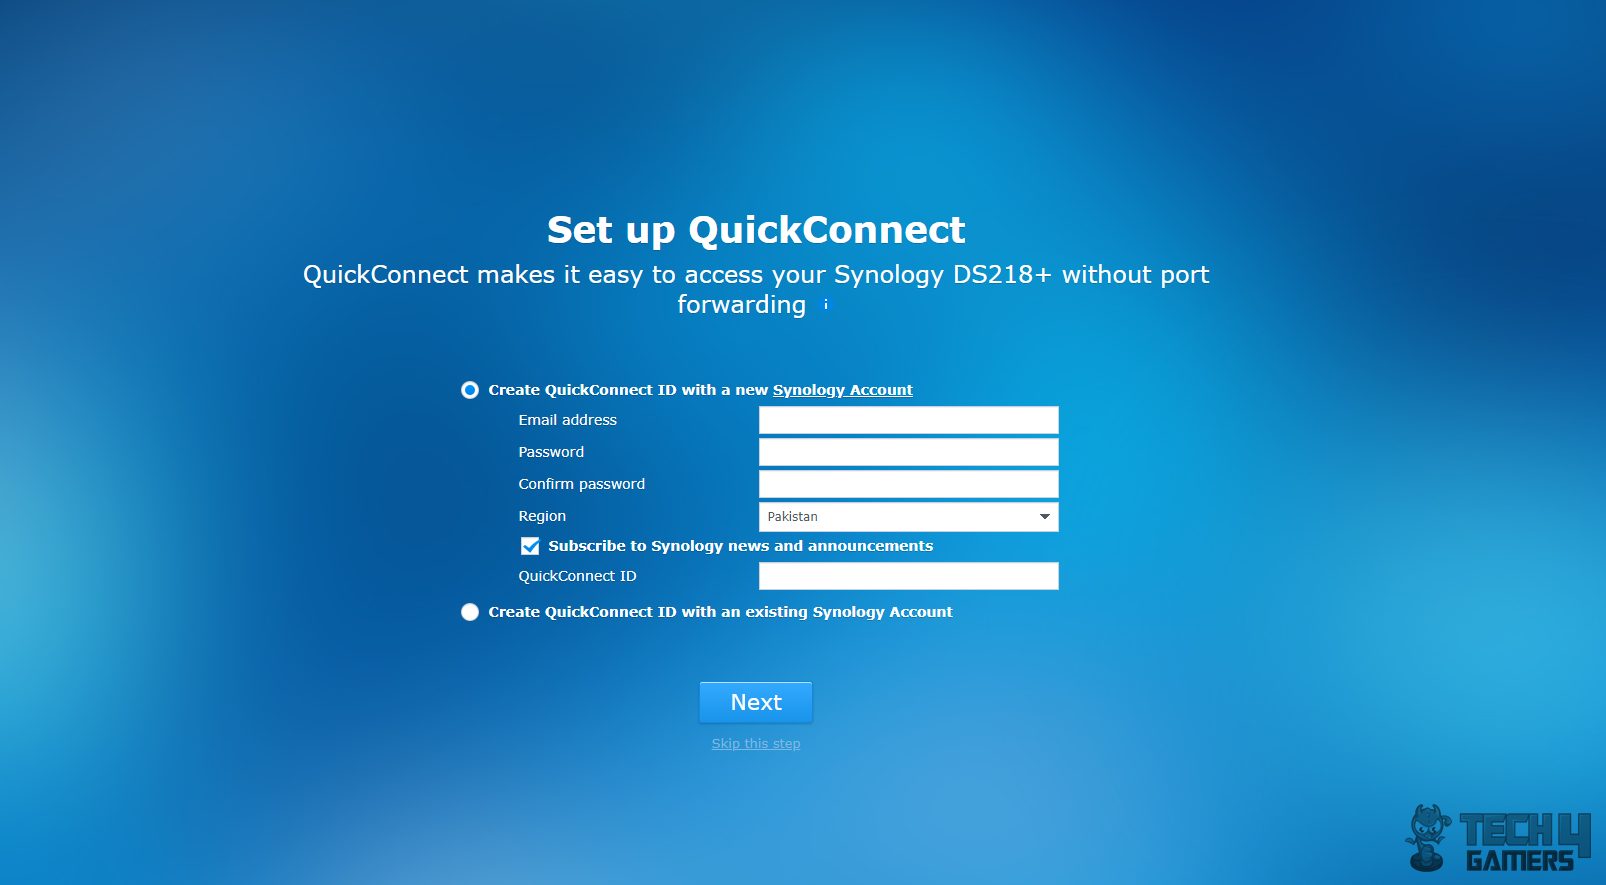
QuickConnect
The user can enable the QuickConnect from the control panel under Connectivity options.
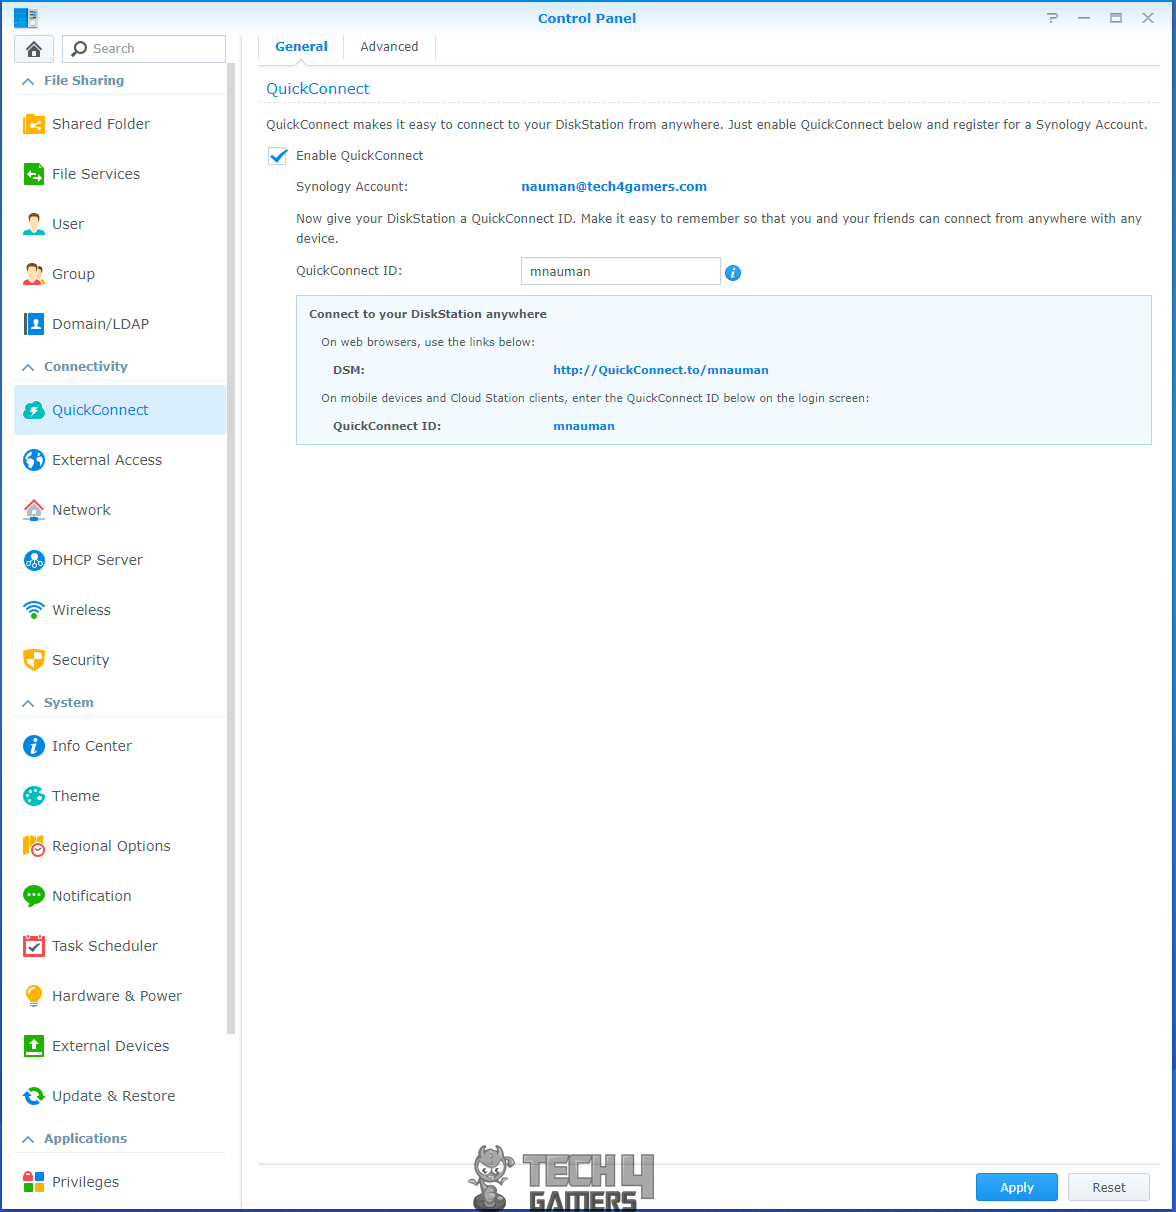
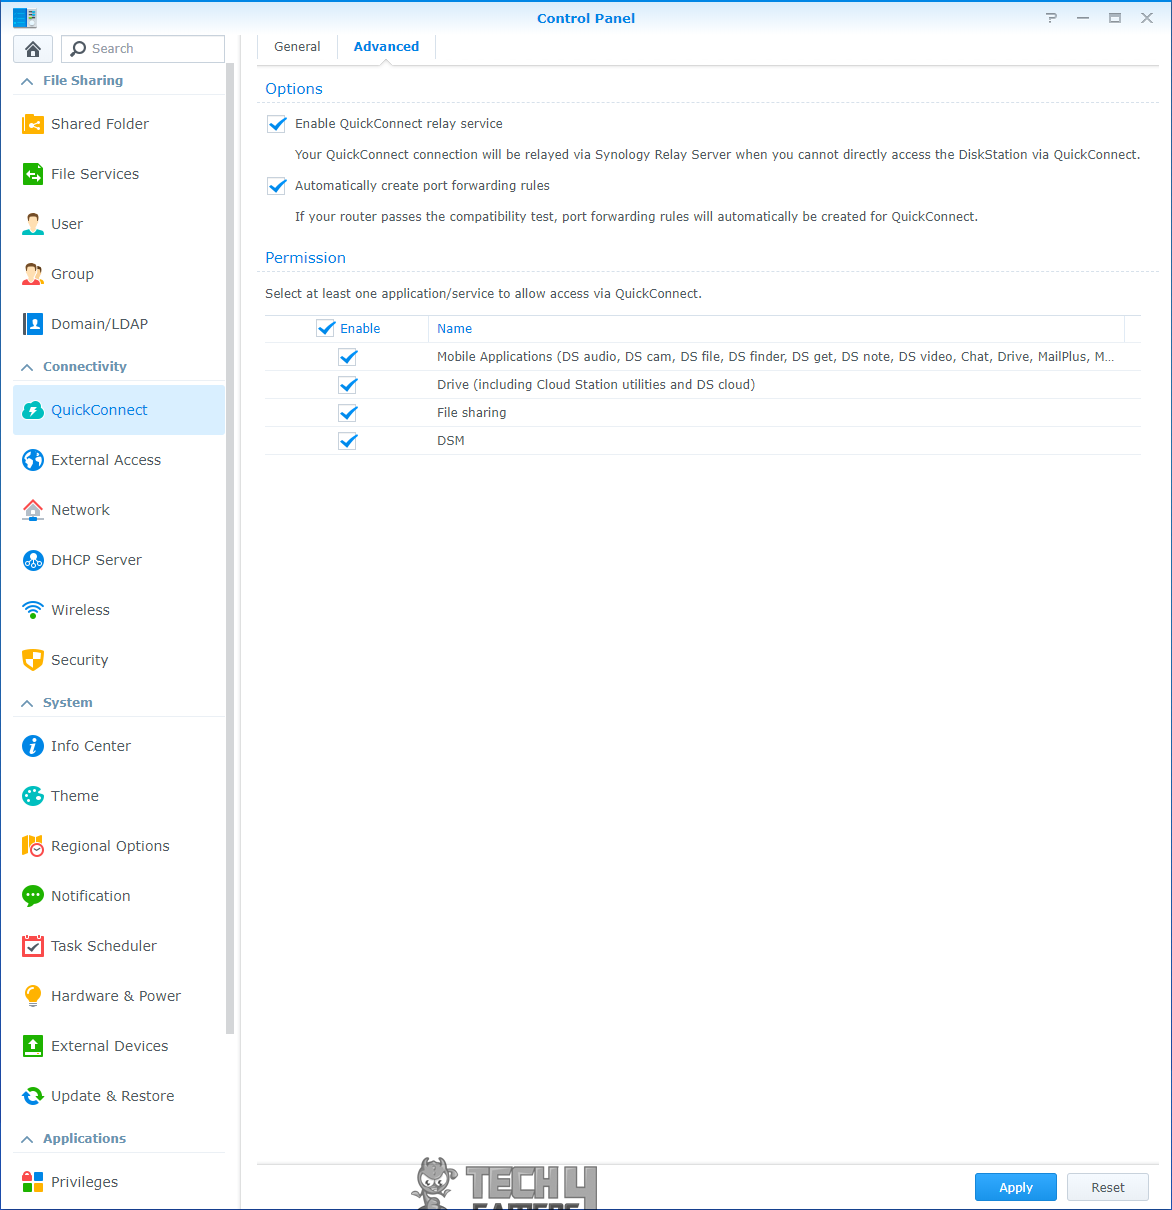
Your DiskStation NAS account’s information will be shown in addition to your QuickConnect ID for connecting from the remote devices and from DSM. Advanced settings will allow setting permissions applications to establish a connection using the QuickConnect.
Without these permissions, the remote applications would not be able to establish a connection with your DiskStation. The user can also enable the Synology relay server to be used in case direct connection can’t be established. Port forwarding rules for QuickConnect can be set to be generated automatically if the router supports Port Forwarding.
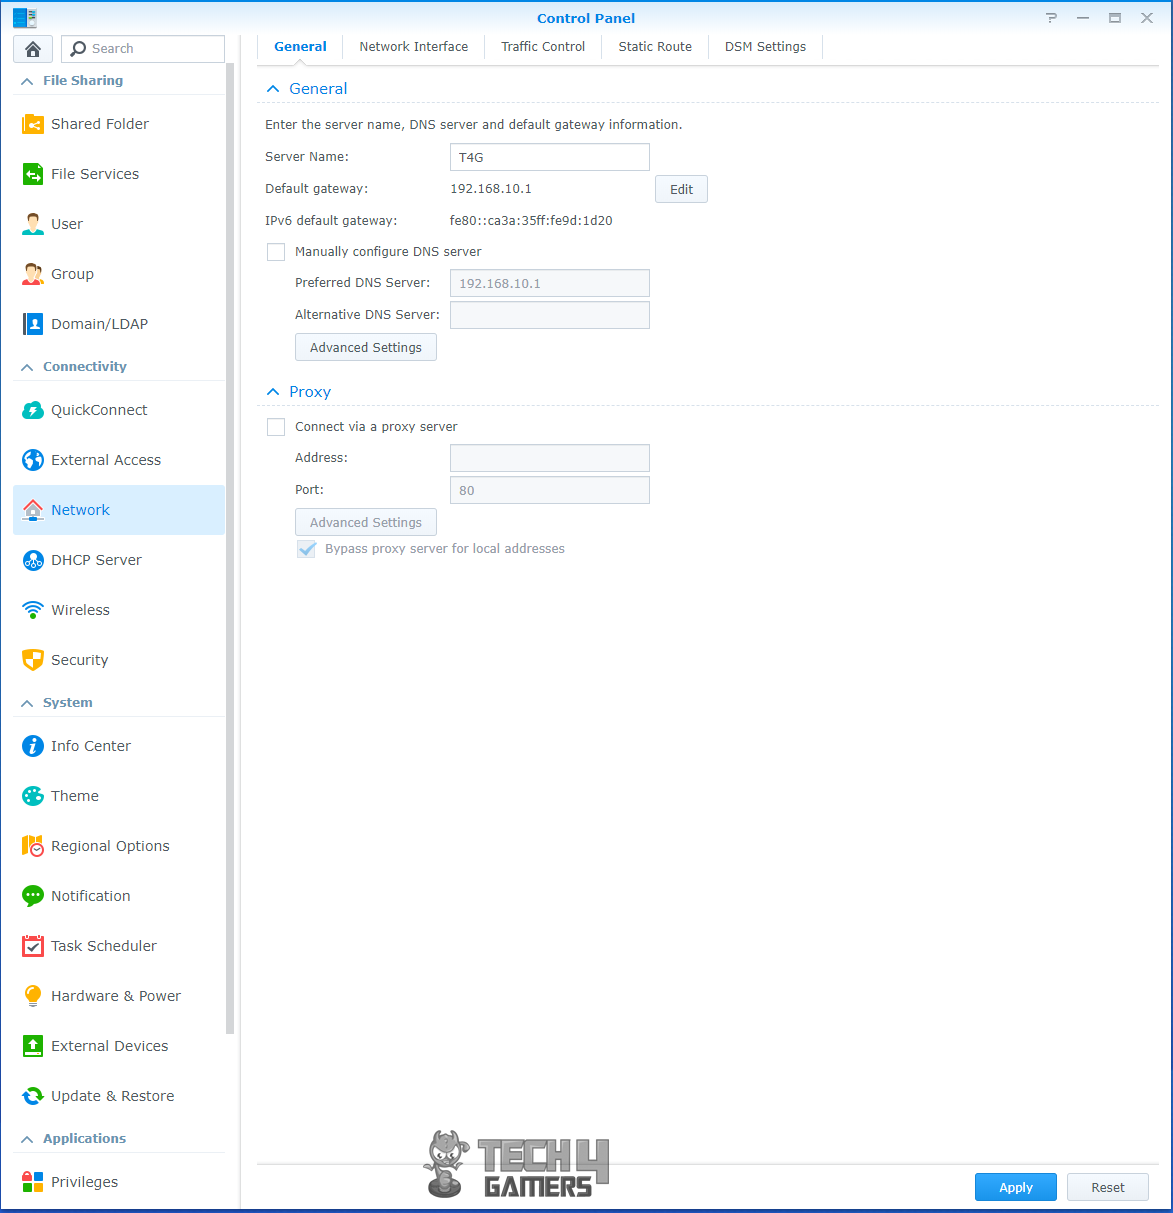
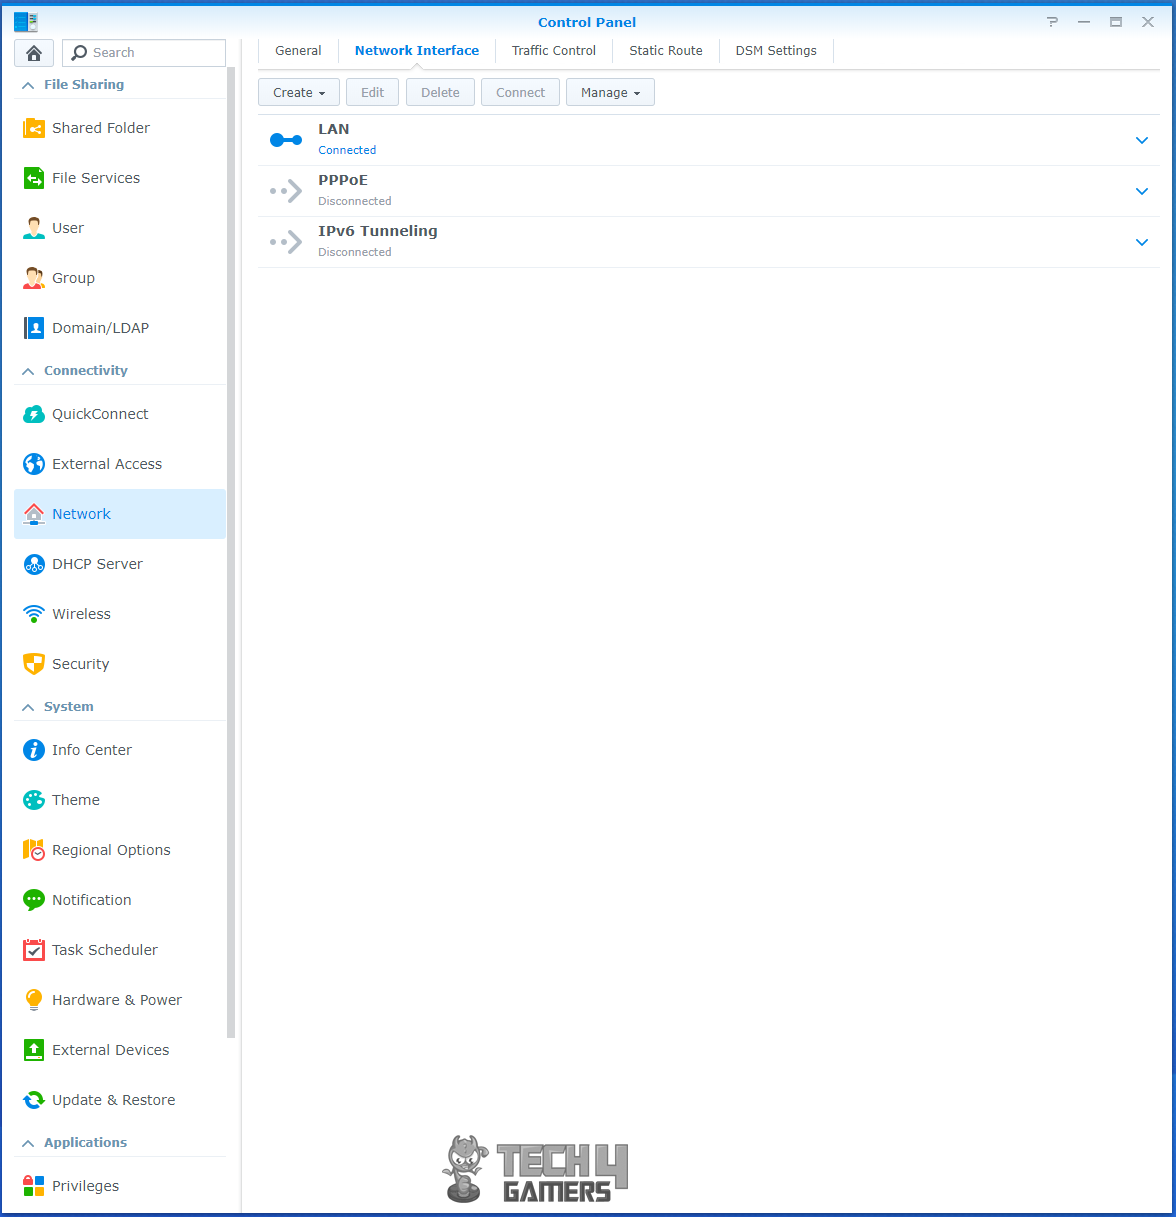
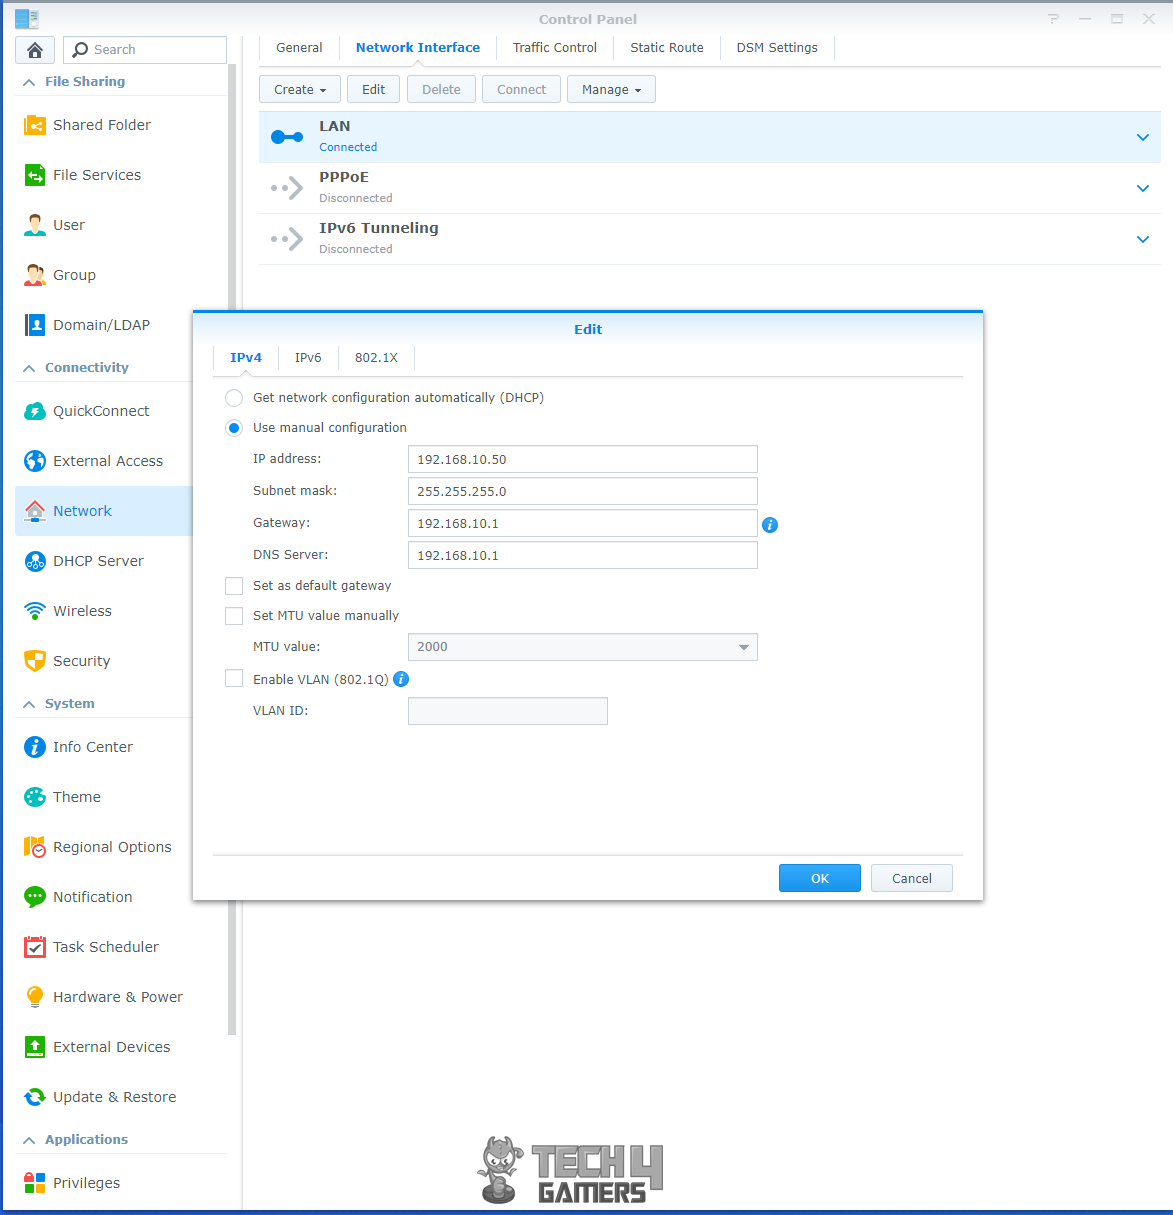
Network
The network is another important setting to control every aspect of the connectivity.
Wireless
You can set up the DisStation network map in the Wireless.
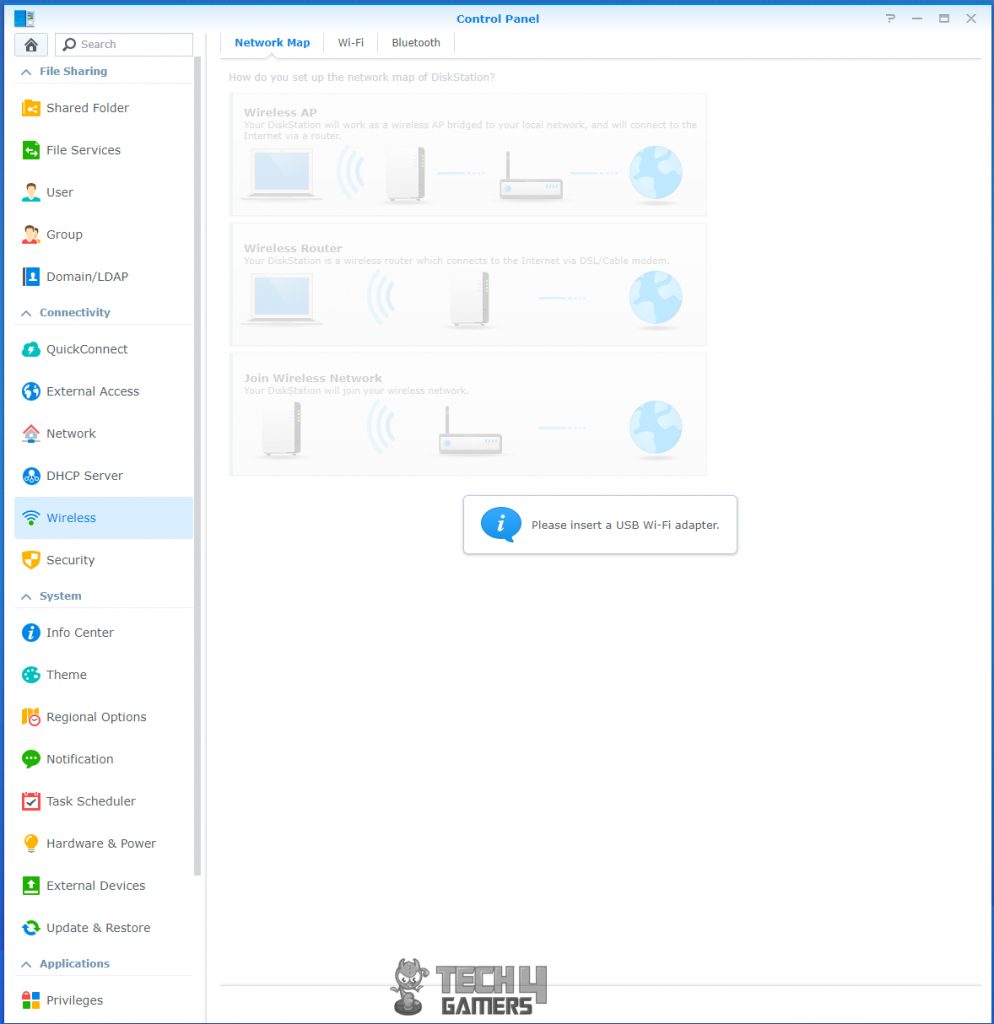
You will be prompted to connect USB Wi-Fi Adapter or Bluetooth Adapter to the DiskStation before proceeding. You can configure your DiskStation to act as Wireless AP or Wireless router or it may simply join your wireless network.
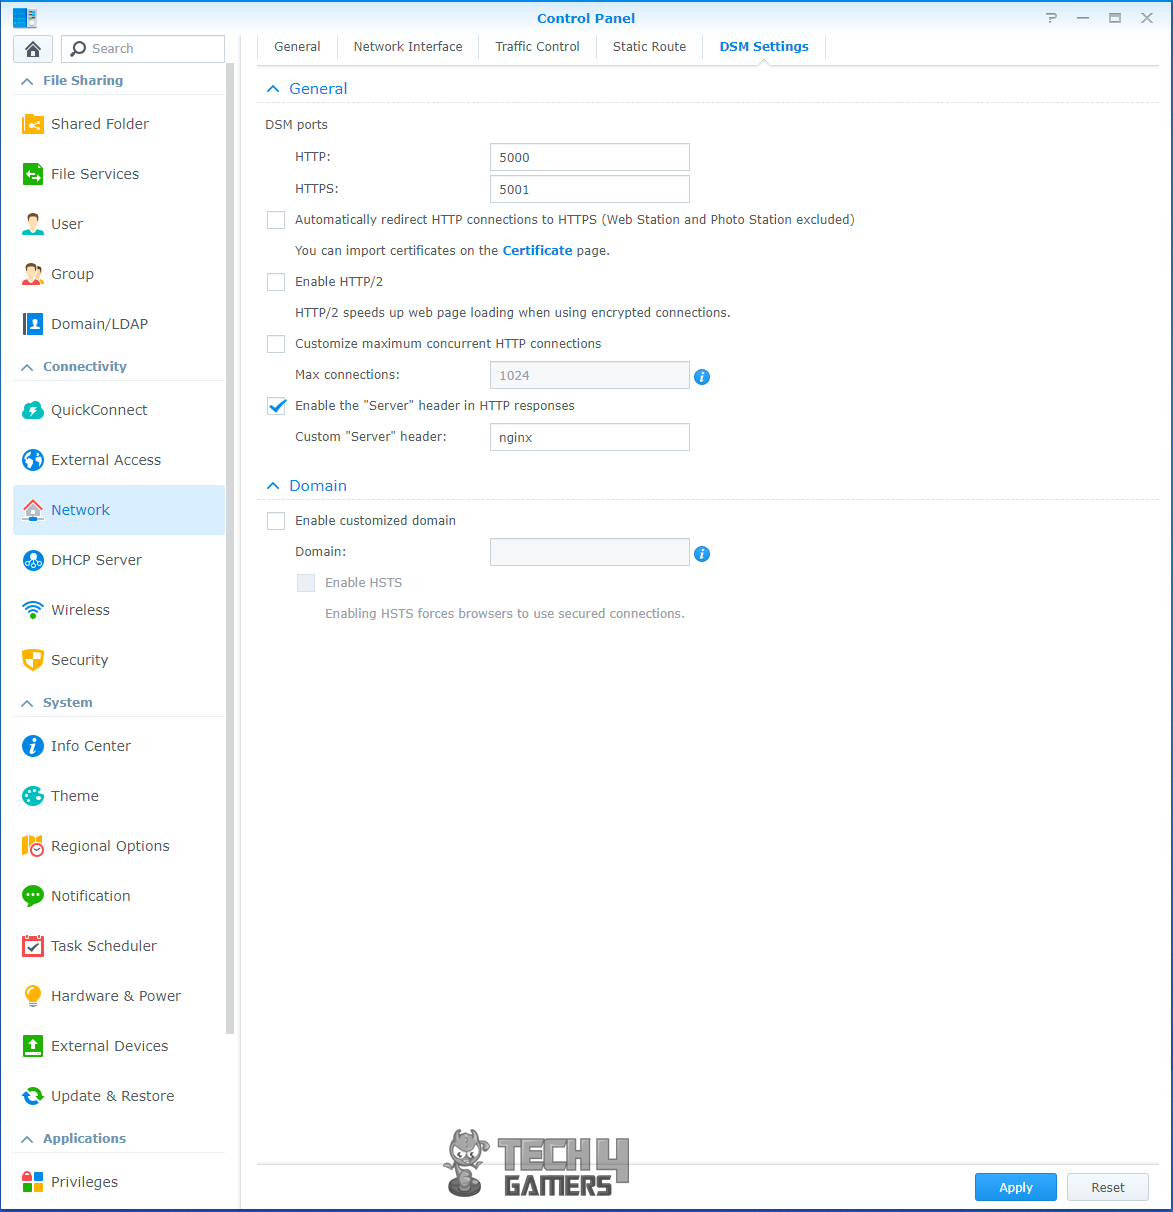
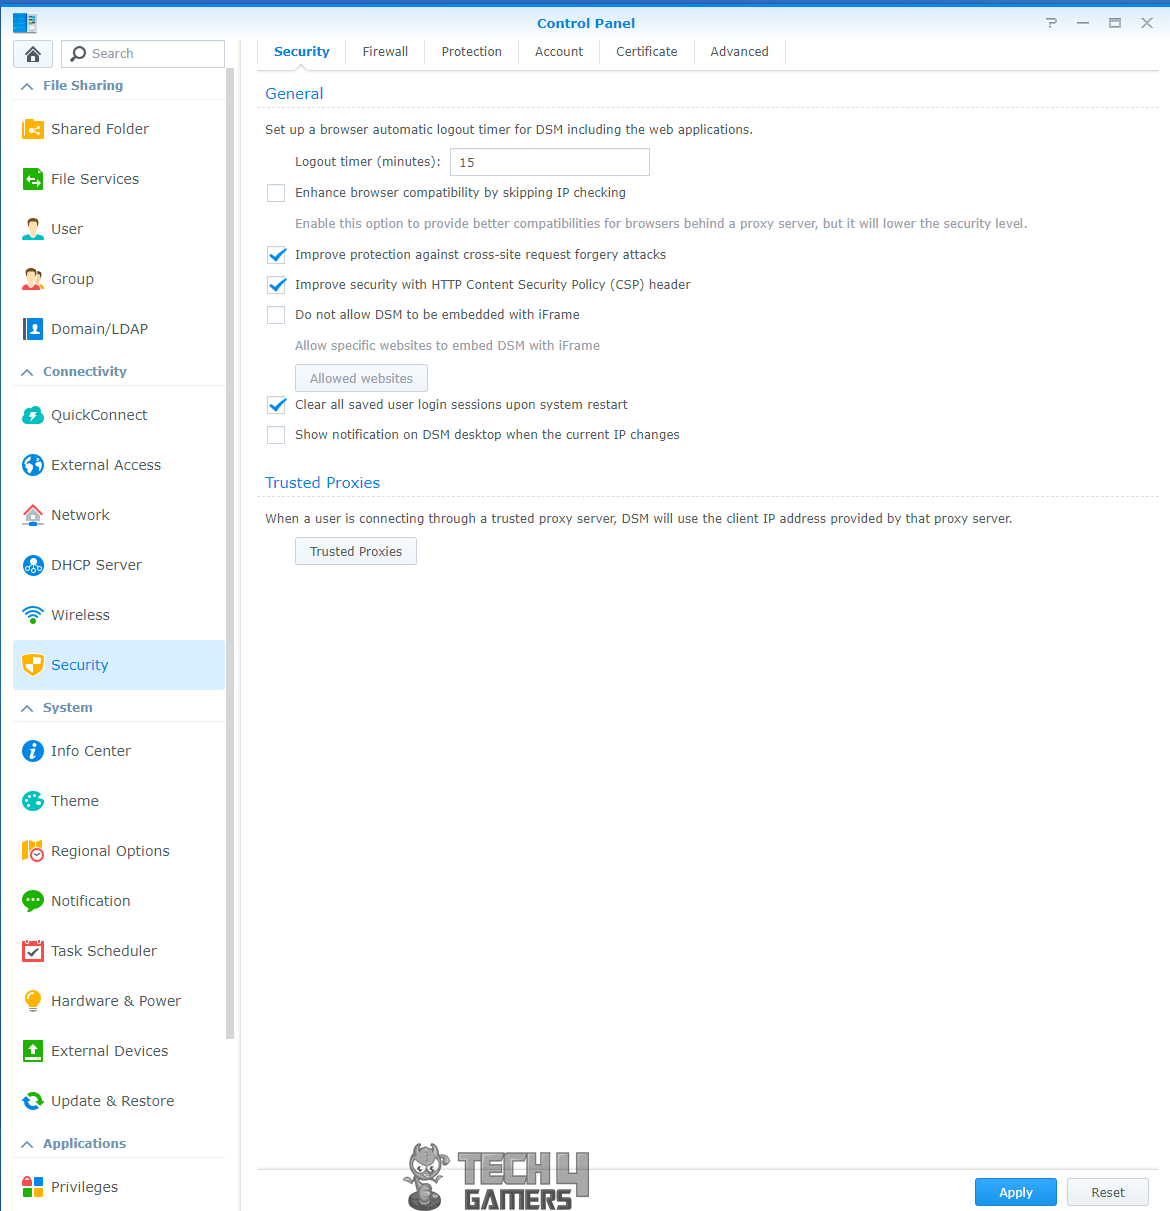
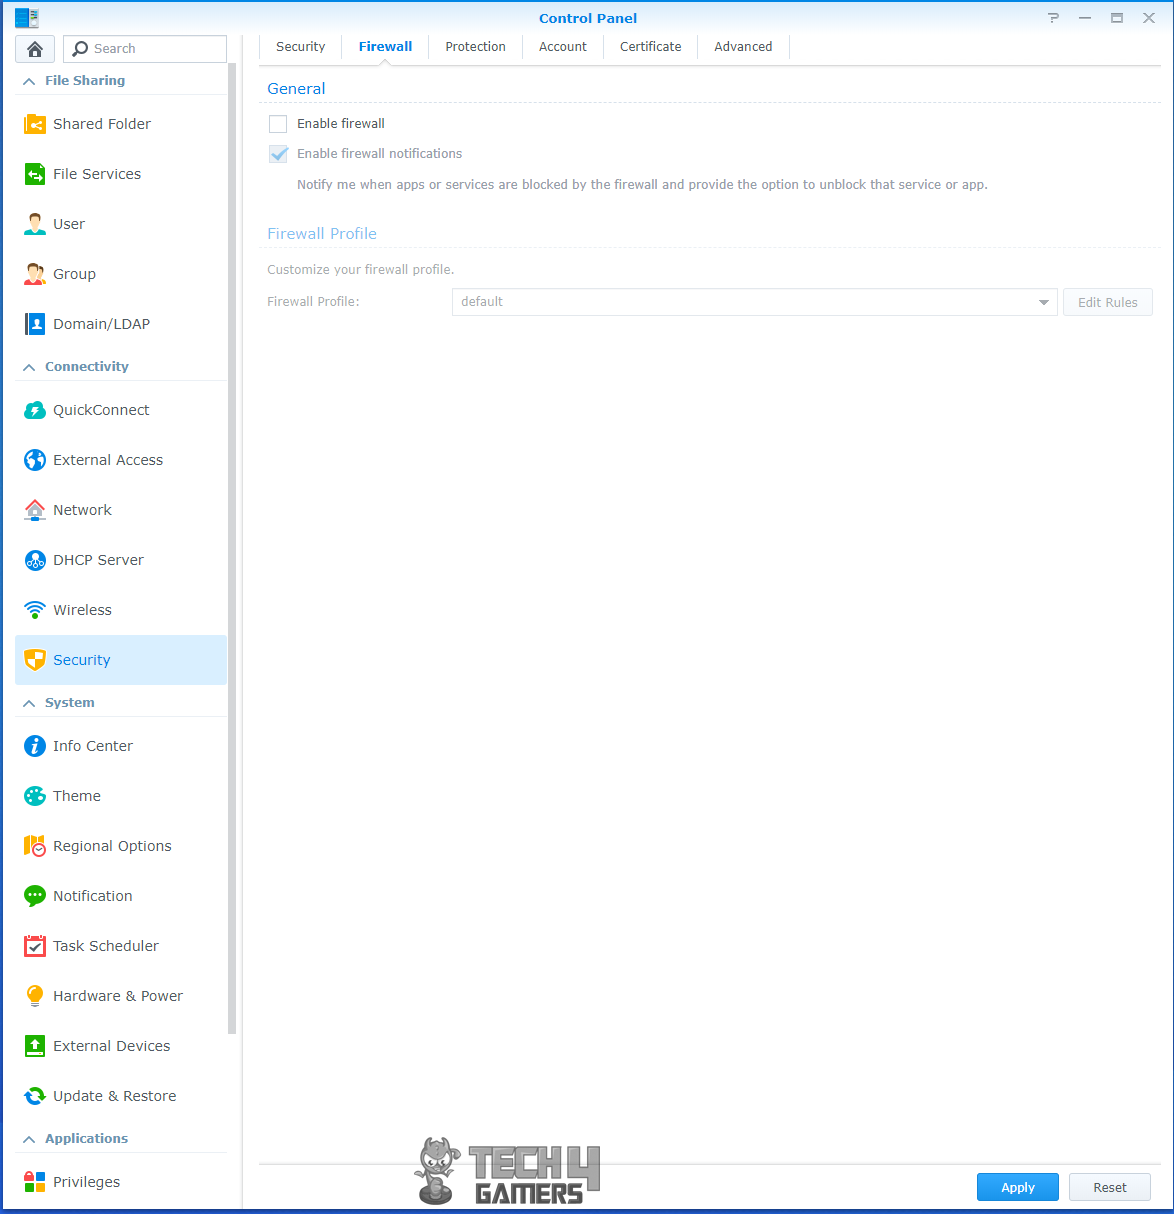
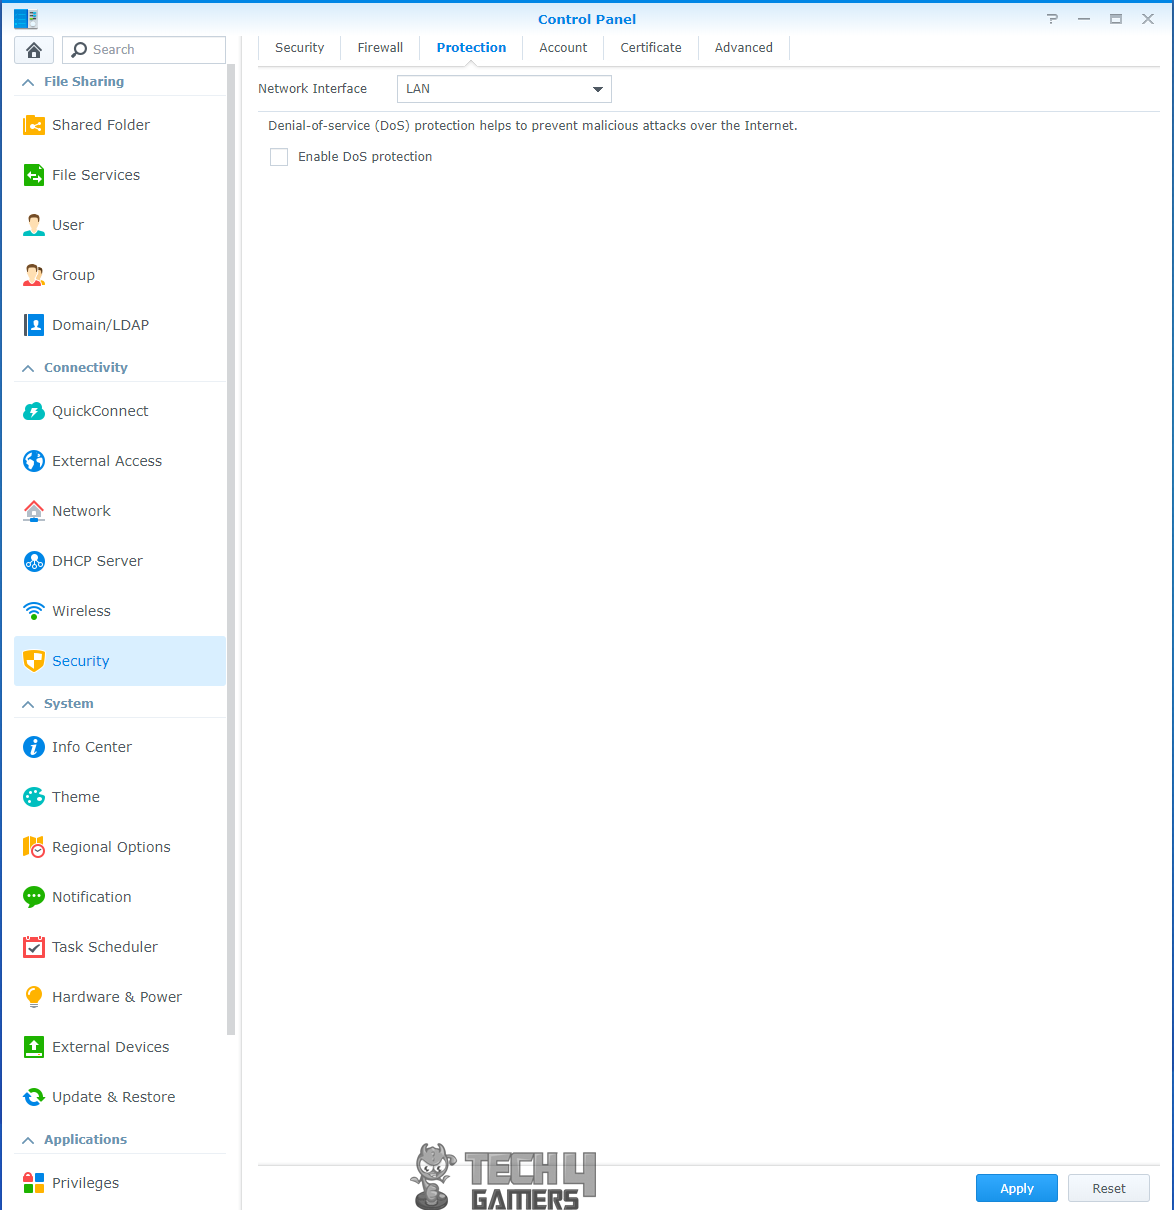
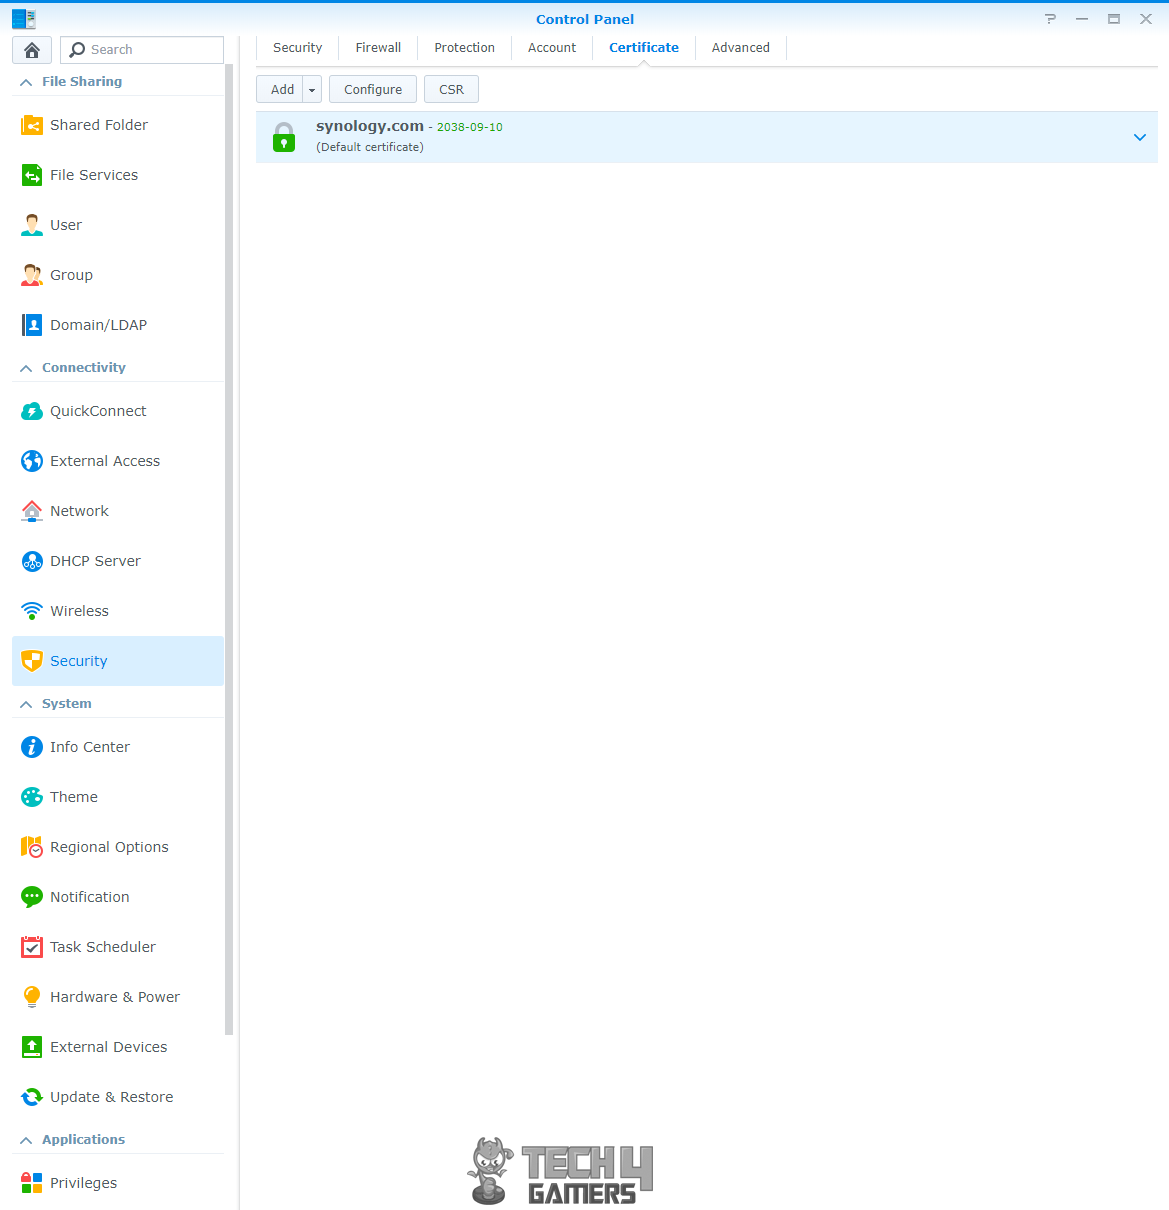
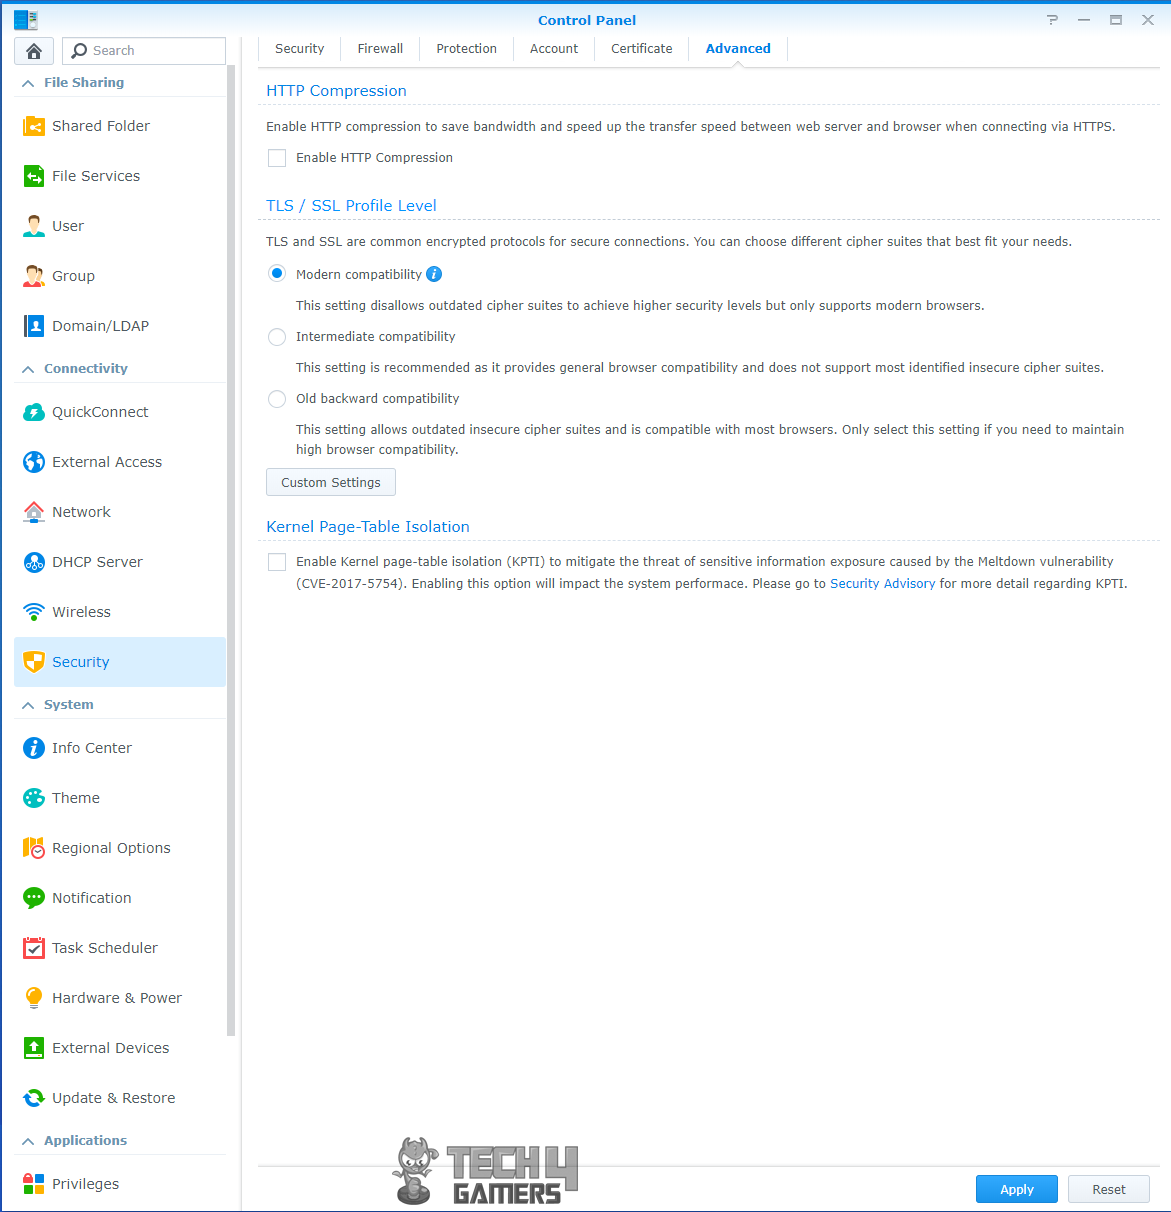
Security
Security section has all the security-related settings like enabling Fire Wall, adding trusted proxies, setting session time out, enabling DoS service on the connected network, enabling auto block after defining the login attempts, adding/configuring the certificates, enabling HTTP compression to name a few.

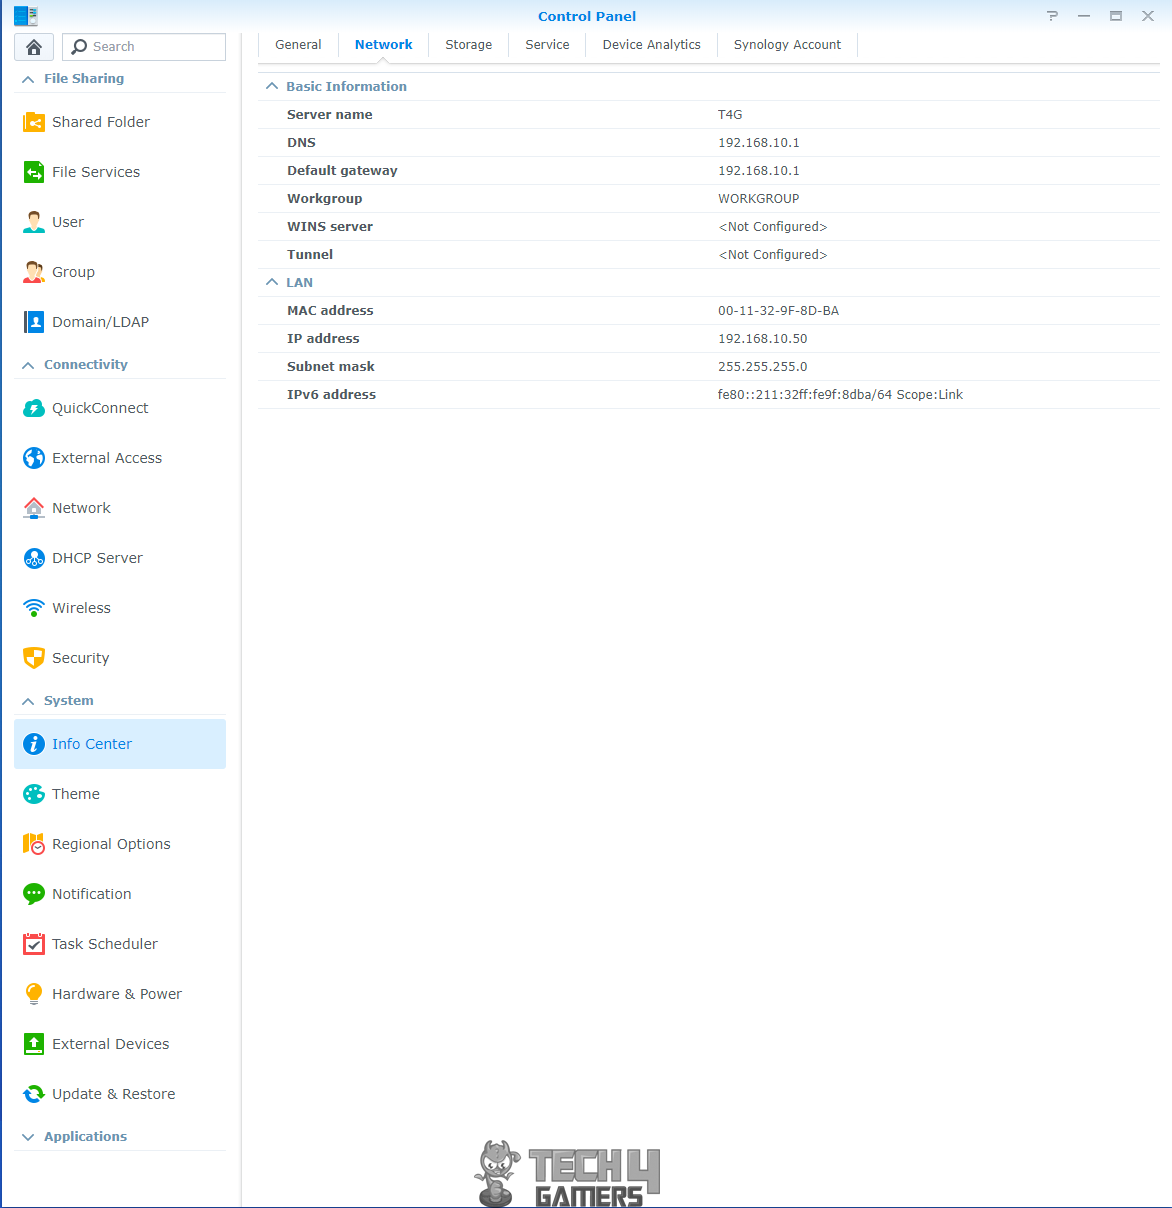
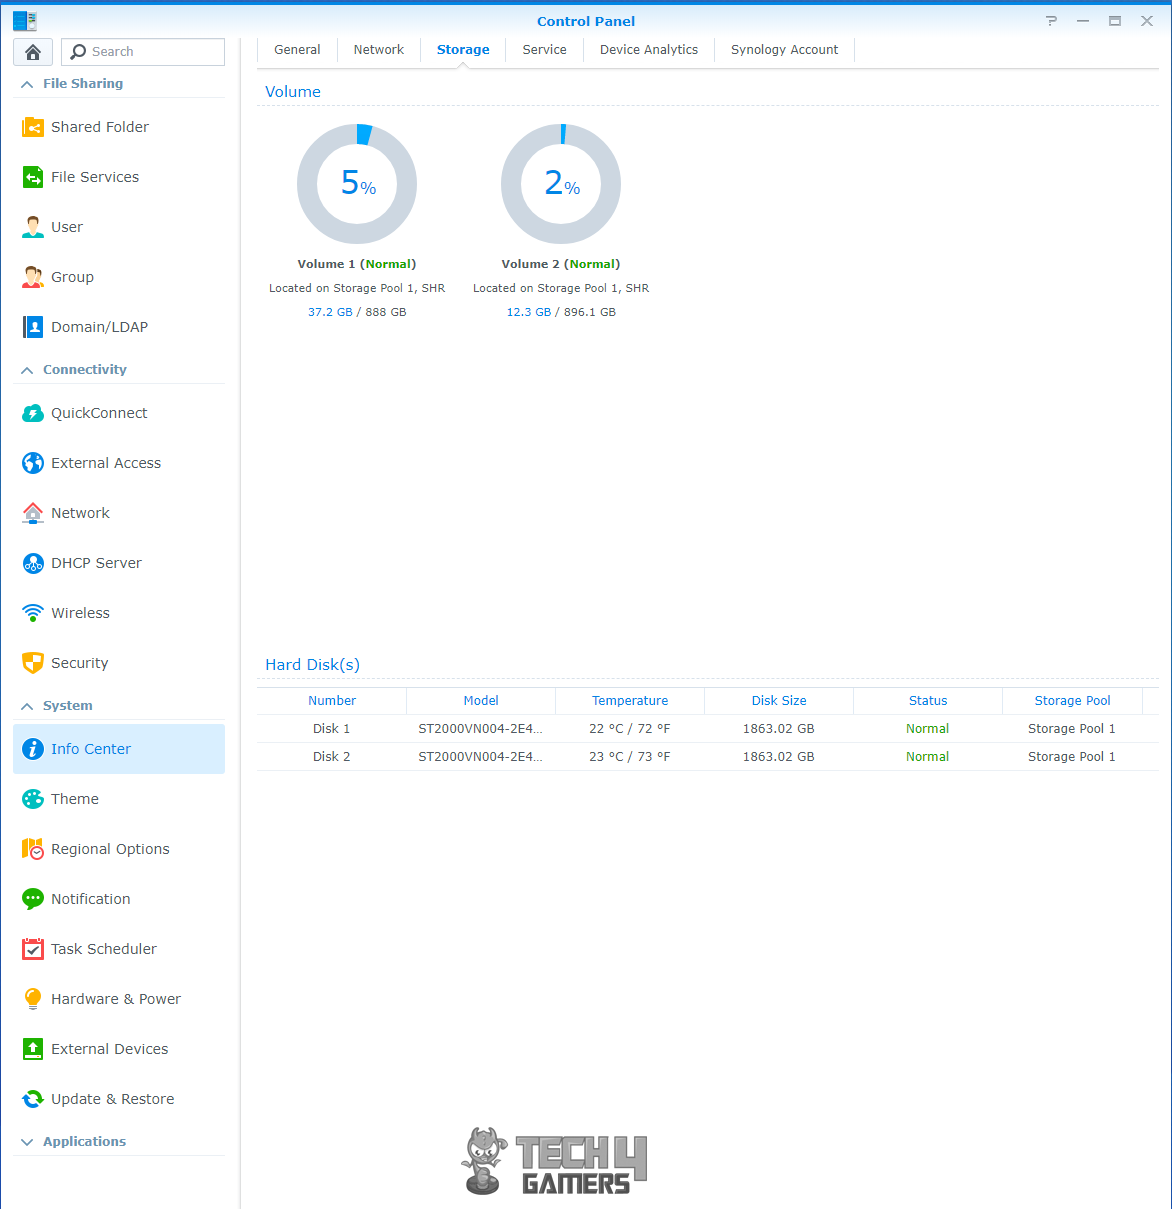
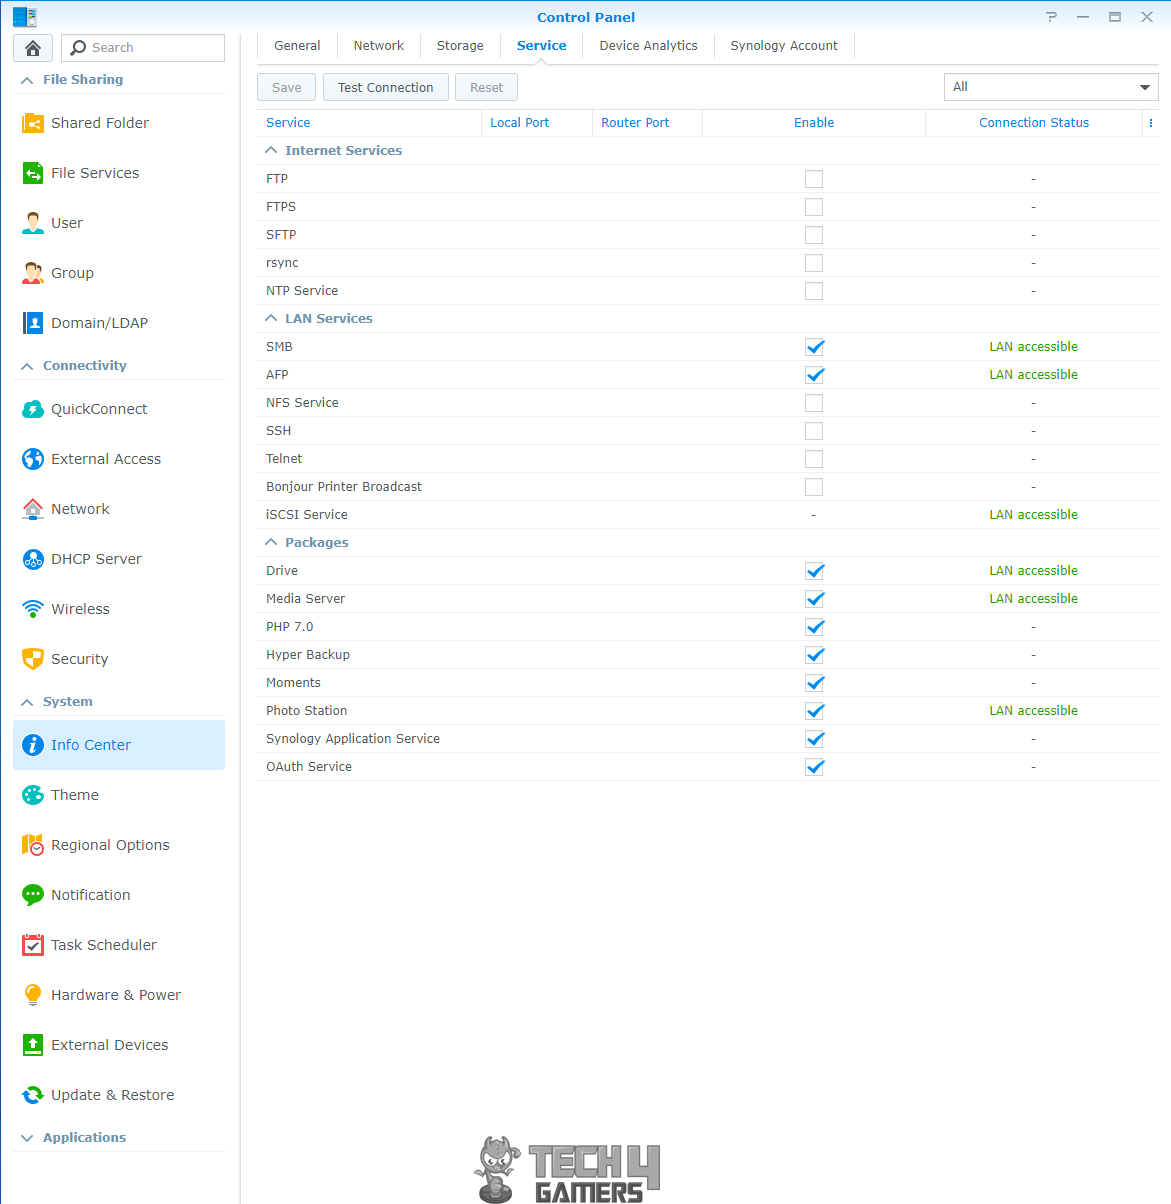
Info Center
The info center shows the info summary of the DiskStation like its serial no, CPU and RAM information, DSM version, System Data and time info, uptime, thermal status, Time Zone, network information, individual disk information in the Storage section, a listing of the services along with their status.
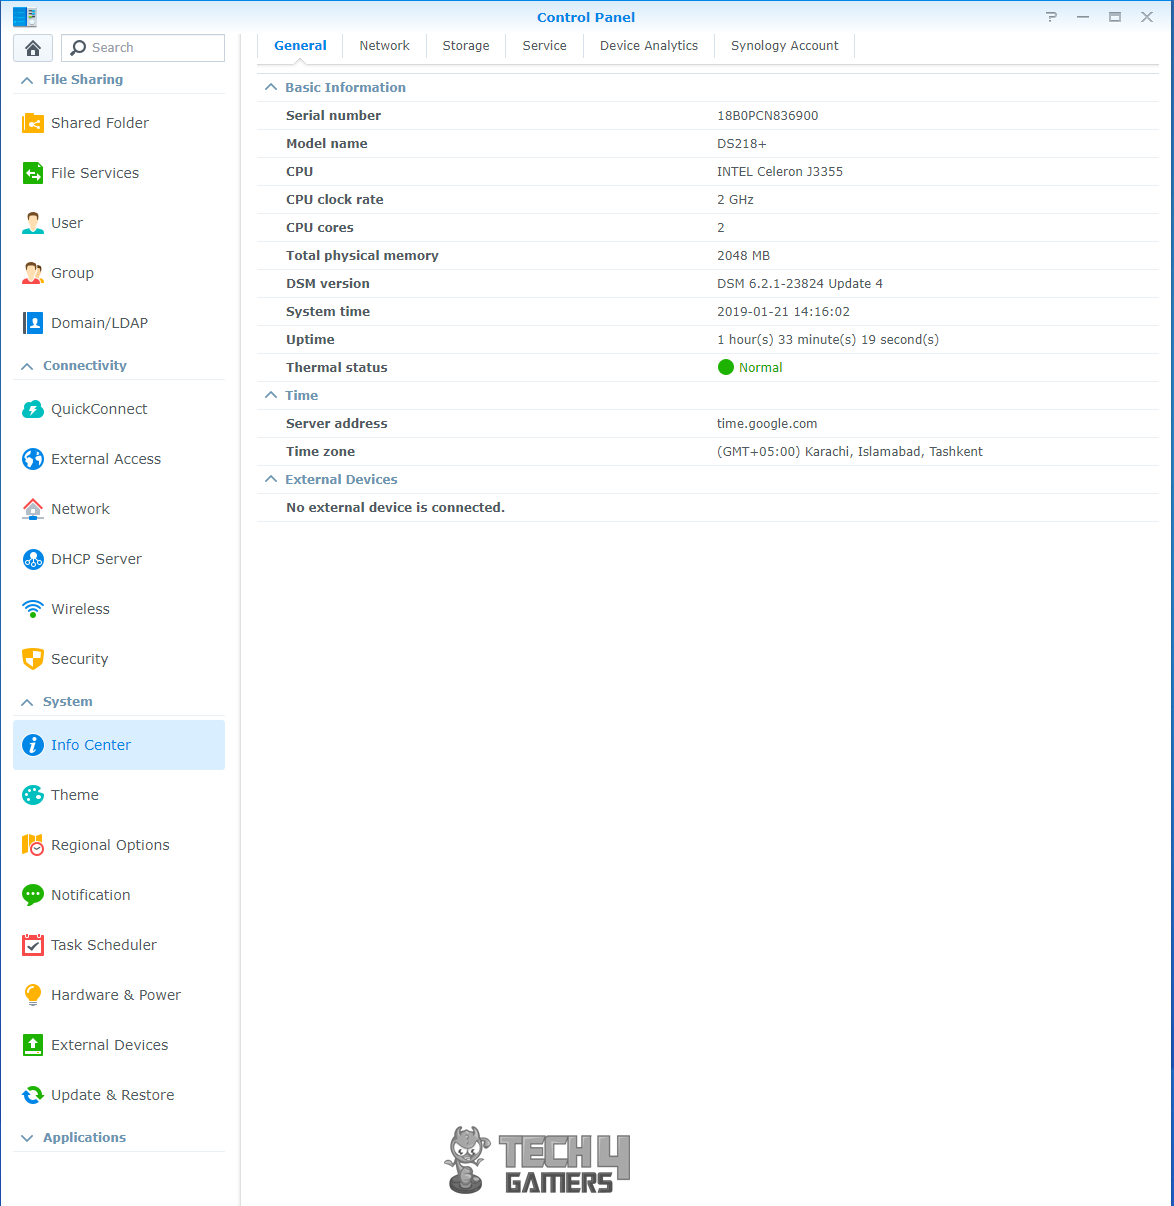
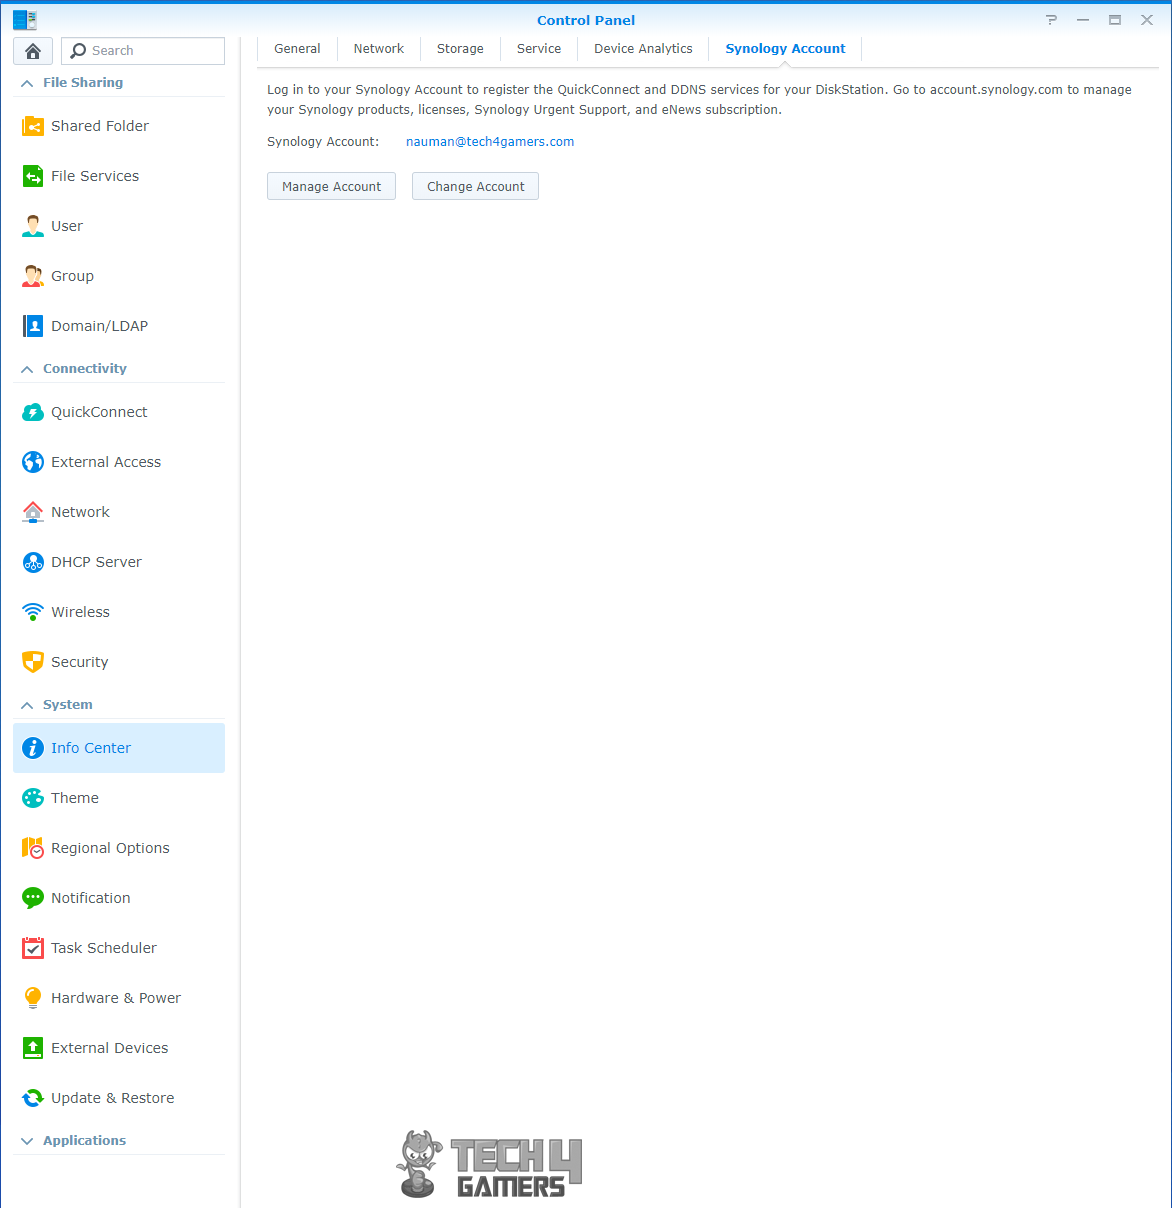
Device analytics can be shared with the Synology 2 Bay Nas DiskStation DS218+ should the user choose so. Similarly, network location can be shared as well. Synology account will be shown and it can be managed.
Theme
Login style and theme can be set from the Theme section.
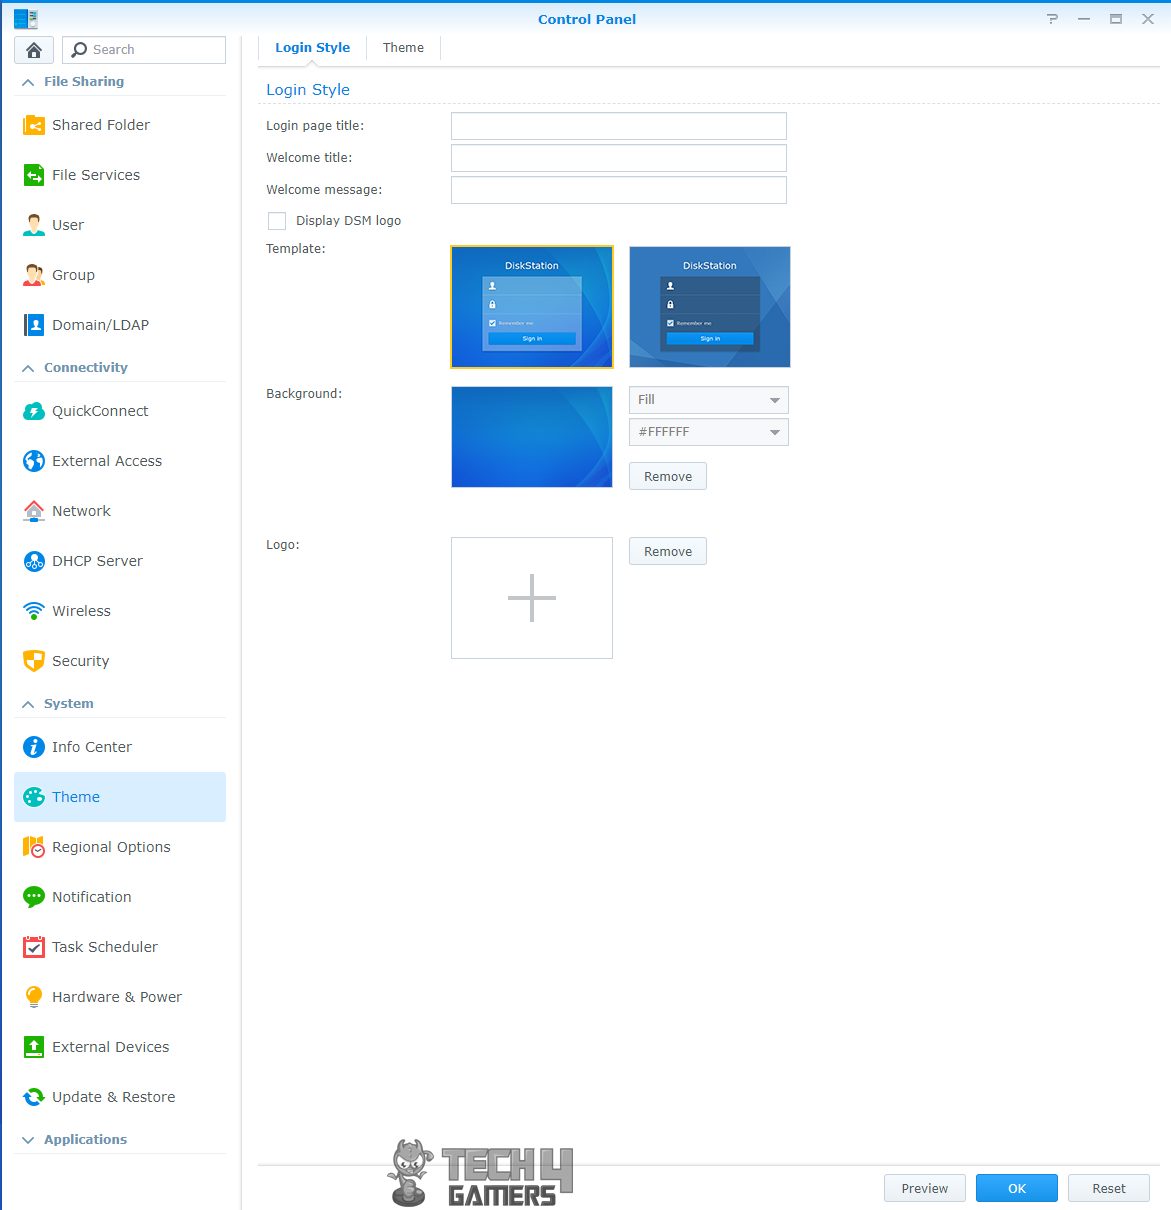
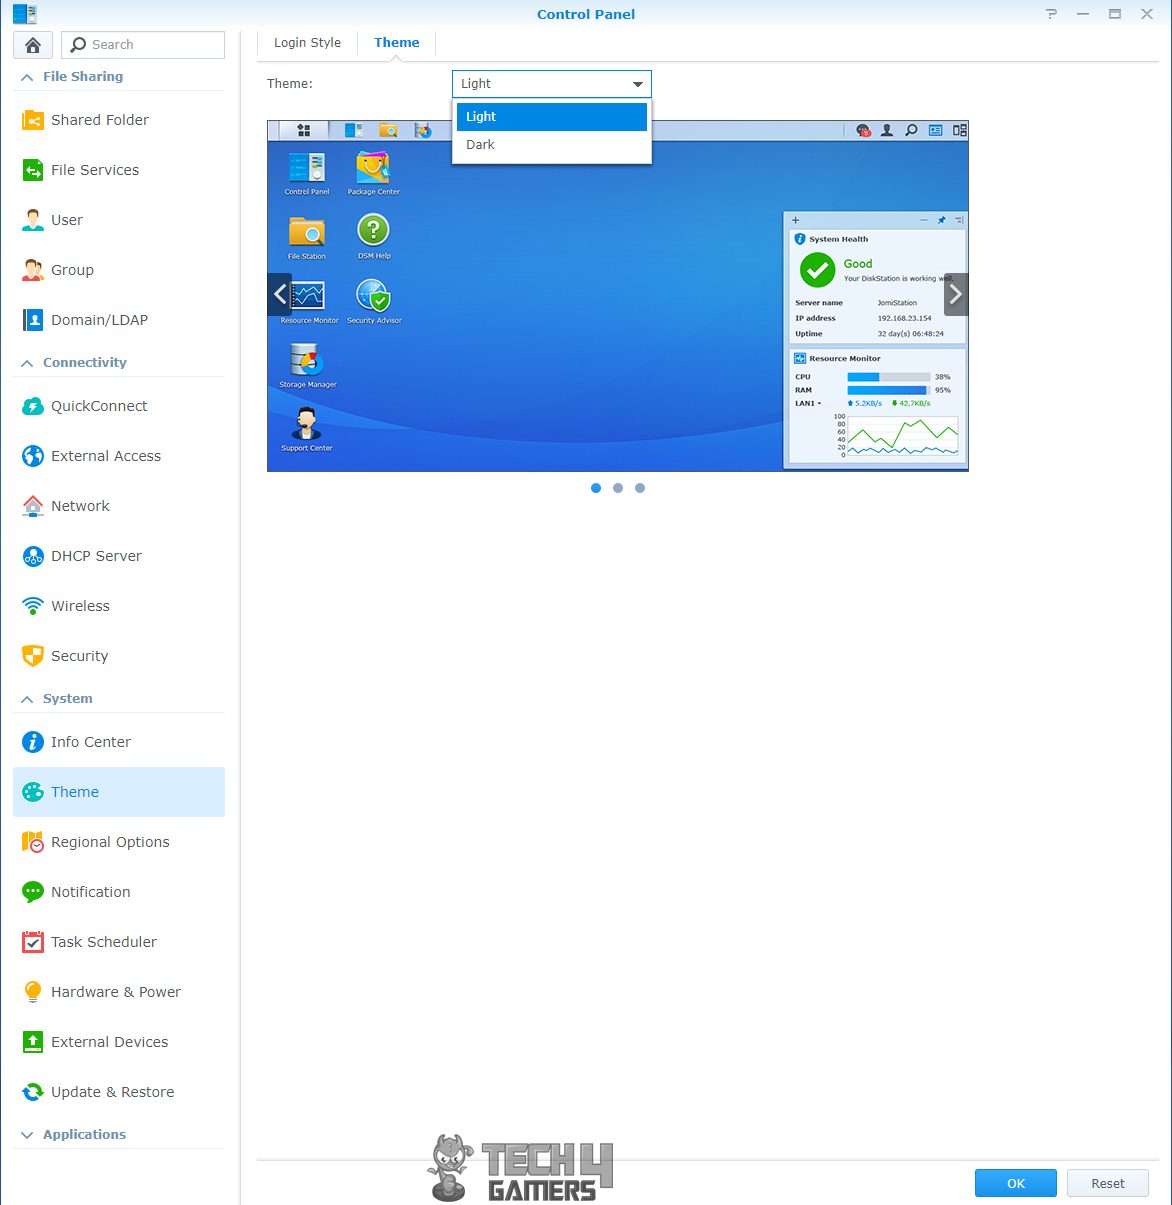
Light or Dark are the theme options available.
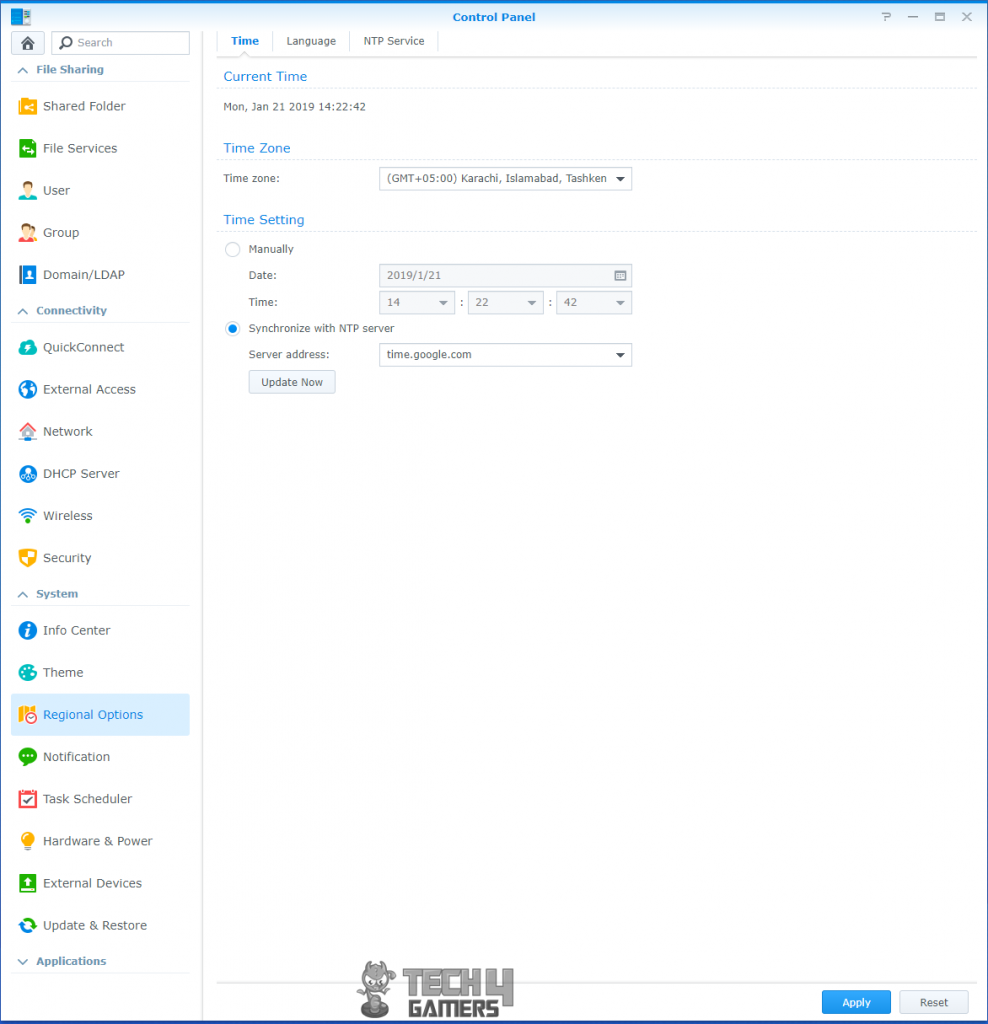
Regional Options
Date, time, and language can be changed in the Regional Options.
Task Scheduler
Task scheduler can be used to create or edit custom tasks.

Hardware & Power
Update And Restore
In the Update & Restore options, the user can define the update settings of the DiskStation.
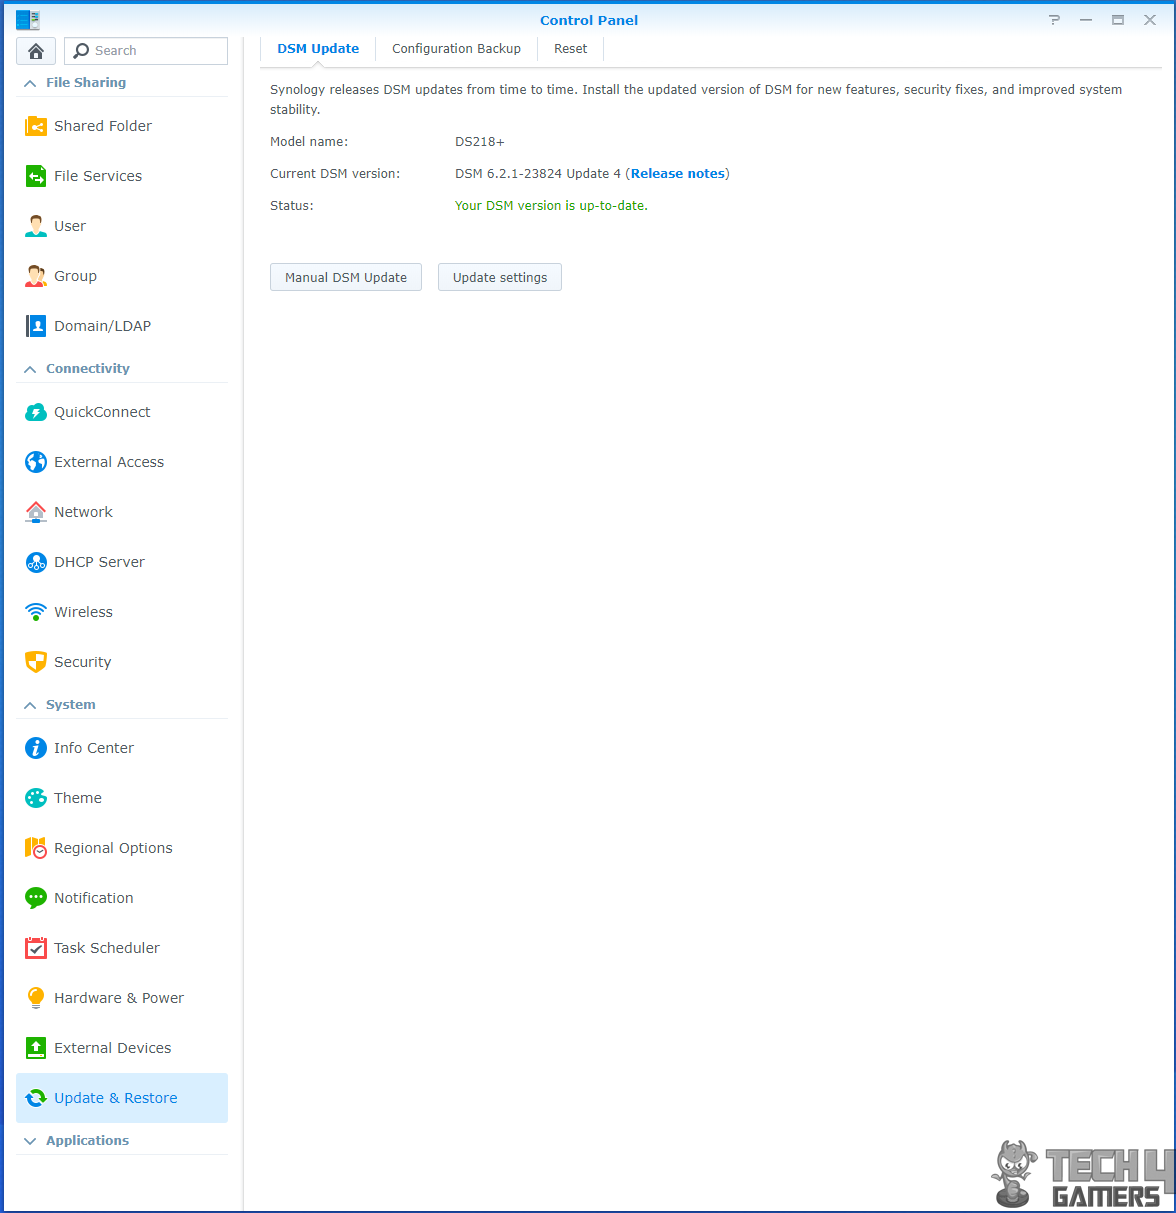
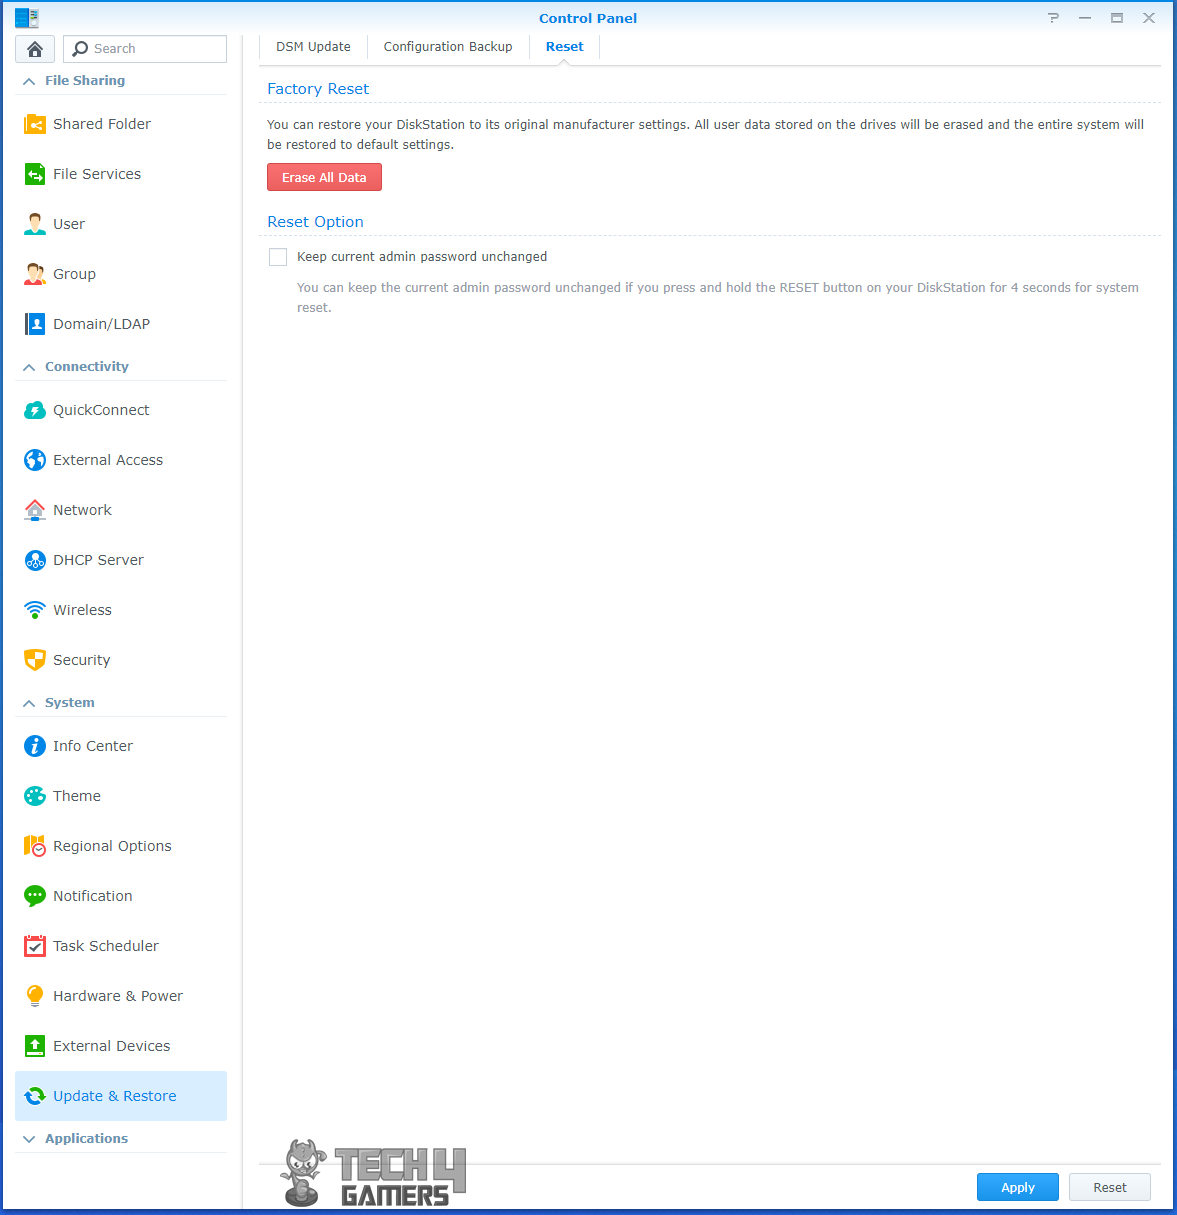
The user can factory reset the DiskStation by erasing all the data and the settings from here. The settings will be restored to the factory’s default. There is a reset button on the rear of the DiskStation which can also be used to load factory defaults.
Synology DS218+ Hyper Backup
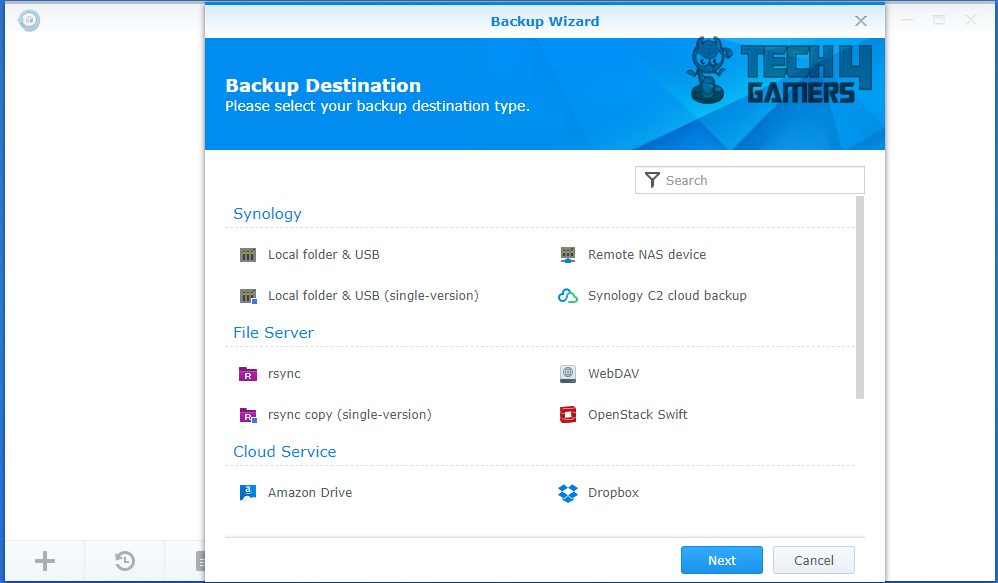
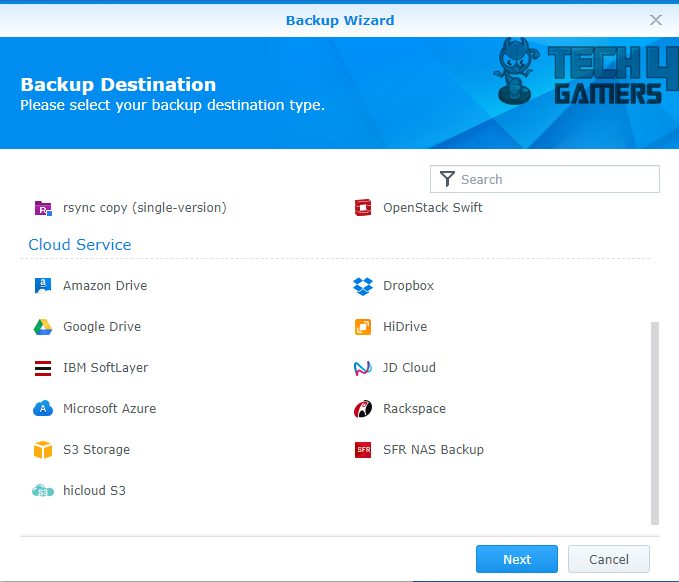
Backups come handy in case of data loss. Synology has taken care of this critical aspect in the form of a robust and integrated backup/restoration solution through an application called Hyper Backup.
Synology has enabled the network administrators/users to set up multiple backups in three broader categories. These are:
- Local/remote Synology NAS: Backing up data can be done locally or remotely using a Synology device. The steps are mostly similar across both, with a few adjustments based on specific configurations. With Synology DS218+, users can link an external USB drive to the NAS box. The Hyper Backup application was developed with this in mind, allowing data backup to the external drive.
- File Servers: Filer servers let us back up data remotely. Just gather the server’s IP address, username, password, and the specific shared folder for the backup. The rest of the steps mirror any standard backup process.
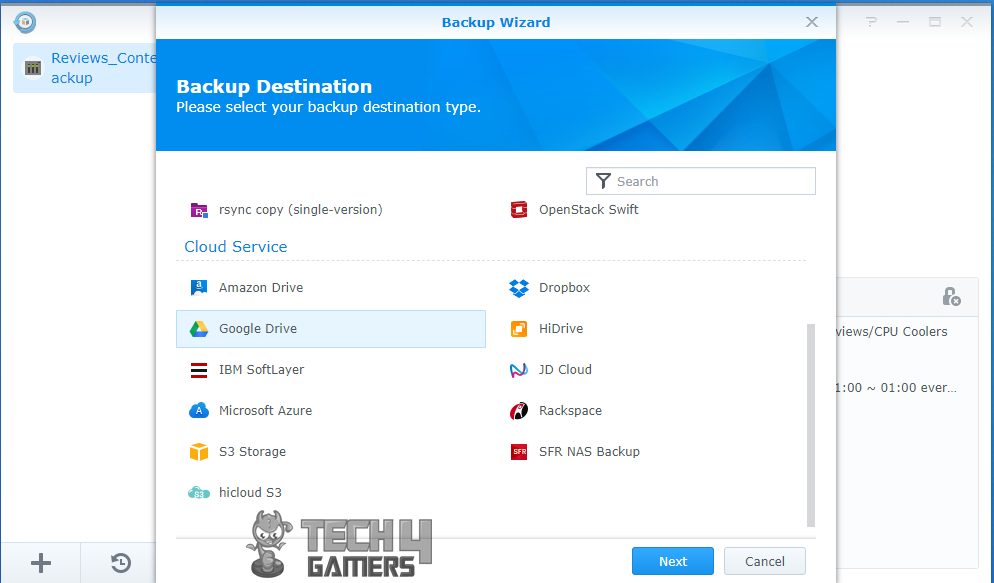
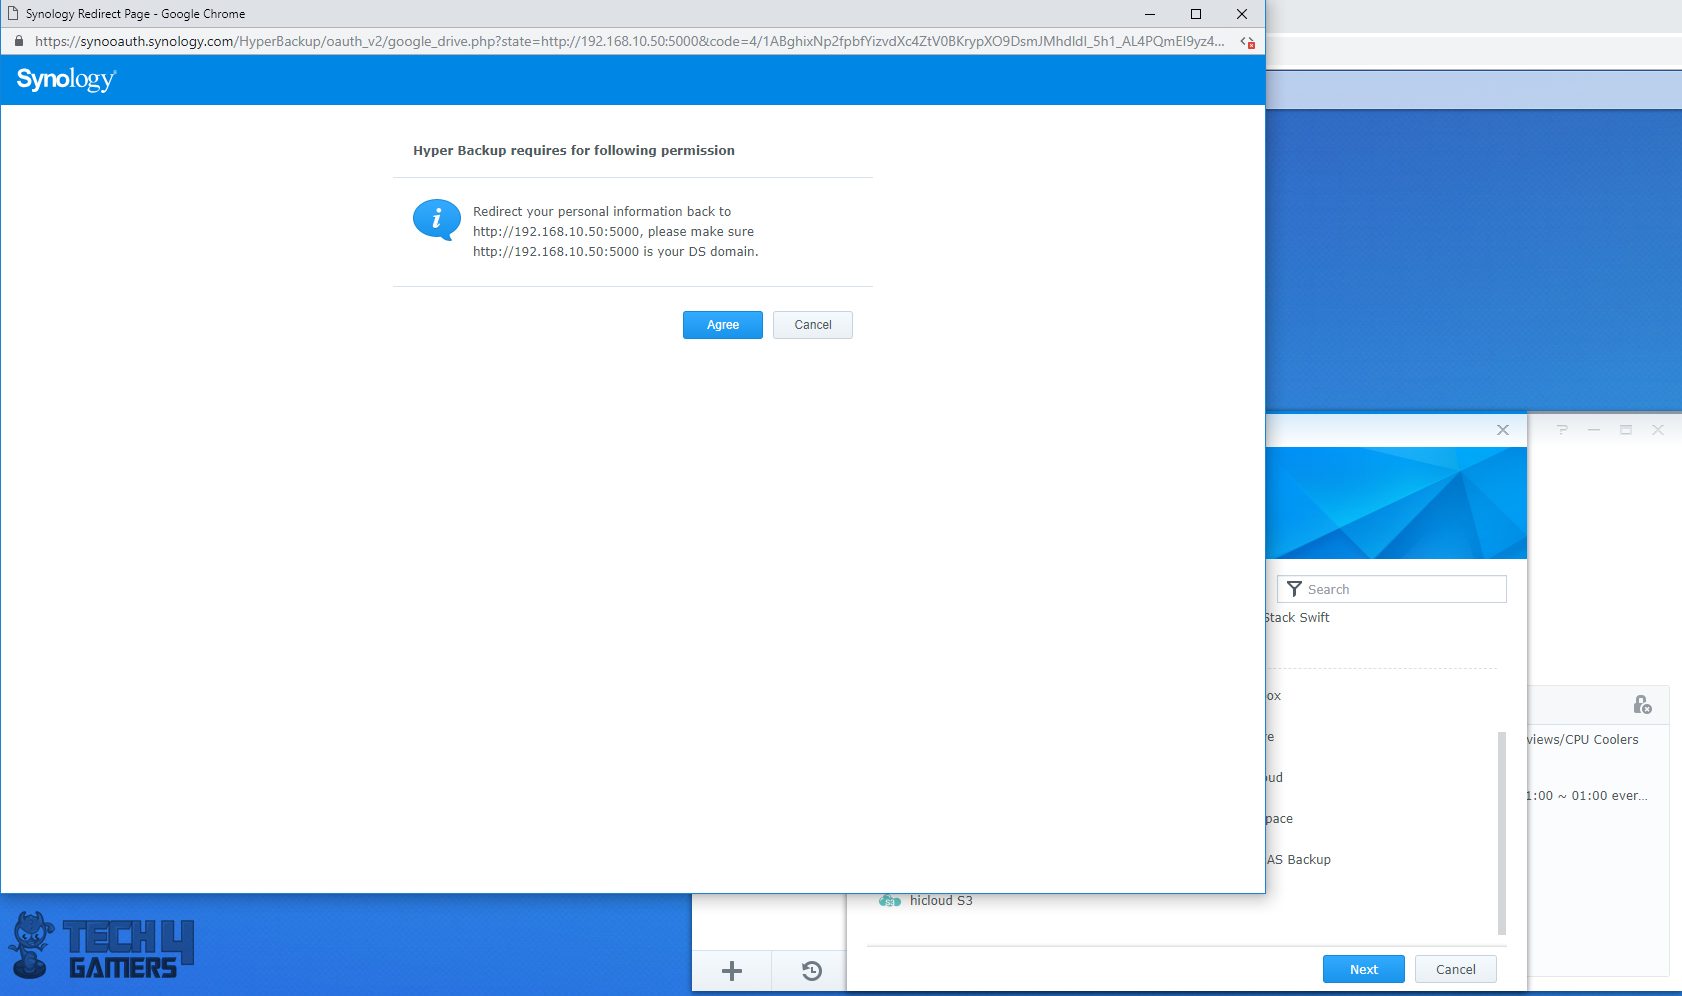
- Cloud Services: Synology really thought ahead by allowing users to back up to a cloud service like Google Drive. The steps are nearly identical, except for signing into your cloud service and authorizing Synology for the backup.
Main features of the Hyper Backup application can be summed up as:
- Copying data for backup
- Copying application settings and system configuration
- Versioning
- Scheduling
- Encryption
- Integrity Check
- Restoring Data
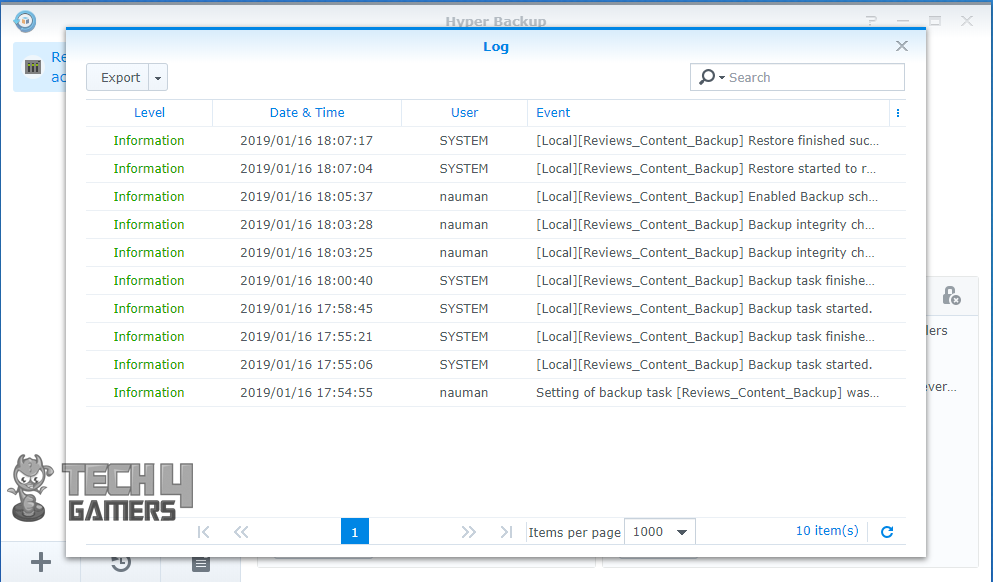
- Event Logging
Two of the features to note are Scheduling and Versioning, and I’ll explain them now.
Scheduling
The scheduling feature provides extensive settings to set up a backup on a user-selected time and date and to repeat it automatically without bothering me. This dynamic feature of the application software is a critical requirement for any NAS. I will be showing these settings shortly. This was one aspect of the copying data automatically at a given time interval.
Versioning
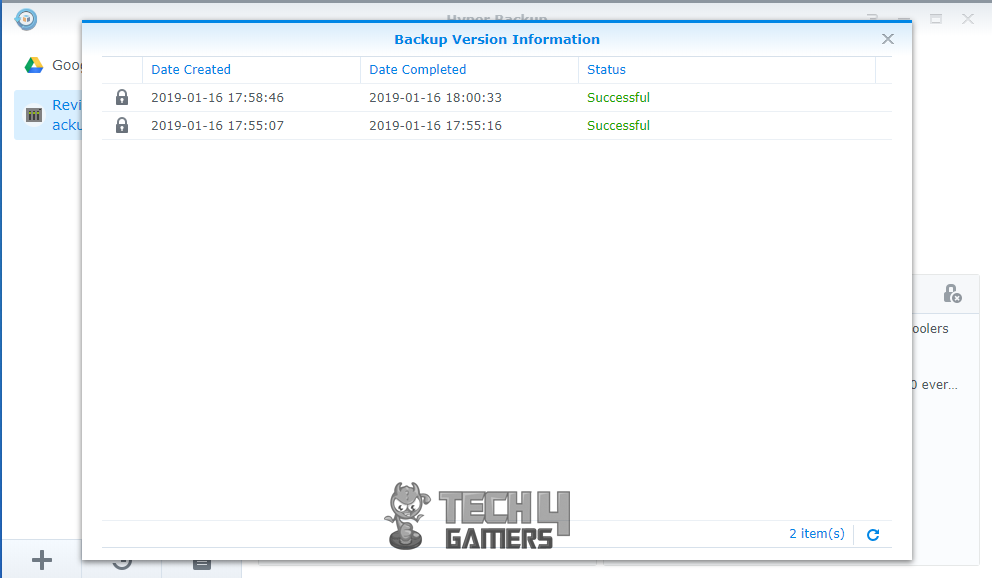
Imagine I have 20 main folders, each with its own set of sub-folders and files. Adding one more main folder makes it 21 in total. What I need for my backup is to copy just this new 21st folder and its content. This approach saves time and reduces network usage significantly. Versioning is crucial here, allowing users to store up to 256 versions of their data simultaneously.
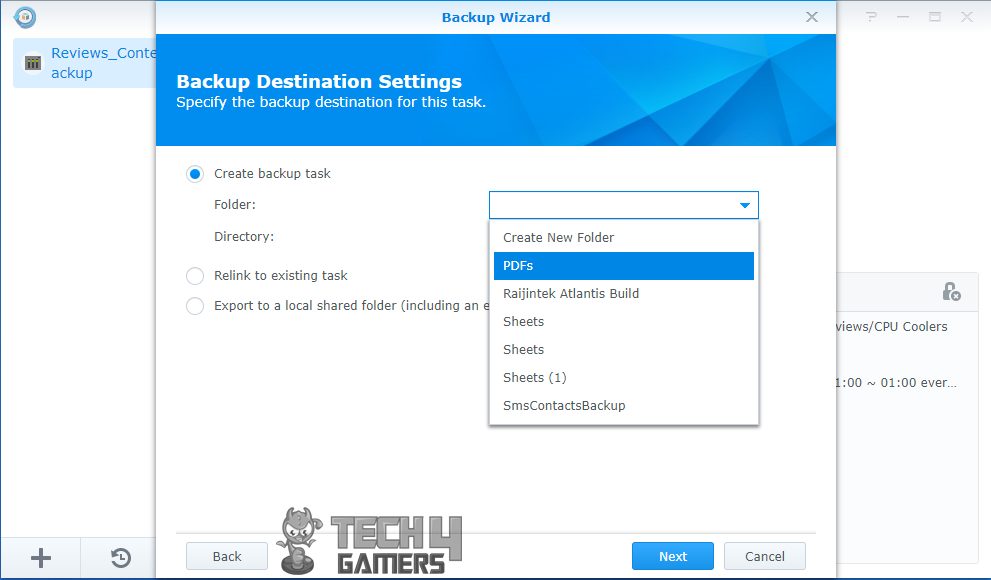
How To Set Up Hyper Backup
Since I have only one DiskStation, I would be showing you the steps on setting up backup on a local Synology NAS and then setting up a backup using Google drive under cloud services. Let’s begin.
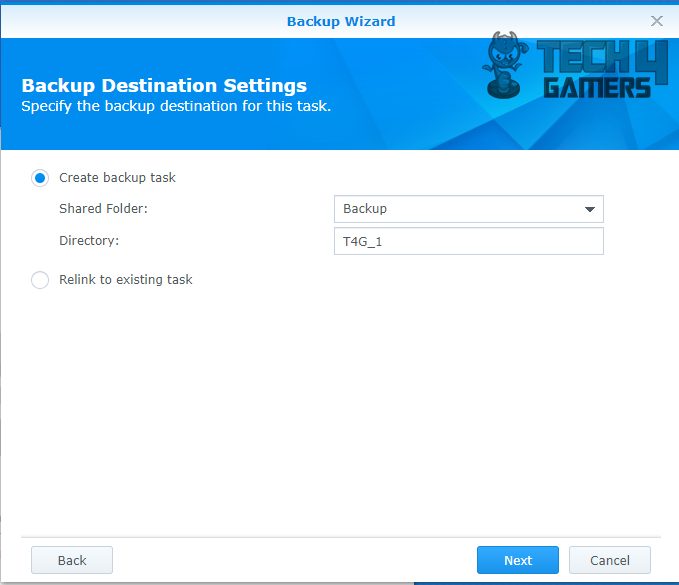
Hyper backup can be downloaded from the Package Center. Login to the DSM and go to the Package Center. DSM version 6.0 and above only support Hyper backup so it would be about time to update the DSM if you are up to setting a backup task. In the package center browse and locate the Hyper Backup app-+ and click on Install.
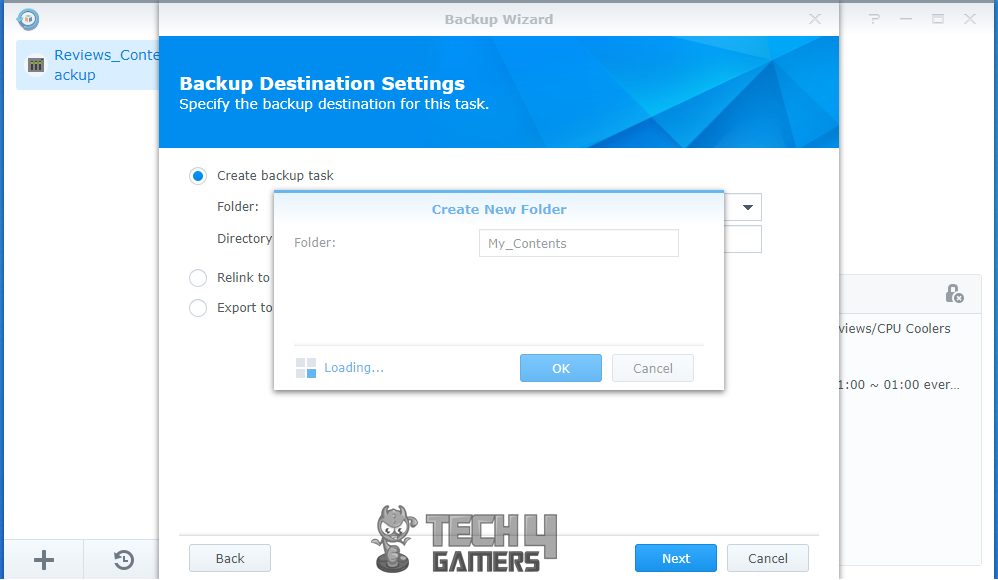
It will ask you to install related and required package(s) if not already installed. You would need to download and install those apps as well. Once, the Hyper Backup is installed, it can be accessed through package center in installed packages. You can also create its shortcut on DSM desktop. Launch the app by clicking it. It will launch the backup wizard.

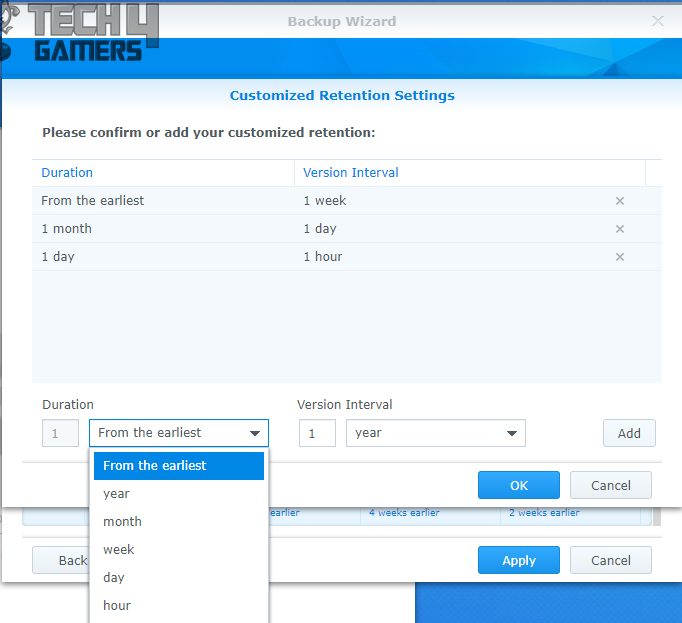
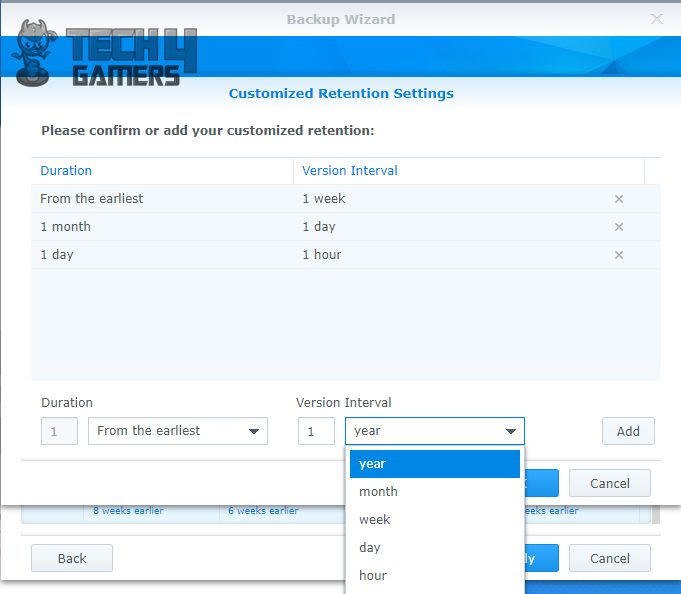
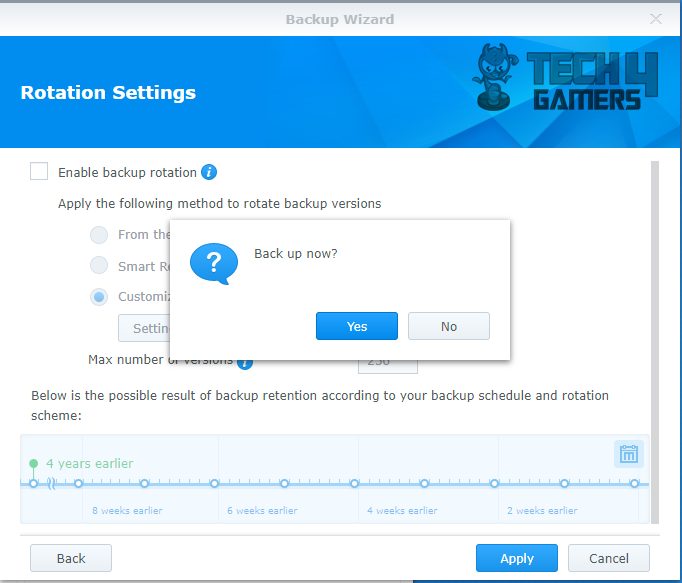
On the next screen, rotation settings will be presented to the user. By default, they are not enabled.
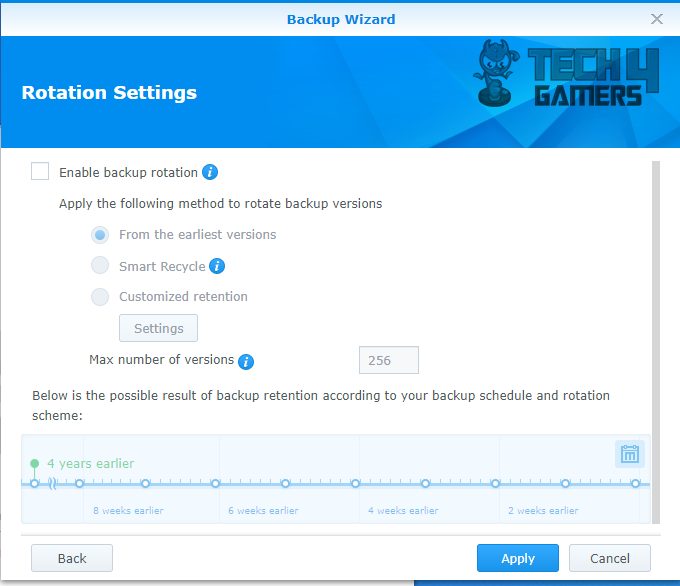
The user can select from the three options. The default is From the Earliest Version. In this scheme, one the total no of the versions reach the limit of 256, the earliest most unlocked version will be rotated/deleted. Next option is Smart Recycle. In this scheme, the versions are retained till they reach 256 counts. Upon which the system will delete the version(s) that don’t meet any of these conditions:
- Hourly versions from the past 24 hours: The system keeps the earliest version that is created each hour.
- Daily versions from the past 1 day to 1 month: The system keeps the earliest version that is created each day.
- Weekly versions older than 1 month: The system keeps the earliest version that is created each week.
In case all the versions meet the above criteria, the system will delete the earliest version.
Next up is the Retention settings.
Once done, a new screen will be shown.
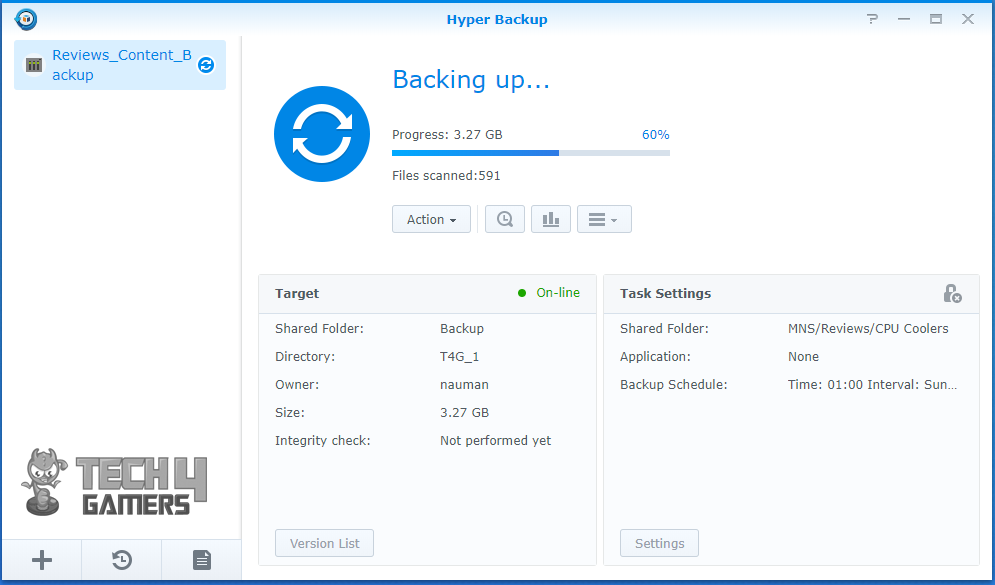
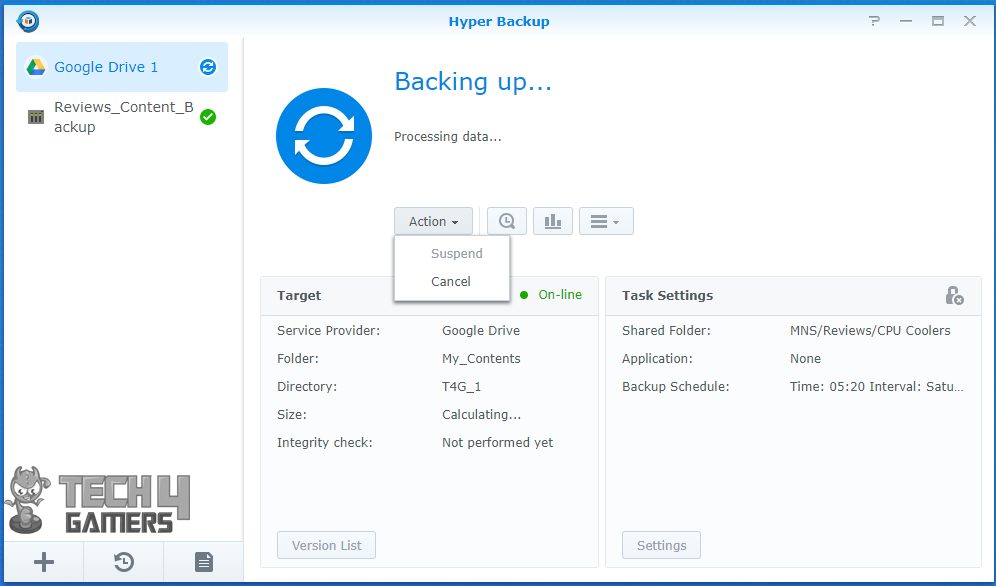
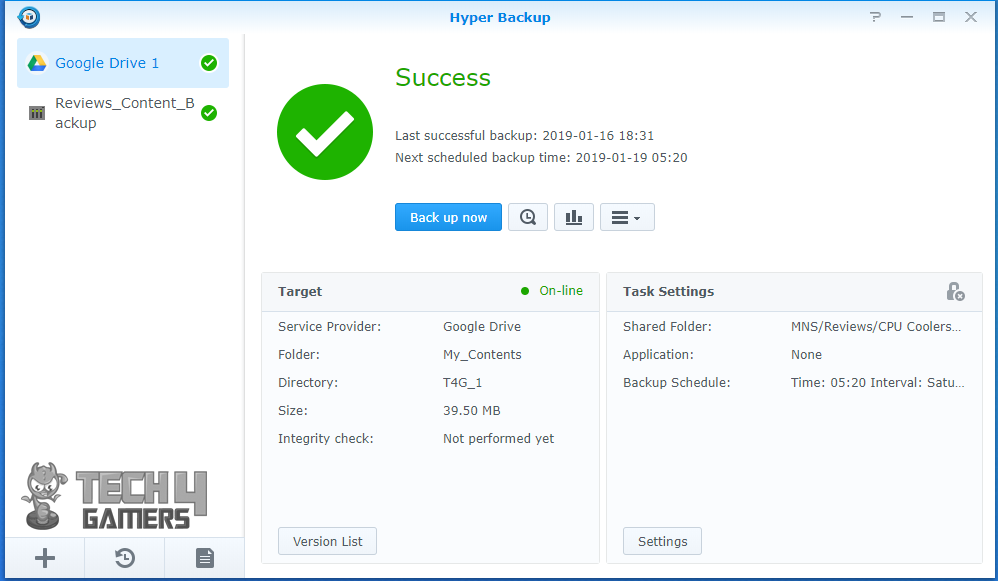
The left column will show a list of the user created back up tasks. On the right side pane, a summary of the tasks will be shown. Please, note that system configuration is backed up by default. The top portion will show the progress in the percentage of the backup task and files scanned along with the size of the backed up data. The Target pane will show the summary of the target share folder whereas the Task Setting will show the summary of the task.
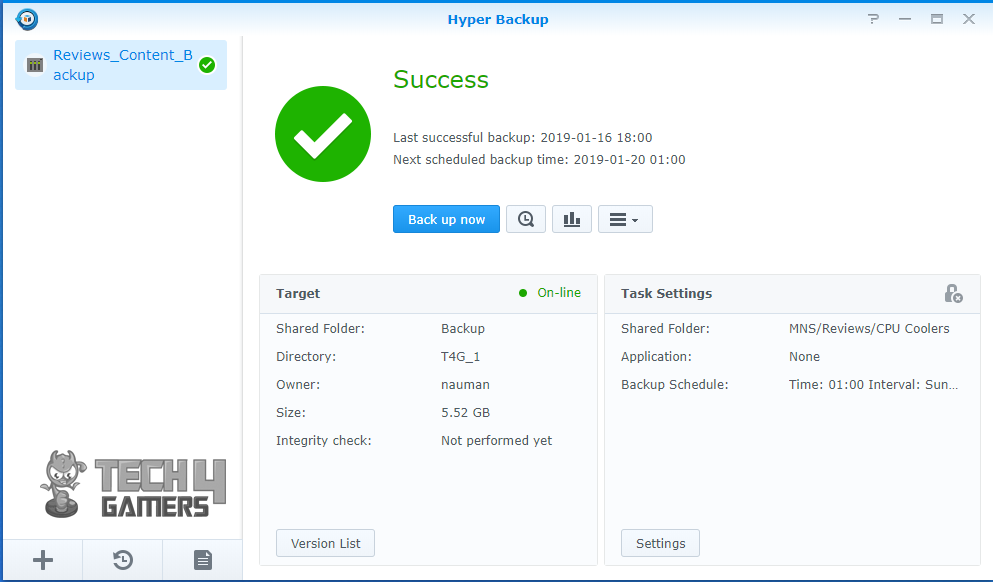
Once the backup task is successfully completed, it will show the Success label along with the date and time stamp of the last back up as well the date/time stamp of the next backup. The user can click on Back Up Now to manually back up the data if needed.
There are three more option buttons on the right side of the Back Up Now button. The first is the Backup Explorer. The second one is the Backup Statistics.
Backup Statistics
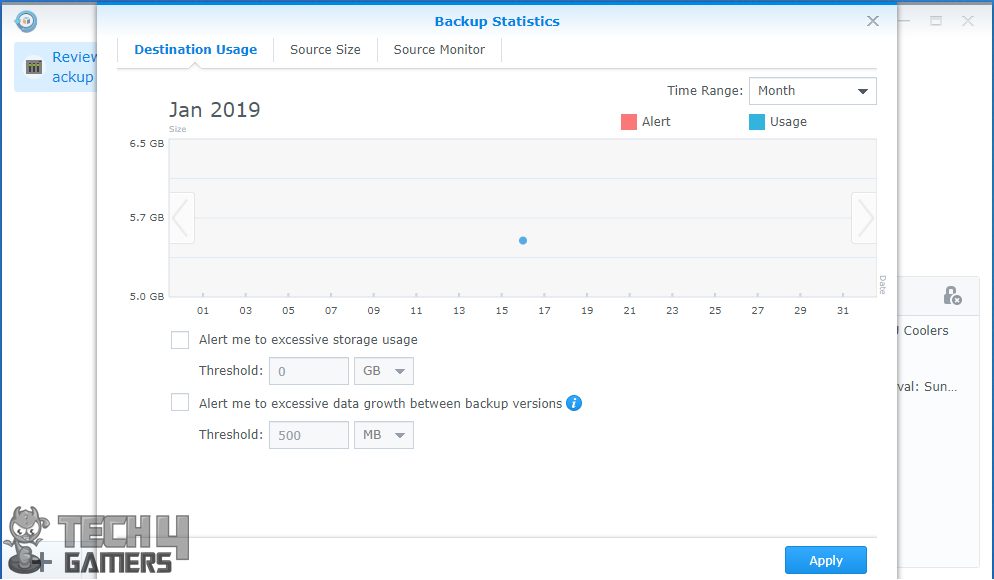

The backup statistics screen has three options. The detention usage shows the size of the backed up data and allows the user to setup alarms if size reached the defined threshold limit. The source monitor shows the number of files backed up between the backup versions and allows the user to create alarms for files addition/modification and deletion between backup versions.
Backup Explorer
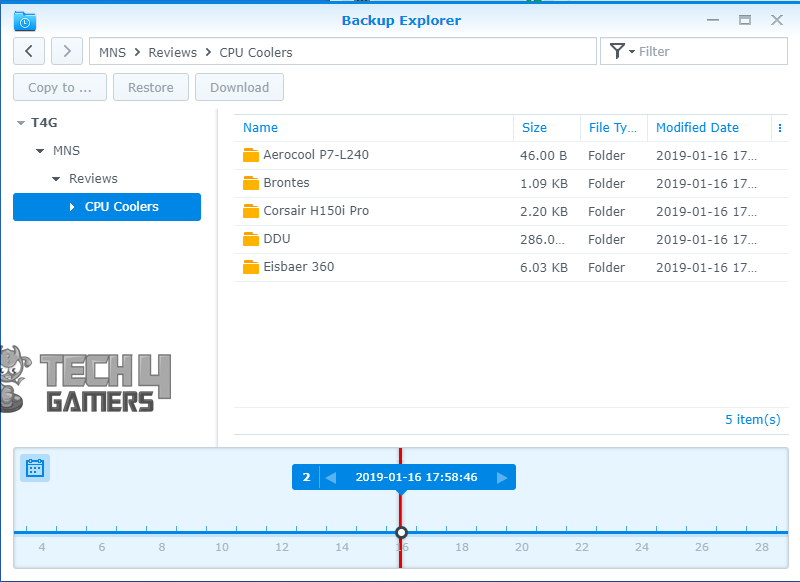
The Backup Explorer allows the users to view the contents of the source data in the typical Windows directory format. The backed up data can be restored from this interface as well.
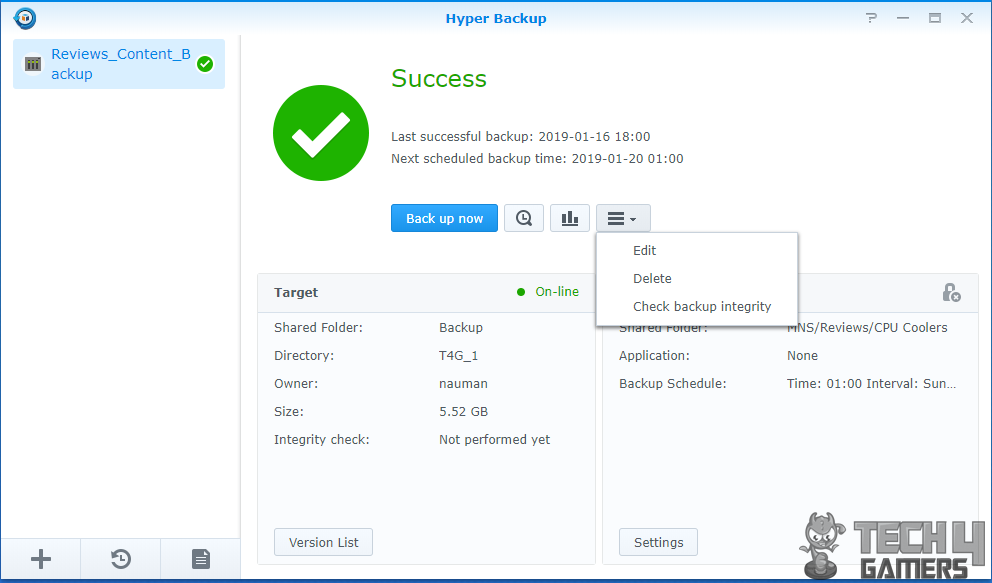
The three bars buttons on the rightmost side of the Back Up Now button has three further options. Which are Edit, Delete, Check backup integrity. The delete button will allow the user to delete the selected backup task.
Check Backup Integrity
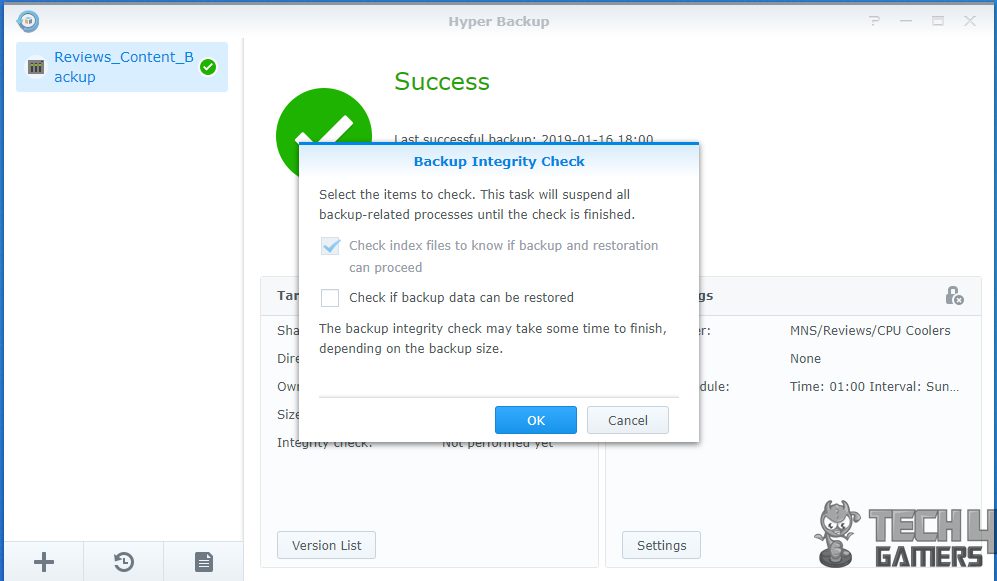
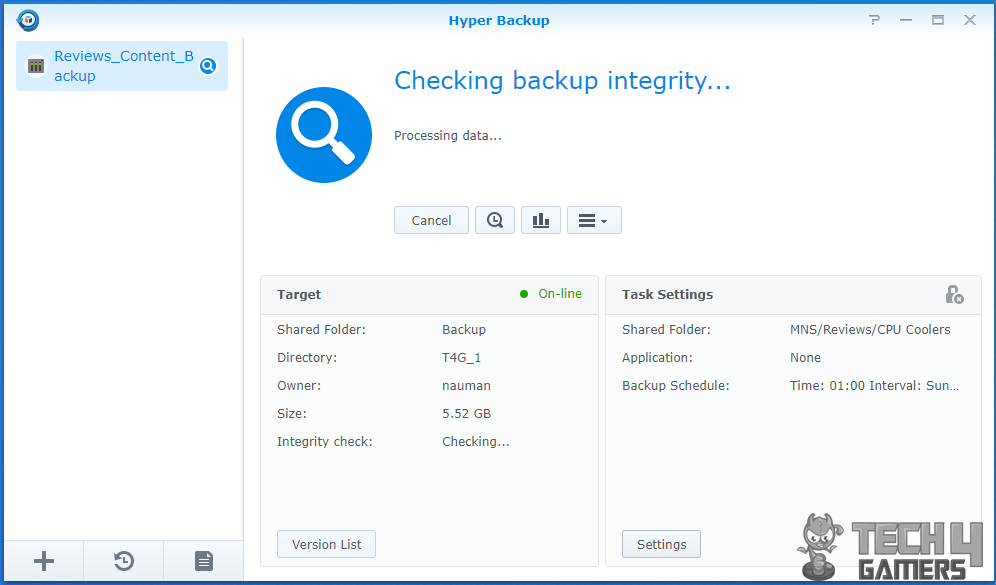
Check backup integrity button will run the integrity check for the duration as selected by the user when defining the backup task.
Schedule Settings
I would particularly like to discuss the Edit next as it will show the backup settings screen again but with one major change. This time, the user will get to see the plethora of backup schedule settings which were not visible during the wizard run.
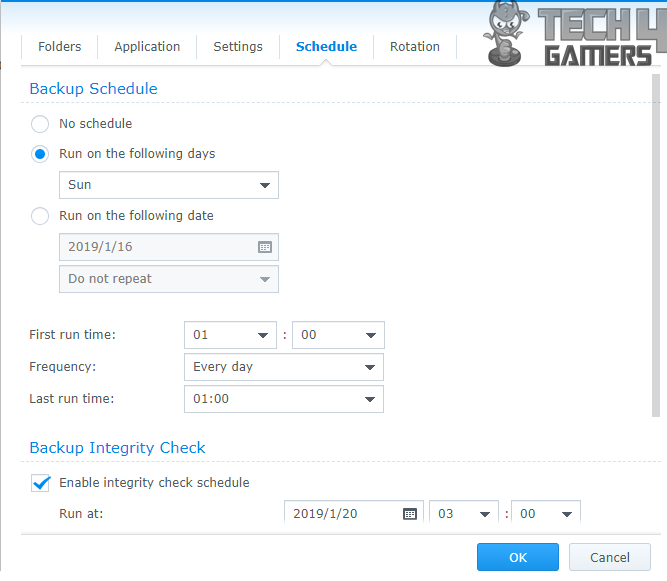
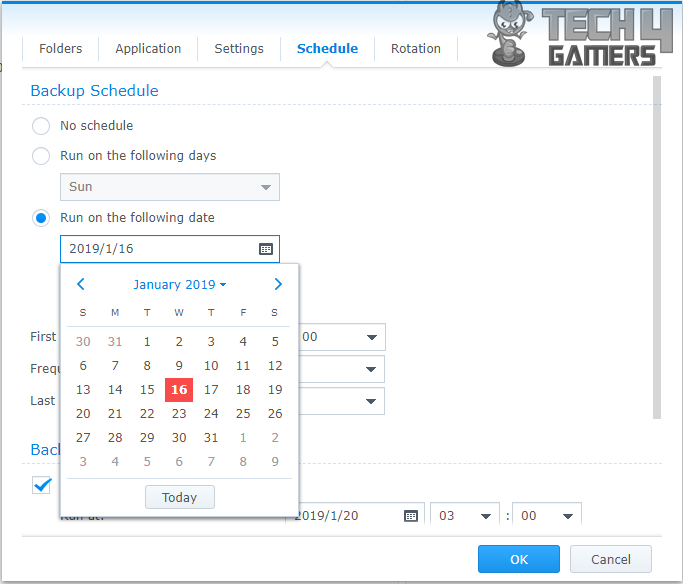
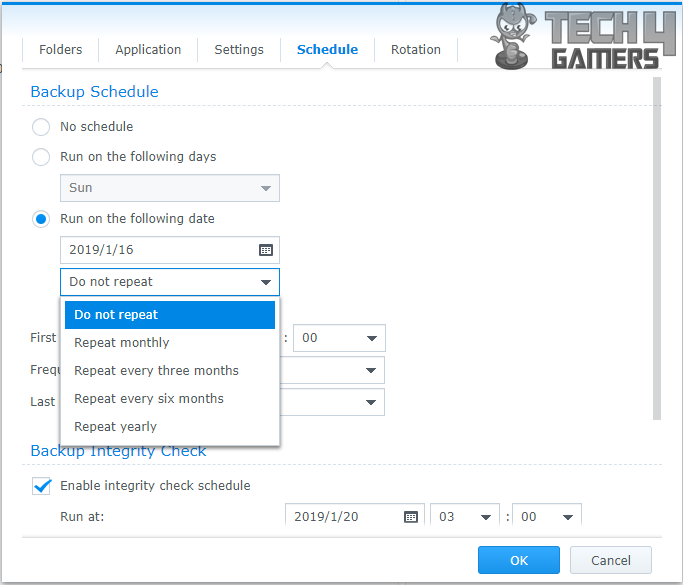
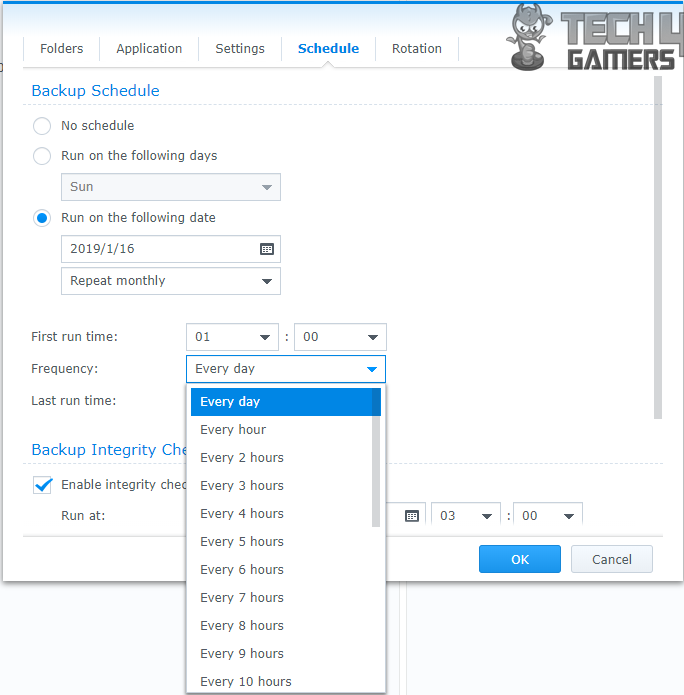
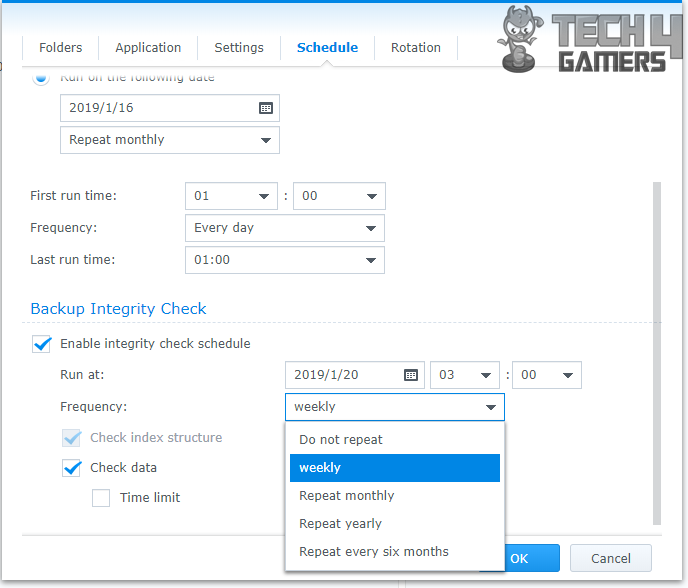
Clearly, Synology has provided very flexible yet a plethora of scheduling options/settings for the user convenience. They have almost covered every possible option in which user would want to set up the scheduling.
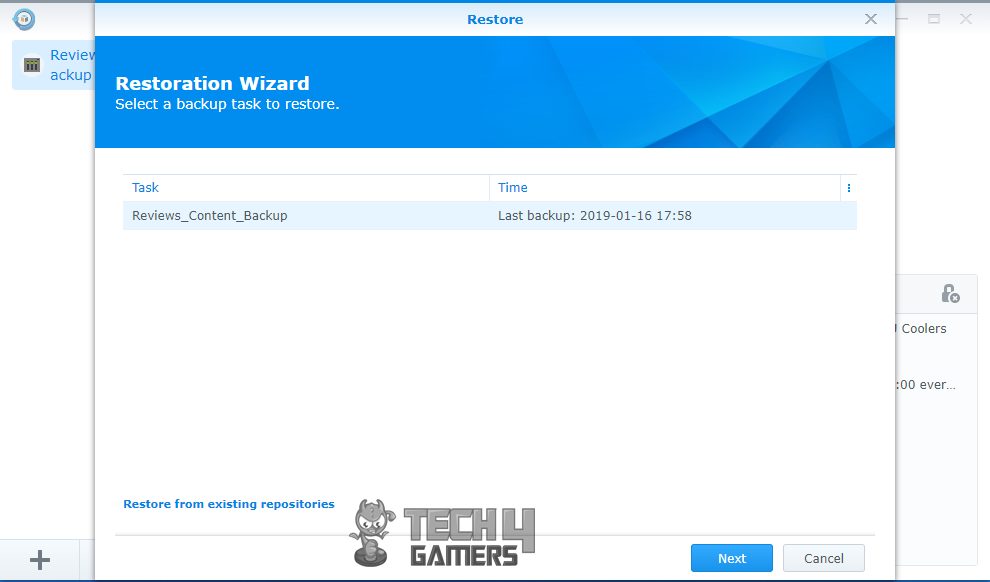
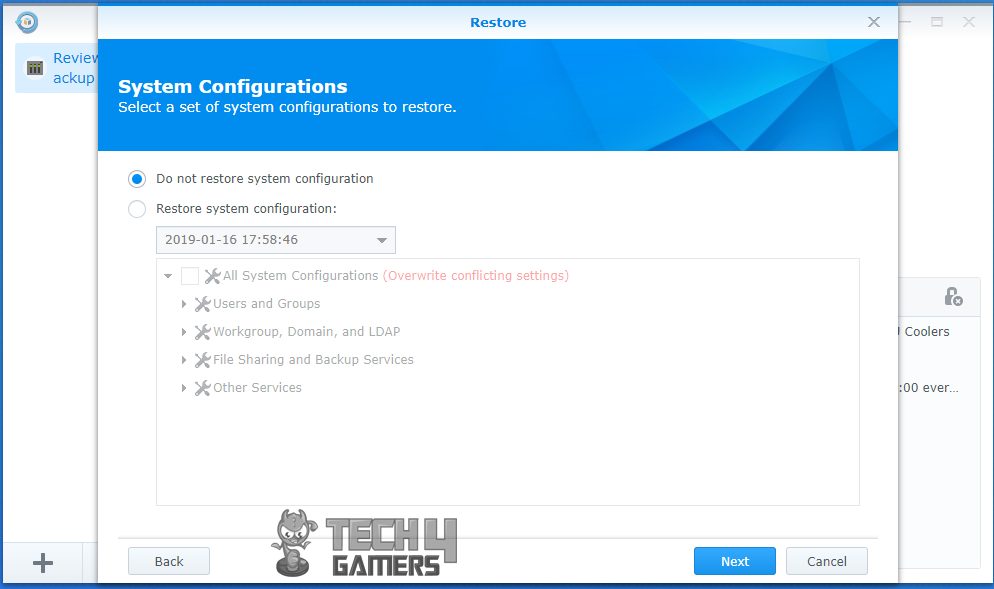
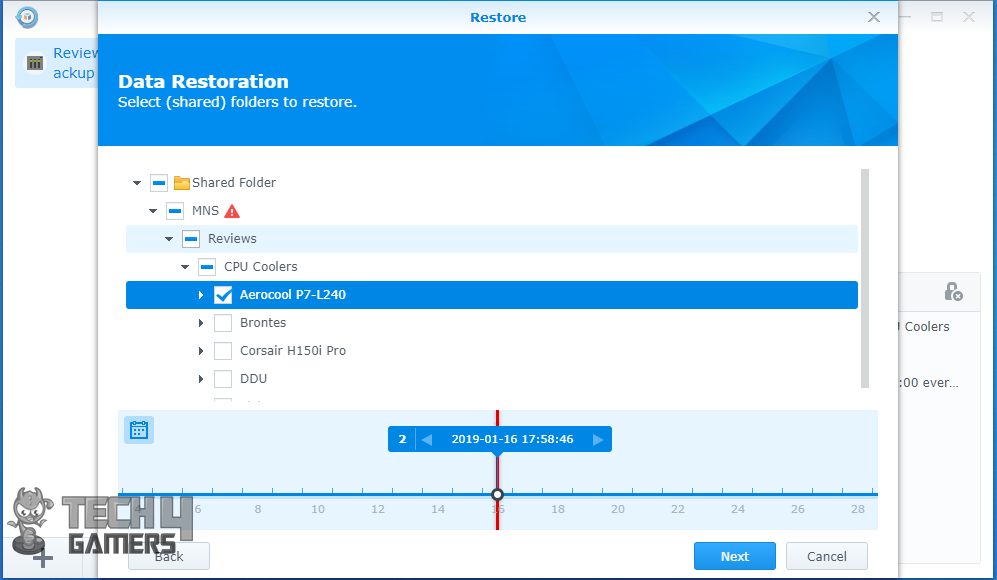
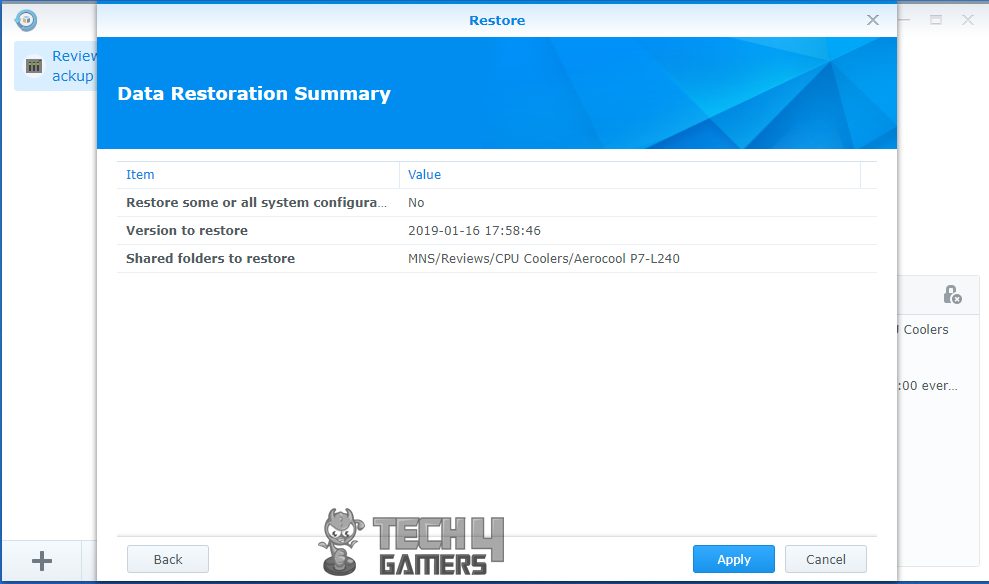
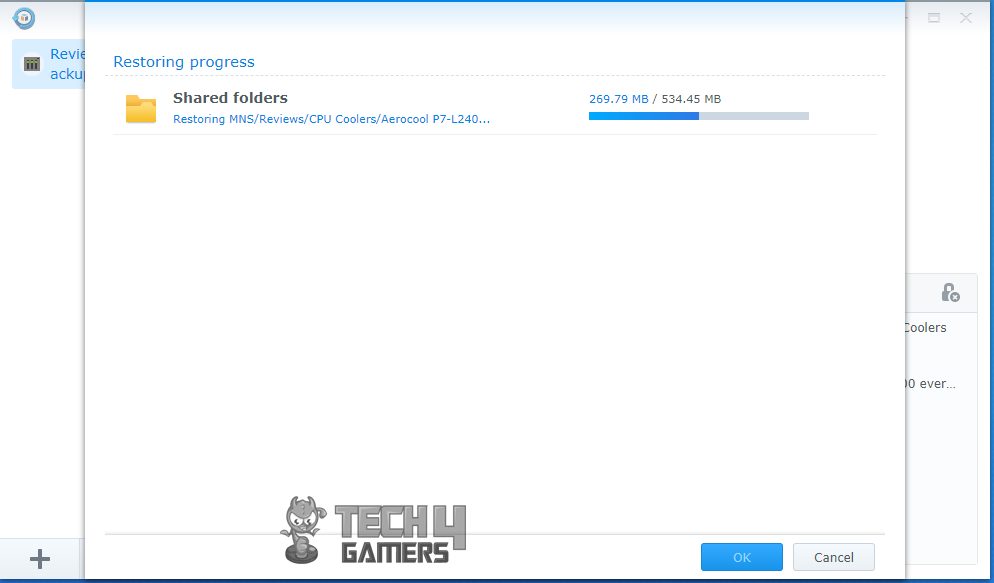
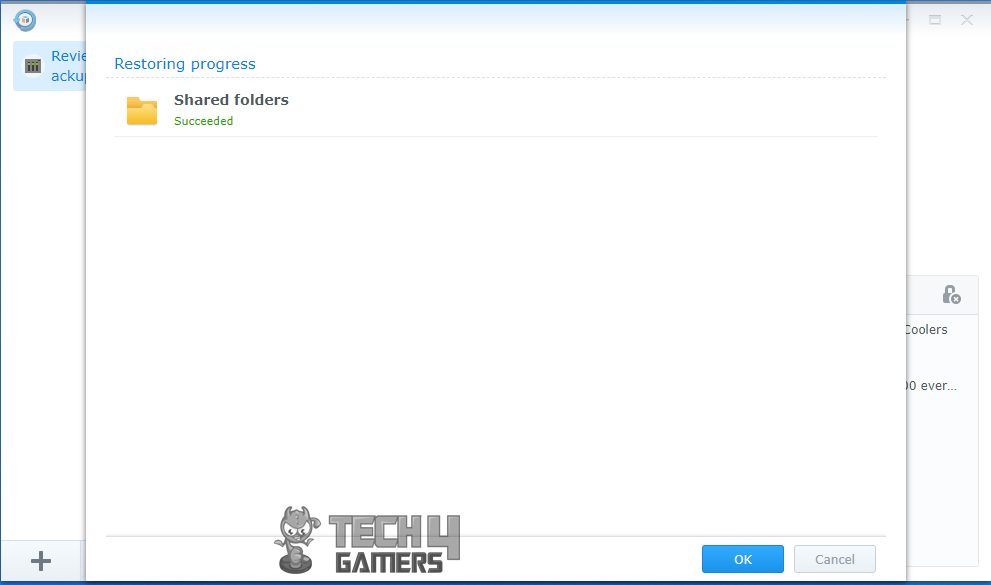
Backup Restore
So far, we have discussed creating and executing the backup task. There is also an option to restore the backed up data.
Cloud Services
Now, I will walk you through the step needed to set up a backup task for Google Drive.

I am hoping by now, you would have had a clear idea how flexible and features rich the Hyper backup from the Synology DS218+ really is to bring the convenience at the doorstep of the user when it comes to backing up your precious data.
DiskStation for Gamers
For content creators seeking ample and centralized storage, Synology DiskStation offers massive benefits. As digital content grows—especially with 4k videos—the need for extensive storage becomes clear. Traditional PC storage methods fall short, especially when working across multiple systems, demanding a centralized solution. But can gamers rely solely on DiskStation for gaming storage?
New AAA games demand considerable space; titles like DOOM (80GB) and Grand Theft Auto V (83GB with updates) typify this trend. Updates further swell these sizes, ranging from MBs to GBs, necessitating scalable storage for heavy gamers. As a gamer with a full 1TB SSD, I faced dilemmas—delete games or expand storage?
DiskStation solves these issues. I offloaded games I didn’t want to delete, creating space for more. Some games ran directly from DiskStation, with an average load time of 38 seconds, slightly slower than the PC HDD’s 20 seconds. Faster network speeds and added DiskStation RAM enhance load times, yet noticeable lag persisted in online multiplayer games.
In my experience, DiskStation proves invaluable for gamers with vast libraries. Centralizing games eased access across both my PCs, eliminating the hassle of copying between drives. This is my firsthand take on DiskStation’s utility for gamers.
Should You Buy It?
The final question is, should you buy the DS218+?
Buy It If:
✅ You Seek a Comprehensive, User-Friendly Storage Solution: Ideal for home users requiring centralized storage across multiple devices, the DS218+ offers an intuitive setup, scalable storage, and convenient remote access via Synology mobile apps.
✅ You Are A Gamer Or Content Creator Looking for Efficient File Management: A suitable choice for content creators looking to store vast digital data or gamers aiming to centralize their game libraries. It enhances storage management, though online multiplayer gaming might be affected by network speed limitations.
✅ You Desire for Flexible and Expandable Storage: With the ability to connect multiple DS218+ units for expanded storage without compromising existing data, this NAS solution provides scalability and adaptability for evolving storage needs.
Don’t Buy It If
❌ You Have Demanding Network Requirements: Users reliant on high-speed network connections for optimal performance, especially in online multiplayer gaming, might experience lag due to the system’s dependency on network speed.
❌ You Are Noise Or Space-Sensitive: Its physical size and slight operational noise might be an issue for users with limited space or seeking absolute silence in their setup. Vibration noise from disks might require additional soundproofing measures.
❌ You Have Advanced Computing Requirements: While versatile, the system’s basic CPU and RAM configurations might limit capabilities for users seeking heavy virtualization, extensive VPN usage, or running multiple resource-intensive applications simultaneously.
Wrap Up
The Synology DiskStation DS218+ is a compact and powerful two-bay NAS designed for home and small office setups. Engineered for high performance, it handles data-intensive tasks and on-the-fly encryption needs while providing scalability. The sleek, rugged design houses a dual-core CPU and AES-NI hardware encryption engine, with a range of connectivity options, including USB 3.0 and eSATA ports.
Its versatility shines through the support for various RAID configurations, expanding storage flexibility. Despite its basic RAM and CPU configuration, it impressively supports up to 1500 local user accounts and accommodates multiple connections for diverse functions like cloud services and surveillance hosting.
The setup process is a breeze, and the intuitive DSM (DiskStation Manager) OS extends the DS218+’s functionality beyond mere storage. Offering packages and settings for file sharing, data backup, multimedia, and more, it transforms into a multifunctional hub. Despite some limitations with file uploads through the web browser, solutions like the JAVA runtime library help overcome these barriers.
The DS218+ caters to content creators and gamers alike, offering scalable and remotely accessible storage. While load times may vary, the device’s overall performance and adaptability make it an excellent centralized storage solution for home users with multiple devices.
We are thankful to Synology for giving us the opportunity to test their DS218+ DiskStation.
Recent Updates
- December 13, 2023: Few text changes to improve readability. Also added image galleries.
Thank you! Please share your positive feedback. 🔋
How could we improve this post? Please Help us. 😔
[Hardware Reviewer & Editor]
Meet Nauman Siddique, a highly experienced computer science graduate with more than 15 years of knowledge in technology. Nauman is an expert in the field known for his deep understanding of computer hardware.
As a tech tester, insightful reviewer, and skilled hardware editor, Nauman carefully breaks down important parts like motherboards, graphics cards, processors, PC cases, CPU coolers, and more.
- 15+ years of PC Building Experience
- 10+ years of first-hand knowledge of technology
- 7+ years of doing in-depth testing of PC Hardware
- A motivated individual with a keen interest in tech testing from multiple angles.
- I majored in Computer Science with a Masters in Marketing
- Previously worked at eXputer, EnosTech, and Appuals.
- Completed Course in Computer Systems Specialization From Illinois Tech
Get In Touch: nauman@tech4gamers.com

 Review: Unleash the Irresistible Power")


