 Threads
Blue Beauty!
Review Summary
The Antec GX200 is an entry-level, budget-friendly mid-tower PC chassis with a stylish front panel, solid build quality, and included blue LED fans. It caters to budget-conscious gamers seeking bold aesthetics, good performance, and essential features.
Hours Tested: 14

Overall
-
Performance - 7/10
7/10
-
Value - 9/10
9/10
-
Design - 8/10
8/10
-
Features - 6/10
6/10
Pros
- Budget-friendly option
- Stylish front panel with blue LED fans
- Solid build quality
- Ample storage options
- Sleek front I/O panel
- Compact mid-tower design
Cons
- Not suitable for liquid cooling support
- Limited cable management options
- Lacks advanced features
- No top-side cooling options


Antec has sent me their 4 products for review purposes. Today, I will examine their entry-level, budget PC chassis, the Antec GX200 Review. It is a compact mid-tower with a stylish front panel and two 120mm blue LED fans on the front. Today, I will be walking you through its internal and external design as well as sharing its thermal performance benchmarks.
- Why you can trust Tech4Gamers: Our reviews are based on dedicated hands-on testing by our team of experienced hardware experts. Find out more about how we test.
Key Takeaways
- Antec GX200 is an entry-level, budget-friendly mid-tower PC chassis with a stylish front panel, solid build quality, and included blue LED fans.
- It is ideal for budget gamers seeking a compact mid-tower with bold looks, good performance, and features like pre-installed blue LED fans, ample storage options, and a sleek front I/O panel.
- It is not suitable for users looking for liquid cooling support, extensive cable management options, or advanced features, as it caters more to the budget-conscious gamer with basic needs.
The specifications are as follows.
| Model | Antec GX200 |
| Form Factor | Mid-Tower |
| Color | Black |
| Drive Bays | 1x 5.25” Drive Bay tool-less, 4x 3.5” HDD Bay, 1x 2.5” SSD Bay |
| Motherboard Compatibility | Standard ATX, microATX, mini-ITX |
| Cooling System | 3x 120mm Fan Mounts, 2x 120mm Blue LED Fans Included |
| Front I/O Ports | 1x USB 2.0, 2x USB, 3.0 Audio Ports |
| PCIe Slot | 7 |
| Maximum Graphics Card Size | 380mm |
| Maximum CPU Cooler Height | 158mm |
| Dimensions | 450 x 185 x 412mm |
| Net Weight | 4.3 Kg |
| Warranty | 2 Years |
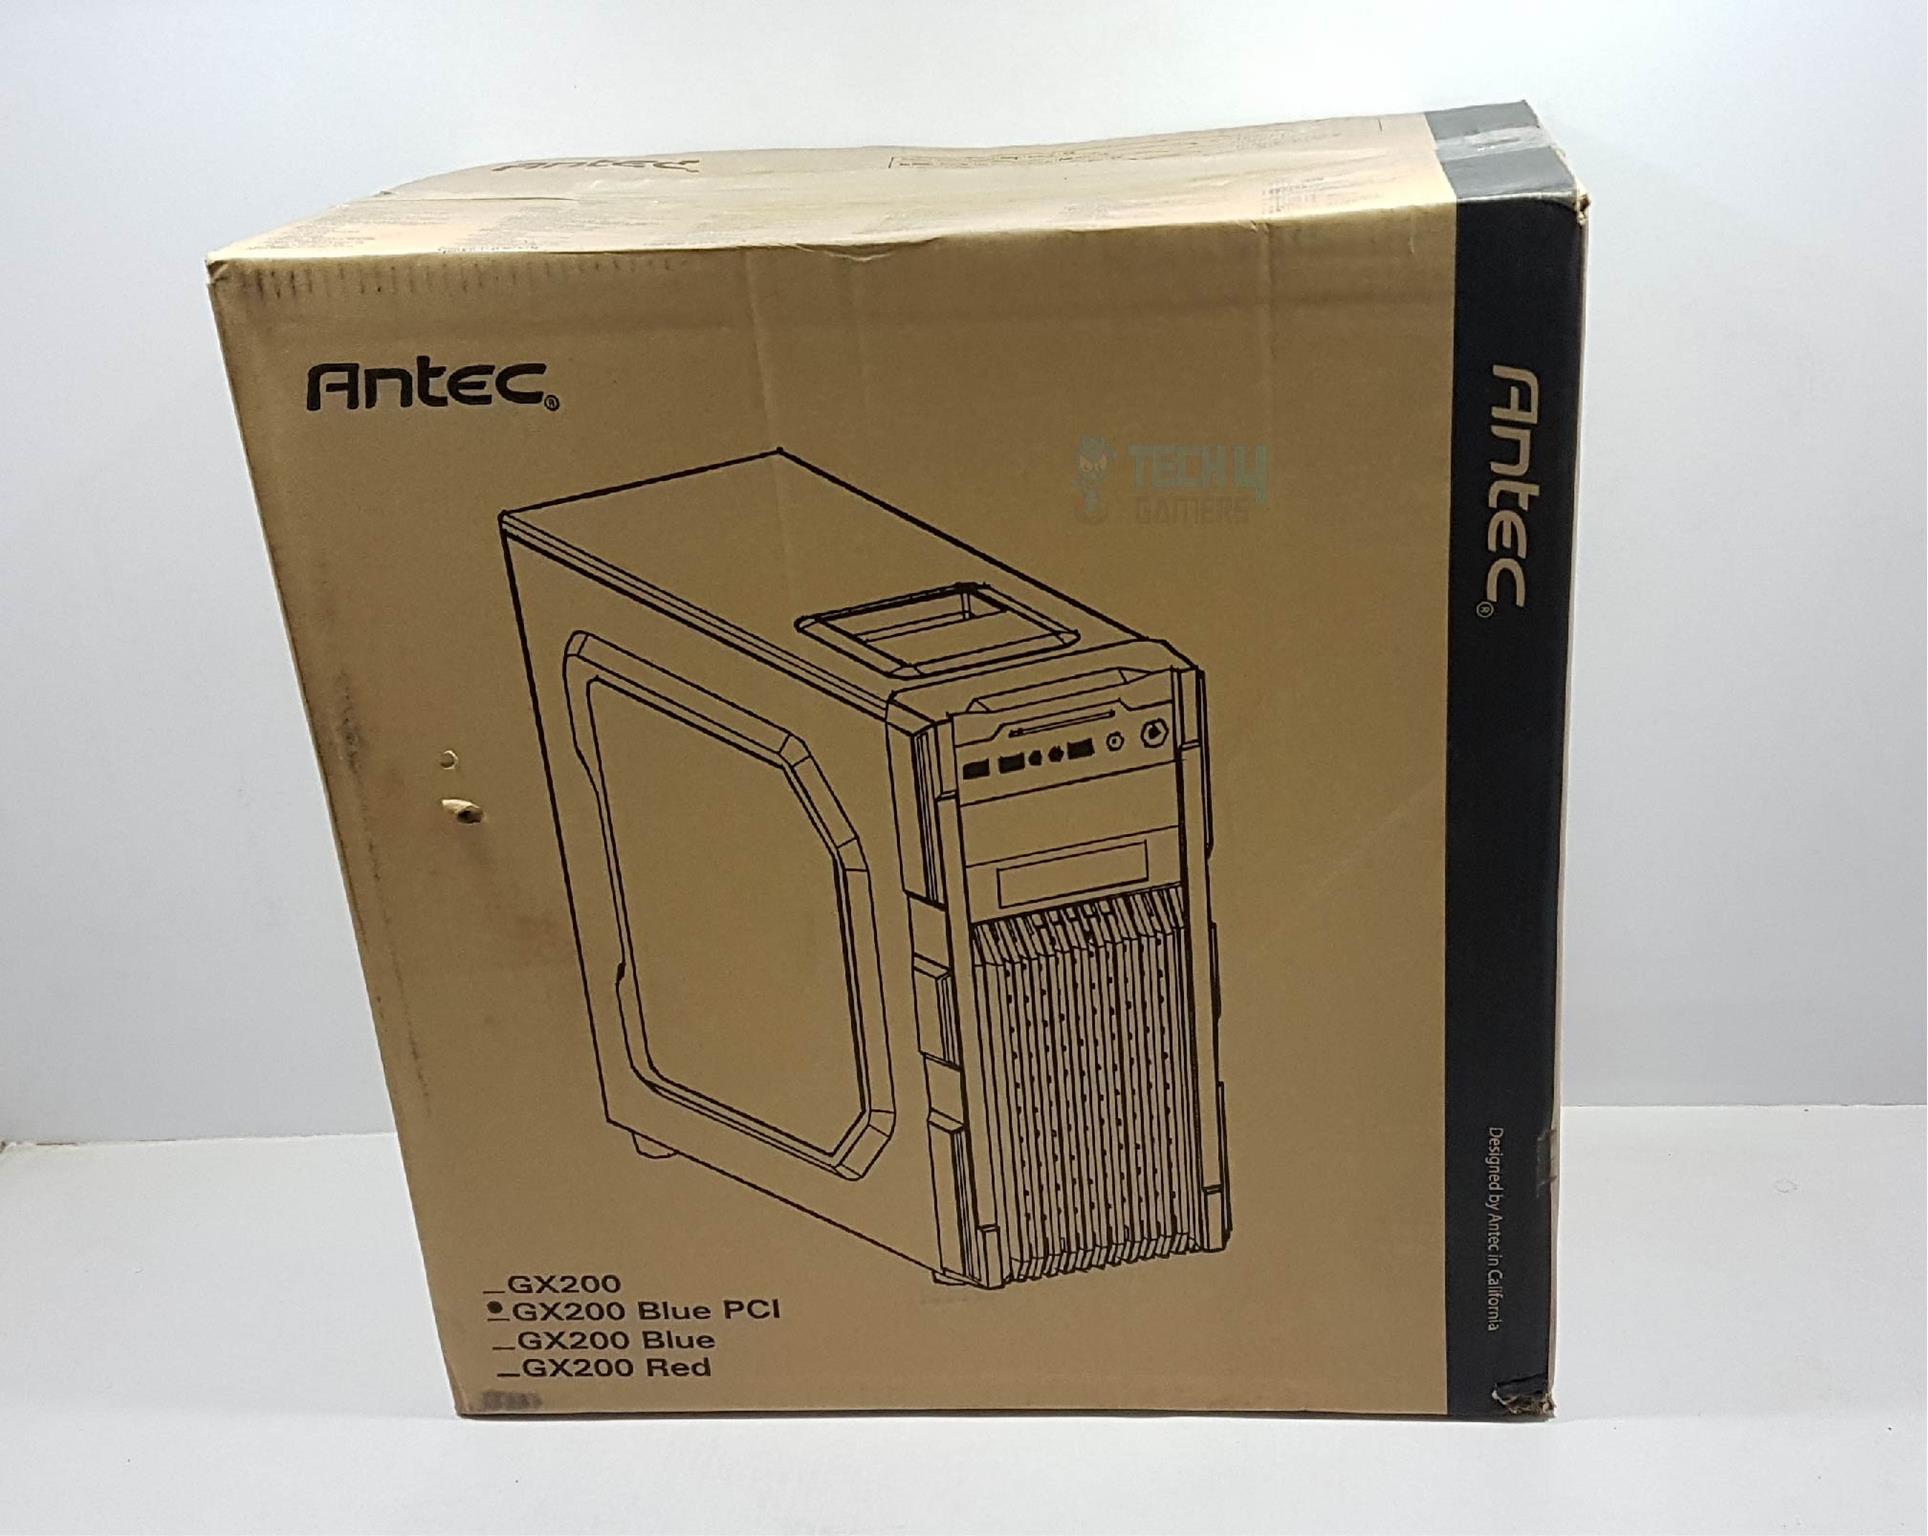
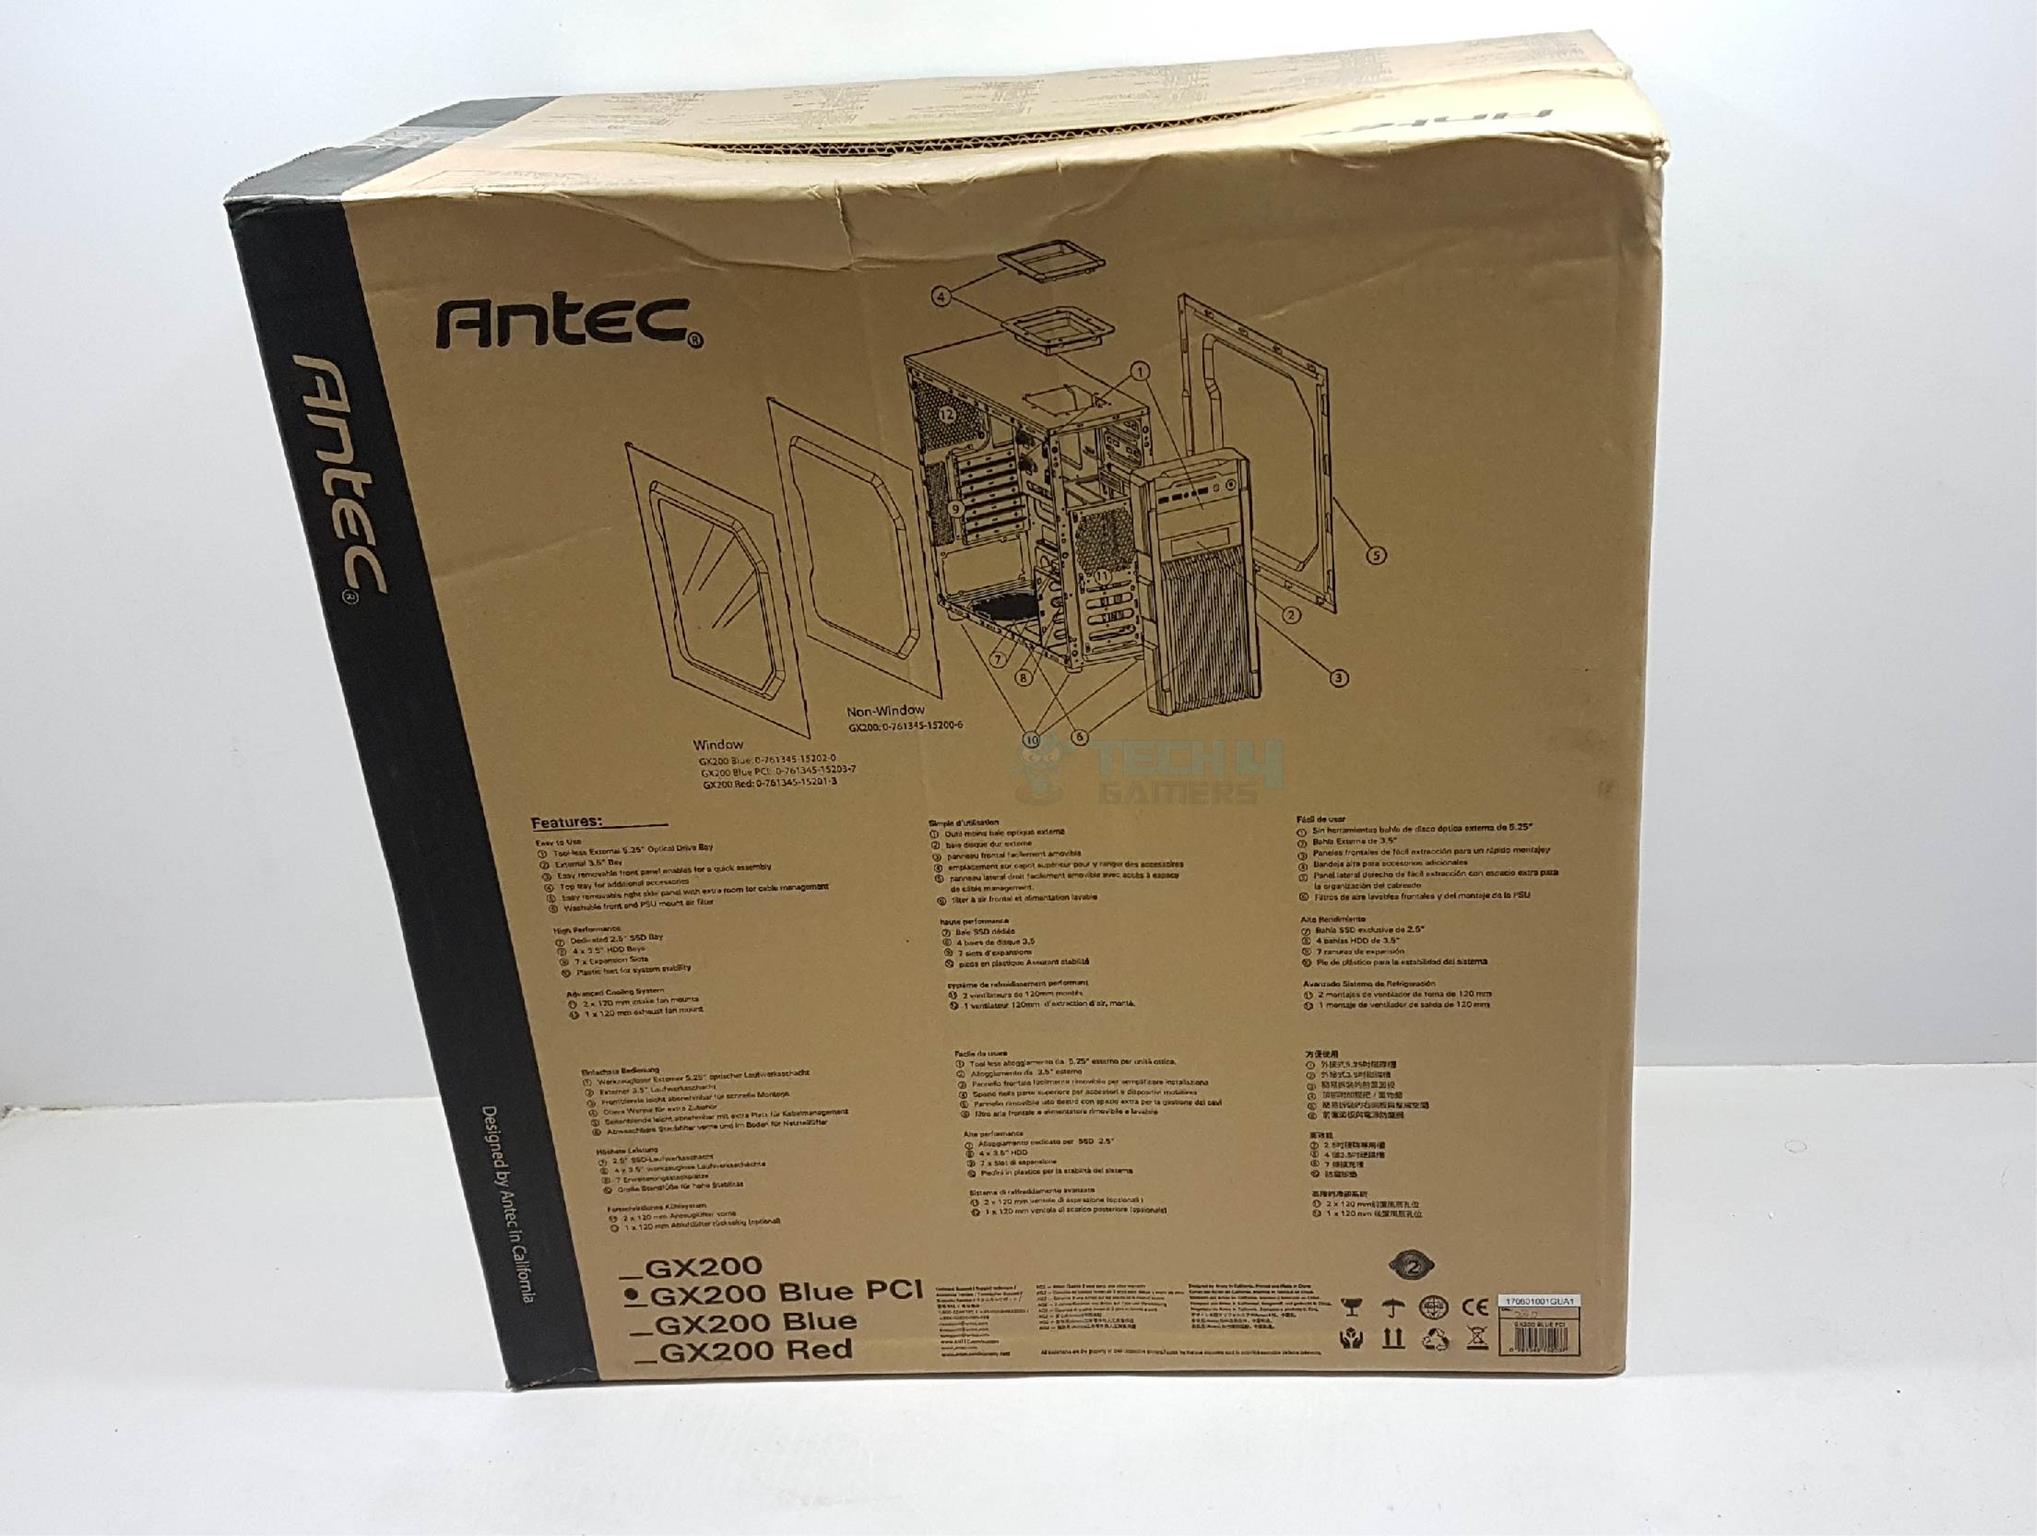
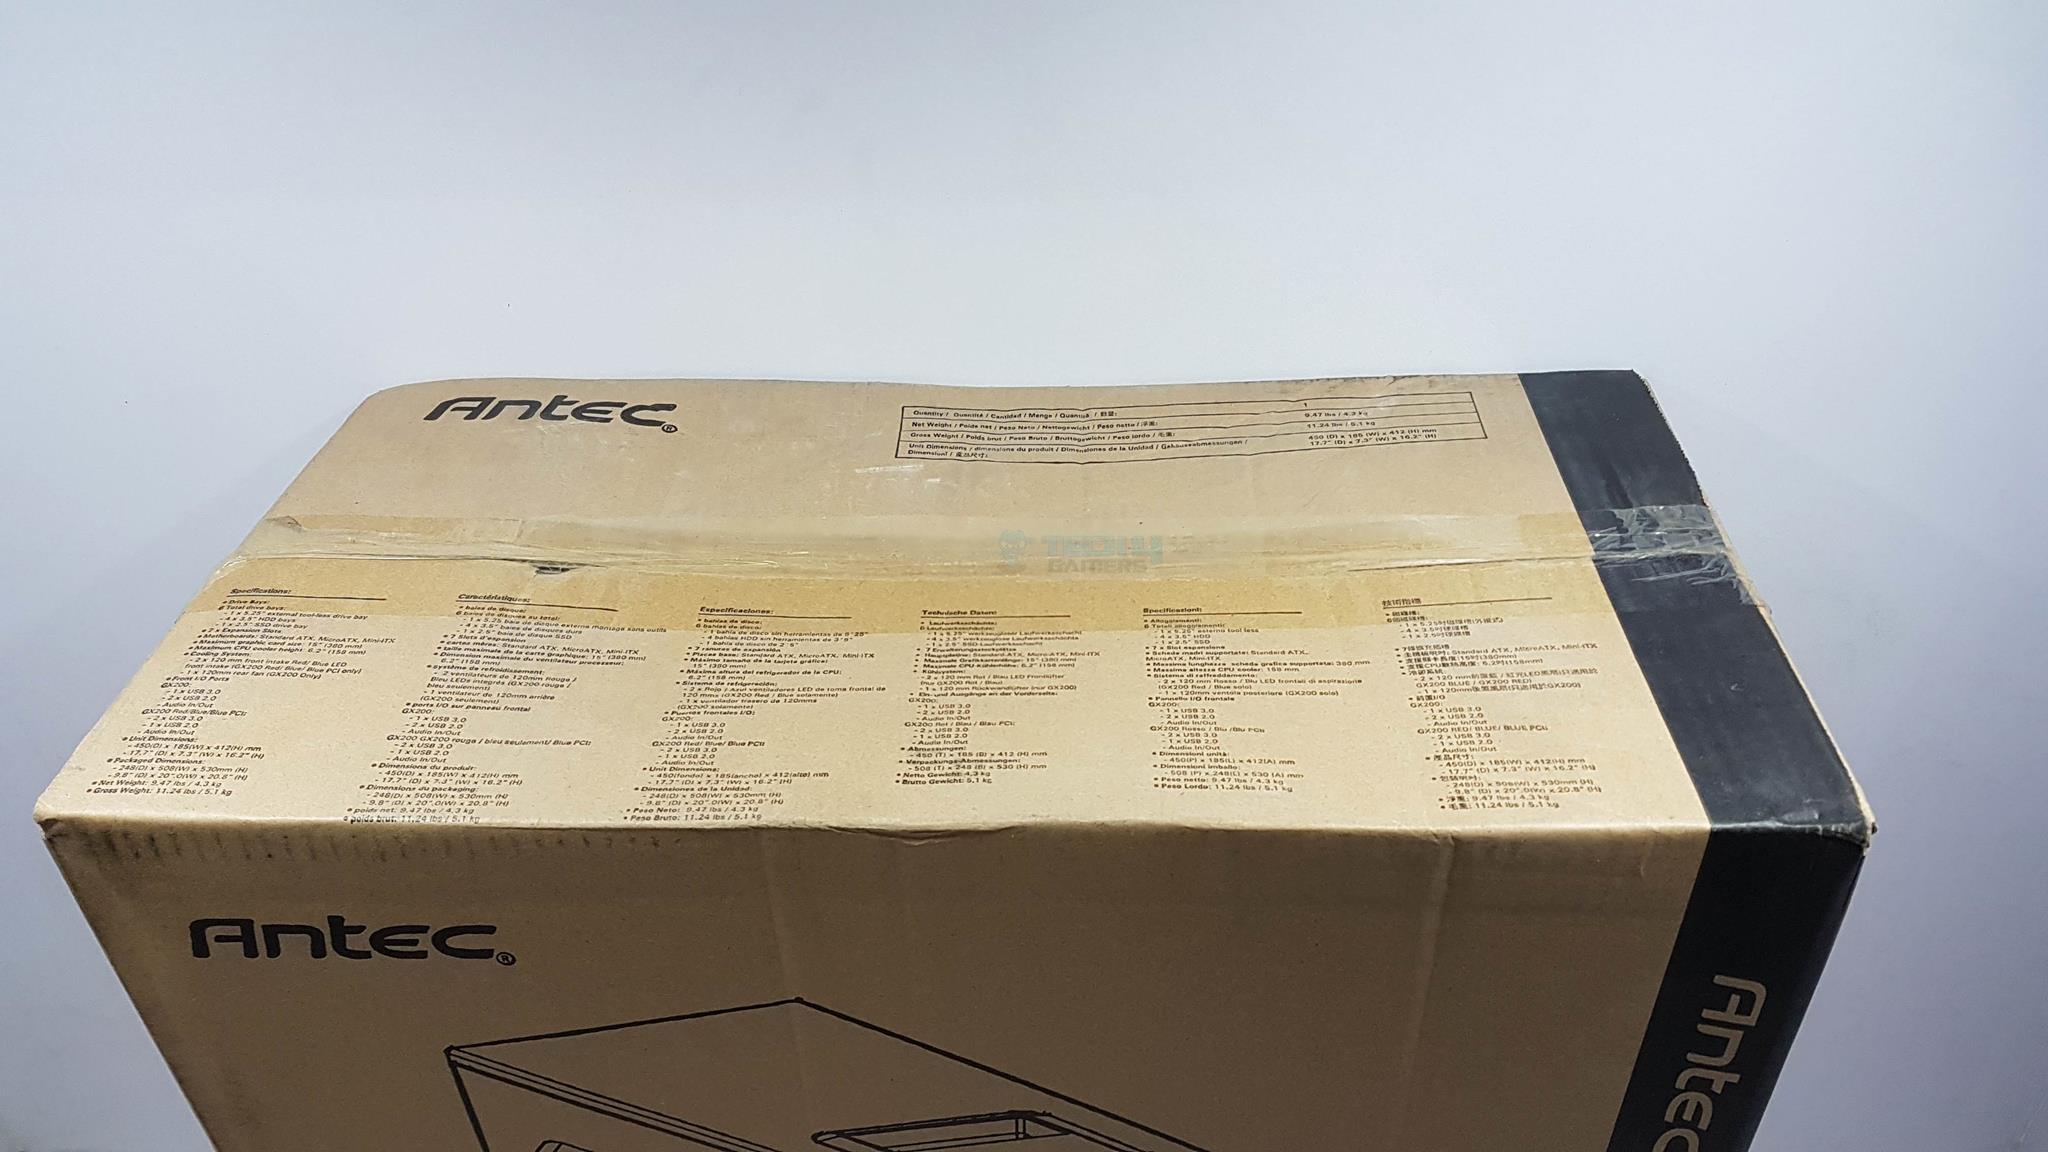
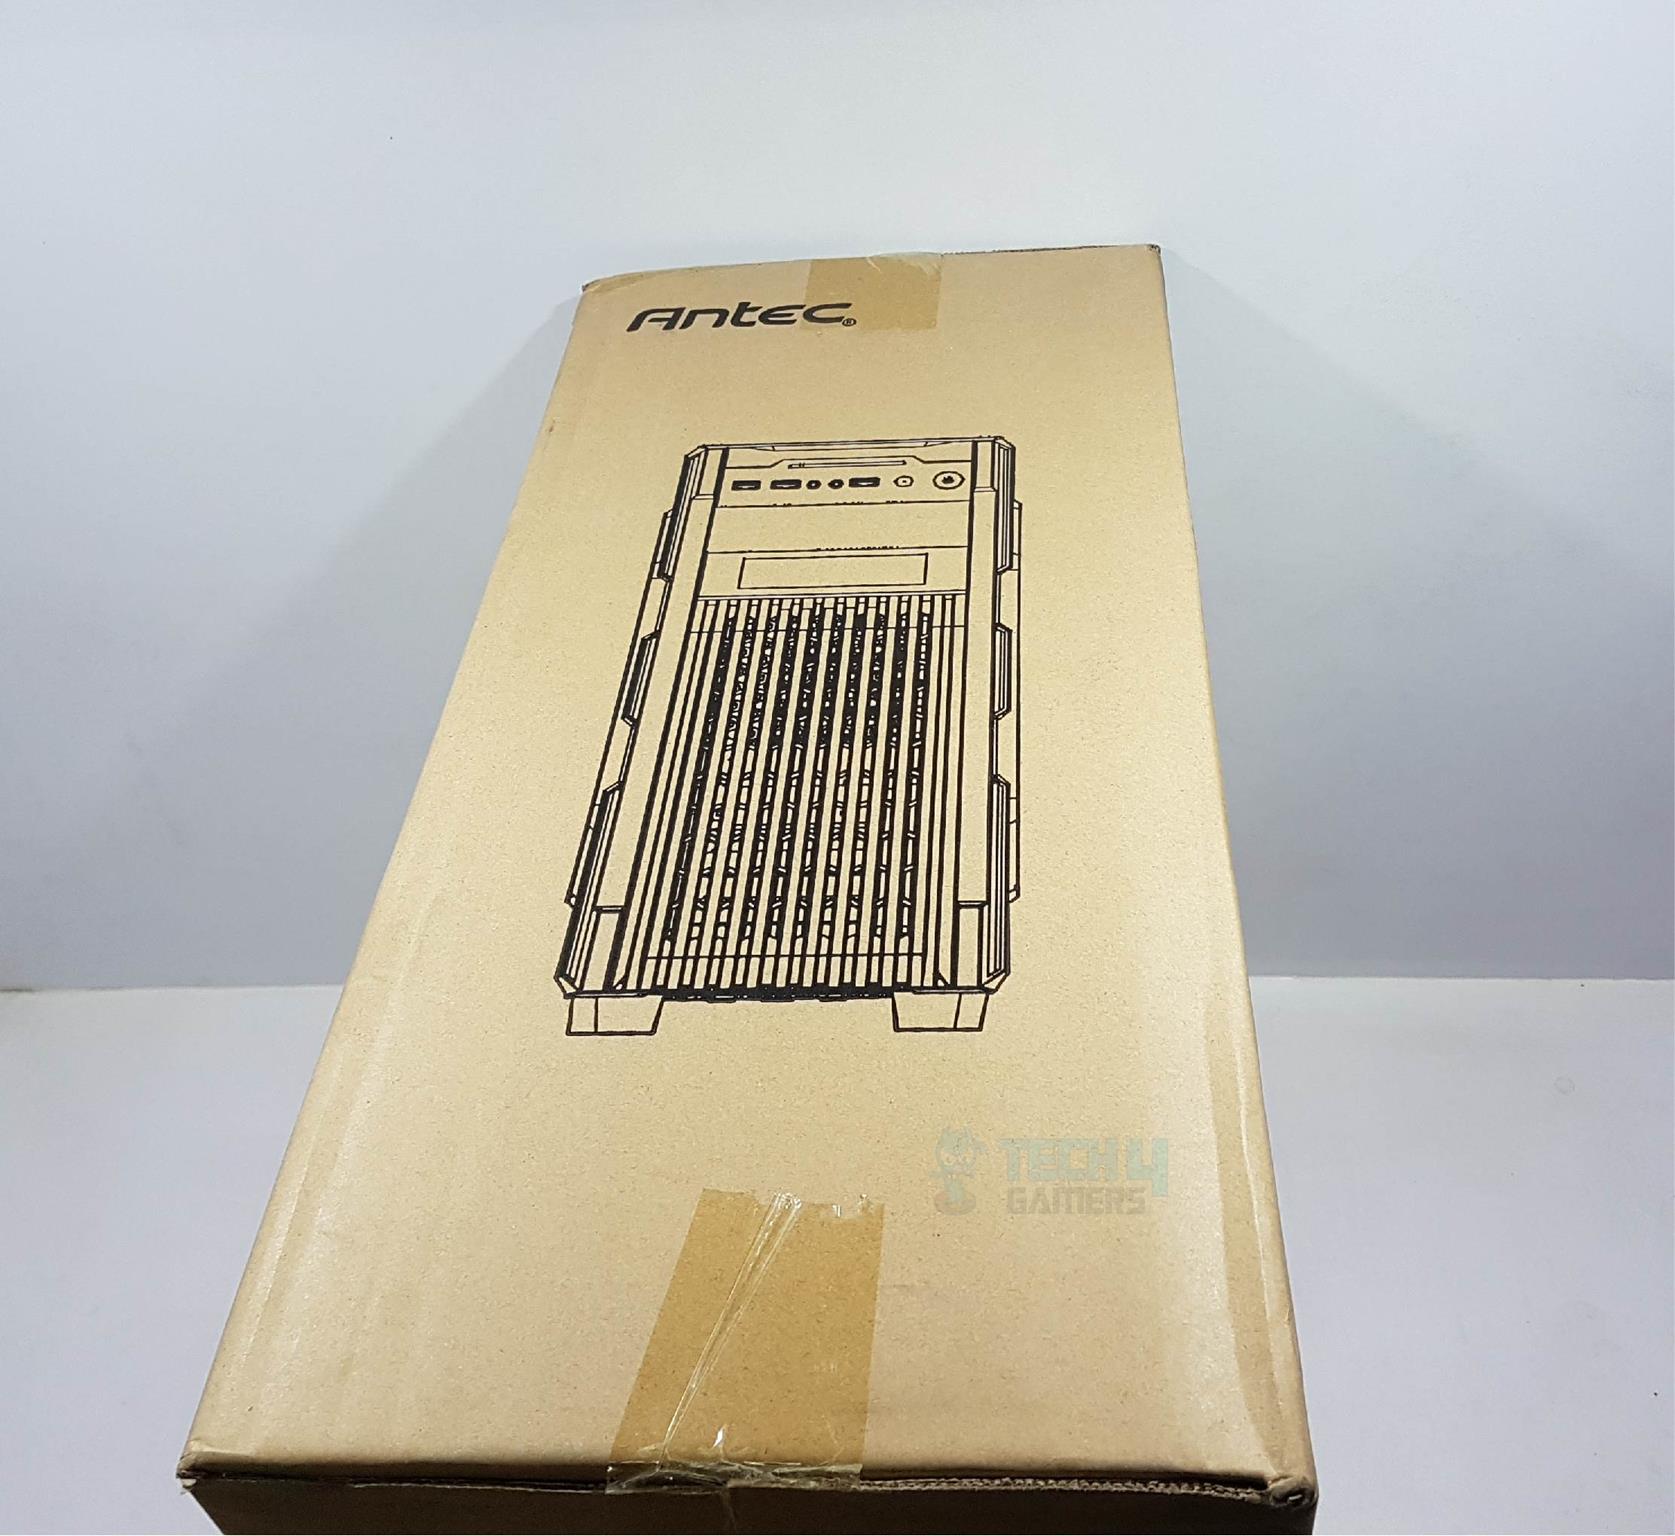
Packaging and Unboxing
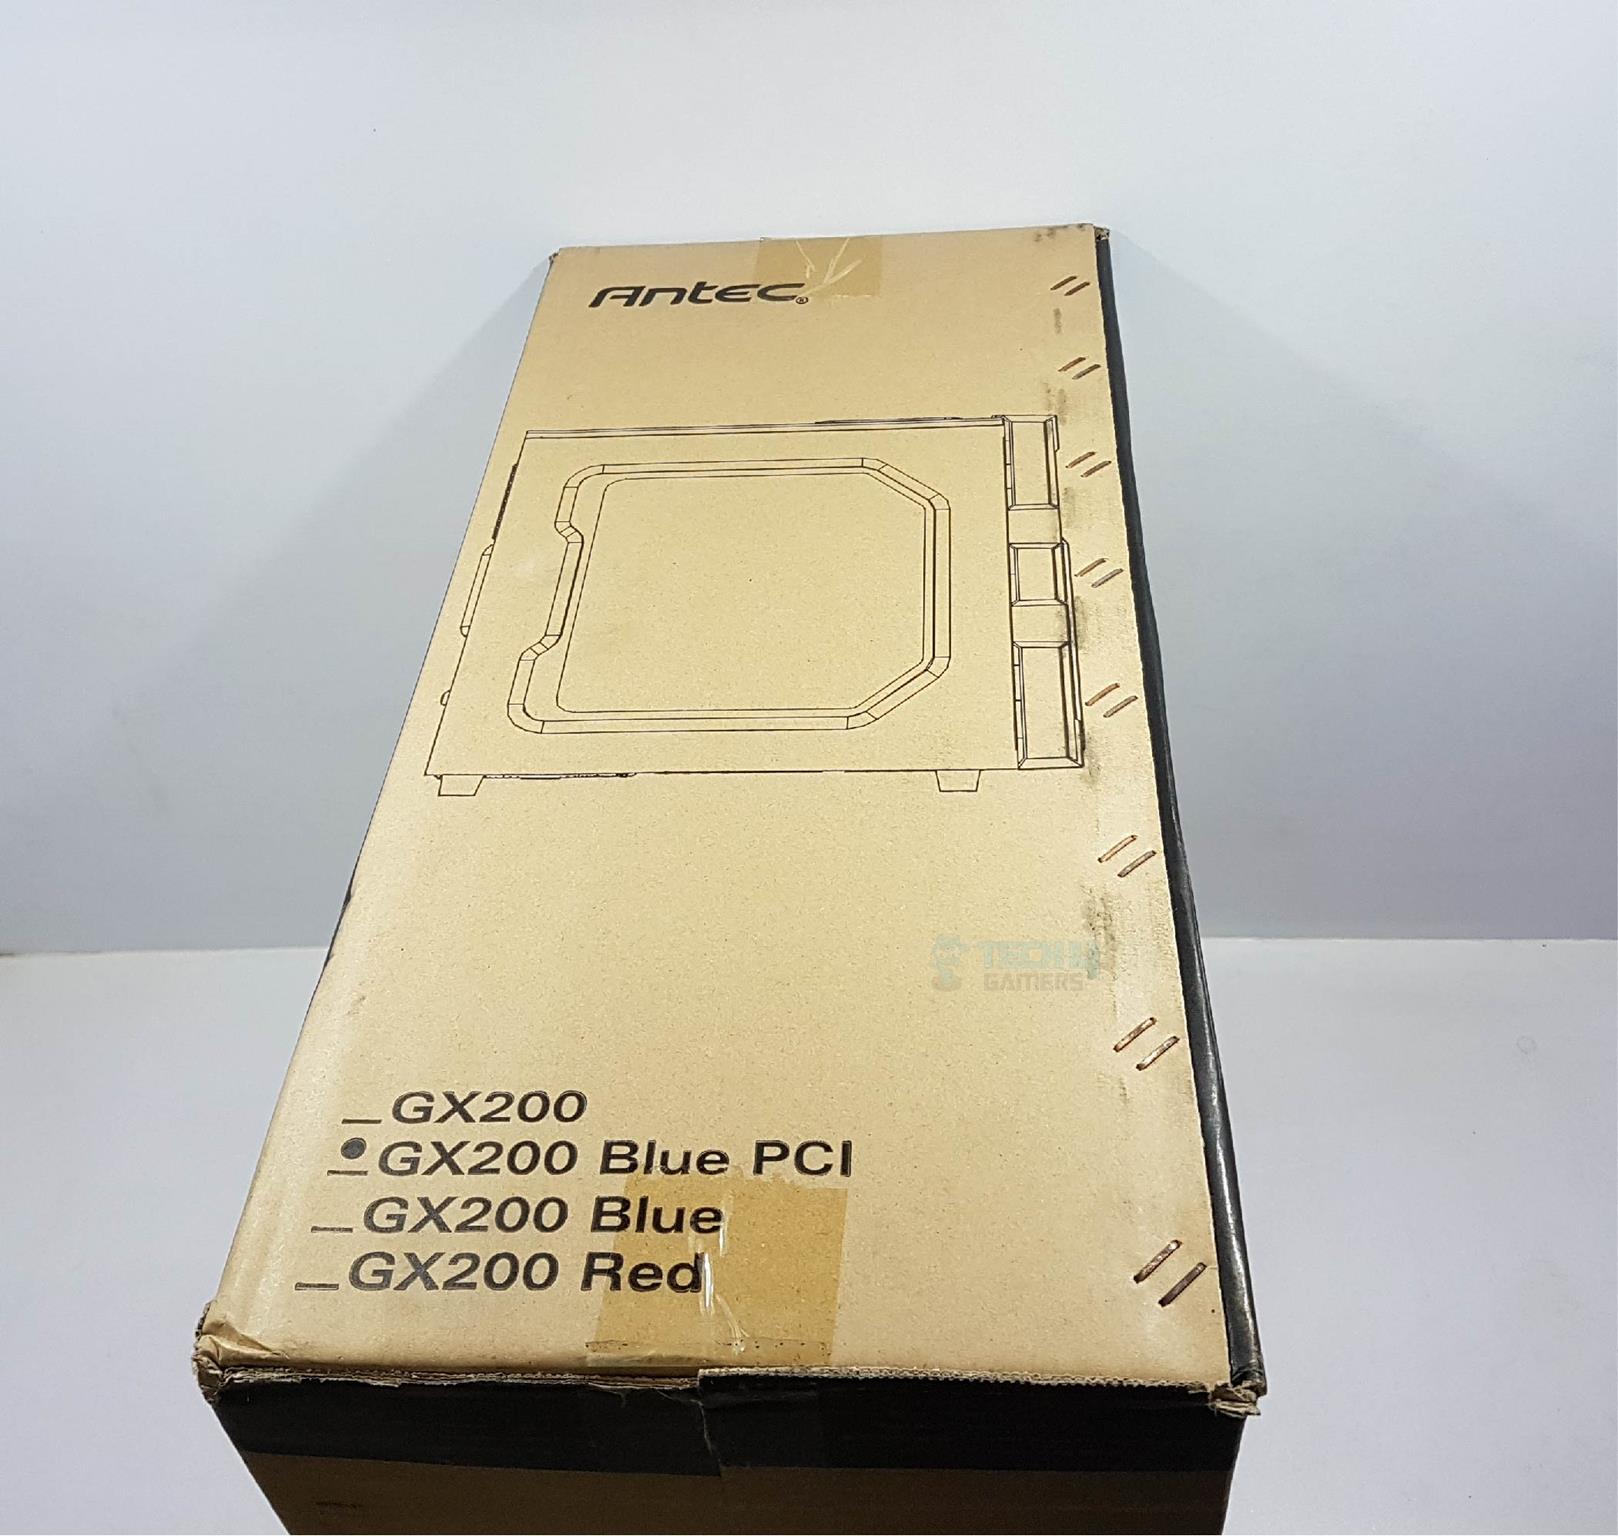
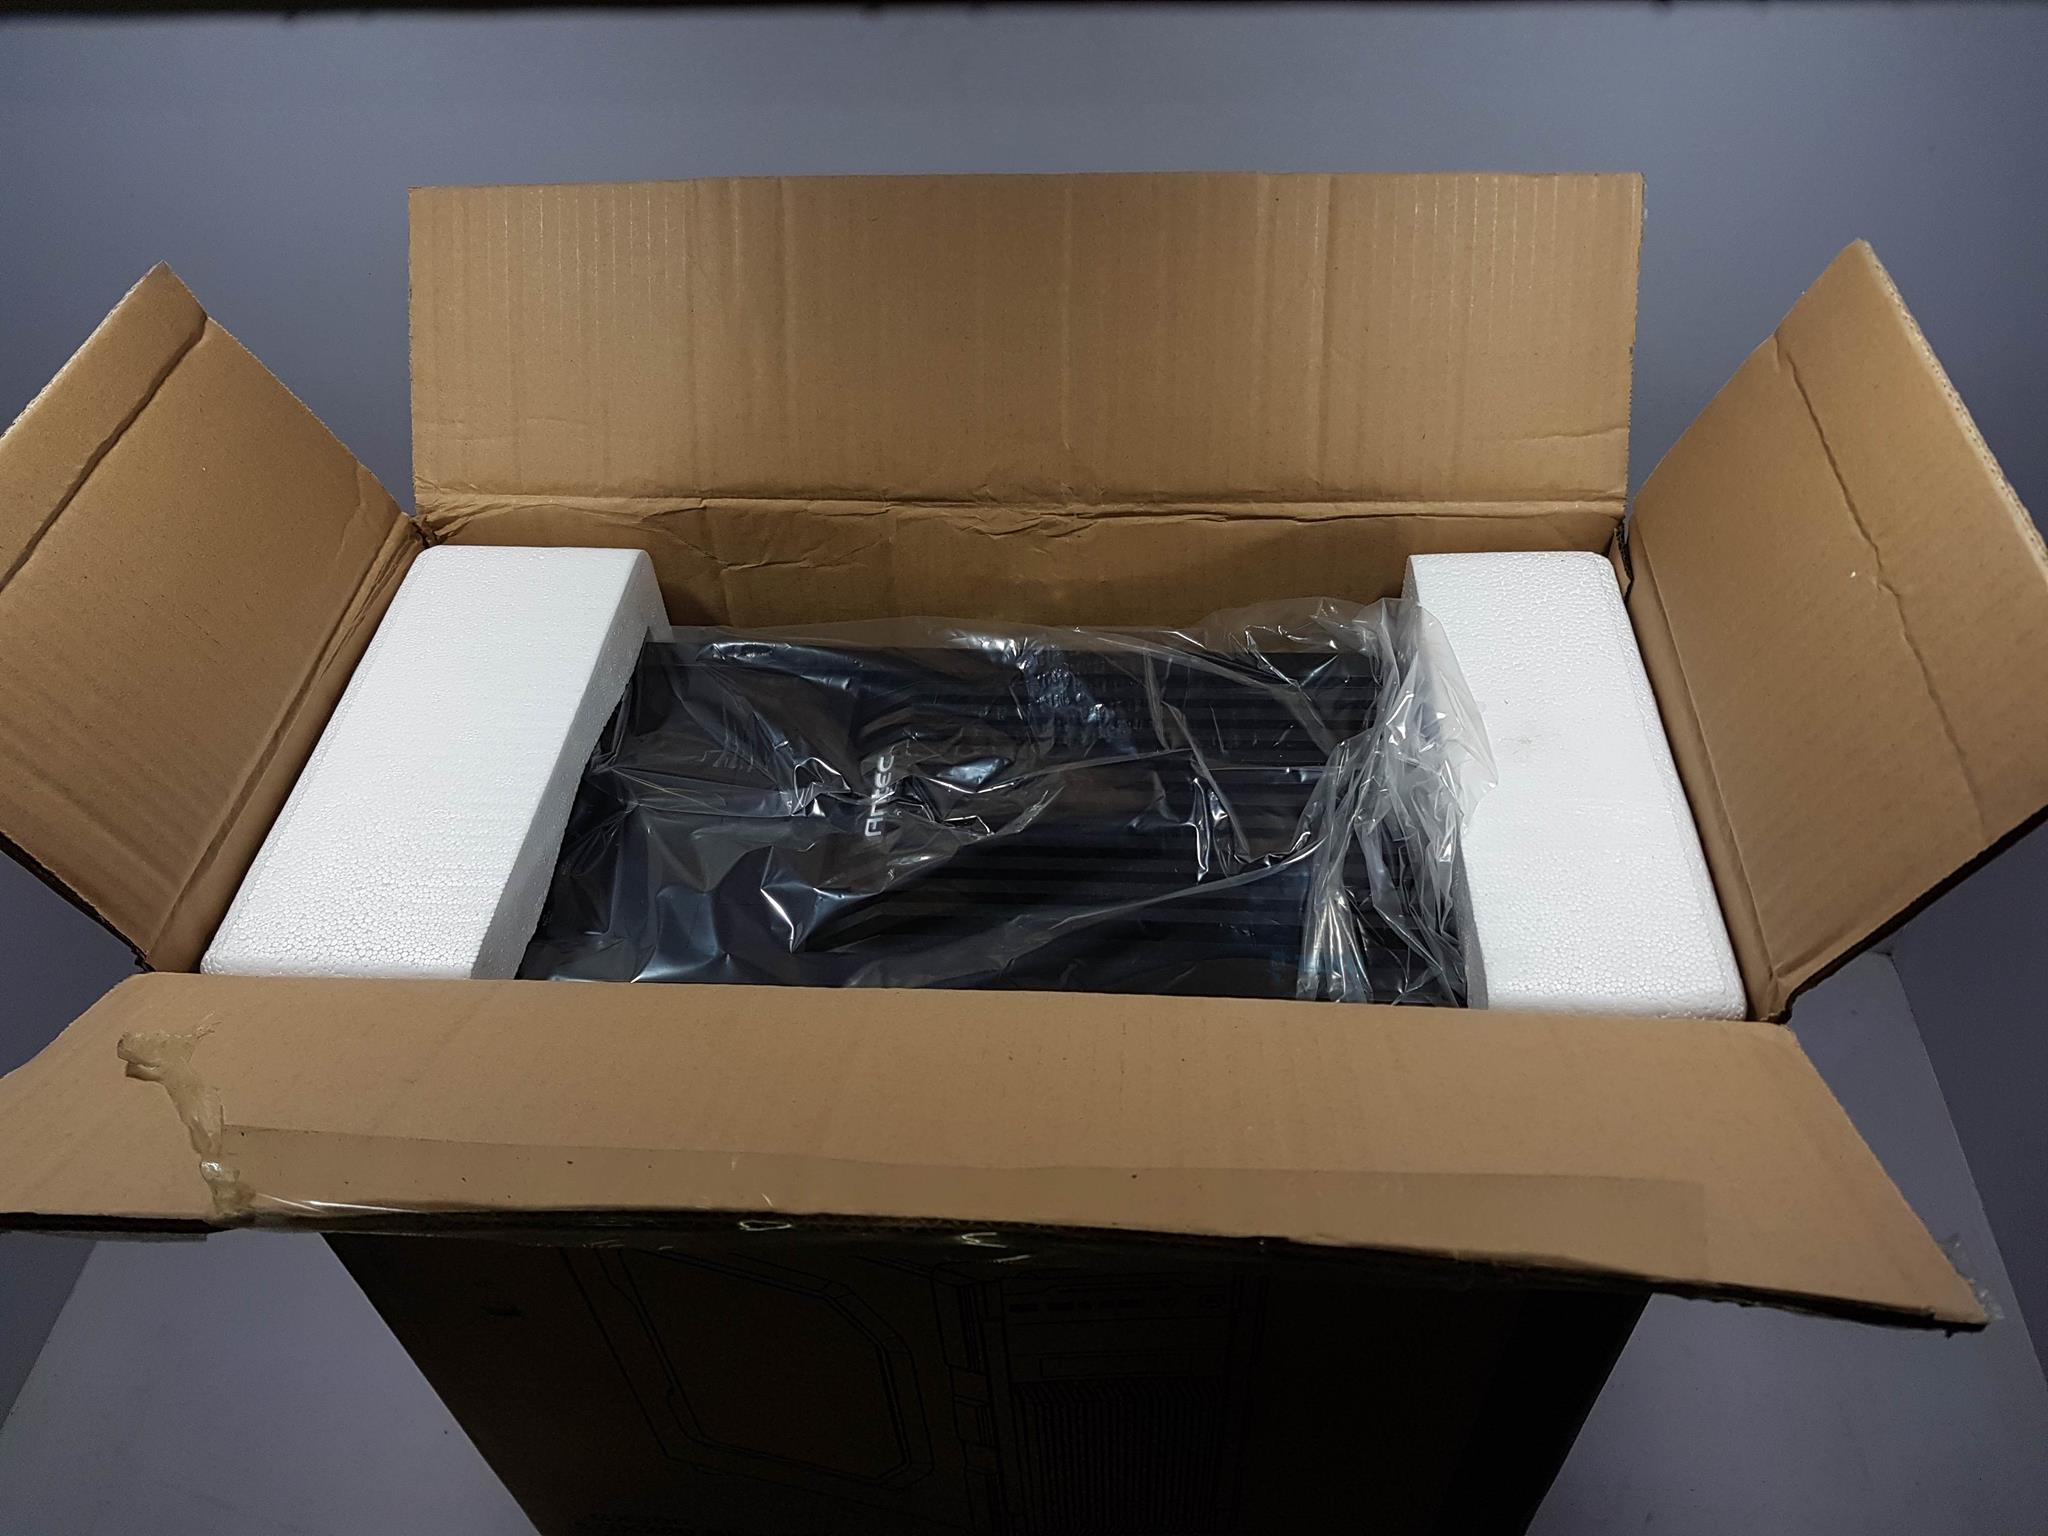
The chassis comes in a standard brown colored cardboard box packing.
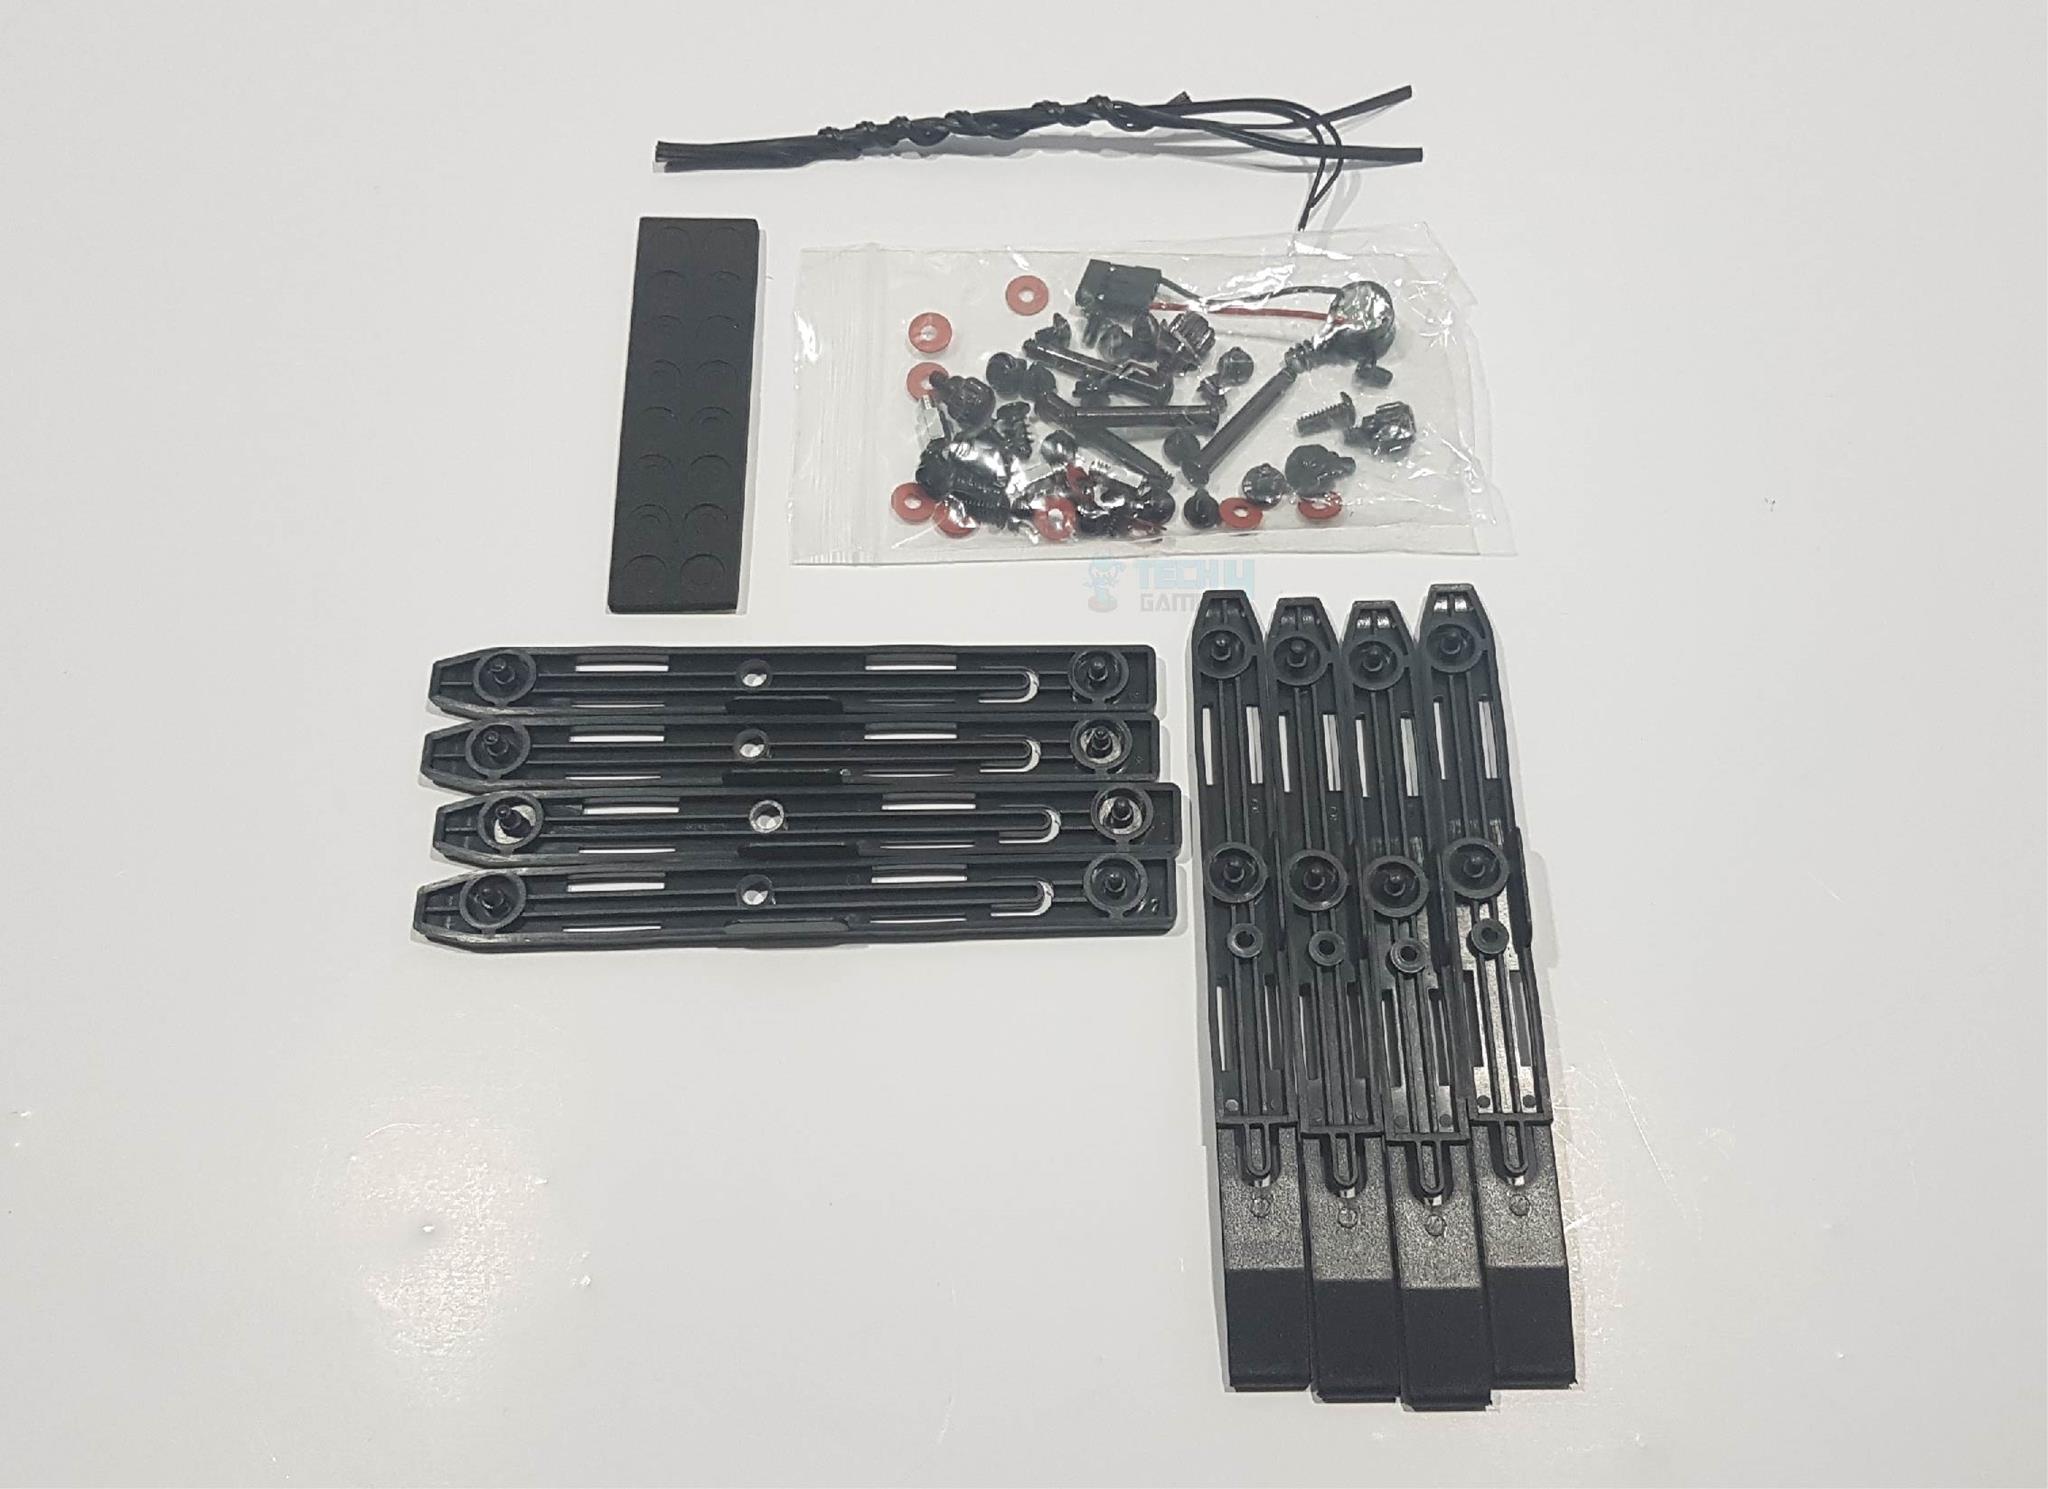
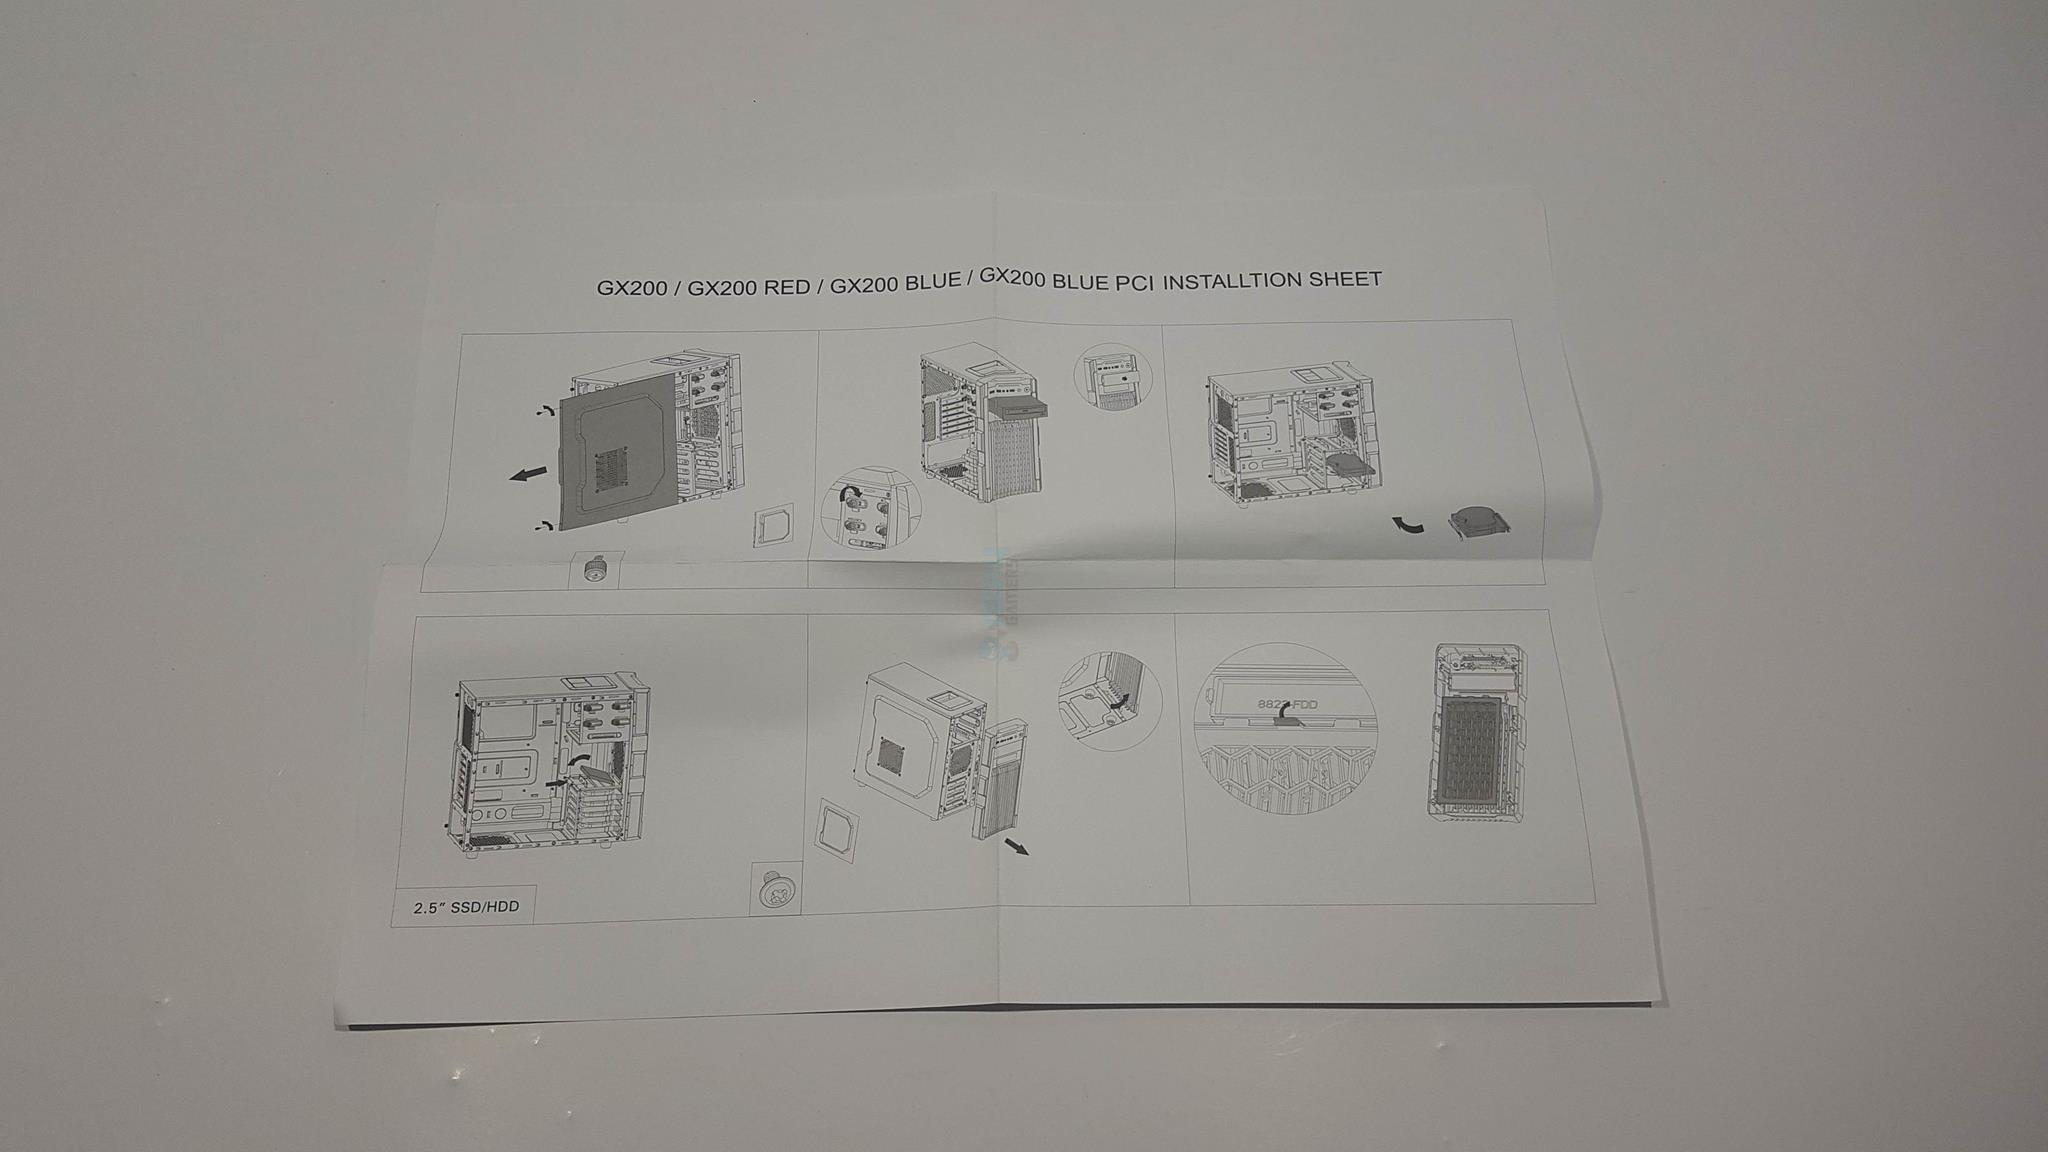
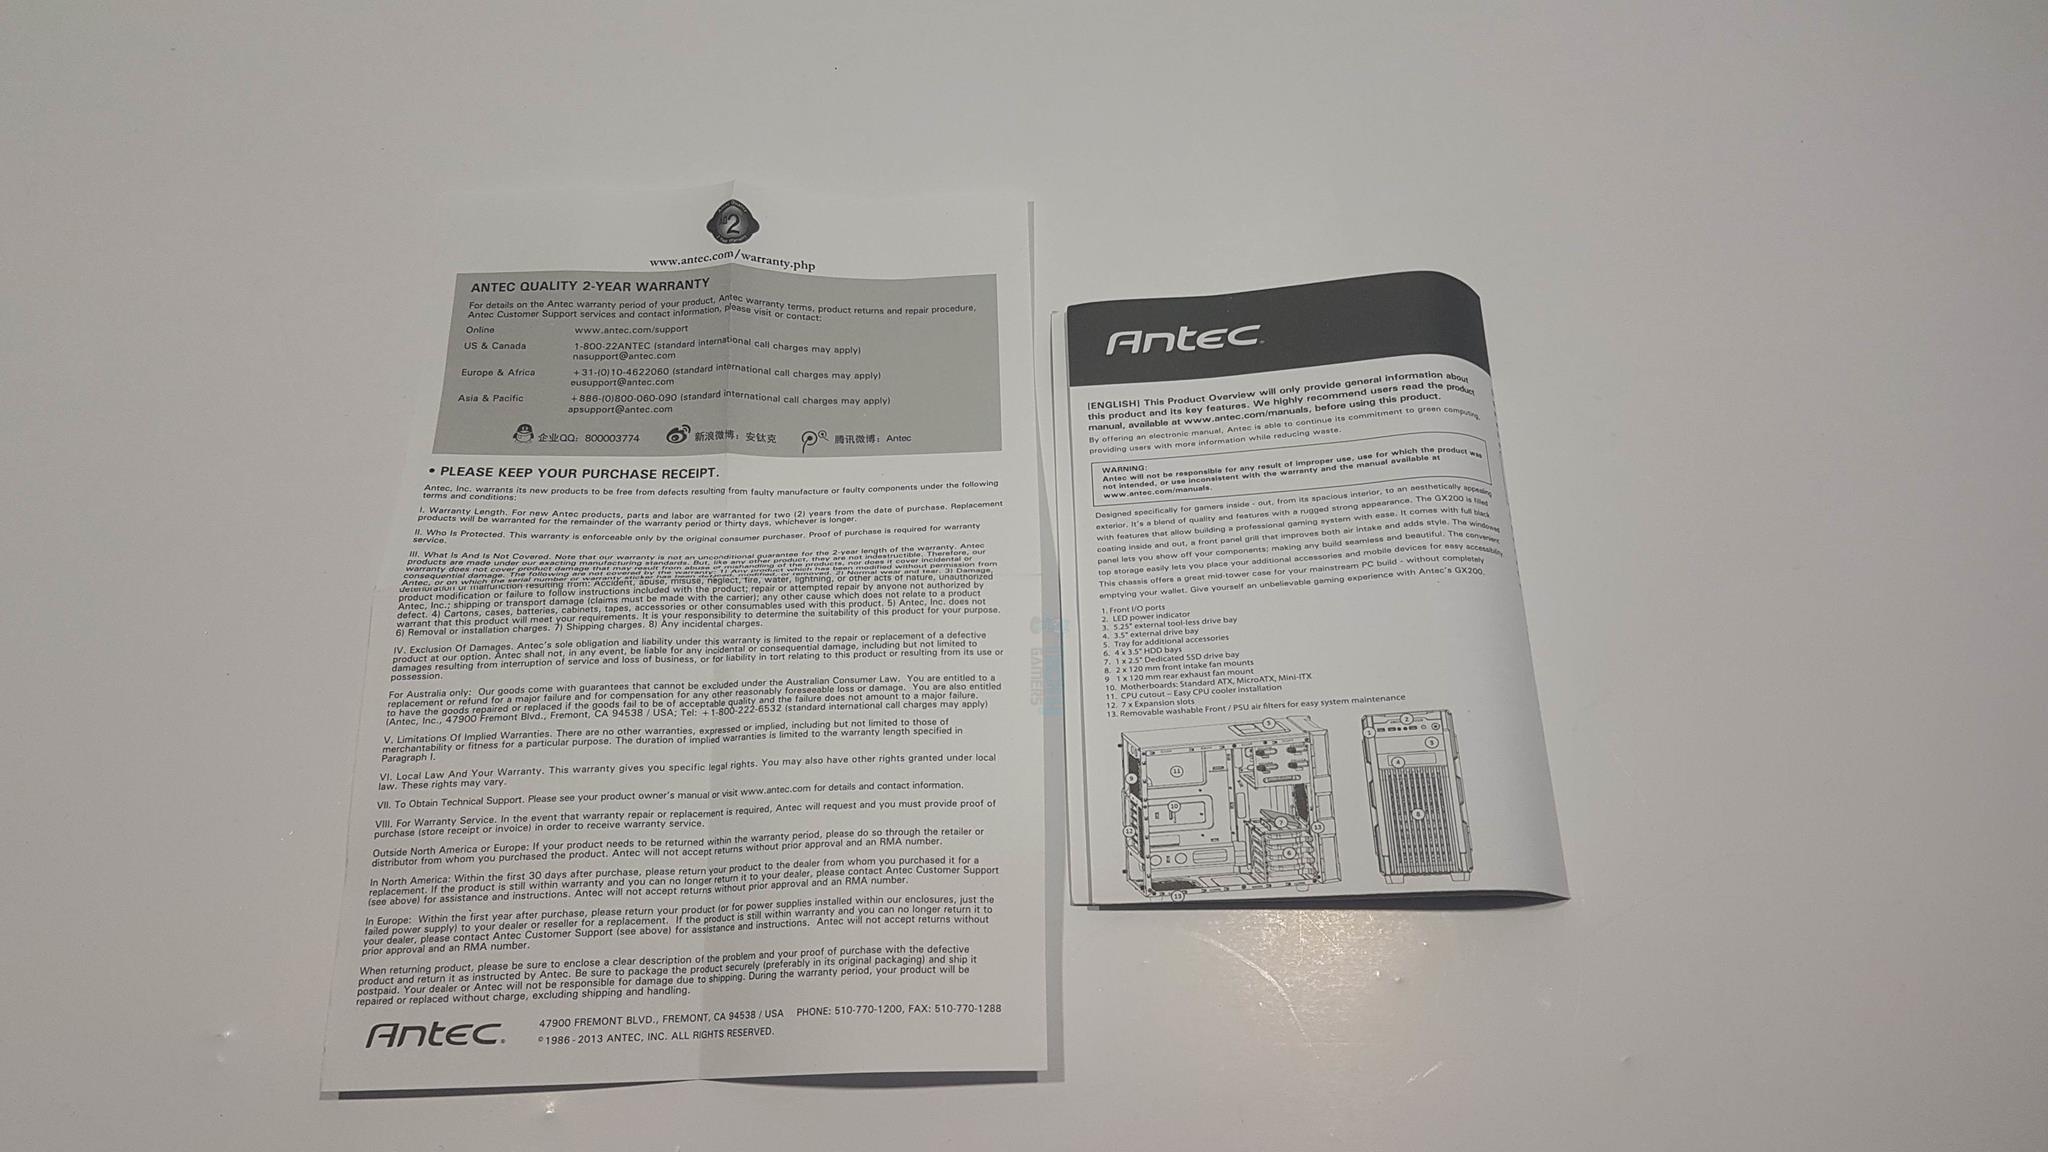
Box Contents
Antec has included 5 cable wraps, various screws for mounting storage drives, fans, motherboard, etc, and a user guide.
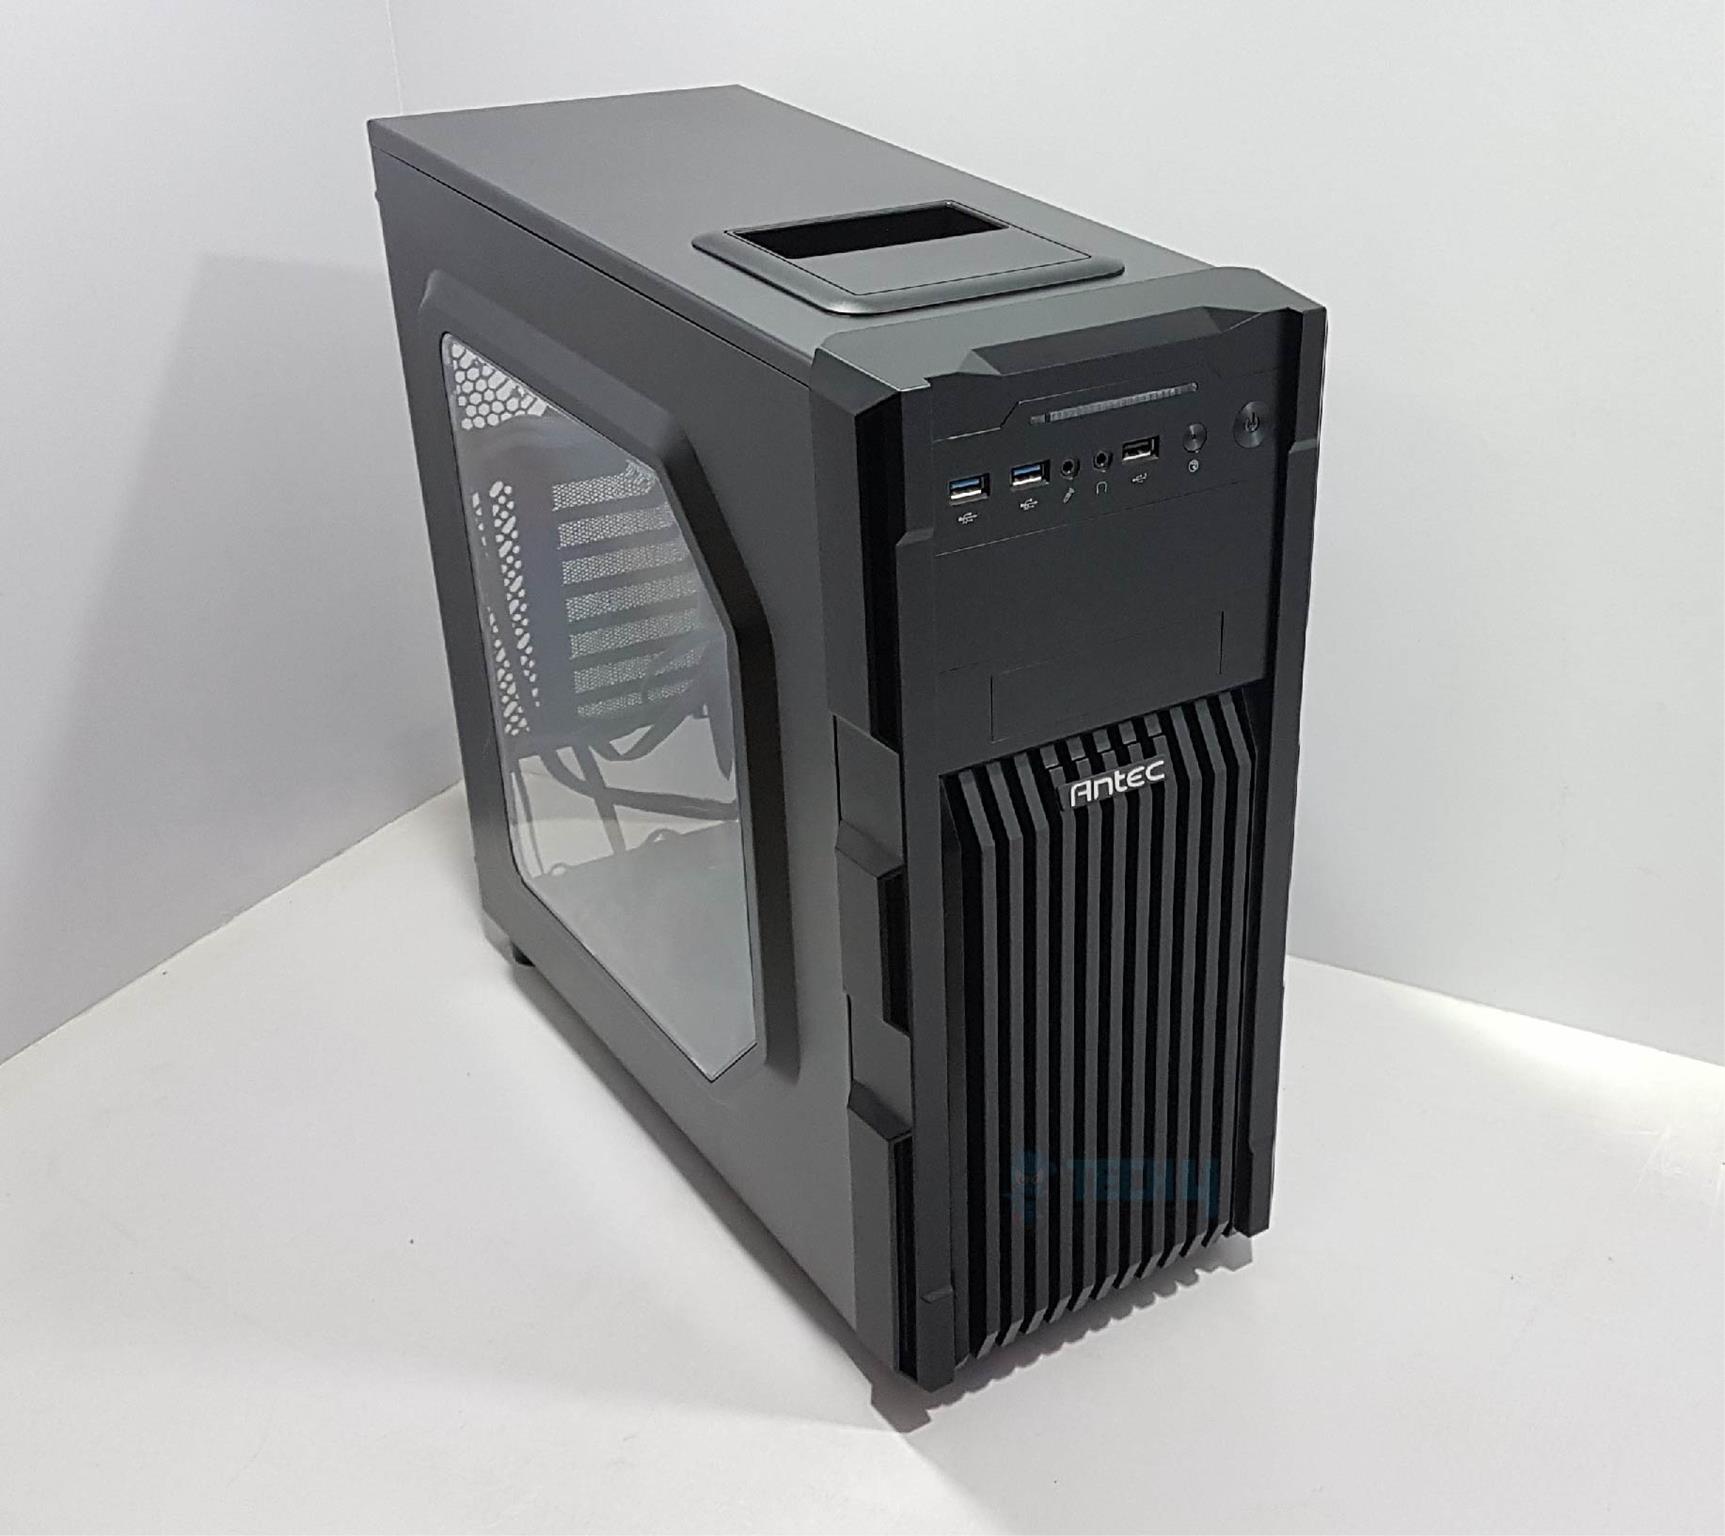
Design
In this review, we delve into the GX200 Blue chassis, a compact mid-tower with a robust build, bold aesthetics on the front, and effective cooling features. The chassis, constructed from steel and plastic, boasts solid build quality. Let’s closely examine its design and features.
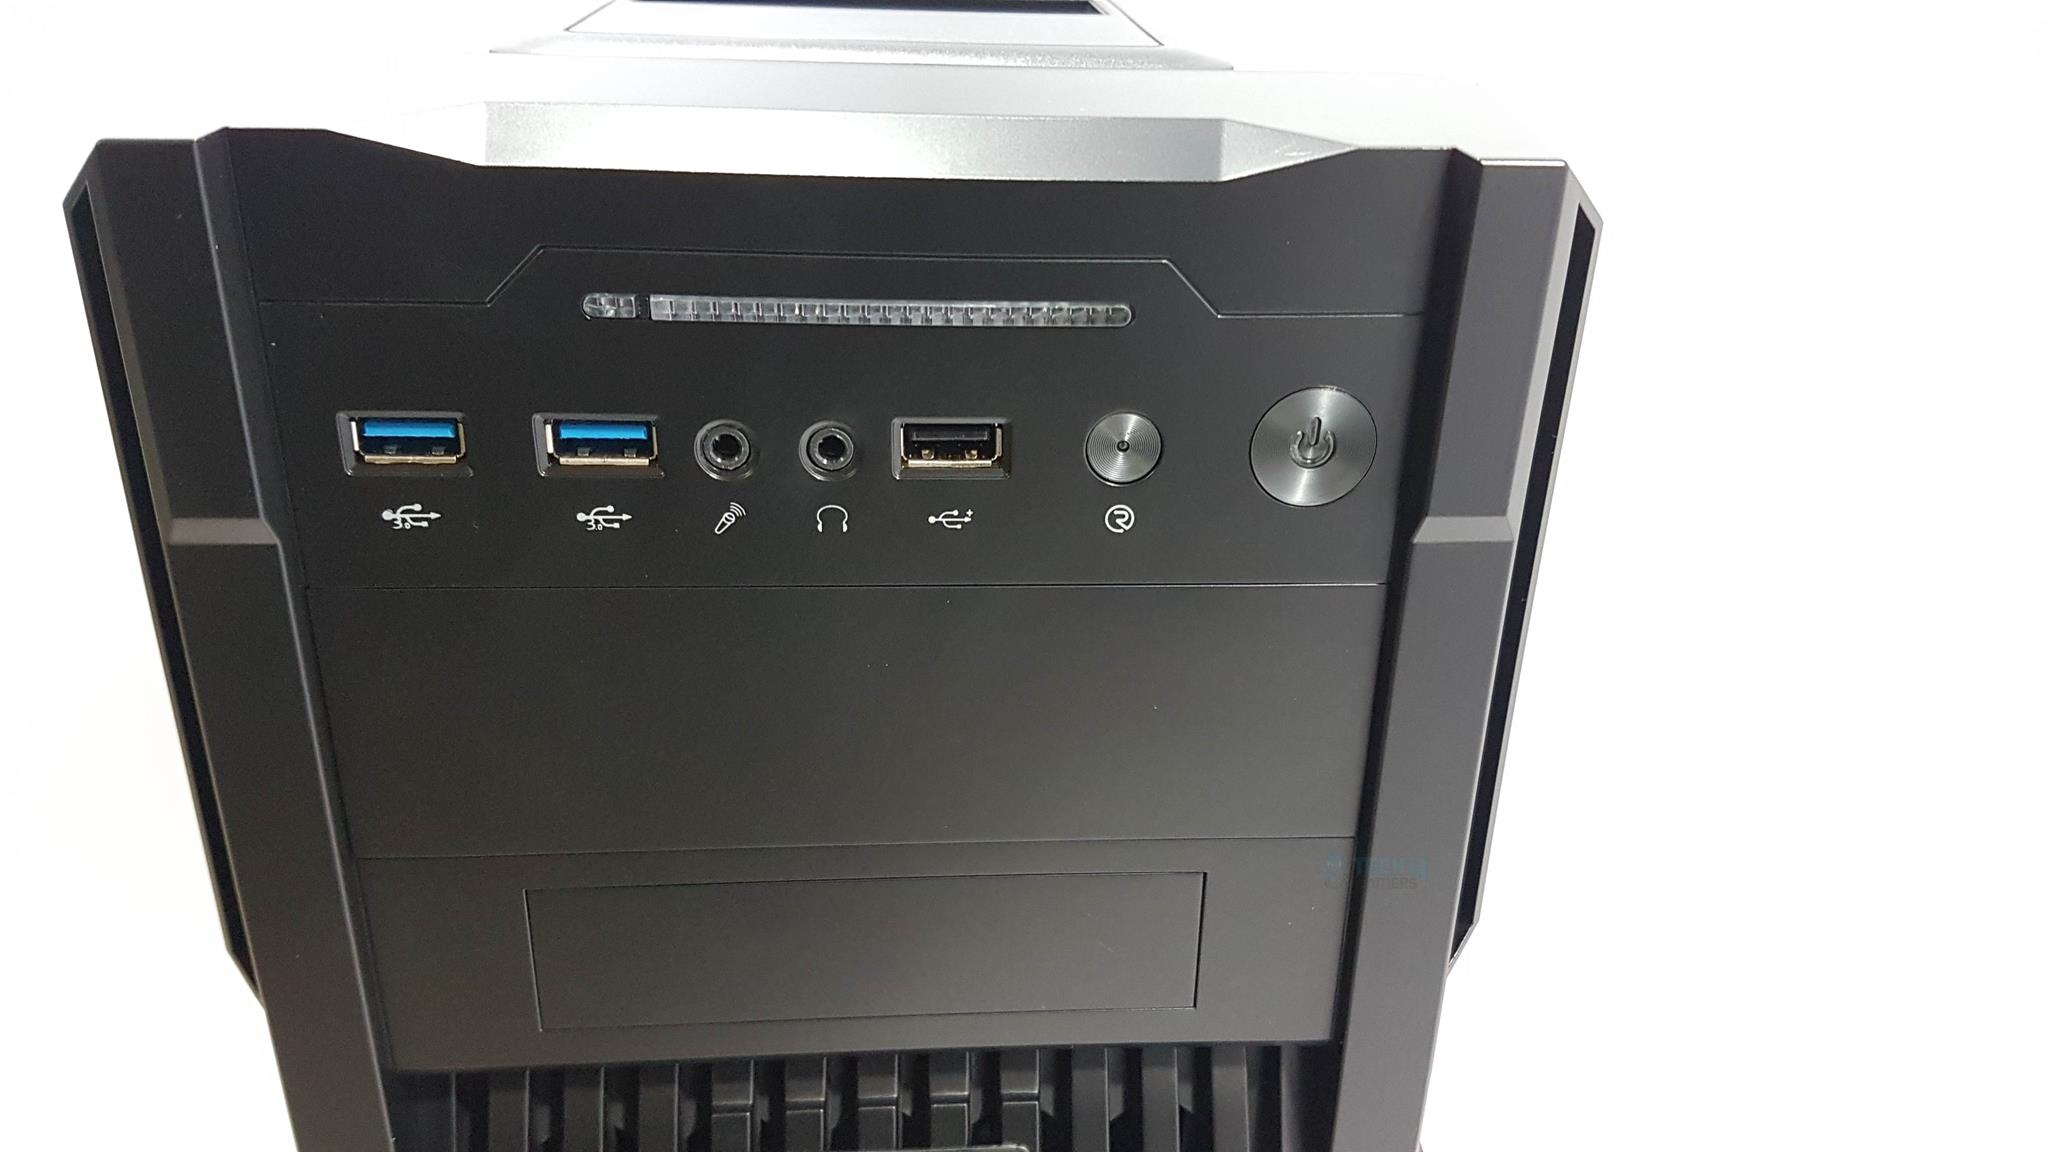
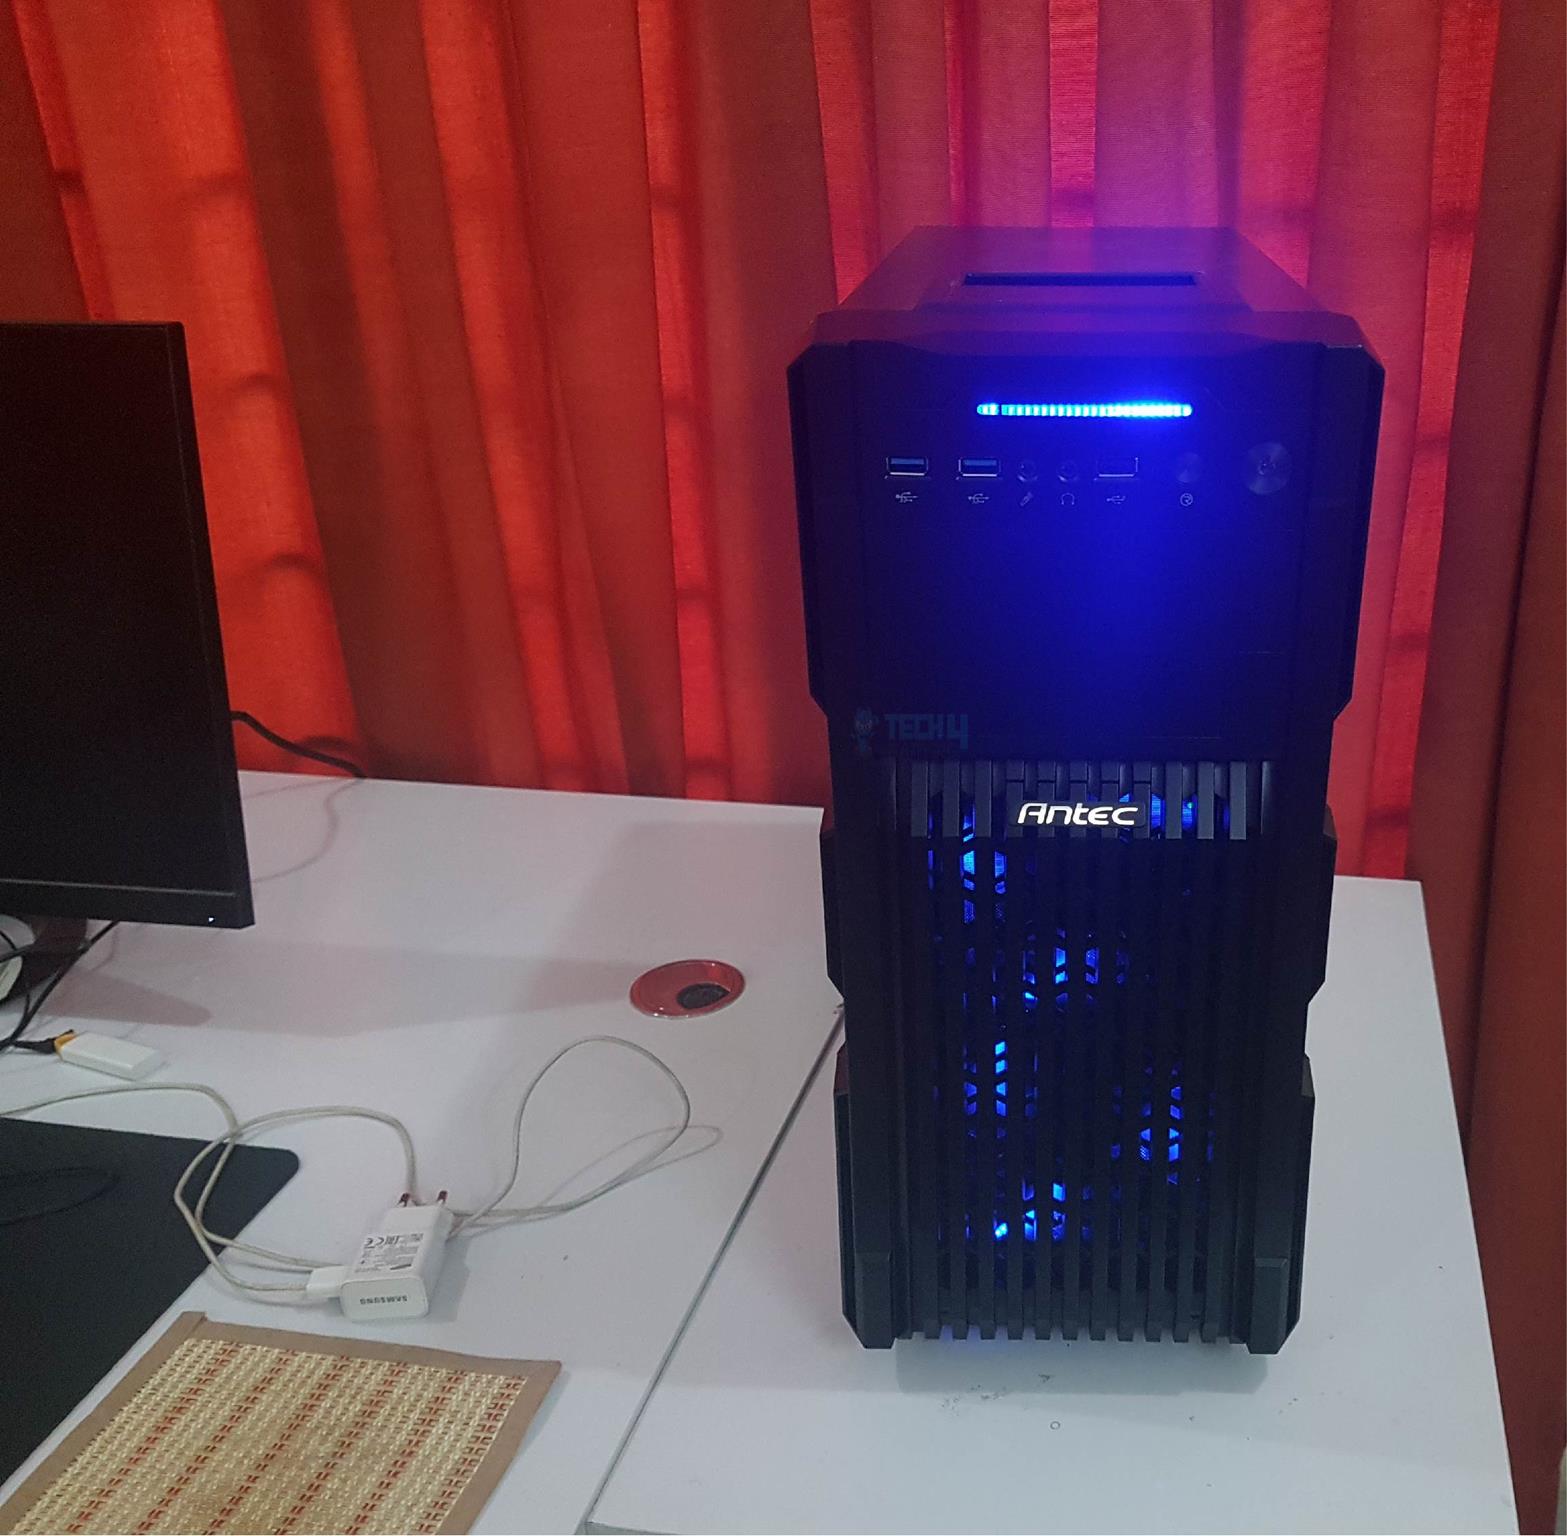
The front panel, crafted from stylish plastic, houses a top I/O panel with 2x USB 3.0 ports, a USB 2.0 port, headphones and Microphone ports, a reset button, and a power button. LED indicators on the top add a subtle blue glow to the chassis.
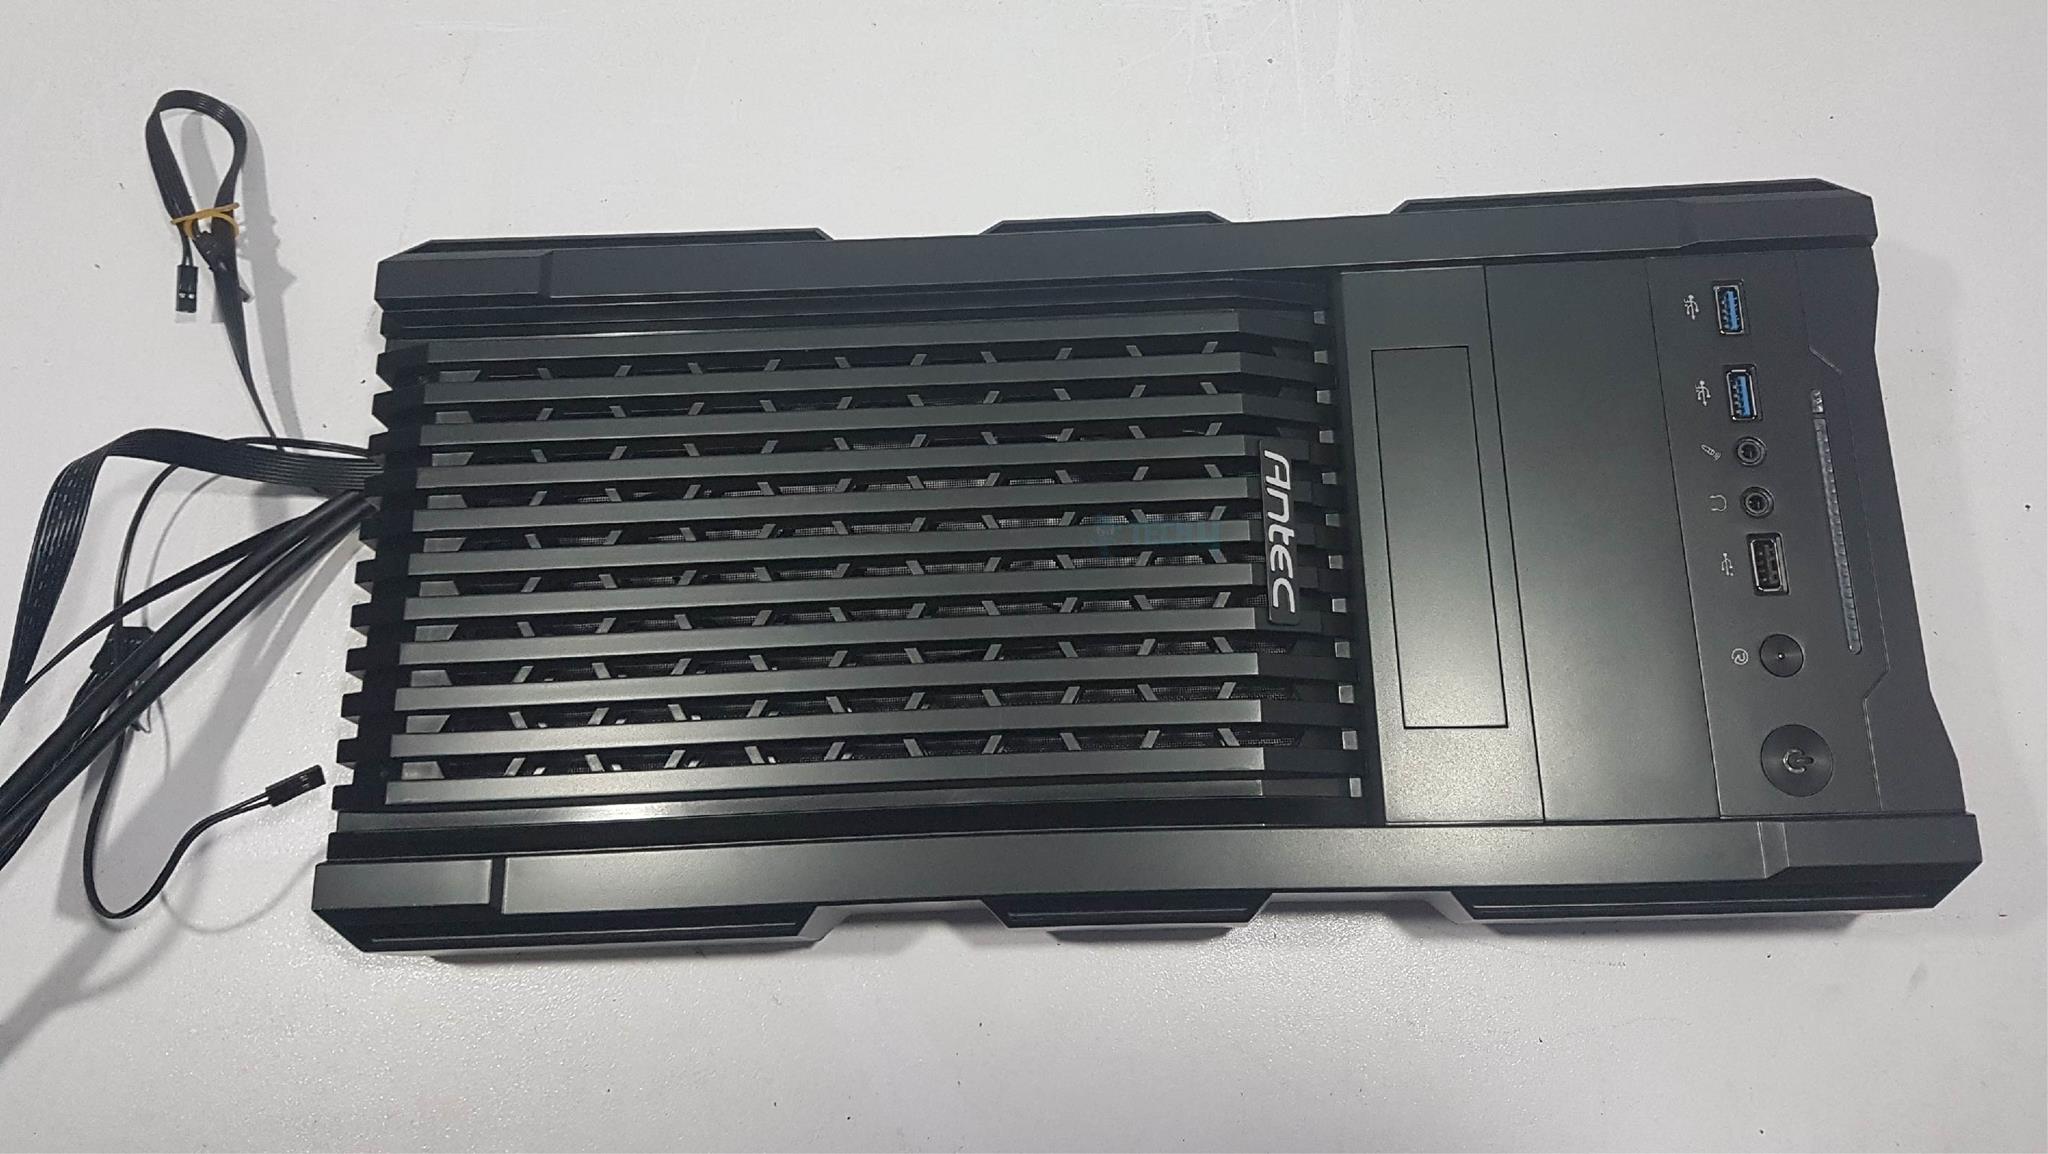
Beneath the I/O panel, removable 5.25” and floppy disk drive bay covers are present. These covers, although outdated, can be removed from inside the panel by taking it off carefully.
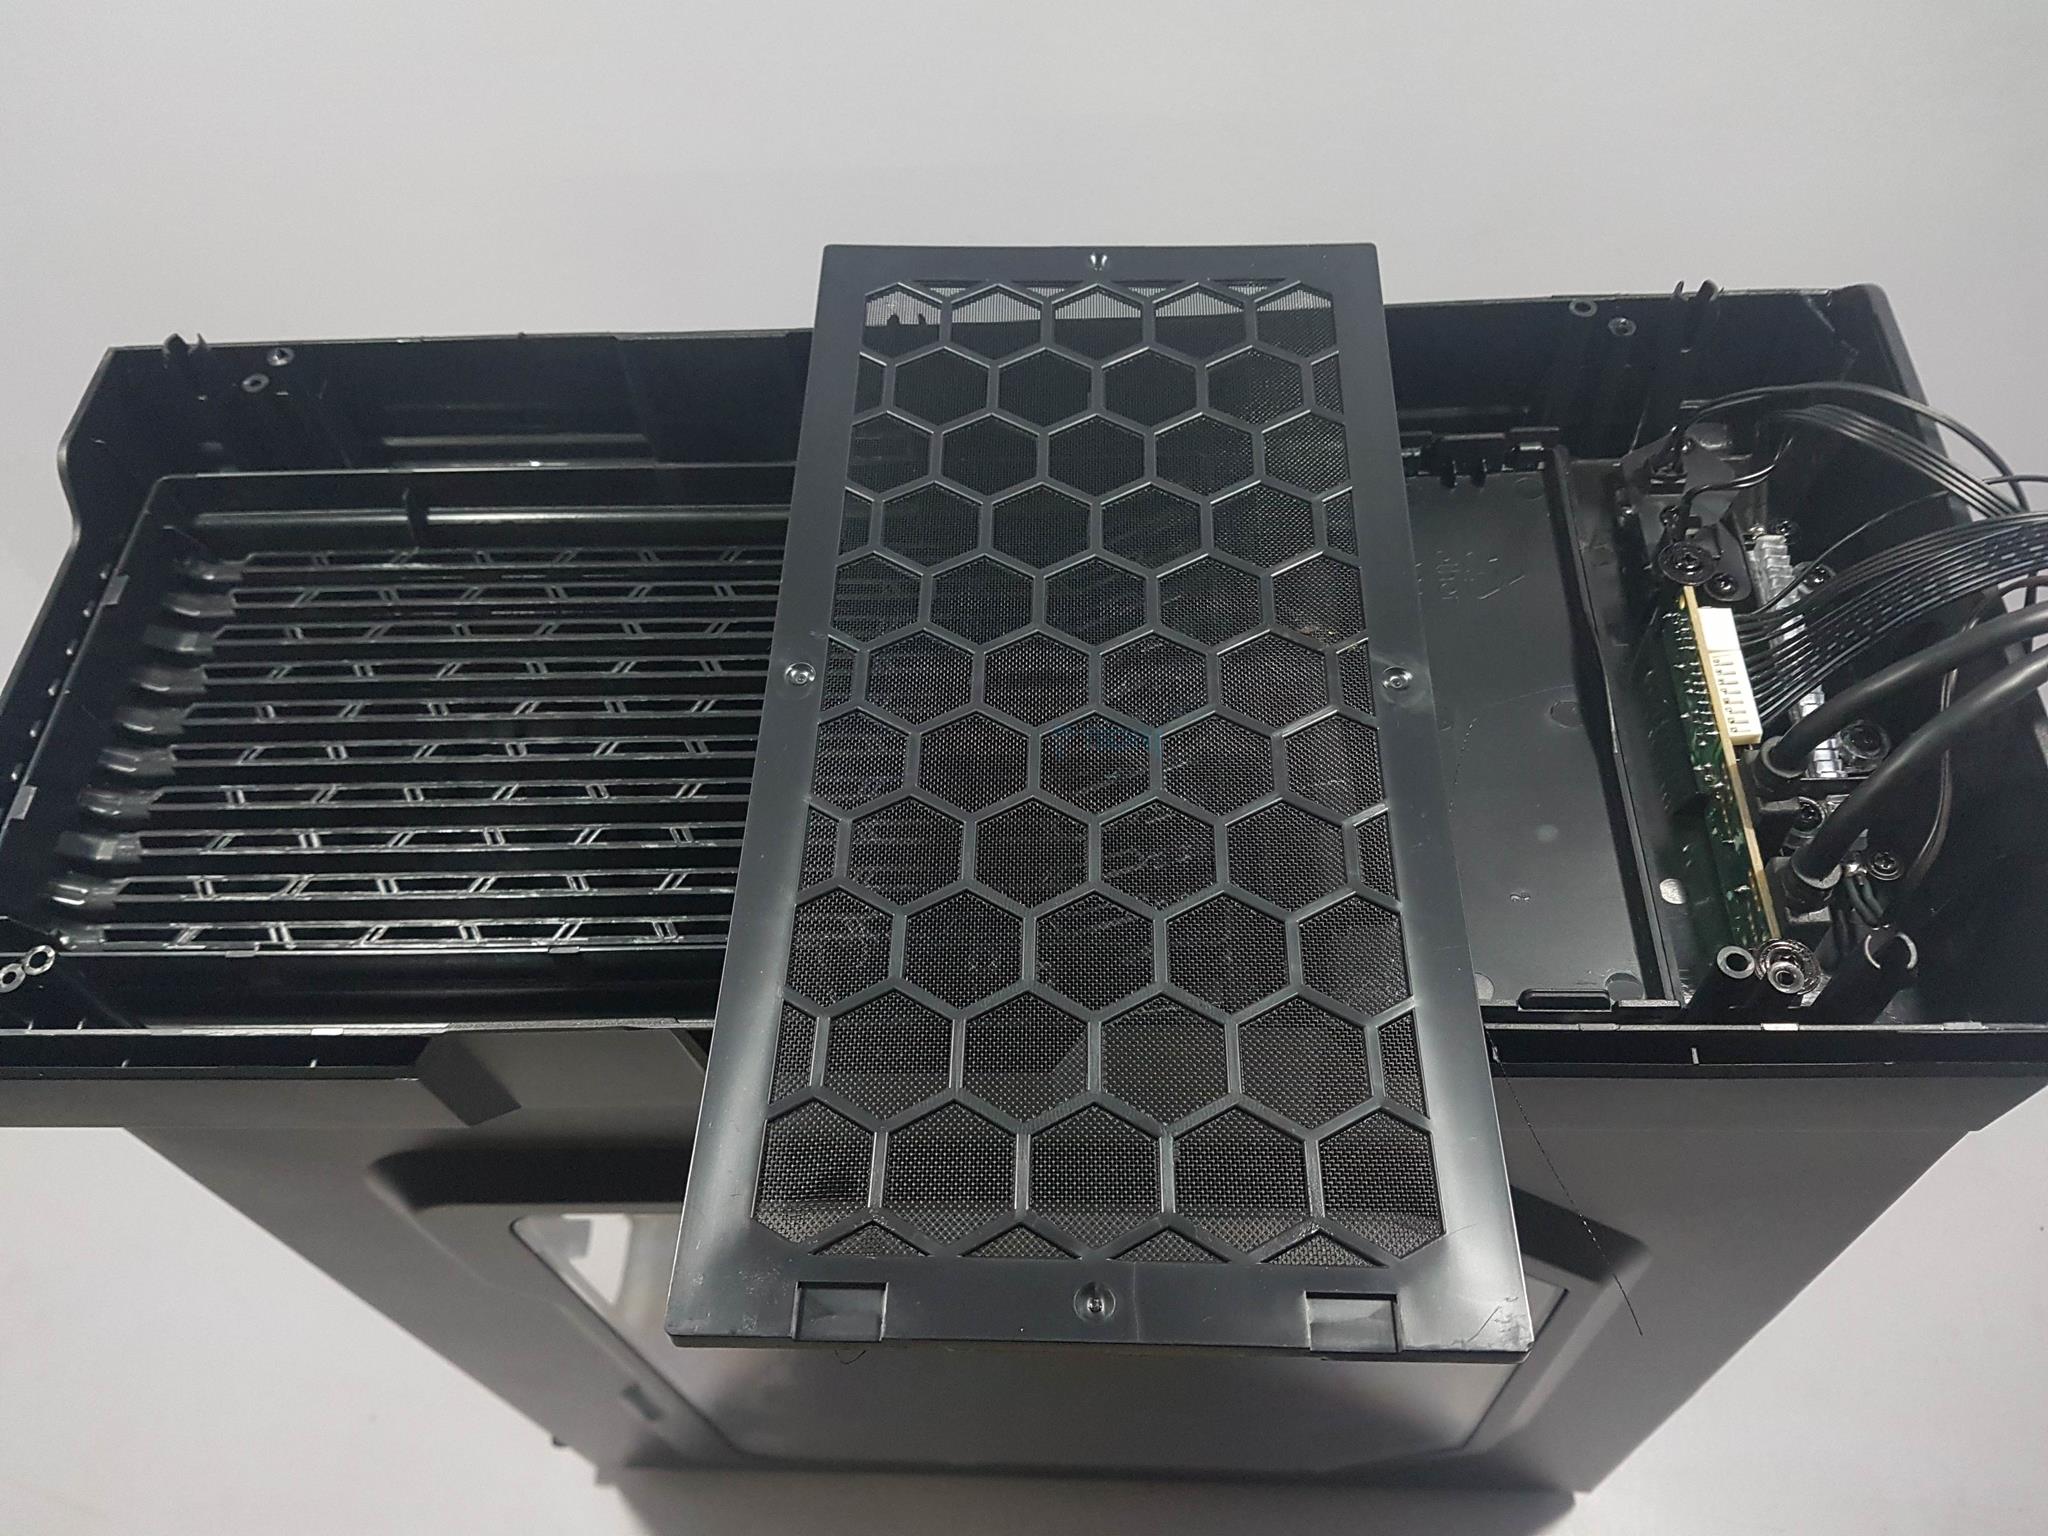

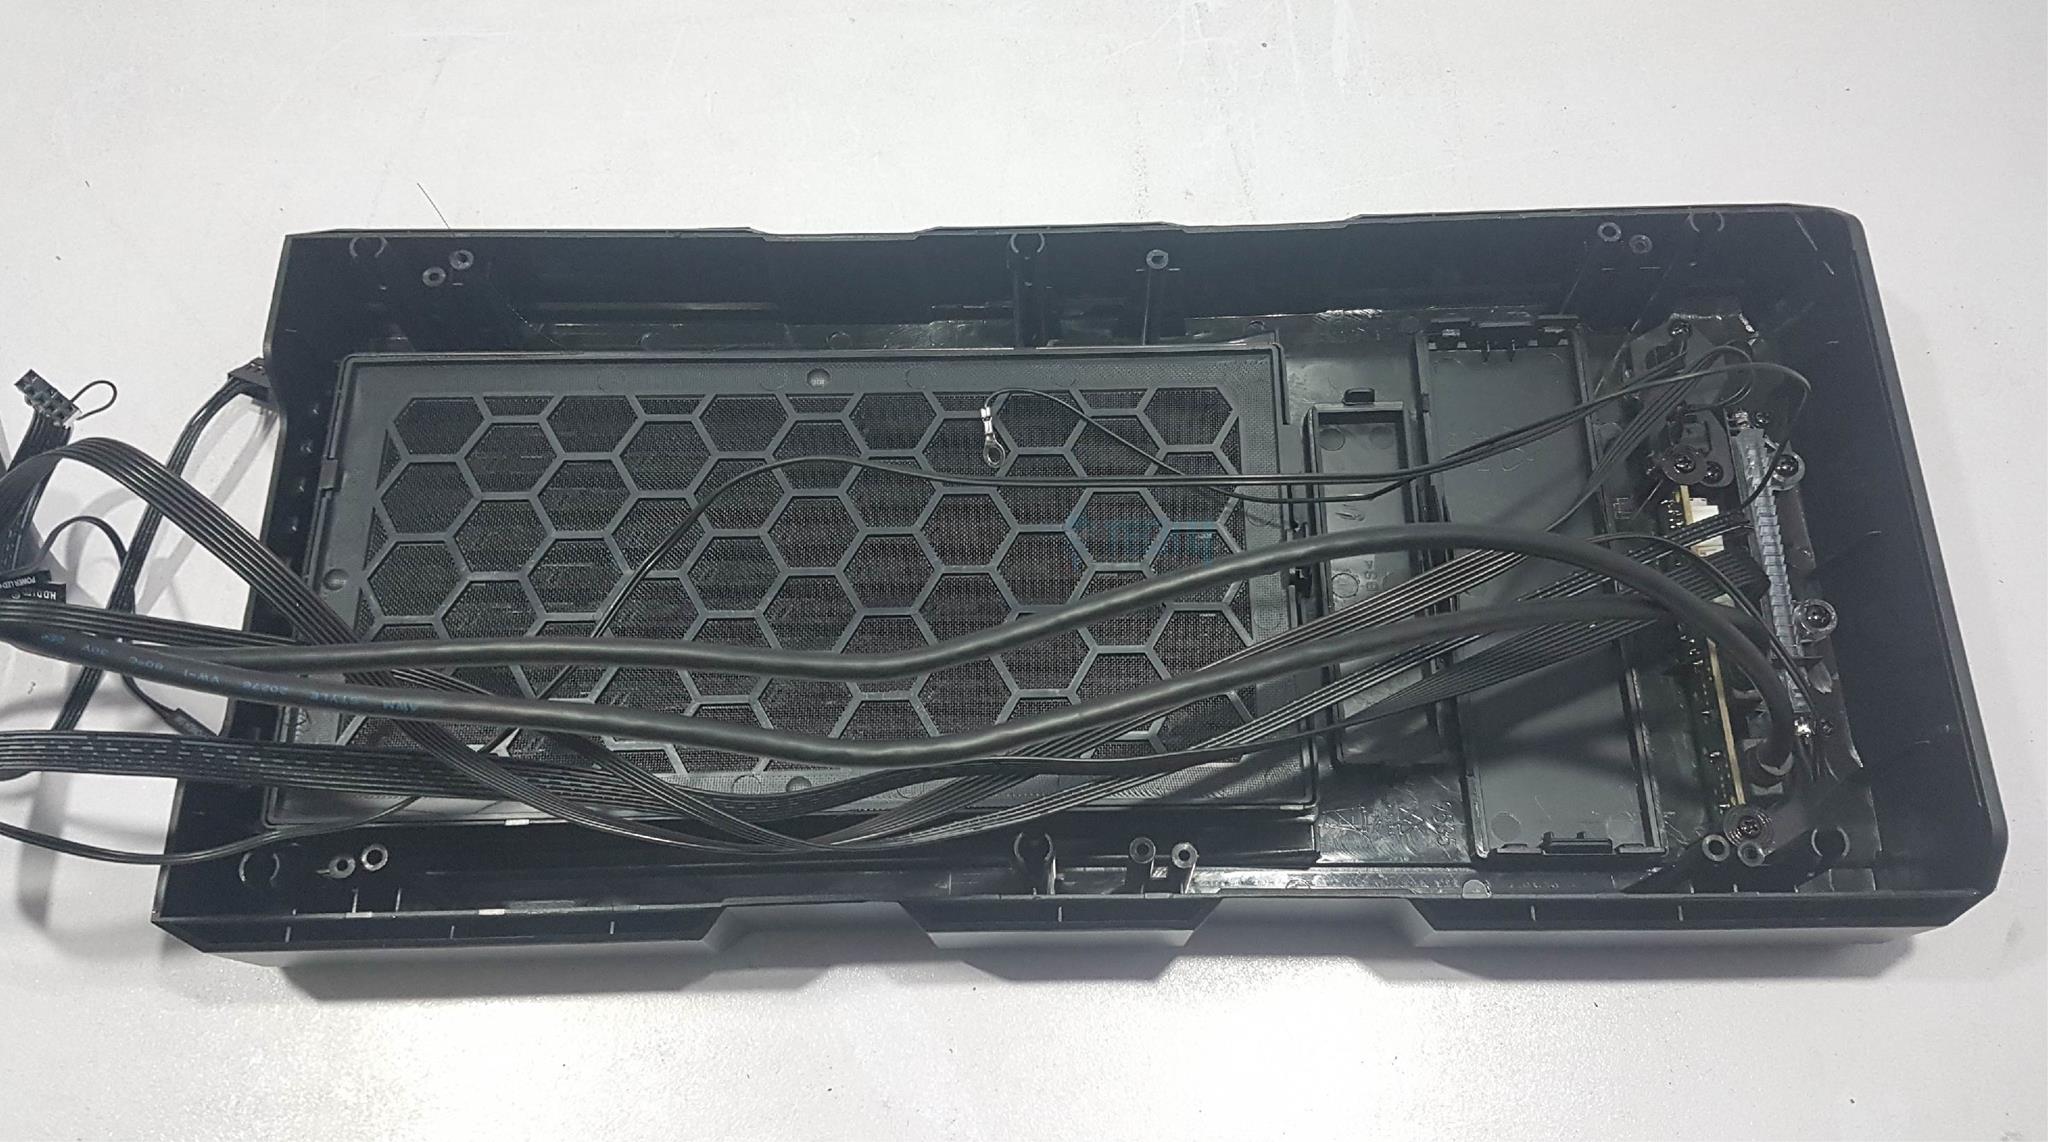
The lower portion features a raised surface with the Antec brand name, wide gaps, and a dust filter. This design harmonizes with the overall front panel aesthetics. Moving to the backside of the front panel, we find the circuit of the I/O panel, LEDs, and two removable bay covers. These covers reveal a large removable dust filter, accessible by pushing the latches inwards.
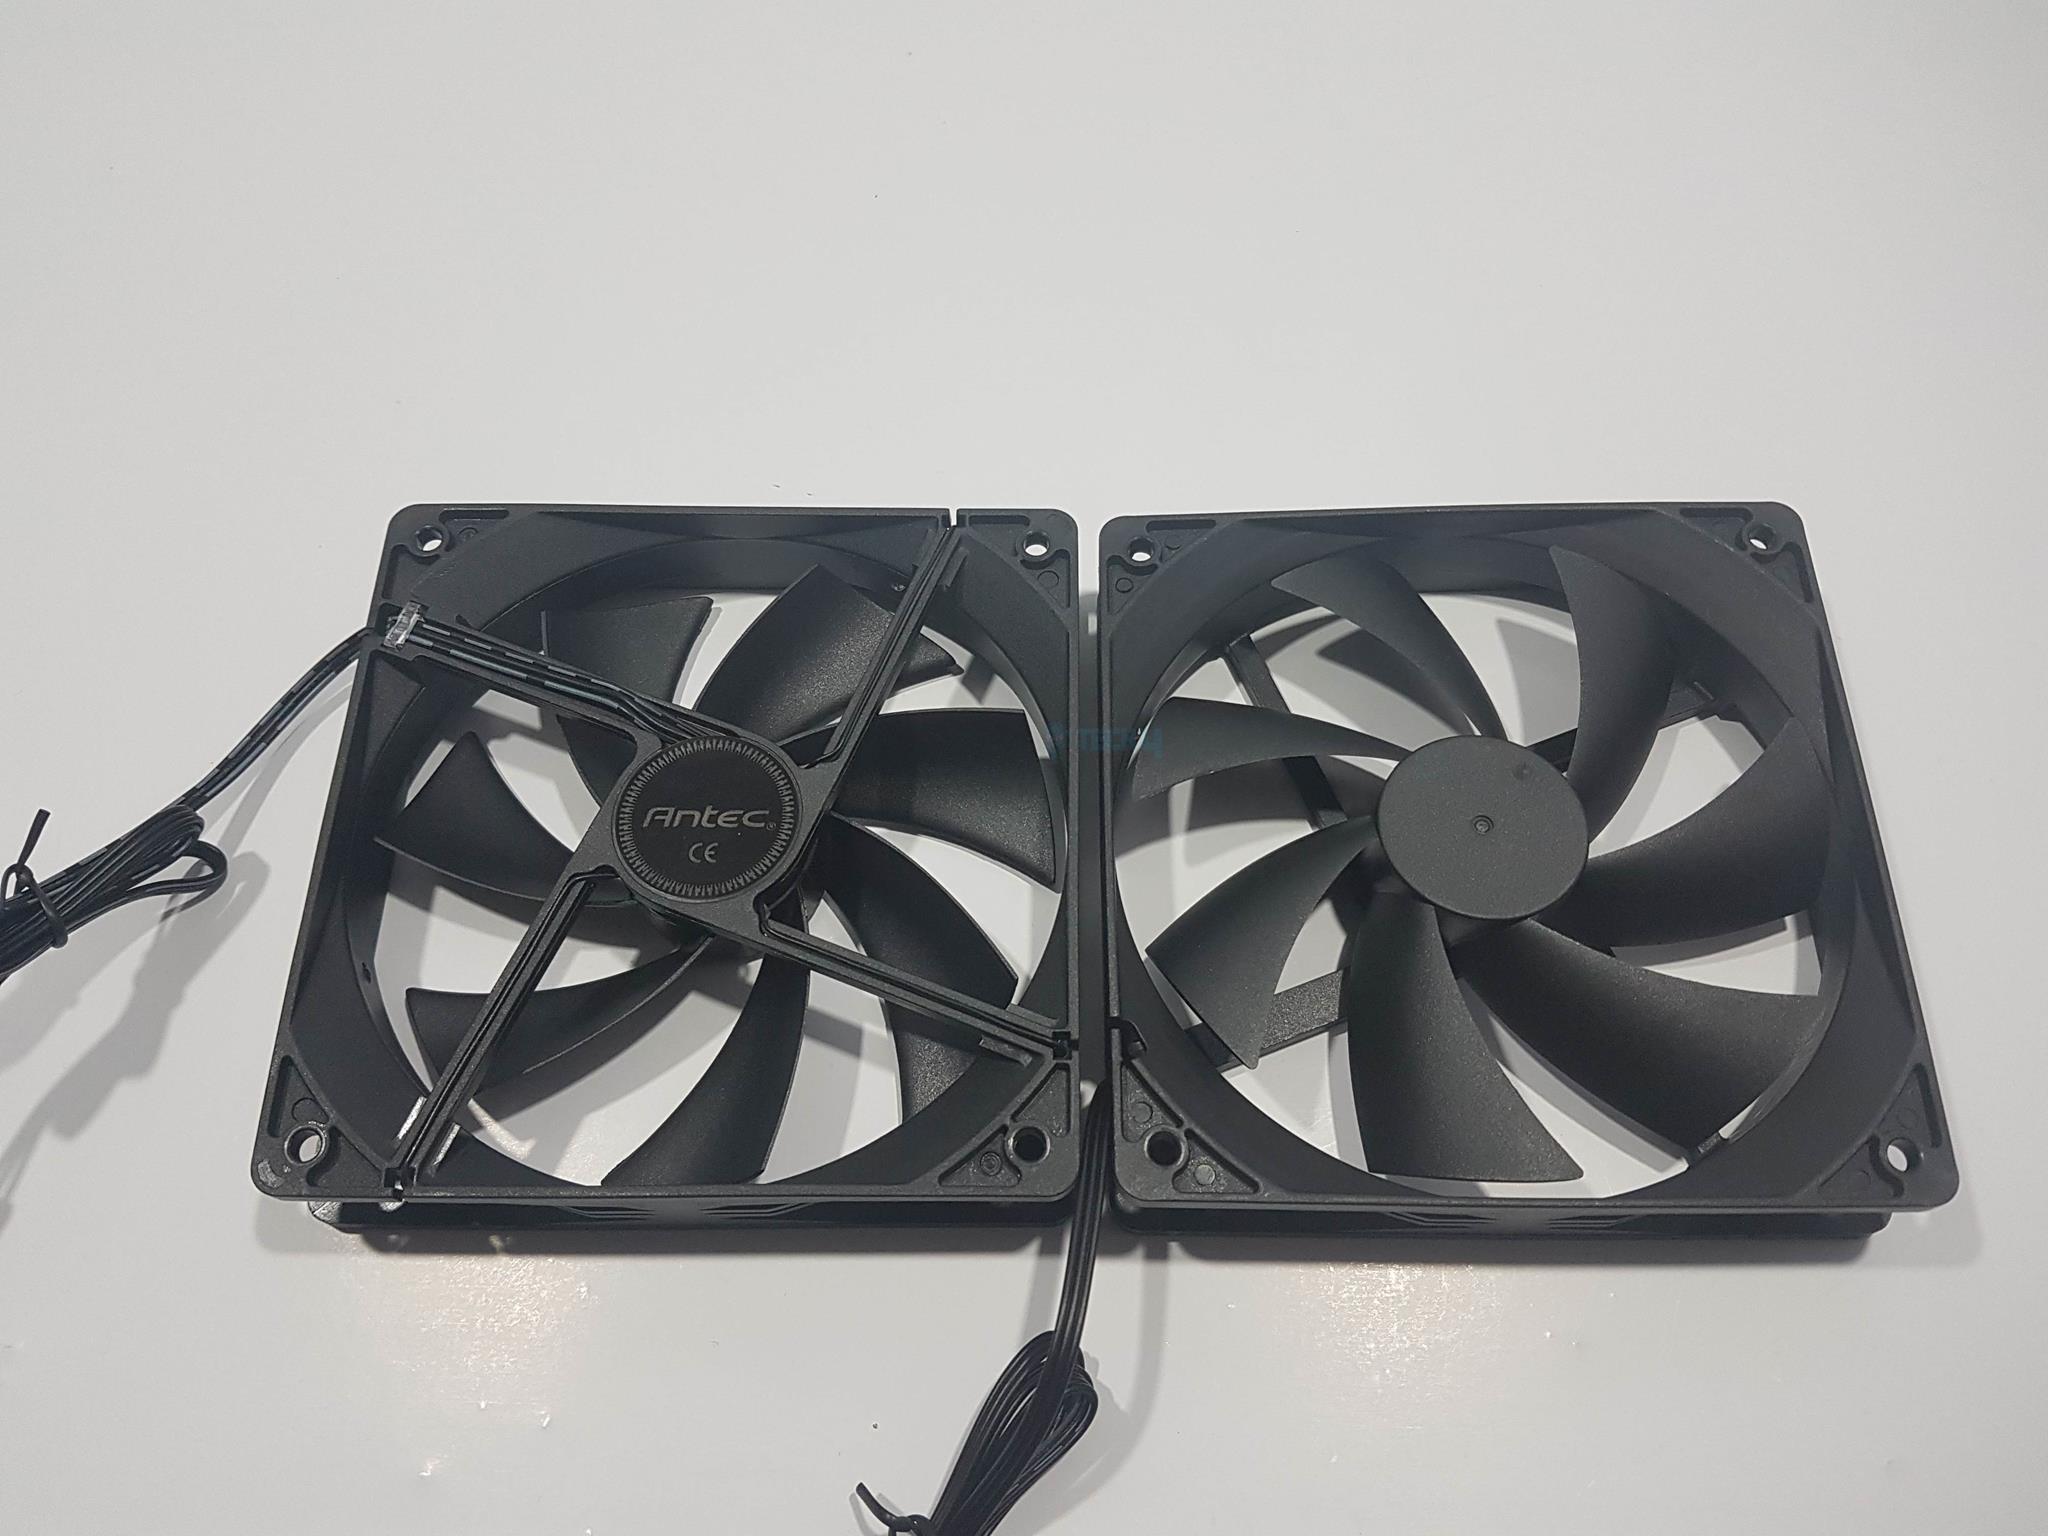
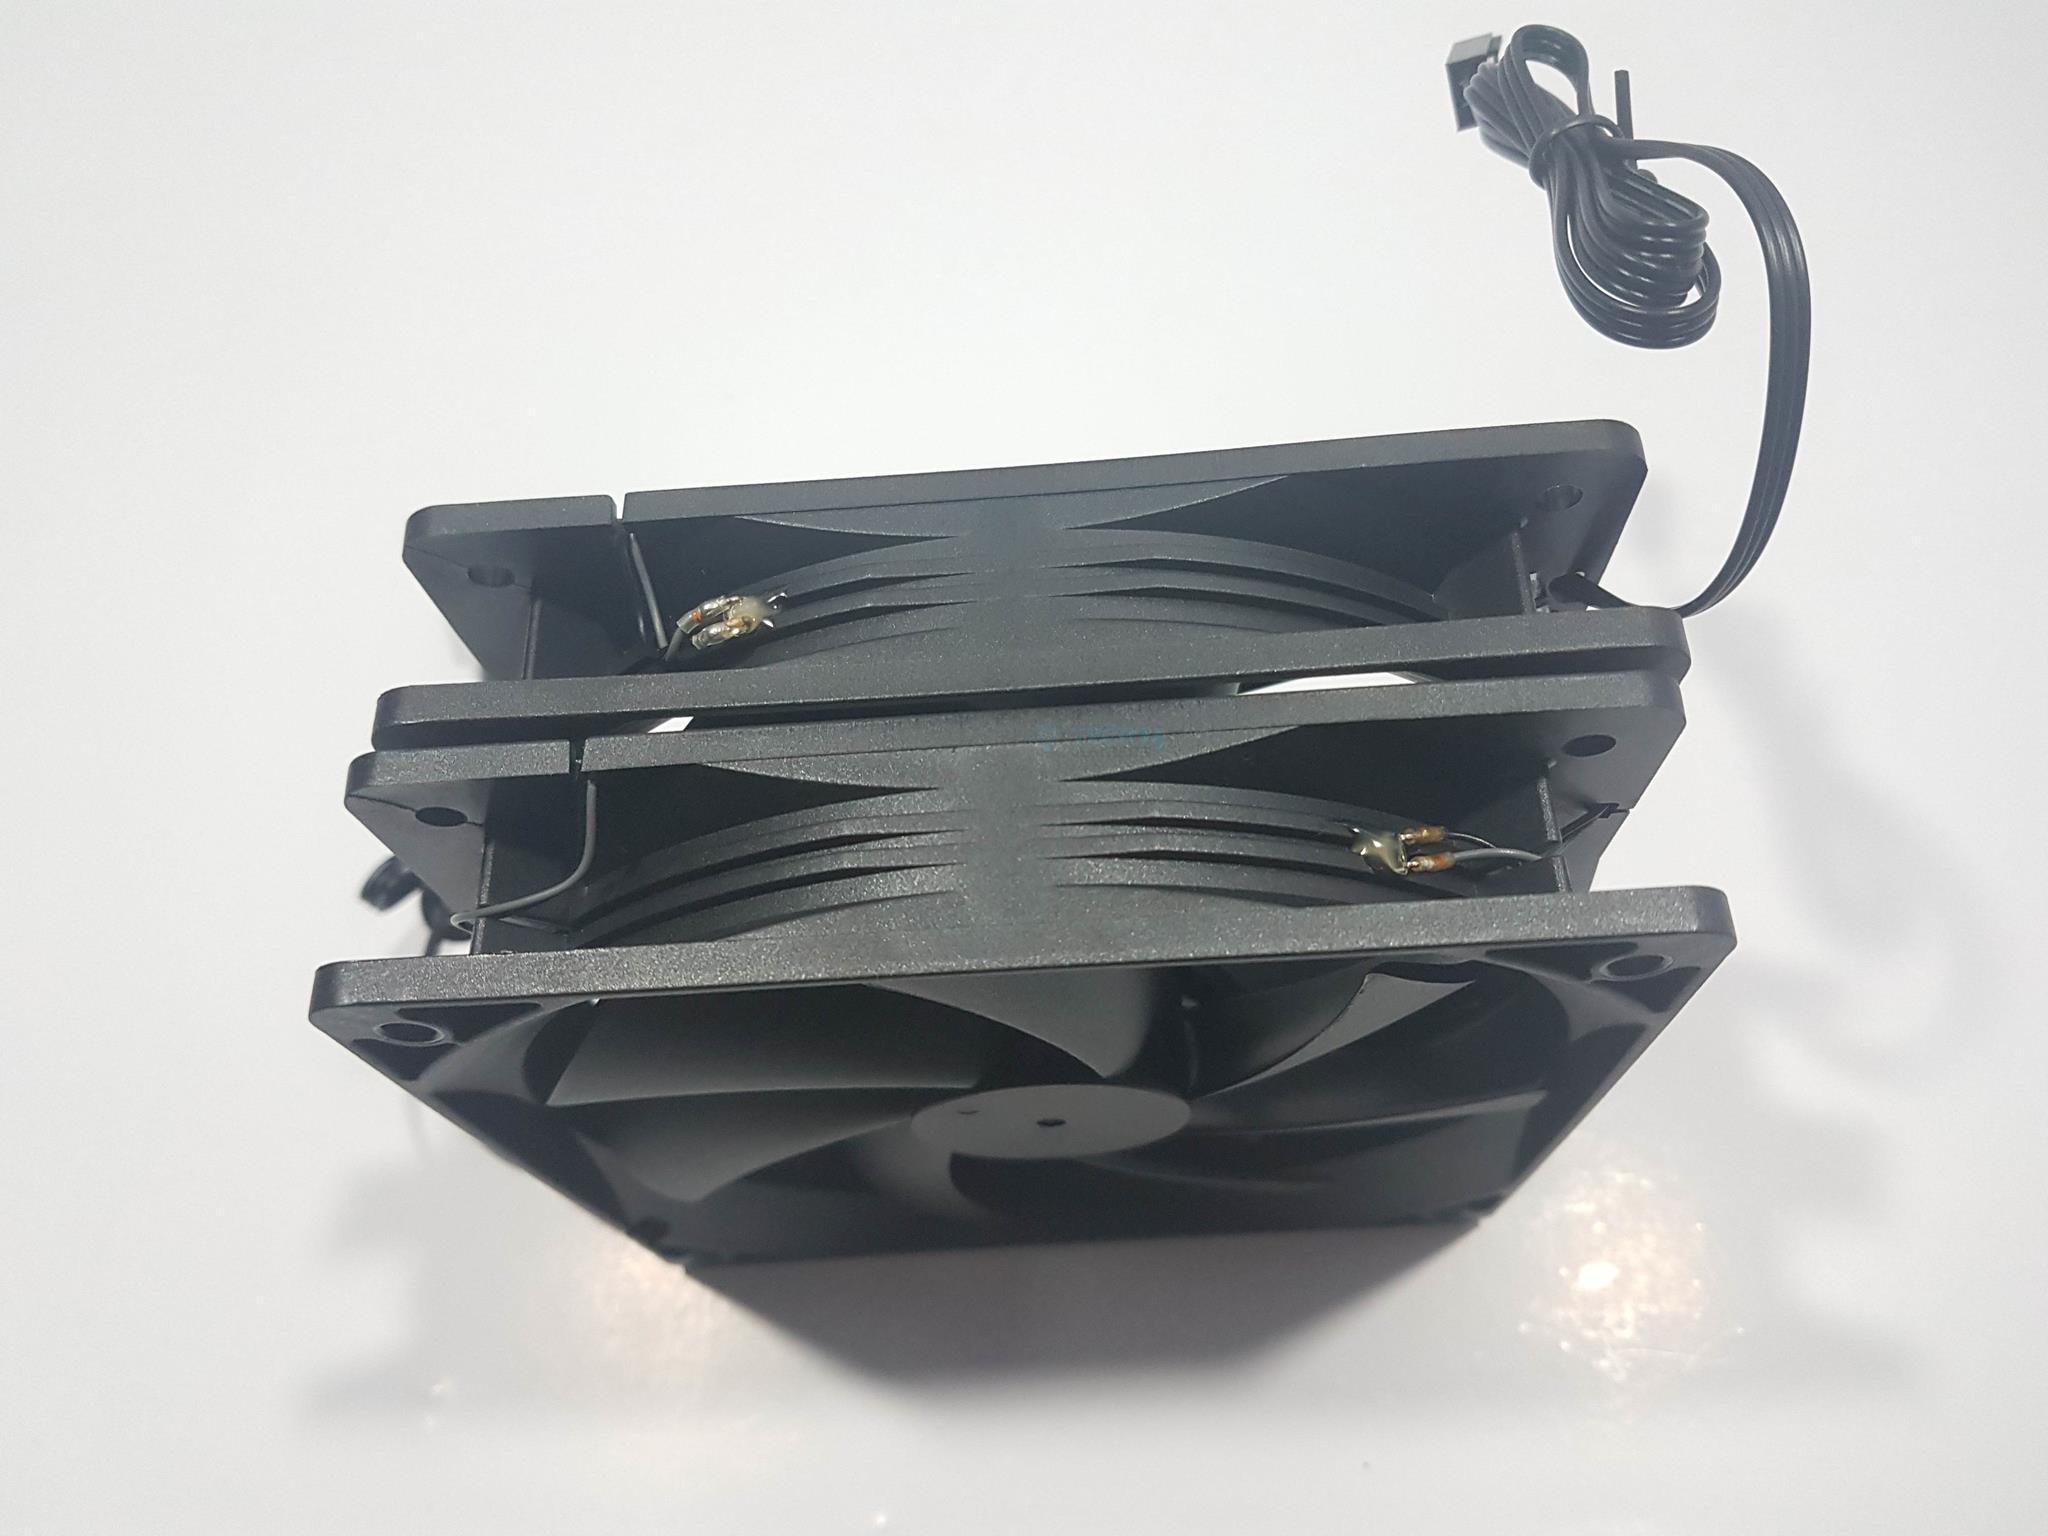
Antec’s thoughtful inclusion of two 120mm fans on the front side distinguishes the GX200 Blue from competitors. The fans, featuring LEDs, illuminate the chassis in blue and are easily removable after taking off the front panel.
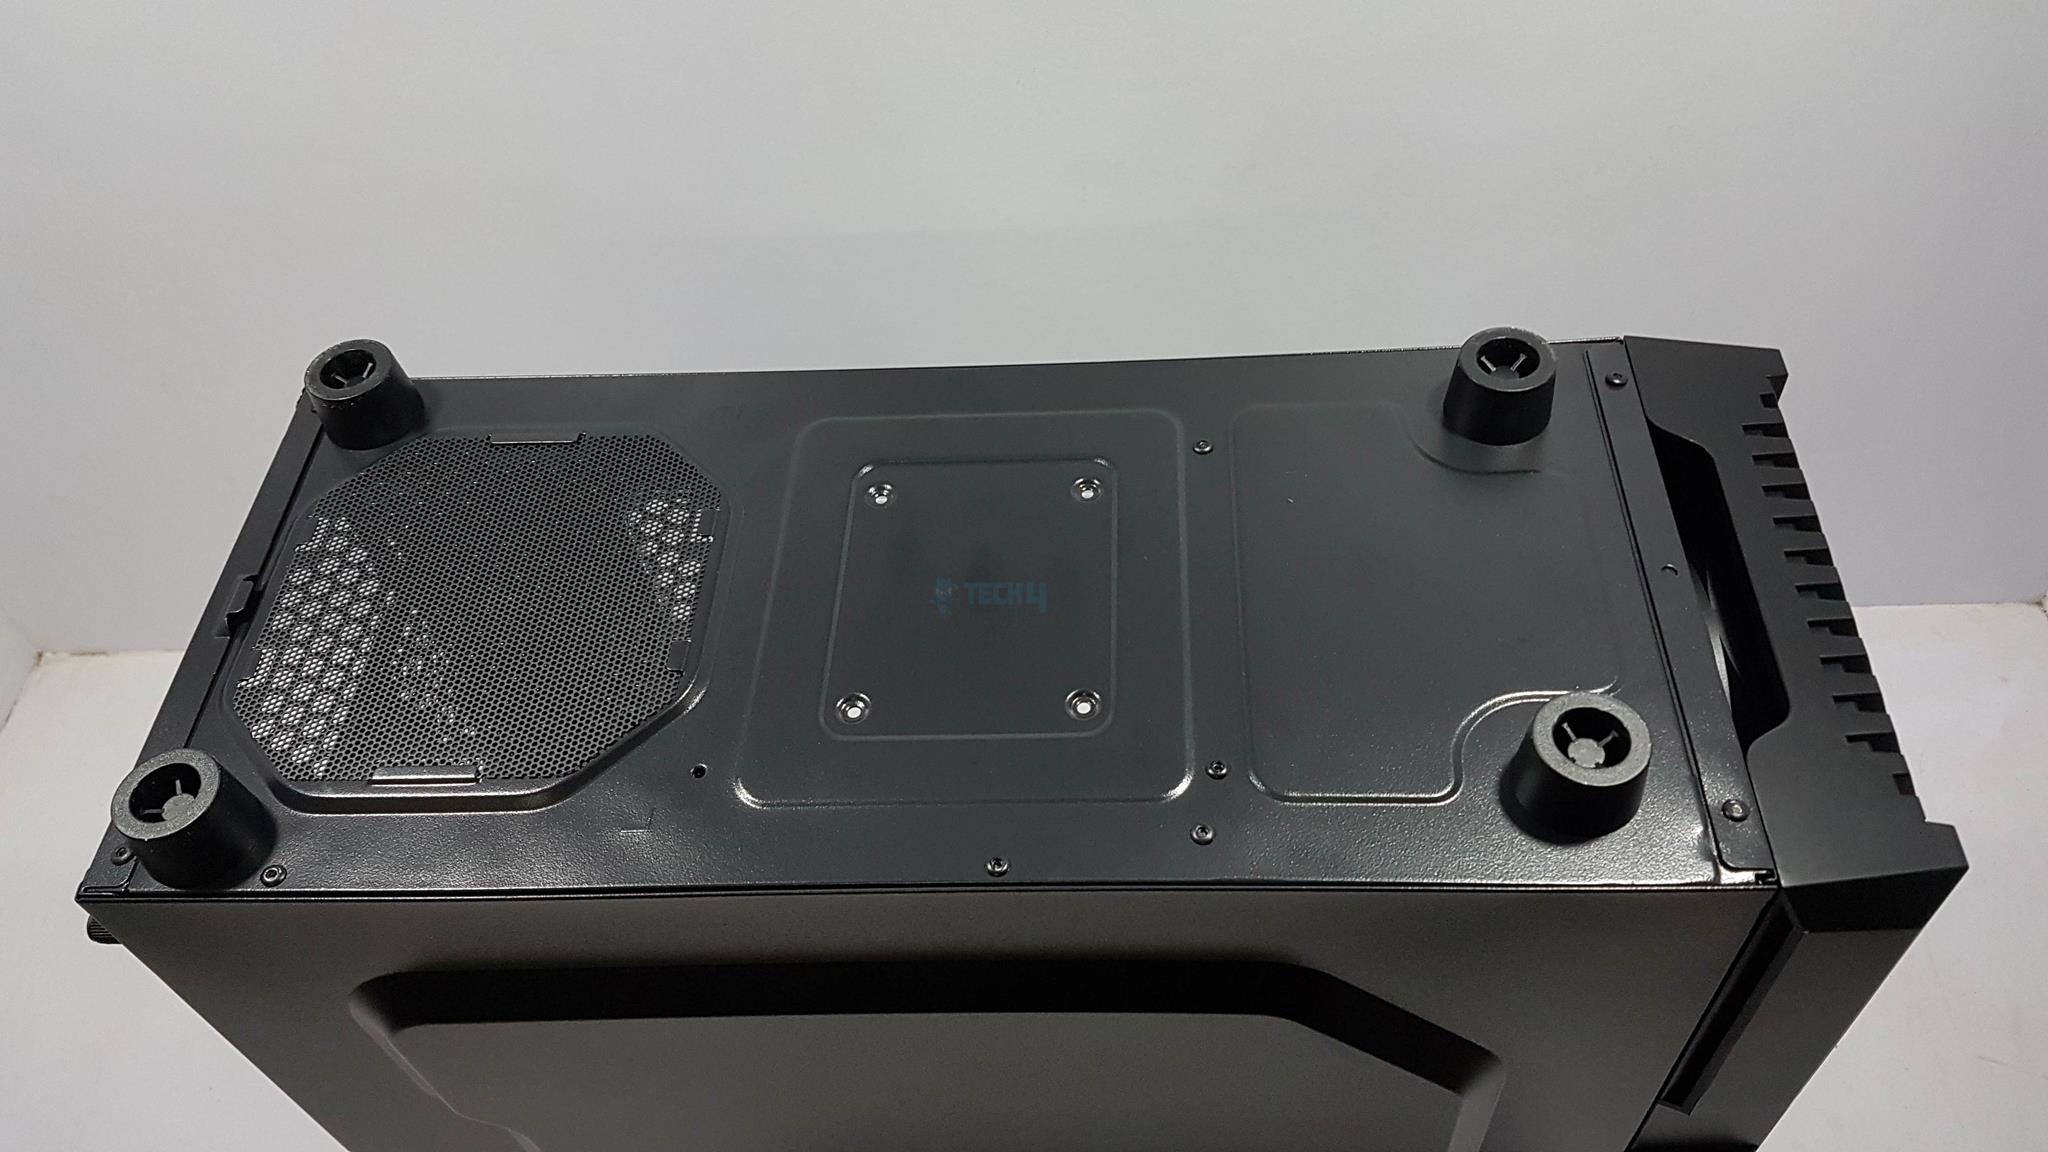
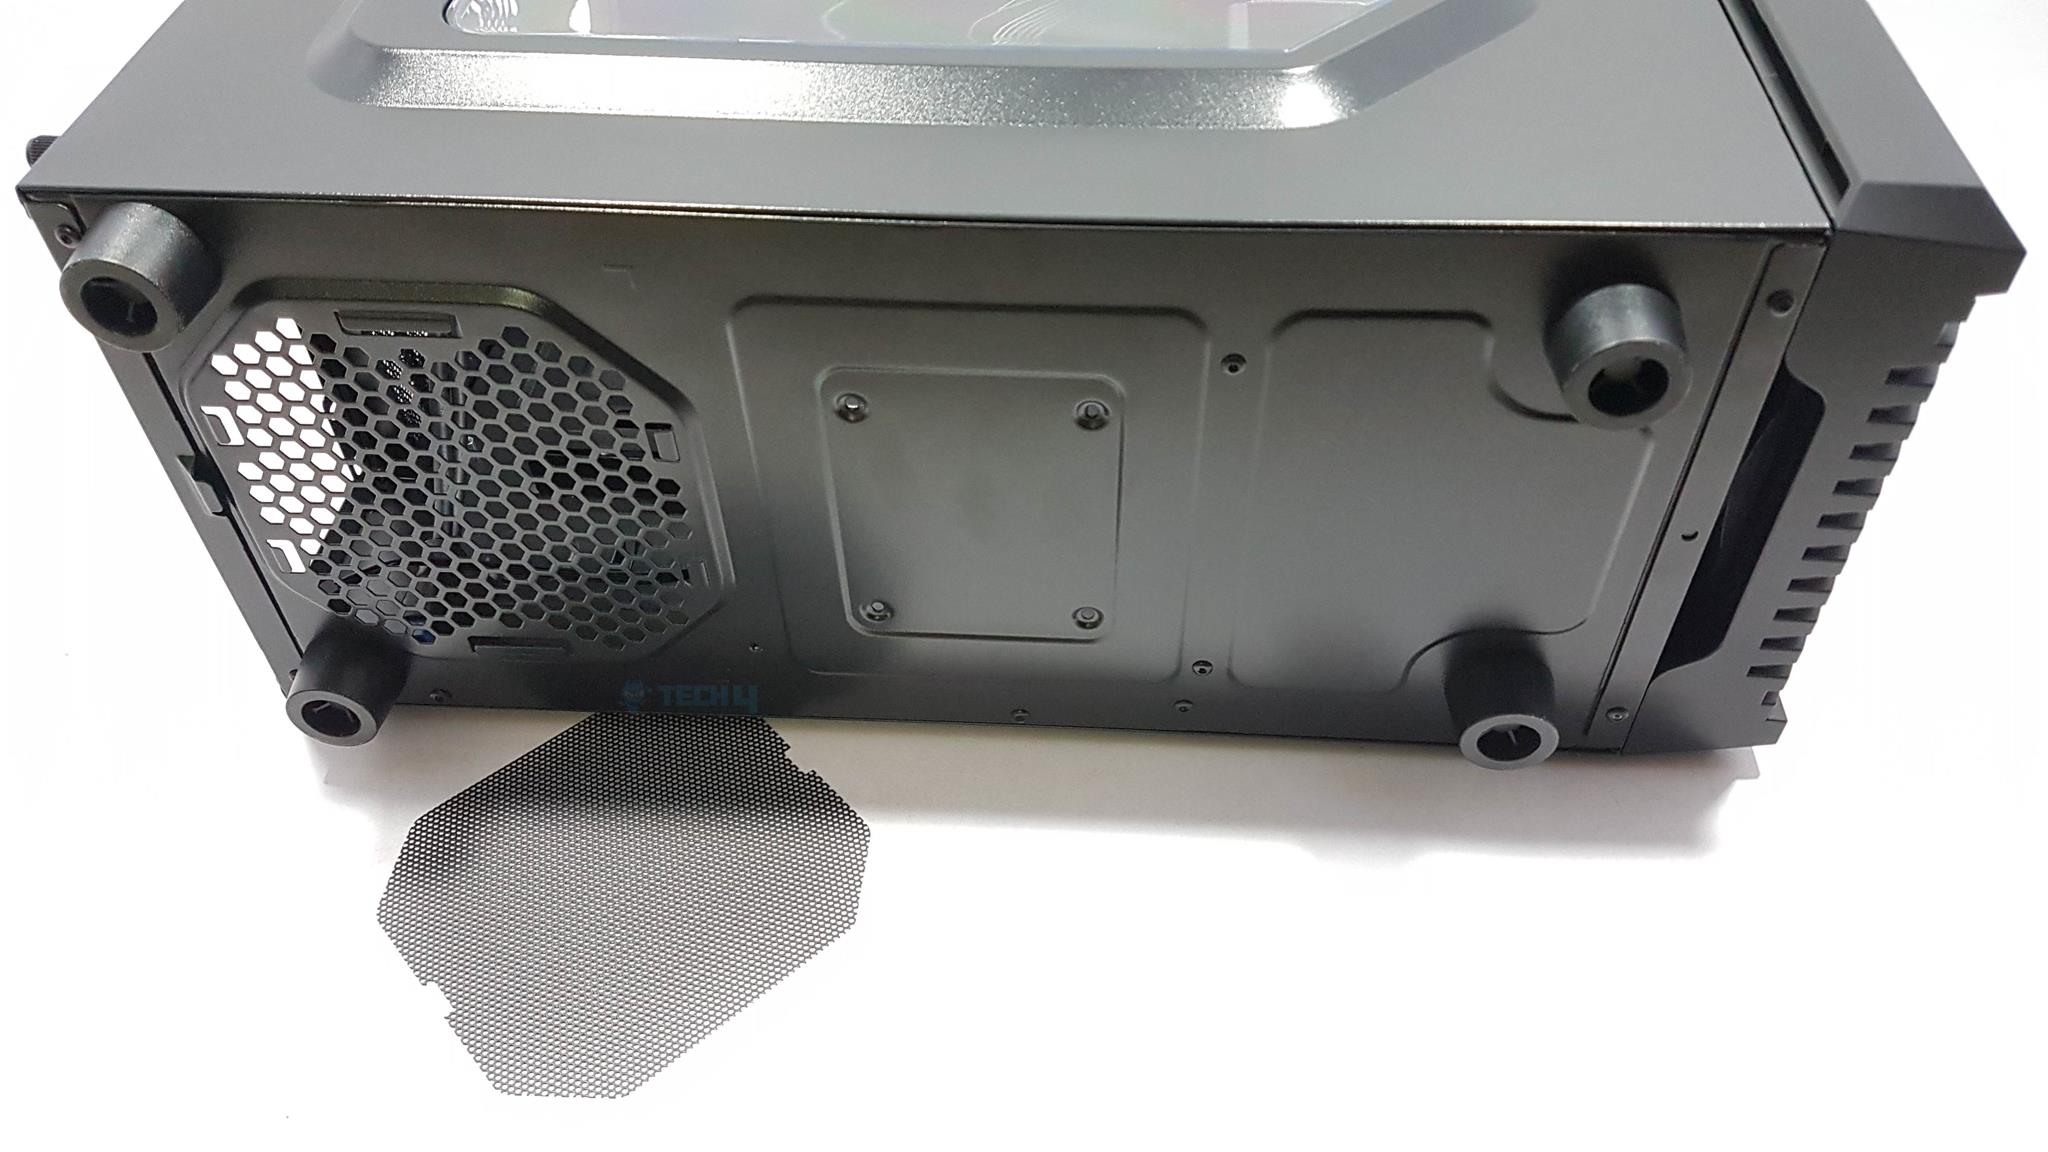
The chassis underside reveals plastic feet, providing clearance for the PSU to draw fresh air. The PSU mount area has a mesh design covered by a removable dust filter.
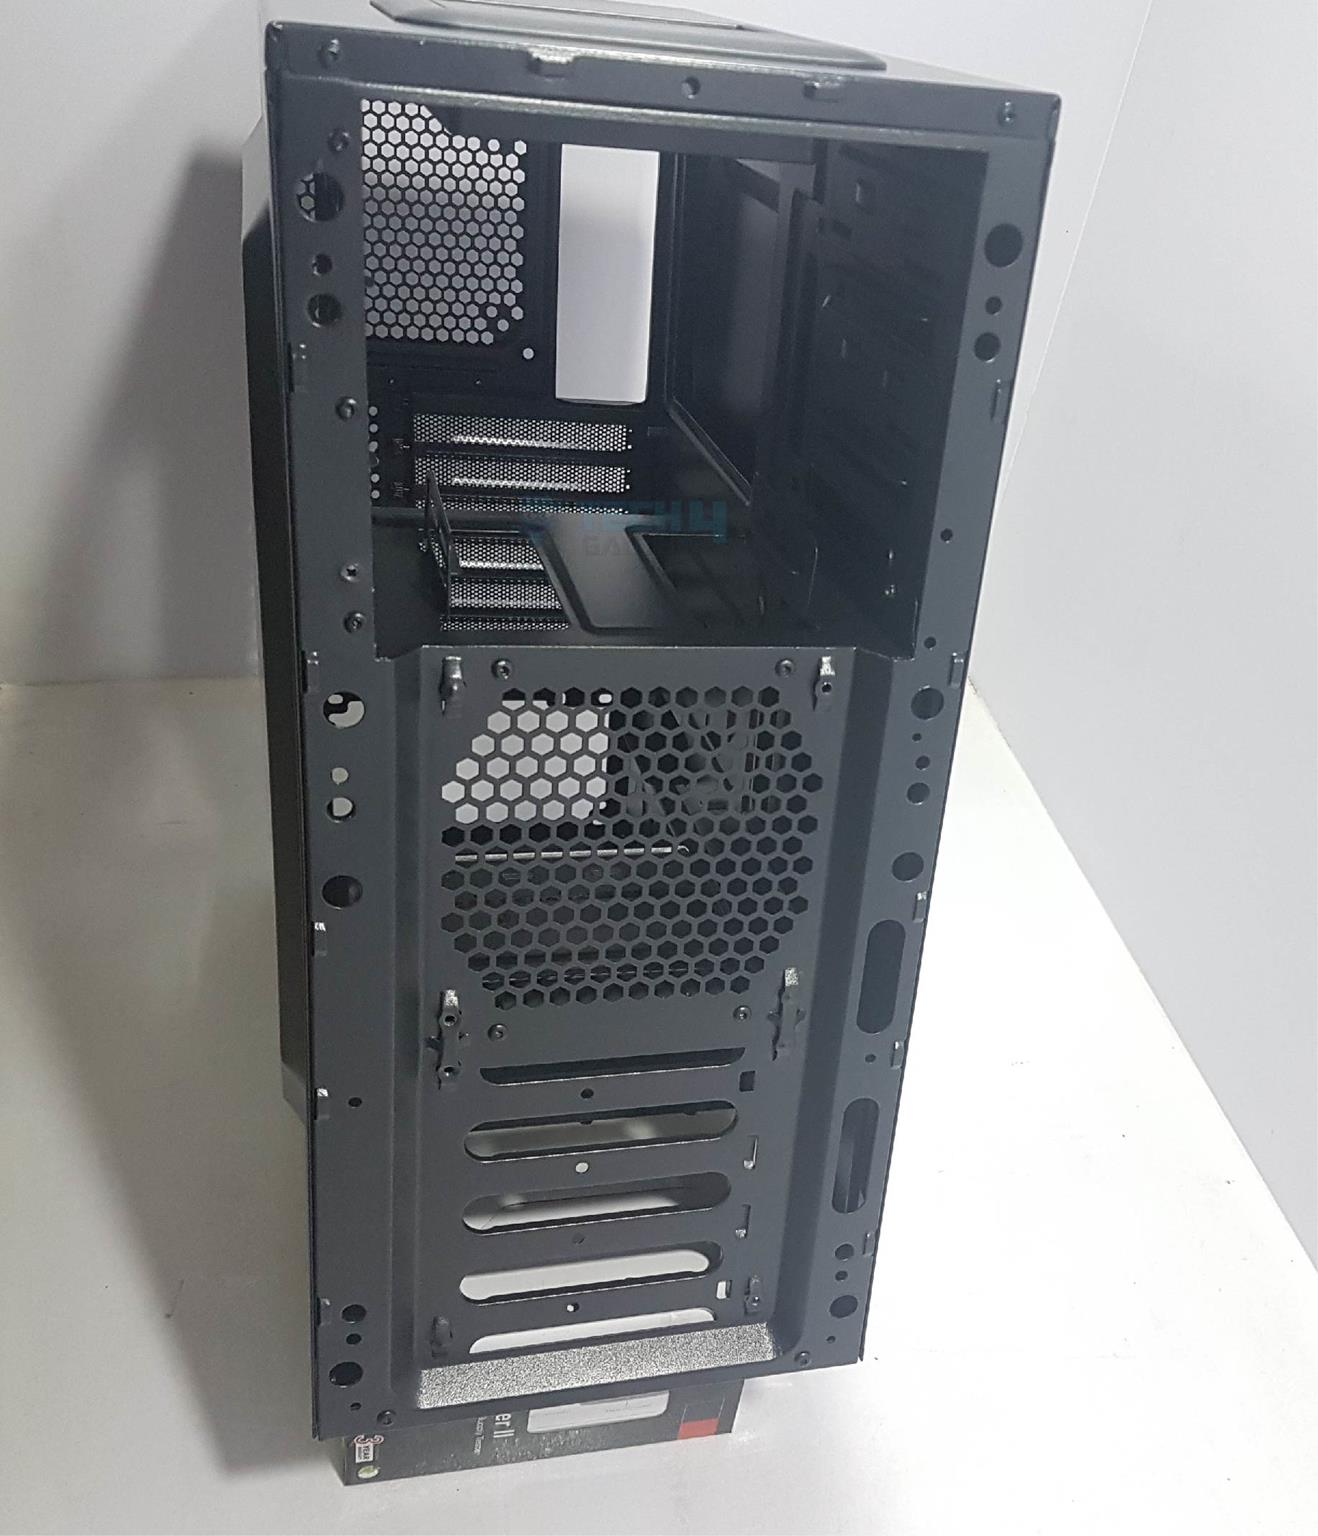
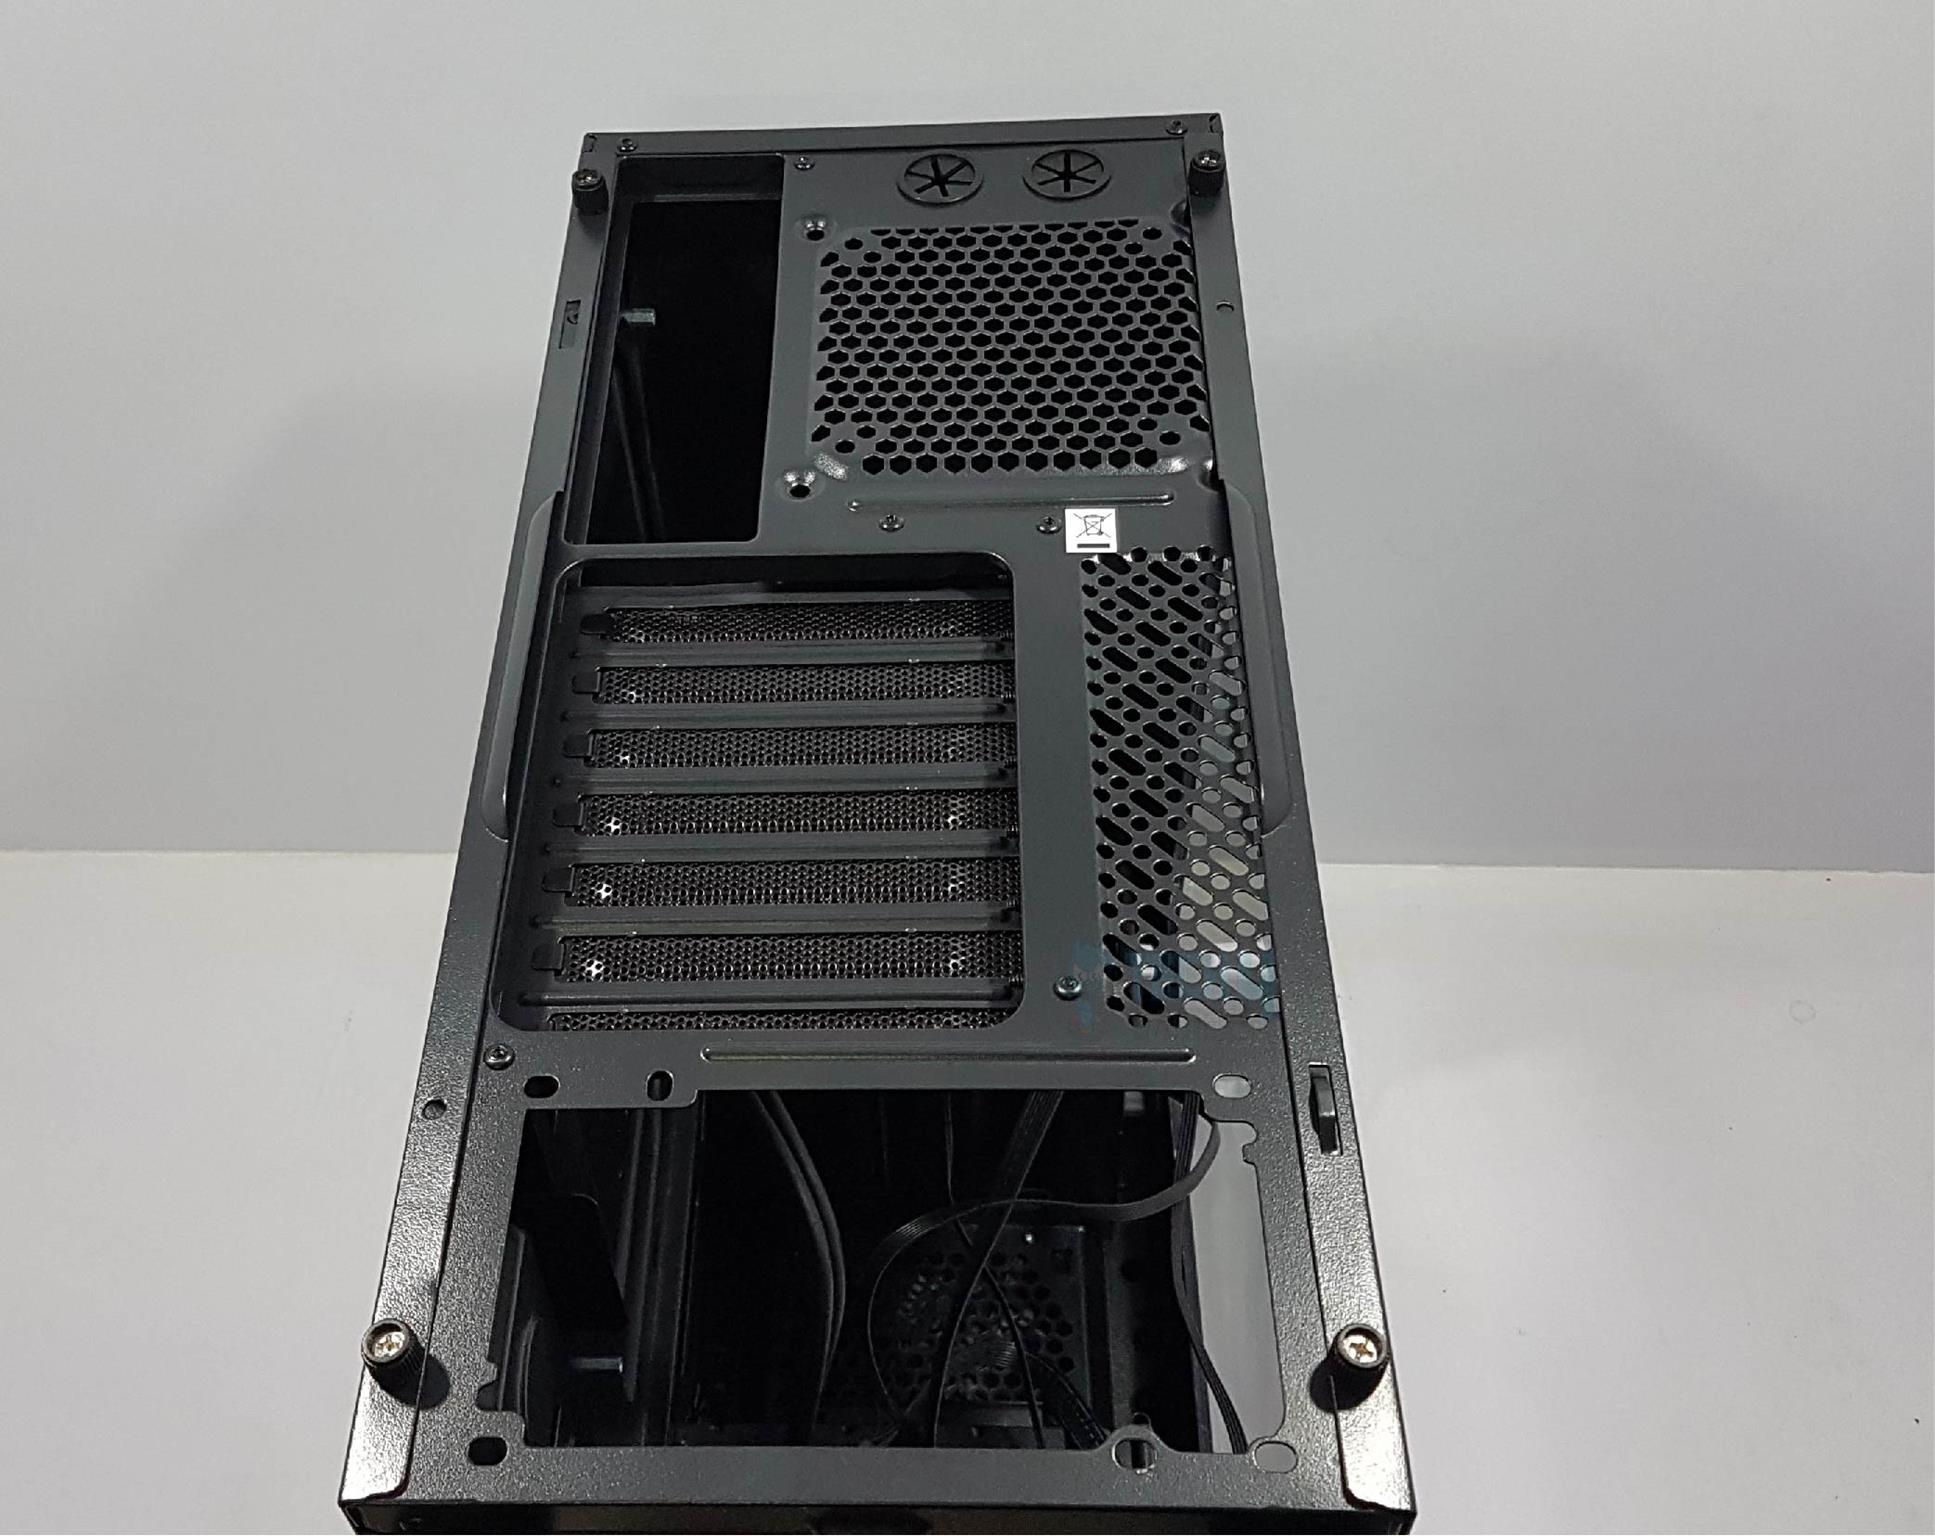
Turning to the rear side, two holes with rubber grommets at the top right accommodate external radiator hoses. The chassis supports 7 PCIe slots with a vented area for airflow. Both side panels are secured with thumb screws.

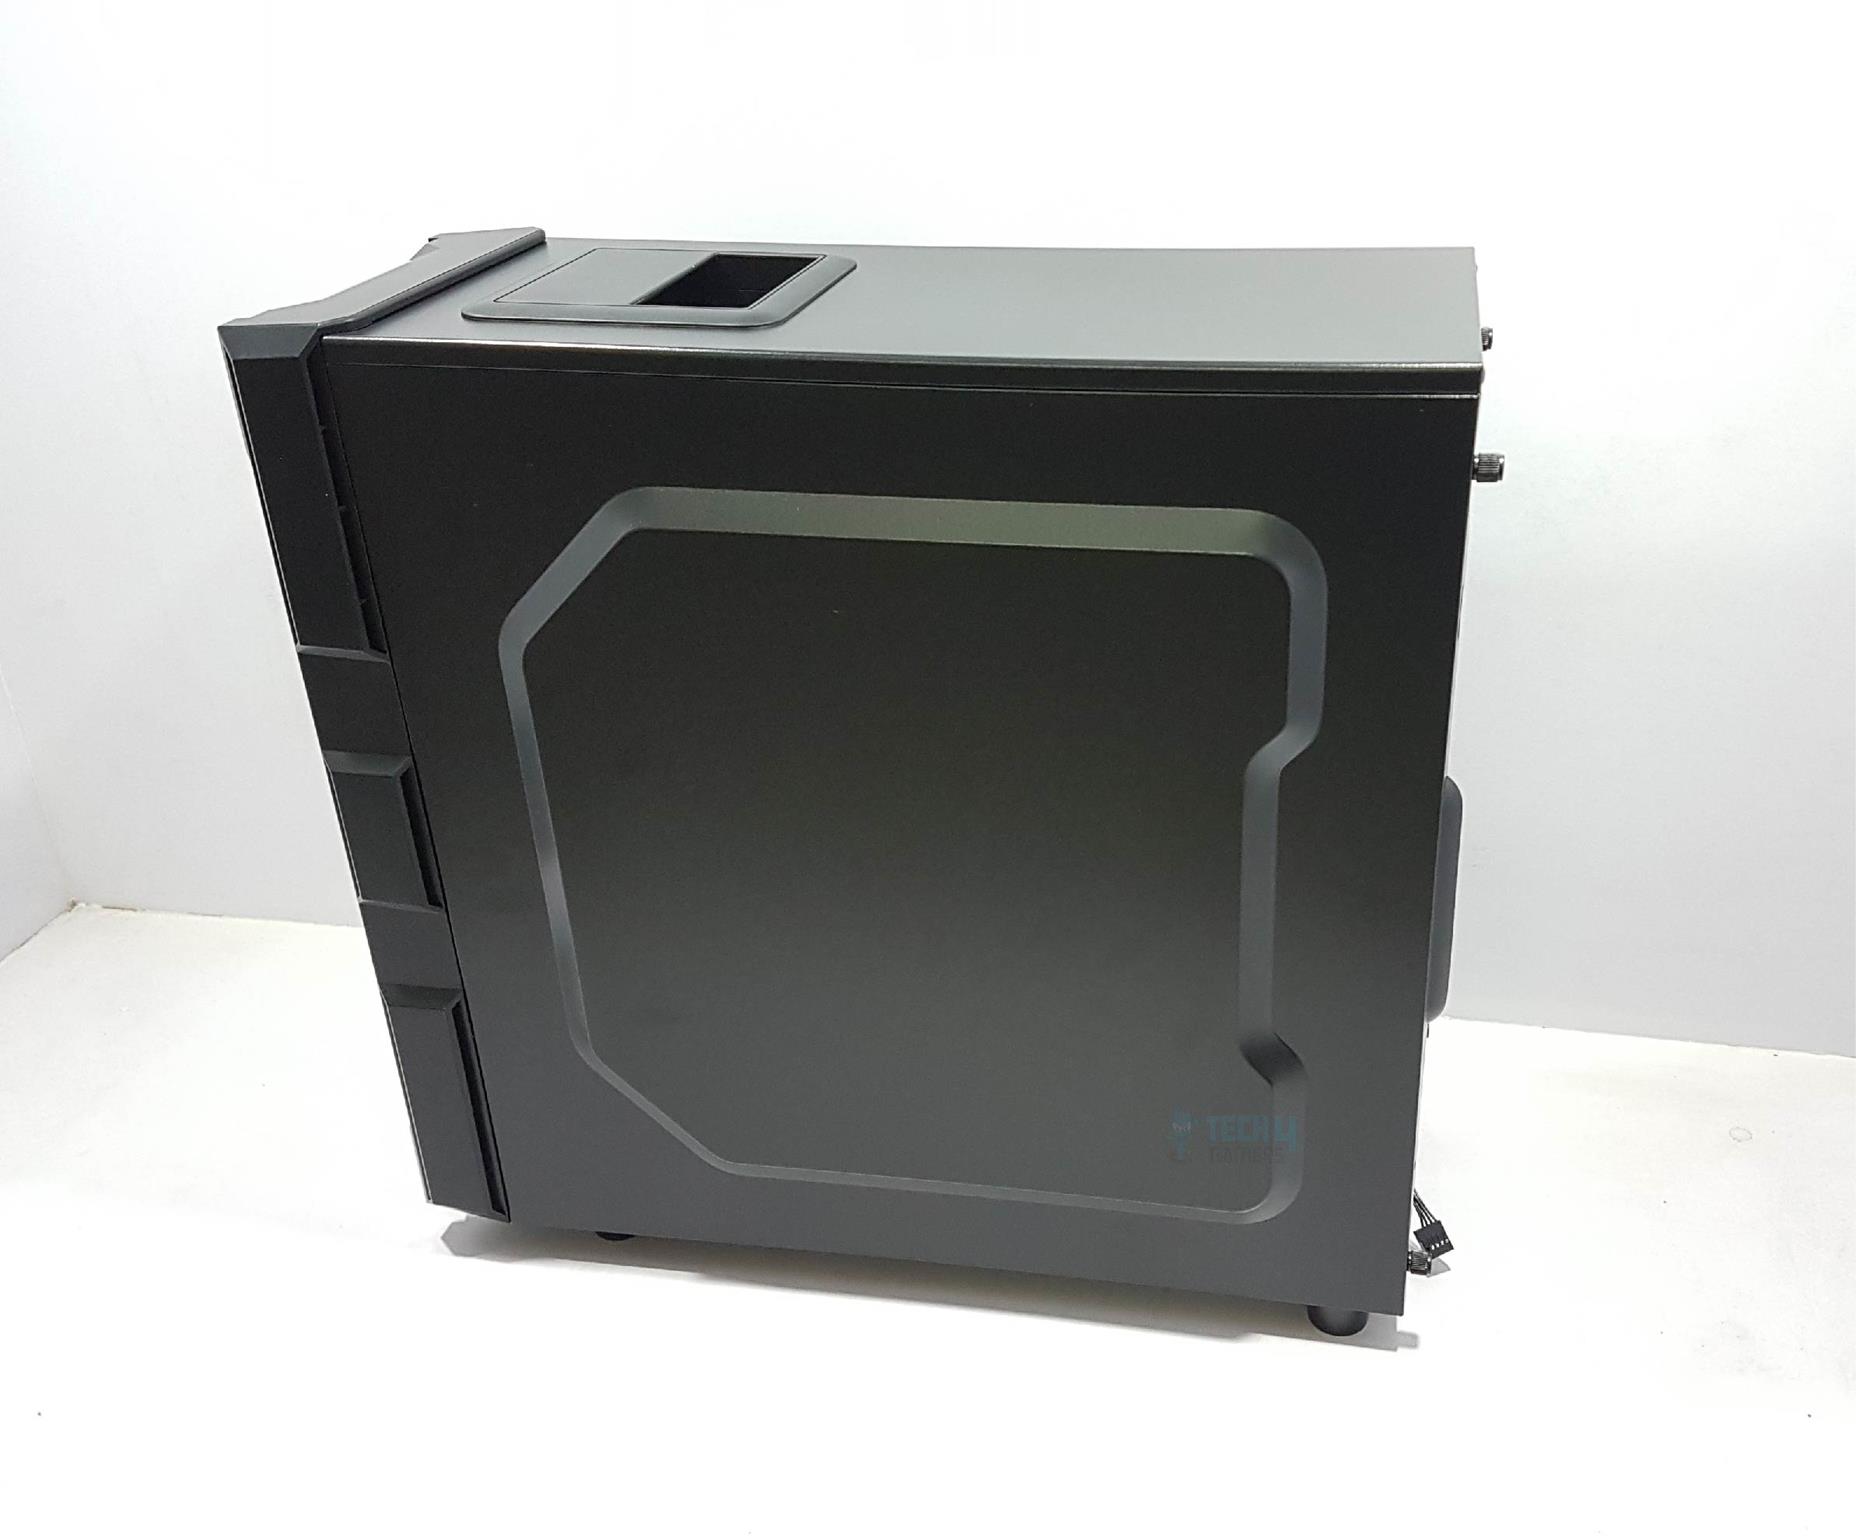
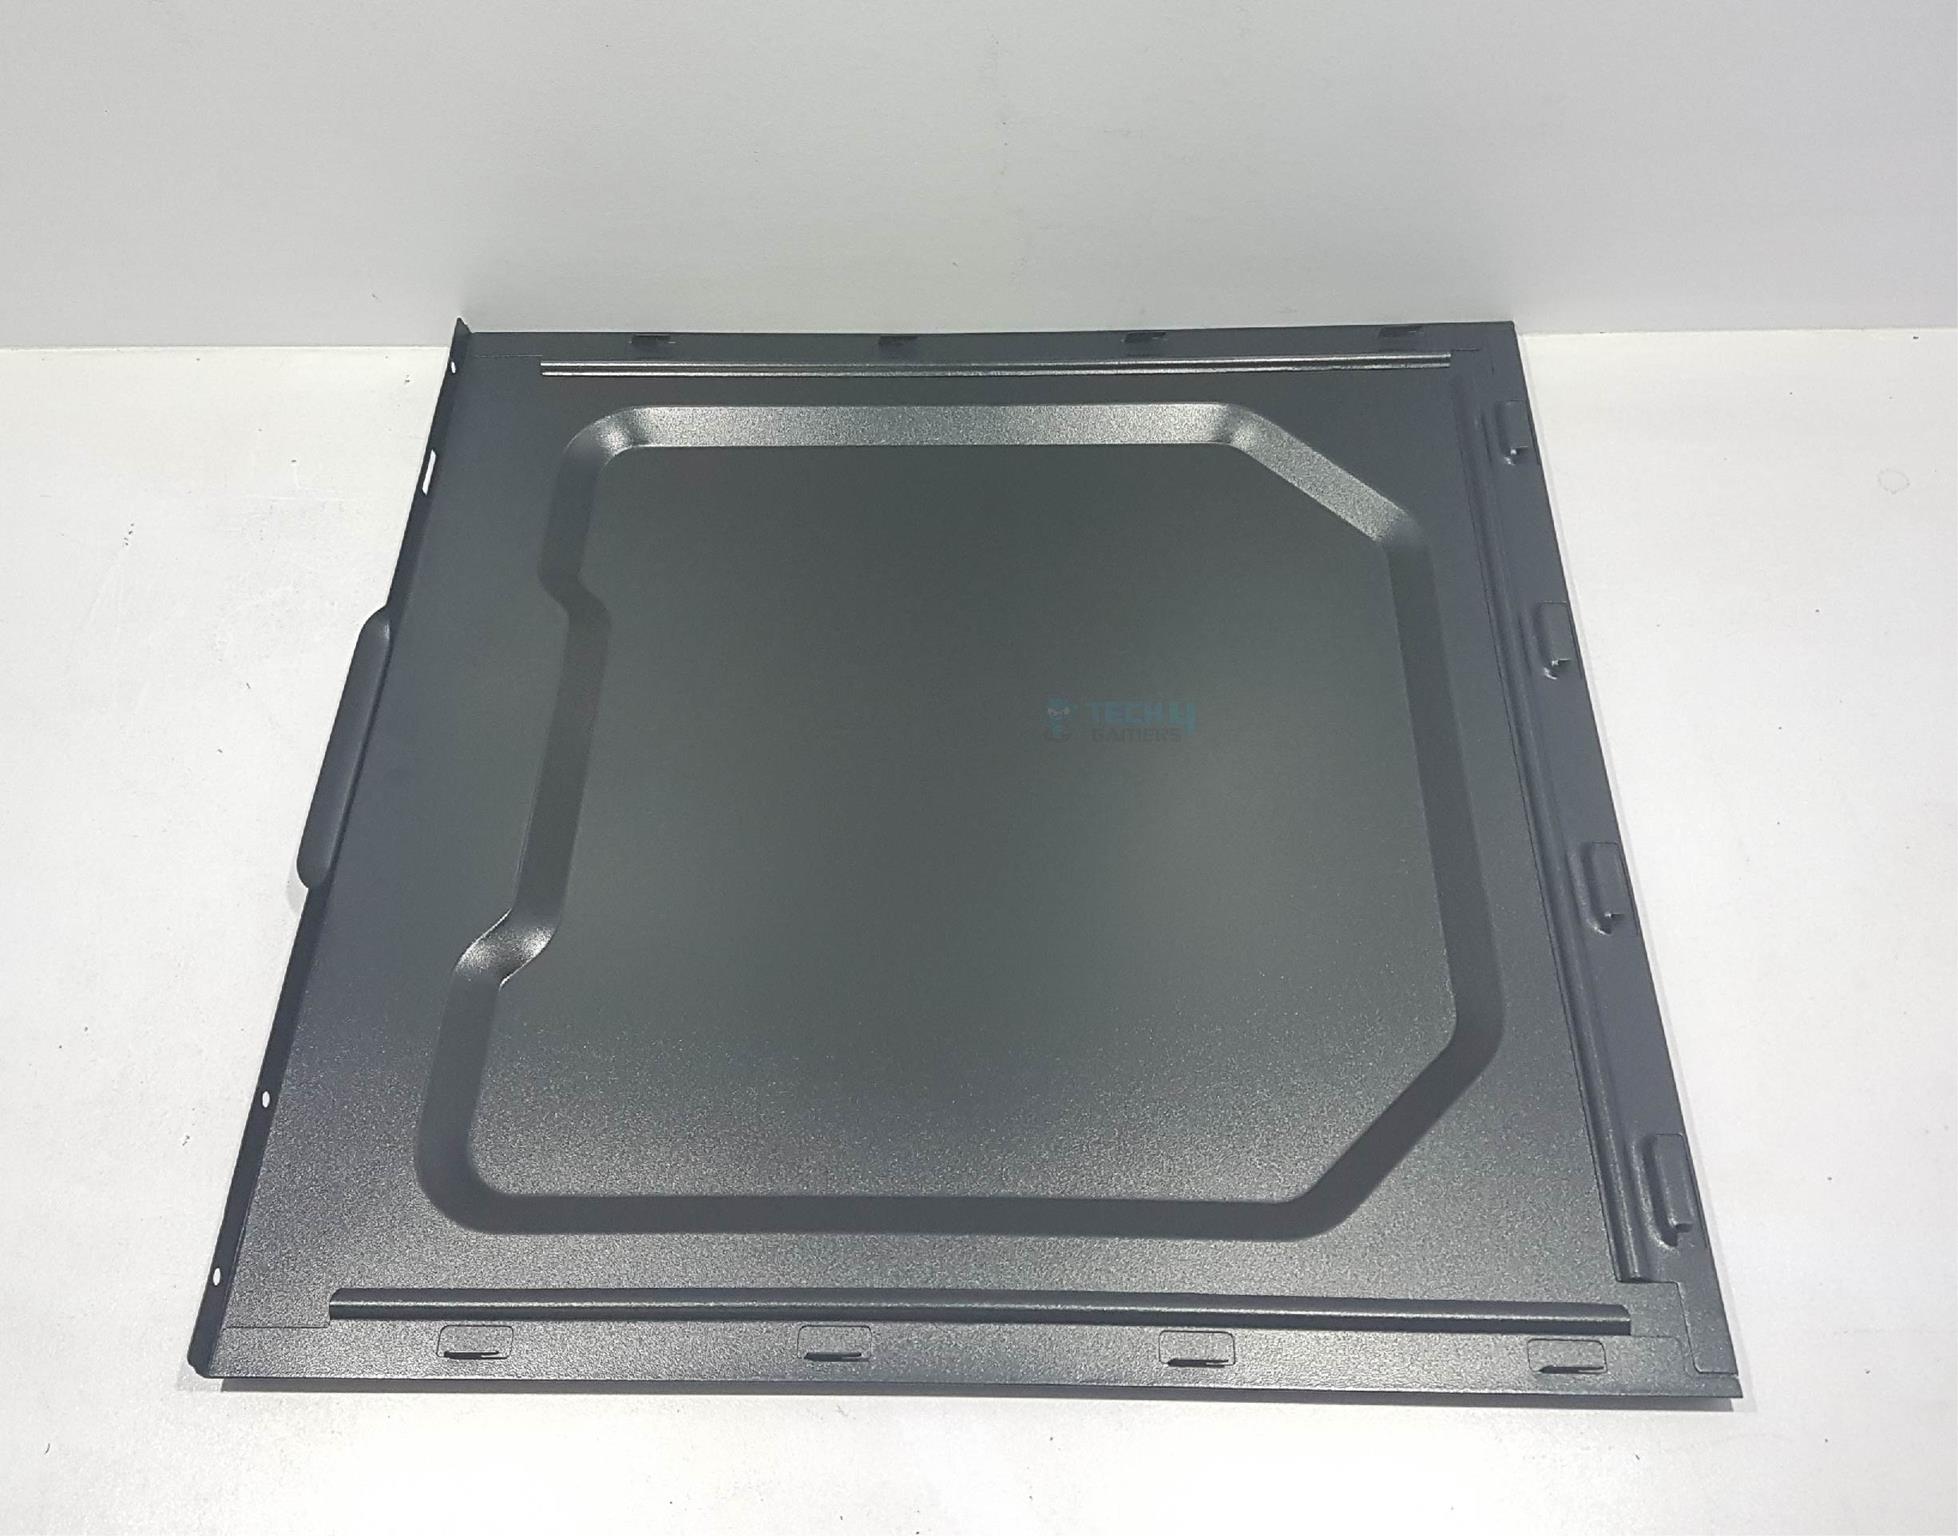
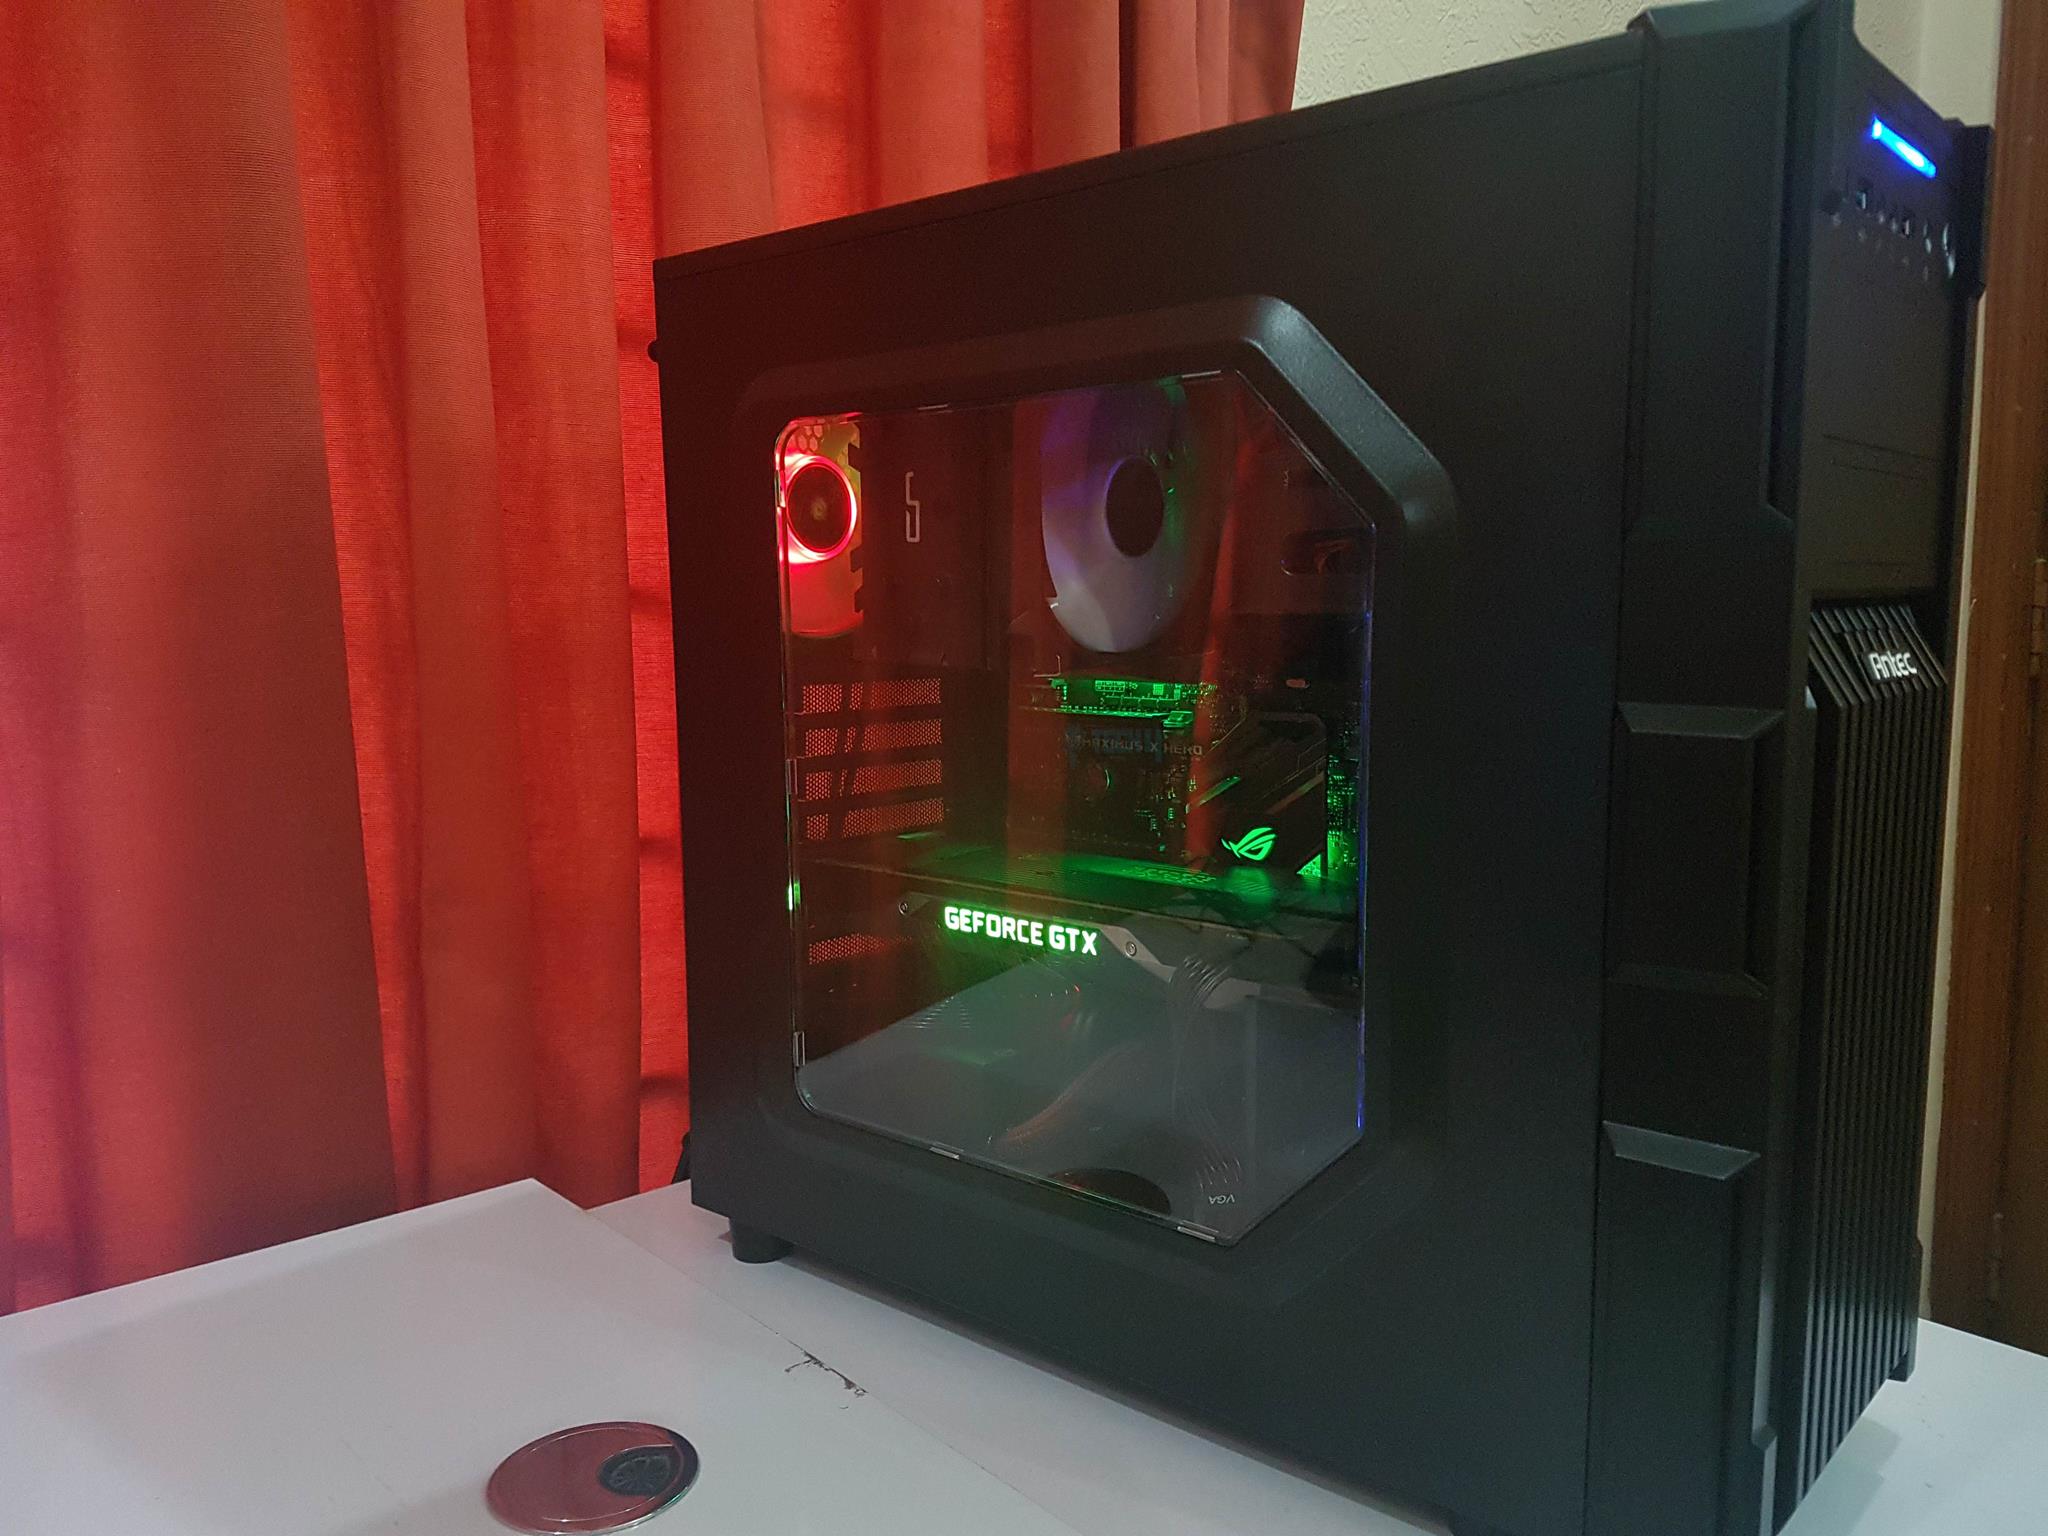
The left side panel offers a window, allowing a view inside. It provides extra space for the CPU cooler, supporting up to 158mm in height.
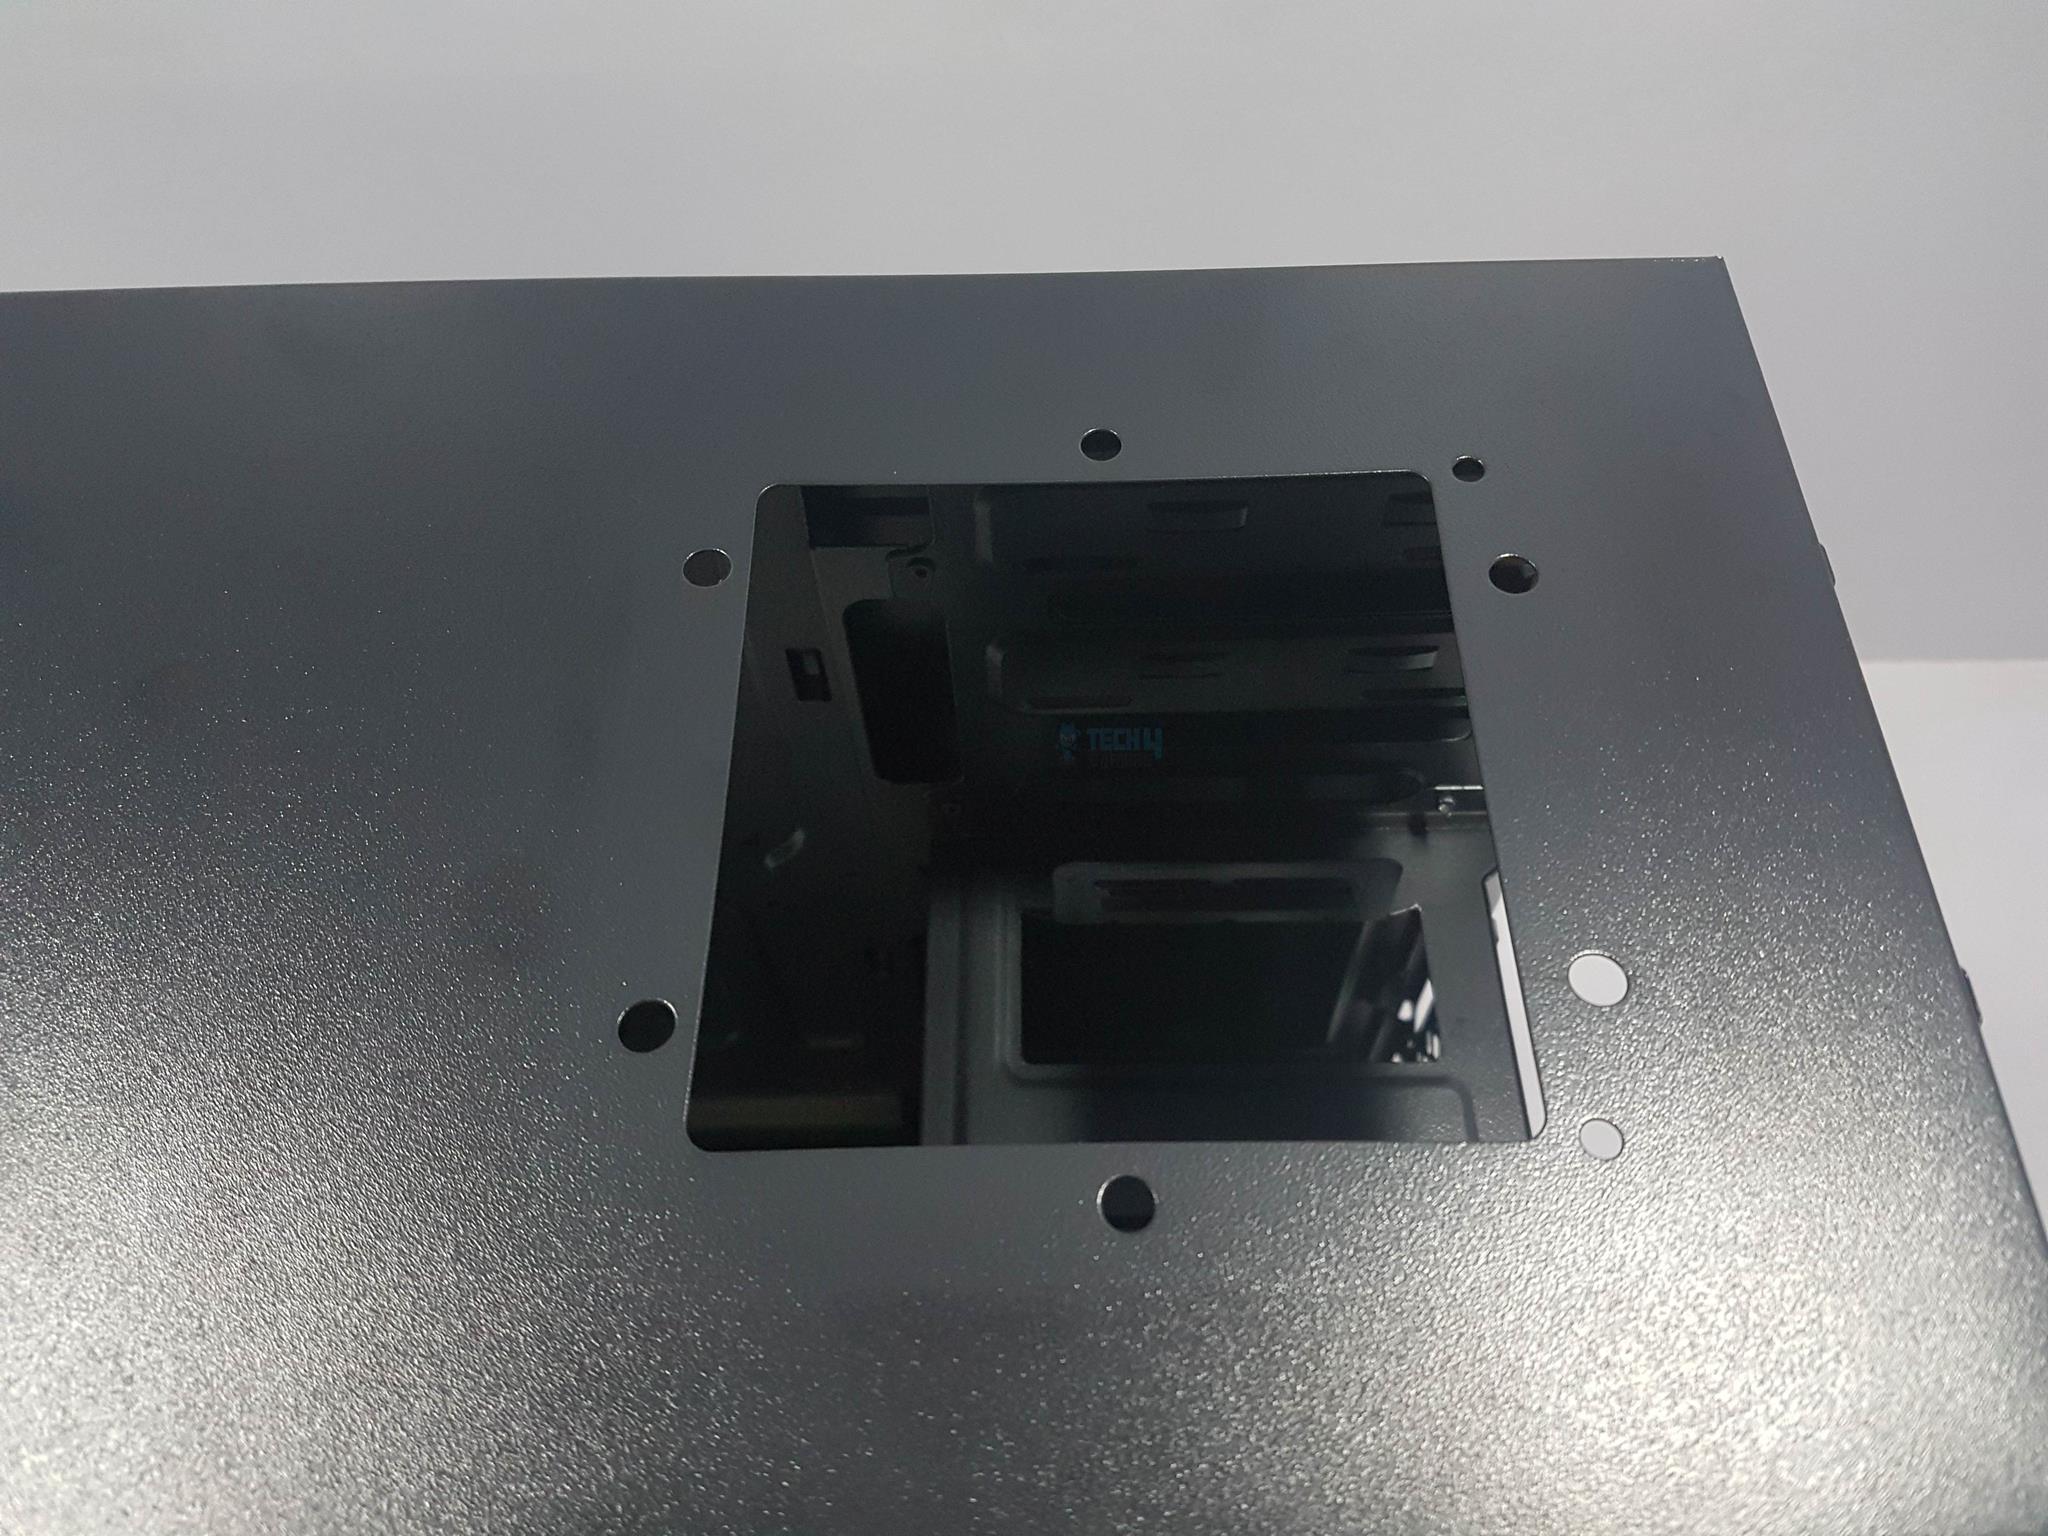
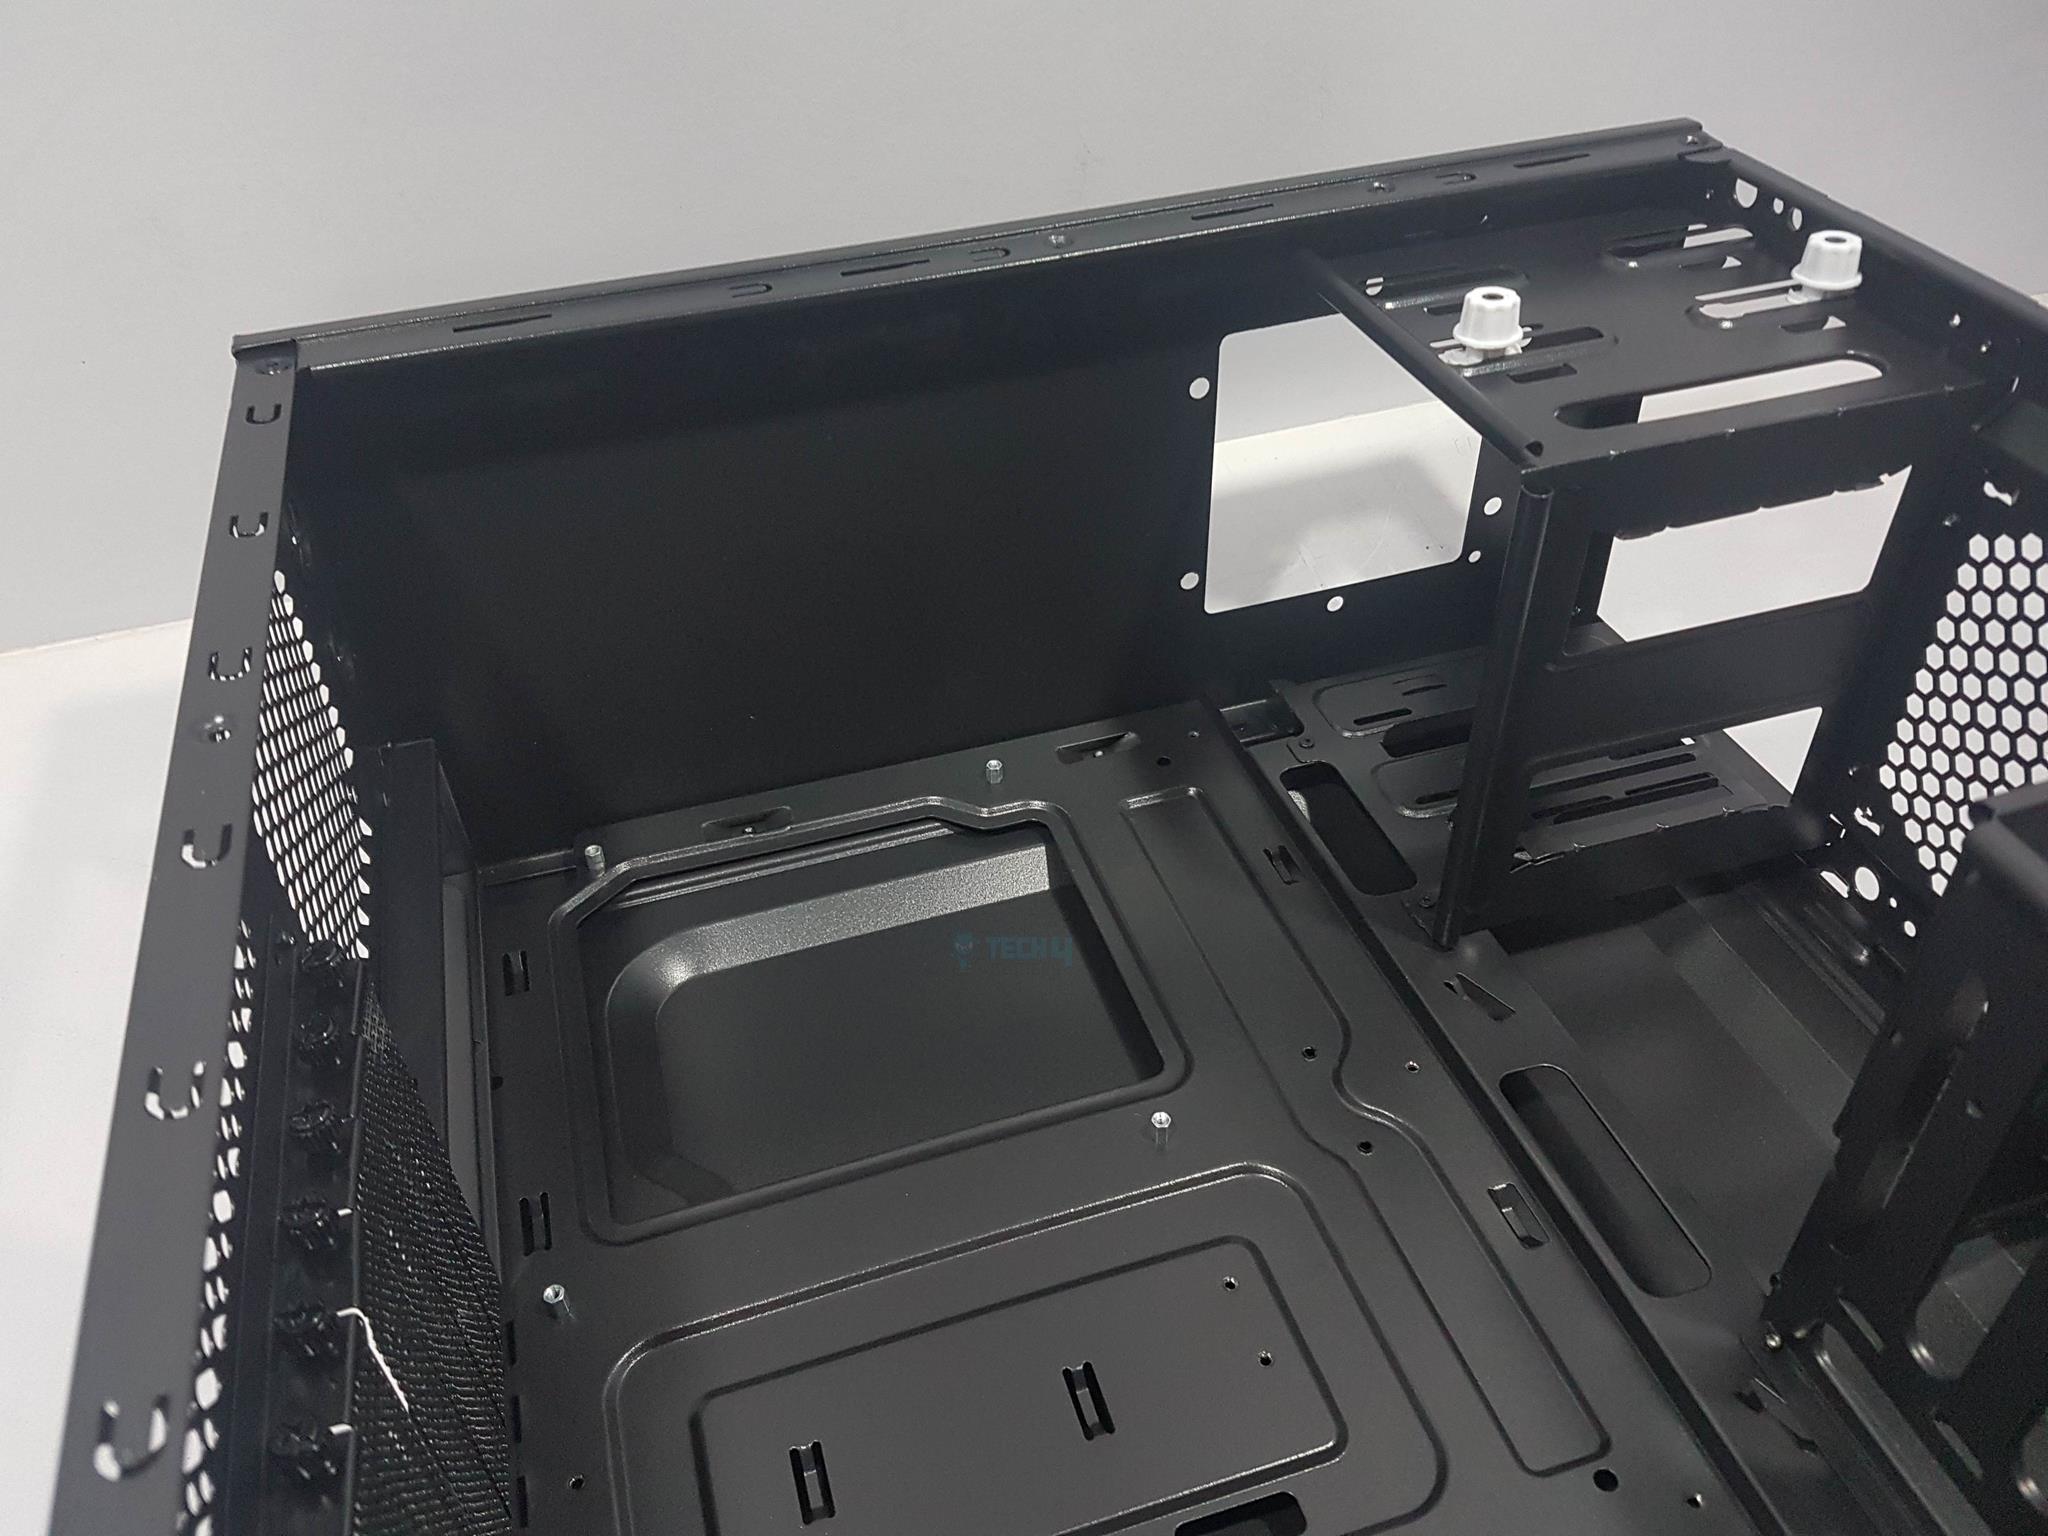
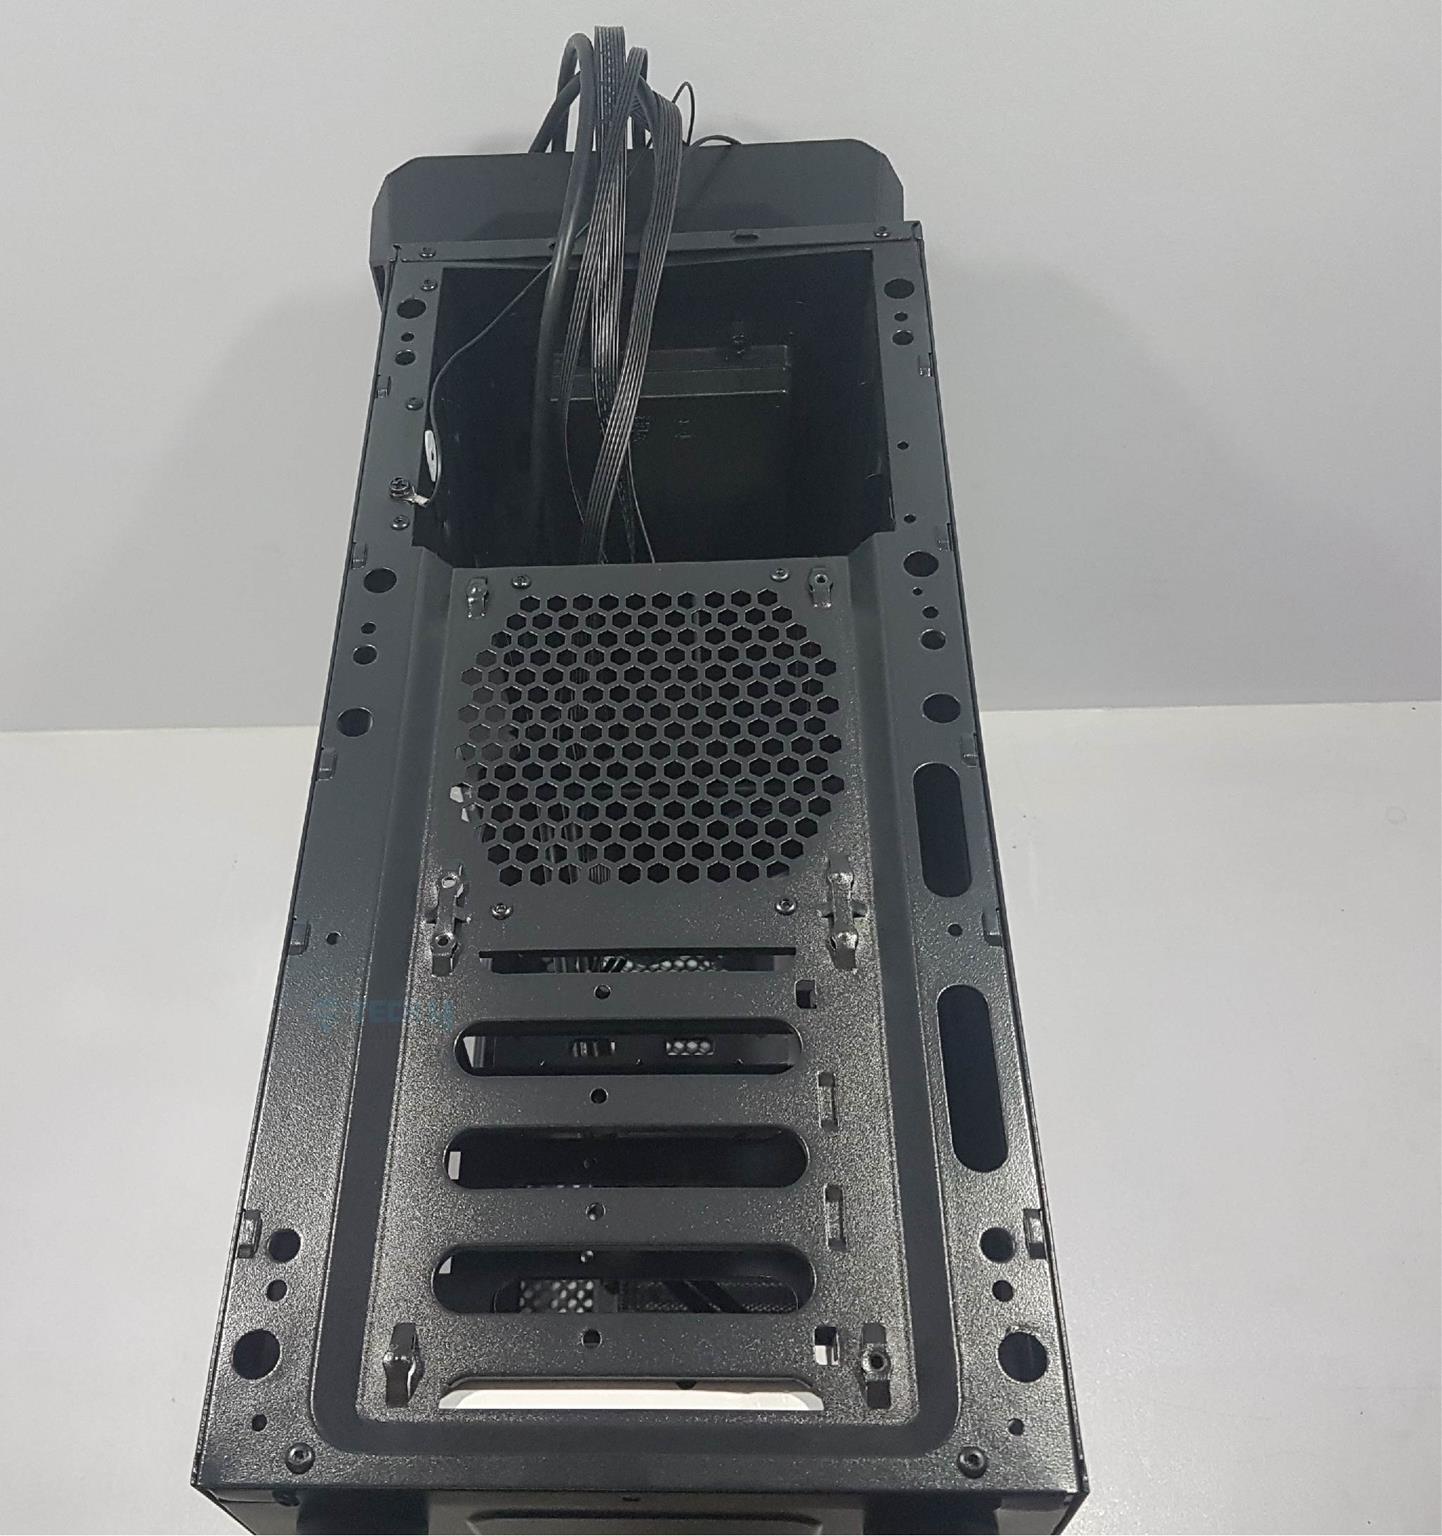
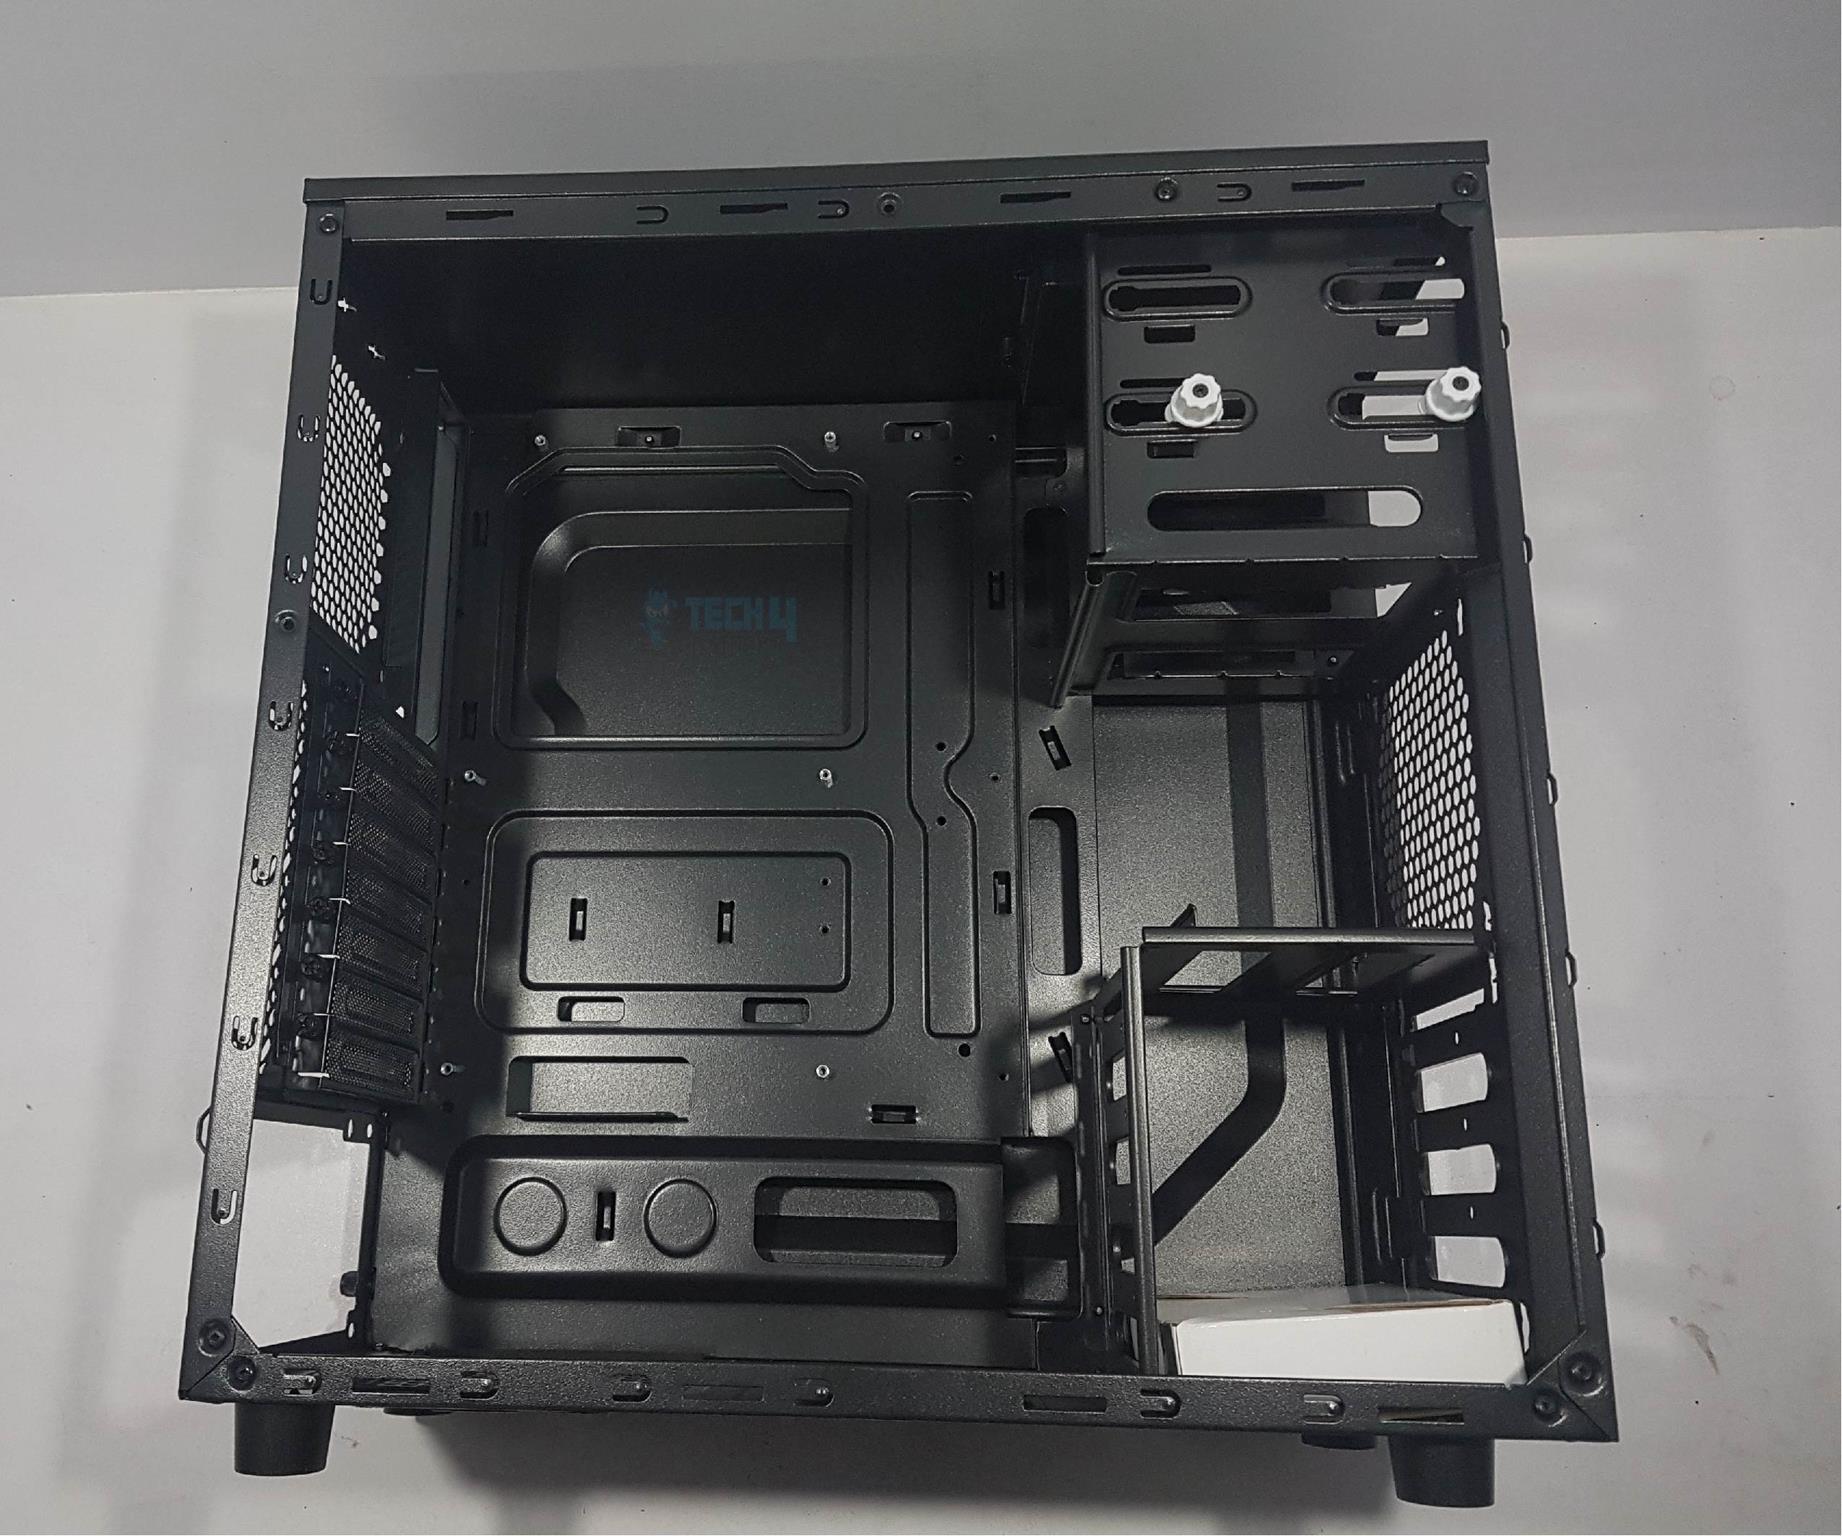
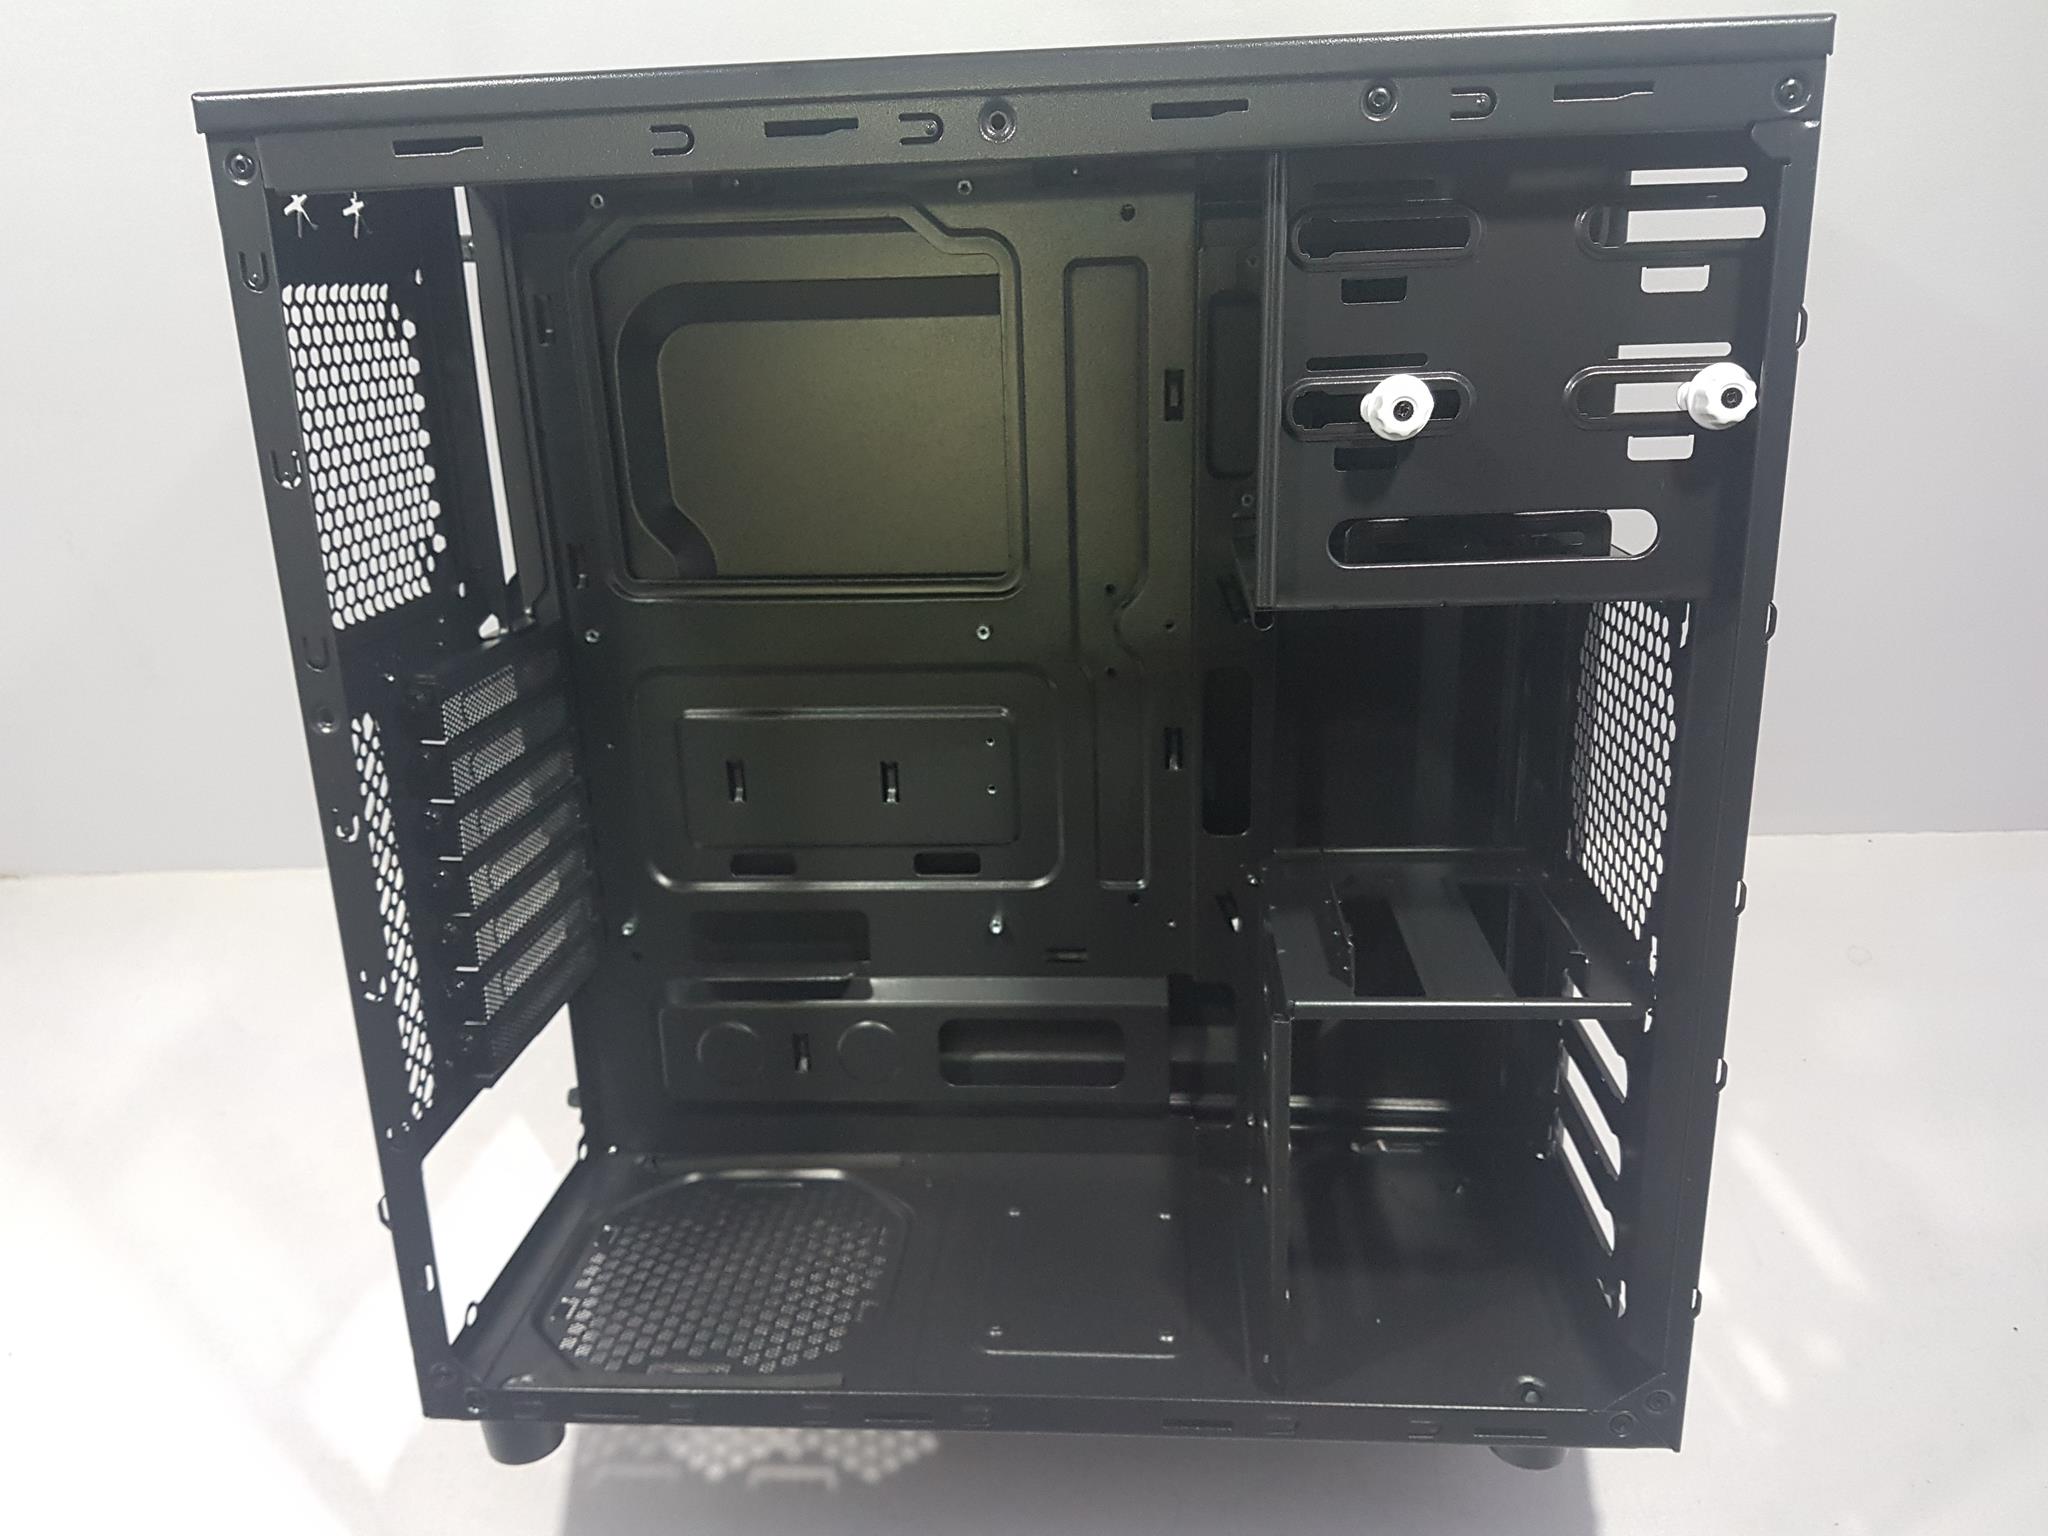
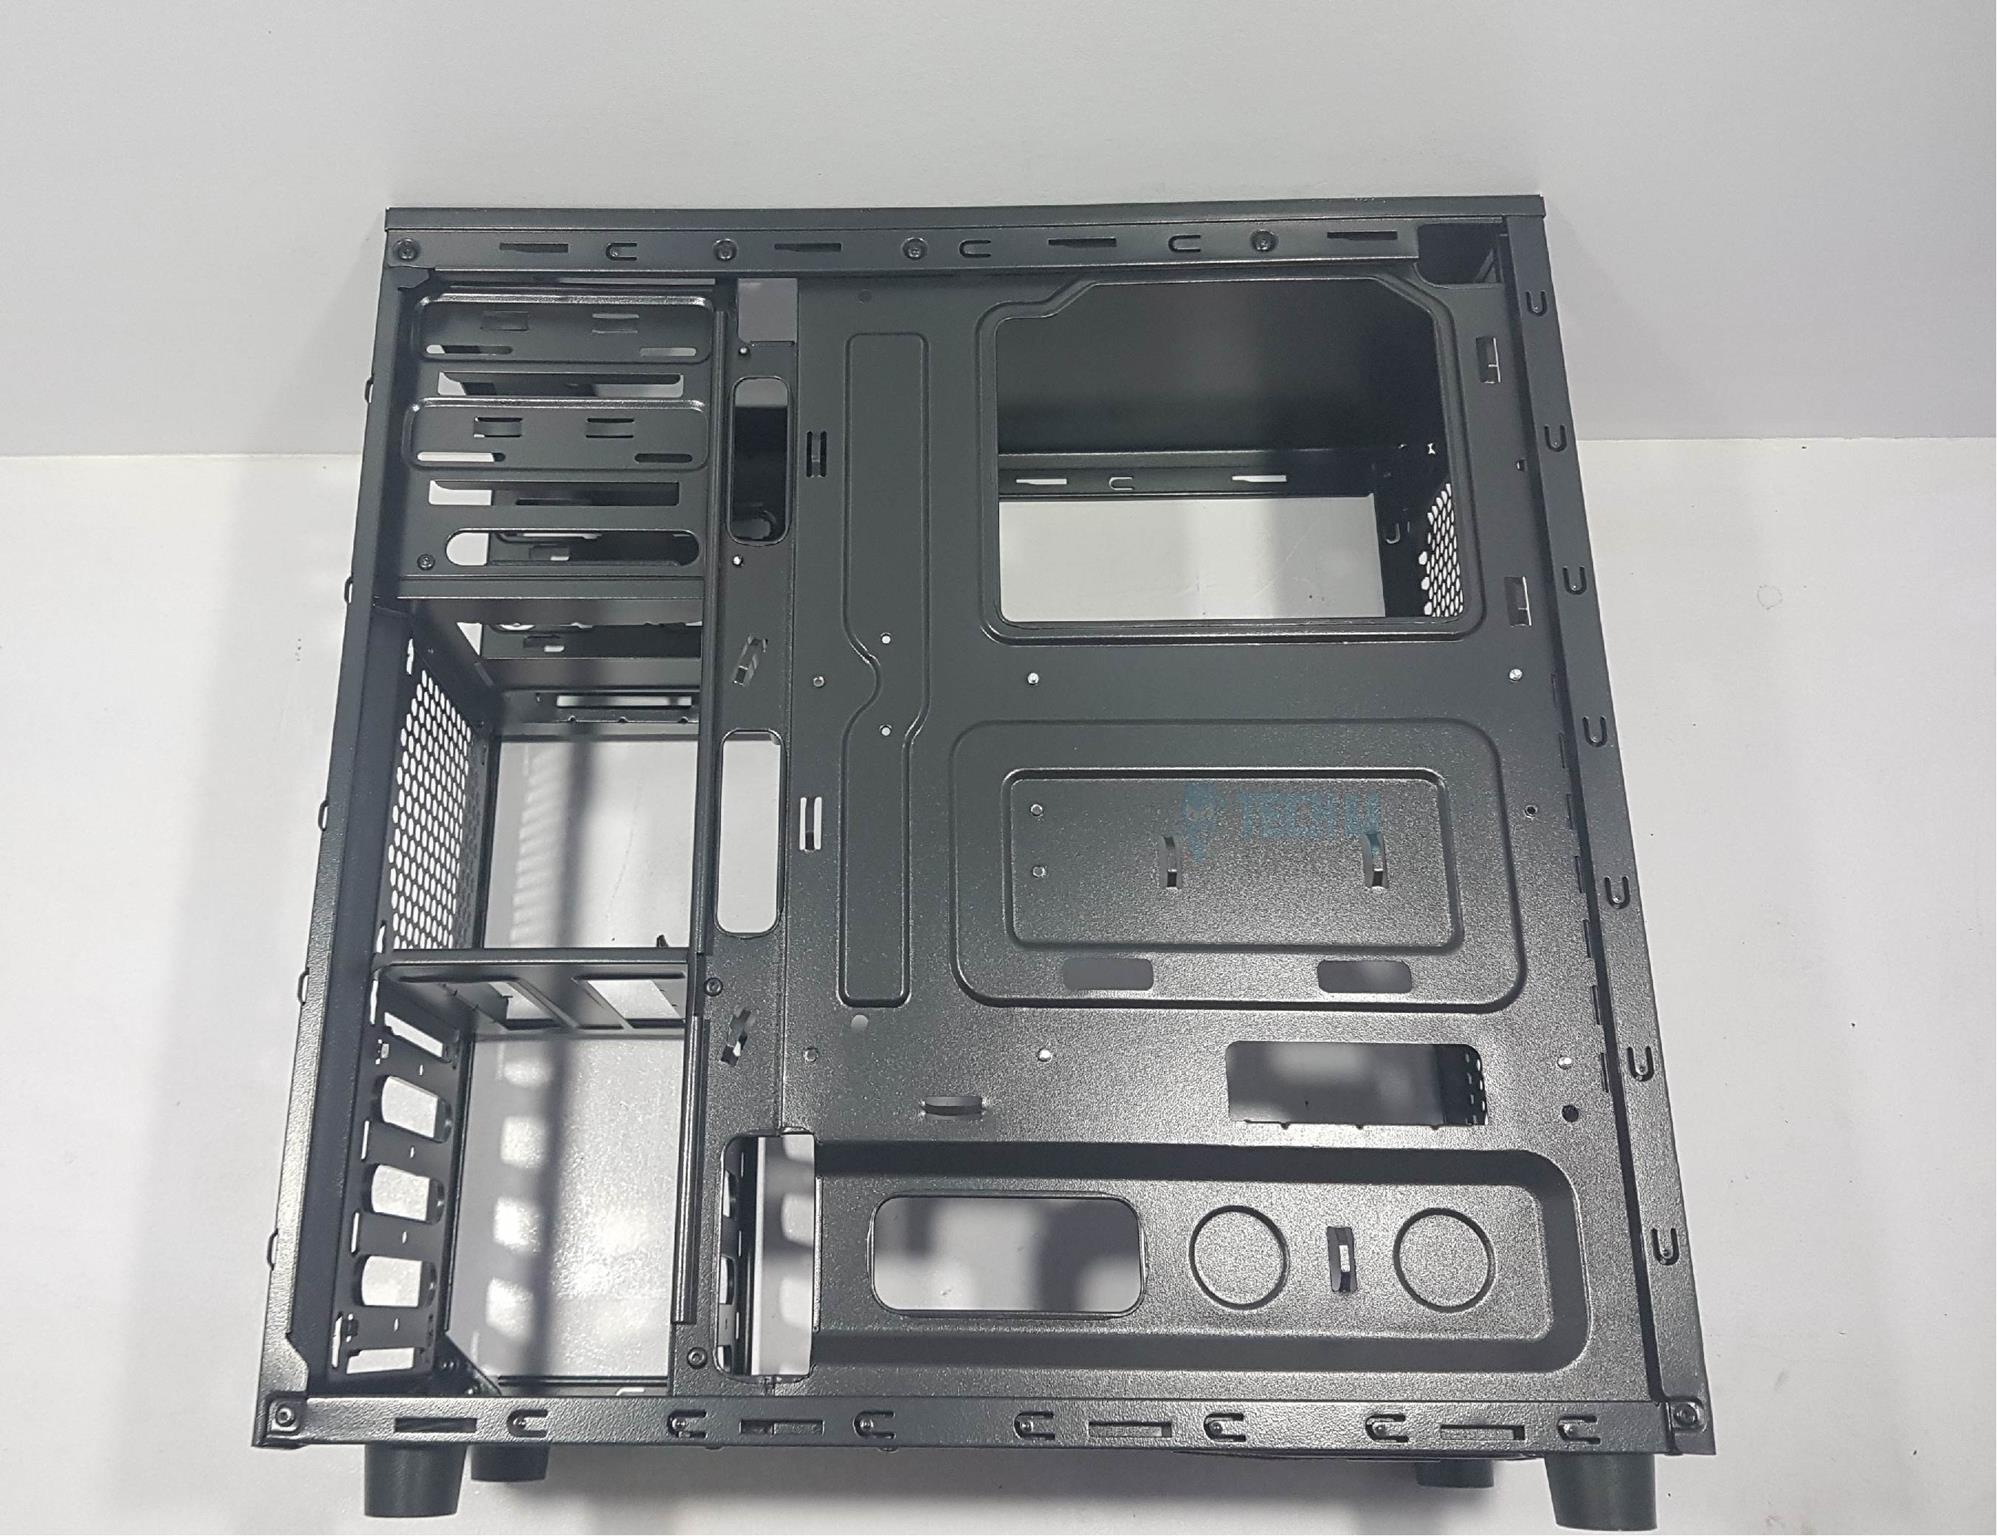
Entering the chassis, a top cutout facilitates CPU cable routing, and a larger cutout in the motherboard tray accommodates standard ATX motherboards. Six pre-installed standoffs, with three extras in the accessories, support motherboard installation.
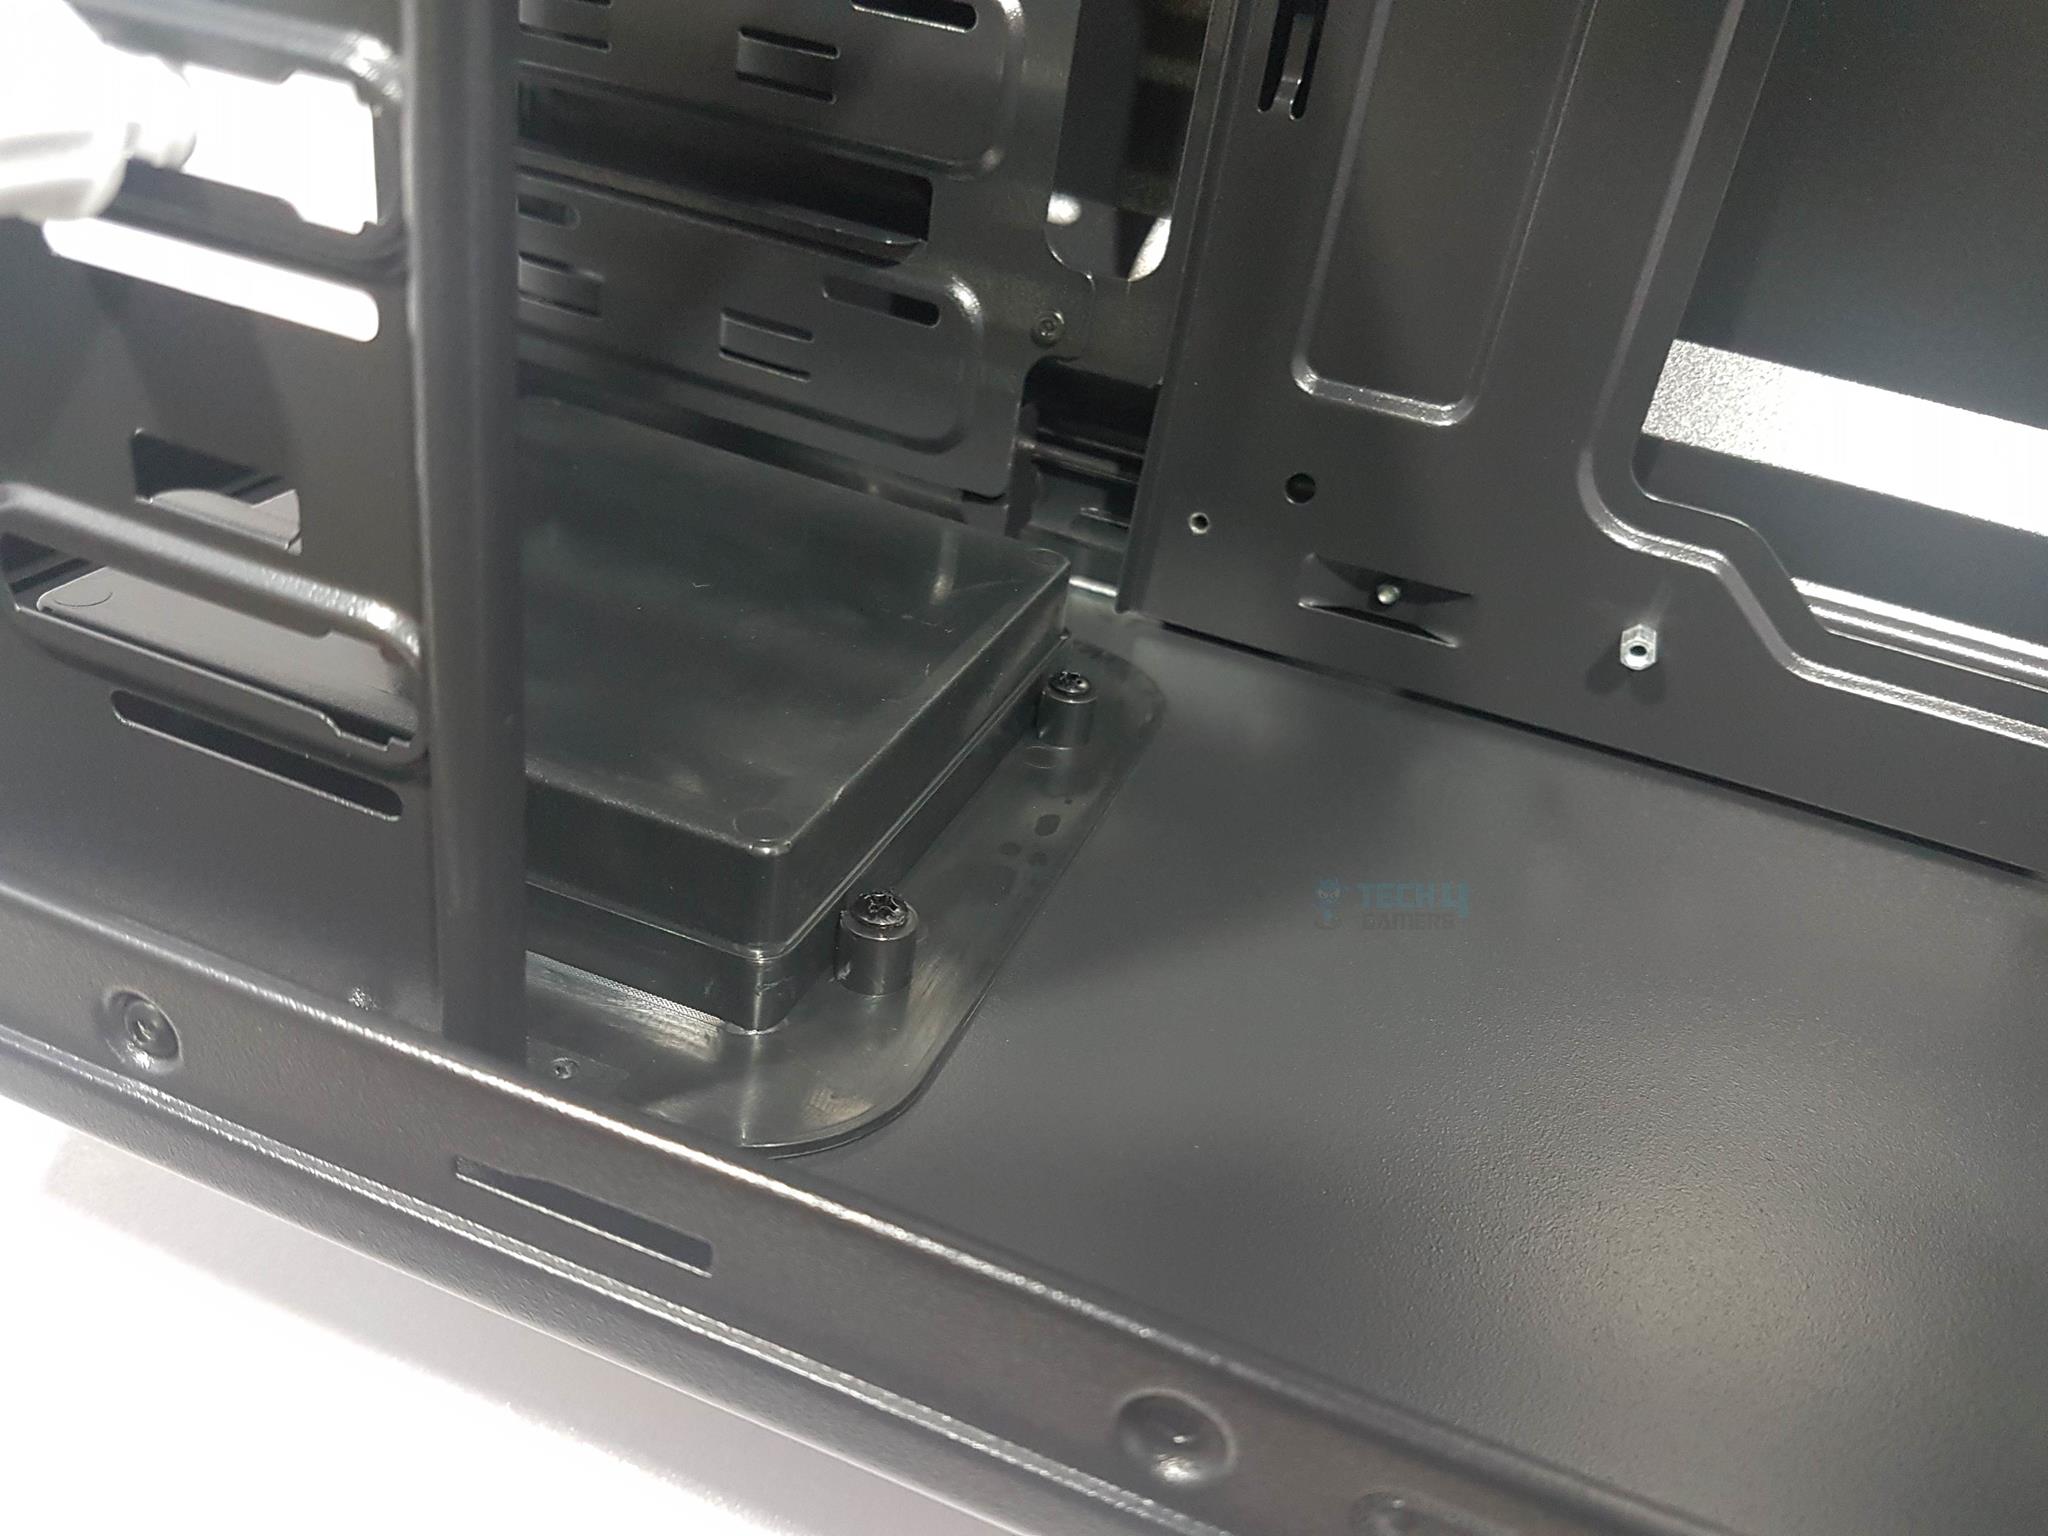
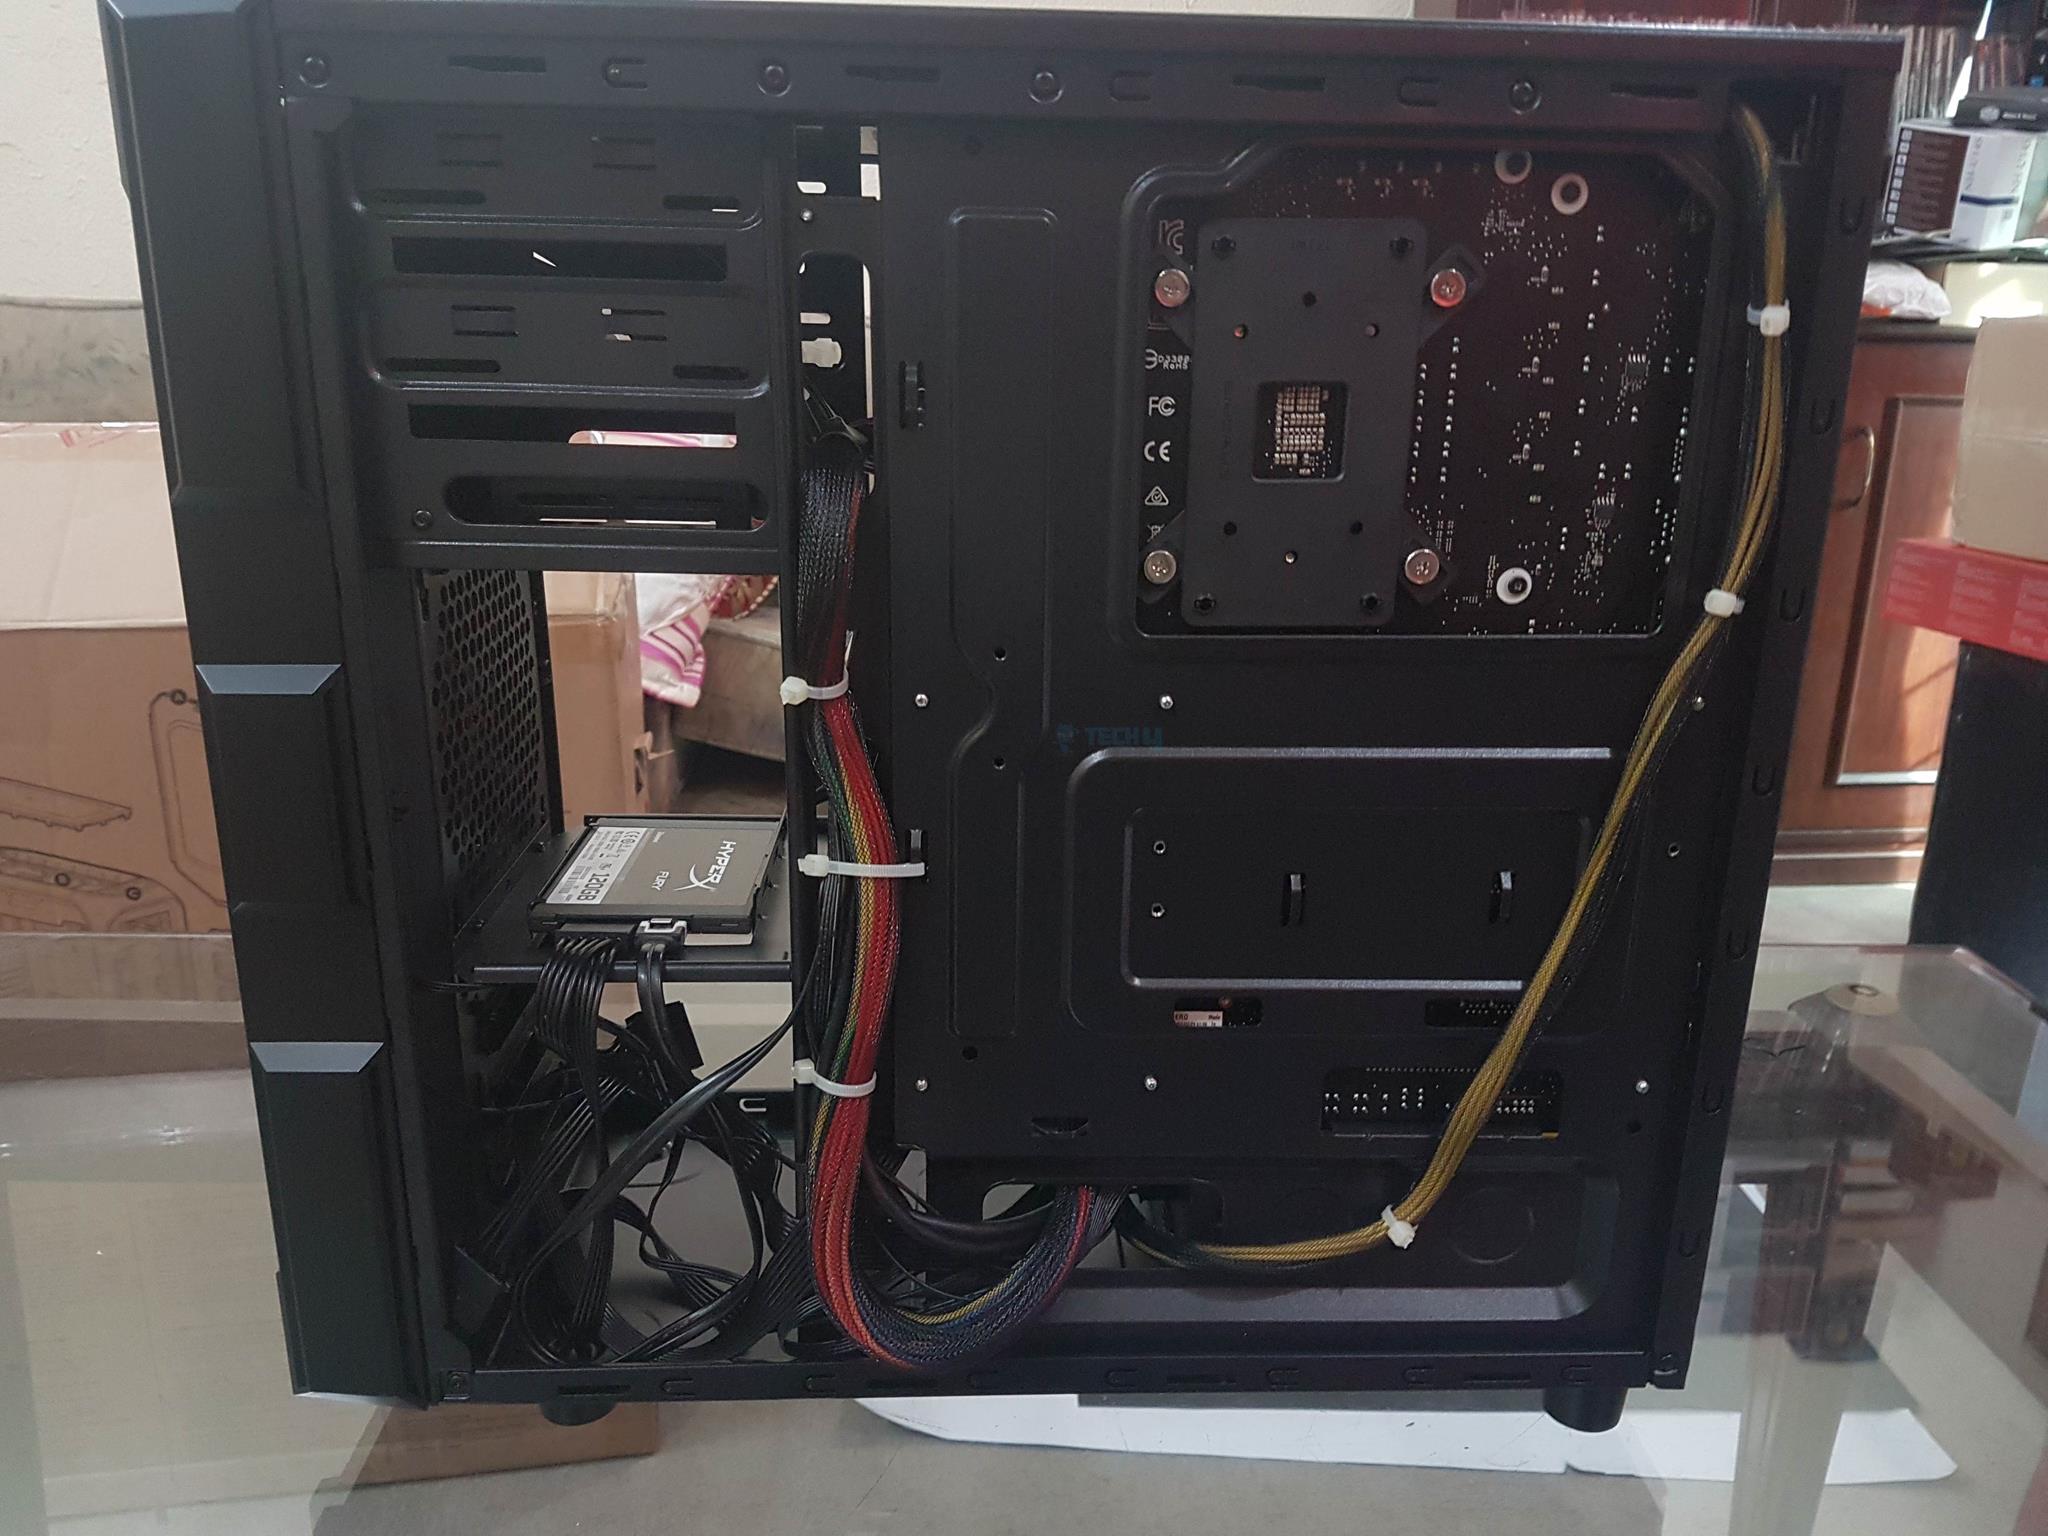
PSUs up to 162mm fit easily, with an optional SSD mounting provision next to the PSU. Cable routing is managed through four cutouts on the right side without grommets.

The bottom right houses a storage drive cage with side rails for easy HDD installation. The top cage accommodates 5.25” and floppy drives, featuring tool-less installation buttons.

Examining the backside reveals similar features with cable routing cutouts and an inset for improved cable management.
The PSU is mounted on the opposite side, and eight cable tie areas aid in organizing cables.
Test Build
Following is the test build configuration to check this antec gx200 review chassis:
- Intel i7 8700k
- Asus ROG Maximus X Hero
- Ballistix Elite 2x4GB DDR4 @ 3000 MHz
- Cryorig H7
- Nvidia GTX 1080 FE
- Hyper X 120GB SSD
- Thermaltake Tough Power DPS-G 750W PSU
Not a budget build, but it works for testing the chassis. When assembling the Antec GX200, I observed:
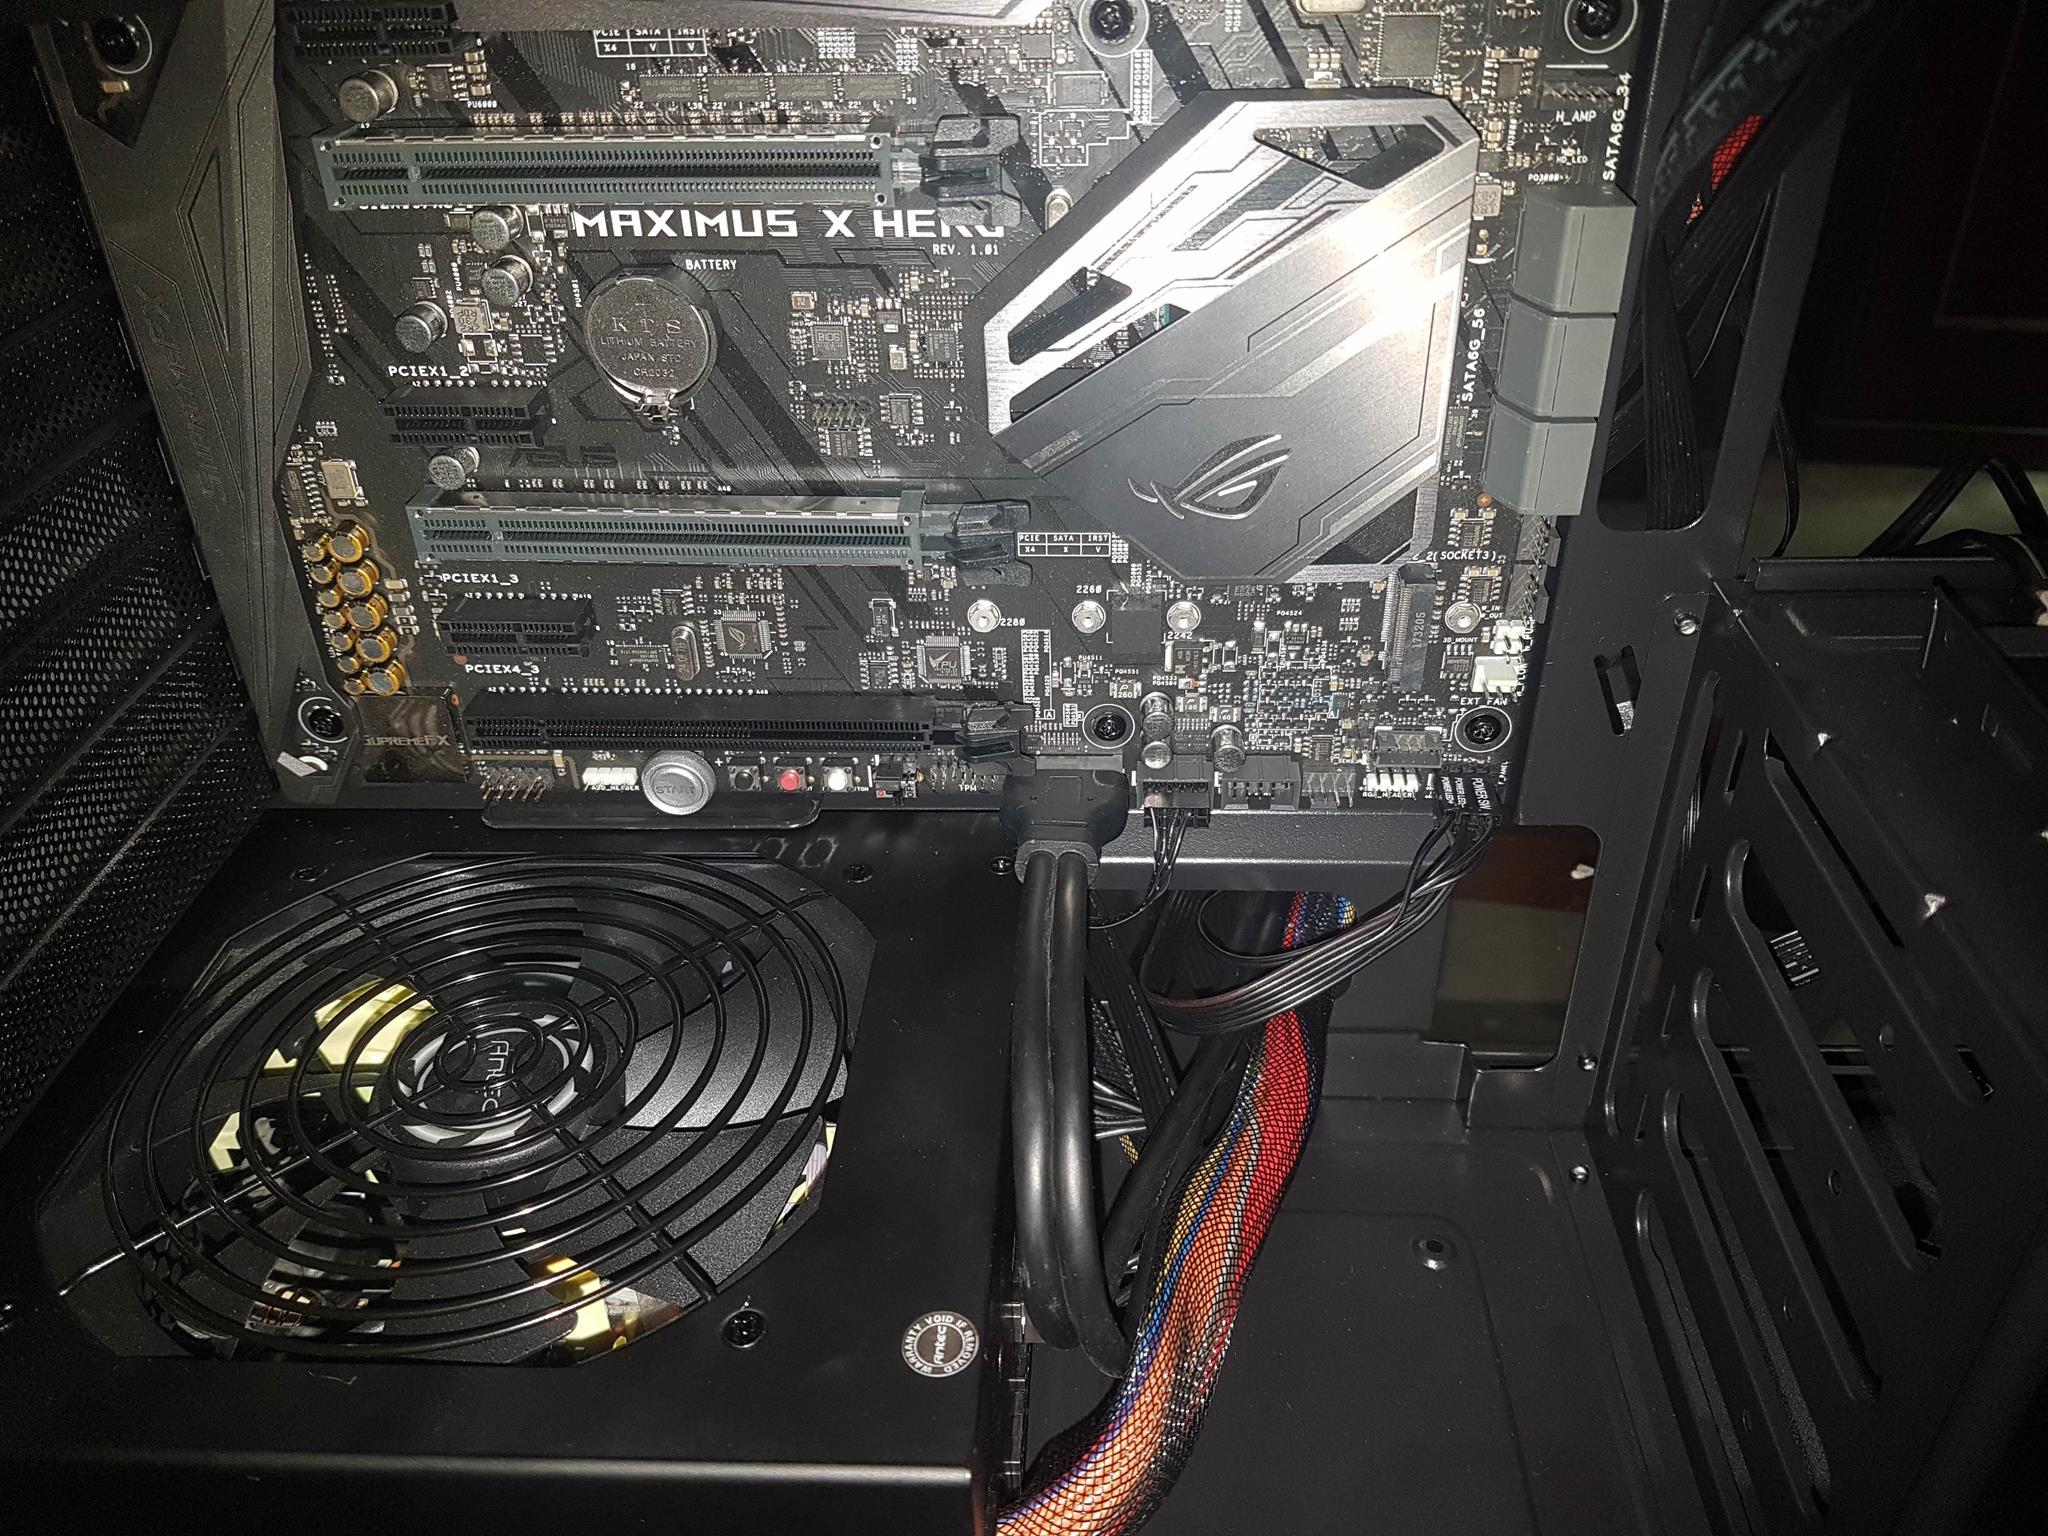
- Route the CPU power cable above the motherboard before installing it. Once installed, you can’t use that hole.
- Route front I/O panel cables from the top cutout for better cable management.

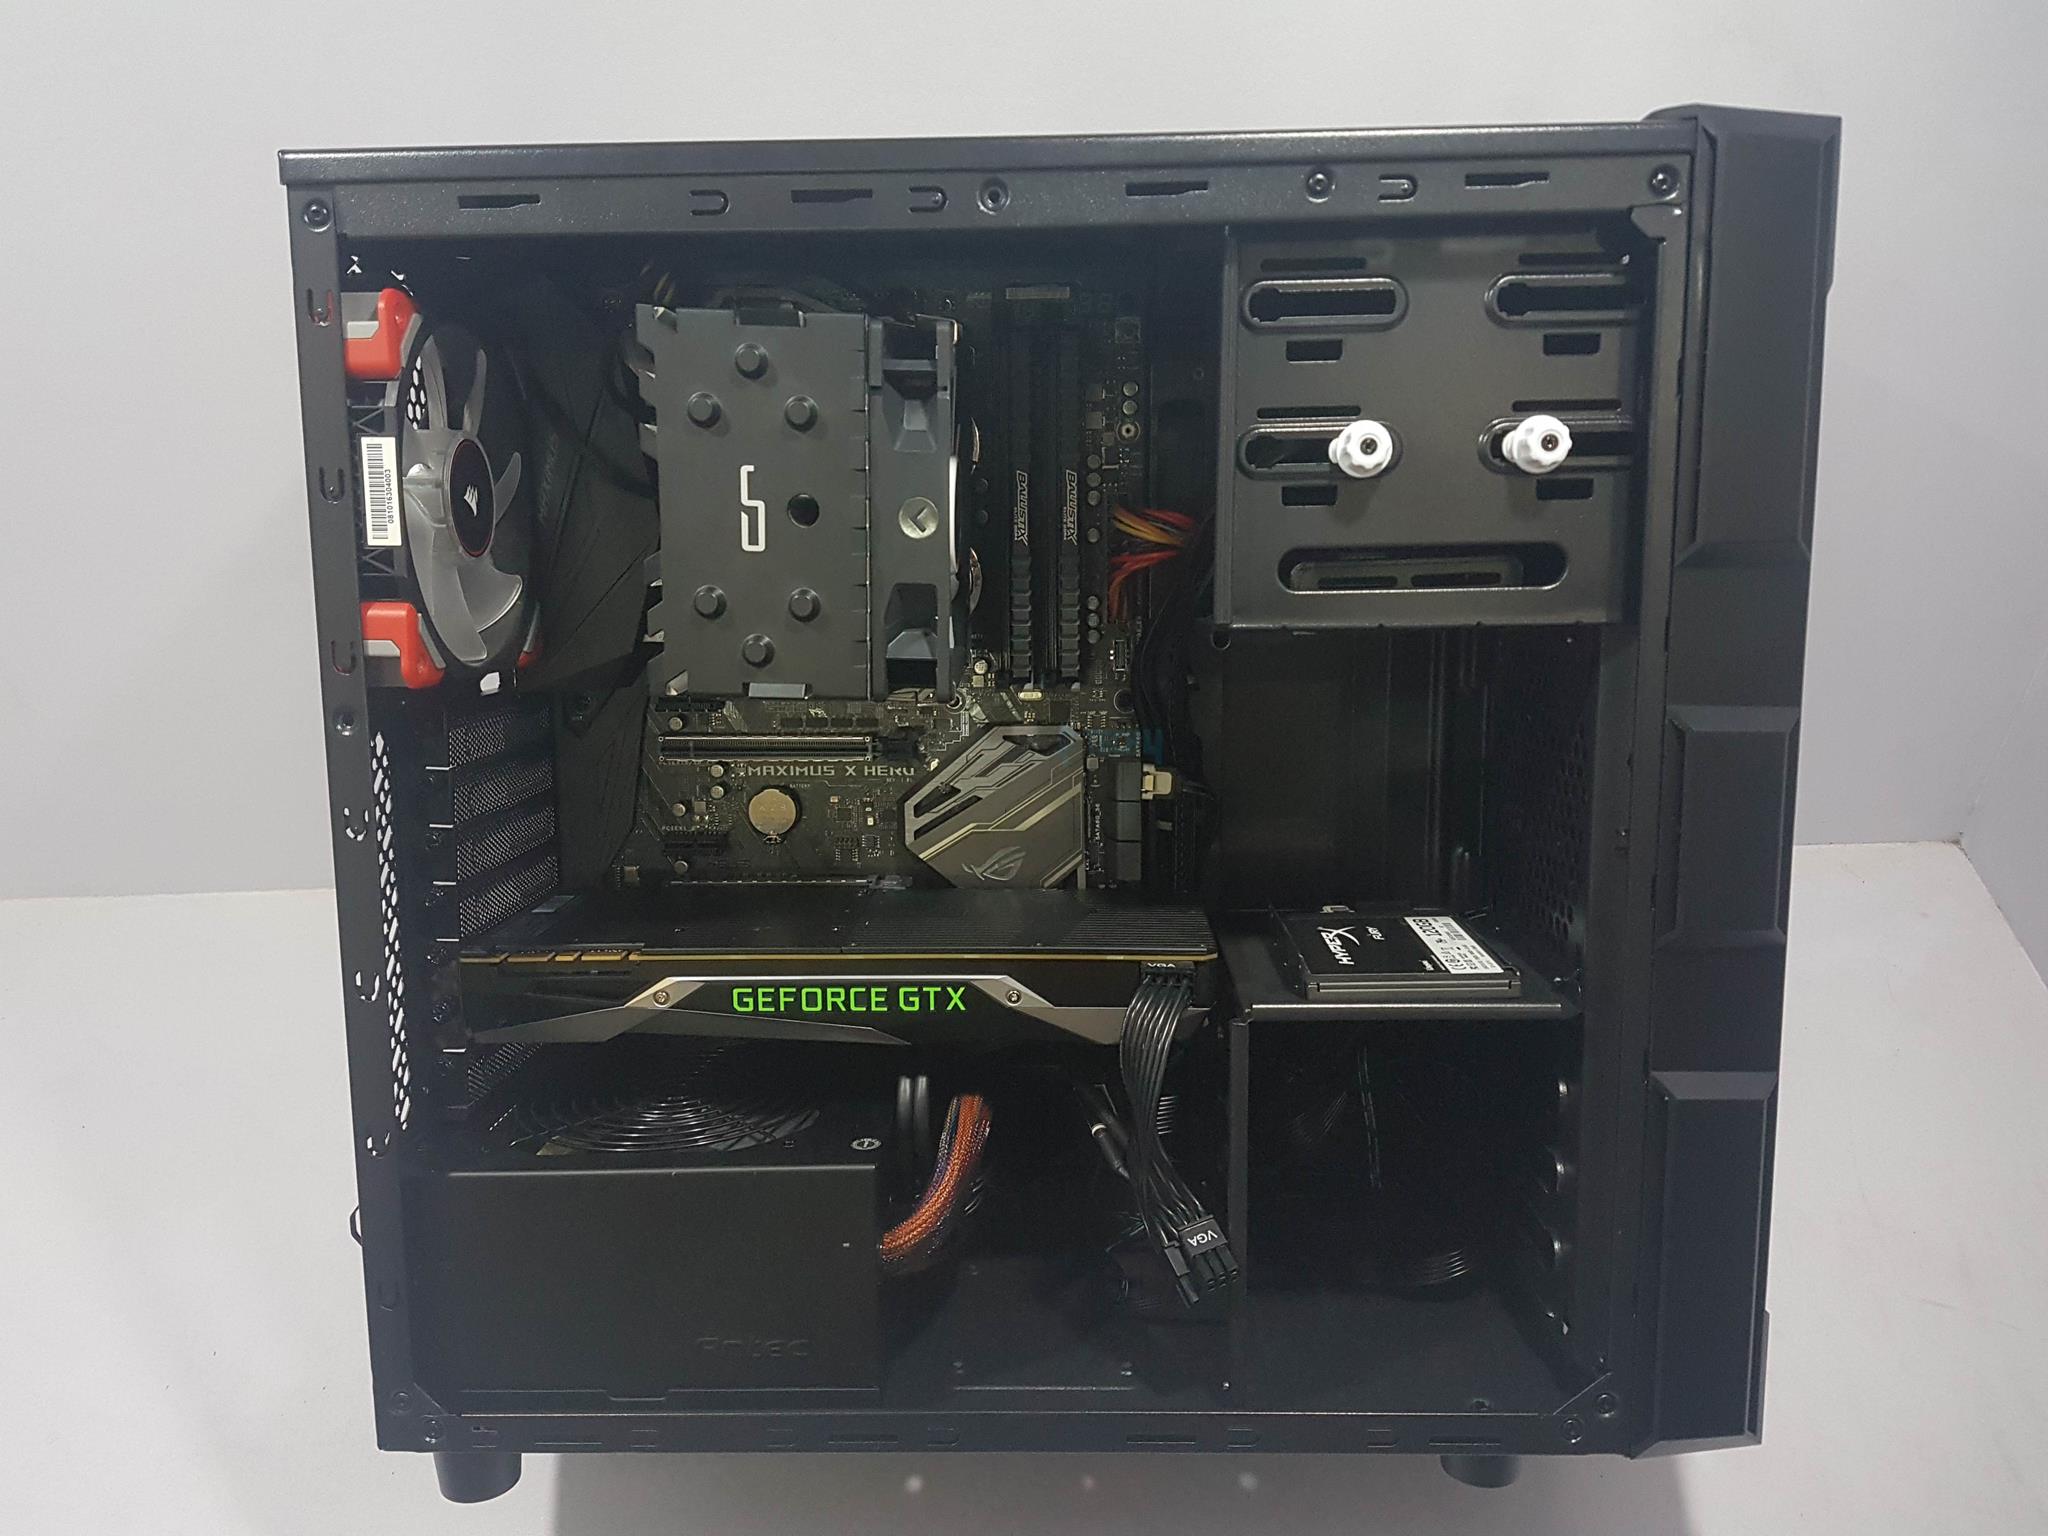
Overall, the building experience was good and I did not encounter any issues other than the observations mentioned above.
The chassis front I/O panel cables were routed through the same cut-out from where the PSU cables are going out. All the connectivity was done at the bottom of the motherboard.
Testing
Tested building performance using calibrated tools. Ambient temp: 19°C. Ran AIDA64 stress test for 30 mins on CPU, FPU, and RAM. Checked the graphics card with actual gameplay.
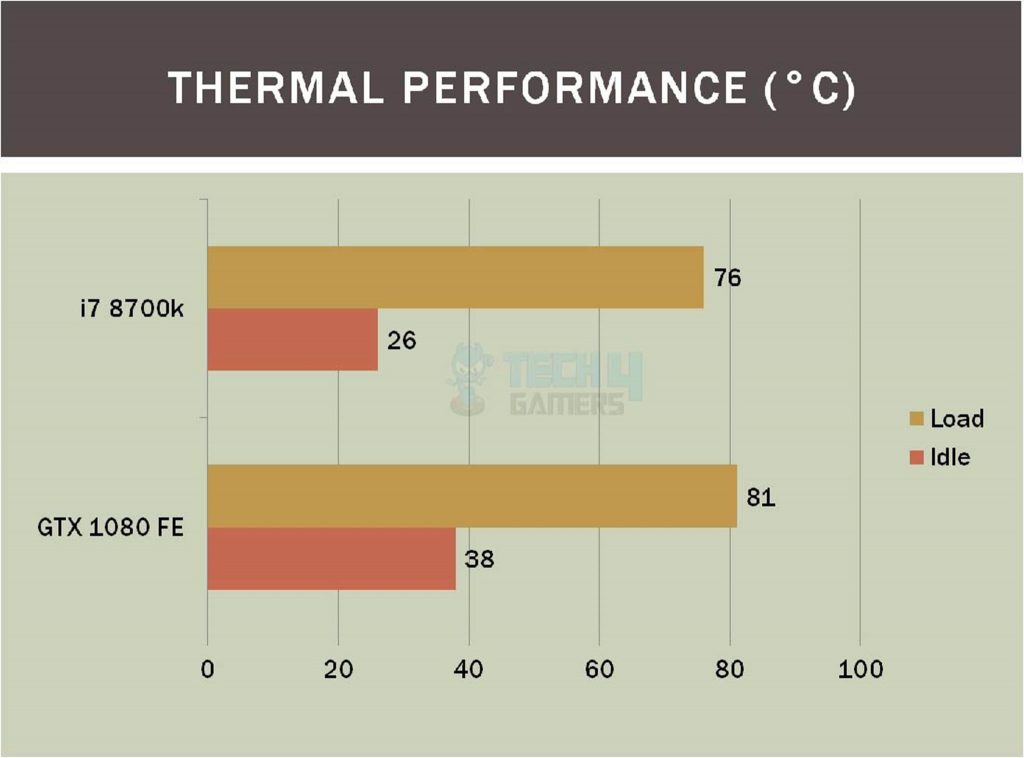
My chip runs at 4.8GHz with a max temperature of 76°C. The GTX 1080 FE hits 81°C, normal for its design, even reaching 80°C in an open setup.
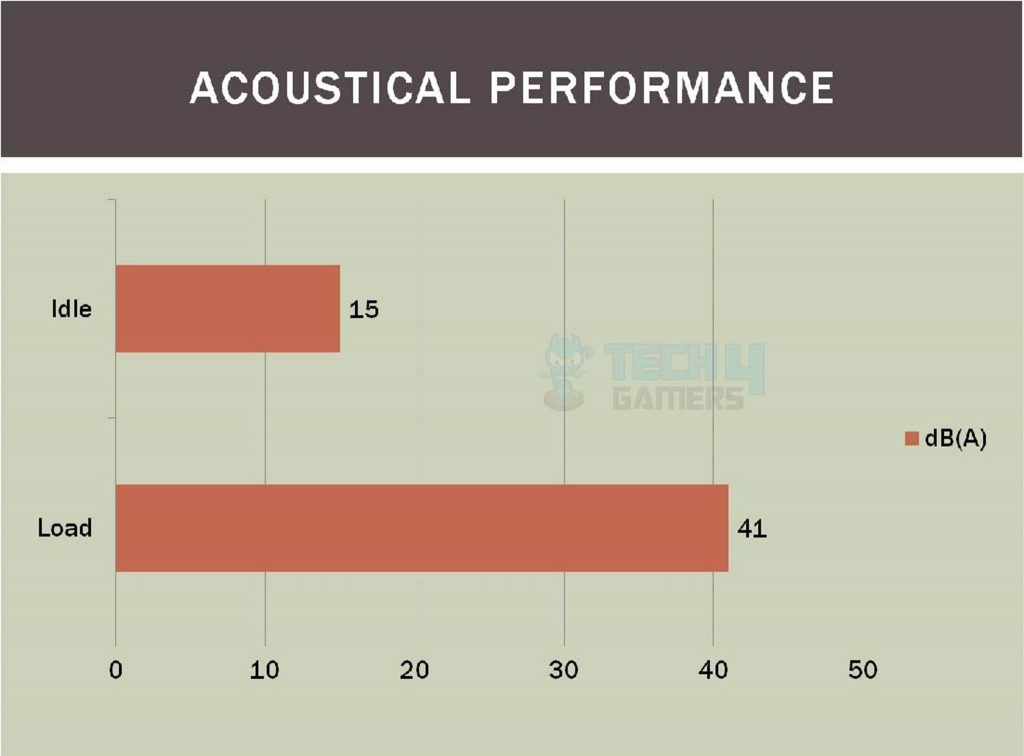
The system was left idle for some time to measure the acoustical performance. Keep in mind that this is the system’s overall noise level not just for any fan. 15 dB(A) was sound level when it was idling and 41 dB(A) when under load.
Should You Buy It?
After meticulous testing of Antec GX200, my evaluation is:
Buy It If
✅ You’re a Budget-conscious Gamer: If you’re on a budget and looking for an entry-level, budget-friendly mid-tower PC chassis, the Antec GX200 could be a suitable choice.
✅ You Prioritize Aesthetics and Performance: You prioritize bold aesthetics, good performance, and features like ample storage options and a sleek front I/O panel. The GX200 offers a stylish front panel, solid build quality, and two pre-installed 120mm blue LED fans.
✅ You Need Compact Mid-Tower Compatibility: If you need a compact mid-tower that supports standard ATX, microATX, and mini-ITX motherboards, with dimensions accommodating graphics cards up to 380mm, the GX200 fits the bill.
Don’t Buy It If
❌ You Require Liquid Cooling and Cable Management: If you require support for liquid cooling setups or extensive cable management options, the GX200 might not be the ideal choice as it caters more to the basic requirements of budget gamers.
❌ You Demand Top-Side Cooling Options: If you demand a top-side fan mount or air vent, the absence of these features in the GX200 could be a drawback, especially if you specifically require additional cooling options from the top of the chassis.
Final Words
Antec’s GX200 is a budget-friendly gaming chassis with a compact mid-tower design. It features bold looks, 7 PCIe slots, and supports ATX, microATX, and mini-ITX motherboards. The chassis has dimensions of 450mm x 185mm x 412mm and accommodates graphics cards up to 380mm. It includes 4 3.5” storage drive mounts, 2.5” SSD mounting, and a tool-less 5.25” drive bay.
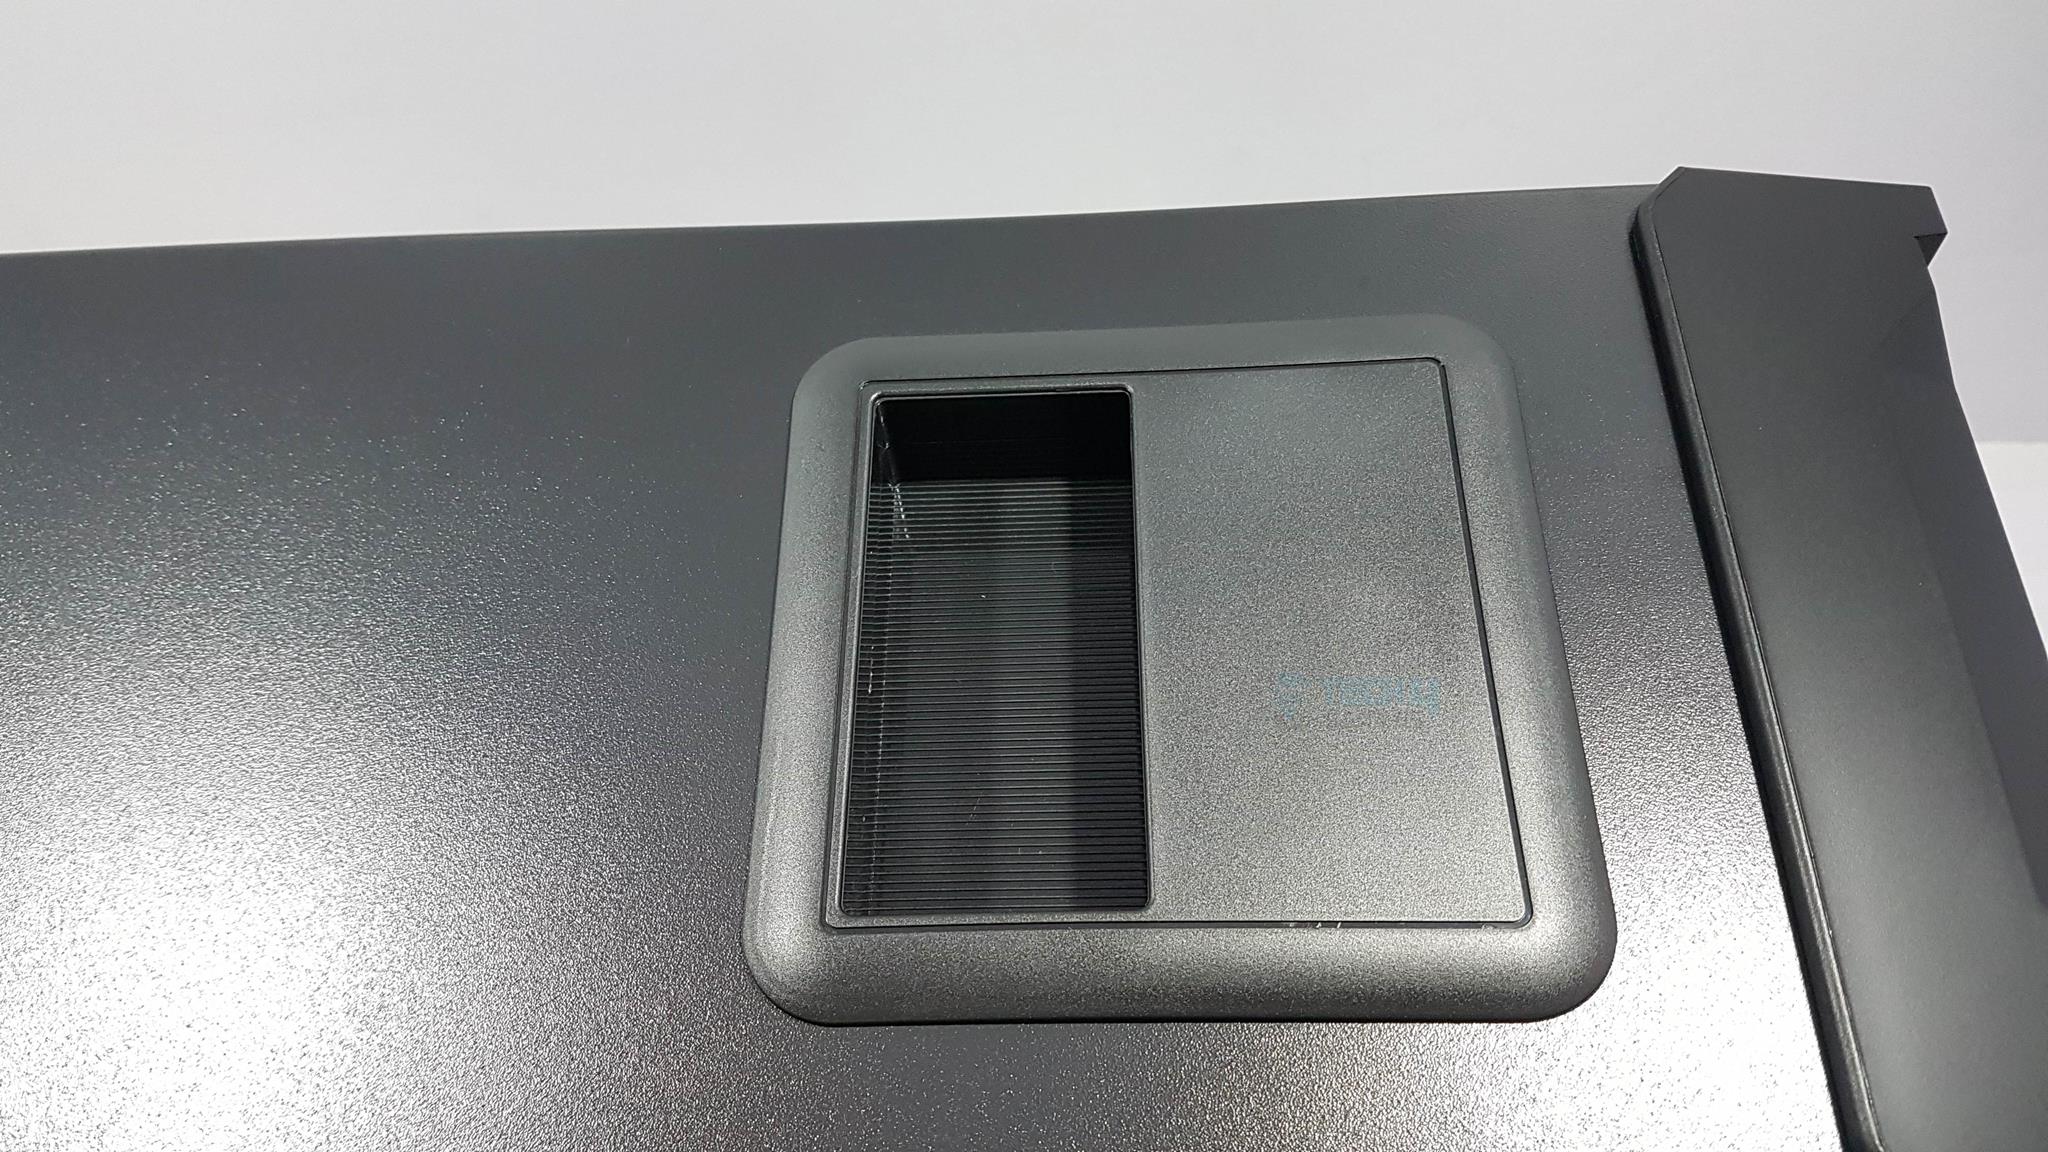
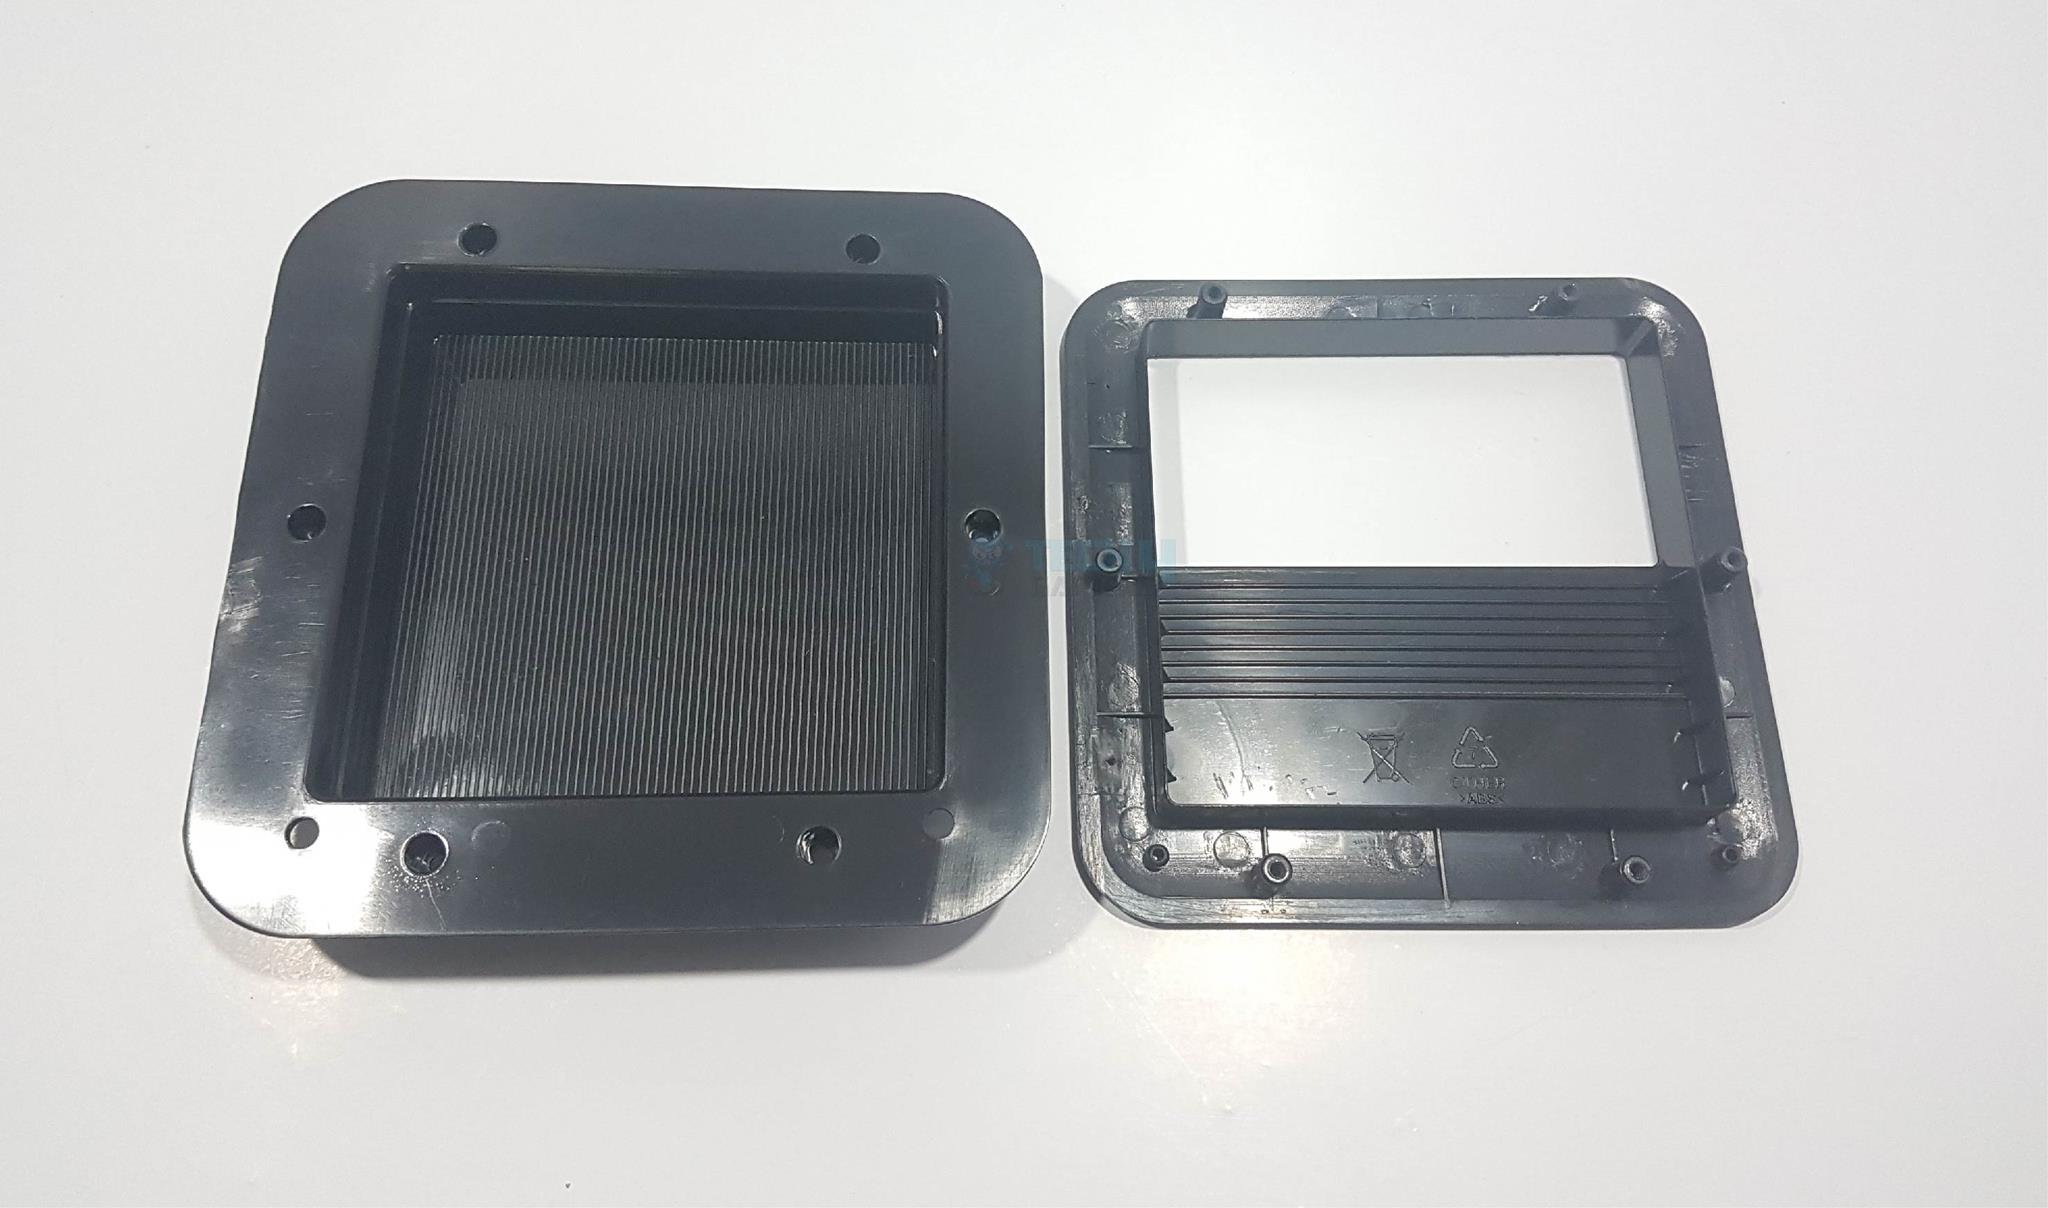
The front panel has a sleek design with 2 USB 3.0 ports, 1 USB 2.0 port, and audio jacks. Two 120mm Blue LED fans come pre-installed on the front for cooling. The chassis has a removable front dust filter, a fan mount on the rear, and a stylish accessory container on the top. It supports CPU coolers up to 158mm in height and PSUs up to 160mm in length.
The storage drive cage uses rails for easy installation and better airflow. Note that the top side doesn’t have a fan mount or air vent. The bottom side dust cover is removable for cleaning but not magnetic.
Recent Updates
- February 27, 2024: A few text changes to improve readability. Added image galleries.
Thank you! Please share your positive feedback. 🔋
How could we improve this post? Please Help us. 😔
[Hardware Reviewer & Editor]
Meet Nauman Siddique, a highly experienced computer science graduate with more than 15 years of knowledge in technology. Nauman is an expert in the field known for his deep understanding of computer hardware.
As a tech tester, insightful reviewer, and skilled hardware editor, Nauman carefully breaks down important parts like motherboards, graphics cards, processors, PC cases, CPU coolers, and more.
- 15+ years of PC Building Experience
- 10+ years of first-hand knowledge of technology
- 7+ years of doing in-depth testing of PC Hardware
- A motivated individual with a keen interest in tech testing from multiple angles.
- I majored in Computer Science with a Masters in Marketing
- Previously worked at eXputer, EnosTech, and Appuals.
- Completed Course in Computer Systems Specialization From Illinois Tech
Get In Touch: nauman@tech4gamers.com


