 Threads
Best budget-friendly slim tower case?
Review Summary
The Aerocool Playa Slim impresses with its budget-friendly small form factor, sleek cross-designed front panel, and vibrant RGB lighting. Ideal for integrated graphics or low-profile GPUs, it offers a unique drive rack for cable management. However, the limitations include a 78mm height cap for GPUs and challenges in cable management without a fully modular PSU. Despite minor drawbacks, it delivers a satisfying assembly experience, making it a stylish and functional choice for budget-conscious users.
Hours Tested: 8-10

Overall
-
Design - 8.5/10
8.5/10
-
Features - 7/10
7/10
-
Dust Protection - 7/10
7/10
-
Build Quality - 8/10
8/10
-
Cooling Provision - 7/10
7/10
Pros
- Budget-Friendly
- Sleek Design
- RGB Lighting
- Compact and Space-Efficient
Cons
- Challenging clearance and installation


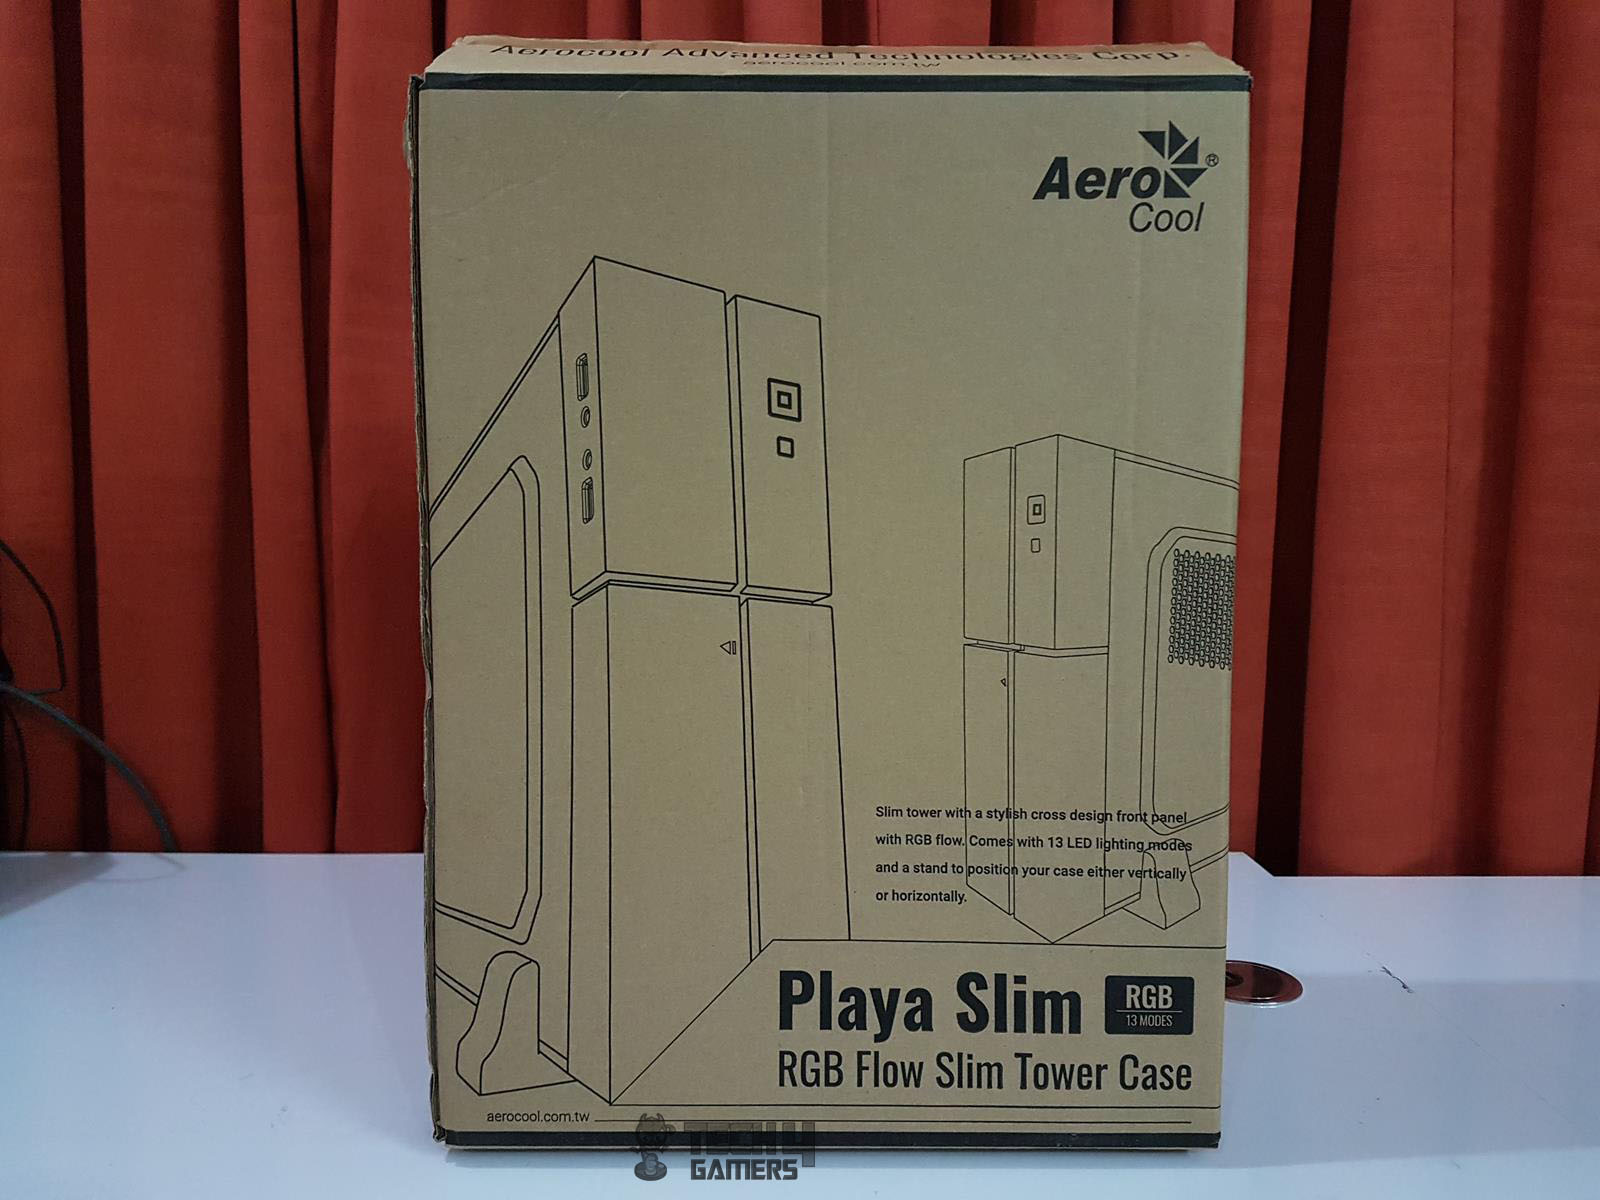
Aerocool is among the market leaders in the Gaming Market. Their product lines include Gaming Chassis, PC Cooling, Power Supply units, Gaming peripherals, gaming furniture, and accessories to name a few. Today, Aerocool has sent us their new budget chassis in the SFF (Small Form Factor) category named Playa Slim, a re-iteration of their CS101 (PGS-C) chassis with a modernized cross-design and a front side that closely resembles that of the PlayStation 4.
Key Takeaways
- The Aerocool Playa Slim is for those who are interested in building a small form factor PC that does not break the bank.
- The Aerocool Playa Slim is not for anyone who wants to benefit from a full-sized graphics card.
- The Aerocool Playa Slim provides a sleek design, a compact form factor for smaller builds, and an efficient cable management system all at an affordable price.
- Why you can trust Tech4Gamers: Our reviews are based on dedicated hands-on testing by our team of experienced hardware experts. Find out more about how we test.
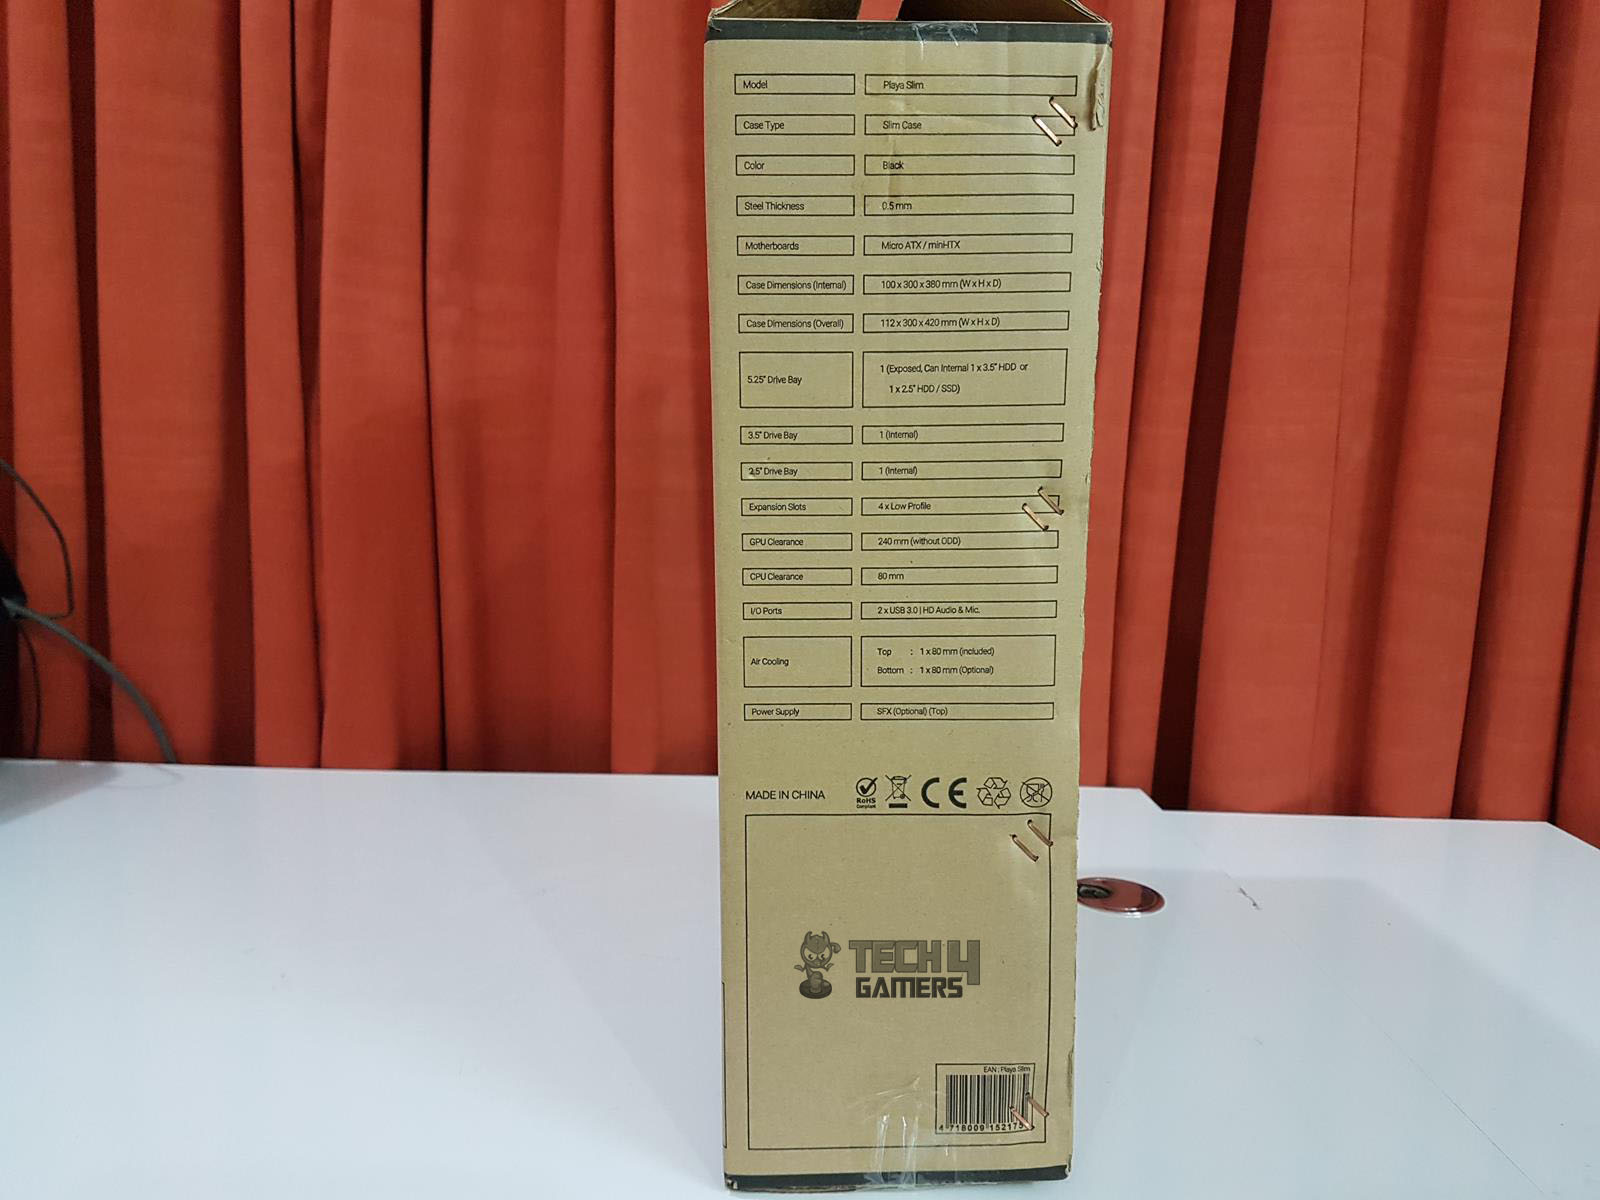
Let’s start with the specifications.
| Product | Aerocool Playa Slim |
|---|---|
| Type | Slim Tower |
| Power supply type | SFX (optional) |
| Motherboard compatibility | Micro ATX/mini-ITX |
| Expansion slots | 4 x Low Profile |
| Dedicated 2.5 drive mounts | 2 Internal |
| Front interface | 2 x USB 3.0 + HD Audio & Mic. |
| Dust filters | Top, front and bottom |
| Case dimensions (WxHxD) | 112 x 300 x 420mm |
| Net weight | 3.1kg |
| RGB | Yes |
| GPU max length | 240mm |
| CPU cooler max height | 80mm |
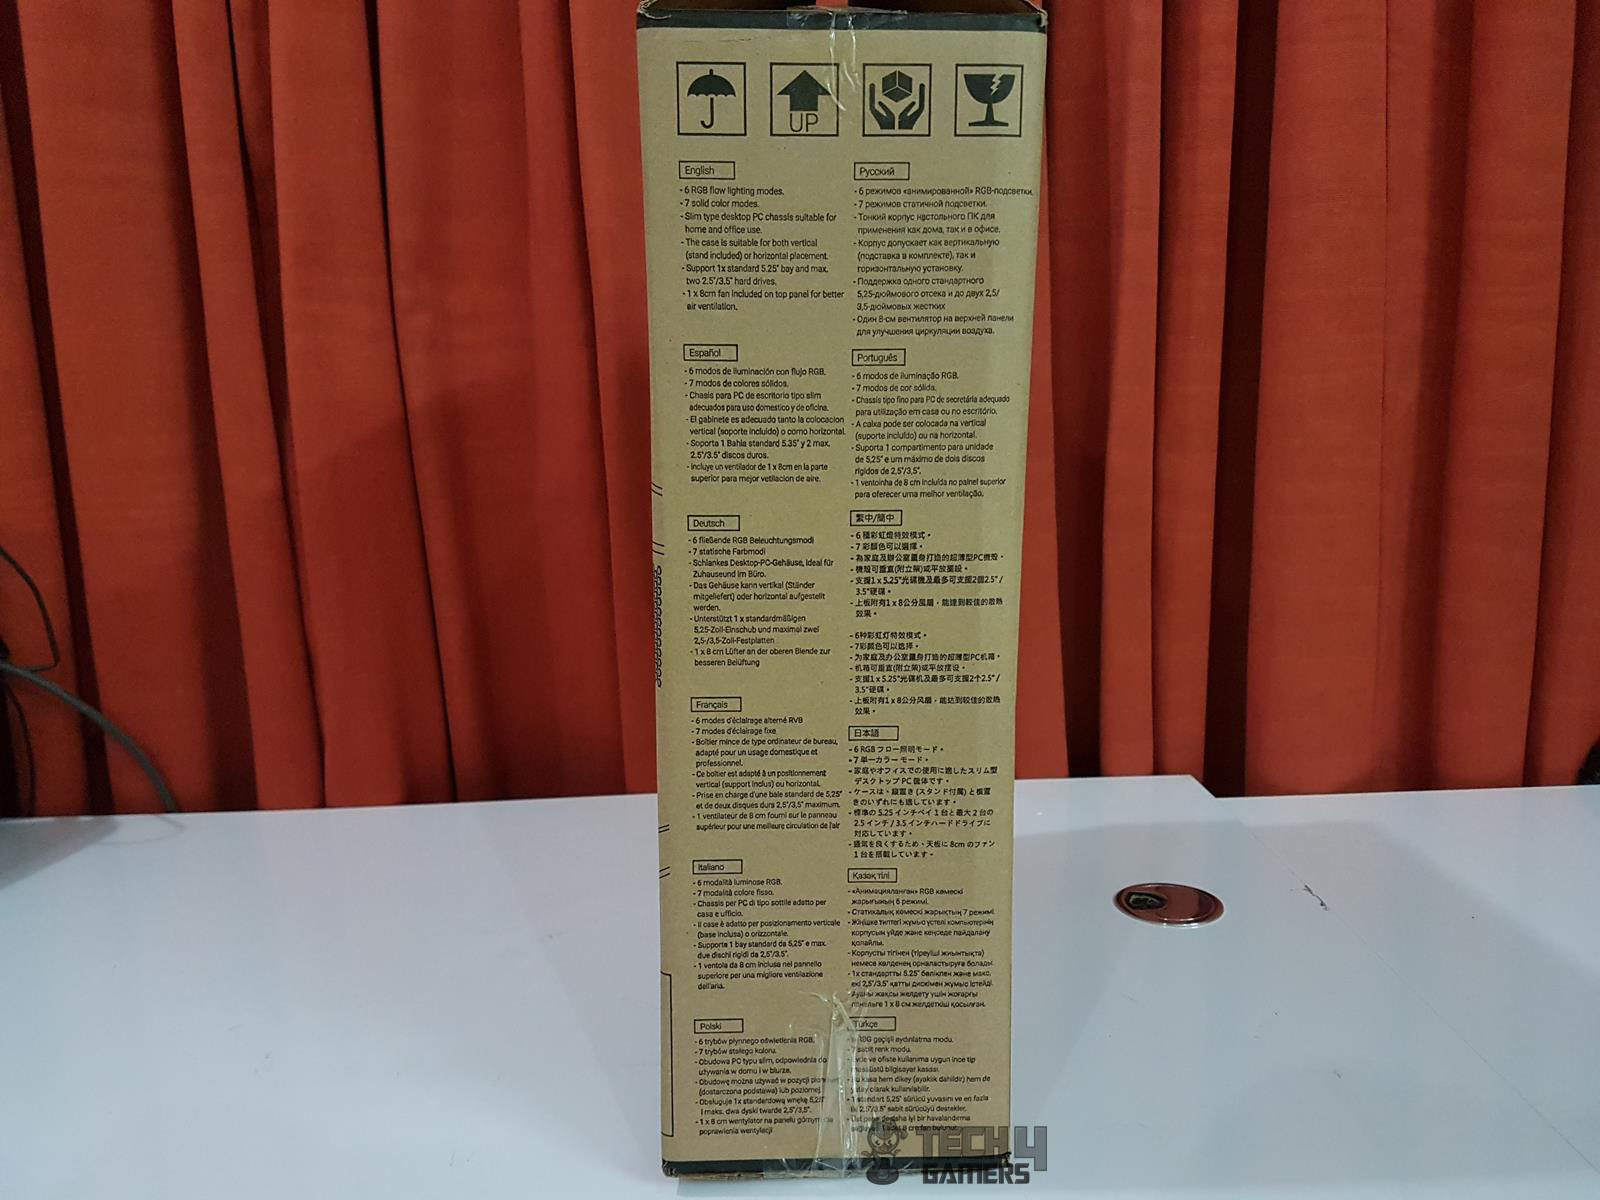
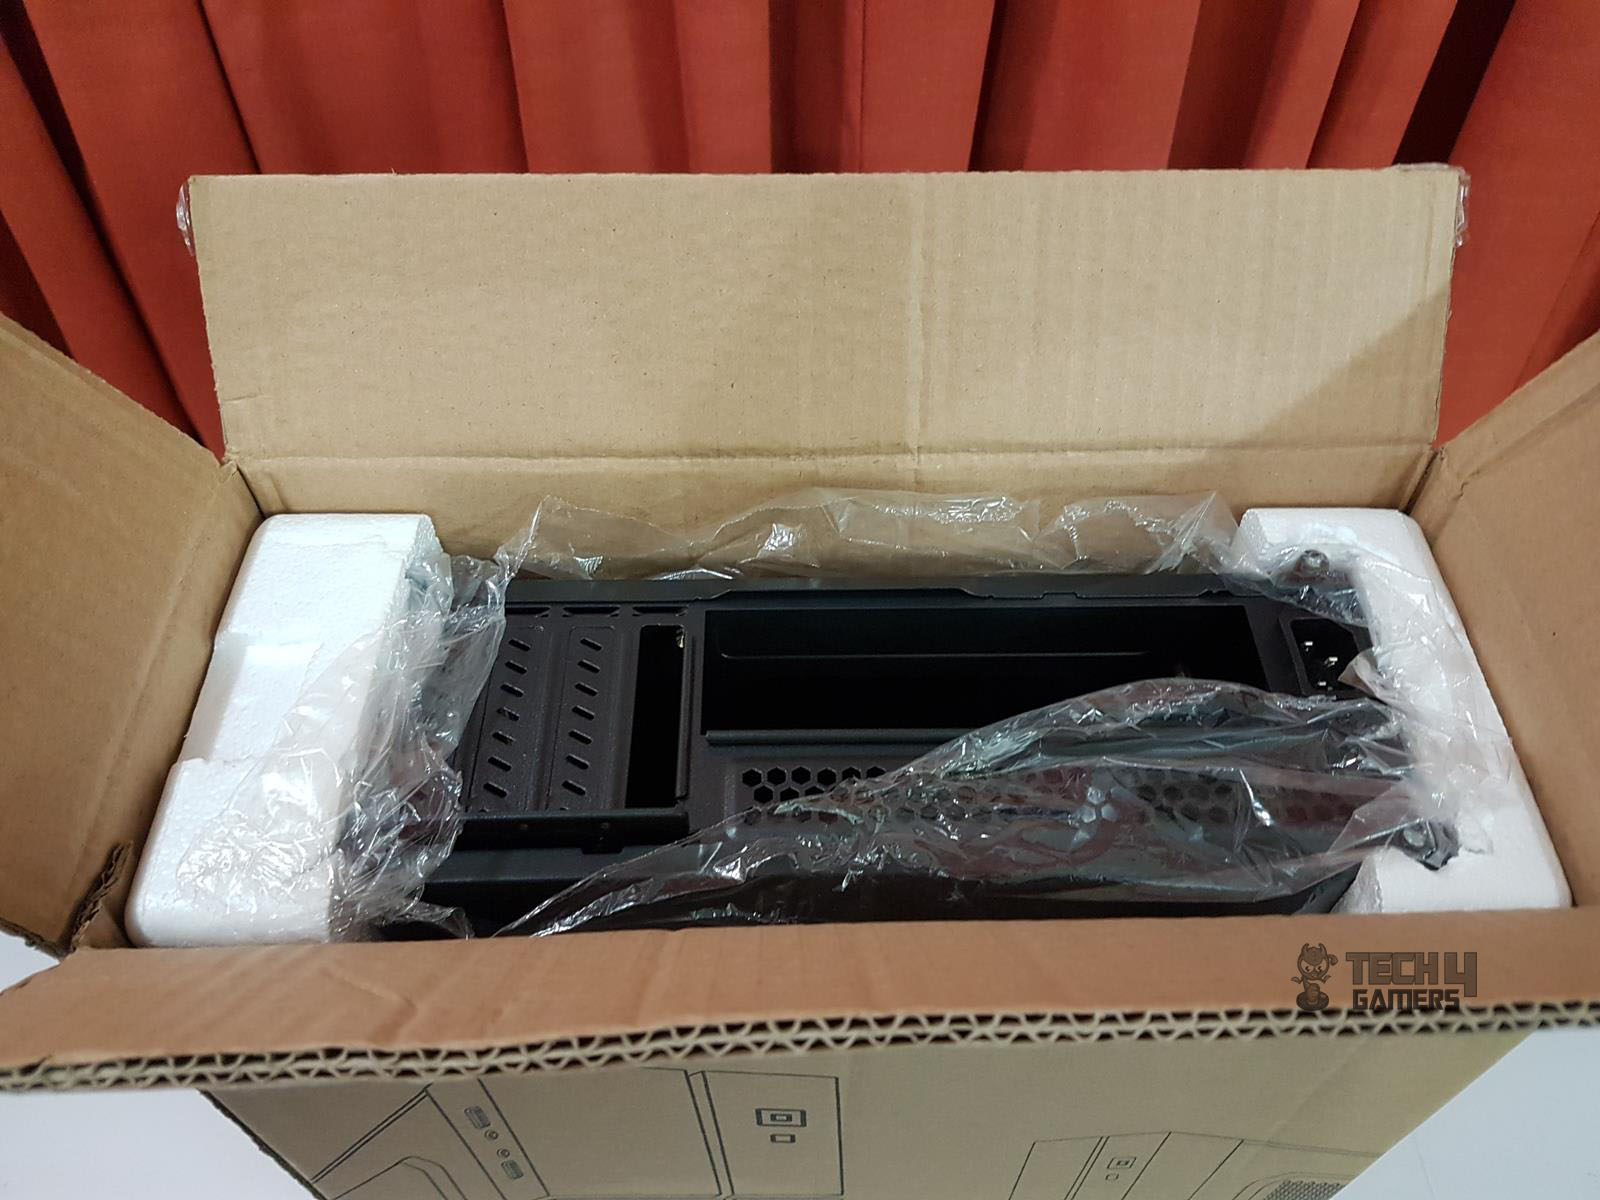
Packaging and Unboxing
Here is the complete unboxing experience of the Aerocool Playa Slim
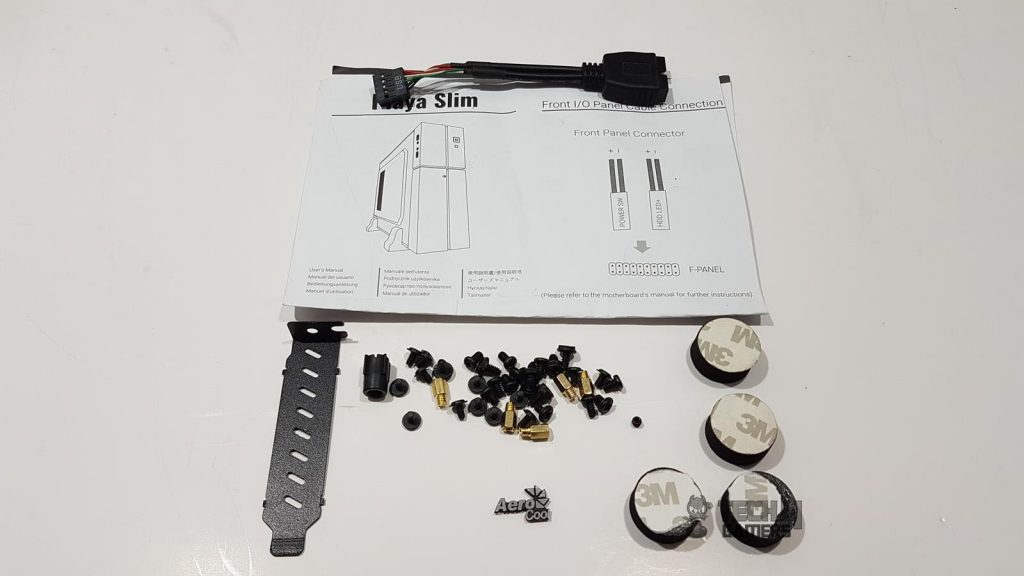
Accessories
The Aerocool Playa Slim has provided a user manual to help in installation inside this chassis and a bag full of various screws, standoffs, 4 rubber feet, YSB 3.0 to 2.0 converter cable.
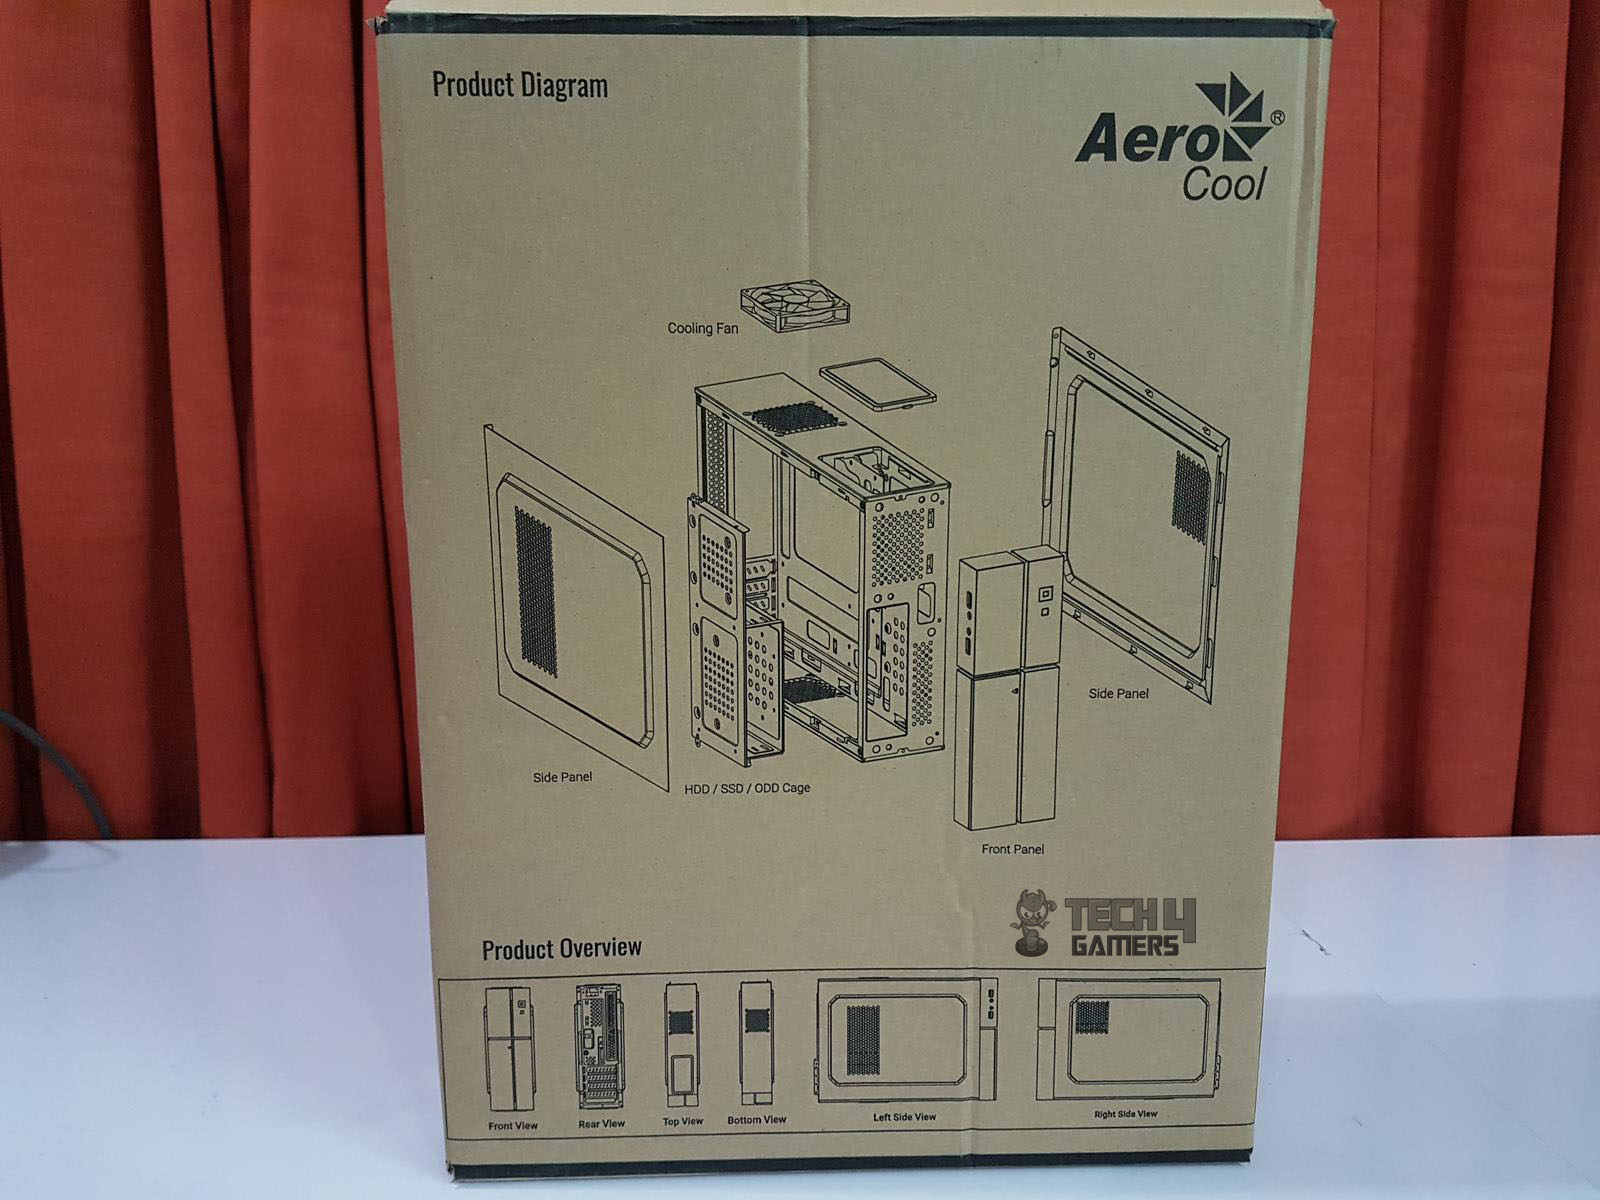
Closer Look
The Aerocool Playa Slim is a budget-friendly PC chassis designed for MicroATX and mini-ITX motherboards. Let’s take a closer look at it.
Front
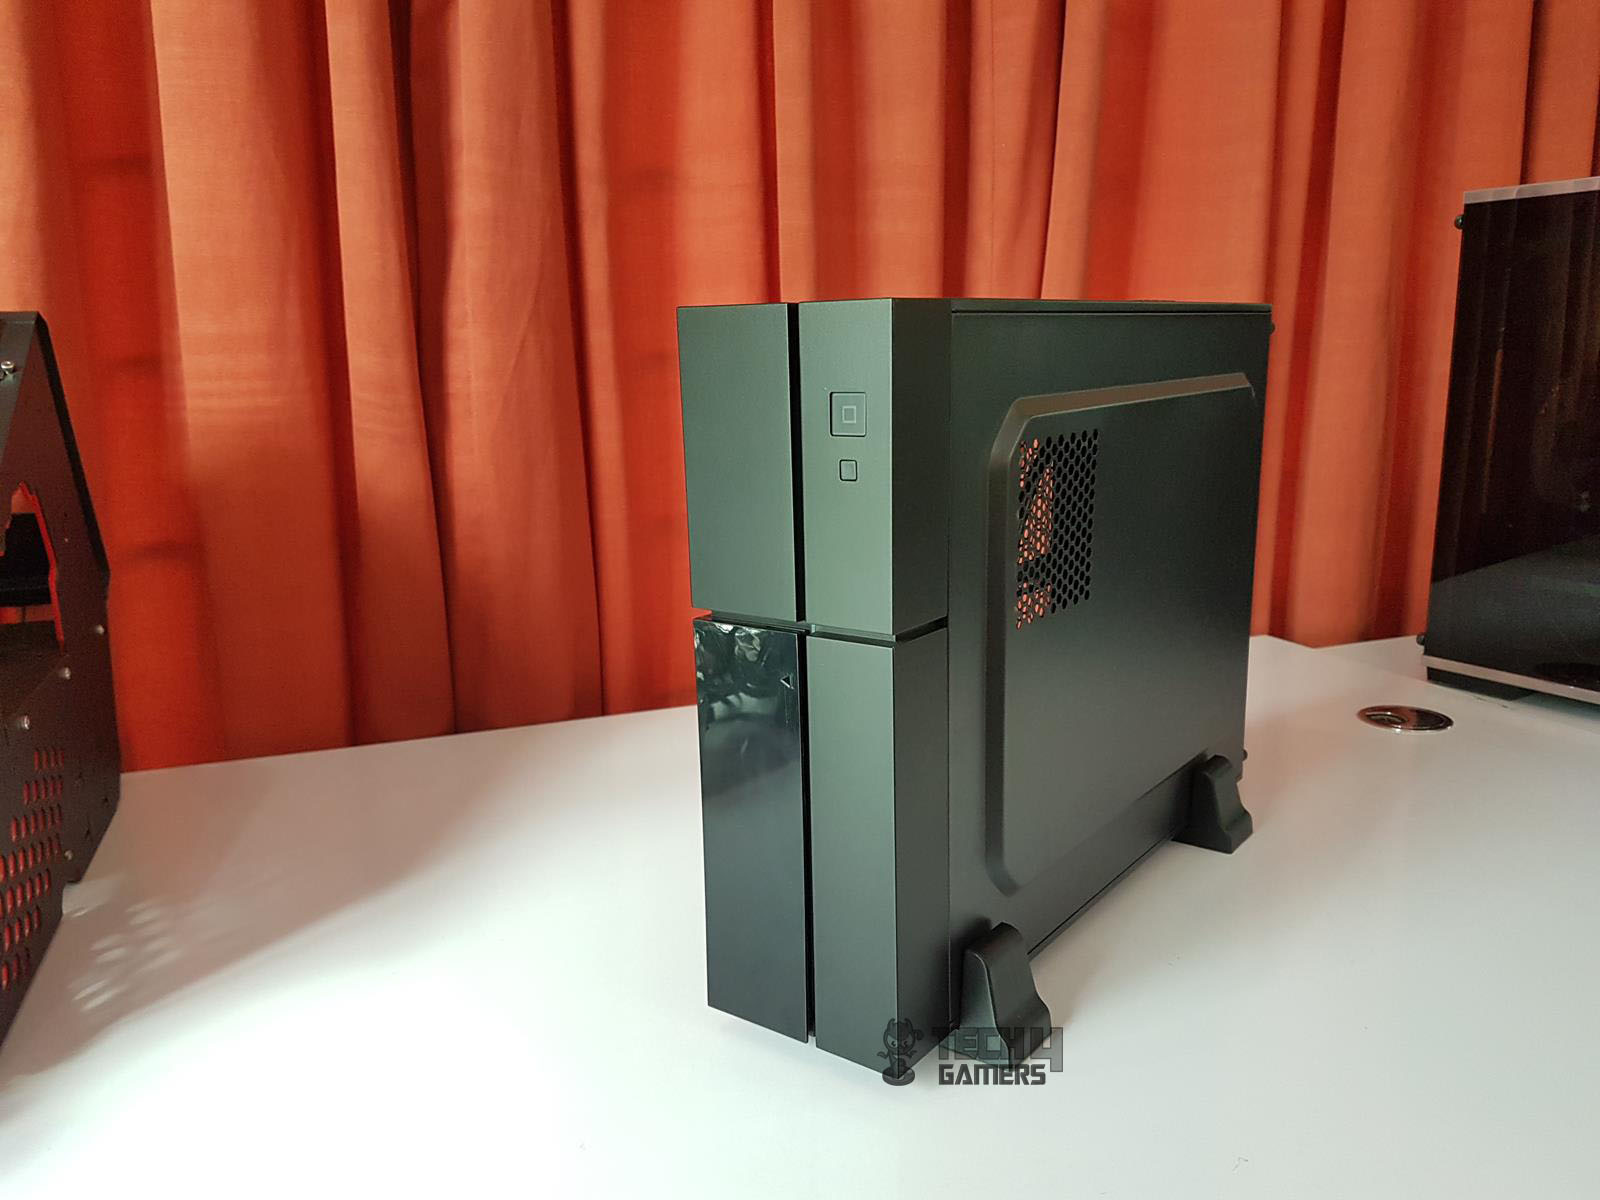

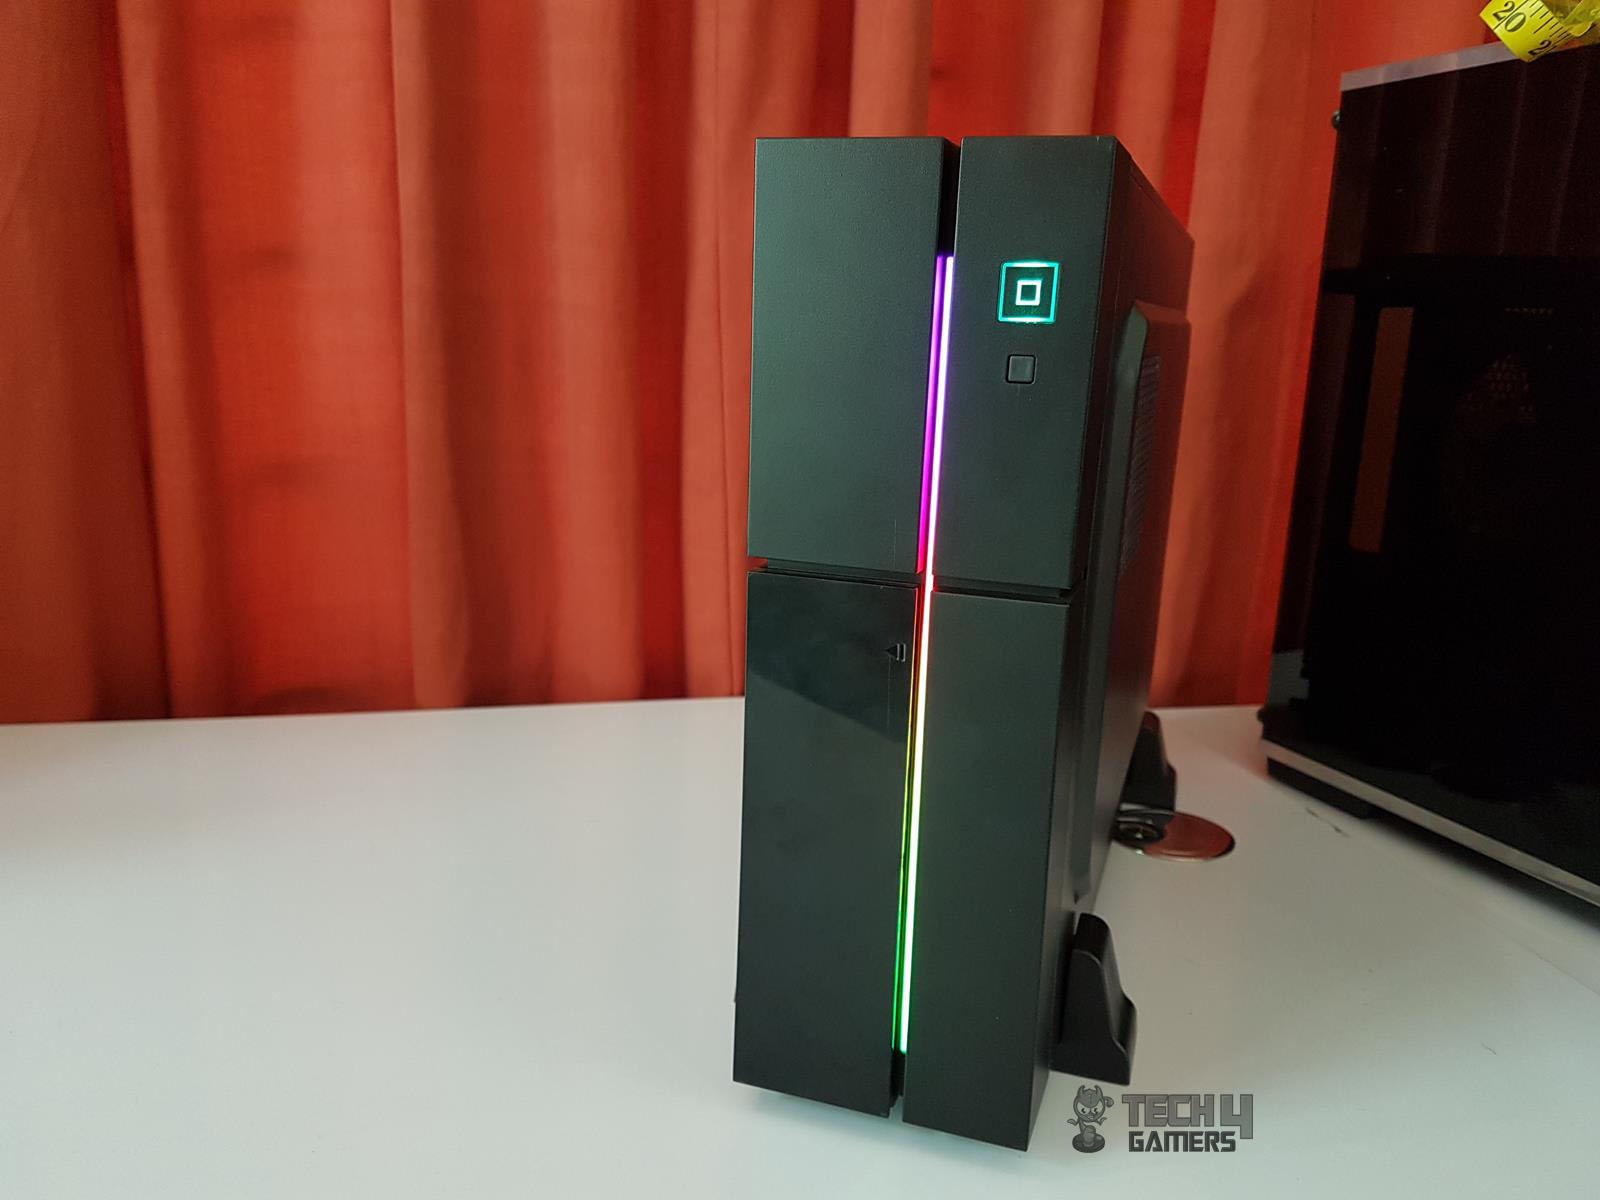
The Aerocool Playa Slim’s front panel is a standout feature, offering an RGB solution in a budget-friendly chassis. Measuring 290x39x99mm, the plastic panel showcases a cross design with rectangular boxes, one of which serves as a cover for a 5.25” drive bay. The ∆ symbol on the shiny box indicates its purpose. Despite a slight alignment issue on the sample, the boxes are purely aesthetic. The cross design incorporates a frosted white color diffuser, enhancing the RGB lighting.
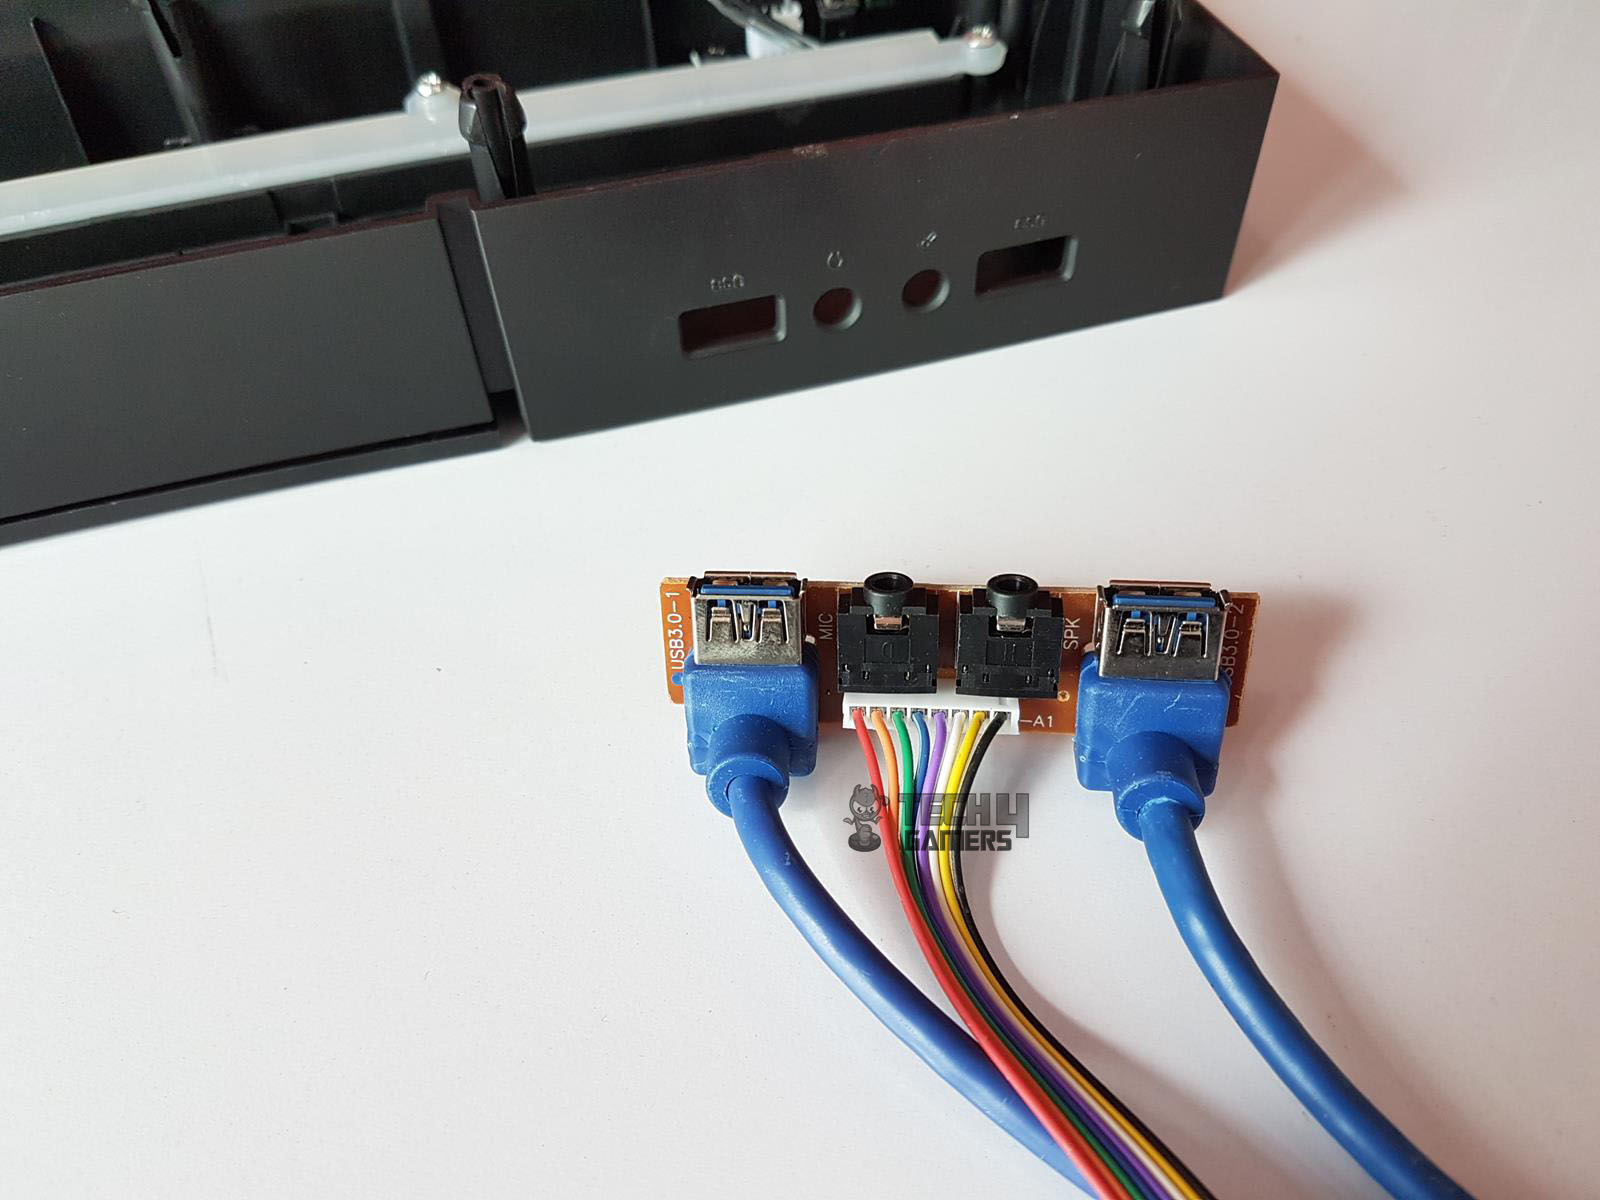
The front panel includes two buttons at the bottom right for lighting mode selection and system power, the latter illuminating in static blue. The I/O ports are conveniently located on the top left side of the panel. Overall, the front panel’s majestic appearance is attributed to the cross-design and vibrant RGB lighting.
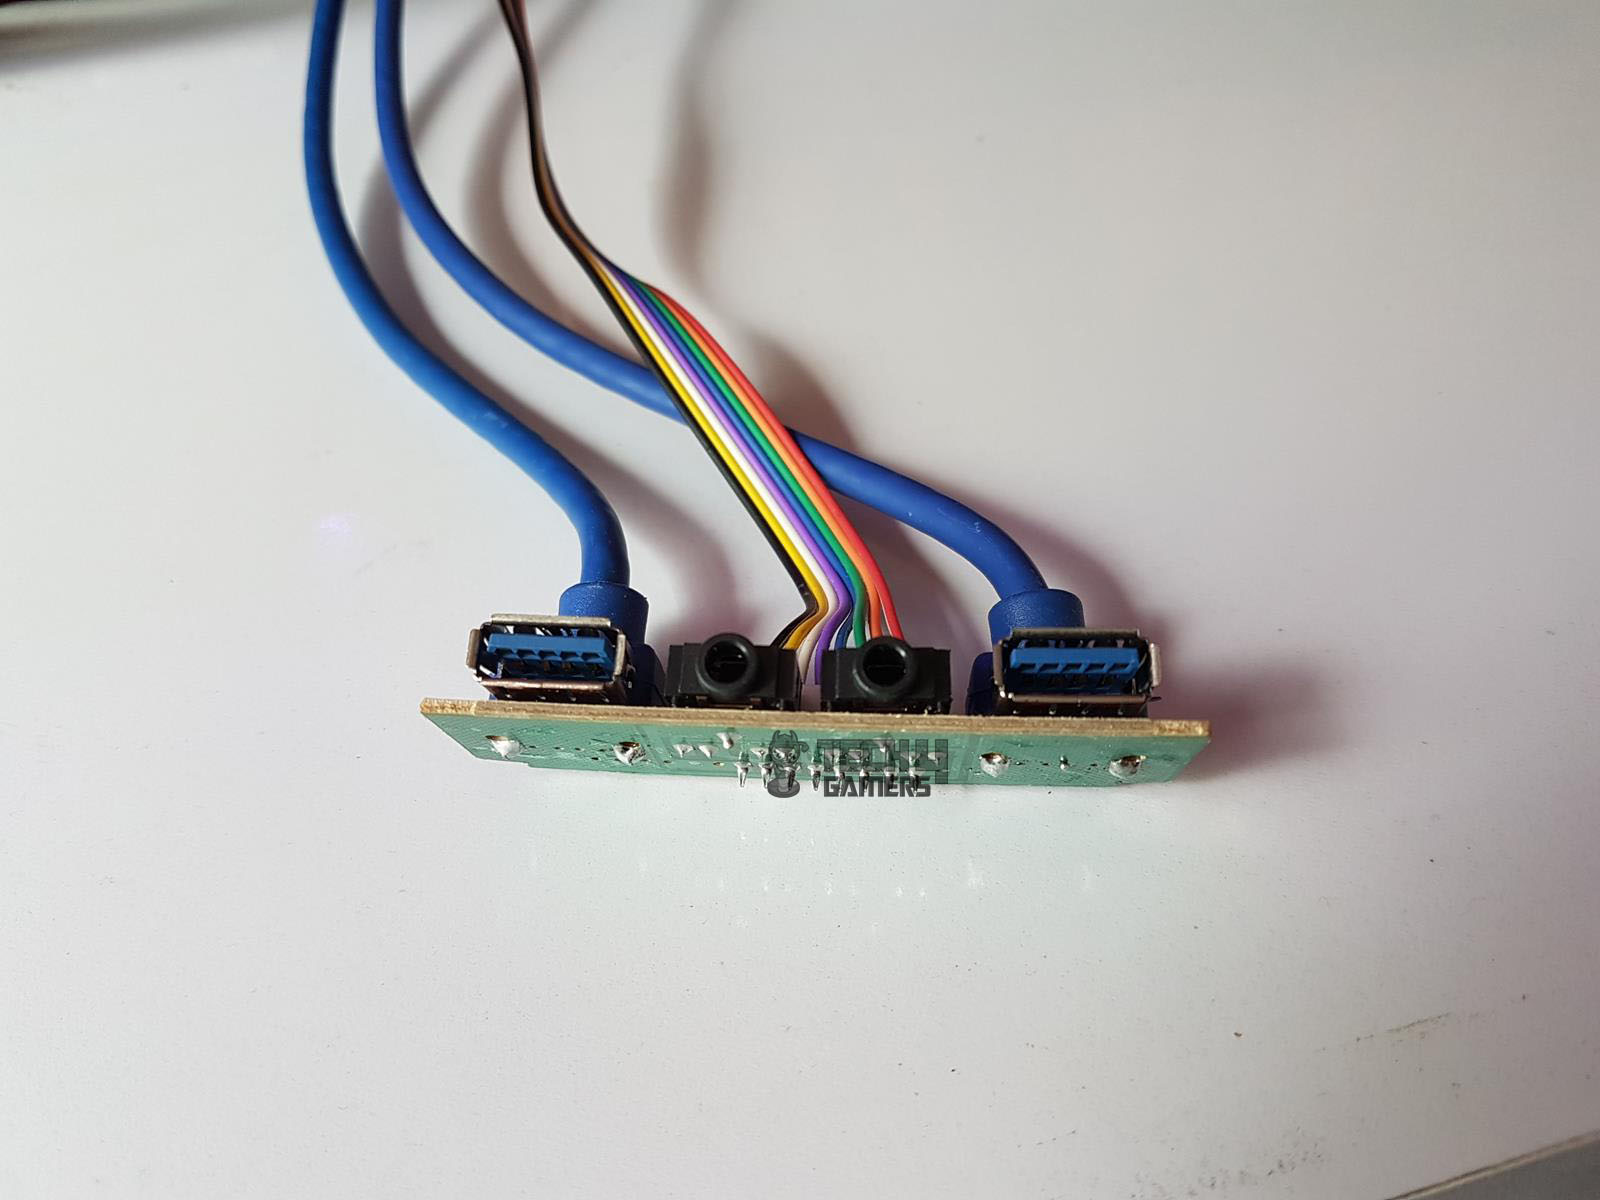
We can see two blue-colored USB 3.0 cables and 8 wired Audio Jack cables in multiple colors. The approximate length of the USB 3.0 cable is 640mm and that of the Audio jack is 620mm. The I/O Panel’s PCB is secured using two screws.
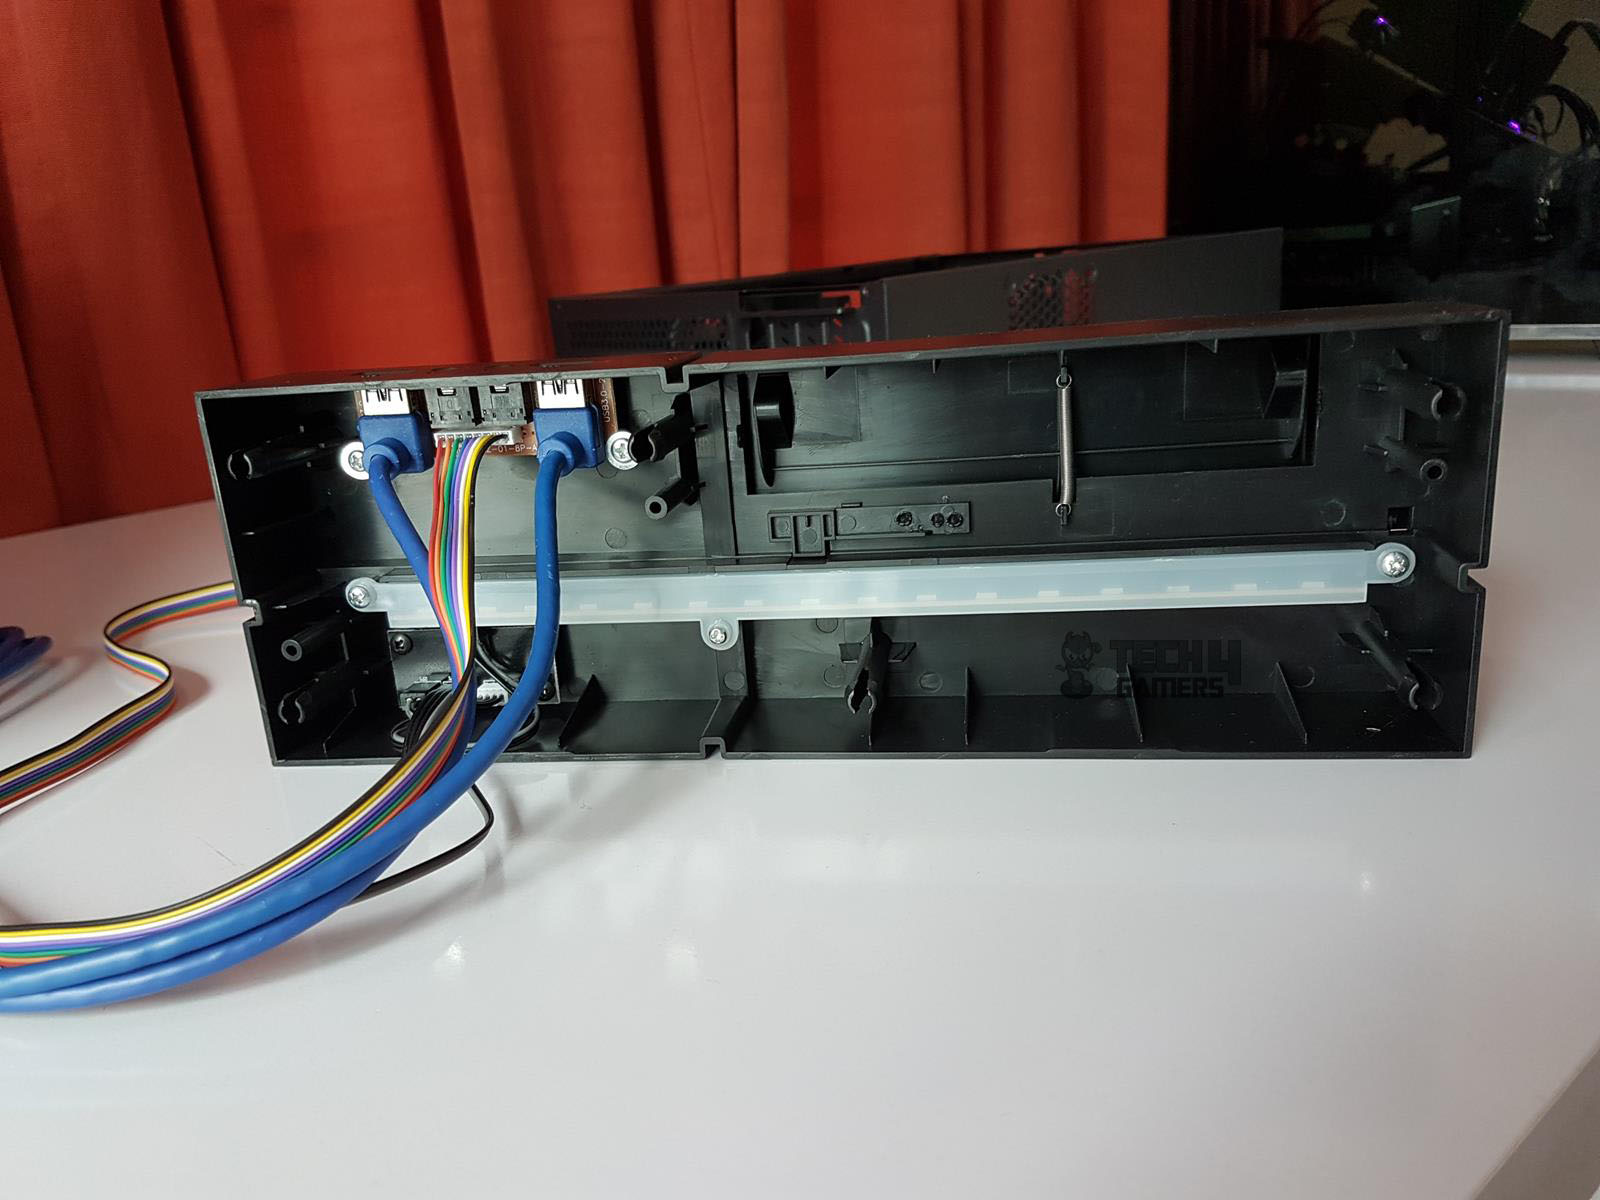
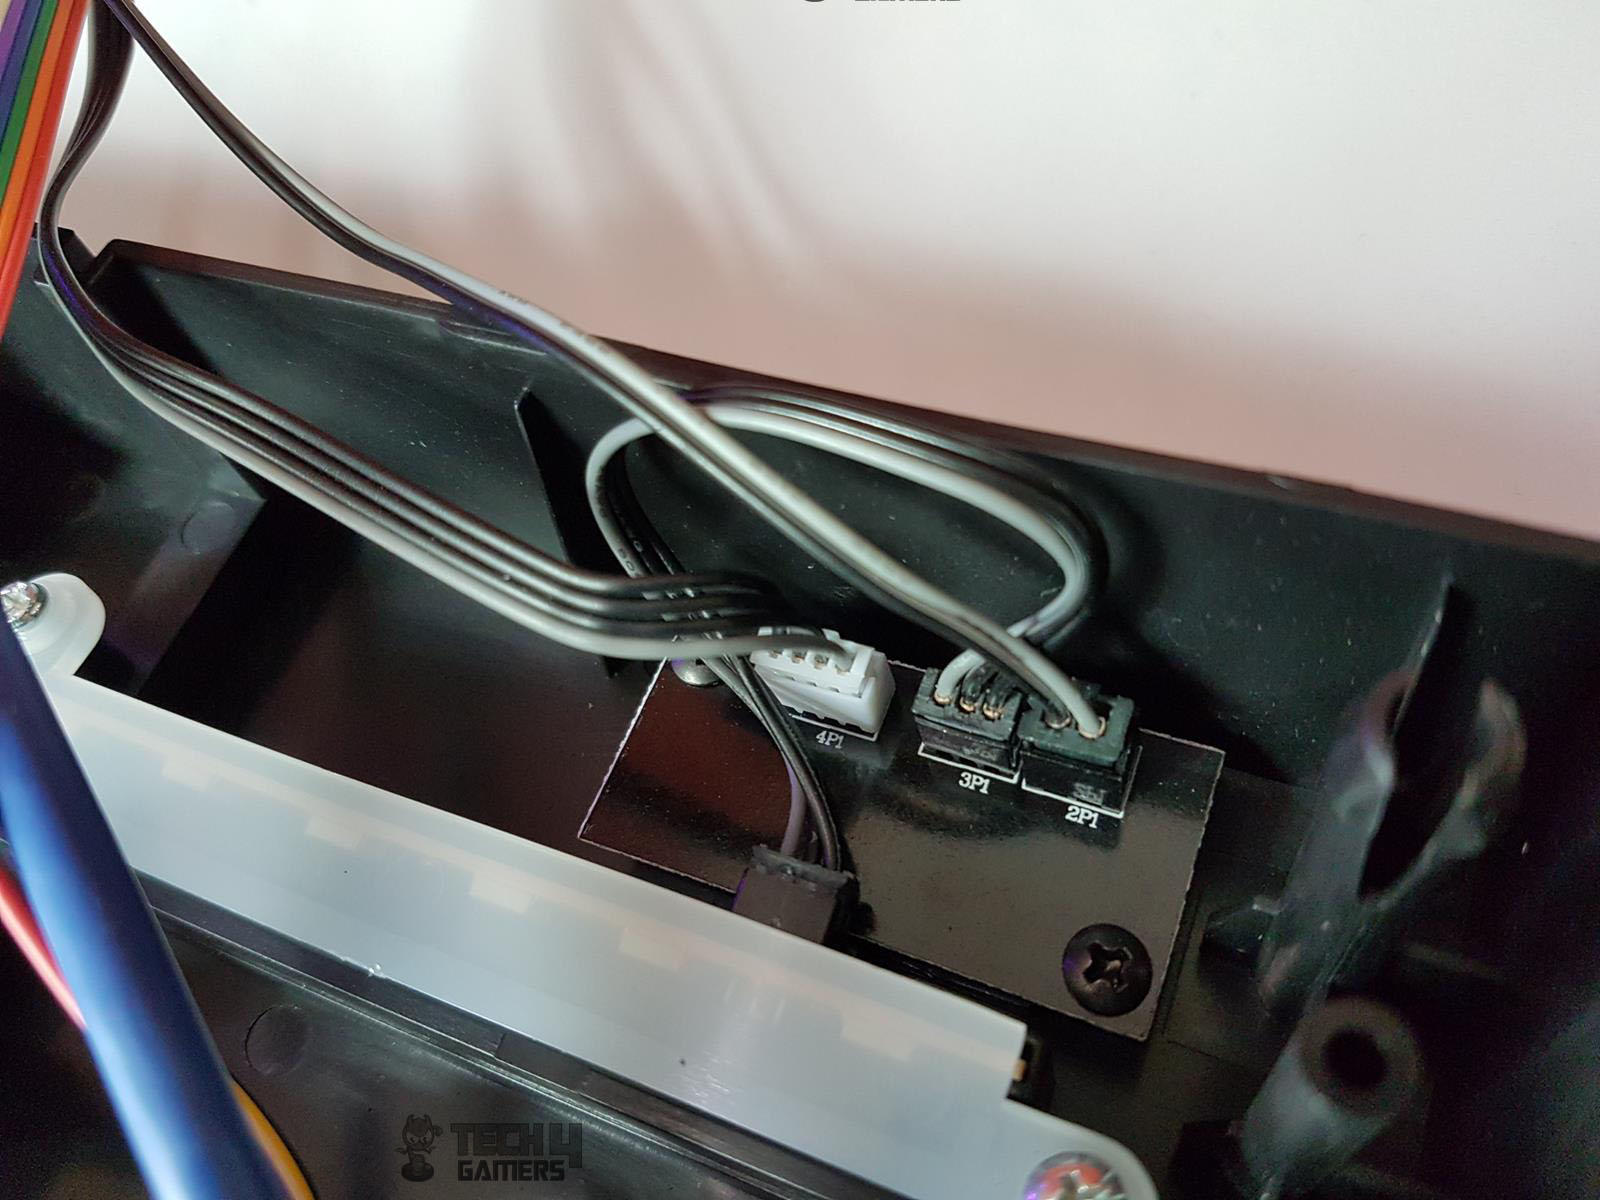
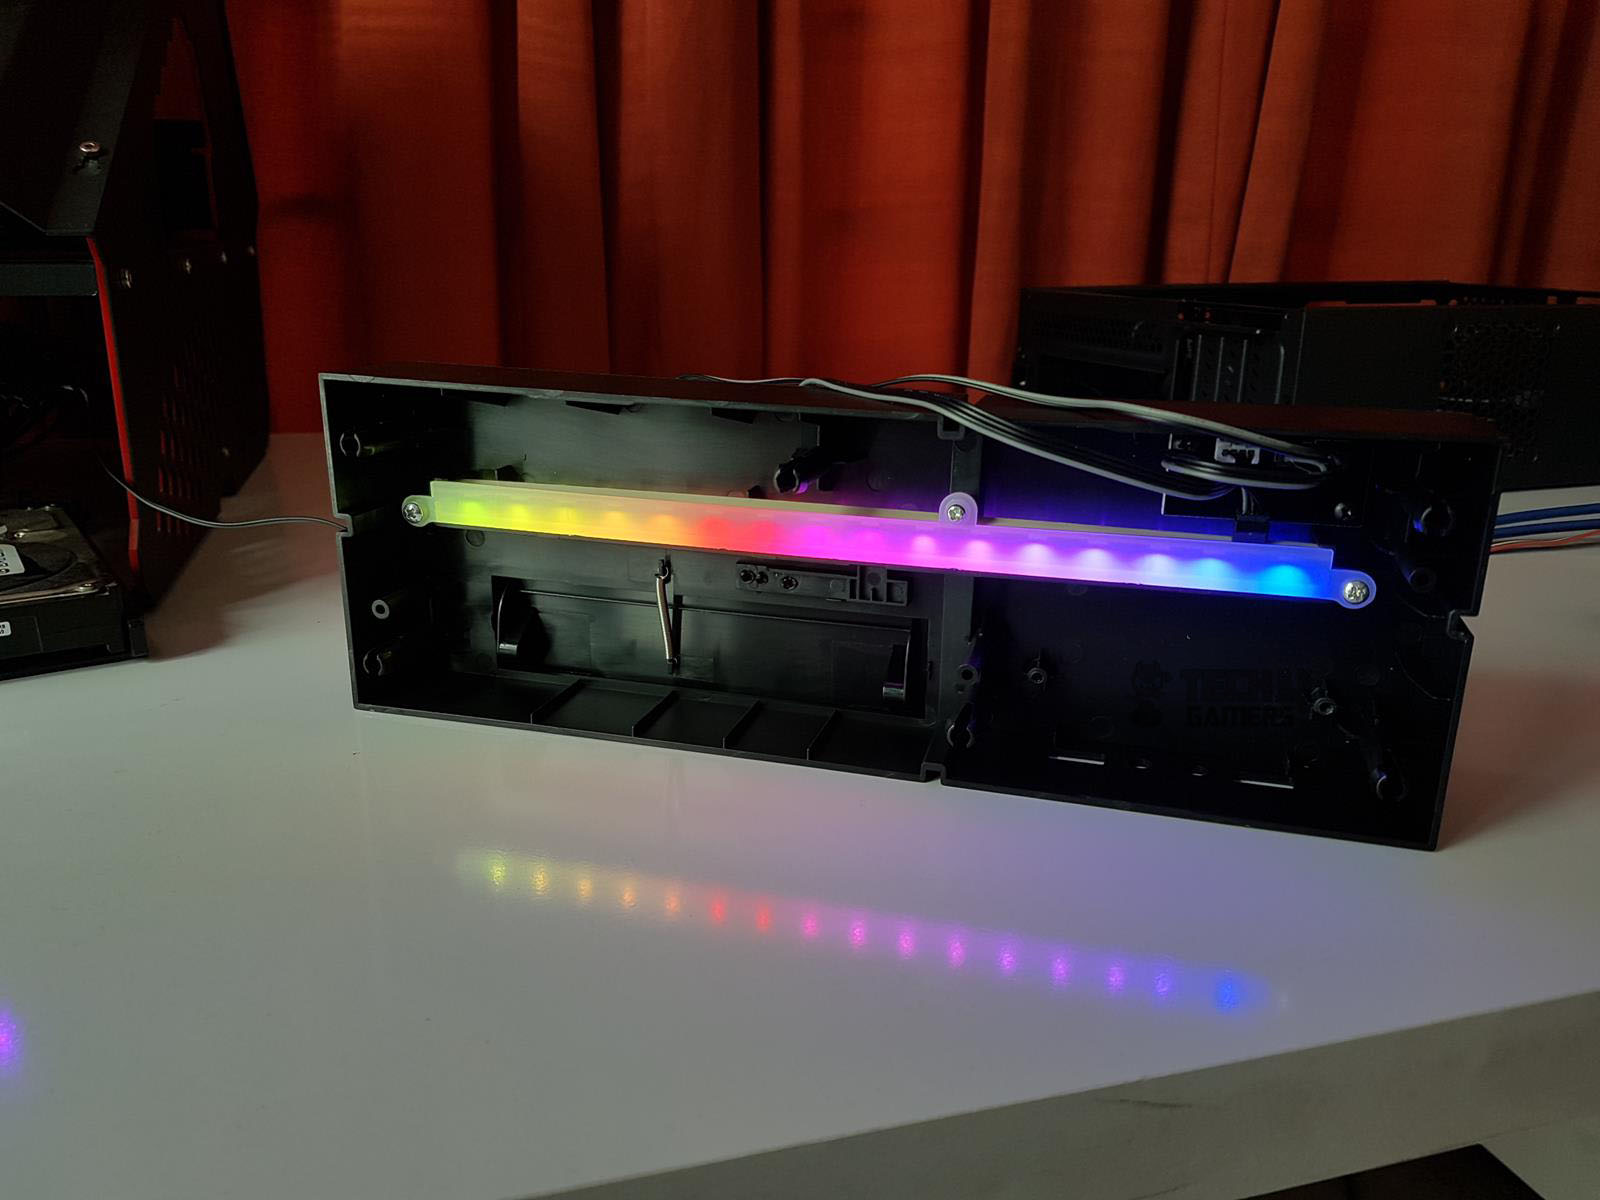
At the heart of the Aerocool Playa Slim’s front panel sits a diffuser, secured by three screws and linked to the bottom left black PCB via a three-pin cable. The LED power is delivered through a 250mm SATA cable. Meanwhile, the system panel cable, notably long at 790mm, connects to the same black PCB, which hosts SATA and LED connectors, alongside a system panel connector.
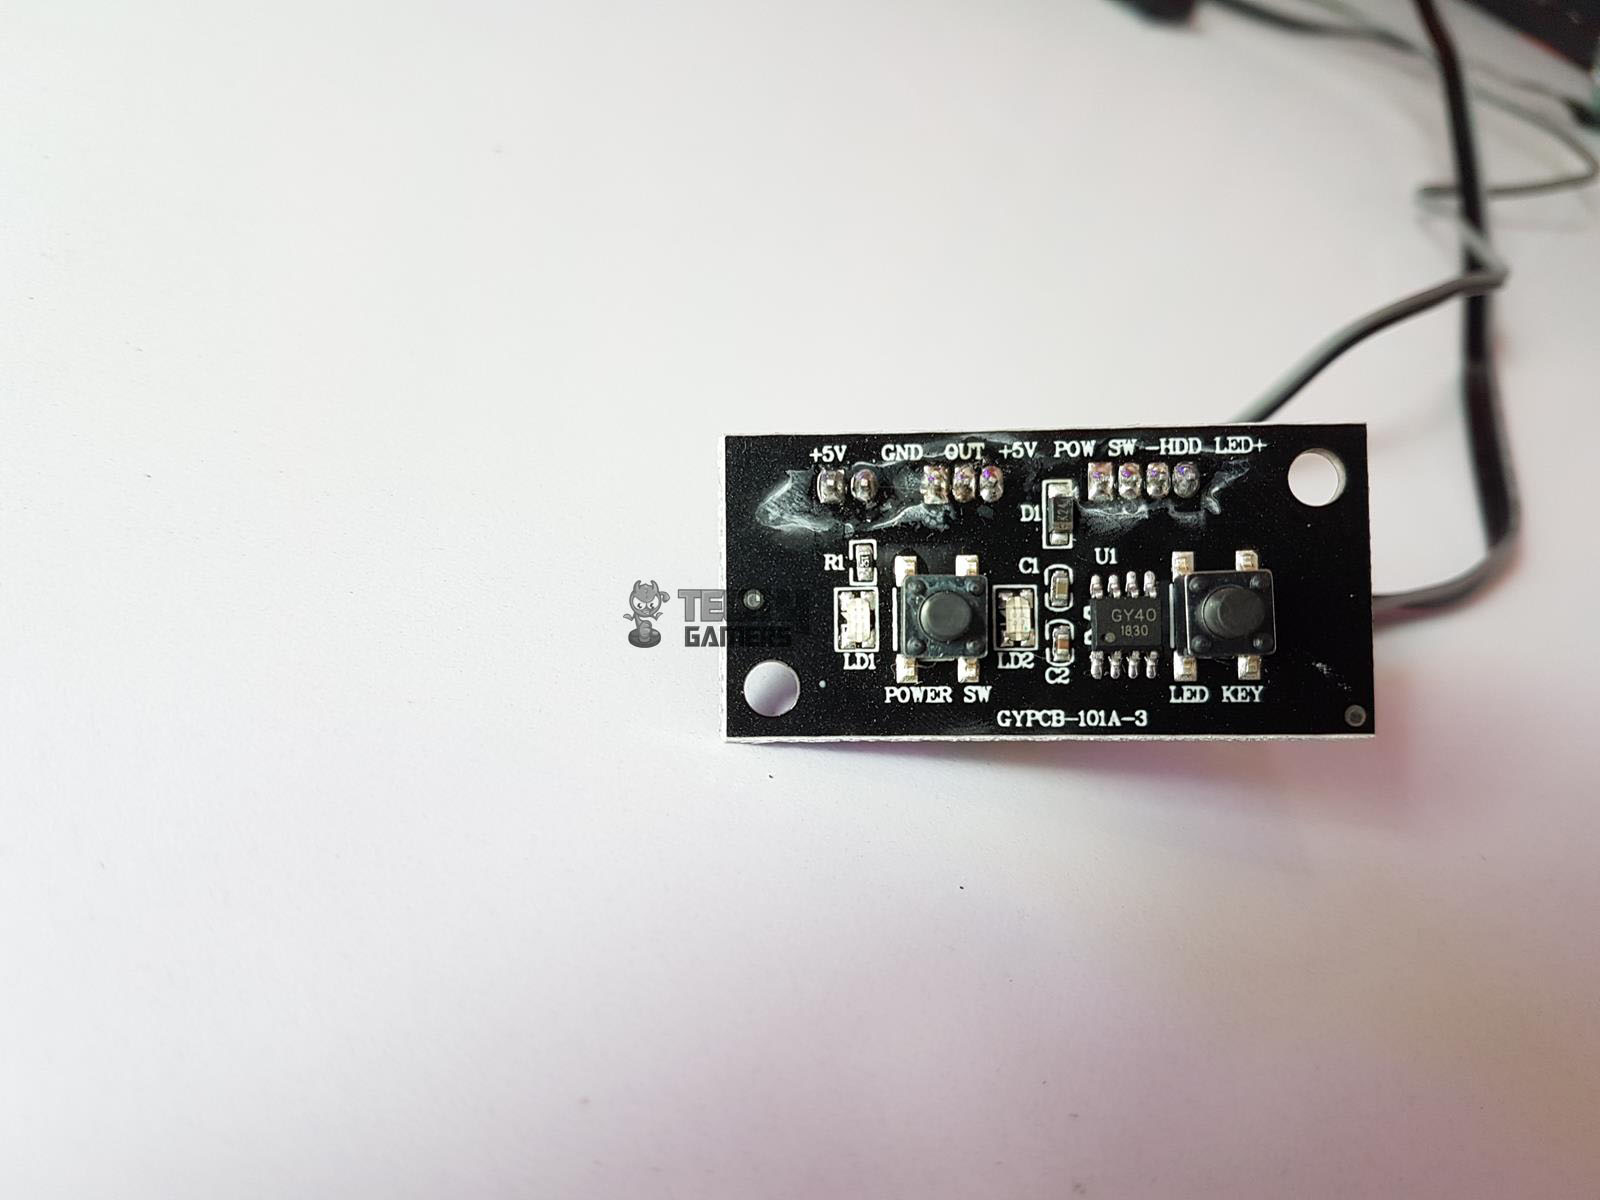
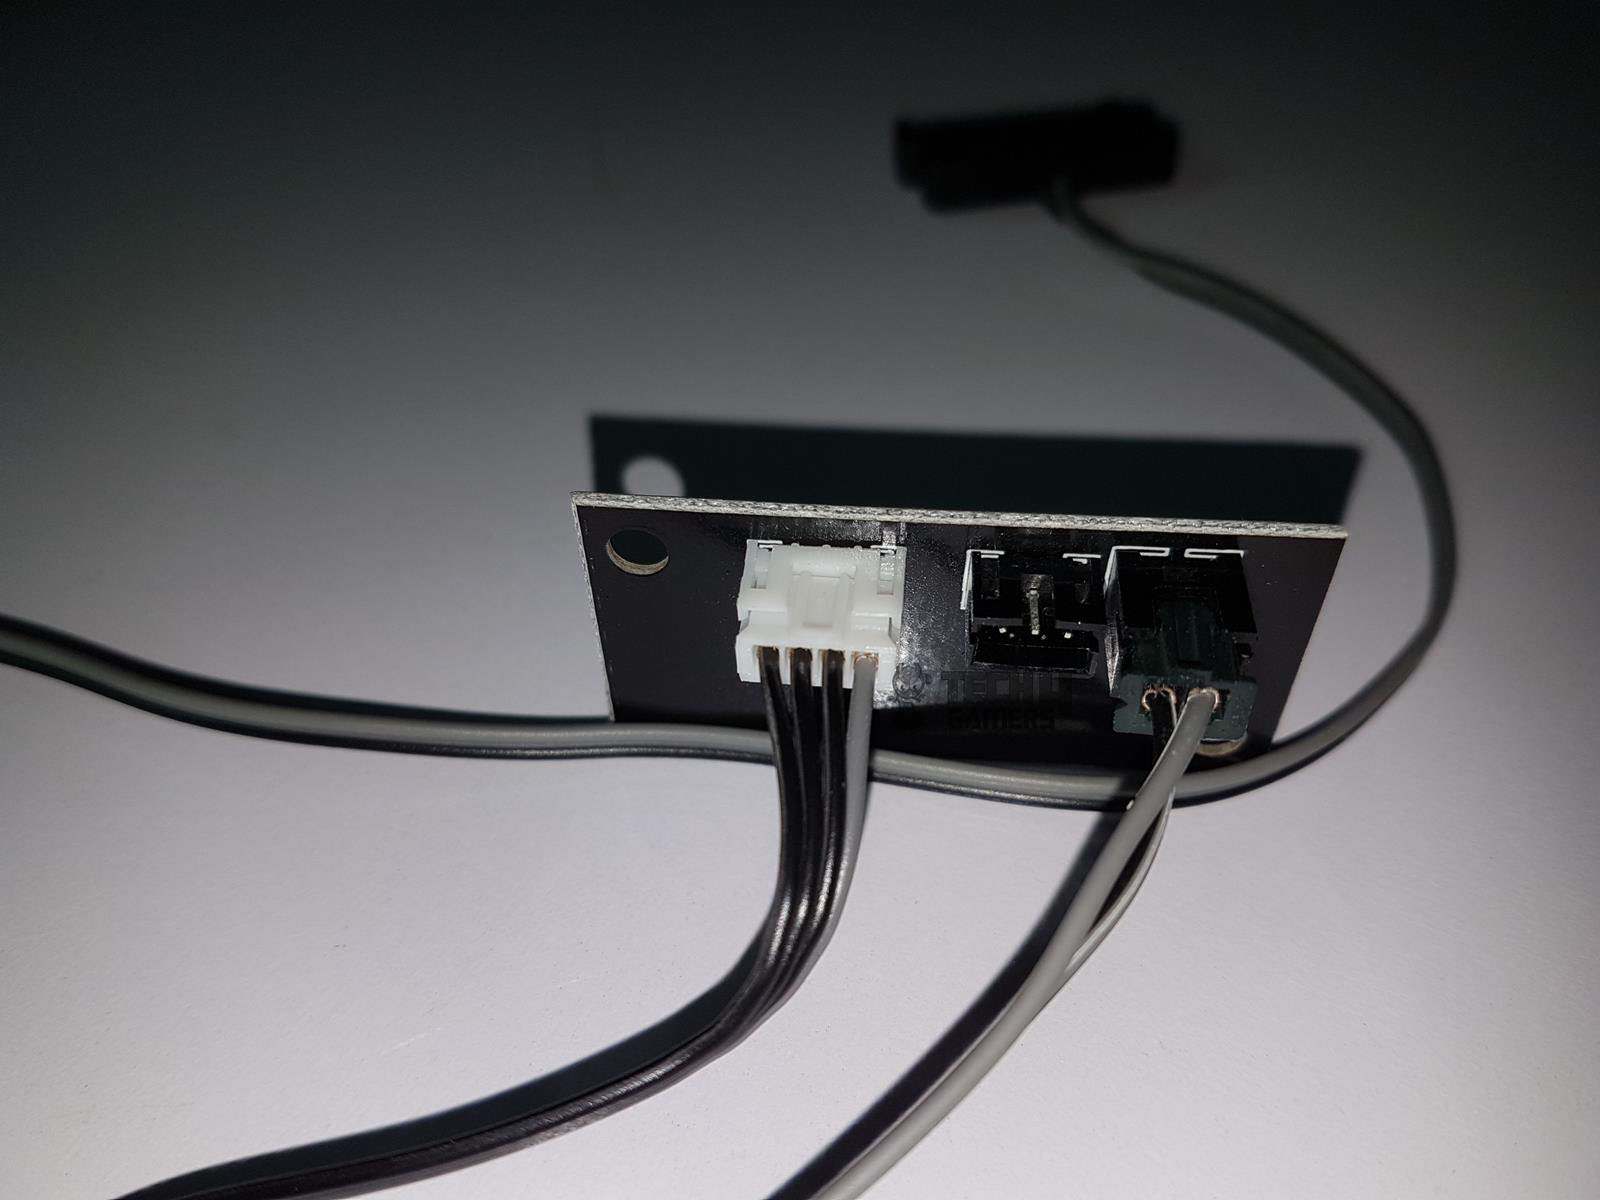
This is the PCB responsible for the action when the user presses the power button or the LED button at the front side of the panel. The LED strip has 16 LEDs on it. The diffuser helps to ensure evenly lighting across the entire length.
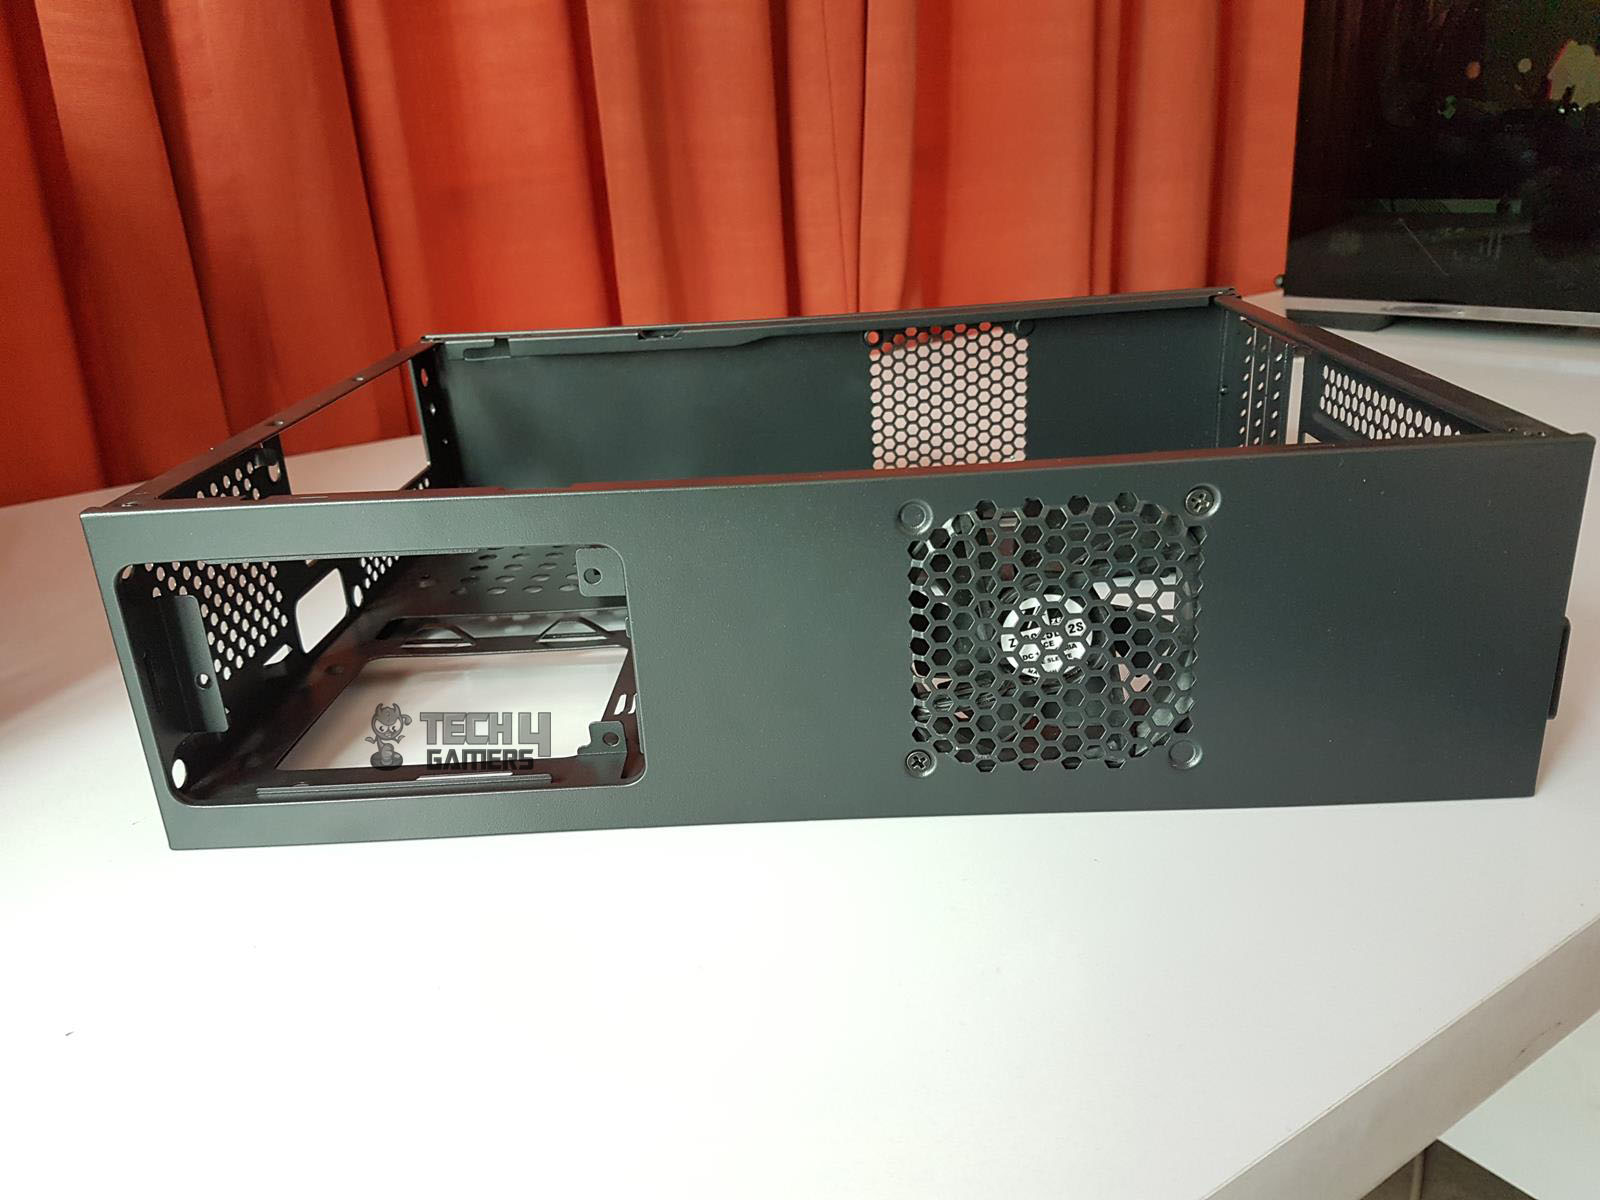
Upon removing the front panel of the Aerocool Playa Slim, I found a perforated top portion on the chassis frame, which featured a cutout at the bottom left for the 5.25” drive and another at the bottom right for convenient cable routing from the I/O panel. The attachment of the front panel to the chassis frame is secured by six plastic tabs.
Top
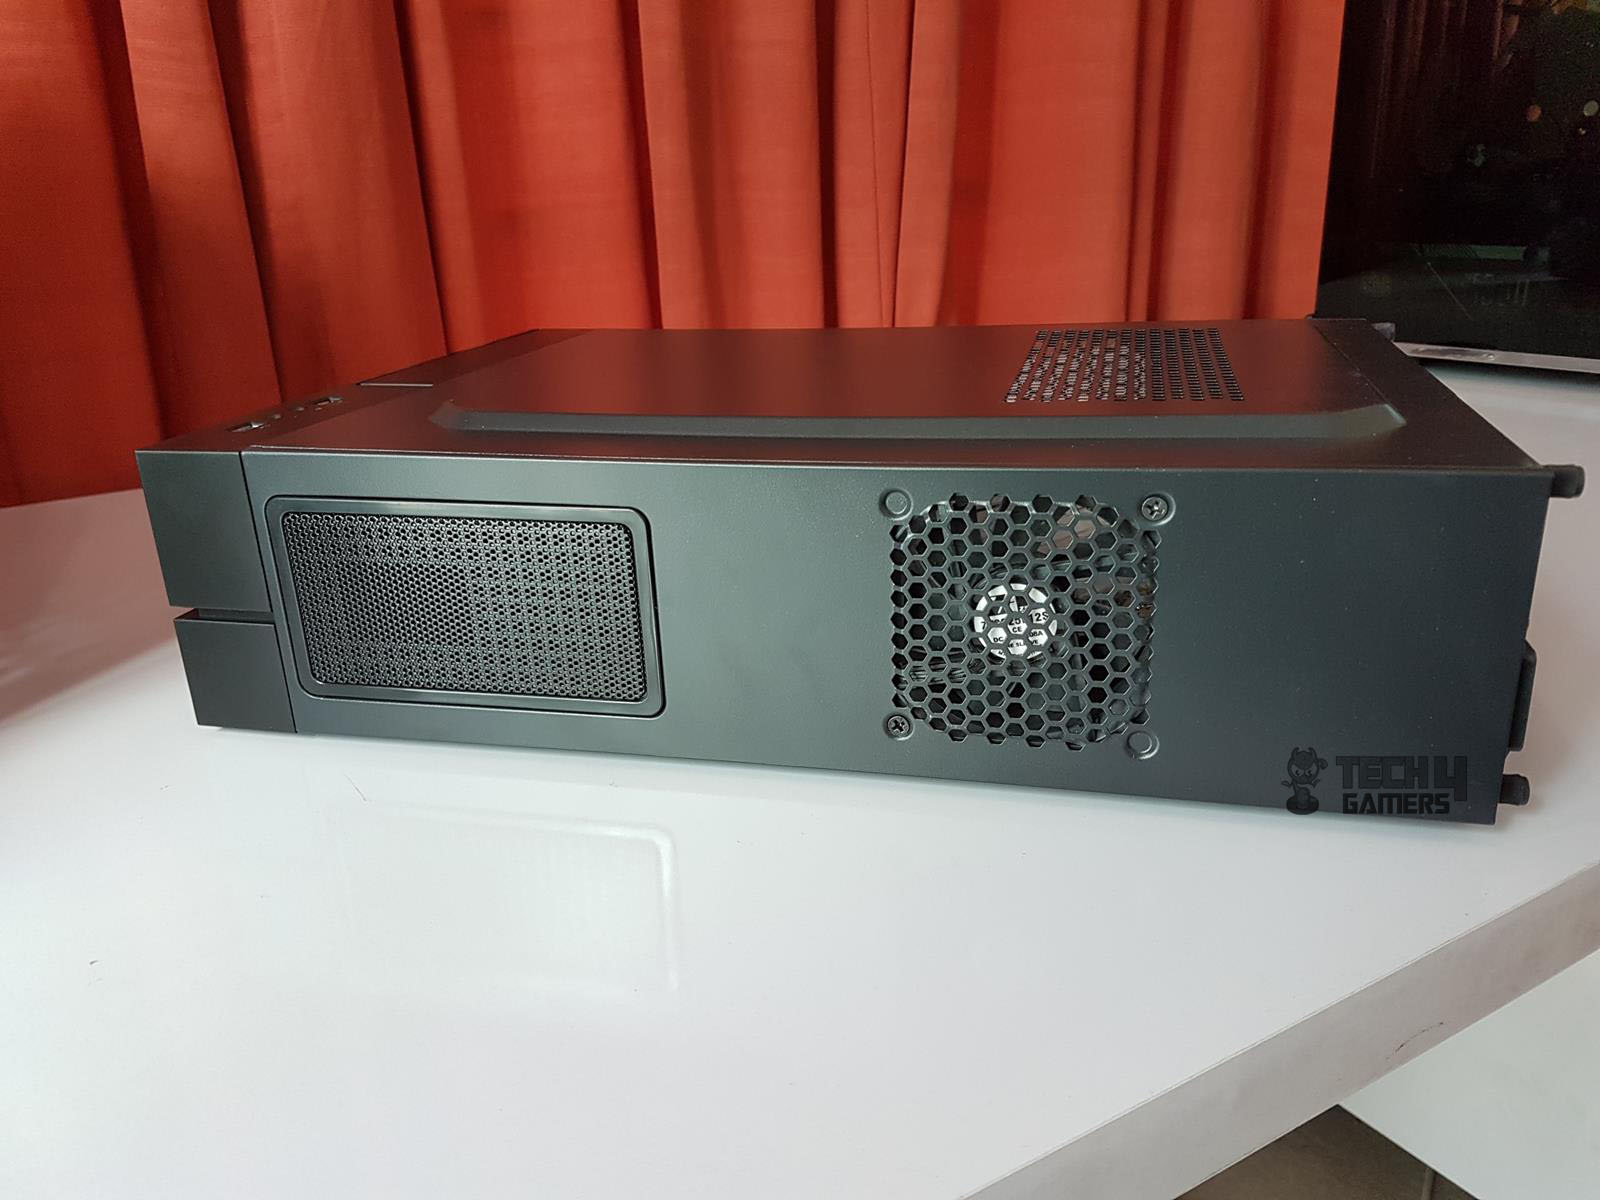
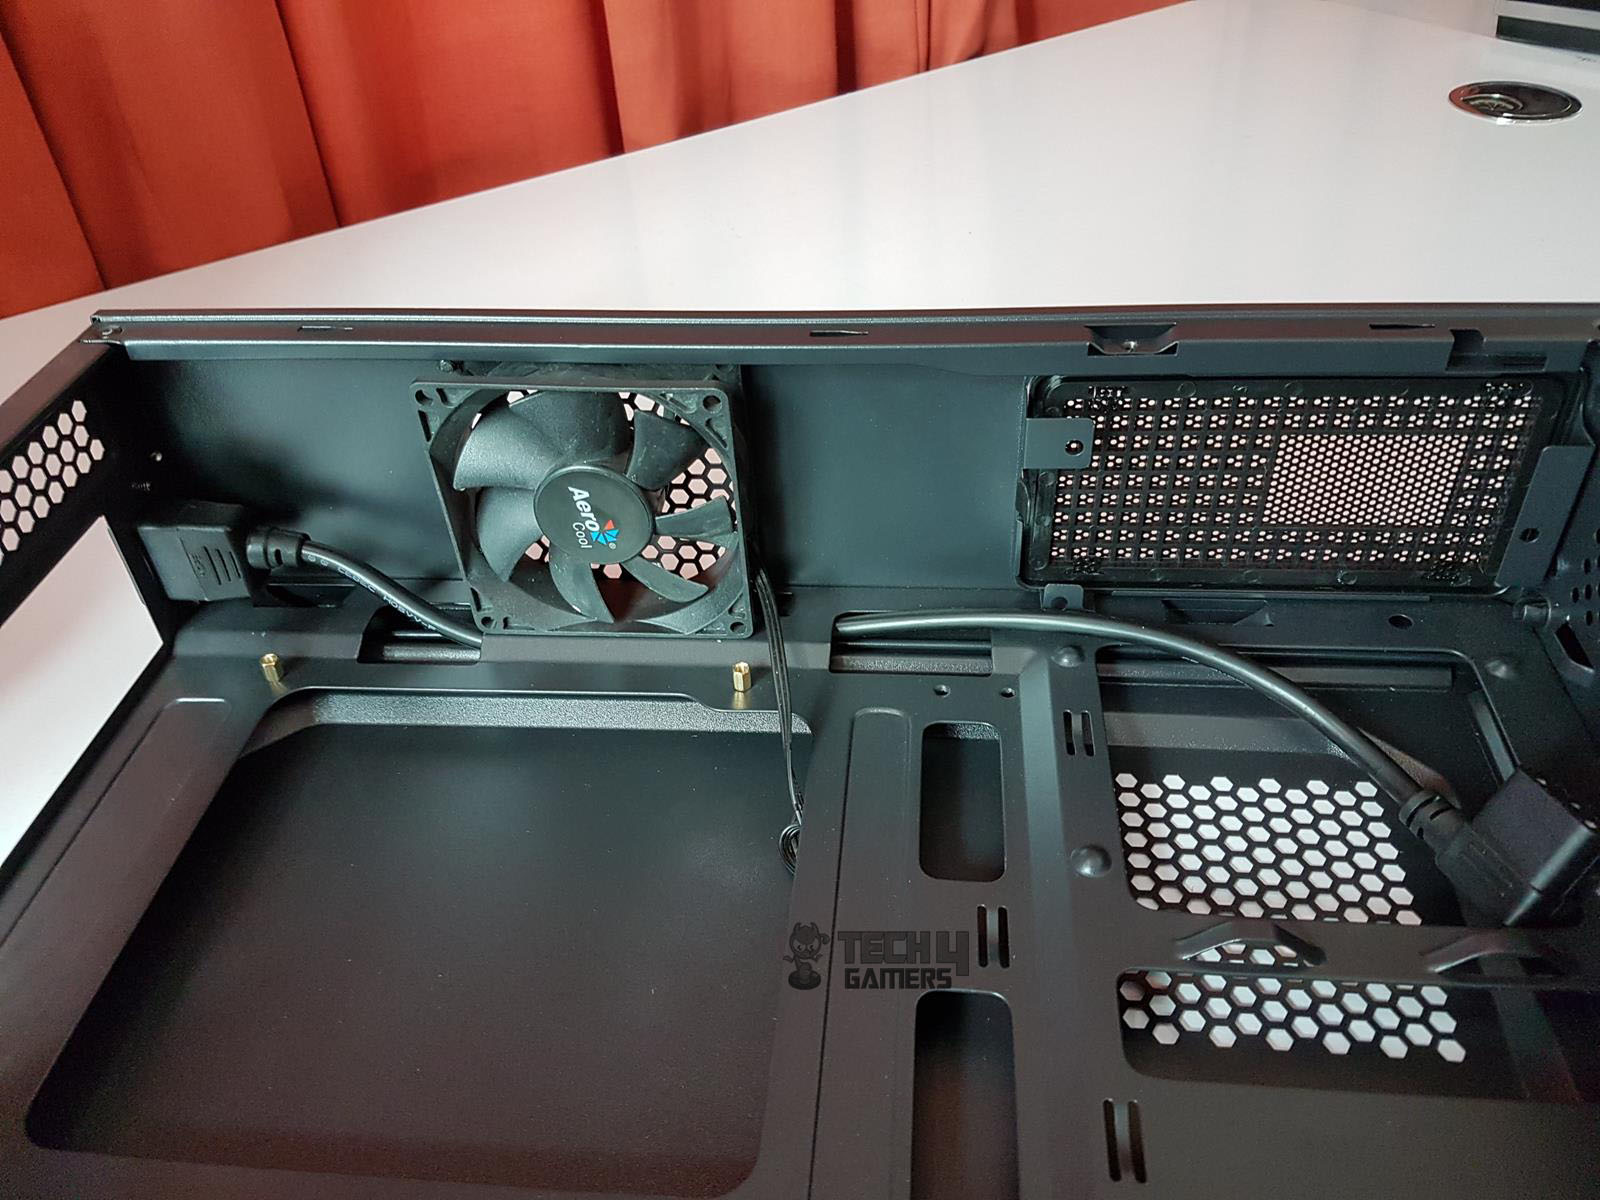
Now that we have taken a look at the front side of the chassis, let’s take a peek at the top side. The top side features a perforated fan area on the left with two diagonal mounting holes, and it comes with a pre-installed 80mm fan. The other two sections are solid, which appears unusual given that two screws are typically sufficient to secure an 80mm fan
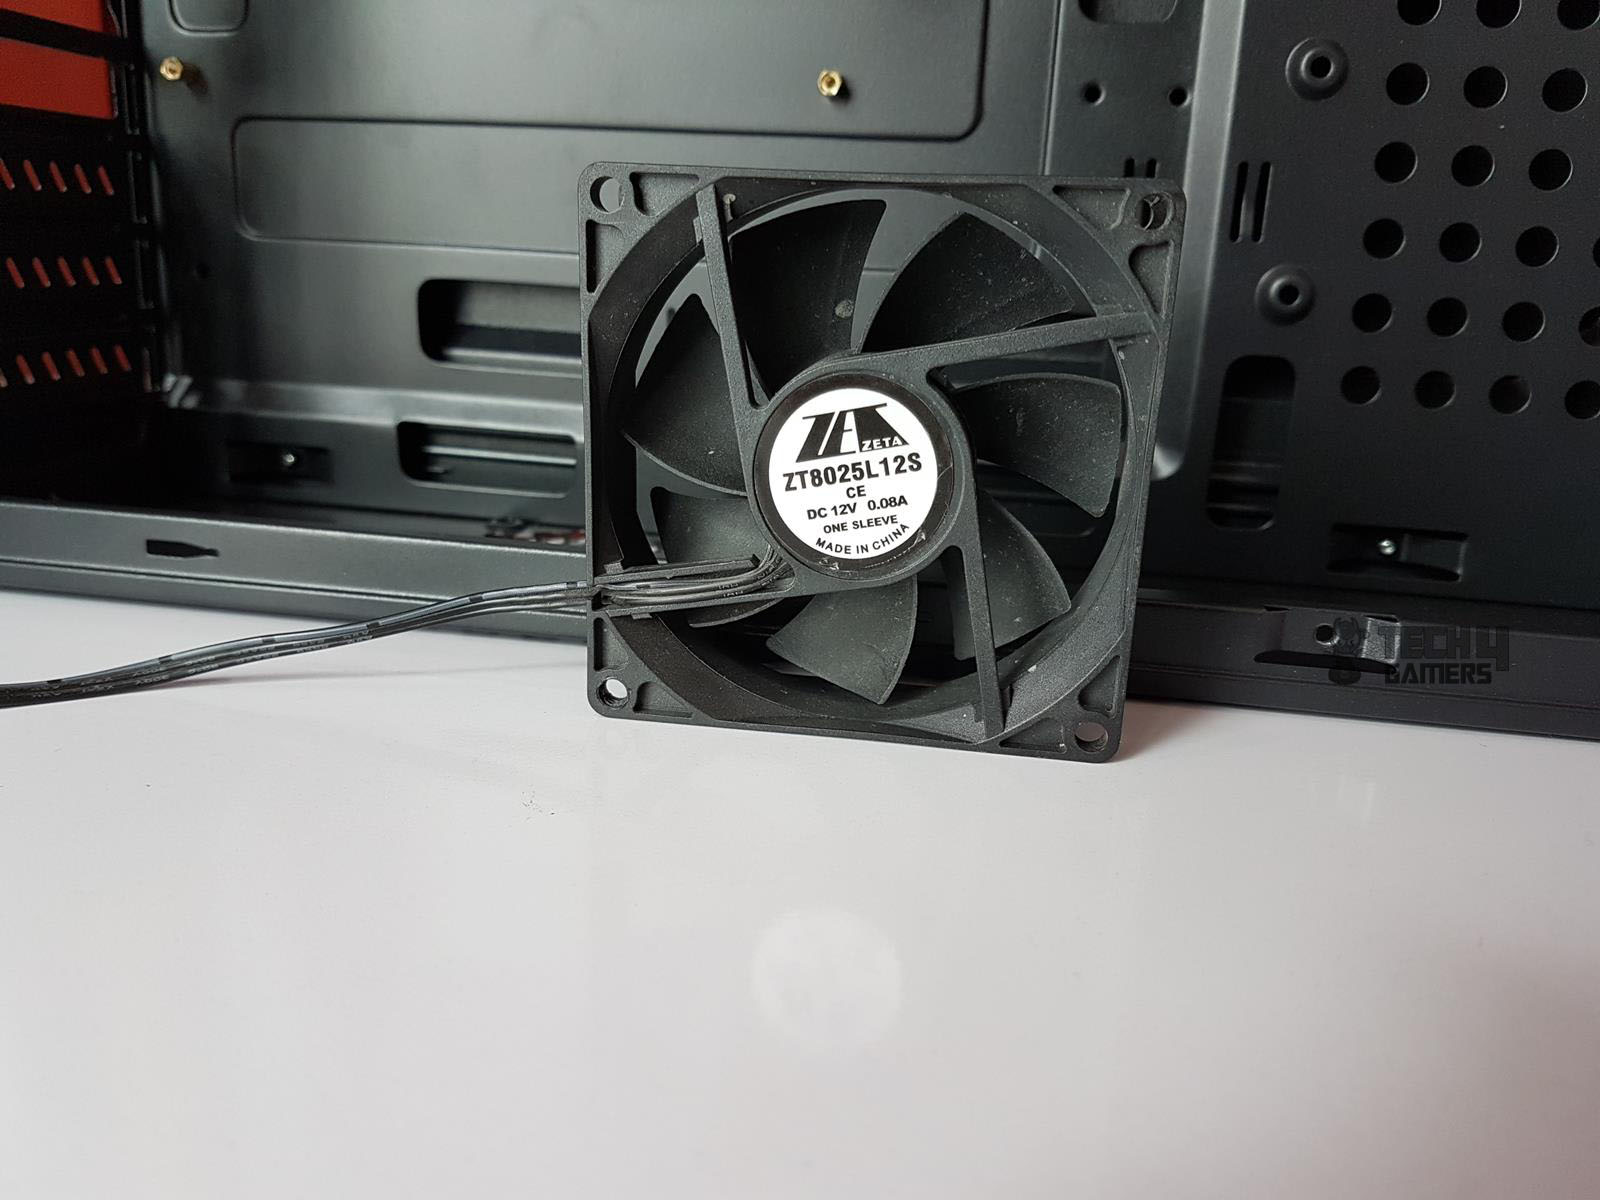
The Aerocool Playa Slim’s included fan has 7 blades, a plastic frame without anti-vibration rubber pads, and a 4-arms assembly marked with ZETA as the apparent OEM, identified by the part number ZT8025L12S. Operating at 0.08A and 12VDC, the fan has both a three-pin and a 4-pin Molex connector. The power cable is 454mm + 40mm in length. I was not able to find details about the airflow of the fan.
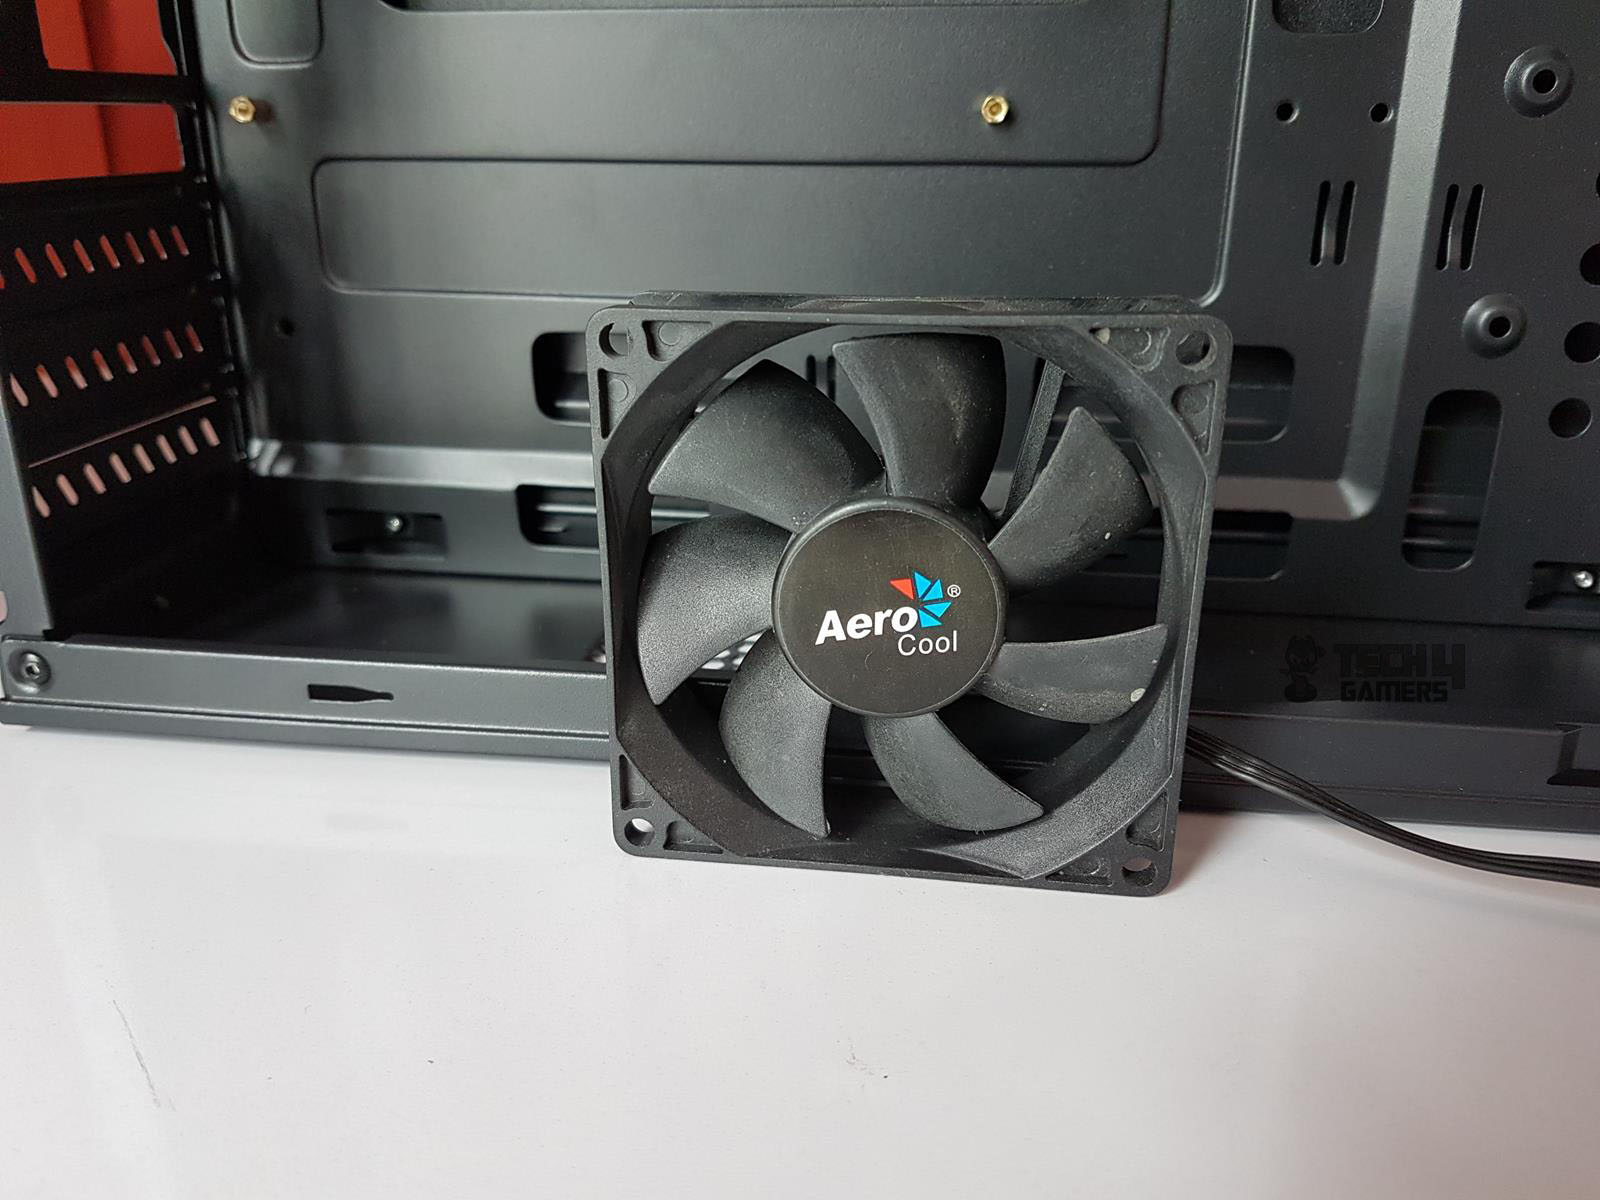
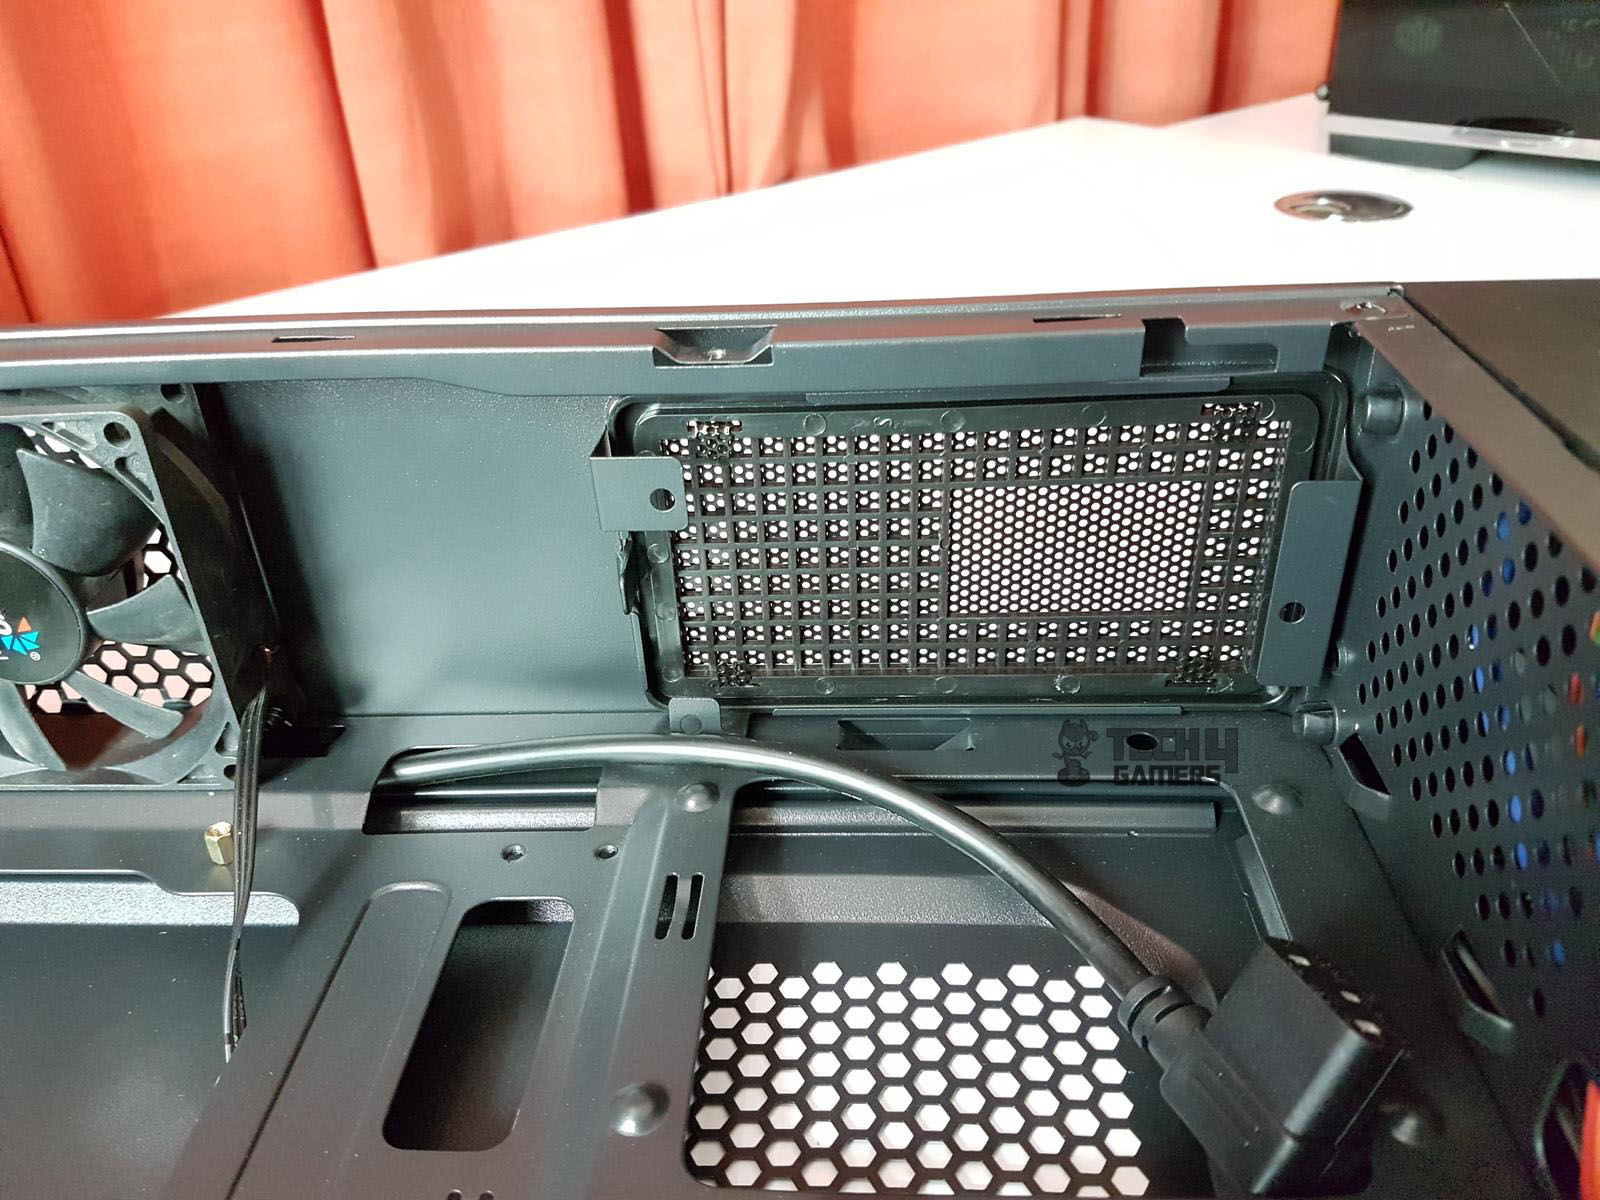
The 40mm length of the Molex connector on the included fan is notably short, posing challenges for cable management when using the 3-pin connector. A black perforated mesh cover on the right side conceals the PSU mount in the compact layout of the chassis, a non-traditional placement addressed in further detail later.
Bottom
Let’s take a look at the bottom of the chassis.
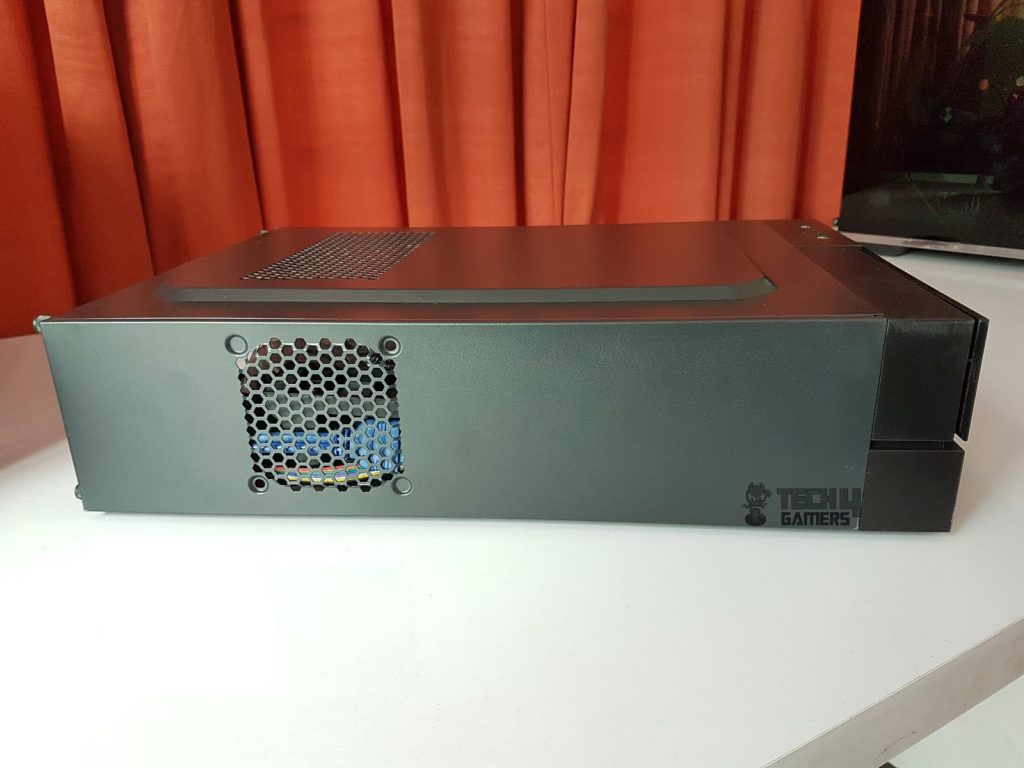
The complete panel is solid except for the area with another 80mm fan mounting. It is identical to what we saw on the top side.
Rear
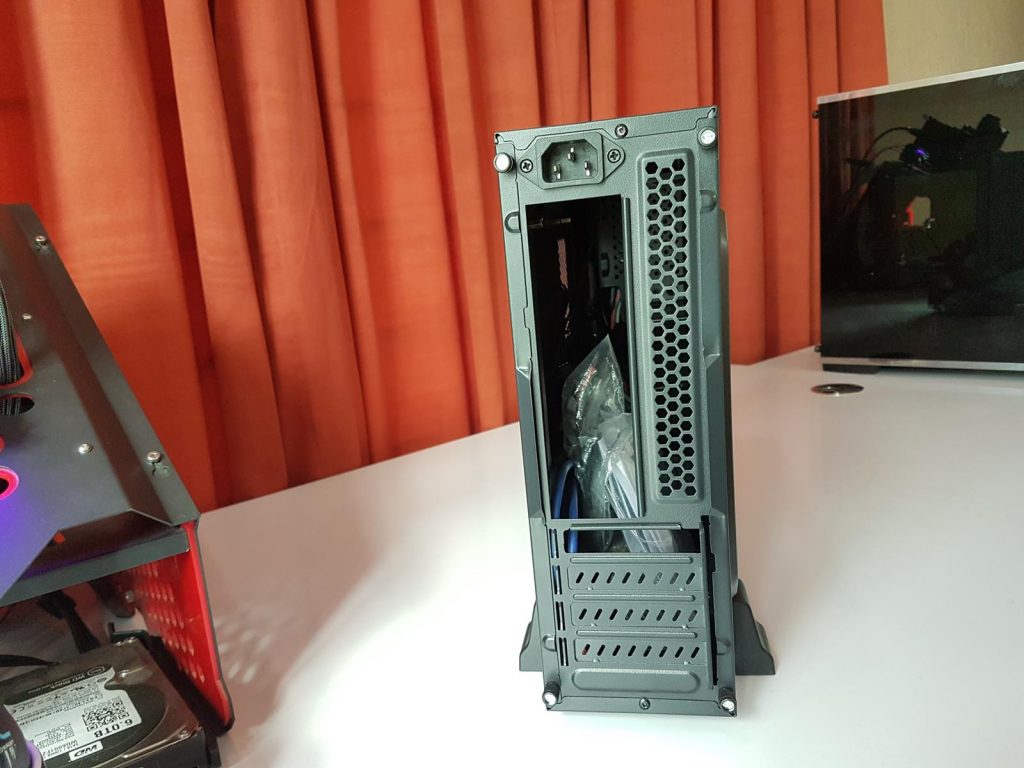
The rear side of the Aerocool Playa Slim features a 3-pin power plug connector at the top left for the PSU power cable. Below it, a cutout facilitates motherboard I/O shield mounting and perforations on the right aid in exhausting hot air. The bottom section houses Low Profile 4 PCIe slot covers, with one reusable cover included in the accessory bag. Once removed, these vented covers cannot be reattached
Left Side Panel
Let’s take a look at the left side and see what it has to offer to the builder and the user.
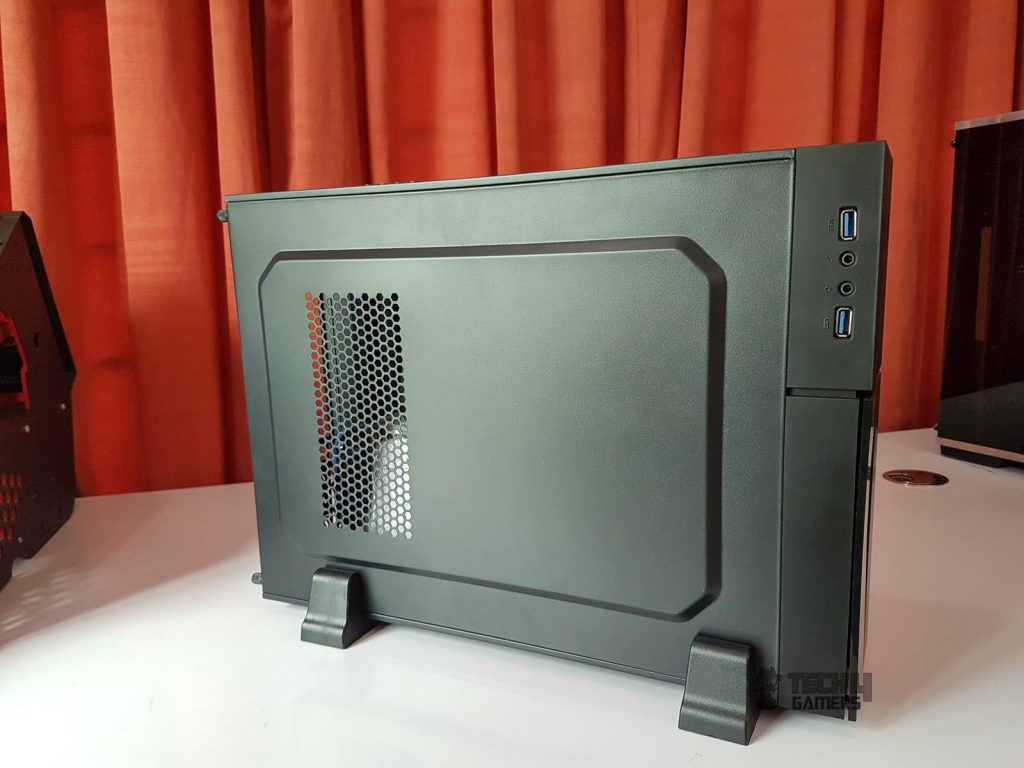
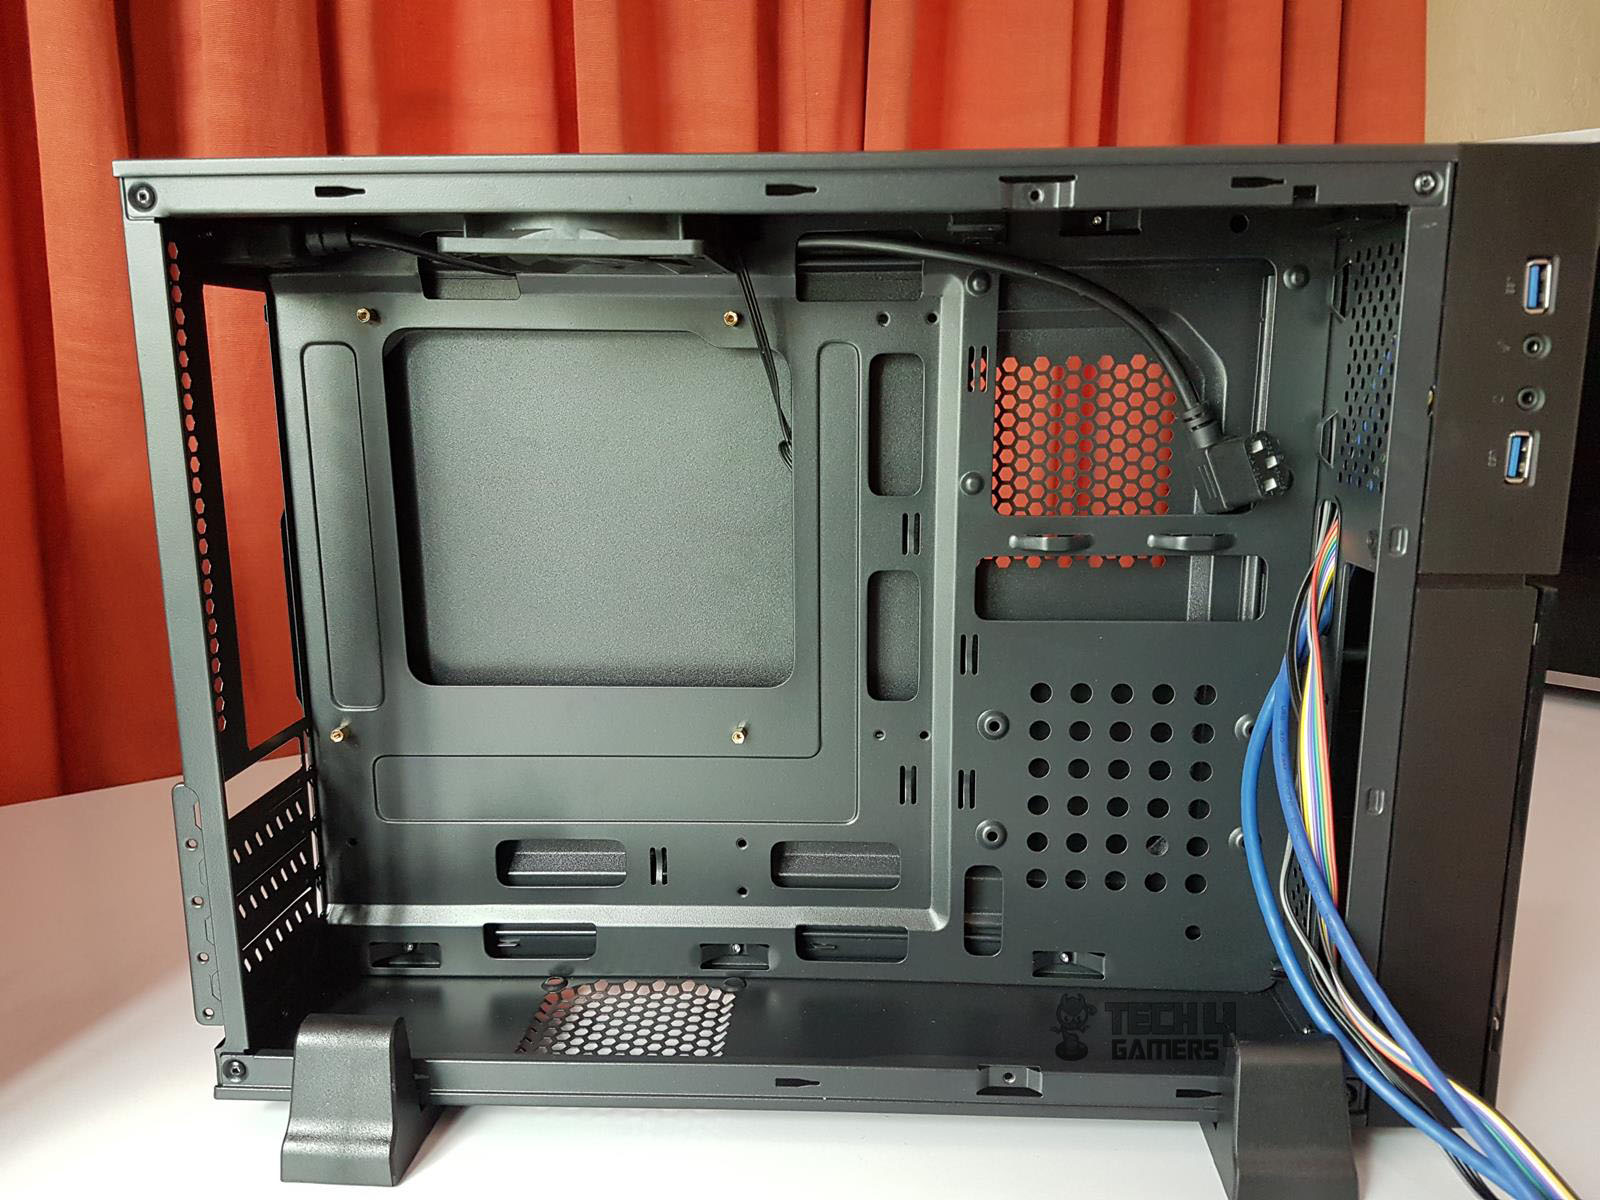
The side panel is solid except for the perforated area measuring 74x164mm (LxH). It is a good design as this perforated area faces the CPU cooler making it possible for the cooler’s fan to draw fresh air through this perforation.
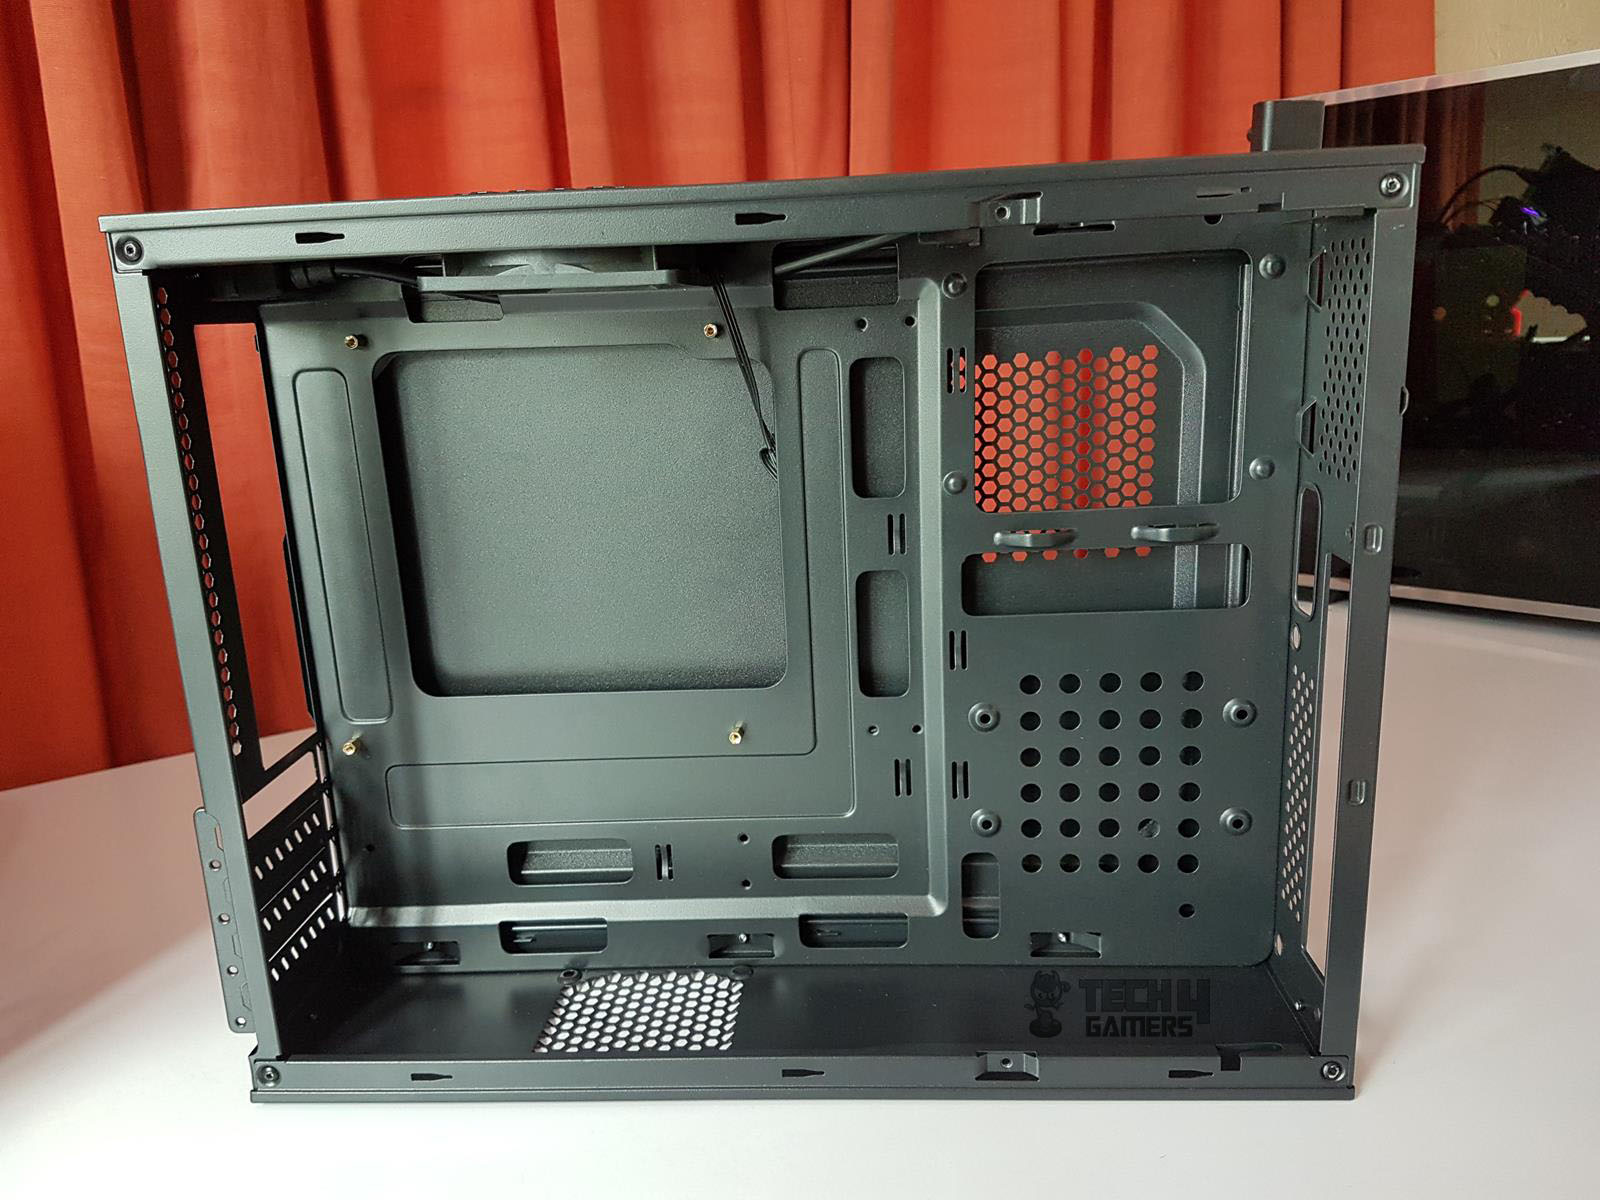
The panel is secured using two thumb screws at the rear. With 110mm of width, this is truly an SFF compact chassis. We can see a motherboard tray on the left side after removing the side panel while the right side has a drive rack. This is actually a smart design which I must appreciate. Not only do we have a cover to hide the storage drives, PSU, and bulk of the cables but it also serves as a storage drive holder.
The 5.25” drive is slid through it. A 2.5” or a 3.5” drive can also be installed on it. It measures 123x282mm (LxH). It is secured with the chassis frame using two screws and two screw heads (one on the top and one at the bottom). These heads are aligned with the mounting slots on the top and the bottom where they go inside the slot and the user has to slide the cover bracket in.
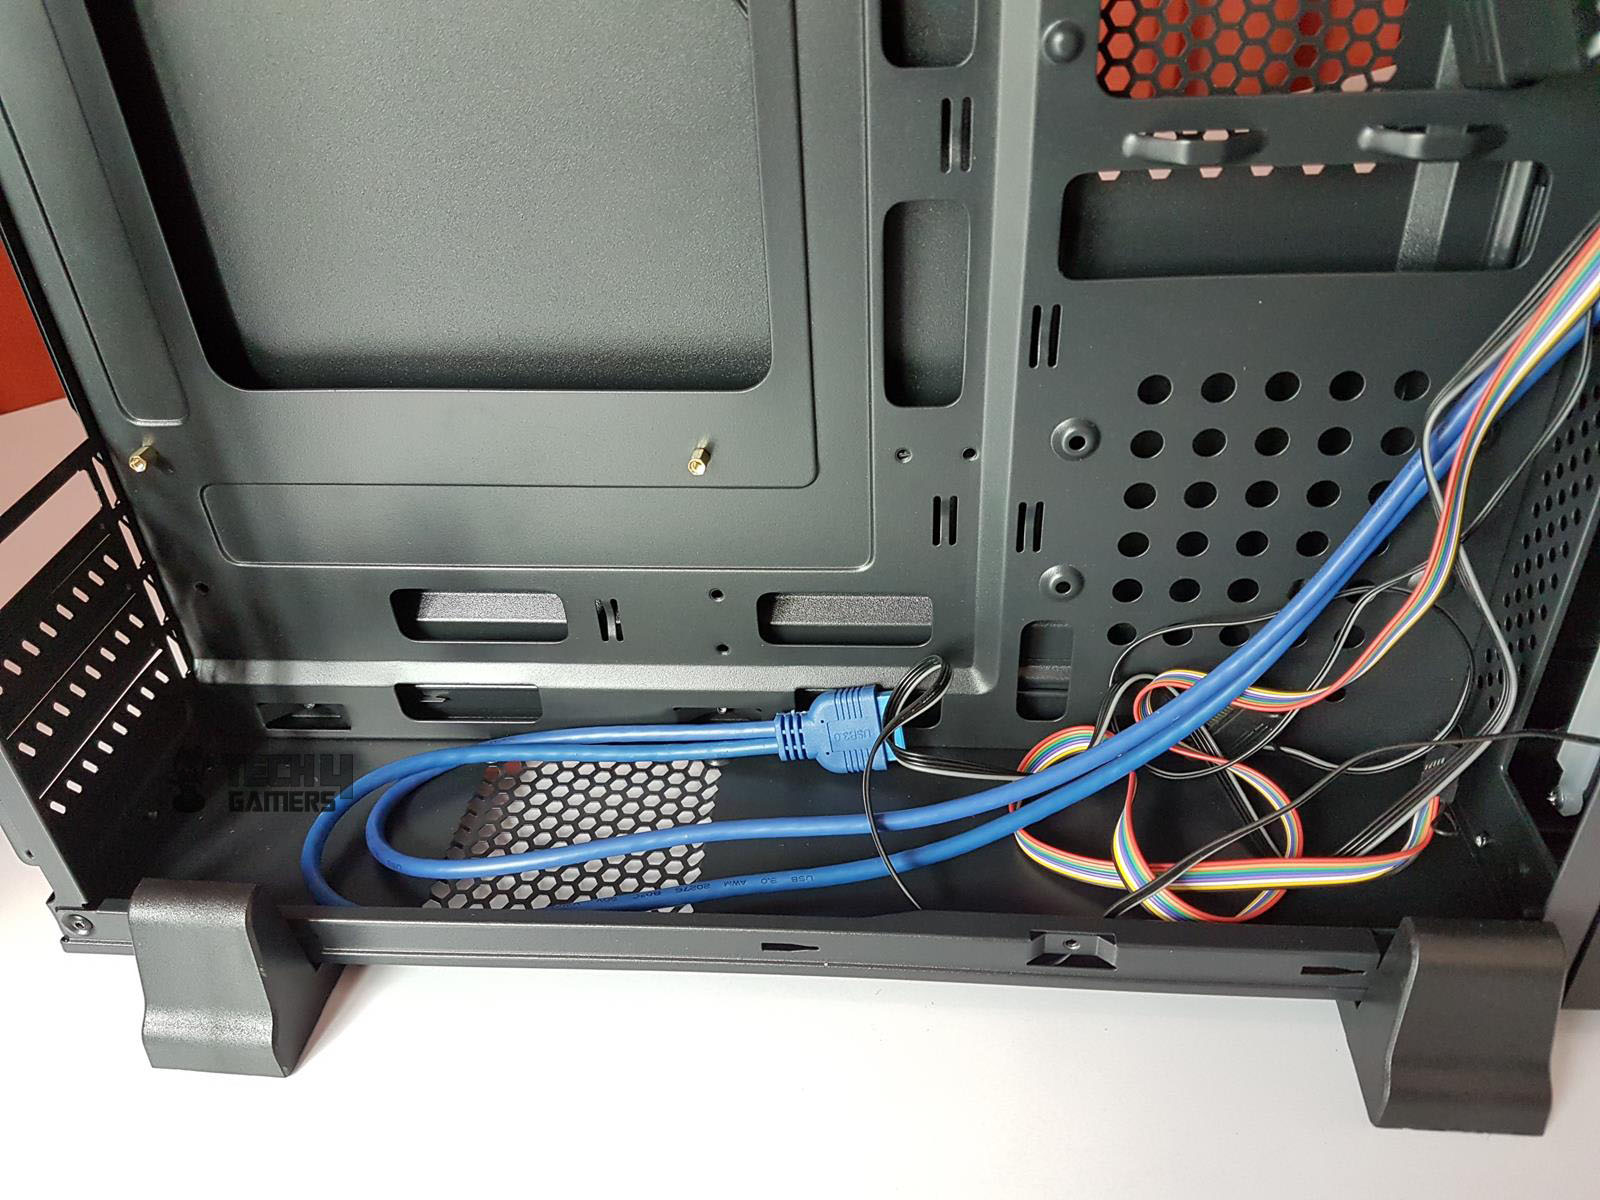
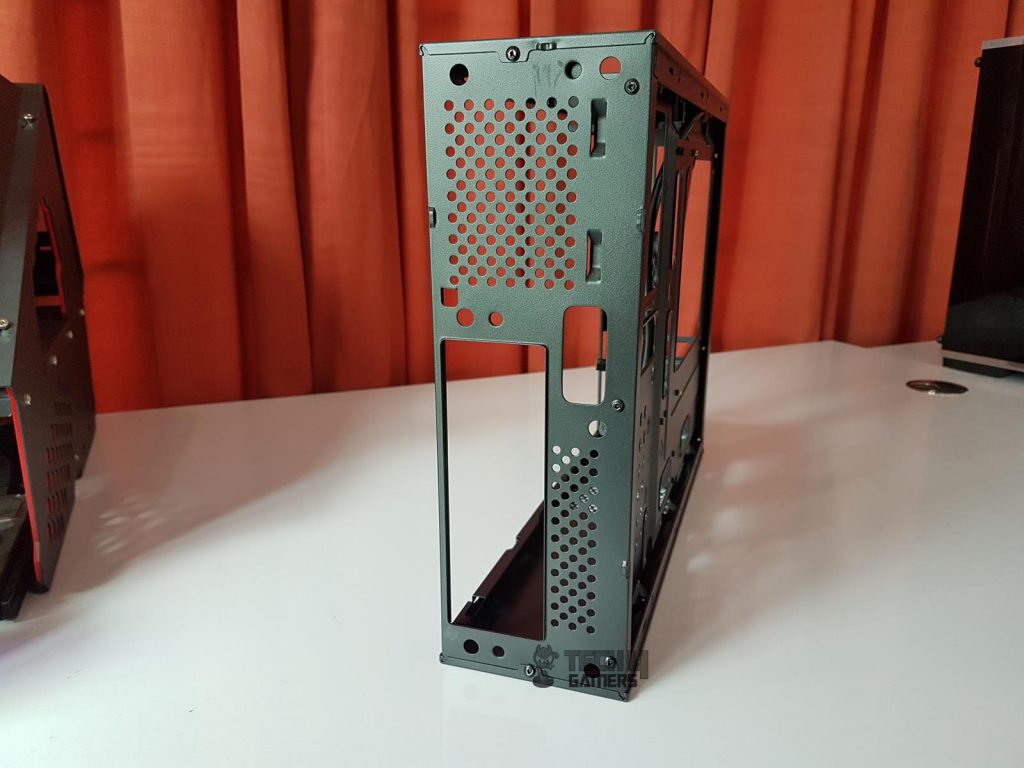
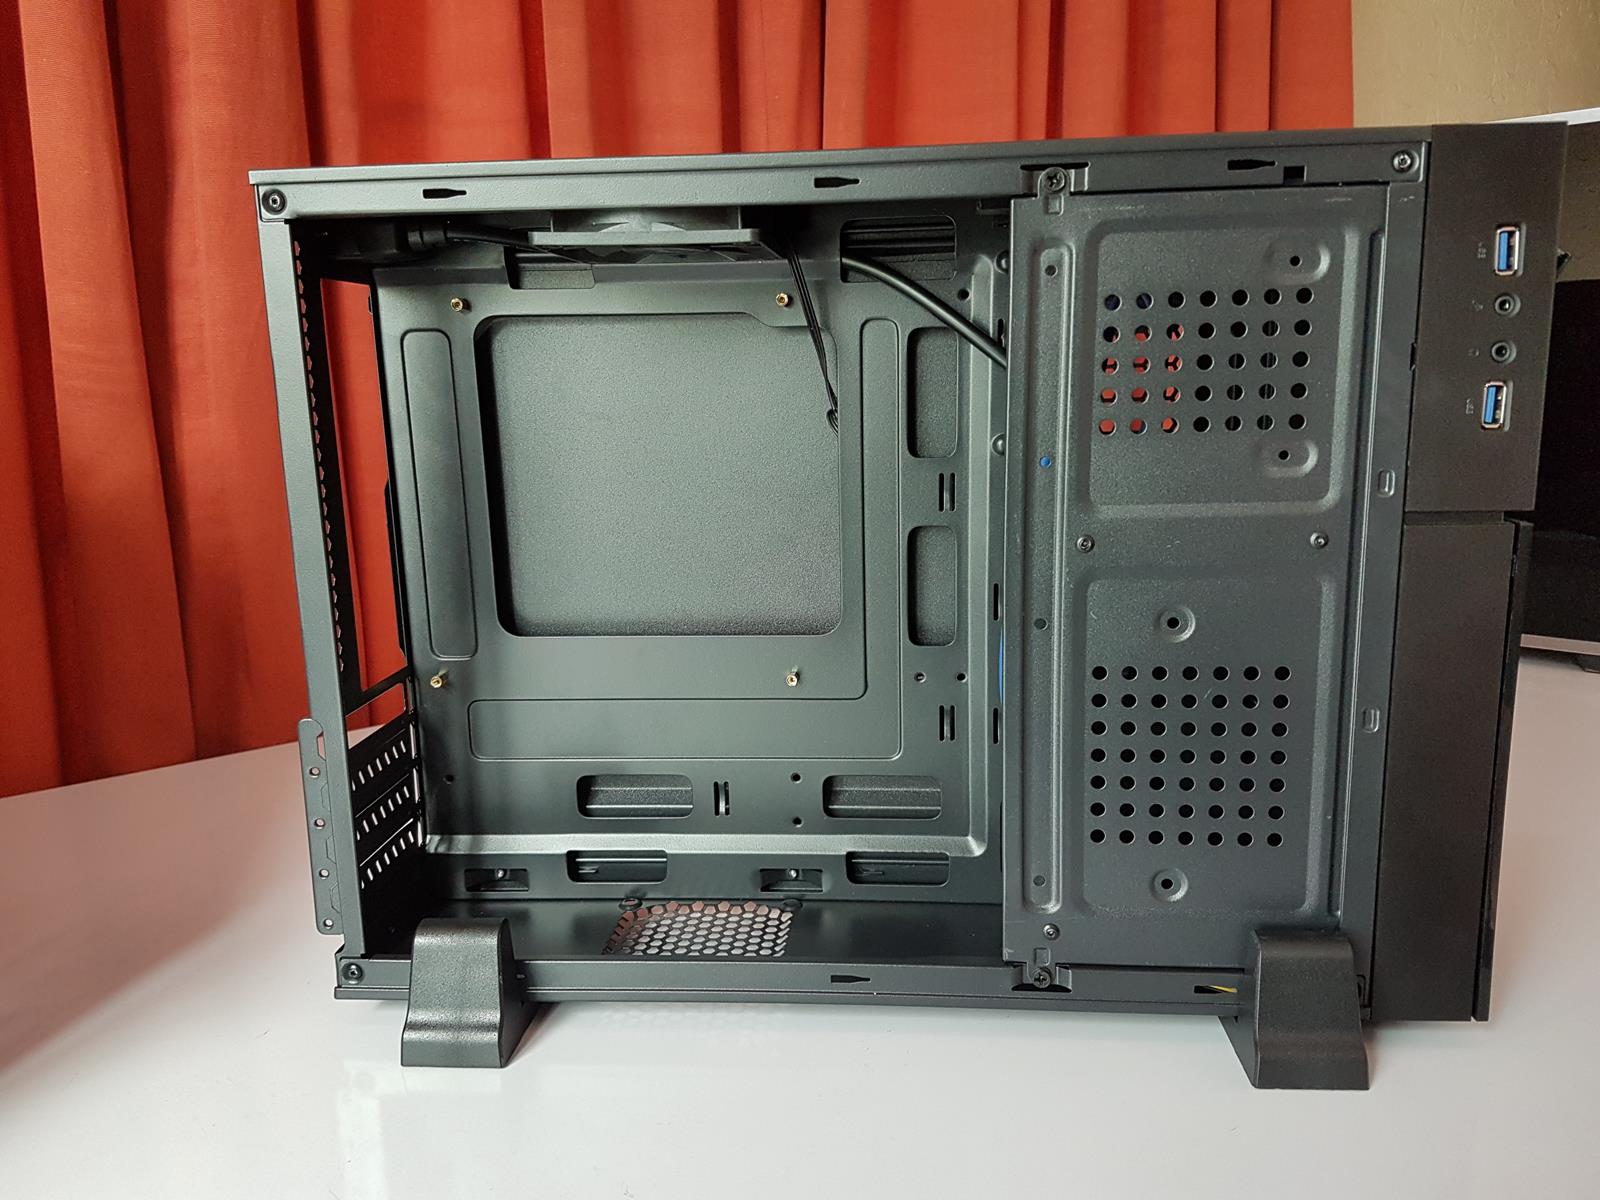
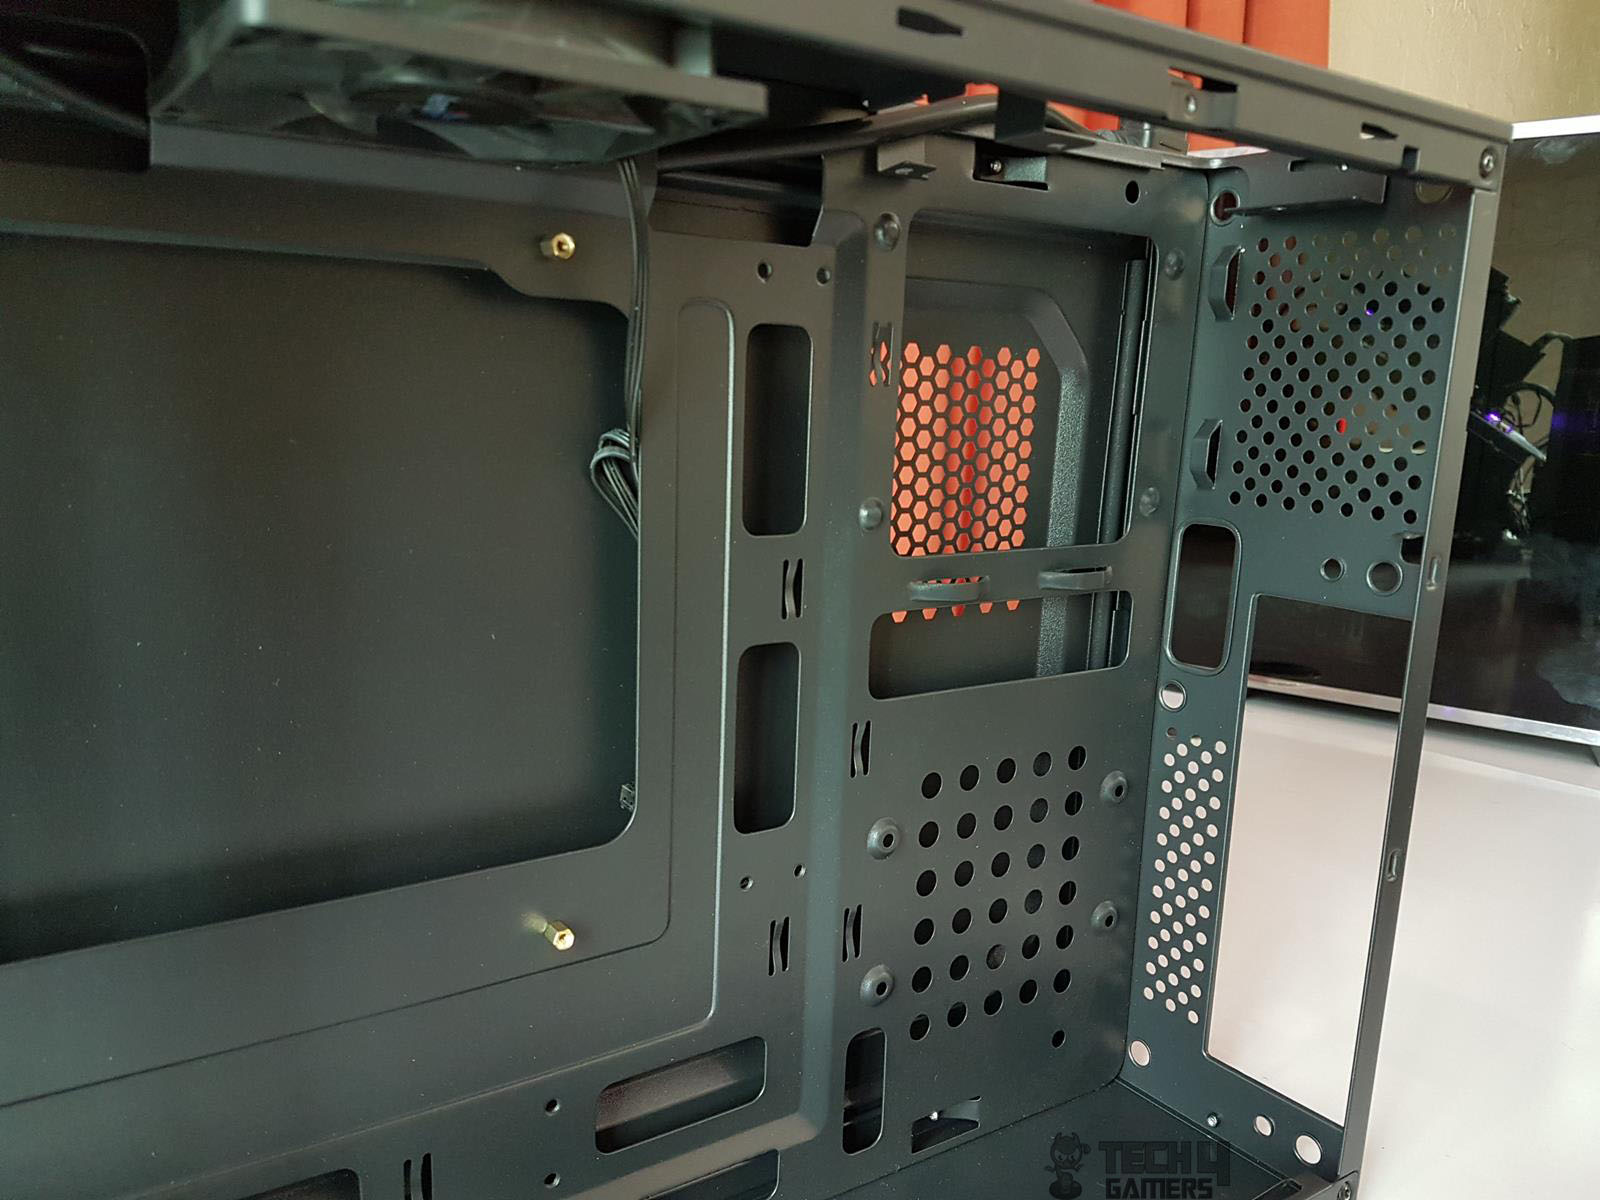
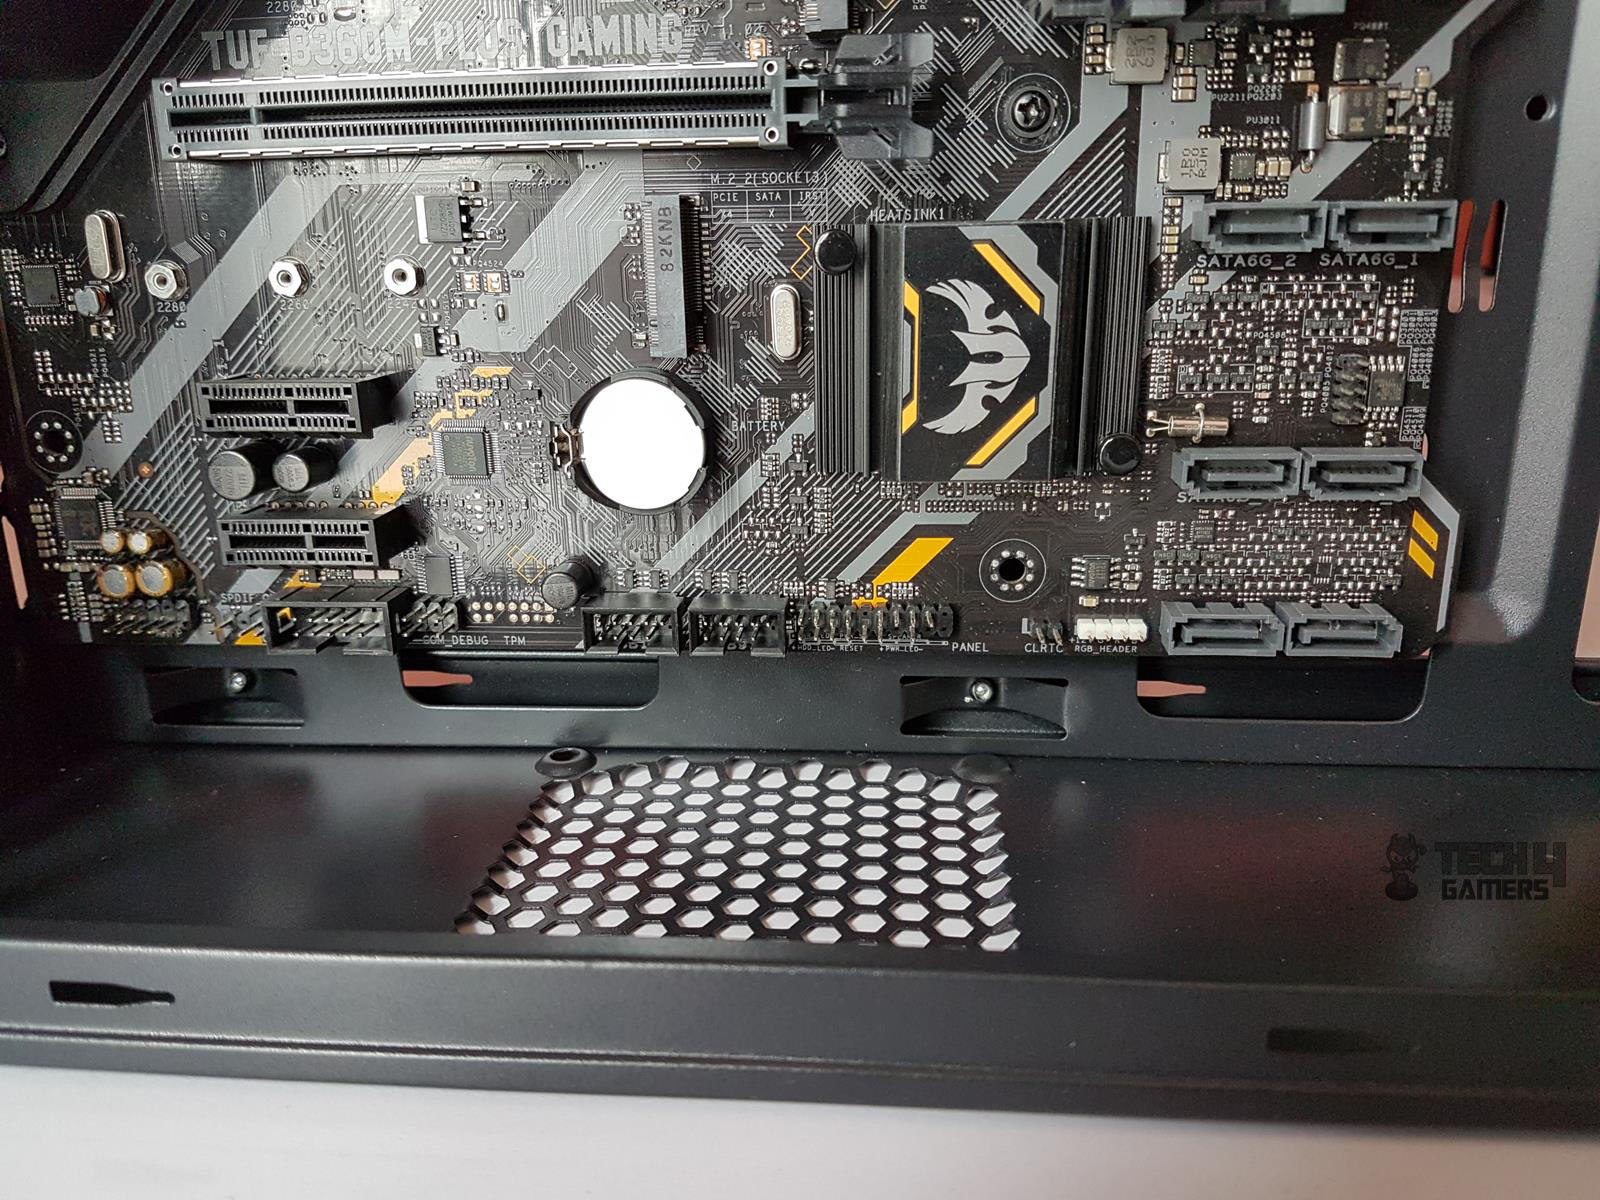
The Aerocool Playa Slim’s motherboard tray features two top, two right-side, and four bottom cutouts, facilitating cable management. A large CPU cutout eases cooler installation. Measuring 242x236mm, the tray comes equipped with four pre-installed gold-colored standoffs, and to my delight, seven more are included. The thoughtful inclusion of a black plastic wrench further enhances the installation experience.
Positioned strategically below the storage and PSU mounting area on the right side, the recessed motherboard tray not only adds a touch of sophistication but also contributes significantly to an organized setup. It’s clear that Aerocool has prioritized both functionality and user-friendly design in the Playa Slim.
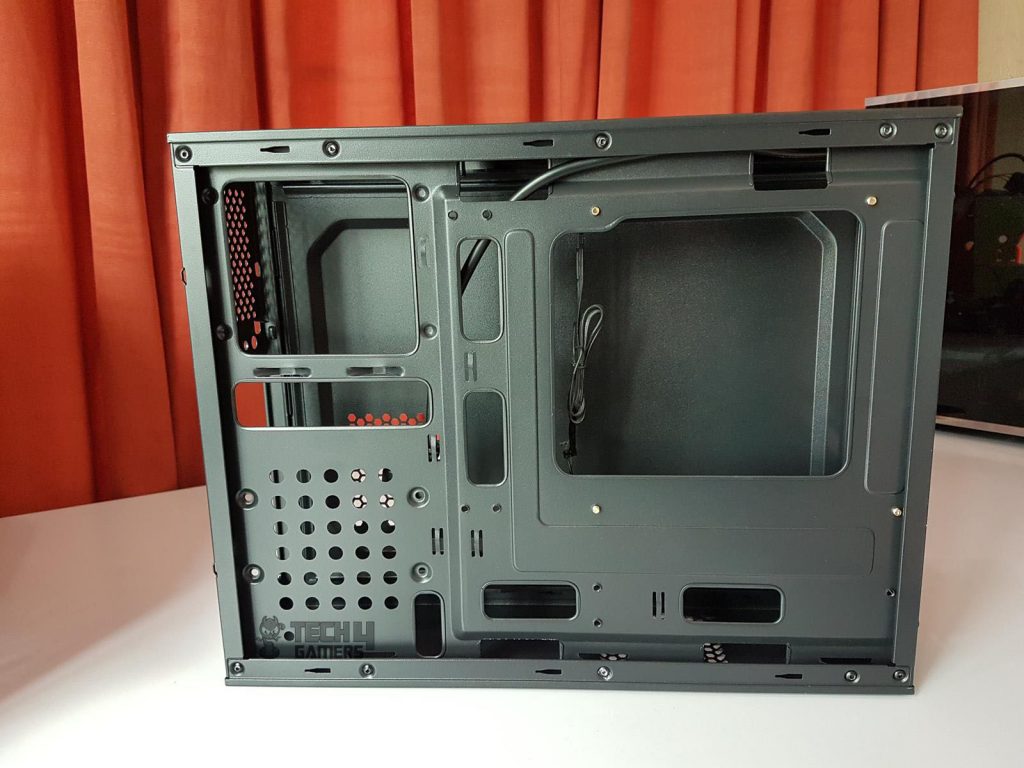
The right side of the Aerocool Playa Slim features a PSU mounting area at the top with three mounting holes. The vented mesh cover, detachable by pressing a latch between two brackets, allows exterior access. The right side plate includes two main cutouts, with the larger top one designated for PSU installation.
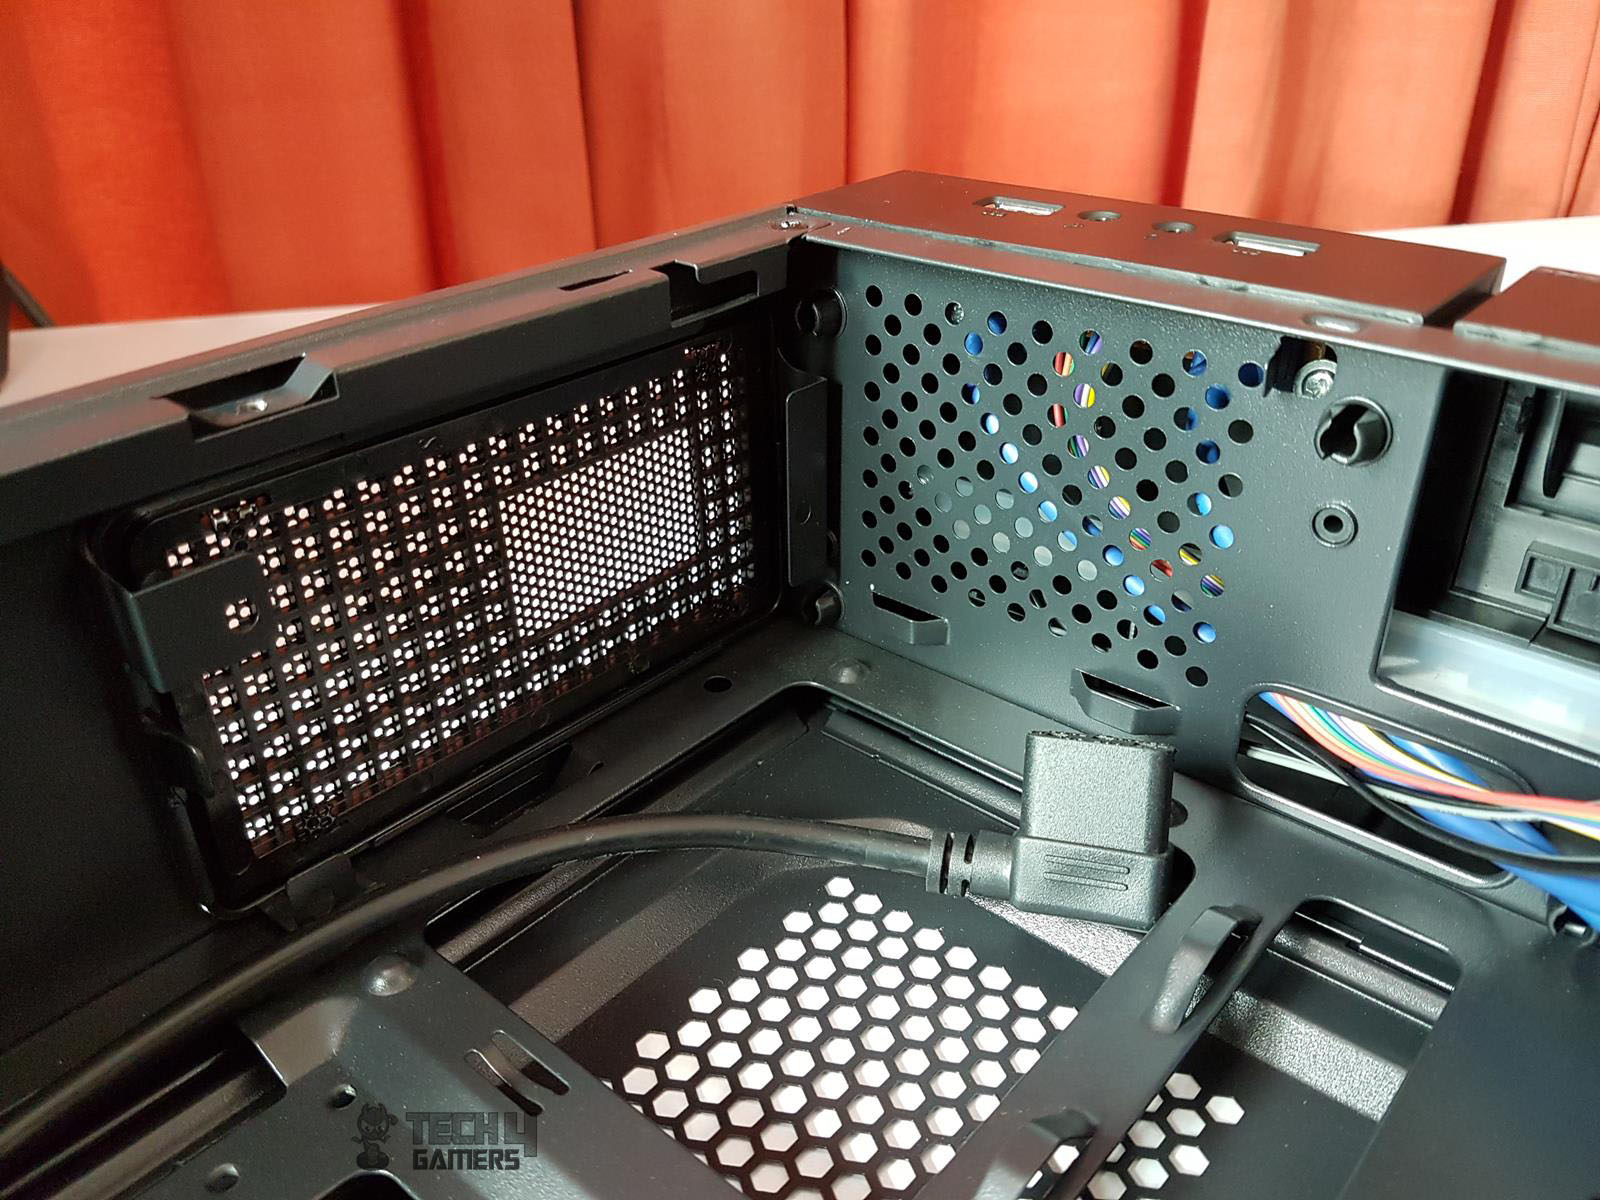
The right side panel of the Aerocool Playa Slim aligns perforations with the larger cutout for improved PSU ventilation, while the smaller cutout facilitates PSU cable routing. The remaining perforated portion includes four mounting holes for direct installation of 2.5”/3.5” storage drives onto the plate, alongside a visible 3-pin power plug.
The idea is to utilize the already constrained space in an effective yet efficient manner. A 3-pin port on the rear side of the chassis is an extension power cord. On the other hand, tlength of the cord is 320mm which is sufficient to reach the PSU mount on the front side. Once the PSU is installed, this cord is plugged into the 3-pin port on the PSU. There are certain aspects of this design that I will cover in the installation section.
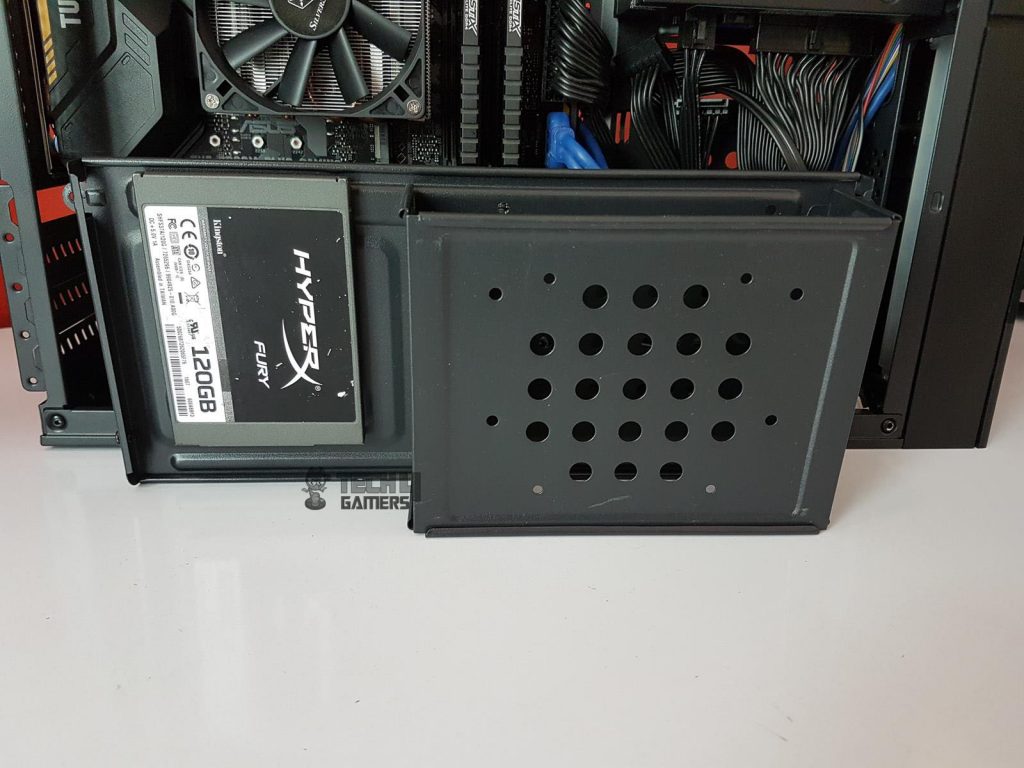
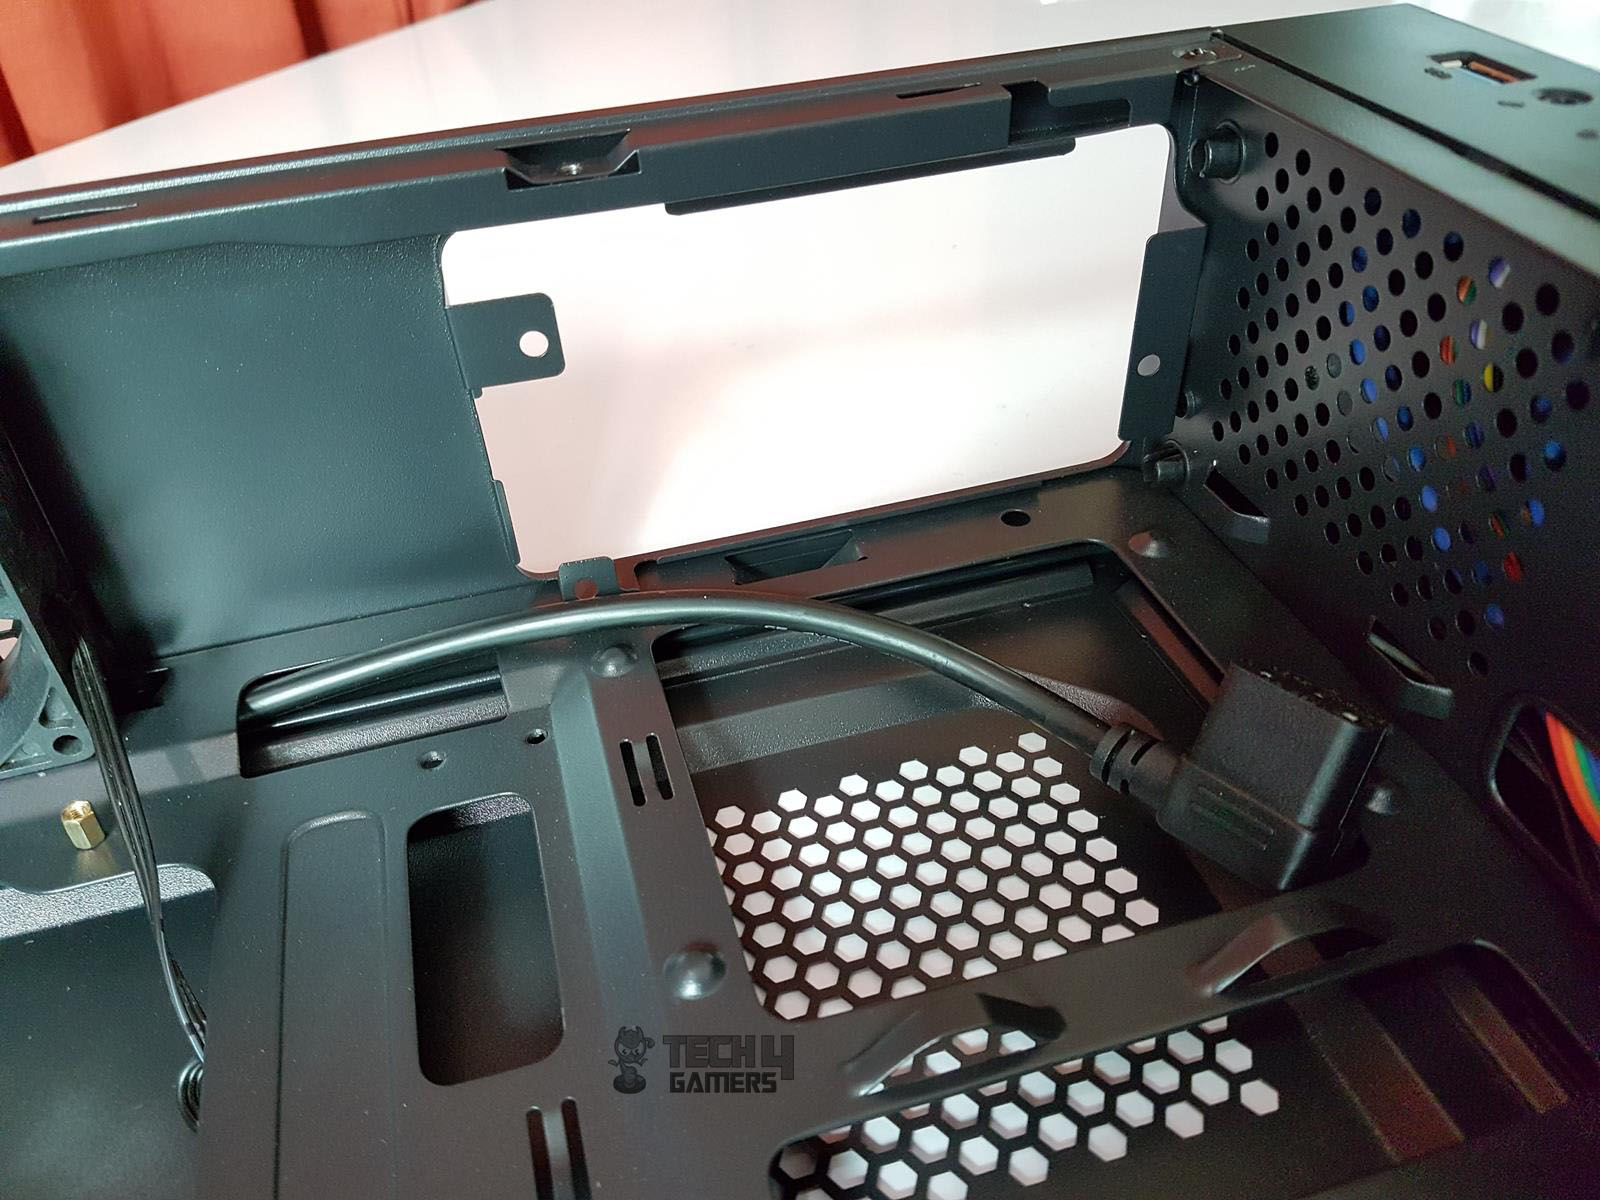
The drive rack in the Aerocool Playa Slim boasts a perforated design with versatile mounting holes. At the lower end, it accommodates a 5.25” drive or serves as space for a 2.5” or 3.5” storage drive if a 5.25” drive is unused. The upper portion of the rack features a mounting point for a 2.5” storage drive, facing the PSU directly.
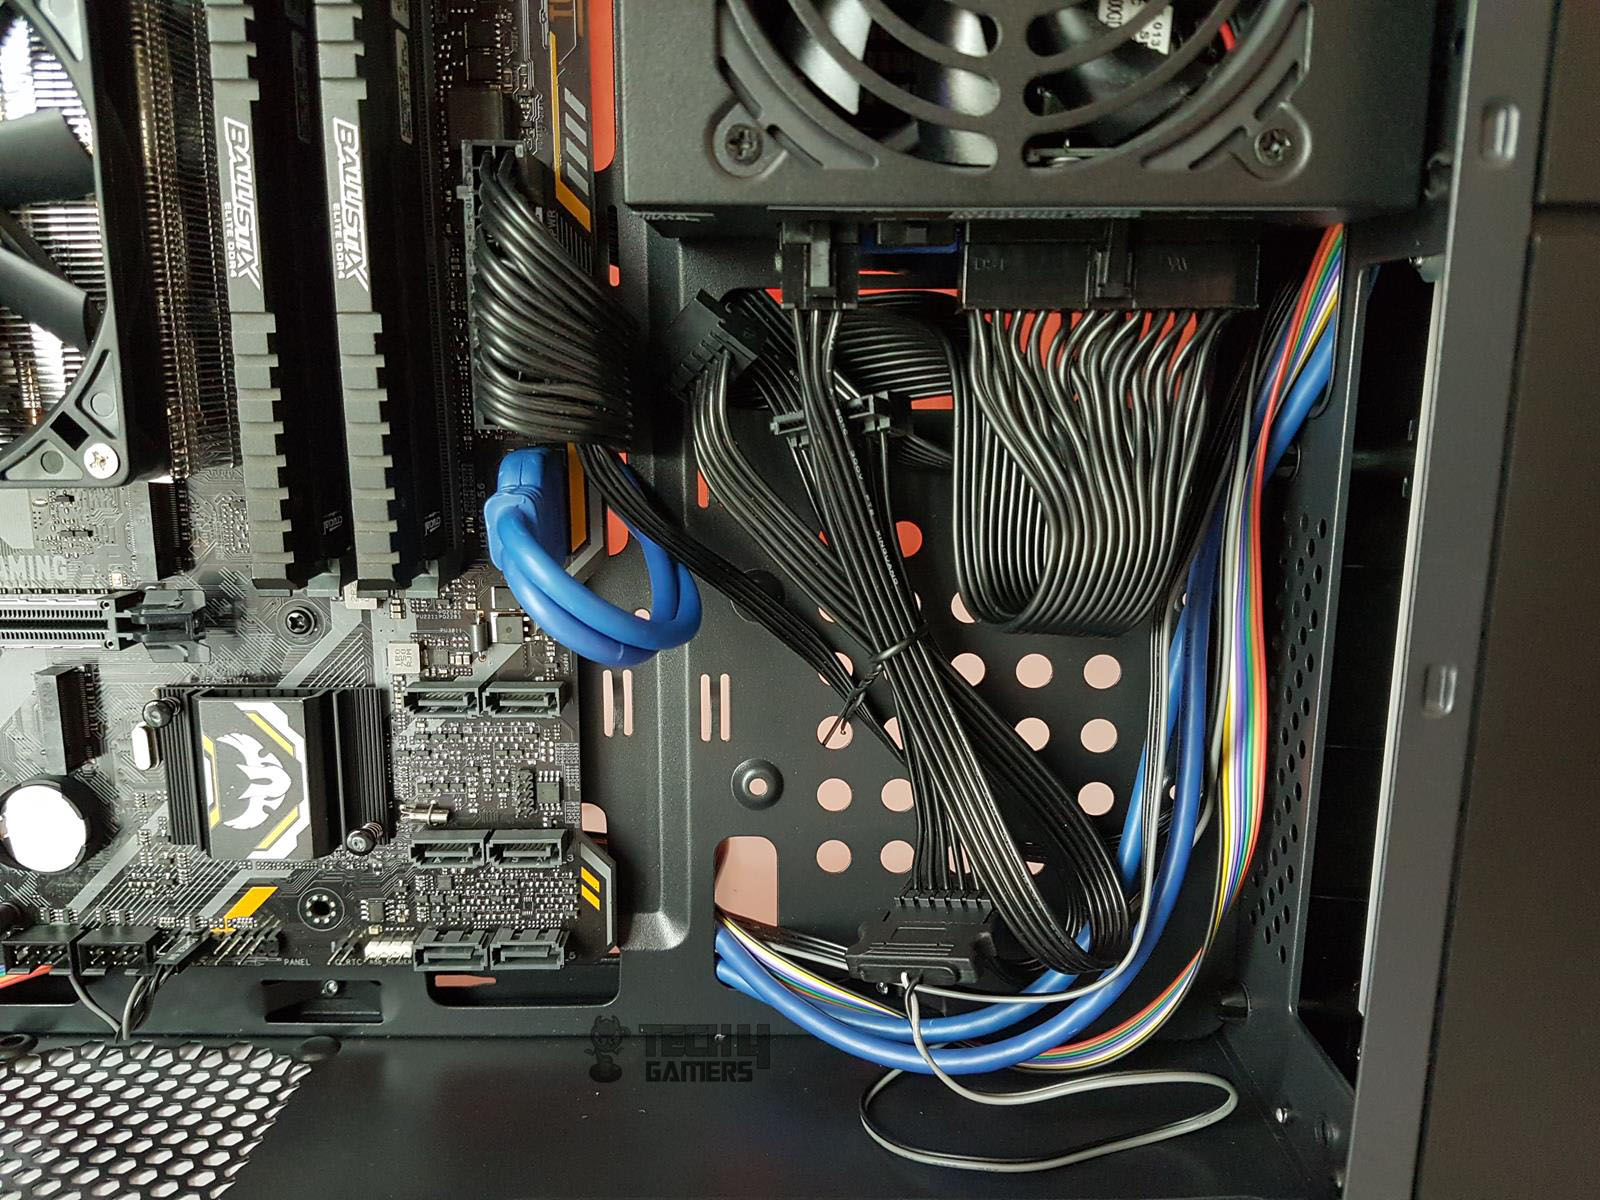
However, managing cables for all three drives simultaneously poses a considerable challenge. Opting for a modular PSU is strongly recommended, especially for those less inclined toward intricate cable management. Both side panels offer approximately 7-8mm of indentation, providing some space for cable organization.
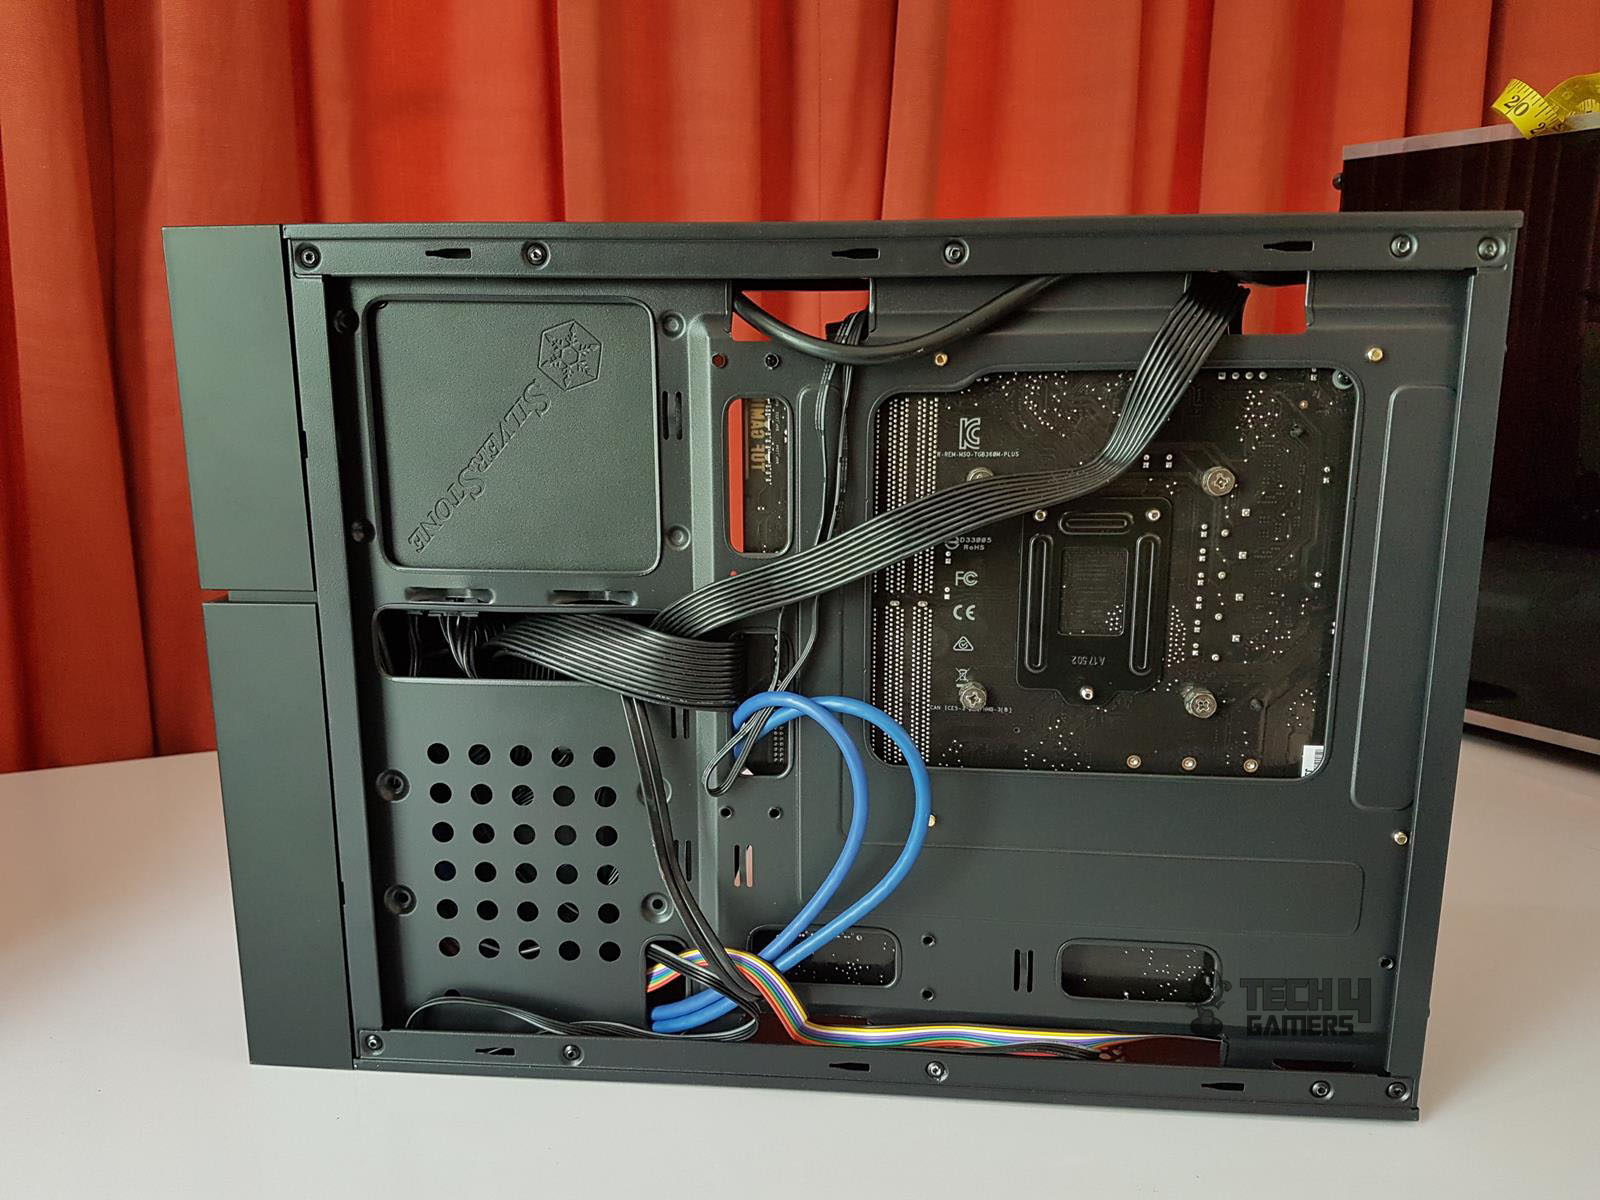
Backside
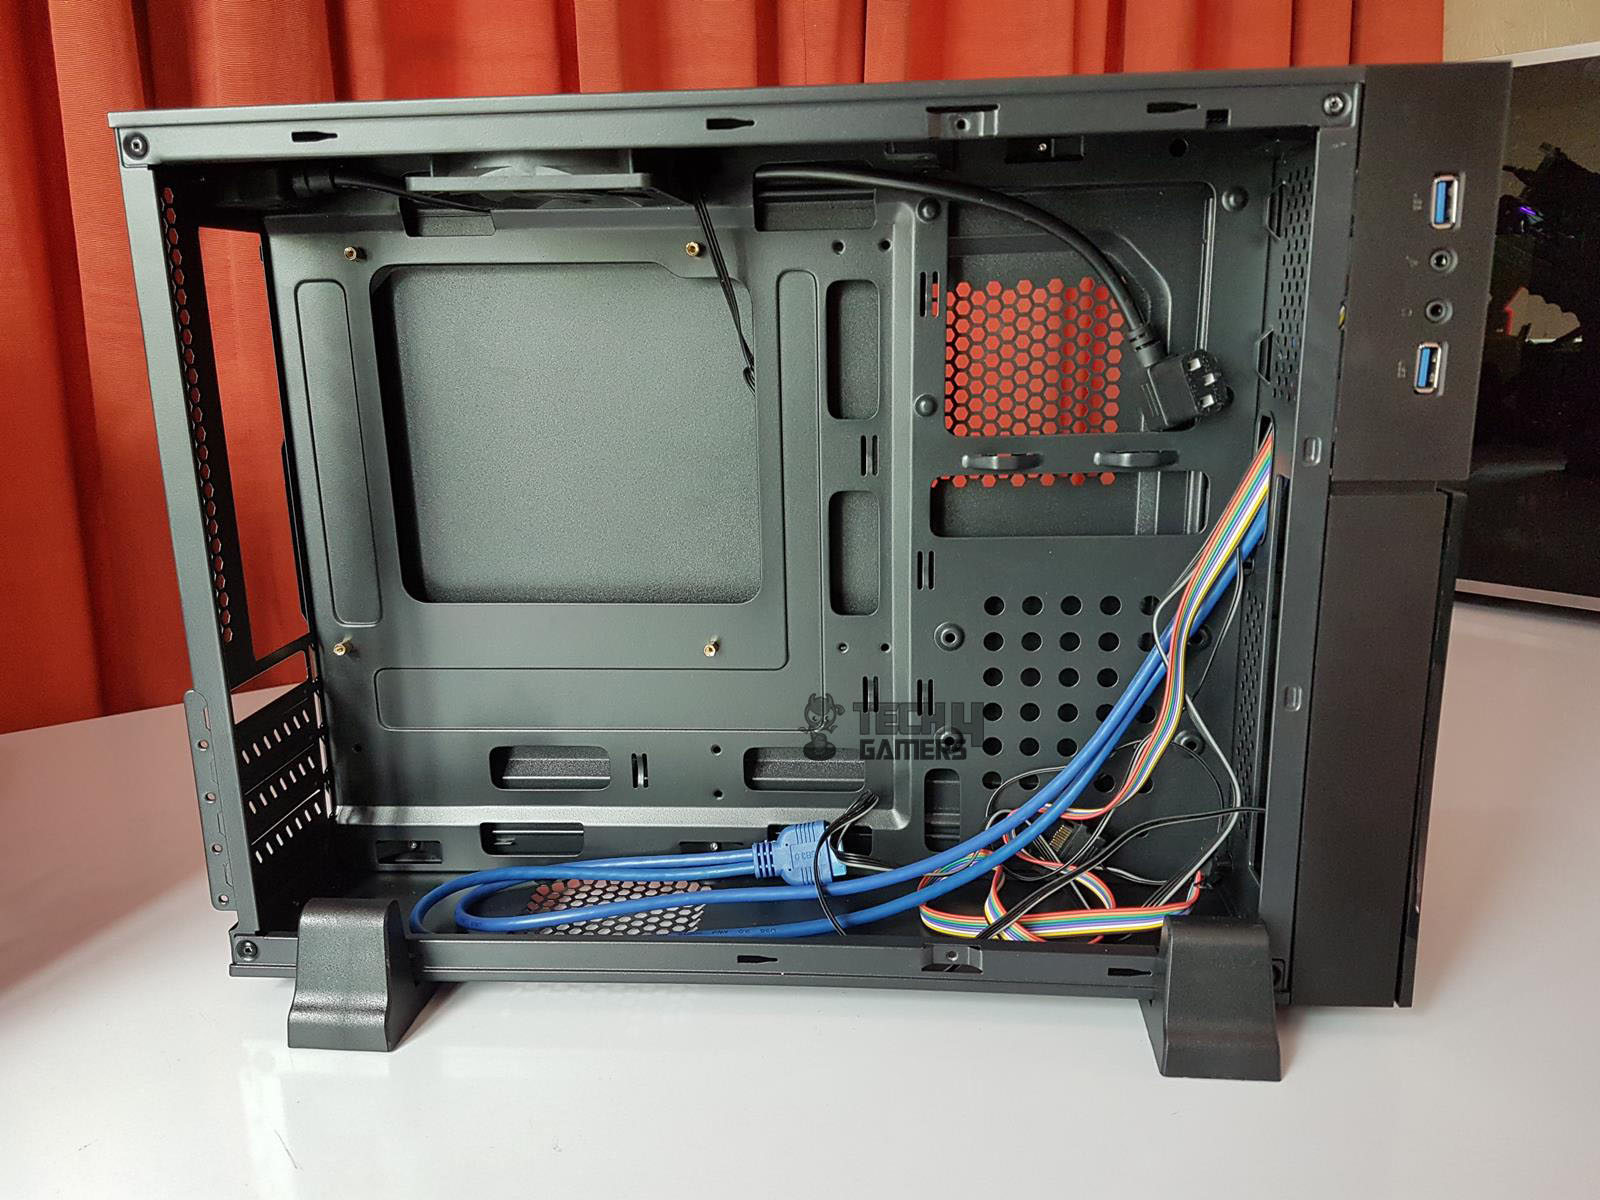
The backside of the chassis has 5 cable tie points. There is hardly any space for cable management other than what the indent on the side panel has to offer. Well, I can’t complain given the budget orientation of this chassis. We can see the power cord is already routed through the top two cutouts.
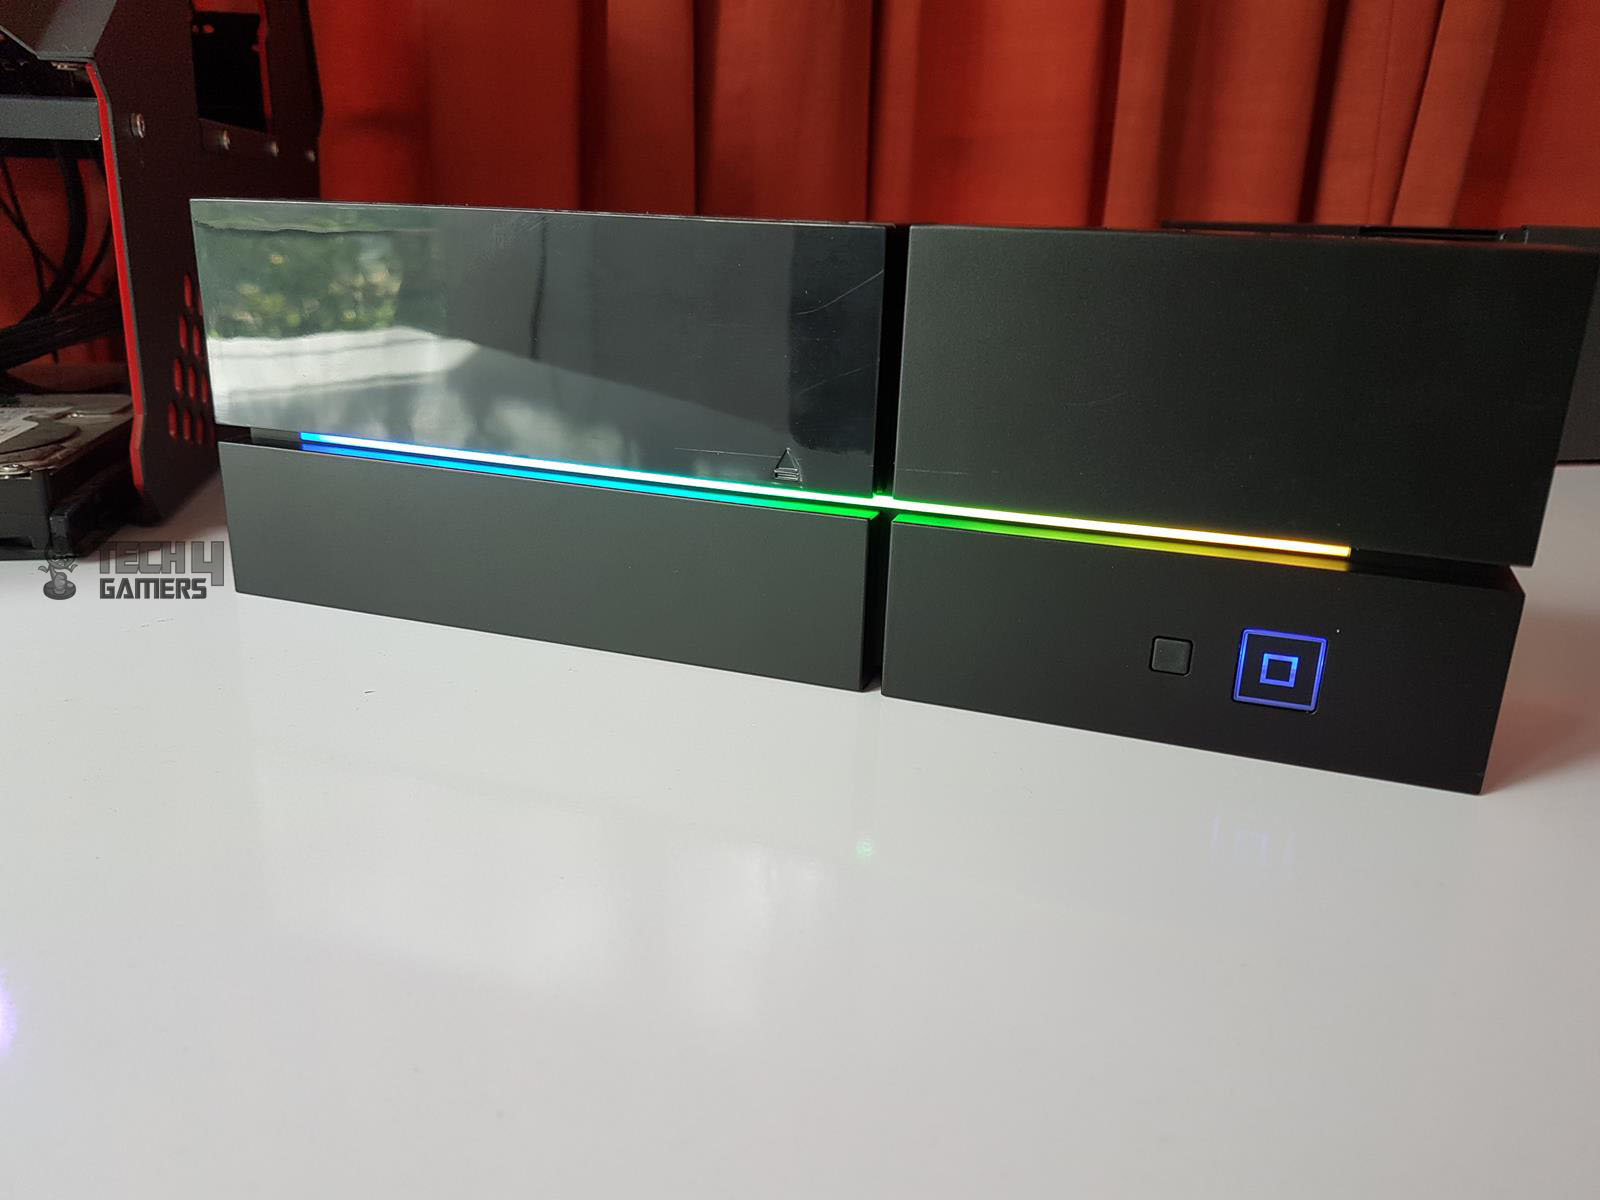
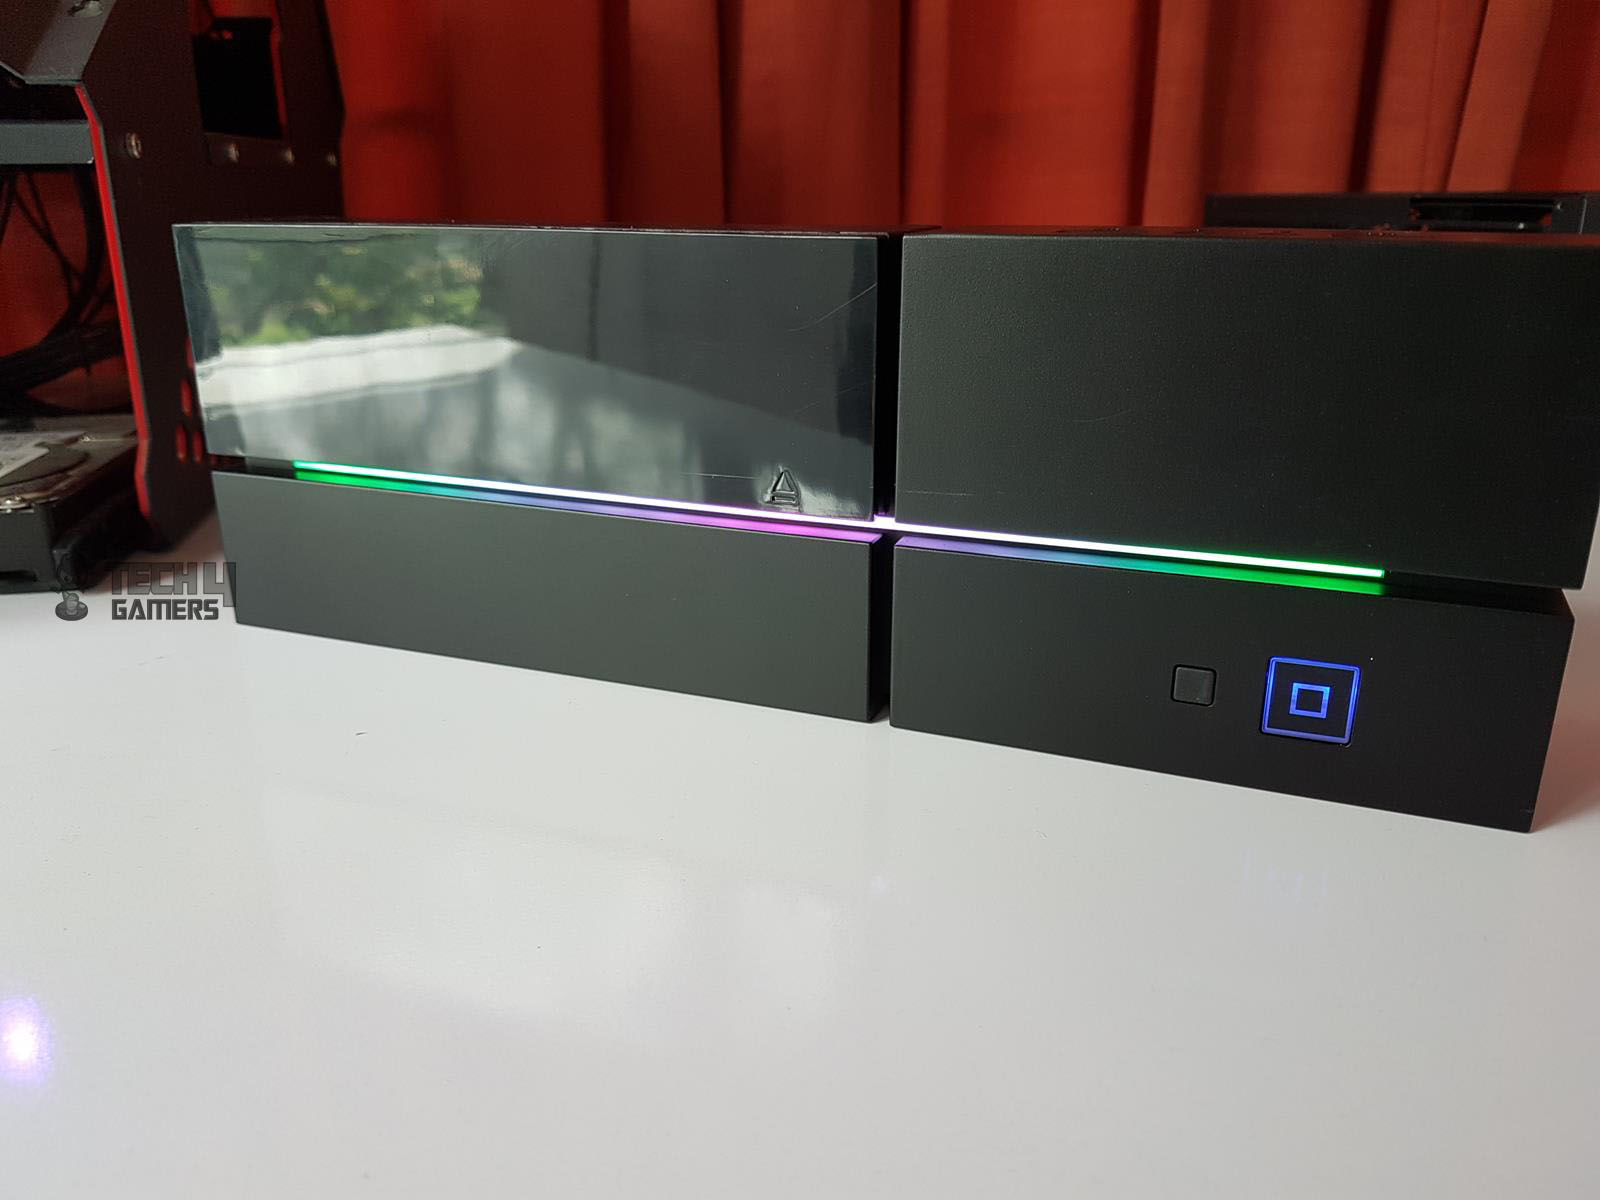
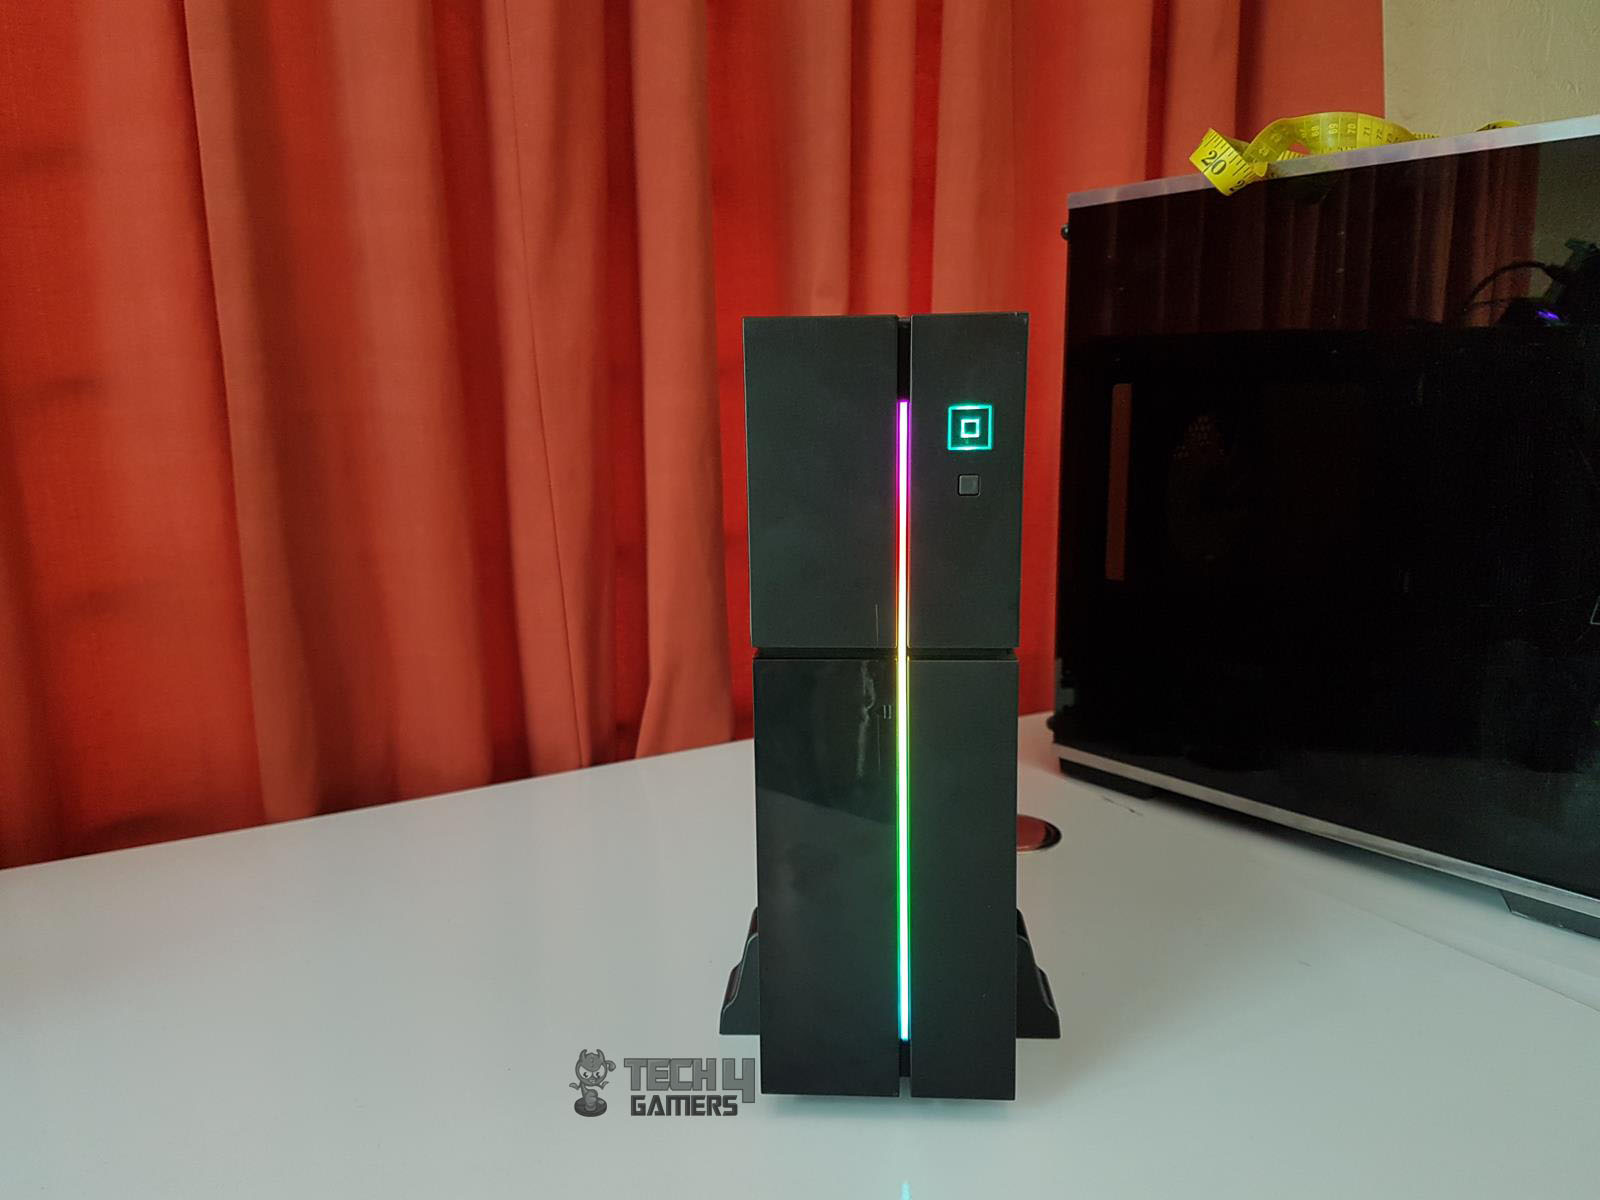
RGB Flow
The chassis features a front panel with an integrated RGB lighting solution, consisting of a strip with 16 addressable LEDs. The color diffusion is even, enhancing the overall aesthetics without being excessive. However, there is no brightness control; instead, lighting modes can be toggled using a button located alongside the Power button on the left side. Here are few pictures of the RGB lighting on this chassis:


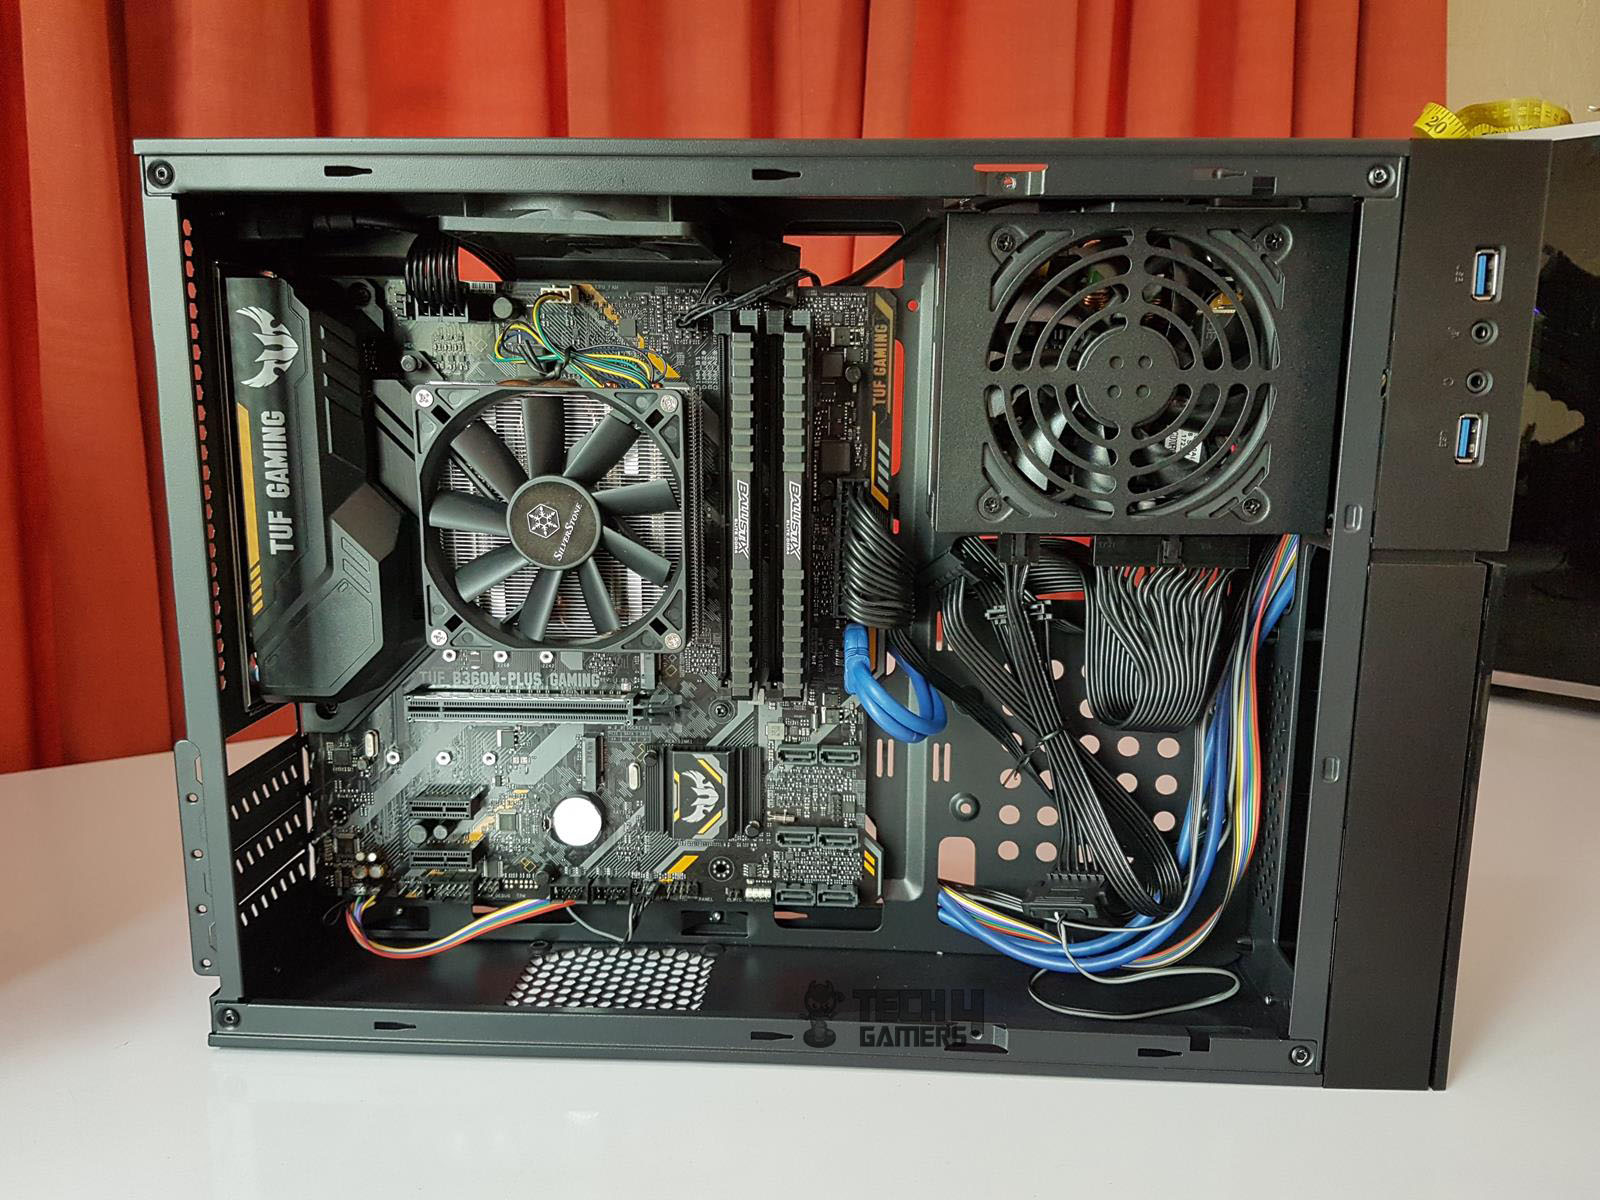
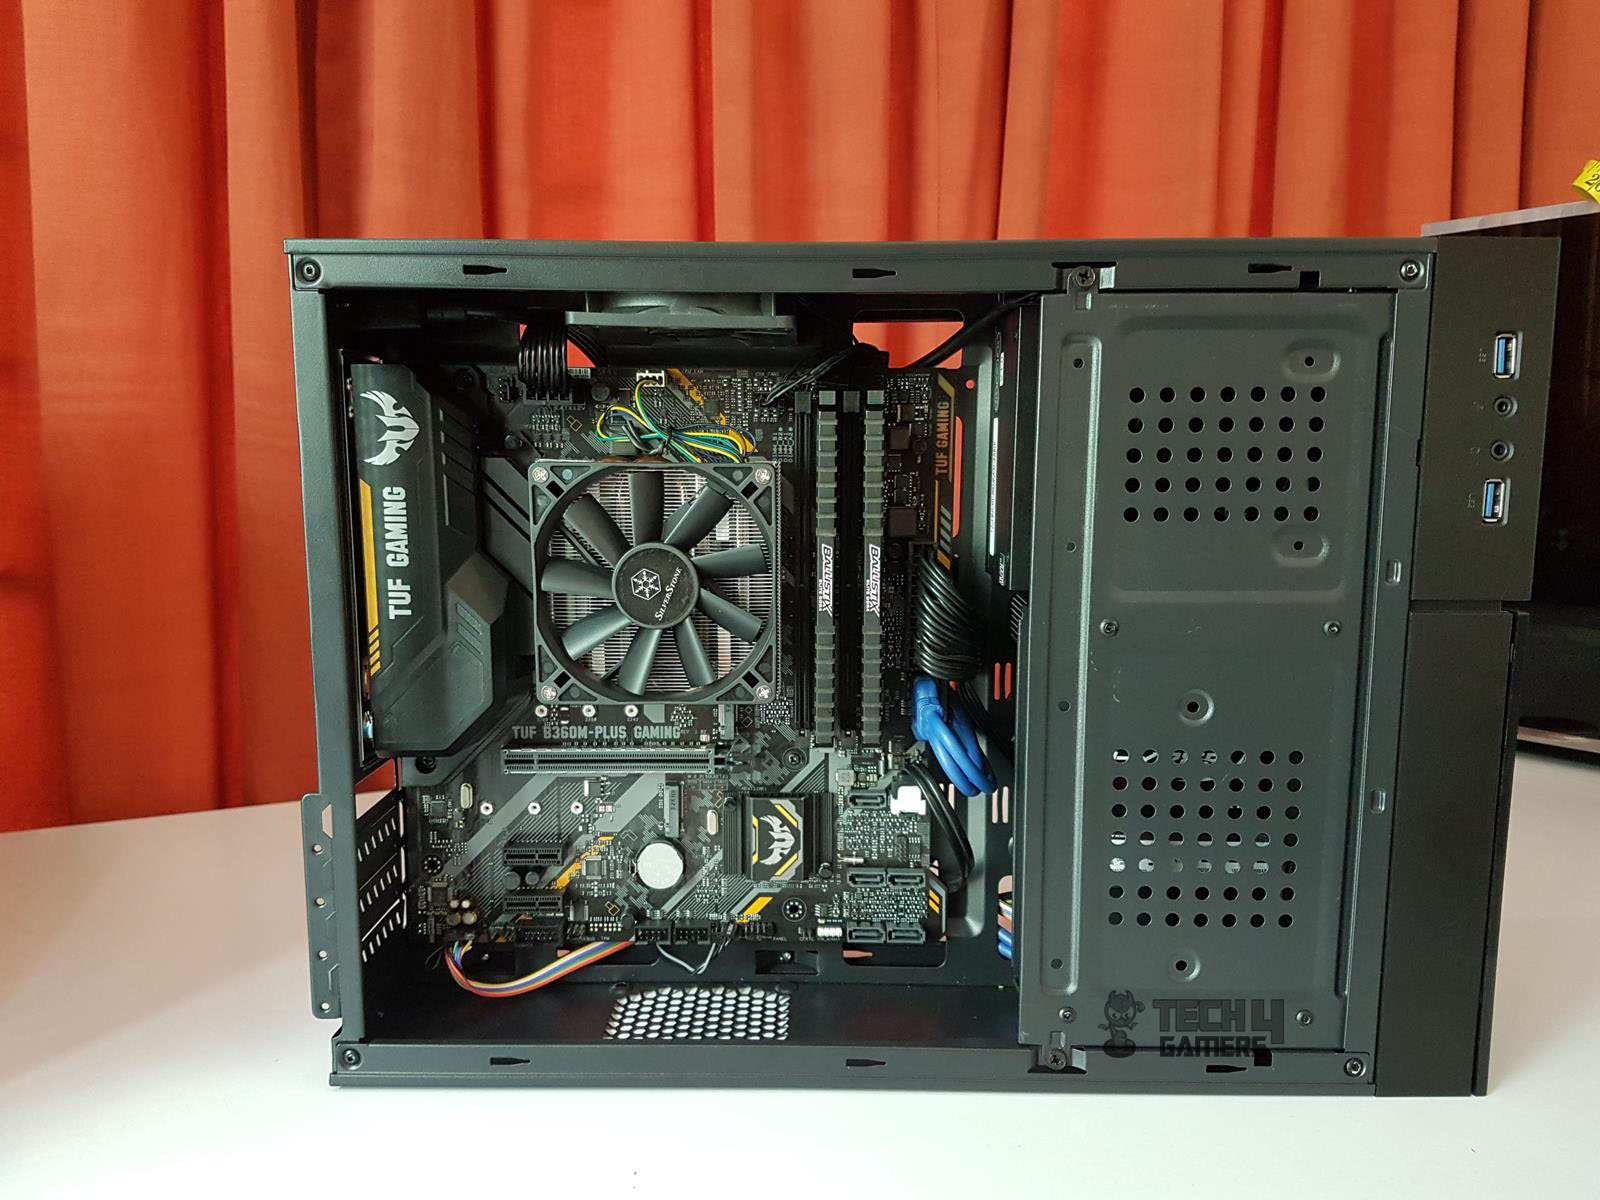
Test build And Experience
Following components were used for the test build:
- Intel i7 8700
- SilverStone Argon Series AR11
- Asus TUF B360M-Plus Gaming Motherboard
- Ballistix Elite 2x4GB DDR4 @ 3000MHz
- HyperX 120GB 2.5” SSD
- SilverStone SF500-G SFX PSU
Let’s move on to the building experience.


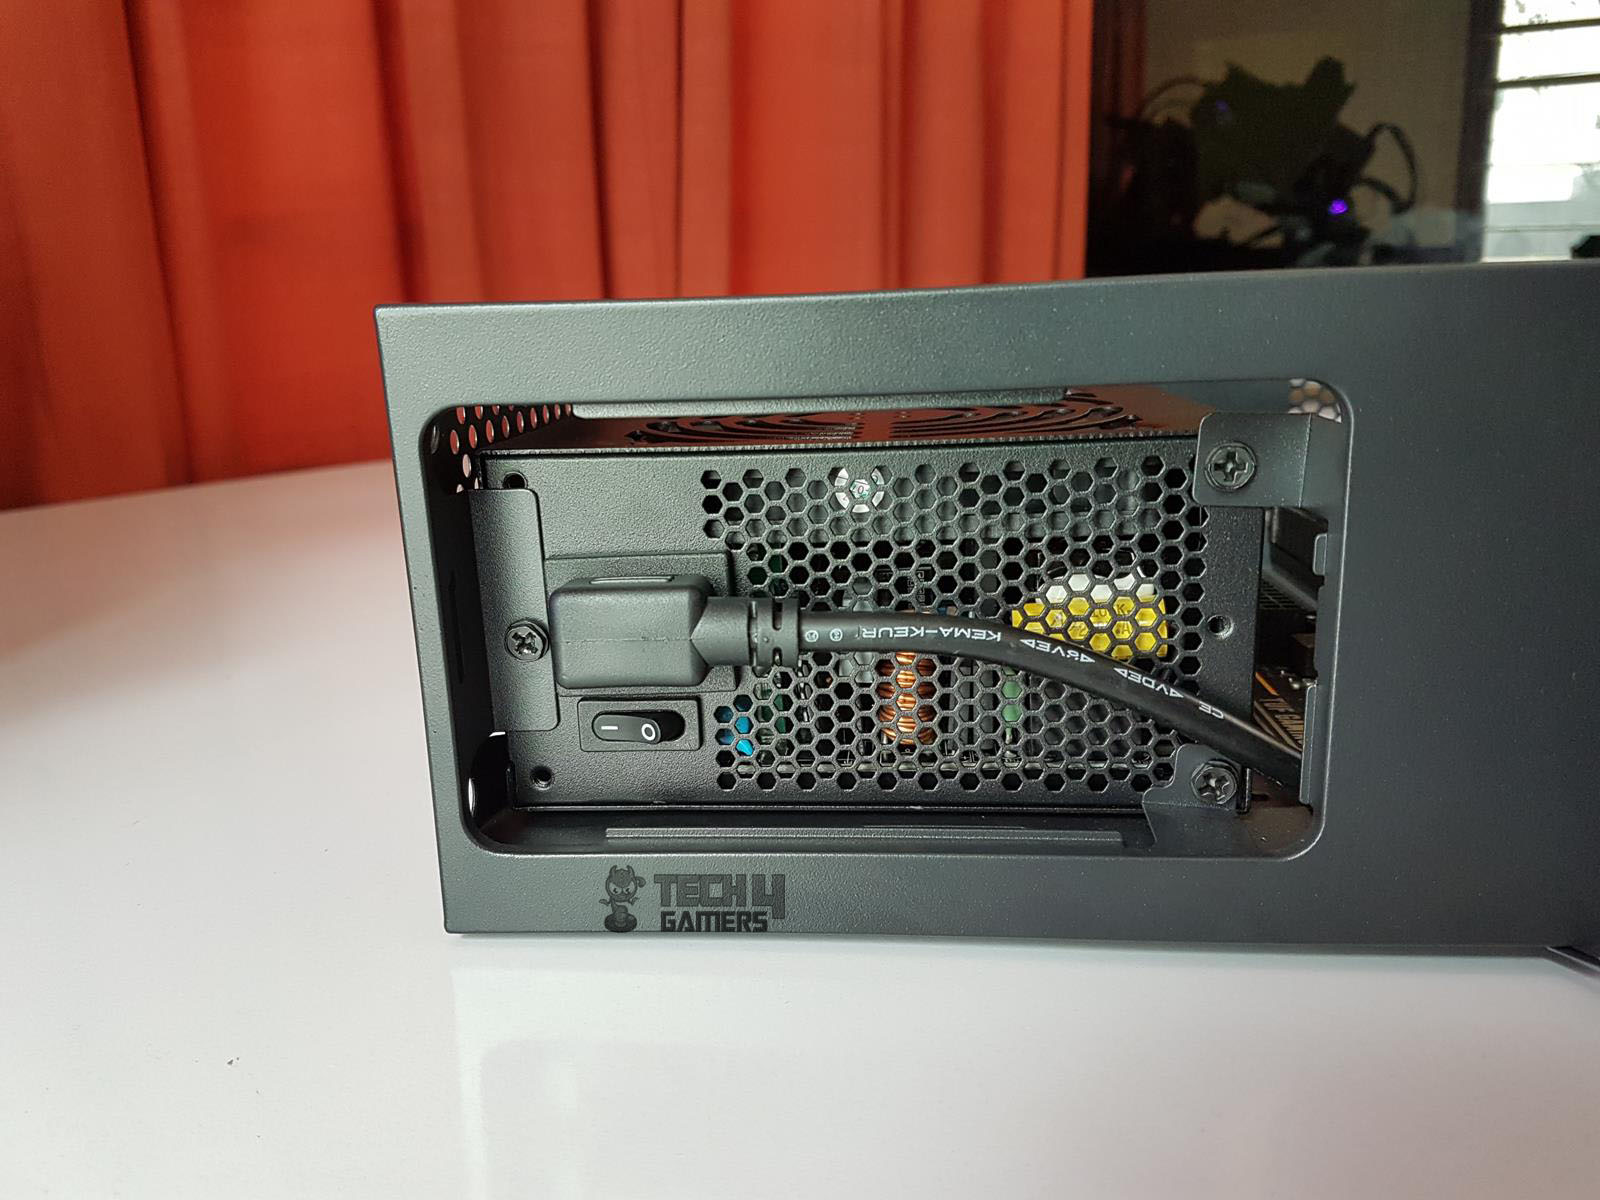
For some reason, the three mounting holes for the PSU were not fully aligned with the mounting holes on the PSU. I was able to align the two on the left side but it puts the third one out of the alignment by half of the hole’s size and I had to use a bit of force to align them before installing.
After installing the PSU, I noticed a design issue – the meshed cover on the PSU mount is only accessible from inside the chassis. There’s no power on/off button at the rear; it’s just an extension power cord. Forgetting to turn on the PSU button means opening the side panel, pressing the latch to remove the top cover, and then accessing the PSU button, which can be frustrating.
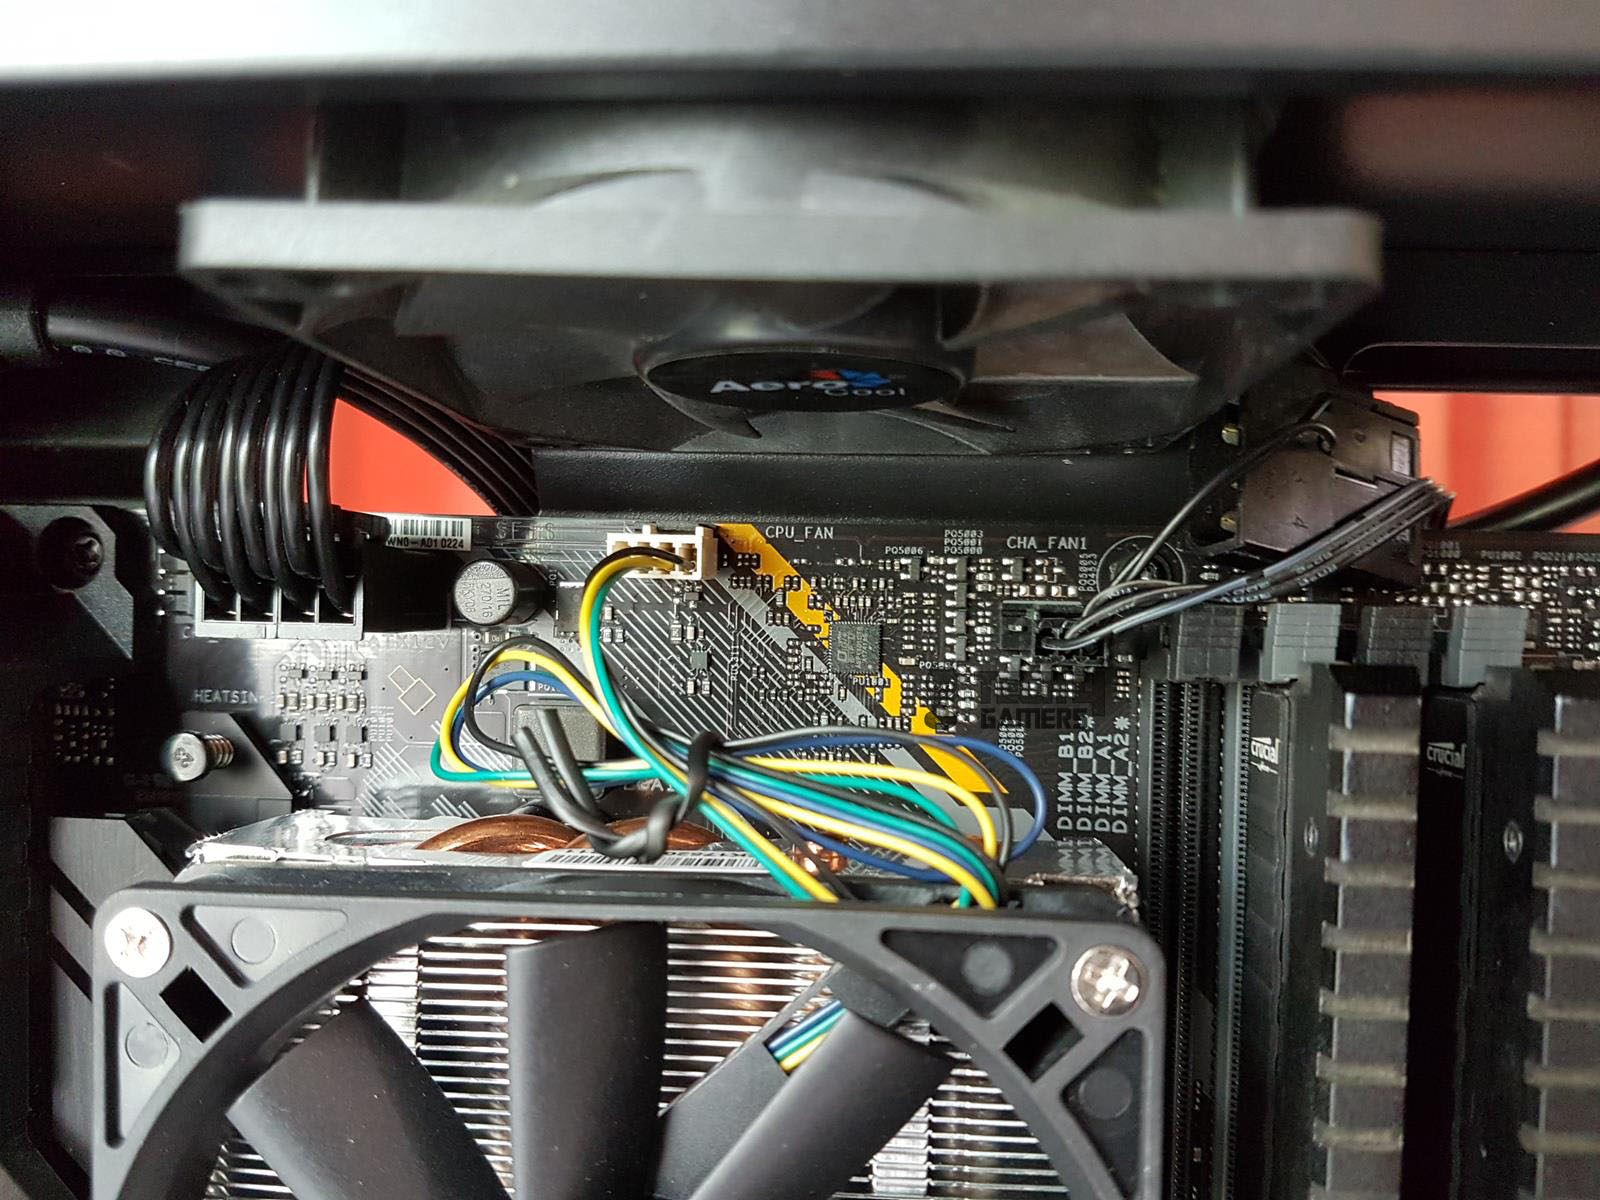
The extension cord has a 90° connector, limiting options. Trying to replace it with the PSU-provided cord leaves no room for the top cover. The I/O panel’s cables, especially the USB 3.0 ones, are excessively long, and the blue color is a visual mismatch. Flat cables from the SilverStone PSU are a plus for clean routing behind the motherboard, enhancing aesthetics.
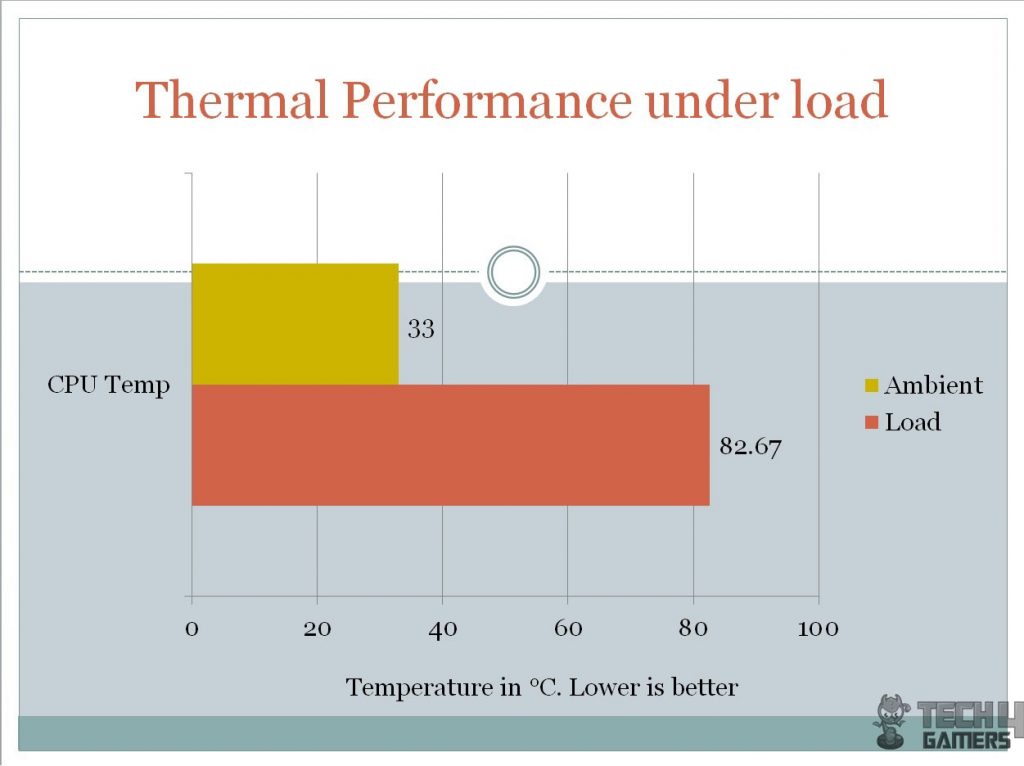
Thermal Testing
Thermal testing was done using the AIDA64 for 30 minutes. Since this is not a conventional tower design, there was no point taking the front panel off as there is no fan mounting provision on the front side and as the PSU and storage drives are directly facing the front panel, the resistance to the is quite high. The testing was done with all the panels on.
CPU was stressed at 4.5GHz and the cooler’s fan was set to run at its full speed. The average of all the cores’ temperature is taken and recorded as it is. For reference, I have included the ambient temperature reading as well. All the reported temperatures are in °C. During the stress test, the CPU did 82.67°C.
Acoustics
I did not use the sound meter to take the acoustic readings due to uncontrolled environmental noises. But based on my experience with fans testing, the overall sound experience was nearly silent. This is with the custom fan curve for the CPU cooler’s fan and top fan at full speed.
Should You Buy It?
After testing, I was able to determine the ideal use case for the Aercool Playa Slim.
Buy It If:
✅You want a budget-friendly SFF case: Its smaller footprint renders it perfect for those interested in building a value-oriented small form factor PC.
✅You intend on utilizing integrated graphics: Given the lack of support for full-sized graphics cards, the Aerocool Playa Slim is ideal for those who are looking to rely solely on the APU for graphical processing.
✅You have a low-profile graphics card: The Aerocool Playa Slim only supports low-profile graphics cards.
Don’t Buy It If:
❌You want a full-sized GPU: Unfortunately, the Aerocool Playa Slim is not able to fit a full-sized graphics card.
Conclusion
The Aerocool Playa Slim, a redefined version of the CS101 chassis, offers a compact and versatile tower or desktop option. Constructed with steel and plastic, the chassis showcases a sleek cross design on the front panel with vibrant RGB flow lighting. Supporting microATX and mini-ITX motherboards, it accommodates low-profile PCIe slots and graphics cards up to 240mm without an optical disk drive.
The unique drive rack serves cable management and acts as a storage drive cover, enhancing aesthetics. However, some limitations include a 78mm height cap for graphics cards, non-reusable pre-installed PCIe slot covers, and challenges in cable management without a fully modular PSU. The chassis provides flexibility with vertical or horizontal placement, featuring a clean I/O panel on the left side.
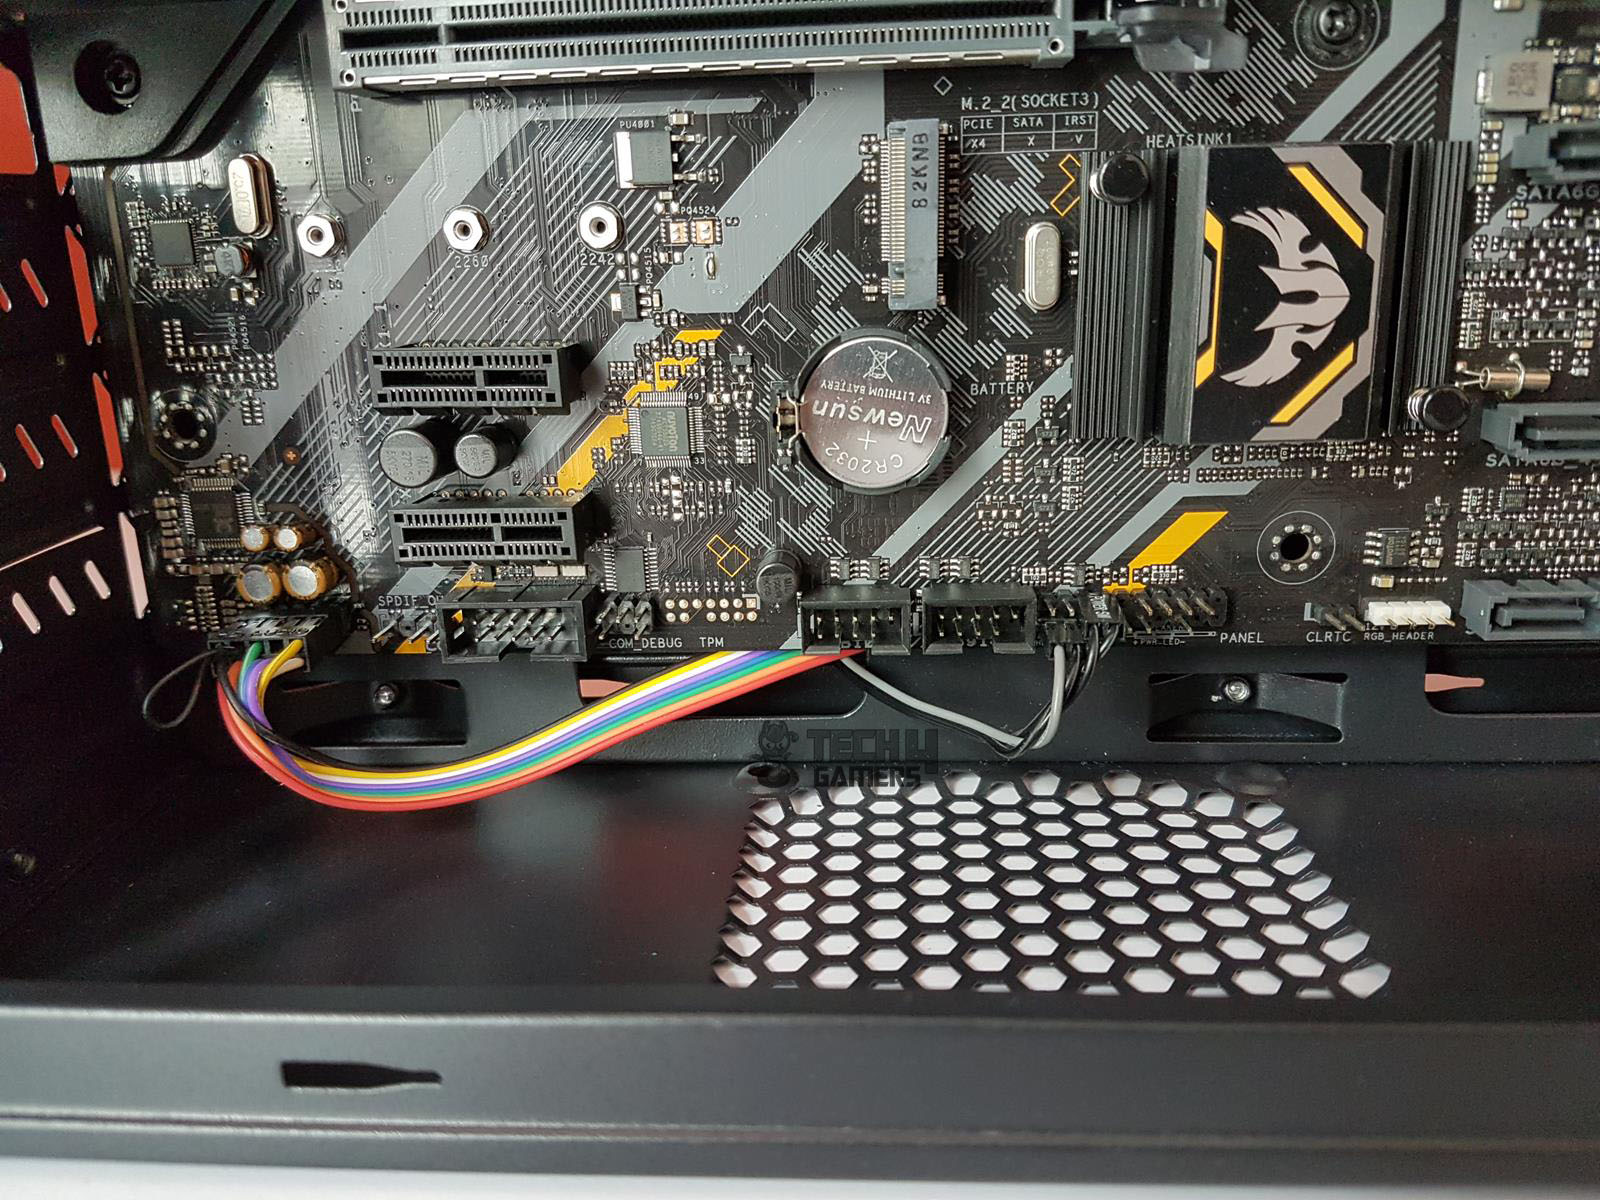
I appreciate the flat cables, which enable a cleaner look by routing them through cutouts. The HD Audio and system panel connector cables went through the bottom cutouts for better management. However, at the back, tight spacing between the frame and the motherboard tray made cable placement challenging. With only low-profile GPU support, a non-modular PSU with non-flat cables poses a challenge.
Despite minor drawbacks, the Aerocool Playa Slim offers a satisfying assembly experience, delivering a blend of style and functionality for budget-conscious users.
Recent Updates
- December 27, 2023: Few text changes to improve readability. Also added image galleries.
Thank you! Please share your positive feedback. 🔋
How could we improve this post? Please Help us. 😔
[Hardware Reviewer & Editor]
Meet Nauman Siddique, a highly experienced computer science graduate with more than 15 years of knowledge in technology. Nauman is an expert in the field known for his deep understanding of computer hardware.
As a tech tester, insightful reviewer, and skilled hardware editor, Nauman carefully breaks down important parts like motherboards, graphics cards, processors, PC cases, CPU coolers, and more.
- 15+ years of PC Building Experience
- 10+ years of first-hand knowledge of technology
- 7+ years of doing in-depth testing of PC Hardware
- A motivated individual with a keen interest in tech testing from multiple angles.
- I majored in Computer Science with a Masters in Marketing
- Previously worked at eXputer, EnosTech, and Appuals.
- Completed Course in Computer Systems Specialization From Illinois Tech
Get In Touch: nauman@tech4gamers.com


