 Threads
Reliable Cooling On A Budget?
Review Summary
The Cryorig H7 is a budget-friendly 120mm CPU cooler with efficient cooling, a unique Hive Fin design, and zero RAM incompatibility. It’s ideal for users with compact PCs and Intel 7700k processors. While budget-friendly, installation can be challenging and lacks compatibility with Intel LGA-2011(3). Overall, it is a solid choice for budget-conscious users seeking efficient cooling in a compact form.
Hours Tested: 5

Overall
-
Design - 8/10
8/10
-
Clearance - 9/10
9/10
-
Value - 8/10
8/10
-
Performance - 8/10
8/10
Pros
- Unique aesthetic
- Efficient cooling with Hive Fin design
- Compact size (145mm)
- Infinite RAM compatibility
- Budget-friendly
Cons
- Challenging installation
- Not compatible with Intel LGA-2011(3) socket
- No built-in LED lighting


Cryorig’s coolers redefine traditional designs with a unique aesthetic appeal. The H7 is a 120mm heatsink, single tower featuring their Hive Fin design for better and quicker cooling, optimized heat pipe coverage using the convex alignment of the heat pipes in the base, and unparalleled 0 RAM incompatibility. Standing at 145mm, it fits most PC chassis, targeting a broad user base. How will it perform, and will it be able to calm the nerves of the hot chip from the Intel, aka 7700k? Let’s find out.
Key Takeaways
- Cryorig H7 is a budget-friendly 120mm single tower heatsink CPU cooler with a unique Hive Fin design for efficient cooling and zero RAM incompatibility.
- It is for users seeking a budget-friendly CPU cooler with a compact size (145mm height), making it compatible with most PC chassis. It offers efficient cooling for processors like the Intel 7700k (TDP: 91W) and includes features like the Hive Fin design for improved performance.
- It is not for users with a preference for easy installations. The cooler requires careful handling during installation, especially for test bench setups, and the process may be challenging without a pre-installed motherboard.
- Why you can trust Tech4Gamers: Our reviews are based on dedicated hands-on testing by our team of experienced hardware experts. Find out more about how we test.
Here are the specifications of the Cryorig H7 Cooler:
| Cryorig H7 Cooler | Specifications |
|---|---|
| Type | Fan & Heatsinks |
| Fan Size | 120mm |
| CPU Socket Compatibility | Intel LGA 1200 |
| Bearing Type | Sleeve |
| RPM | 300 – 1600 RPM +/-10% |
| Air Flow | 49 CFM |
| Noise Level | 10 ~ 25 dBA |
| Power Connector | 4 Pin |
| Colour | Black / White |
| LED | No |
| Heatsink Material | Aluminum & Copper |
| Fan Mounting Types to Heatsink | Supports AM4* |
| Fan Dimensions | L120 x W120 x H25.4 mm |
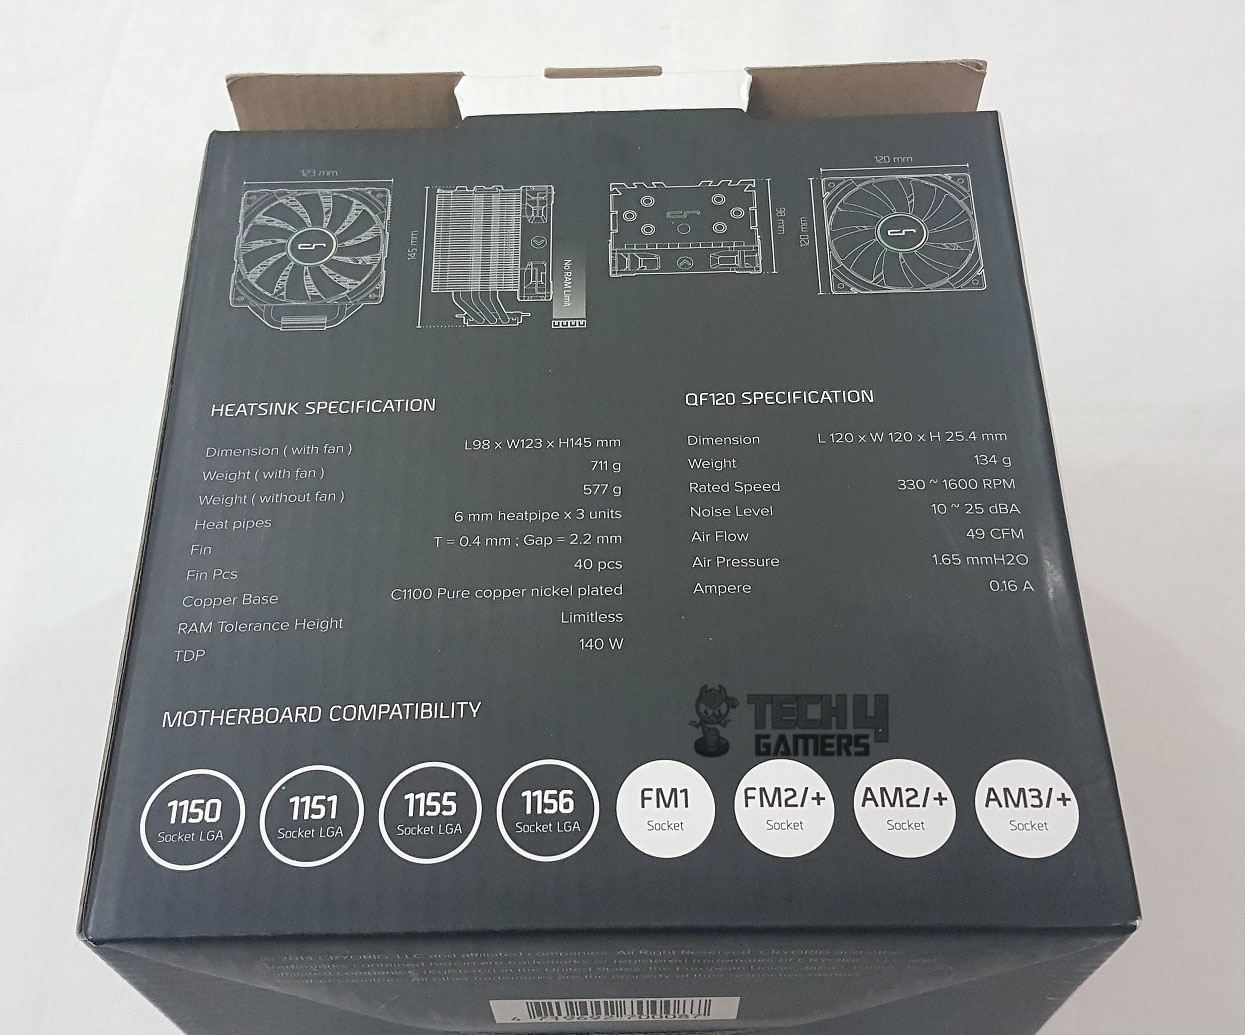
| Heatsink Dimensions | L98 x W123 x H145 mm (with fan) |
| Weight | 577g w/o fan 711g w/ fan |
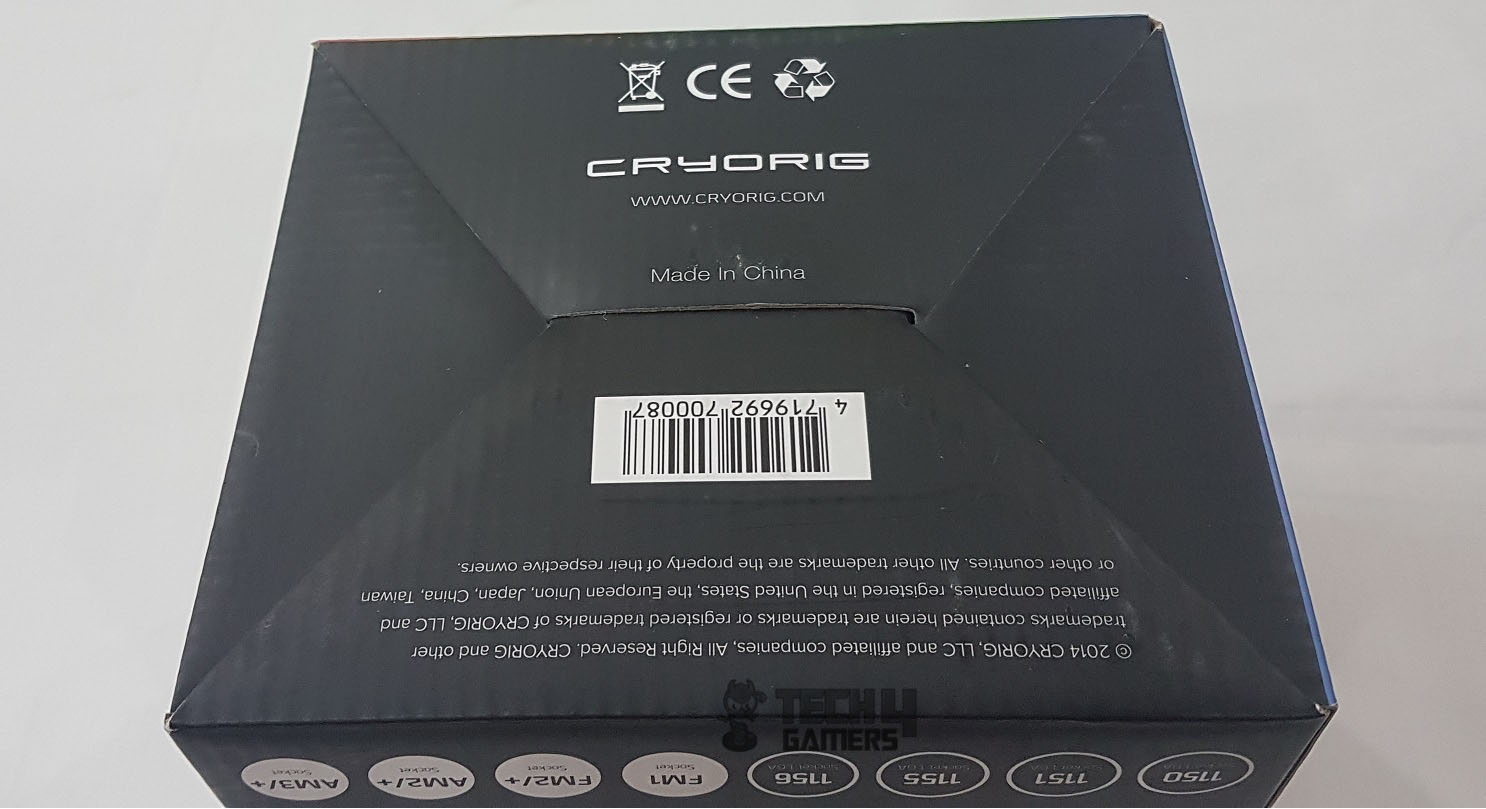
Packaging and Unboxing
The cooler comes in a traditional Cryorig cardboard box packaging. The top is white, with the Cryorig brand name embossed in silver. Their tagline, “Research idea gear,” is printed under the brand name. This was a media sample, hence a small sticker on the top left side mentioning it.


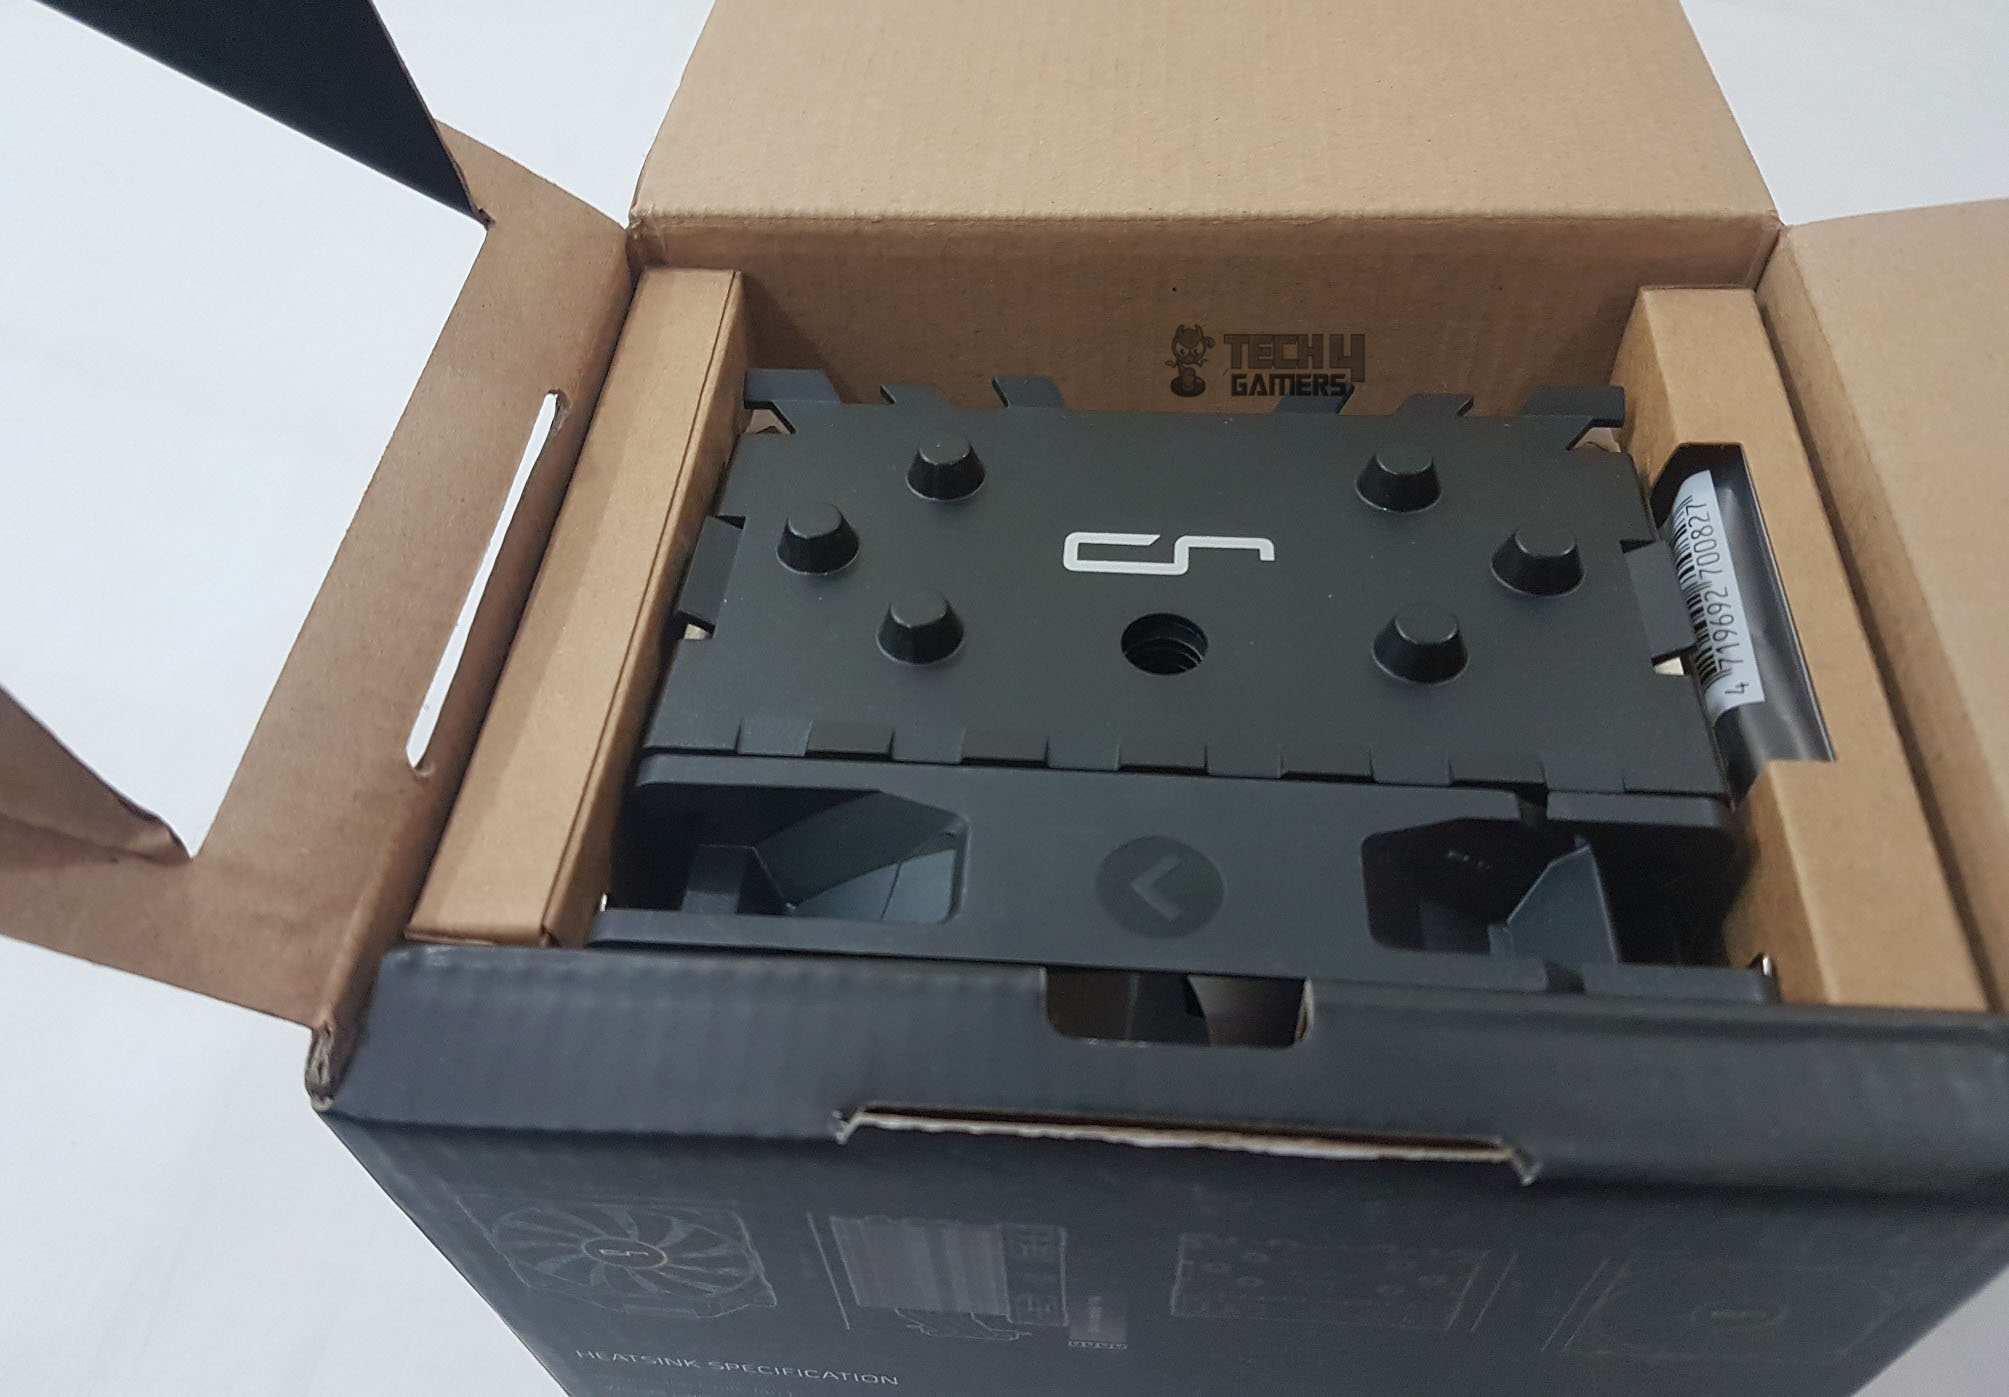
Box Contents
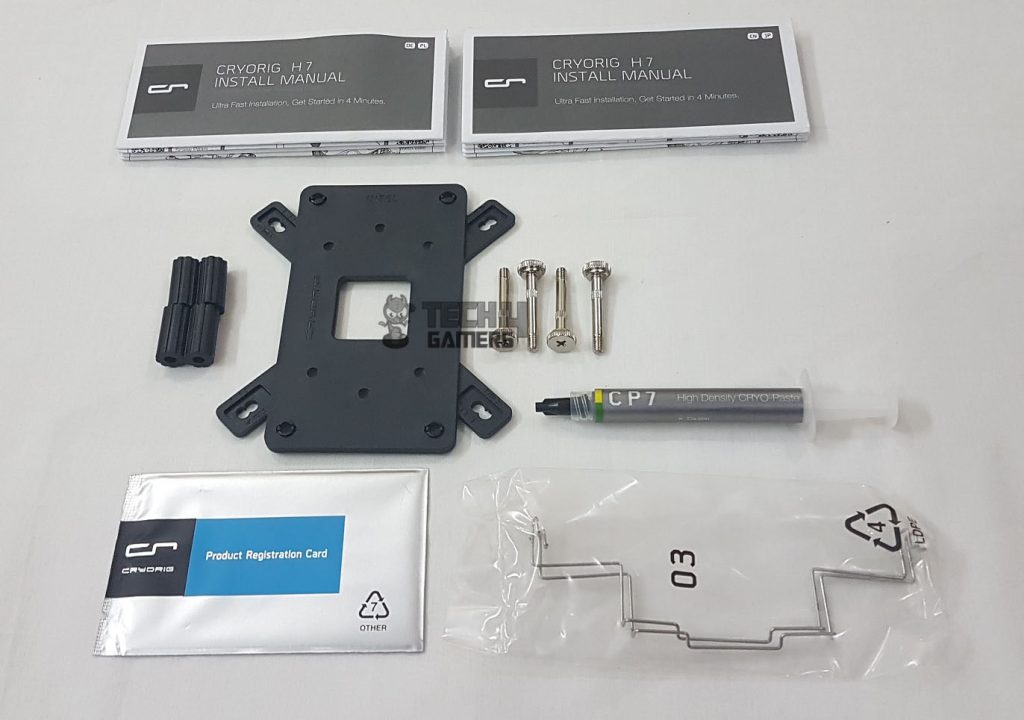
The cooler comes with many accessories that enable the users to install the cooler without worrying about any additional requirements. The user manual is well laid out, and pictures are elaborated to help the installation process. Accessories include:
- Backplate for Intel/AMD
- 4x long screws
- 4x black color spacers
- 2x metal fan clips
- Cryo Paste
- Product Registration Card
- User Manuals
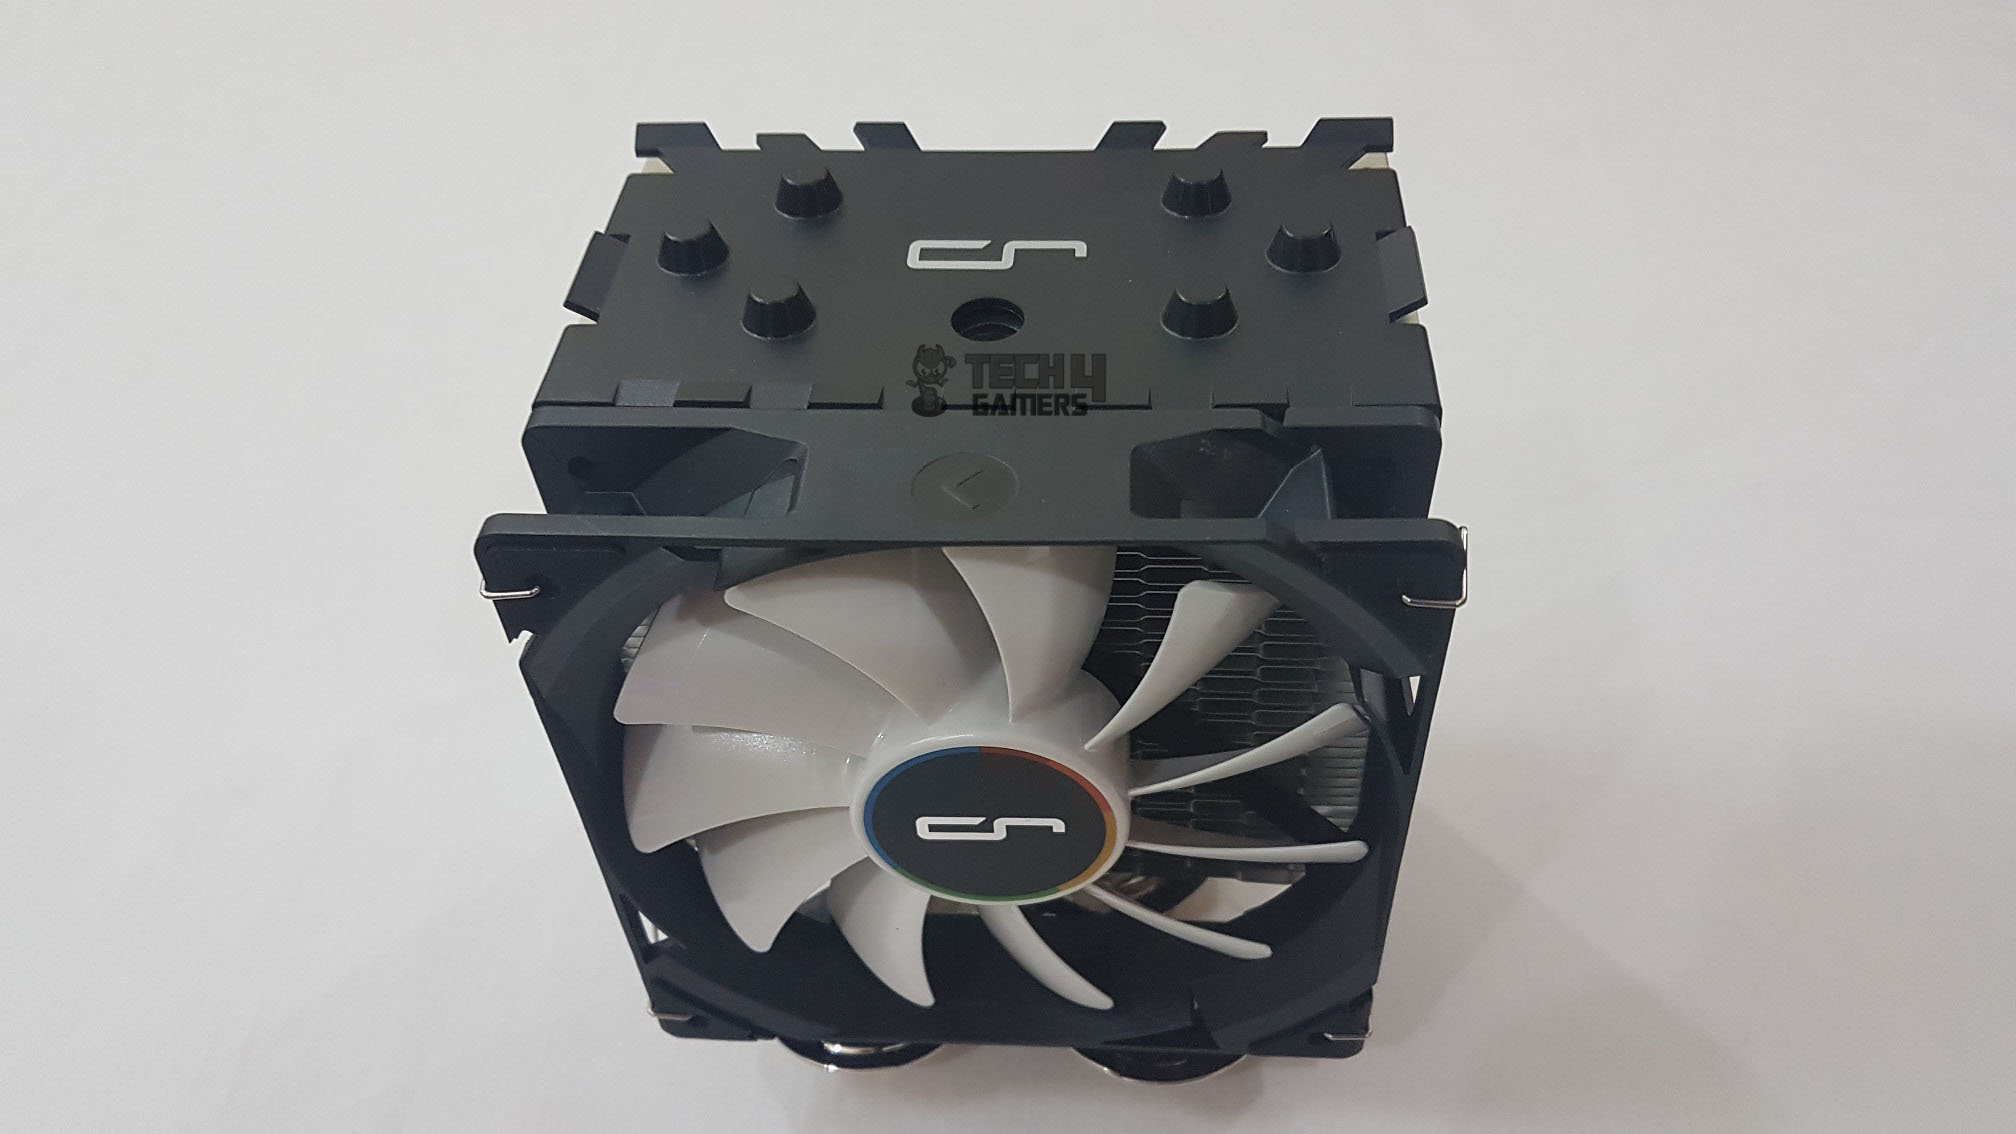
Design
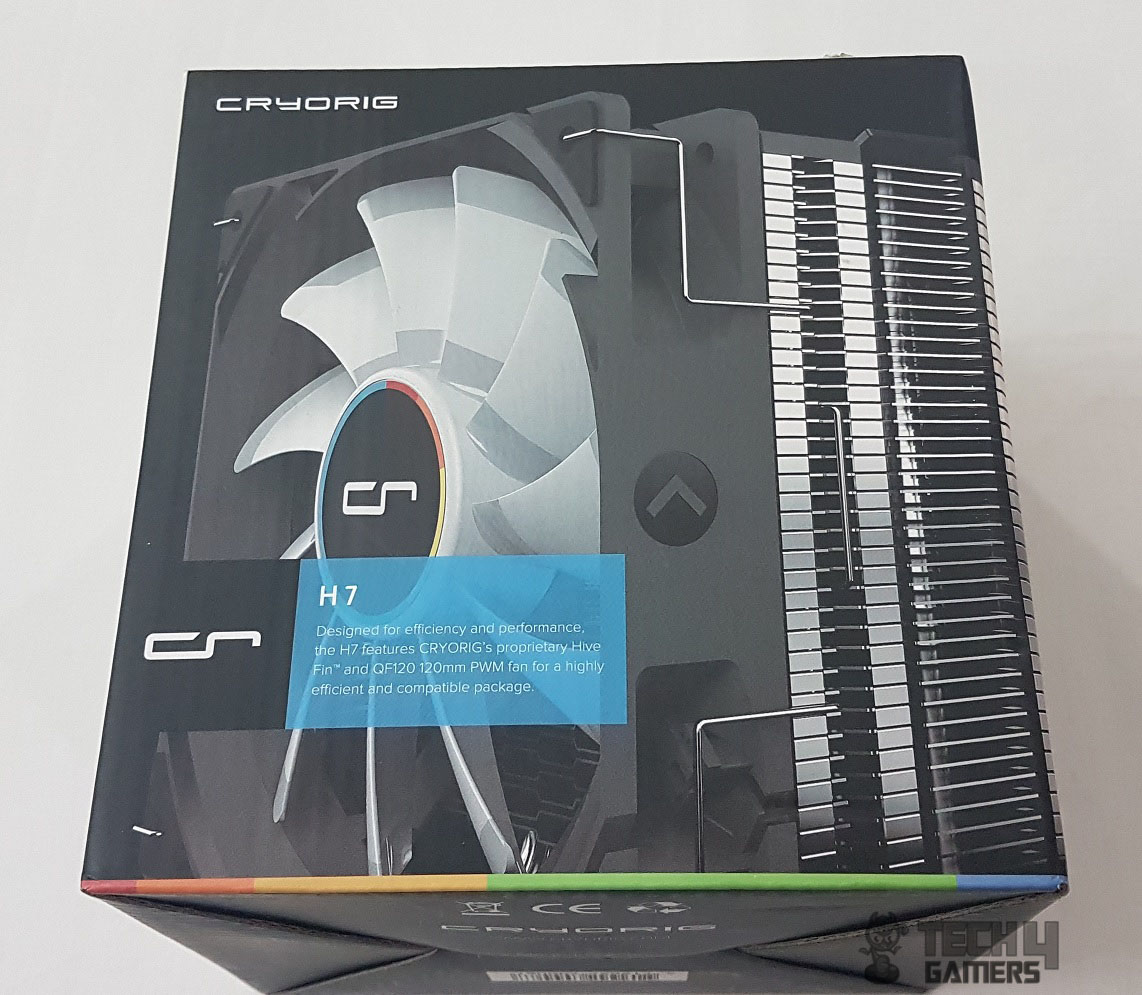
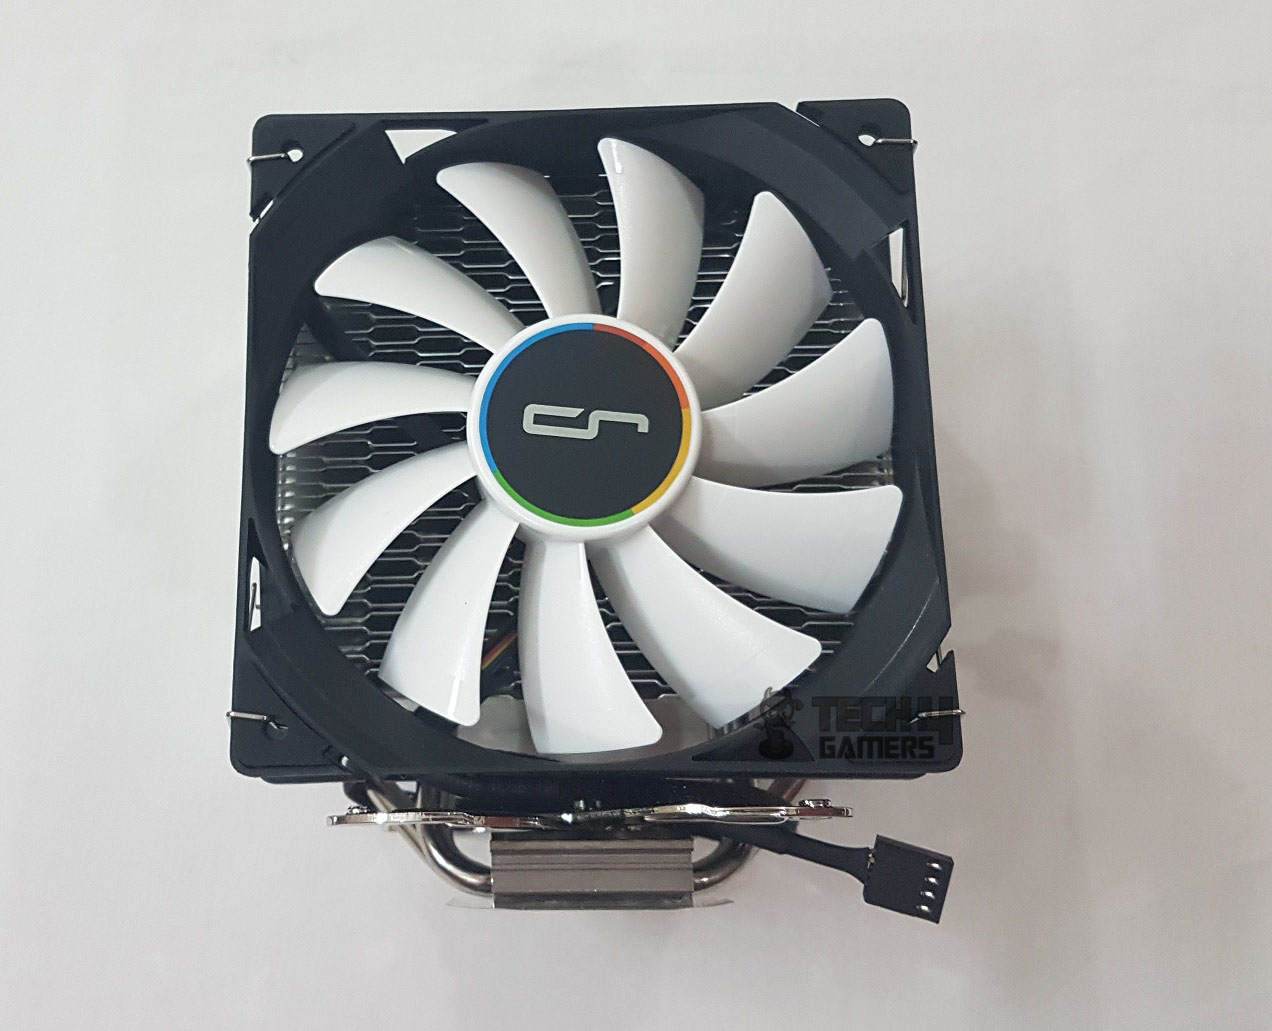
Meet the Cryorig H7, your go-to budget CPU cooler for top-notch efficiency and performance. This 120mm heatsink is a perfect fit for most PC chassis with its slim profile and unique design. The proprietary Hive Fin and QF120 fan ensure optimal cooling in a sleek black finish, making it versatile for any color theme. Adjusting the X-Bar is a breeze, thanks to the convenient hole in the top cover. Upgrade your cooling game with the Cryorig H7. A 120mm QF120 fan with metal clips is preinstalled on the front side.
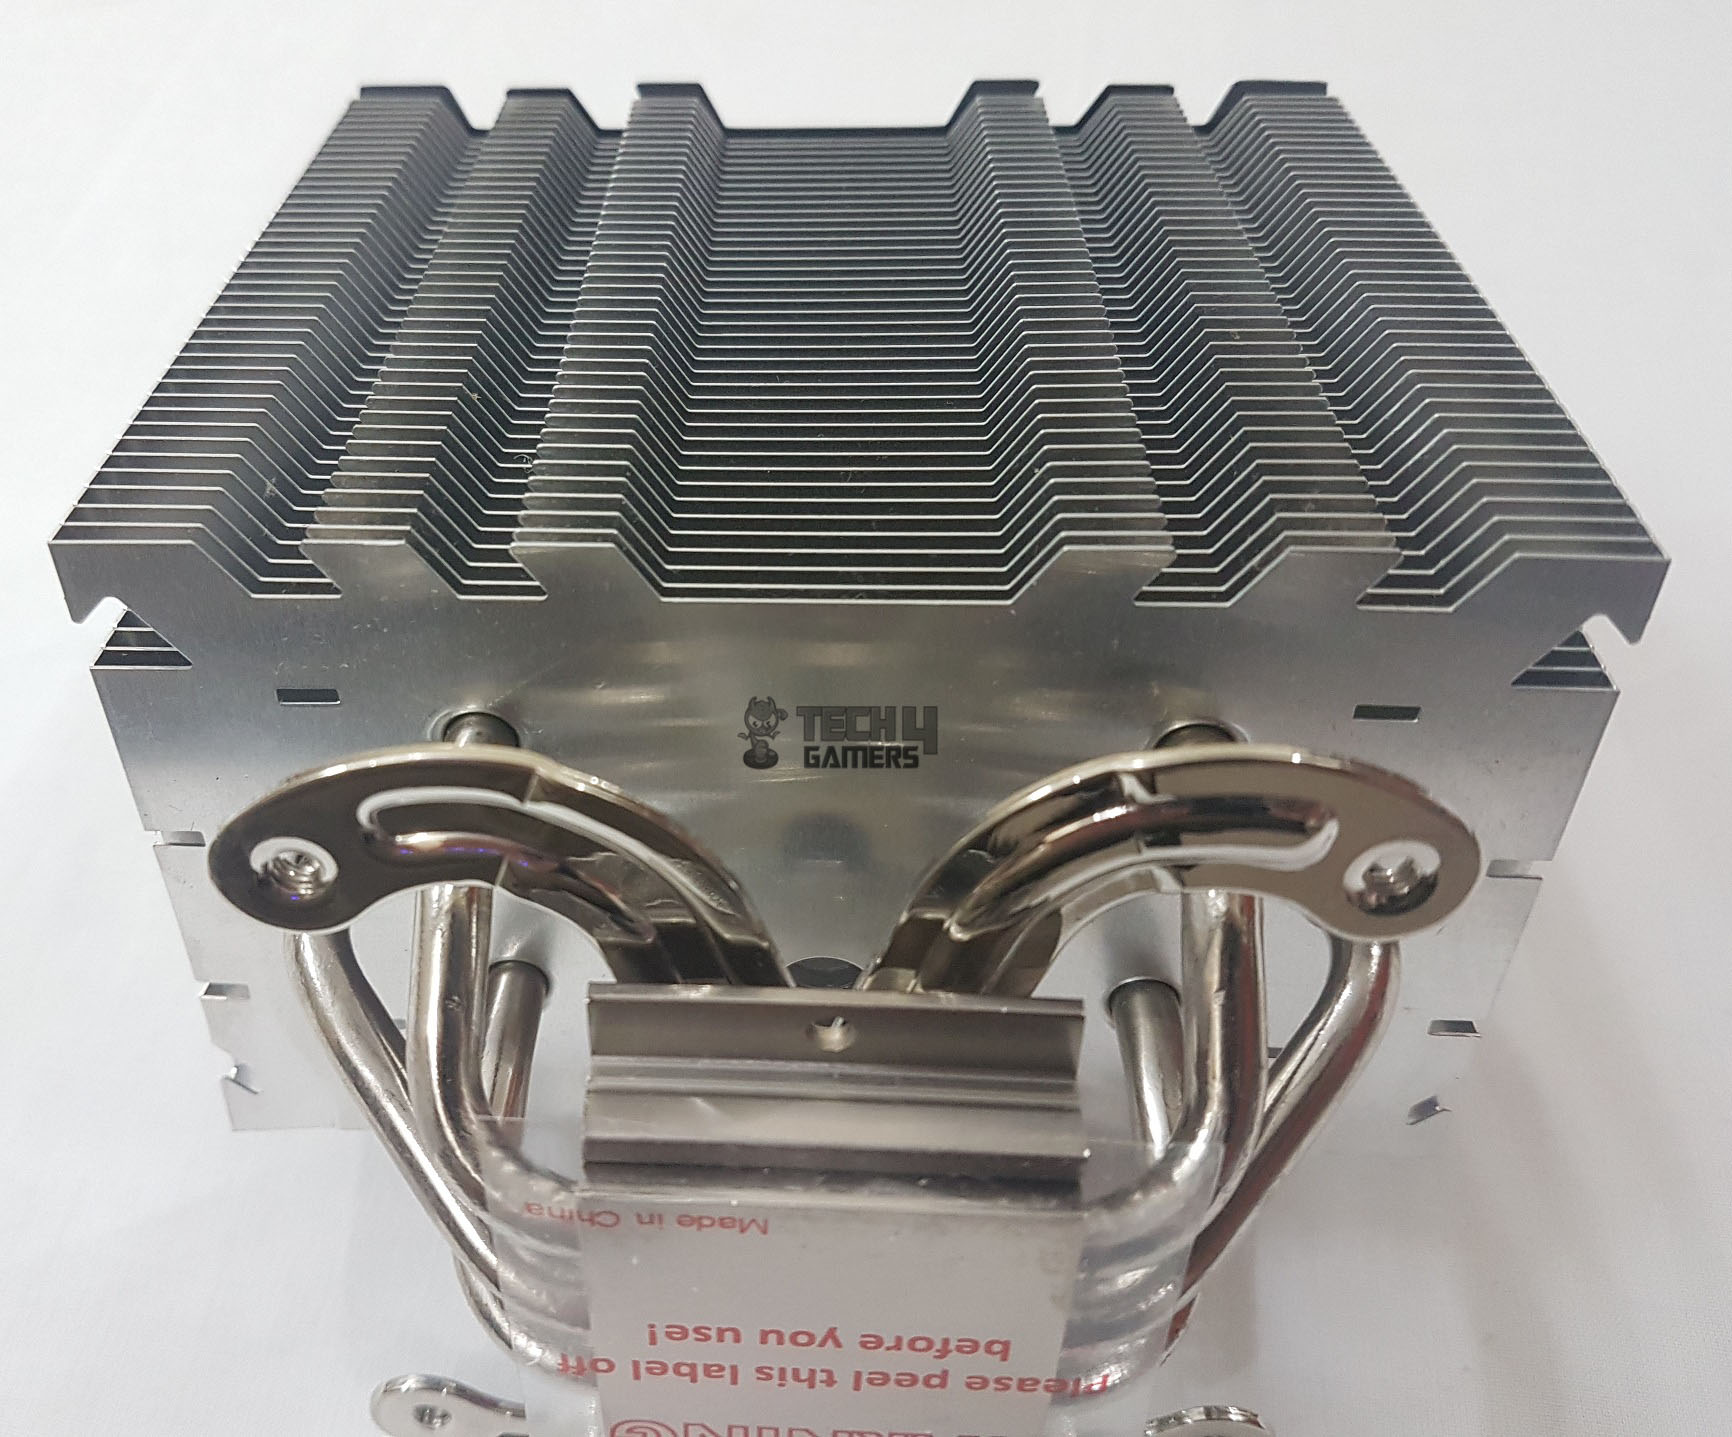
Removing the fan reveals a beehive-shaped structure with 40 fins, combining Jet Fin Acceleration™ and Turbulence Reduction. The Hive Fin design compresses air, accelerating its exit for efficient heat removal. The beehive structure minimizes turbulence, ensuring smooth airflow through the heatsink. Fins are aluminum, and the Quad Air Inlet™ system enhances air intake, improving CPU and PC chassis cooling.
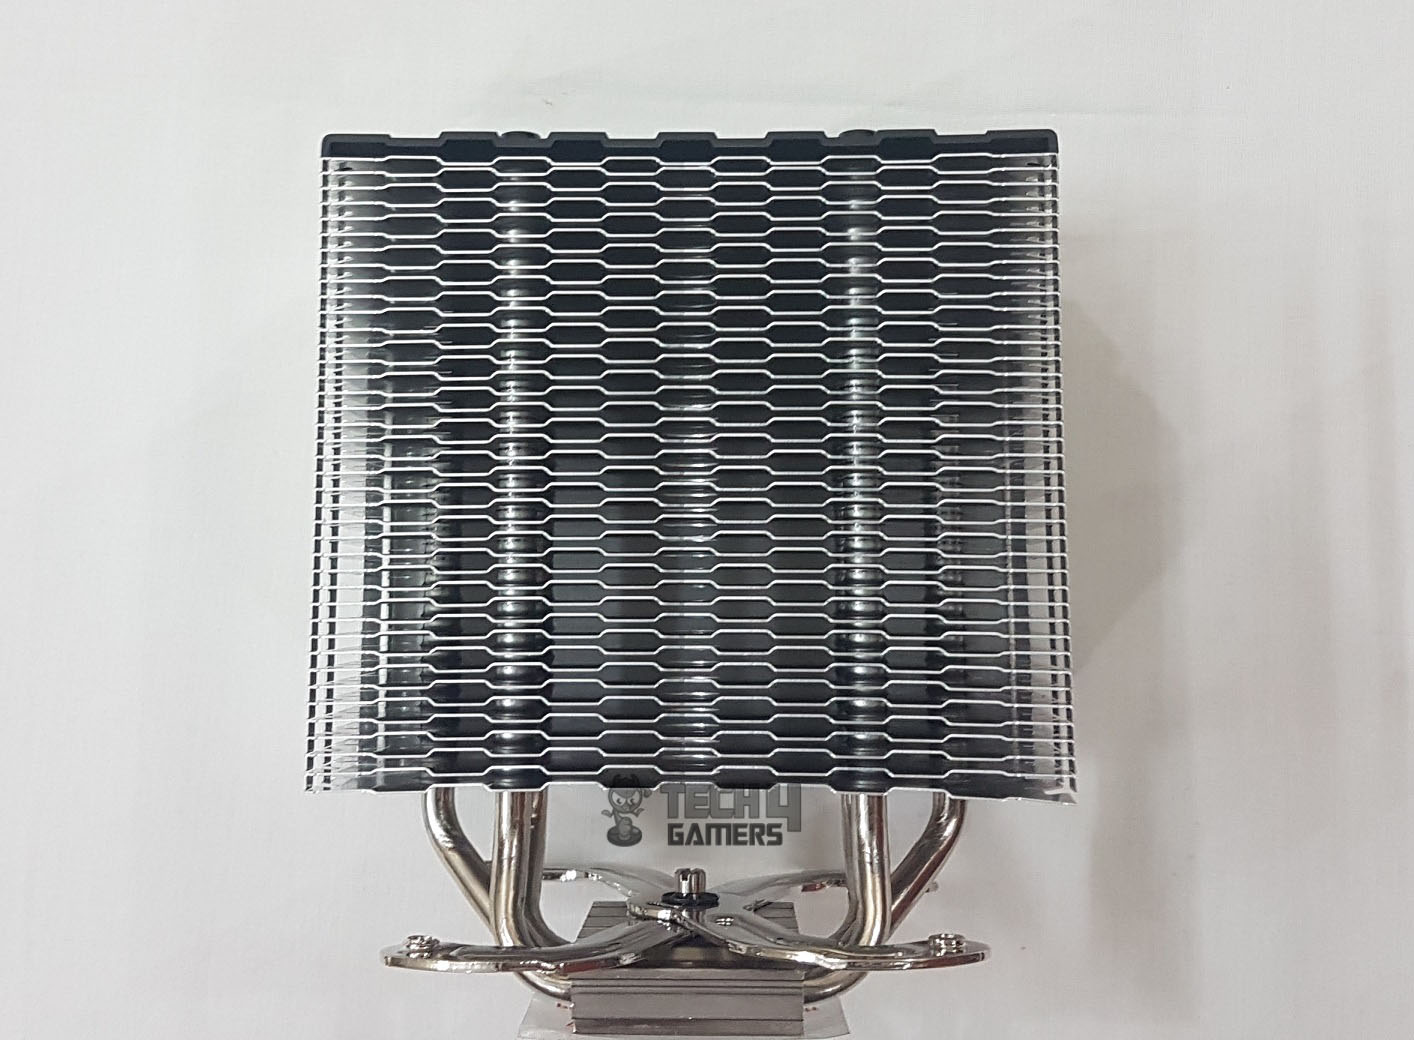
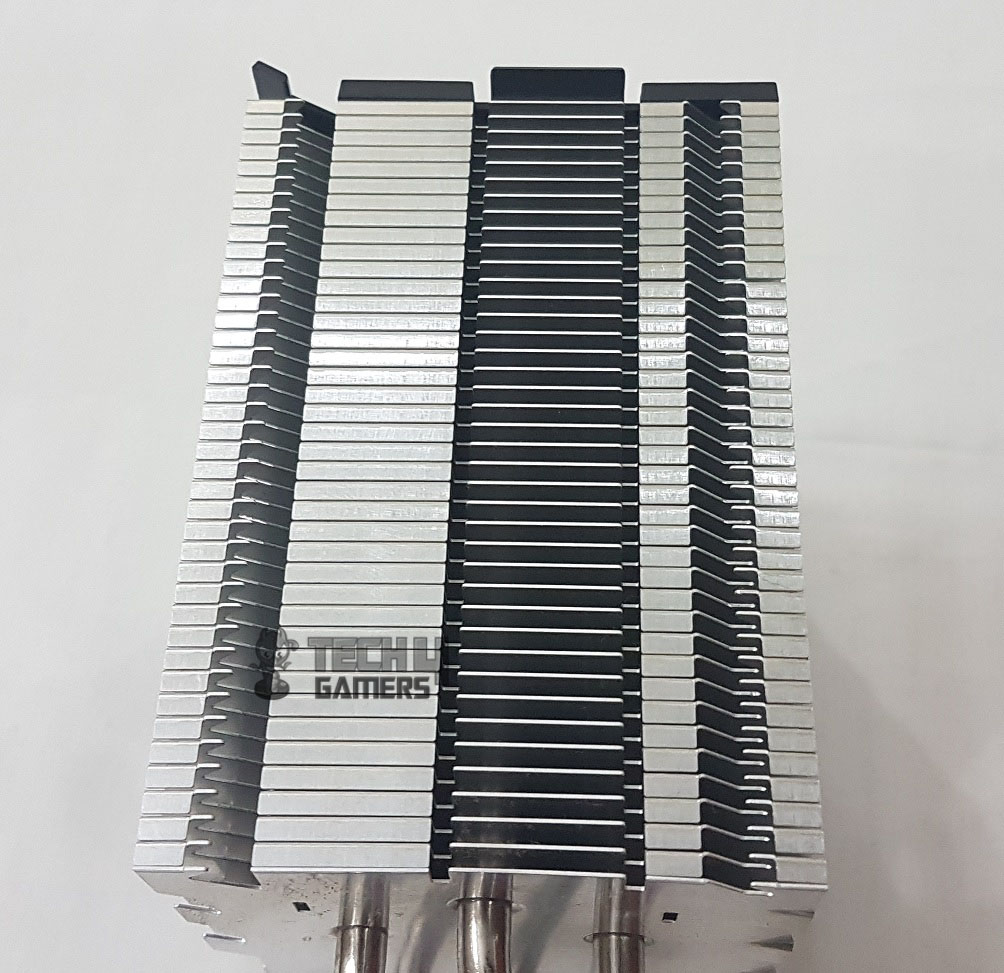
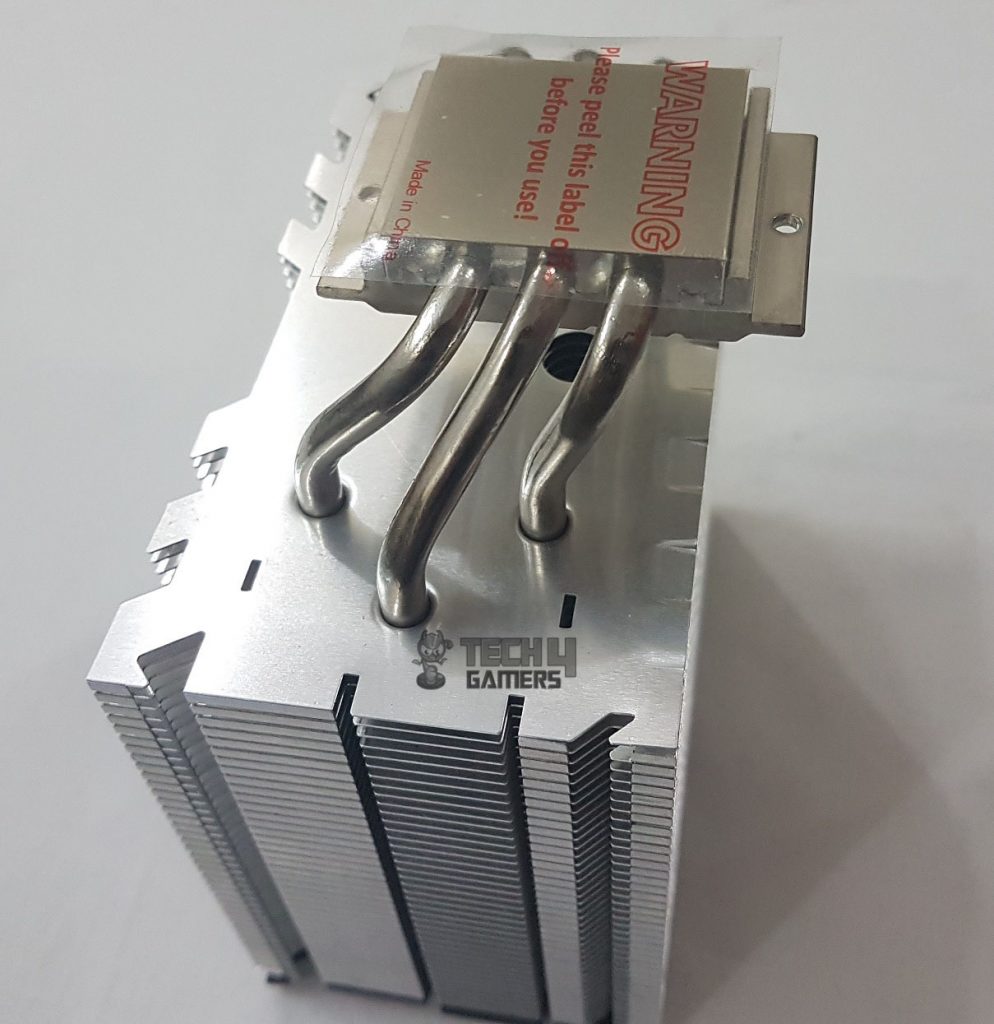
The backside of the heatsink has fins stacked together in a traditional CPU cooler’s design. There are 40 fins on the backside. They are stacked much narrower than the beehive design on the front side with much wider stacking. Fins are made of aluminum. There are cutouts on the far end sides of the backside fin stack. The gap between the fins is 2.2mm.

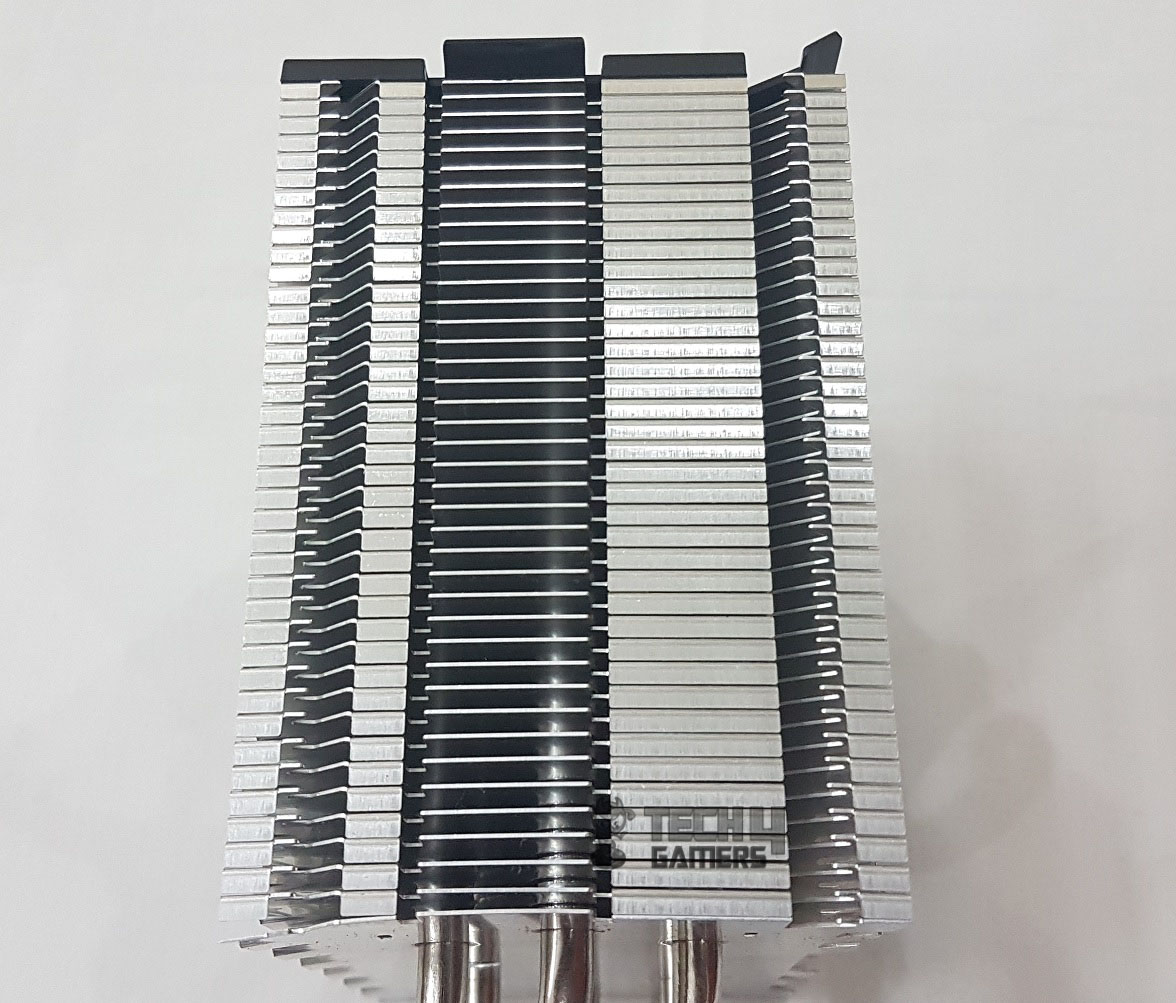
The left and the right sides of the heatsink are symmetrical in design. The fins are more covered towards the rear side of the heatsink. This helps in maximum air exhaust on the backside narrower fin stack. While there is not much covering near the front side of the heatsink.
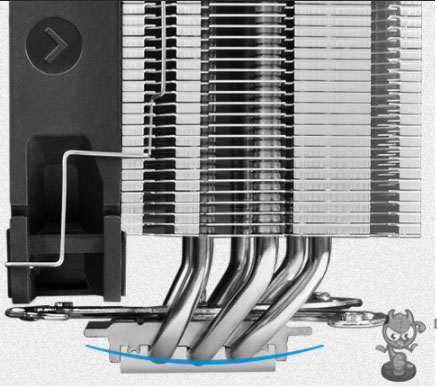
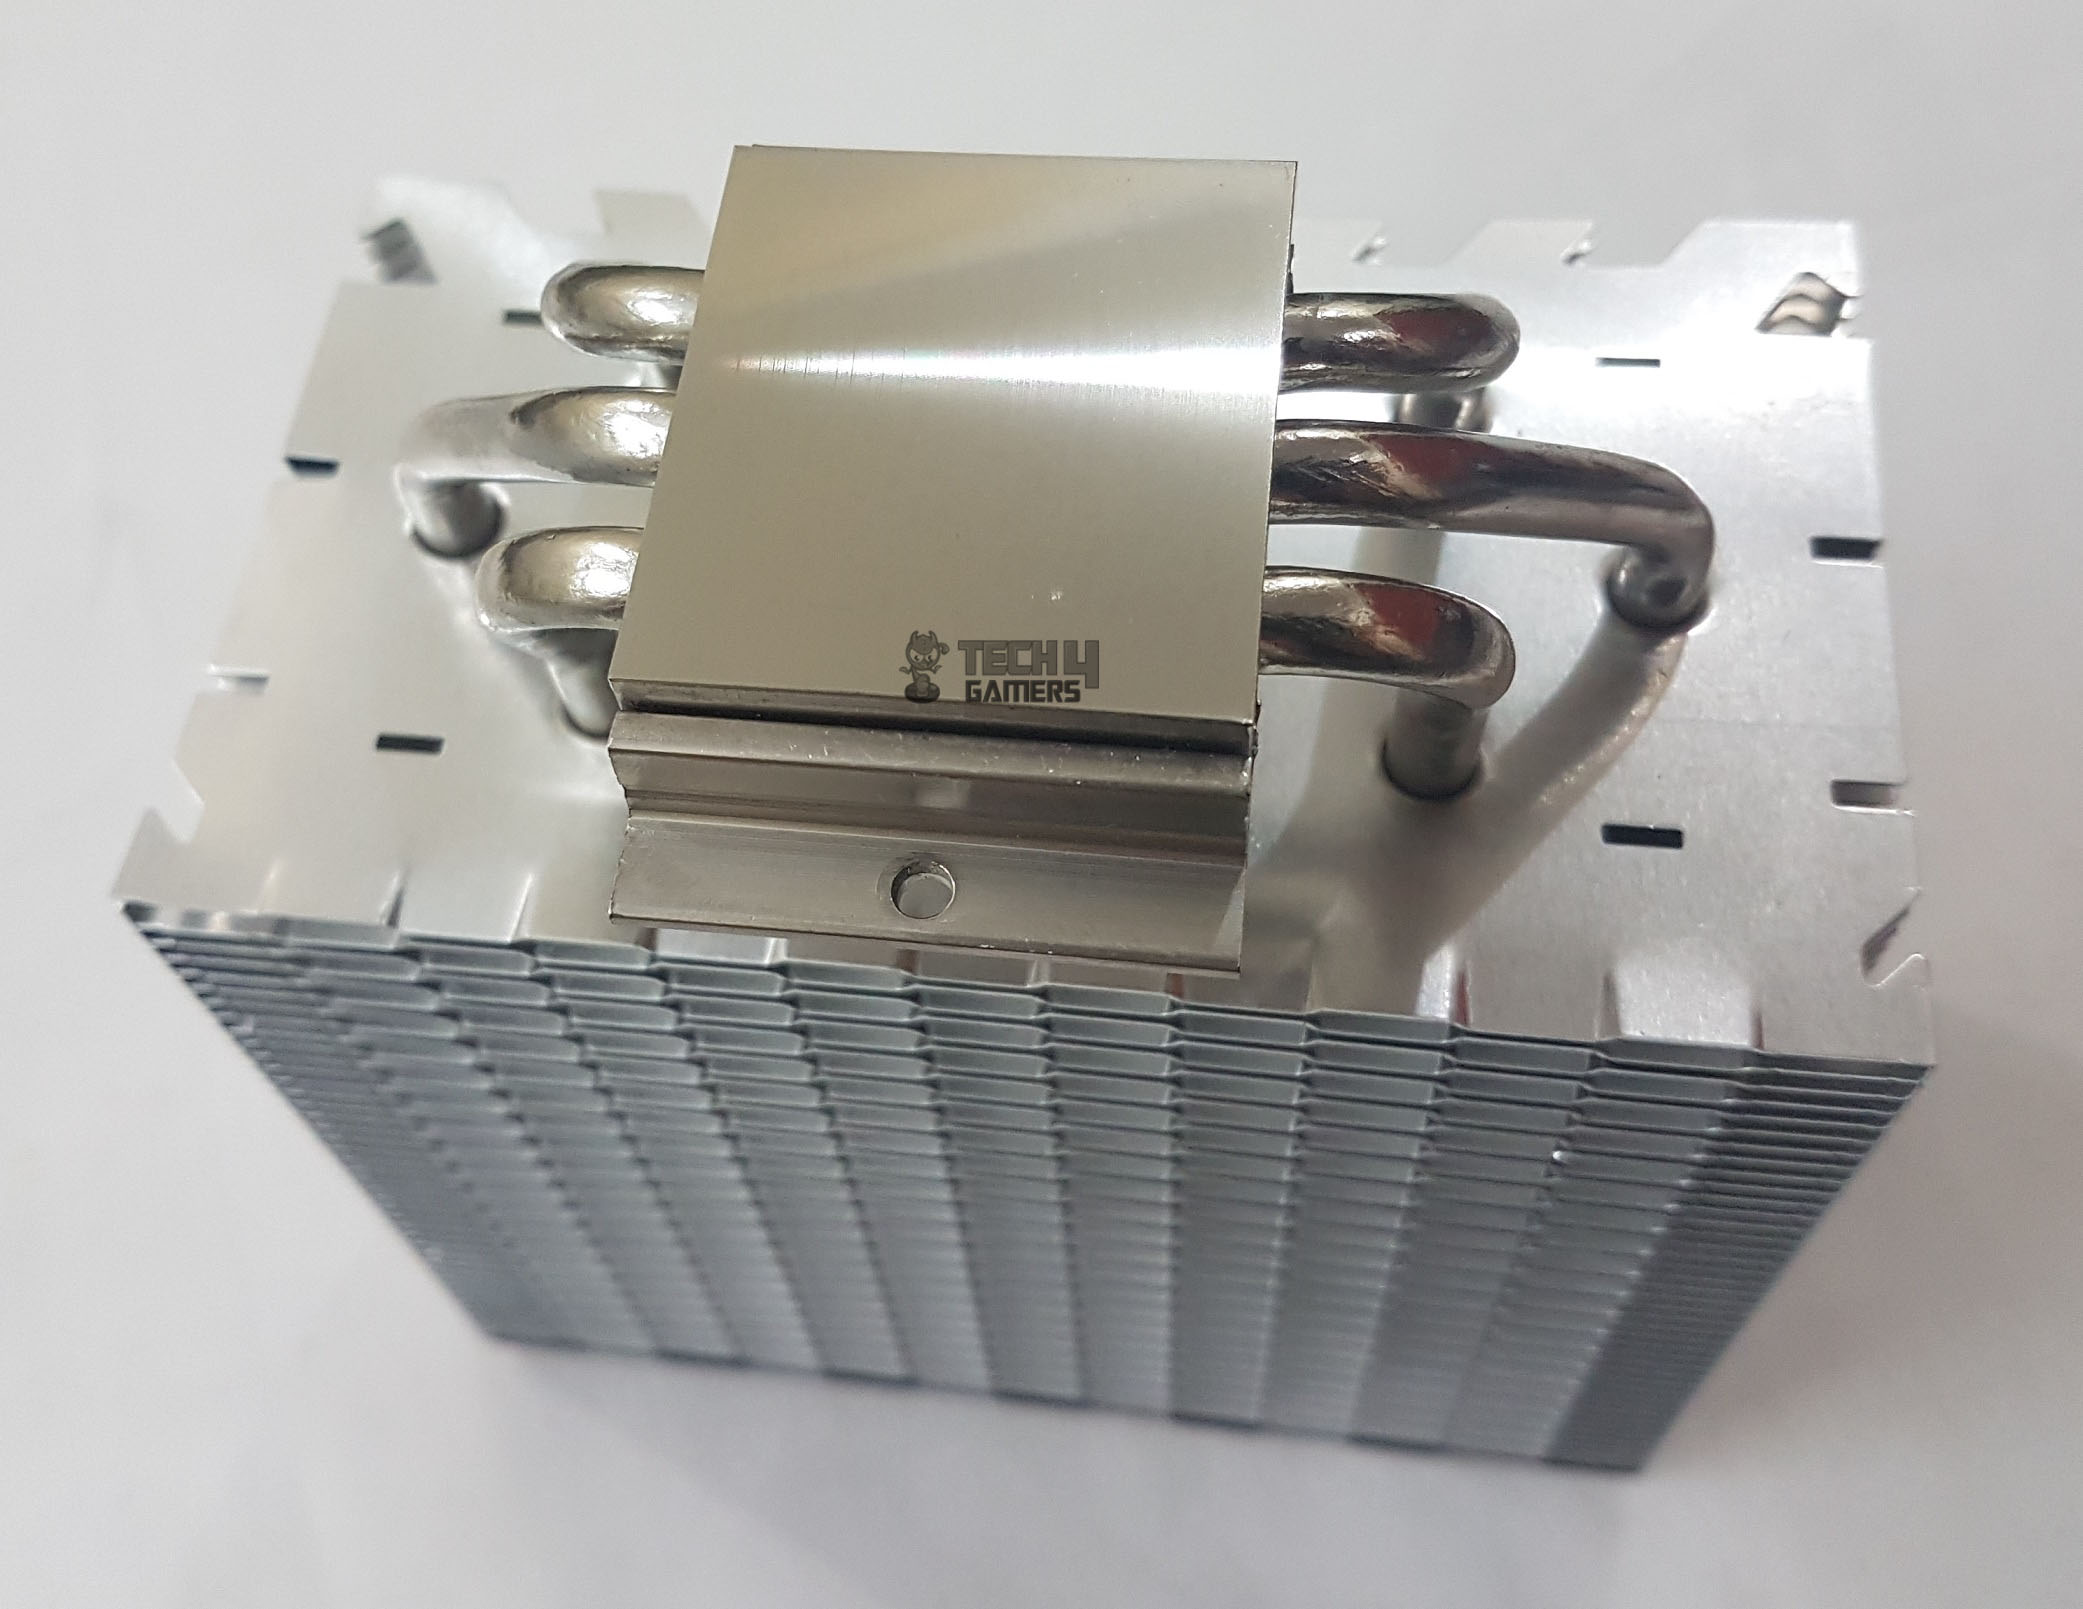
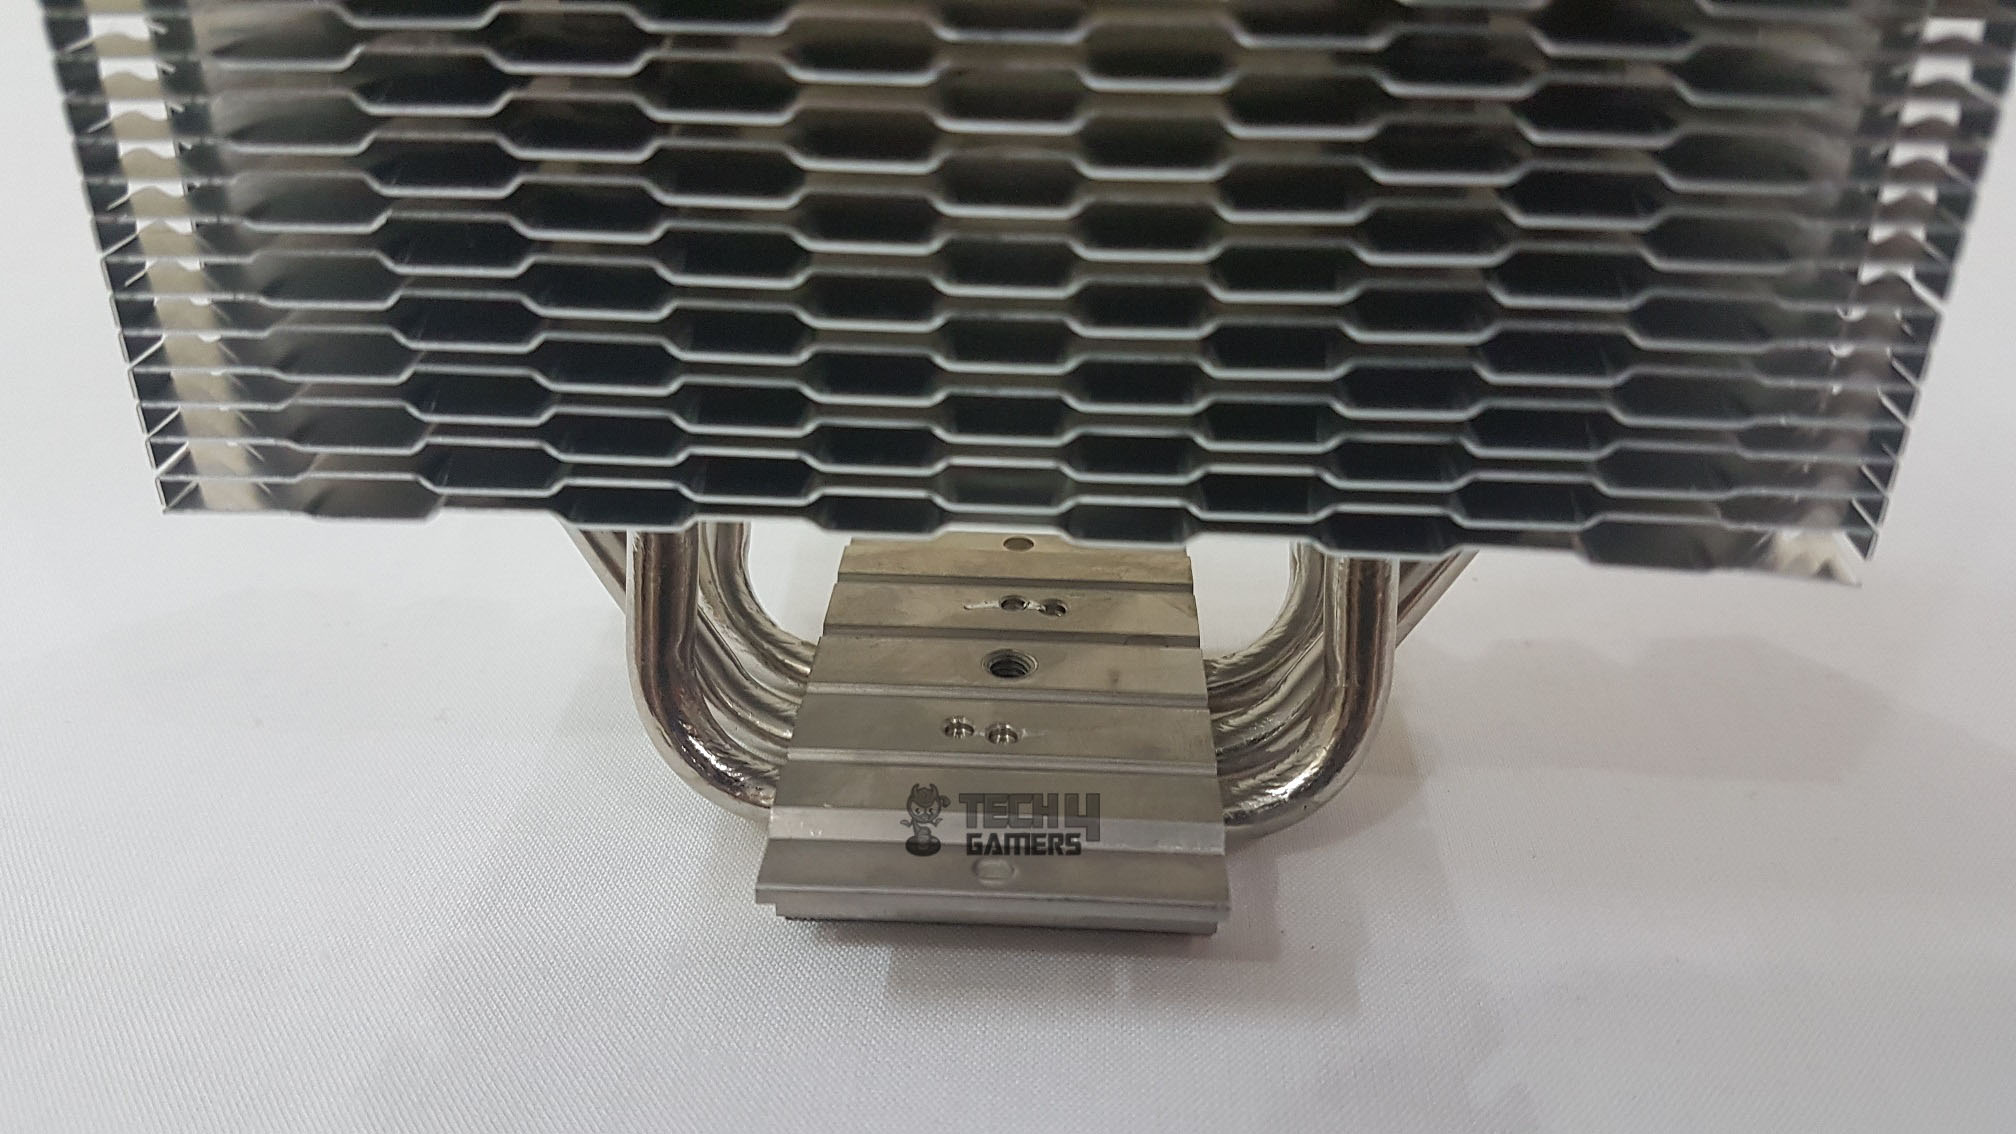
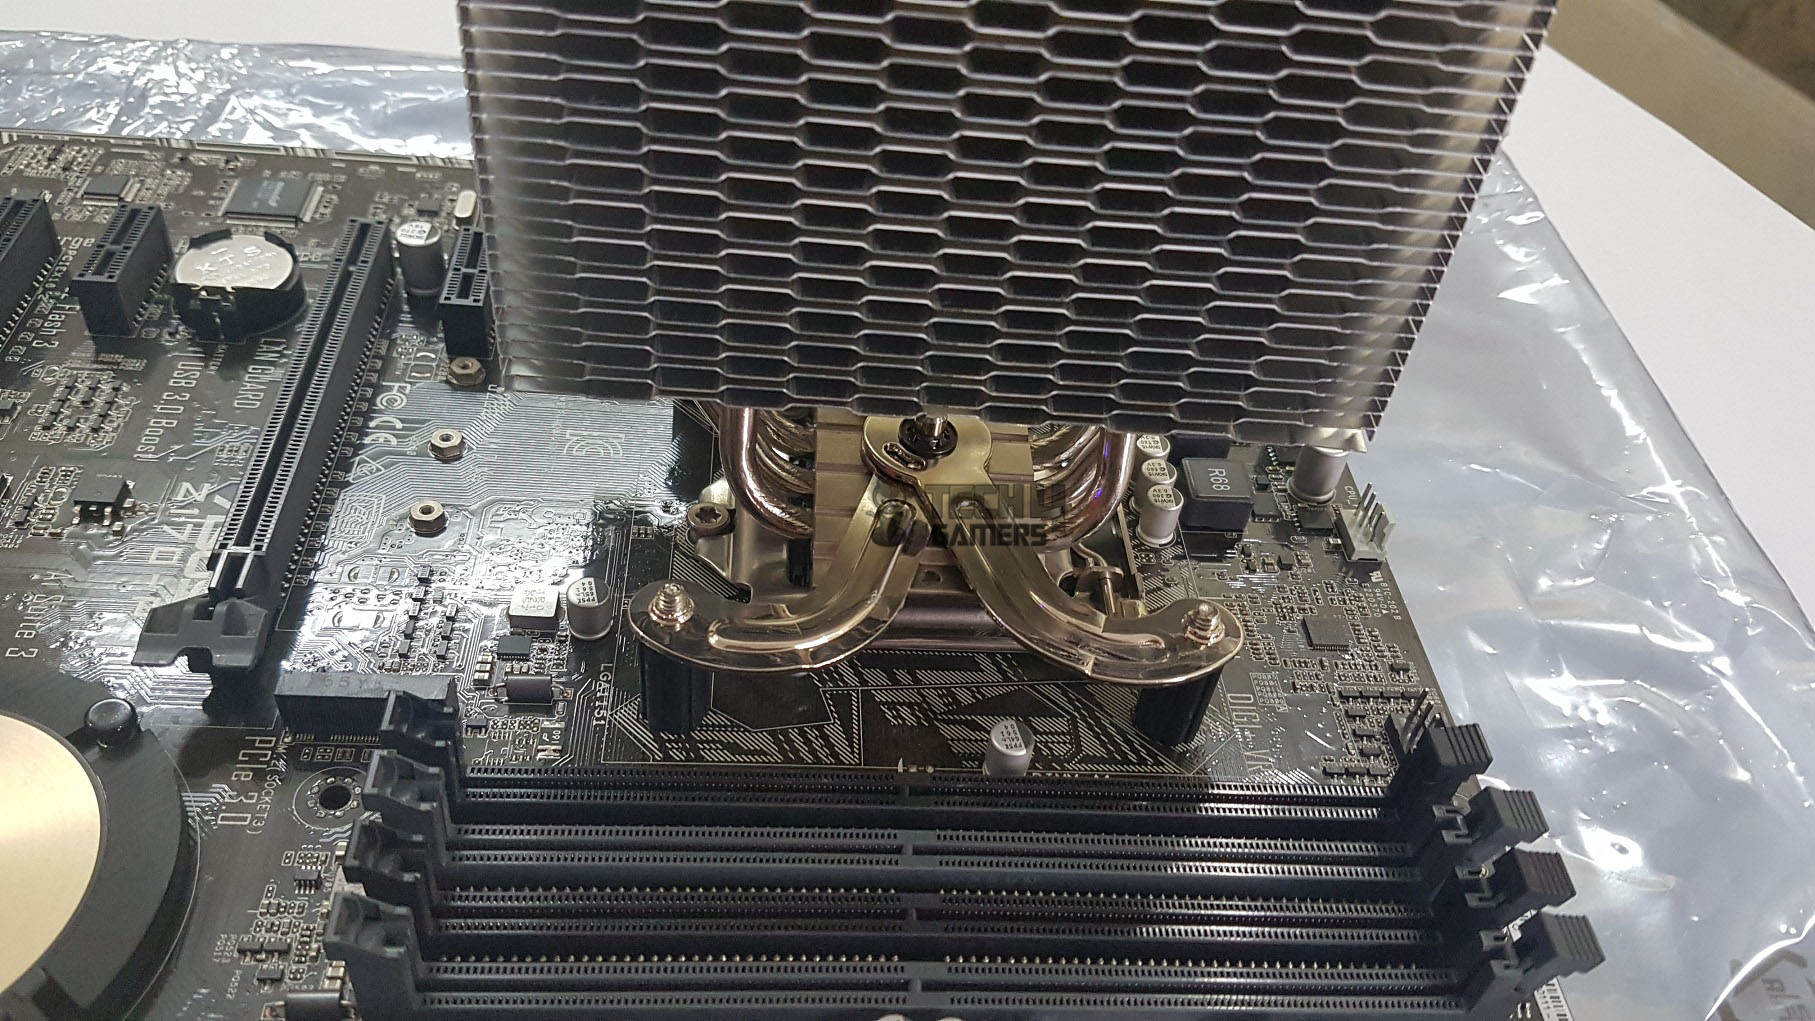
This cooler rocks 3 powerful 6mm heat pipes, all nickel-plated and snugly soldered in the heatsink and base. Thanks to the H7’s Heatpipe Convex-Align™ System, they’re strategically aligned in a convex manner for optimal heat dissipation. One heat pipe on each side dives deeper into the heatsink, covering more fin stack area for top-notch heat dispersion. Your CPU will thank you!
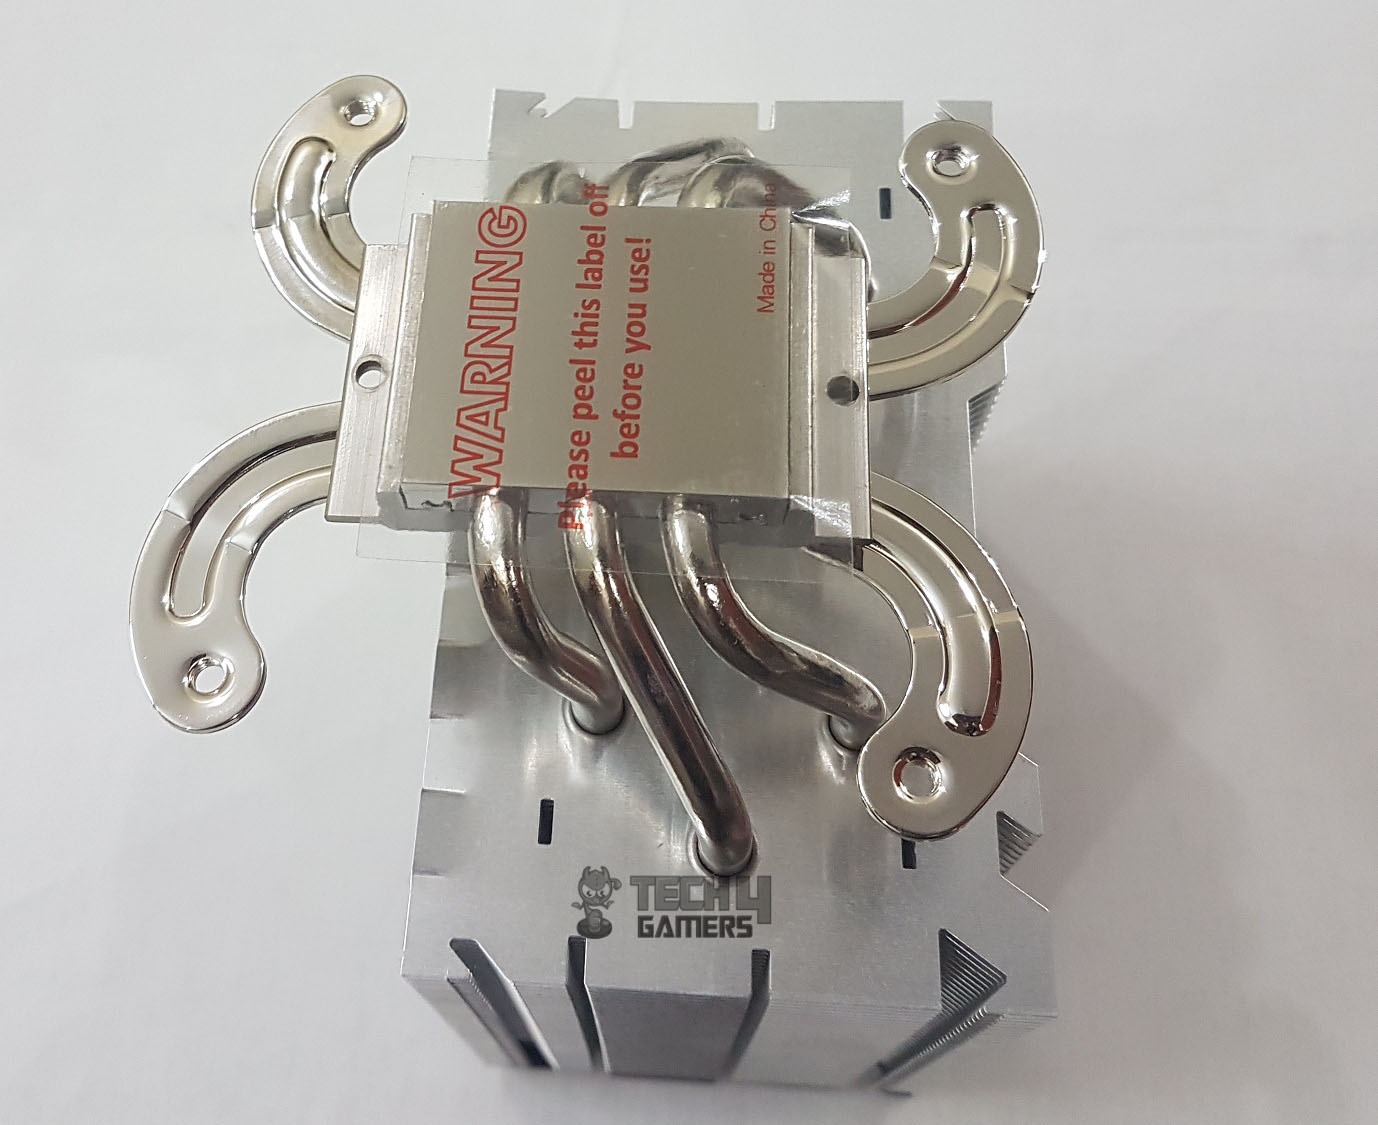
This cooler has a copper base plate measuring 33mm x 39mm x 0.6mm. The heat pipes are soldered into the copper base. The copper base has a large block on top of it where the X-Bar mechanism is mounted. A safety sticker pasted on the cooler reminds the user to peel it off before installing it.
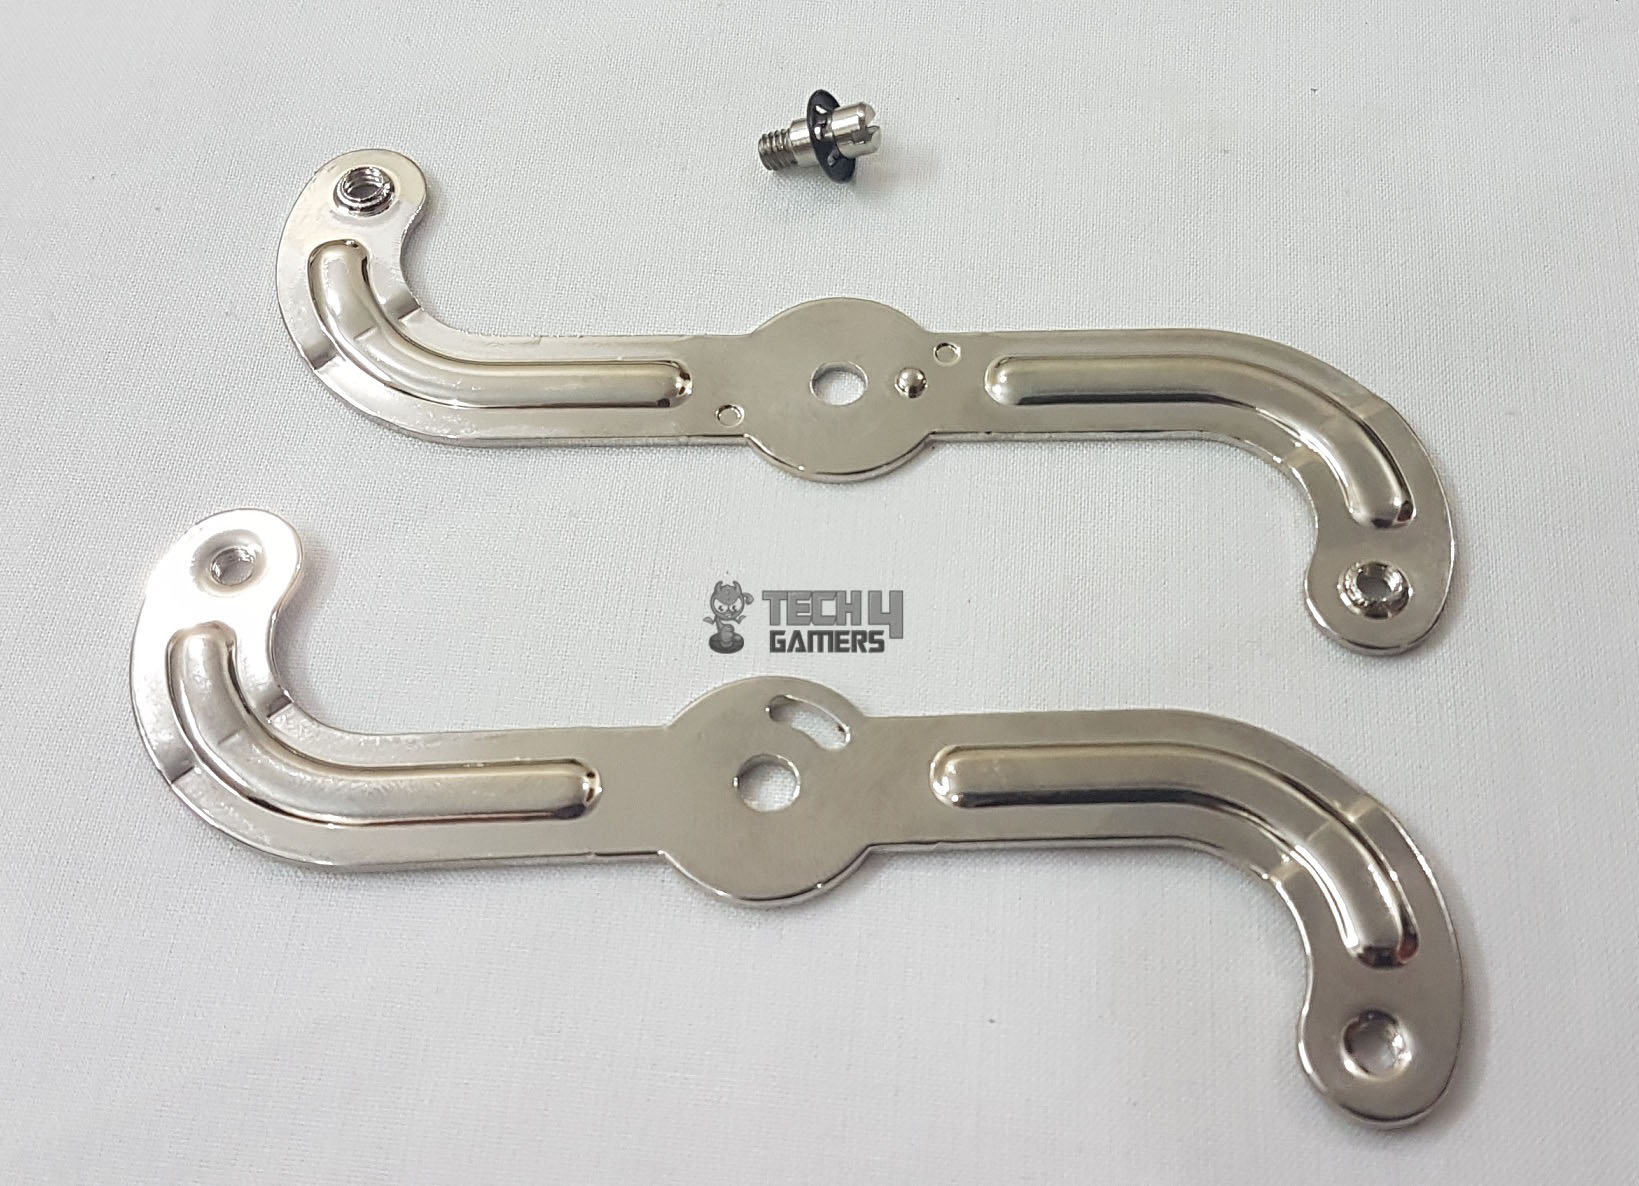
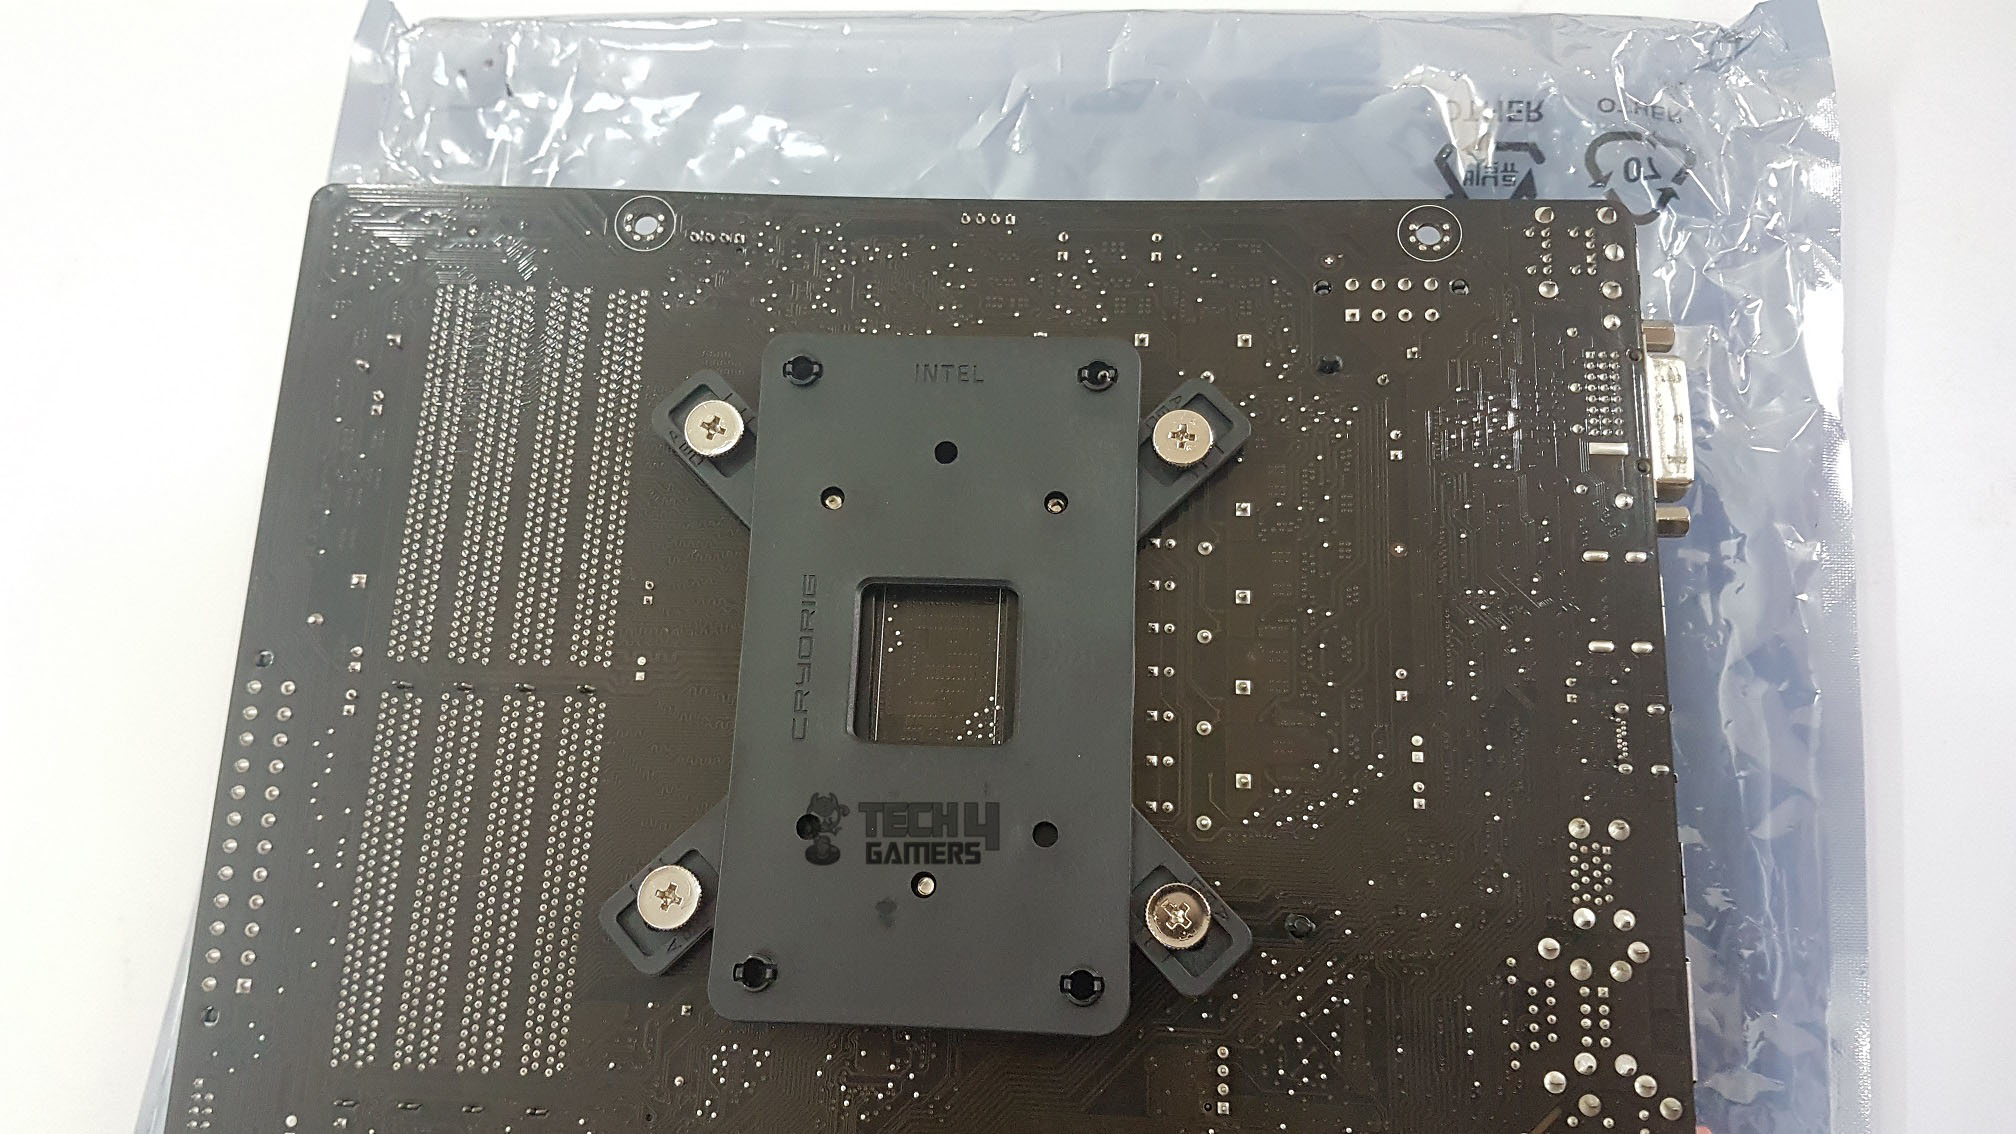
Introducing the X-Bar™ Quick Mount System – a patent-pending solution by CRYORIG for swift and secure installation on both Intel™ and AMD platforms. The dedicated backplate, made from fiberglass augmented PBT, ensures strength, heat resistance, and easy recyclability. It shields your mainboard from stress and provides a solid base for fast, secure installation. The X-Bar™ features two bars in an X design, tightened with a screw. Be aware, though, that a long screwdriver is needed. Consider including one in the package. While the bars can be removed, it’s best not to, as re-mounting can be challenging.
Cryorig H7’s unique offset design ensures maximum RAM compatibility. It doesn’t support the Intel LGA-2011(3) socket, providing infinite RAM compatibility. Cryorig calls this setup an asymmetric slanted heat pipe layout.
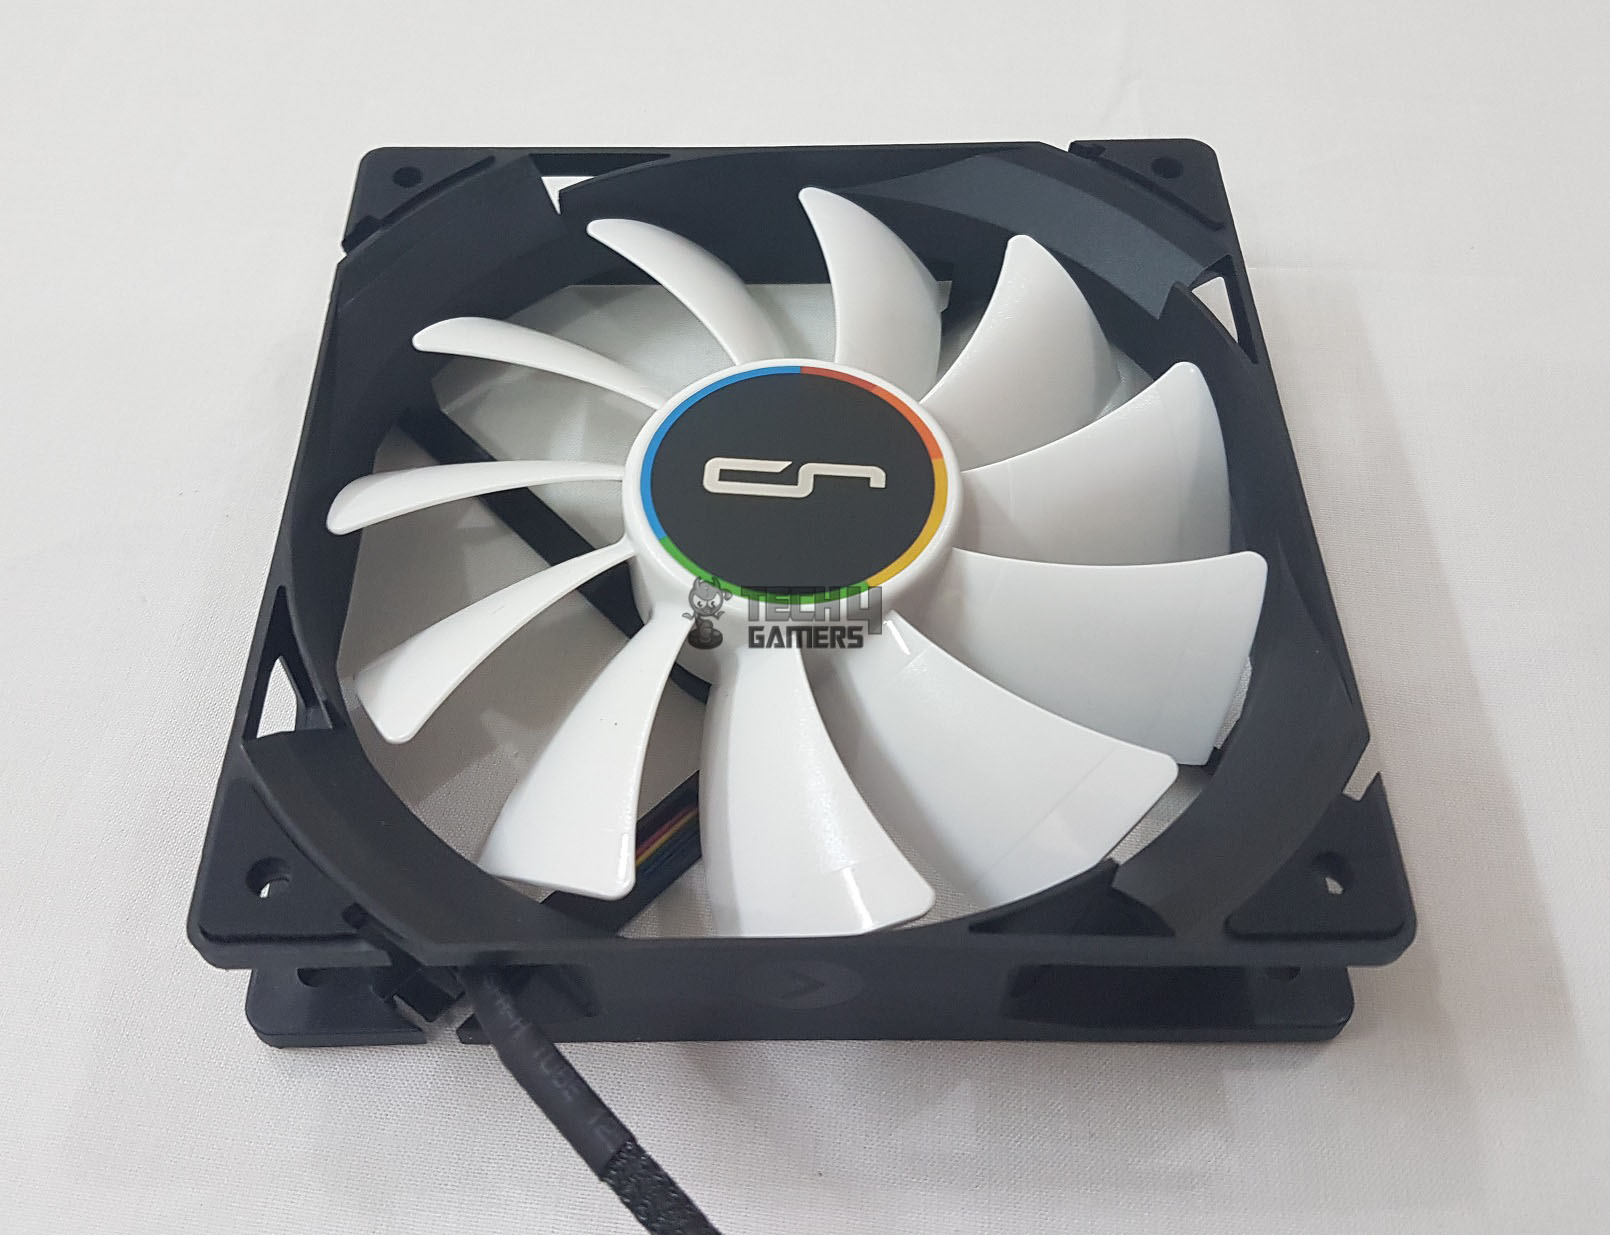
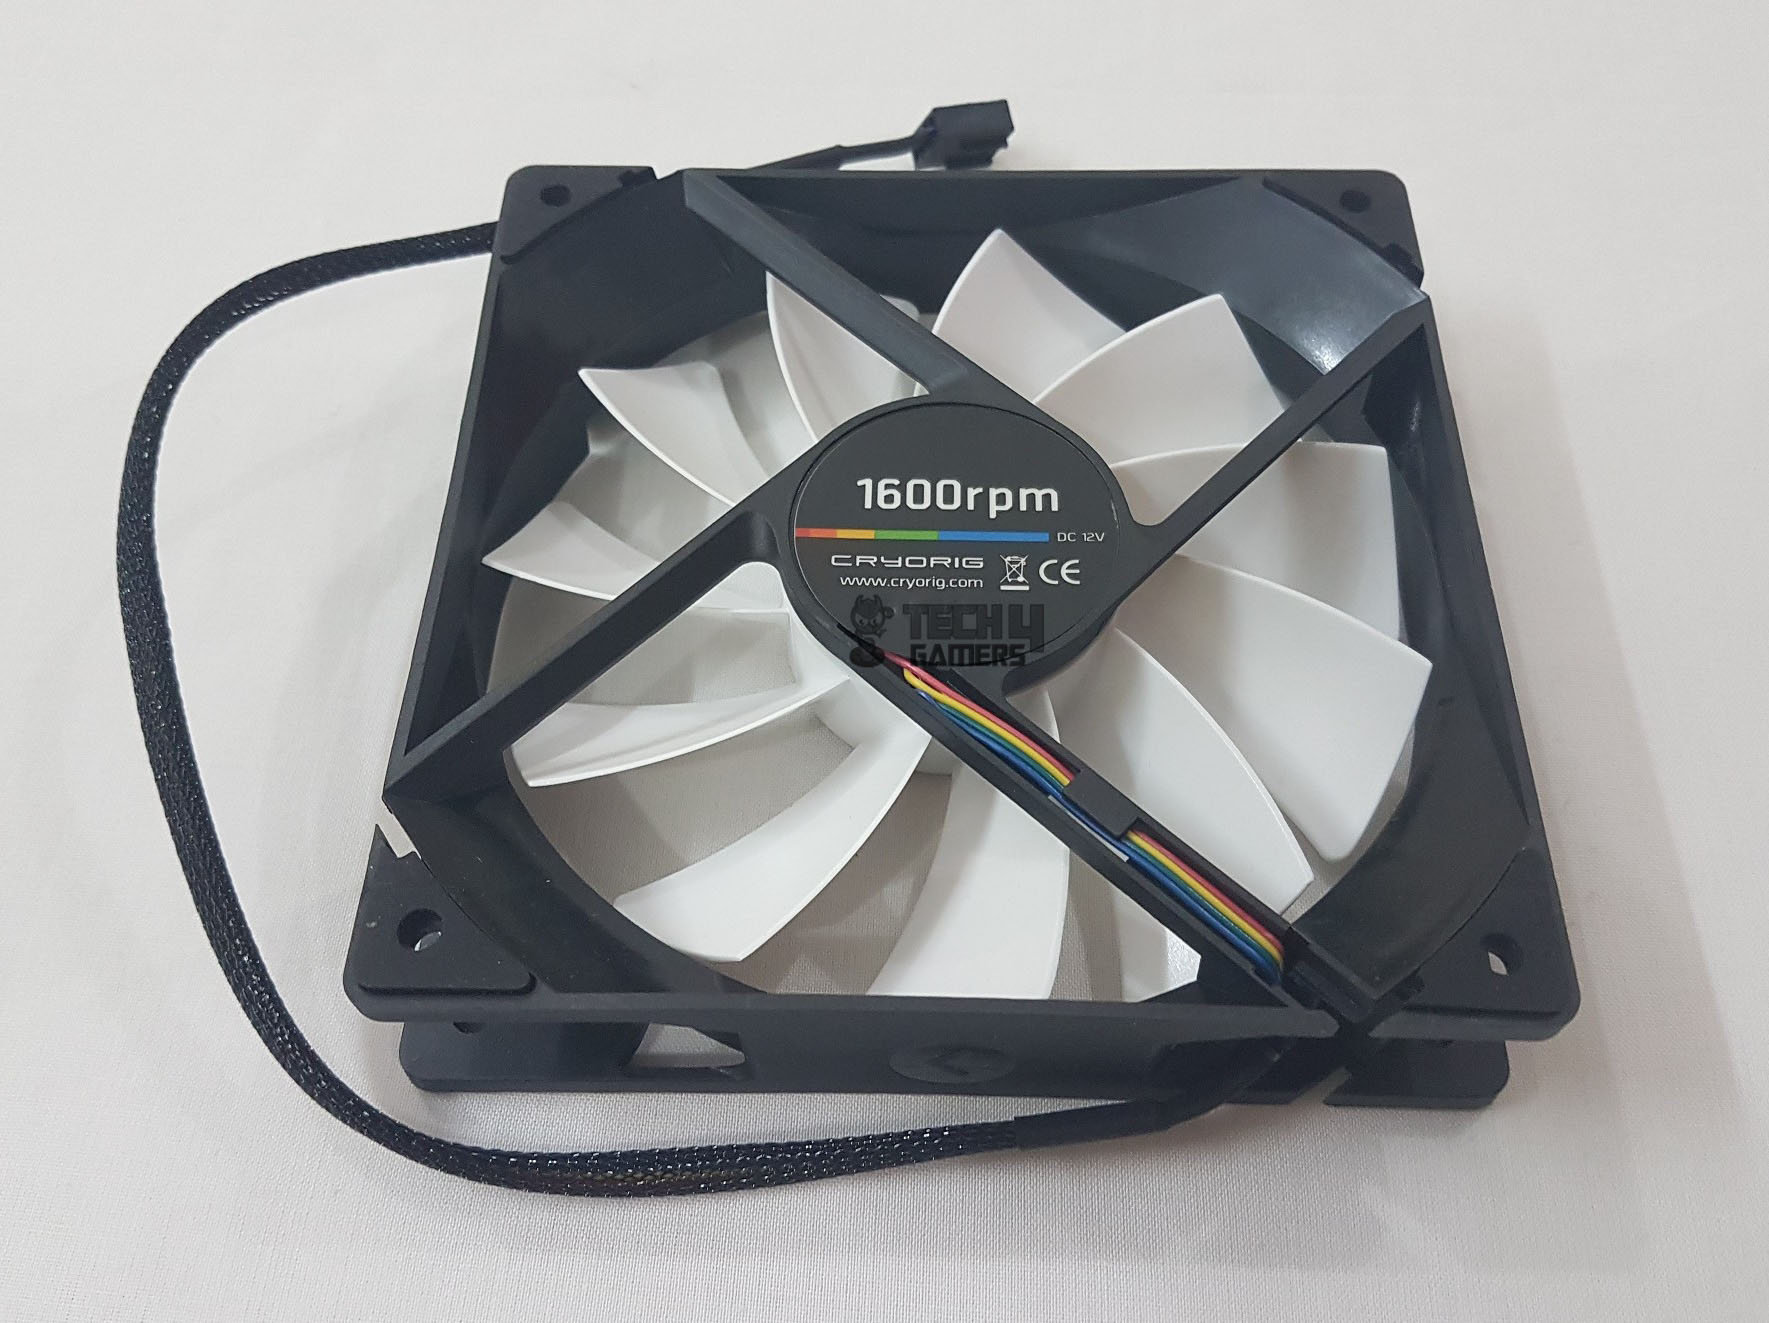
Cryorig includes a compact QF120 fan with the cooler, featuring a 120mm x 120mm x 25.4mm size, 134g weight, and 330~1600 RPM speed. Noise levels range from 10~25 dBA, providing 49CFM airflow and 1.65 mmH2O air pressure. Drawing 0.16Amps at DC 12V, it sports a 4-pin PWM connector and a 320mm braided cable with a black sleeve. The fan has a black frame, white blades (11 in total), and a central hub adorned with a colorful Cryorig sticker. Rubber padding on the corners minimizes vibration noise, while arrow marks indicate airflow and spin direction. The backside reveals a 4-arm structure and displays the fan’s max RPM. The Cryorig website address is printed on the bottom.
Installation
Cryorig claims quick and easy installation, but I found it tedious.
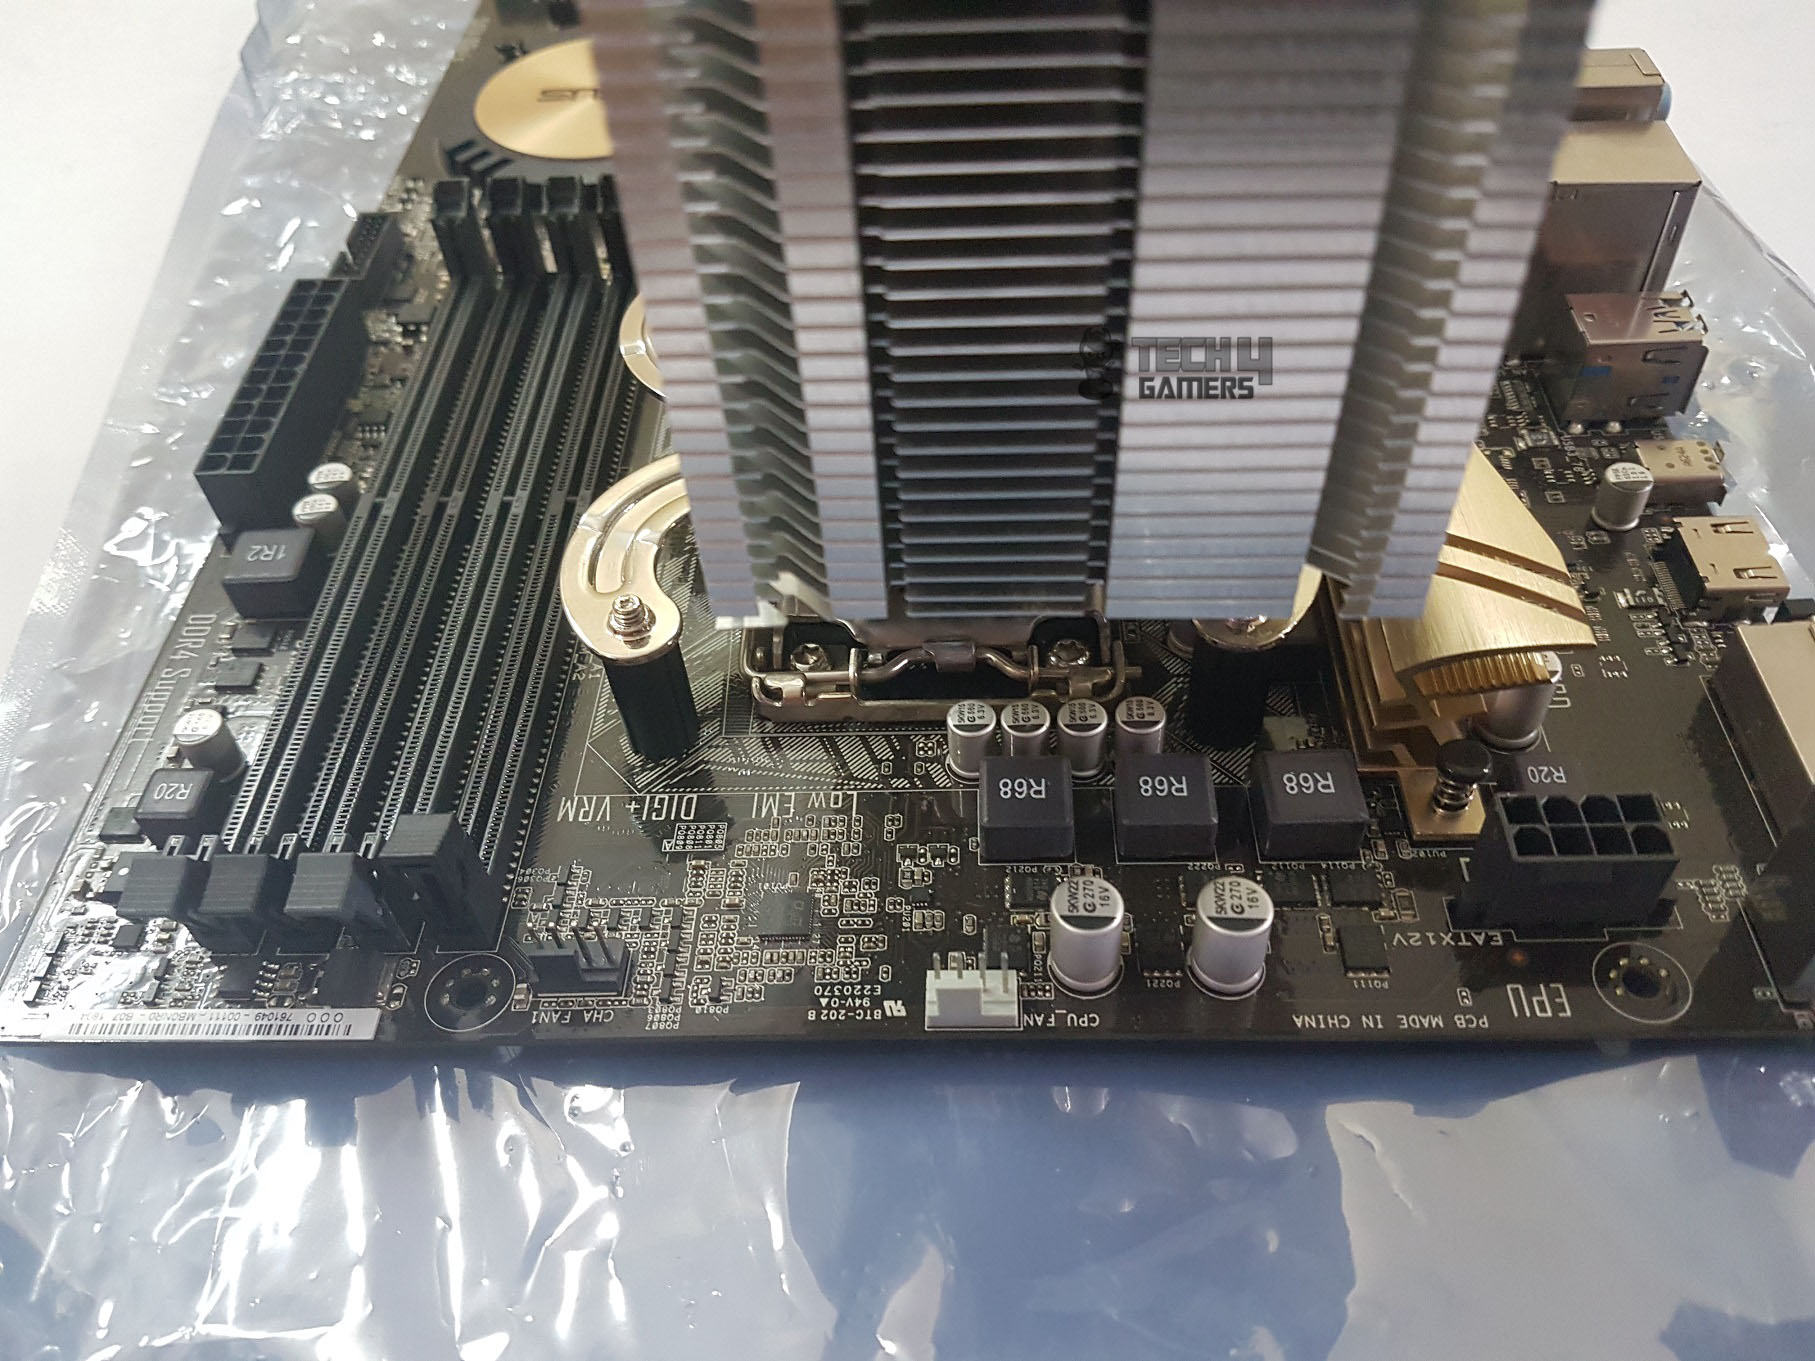
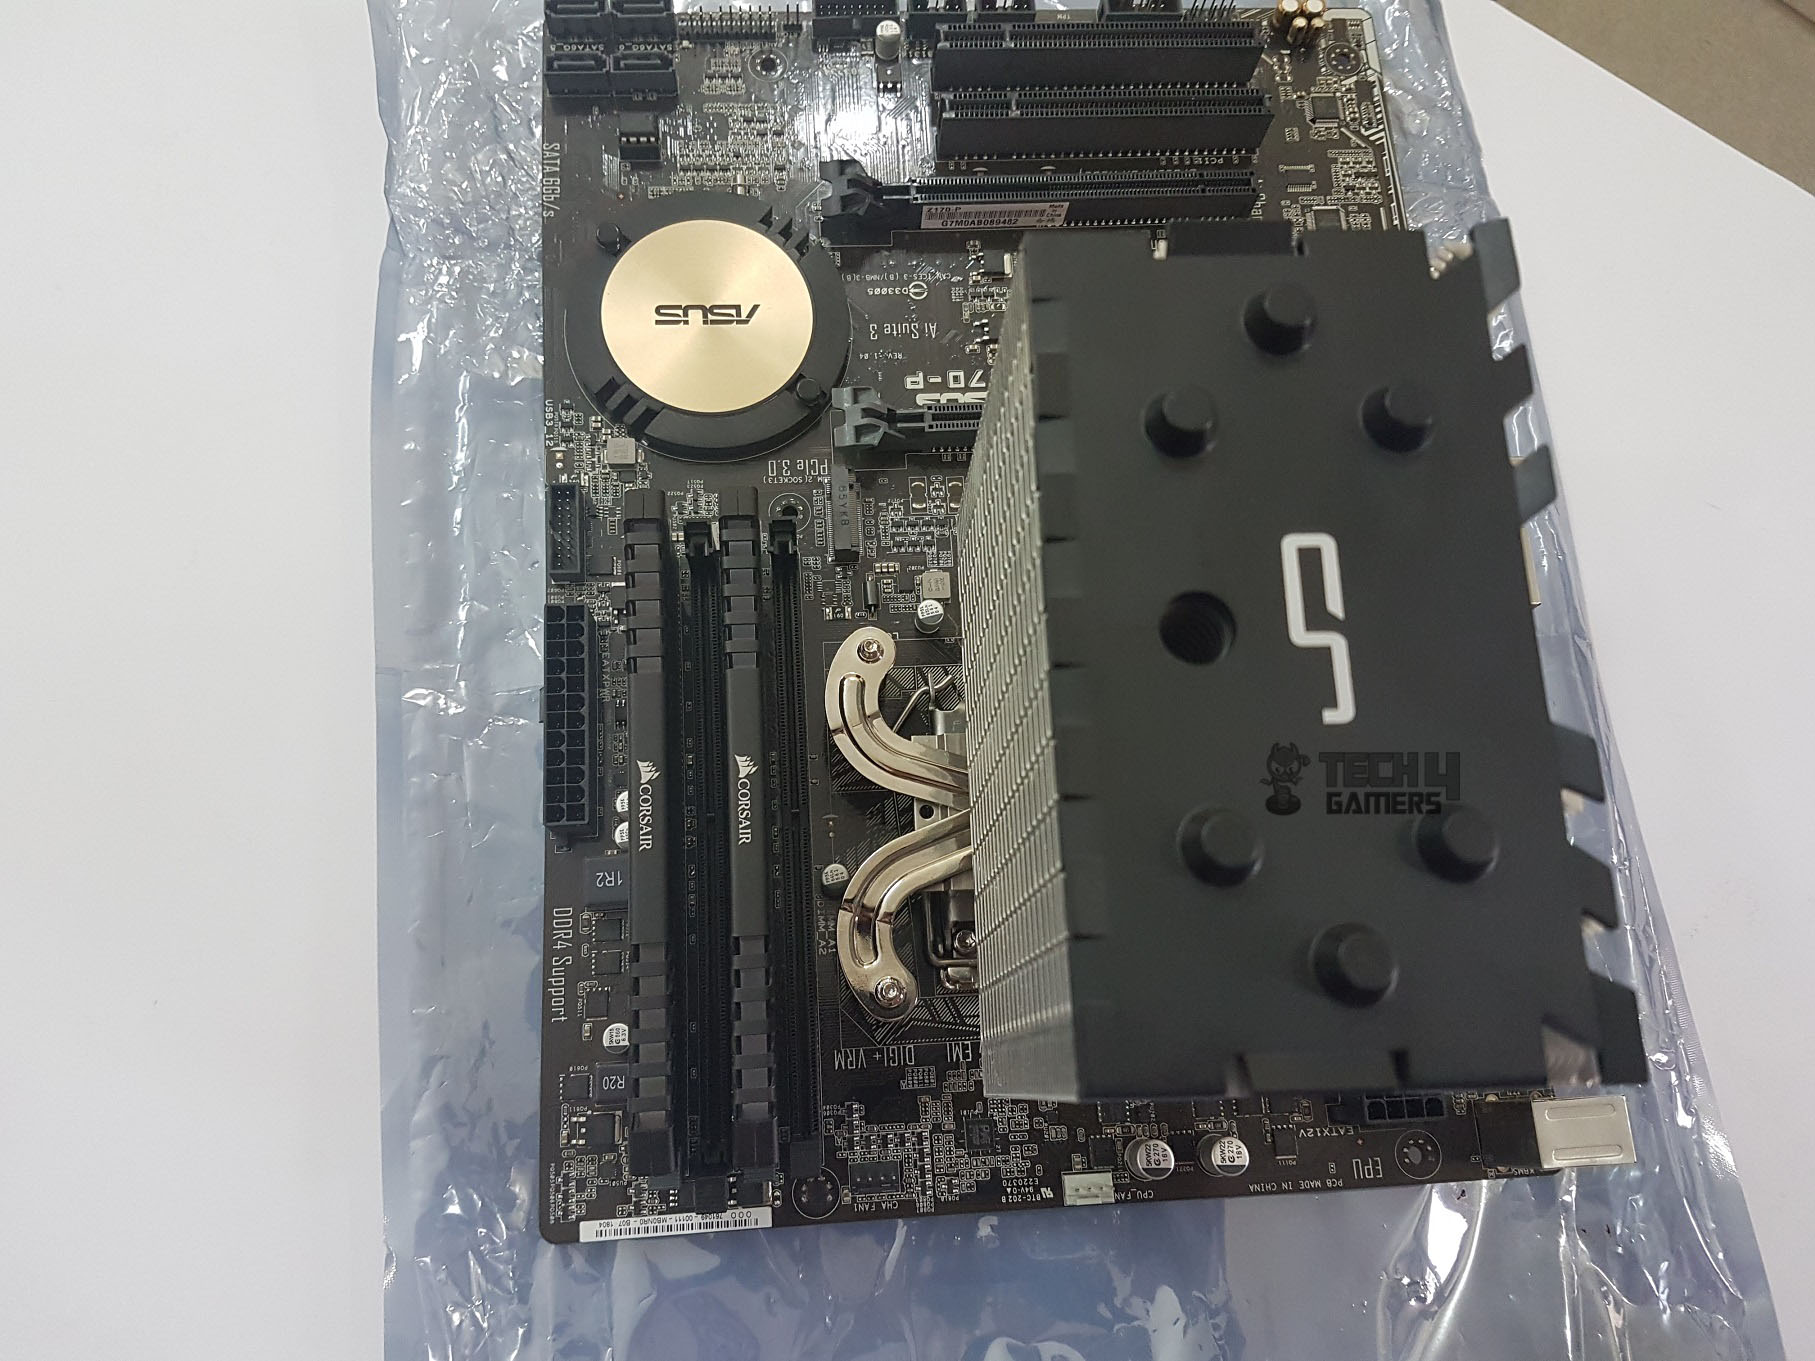
- Installing on a test bench like mine (Asus Z170-P with Intel 7700k) is challenging.
- Pass long screws through the backplate’s middle holes labeled as B for LGA socket 115x.
- The backplate goes on the motherboard with the Intel side facing up.
- Put black spacers on screws from the front side, ensuring they stay in place.
- Loosen the X-Bar screw above the cooler’s base, and align the bars with the motherboard holes.
- Tighten the central screw to fix the bars in position.
- Apply the thermal paste on the CPU, place the cooler on CPU HIS, and align long screws with bars.
- Screw in long screws from the backside using a diagonal pattern.
- Attach the fan and connect the 4-pin PWM connector to the CPU fan header.
- Optional Push/Pull configuration with additional fan clips provided by Cryorig.
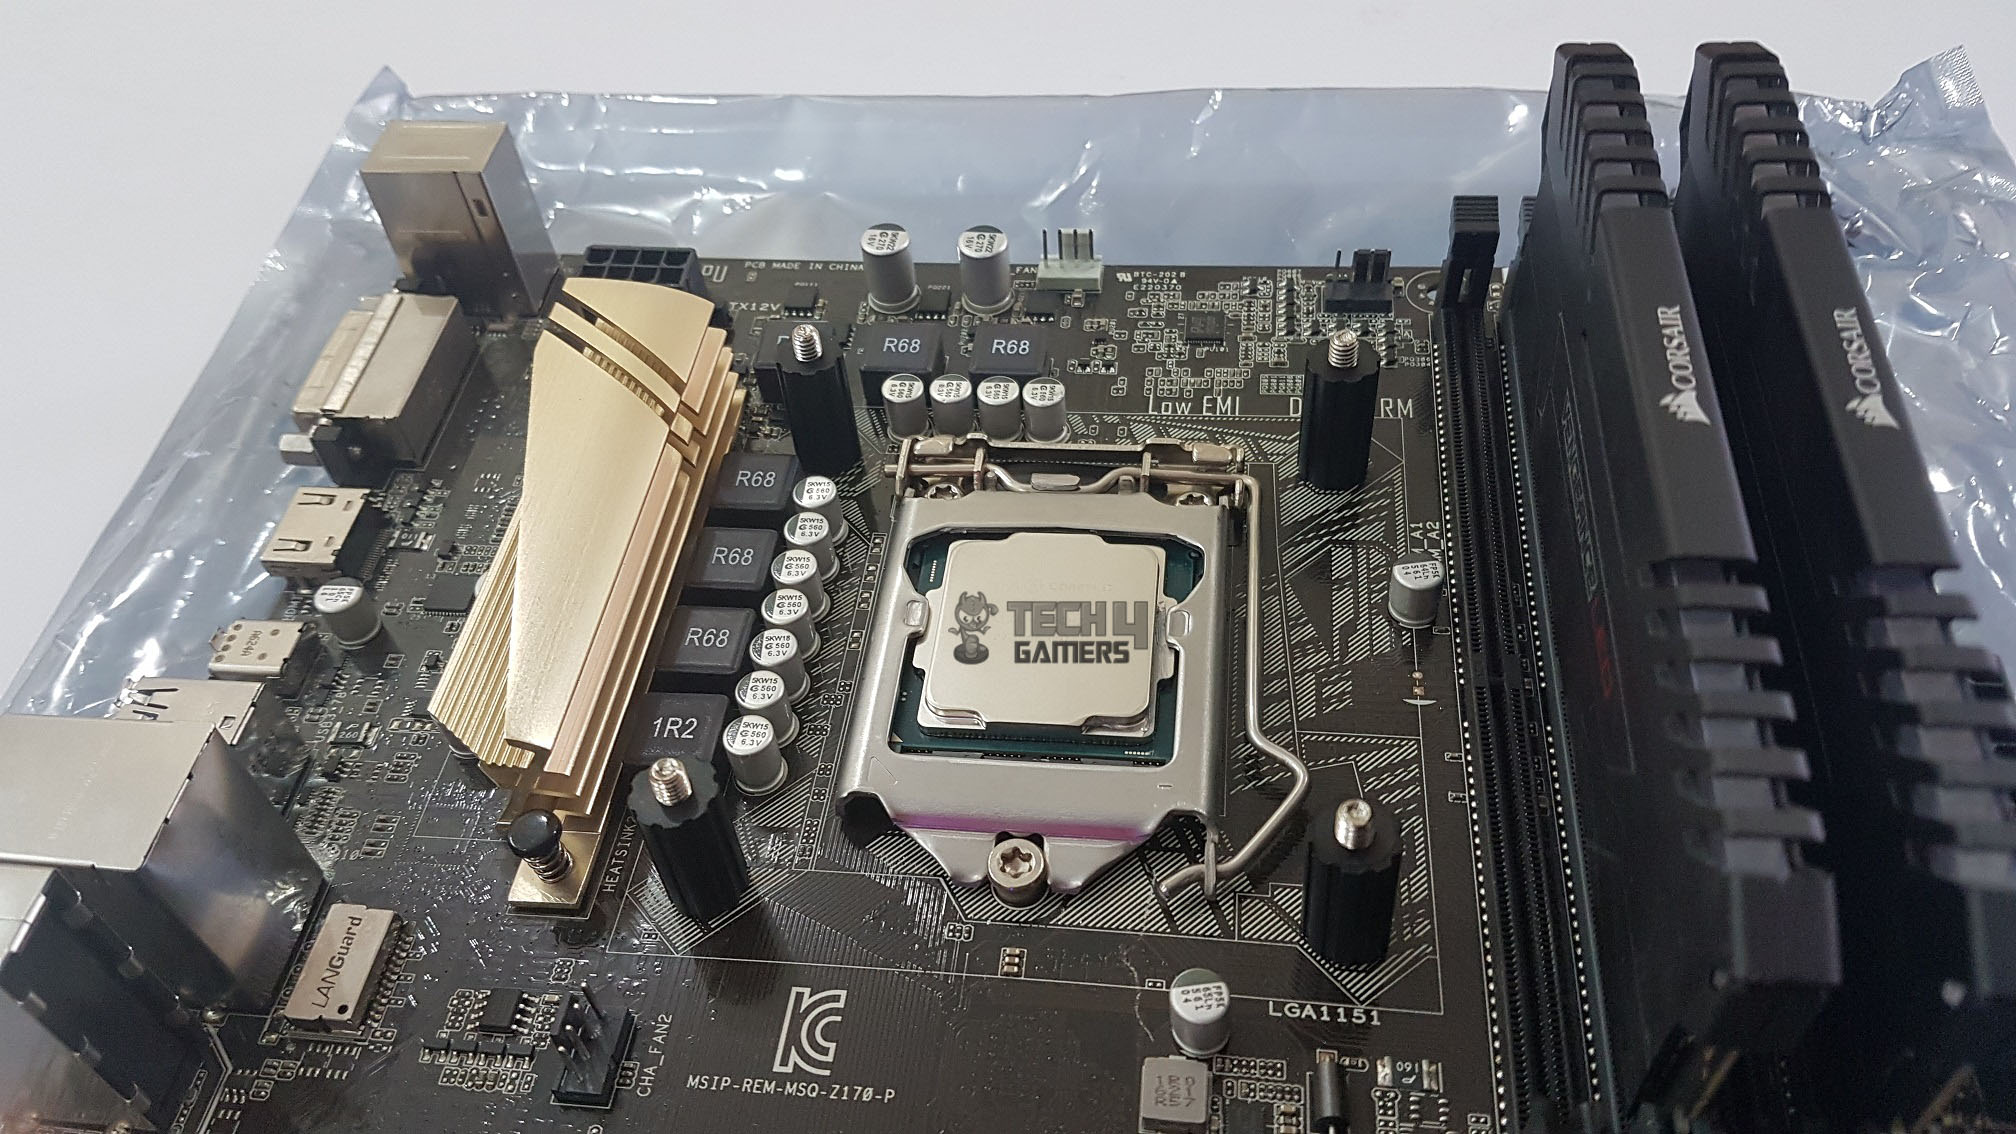
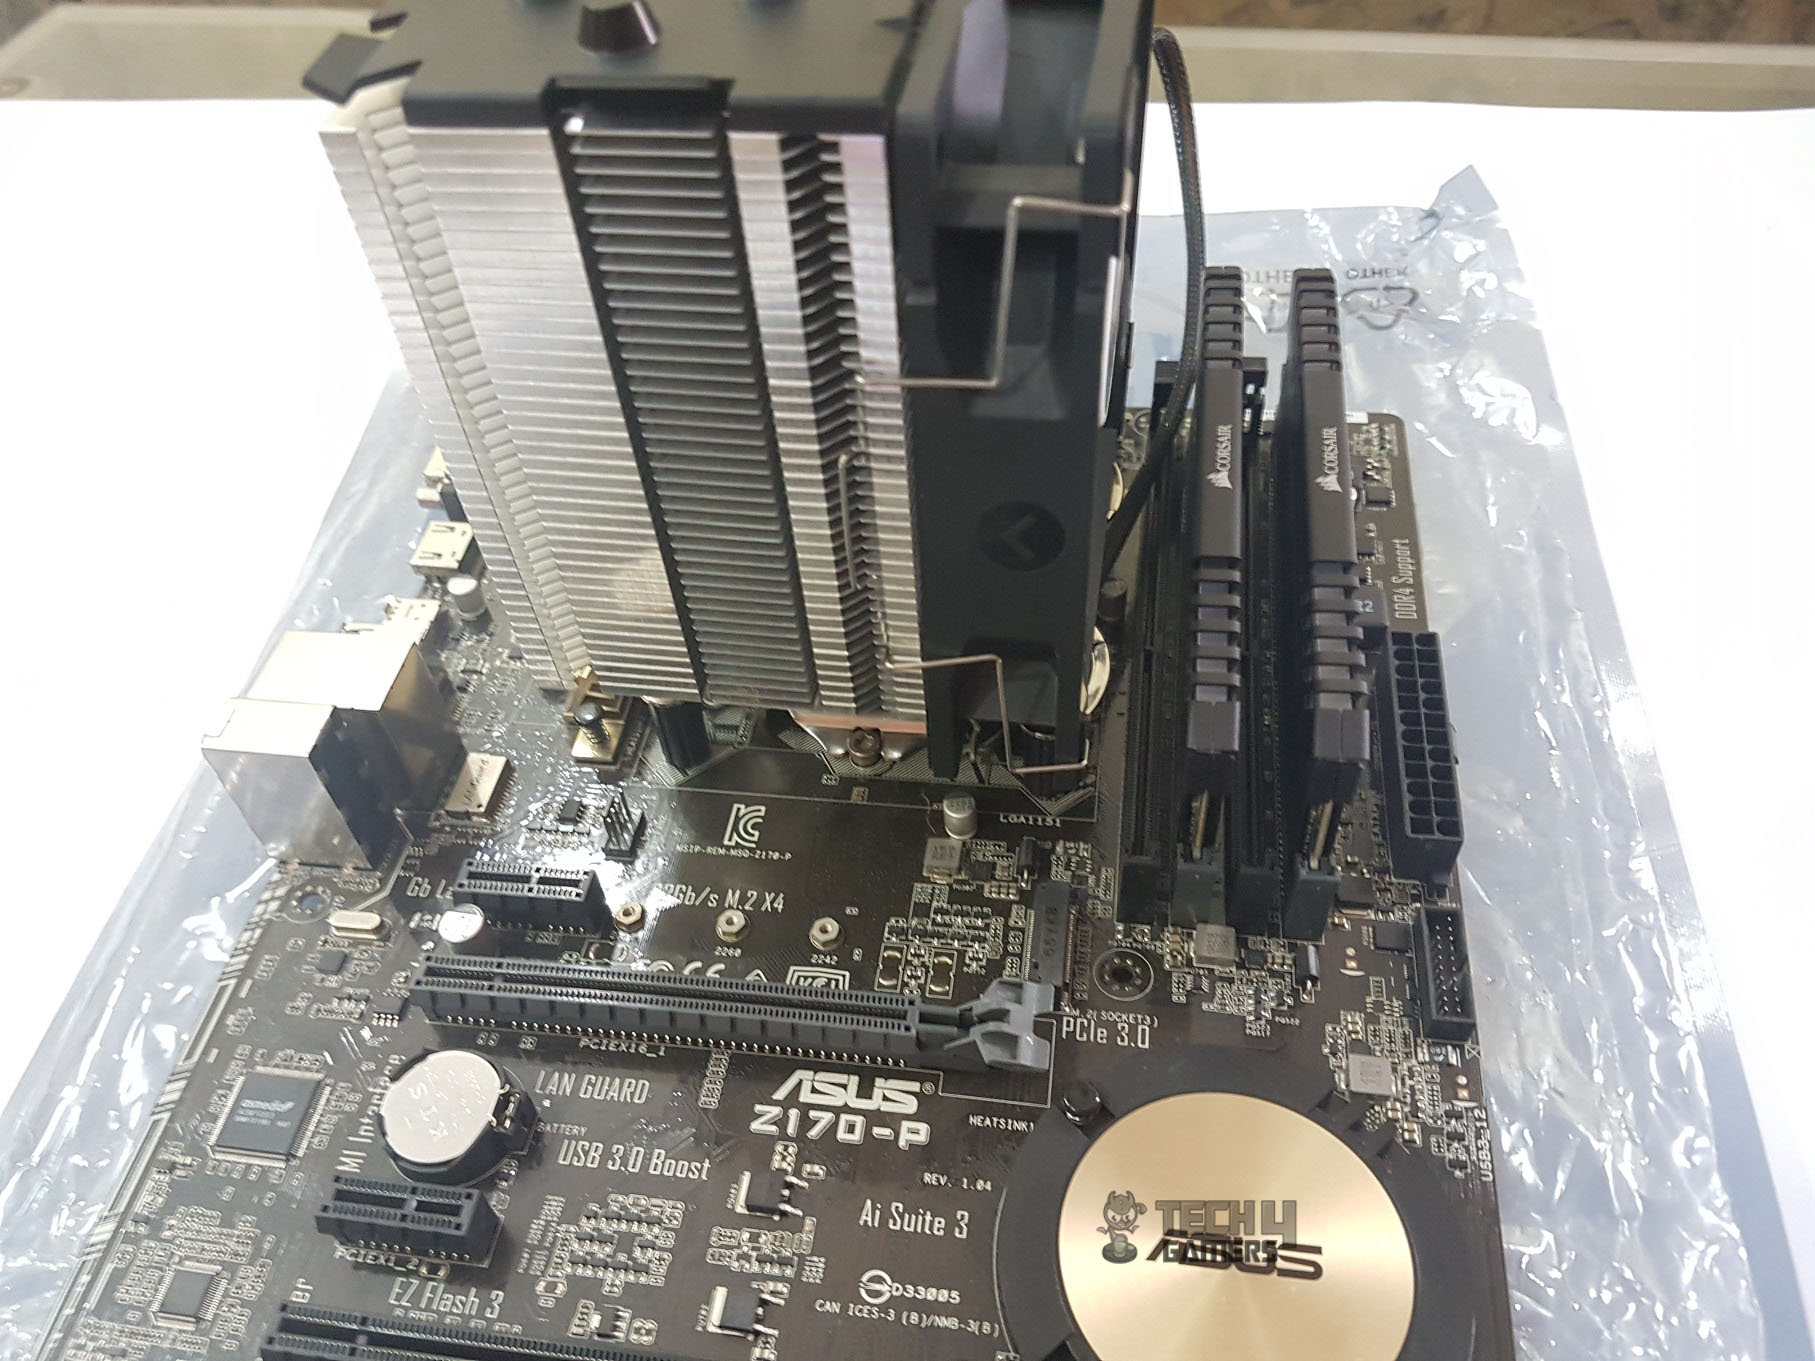
Regarding the air coolers, we must ensure compatibility concerning the Chassis, the RAM, and the first PCIe lane. With just 145mm in height, the Cryorig H7 is highly compatible with most PC Chassis. Additionally, the offset design implementation has made it cooler to have infinite RAM compatibility. I did not see any incompatibility concerning the first PCIe lane.
Testing
The following test bench was used to test the cooler:
- Intel i7 7700k [Thanks to the PCFanatics]
- Asus Z170-P [Thanks to the PCFanatics]
- Corsair 2x8GB Vengeance Red LED @ 2666MHz
- HyperX 120GB SSD
- Thermaltake TP DPS RGB 750W PSU
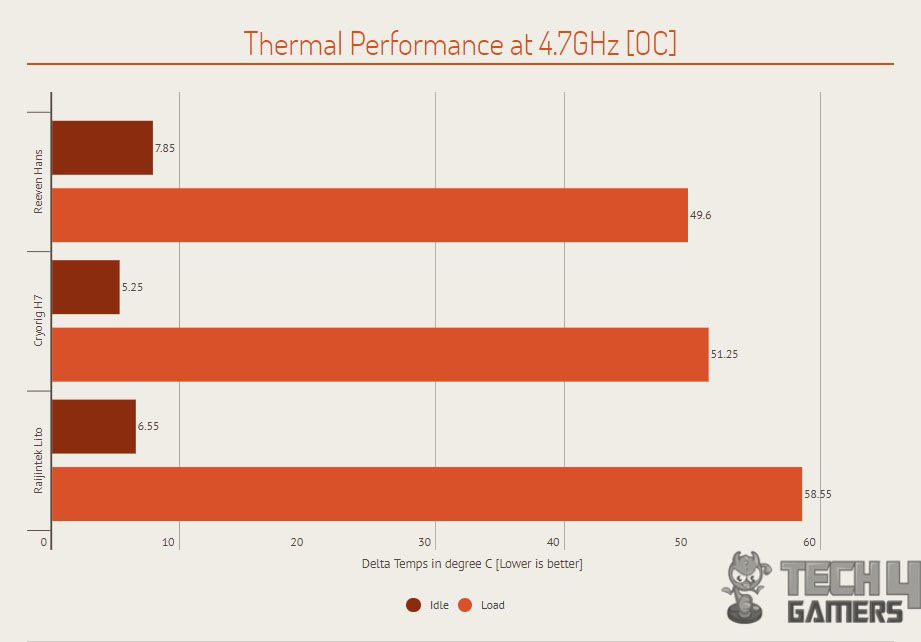
I tested the cooler using Asus Realbench 2.44 and RealTemp 3.70, applying Noctua NT-H1 thermal paste for consistent results. First, I ran tests at stock settings (4.2GHz at 1.16V) and calculated average core temps at idle and under load. Graphs show results, factoring in ambient temps. Next, I overclocked to 4.7GHz at 1.22V, running three 60-minute stress tests with 15 minutes idle. Graphs display delta temps after subtracting ambient temperatures.
Thermals
On stock clocks, i.e., 4.2GHz [fixed], the Cryorig H7’s max temp was 41.85C [delta temp]. The Reeven Hans performed well; the max temp was 38.2C [delta temp].CPU was overclocked to 4.7GHz. The Cryorig H7’s max temp was 51.25C, while the Reeven Hans did a fine job again by maxing out at 49.6C. It was not a bad performance at all from a budget cooler.

Acoustics
I am not checking the acoustics of the fans due to uncontrolled environmental noise. Still, based on my experience in testing the fans, the fan on the Cryorig H7 was nearly silent and did not produce any discomfort during the testing session.
Should You Buy It?
Upon my careful assessment of The Cryorig H7 CPU Cooler, I conclude that:
Buy It If
✅ You are a budget user: If you are on a budget and looking for an efficient 120mm single tower heatsink CPU cooler Cryorig H7 offers a unique Hive Fin design for proven cooling and zero RAM incompatibility.
✅ You have compact space: If you have a compact PC chassis (145mm height) and need a cooler that fits well.
Don’t Buy It If
❌ You want hassle-free installations: If you prioritize easy installations. The Cryorig H7 may require careful handling during installation, especially on test bench setups.
❌ You have an Intel LGA-2011(3) socket: If you prefer a cooler that supports the Intel LGA-2011(3) socket, as the H7 does not provide compatibility for this socket.
❌ You want stock LEDs: You are looking for a cooler with additional features like built-in LED lighting, as the Cryorig H7 does not have this feature.
Final Words
The Cyorig H7, a 120mm single design heatsink air cooler, boasts maximum compatibility with its compact L98 x W123 x H145mm dimensions and lightweight 577g. With three 6mm nickel-plated heat pipes and a C1100 pure copper base, it handles a TDP rating of 140W. The Bee Hive Fin design, featuring 40 nickel-plated fins, ensures efficient heat dissipation. Equipped with a QF120 fan with a max RPM of 1600 and 3 years of extended warranty, it delivers excellent performance, though installation may be tricky. The fan on the Cryorig H7 was nearly silent and did not produce any discomfort. No worries about RAM interference here!
Recent Updates
- January 23, 2024: A few text changes to improve readability. Image galleries added.
Thank you! Please share your positive feedback. 🔋
How could we improve this post? Please Help us. 😔
[Hardware Reviewer & Editor]
Meet Nauman Siddique, a highly experienced computer science graduate with more than 15 years of knowledge in technology. Nauman is an expert in the field known for his deep understanding of computer hardware.
As a tech tester, insightful reviewer, and skilled hardware editor, Nauman carefully breaks down important parts like motherboards, graphics cards, processors, PC cases, CPU coolers, and more.
- 15+ years of PC Building Experience
- 10+ years of first-hand knowledge of technology
- 7+ years of doing in-depth testing of PC Hardware
- A motivated individual with a keen interest in tech testing from multiple angles.
- I majored in Computer Science with a Masters in Marketing
- Previously worked at eXputer, EnosTech, and Appuals.
- Completed Course in Computer Systems Specialization From Illinois Tech
Get In Touch: nauman@tech4gamers.com


