 Threads
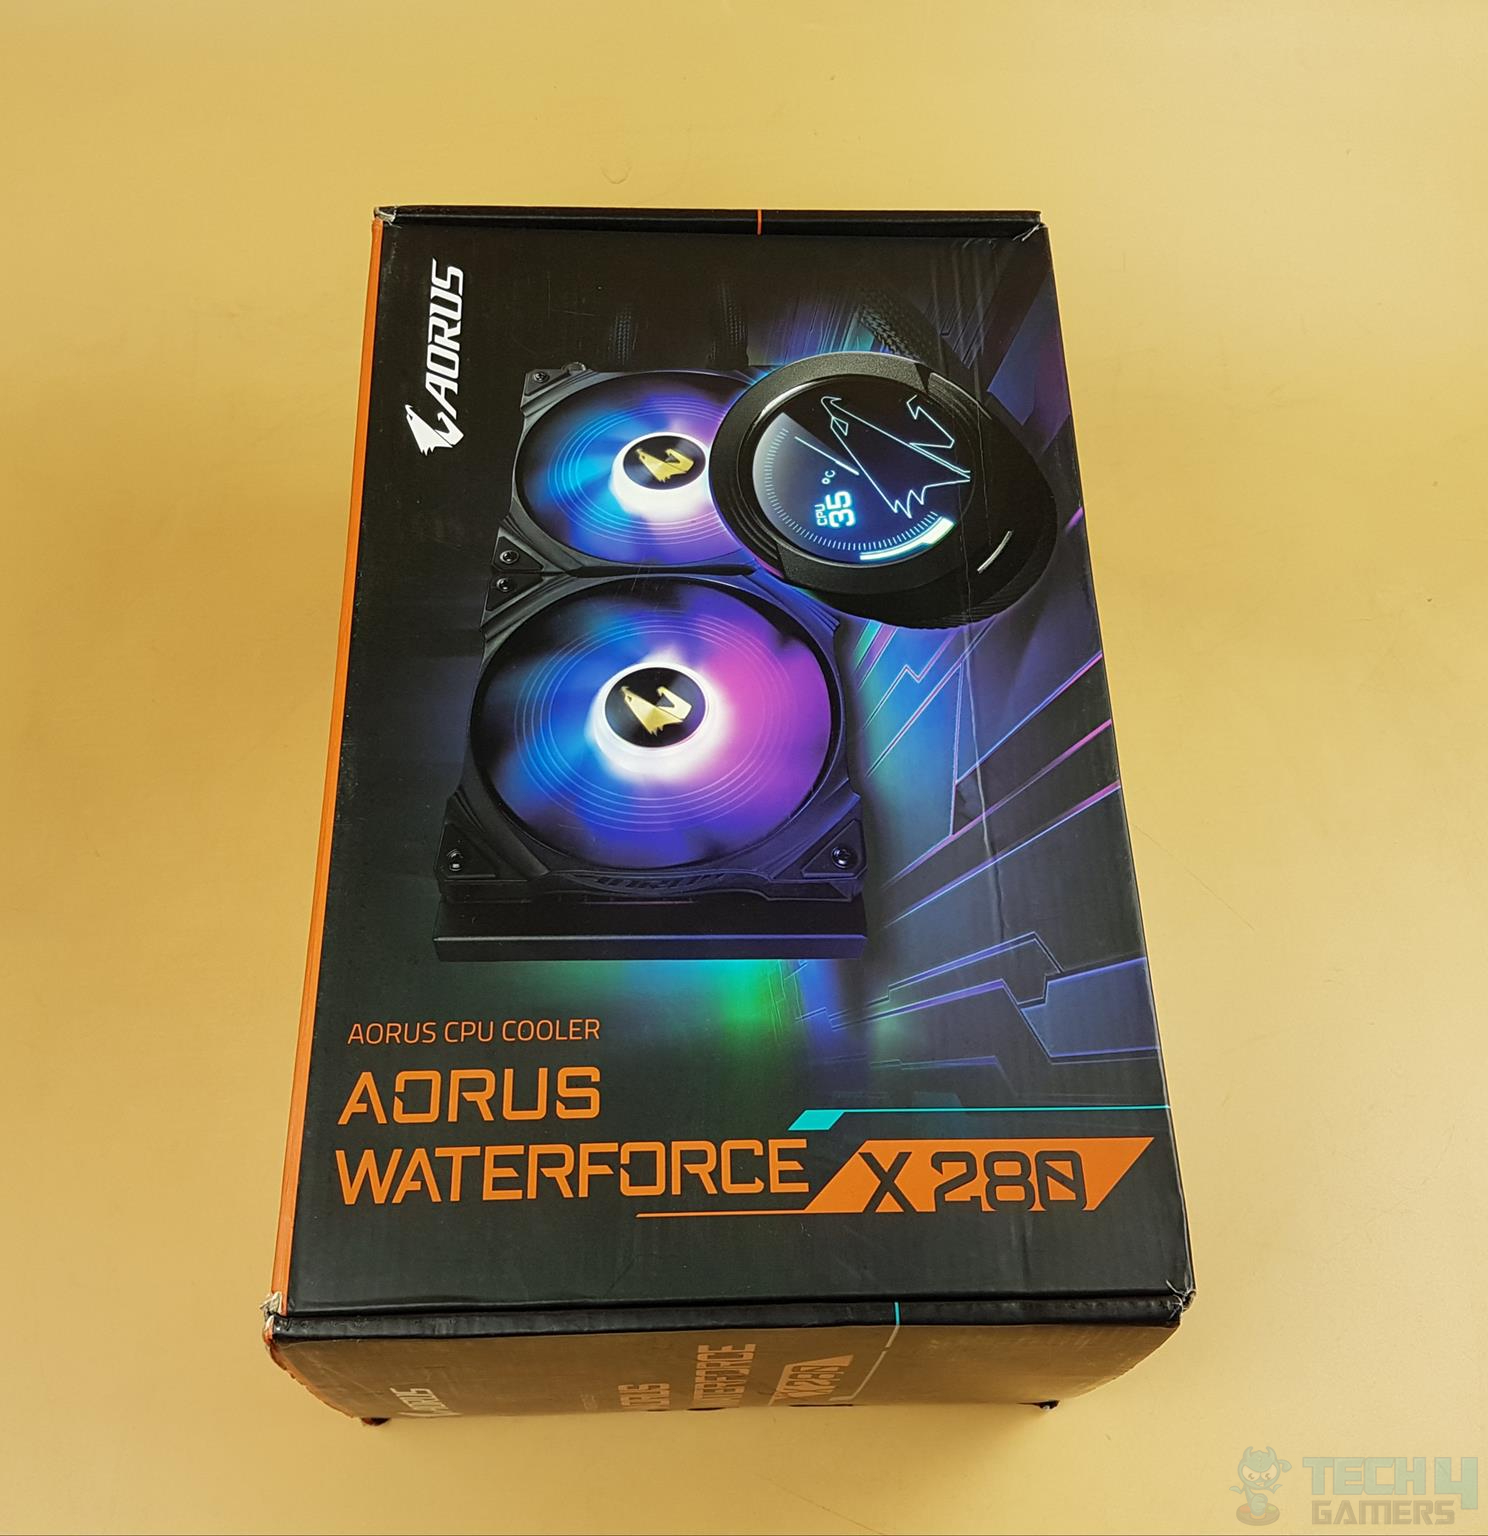
AORUS WATERFORCE X 280 Liquid Cooler Review
Summary
The AORUS WATERFORCE X 280 is a powerful cooler with a high price. It boasts a stunning 60x60mm LCD screen with vibrant colors and great software customization. This cooler prioritizes aesthetics and performance over value. If you want an AIO with an impressive display, the WATERFORCE X is a top choice.

Overall
-
Quality - 9.5/10
9.5/10
-
Performance - 9/10
9/10
-
Features - 9.5/10
9.5/10
-
Value - 7.5/10
7.5/10
Pros
- Beefy Cooling
- LCD Screen
- Screen Rotation
- Screen Customization
- Digital Lighting
- Standard Connectors
- Multiple Sockets Support
- Software Support
- Coolant Temperature Monitoring
- Integrated Cable Management
- 3-years warranty
Cons
- Noisy fans
- Aggressive Fan Curves
- The custom fan curve is not working in the software
- More Cables to deal with
- Price
- GIGABYTE Platform is needed


In 2018, ASUS launched the ROG RYUJIN and RYUO coolers, marking the start of a new era where major brands began focusing on their ecosystems. The concept was to offer a complete range of products under their respective brands. From an ARGB/RGB standpoint, this made sense because users could control lighting for all major components with just one software. Now, I’m exploring our first GIGABYTE cooler, the WATERFORCE X 280.
Key Takeaways
- The Gigabyte AORUS WATERFORCE X 280 is for users who want excellent cooling without compromising on the visual appearance of their liquid cooler.
- The Gigabyte AORUS WATERFORCE X 280 is not designed for anyone looking for a near-silent experience.
- The Gigabyte AORUS WATERFORCE X 280 performs exceptionally, maintaining temperatures of 57.1°C on a Ryzen 7 7700X at an ambient of 20°C.
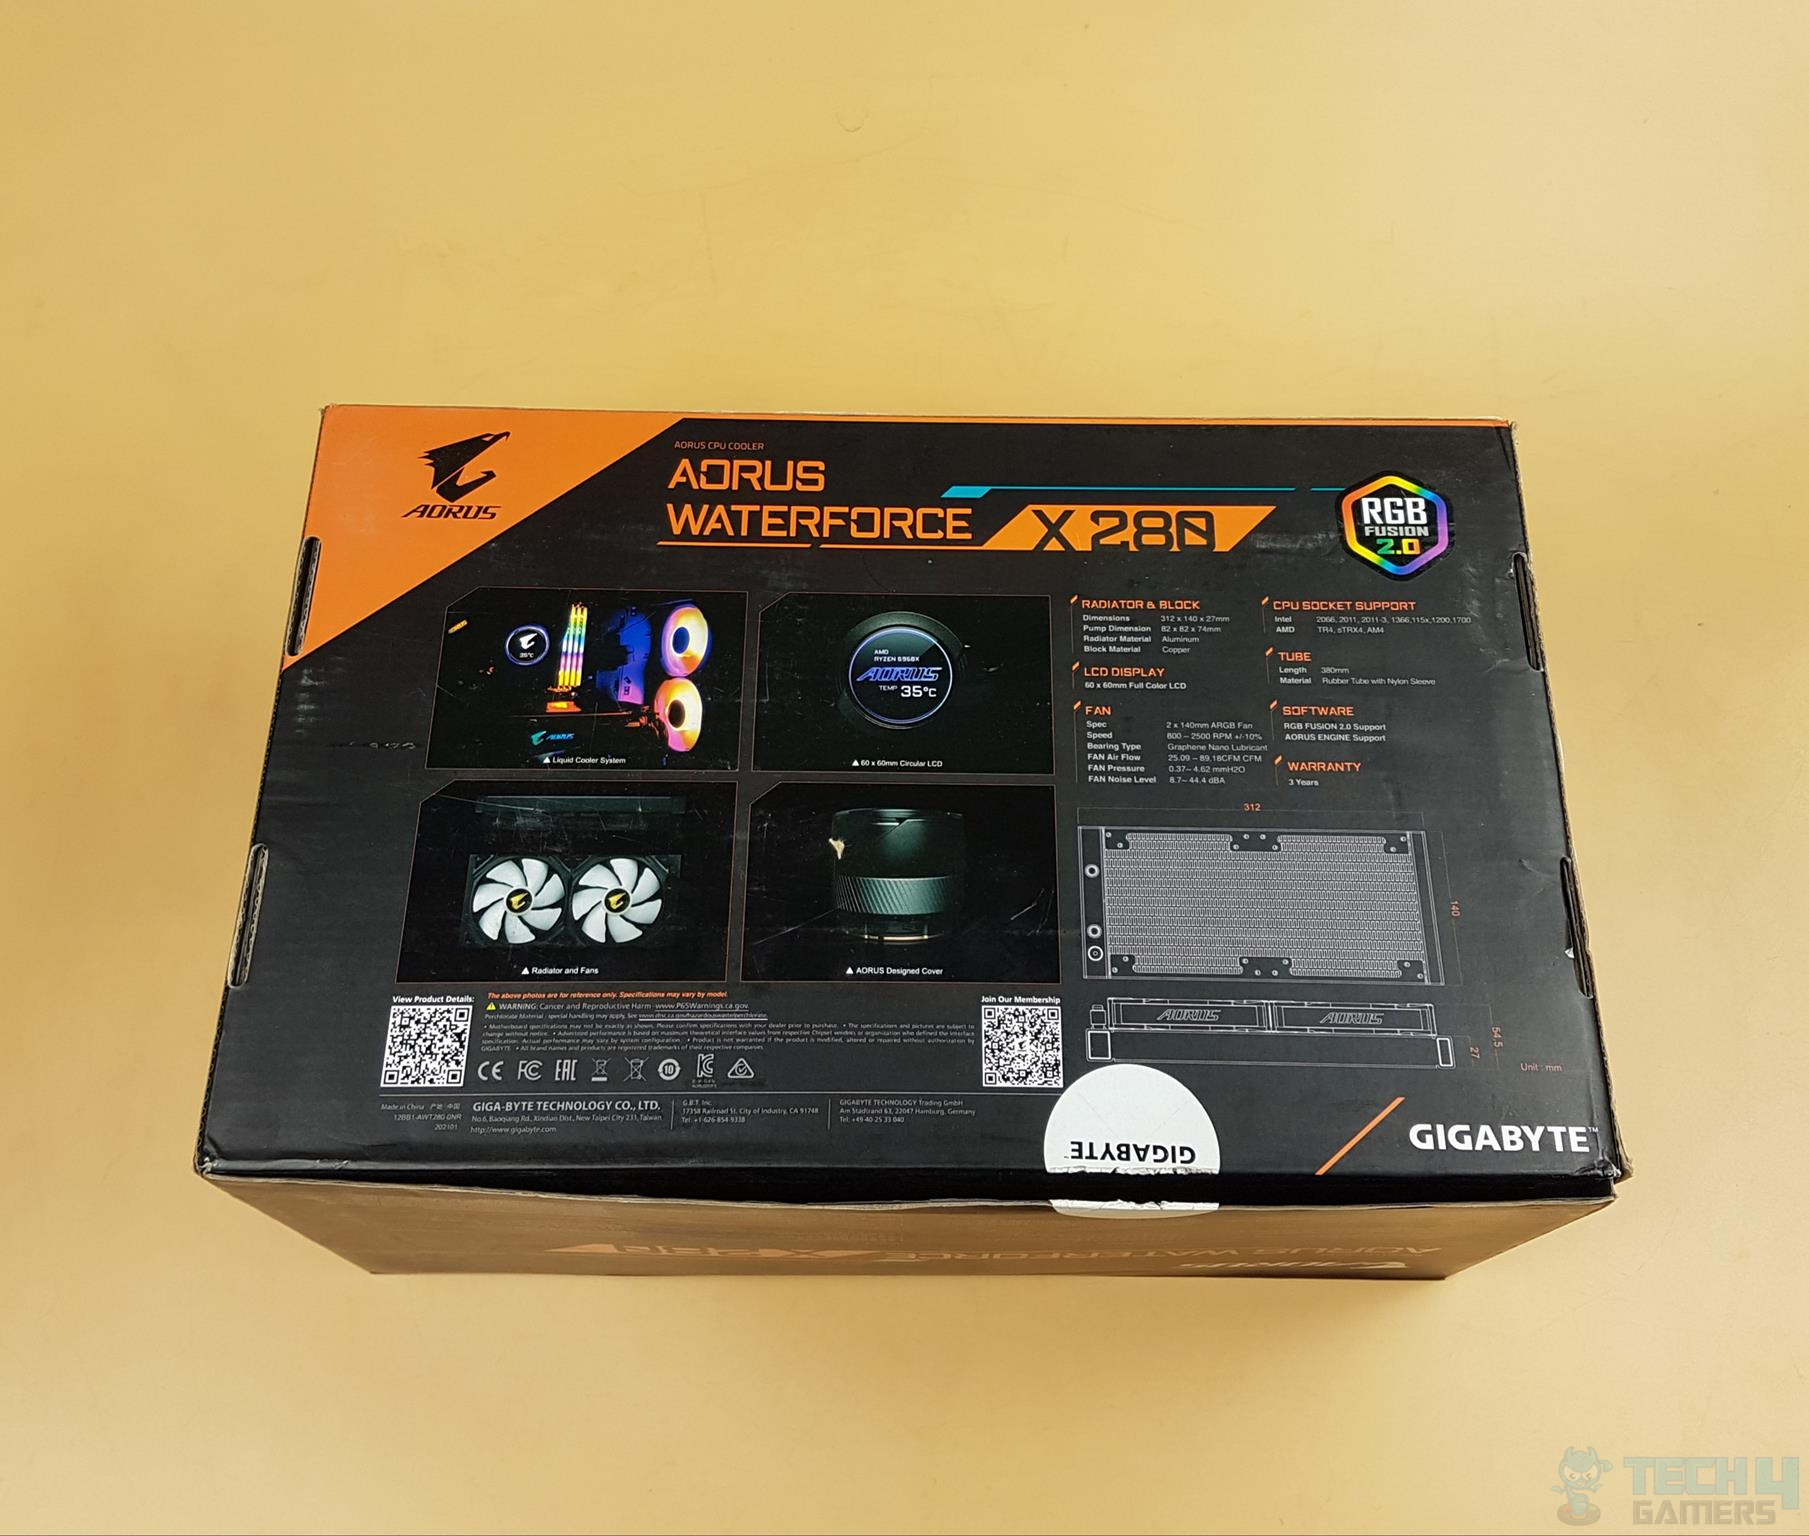
Specifications
| Product | AORUS WATERFORCE X 280 Liquid Cooler Review |
|---|---|
| Price | $214.99 |
| Dimensions | 312 x 140 x 27mm |
| Pump Dimension | 82 x 82 x 74mm |
| Radiator Material | Aluminum |
| Block Material | Copper |
| LCD Display | 60 x 60mm Full Color LCD |
| CPU Socket | Intel 2066, 2011,1366,115x,1200,1700 and AMD TR4, AM5, AM4, sTRX4 |
| Software | RGB FUSION 2.0 Support and AORUS ENGINE Support |
| Warranty | 3 Years |
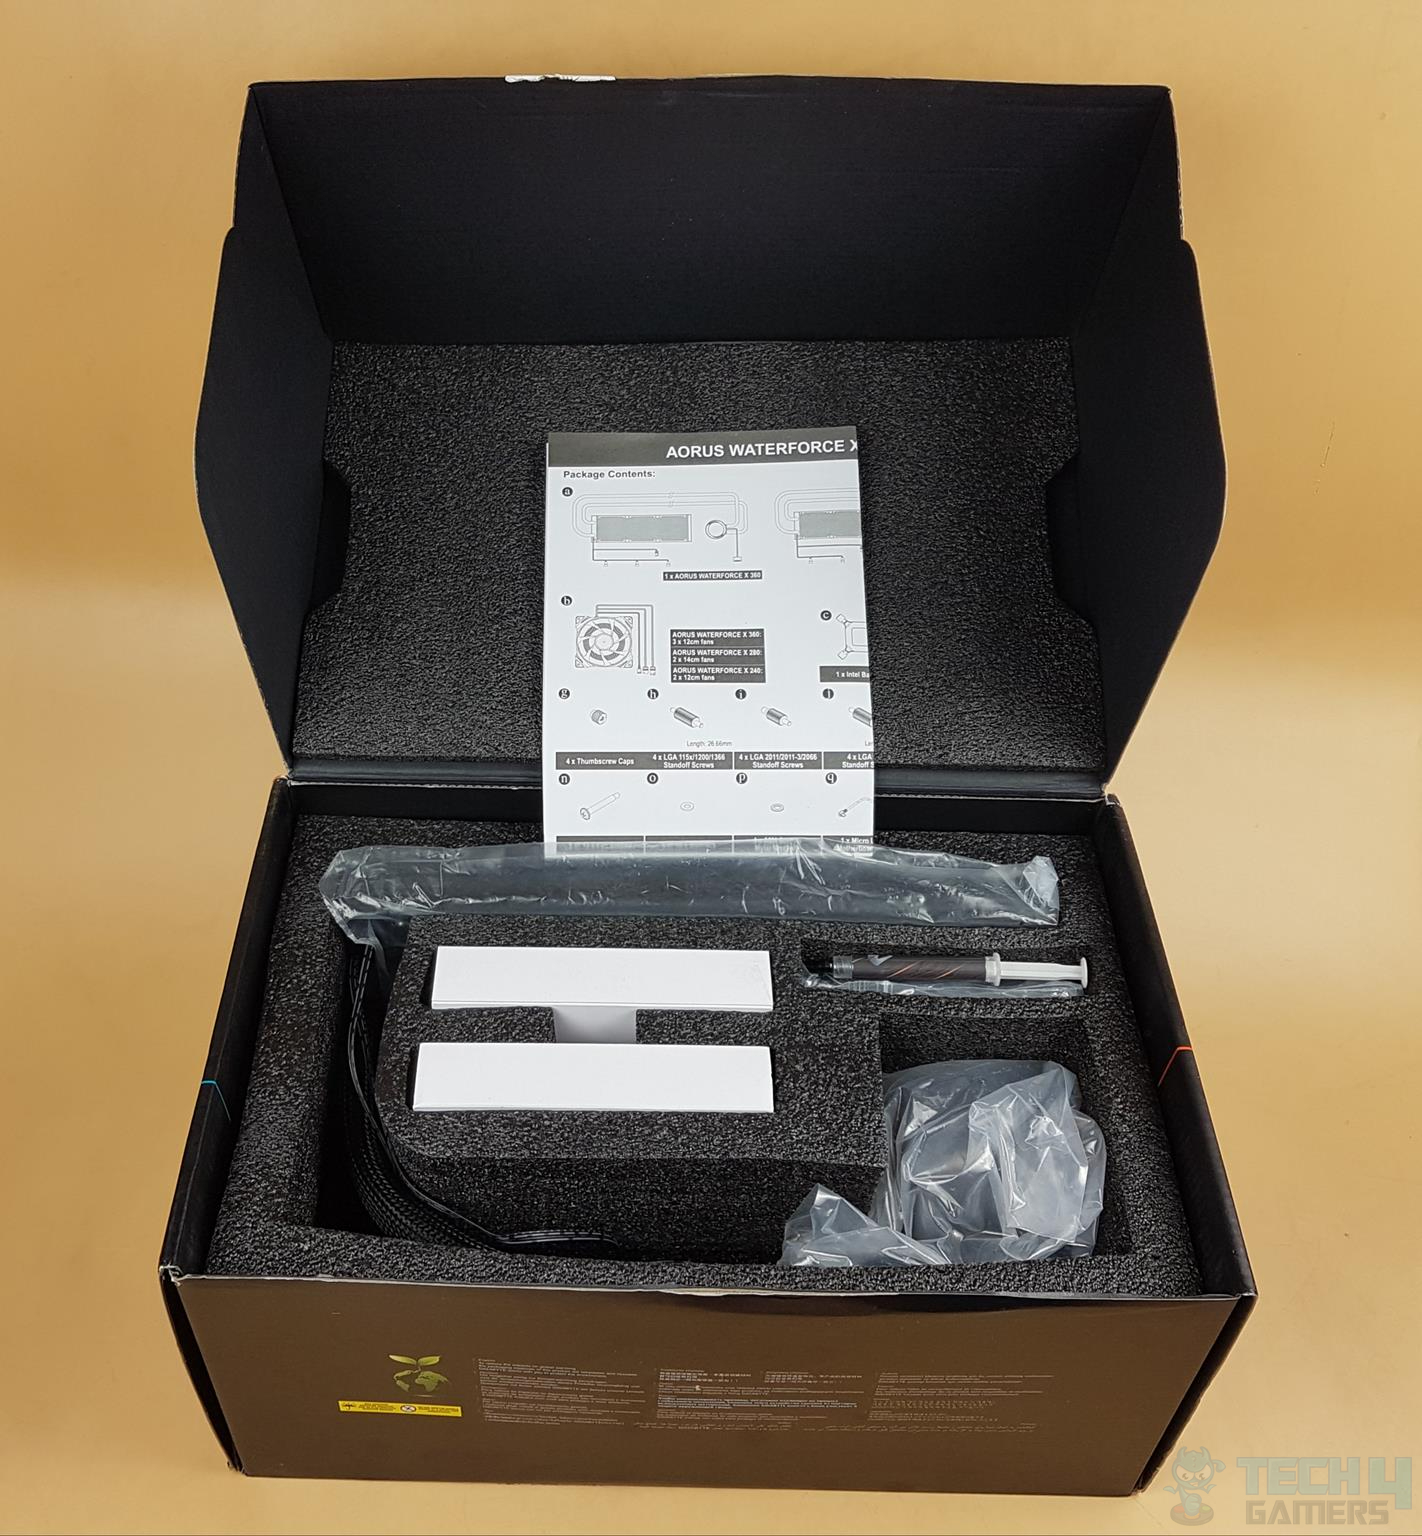
Packaging and Unboxing
Complete unboxing of the AORUS WATERFORCE X 280.
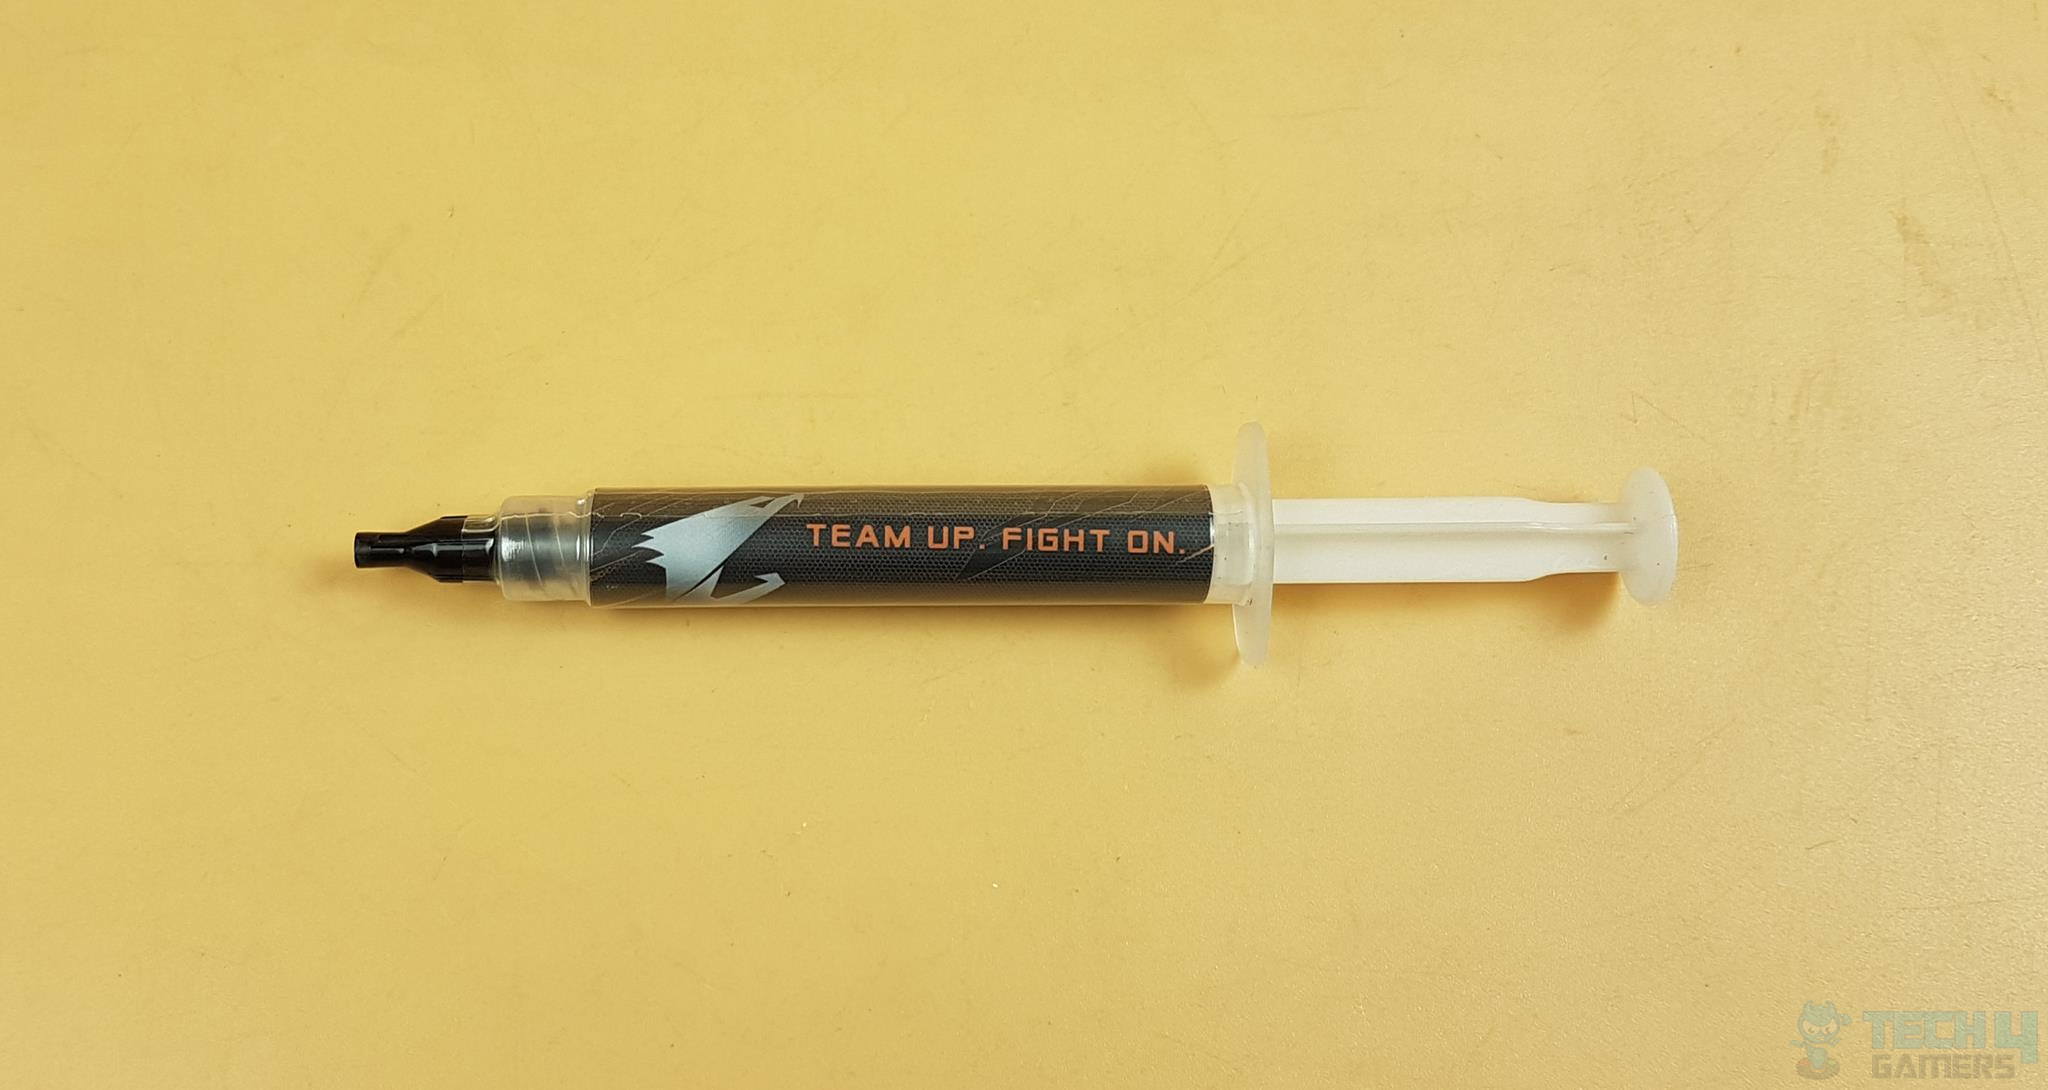
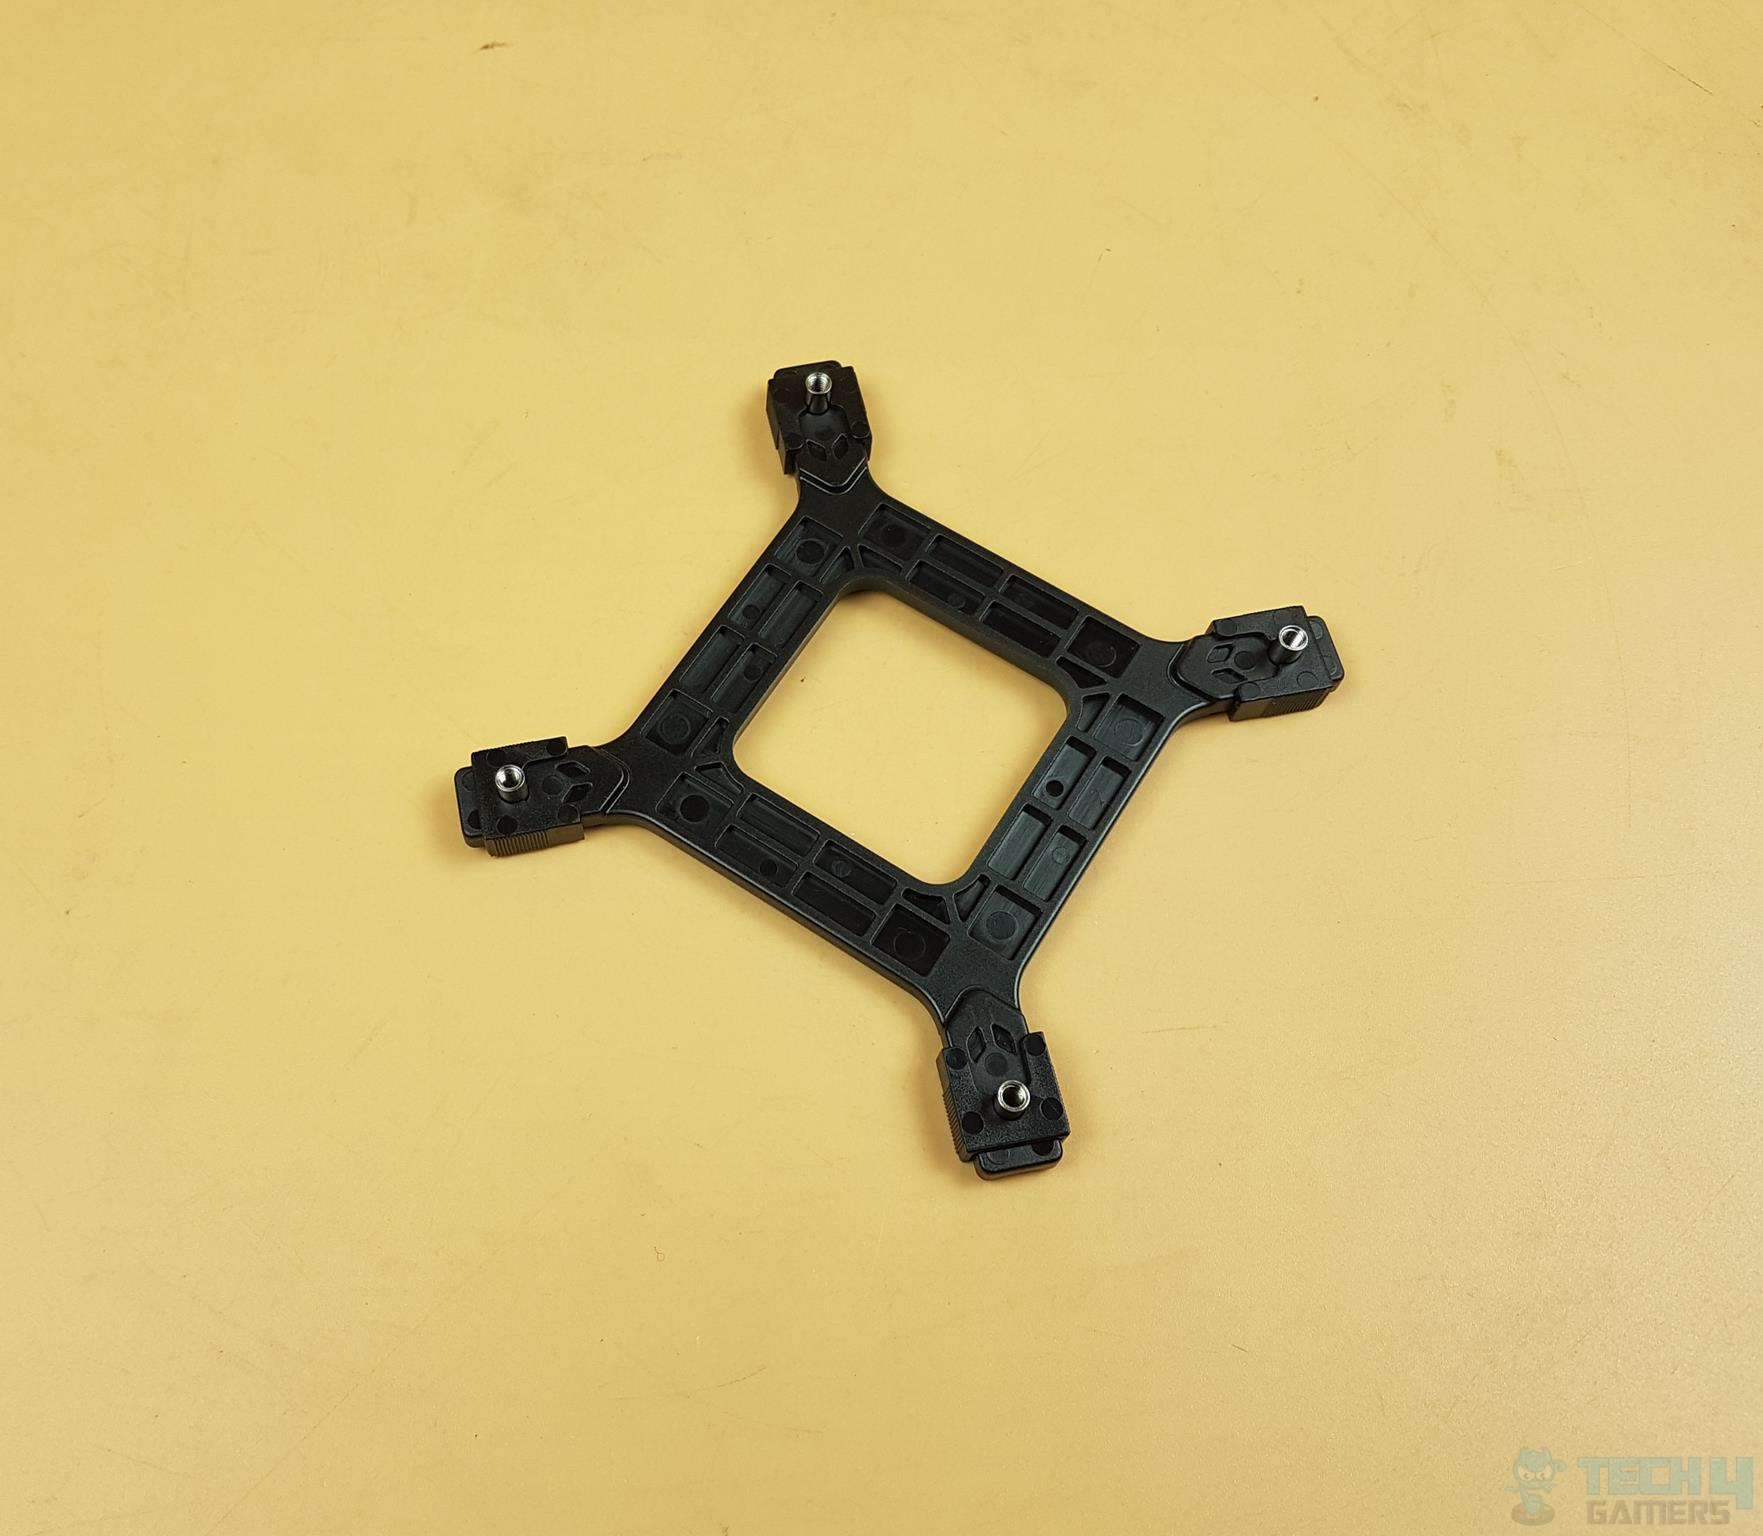
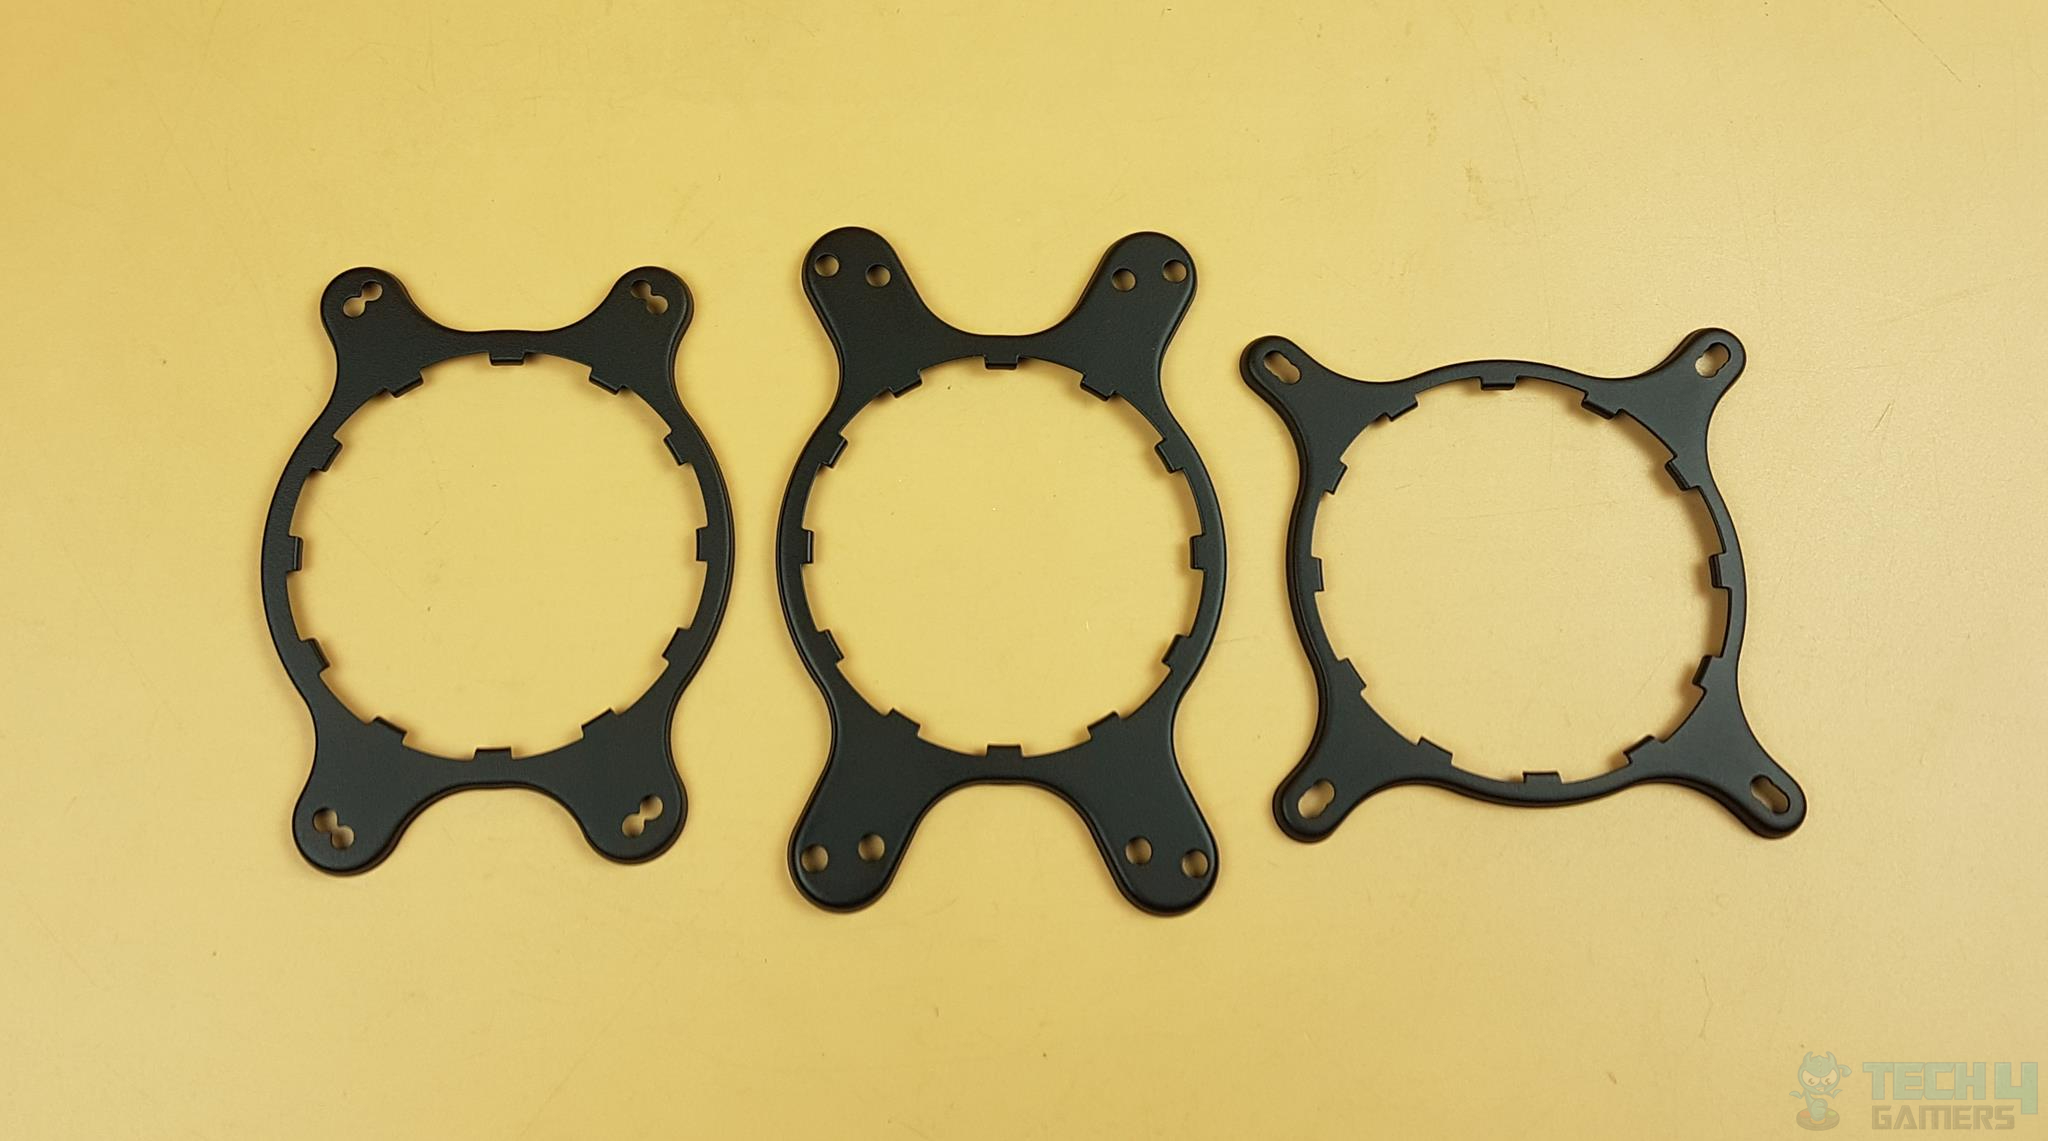
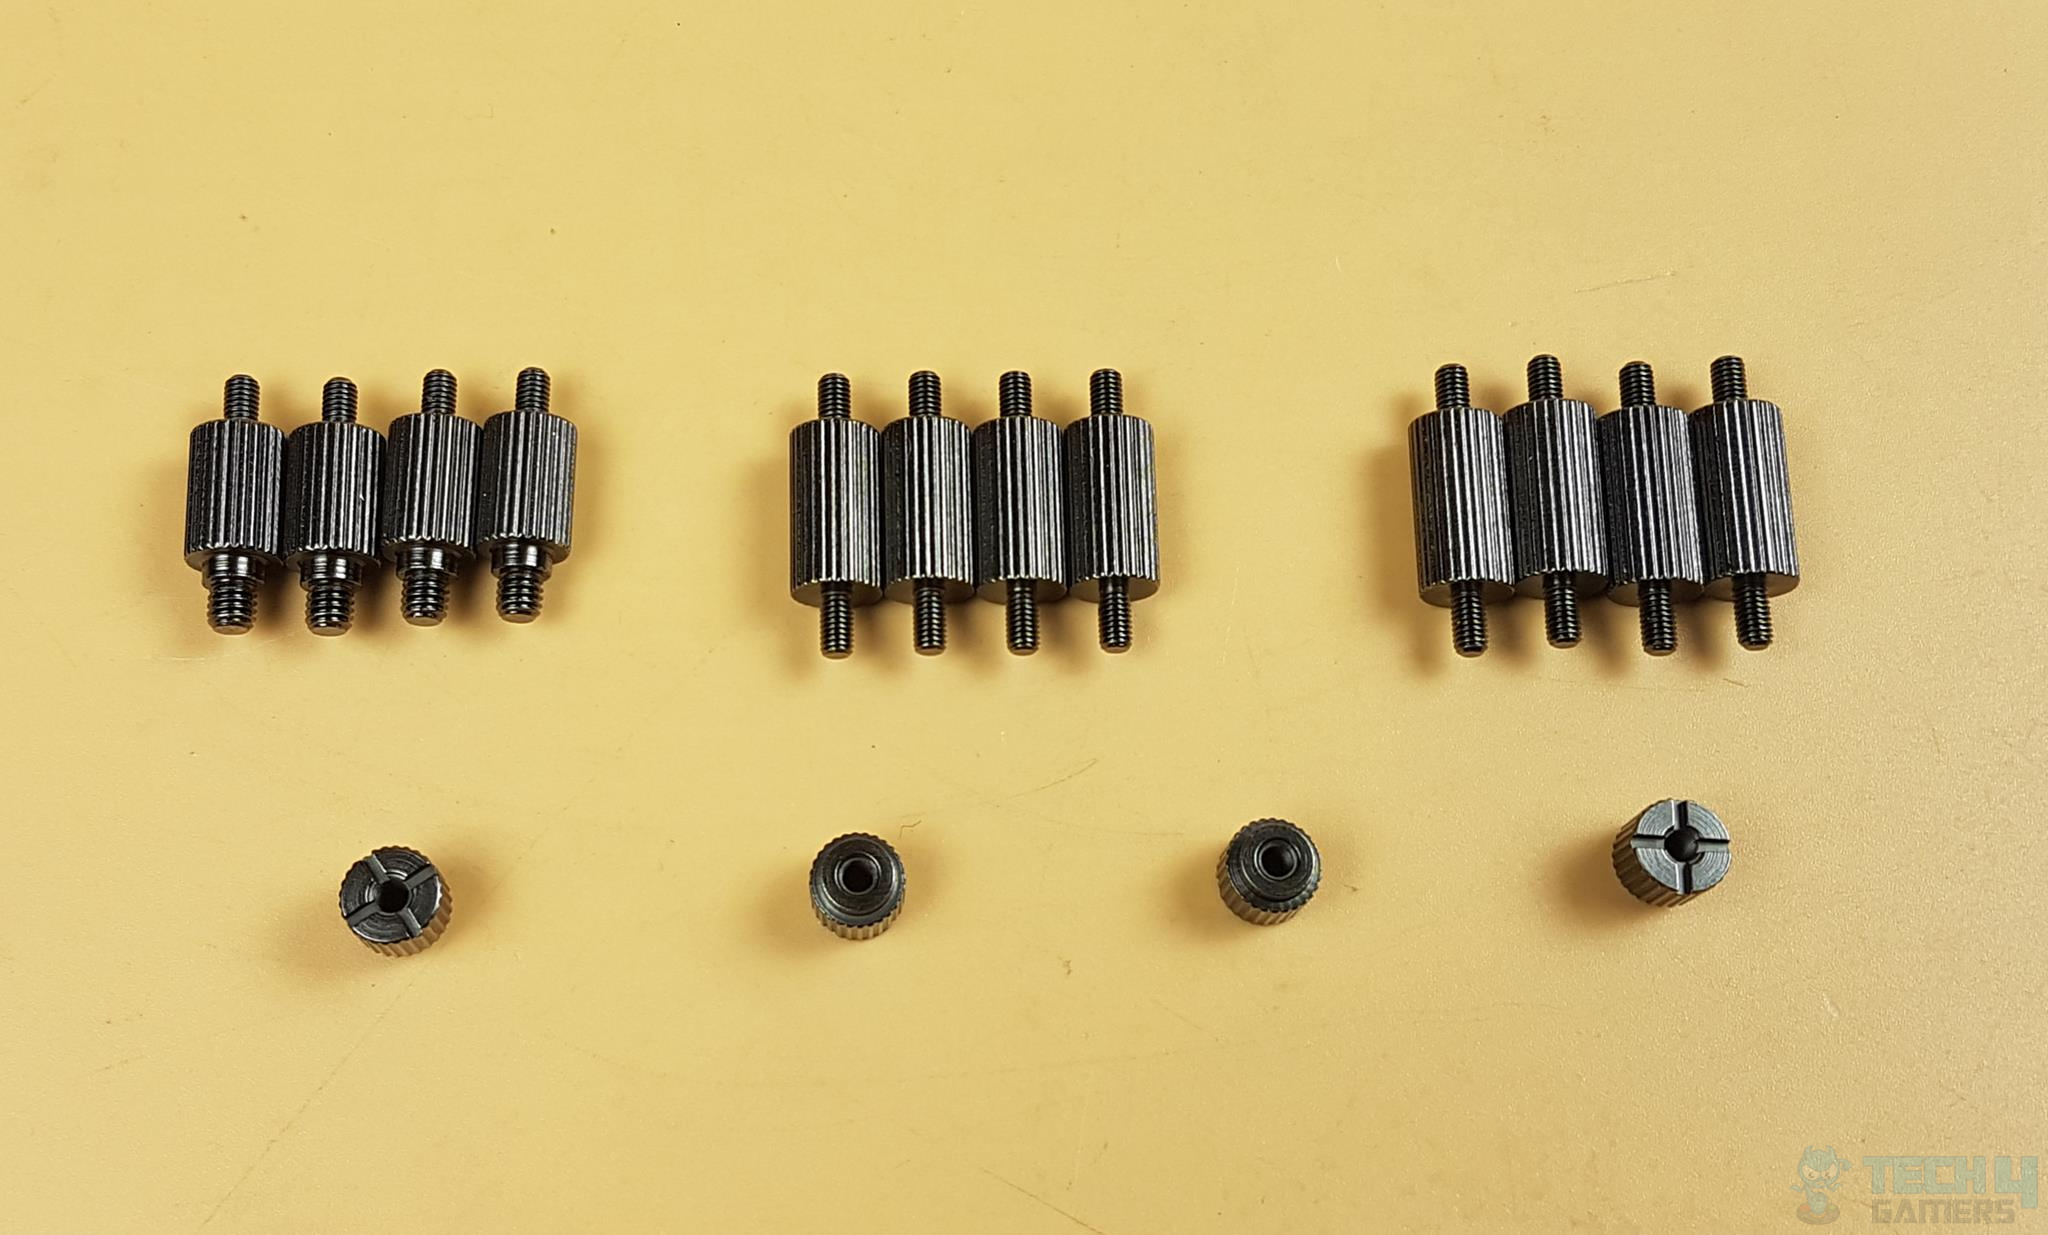
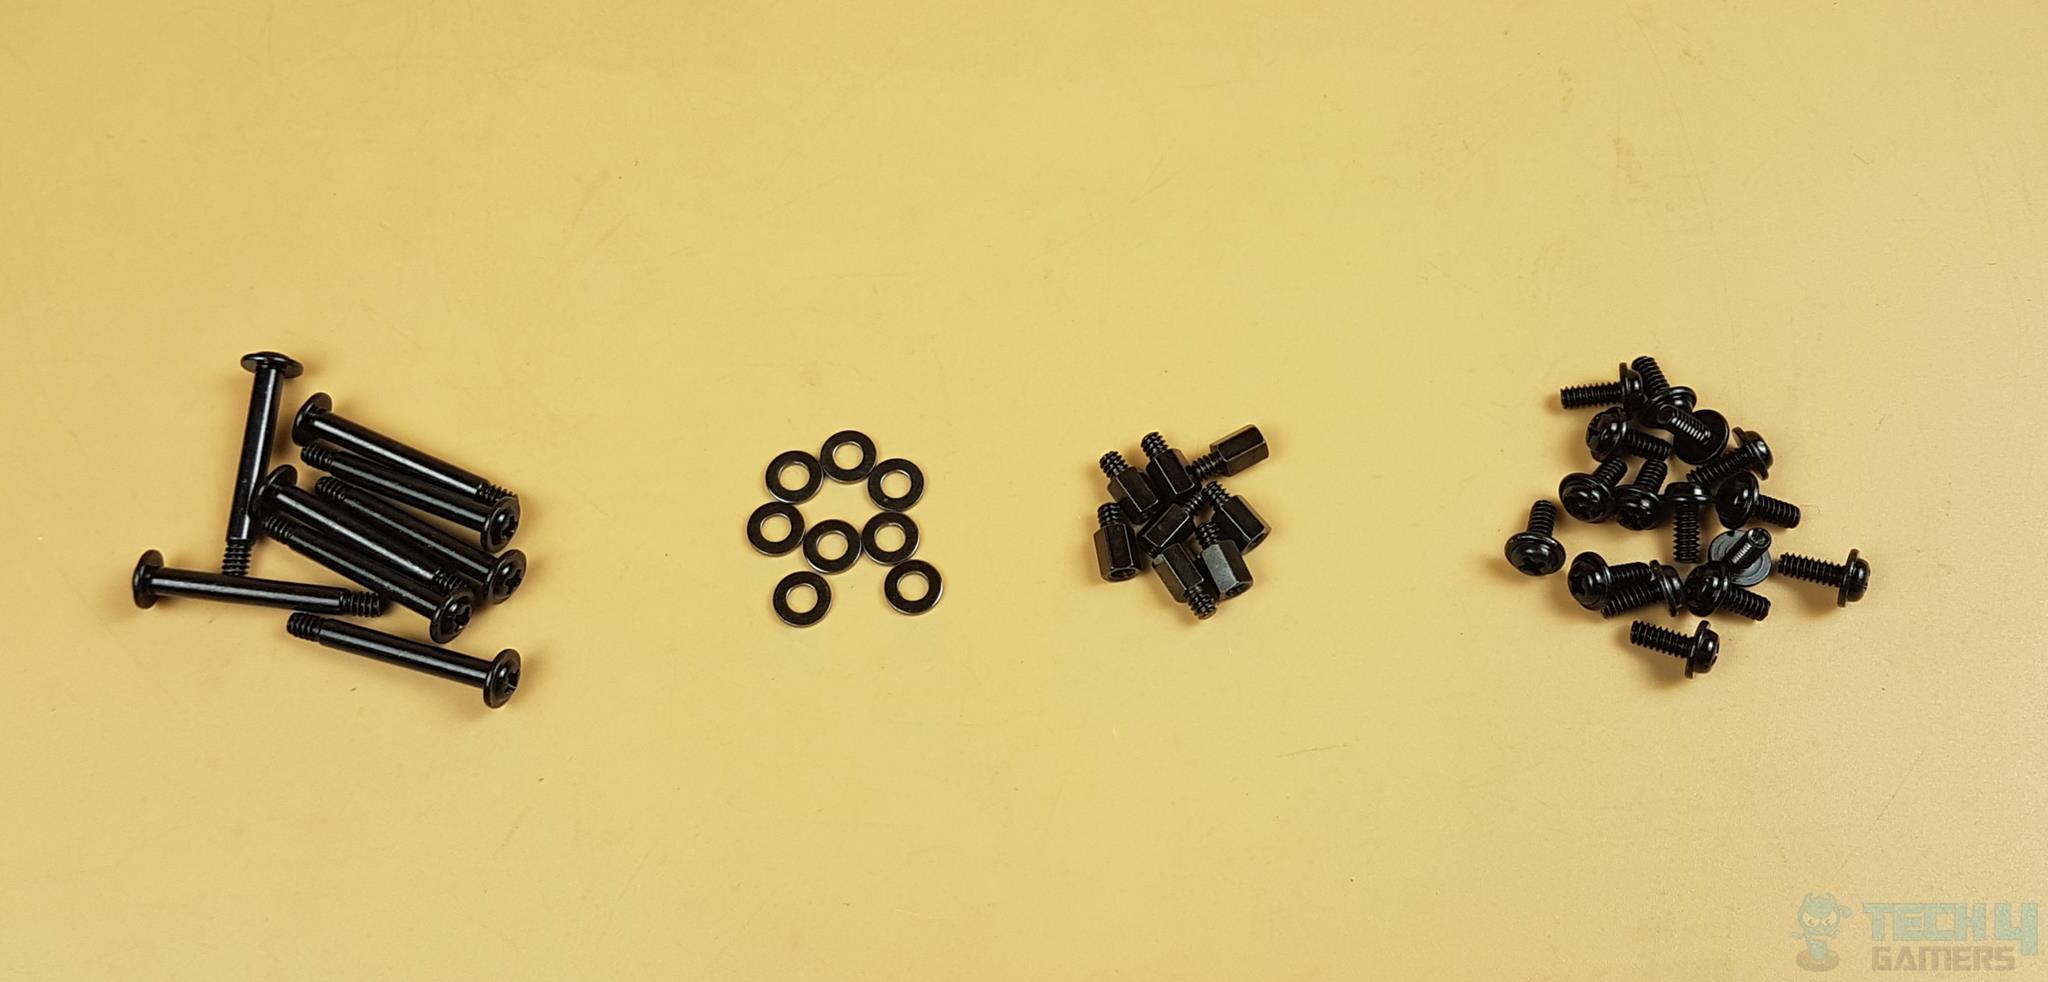
Mounting Hardware
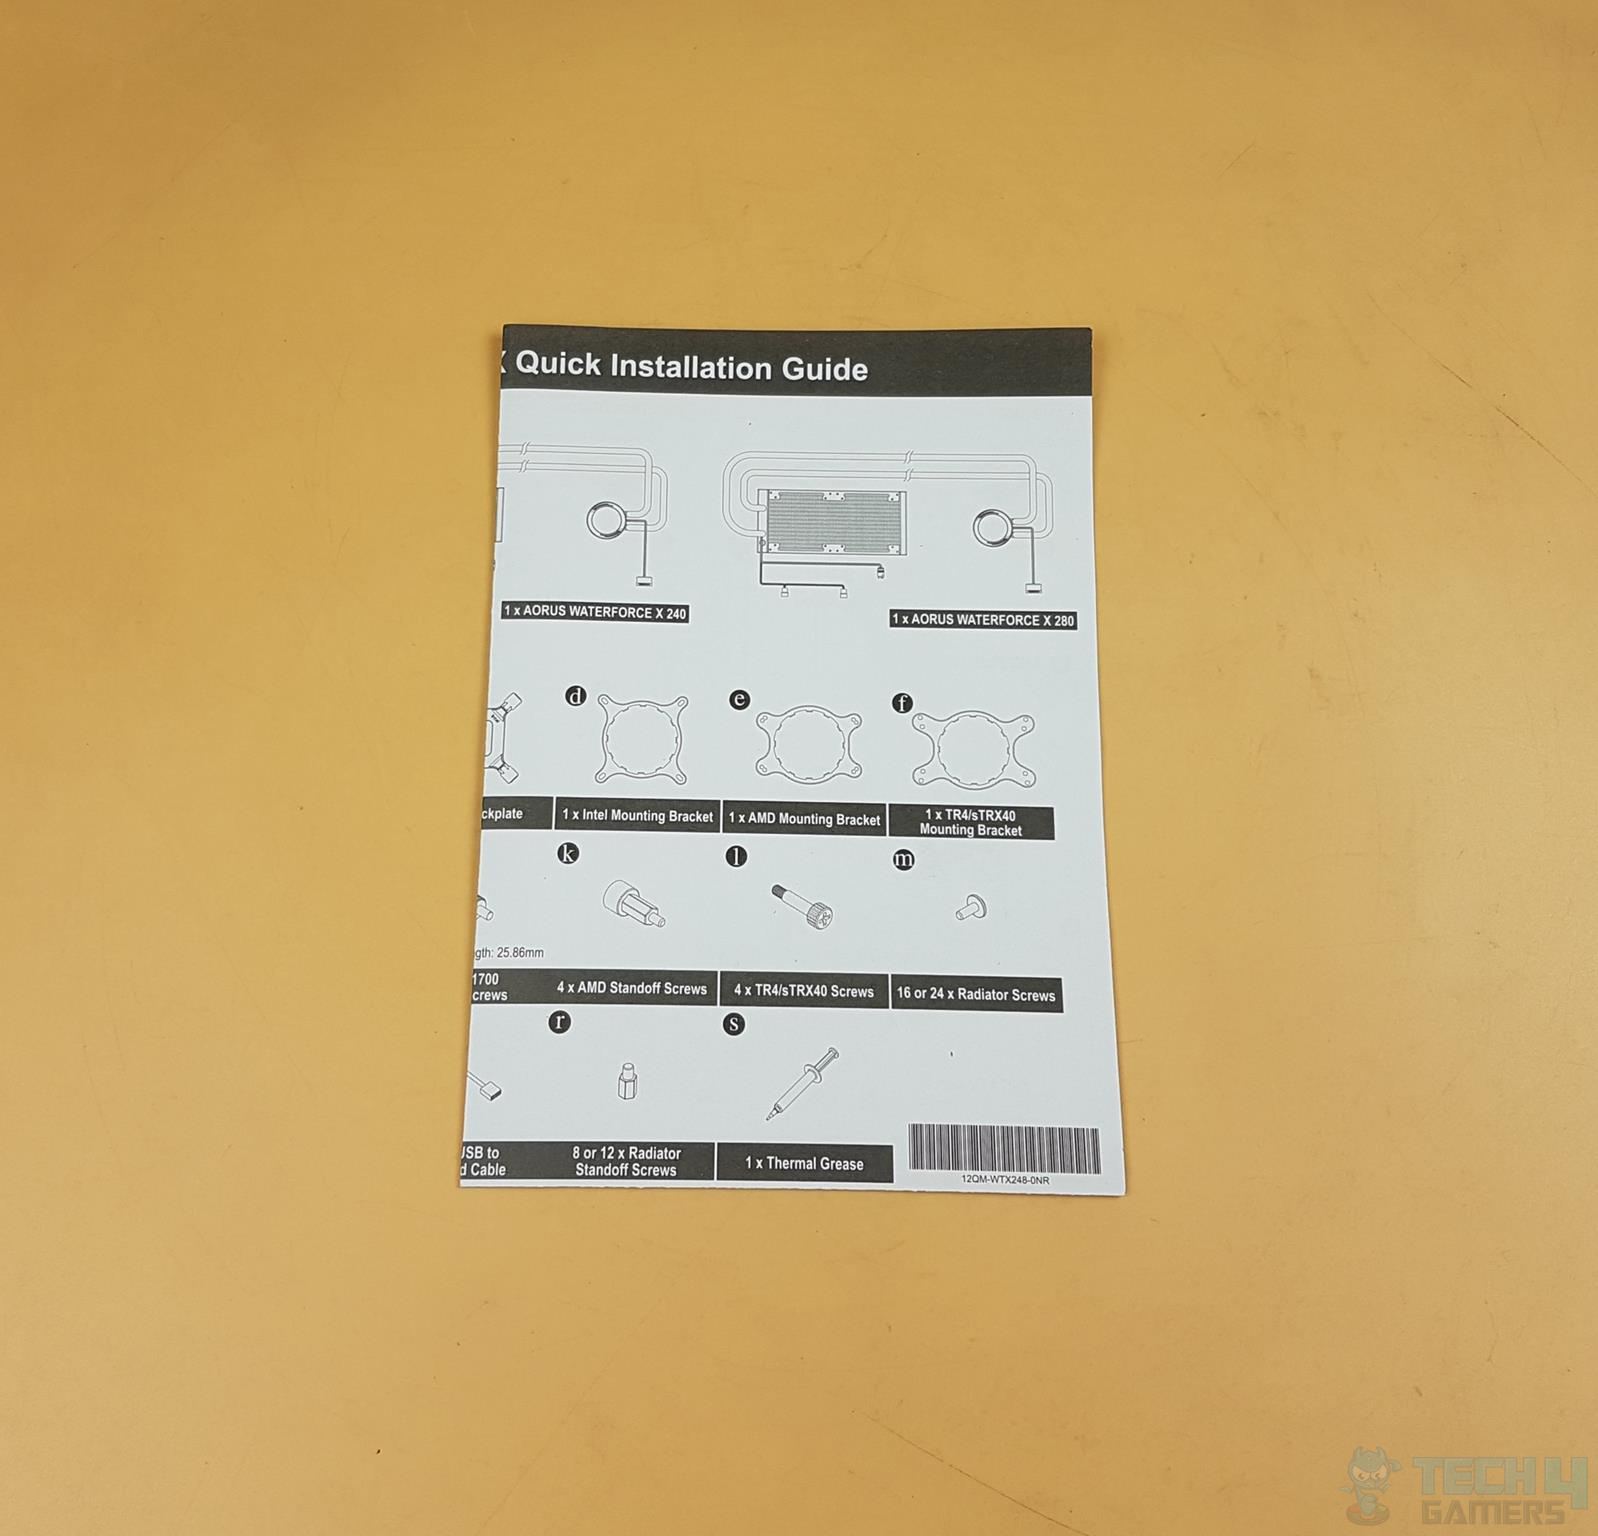
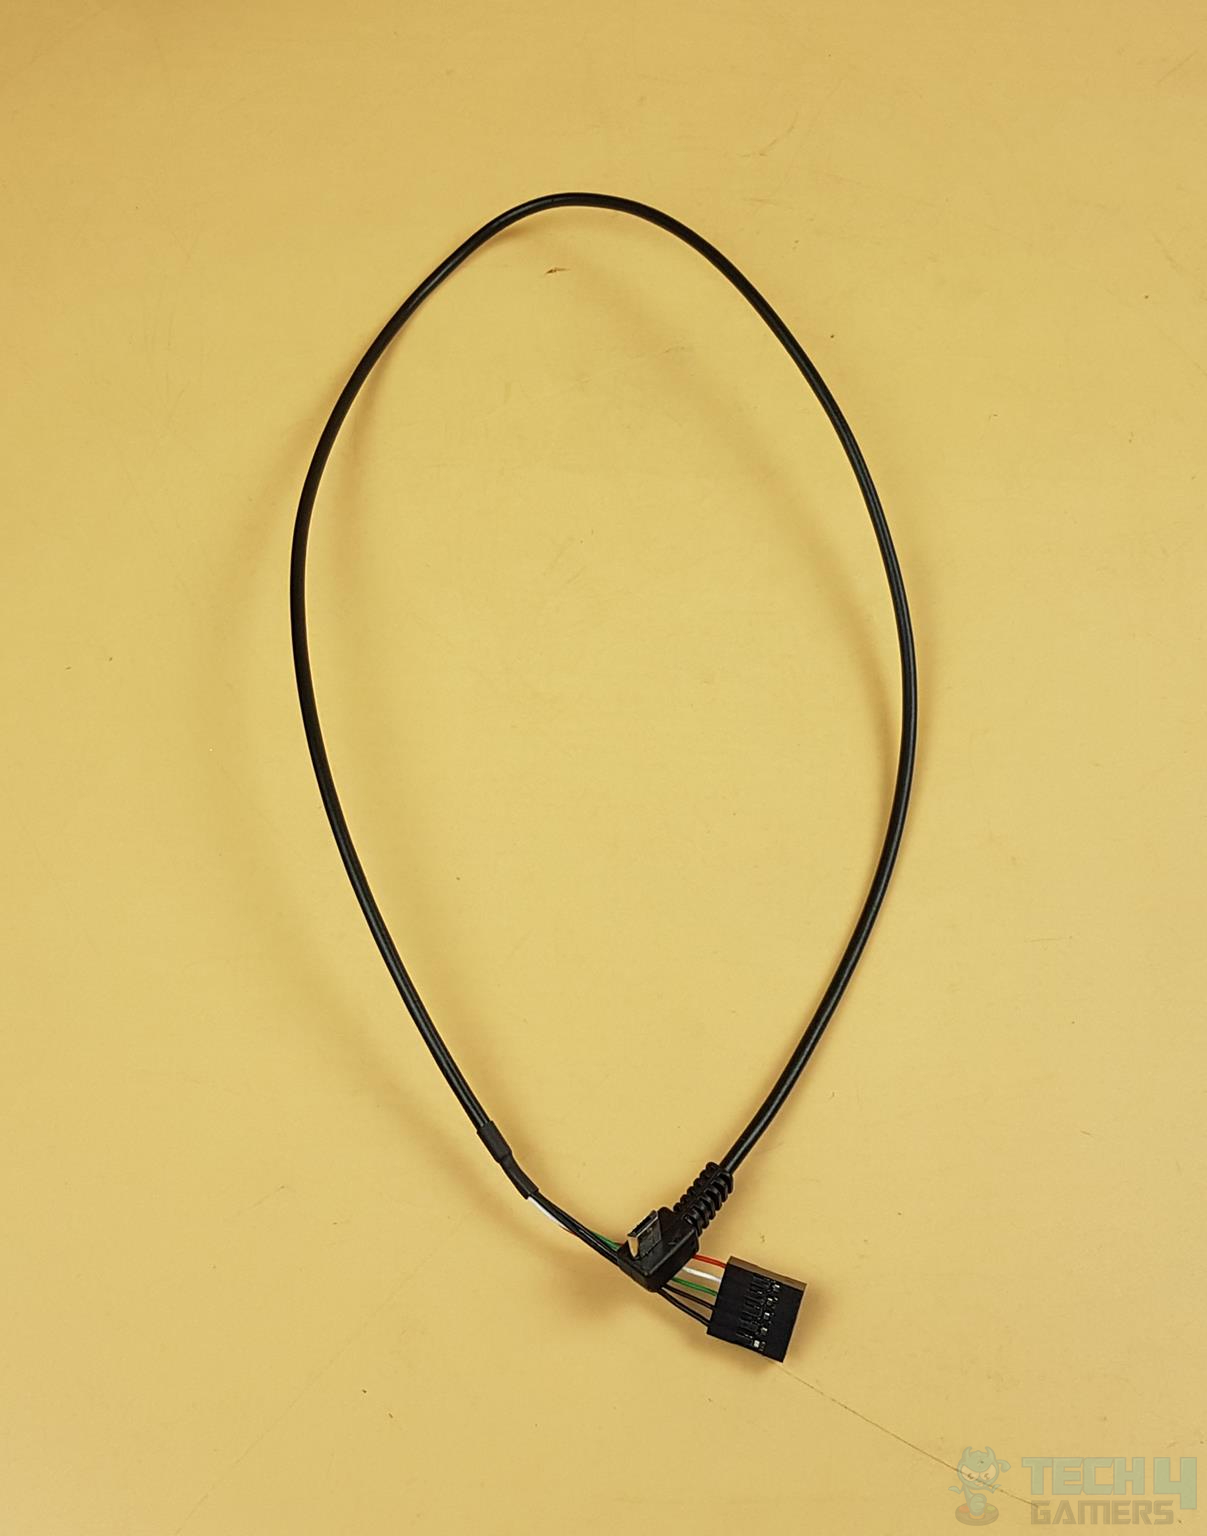
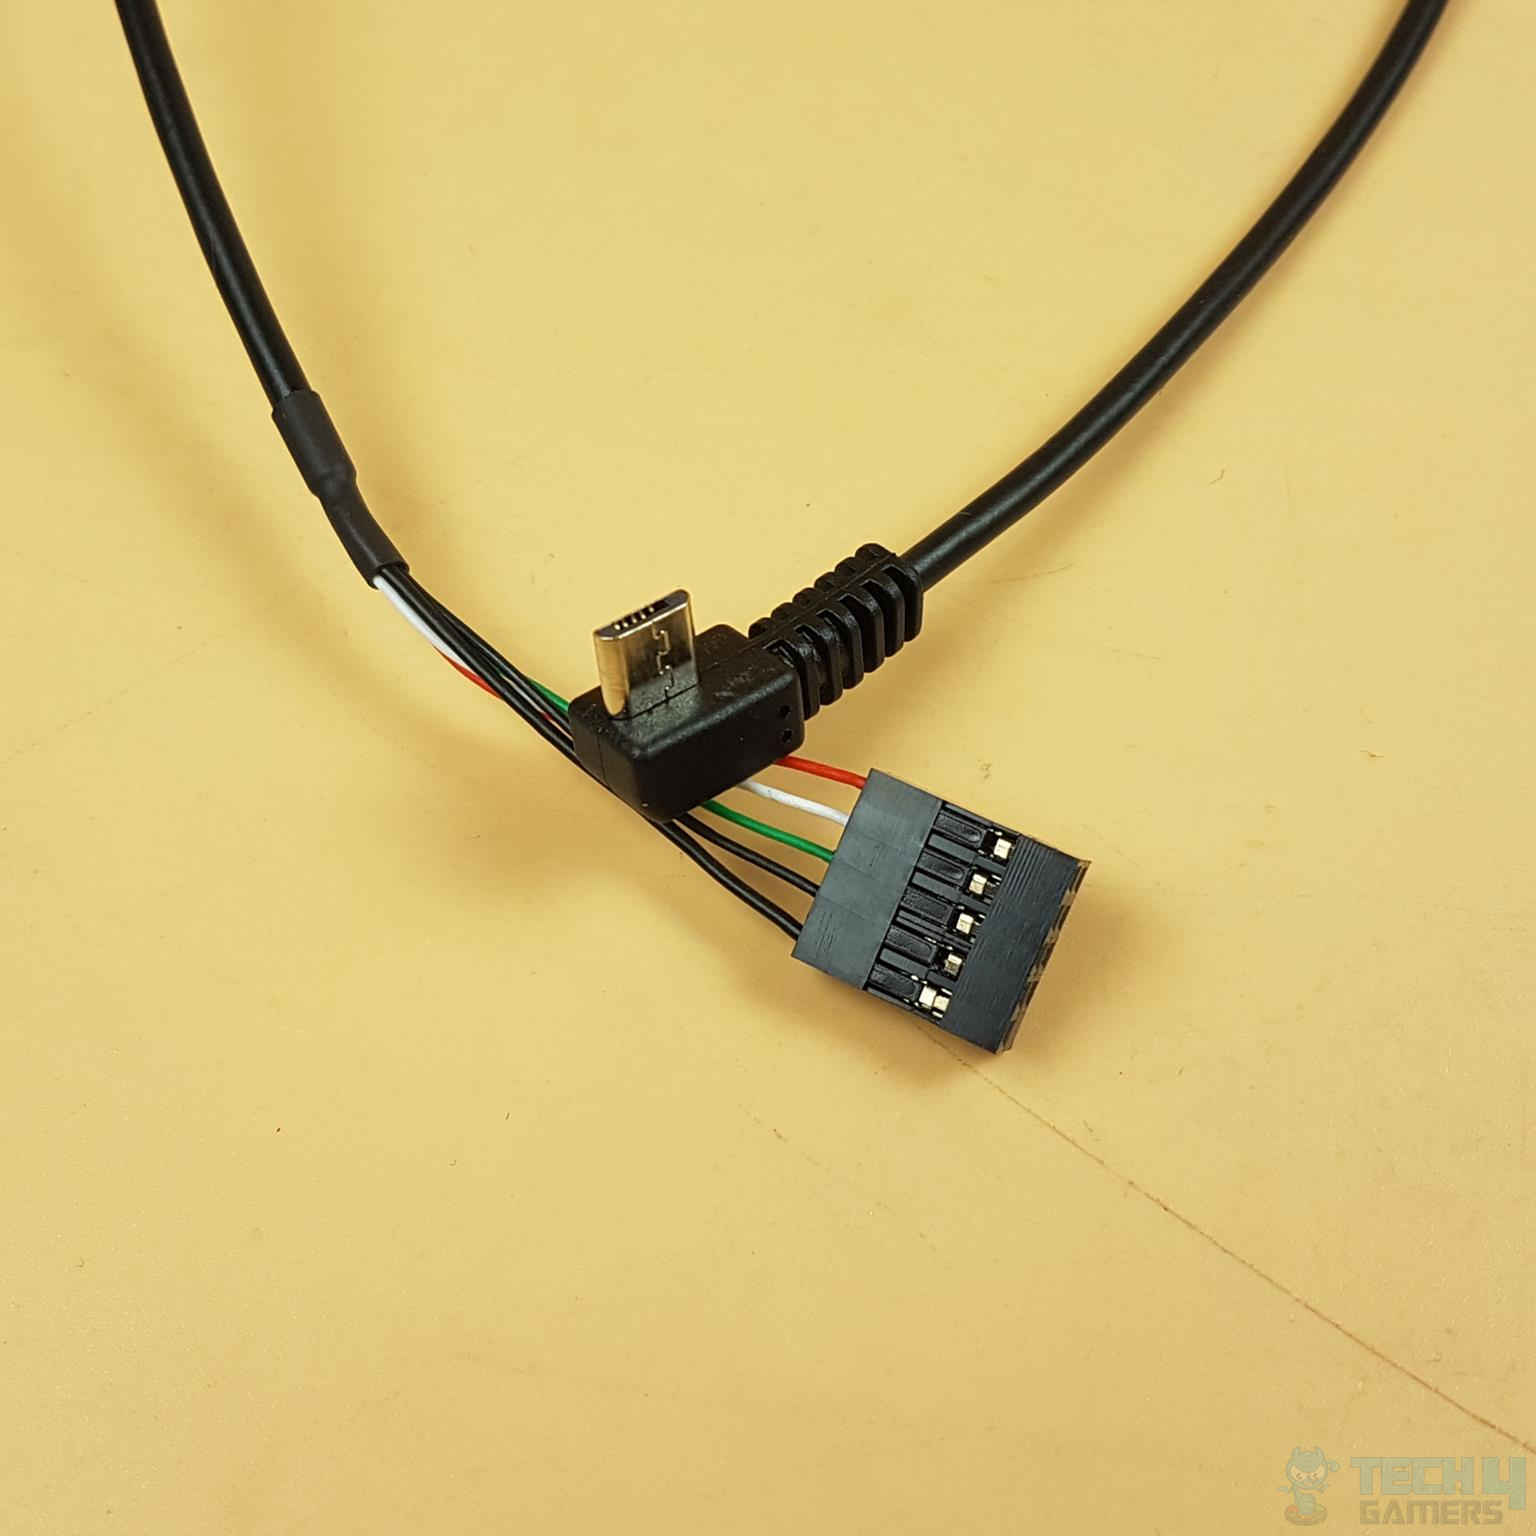
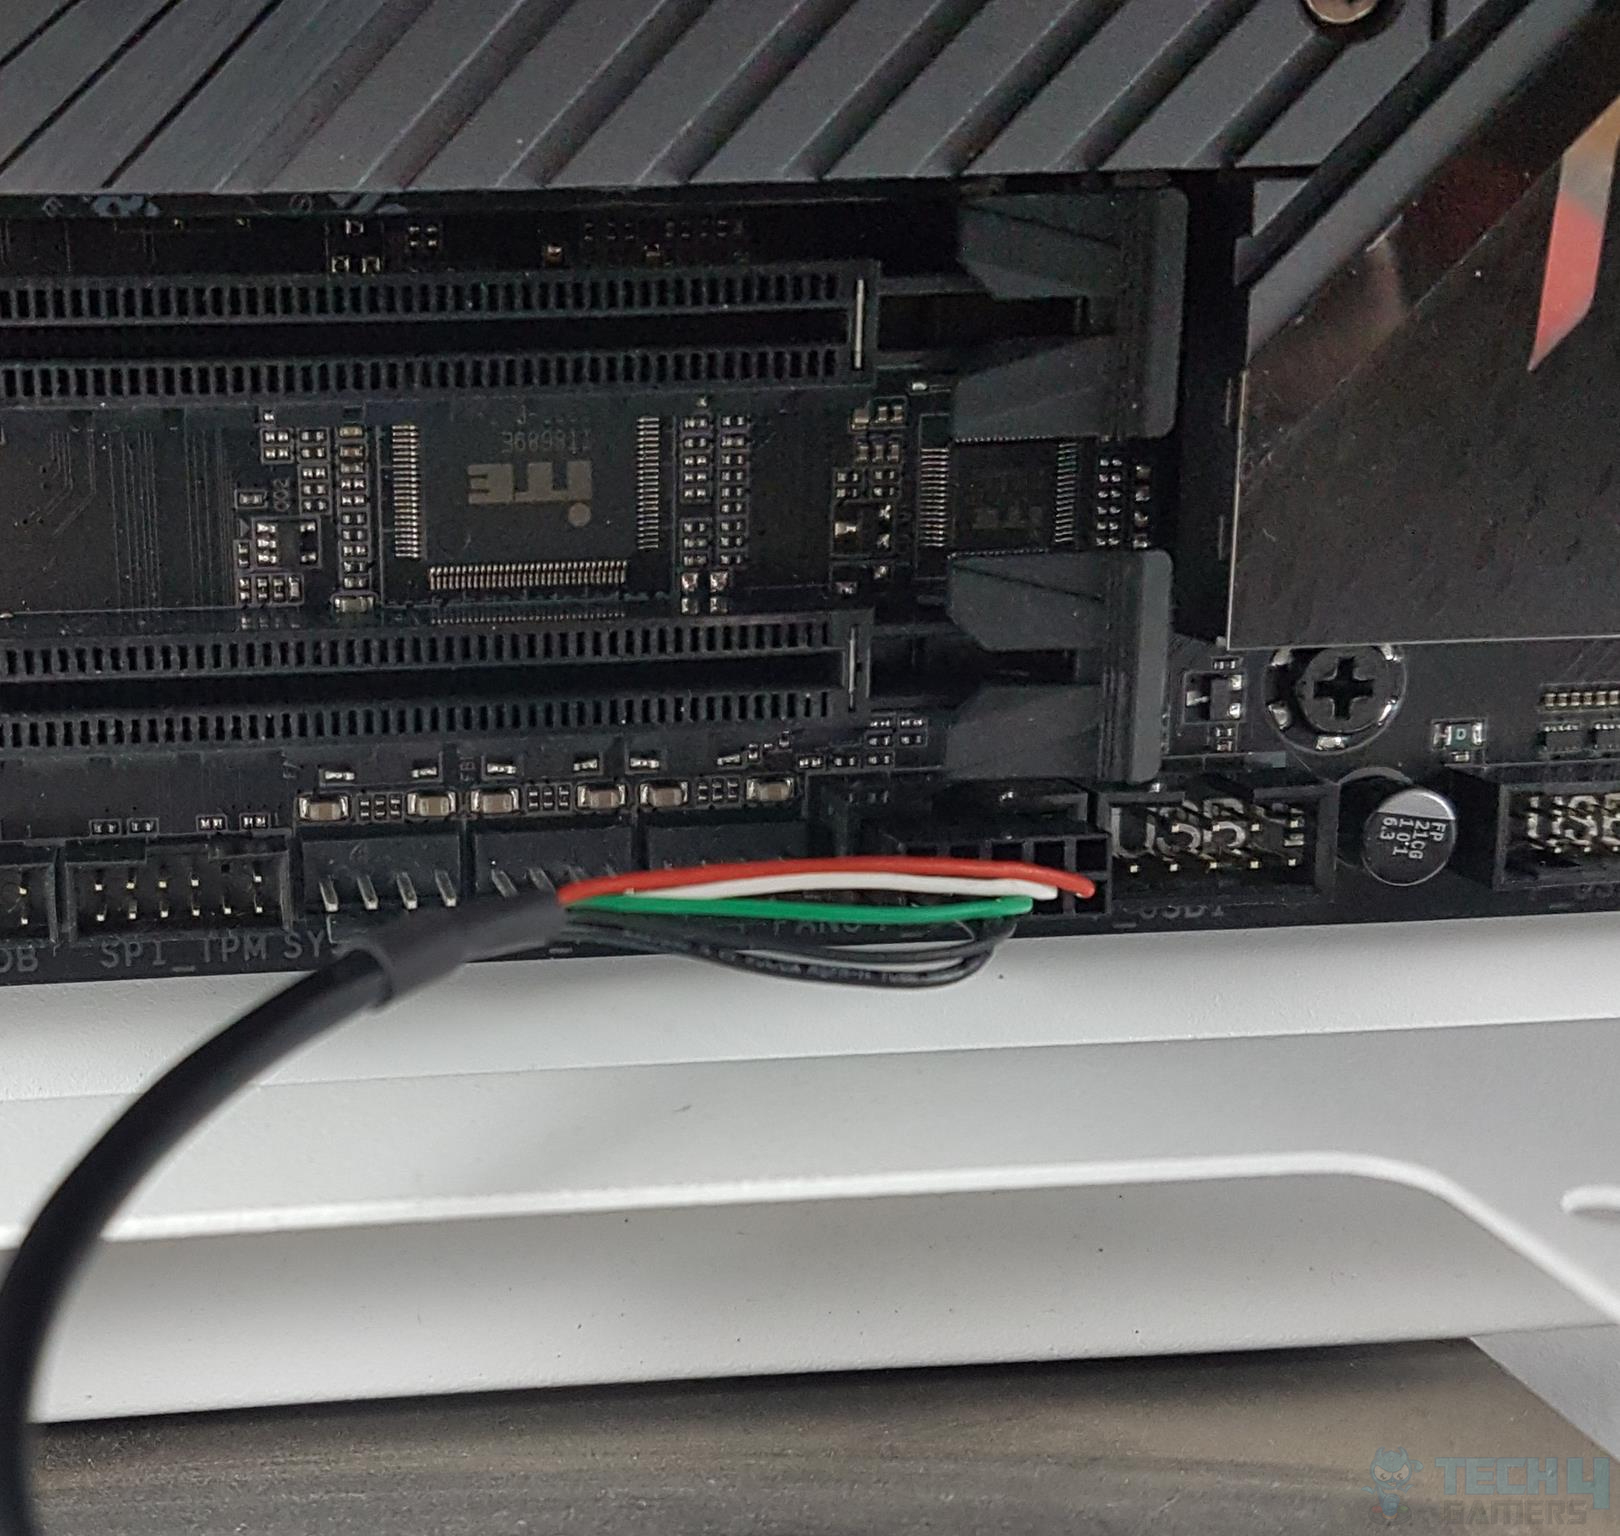
The cable has a right-angled micro-USB on one end, which connects to my motherboard’s micro-USB port. The other end has a 9-pin USB 2.0 connector. I needed a spare USB 2.0 header on my motherboard, or I could use a micro-USB to standard USB adapter and connect it to the back panel of the motherboard (not included). I had to be careful with the USB 2.0 connector because the wires are thin, and there’s a long exposed portion. Any slight pushing or pulling on the wires could disconnect them.
Closer Look
Let’s take a look at the main unit itself before moving on to the software side of the cooler. The AORUS WATERFORCE X 280 is a 280mm size All-In-One cooling solution for enthusiasts and users alike.
Radiator
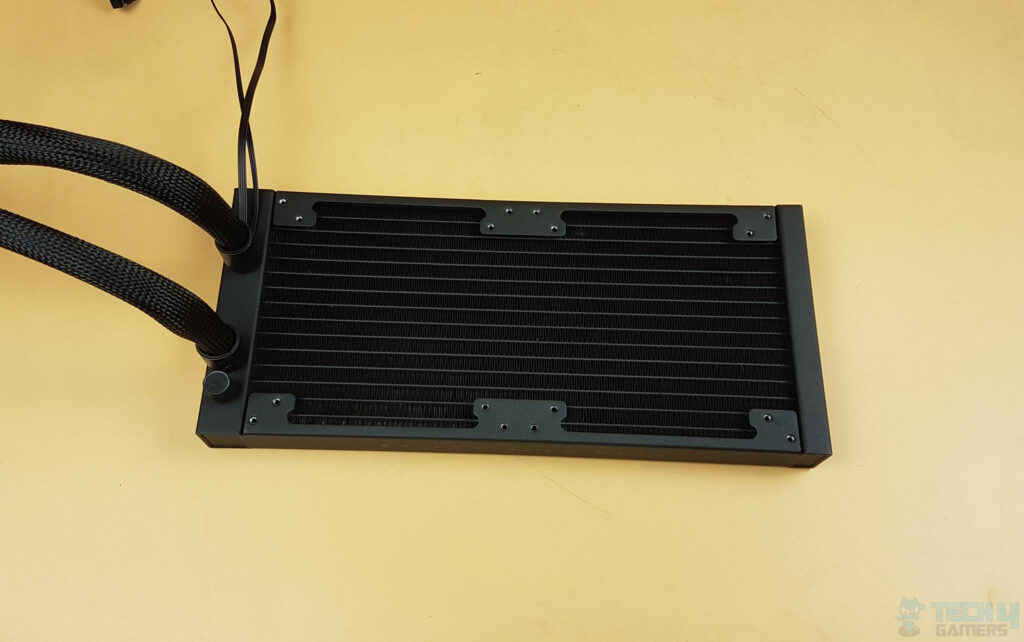
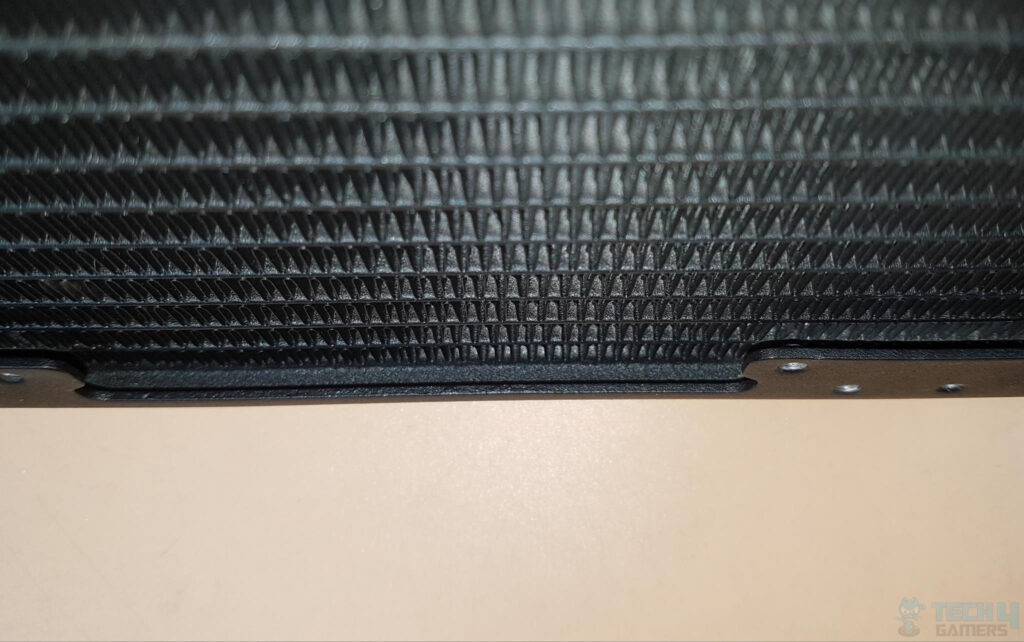
The radiator’s dimensions are 312x140x27mm. The width is 140mm, where the fans go, and the height is 27mm. When I install 25mm thick fans, the total height becomes 53mm, including the screw heads. I need to consider this when installing the cooler on the top of the case. The radiator has a dense fin stack with 22 fins per inch (FPI).
This radiator is aluminum and has a rectangular black finish on both ends. It features 12 coolant flow channels and stickers on one end. Unlike most AIOs, it has dual mounts, allowing for either 240mm or 120mm fan installation, depending on clearance.
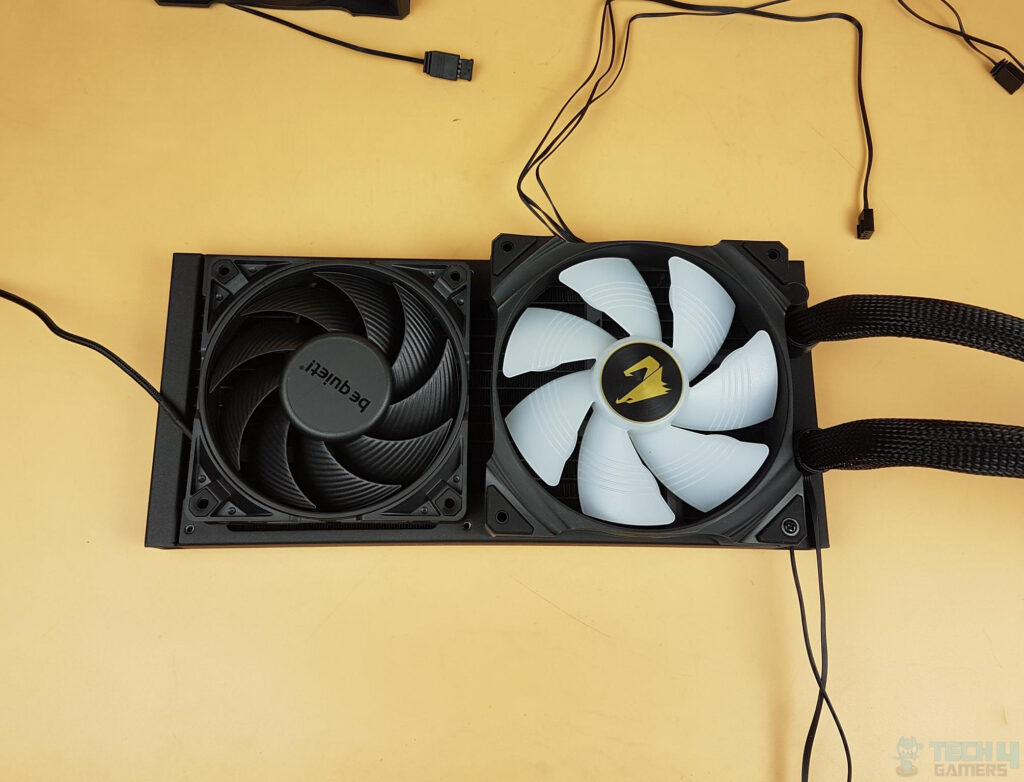
We did a quick mount test, and be quiet! Silent Wings 4 PRO 120mm fans can be installed on the radiator. However, using 120mm fans may not give adequate cooling, and the user is better off using the 140mm fans on the radiator.
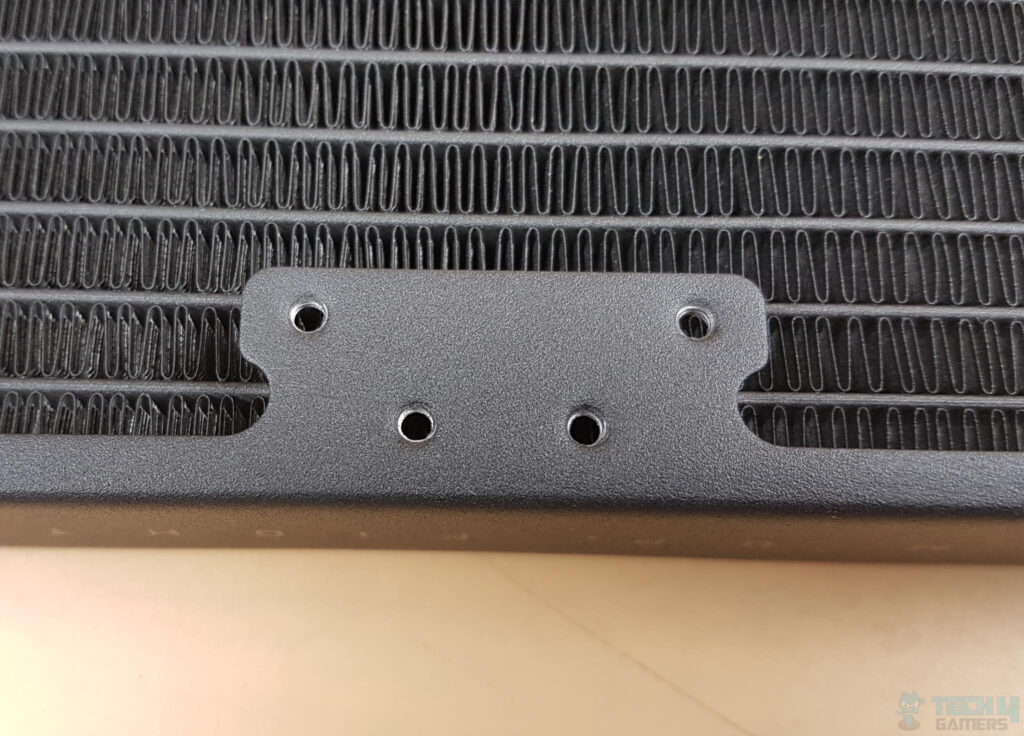
The radiator, like most AIOs, has protective plating under the mounting holes to prevent fin damage from longer screws. It’s advised to use the provided long screws for fan mounting.
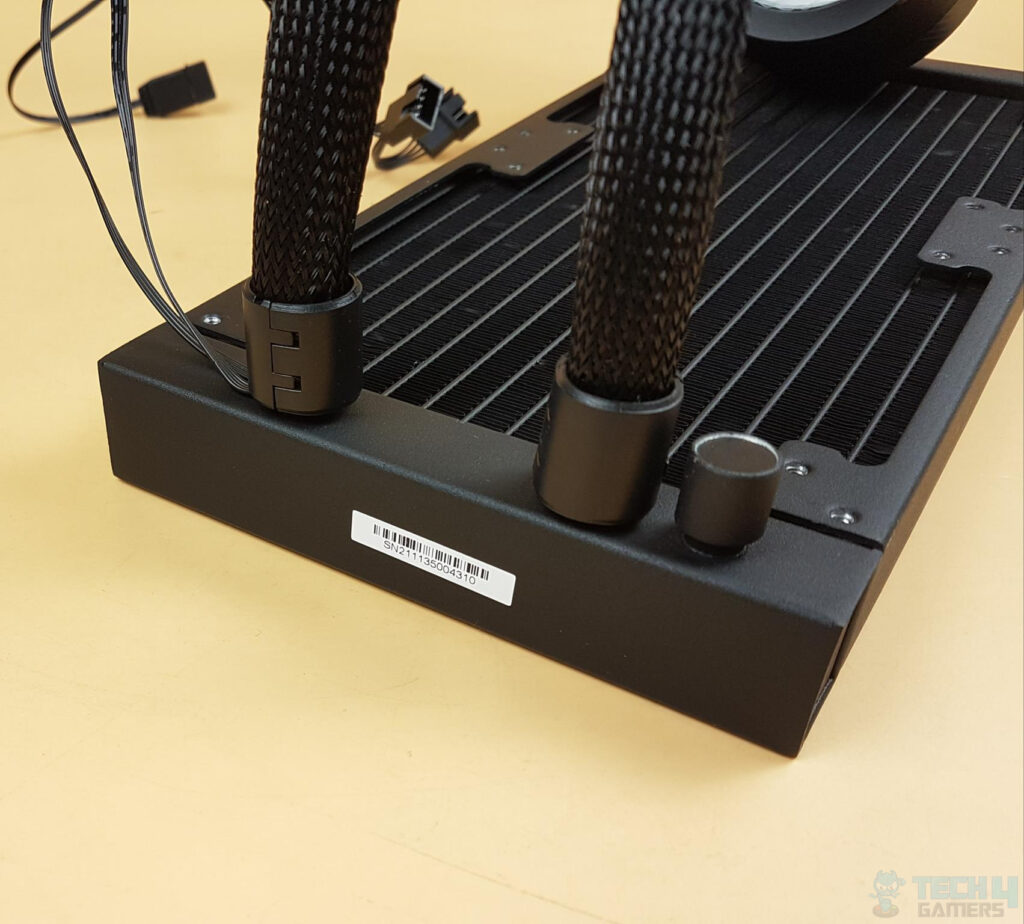
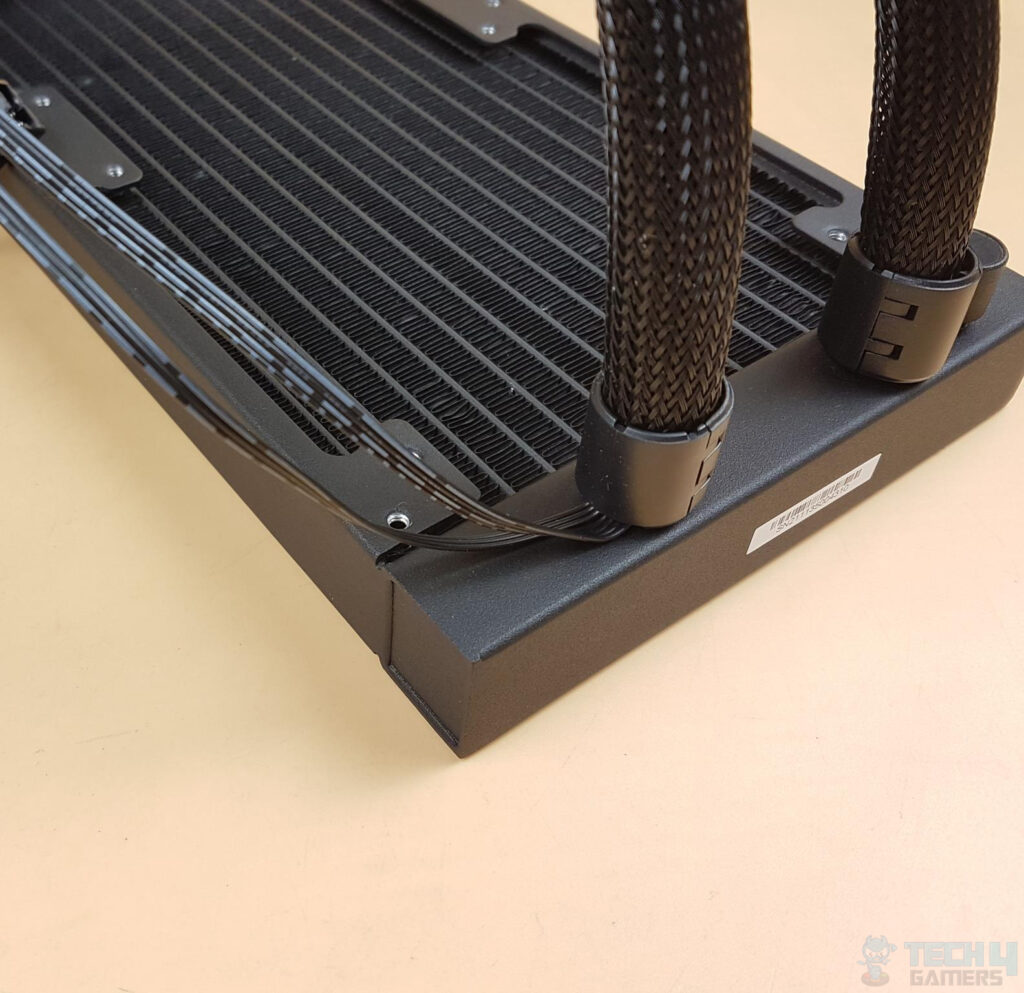
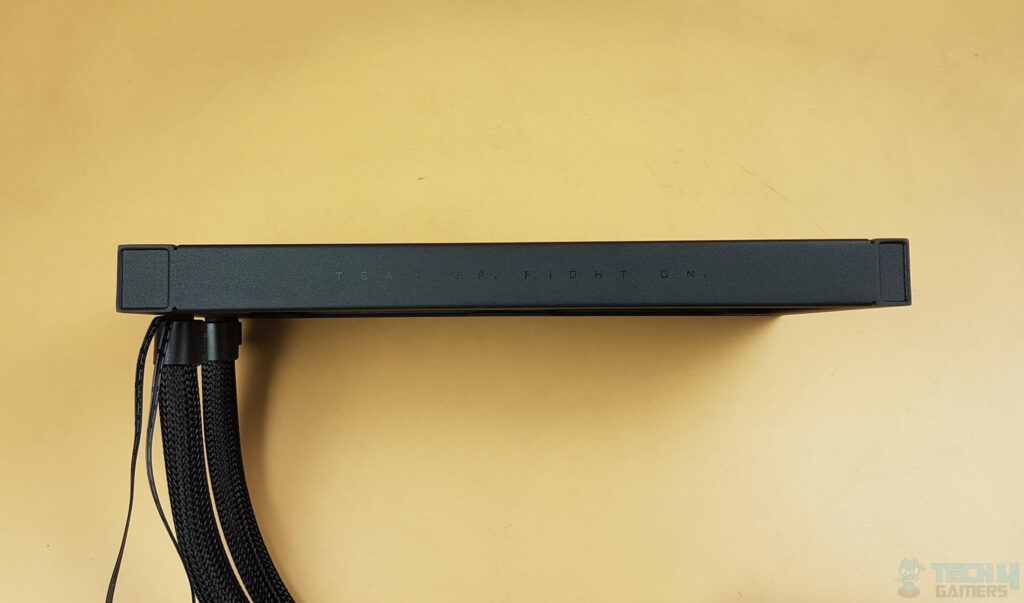
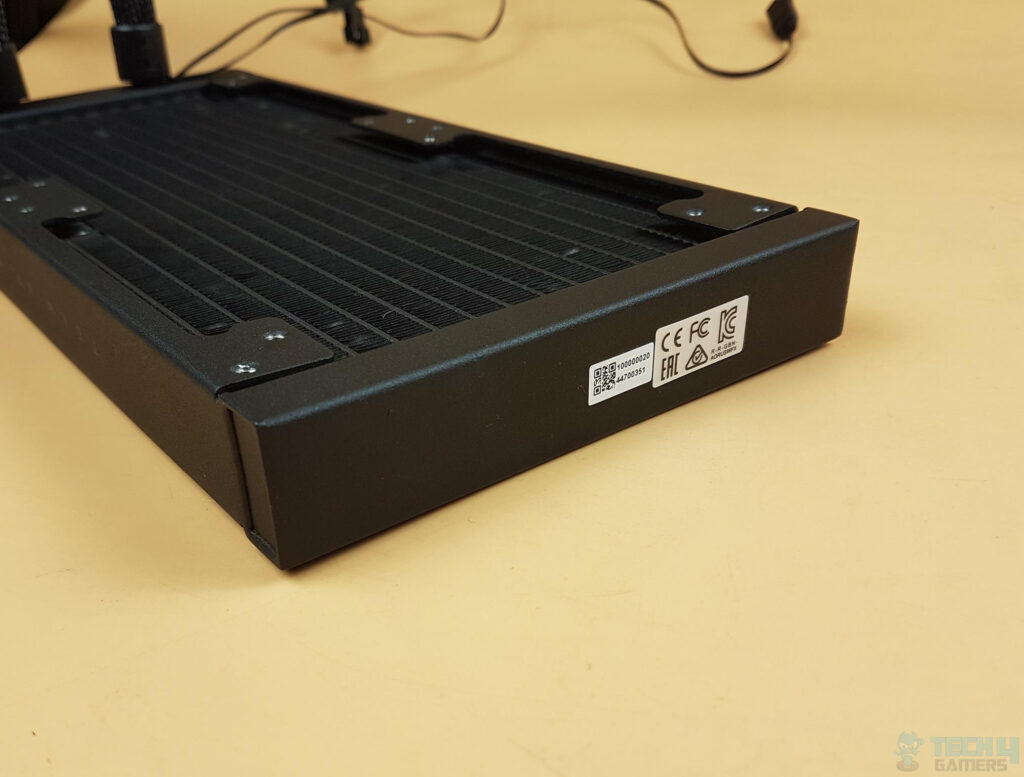
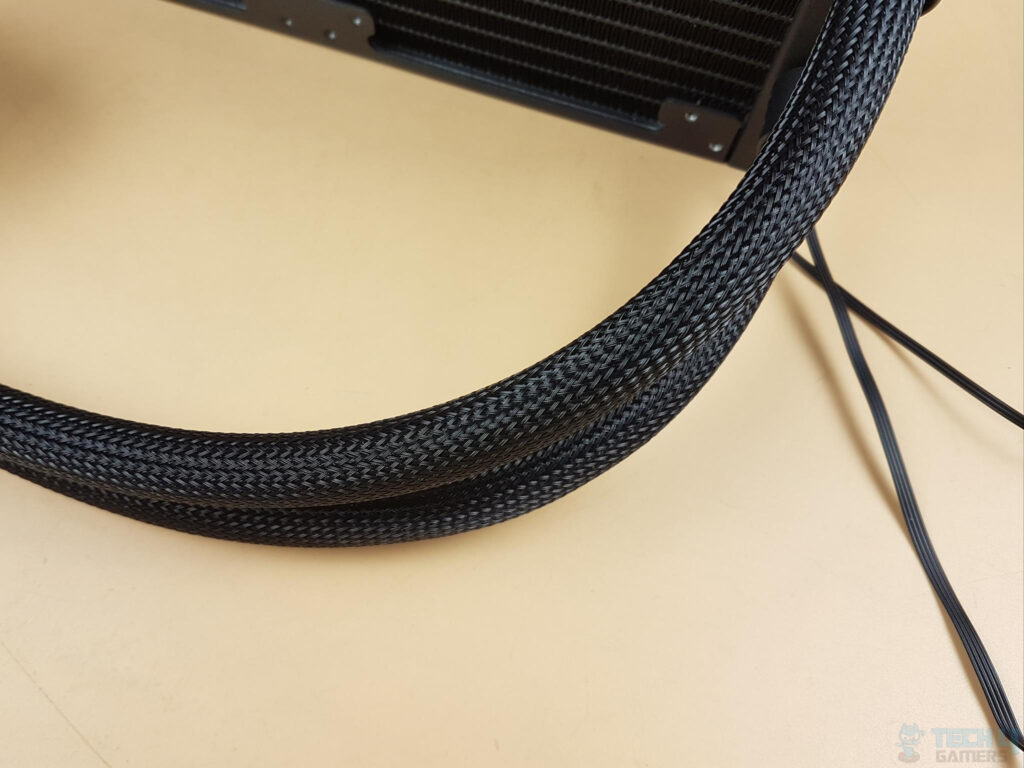
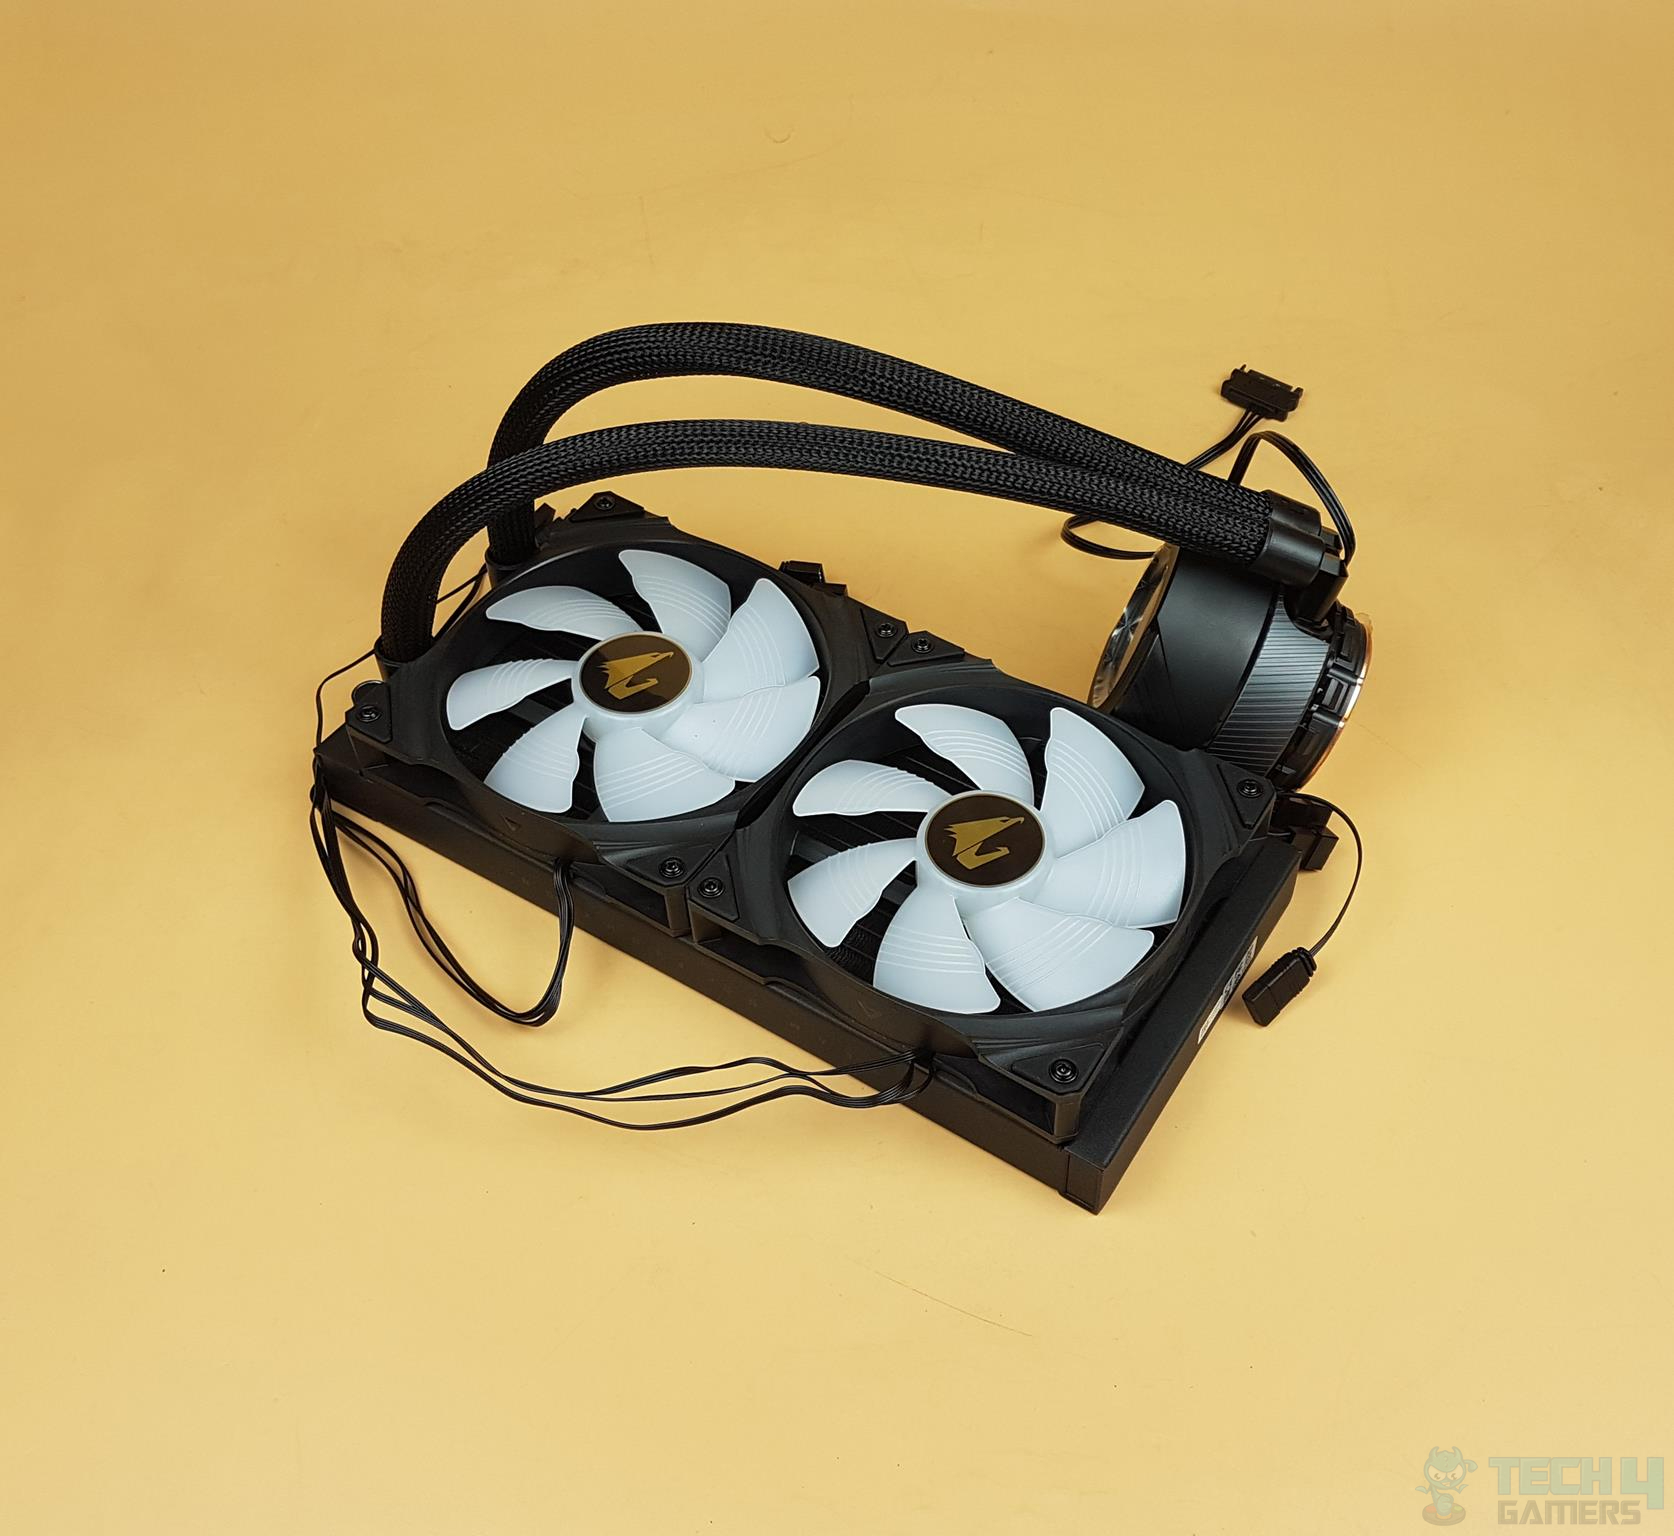
The soft tubing is attached with barbed fittings, featuring black covers for reinforcement and aesthetics. A serial number sticker is on one end. There’s a drain port, but it’s reserved for factory use to maintain vacuum pressure. AORUS offers integrated cable management, routing fans and ARGB cables neatly from the pump to the left side of the radiator, hidden by a cable sleeve for a clean appearance.
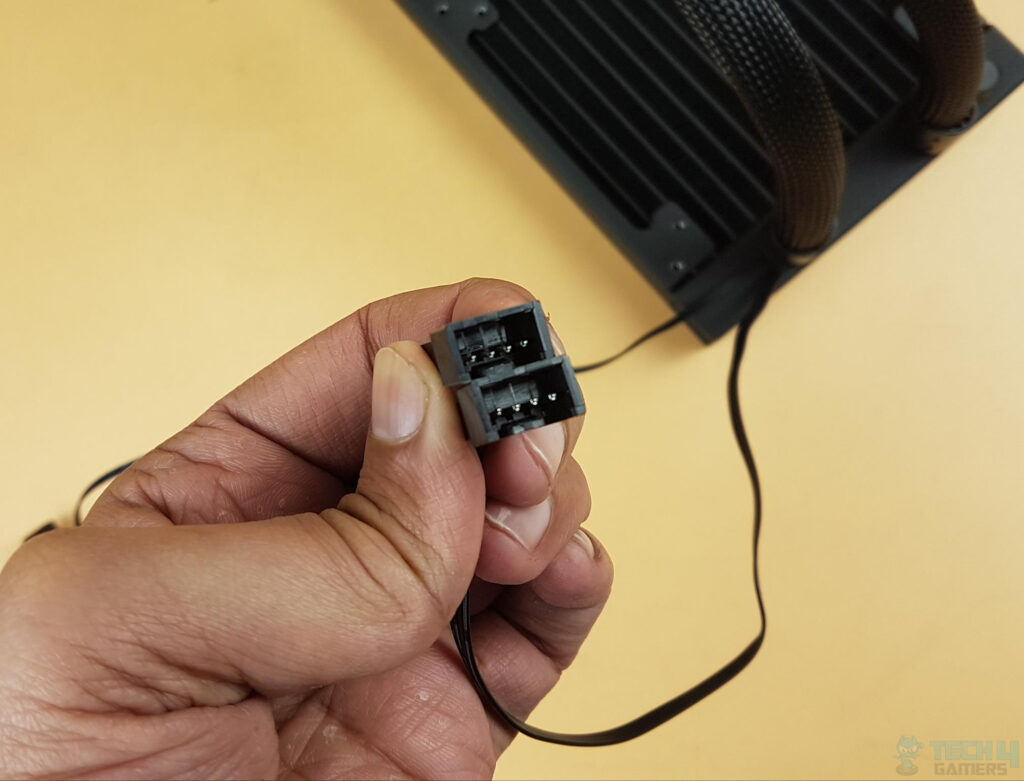
The radiator has two 4-pin PWM sockets for fan control via software. The soft nylon tubing is around 380mm long with an increased diameter from 5.1mmØ to 7.8mmØ for 37% better coolant flow and efficient heat dissipation. The flexible tubing doesn’t kink and is covered by a mesh sleeve for a clean appearance.
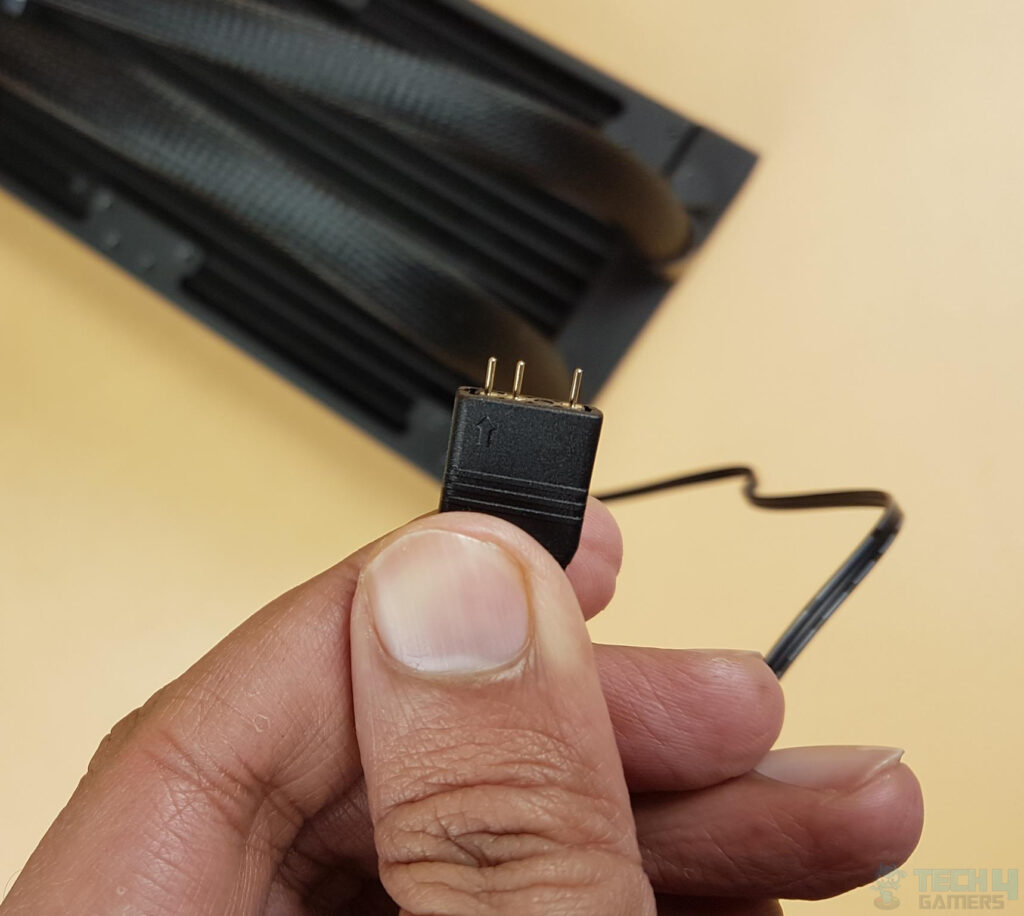
There is a single 3-pin, 5V, standard ARGB male connector on the ARGB cable coming out of the radiator. Connect it to either of the fan’s 3-pin, 5V female connectors when setting up the AIO.
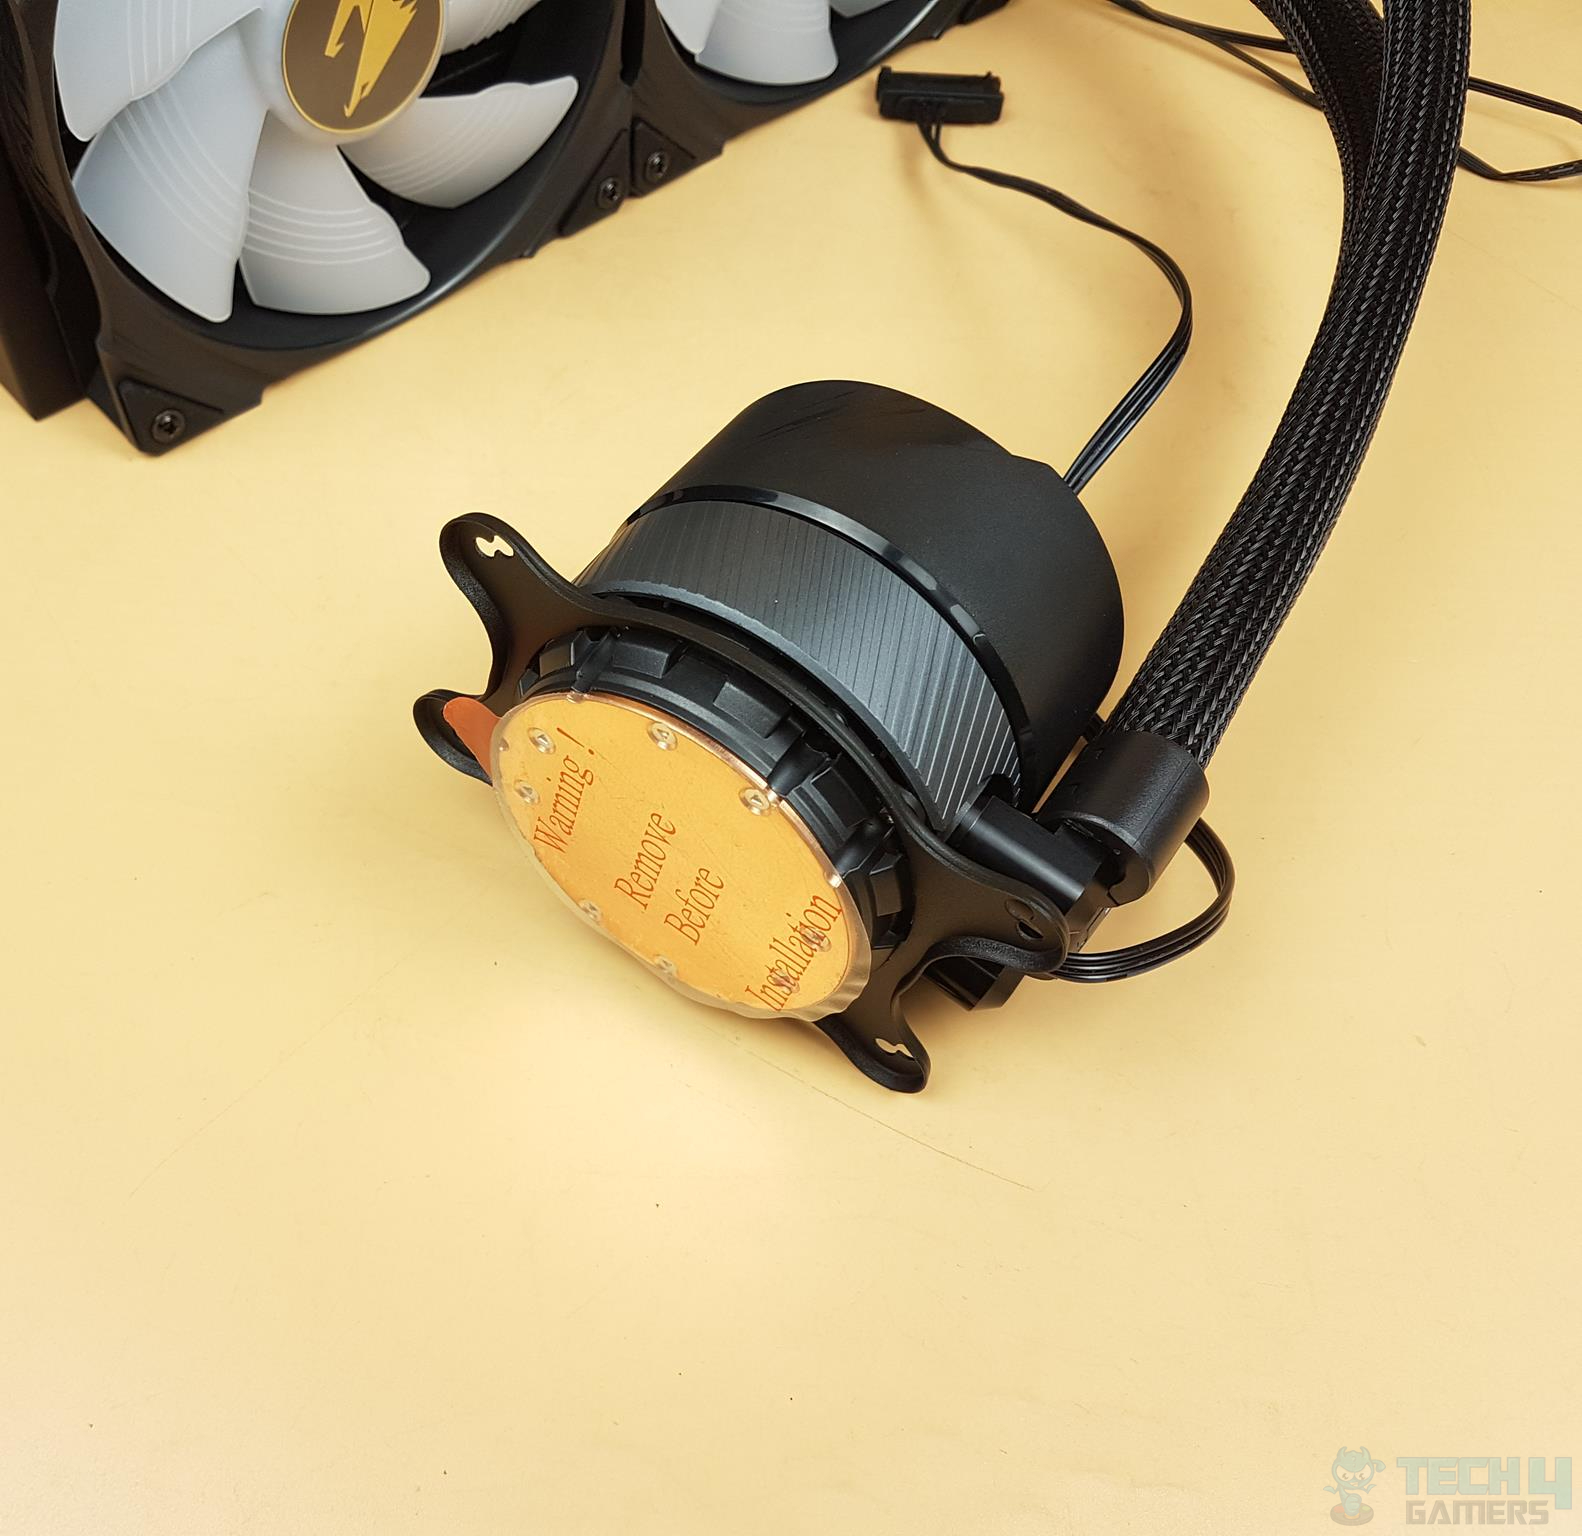
Pump/Block
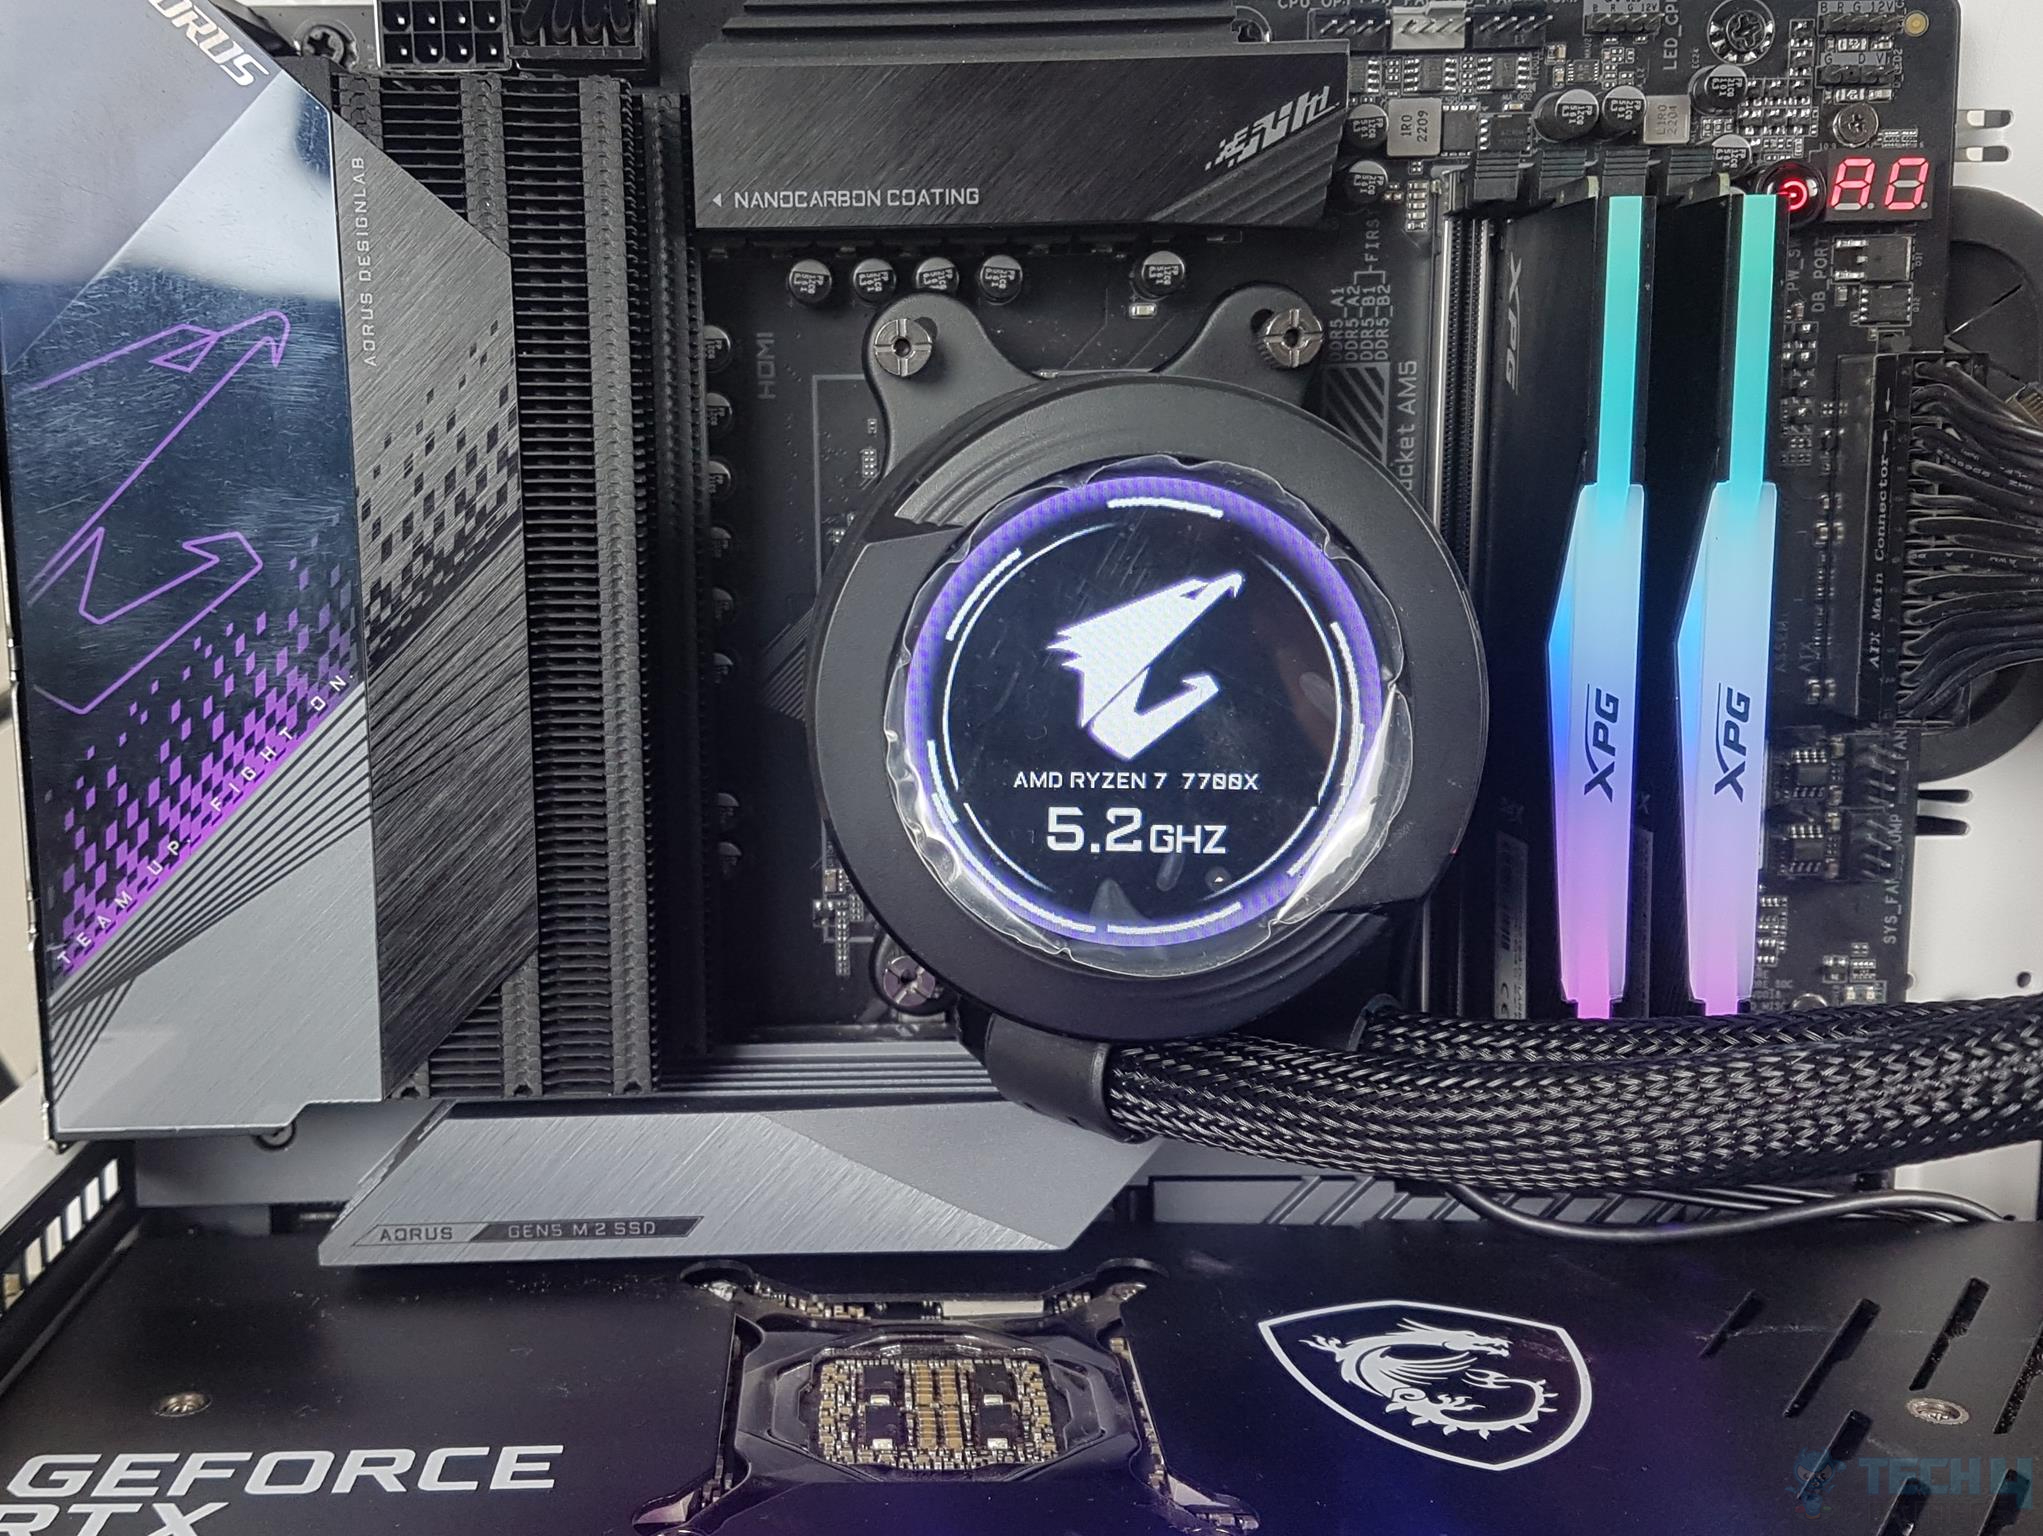
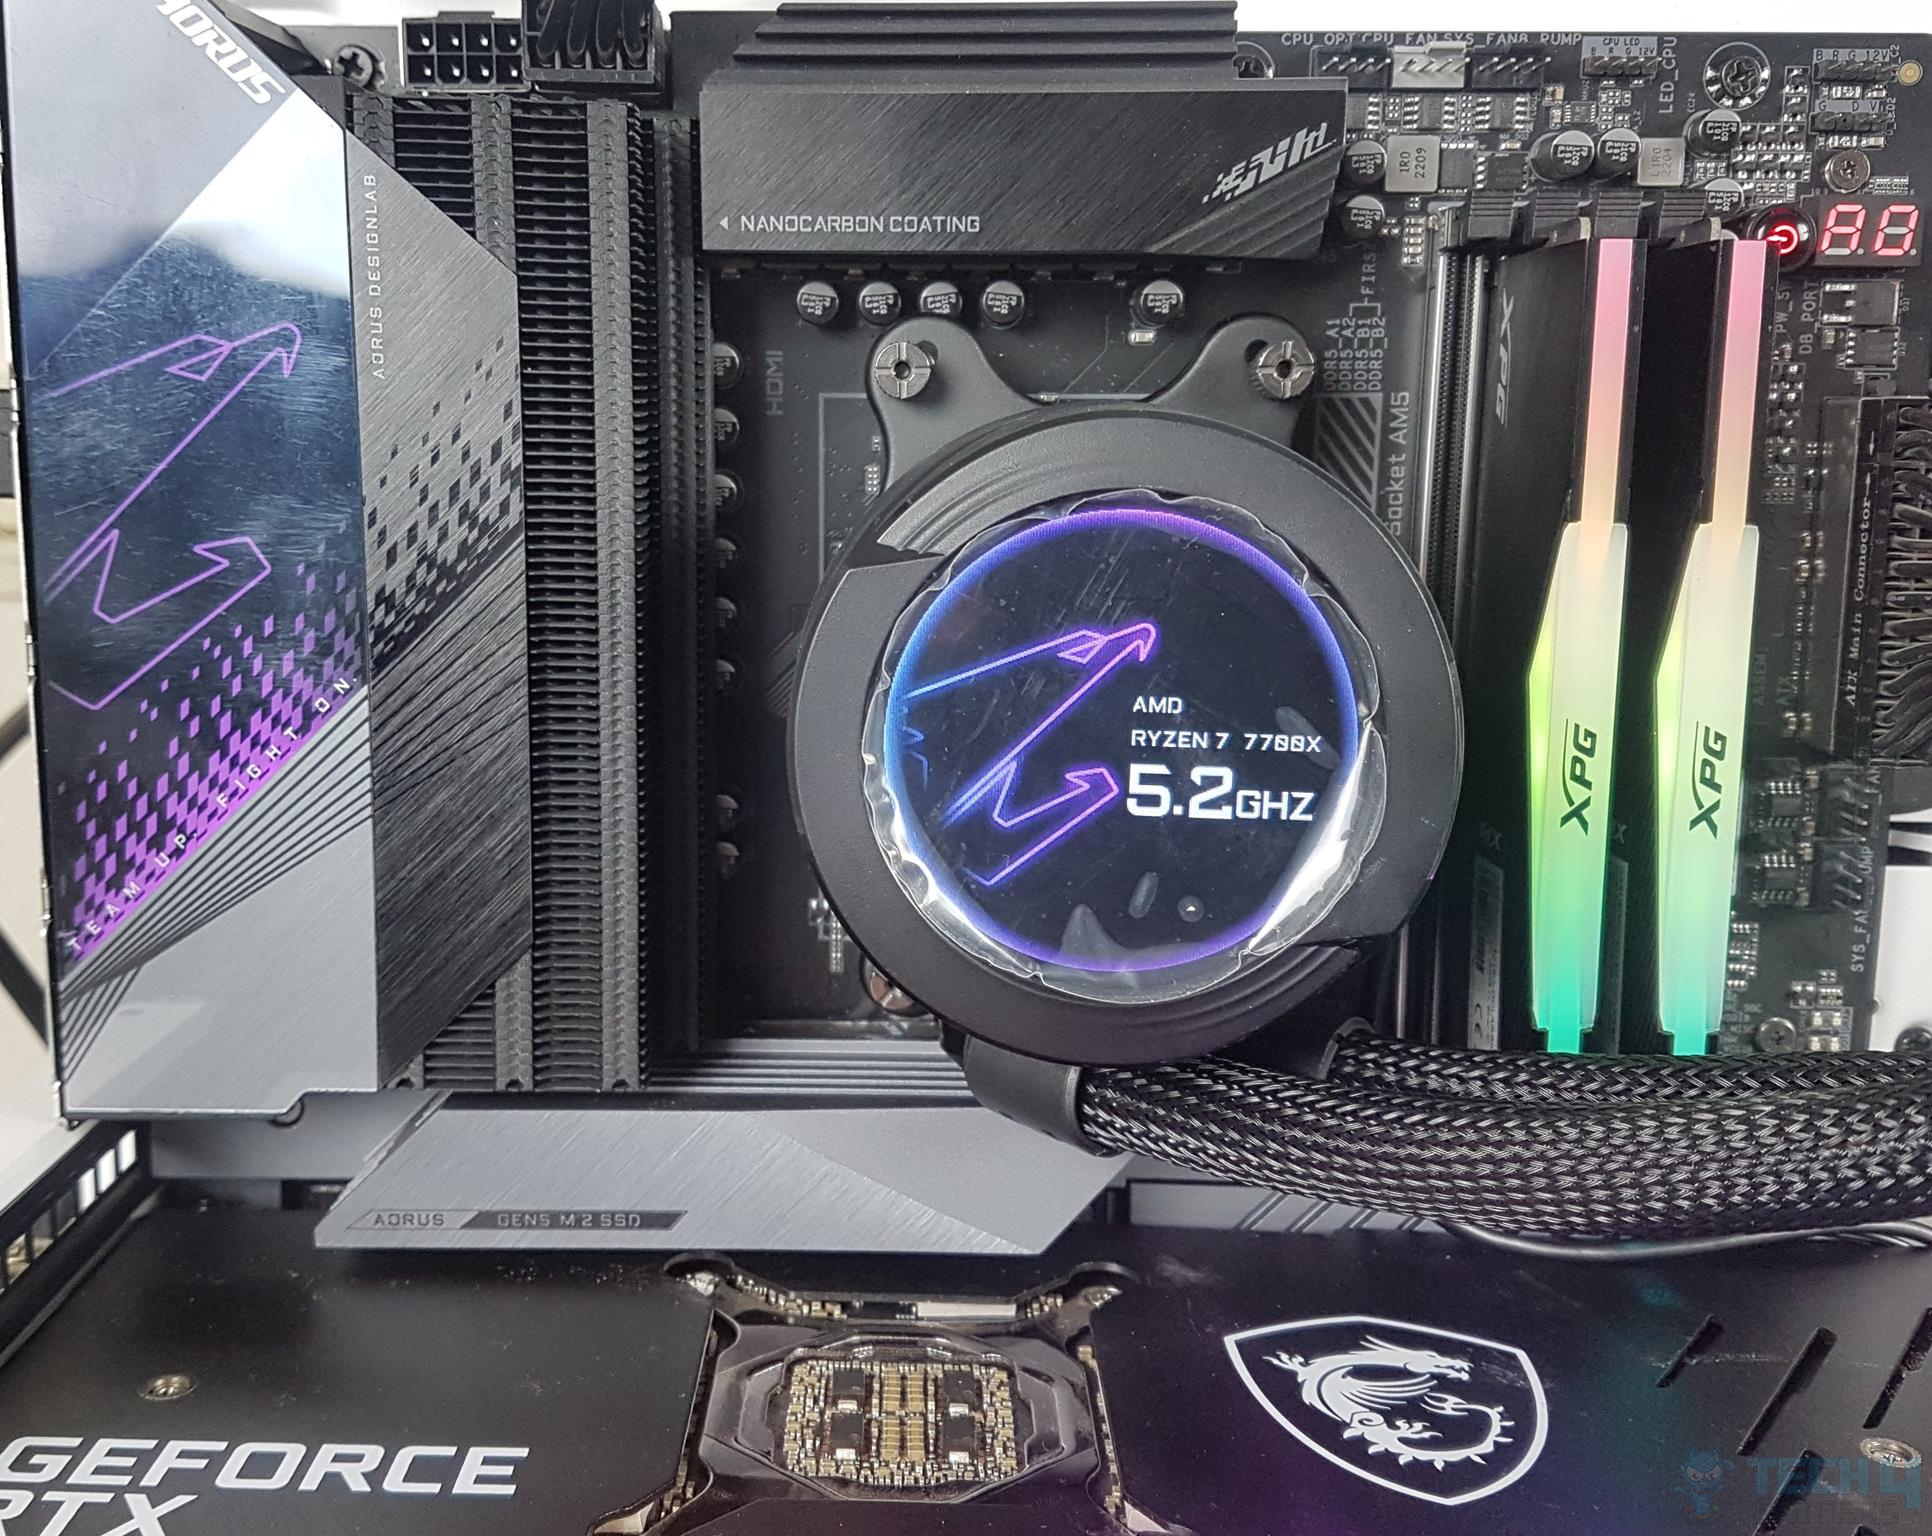
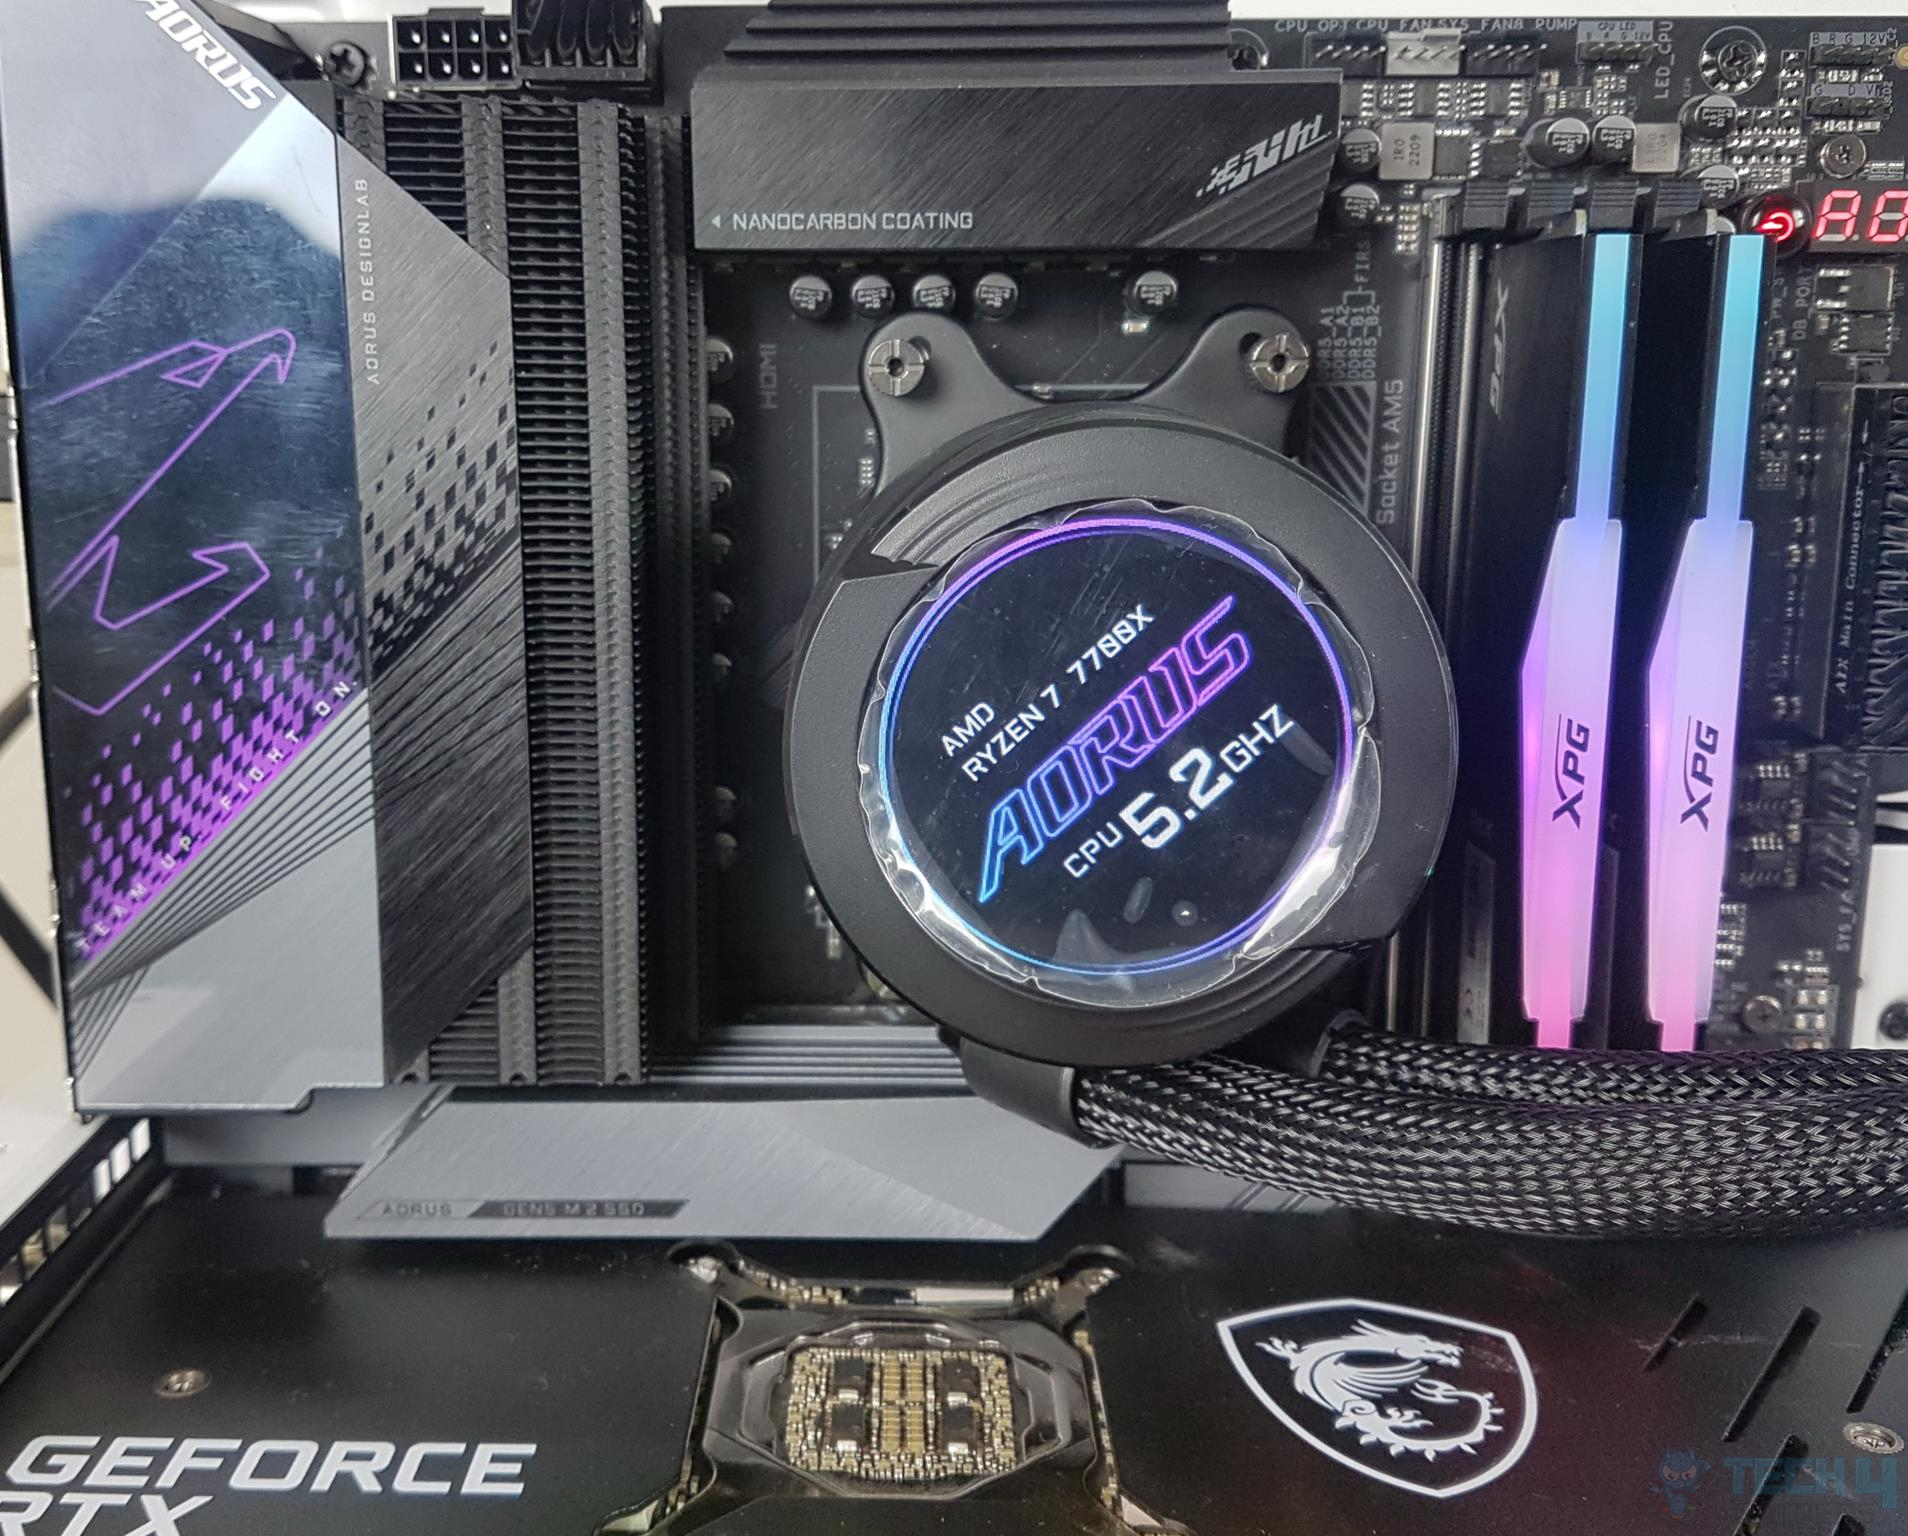
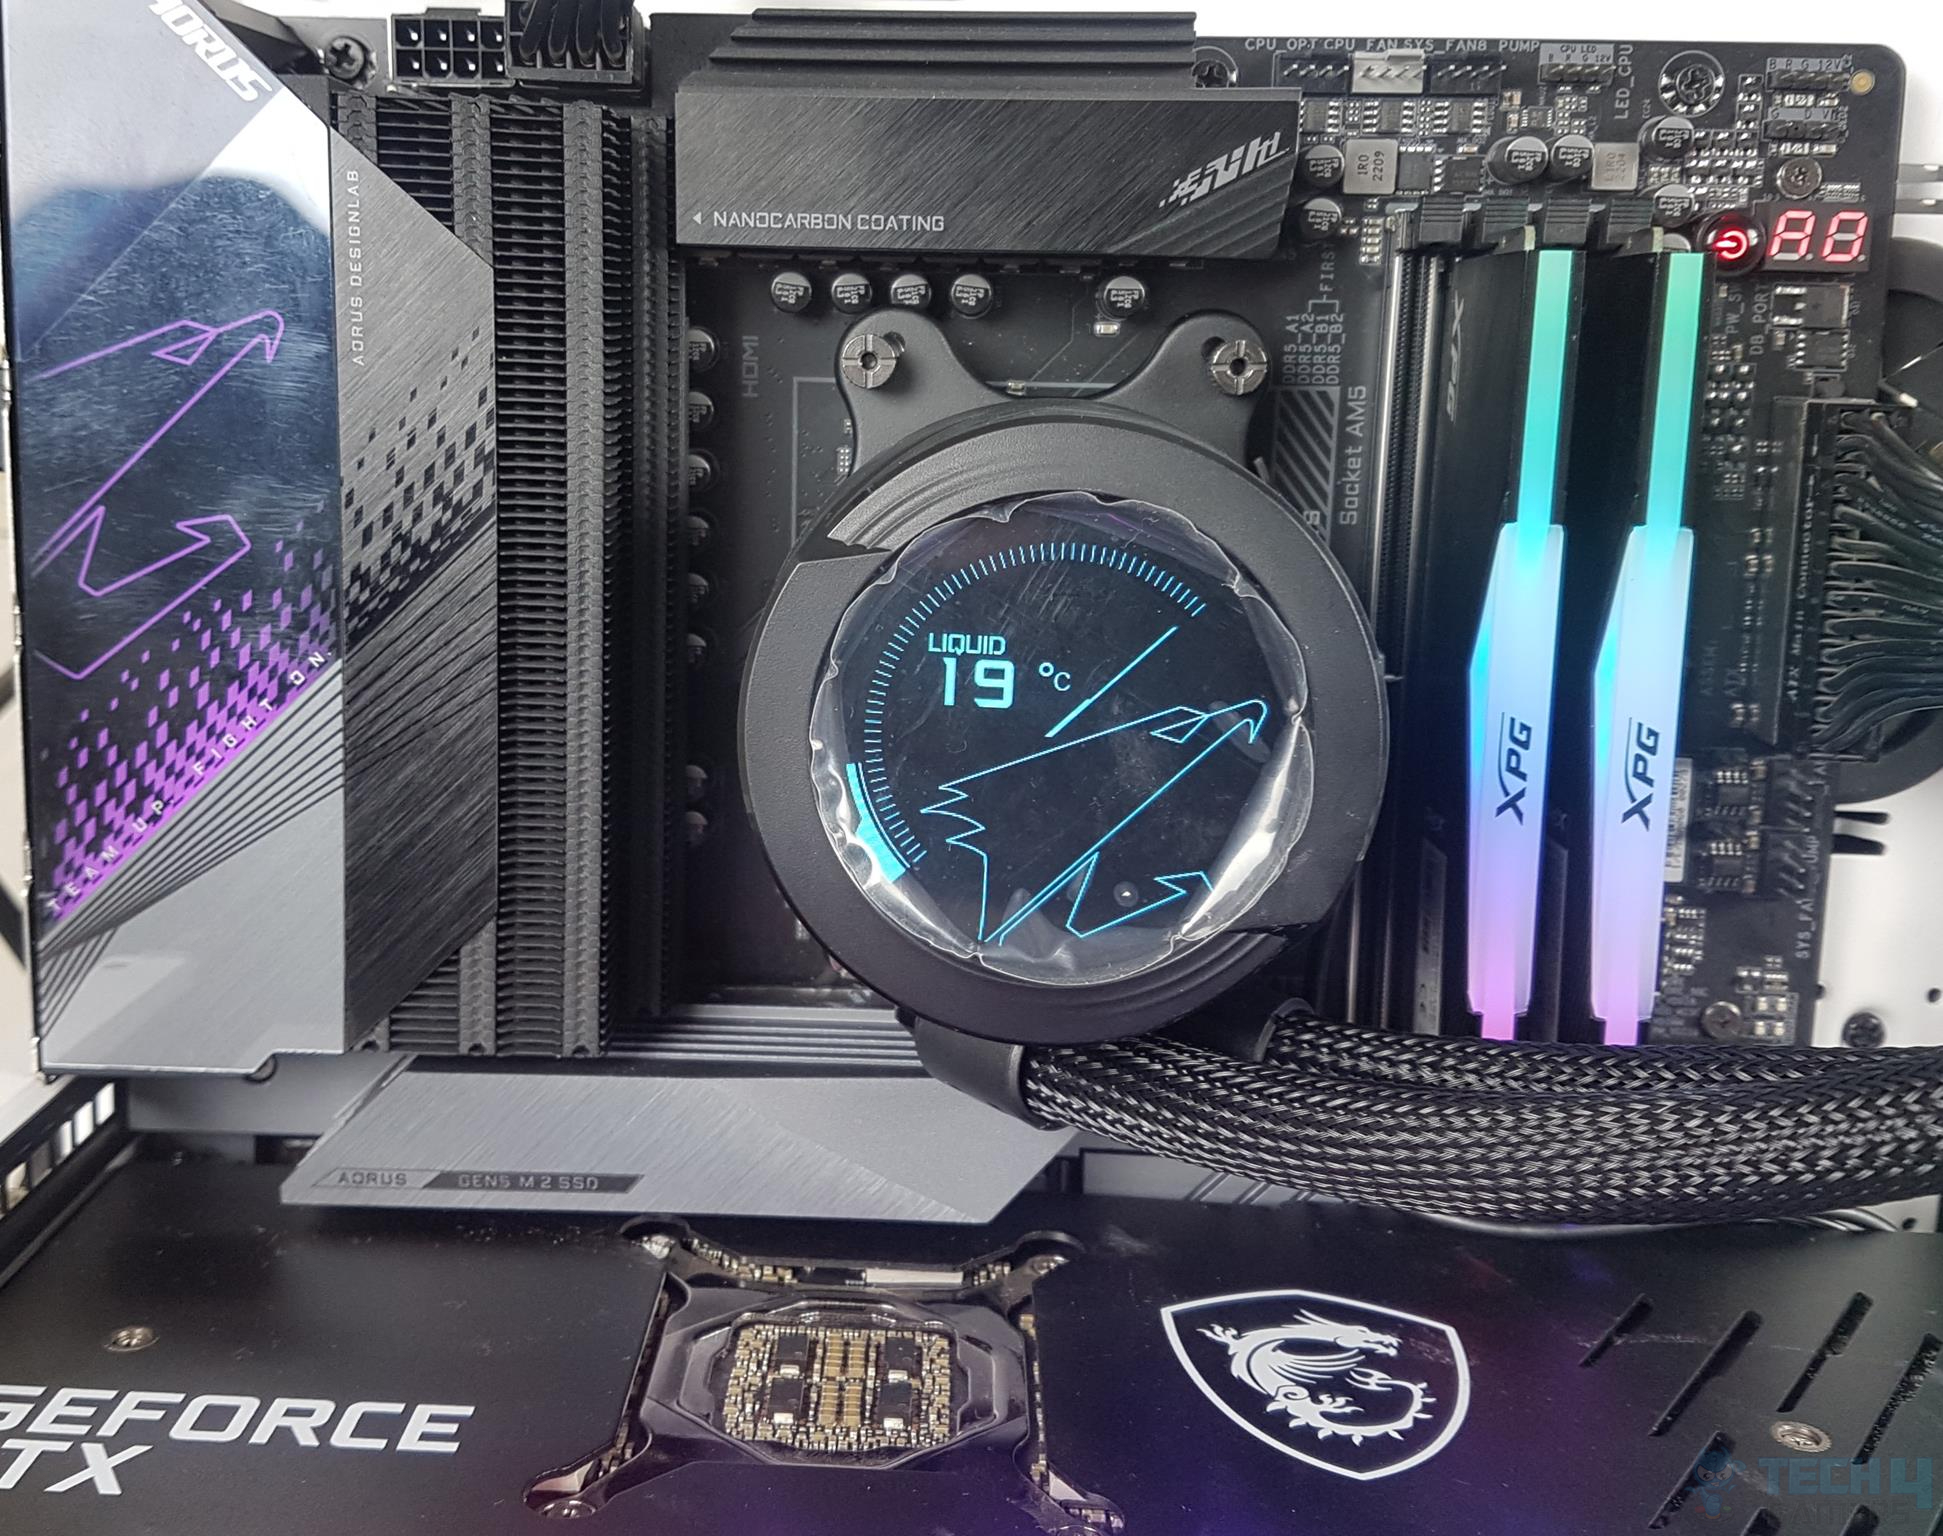
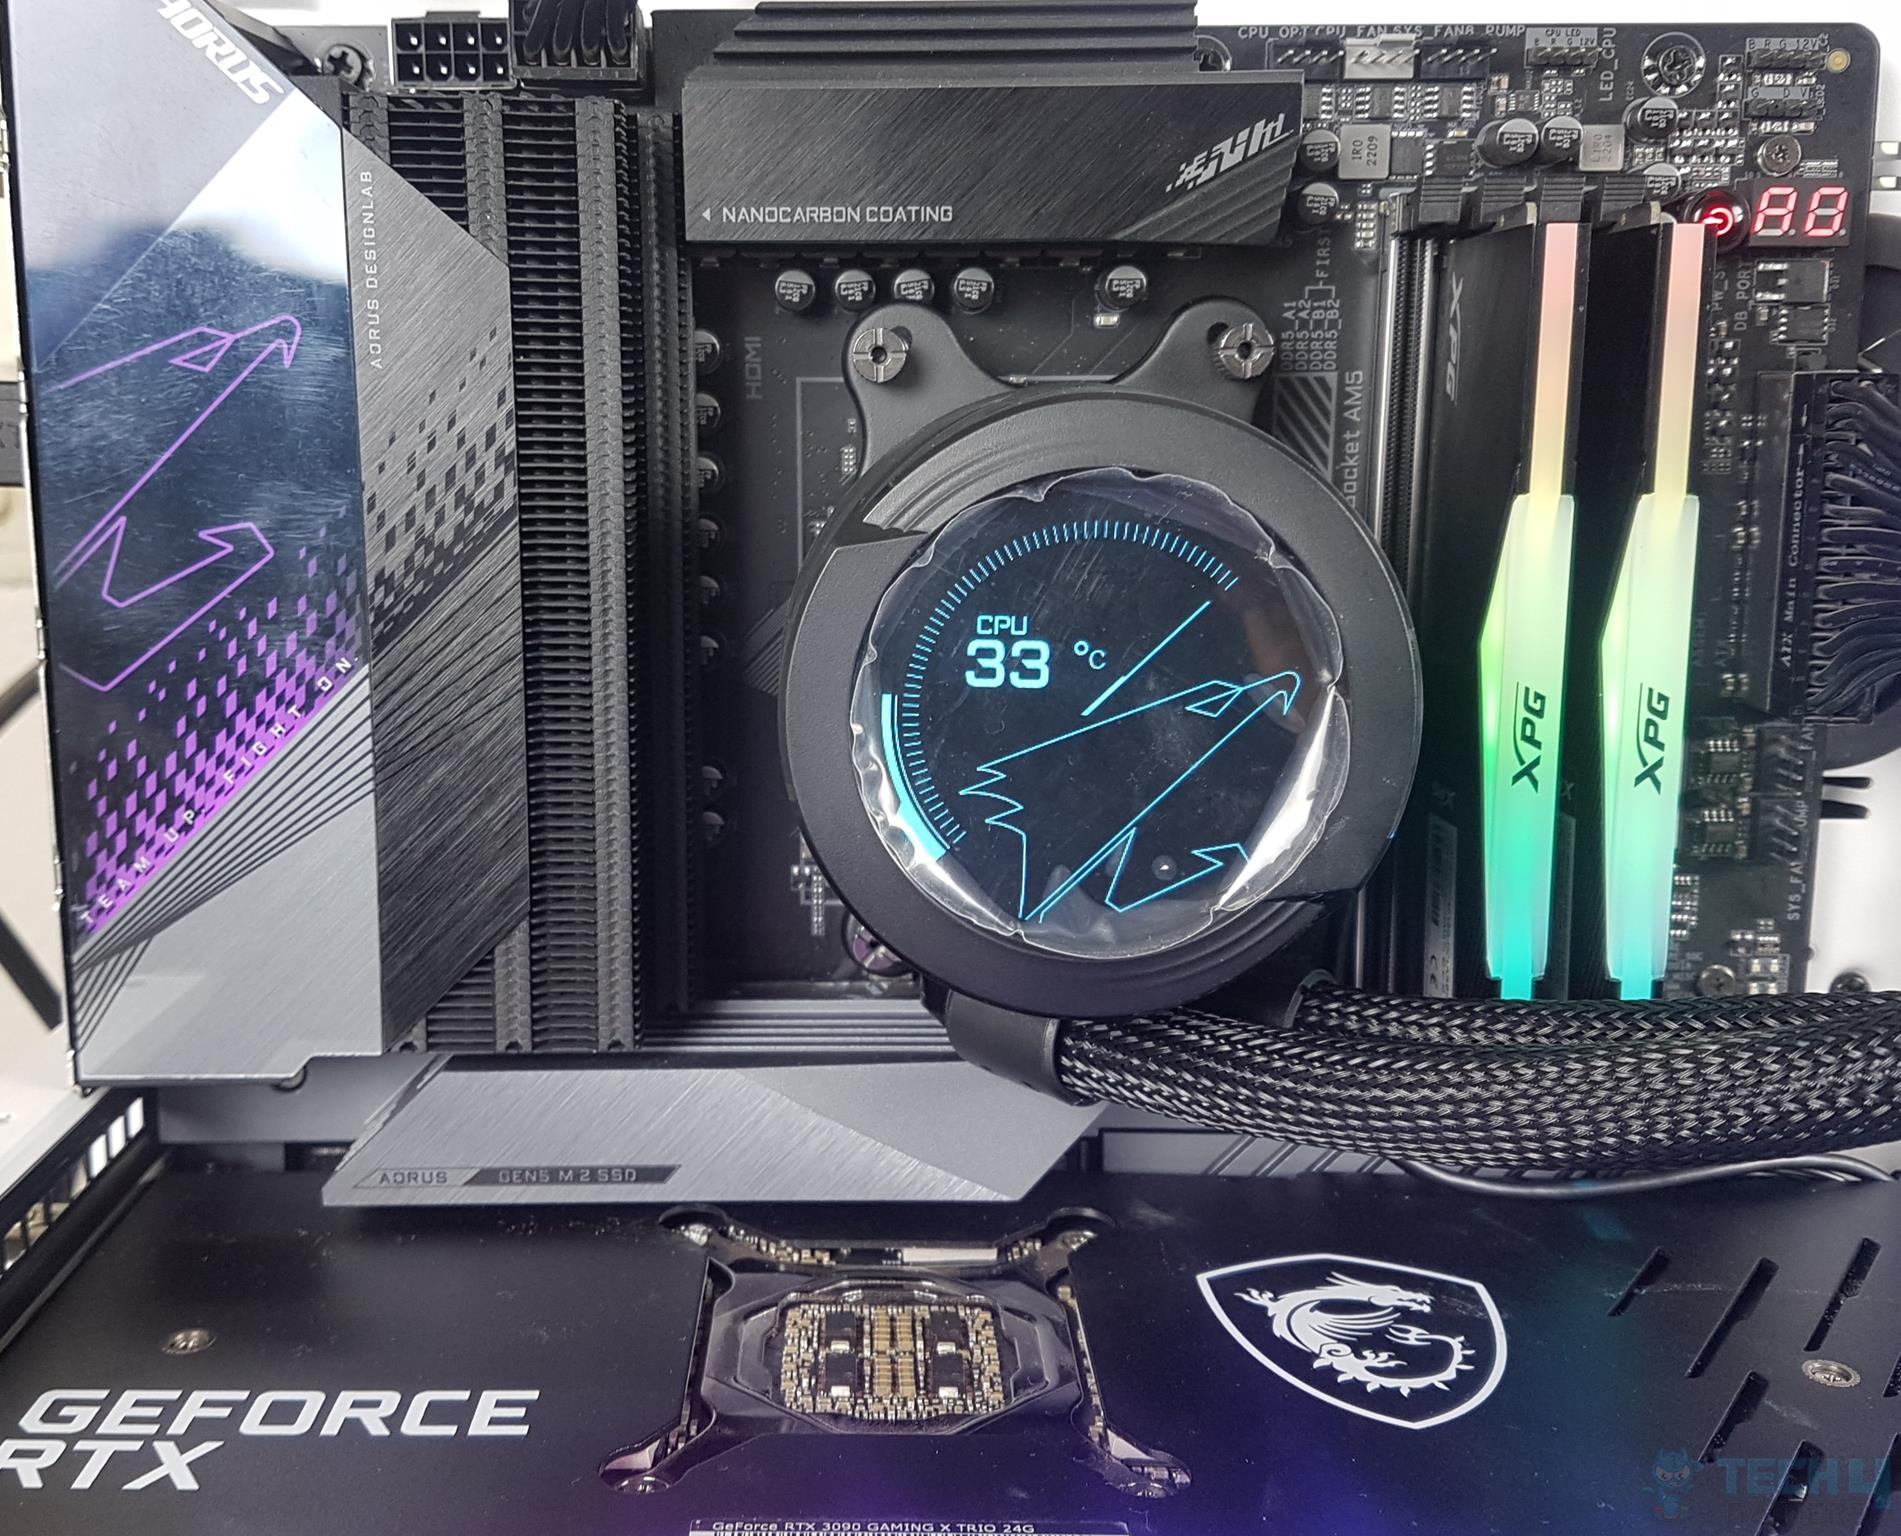
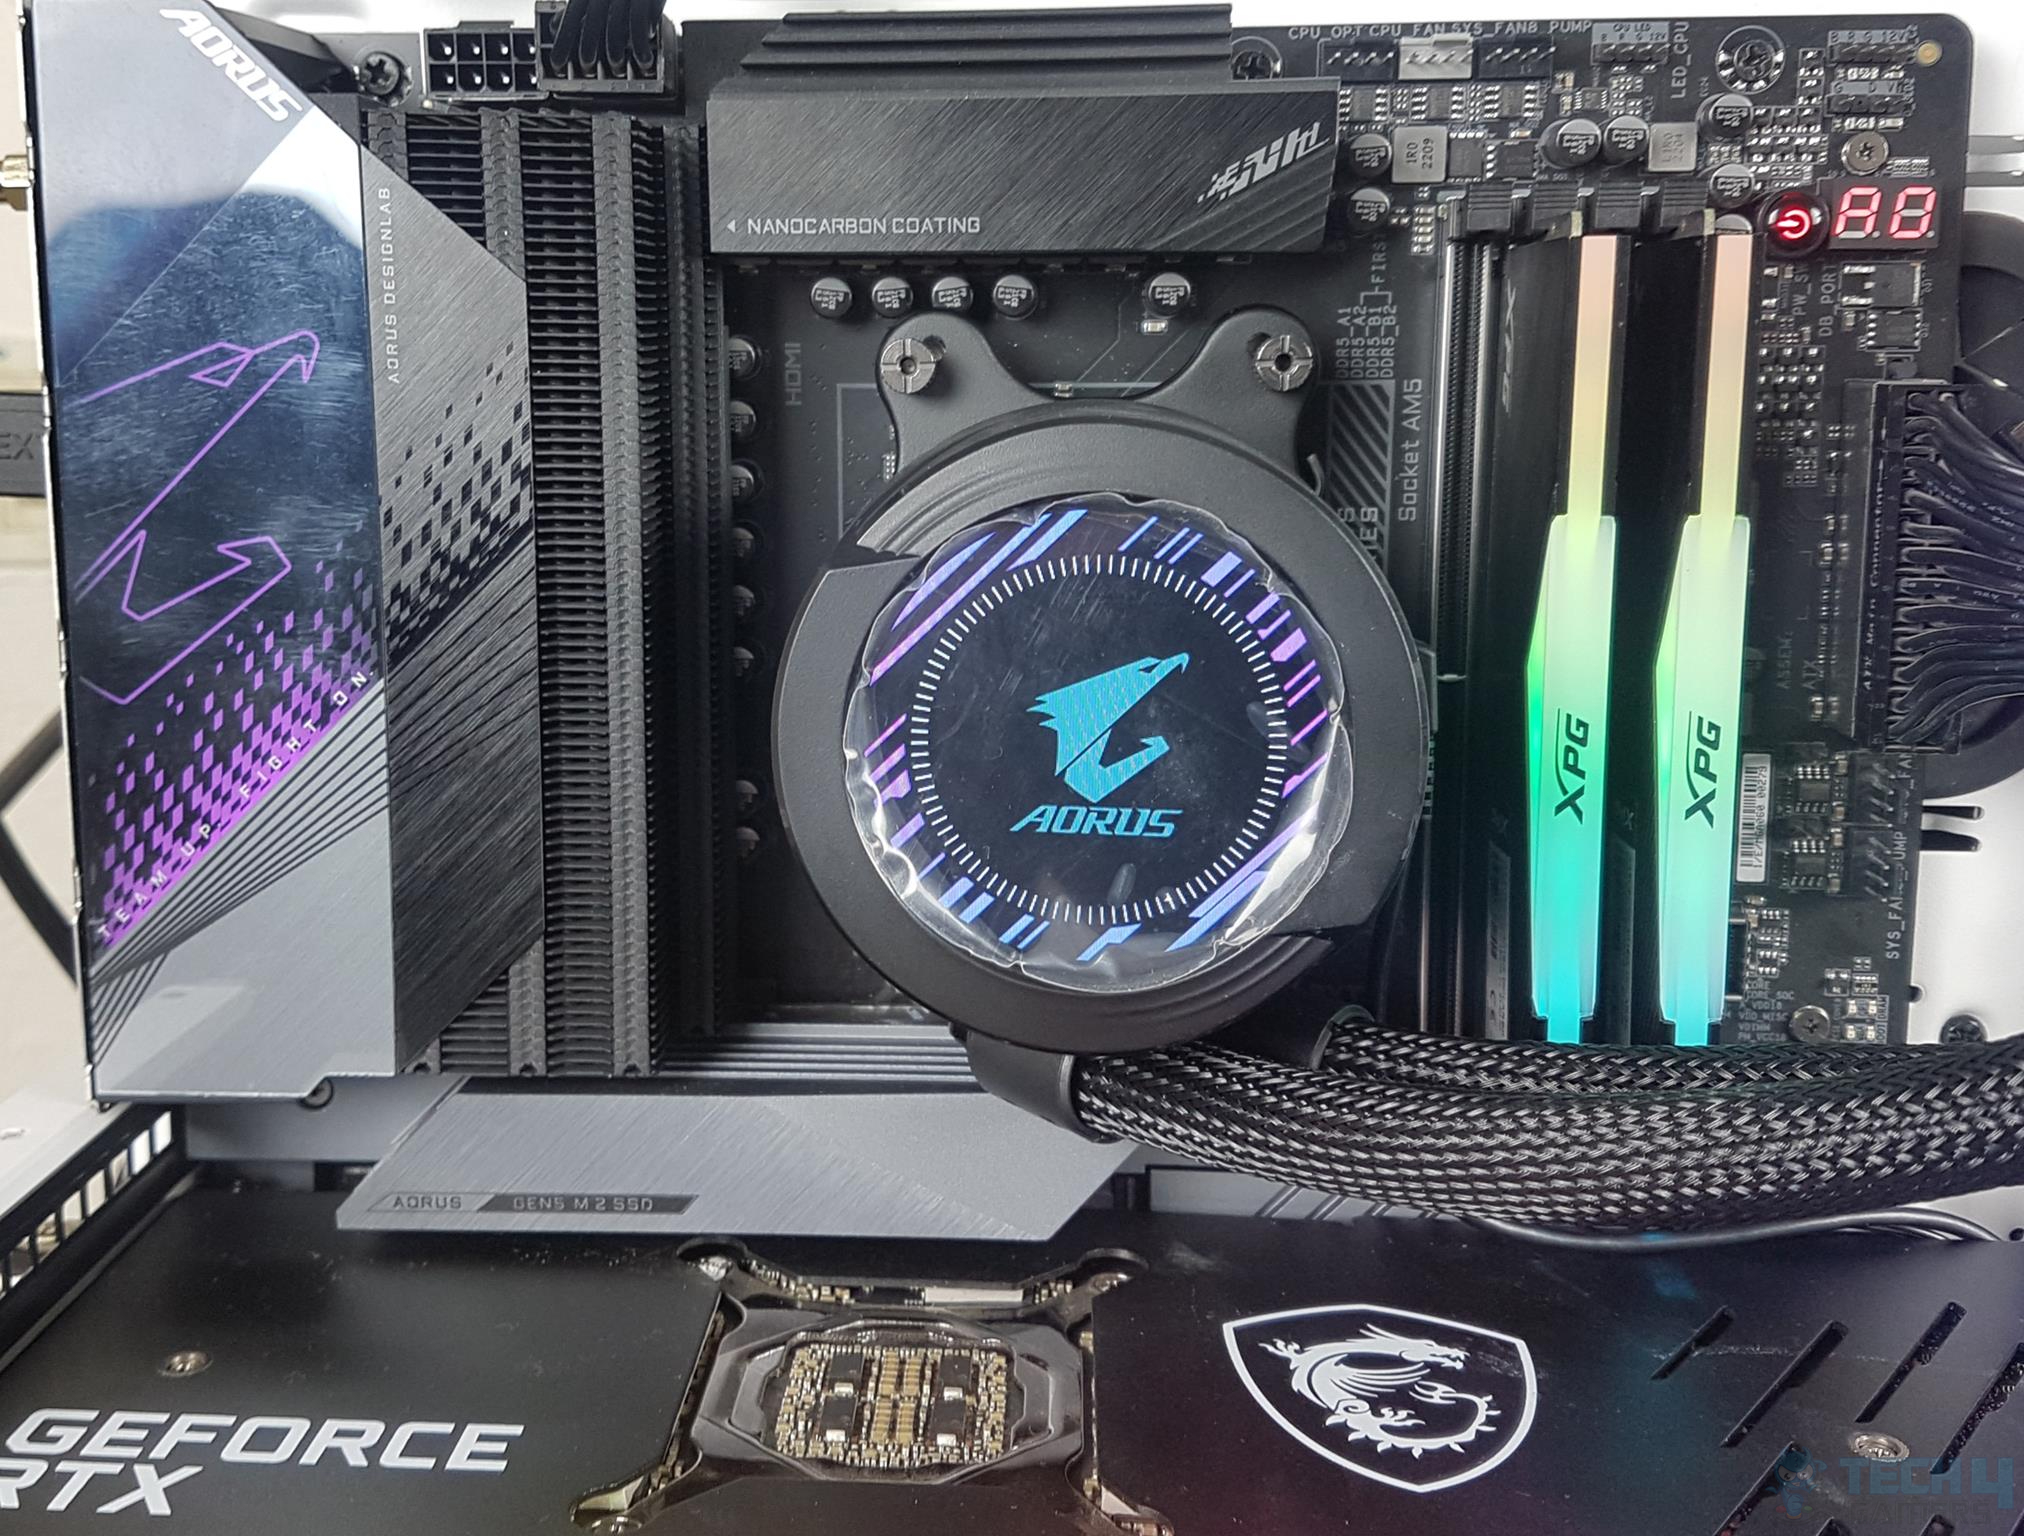
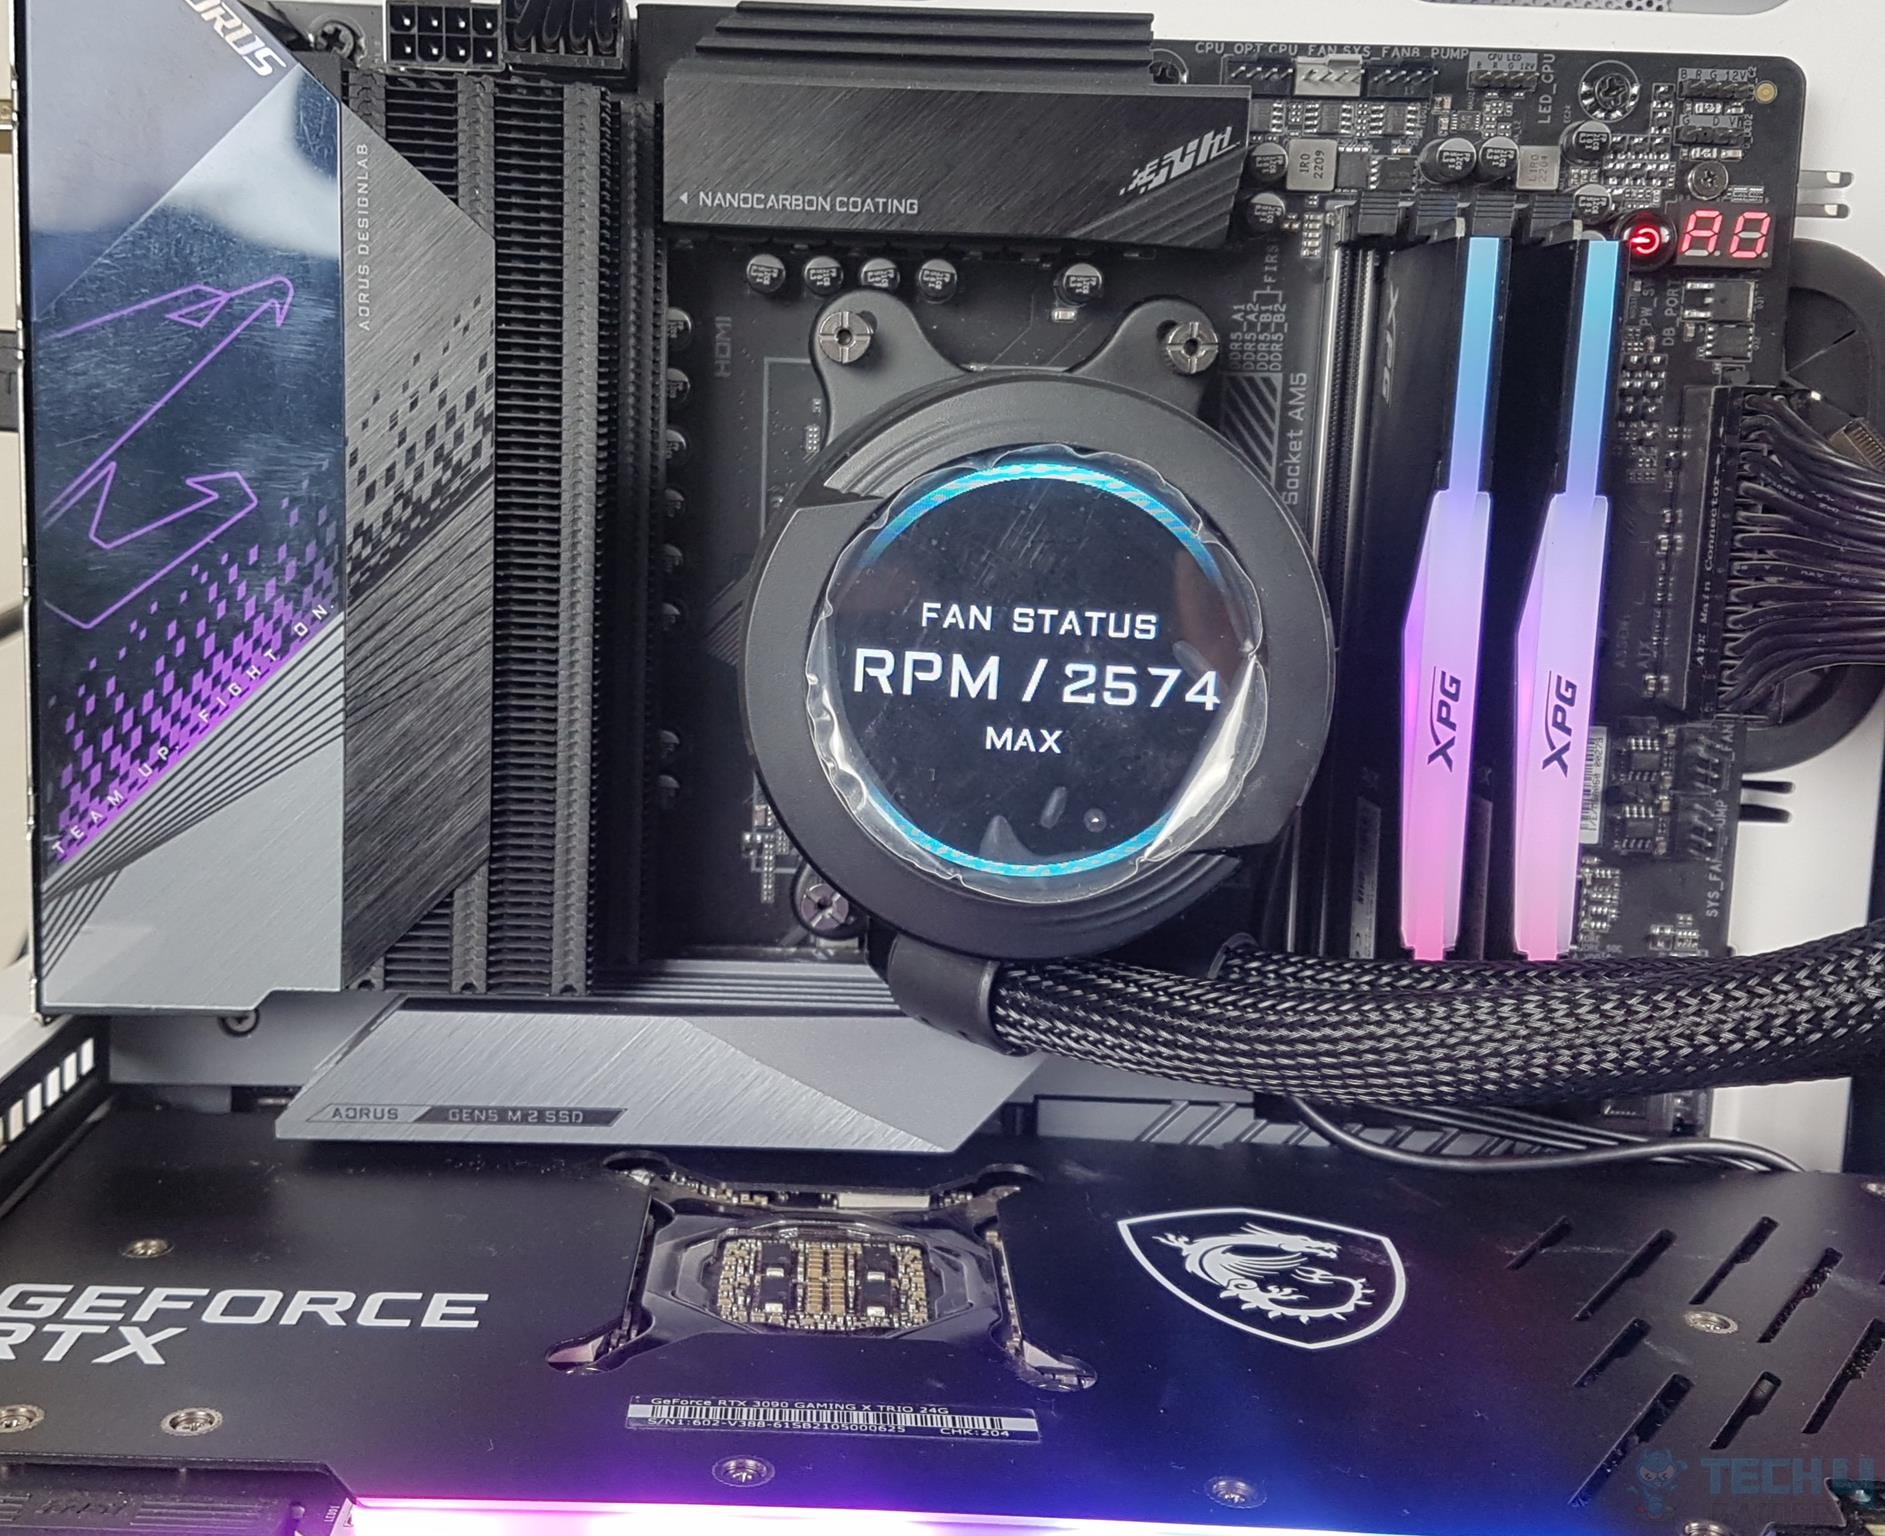
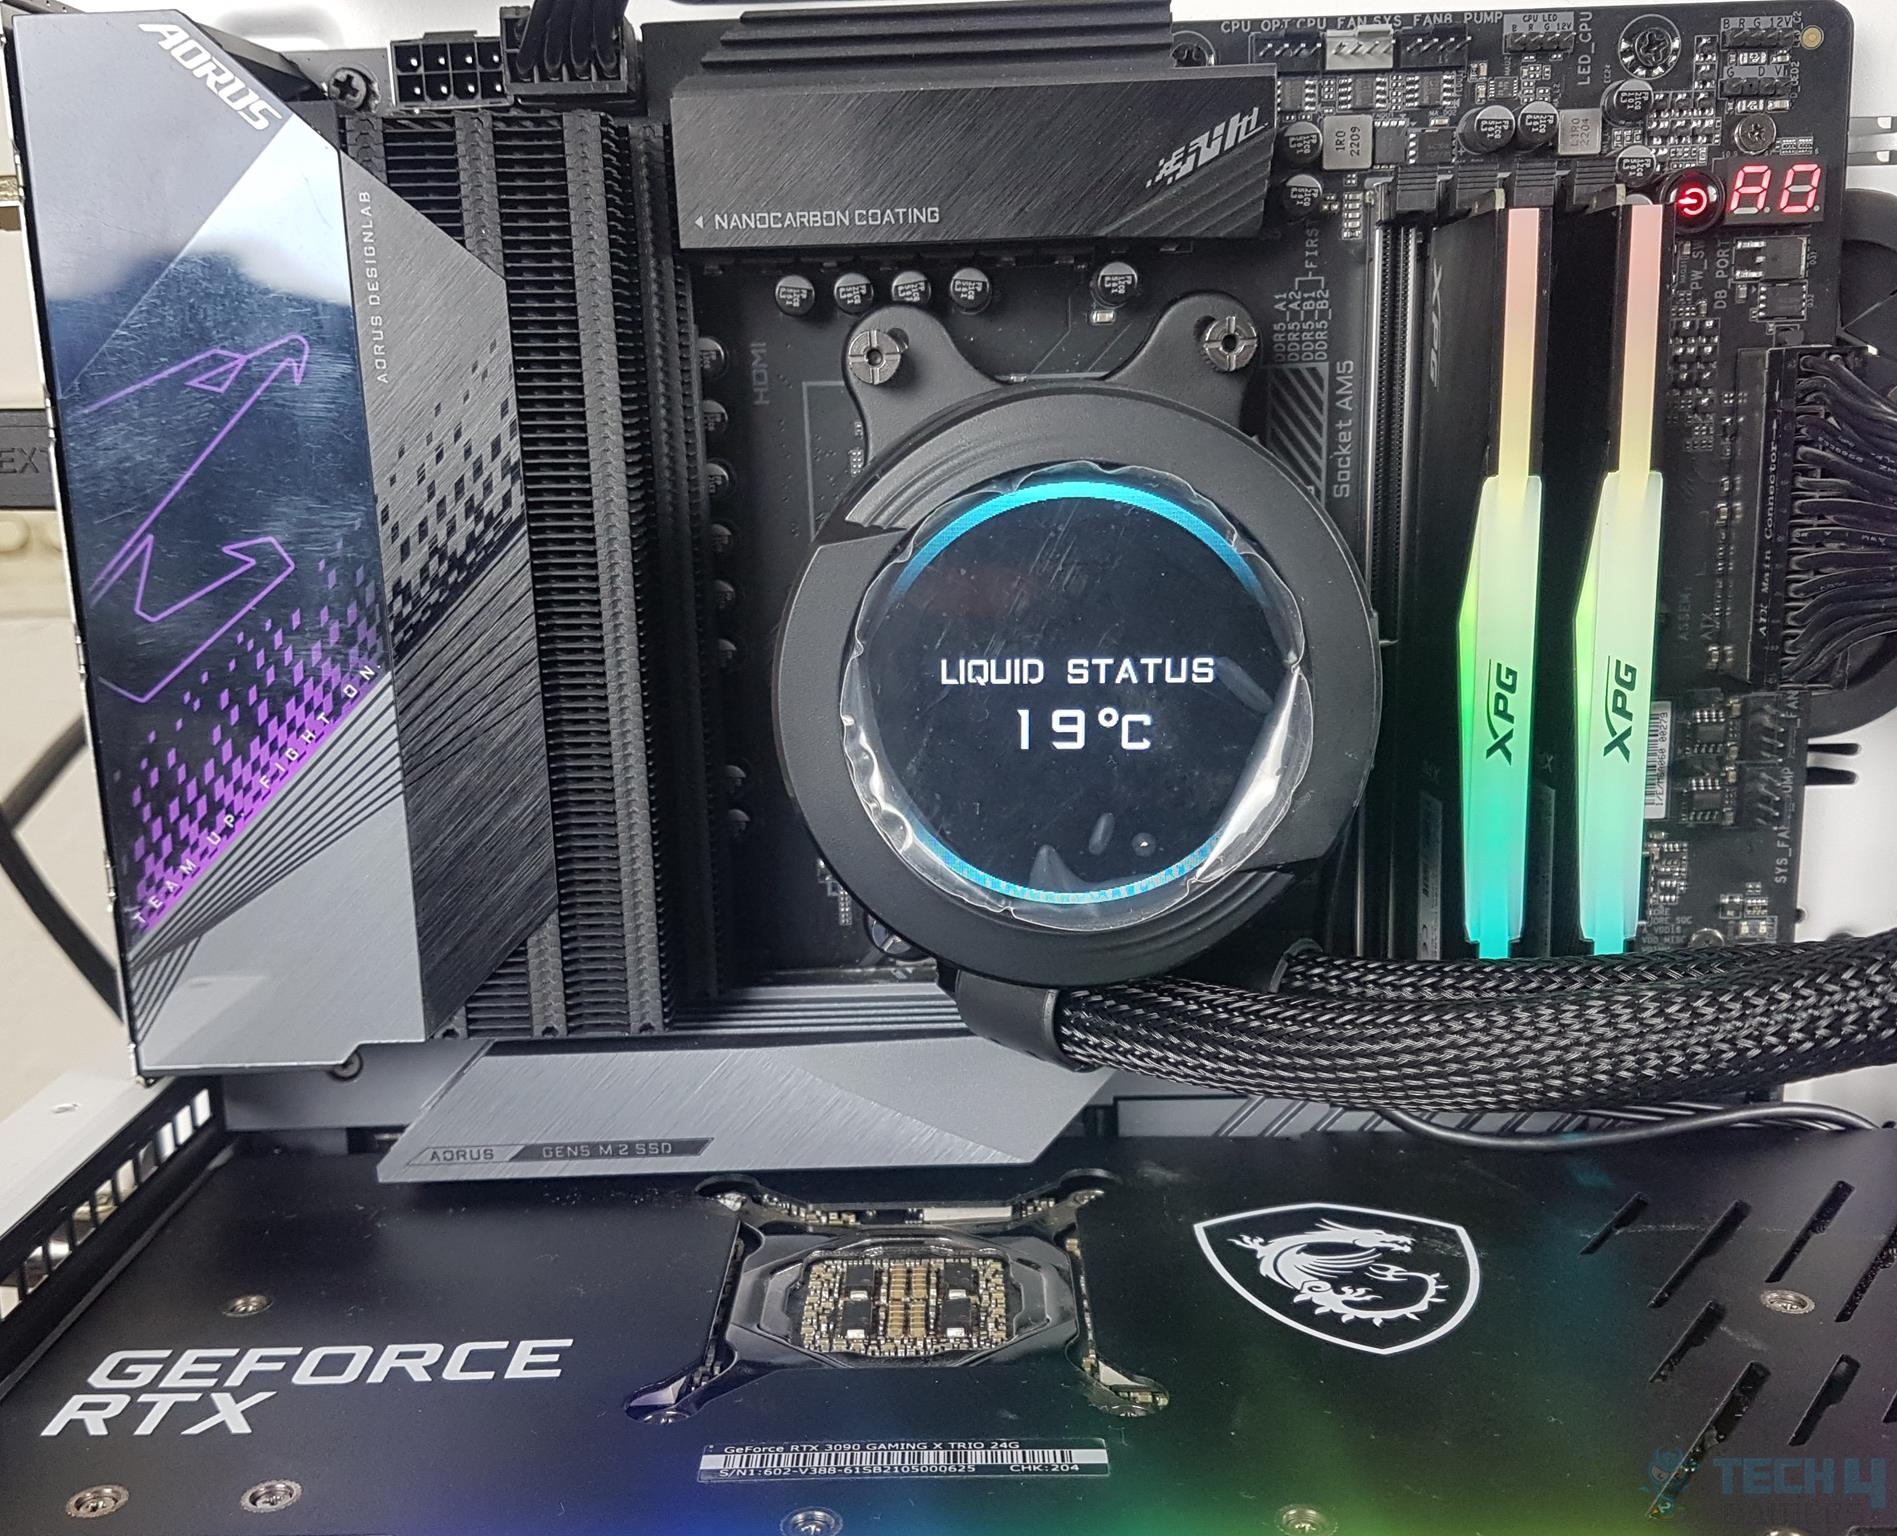
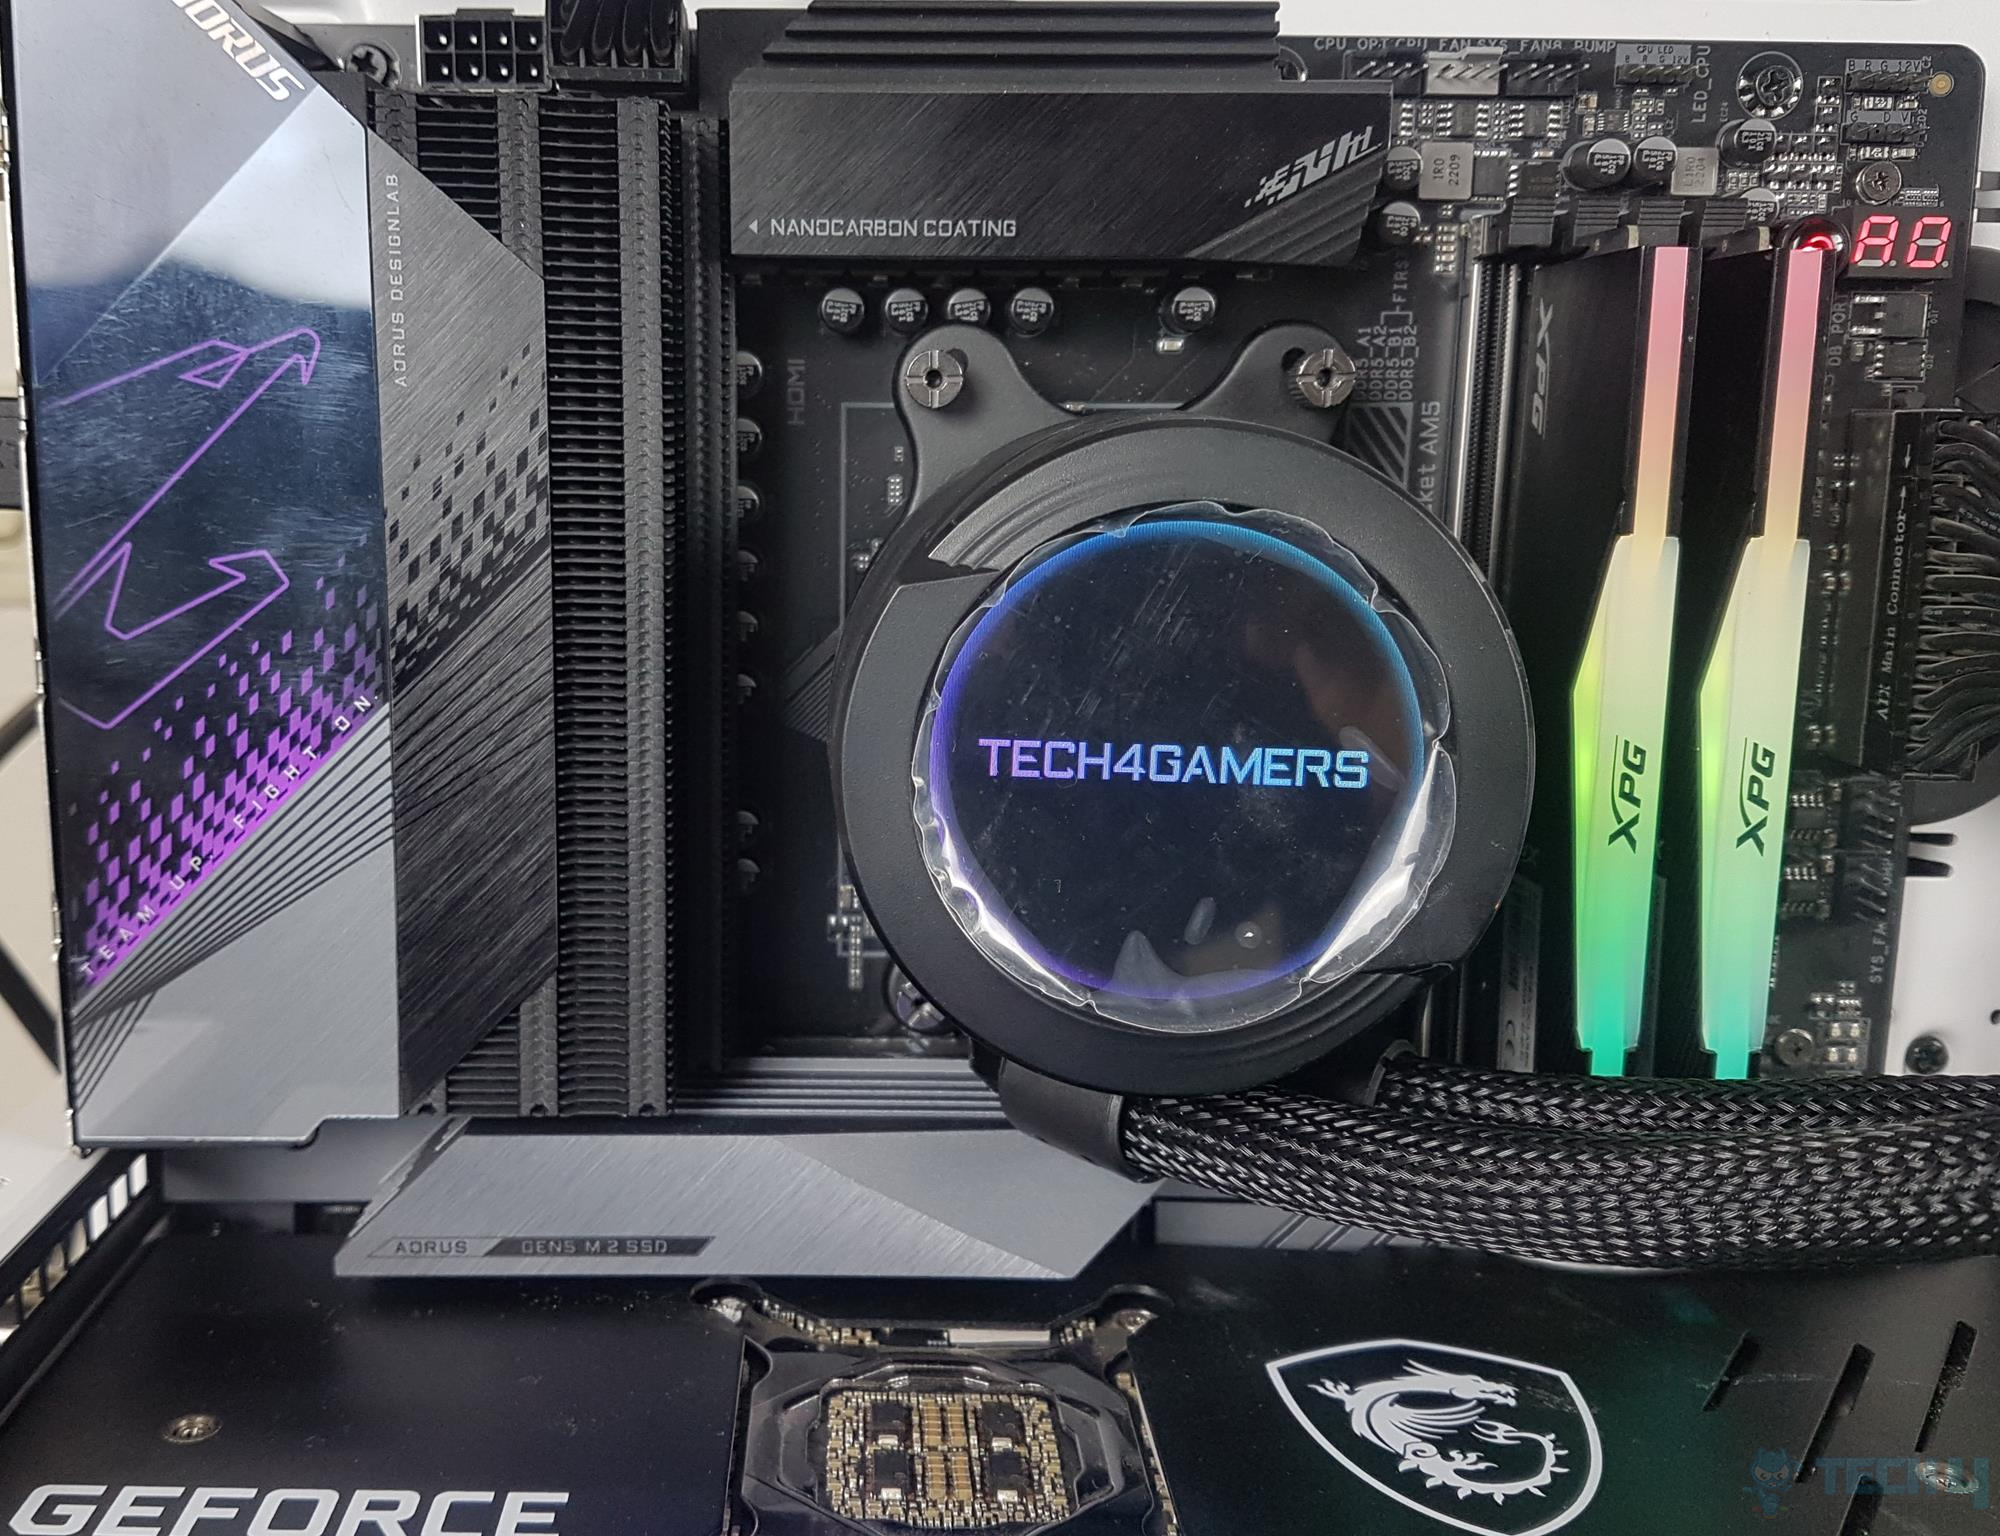
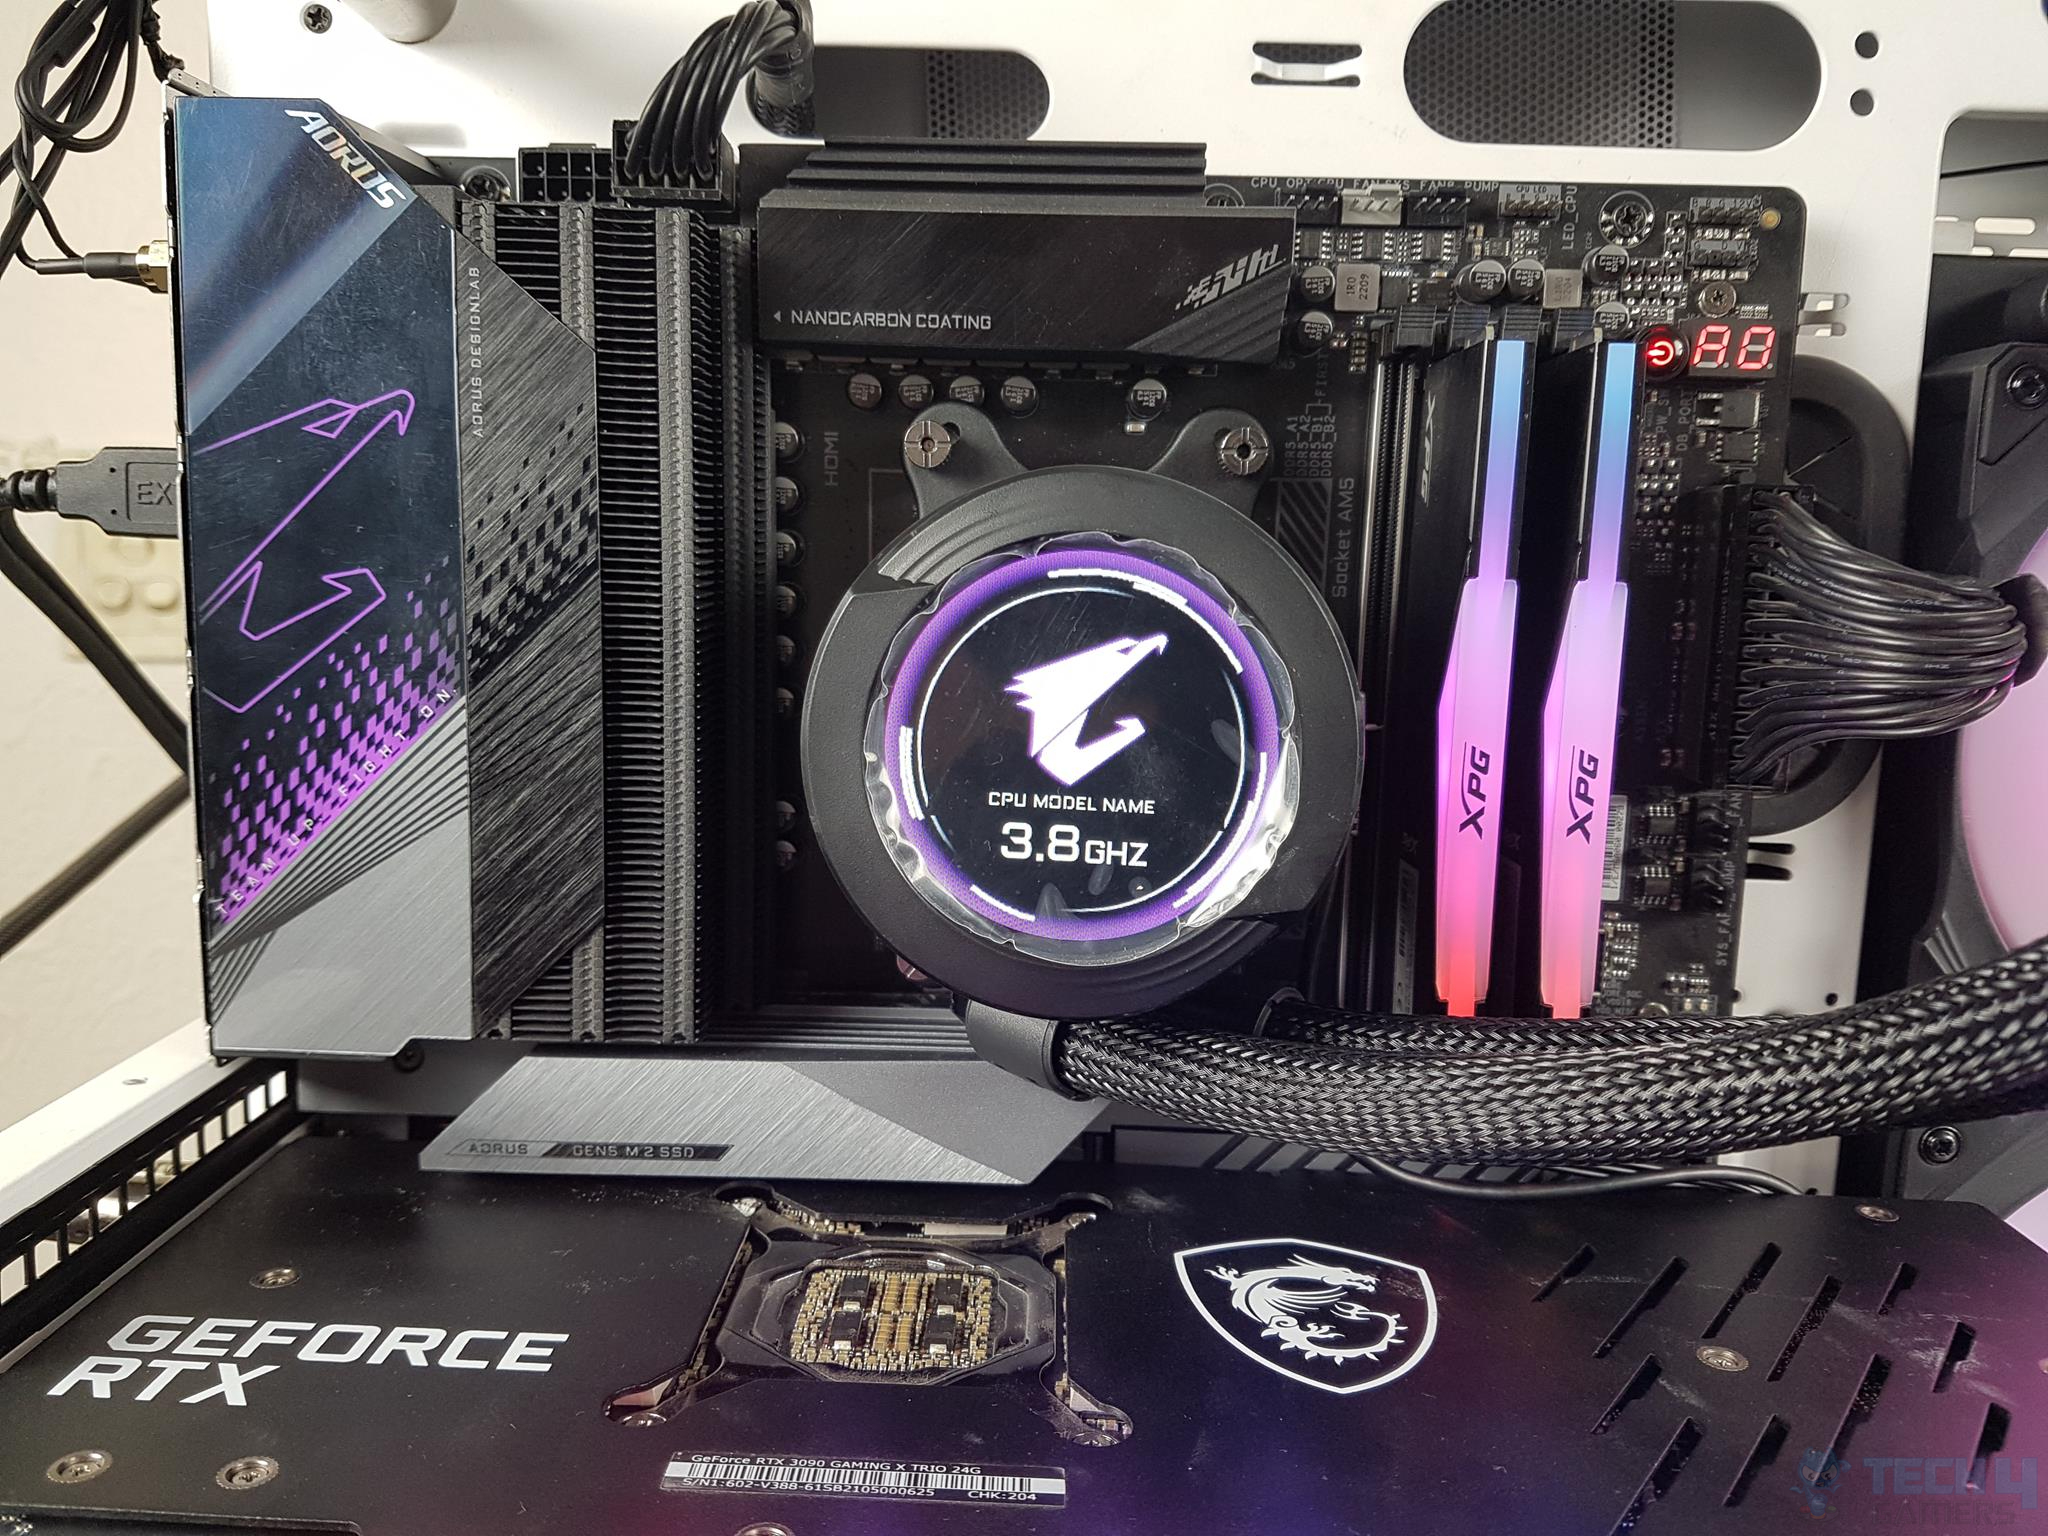
Now, we turn our heads to this cooler’s main selling feature: the pump block with an integrated LCD screen.
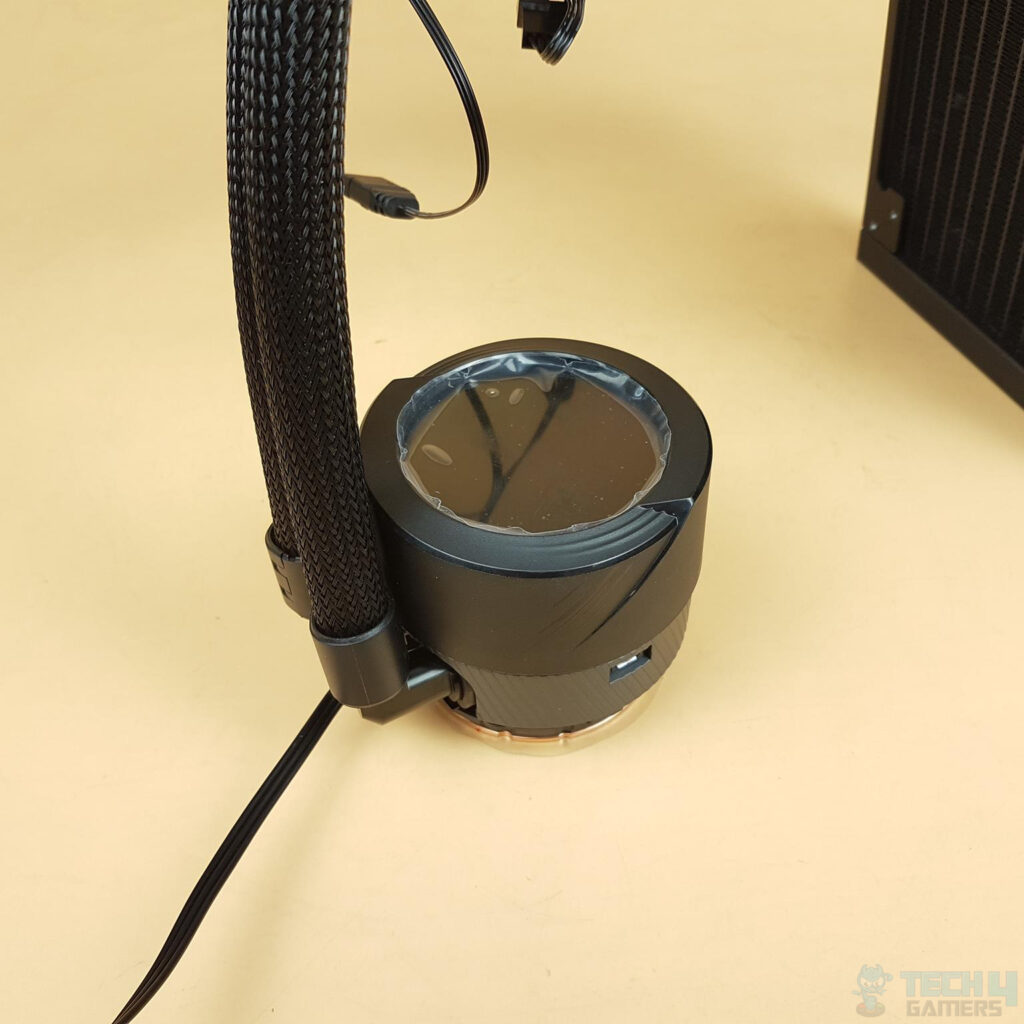
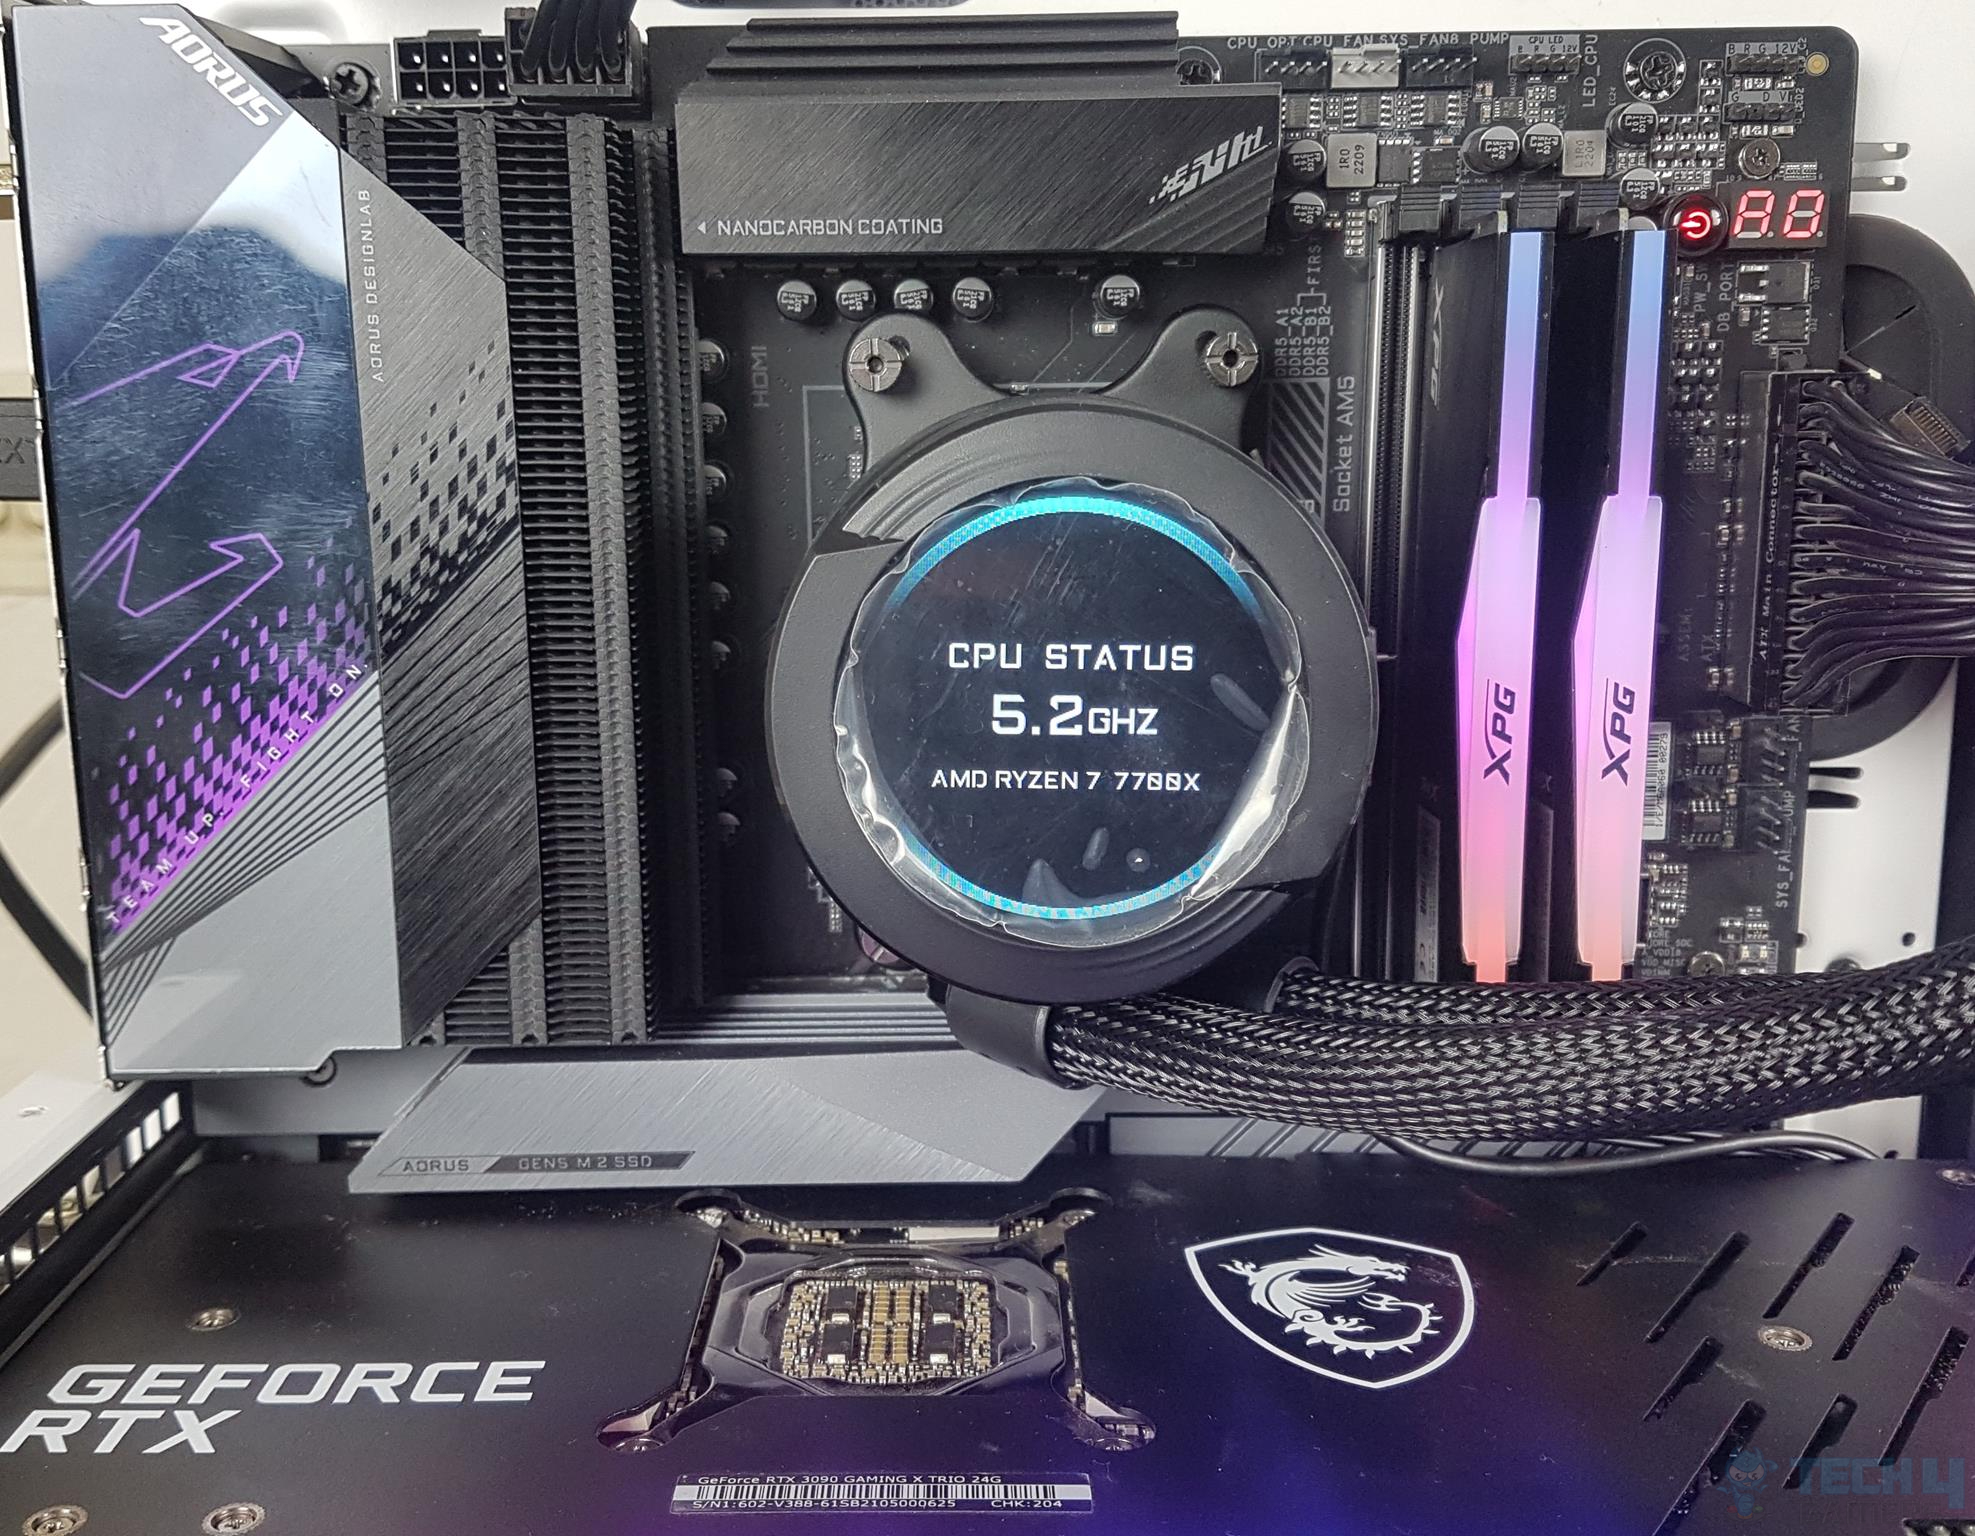
The block has a circular design, measuring 82x82x74mm. The standout feature is the 60x60mm full-color LCS screen on top, which I can customize to display CPU stats, temperature, images, videos, and text. While the pump is OEM, the LCD and its customization are all AORUS design.

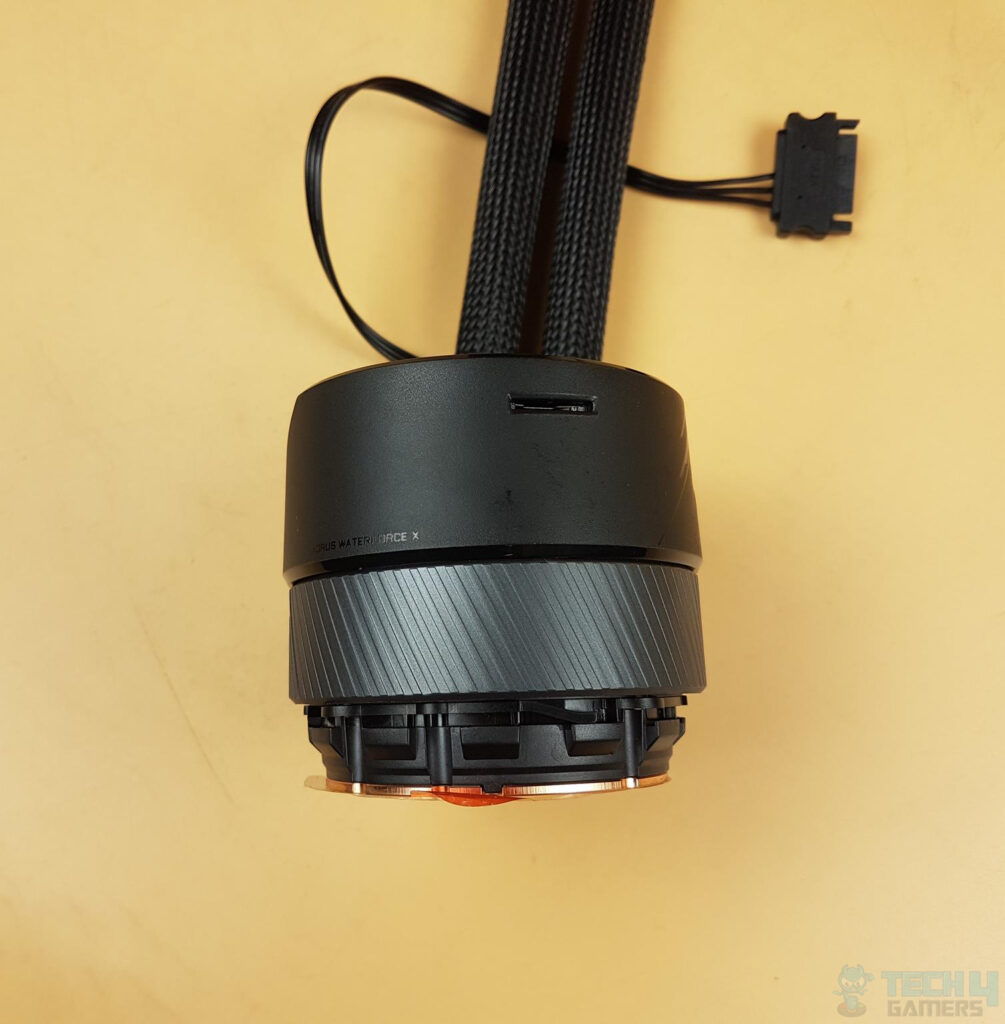
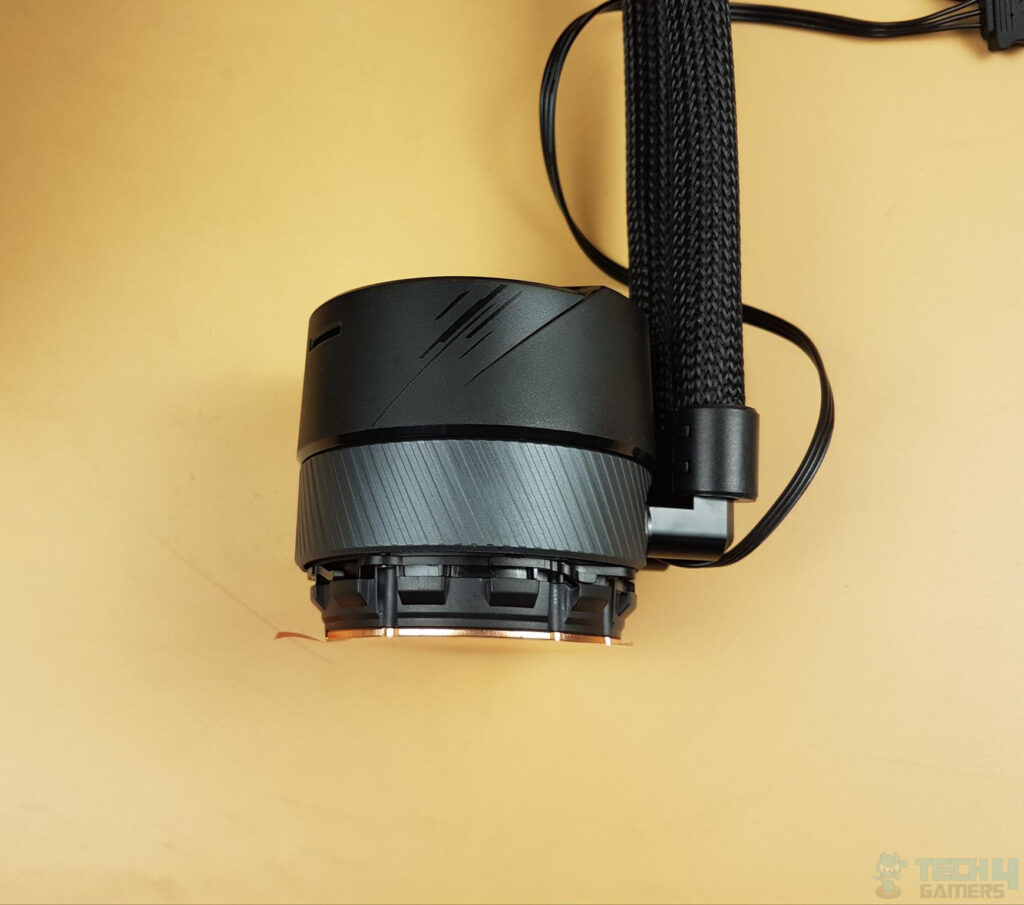
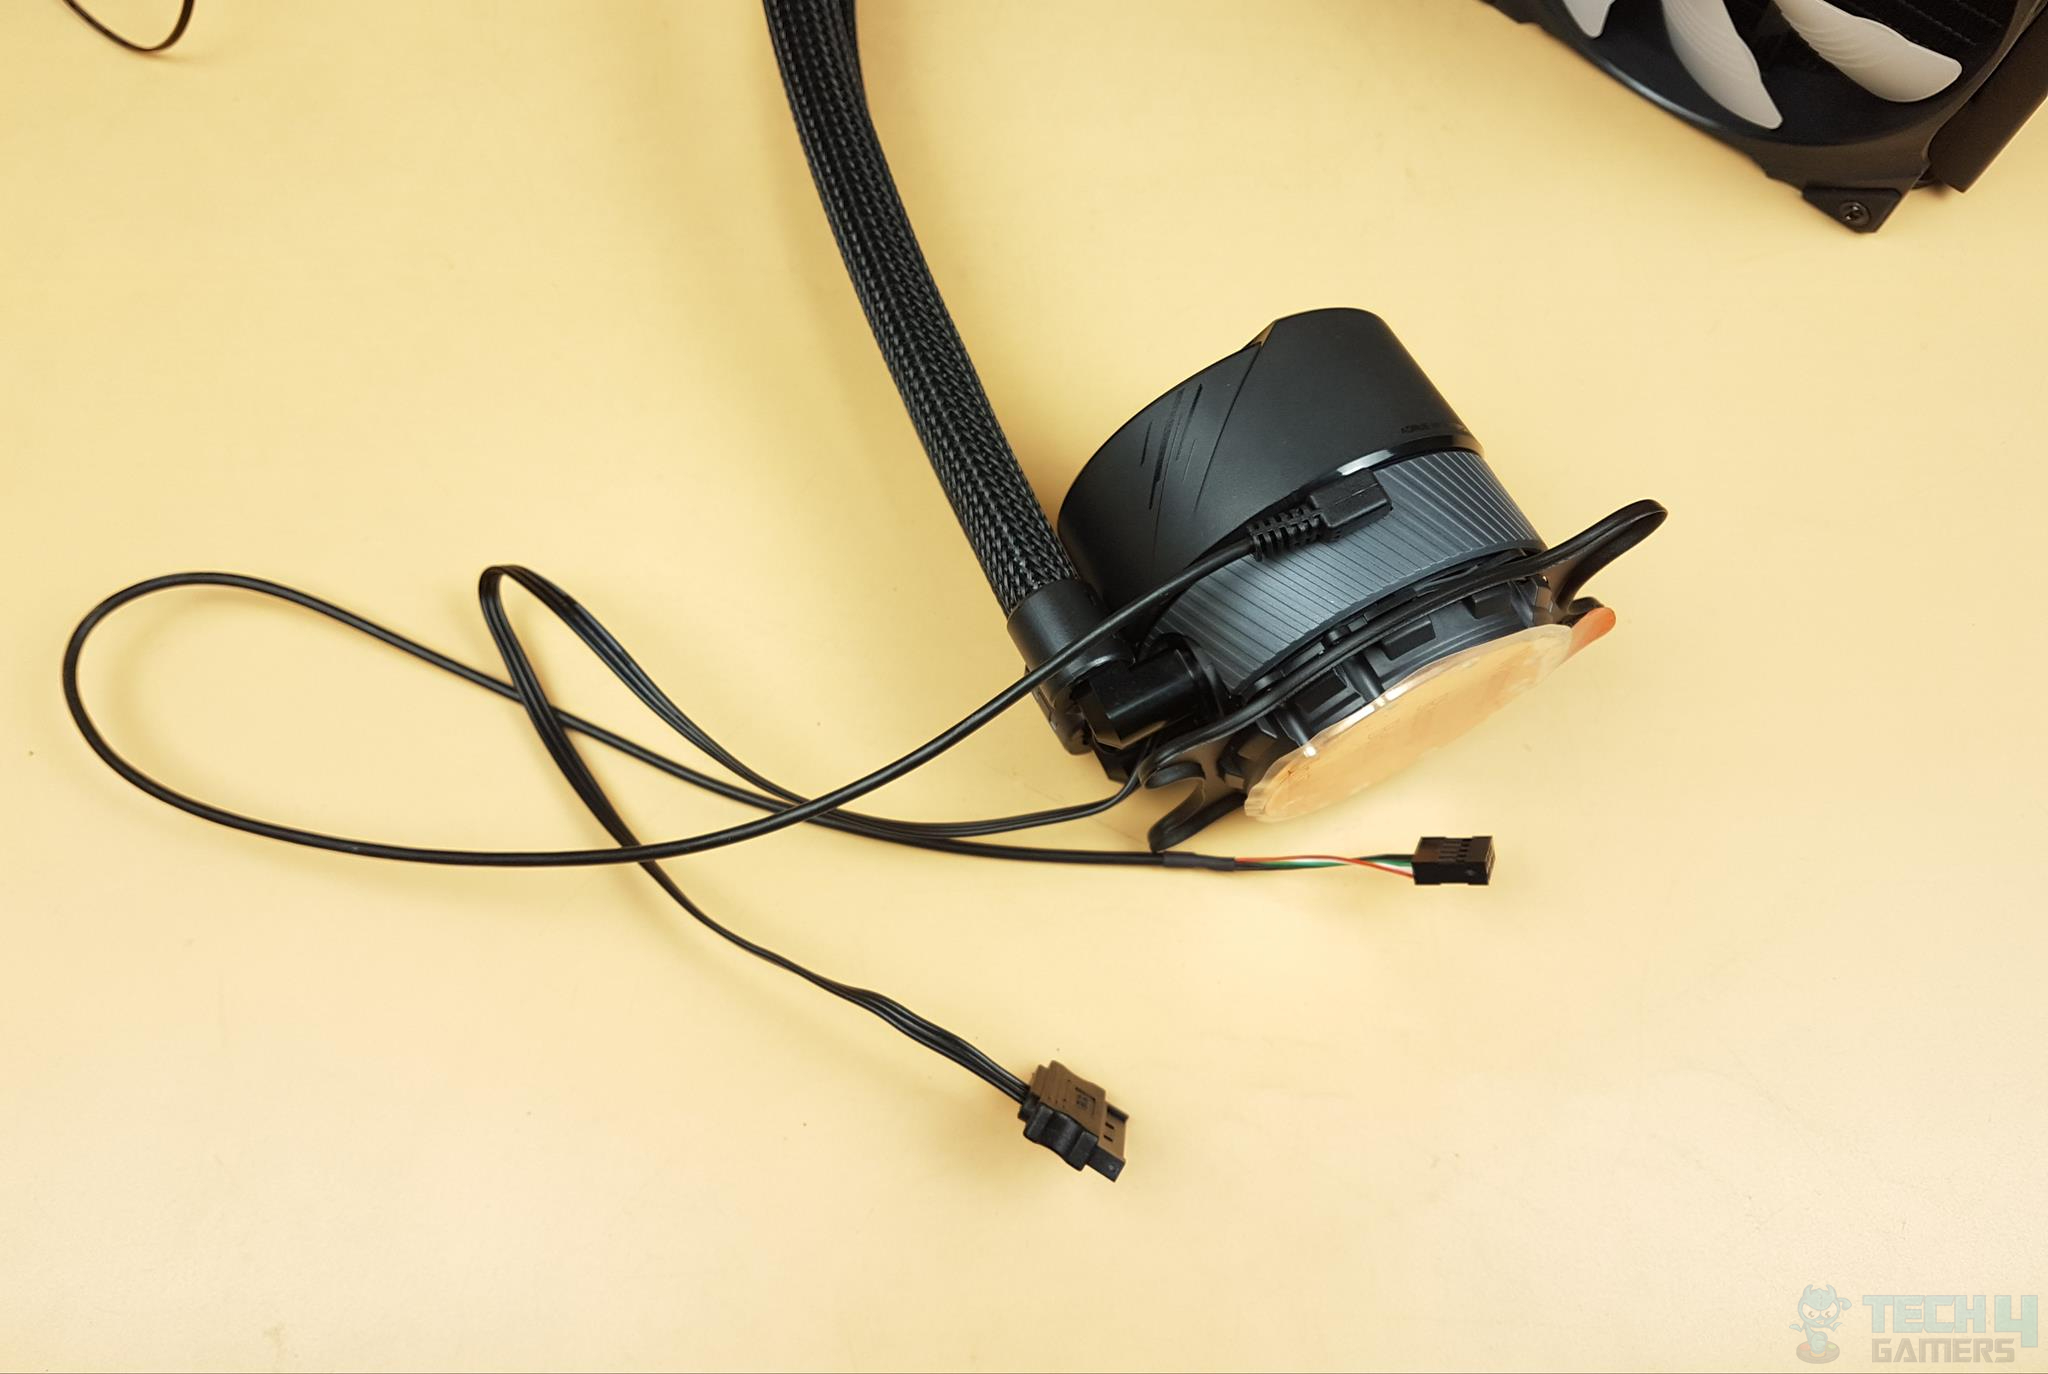
On the side of the main housing, we have a triple-chamber design. The top portion can rotate up to 330°, the middle section handles cable connectivity and the pump, and the bottom is dedicated to the pump and block. There’s a micro-USB port for software support and a micro-SD card slot on the front for video display and firmware upgrades. AORUS didn’t include a micro-SD card, but it would have been a good addition given the price.
The micro-SD card serves two essential purposes: to display videos on the LCD screen (requires storing videos on the card) and to upgrade the unit’s firmware.
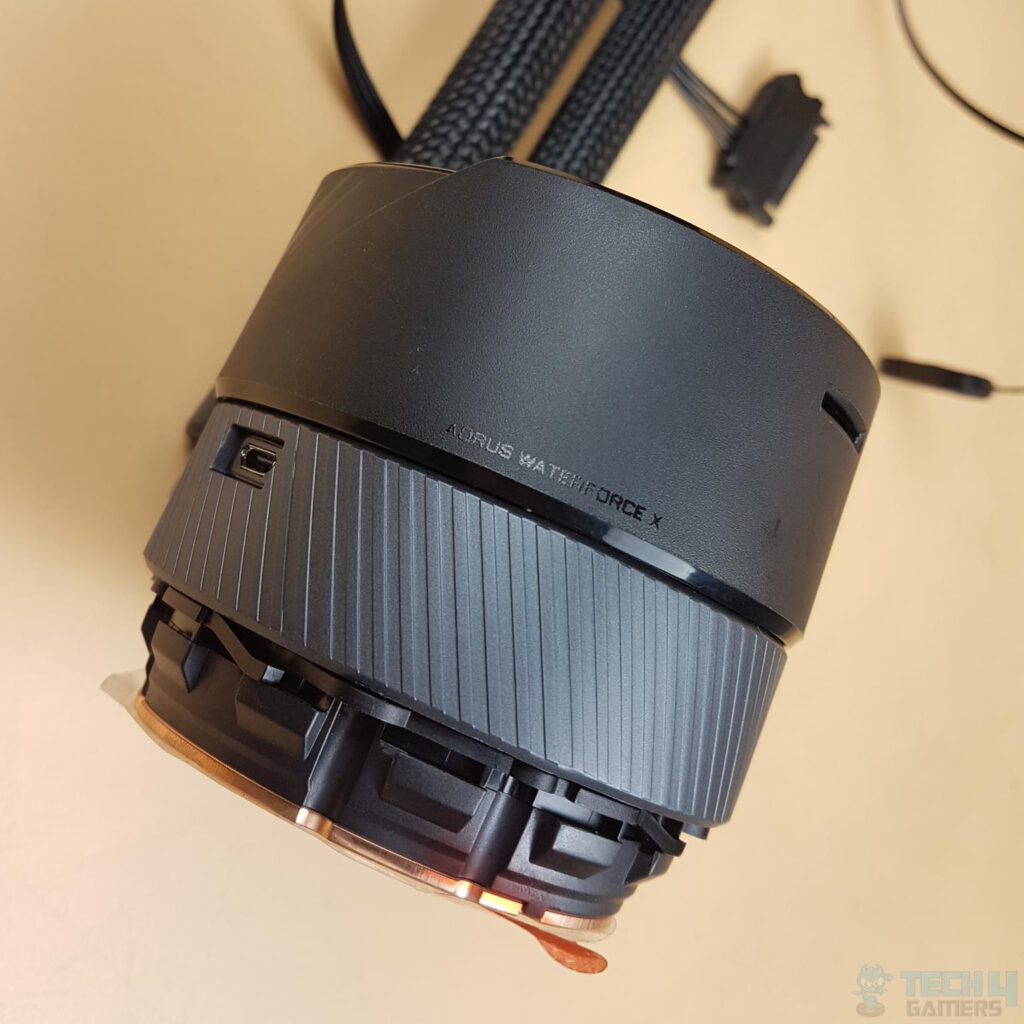
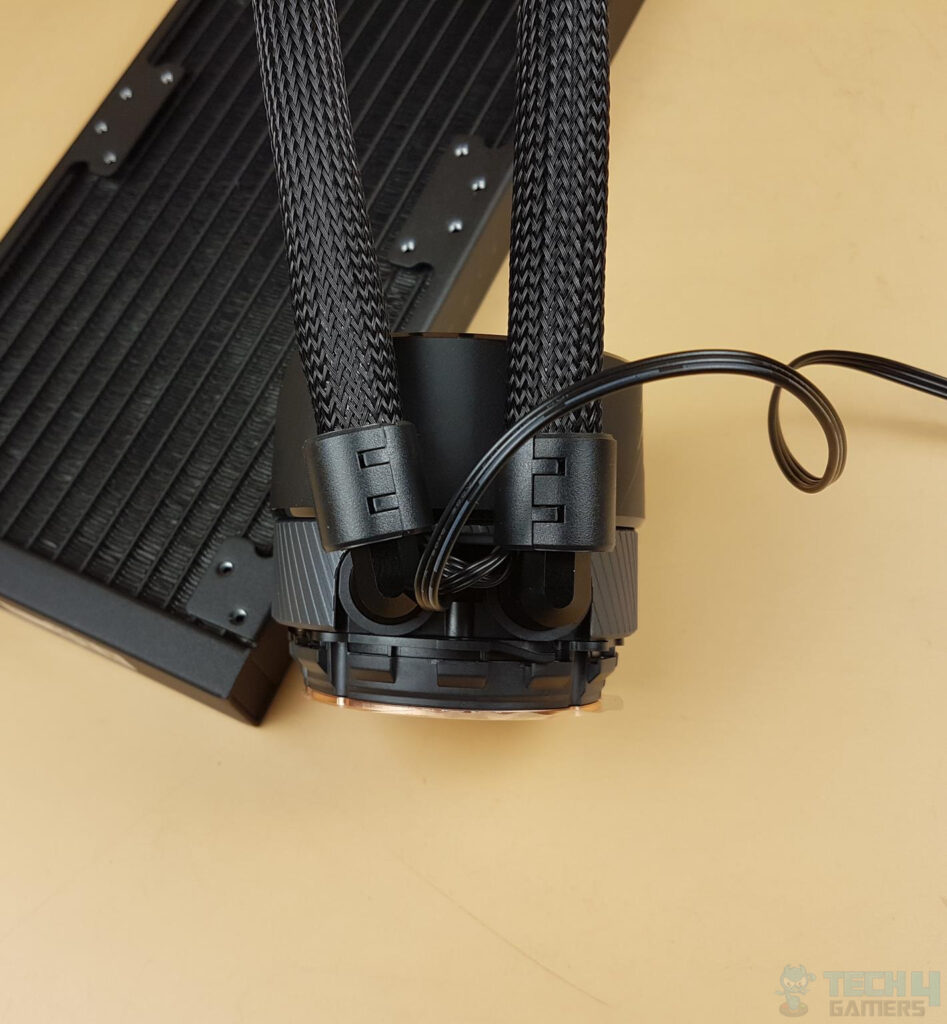
The top housing features an engraved “AORUS WATERFORCE X” for a premium look. The backside has soft tubes in a 90° orientation, allowing for easy rotation. Two cables run through the right-side tube, with an additional cable emerging from the pump housing.
The other side of the unit does not have any connectivity options. It should be mentioned that the stenciling and styling are well synchronized all around the housing of the unit.
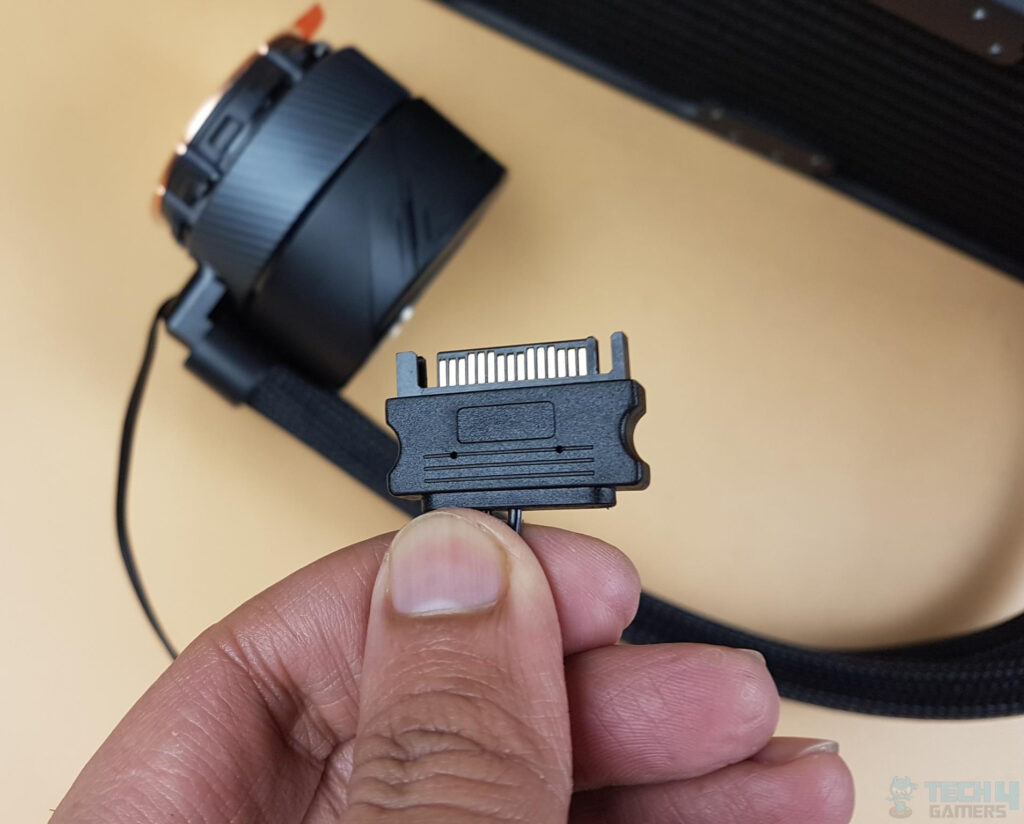
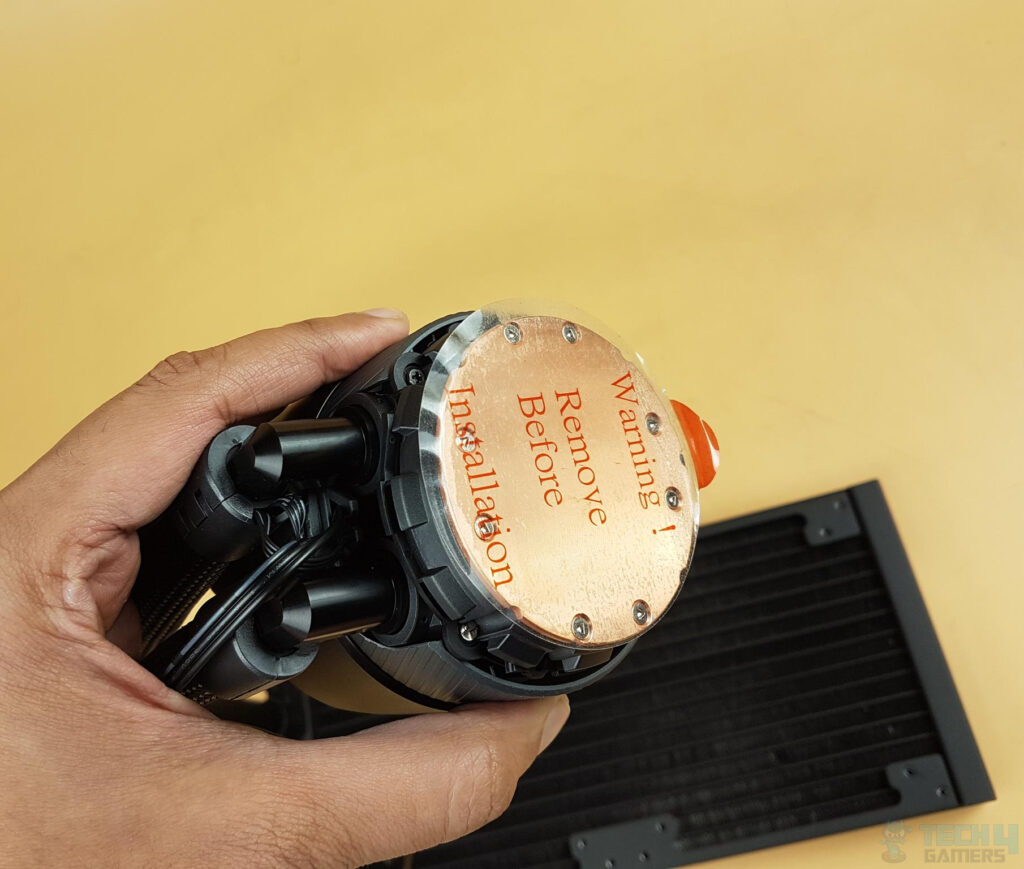
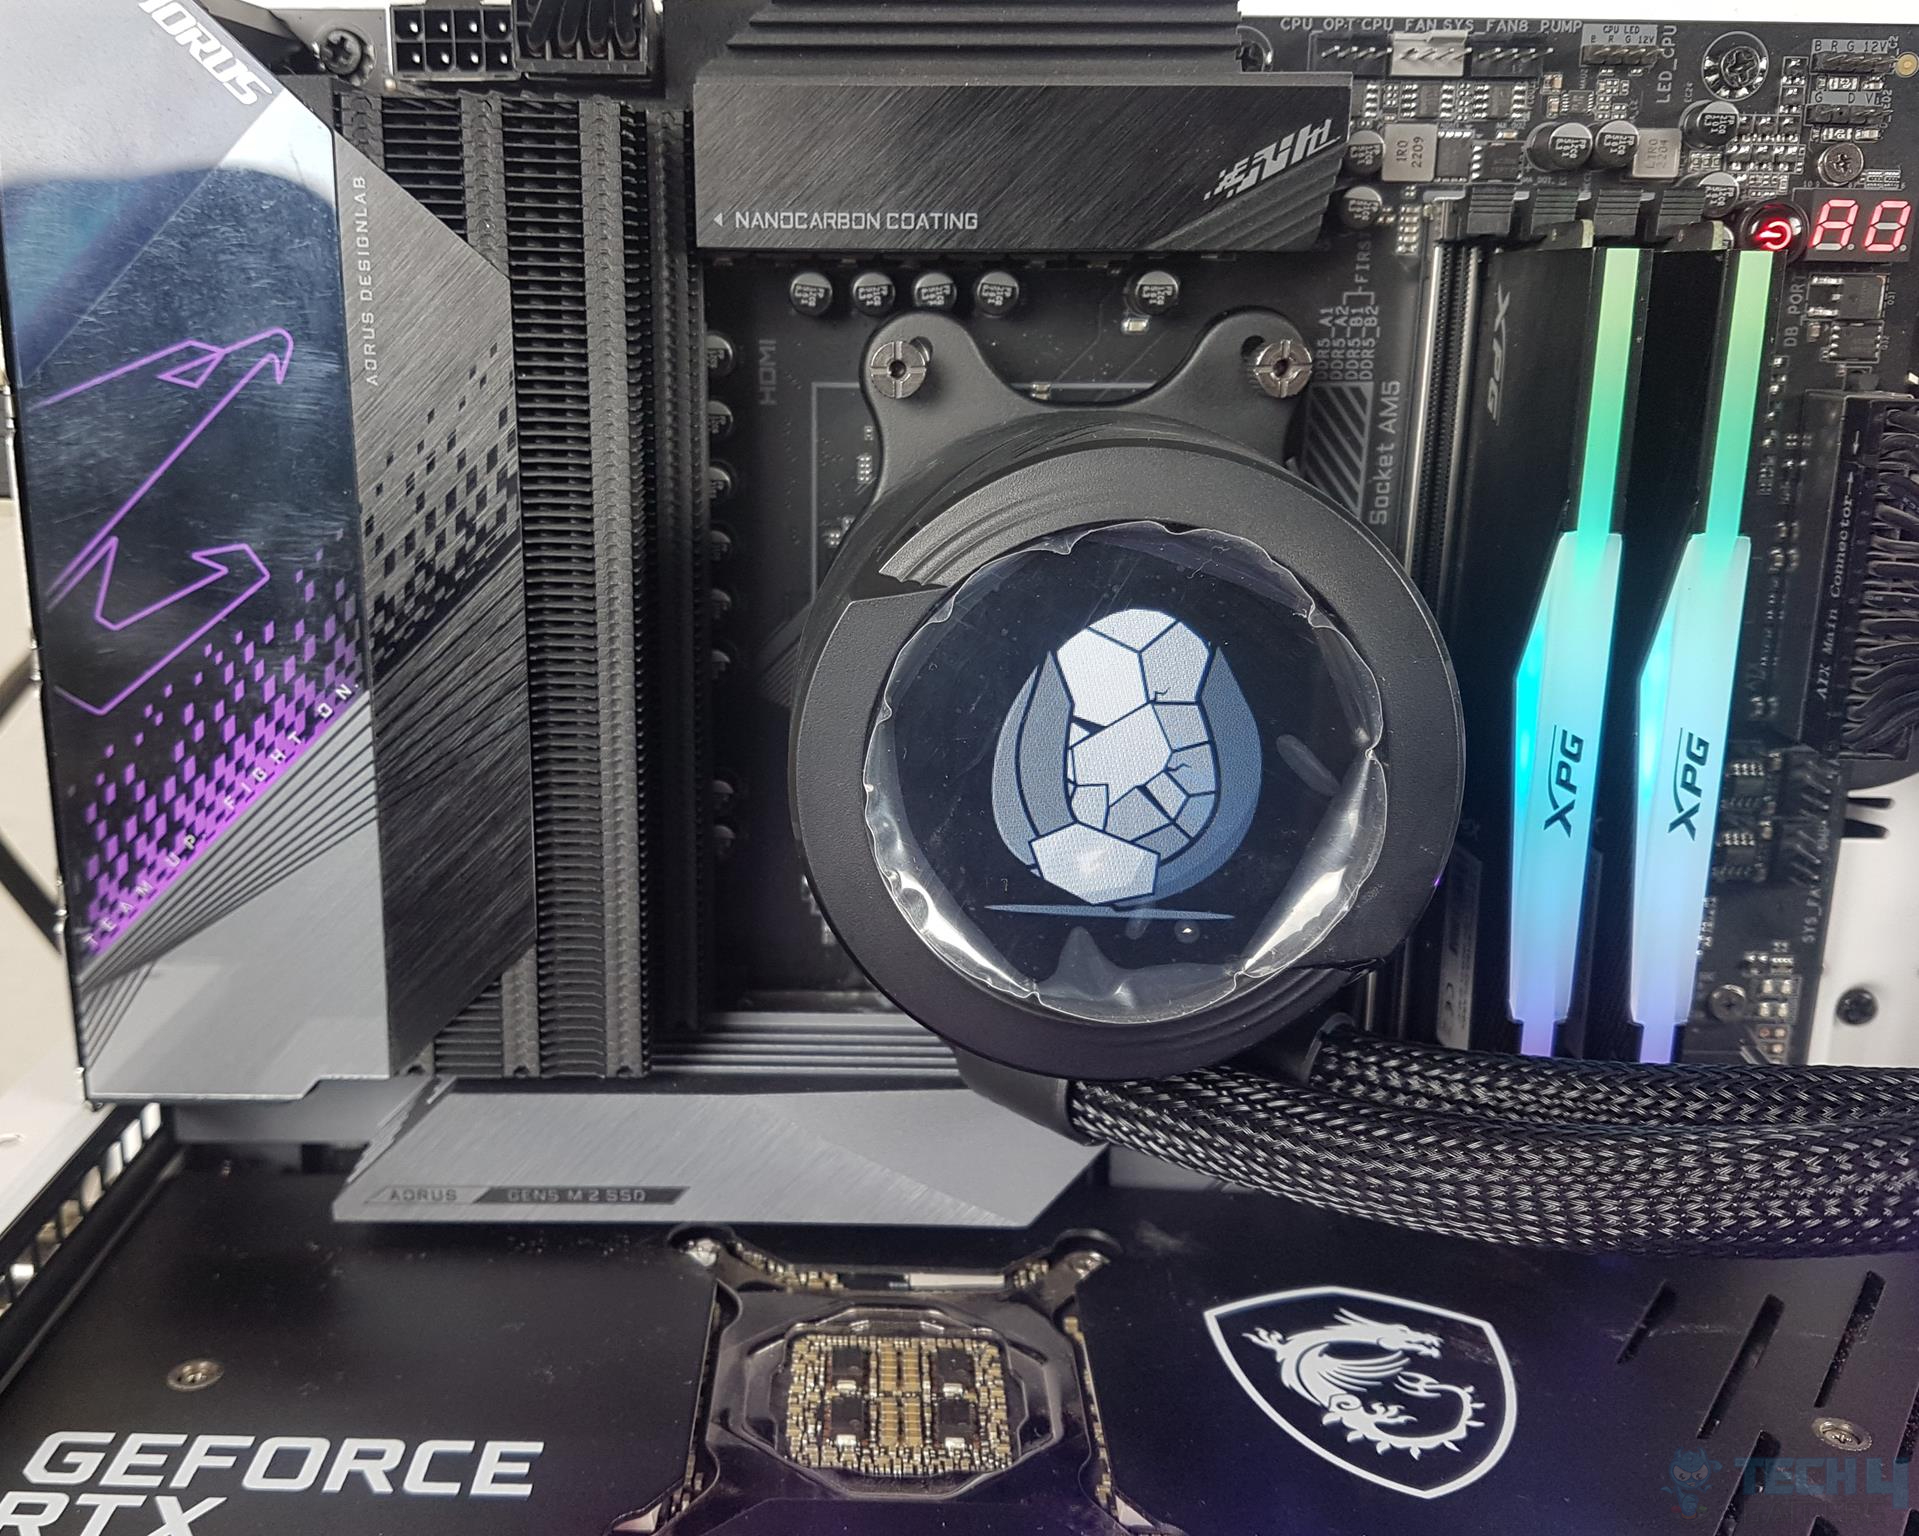
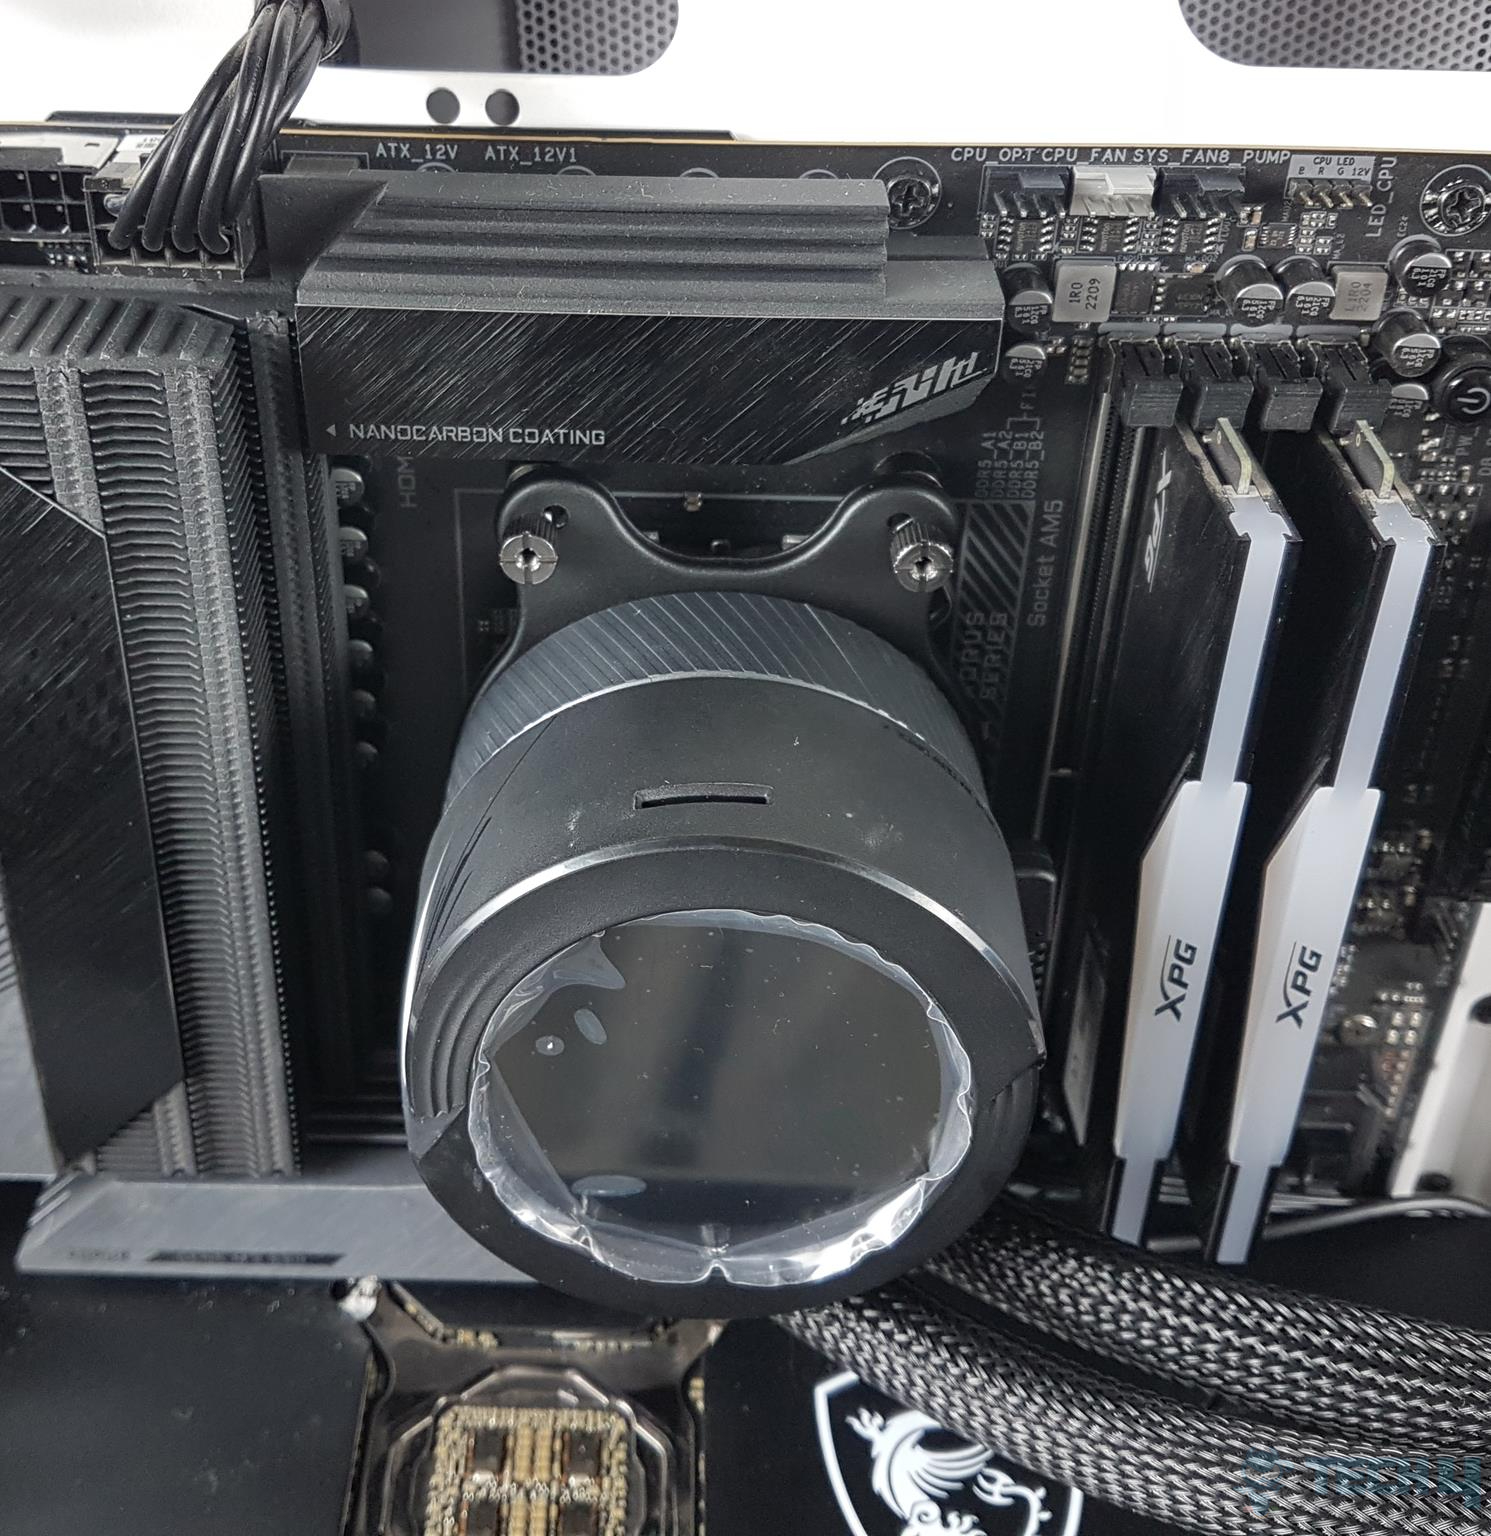
The unit is powered by a SATA connector. The block’s diameter is 64mm, suitable for most consumer-grade CPUs but not fully covering the IHS of TR4 and sTRX4 sockets. Installation requires removing a protective cover on the base.
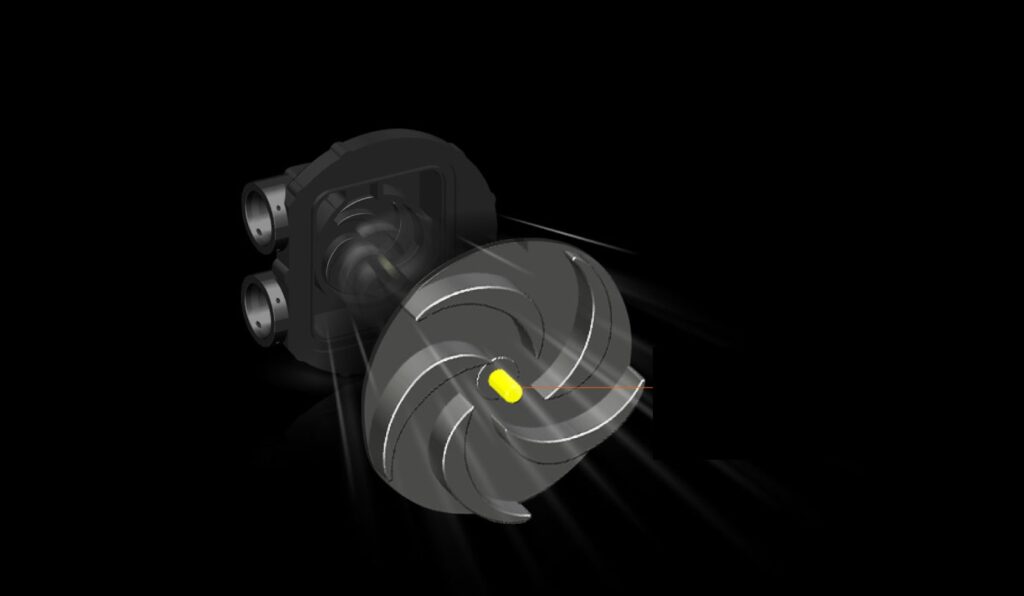
The pump uses a ceramic axis, which has a longer life span (approximately 376,715hrs) compared to the traditional metal axis. It has anti-corrosion properties. We could not get the pump’s power statistics.
Fans
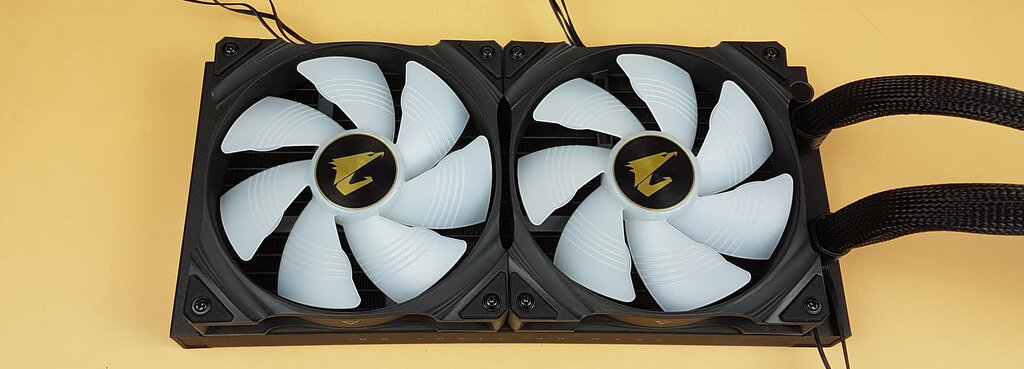
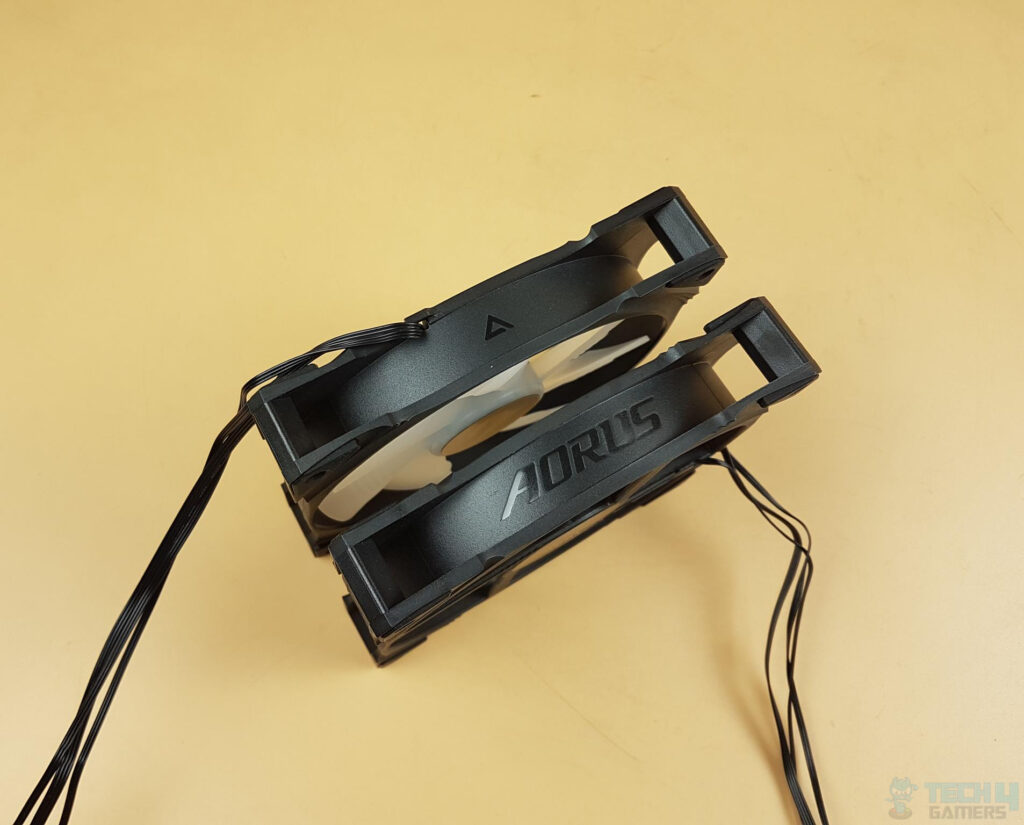
The AORUS WATERFORCE X 280 includes two 140mm ARGB fans with 7 translucent blades, featuring 4 stripes on each blade. The airflow is optimized by a triangular fan edge and 3D stripe curve for improved performance. The backside shows a 4-arm assembly with wire routing on one arm. The sturdy black frame has black anti-vibration pads on the mounting corners.
AORUS claims extensive testing for their 140mm fans designed to pair with the 280mm radiator. They promise top-notch heat dissipation and minimal noise, even at max speed. However, I found these fans to be powerful but quite loud.
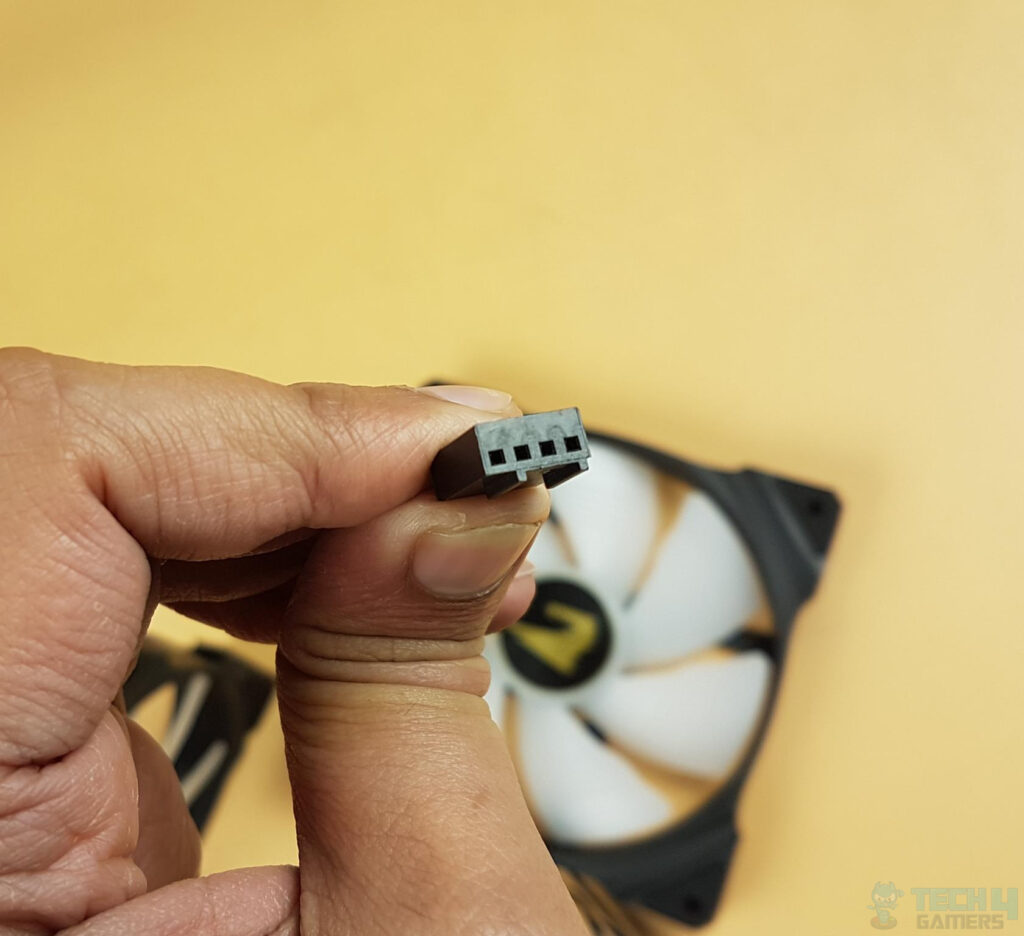
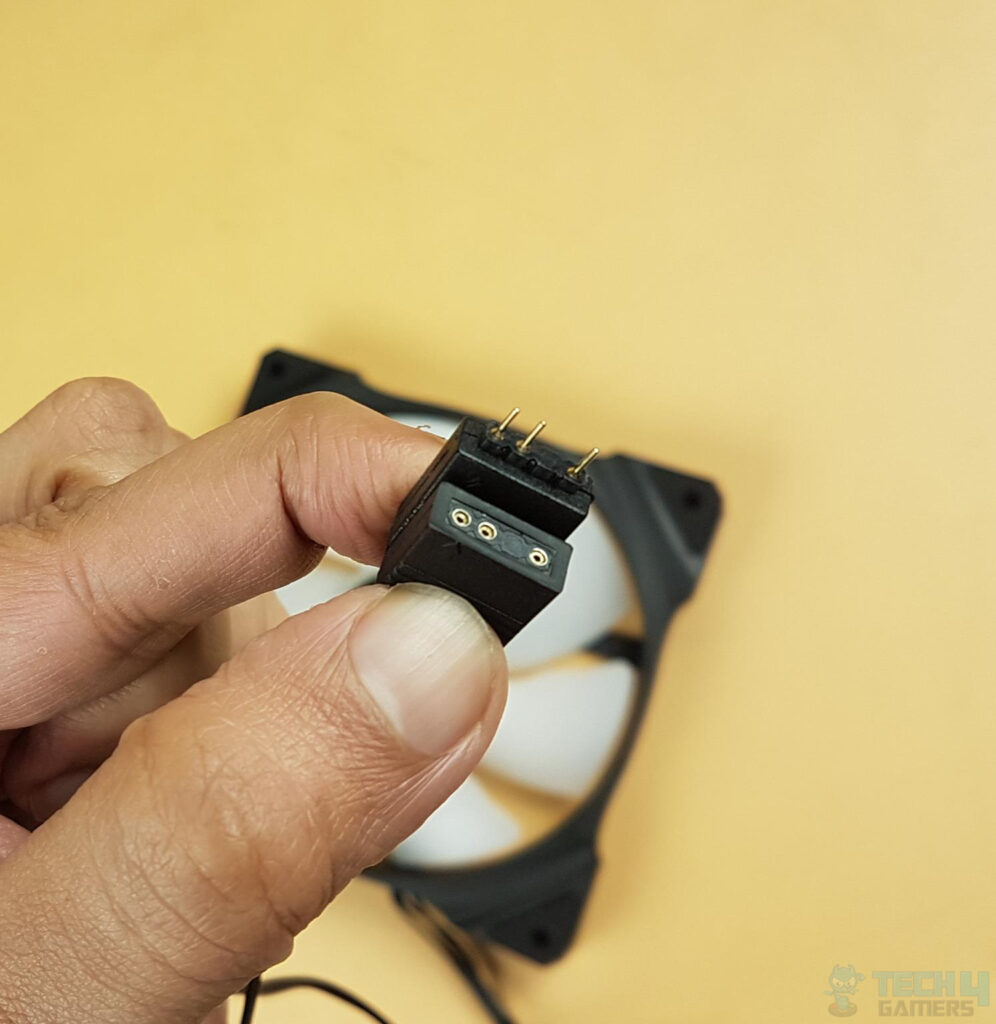
The fans feature arrow markers on the frame for airflow direction, and AORUS branding is visible. They have a circular frame with openings on the mounting corners. A black flat cable with a 4-pin PWM header powers each fan. There are standard 3-pin, 5V ARGB male/female connectors on the fans and the radiator. Daisy-chaining them is recommended for RGB control via RGB Fusion.
These are the salient specifications of the fans:
| Dimension | 140x140x25mm |
| Speed | 800~2250±10% RPM |
| Air Flow | 25.09 ~ 89.18 CFM |
| Air Pressure | 0.37 ~ 4.62 mmAq |
| Noise | 8.06 ~ 44.4 dB(A) |
| Fan Connector | 4-pin PWM |
| Bearing | Sleeve (Graphene Nano Lubricant) |
| Fan Voltage | 12VDC |
| Life Expectancy | 73,500 hours |
Software
The AORUS WATERFORCE X 280 boasts a vibrant 60x60mm LCD screen, but it requires software support. It has integrated cable management and connects via a micro-USB cable, bypassing the need for fan or motherboard headers.
To get software support, I had to download GIGABYTE CONTROL CENTER from their website. If enabled in the motherboard’s UEFI/BIOS, it prompts the download in Windows. Once installed, I used the software update support in GCC to detect and download related software/modules for GIGABYTE components.
For this cooler, you need:
- GIGABYTE CONTROL CENTER
- RGB FUSION 2.0
If you are going the old way and don’t want to use the GIGABYTE CONTROL CENTER, then you would need AORUS ENGINE in addition to the RGB FUSION 2.0. Cutting it short, the GCC will sort this all out automatically.
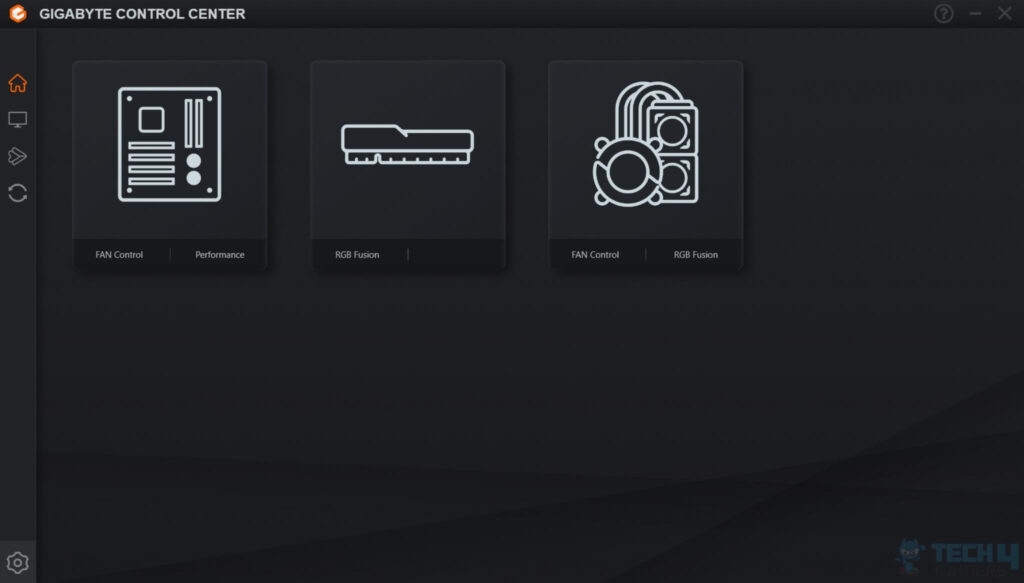
As shown in the above picture, when the GCC is launched after successful installation, you will see all the enabled components in the main interface. Take note that AIO is now visible separately with two options:
- FAN Control
- RGB FUSION
Click on any to go to that menu.
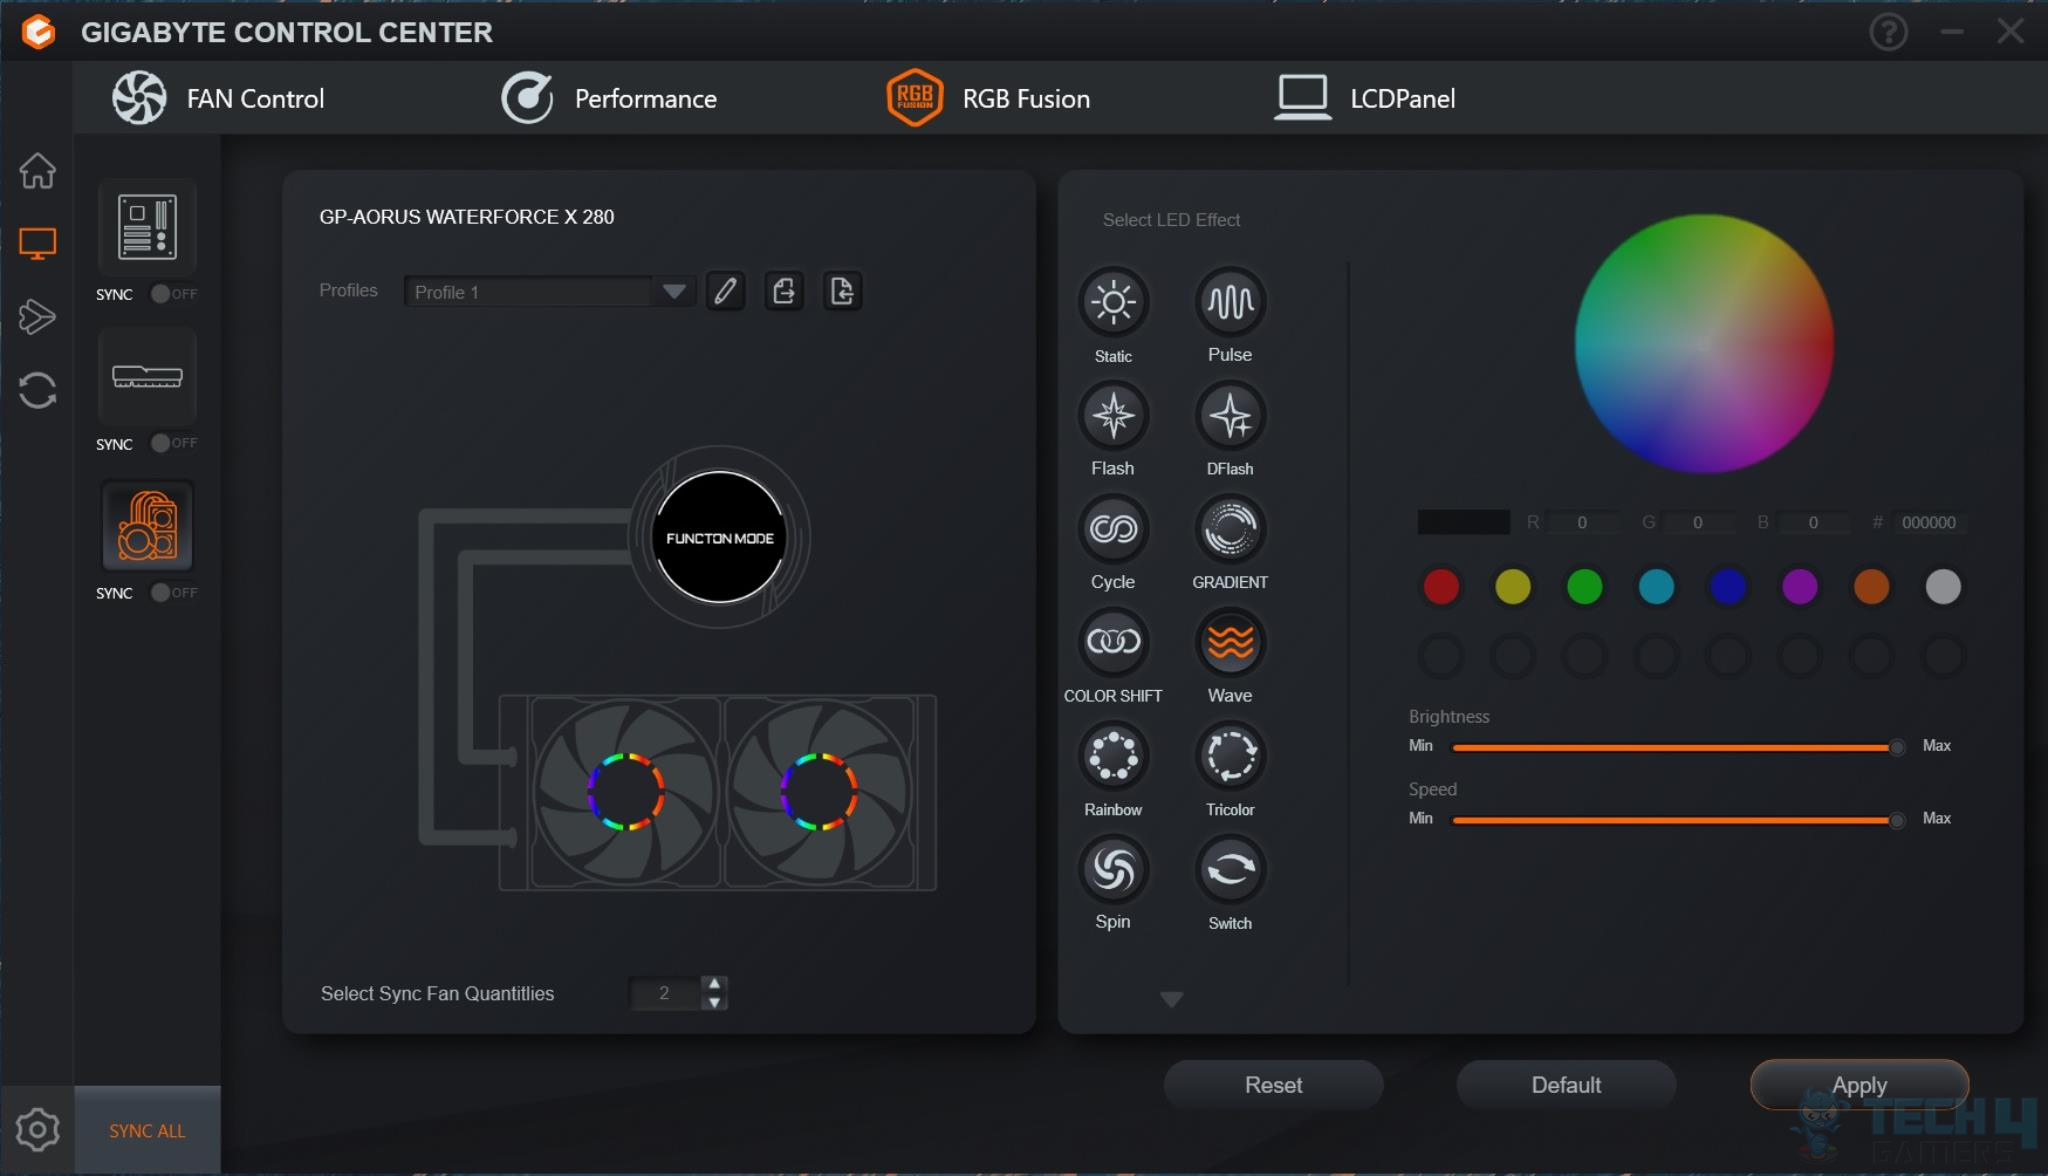
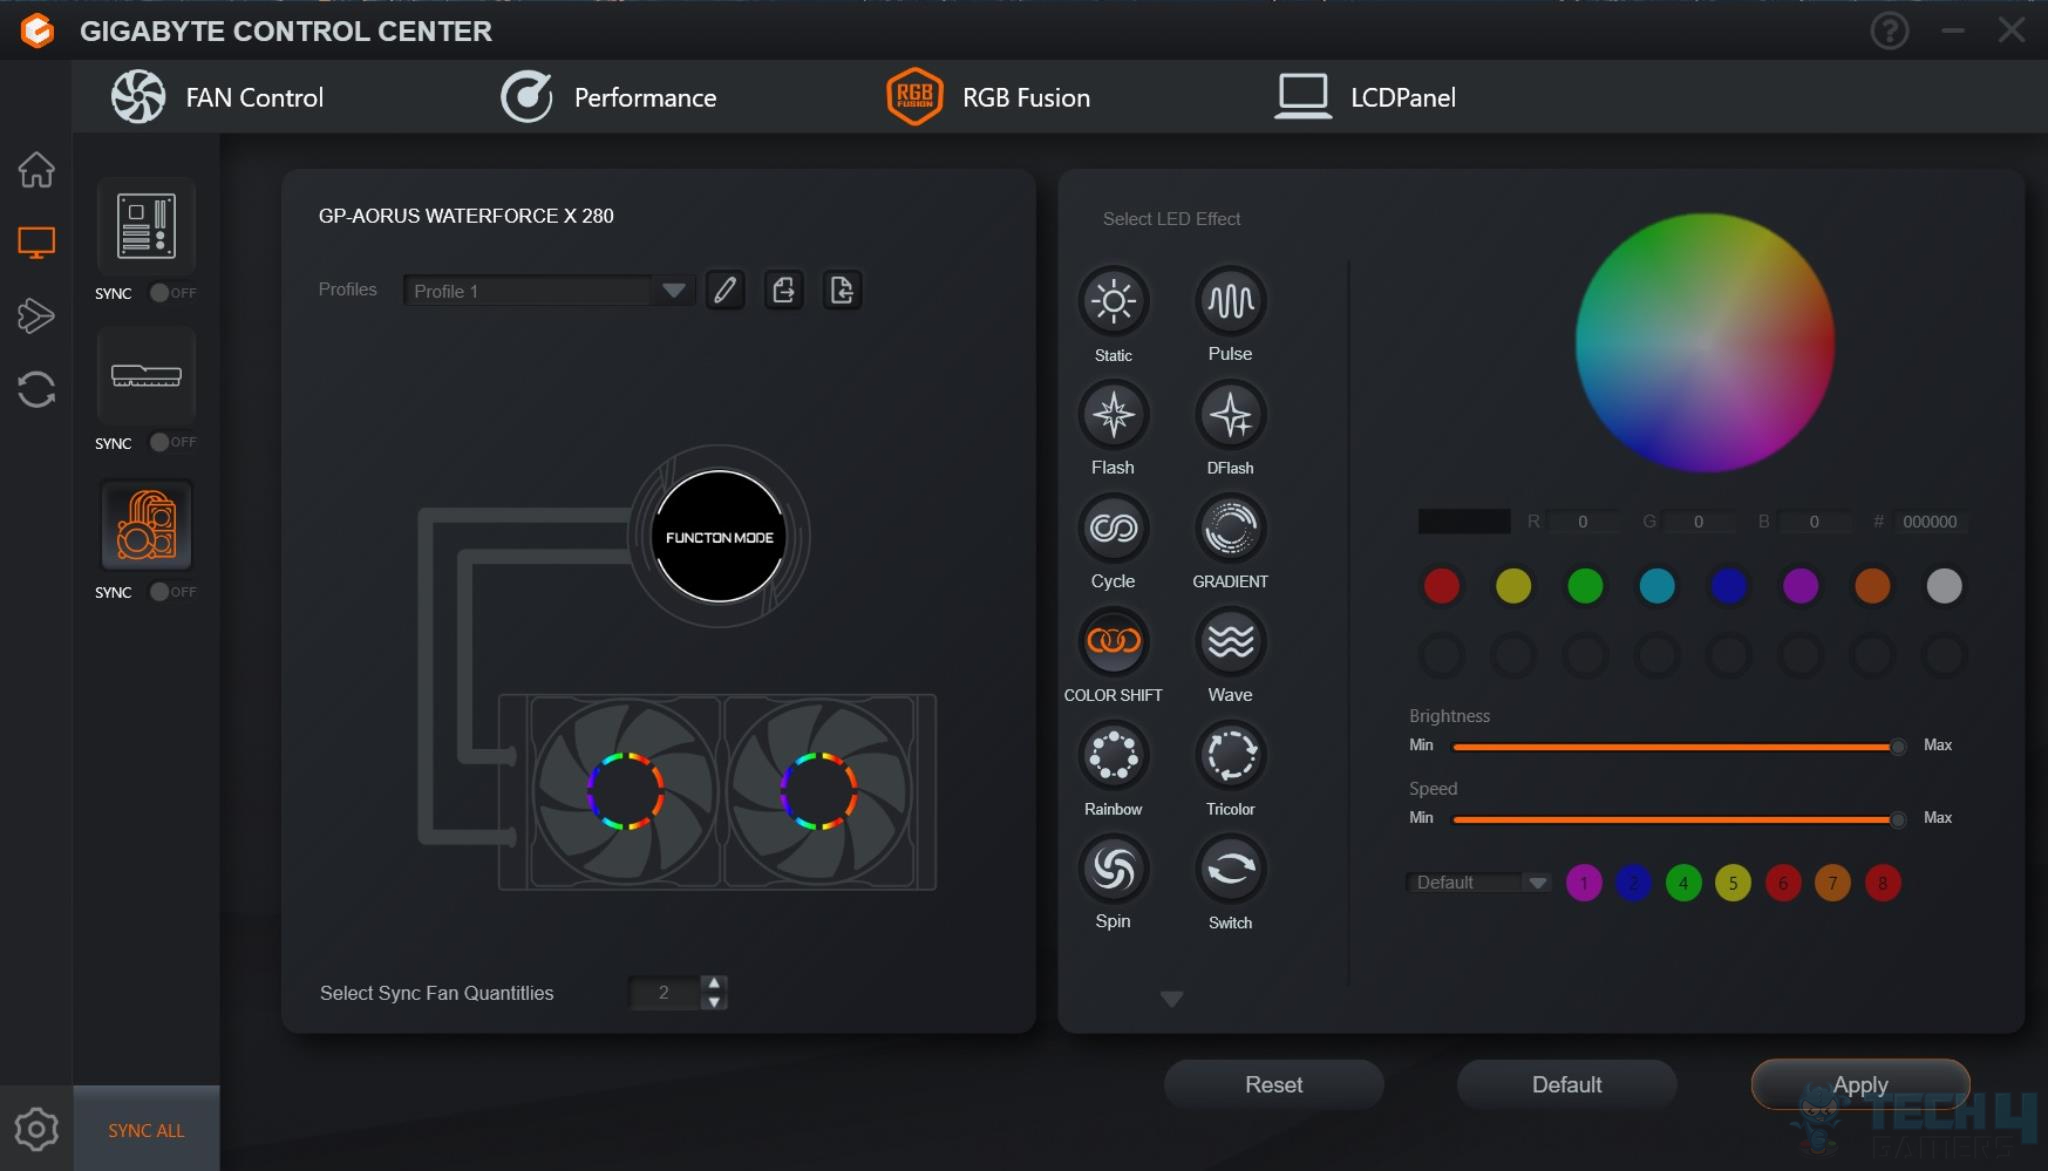
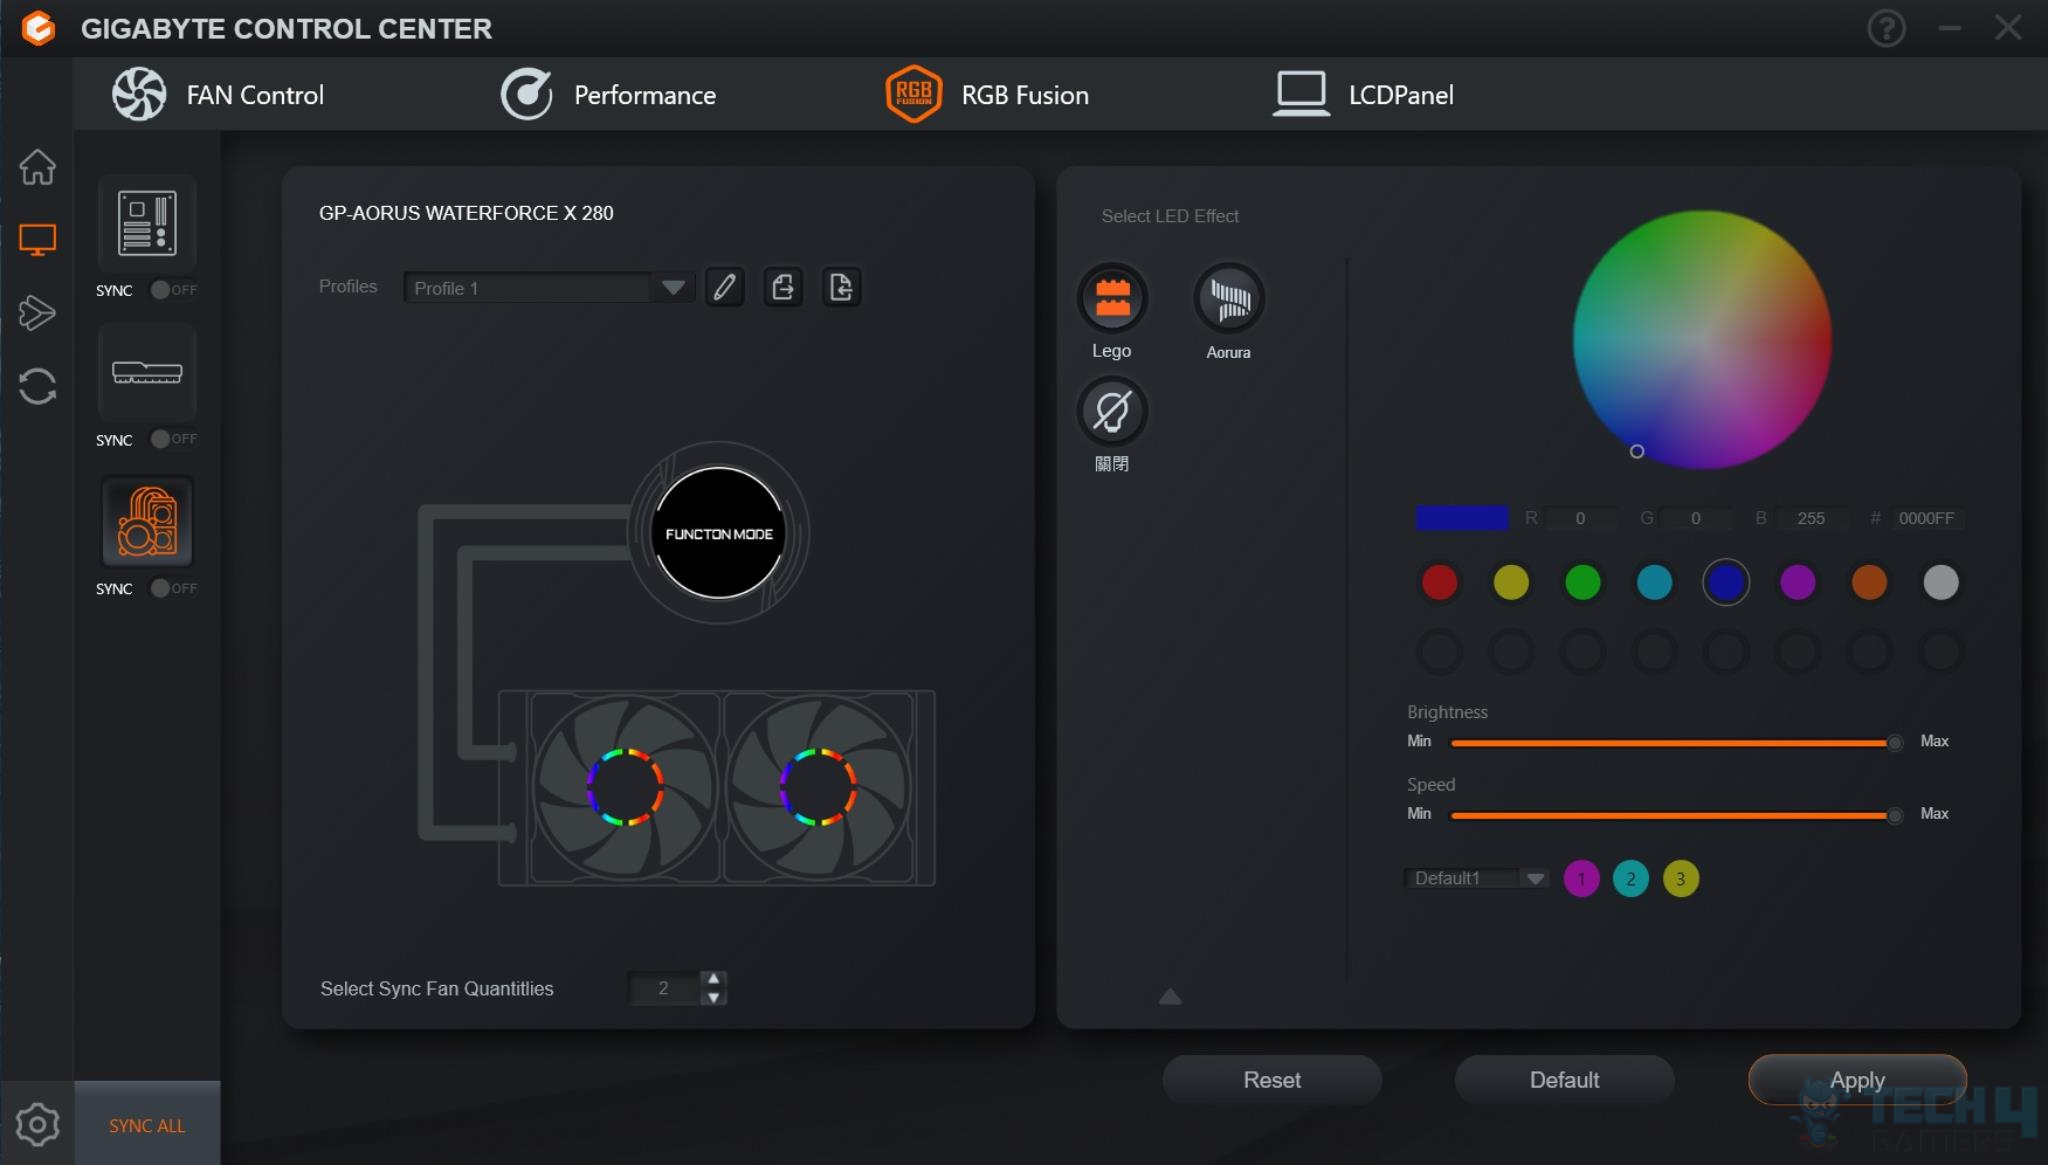
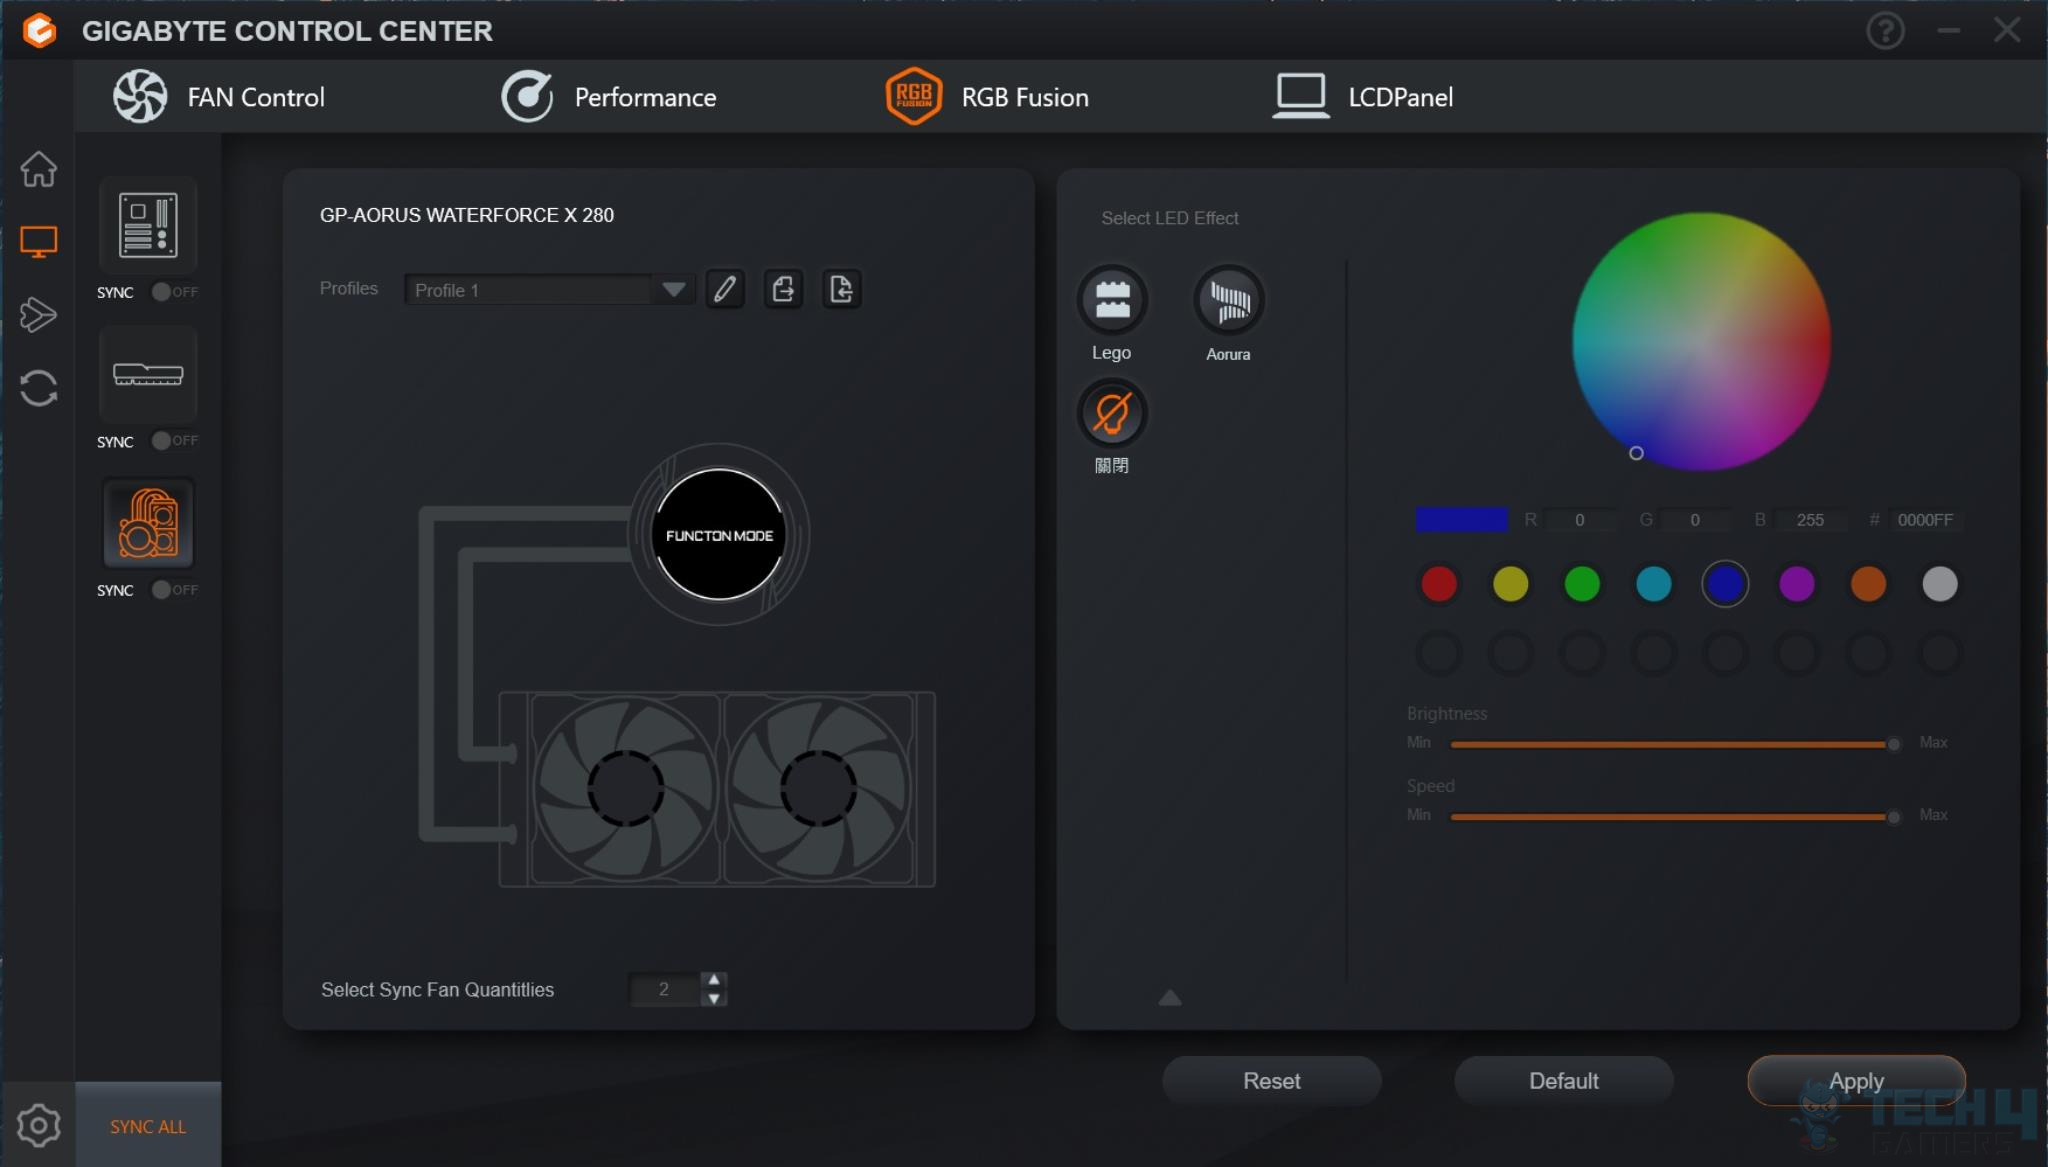
RGB FUSION
RGB Fusion gives you control over the RGB lighting on the cooler.
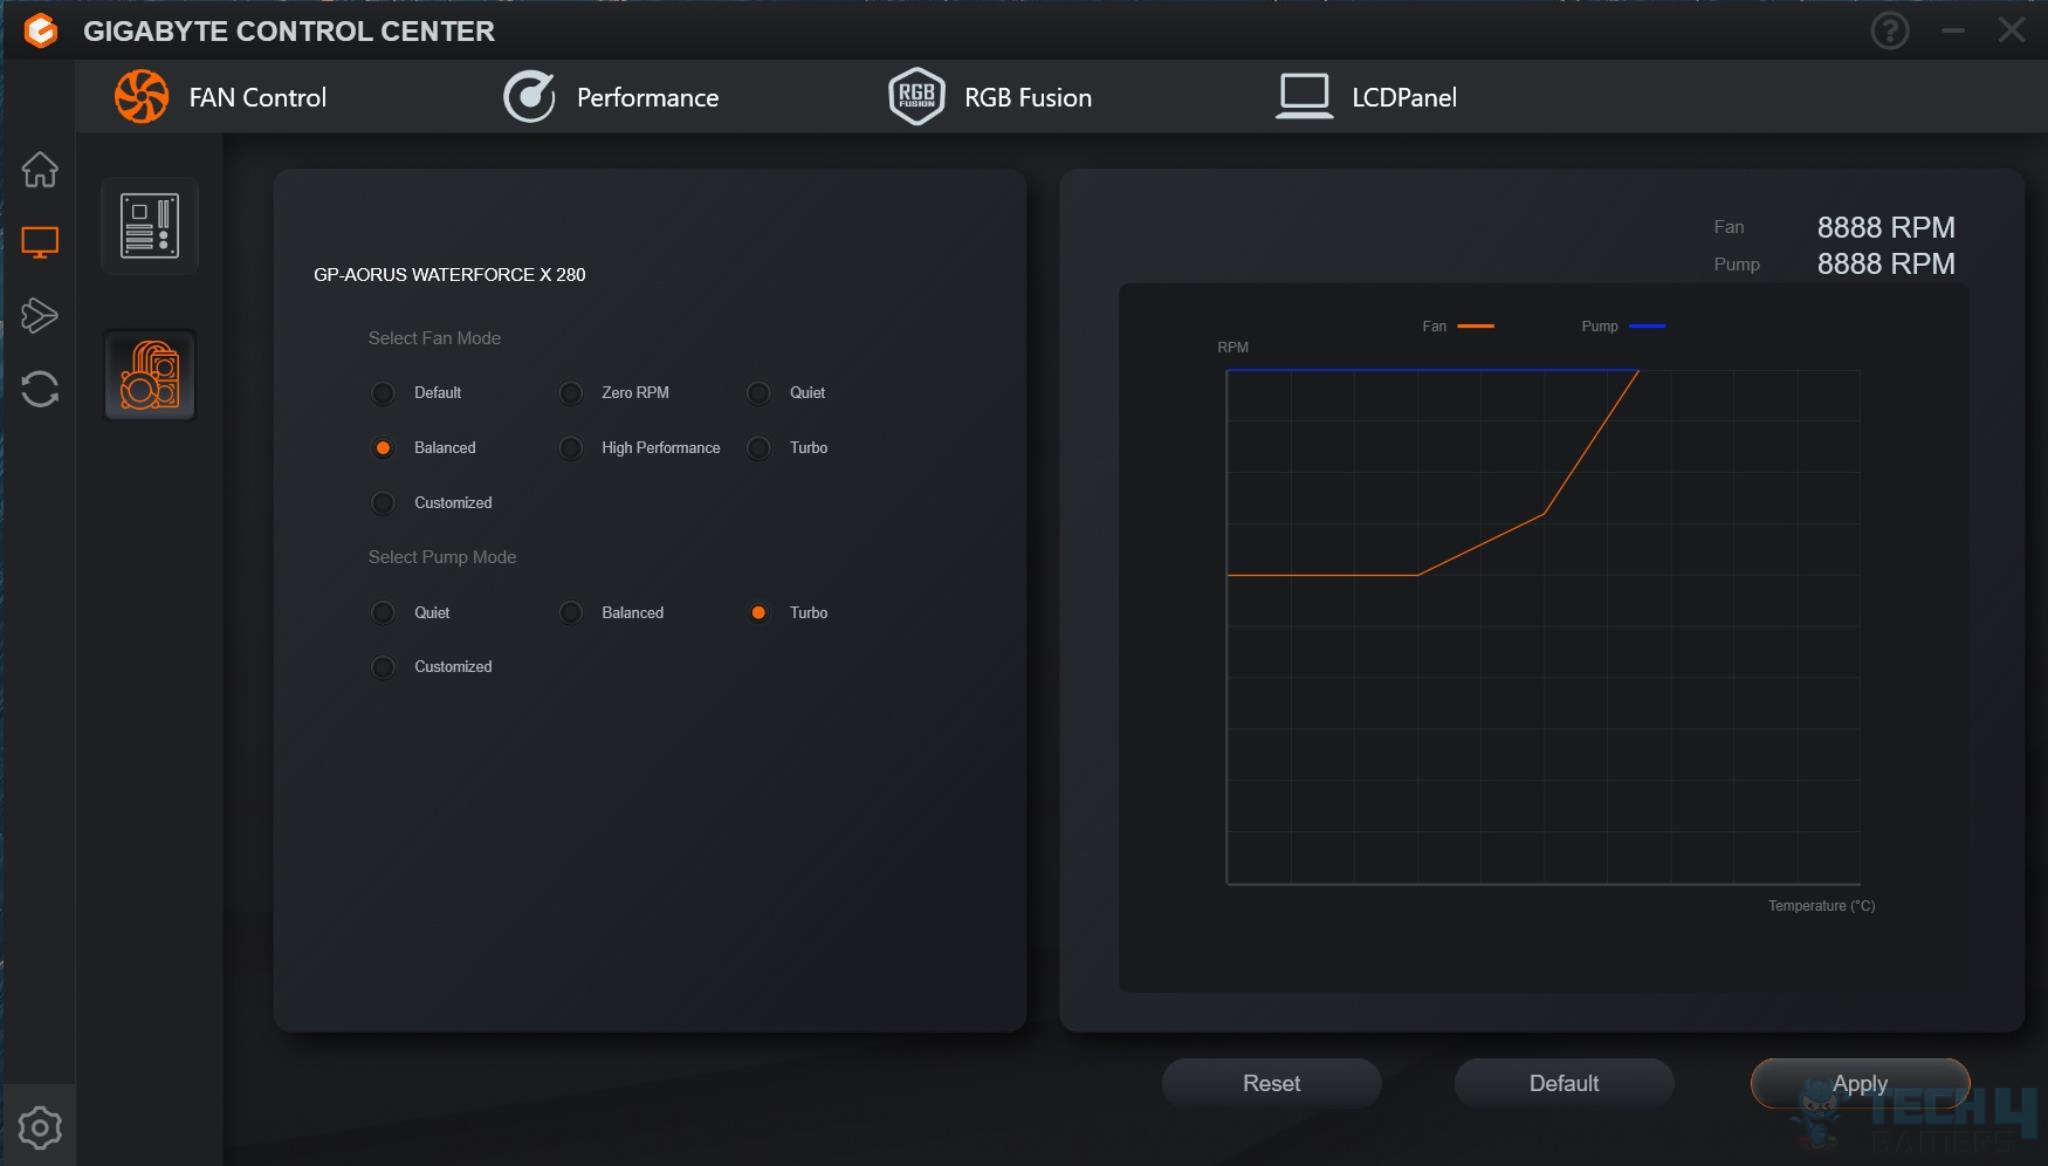
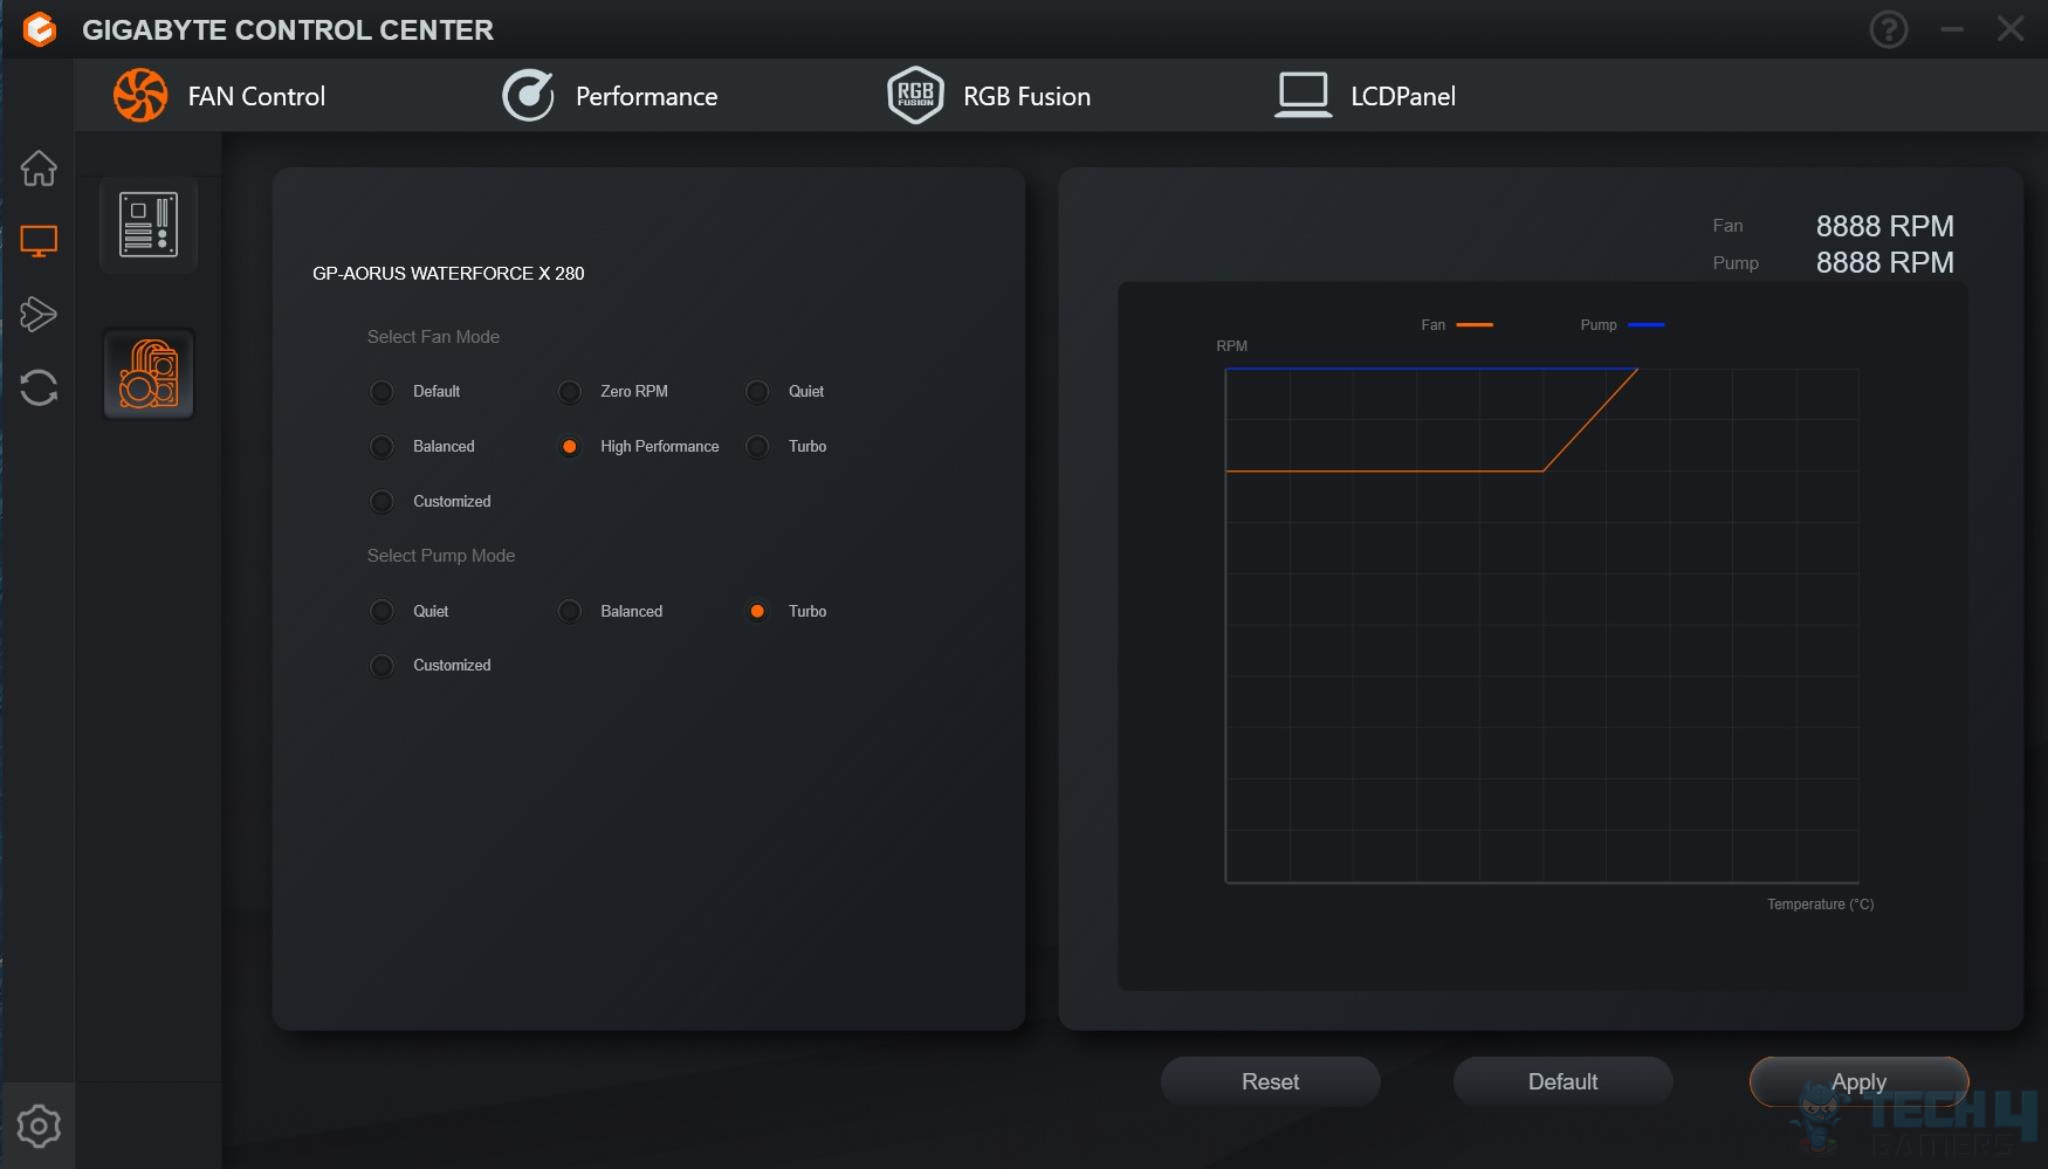
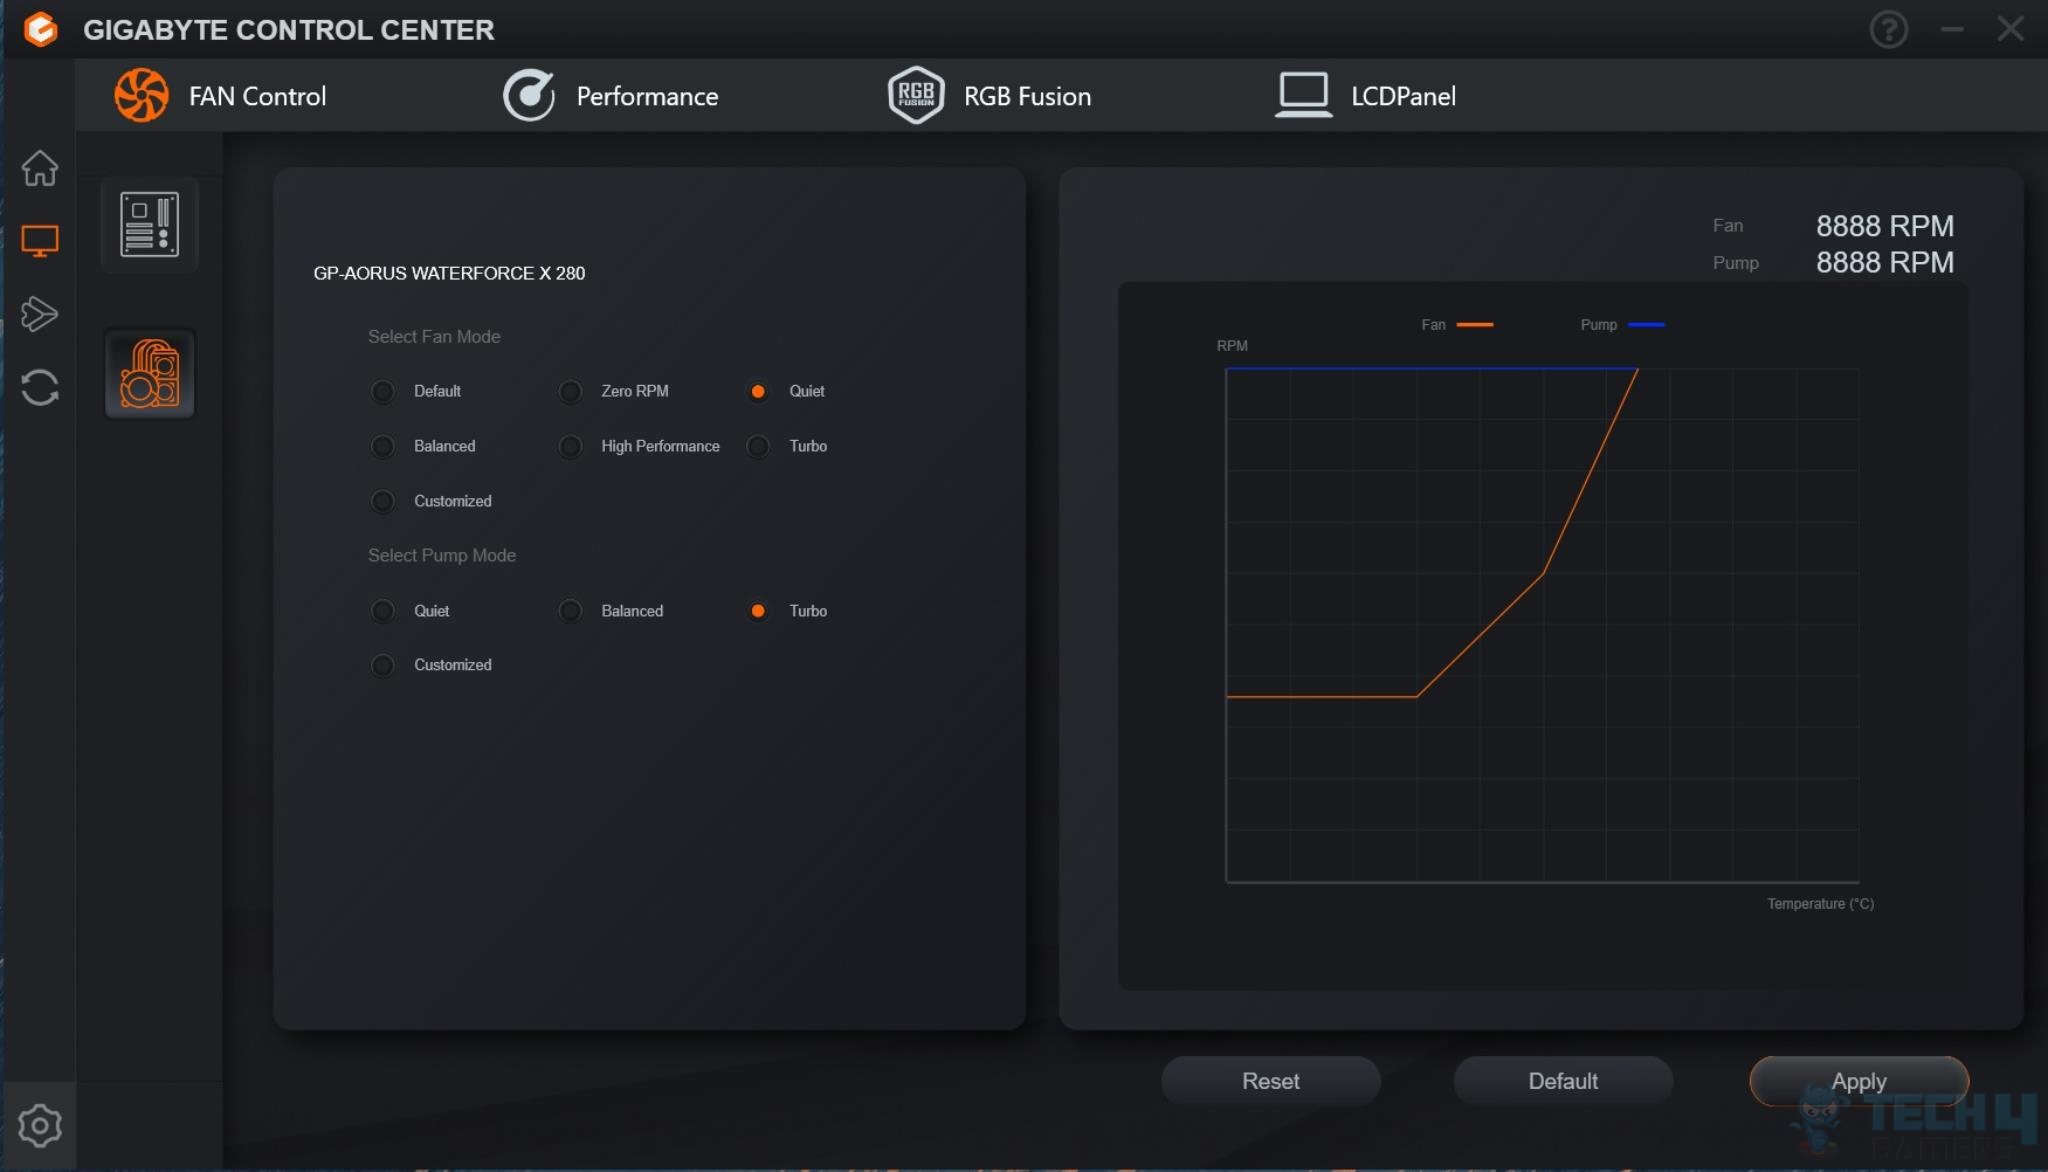
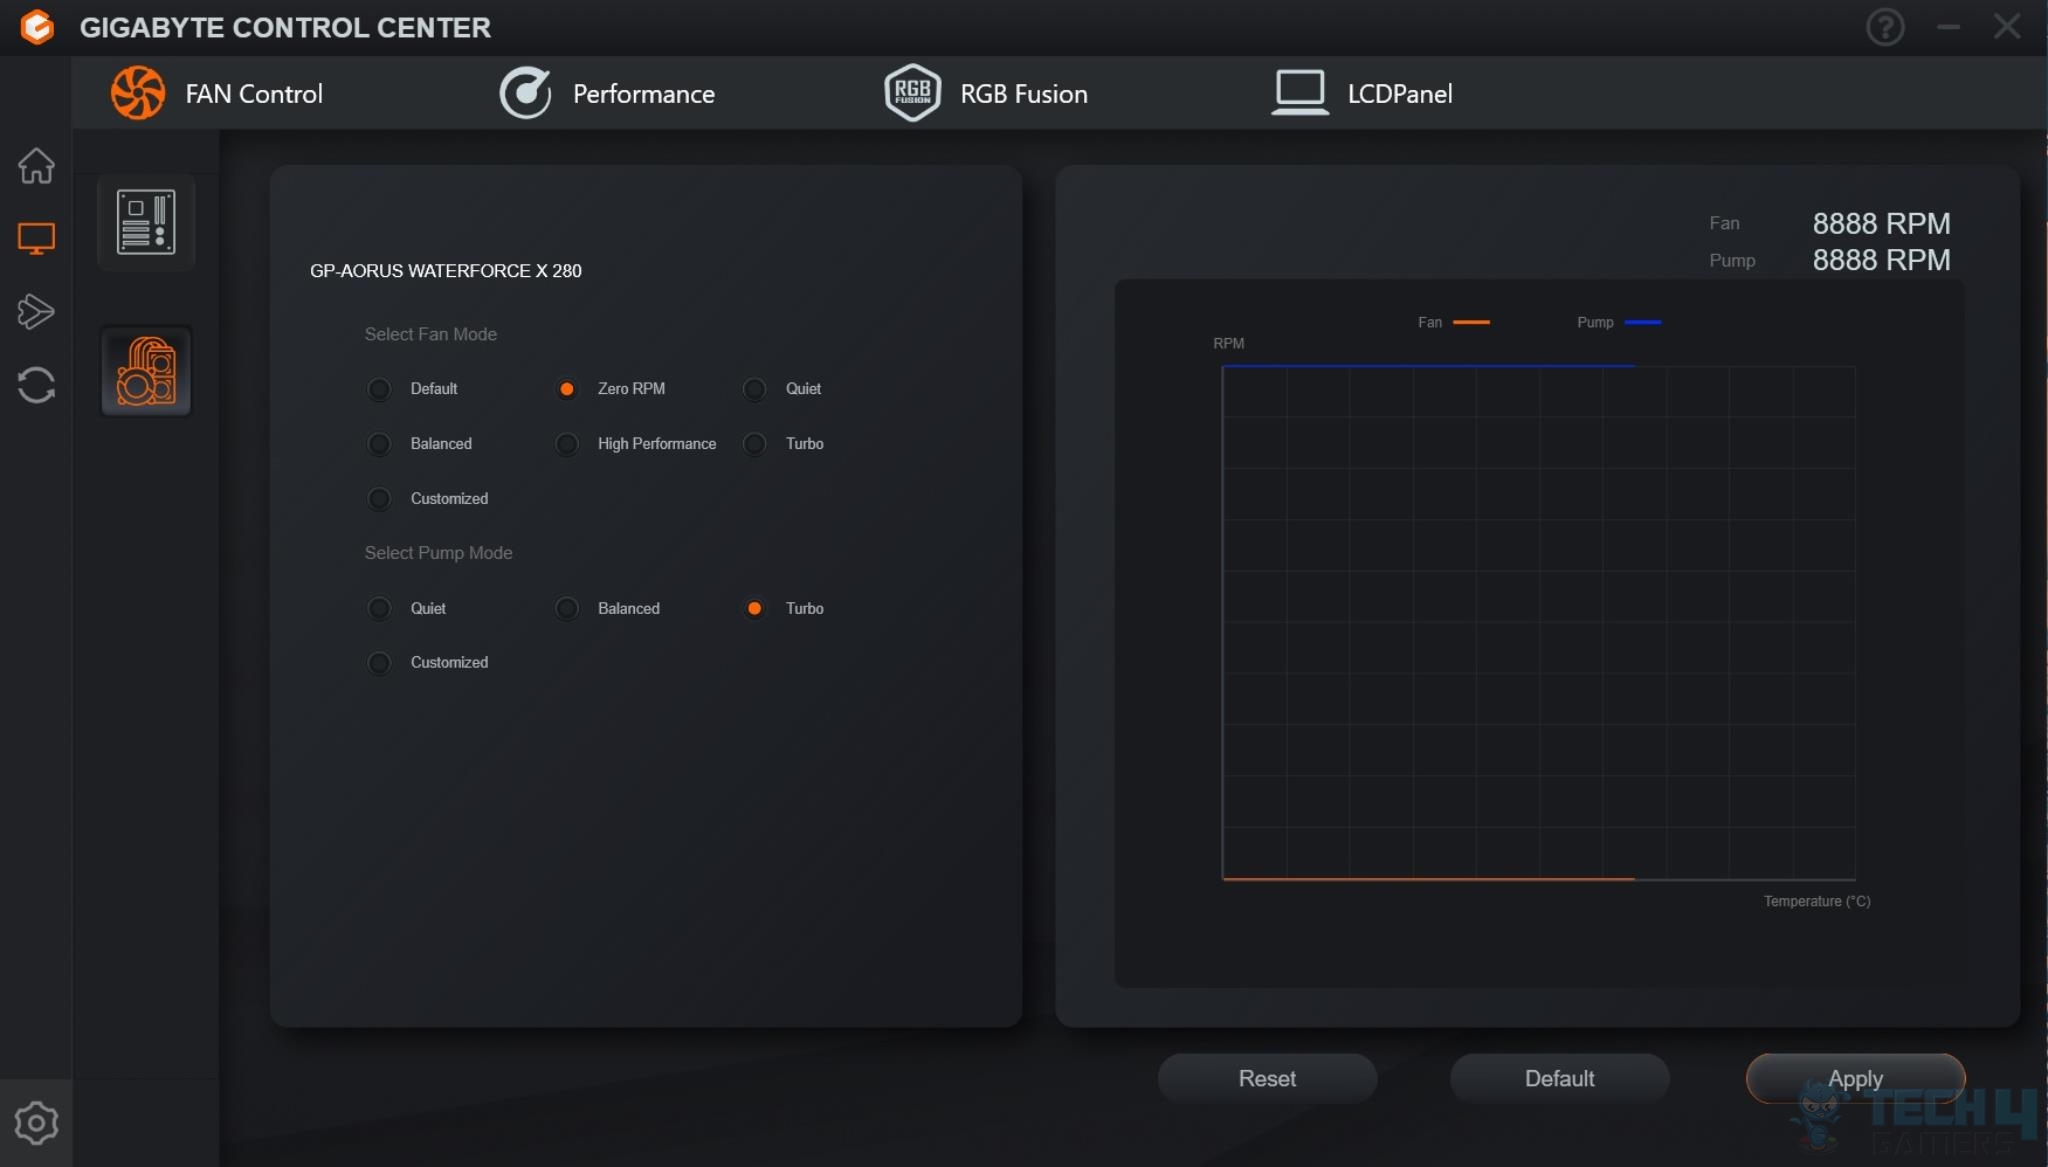
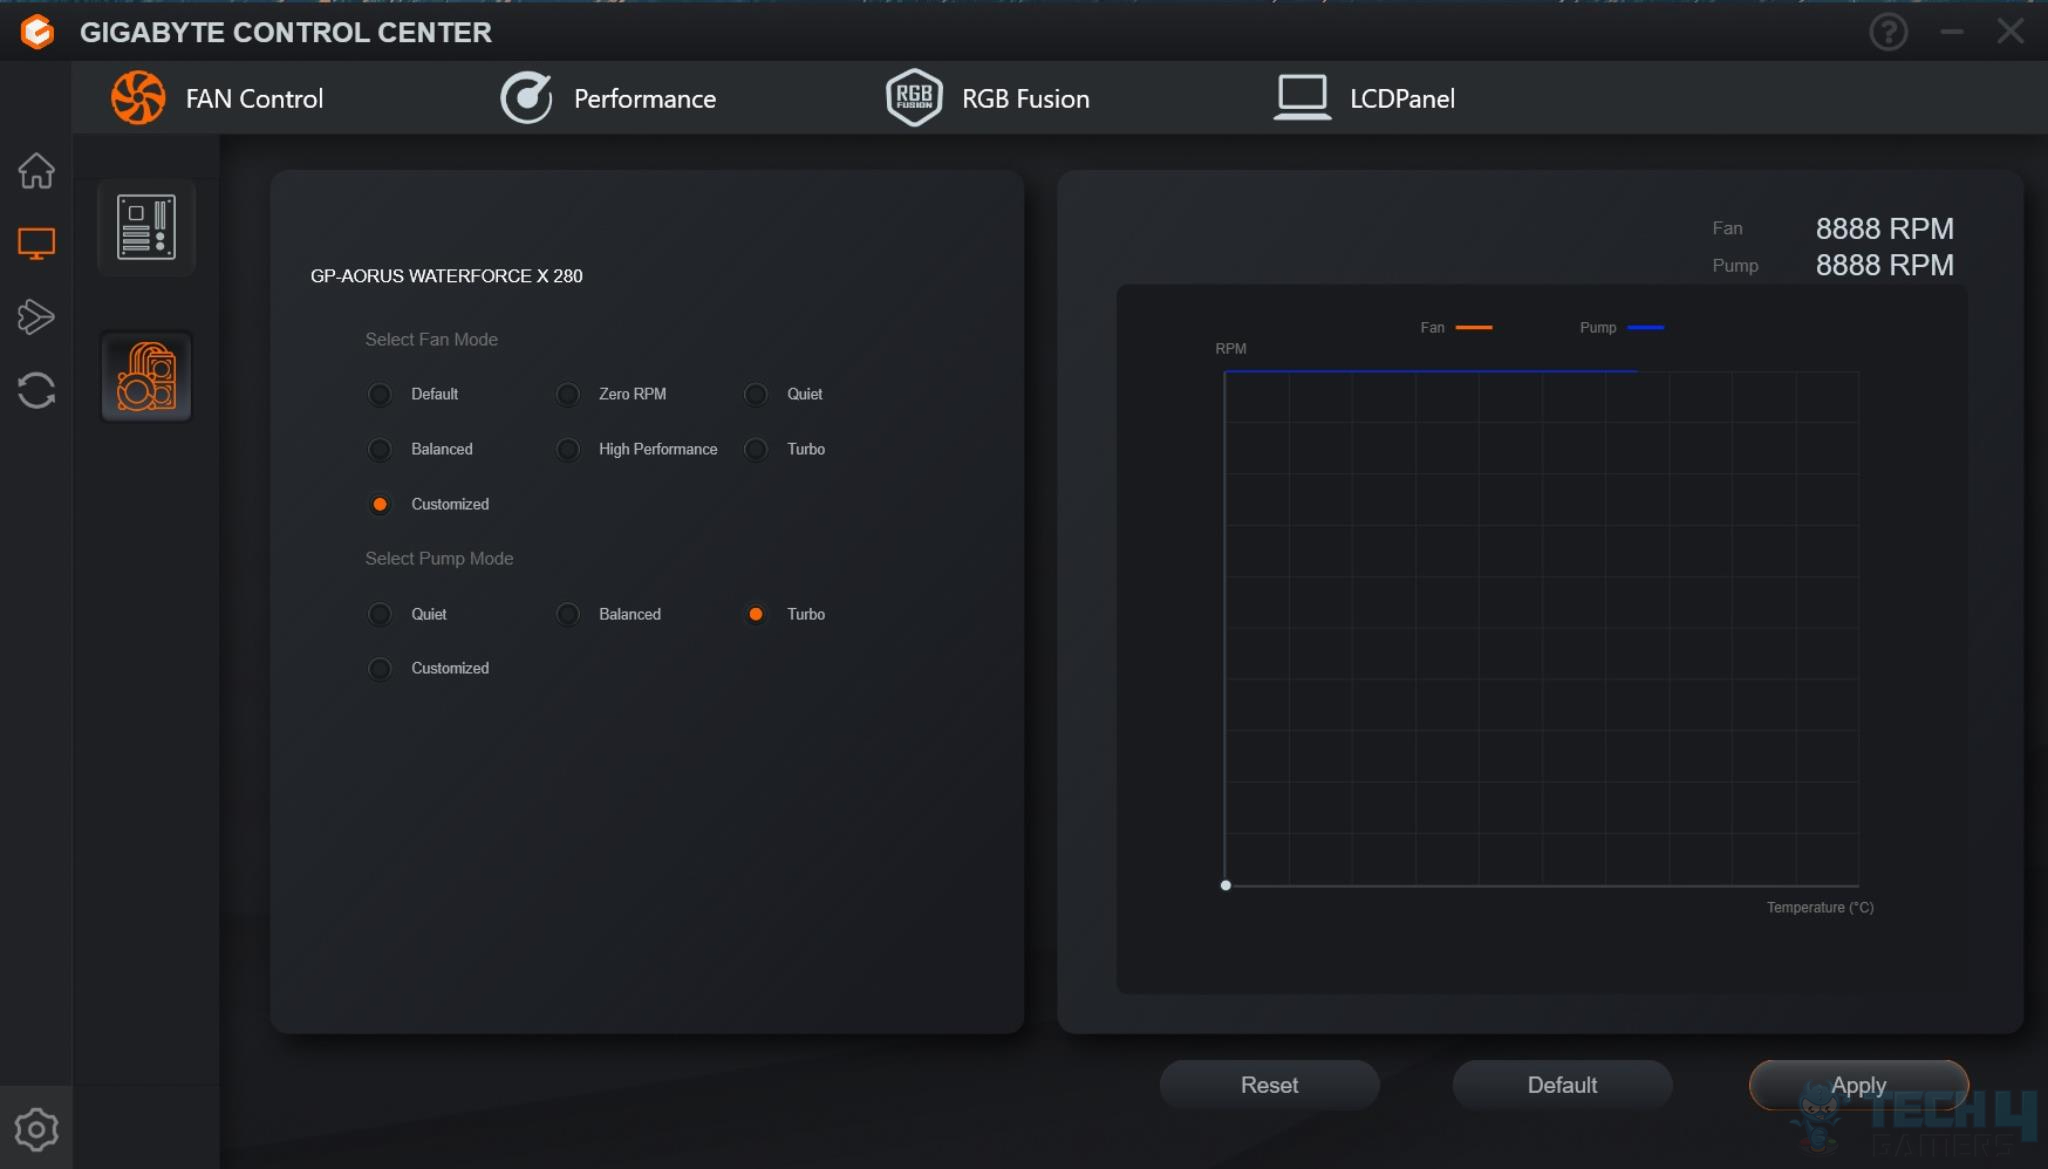
FAN CONTROL
There is a Customized option for the pump and the fans.

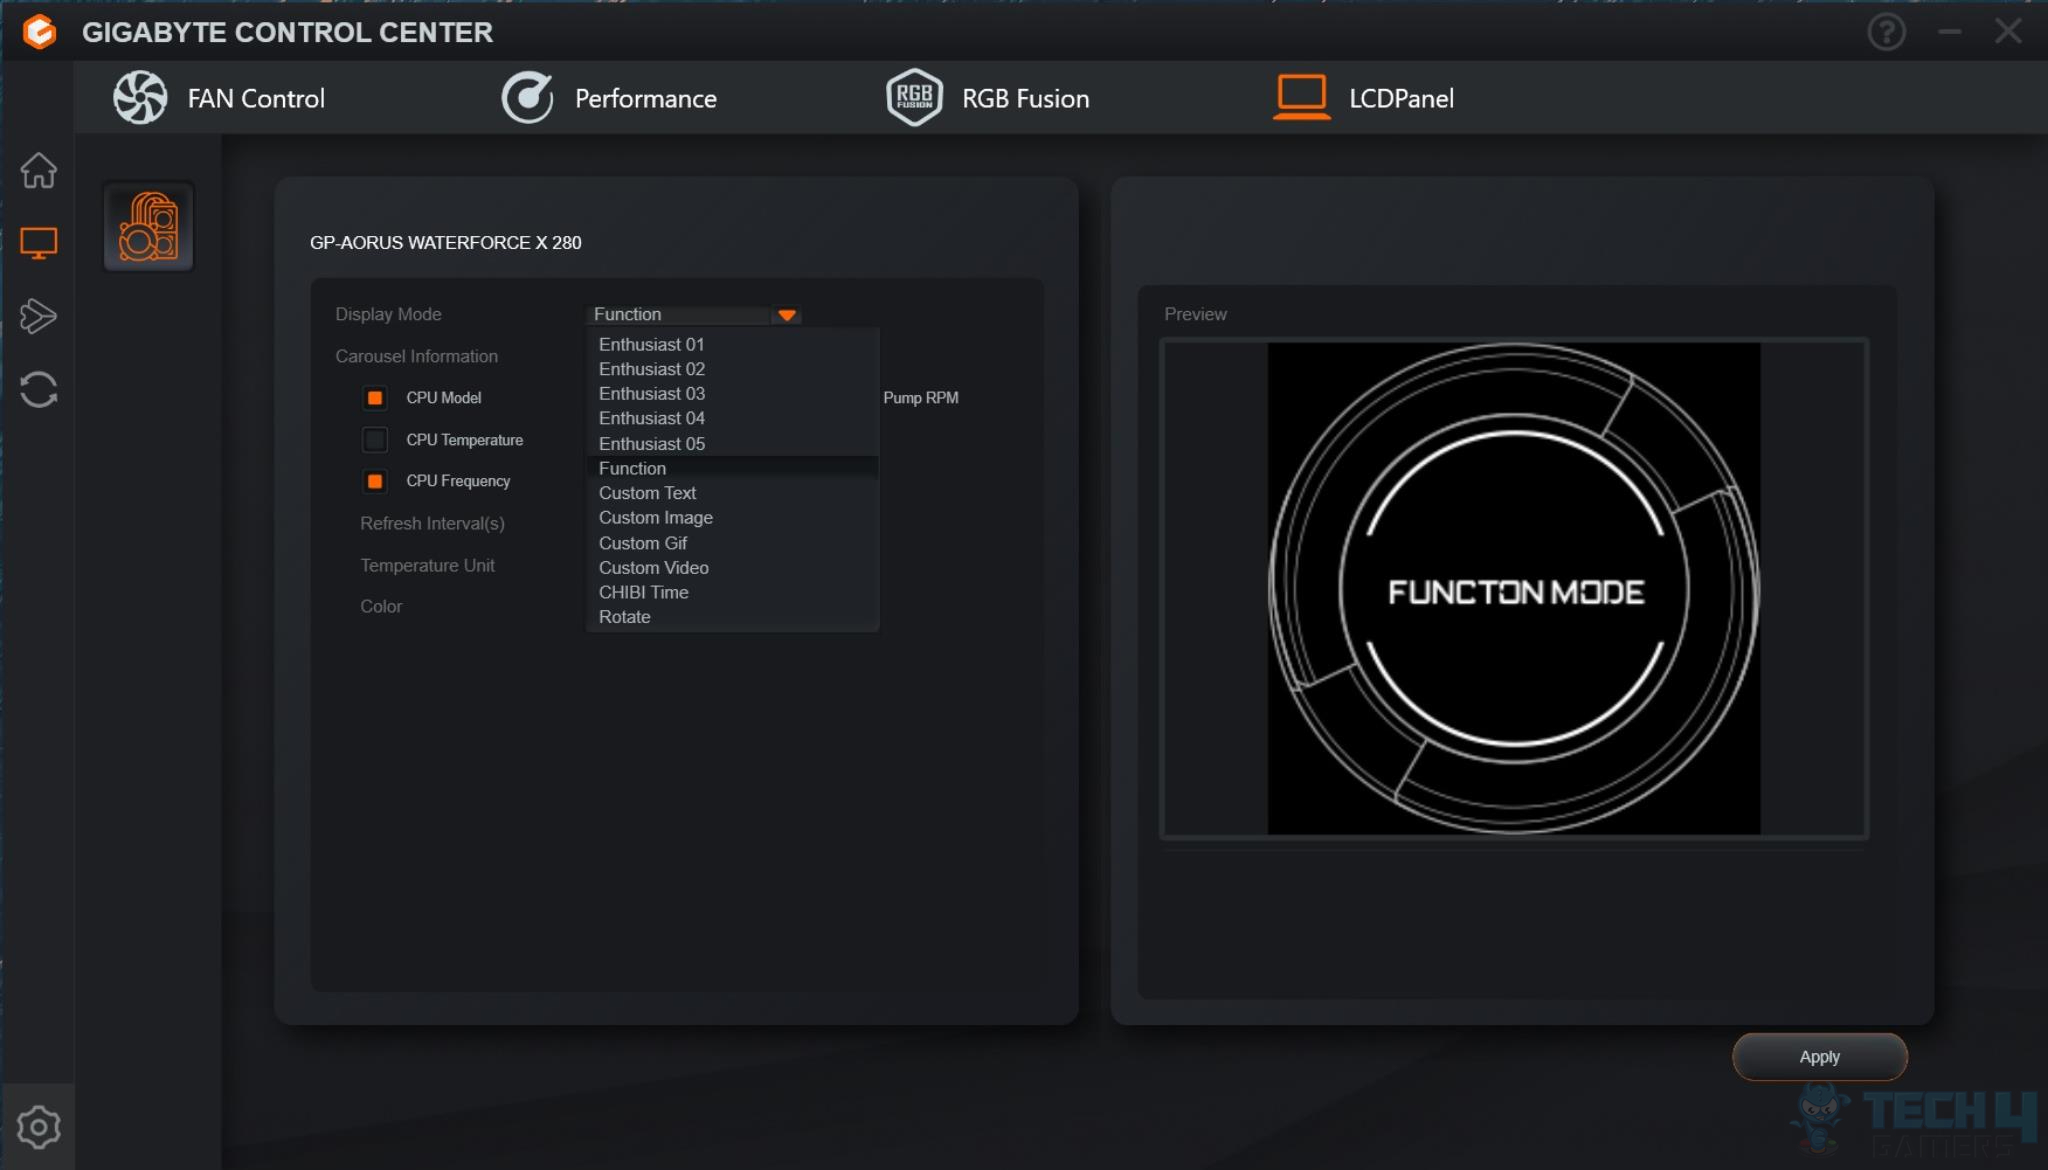
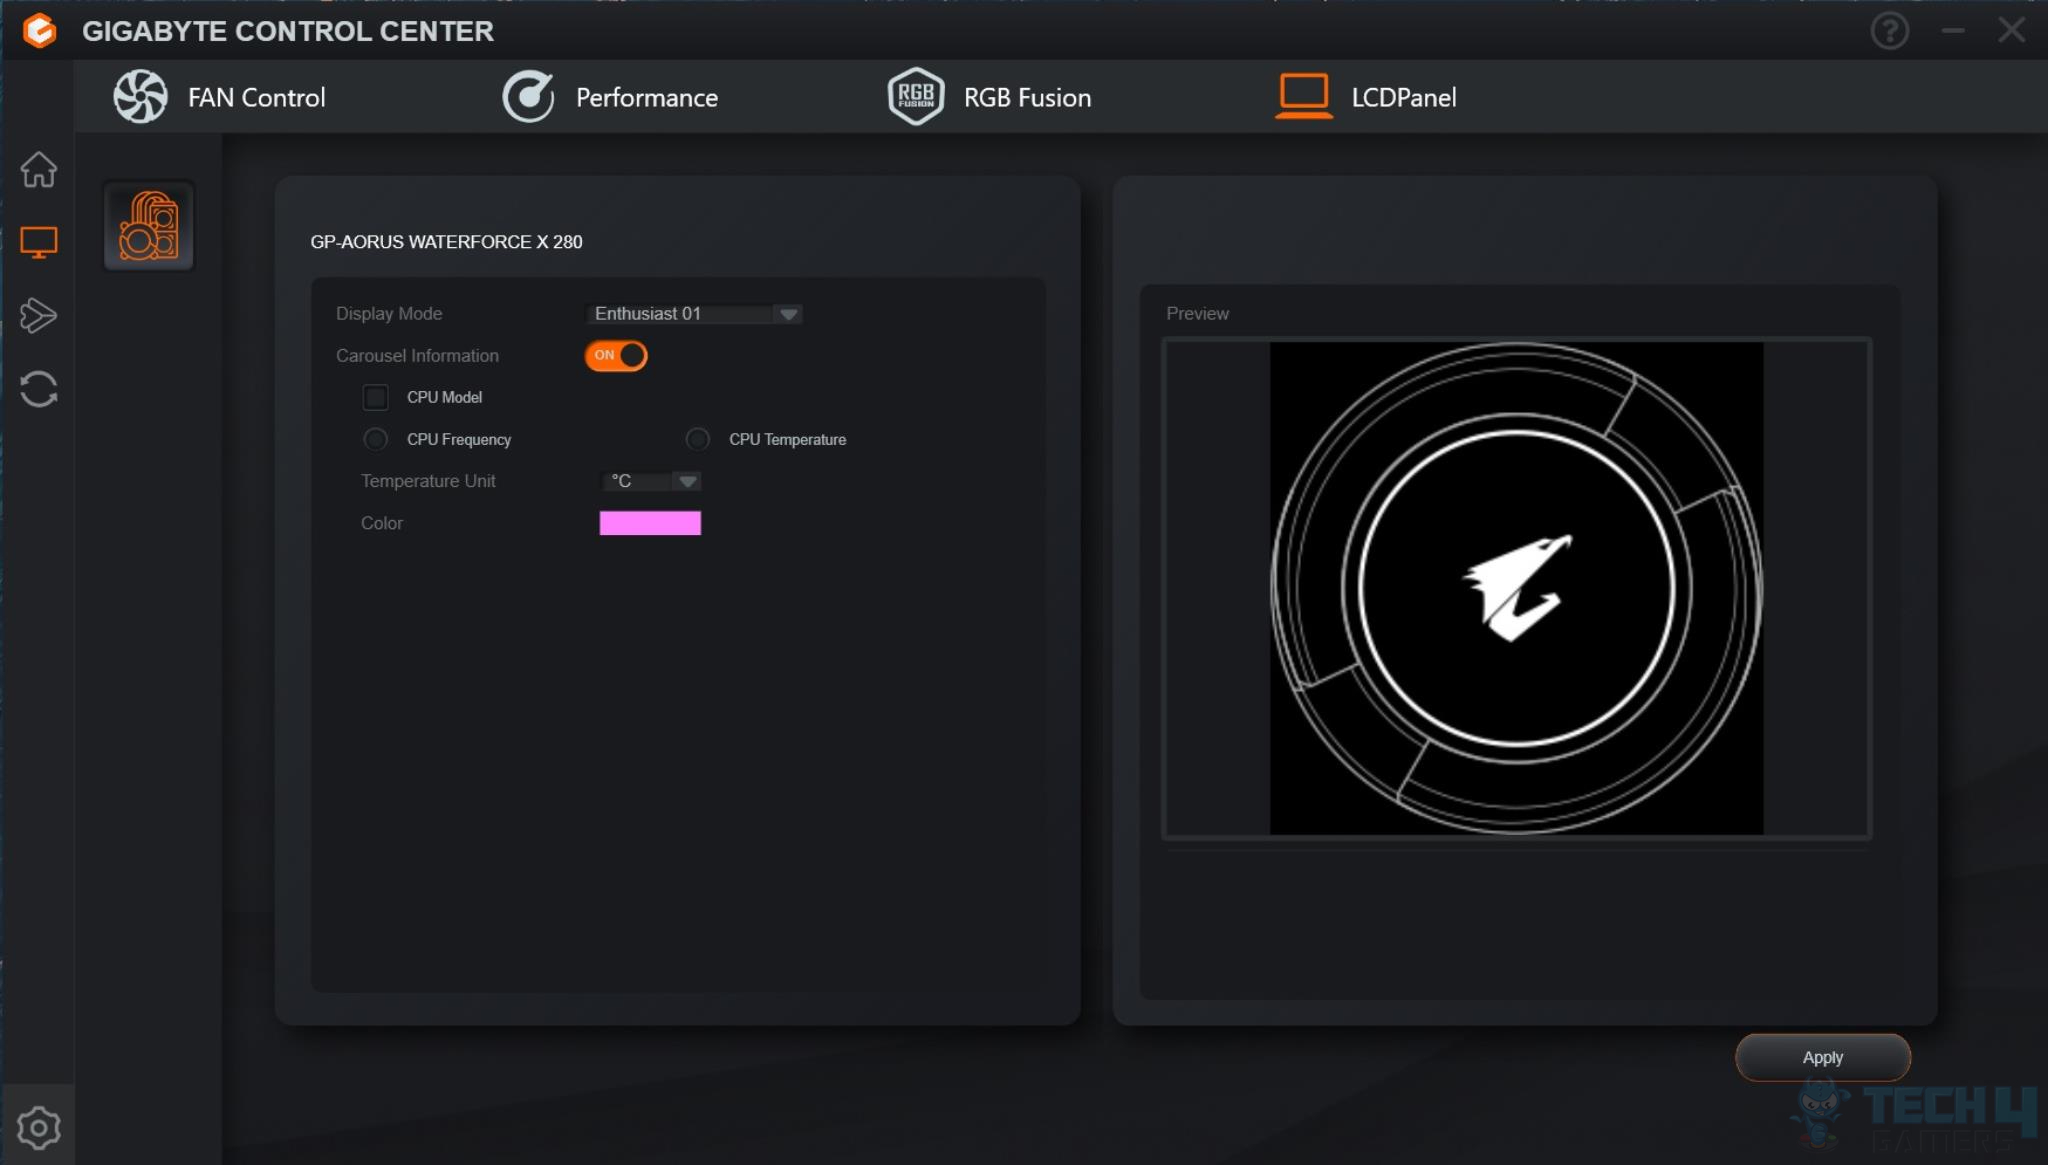
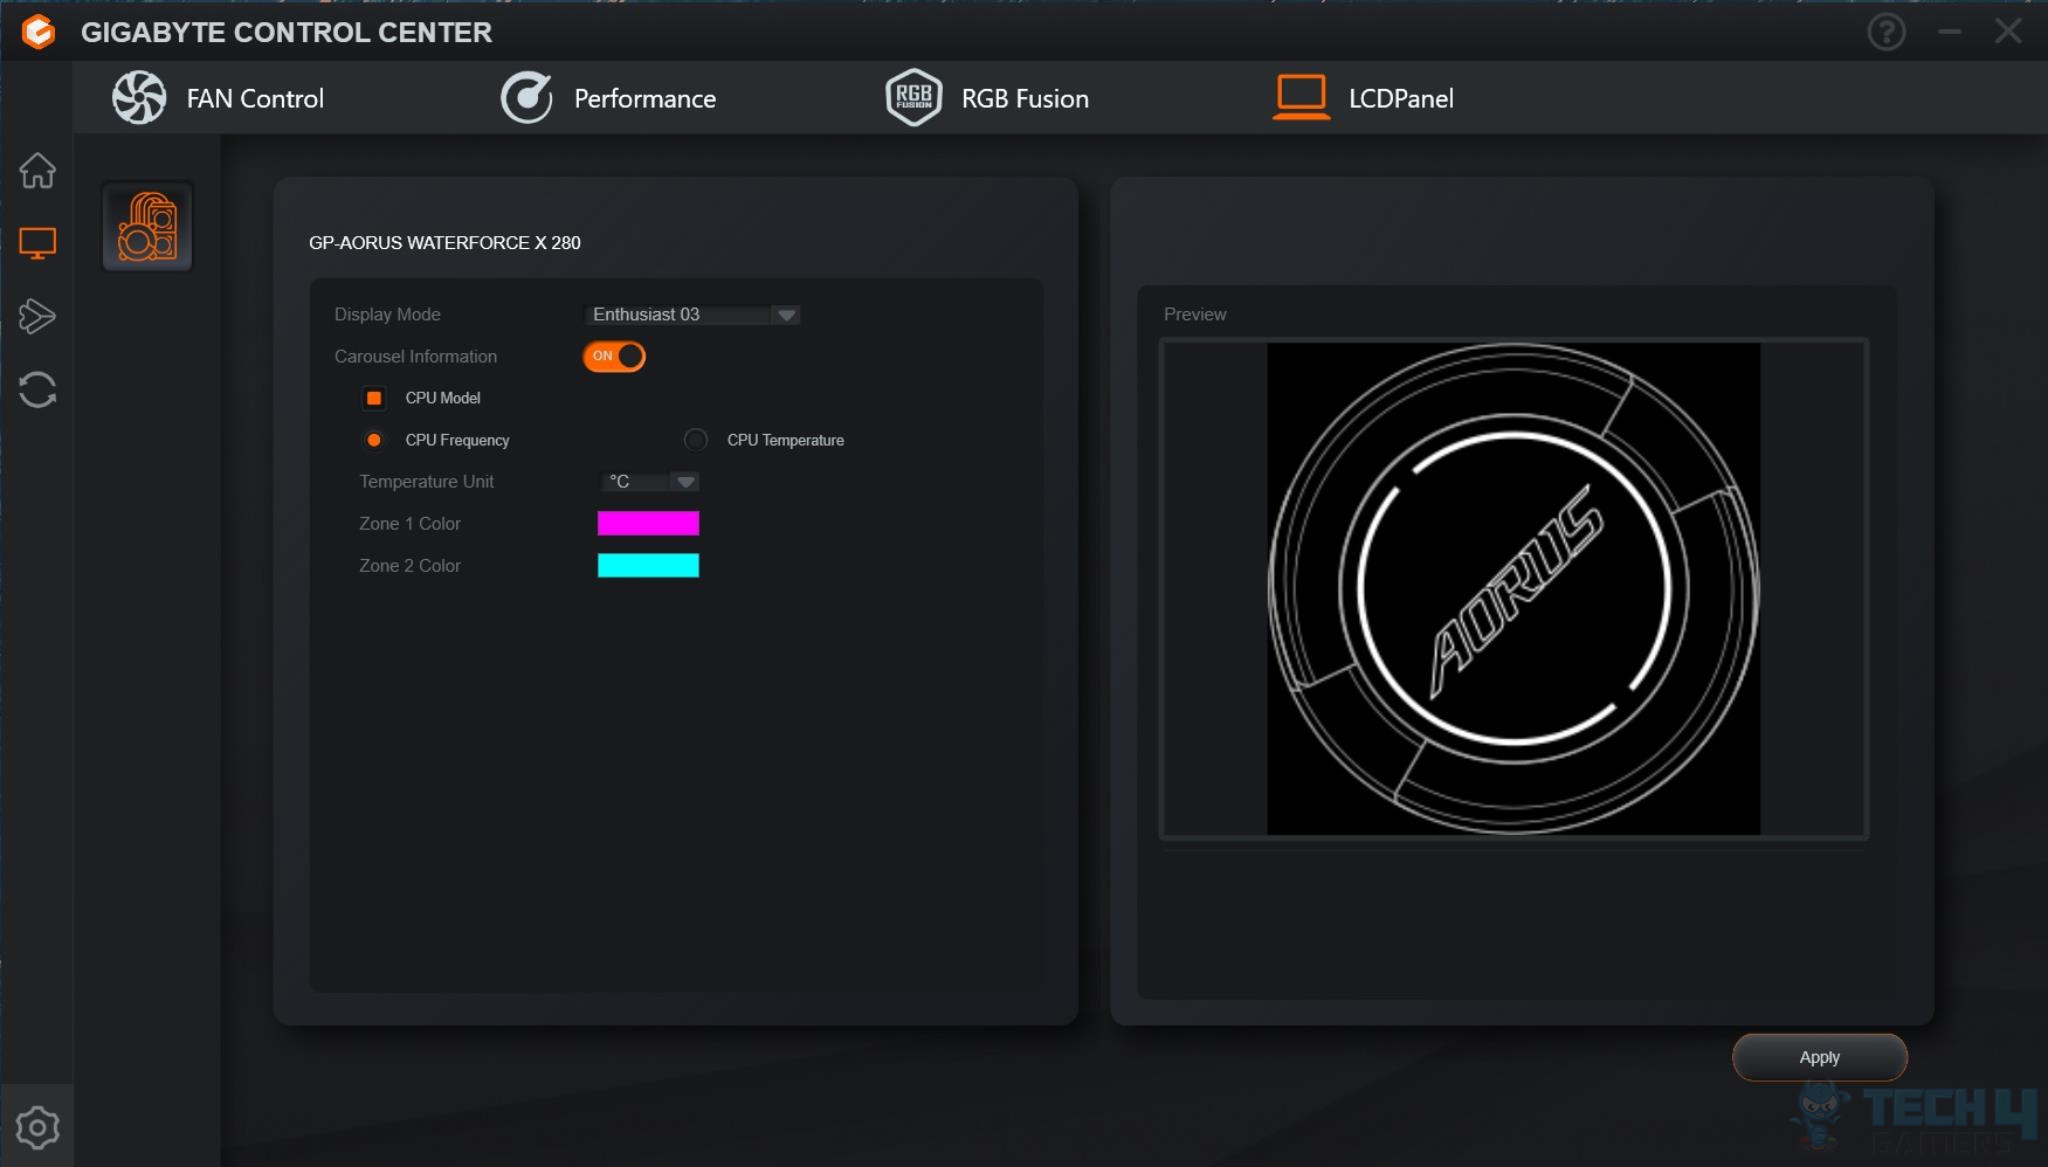
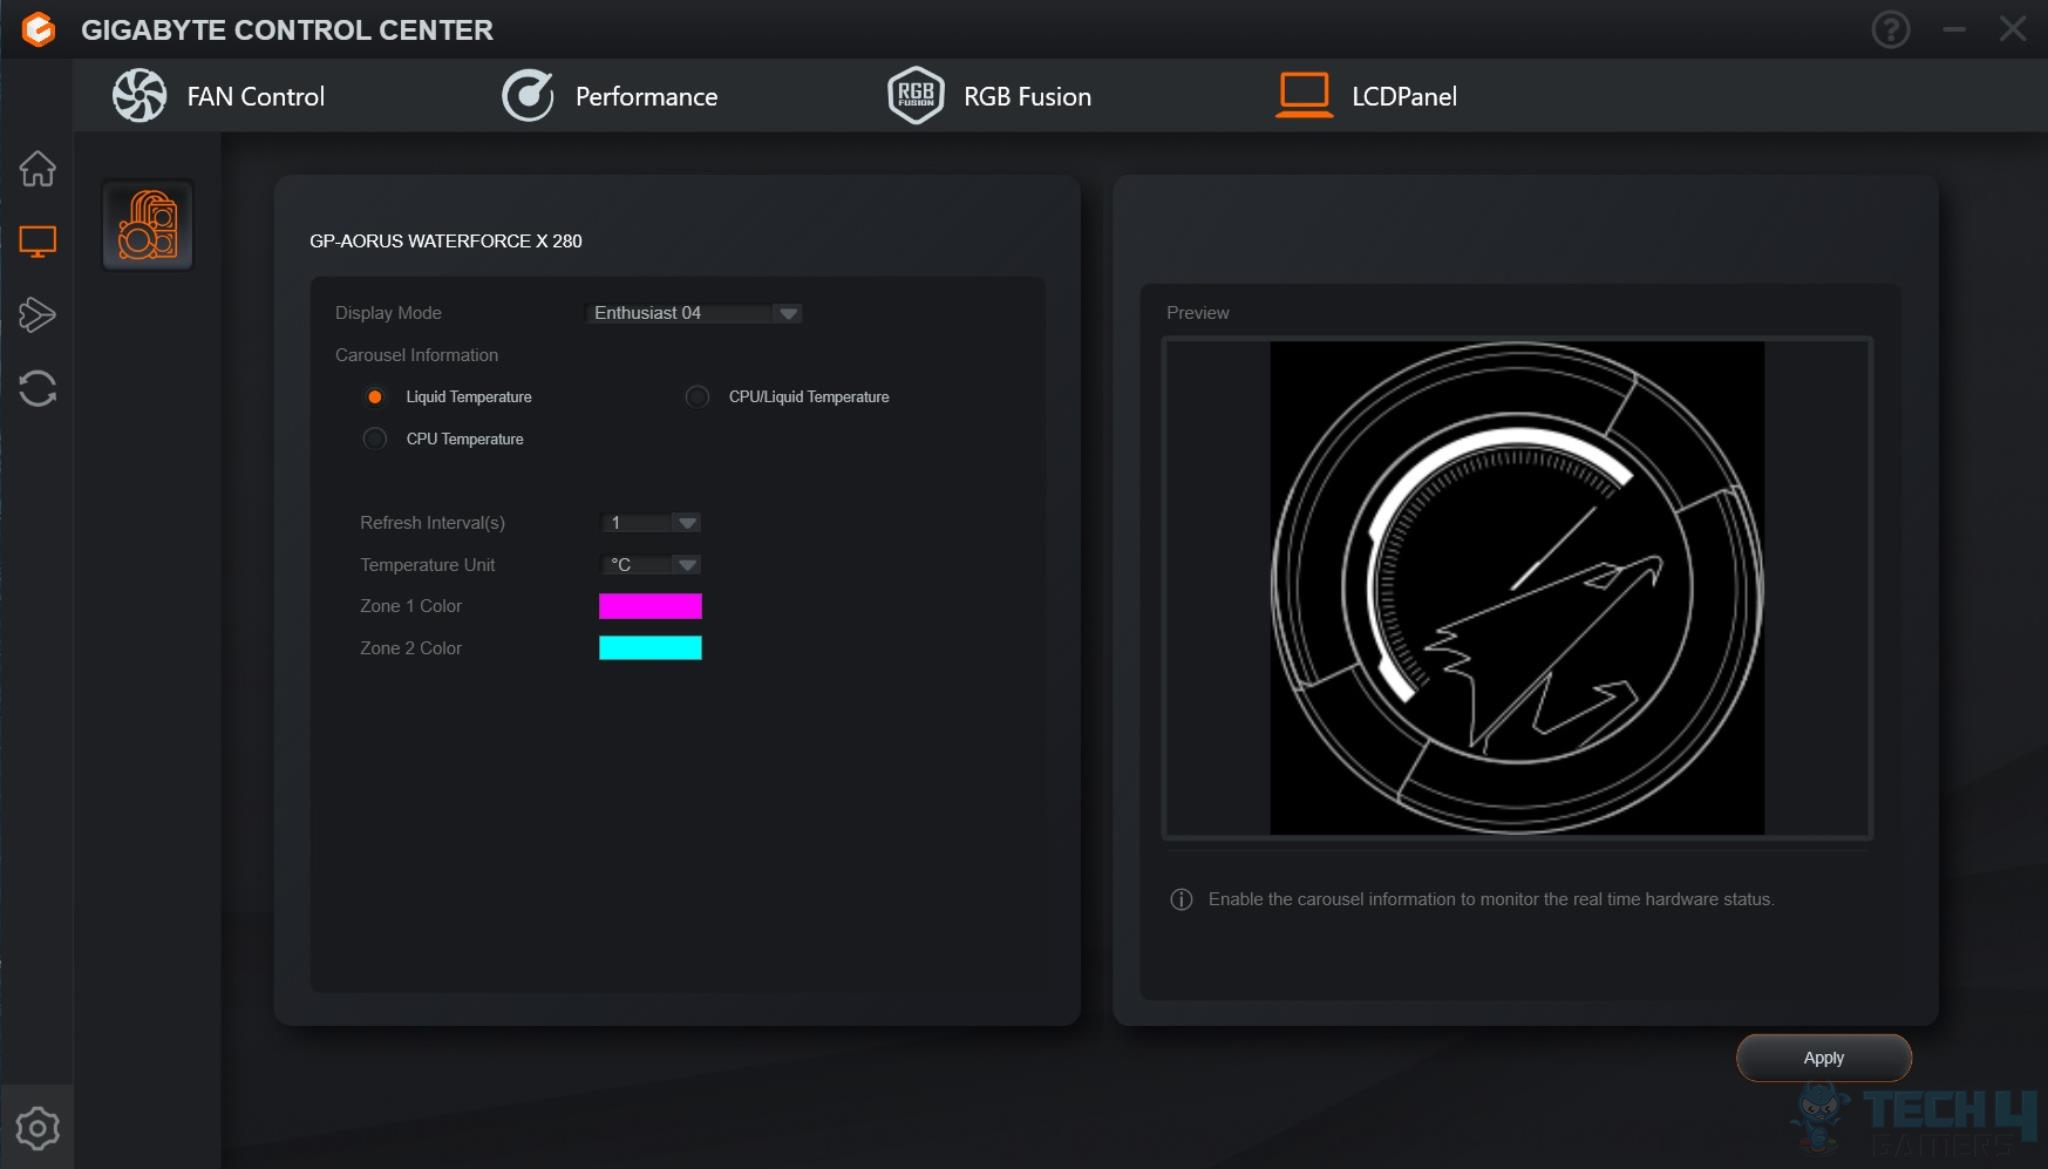
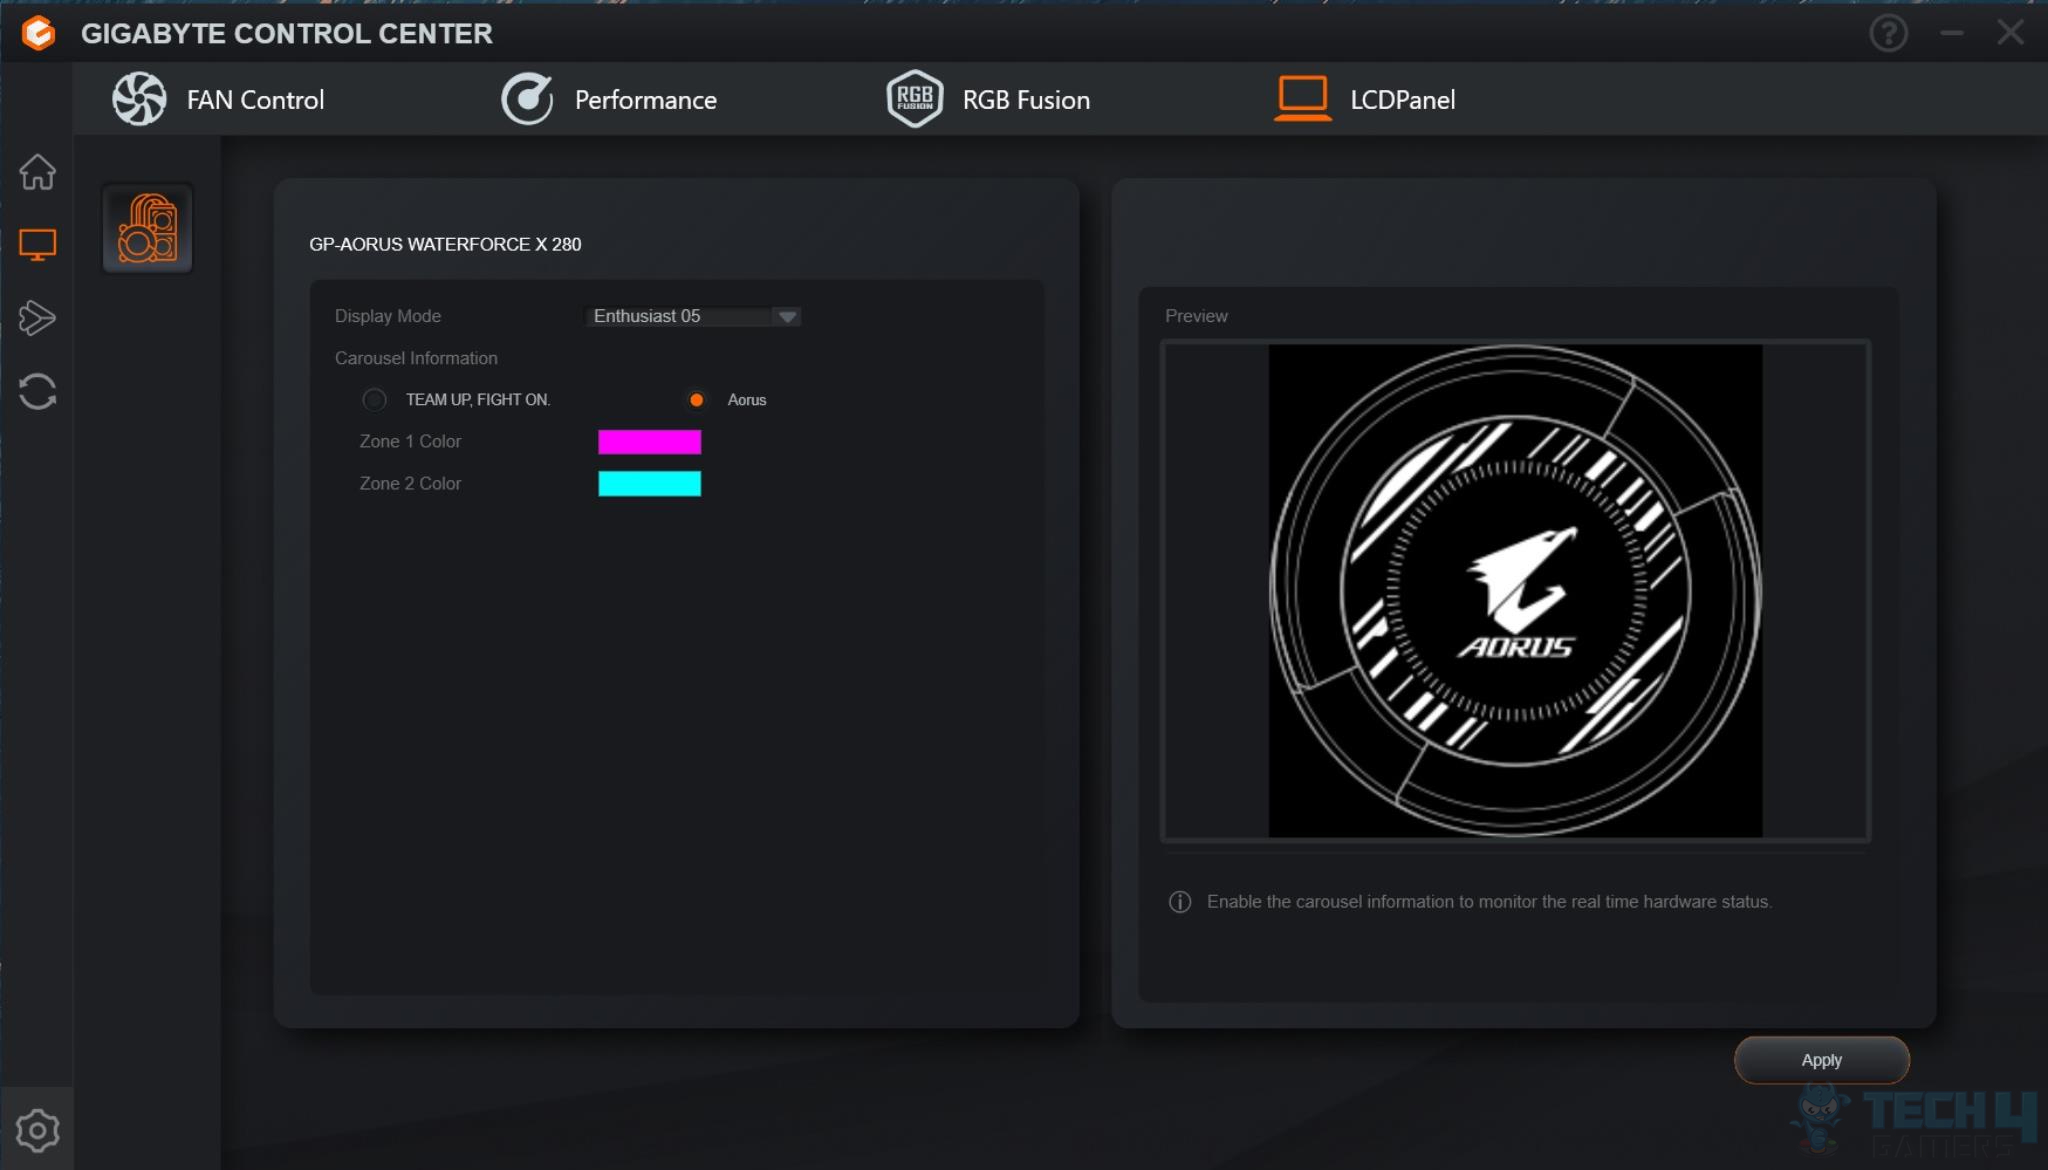
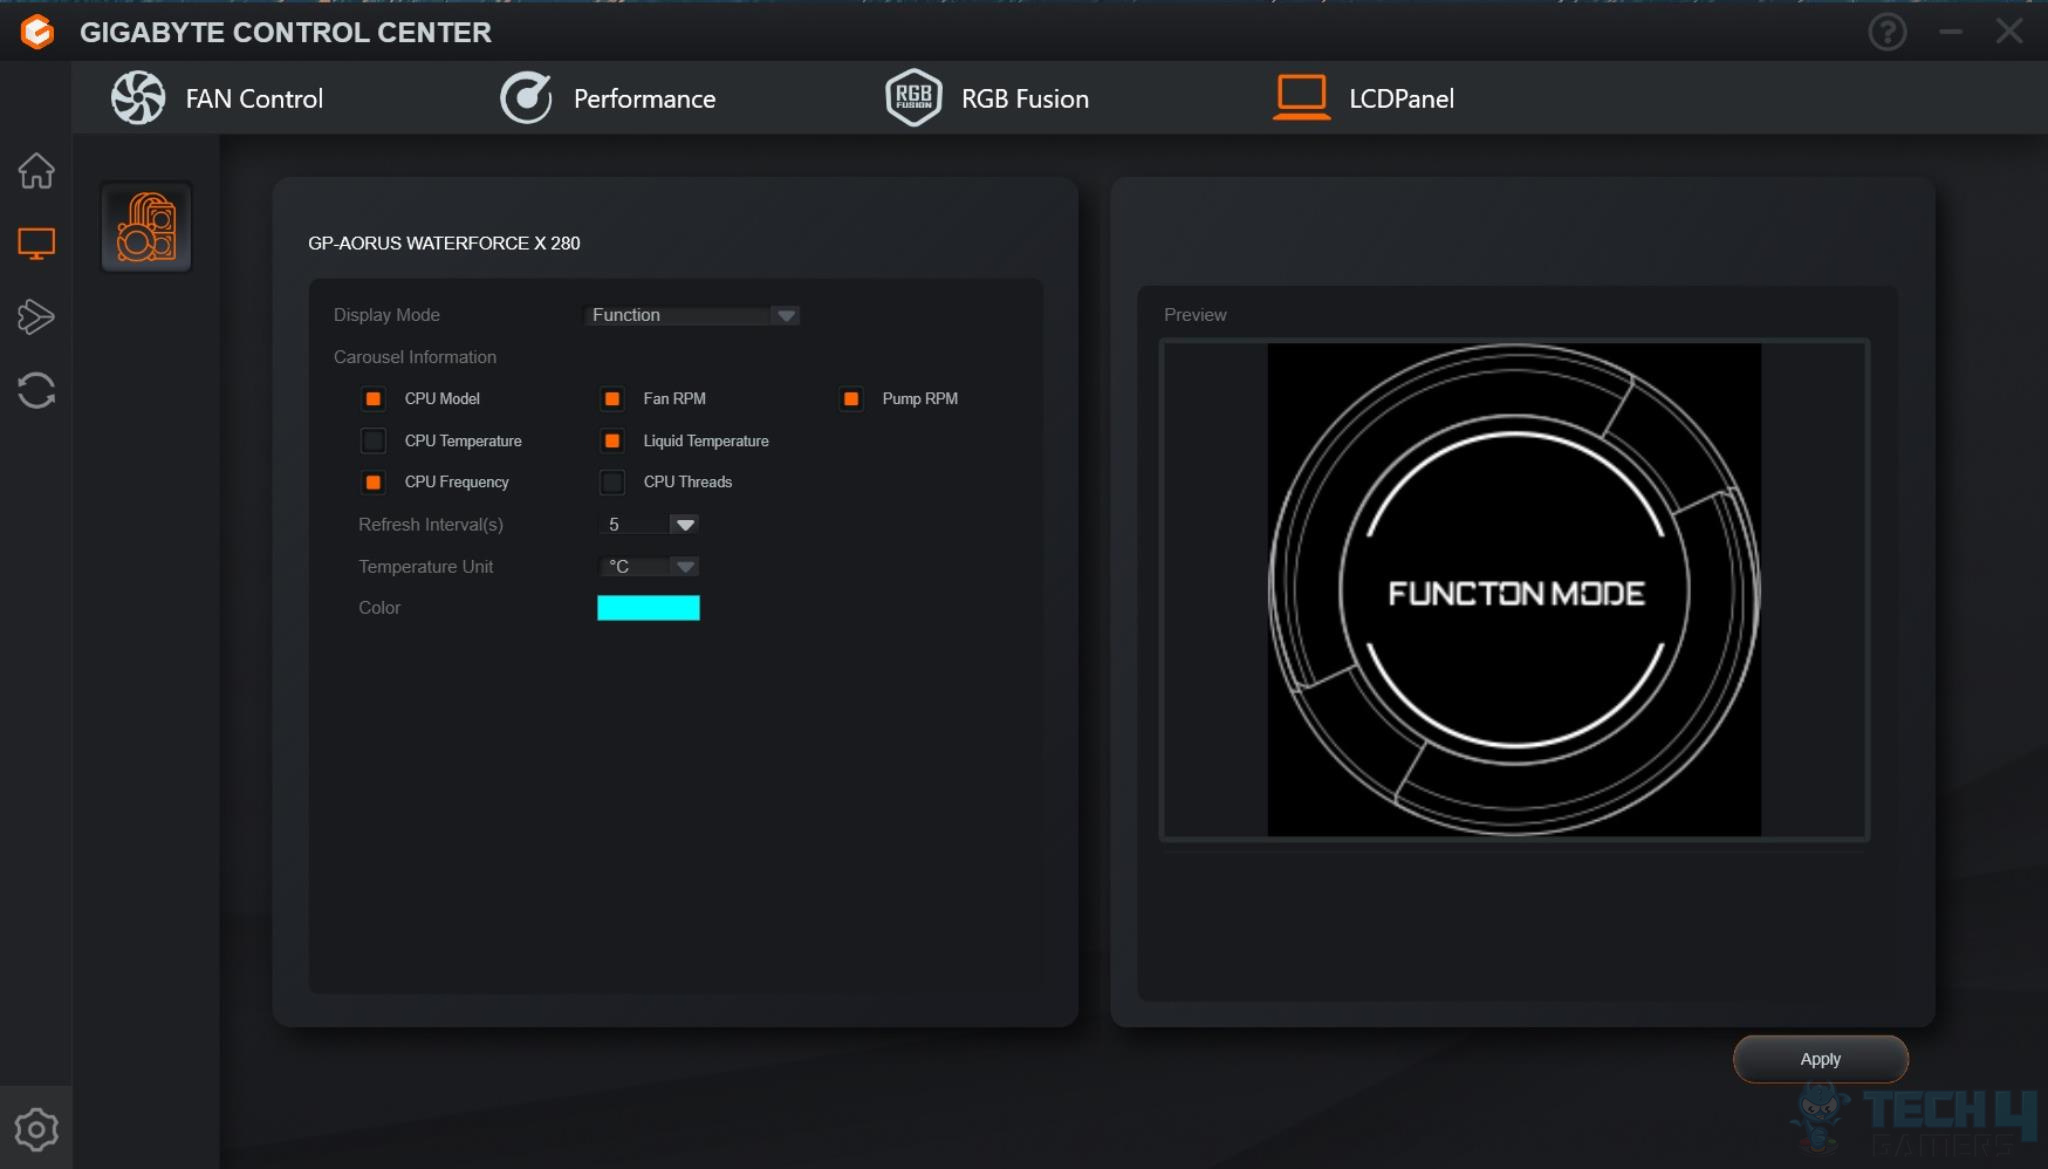
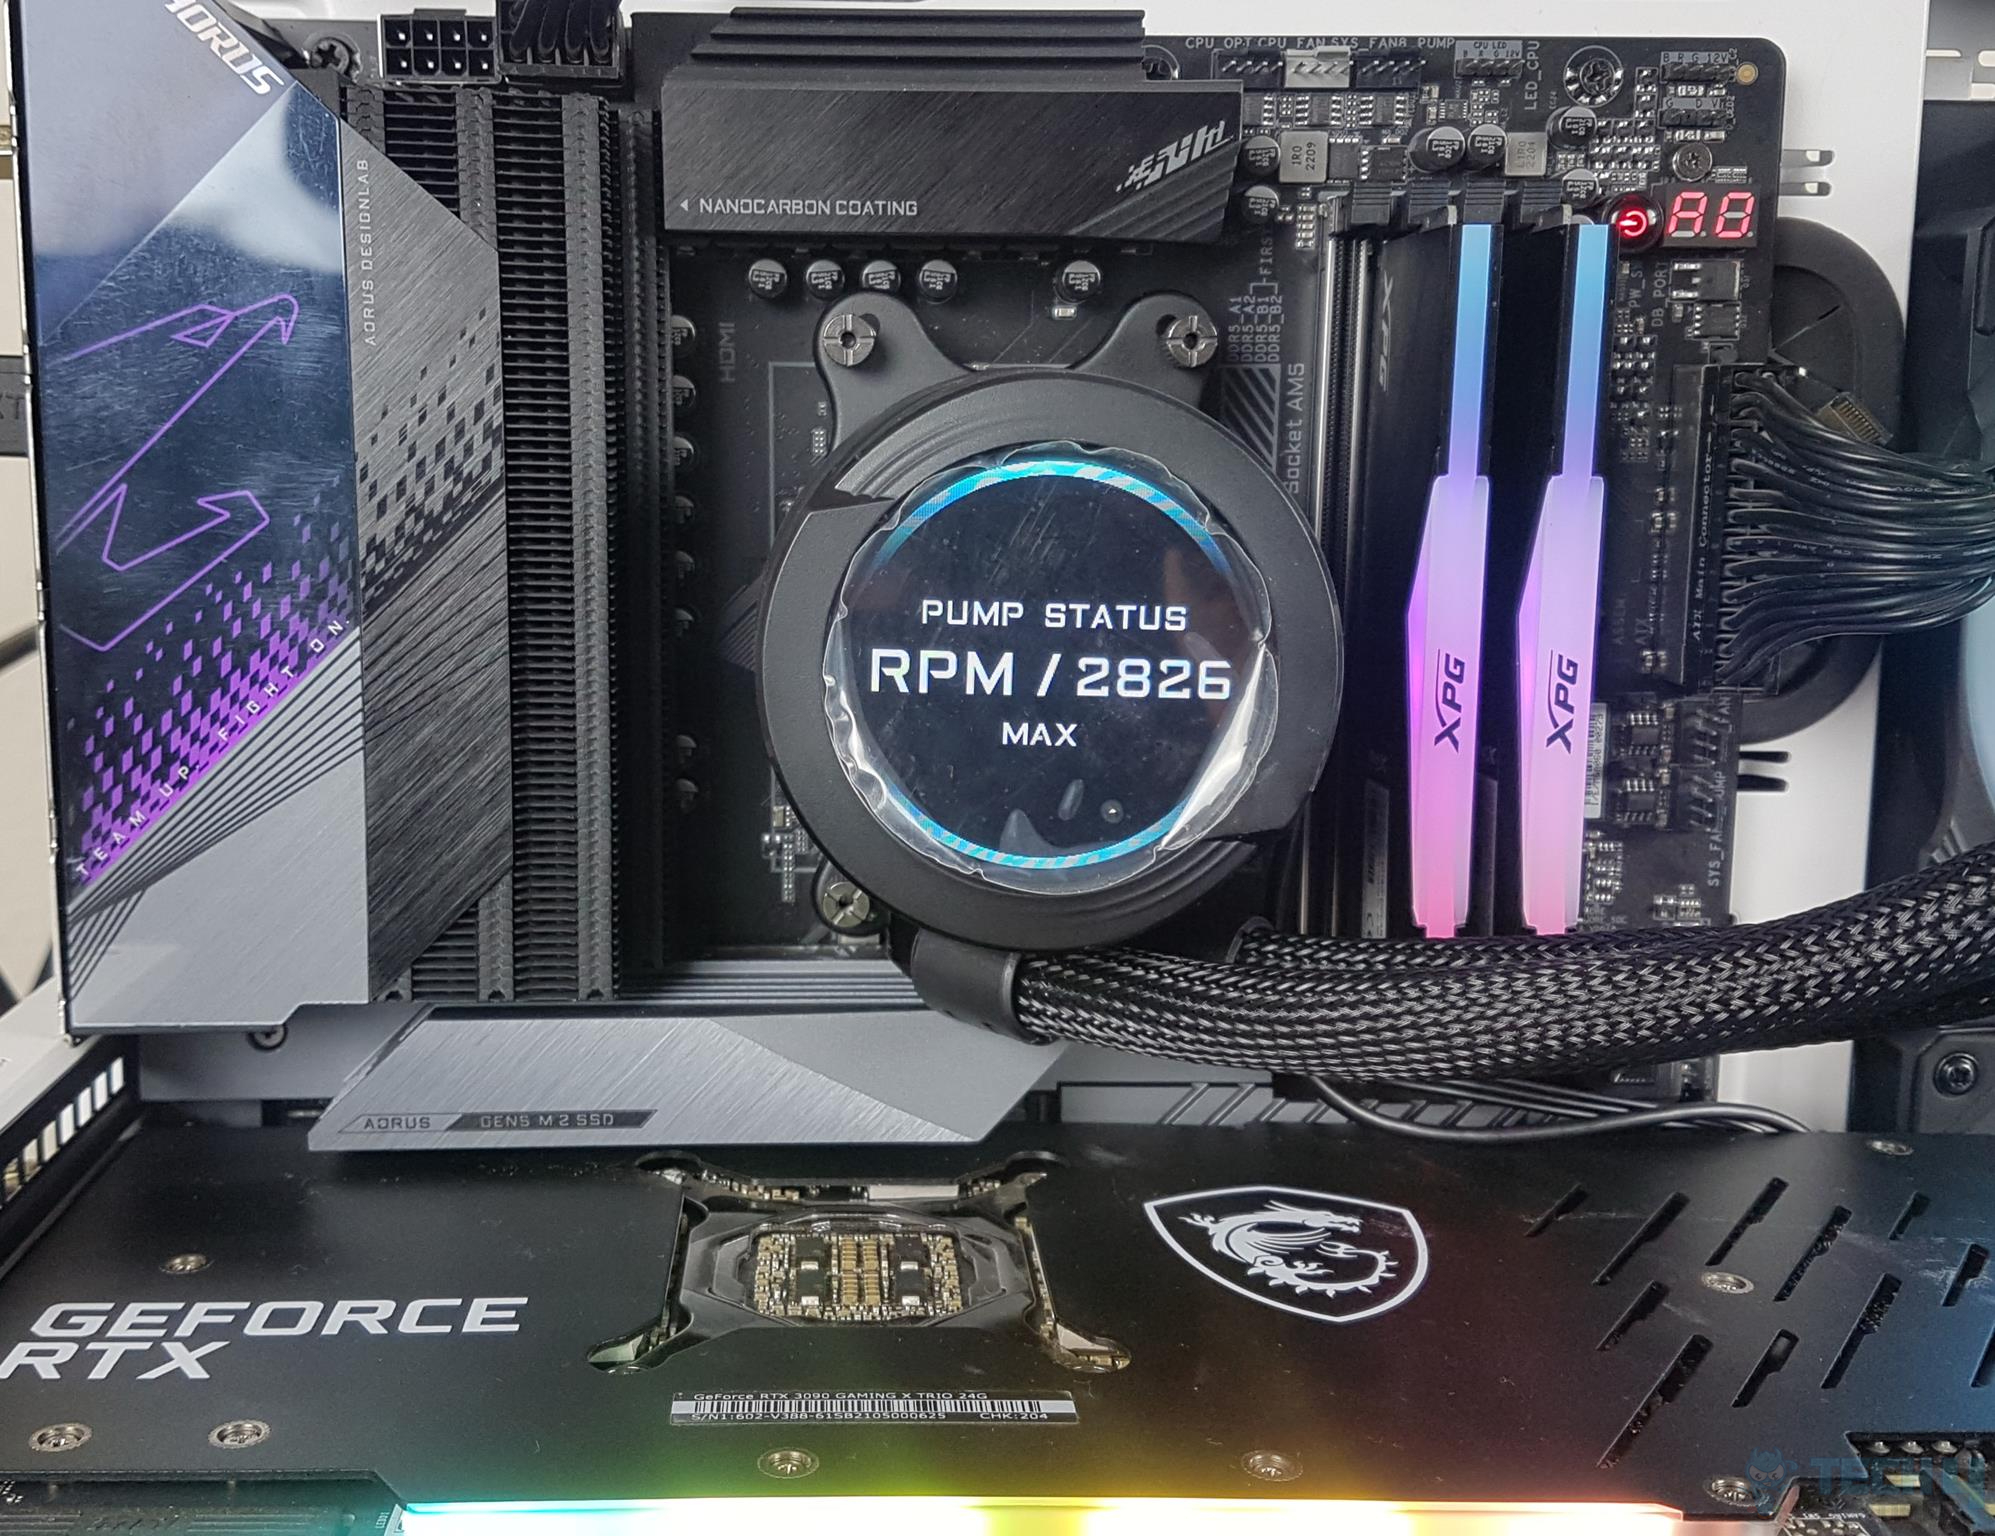
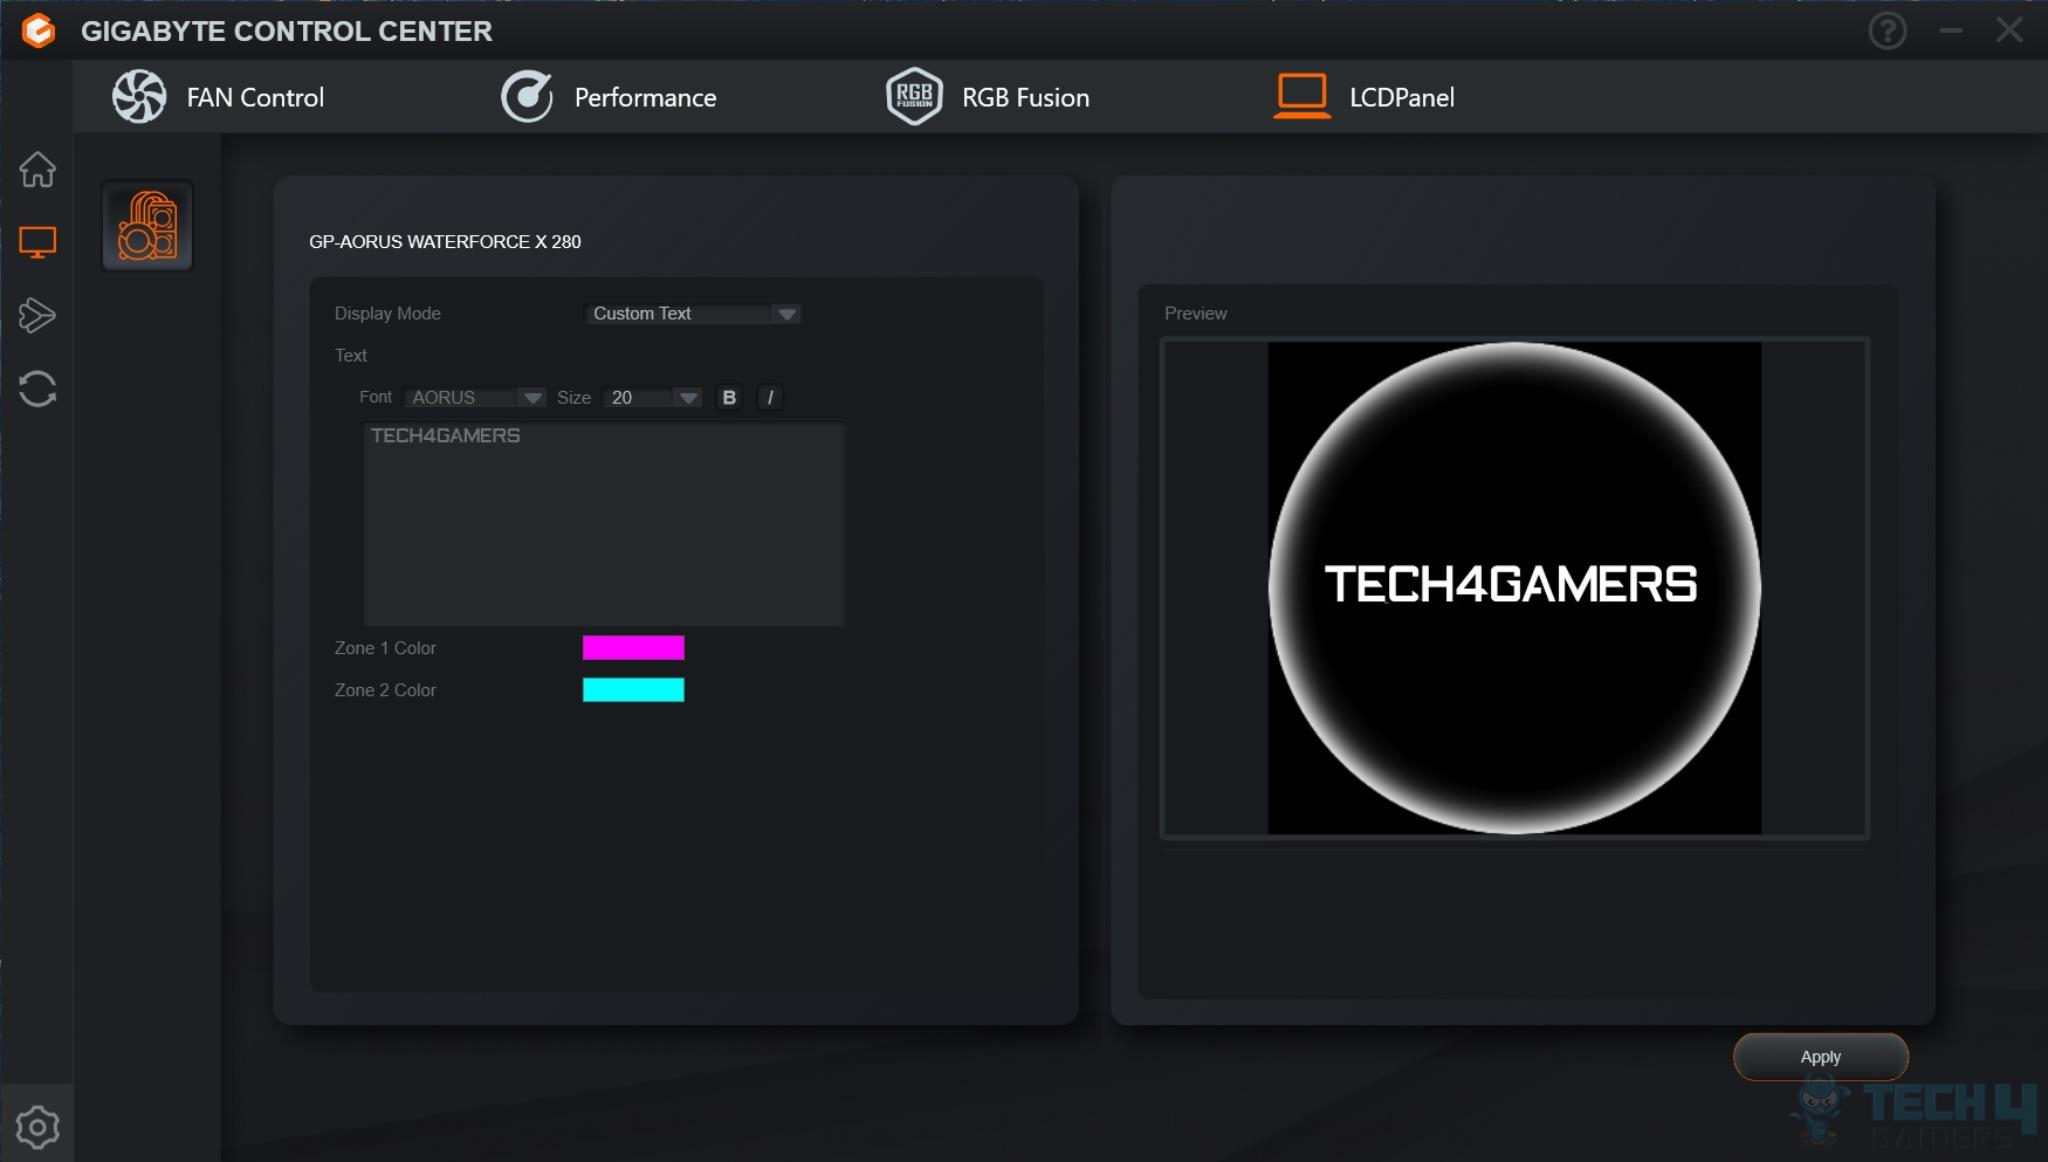
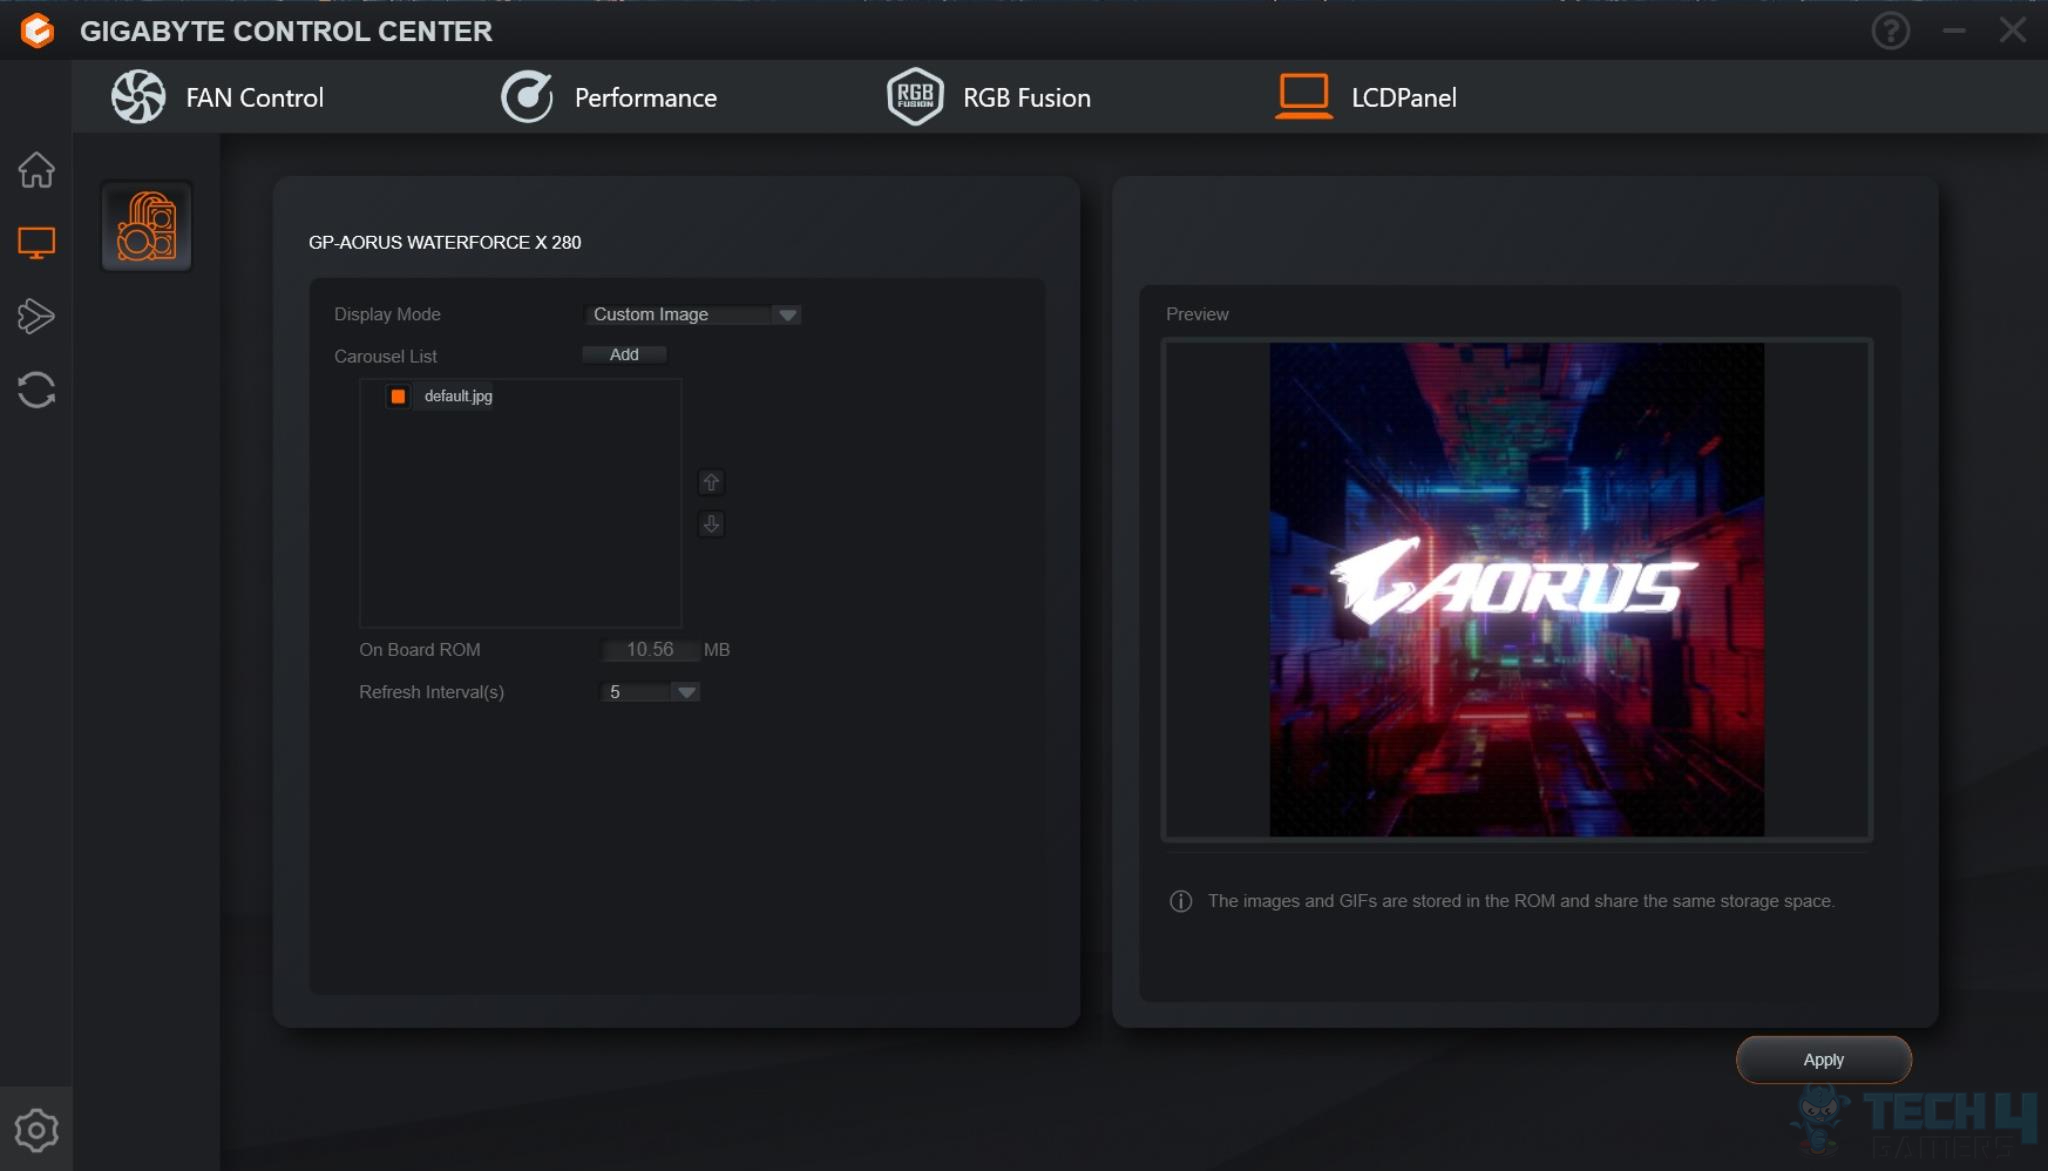
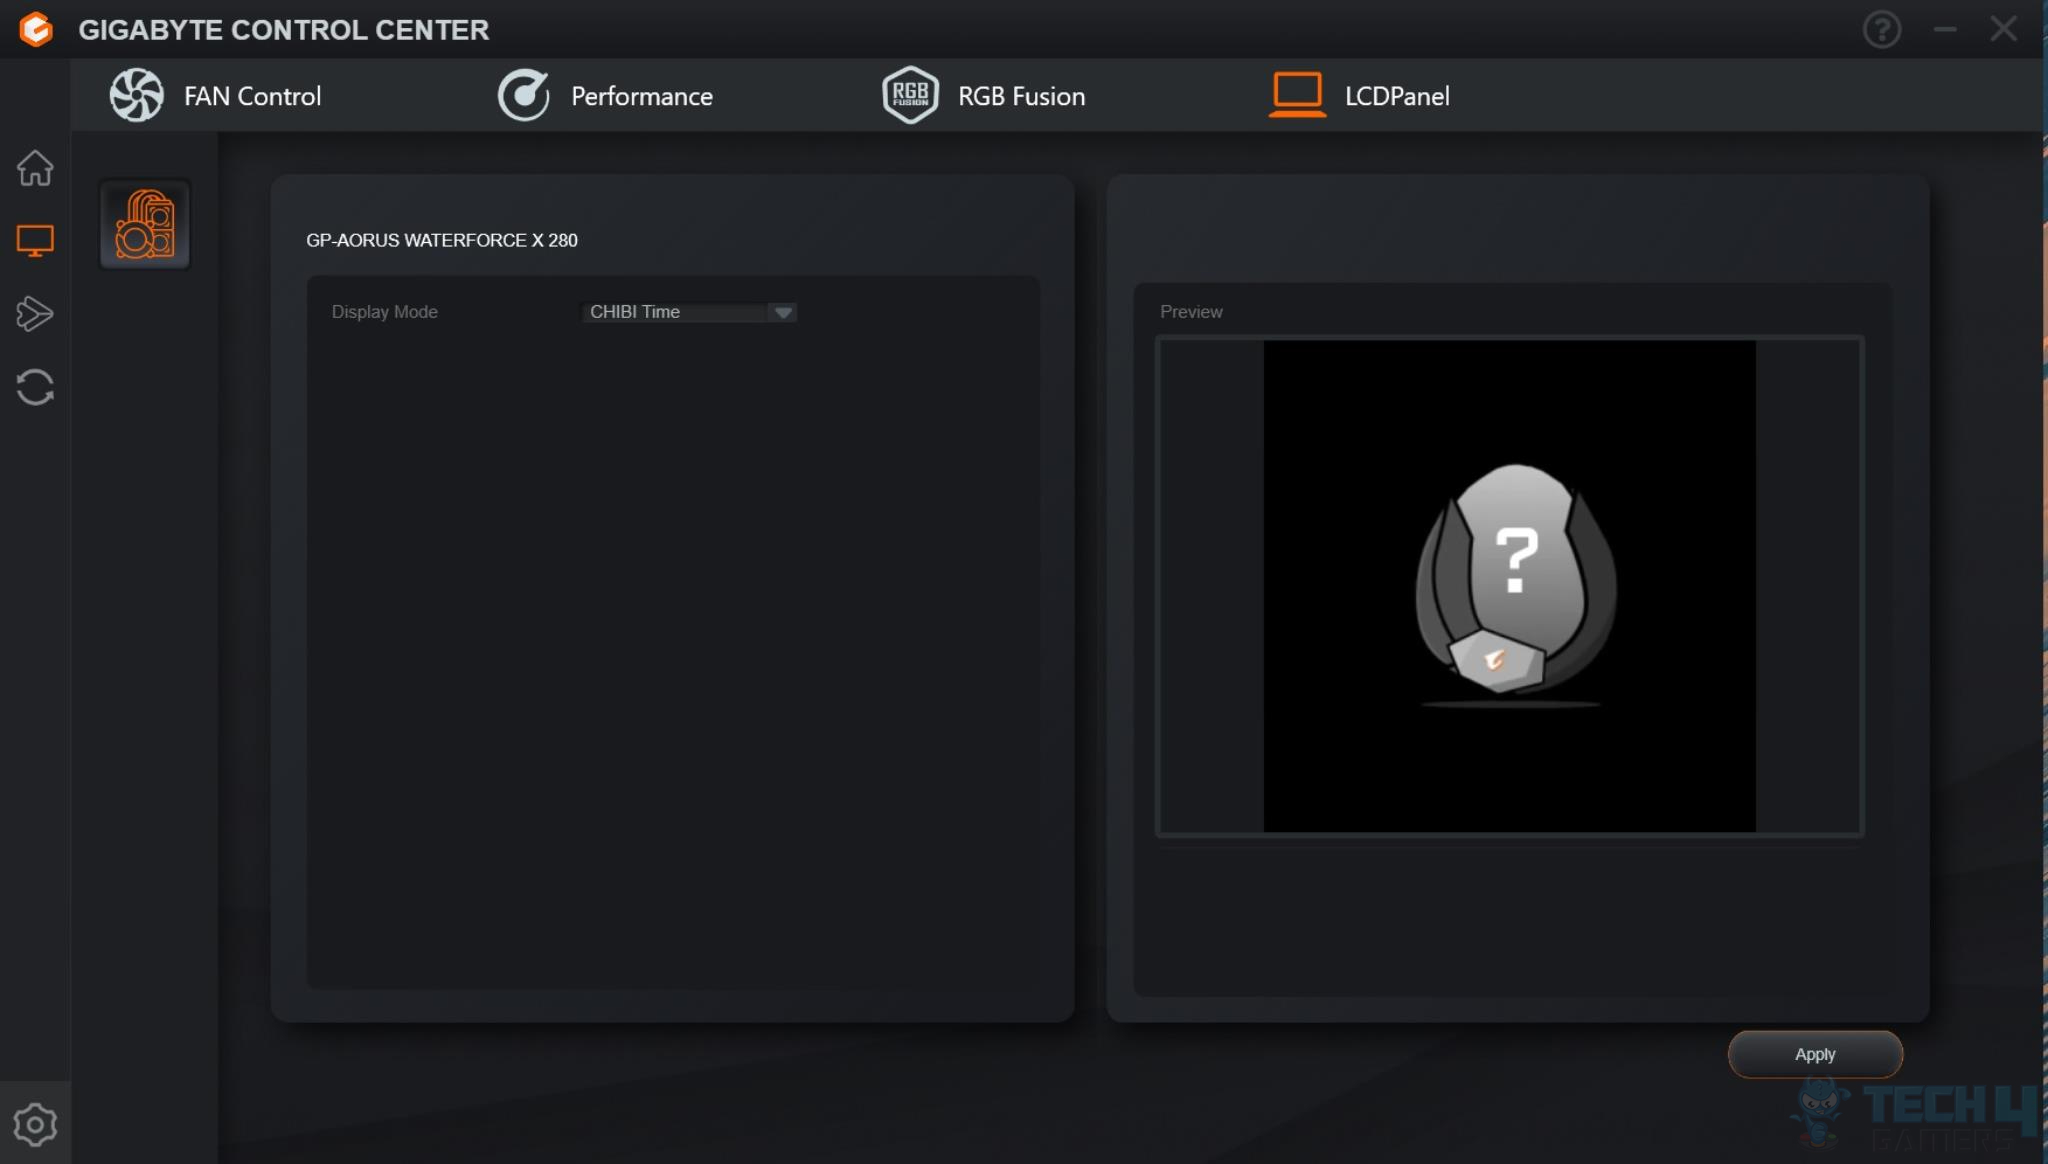
LCD Panel
The LCD Panel in the software.
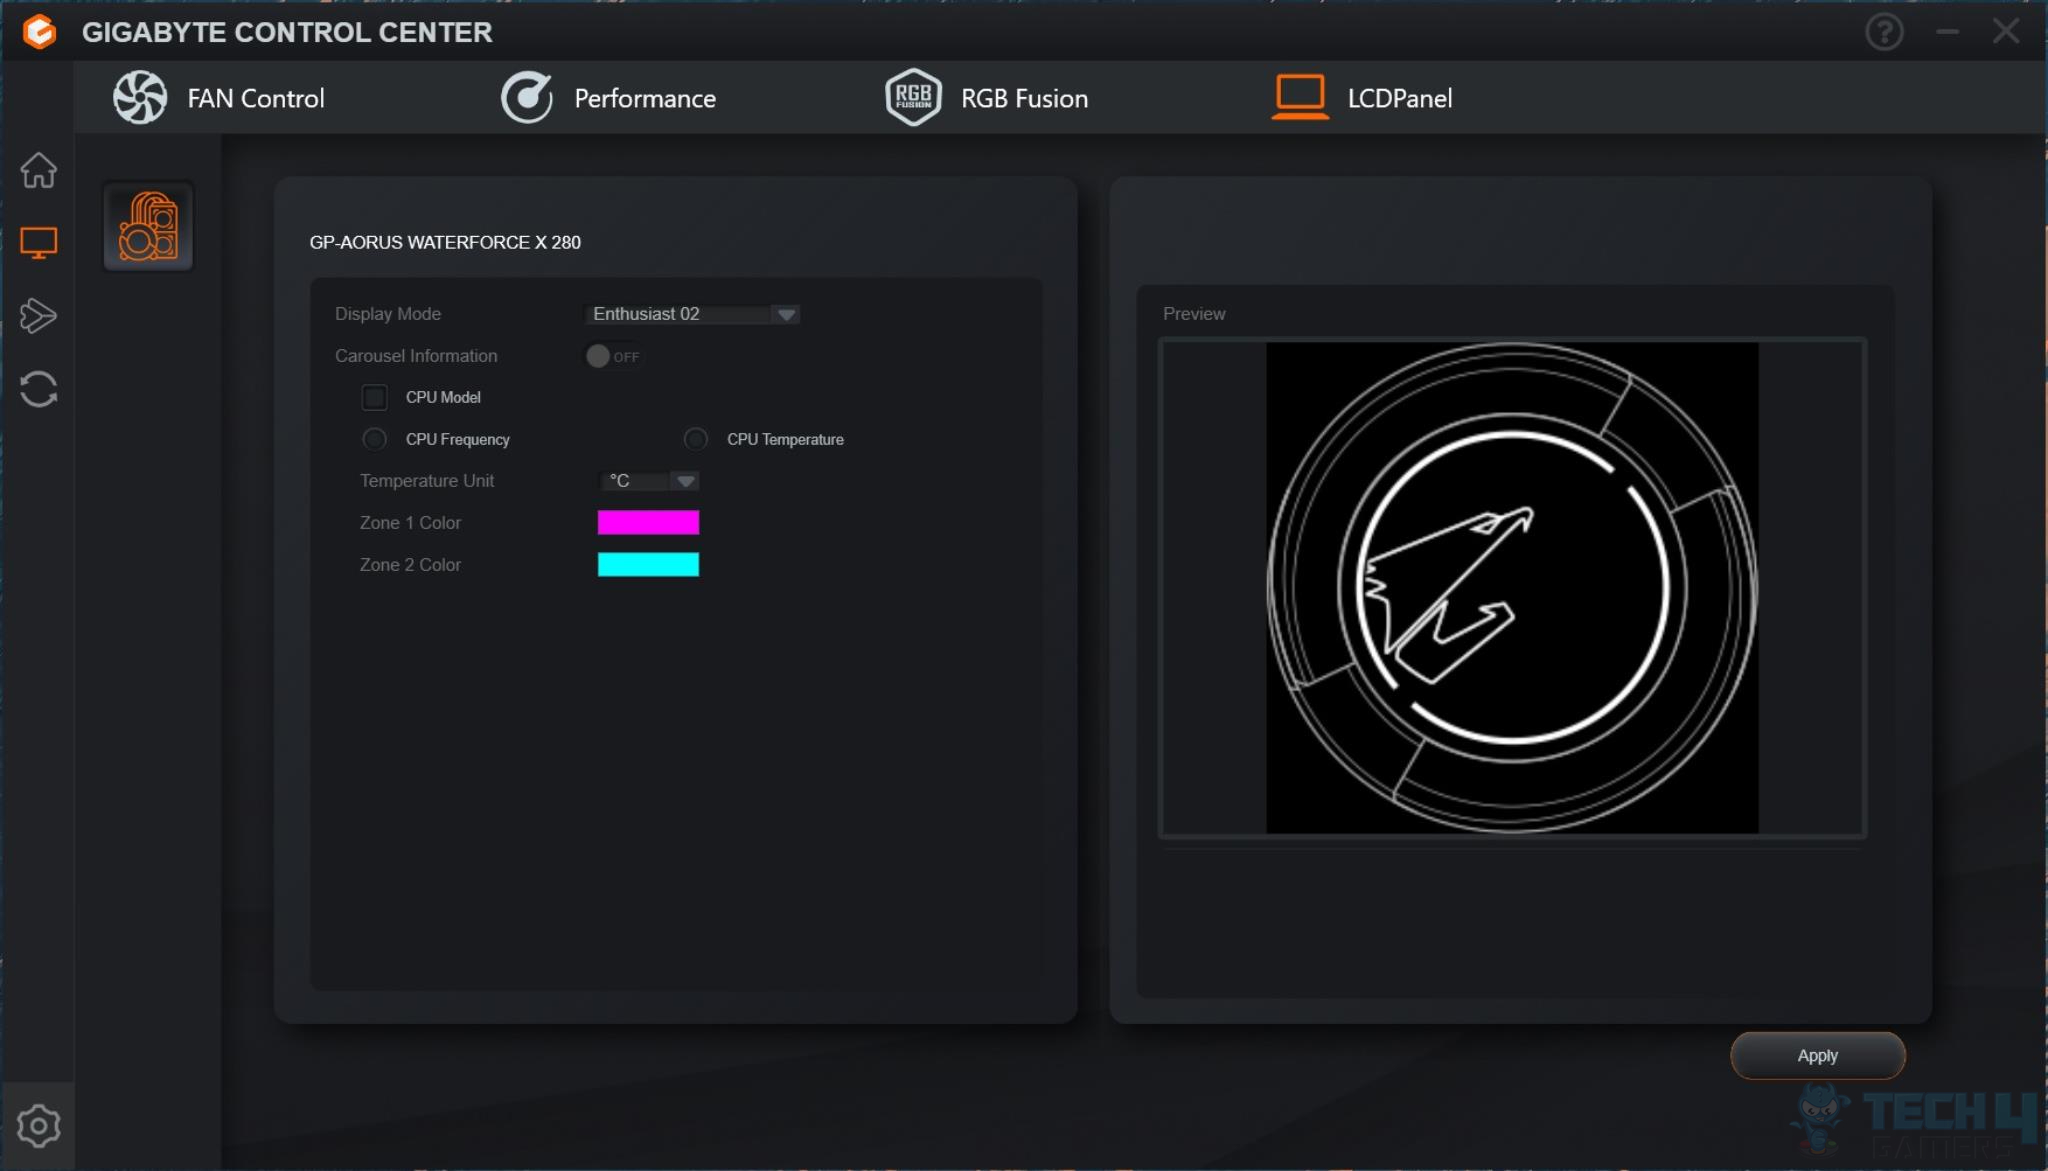

Installation
We have tested the cooler on the AM5 platform using the GIGABYTE X670E AORUS MASTER Motherboard and AMD Ryzen 7 7700X CPU. The installation is simple and convenient. We need 9 components to set up the mounting hardware for the block.

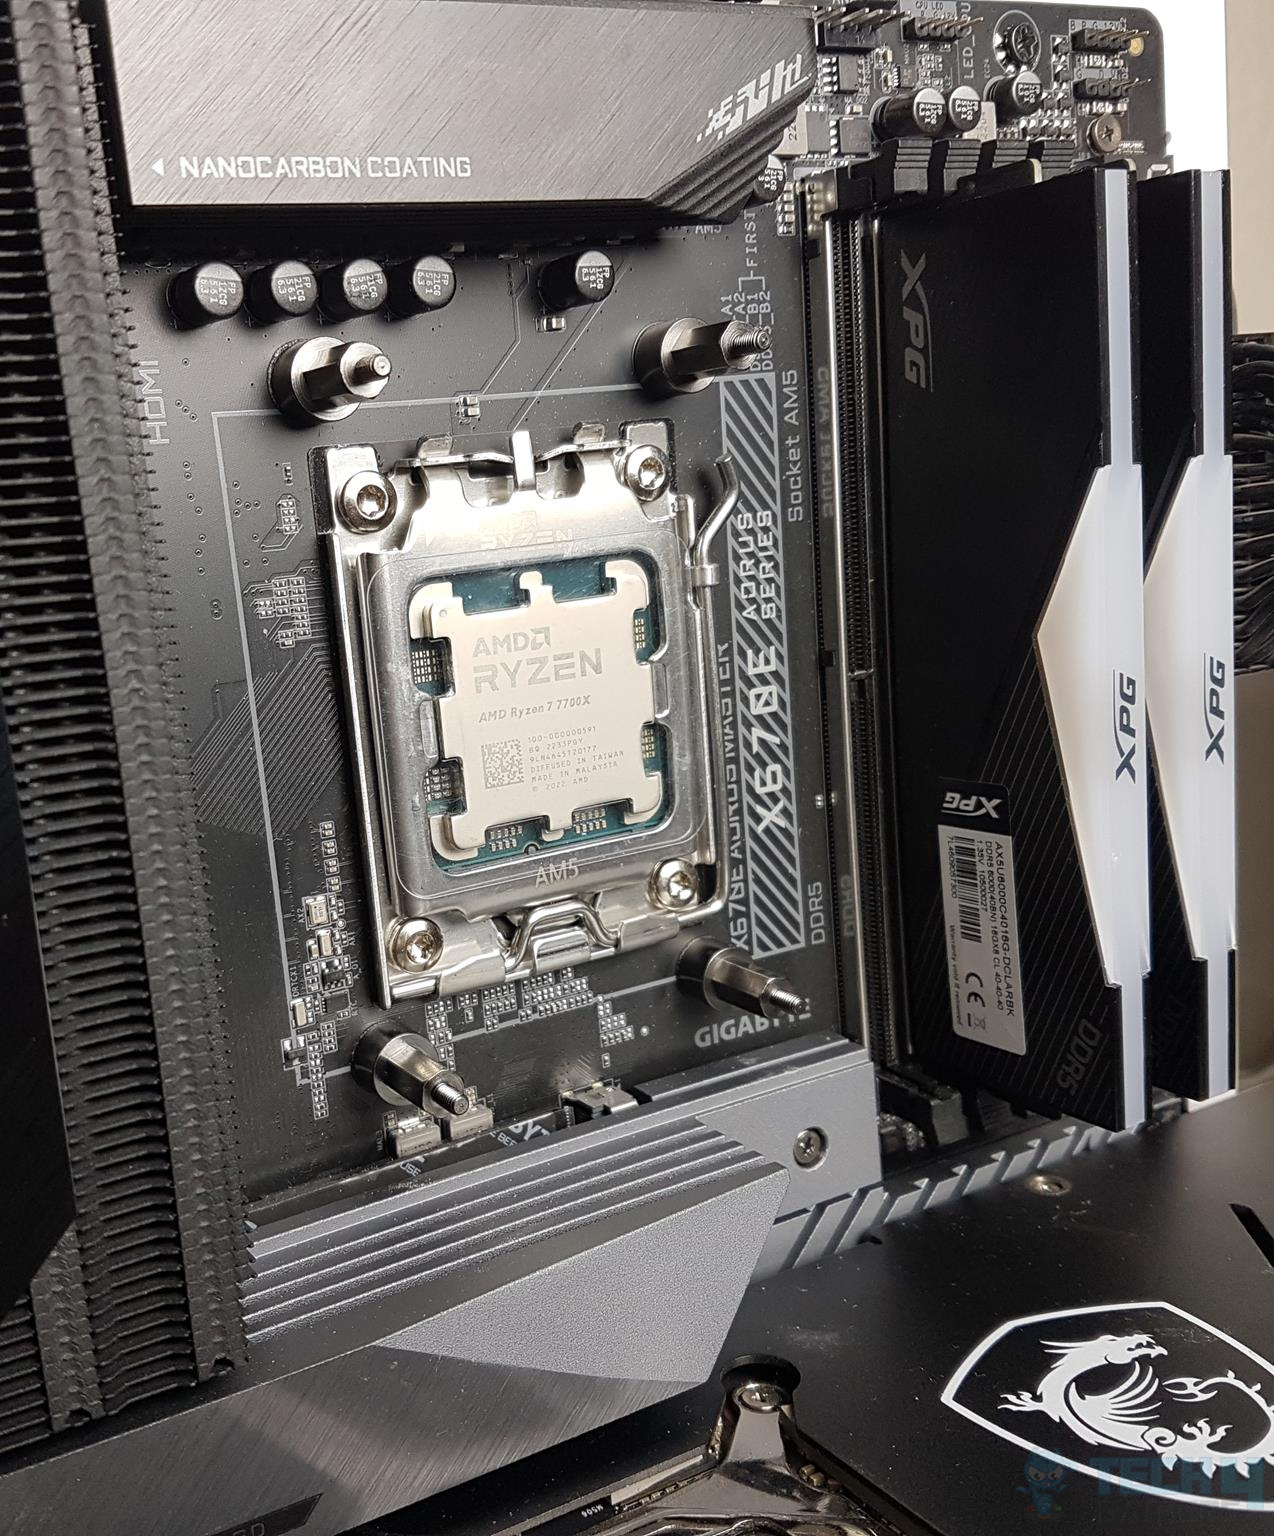
Installation procedure on the AM5 platform:
- The first picture shows the AMD AM4/5 mounting bracket (ring) installed on the block.
- Connect the micro-USB cable to the pump block and the 9-pin USB 2.0 header of the motherboard. The second picture shows the micro-USB cable connected to the block.
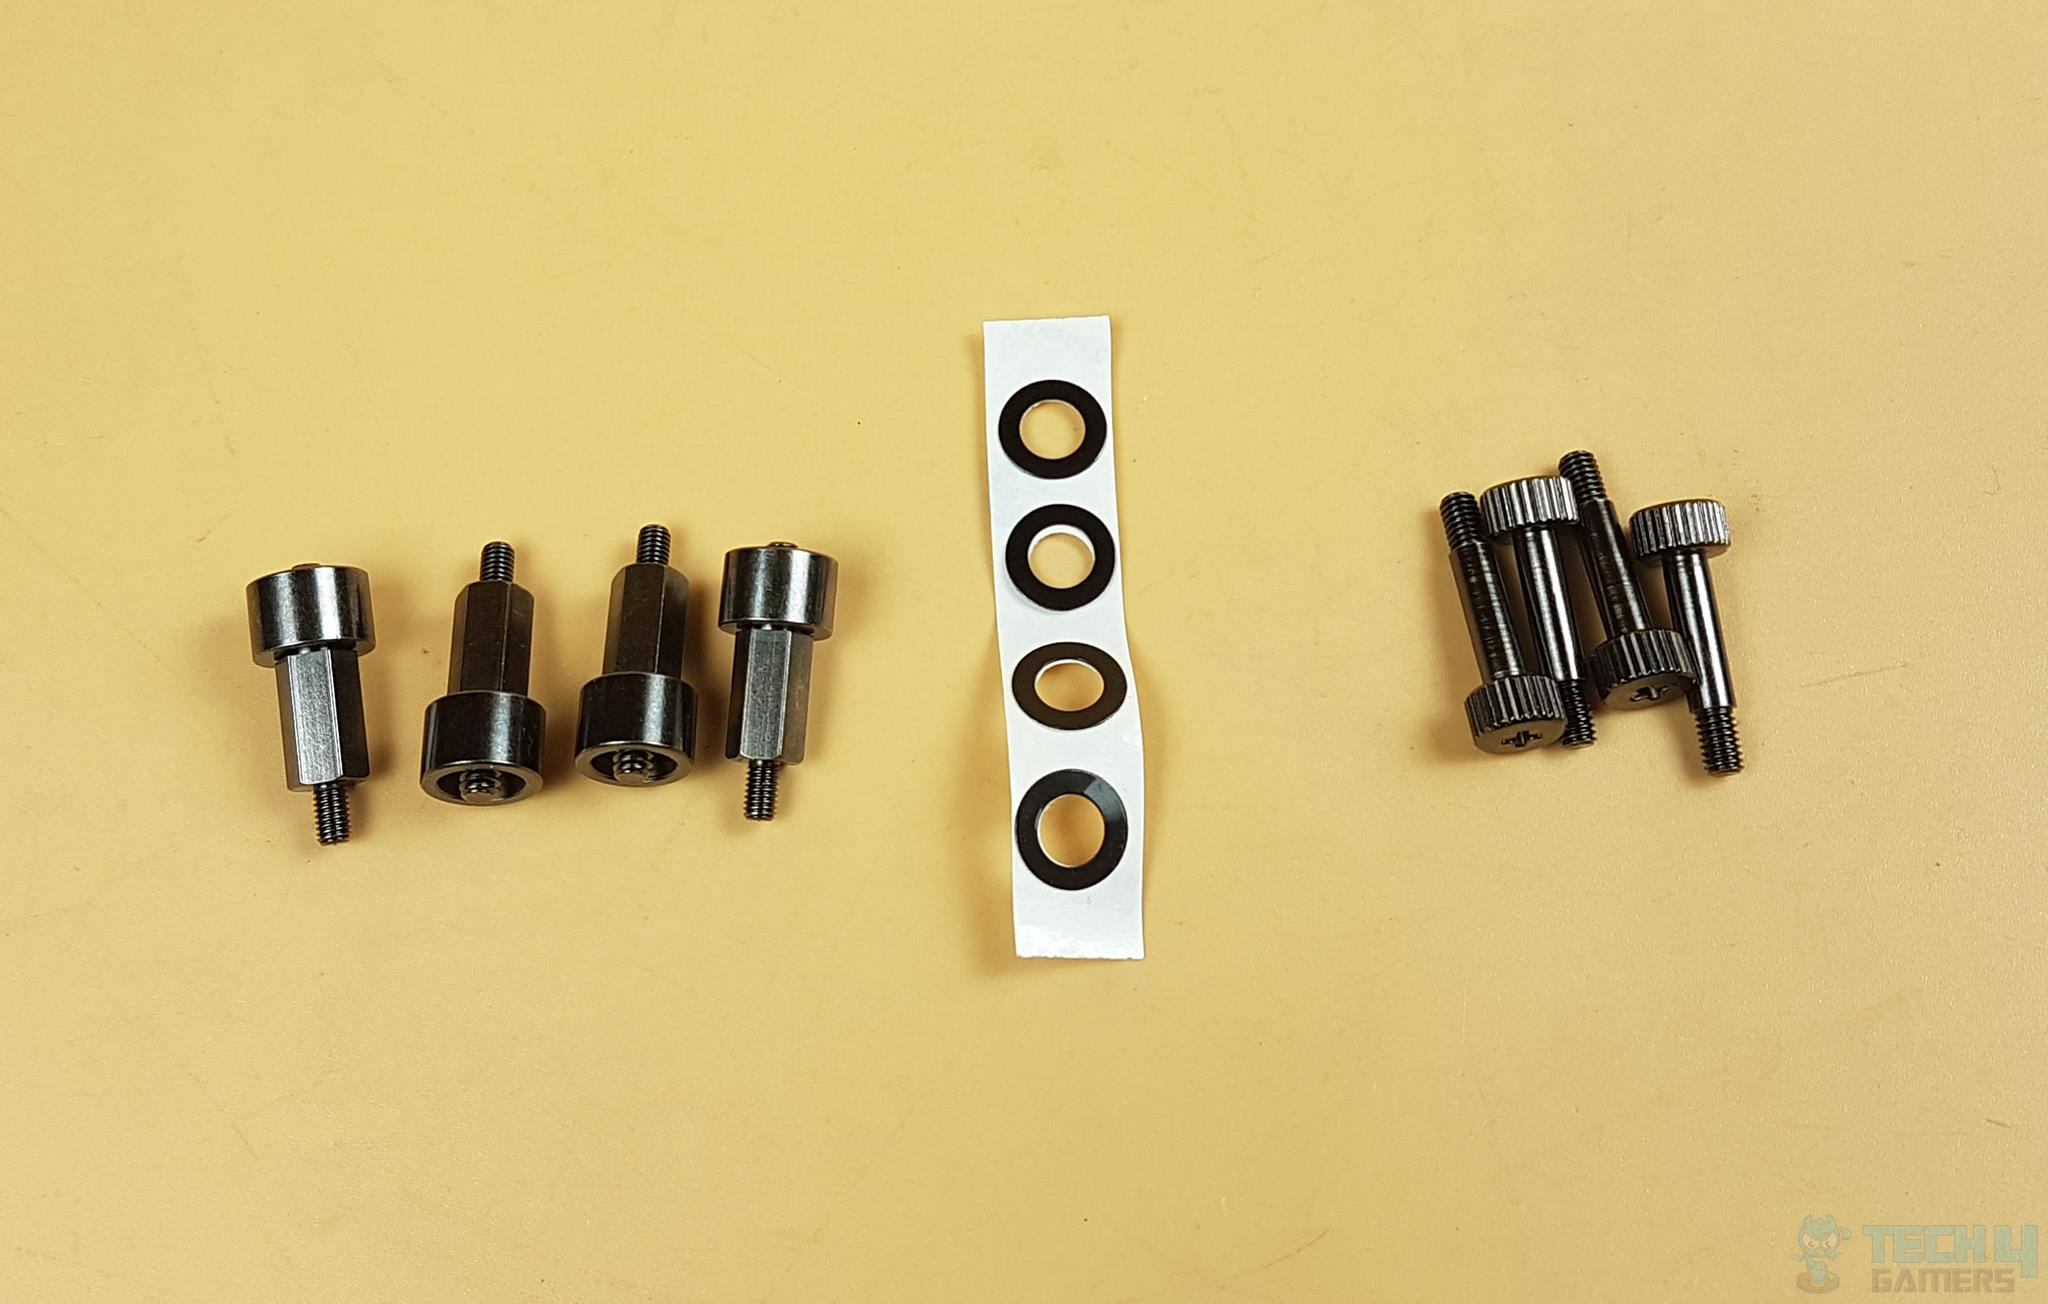
- The user would need 4x pasting washers and 4x standoff/screws. Remove the stock mounting brackets and keep them saved in your motherboard box.
- Place the pasting washers around the backplate’s standoffs. I have pasted them on the base of the screws as I don’t like pasting anything on the motherboard.
- The fans are installed on the radiator.
- The unit is ready for testing.
Please refer to the user manual for detailed installation instructions. We did not observe anything particular to report here other than a bit short length of the tube, which might be an issue for certain orientations of the block.
Clearance
This AIO has a thicker tube. You might get a clearance issue for the first DIMM slot on the motherboard. Other than that, there is no clearance issue. Just make sure that your case supports a 280mm size radiator mount.
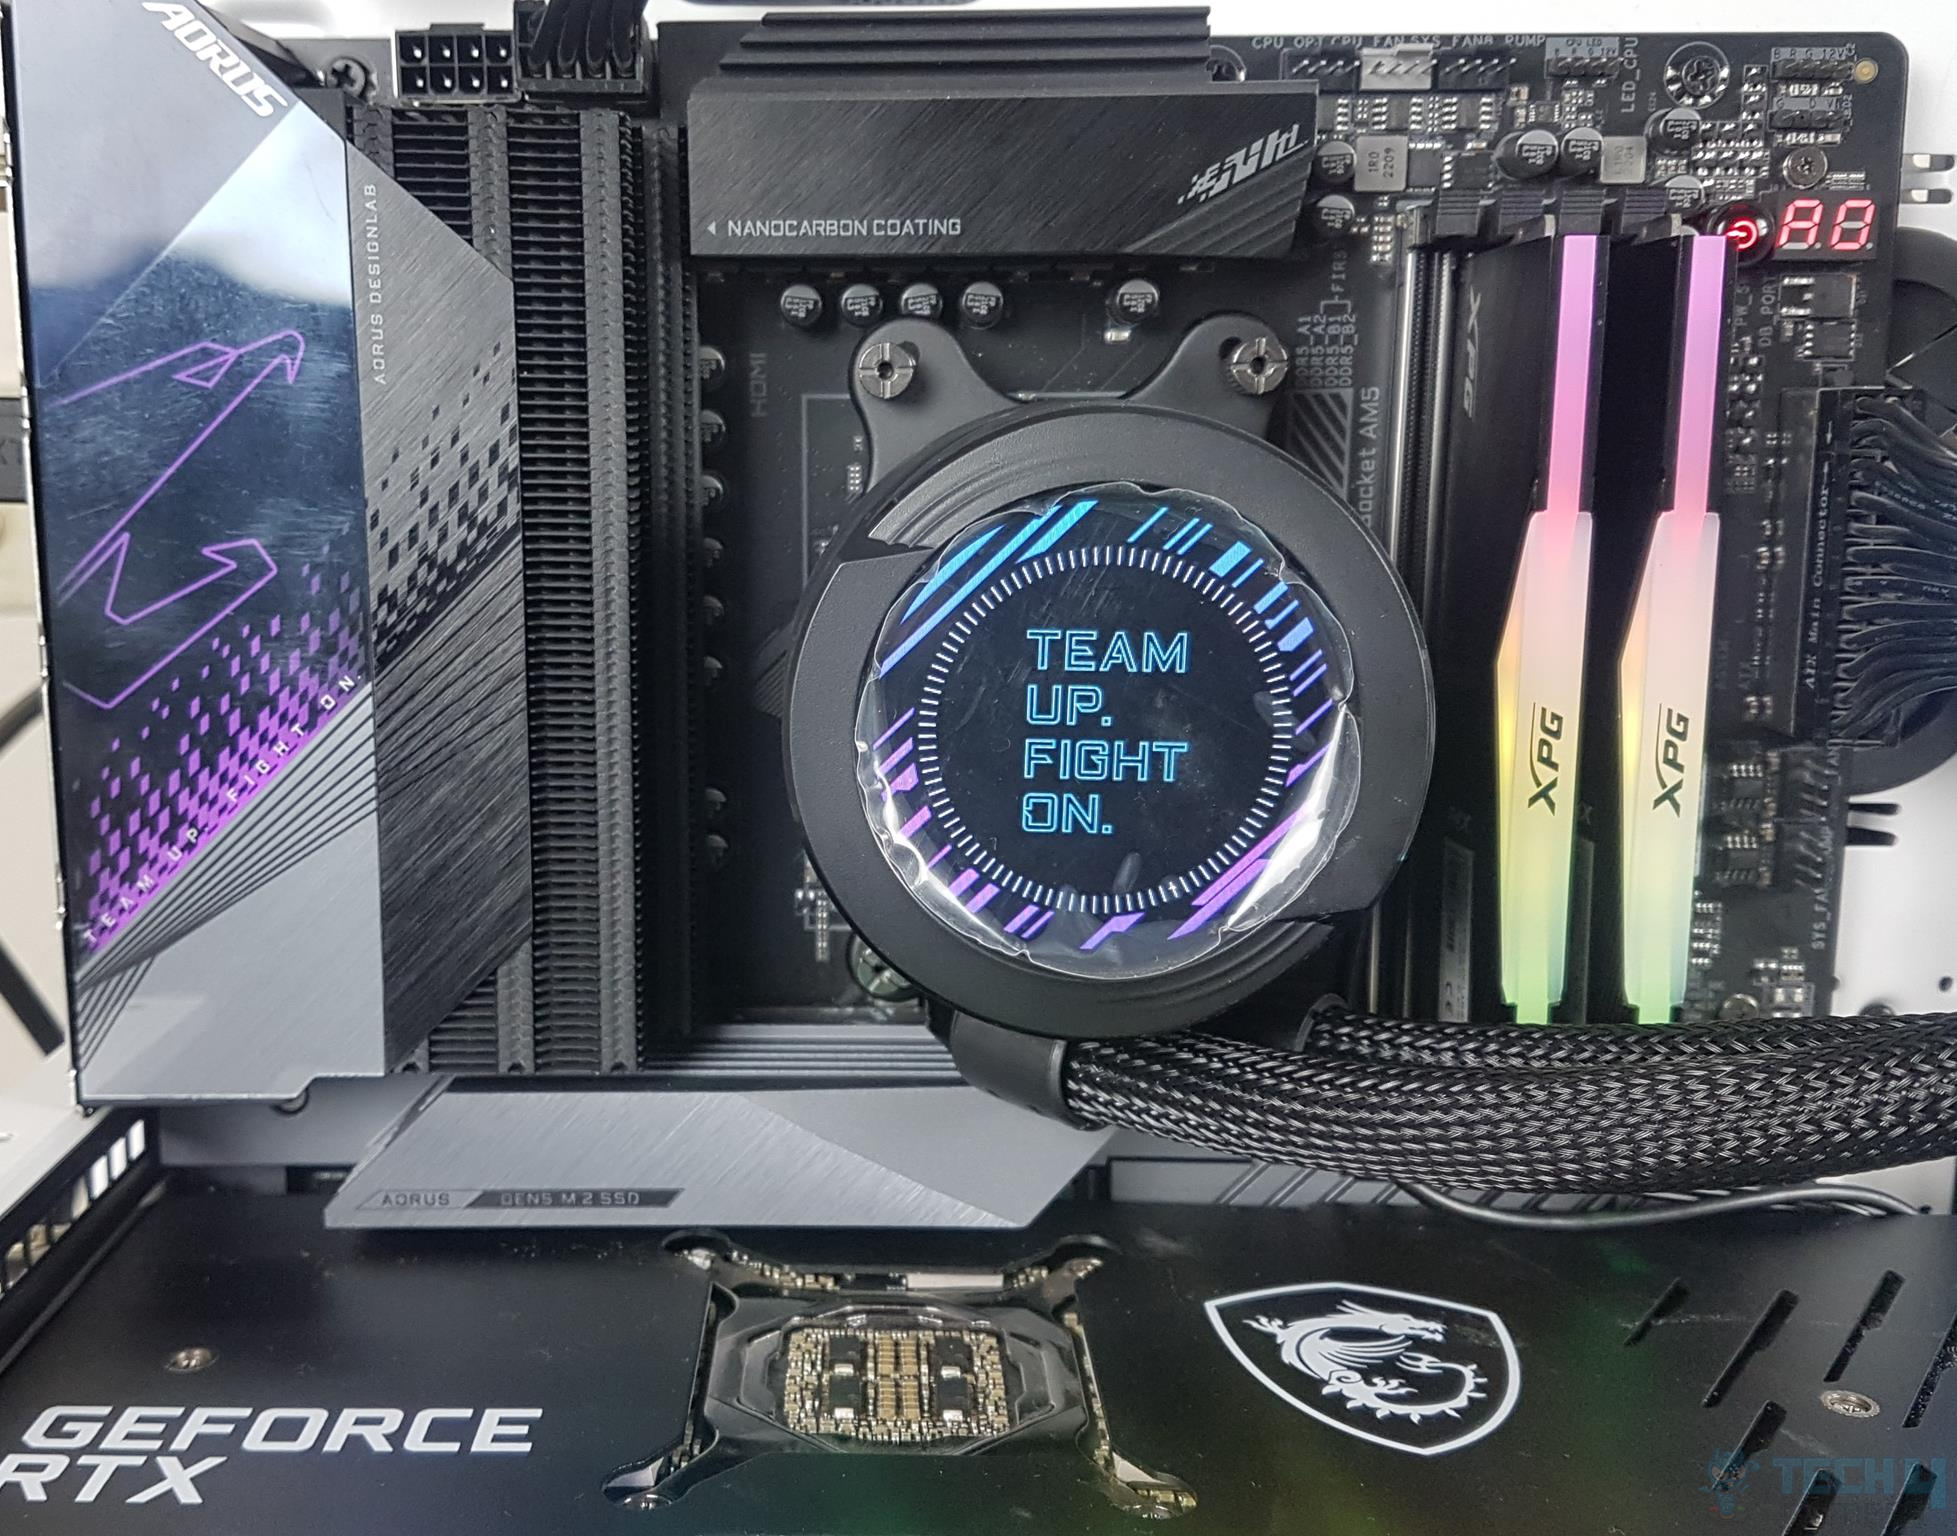
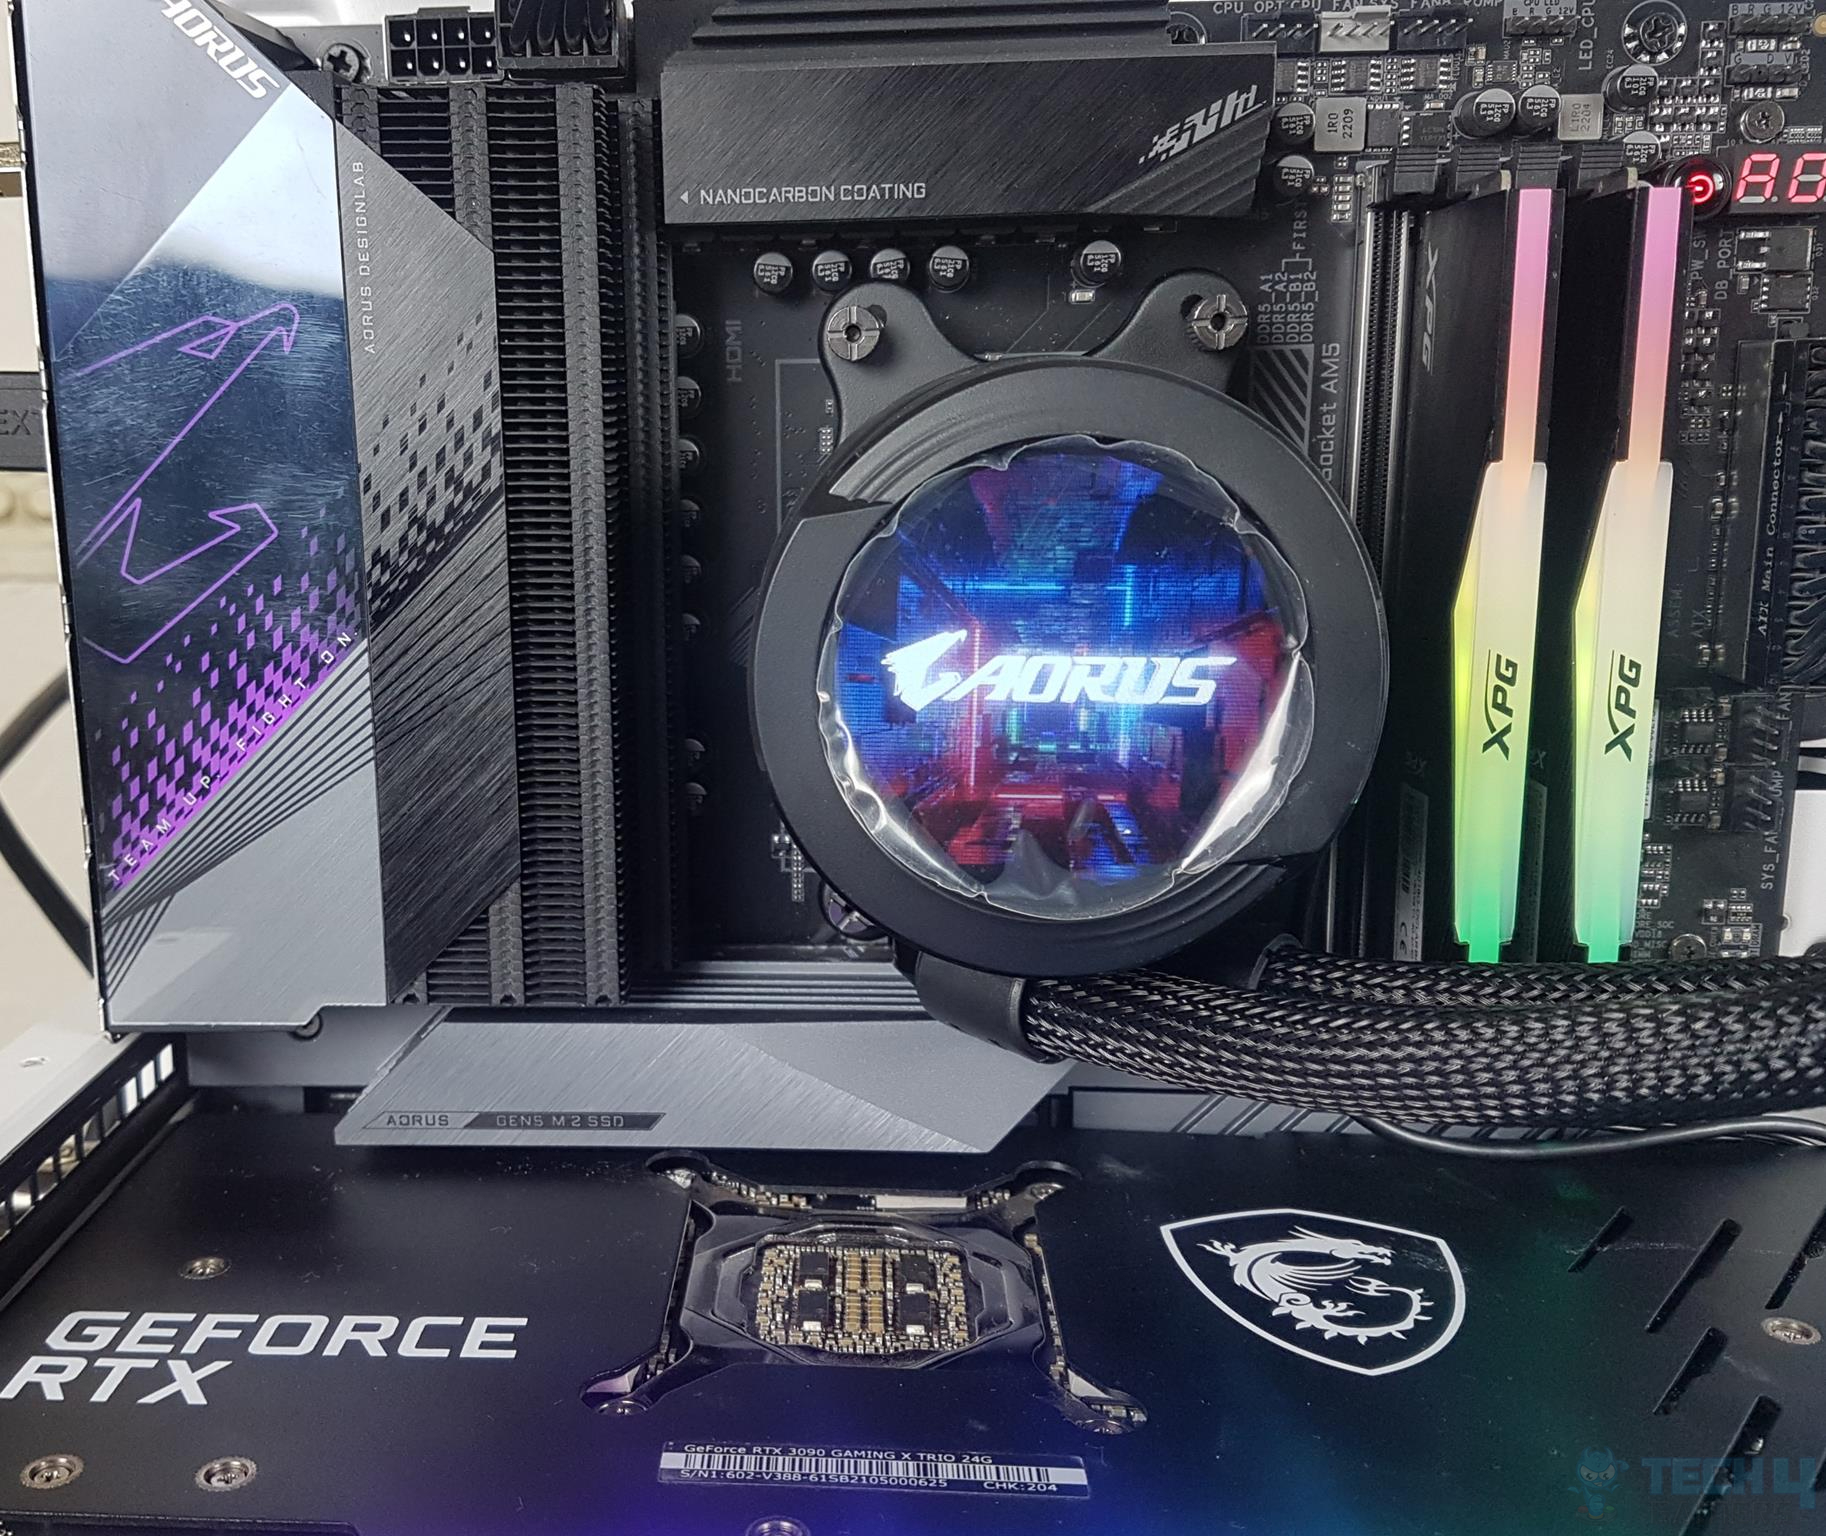
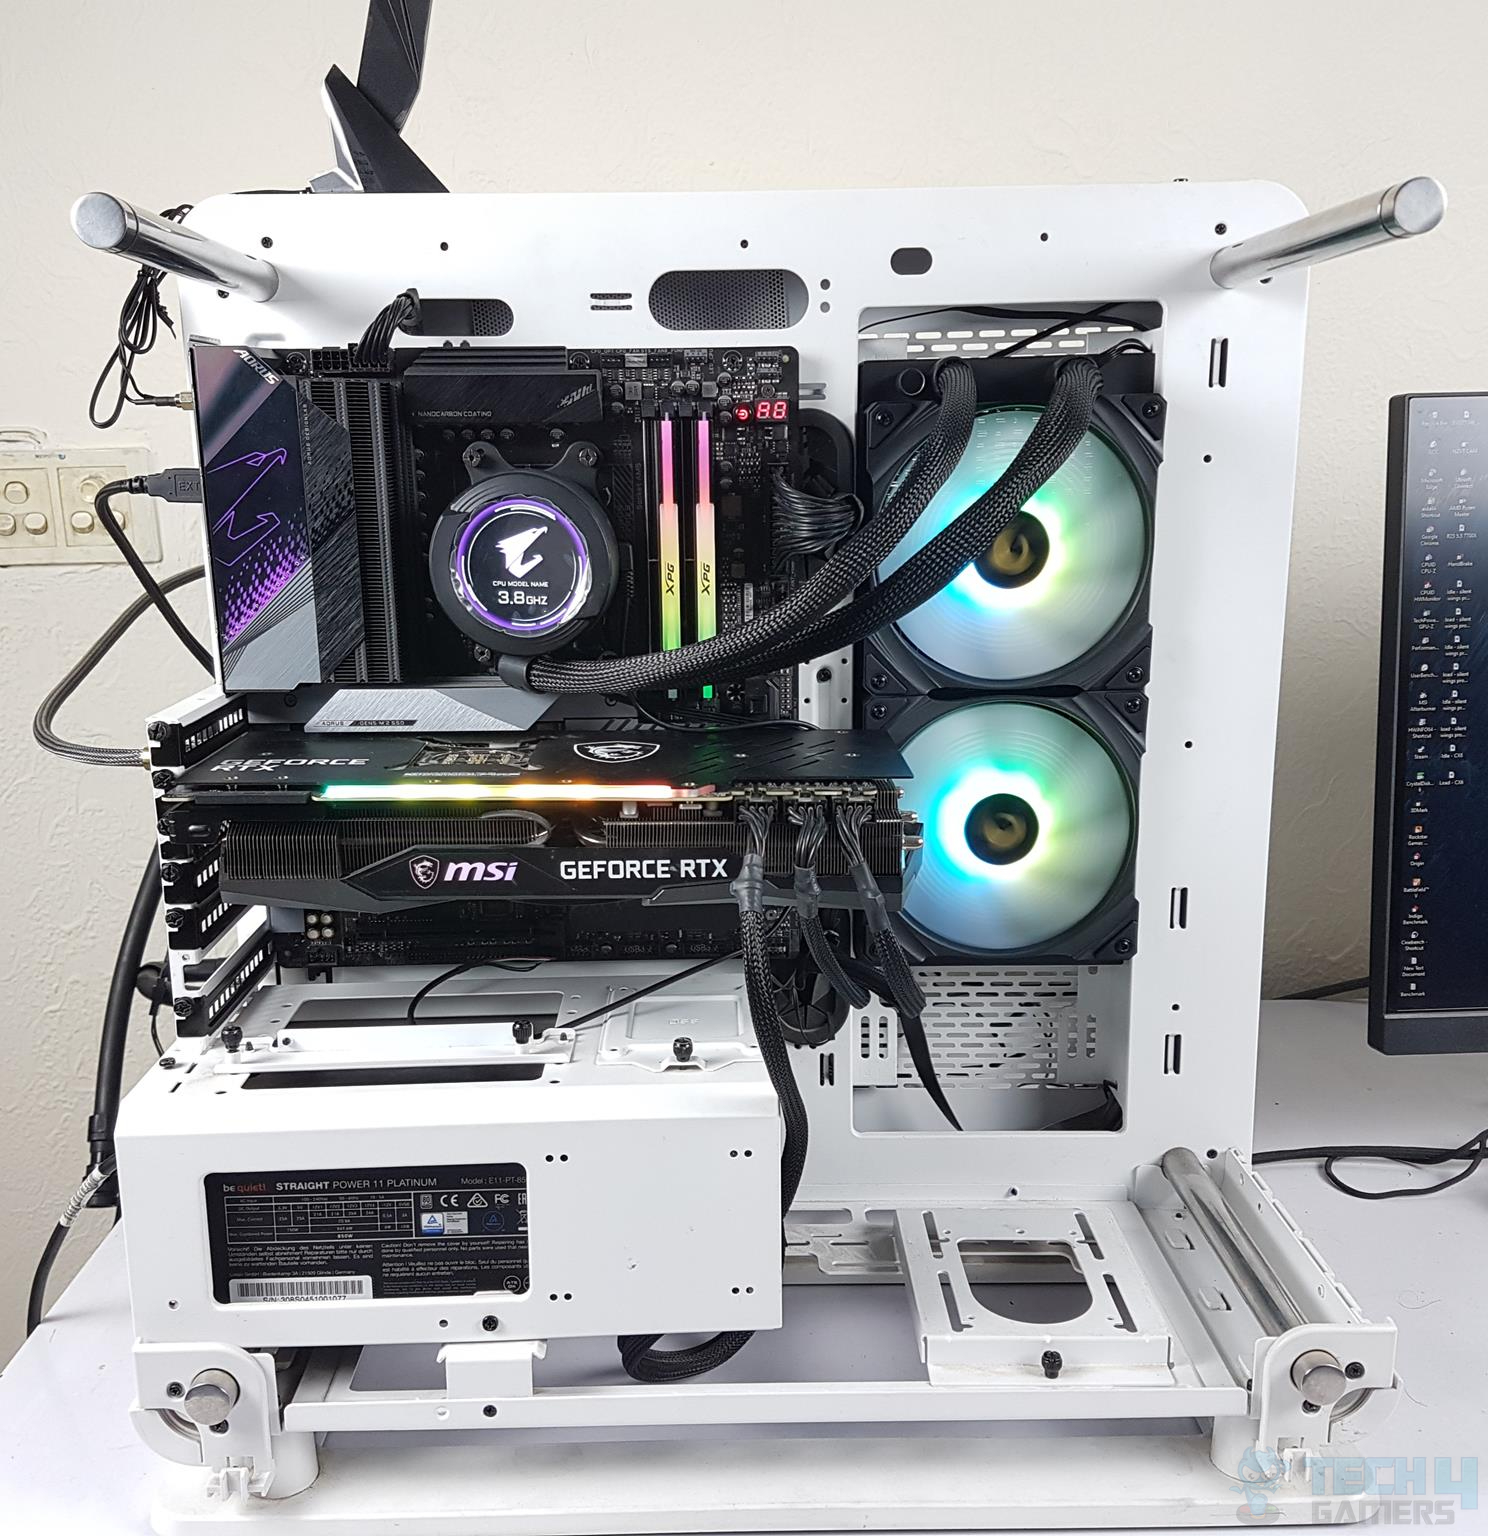
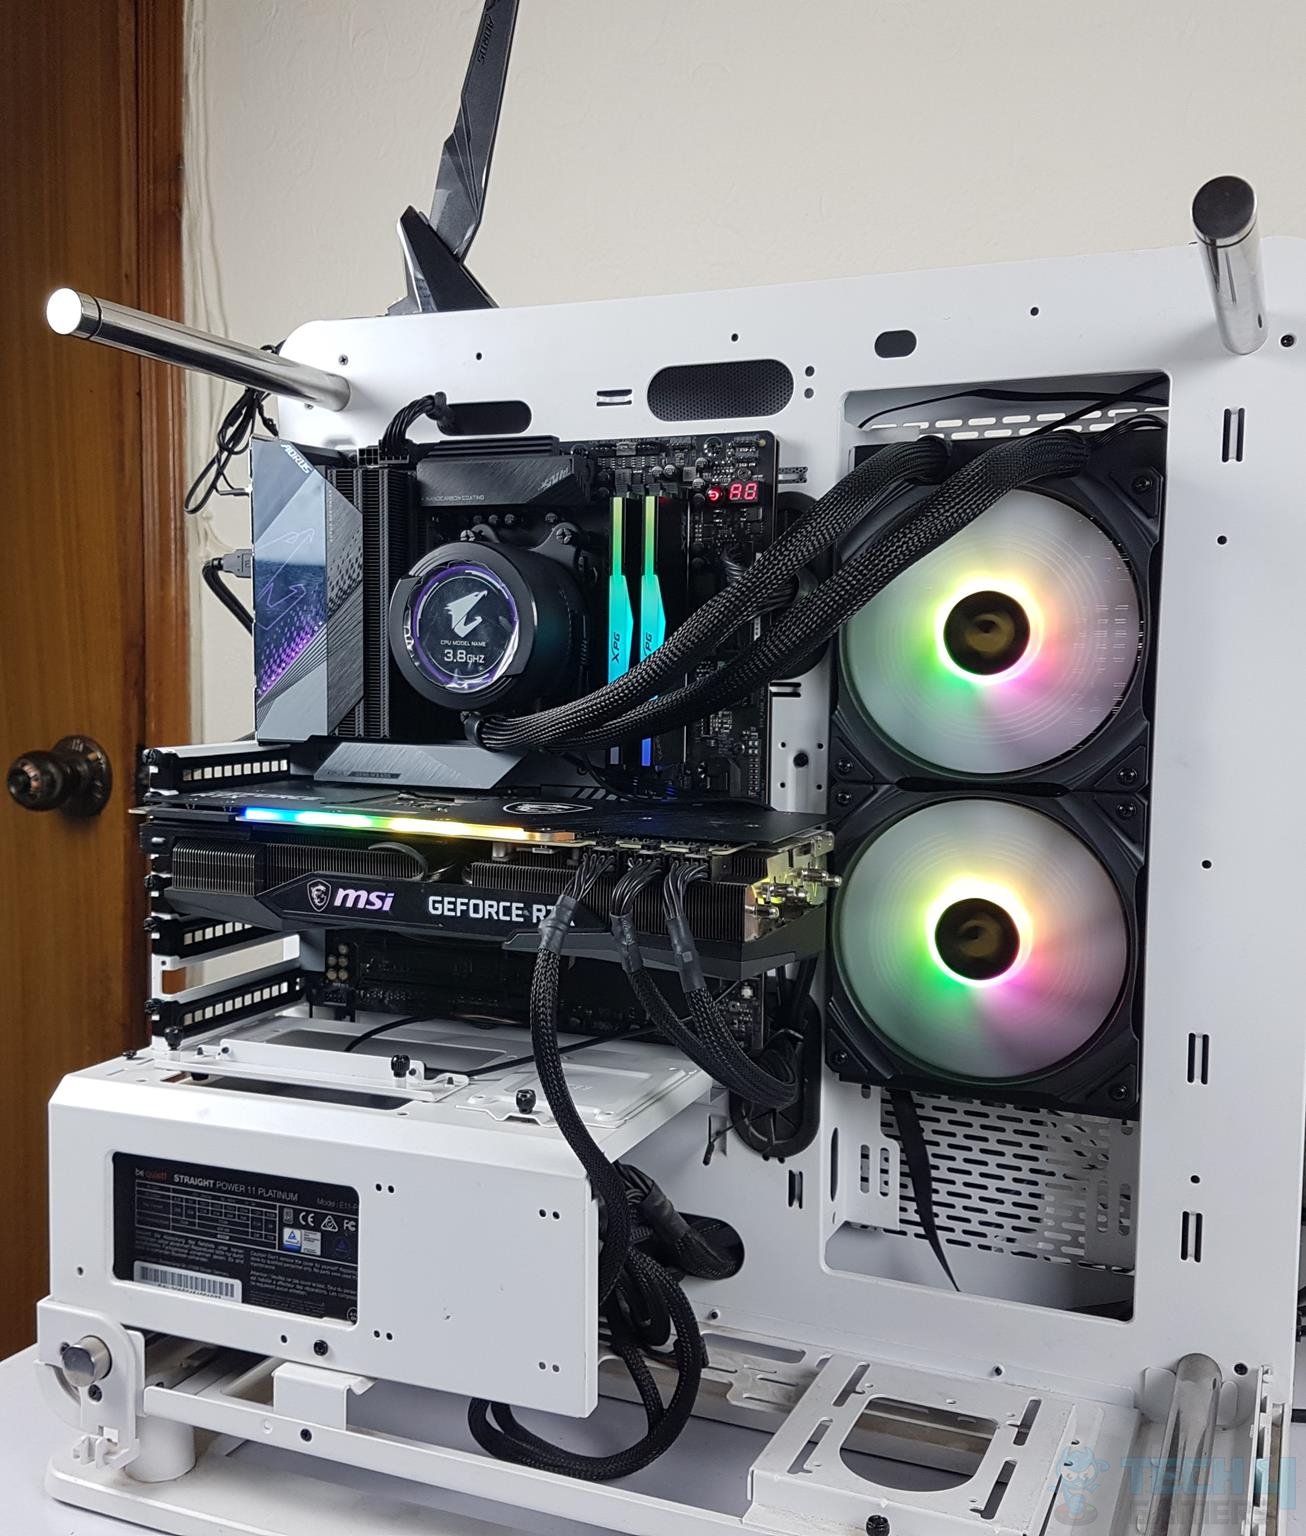
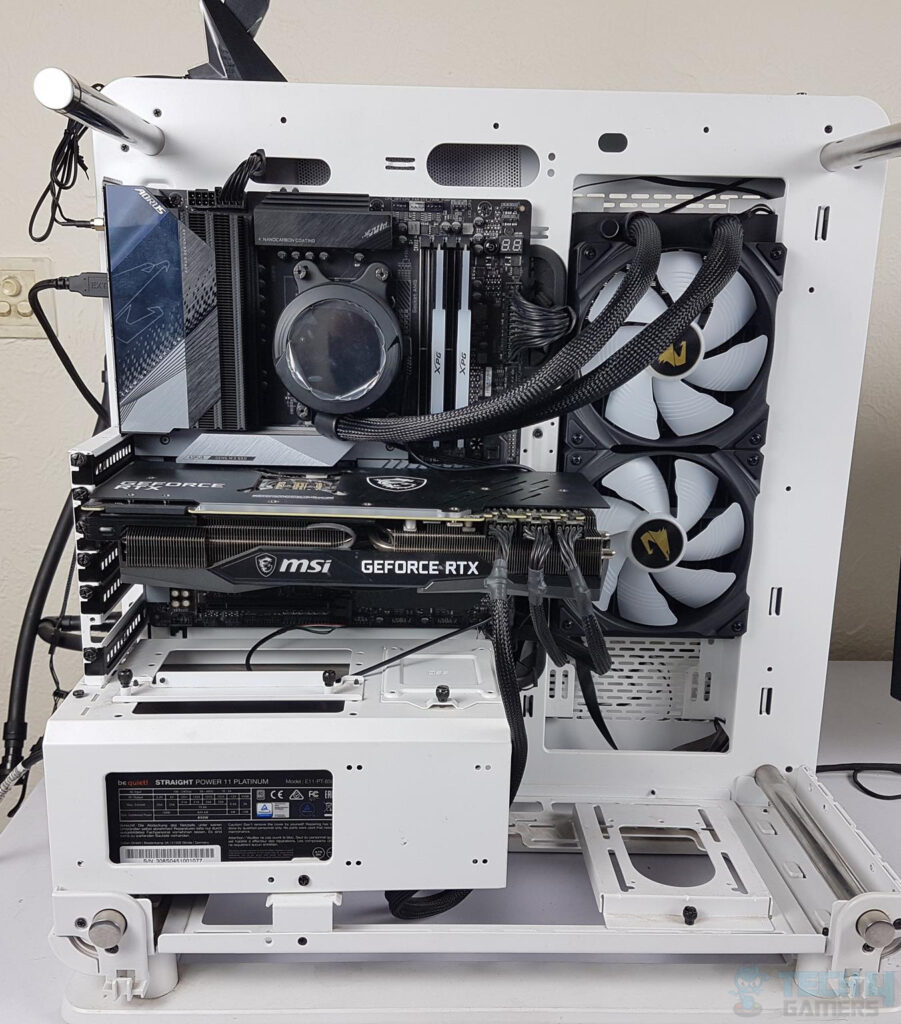
ARGB Light Show
Apparently, this cooler is compatible with the RGB Fusion 2.0, given the very design. We have used the RGB FUSION to test the ARGB lighting. Here are a few pictures:
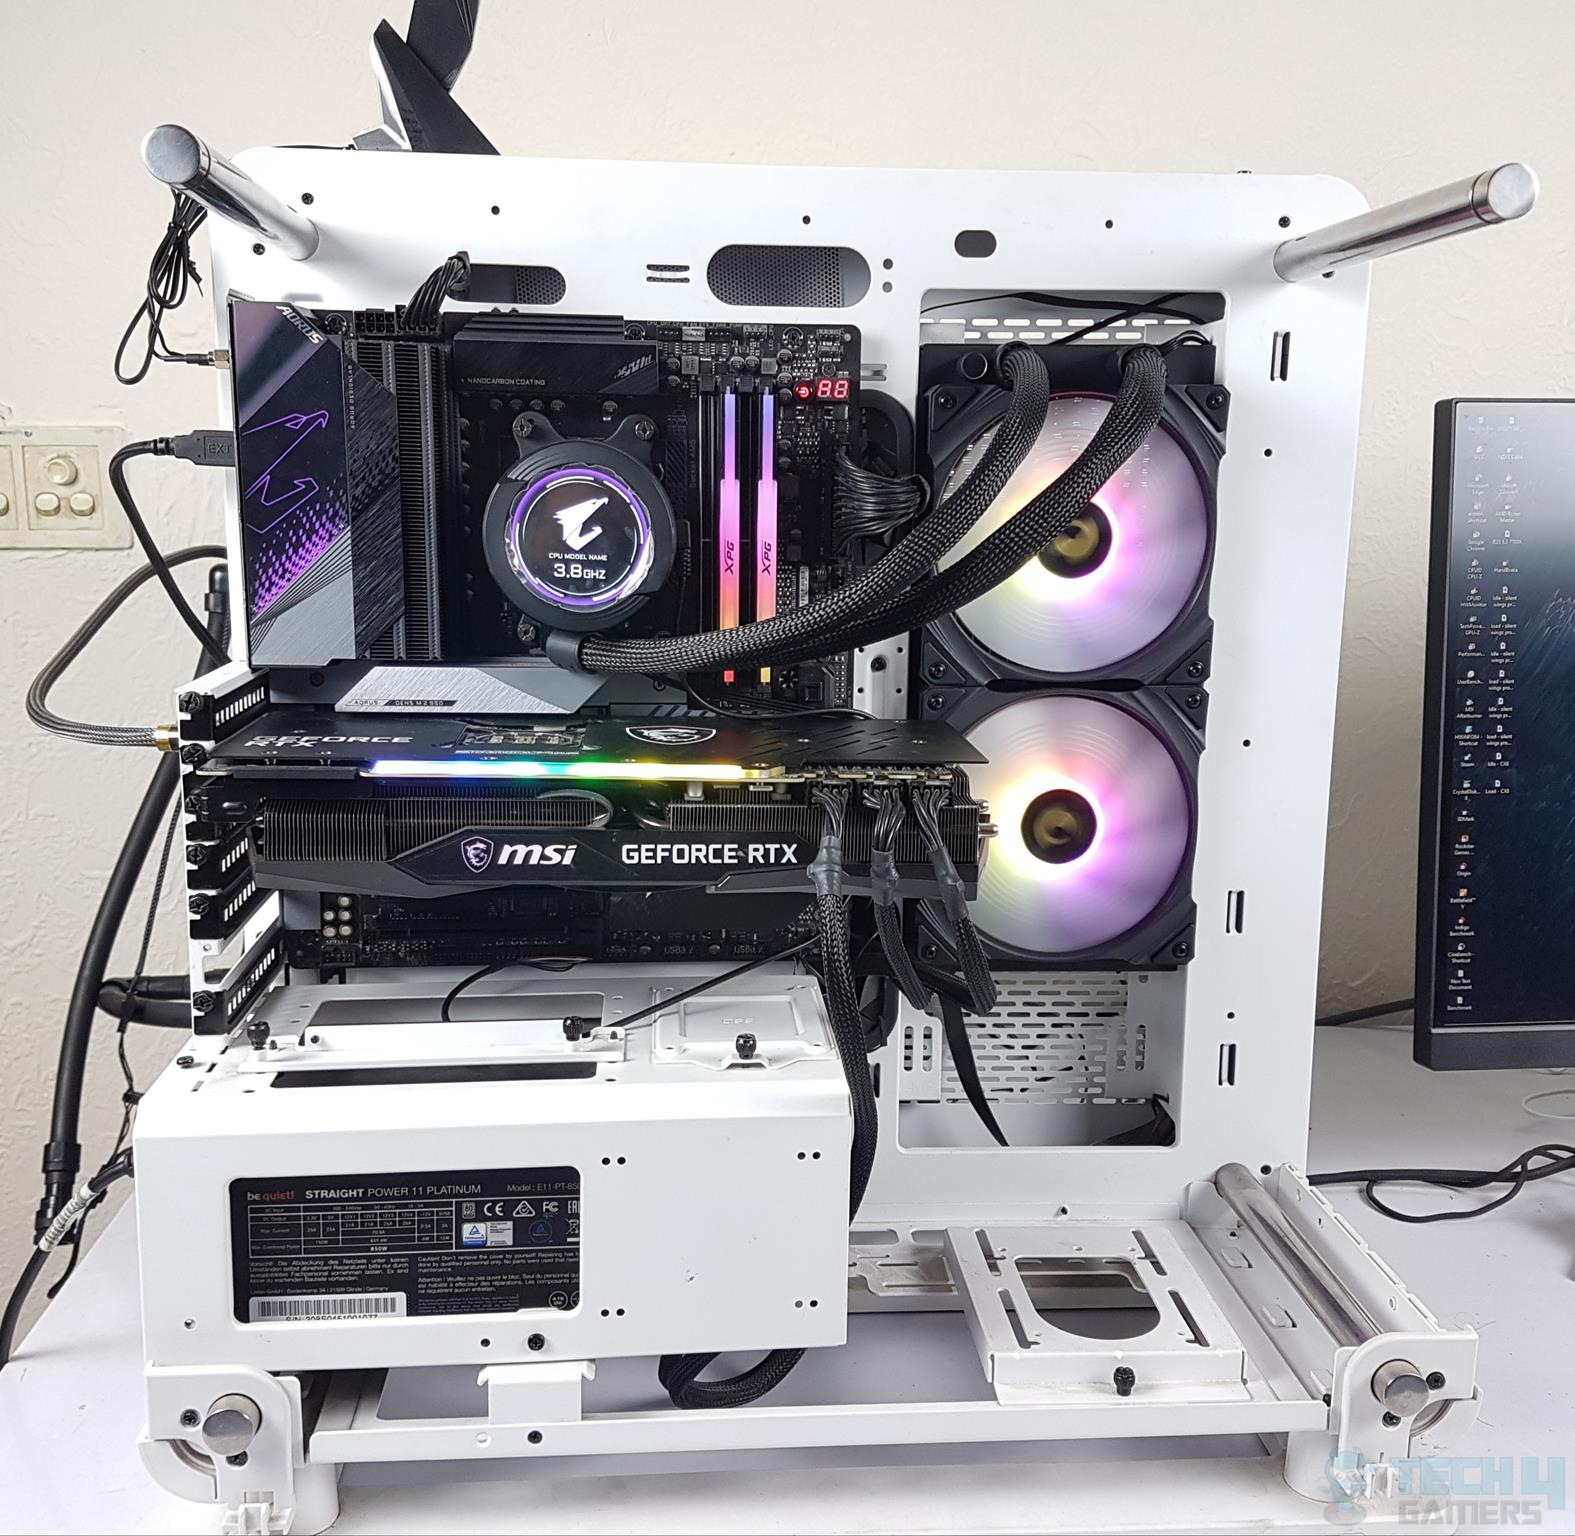
Testing
The following test bench is used: –
| Processor | AMD Ryzen 7 7700X |
|---|---|
| Motherboard | GIGABYTE X670E AORUS MASTER |
| RAM | XPG Lancer RGB 2x16GB @ 6000MHz |
| SSD (For OS) | Sabrent Rocket 4 Plus 2TB NVMe SSD |
| Graphics Card | MSI GeForce RTX 3090 Gaming X Trio 24G |
| PSU | be quiet! Straight Power 11 850W Platinum PSU |
| Case | Thermaltake Core P6 TG Snow Edition in an open-frame layout |
Here is the settings table for testing:
| All Cores Clock (MHz) | 5200 All Cores |
| VCore (V) | 1.260V |
| Thermal Paste | Noctua NT-H1 |
| Test Run Time | 30 minutes CINEBENCH R23 |
| Idling Time | 10 minutes |
| Fan Speed | Pre-Defined Modes, 40%, 60%, 80%, and 100% PWM Duty Cycle. |
| Software | CINEBENCH R23 |
Results
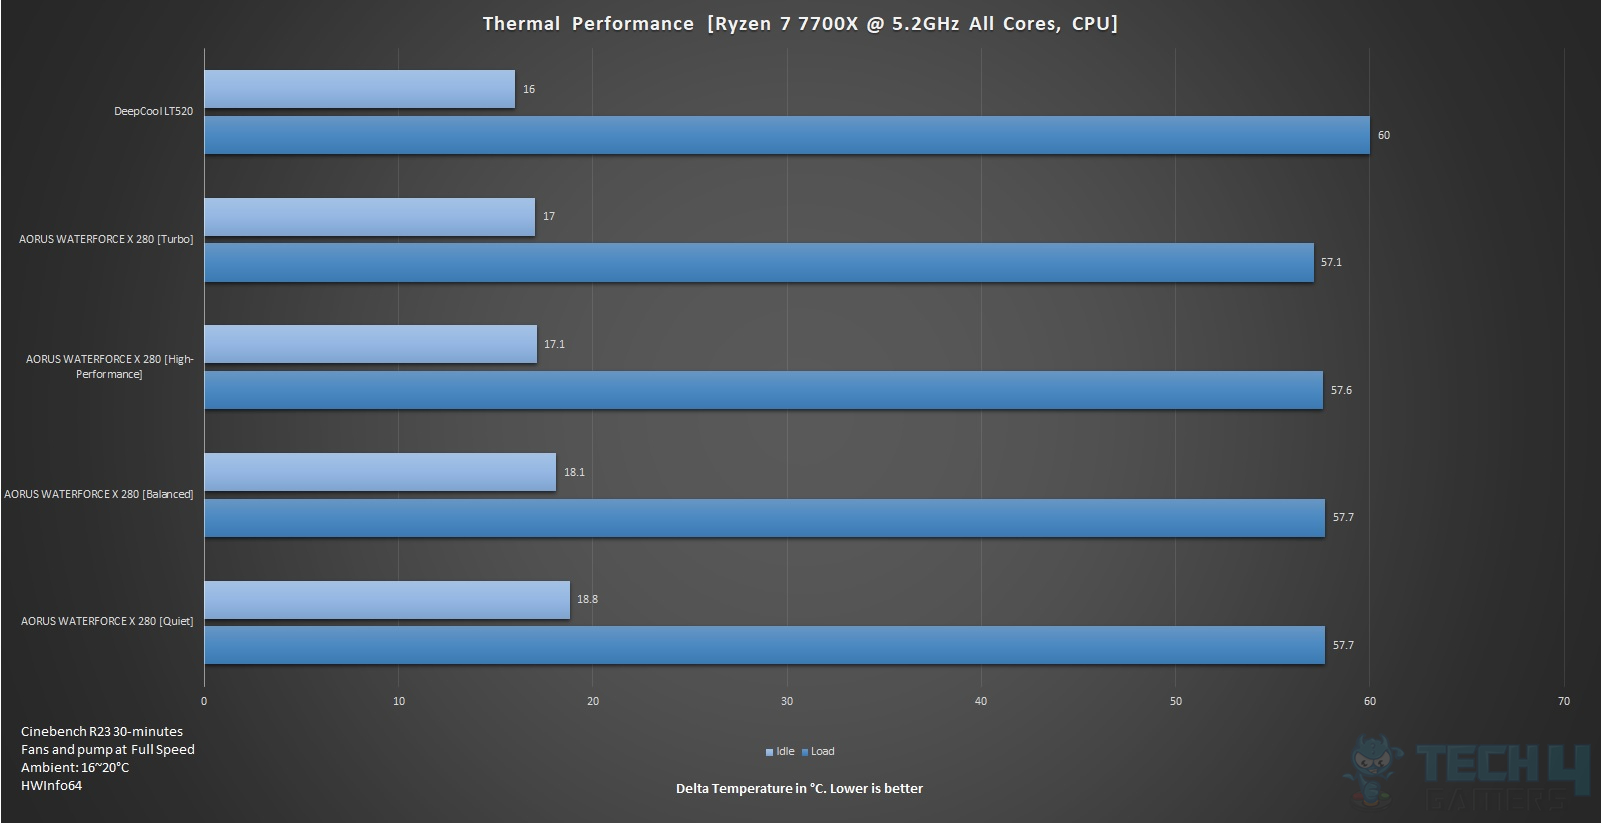
We recently tested the DeepCool LT 520 cooler on this platform. That is a 240mm size AIO. The above graphs show the result of using all 4 pre-defined fan control modes. Since AORUS has defined aggressive fan curves on these profiles with a cut-off temperature to reach a full speed of 65°C. On the AMD AM5 platform, the CPU is designed to run at 95°C.
The difference is coming from manual overclocking, which actually reduces the temperature of the CPU. Regardless, since the CPU was operating above 70°C, we are seeing a similar result from all profiles. Indeed the cooler performed quite well at 100% speed, but it was noisy.
Next, we determined the speed range of the pre-defined modes, and based on that speed range, the corresponding PWM duty cycles were determined. We then connected the fans directly to the motherboard and repeated the tests.
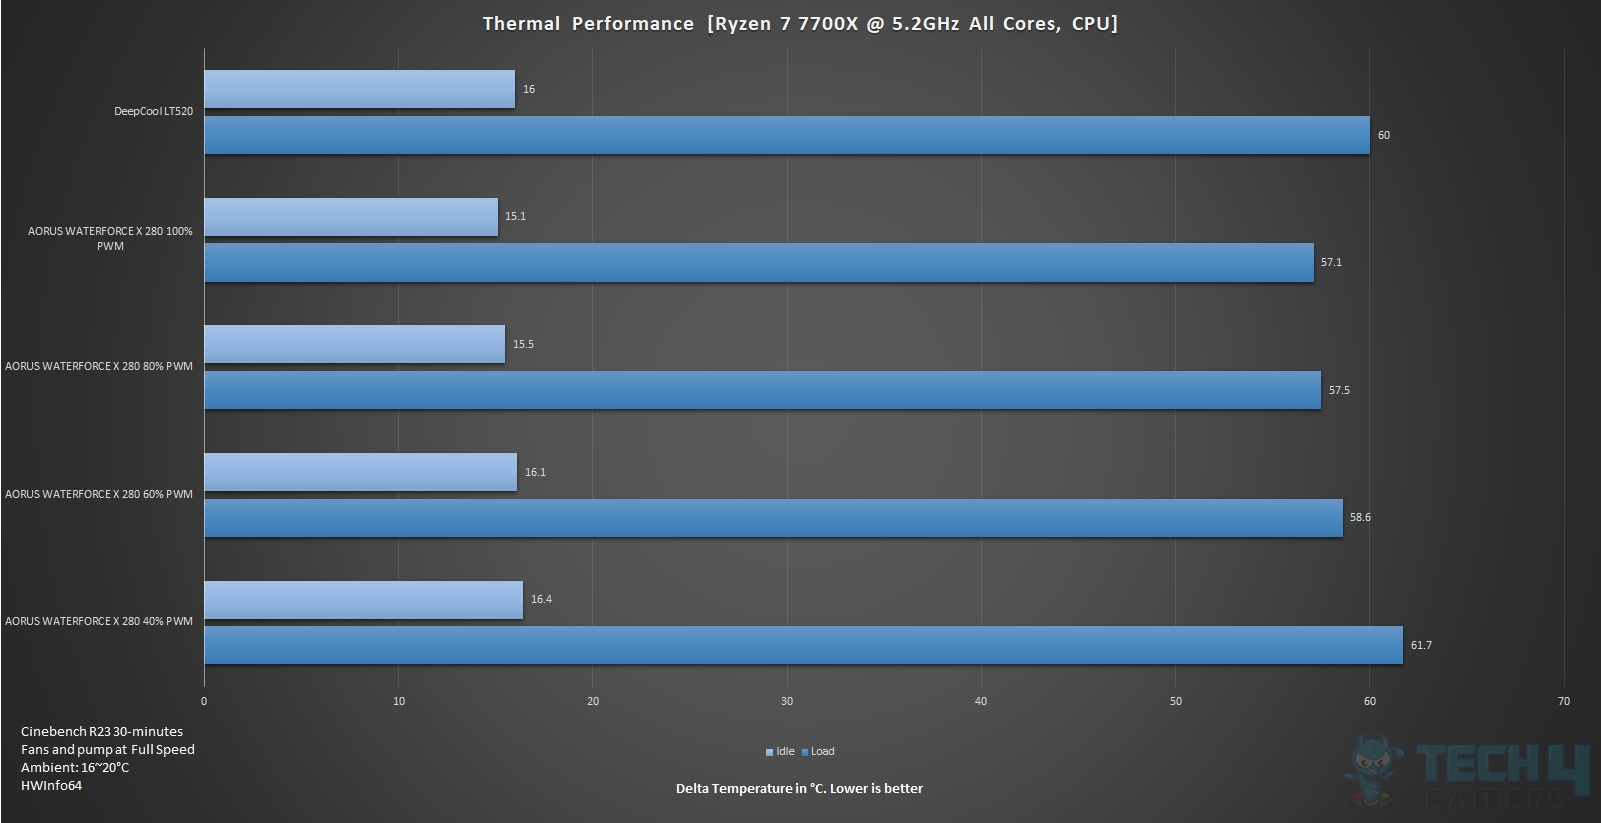
Now, we are getting a true picture of the thermal performance capability of this unit. The cooler has maintained a good lead over the DeepCool LT 520 up till the 60% PWM cycle. At 40% PWM cycle, the LT 520 beats the WATERFORCE X 280 but keep in mind that the fans on this AIO were operating at 40% of their rated speed.
We are using the delta temperature as the temperature varies throughout the day. The overall thermal performance of the AORUS WATERFORCE X 280 is superb but at an elevated noise level.
Noise
The fans are quite loud. We measured 55 dB(A) at an ambient of 32 dB(A). Here is the break up:
| Mode | Sound Output dB(A) | Load |
| Turbo | 55 | For all loads |
| High-Performance | 52 | Idle or Low Load. 55 on heavy load |
| Balanced | 48 | Idle or Low Load. 55 on heavy load |
| Quiet | 41 | Idle or Low Load. 55 on heavy load |
Should You Buy It
After extensive testing of the GIGABYTE AORUS WATERFORCE 280 X, we were able to evaluate its positives and negatives.
Buy It If:
You want a capable 280mm AIO Cooler: Throughout our testing, the GIGABYTE AORUS WATERFORCE X 280 showcased impressive cooling potential.
You want a 280mm cooler with an LCD screen: The GIGABYTE AORUS WATERFORCE X 280 features a stunning 60x60mm LCD Screen with accurate and vibrant colors with good customization reach through the software.
You prefer easy installation: In my experience, the GIGABYTE AORUS WATERFORCE X 280 was very easy to install.
Don’t Buy It If:
You are on a limited budget: Anyone working with a smaller budget will not be pleased by the cooler’s higher overall price-tag.
You want a silent experience: In our testing, we noticed the cooler’s higher noise output, which might not be suitable for anyone who wants a silent experience.
Conclusion
We have tested the premium cooling solution from GIGABYTE by taking a spin of AORUS WATERFORCE X AIO. This is a feature-rich cooling solution from GIGABYTE, which not only packs a solid performance but also offers brilliant features. The cooler includes a liquid temperature sensor, and you can display text, images, gifs, and videos on the LCD screen with a micro-SD card.
AORUS sets aggressive fan curves, but on hot-running CPUs, performance remains similar due to temperature limits. I tested it on a Ryzen 7 7700X, which runs hot by default.
We have determined the speed range for each of the pre-defined main modes and then determined their PWM duty cycle range in the UEFI/BIOS.
| Pre-Defined Mode | PWM Cycle |
| Turbo | 100% |
| High-Performance | 80% |
| Balanced | 60% |
| Quiet | 40% |
The AORUS WATERFORCE X 280 delivers exceptional thermal performance, but it comes with a price tag of USD 214.99, justified by its LCD screen and customization options. While GIGABYTE offers a 3-year warranty, I believe 5 years would have been more fitting for the price range. Including a 4GB to 8GB micro-SD card would have been a nice touch.
It’s important to note that this cooler is best suited for GIGABYTE platforms. Compatibility is limited, and GIGABYTE specifies the use of RGB FUSION 2 and AORUS ENGINE for this cooler.
Awards Received By GIGABYTE AORUS WATERFORCE X 280
The GIGABYTE AORUS WATERFORCE X 280 won the following Tech4Gamer Awards:
Recent Updates
- November 7, 2023: Few text changes to improve readability. No products were changed.
Thank you! Please share your positive feedback. 🔋
How could we improve this post? Please Help us. 😔
Feedback By:
[Hardware Reviewer & Editor]
Meet Nauman Siddique, a highly experienced computer science graduate with more than 15 years of knowledge in technology. Nauman is an expert in the field known for his deep understanding of computer hardware.
As a tech tester, insightful reviewer, and skilled hardware editor, Nauman carefully breaks down important parts like motherboards, graphics cards, processors, PC cases, CPU coolers, and more.
- 15+ years of PC Building Experience
- 10+ years of first-hand knowledge of technology
- 7+ years of doing in-depth testing of PC Hardware
- A motivated individual with a keen interest in tech testing from multiple angles.
- I majored in Computer Science with a Masters in Marketing
- Previously worked at eXputer, EnosTech, and Appuals.
- Completed Course in Computer Systems Specialization From Illinois Tech
Get In Touch: nauman@tech4gamers.com


