 Threads
Best 240mm AIO?
Review Summary
The Deepcool Captain 240 Pro CPU Liquid Cooler is a great 240mm AIO that offers some of the best 240mm performance along with beautiful looks. It uses innovative anti-leak technology so that you can rest assured regarding any leakage issues. The cooler may seem expensive to some, but it makes up for it with its high-end set of features.

Overall
-
Performance - 9/10
9/10
-
Value - 7.5/10
7.5/10
-
Looks - 8/10
8/10
-
Build Quality - 9/10
9/10
Pros
- Excellent Cooling Performance
- Low Noise Levels
- Anti-Leak Technology
- RGB Lightning
- Easy Installation
Cons
- Expensive


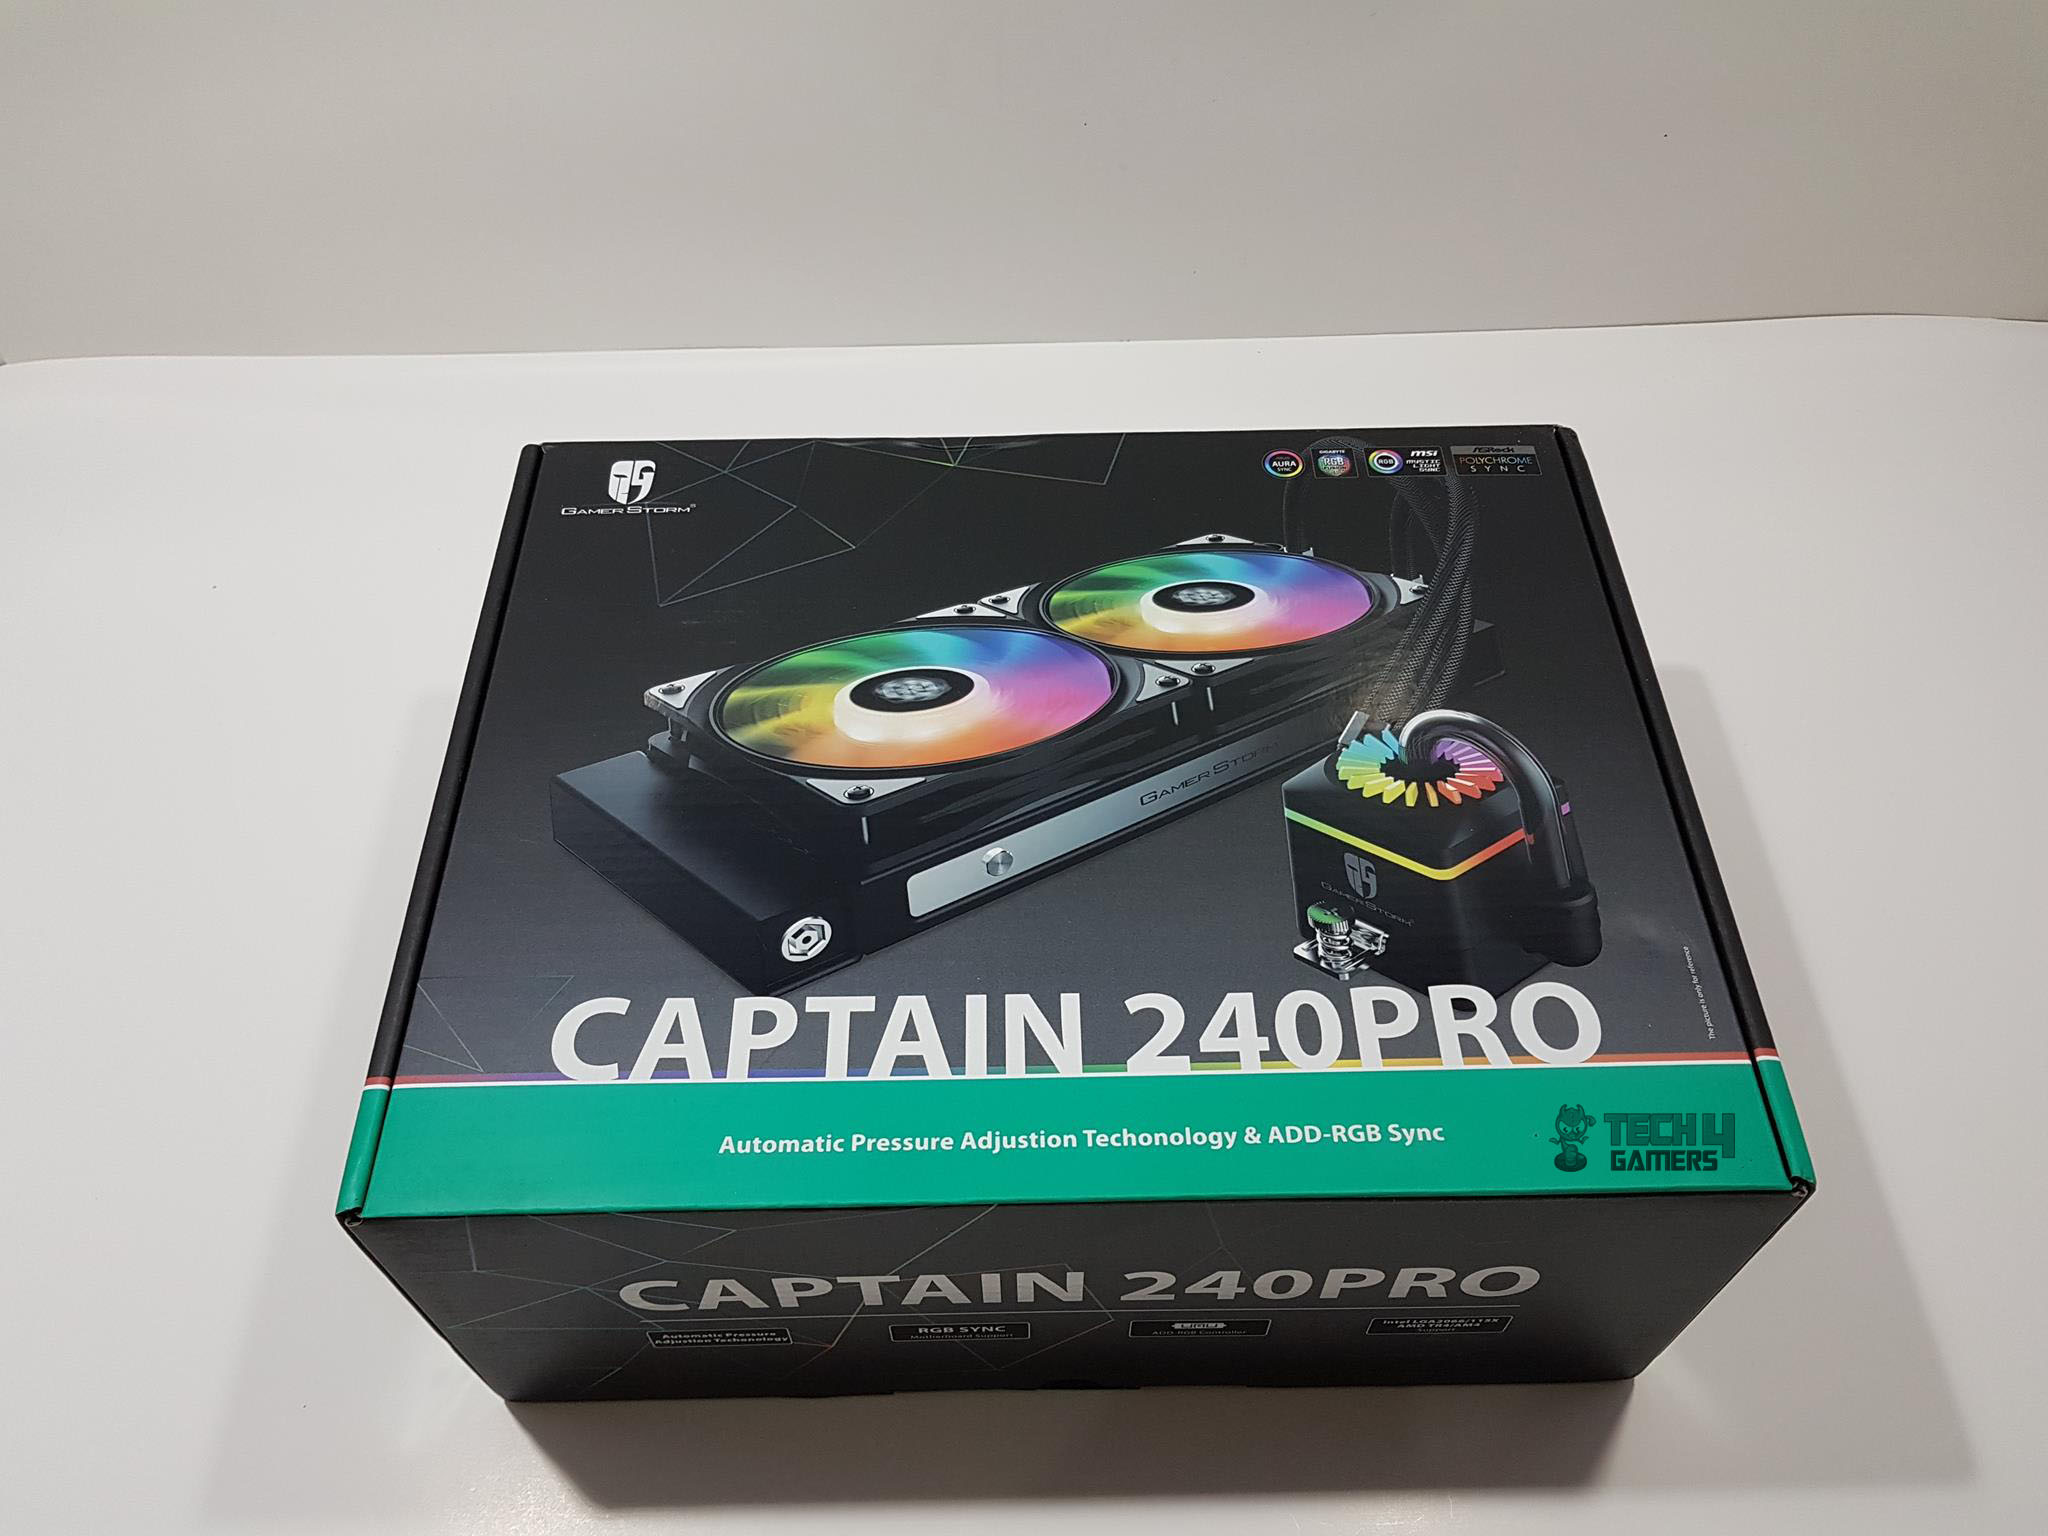
Deepcool is a well-established and recognized brand that is gaining more popularity. The company is focused on providing better thermal solutions in the form of air and liquid coolers. Earlier, we had reviewed their premium CPU Cooler, the Captain 240 Ex RGB, and found it one heck of a complete cooling solution in terms of performance and aesthetics. Now, the company has released the next iteration of its famous Captain series coolers, and I’ll be taking a look at the Captain 240 Pro.
Key Takeaways
- The DeepCool Captain 240 Pro is for anyone who wants a capable 240mm AIO cooler that provides elegant aesthetics while also being fairly easy to install.
- The DeepCool Captain 240 Pro is not for those seeking an utterly silent experience, given the slightly higher noise levels of the fans.
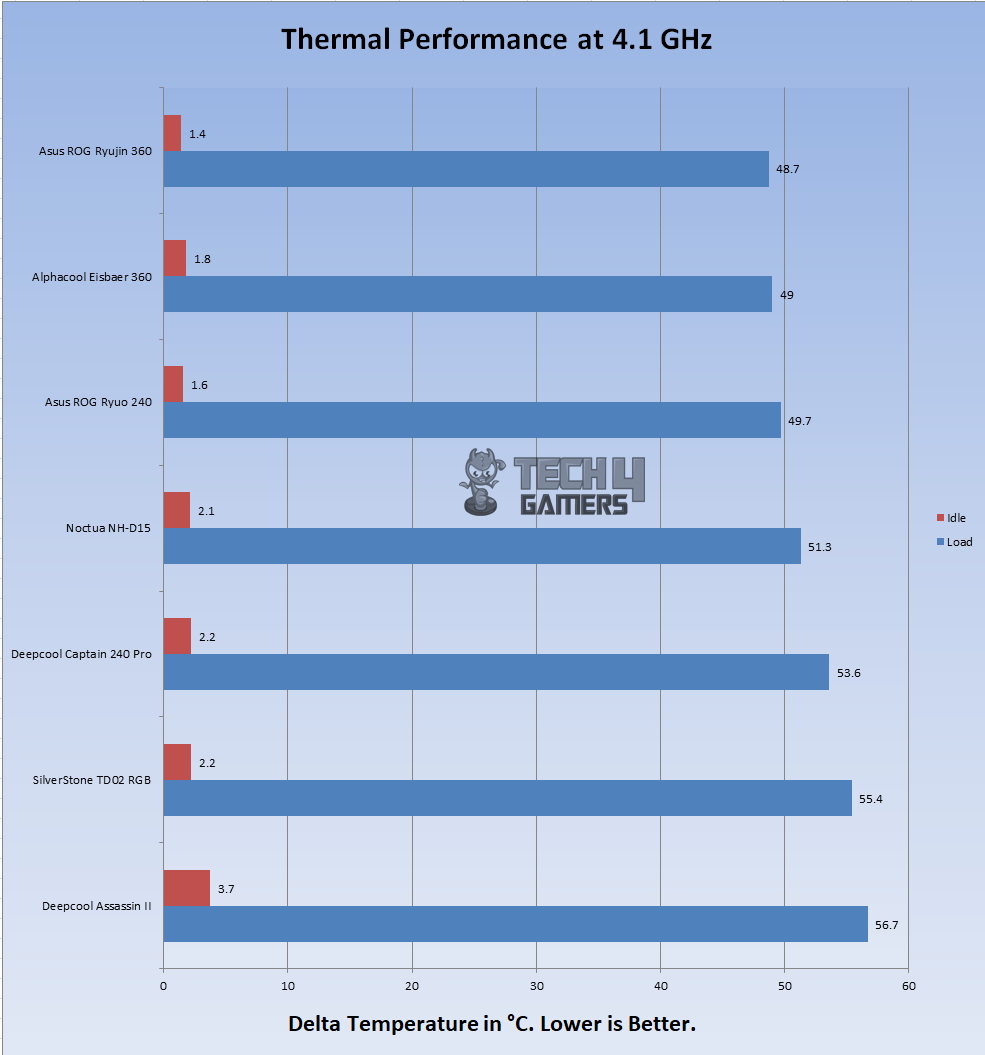
- The DeepCool Captain 240 Pro’s performance is evidenced through its ability to maintain temperatures of 49.7°C on a Ryzen 7 2700X at 4.1 GHz
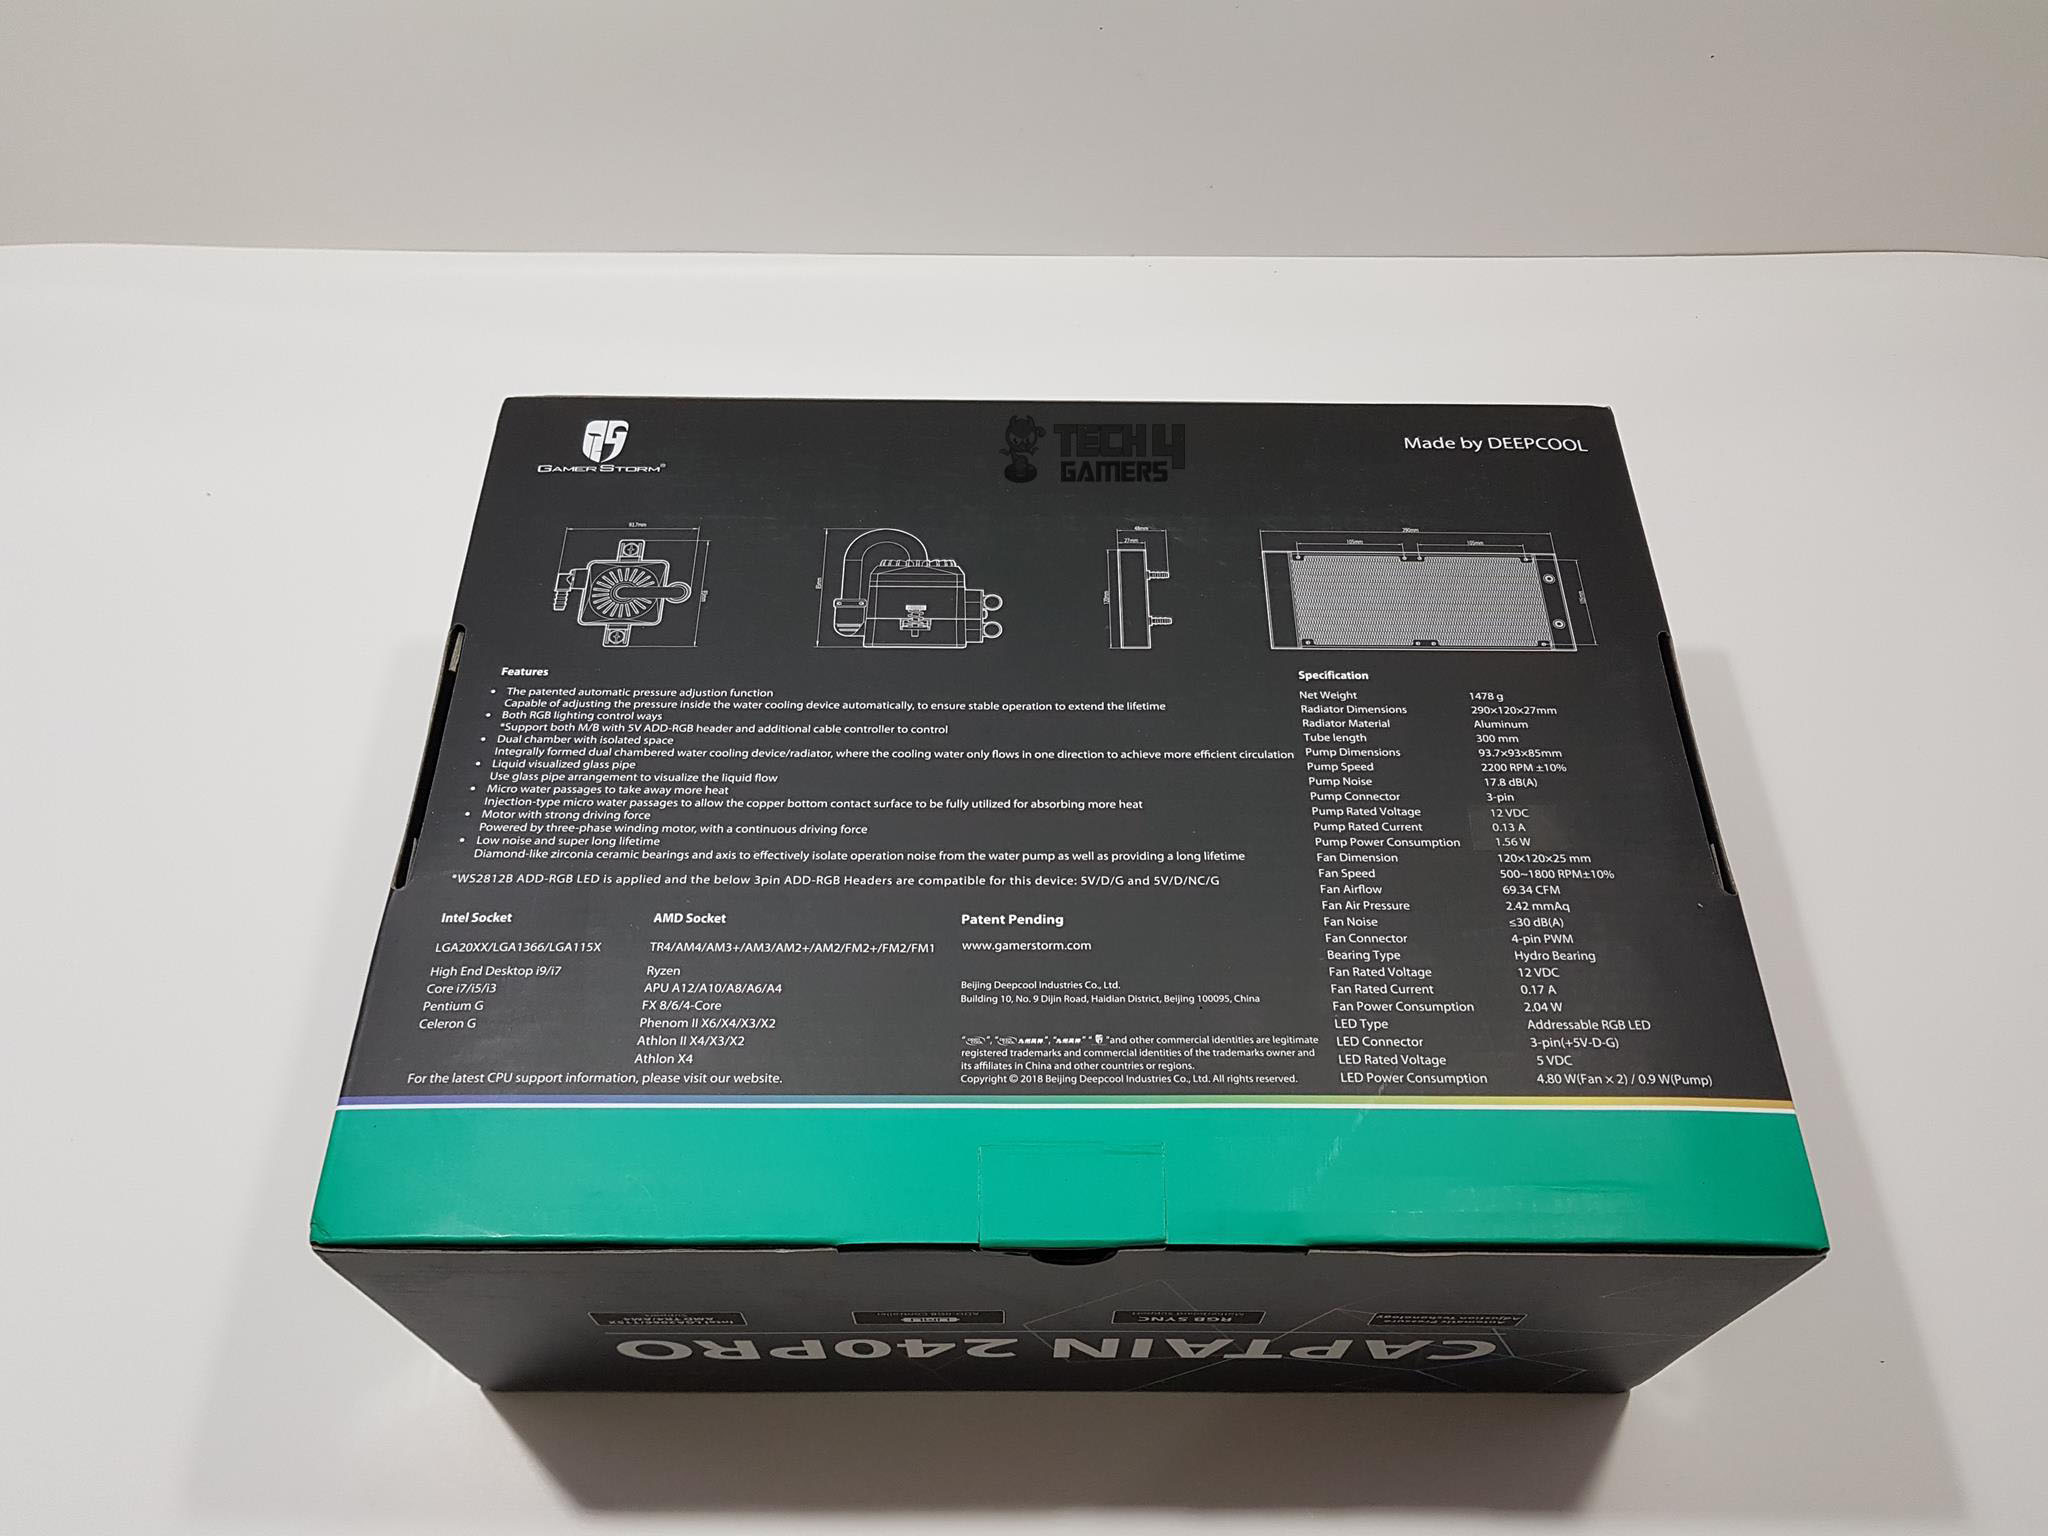
Specifications
| Radiator Dimensions | 290×120×27 mm |
| Radiator Material | Aluminum |
| Net Weight | 1478 g |
| Tube length | 380 mm |
| Pump Dimensions | 93.7×93×85 mm |
| Pump Speed | 2200 RPM±10% |
| Pump Noise | 17.8 dB(A) |
| Pump Connector | 3-pin |
| Pump Rated Voltage | 12 VDC |
| Pump Rated Current | 0.13 A |
| Pump Power Consumption | 1.56 W |
| Fan Dimensions | 120×120×25 mm |
| Fan Speed | 500~1800 RPM±10% |
| Fan Airflow | 69.34 CFM |
| Fan Air Pressure | 2.42 mmAq |
| Fan Noise | ≤30 dB(A) |
| Fan Connector | 4-pin PWM |
| Bearing Type | Hydro Bearing |
| Fan Rated Voltage | 12 VDC |
| Fan Rated Current | 0.17 A |
| Fan Power Consumption | 2.04 W |
| LED Type | Addressable RGB LED |
| LED Connector | 3-pin(+5V-D-G) |
| LED Rated Voltage | 5 VDC |
| LED Power Consumption | 5.7 W |
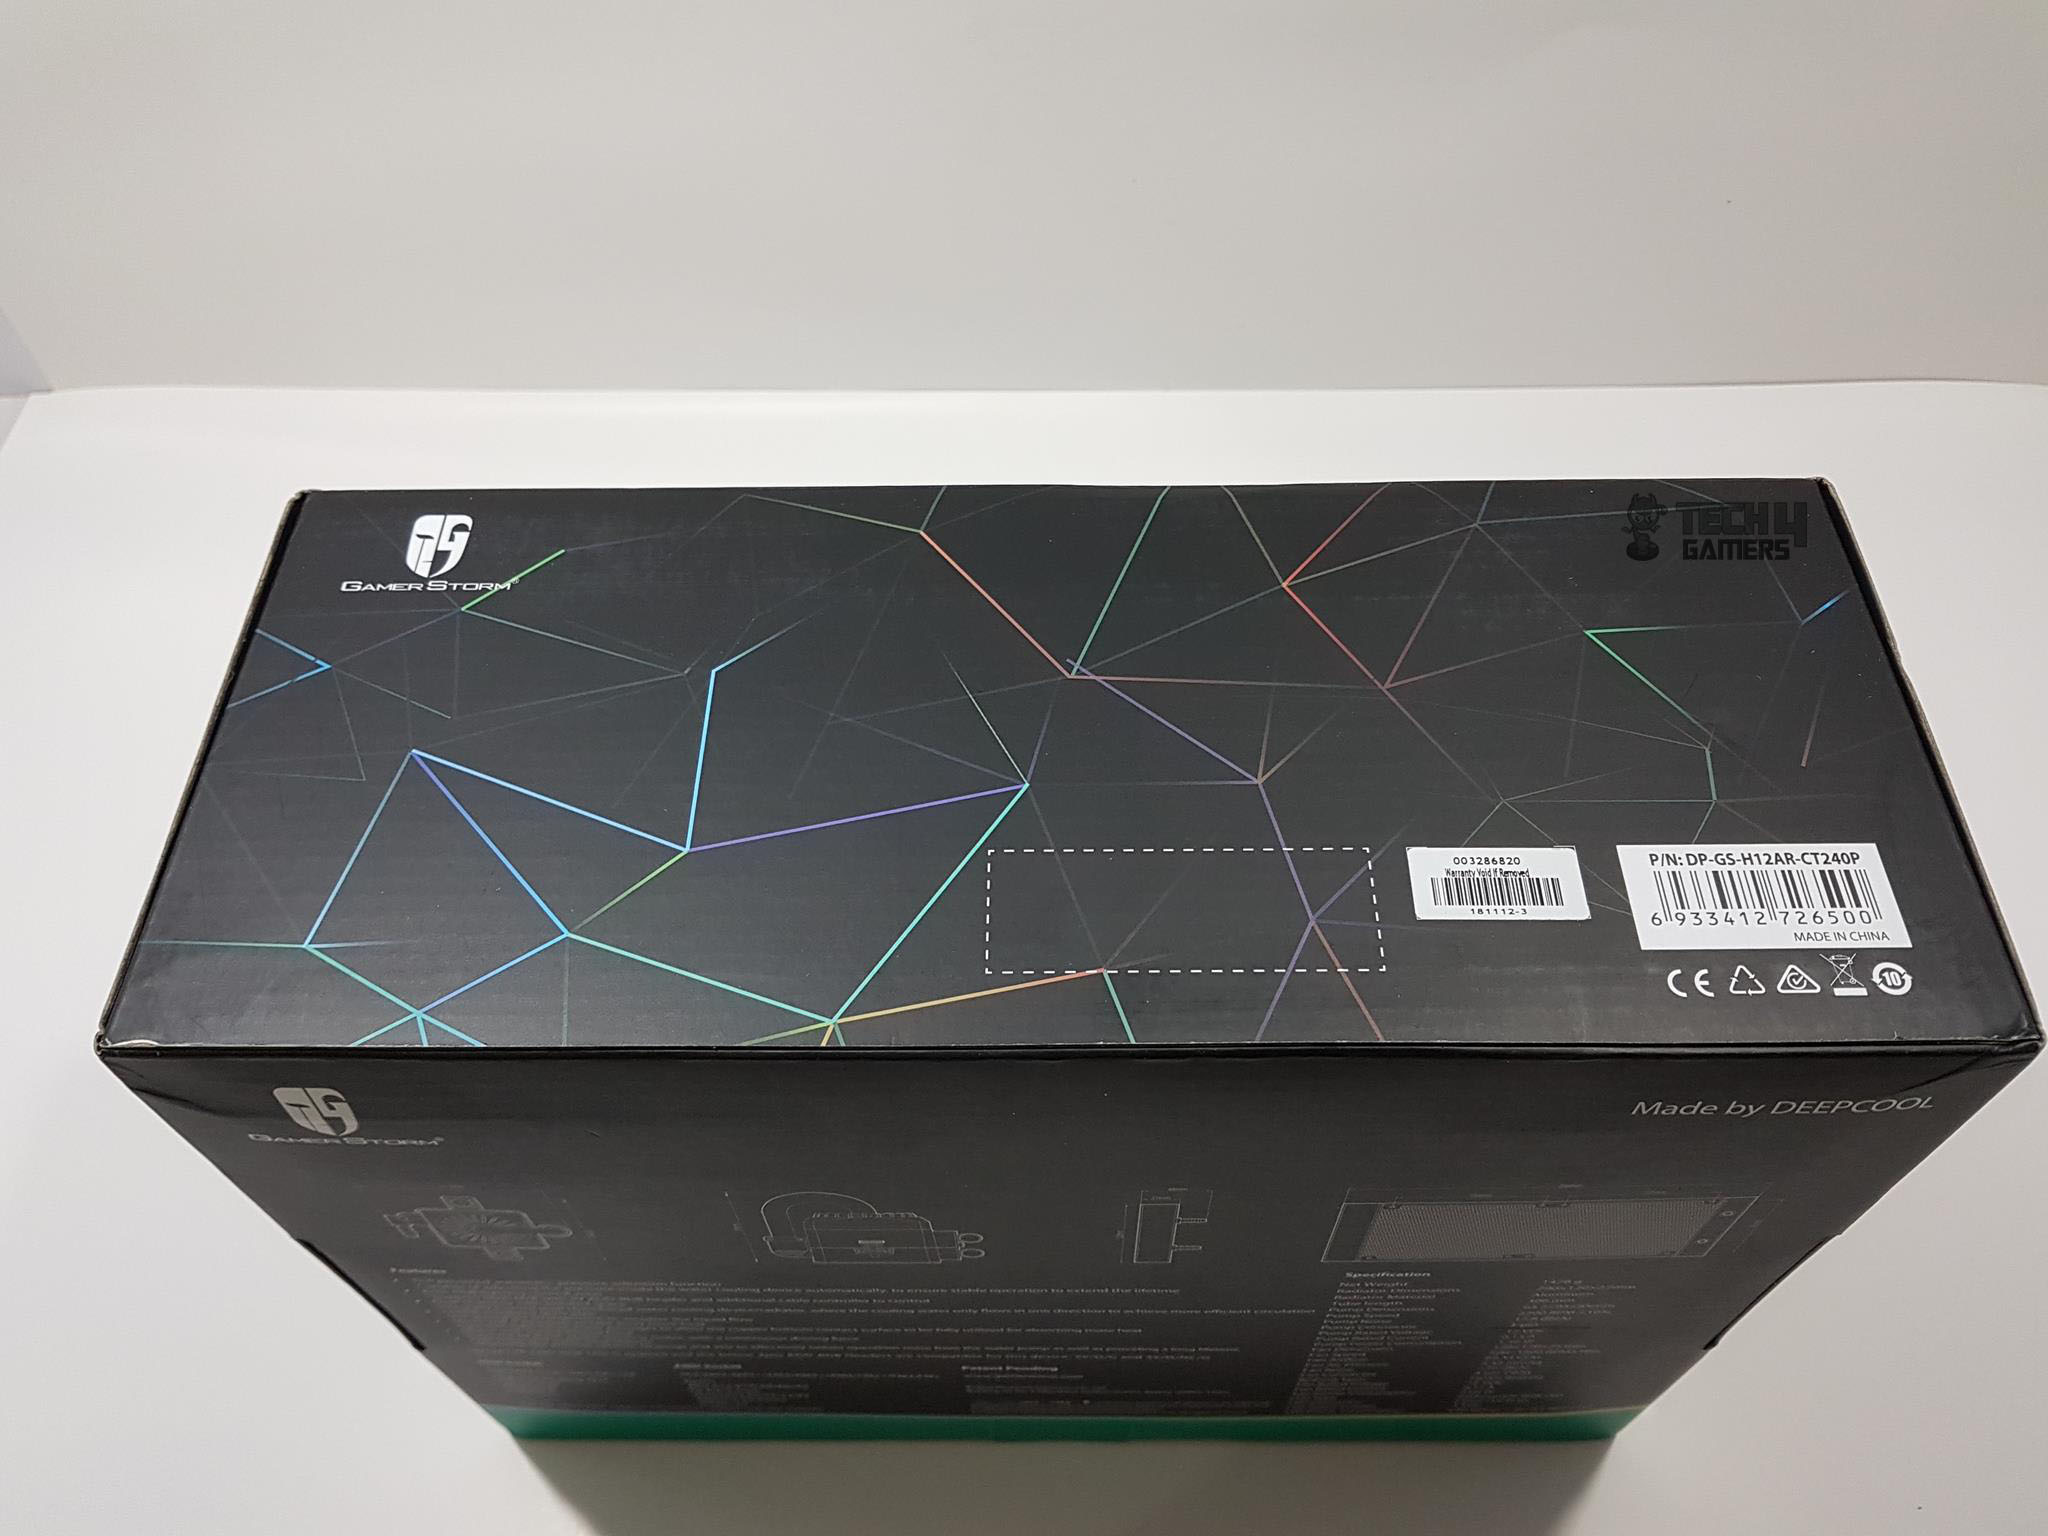
| EAN | 6933412726500 |
| P/N | DP-GS-H12AR-CT240P |
Packaging and Unboxing
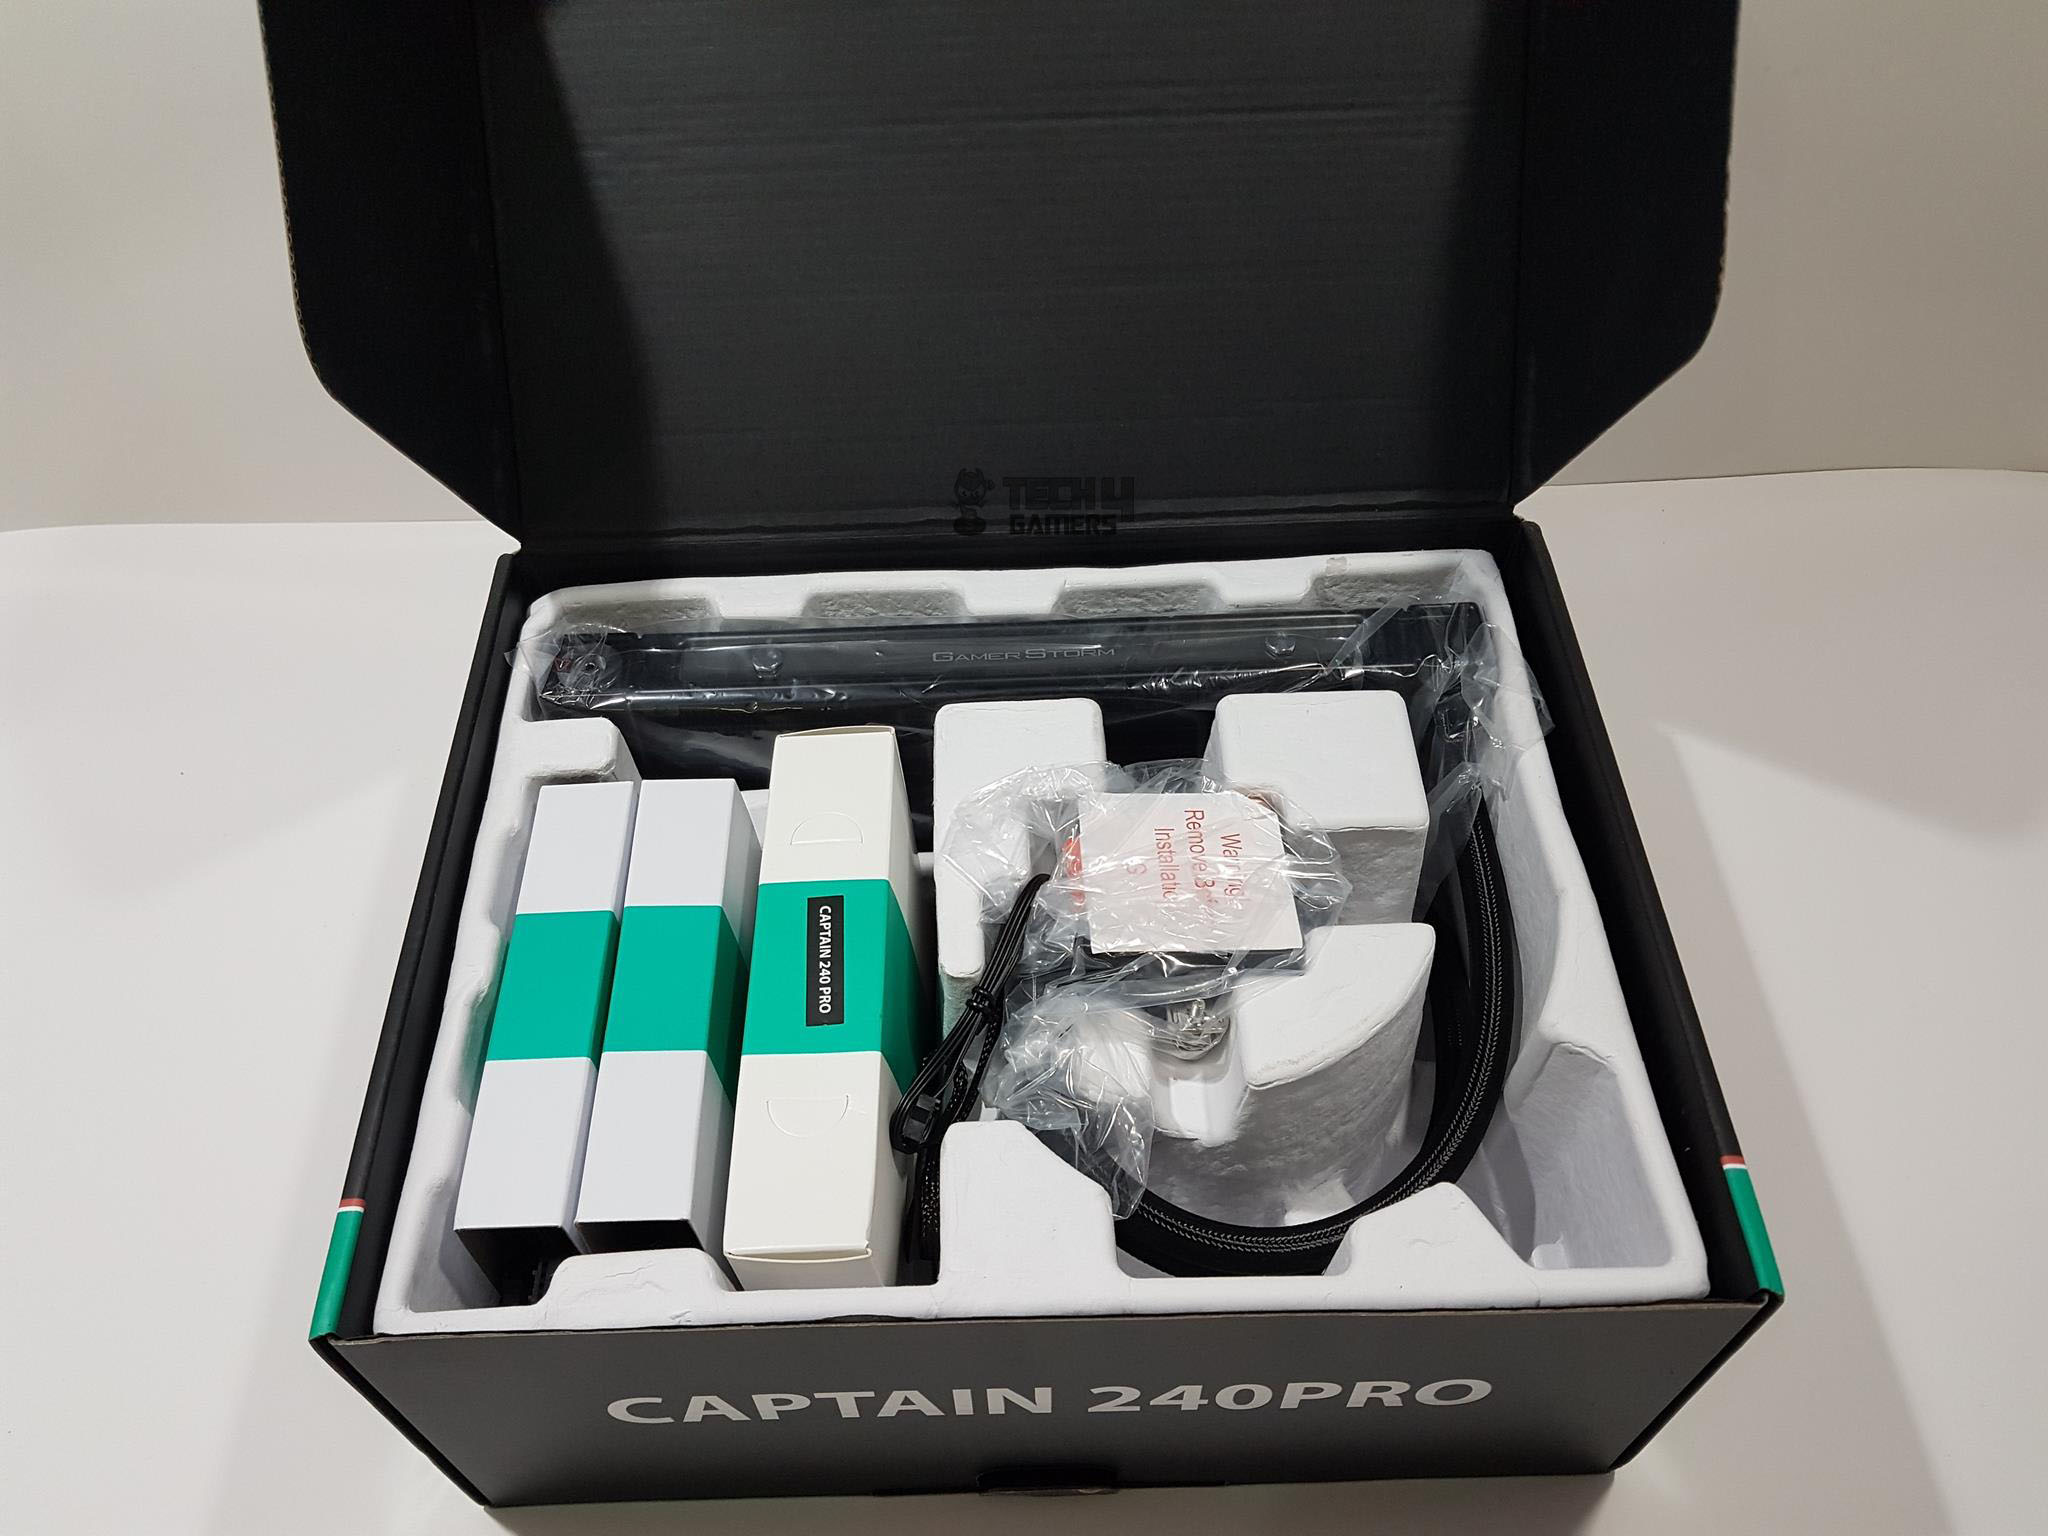
Accessories
The package includes a cooling unit, fans, backplate, various screws and nuts, mounting brackets, fan and RGB hubs, extension cables, an RGB controller, and thermal paste.

Closer Look
Let’s go over the design.
Radiator
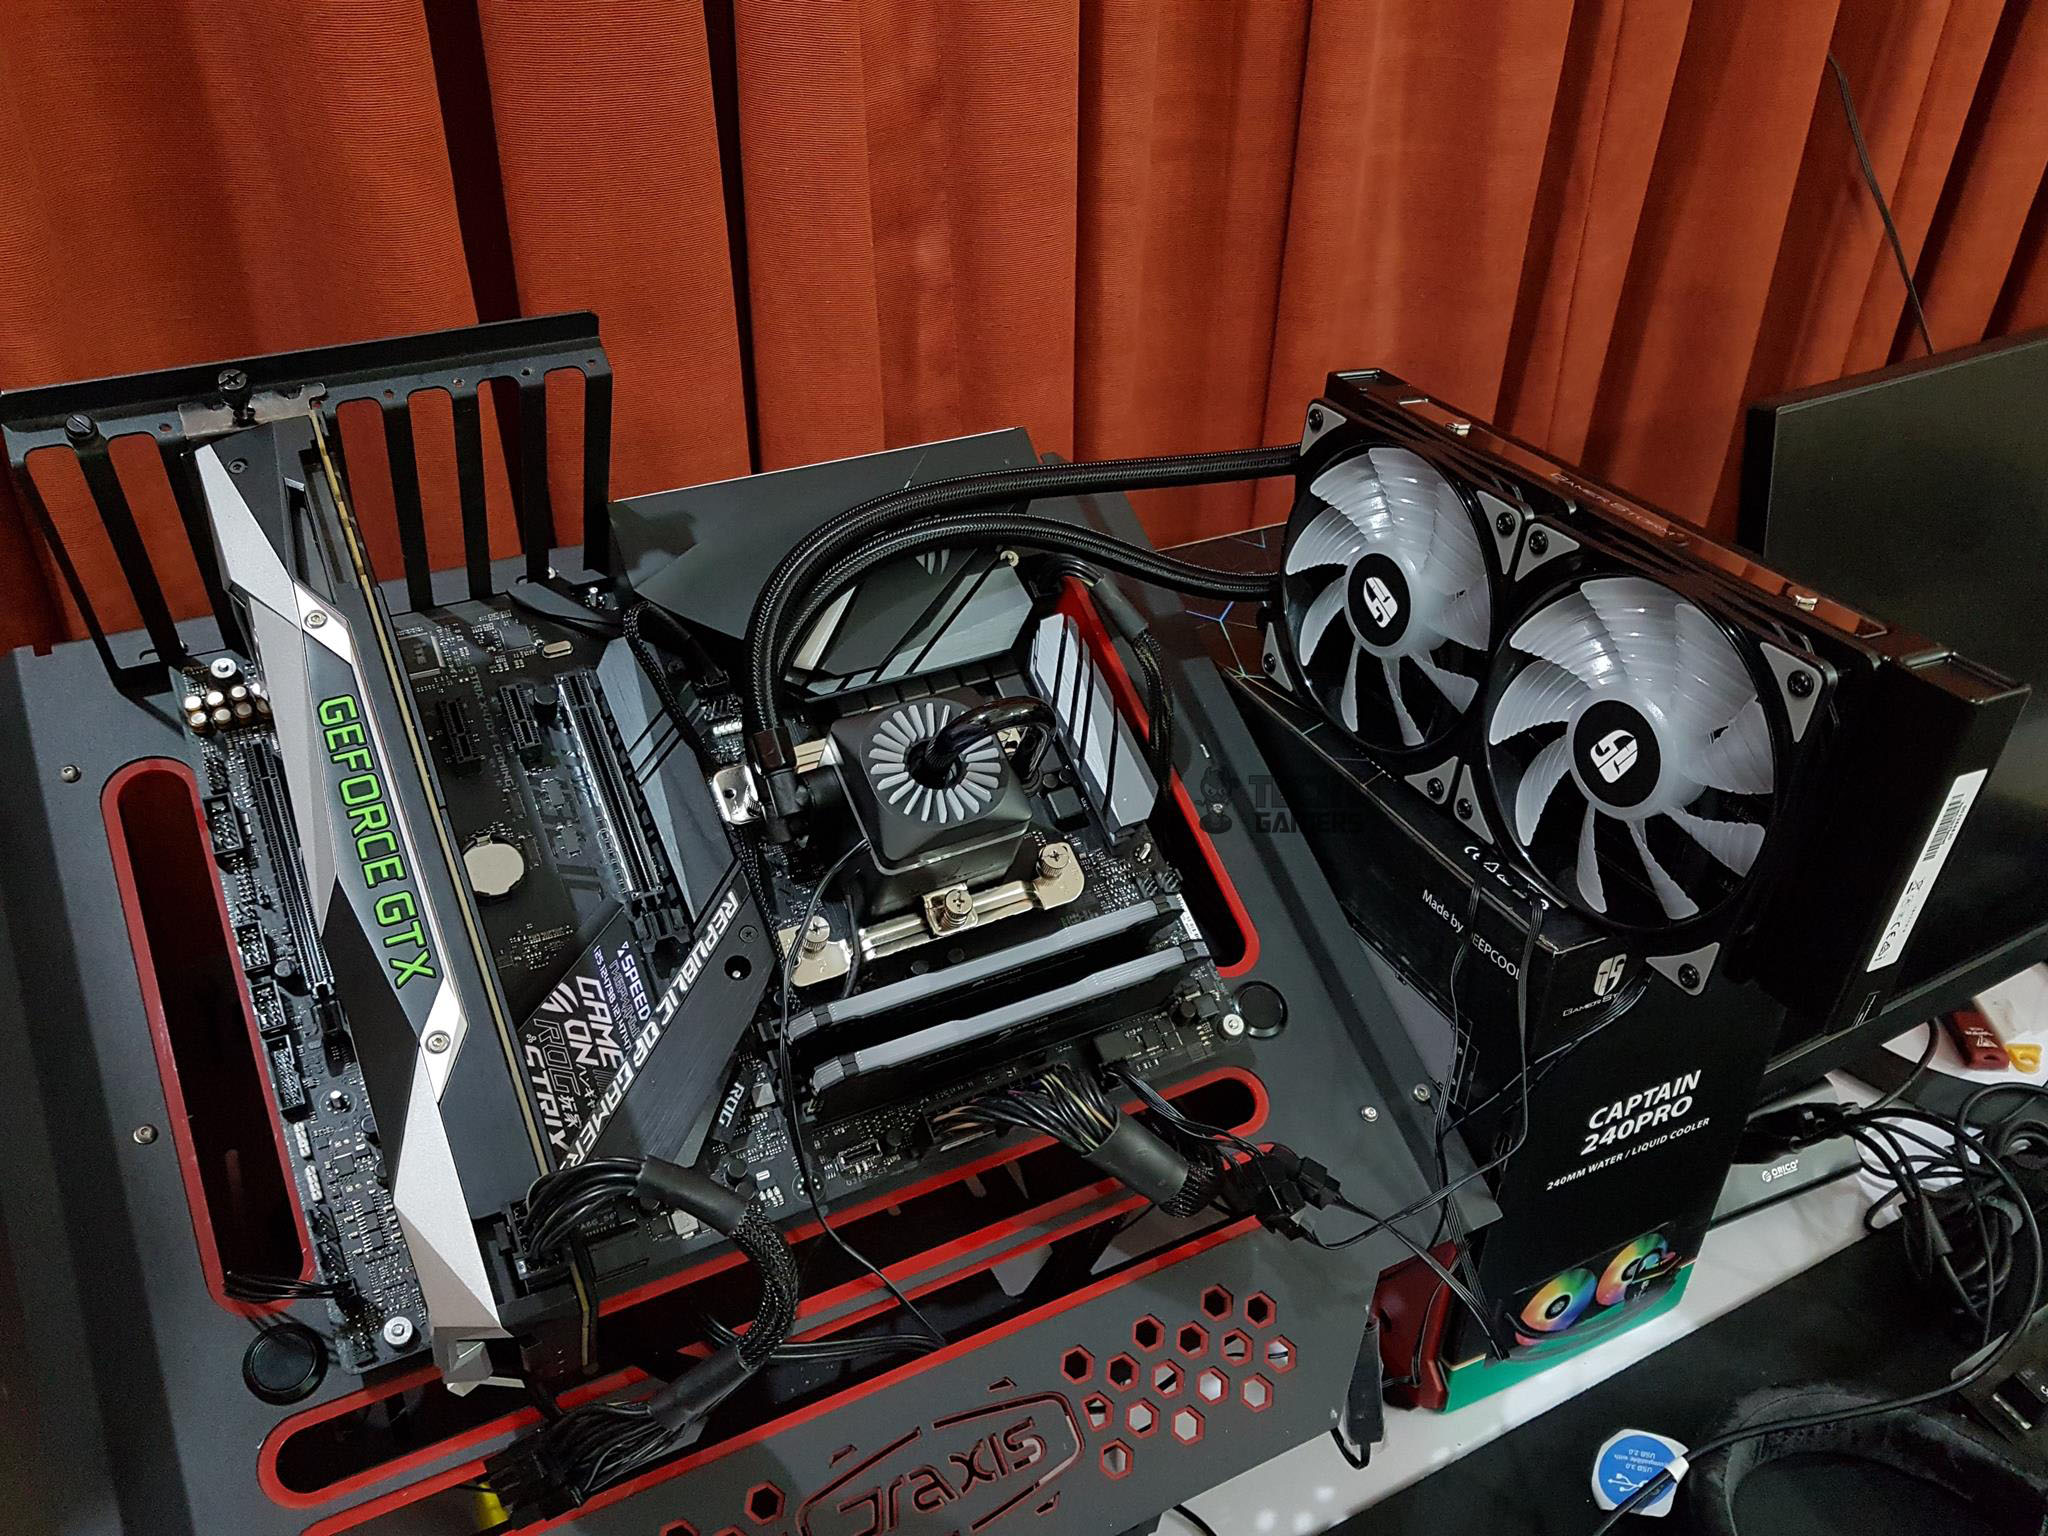
The Deepcool Captain 240 Pro is a 240mm CLC cooling solution. It has a 240mm radiator with two CF120 (customized) 120mm fans. The dimension of the radiator is 290 x 120 x 27mm. The thickness of the radiator is 27mm. With 25mm fans, the overall thickness would be 52mm. The radiator has 20 fins per inch (FPI).
The length of the radiator has been increased from 274mm to 290mm in order to make provision for an automatic pressure release valve.
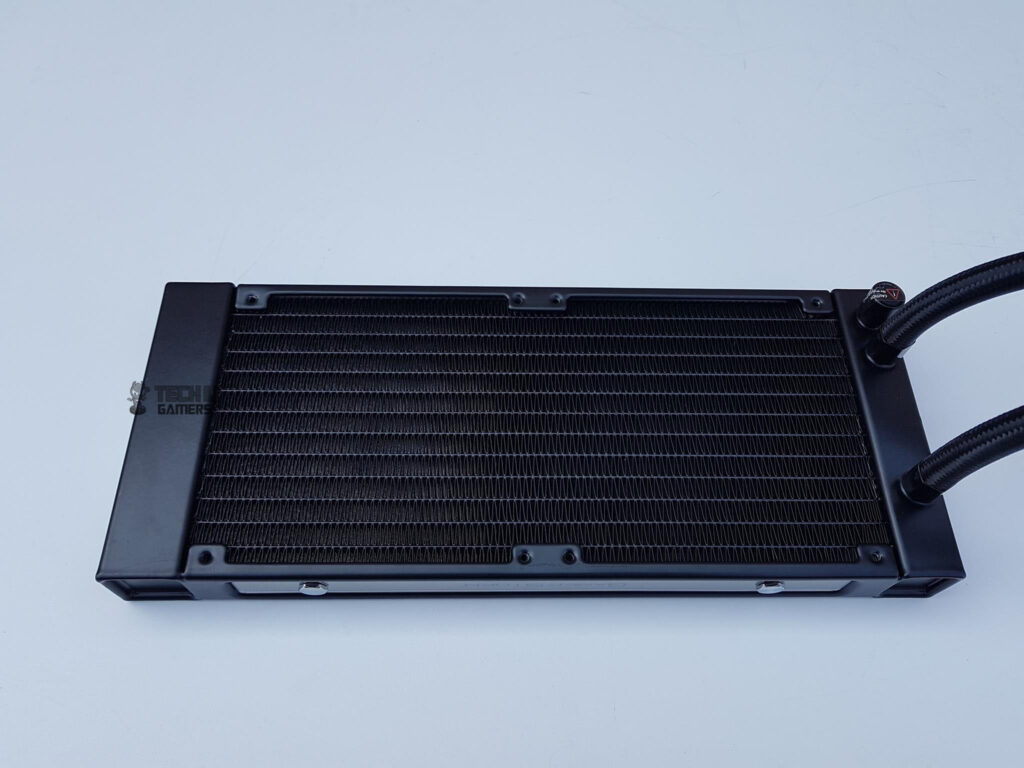
Deepcool’s aluminum radiator features a lightweight design with rectangular blocks on both ends, offering straight edges. The dense fin stack incorporates 12 water flow channels through left and right side channels. Caution is needed when mounting fans, as longer screws may damage the fins, affecting performance.
This cooler follows a double tunnel configuration, with standard inlet and outlet blocks for water flow. To avoid potential issues, it’s advisable to use the supplied long screws for fan mounting, given the 105mm gap between any two fan mounting holes on the radiator.
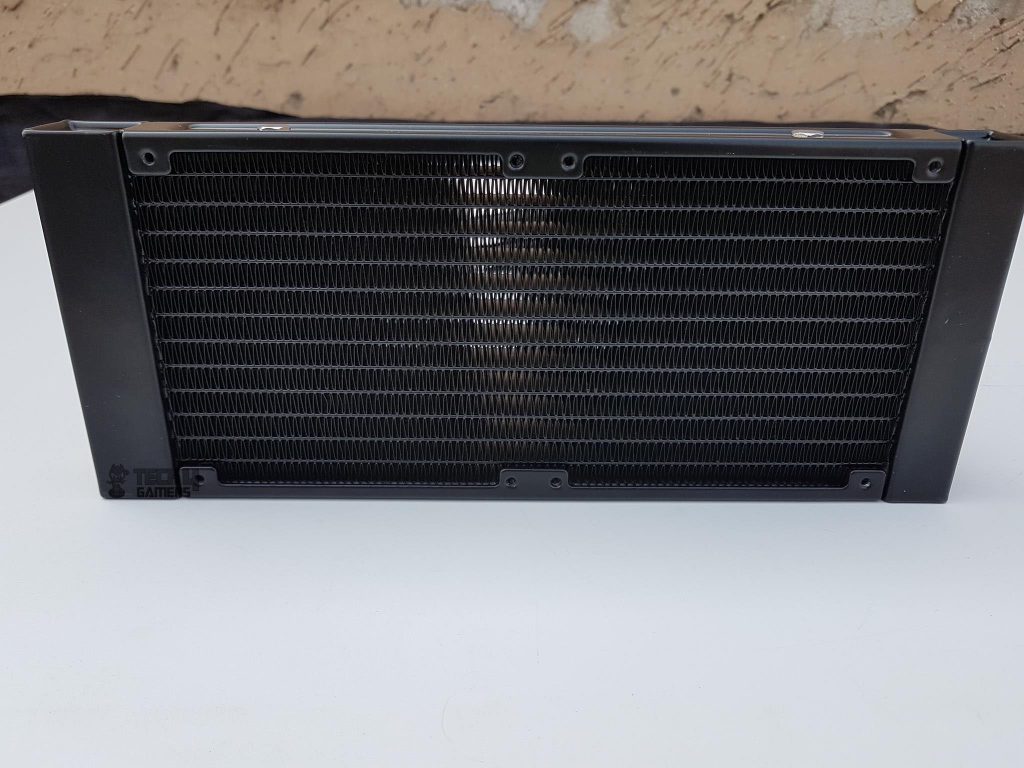
The backside of the radiator has an identical layout on the fin stack as is on the front or top side.
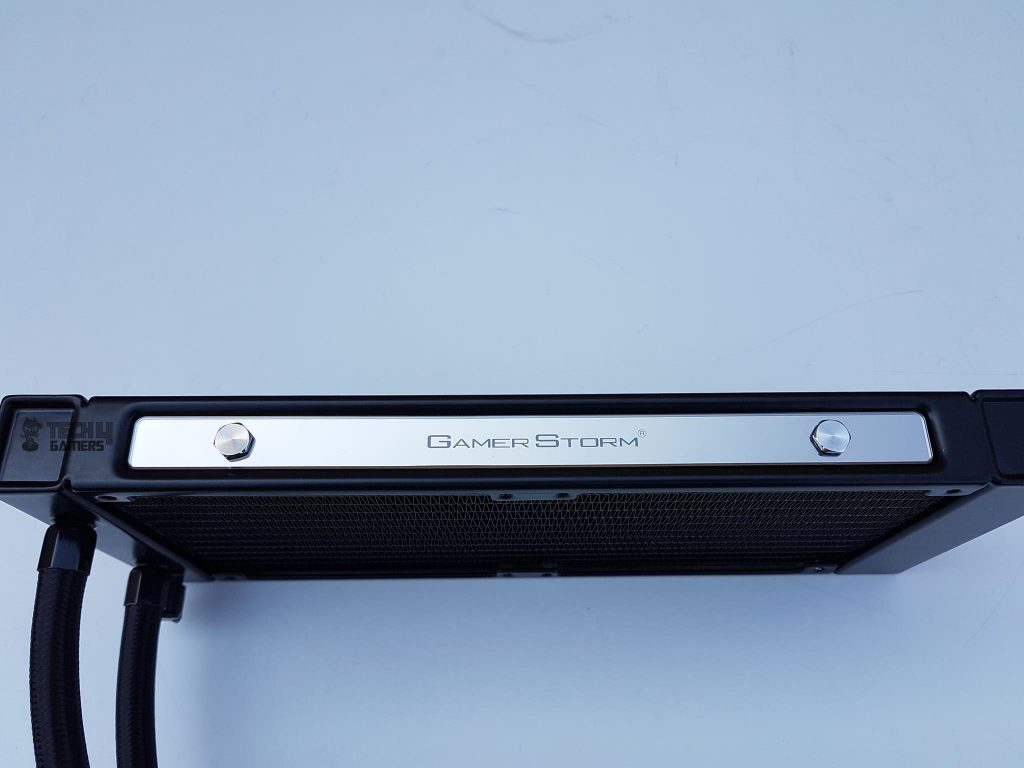
Another striking feature is the finishing of the radiator sides. We have a premium touch here. GamerStorm brand name is printed on the plexiglass and screwed on the radiator using aluminum screws. The final product is mind-blowing in terms of the look and feel.
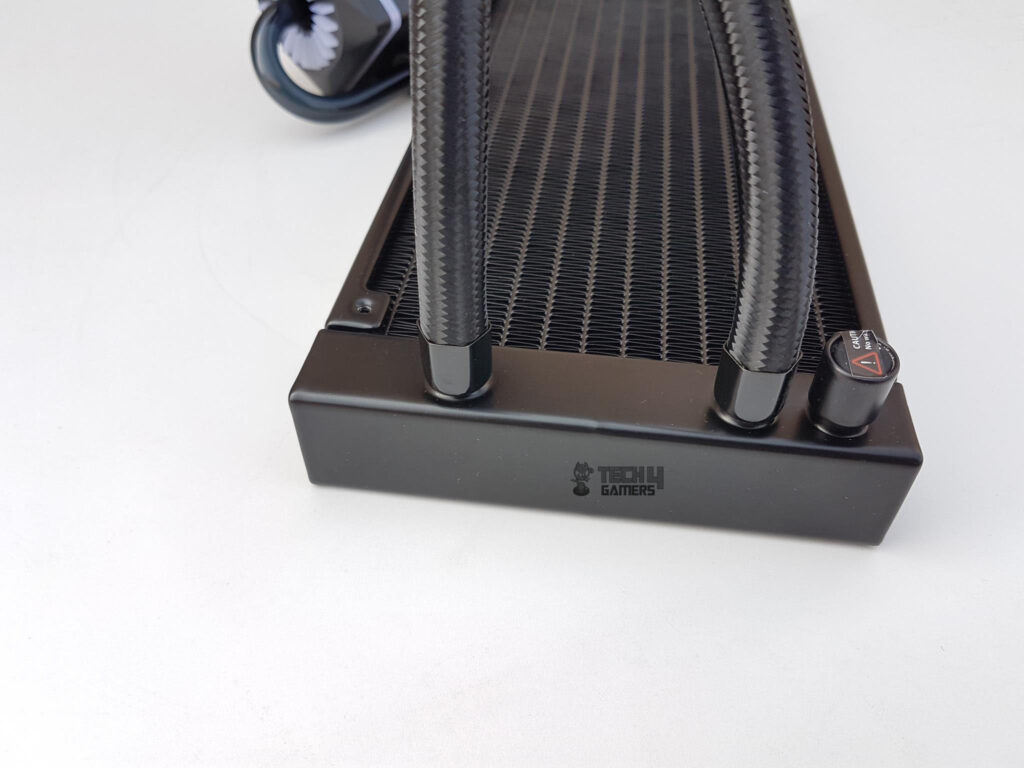
Unlike many other AIOs in the market, the hoses are clamped inside rugged-looking clamps on the radiator as barbs are hidden inside these clamps.
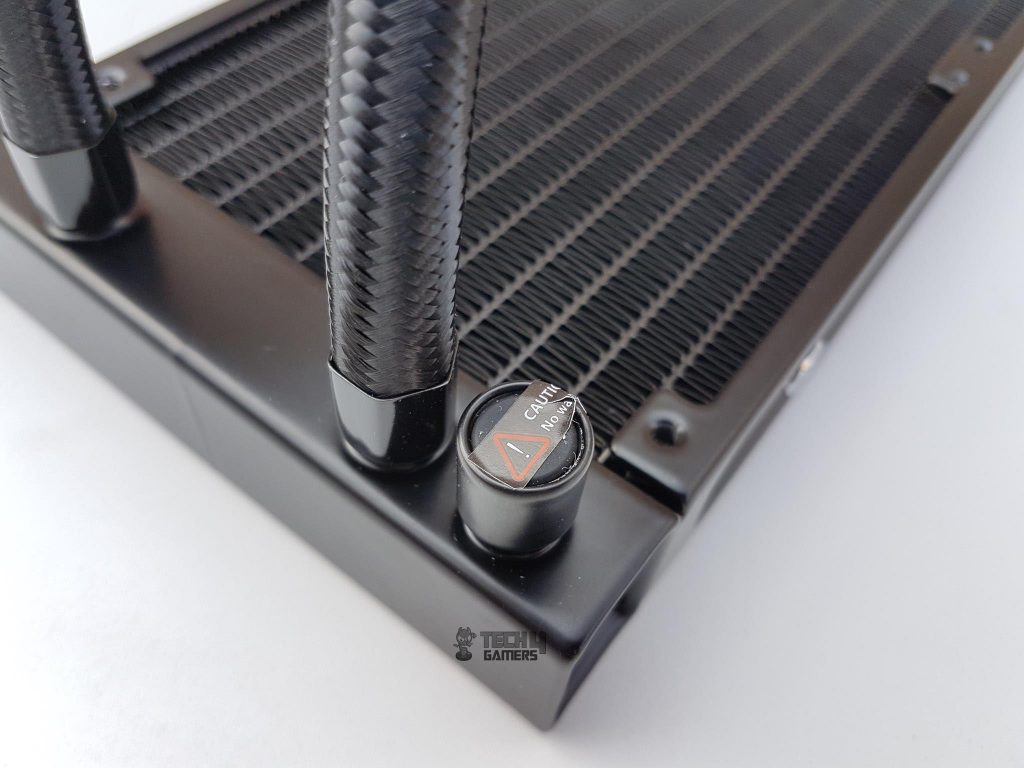
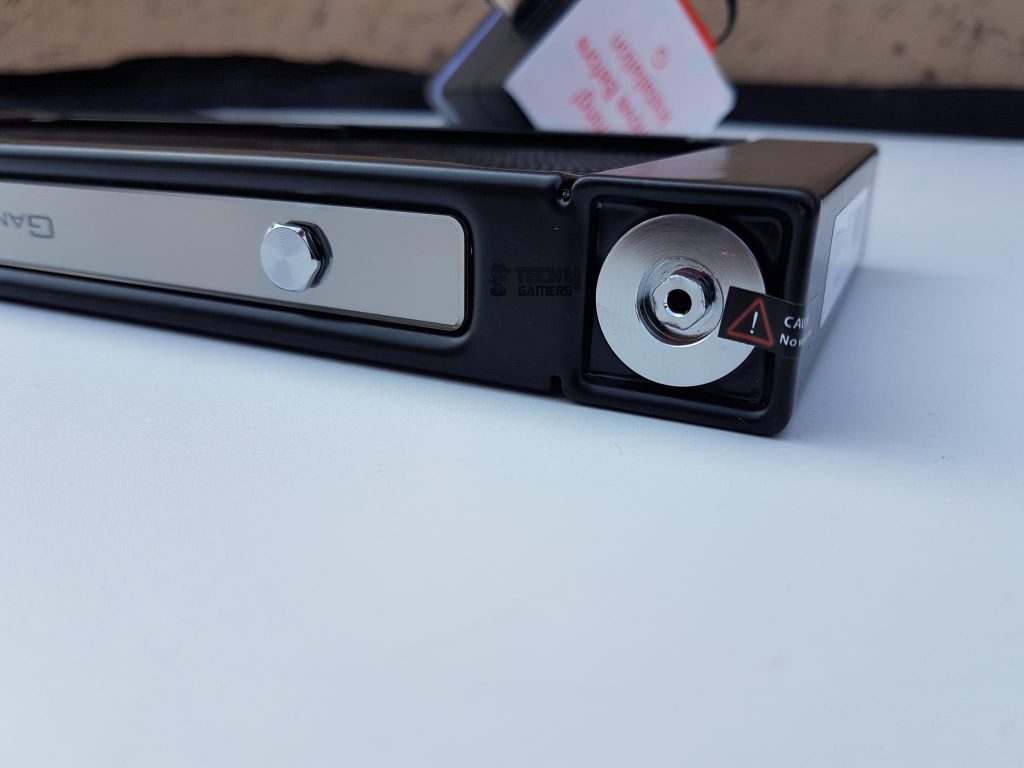
Deepcool’s radiator has a refill port, but it’s surprisingly covered by a Warranty Void sticker, which allows users to top up coolant. The radiator features an automatic pressure release valve, addressing concerns about leaks. Deepcool spent 3 years on R&D for this solution.
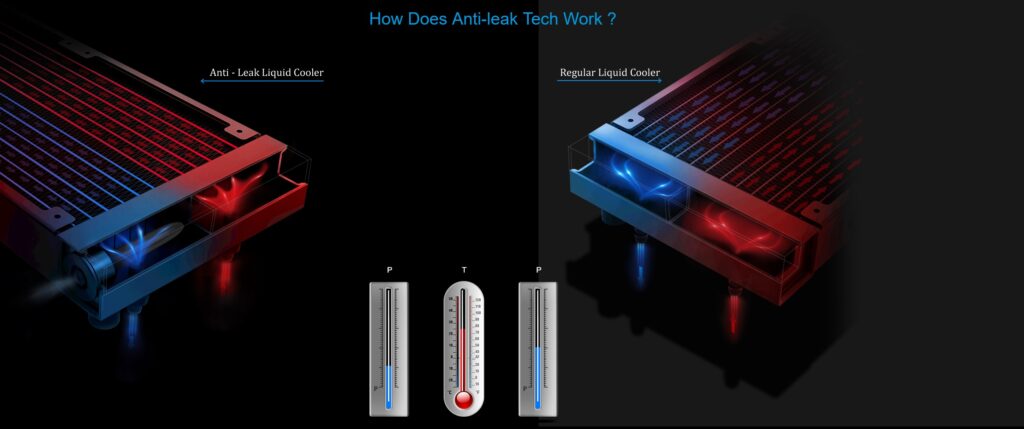
The above picture shows the block diagrams of the typical or standard AIO on the right side and the Anti-Leak enabled on the left side. Deepcool has installed an elastic-based pressure-released bag on the outlet side of the radiator.
This bag, partially submerged in coolant, connects to the air. As internal pressure approaches or exceeds atmospheric levels, the bag compresses, increasing the loop’s volume. This allows excess pressure to escape through the valve, reducing the risk of AIO leakage due to high internal pressure.
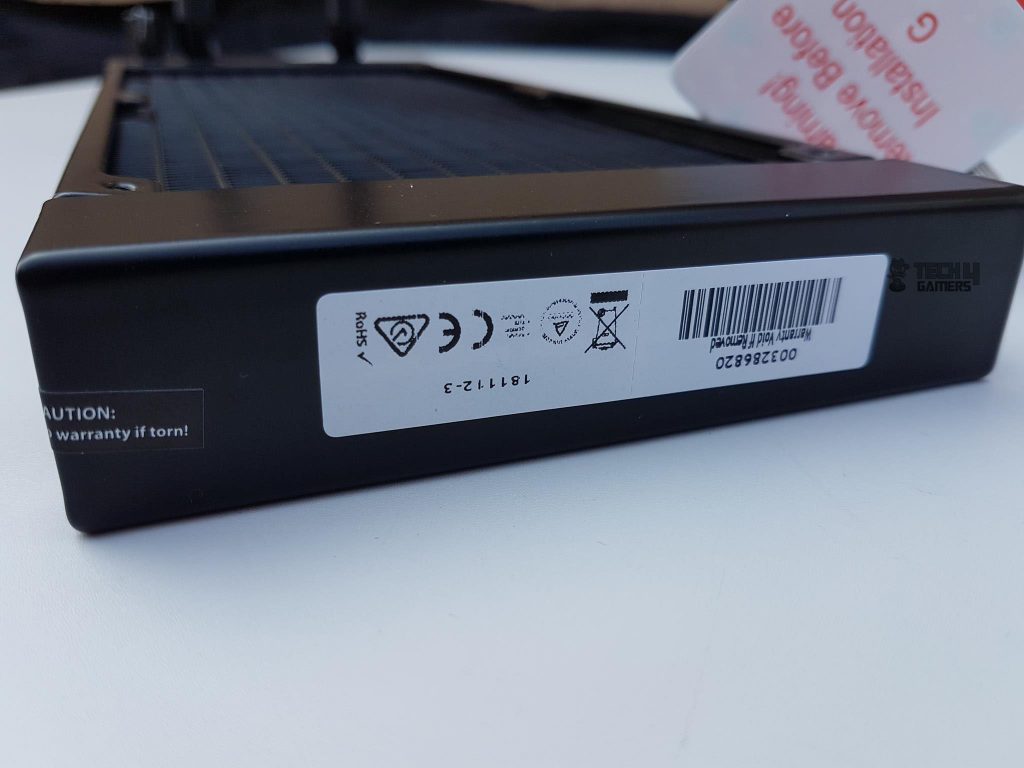
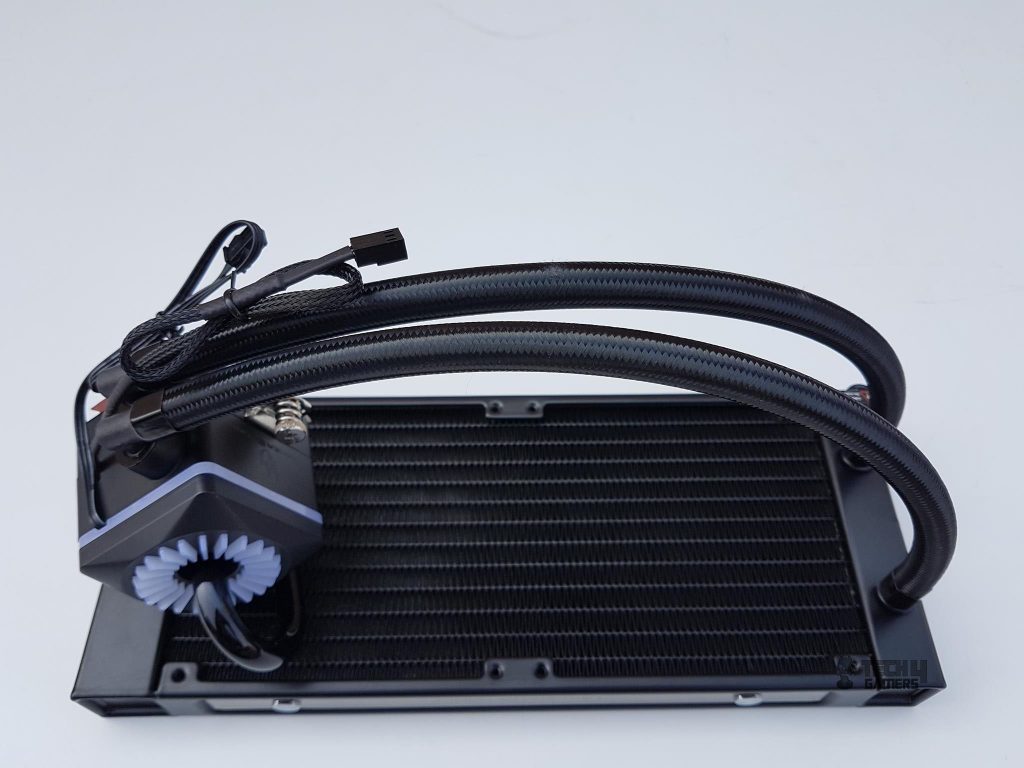
There are four warranty-void stickers: one on the packing box and three on the radiator. The hoses are securely attached to the radiator and pump housing. They use upgraded anti-explosion rubber tubing that is flexible and doesn’t kink. Deepcool adds a mesh sleeve for a clean appearance, but the hose length is shorter than expected at around 300mm.
Water Block
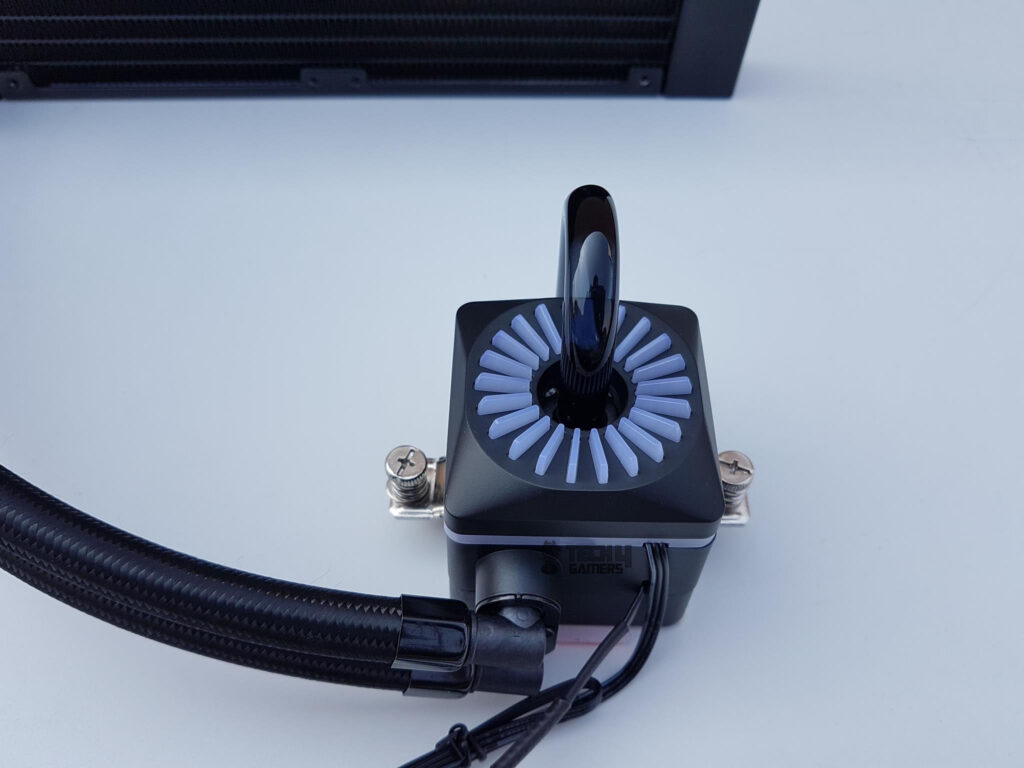
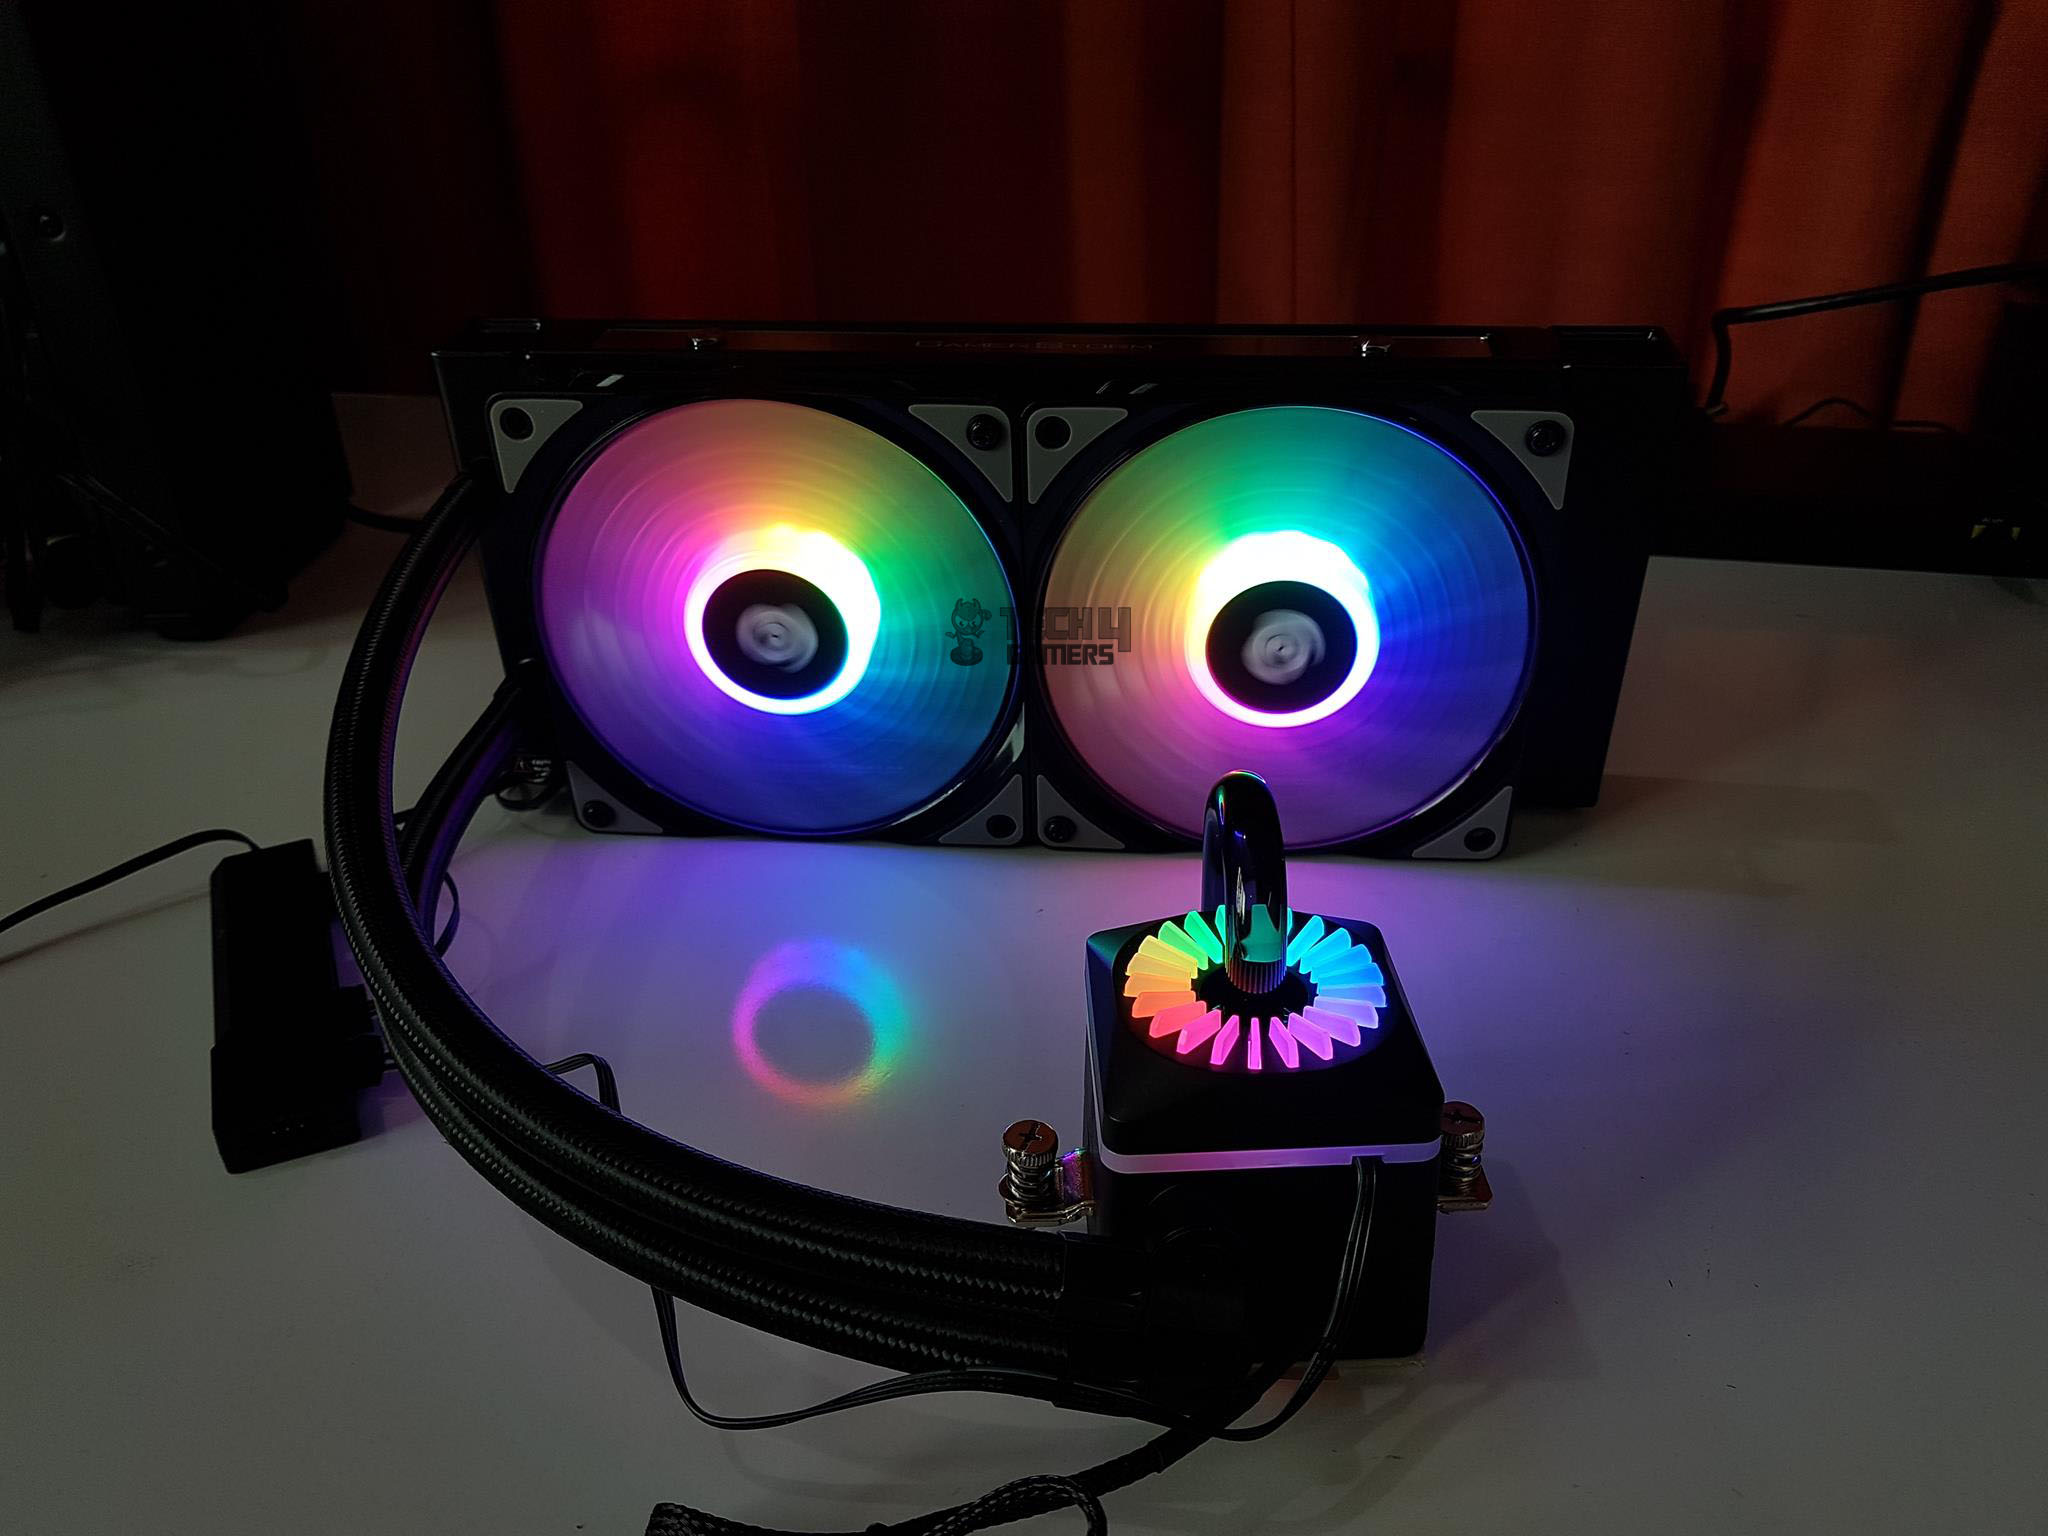
The cooler’s key component is the water block with an integrated reservoir resembling an Arc Reactor. It measures 93.7mm x 93mm x 85mm (L x W x H), offering a unique and compact design. The block has a solid base with a central glass tube for an eye-catching look, illuminated by addressable RGB LEDs, distinguishing it from the Captain 240 Ex RGB.
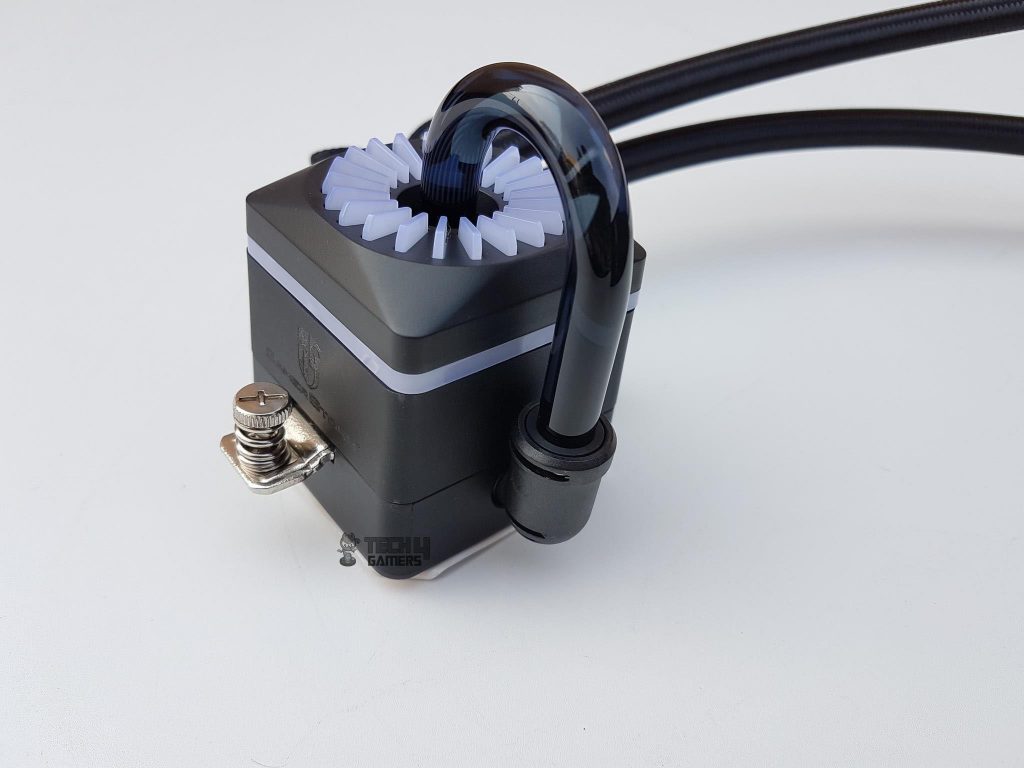
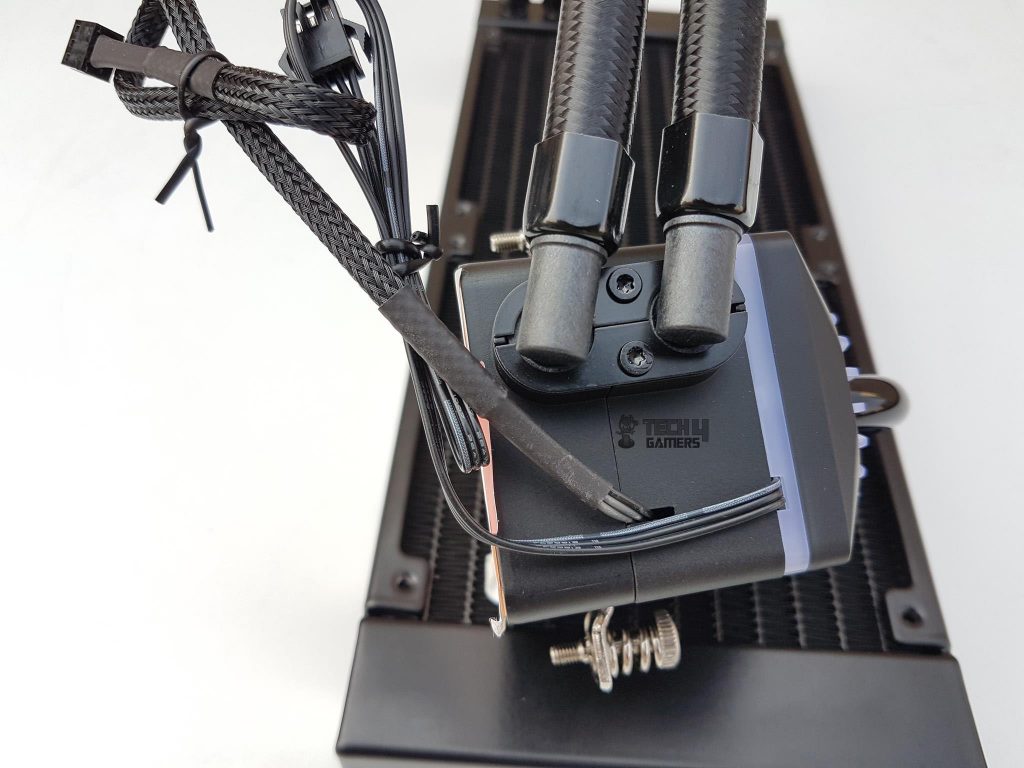
The glass pipe here serves to move coolant from the lower chamber to the upper one, cleverly avoiding the Asetek patent with its two-chambered design. Now, when I take a look at the rear side, I can see those 90° barb fittings that can be somewhat rotated. There are two cables emerging from this side.
The top cable is the LED one, measuring a length of 275mm. Believe me; this is a much shorter length than what it should have been. We have a solid diffuser running across the entire length of the block’s housing. The second cable is nicely sleeved and has a length of 262mm.
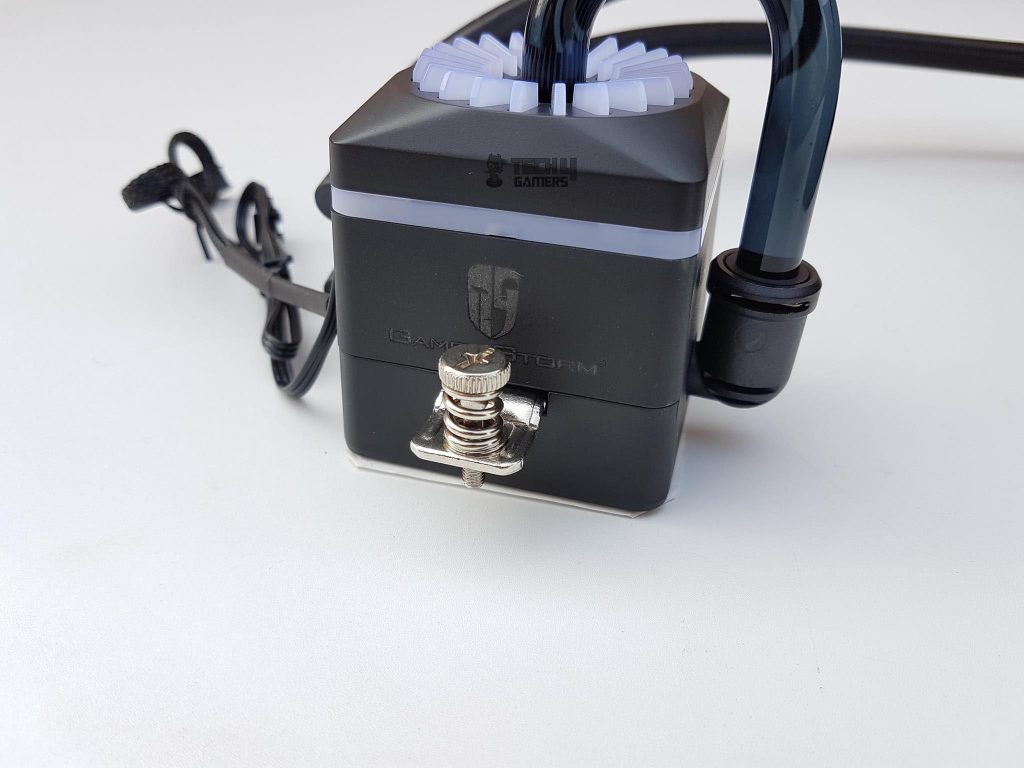
On the left and right sides of the block, you’ll find the GamerStorm branding in the middle. The mounting bracket is pre-installed, forming part of the block, with two spring-loaded screws on each end to secure it to the mounting assembly. I’m a bit skeptical about relying on only two sides for mounting pressure; it remains to be seen if it affects performance.
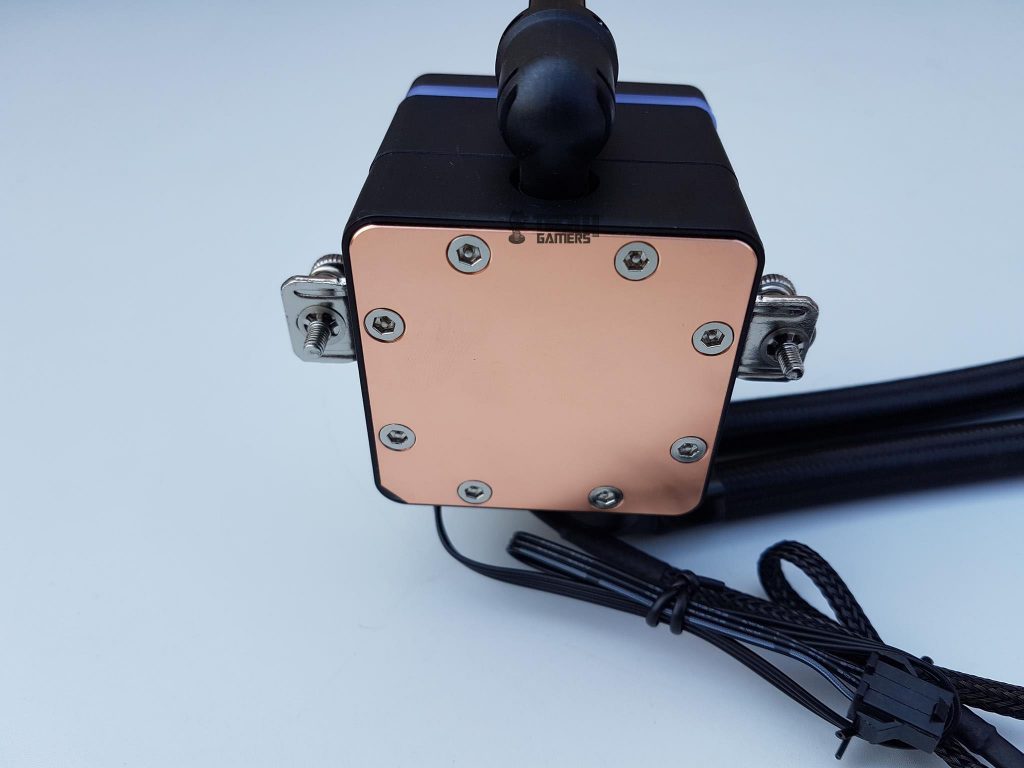
The copper base on the block measures 53x53mm. While that is a decent size, the base lacks a mirror-polished finish. The injection-type microchannels optimize copper surface utilization for improved heat conduction. The pump operates at 2200±10% RPM with a rated sound level of 17.3 dB(A) and power consumption of 1.56W using 12VDC at 0.13A.
Fan
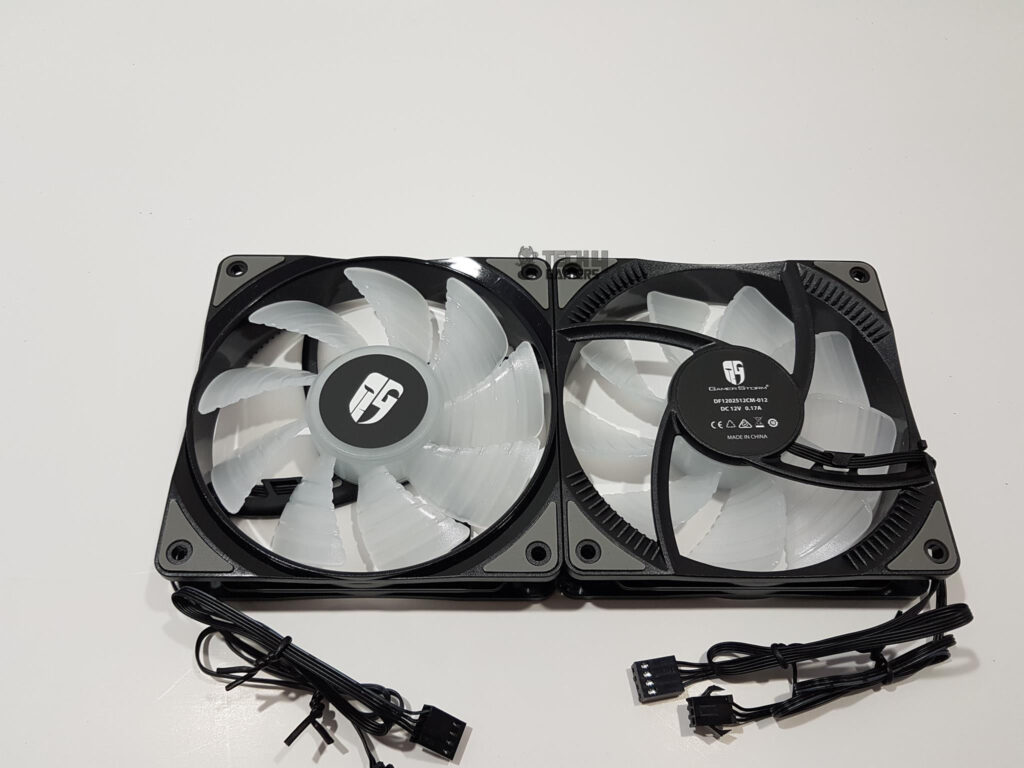
Deepcool includes two CF120 addressable RGB fans optimized for radiator performance. They feature 9 translucent blades, anti-vibration pads, and an impressive 12 RGB LEDs in the motor hub. Each fan has 12 RGB LEDs inside the motor hub.
They have a circular design with a GamerStorm logo sticker and air-forming channels on the frame’s edges. Overall, they offer improved performance on the radiator compared to the original CF120 fans designed for chassis airflow. For a detailed review, check here.
The fans operate at 12VDC with a current of 0.17±10%A and consume 2.04W. They have a speed range of 500±200 to 1800±10% RPM, offering a maximum airflow of 69.34CFM and a noise level of 17.8-30 dB(A). These fans use Hydro Bearings with an MTBF of 40,000 hrs.
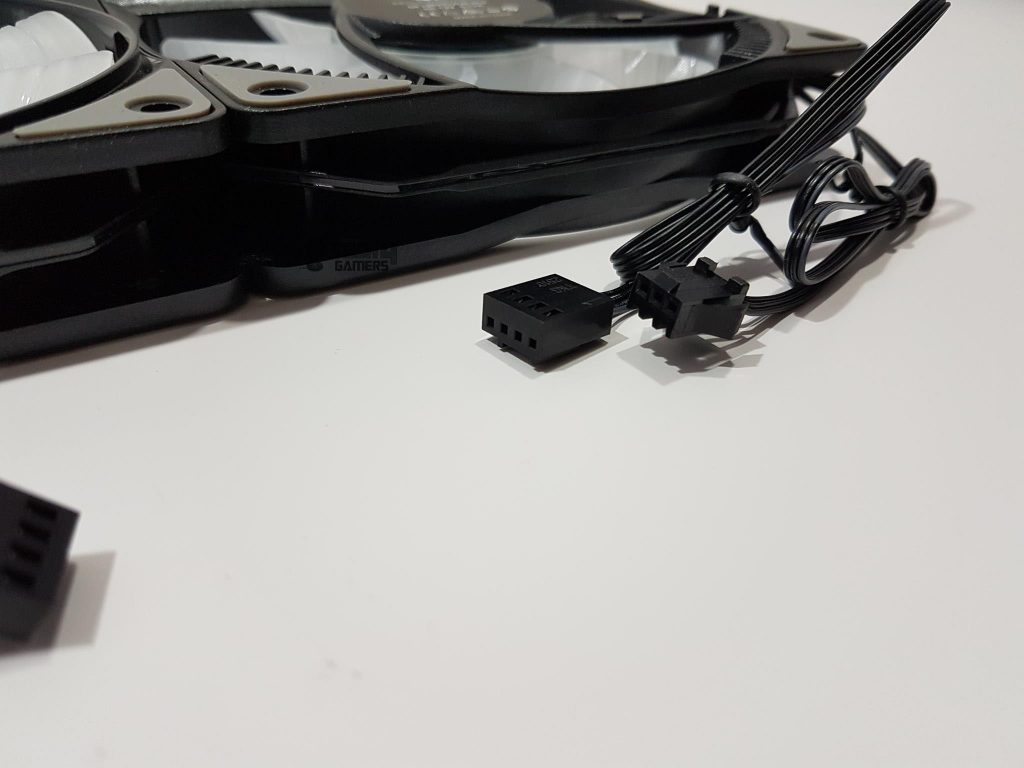
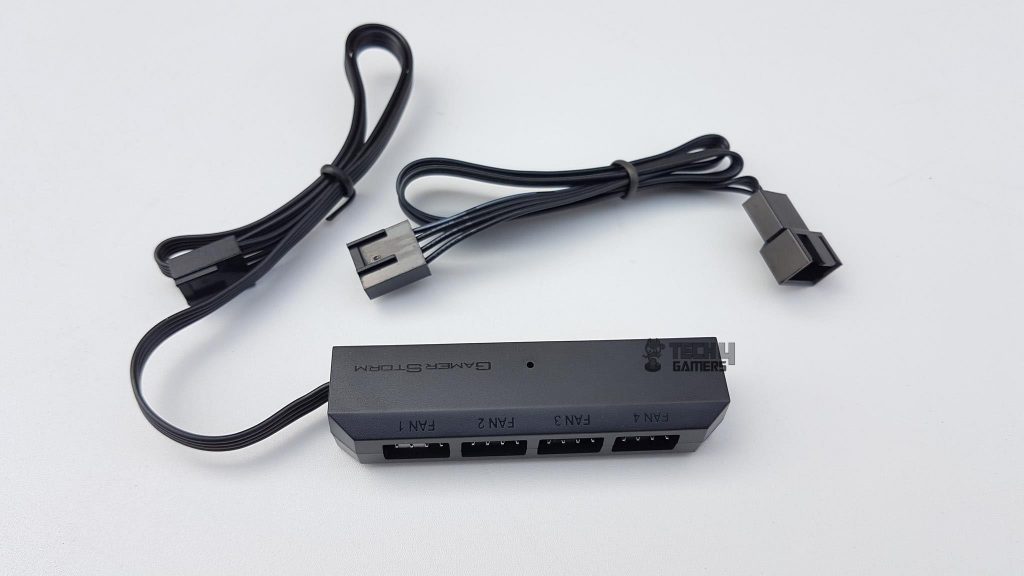
Each fan comes with two cables: a 4-pin power cable (280mm, flat) and a 3-pin flat LED cable (385mm). Deepcool includes a sleek 4-port fan hub in the package, with numbered ports and an adhesive side. The hub comes with a 4-pin PWM cable (392mm) and an additional 4-pin PWM extension cable (400mm).
The fan hub is convenient for a push/pull setup, allowing all four fans to connect to it, with a single 4-pin PWM cable going to the motherboard’s fan header for synchronized speed control. The white-colored port one indicates it regulates all connected fans.
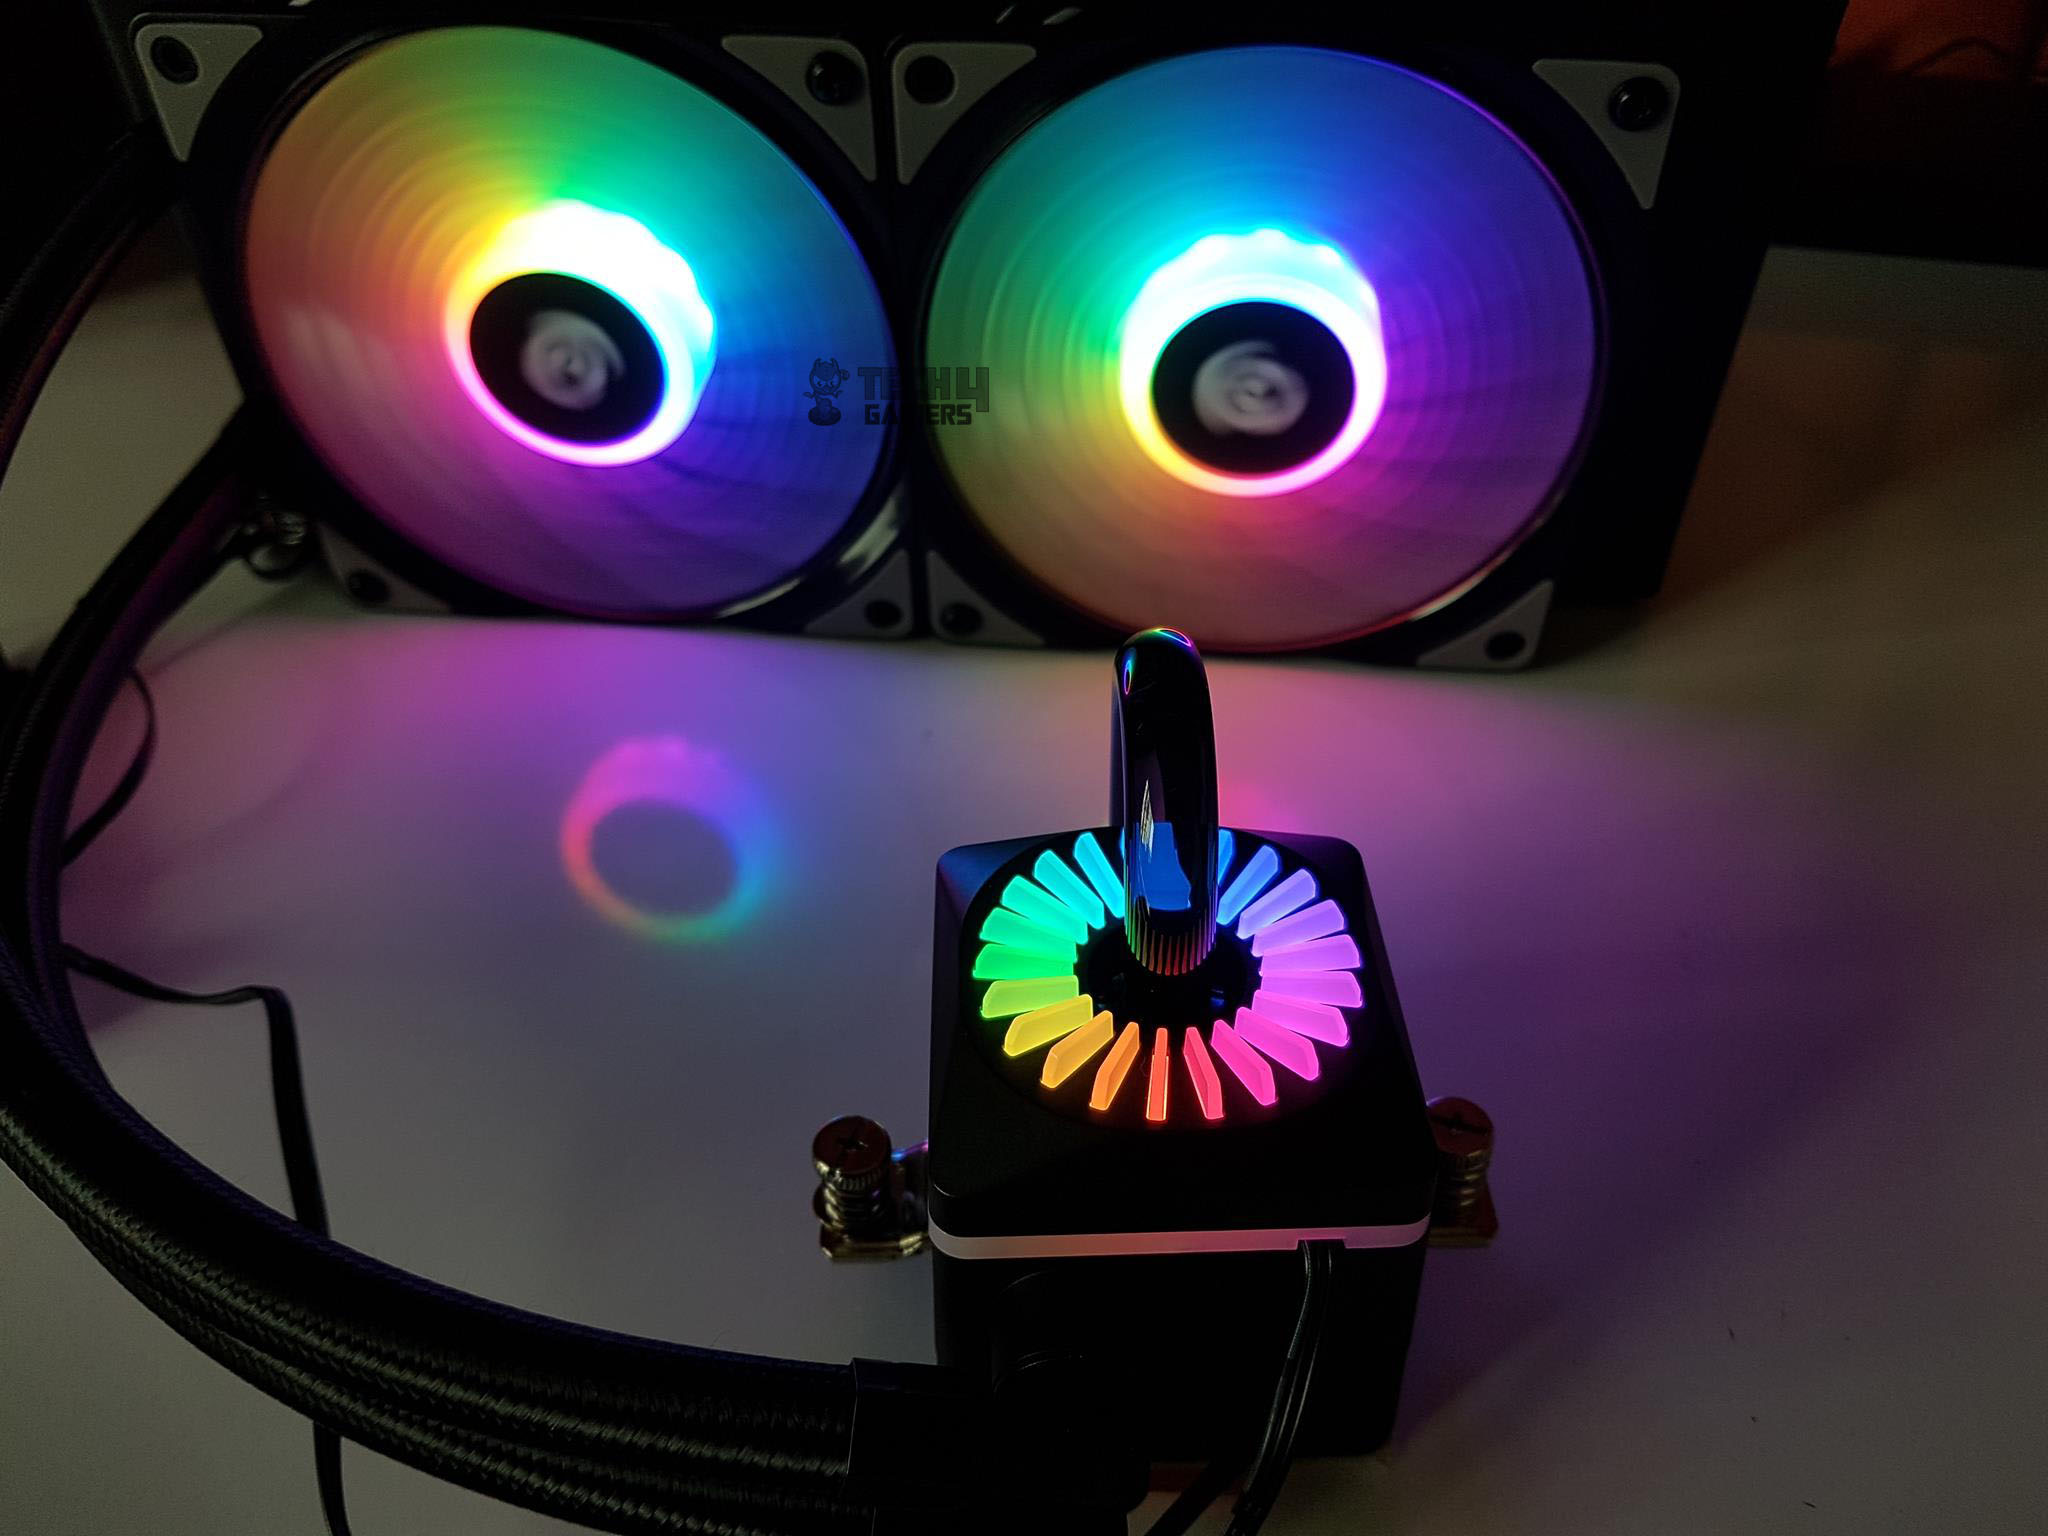
RGB Lighting
As we have discussed above, addressable RGB LEDs are in the top portion of the block under the diffuser, for which there is a 3-pin cable coming out of the pump housing. Due to the format of this cable, it can’t be connected directly on to the motherboard’s addressable RGB header.
Deepcool has provided two solutions for that. One is the dedicated controller to control the addressable RGB lighting effects.
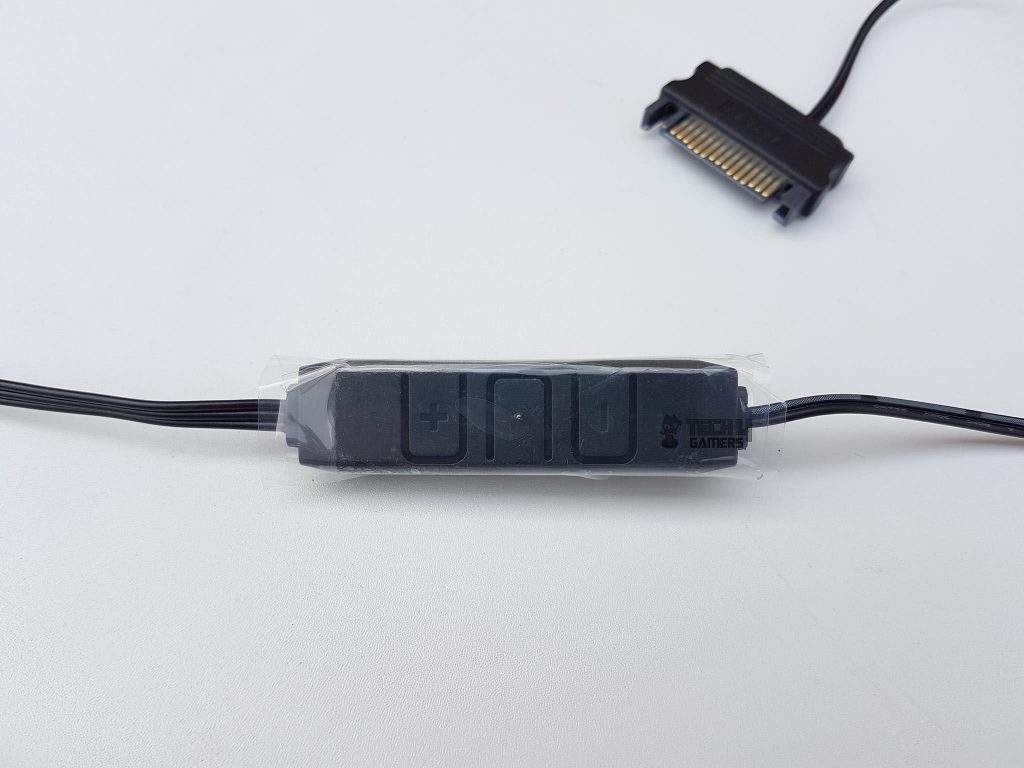
The controller is SATA-powered with a 400mm power cable and a 370mm RGB cable. It offers three buttons for control: one for lighting mode selection (+), one for brightness and speed adjustment (except for static mode), and one to return to the previous mode (-).
One thing to note is that finding an accessible spot for the controller outside the chassis can be challenging. Alternatively, you can place it inside the chassis for easier access, but you’ll still need to open the side panel to reach it.
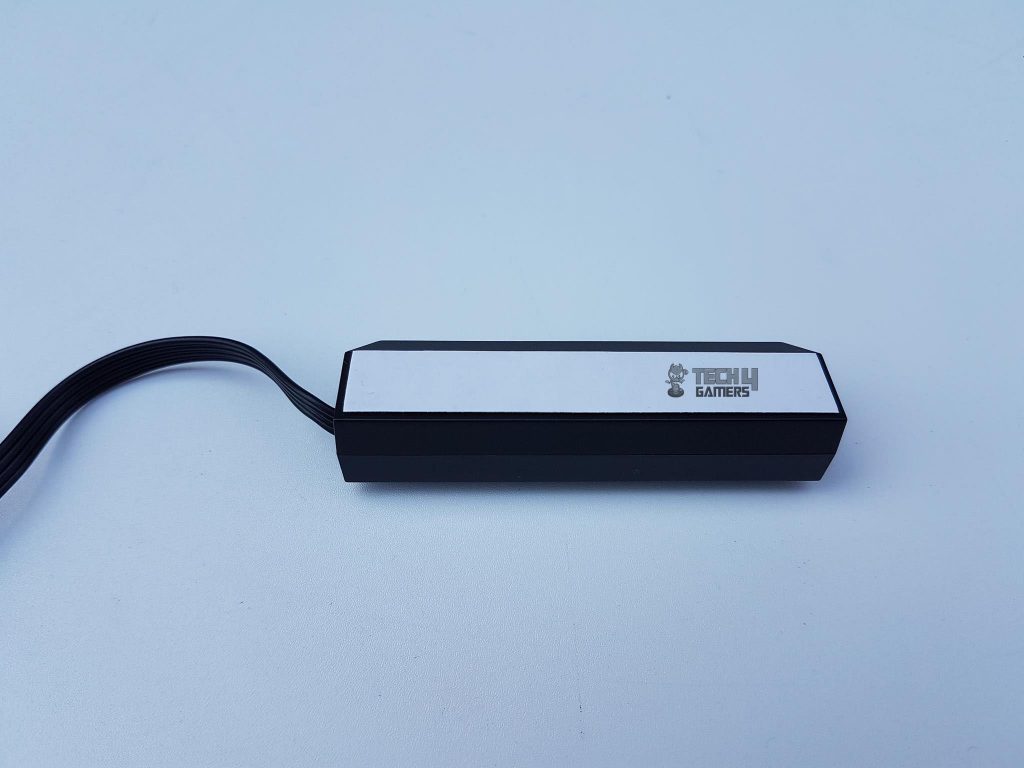
Deepcool offers an RGB LED hub that syncs with up to 5 ARGB devices, connecting to either a controller or motherboard lighting header. The CF120 fans and cooler block use WS2812B ADD-RGB LEDs.
It is clear that Deepcool has left no corner uncovered. Here is some technical data on the LEDs:
| LED Type | Addressable |
| Rated Voltage | 5V |
| Rated Power | 5.7W |
| LED Connector | 3pin |
| LED Control | Motherboard with addressable RGB header/ADD-RGB Controller |
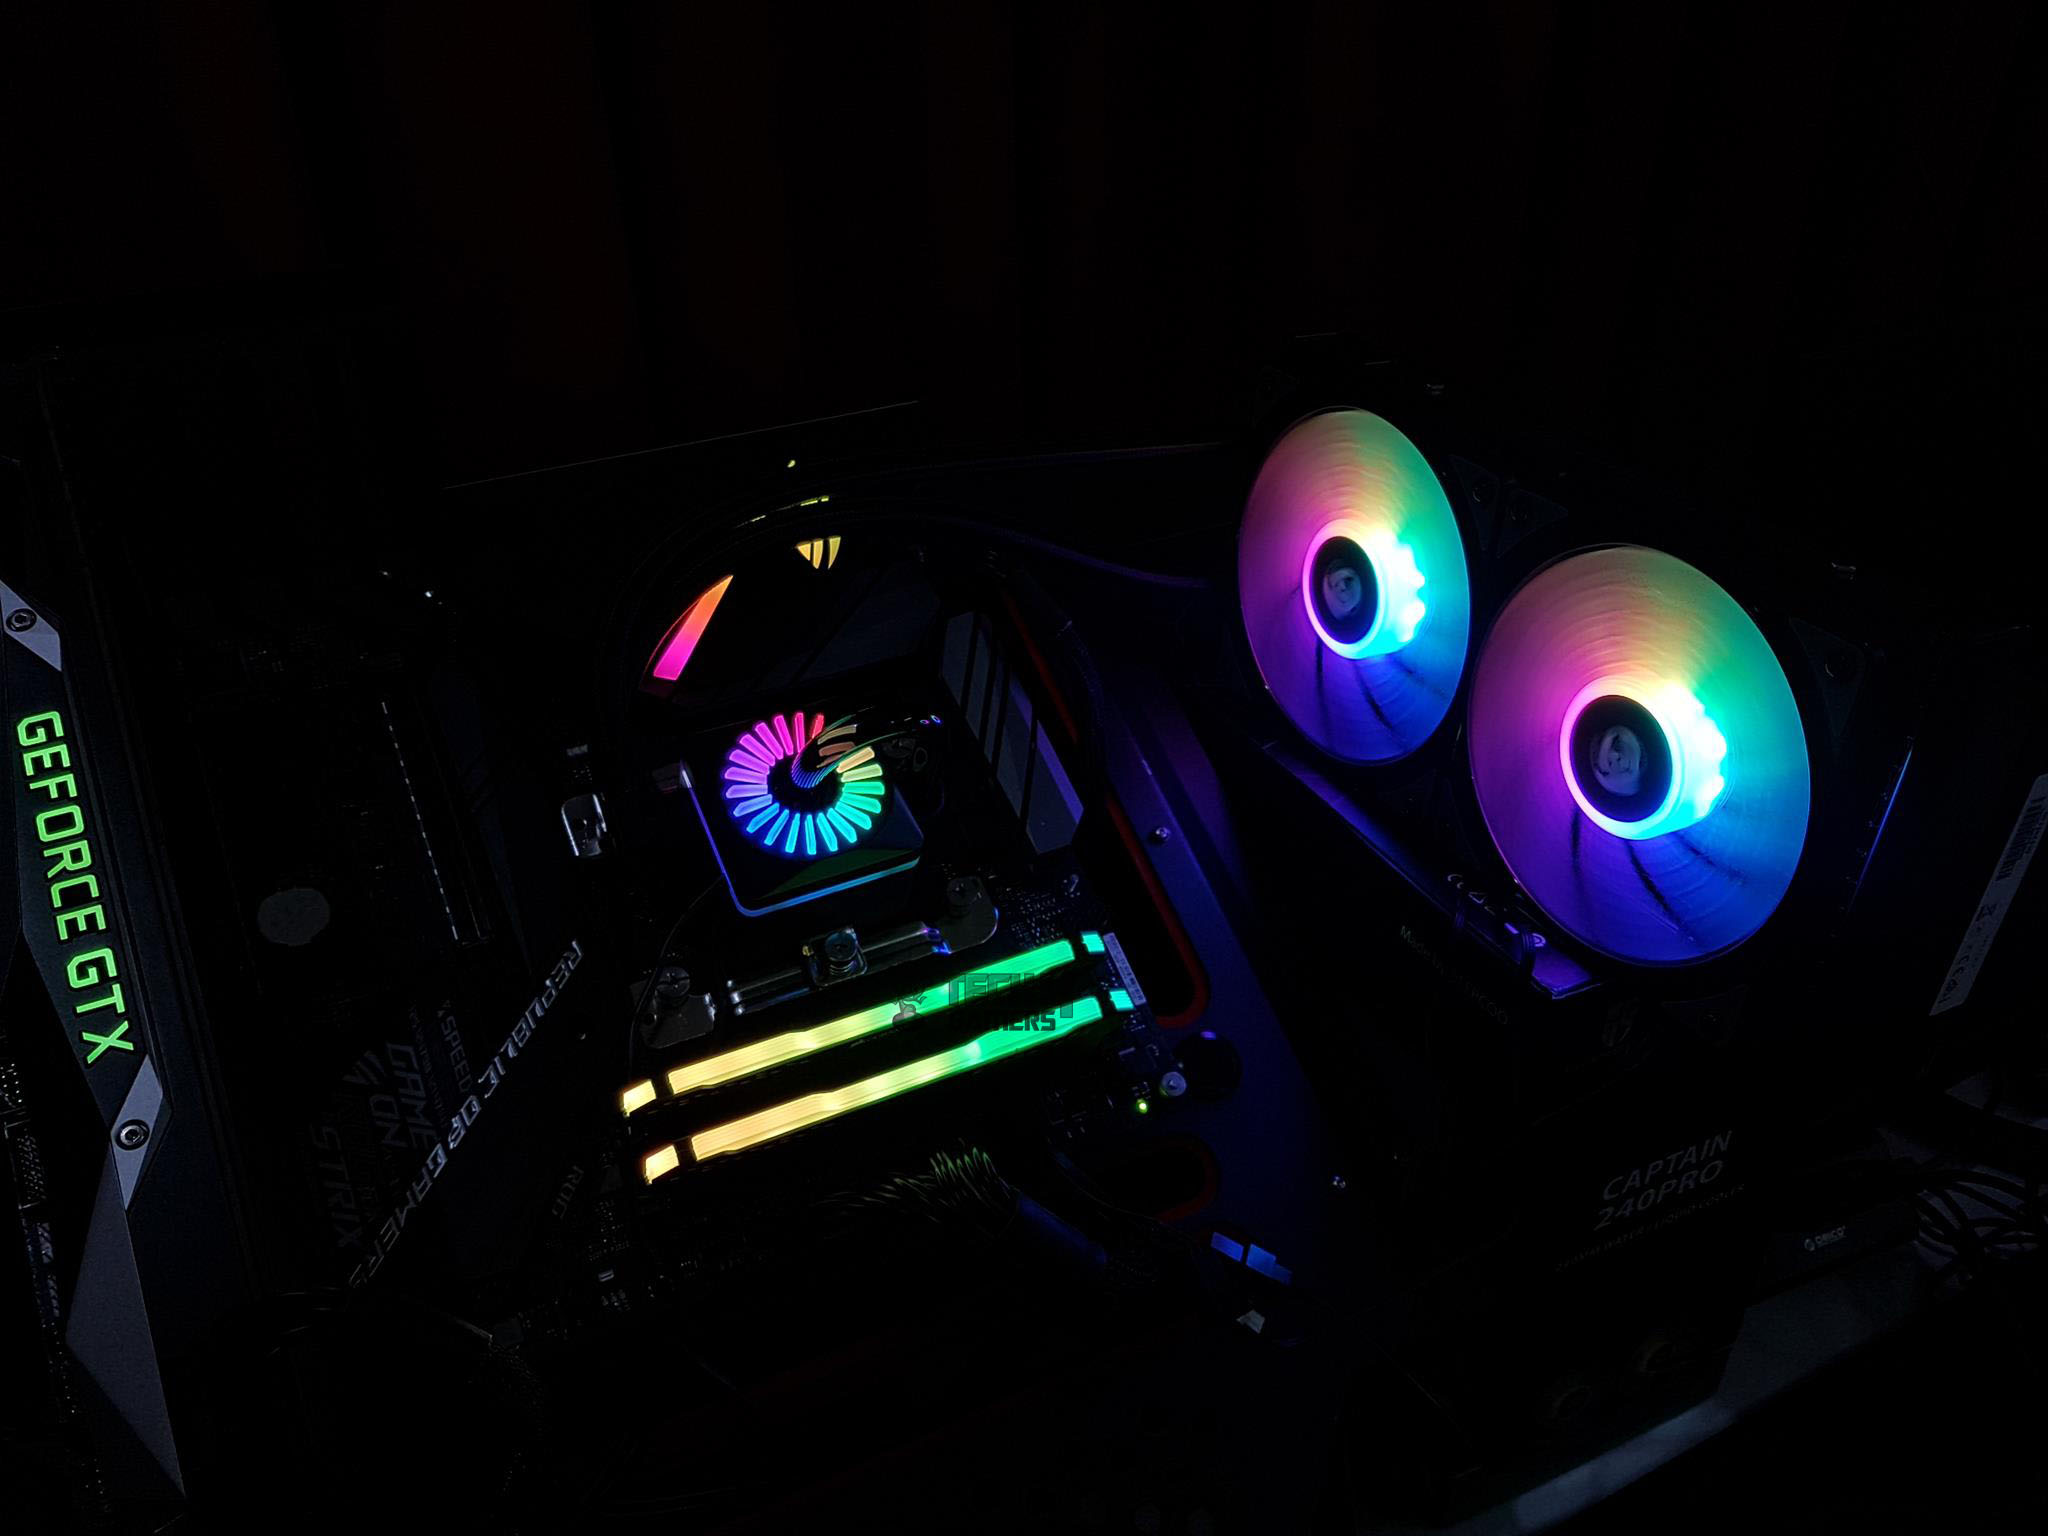
Here are some pictures for your eye pleasure:

Installation
The cooler has been tested on the Intel LGA2011(3) and AMD AM4 sockets using Intel i7 6850k and AMD Ryzen 7 2700X. Here are the installation guidelines for both platforms:
Intel
The installation procedure on Intel:
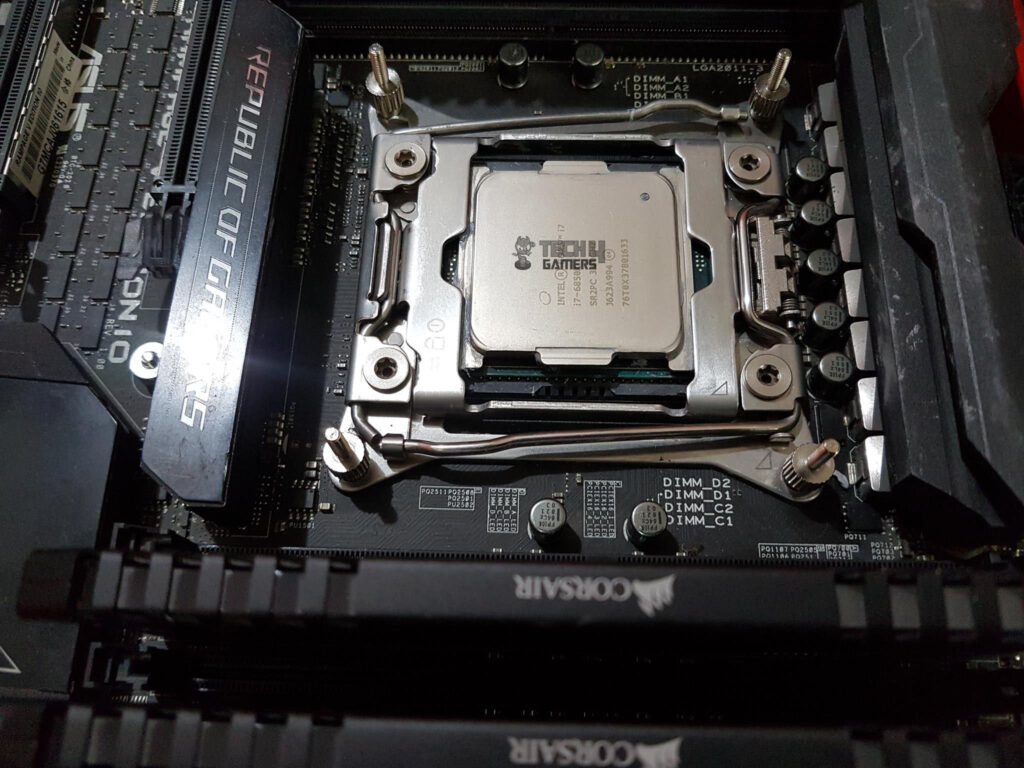
- Install the LGA20XX bolts on the pre-drilled holes around the CPU socket.
- Place the Intel mounting brackets on these bolts. I would advise to place them horizontally (looking at the motherboard from the standing position).
- Secure the mounting brackets using the Nuts A (small-size nuts).
- Install the fans on the radiator.
- Apply the thermal paste on the CPU.
- Remove the safety sticker from the base of the cooler.
- Place the block on the CPU by aligning the spring-loaded screws with the middle holes on the mounting bracket and screw tight the block on the CPU.
AMD
The installation procedure on the AM4 platform:
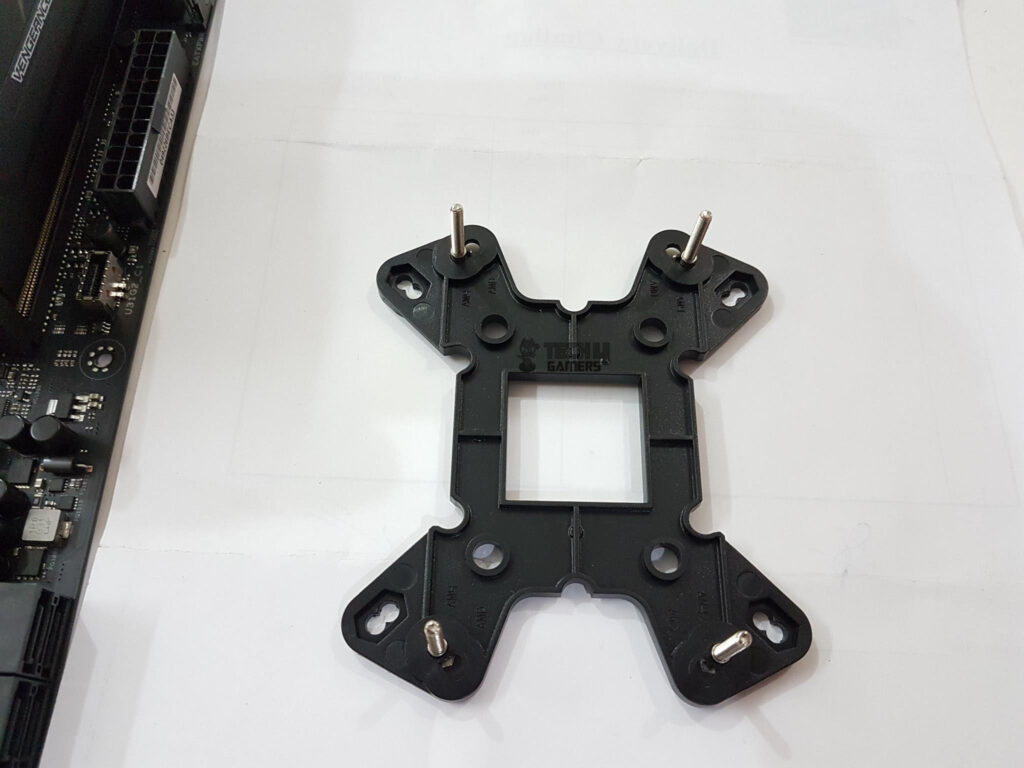
- Remove the AMD stock backplate from the motherboard.
- Slide the 4x bolt screws on the AMD backplate provided with the cooler. AM4 is clearly printed on the holes of the backplate. These bolts have hexagonal heads which should fit in fully inside the backplate.
- Place the backplate on the backside of the motherboard such that the screw bolts pass through the mounting holes.
- Place the Nuts B on the screw bolts and secure the AMD backplate. Make sure that black color side of the Nuts B faces the motherboard as it has silicon washers.
- Place the AMD mounting brackets on these screws.
- Secure the mounting brackets using the Nuts A.
- Apply the thermal paste on the CPU.
- Remove the Safety sticker from the base of the cooler.
- Place the block on the CPU by aligning the spring-loaded screws with the middle holes on the mounting bracket and screw tight the block on the CPU.
Common steps
- Connect the 3-pin power cable of the pump to the CPU Fan header or the AIO/Water Pump header of the motherboard.
- Connect the fans’ power cables to the fan hub and connect the fan hub’s PWM cable to the 4-pin fan header of the motherboard.
- Connect the RGB LED cables of the fans and the block with the LED hub.
- Connect the LED hub to the source controller.
The installation is complete. One observation that I made is that the side of the block where the hoses are located obstruct the block’s installation on the X99 as these hoses can’t be rotated fully and they were making contact with the RAMs. I take it there is only one way to install the block on the X99.
Testing Methodology
| Test Bench | Intel Test Bench | AMD Test Bench |
|---|---|---|
| Processor | Intel i7 6850k | AMD Ryzen 2700X |
| Motherboard | ASUS Rampage V Edition 10 | Asus Strix X470-F Gaming |
| RAM | Corsair Vengeance RED LED 16GB @ 2666MHz | Corsair Vengeance Pro RGB 16GB @ 3200MHz |
| SSD | Samsung 840 EVO 250GB SSD | HyperX 120GB SSD |
| Graphics Card | Asus ROG Strix GeForce RTX 2080 O8G | Nvidia GeForce GTX 1080 FE |
| PSU | Corsair AX1200i | Antec HCP1300 |
We are thankful to our sponsors of the AMD test bench. They are AMD, Corsair, Asus, and Antec.
The following software was used for testing and monitoring.
- Asus Real Bench v 2.44 [Intel]
- Real Temp GT v 3.70 [Intel]
- AIDA64 Extreme 5.99 [AMD]
The thermal paste being used on my test bench is the Noctua NT-H1 thermal paste. The use of the same thermal paste for all coolers will ensure standardization and mitigate any performance benefit that may come using the supplied thermal paste.
I have started testing the coolers with the bundled thermal paste as well. Here is the voltage and clock information for both platforms:
| AMD Platform | Intel Platform | ||
| Clock (MHz) | Voltage (V) | Clock (MHz) | Voltage (V) |
| 3700 | 1.1125 | 3600 | 1.130 |
| 4100 | 1.3250 | 4300 | 1.350 |
On the Intel platform, I used Asus RealBench for CPU stress testing, running it for a minimum of 60 minutes at each clock level. To calculate the average temperature, I summed up the individual core temperatures and divided by 6. I then deducted the ambient temperature to get the delta temperature.
On the AMD platform, I couldn’t use RealBench due to issues and instead used AIDA64 Extreme for CPU stress testing. I ran it for at least 60 minutes for each clock setting. Following each run, I allowed the system to idle for a minimum of 15 minutes.
On the AMD platform, tCtl was offset with -10°C, as advised by AMD for the 2700X only. AIDA64 Extreme run of a minimum of 60 minutes was made for each clock setting. Each run was followed by a minimum of 15 minutes of idling state.
Here are the results.
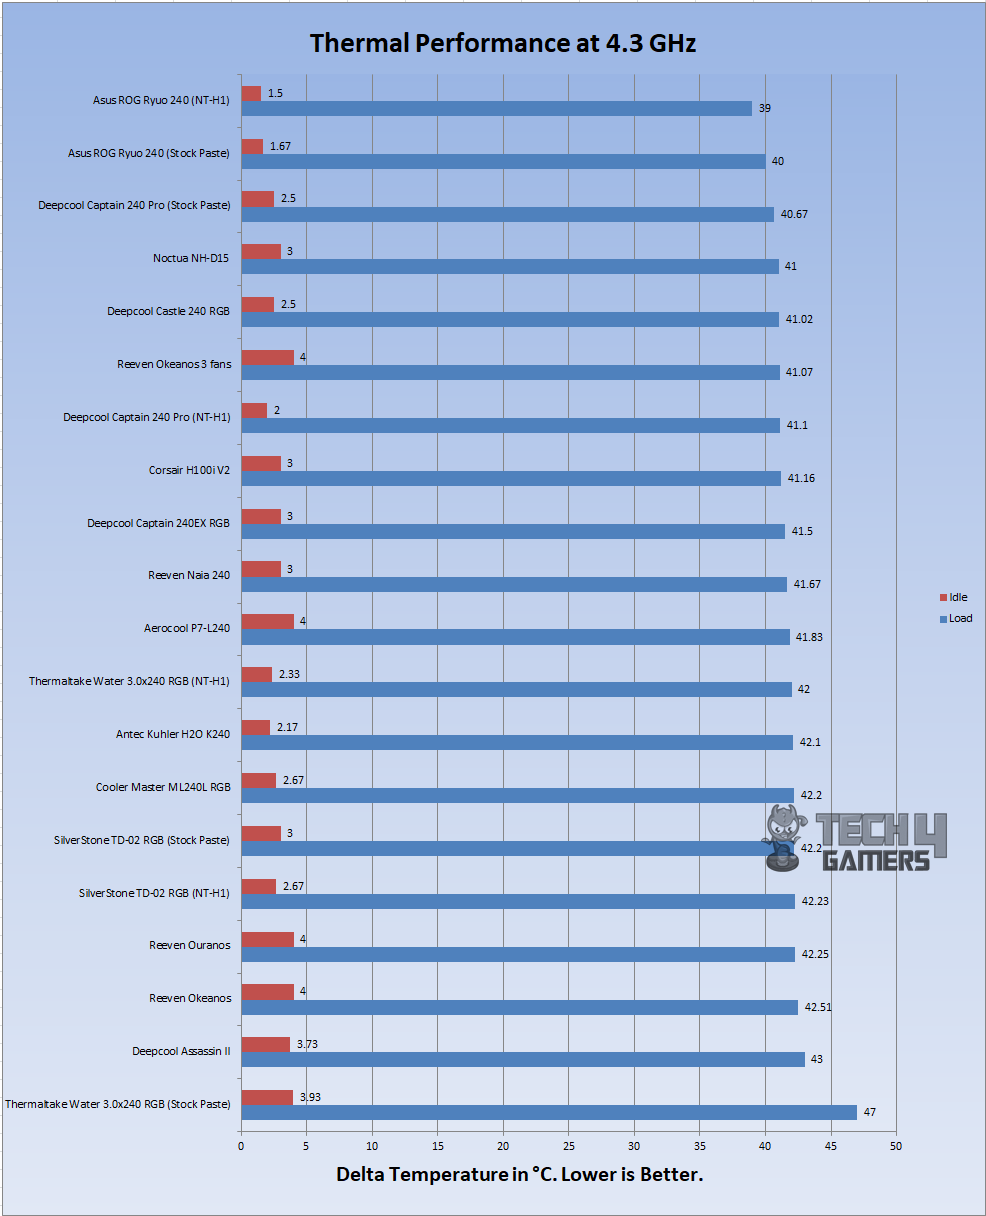
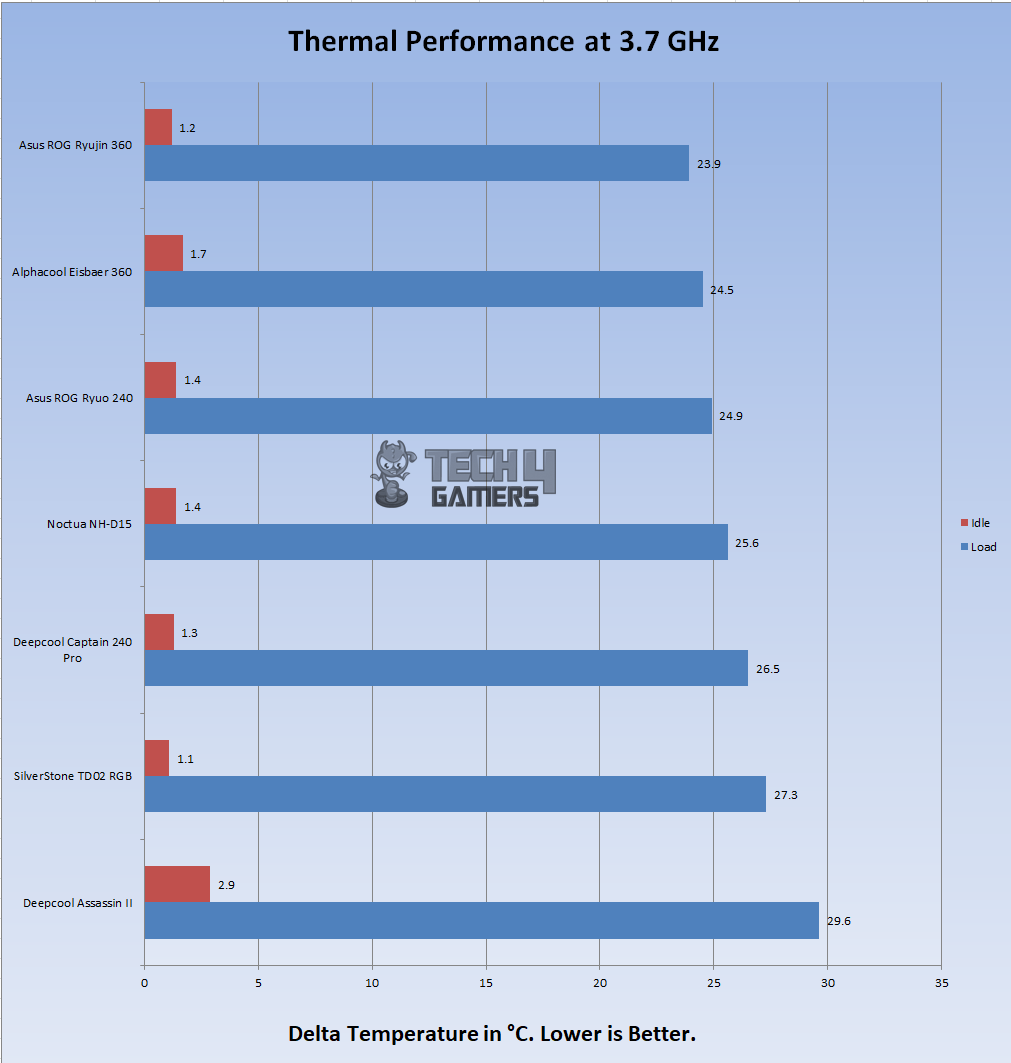
Results
Let’s take a look at the graphs.

Sound Level
I could not measure the sound level of the unit due to uncontrollable environmental noises. Based on my experience with the fans and coolers testing, the fans on the cooler are loud, and the sound level seems to be in the 30s at full speed, but they are not teasing.
A custom fan curve can be helpful in case you are sitting too close to the PC or are a sound-conscious person like me.
Should You Buy It
Our extensive hands-on testing of the DeepCool Captain 240 Pro has allowed us to evaluate the cooler on all levels. I have summarised a few points here to ease your buying decision.
Buy It If:
You want a capable 240mm AIO: Throughout our tests, the DeepCool Captain 240 Pro performed remarkably well.
You are looking for an easy-to-install 240mm cooler: In our experience, installing DeepCool Captain 240 Pro was an easy task.
You prefer RGB lighting: The DeepCool Captain 240 Pro is filled to the brim with RGB lighting, which will please a lot of users going for an RGB-centered build
Don’t Buy It If:
You prefer a silent cooler: In our testing, the DeepCool Captain 240 Pro generated a lot of noise, especially when operating at higher speeds.
You want the best-performing 240mm Cooler: The Deepcool Captain 240 Pro does not provide chart-topping performance, lagging behind some 240mm AIOs.
Conclusion
The Deepcool Captain 240 Pro is an impressive 240mm CLC cooler that caught my attention with its sleek design and high-quality CF120 ARGB fans. The radiator design is well-thought-out, and the flexible tubing not only looks good but also prevents kinking, which is a practical advantage.
One standout feature is the integration of an anti-pressure bag within the radiator. This innovative addition effectively manages internal pressure and is made of premium EPDM material, making it resistant to heat and corrosion. This approach is not only smart but also executed well. However, its long-term performance remains to be seen.
The included accessories, like the fan hub and LED hub, are well thought out. The block has a copper base, measures 93.7x93x85mm, and features 3-pin power and RGB cables. The hoses come out from the back in a 90-degree position, with some rotation capability. The pump uses Zirconia Ceramic bearings, but the lifespan isn’t specified.
It’s a solid cooler for both Intel and AMD platforms, and the $139.99 price tag is reasonable. Thanks to Deepcool for the opportunity to review this cooler. We are thankful to Deepcool for giving us the opportunity to review their Captain 240 Pro CPU Cooler.
Recent Updates
- November 7, 2023: Few text changes to improve readability. Added galleries.
Thank you! Please share your positive feedback. 🔋
How could we improve this post? Please Help us. 😔
[Hardware Expert]
With a major in Computer Science, Sameed is a tech enthusiast who puts his passion for gadgets into words and creates informative blogs. From comparing different hardware to reviewing the best RAMs, motherboards, and graphics cards for your next build, Sameed has covered a wide spectrum of topics that have given him a special insight into every nook and cranny of the tech world. Sameed is also a certified expert at Computer Hardware & Networking.
Get In Touch: sameed@tech4gamers.com


