 Threads
Solid 240mm Choice!
Review Summary
The Deepcool Captain 240EX RGB CPU Cooler impresses with its visually striking arc reactor design and vibrant RGB lighting. Featuring a 240mm radiator, high-performance TF120 fans, and a hassle-free installation process, it caters to users seeking a balance between aesthetics and efficient cooling. Notably, it may not be the best choice for those requiring addressable RGB lighting or engaging in extreme overclocking.
Hours Tested: 5

Overall
-
Performance - 8/10
8/10
-
Design - 9/10
9/10
-
Features - 8/10
8/10
-
Value - 8/10
8/10
-
Build Quality - 9/10
9/10
Pros
- Visually Stunning Design
- Efficient Cooling Performance
- Hassle-Free Installation
- Unique Three-Chambered Design
Cons
- Not Ideal for Addressable RGB Lighting
- Not Recommended for Extreme Overclocking
- Limited Movement in Hoses


Diving into the realm of cooling solutions, I had the chance to explore the Deepcool Captain 240EX RGB CPU Cooler. It’s not just your ordinary cooling system; it’s an evolution of its predecessor, boasting the major addition of RGB lighting. This review will take you through the unique features, design intricacies, and performance metrics of this cooling solution.
Key Takeaways
- Deepcool Captain 240EX RGB CPU Cooler offers a visually stunning and bold cooling solution, featuring a unique arc reactor-like design with RGB lighting integration.
- You should get the Deepcool Captain 240EX if you seek a complete cooling solution with high-performance TF120 fans, a 240mm radiator, and striking RGB lighting; ideal for users who prioritize aesthetics, effective cooling, and a hassle-free installation.
- You should not get the Deepcool Captain 240EX if you require a cooler with addressable RGB lighting or if you prioritize extreme overclocking scenarios. The cooler’s design and features are better suited for users focused on a balance of performance and aesthetics in a mid-range cooling solution.
- Why you can trust Tech4Gamers: We understand the importance of making informed decisions. That’s why our team spends significant time testing every product we review. Find out more about how we test.
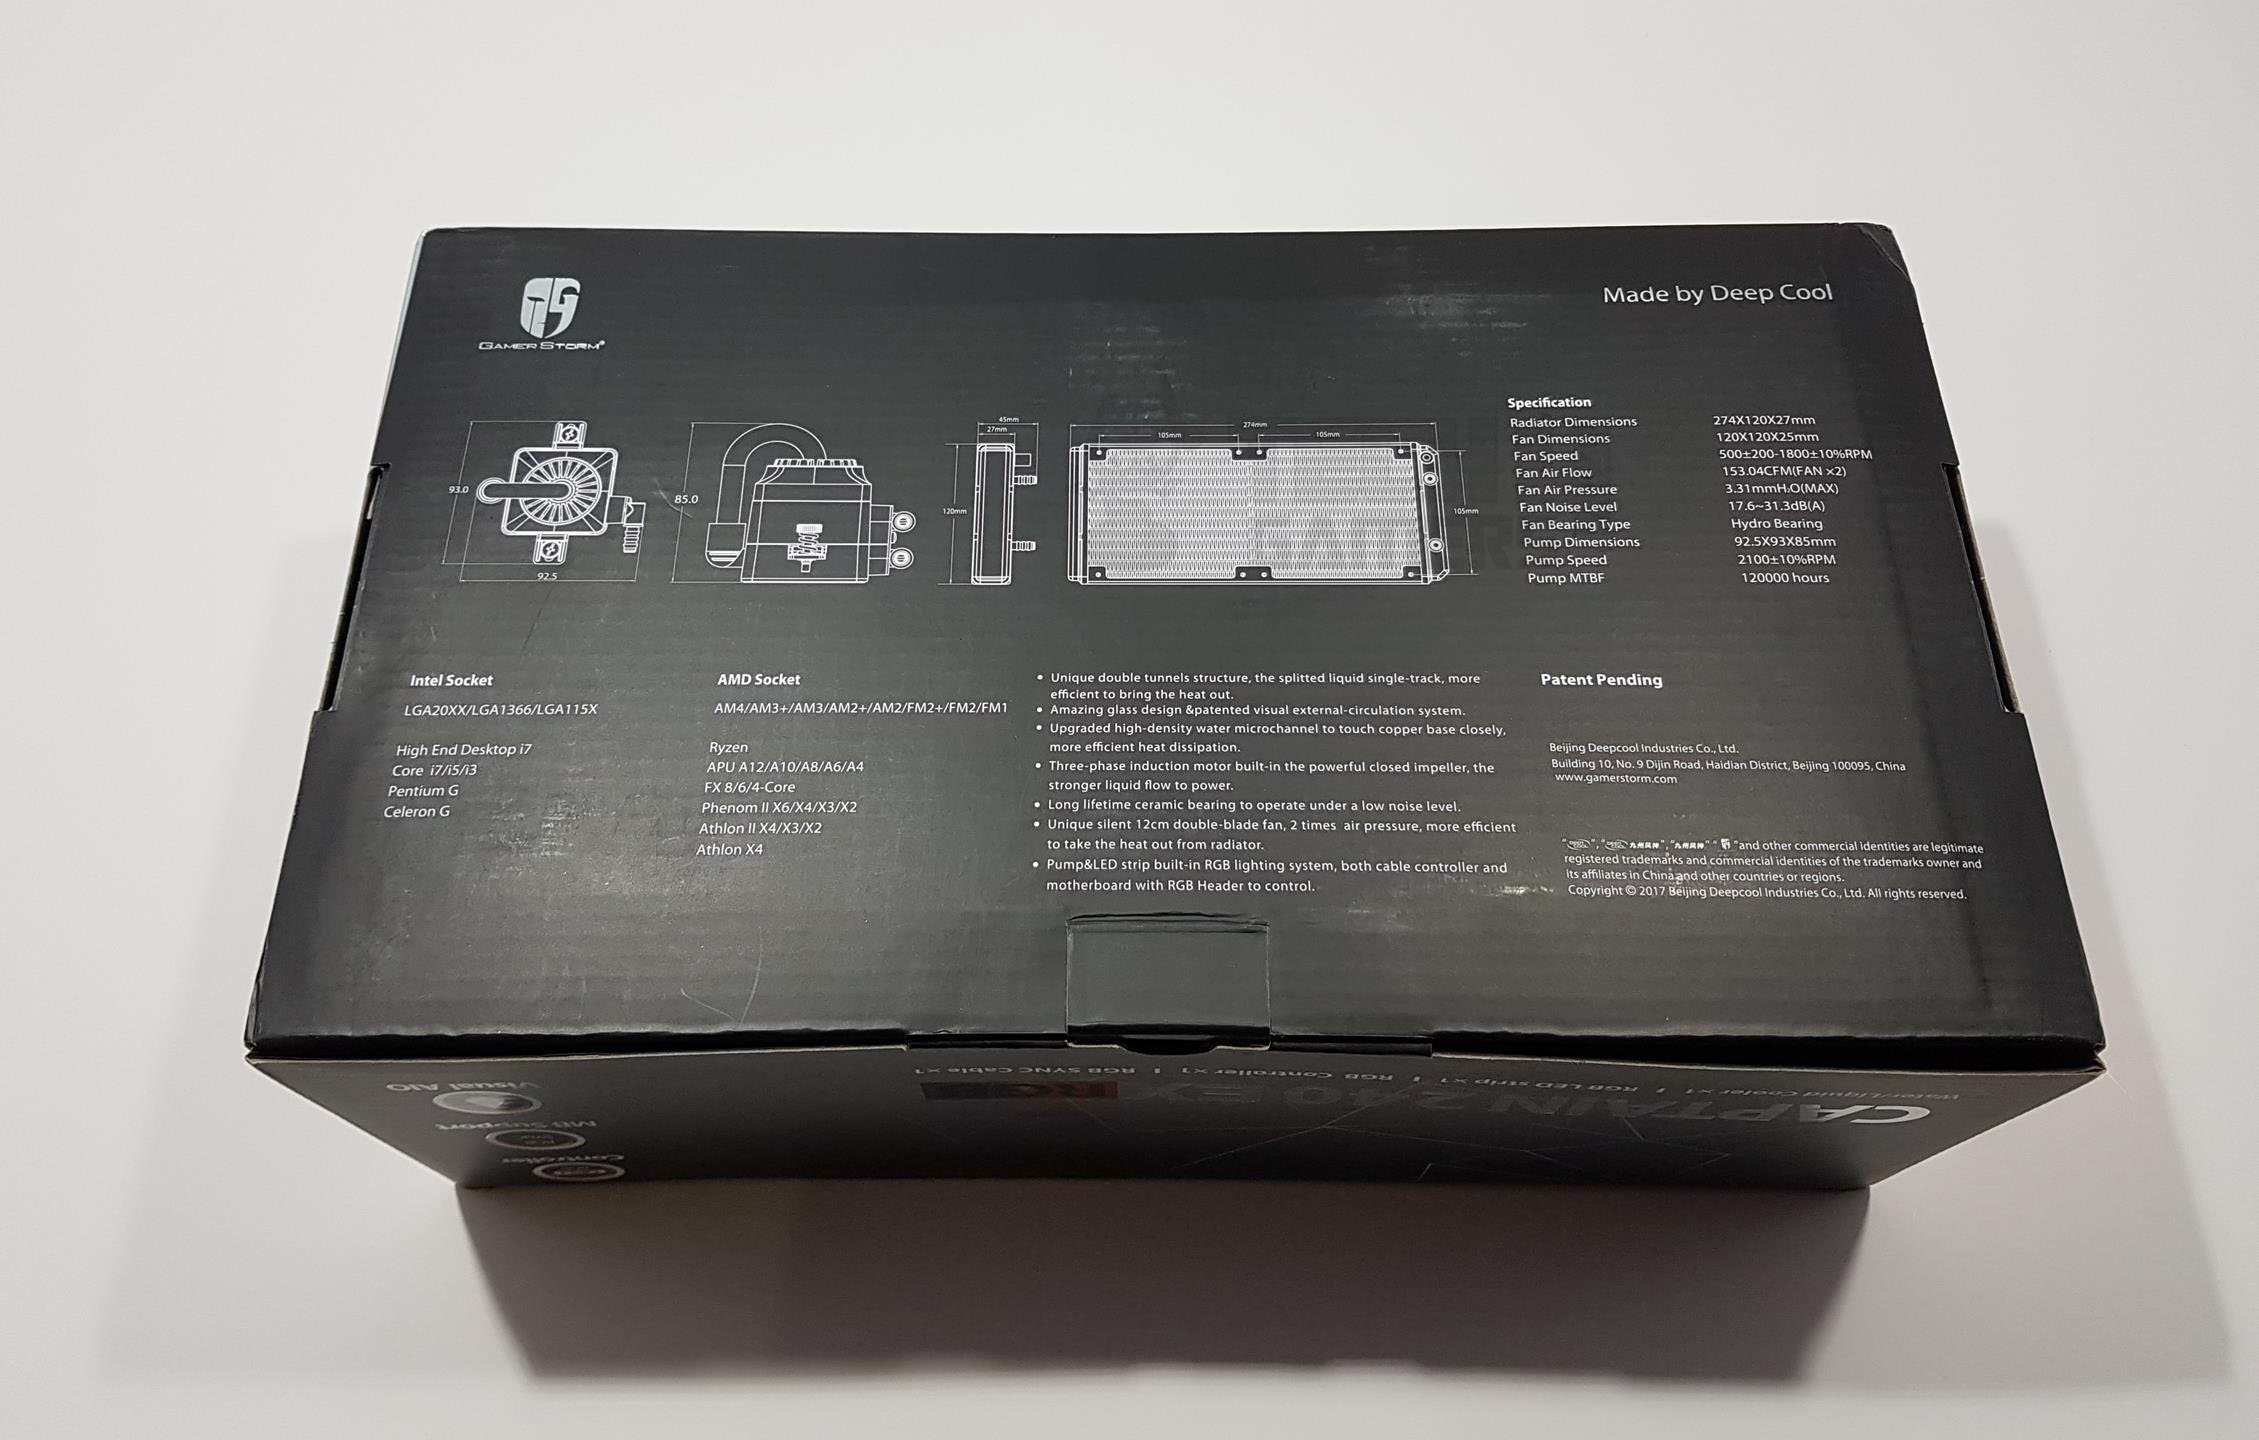
Here are the specifications of Deepcool Captain 240EX:
| Fan Dimensions | 120×120×25mm(2PCS) |
| Net Weight | 1249±10g |
| Fan Speed | 500±200-1800±10%RPM |
| Fan Air Flow | 153.04CFM(MAX) |
| Fan Air Pressure | 3.31mmH2O(MAX) |
| Fan Life Expectancy | 50000 hours |
| Fan Noise Level | 17.6~31.3dB(A) |
| Fan Bearing Type | Hydro Bearing |
| Fan Connector | 4Pin |
| Fan Rated Voltage | 12VDC |
| Fan Rated Current | 0.12±10%A(MAX) |
| Fan Power Consumption | 1.44W |
| Main system Dimensions | 92.5×93×85mm |
| Radiator Dimensions | 274×120×27mm |
| Radiator Material | Aluminum |
| Pump Life Expectancy | 120000 hours |
| Pump Connector | 3Pin |
| Pump Operating Voltage | 6~13.8VDC |
| Pump Rated Voltage | 12VDC |
| Pump Speed | 2100±10%RPM |
| Pump Current | 0.15A(Max) |
| Pump Power Consumption | 1.8W |
| Tubing Length | 310mm |
| EAN (AM4) | 6933412726029 |
| P/N (AM4) | DP-GS-H12L-CT240A4 |
| EAN | 6933412725824 |
| P/N | DP-GS-H12L-CT240EX |
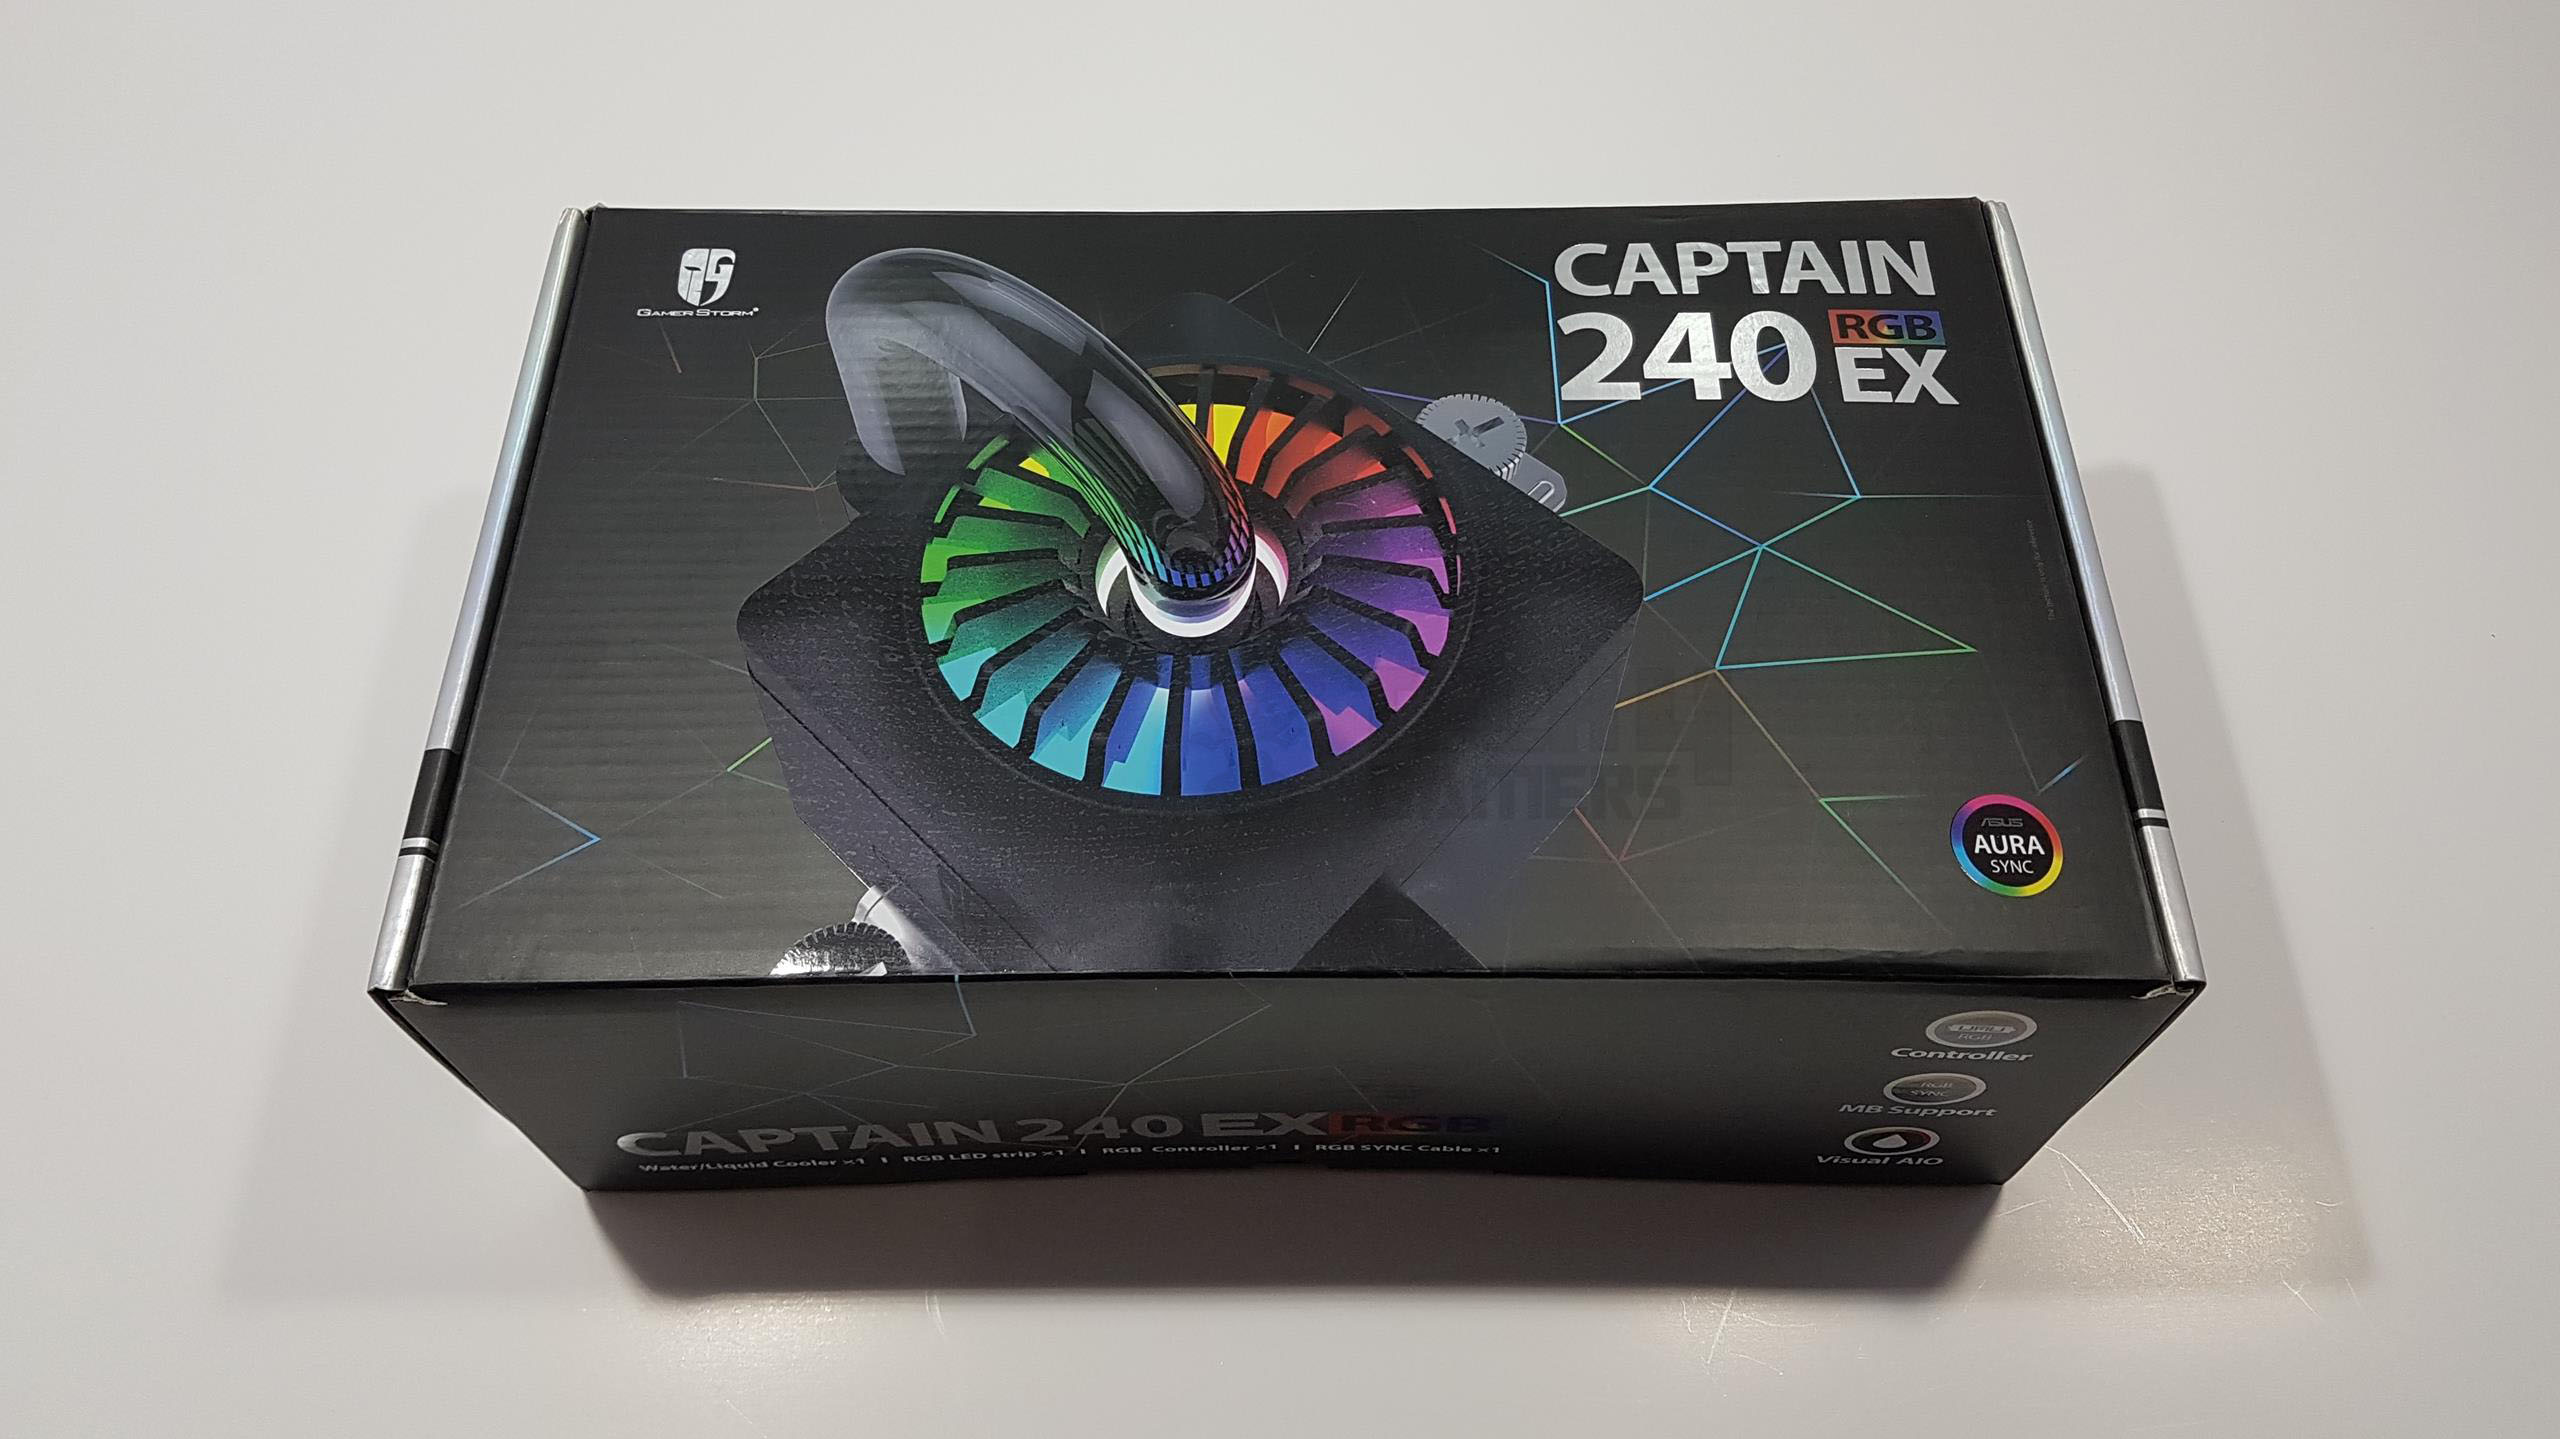
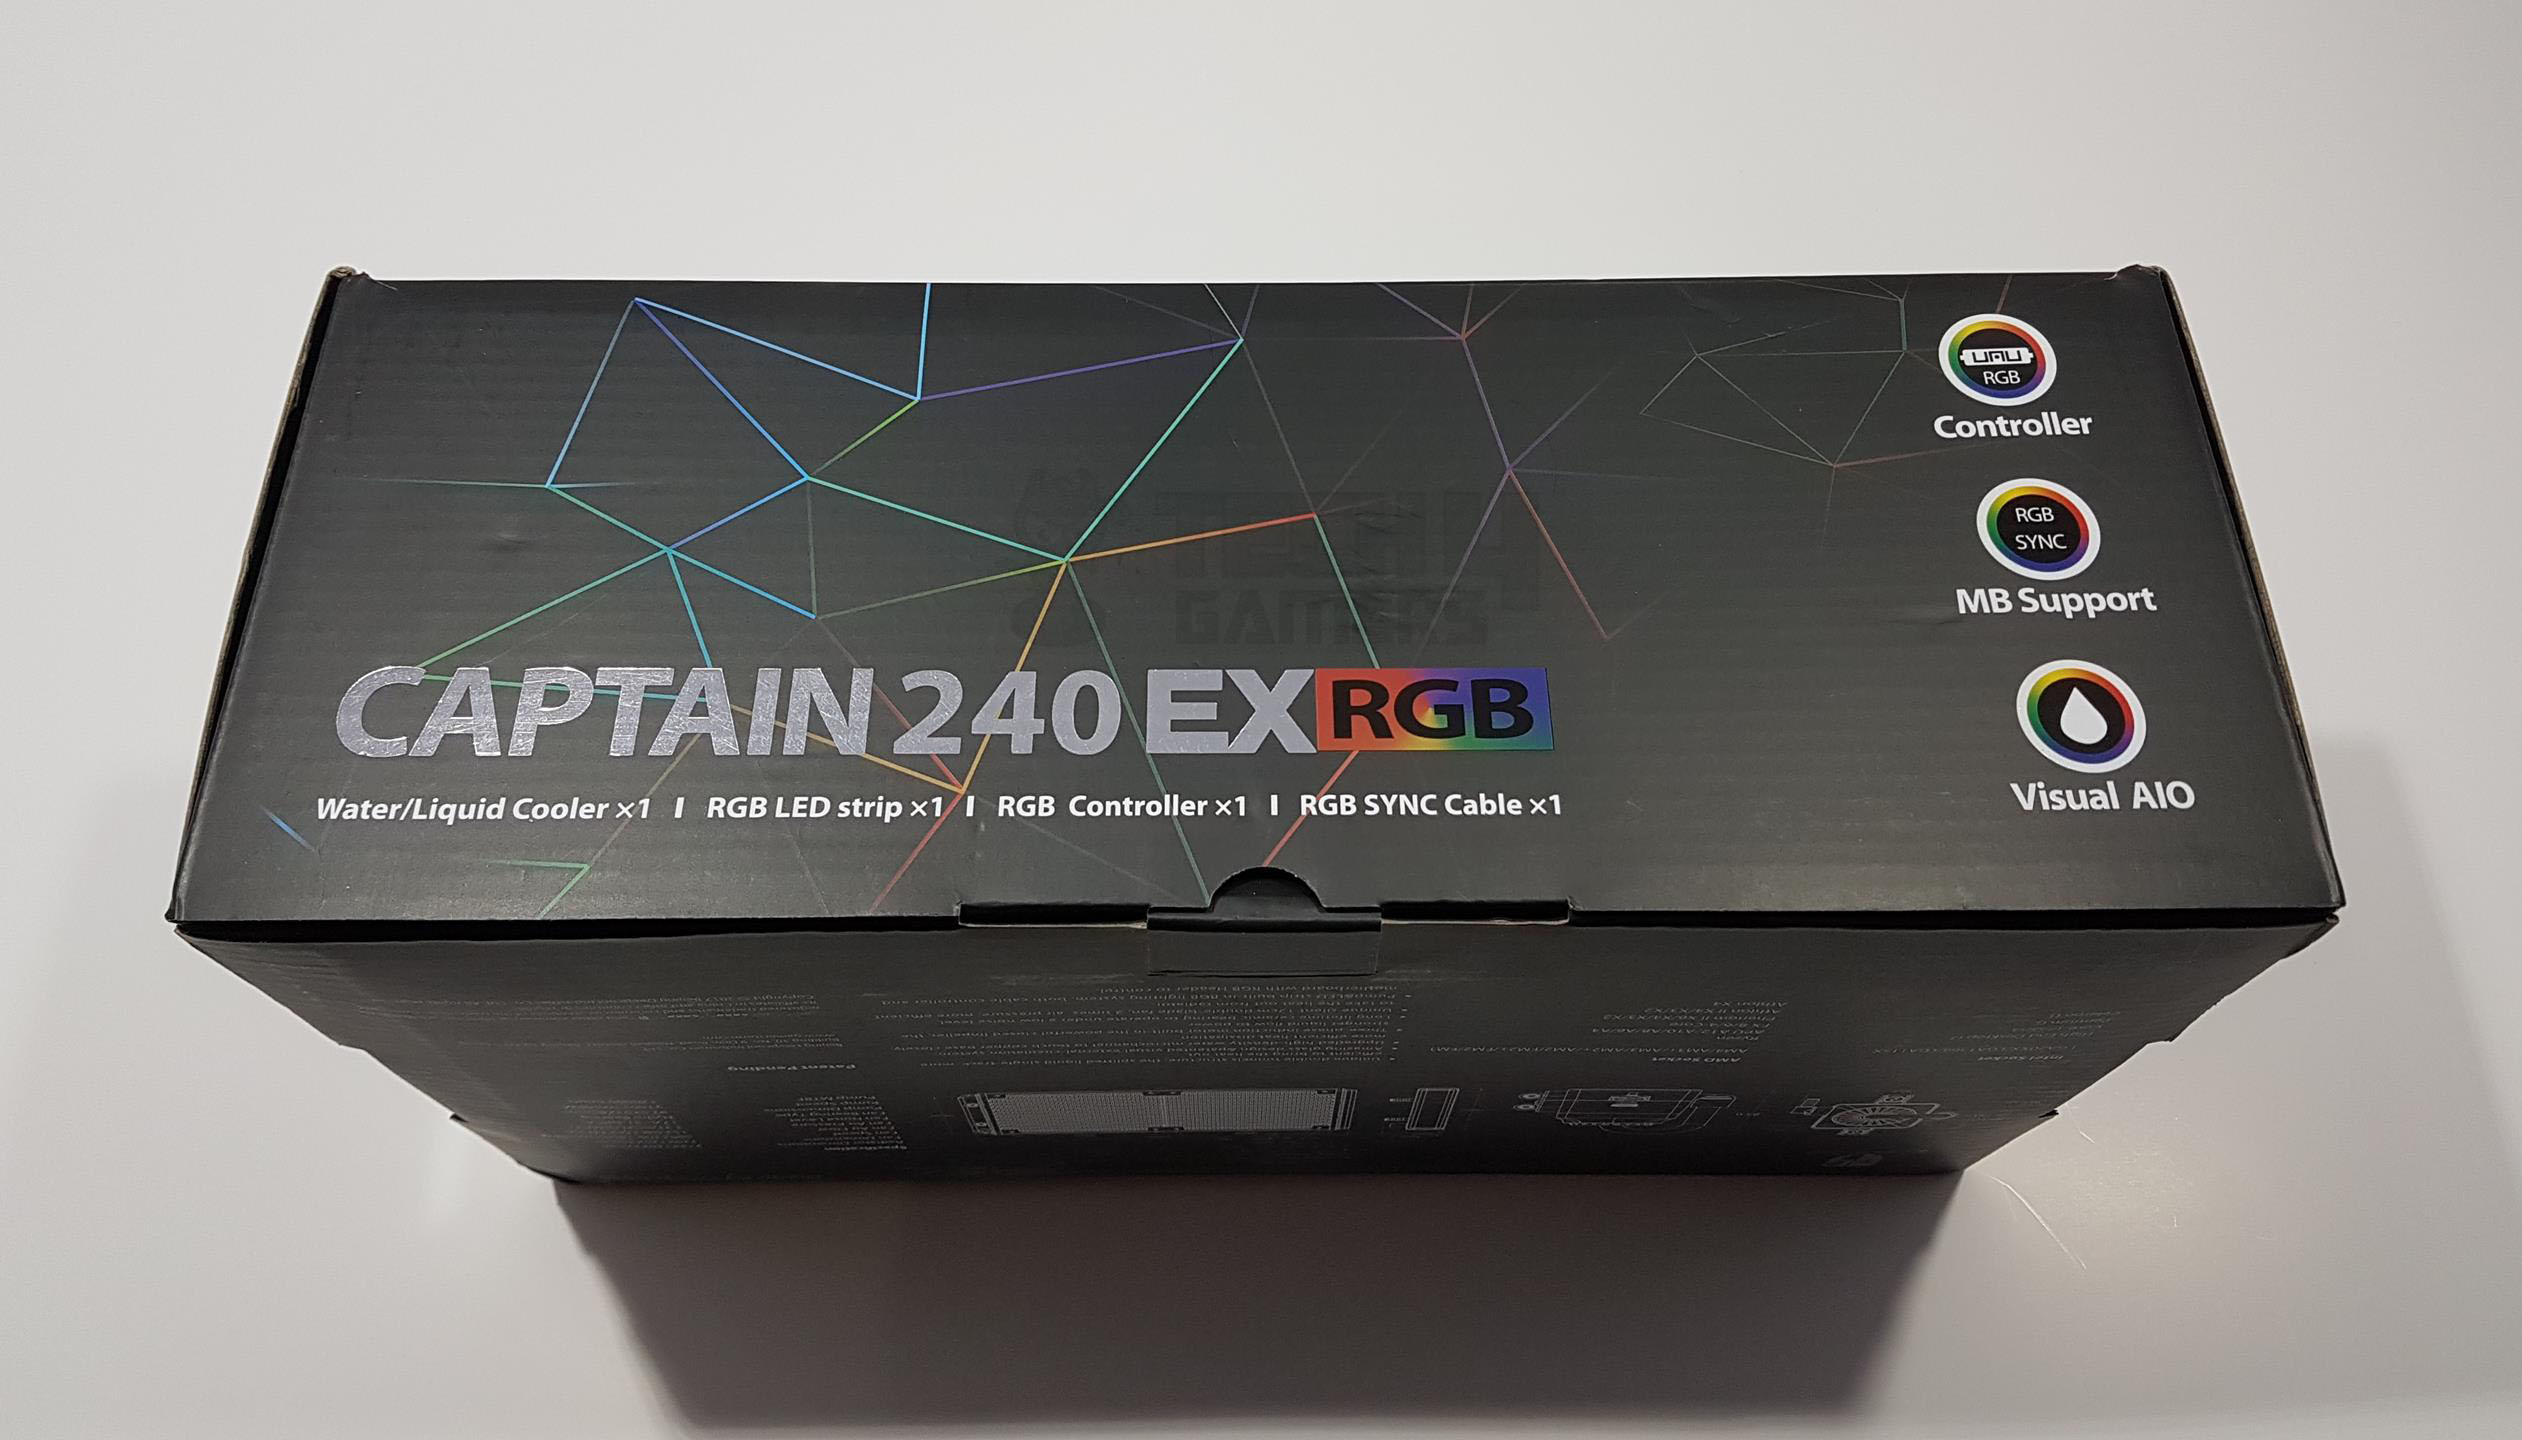
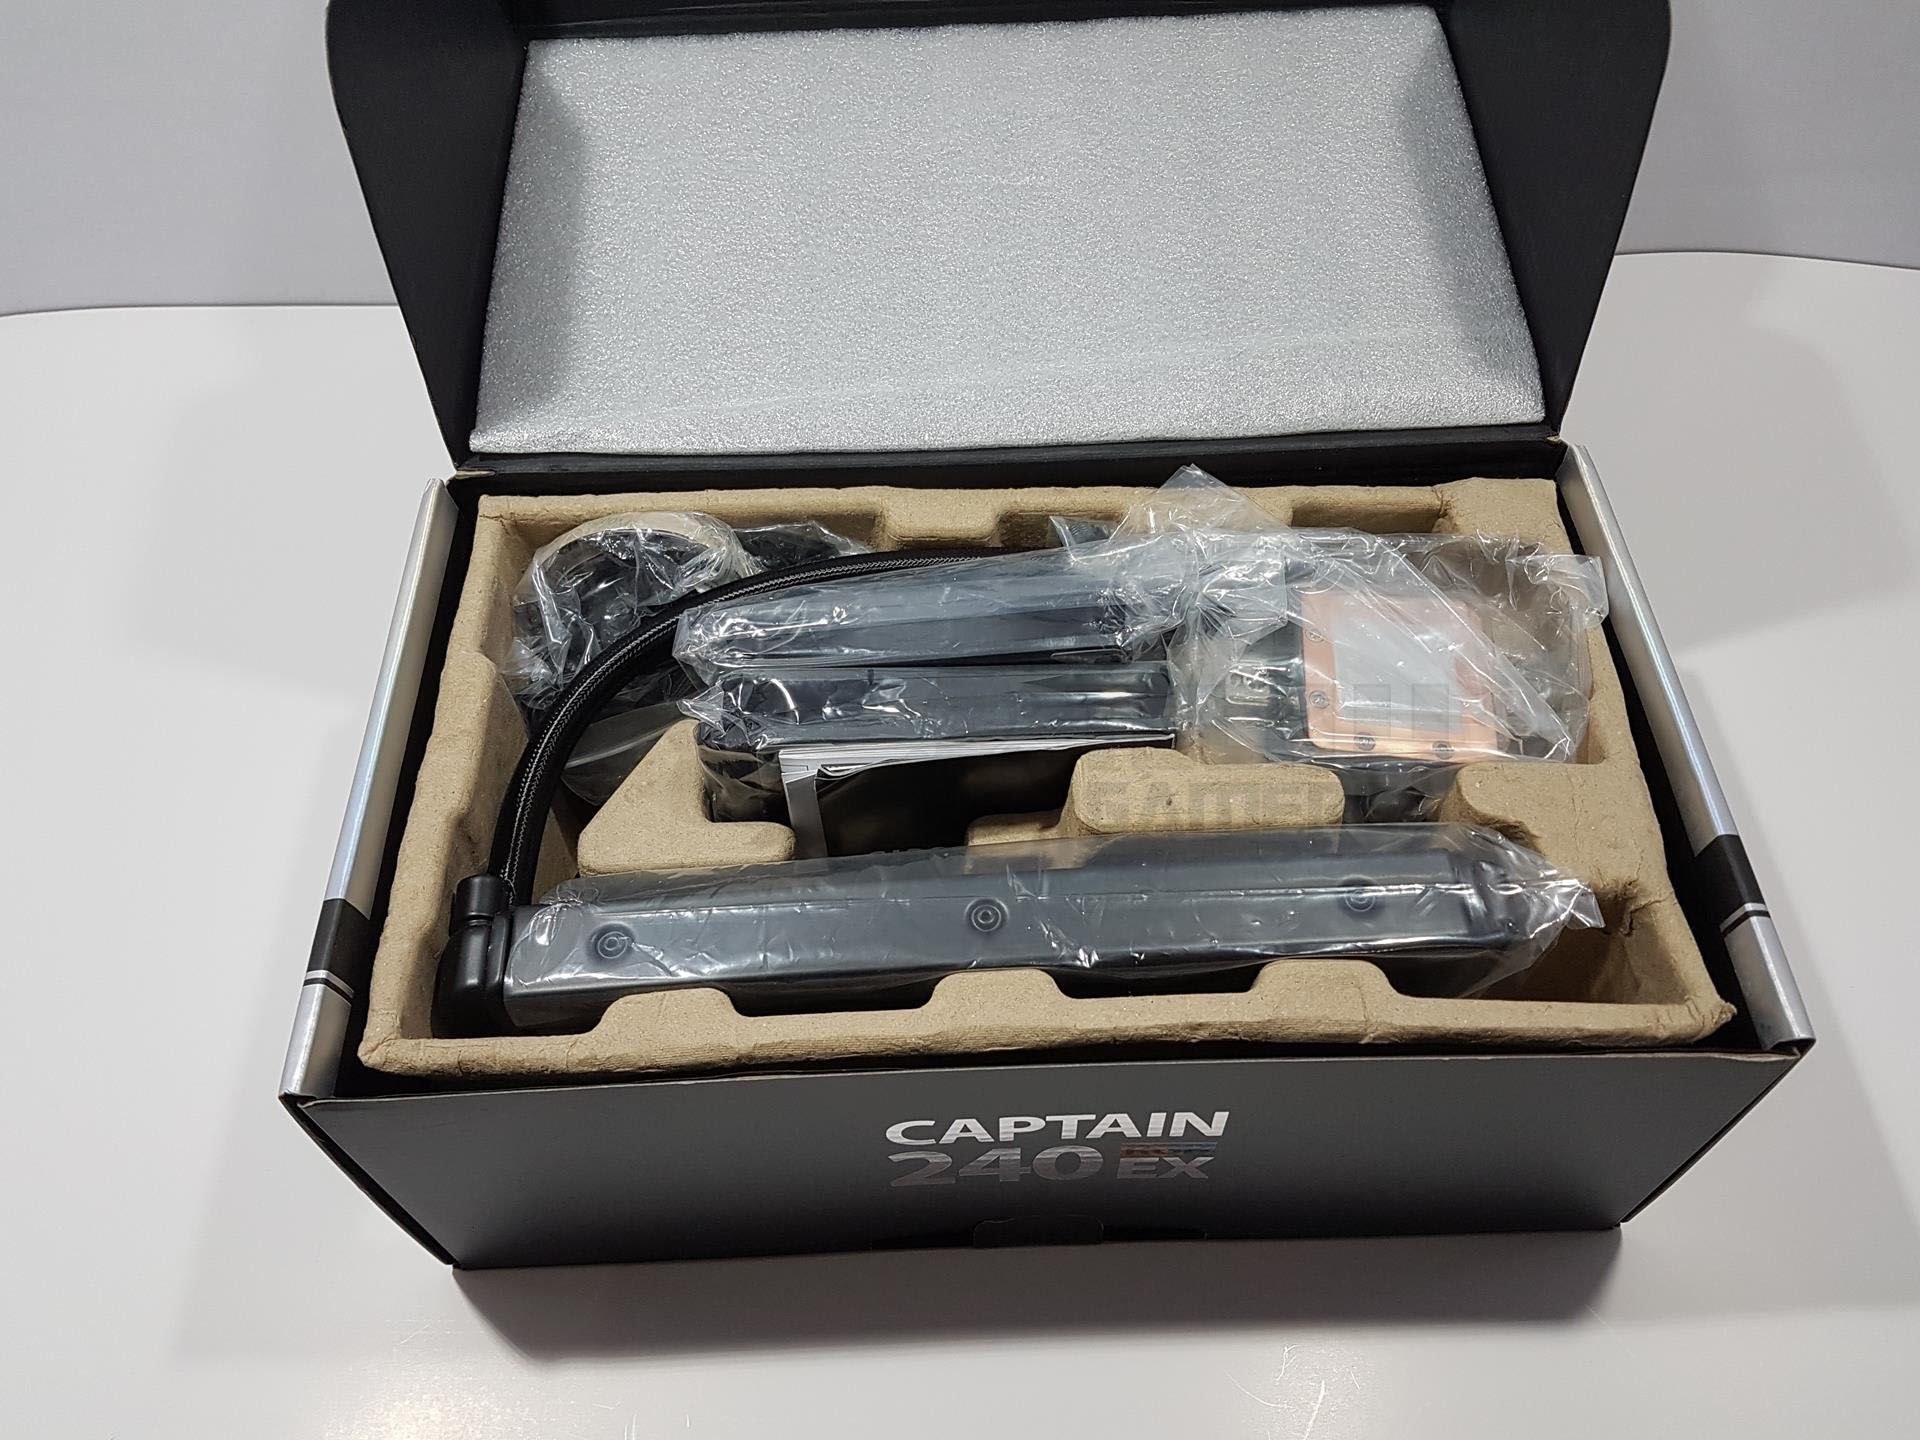
Packaging And Unboxing
This is our third Deepcool product that we are reviewing and we must say, their presentation of the products is top-notch. The cooler comes inside a cardboard box.


Related: Deepcool Castle 360EX Review
Accessories
The following accessories come in the box:
- 2x 120mm fans
- 1x backplate
- 4x Screw Bolts
- 8x Fan Screws
- 8x case screws
- 4x Nut A
- 4x Nut B
- 4x Double Screw Bolts
- 2x Intel Mounting Brackets
- 2x AMD Mounting Brackets
- 1x Fan Hub
- 1x 3M Sticker
- 1x Cable Tie
- 1x Extension Cable
- 1x RGB Controller
- 1x RGB Sync Cable
- 1x RGB LED Strip


Closer Look
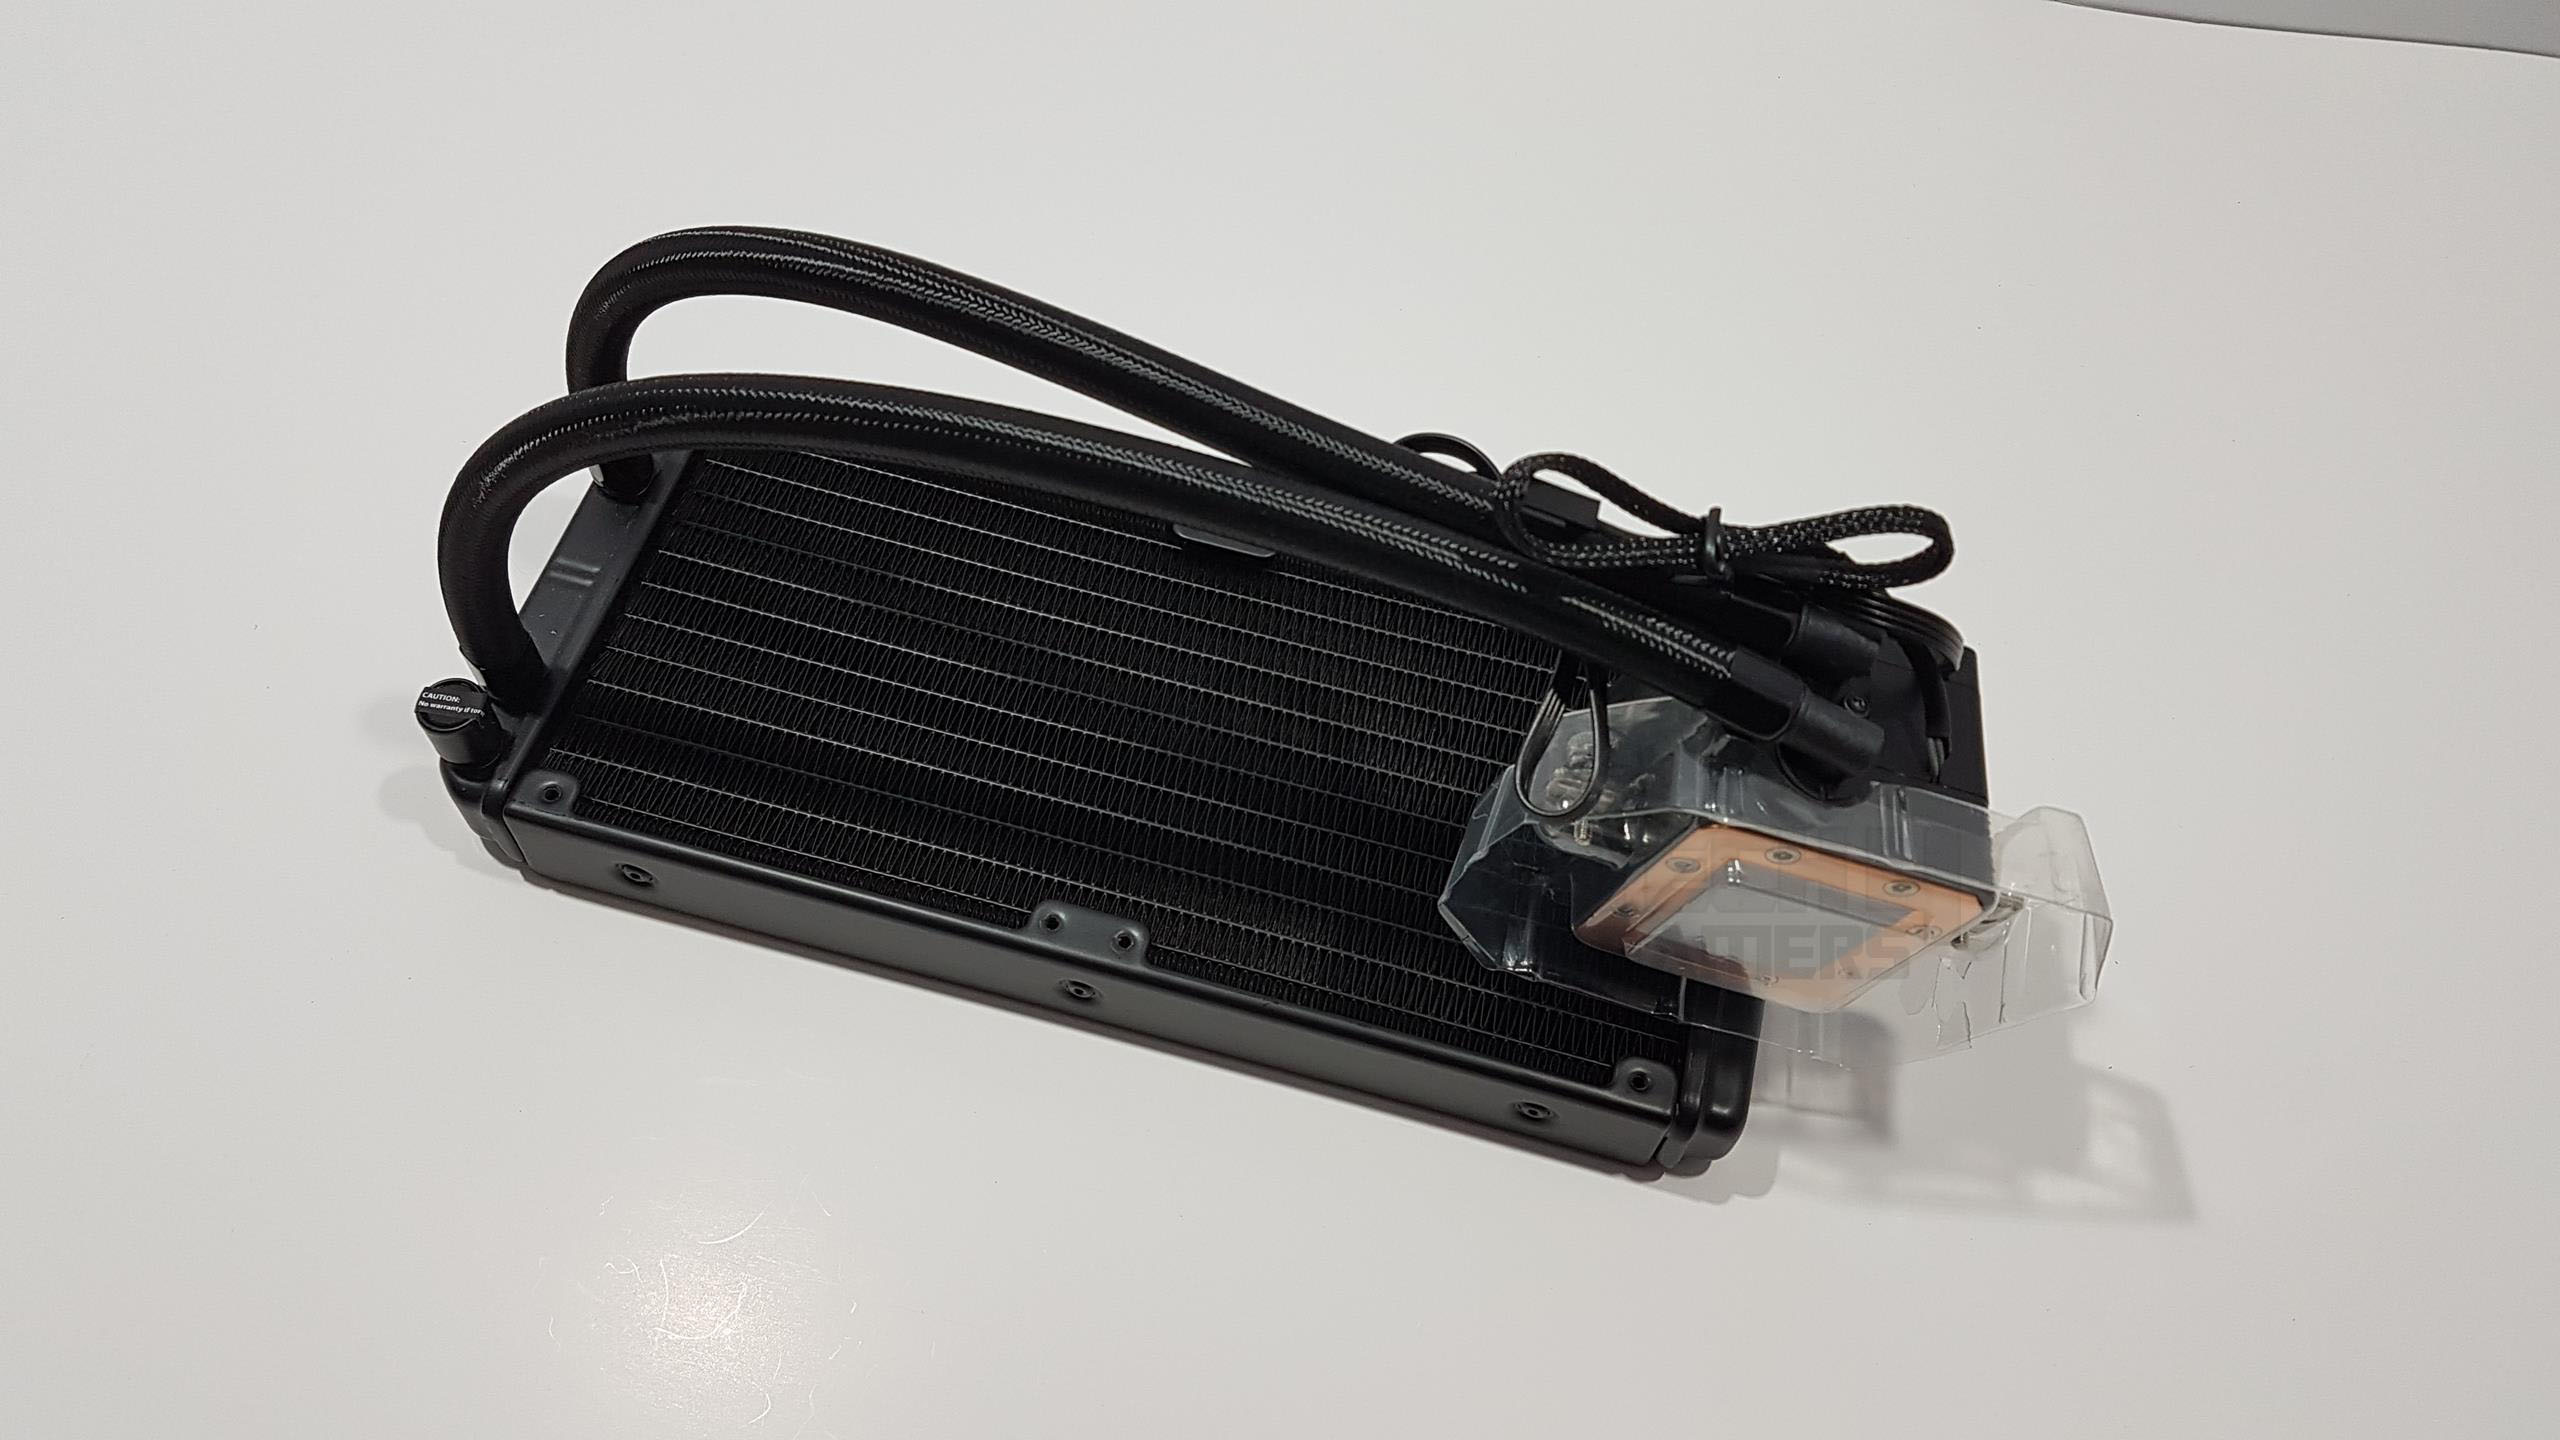
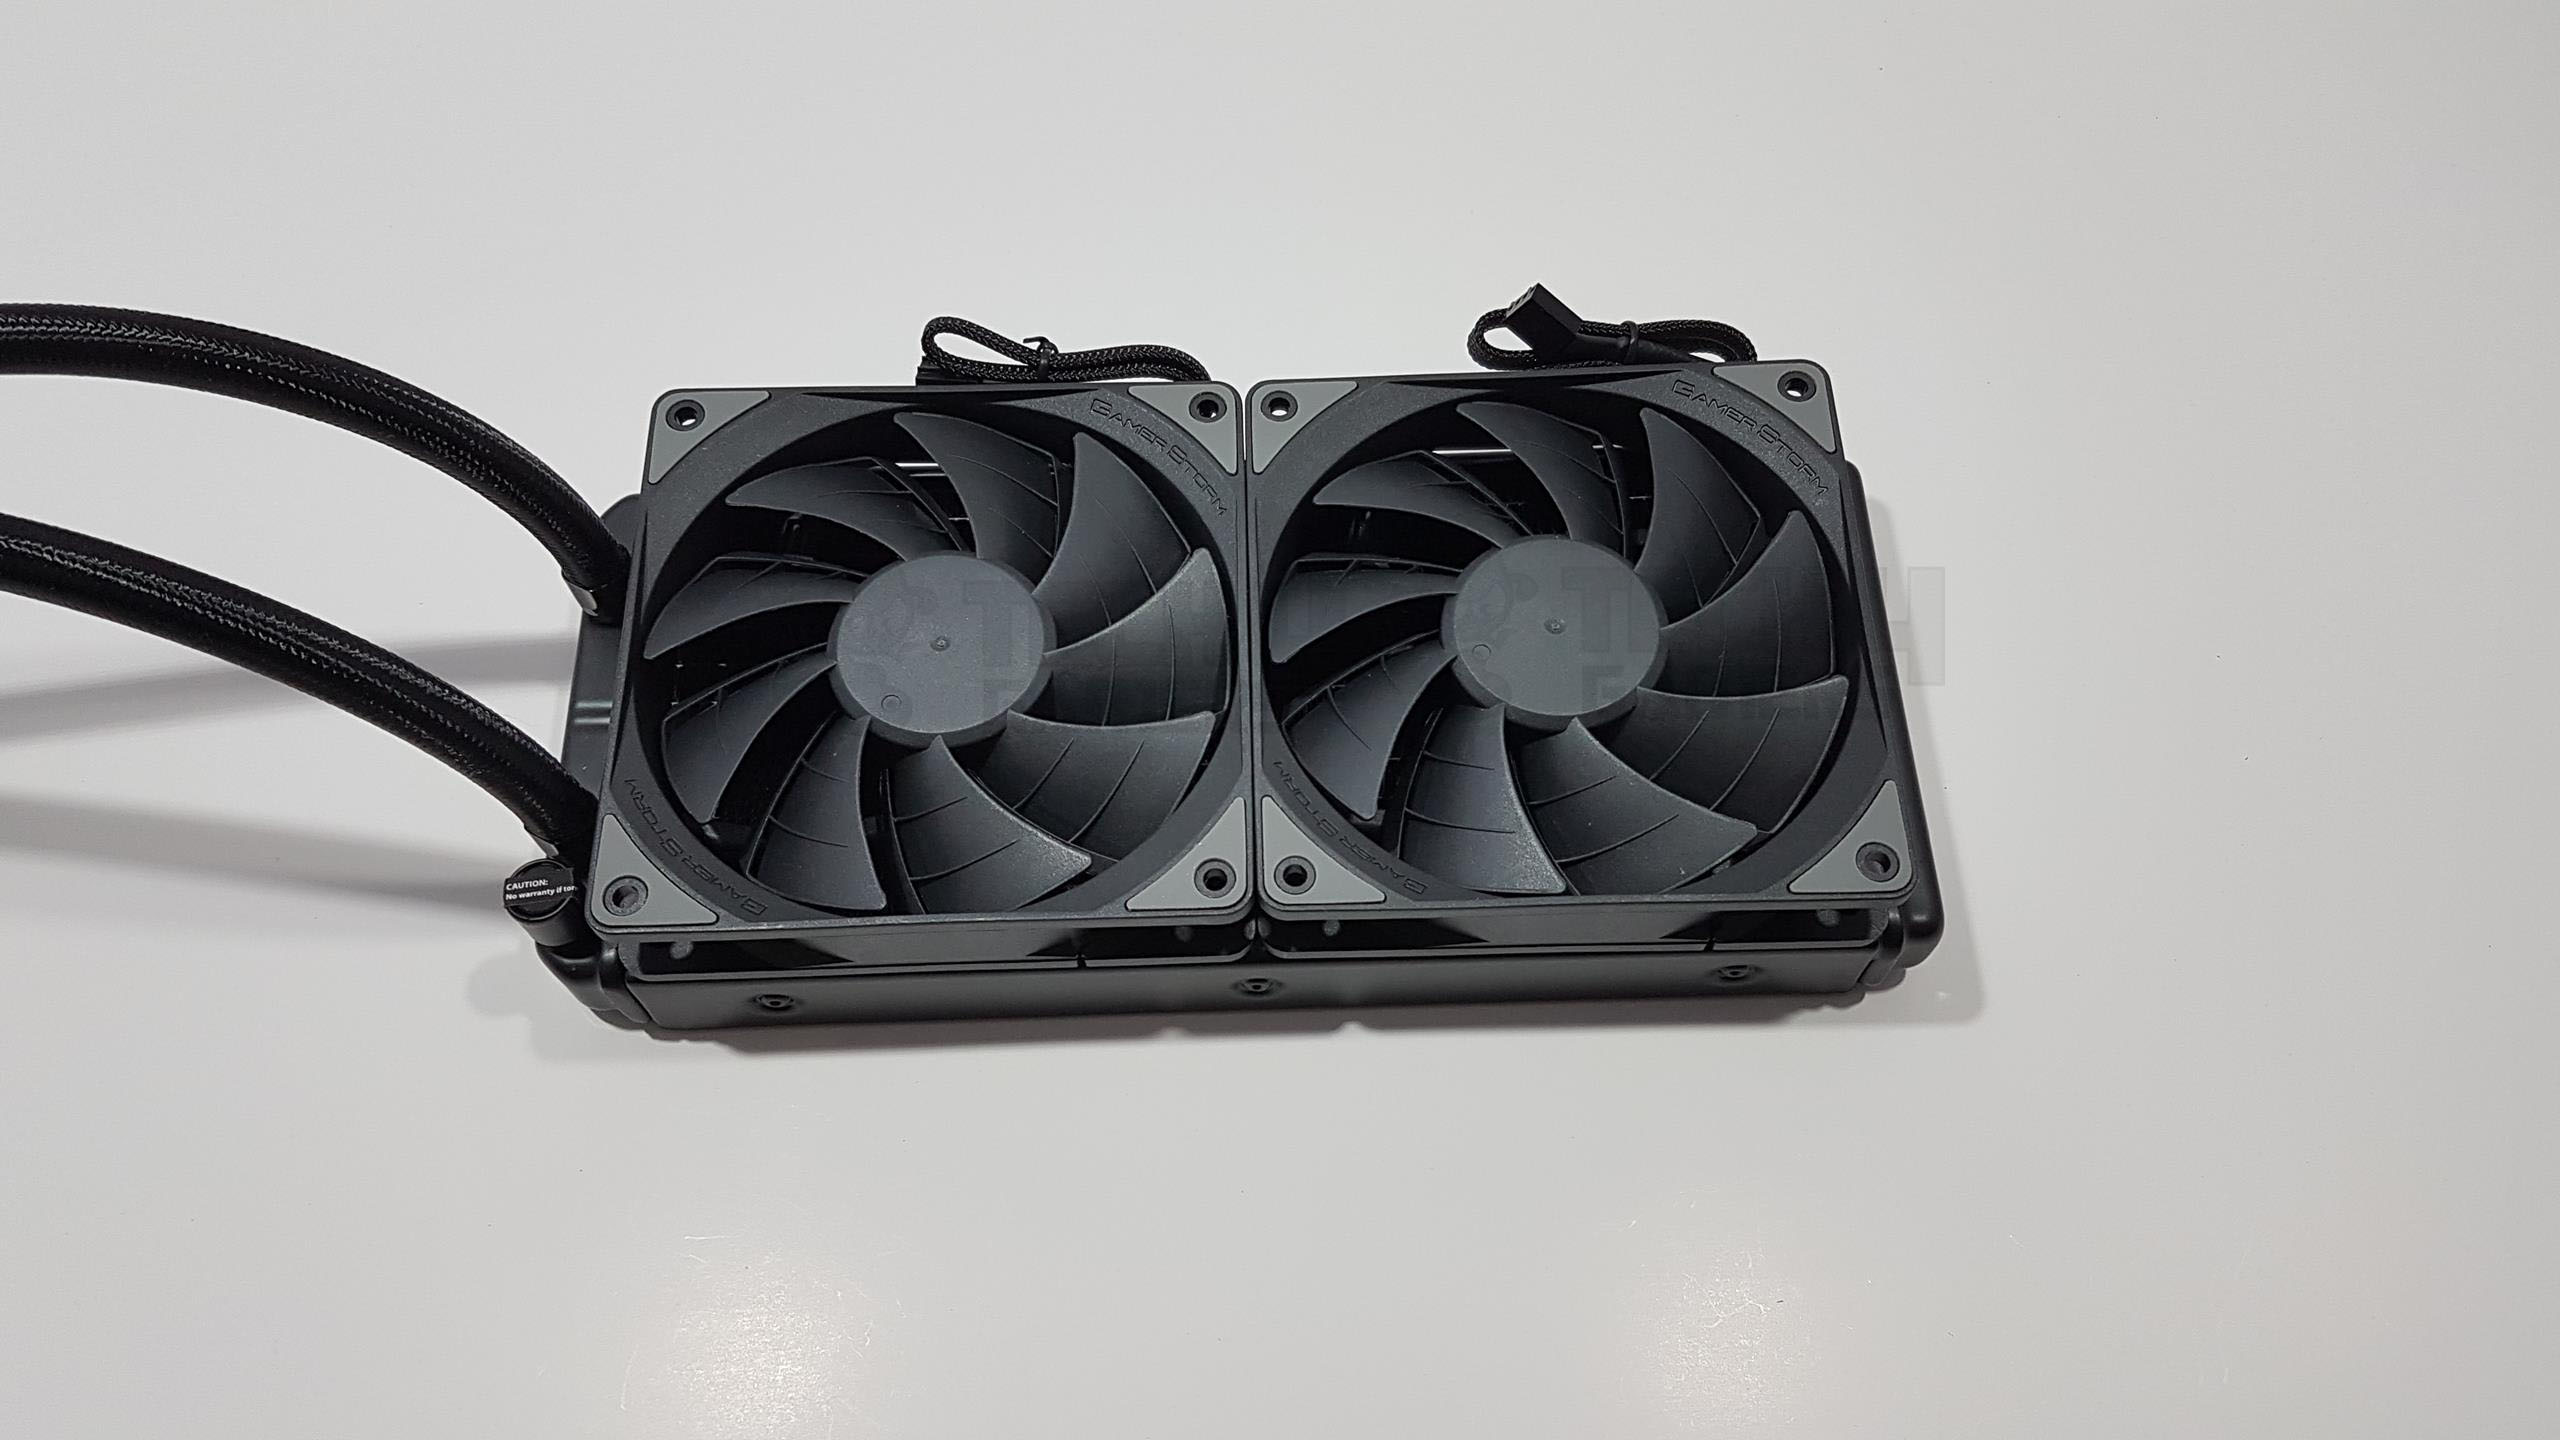
The Deepcool Captain 240EX Review is a 240mm CLC cooling solution. It has a 240mm radiator with two TF120 non-LED 120mm fans. The dimension of the radiator is 274 x 120 x 27mm. The thickness of the radiator is 27mm. With 25mm fans, the overall thickness would be 52mm. The radiator has 20 fins per inch (FPI).
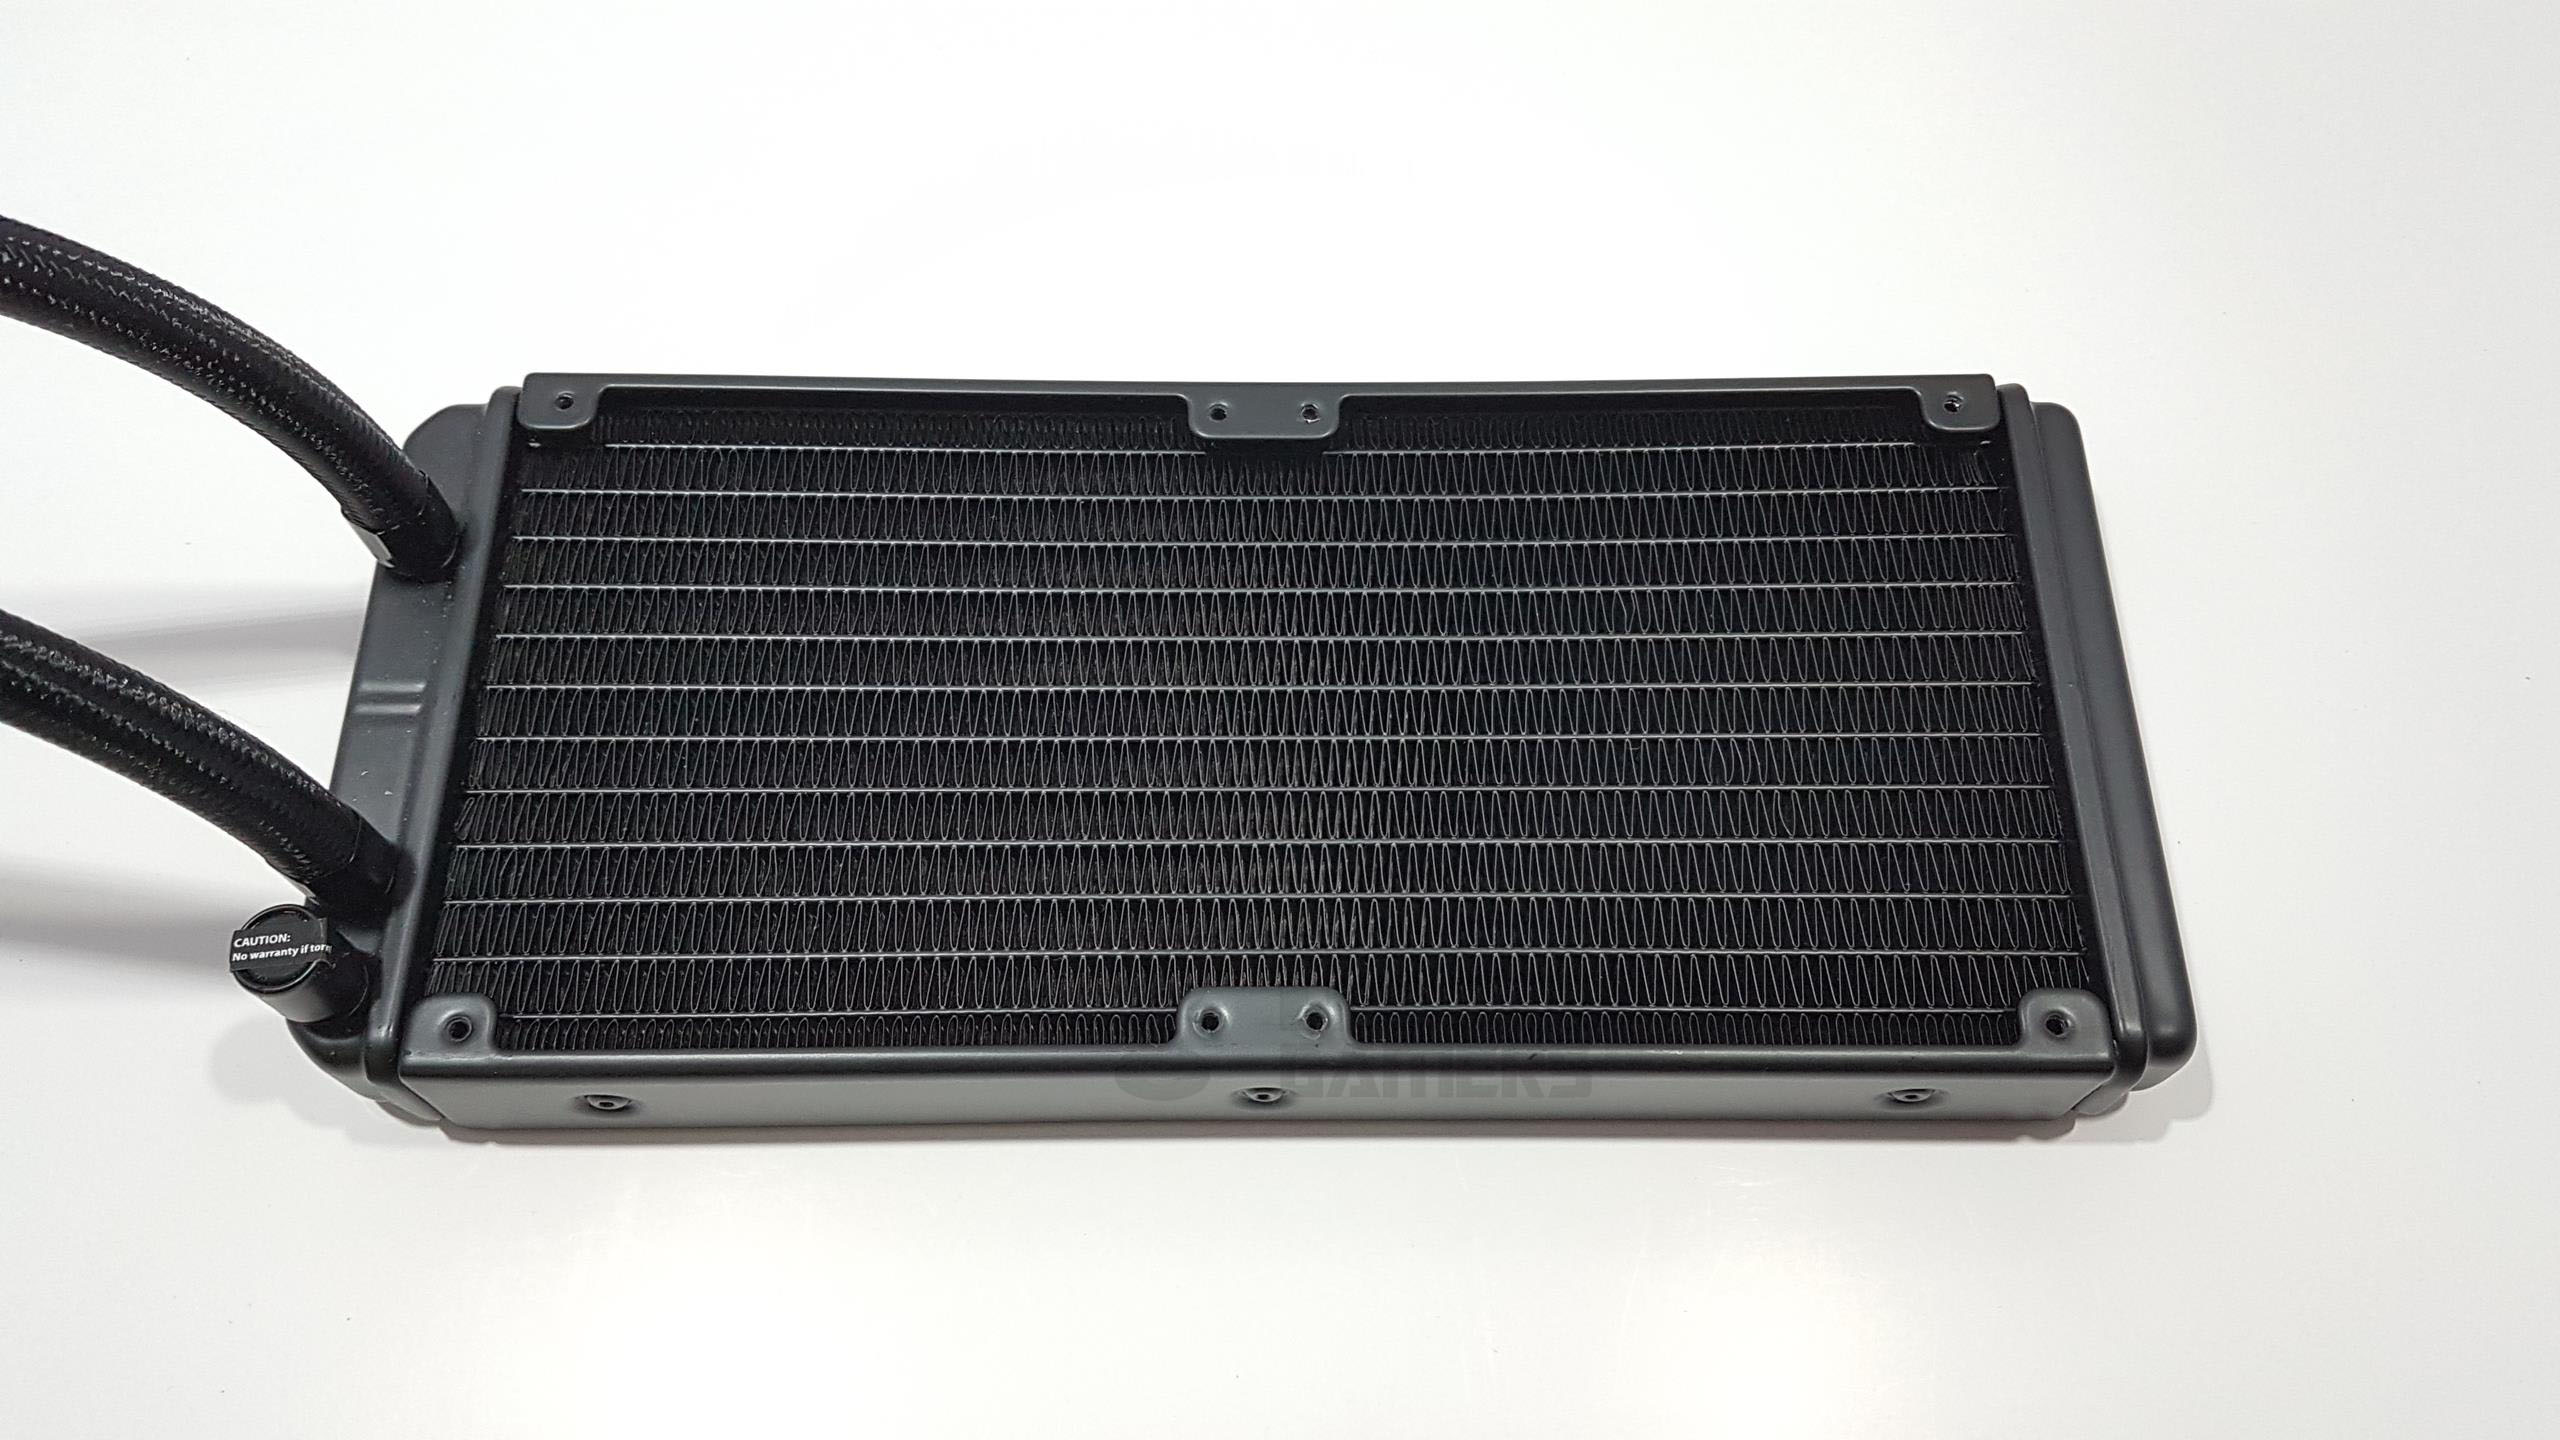
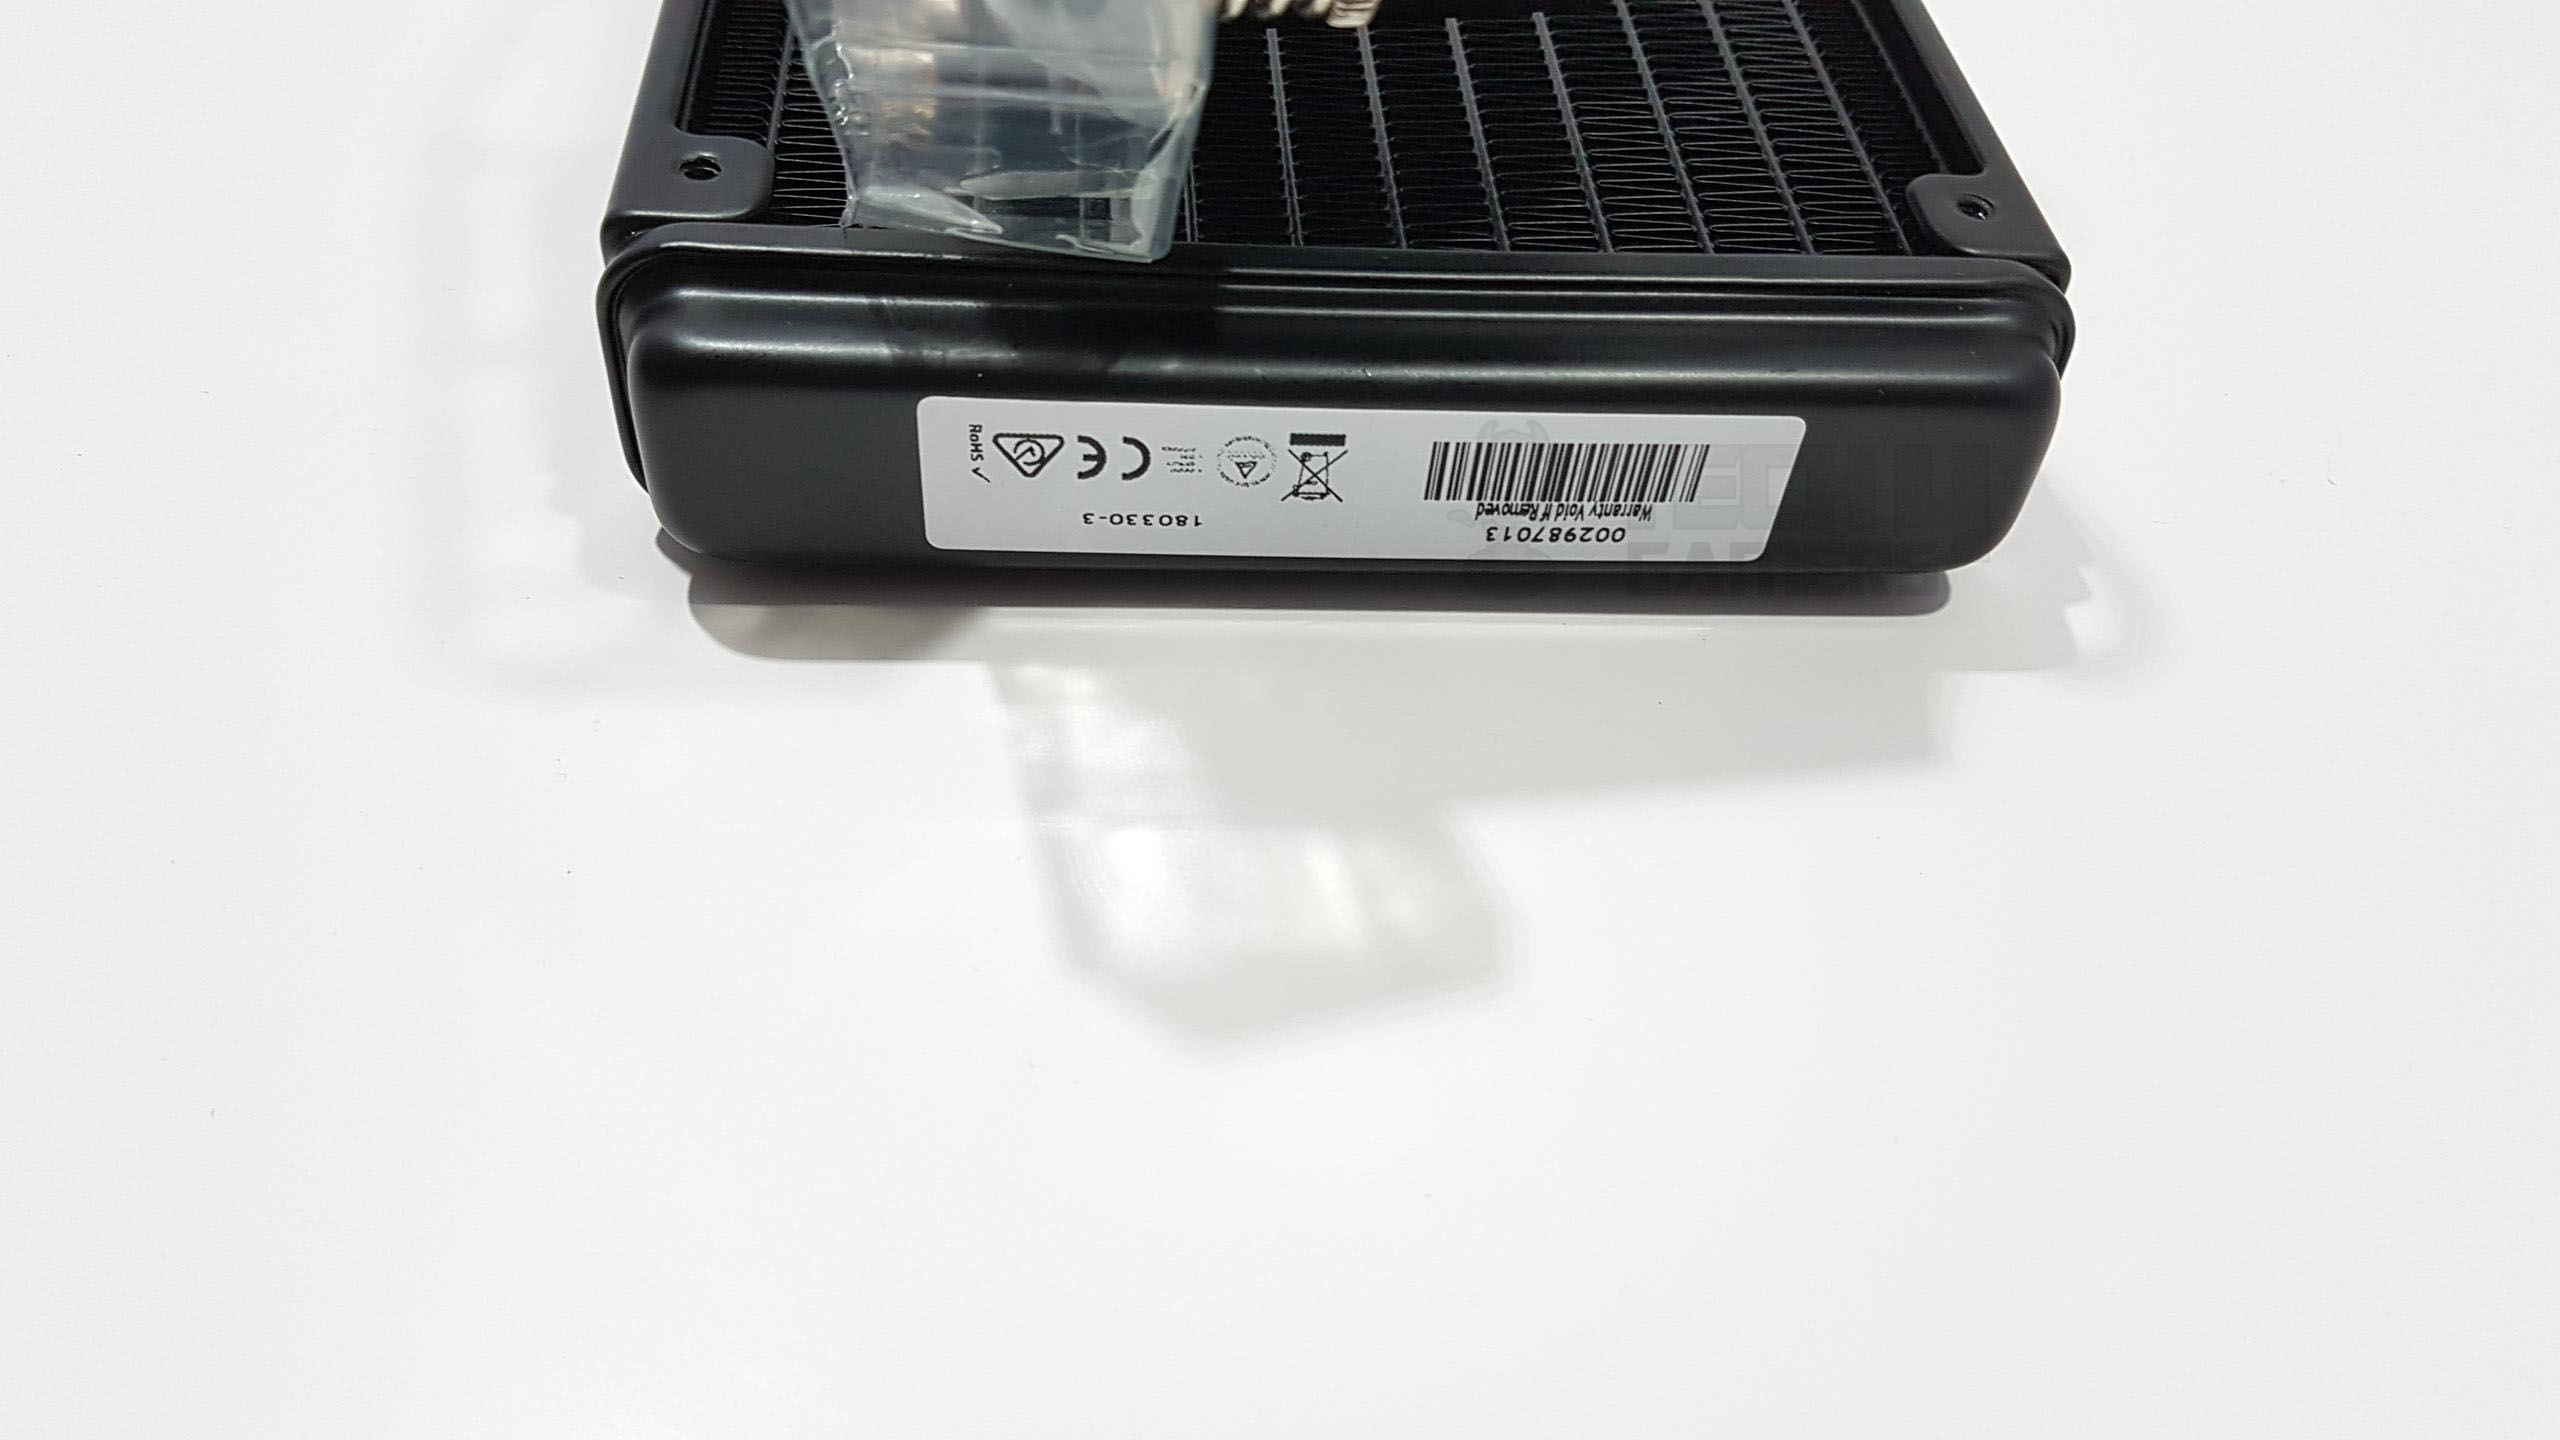
The aluminum radiator, designed by Deepcool, is lightweight and features blocks with rounded edges on both ends. The dense fin stack has a total of 12 channels for water flow, considering the left and right side channels in a double tunnel configuration. Standard inlet and outlet blocks facilitate efficient water flow.
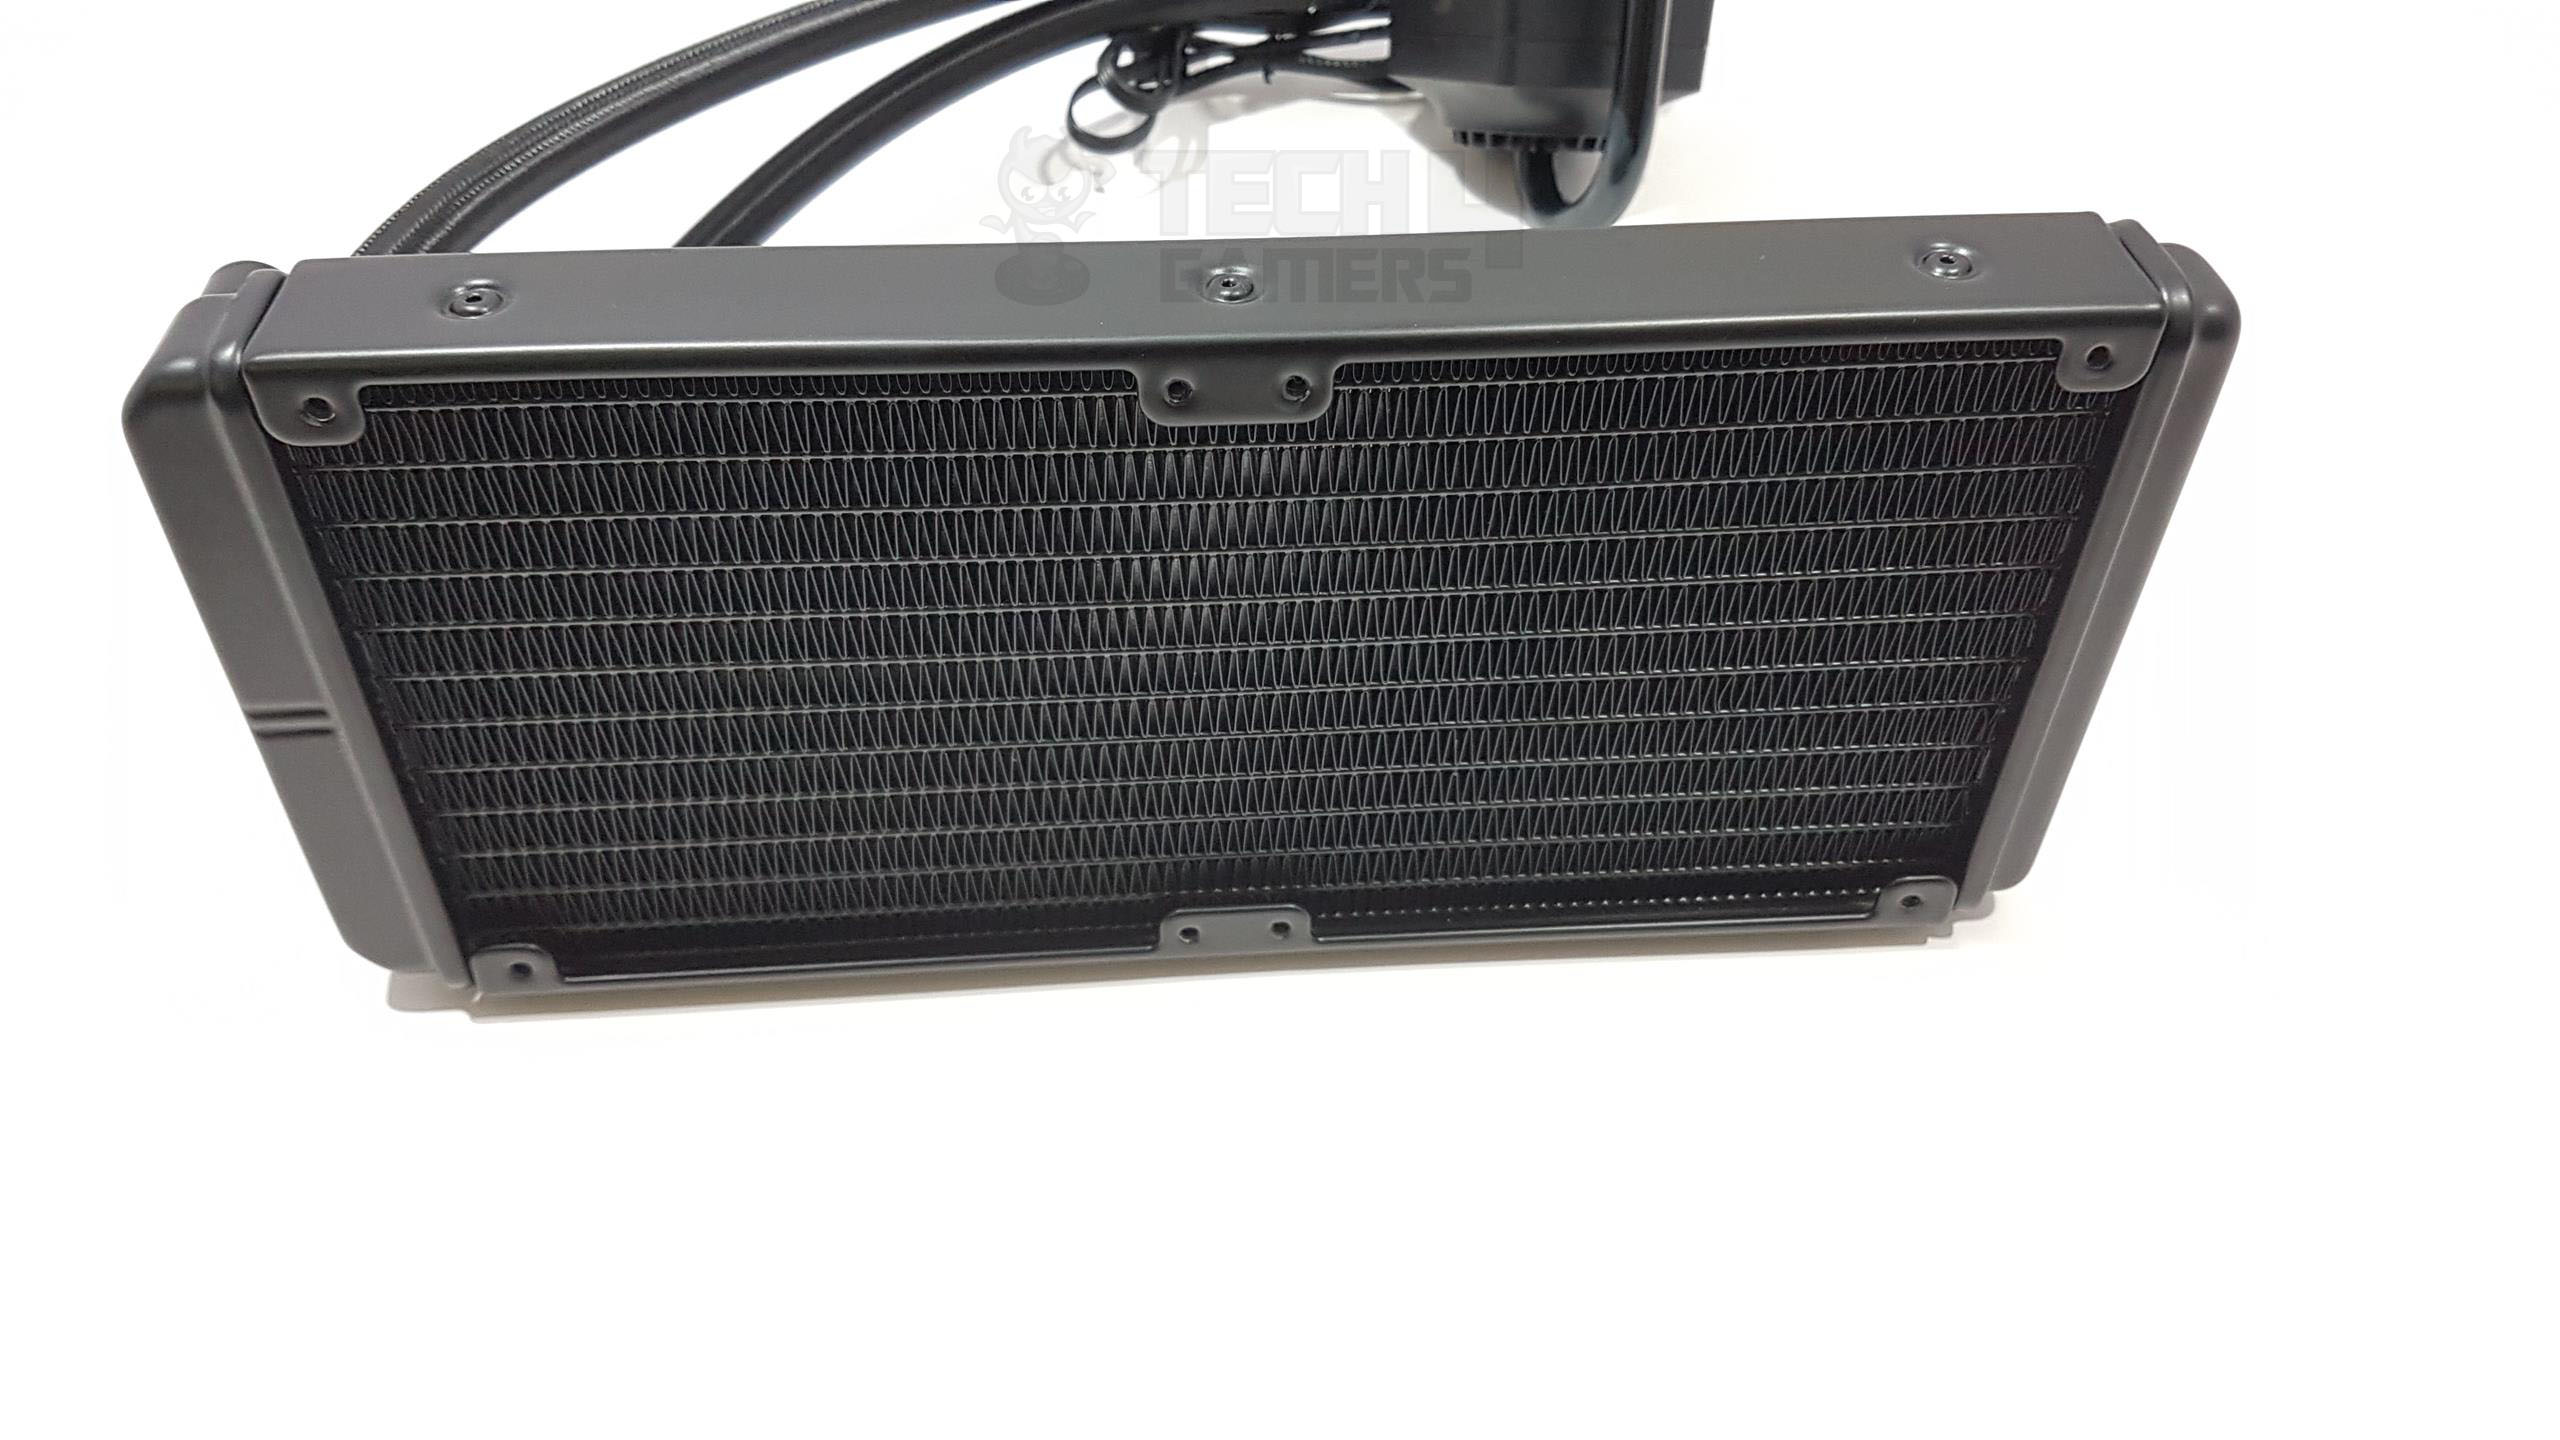
As hot water flows in through the inlet, it travels through dedicated channels. Fans efficiently blow away heat through the fins, while cold water exits through the outlet port. Be cautious during fan installation—no protective sheets under the fan mounts.
Always use the supplied long screws to prevent potential damage to the fins, ensuring optimal cooler performance. The radiator features a 105mm gap between fan mounting holes and a total depth of 45mm, including fittings. Plus, enjoy the convenience of pre-applied thermal paste included with the unit.

The hoses fit securely on the radiator and pump housing. They’re made of upgraded anti-explosion rubber, ensuring flexibility. Deepcool adds a sleek touch with mesh sleeves for a clean look. The length of the hoses is approximately 310mm.
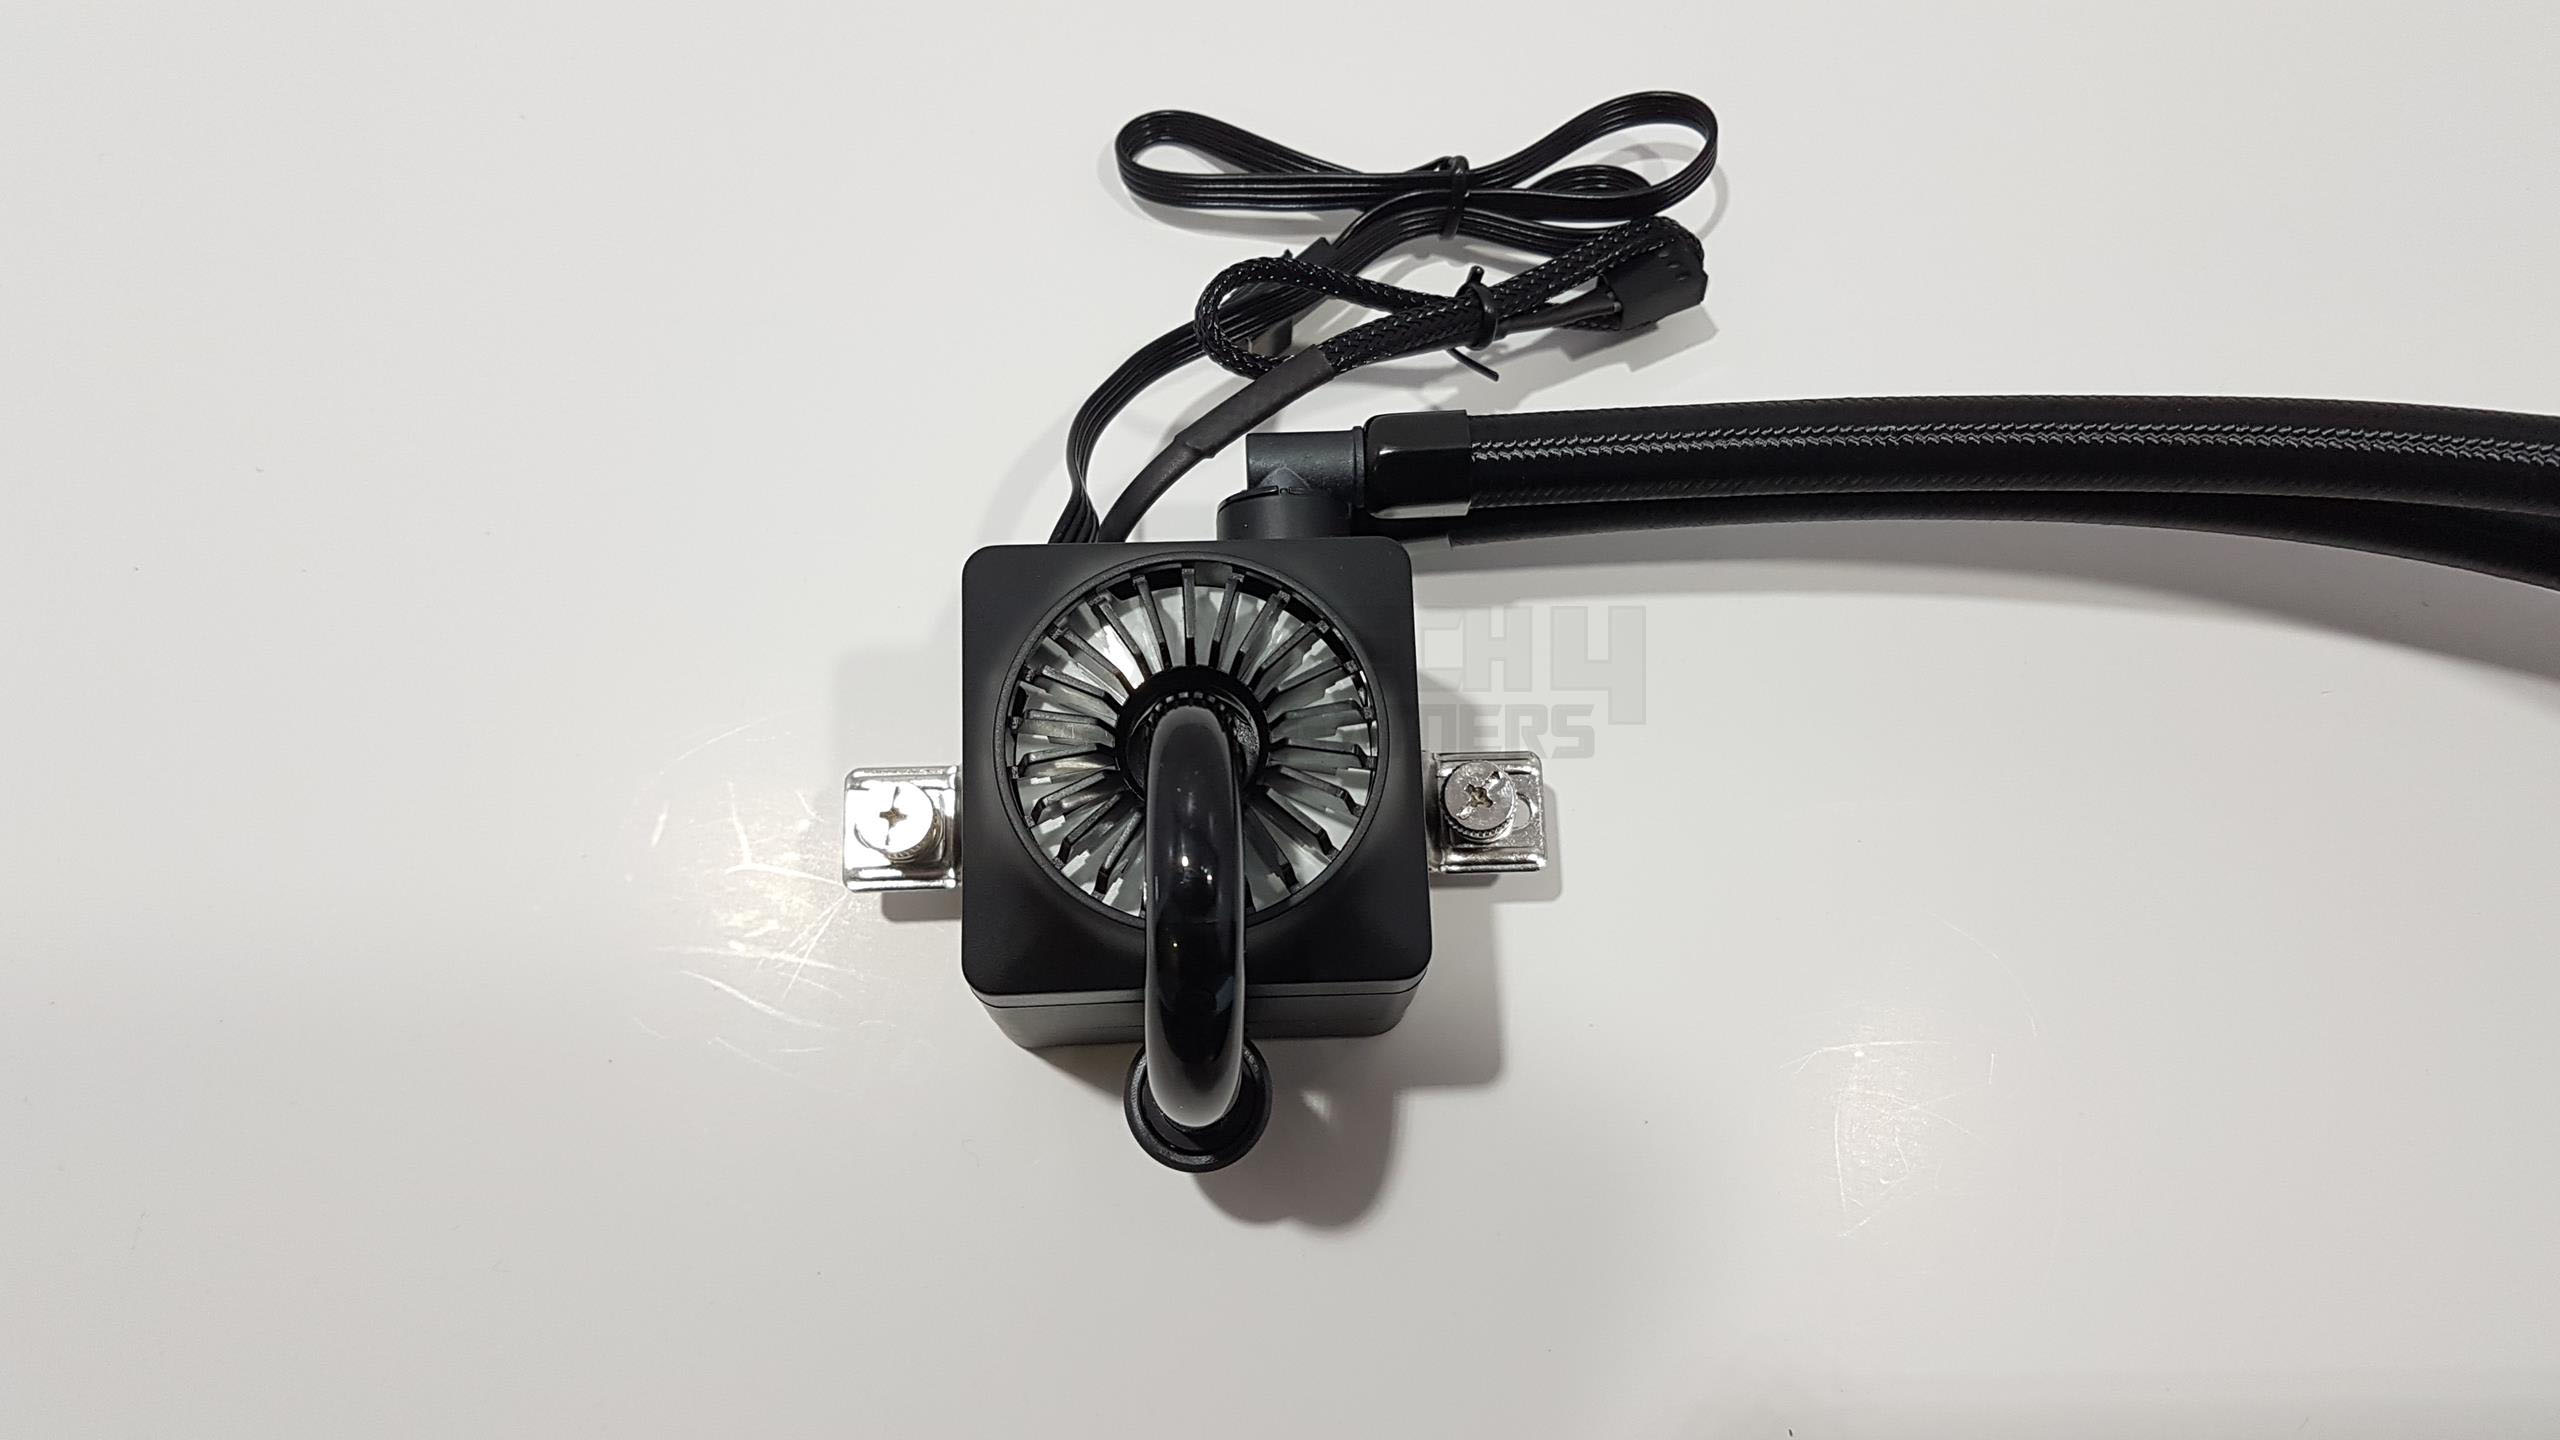
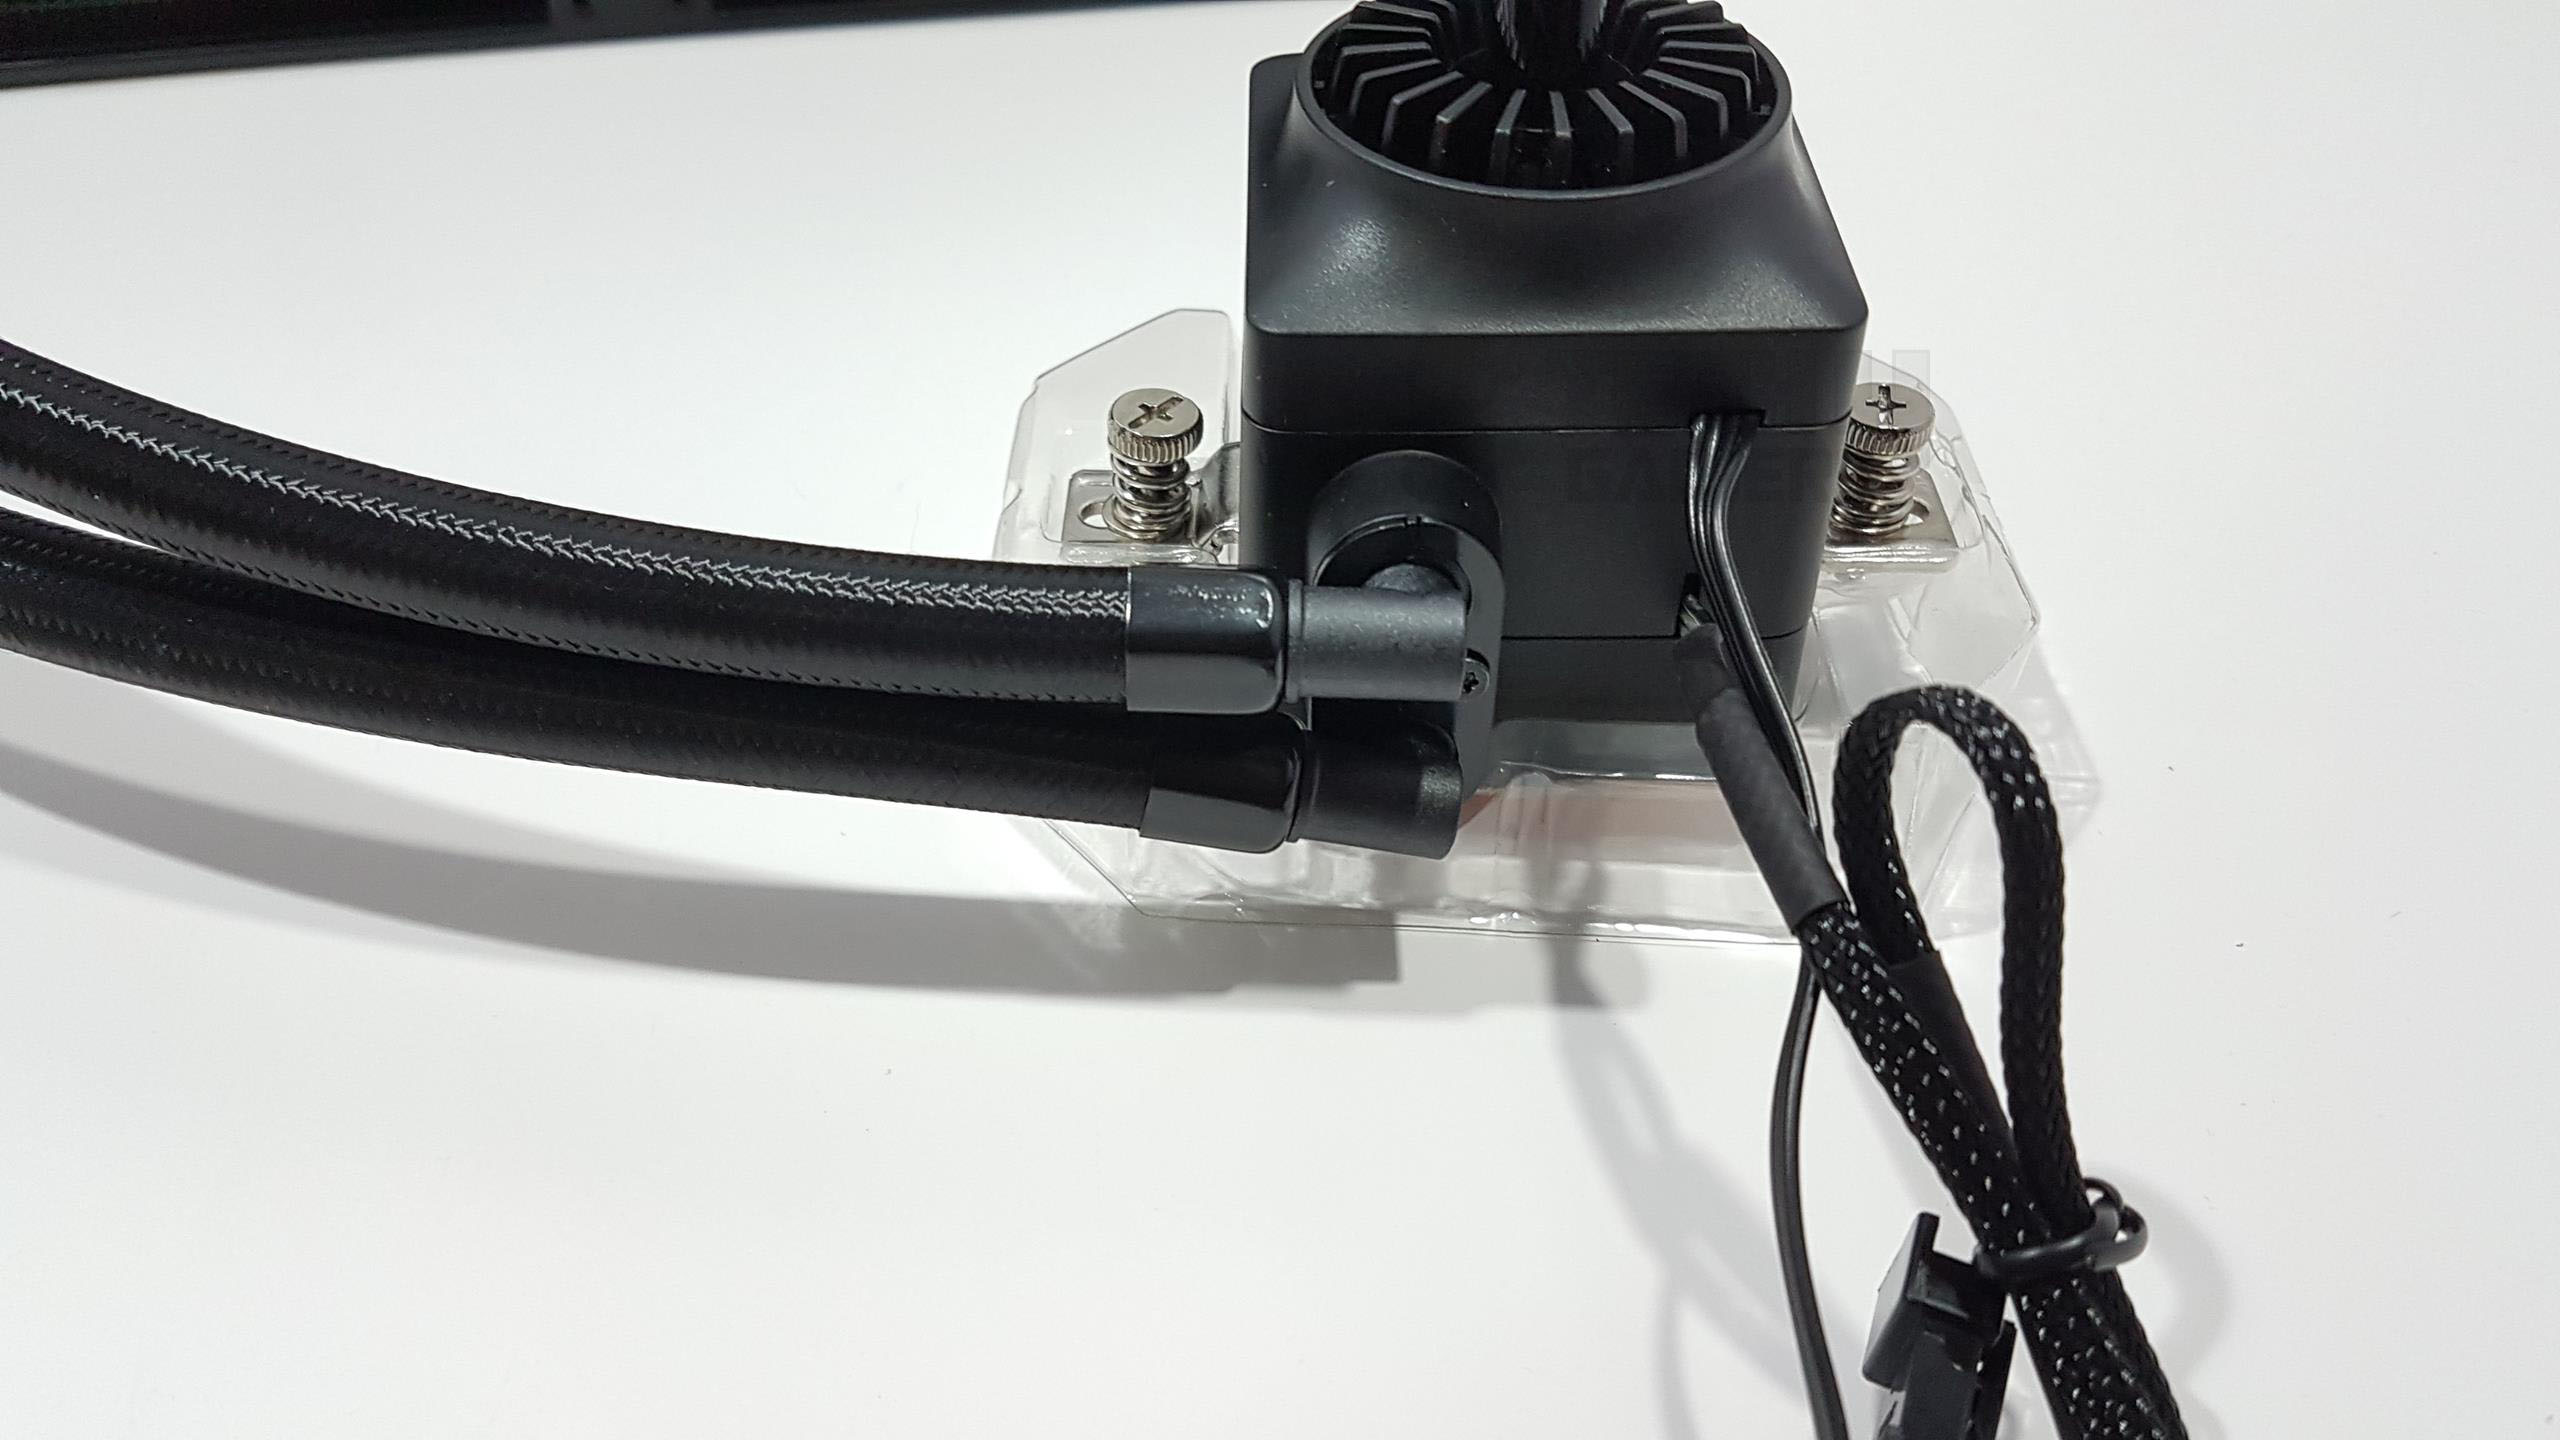
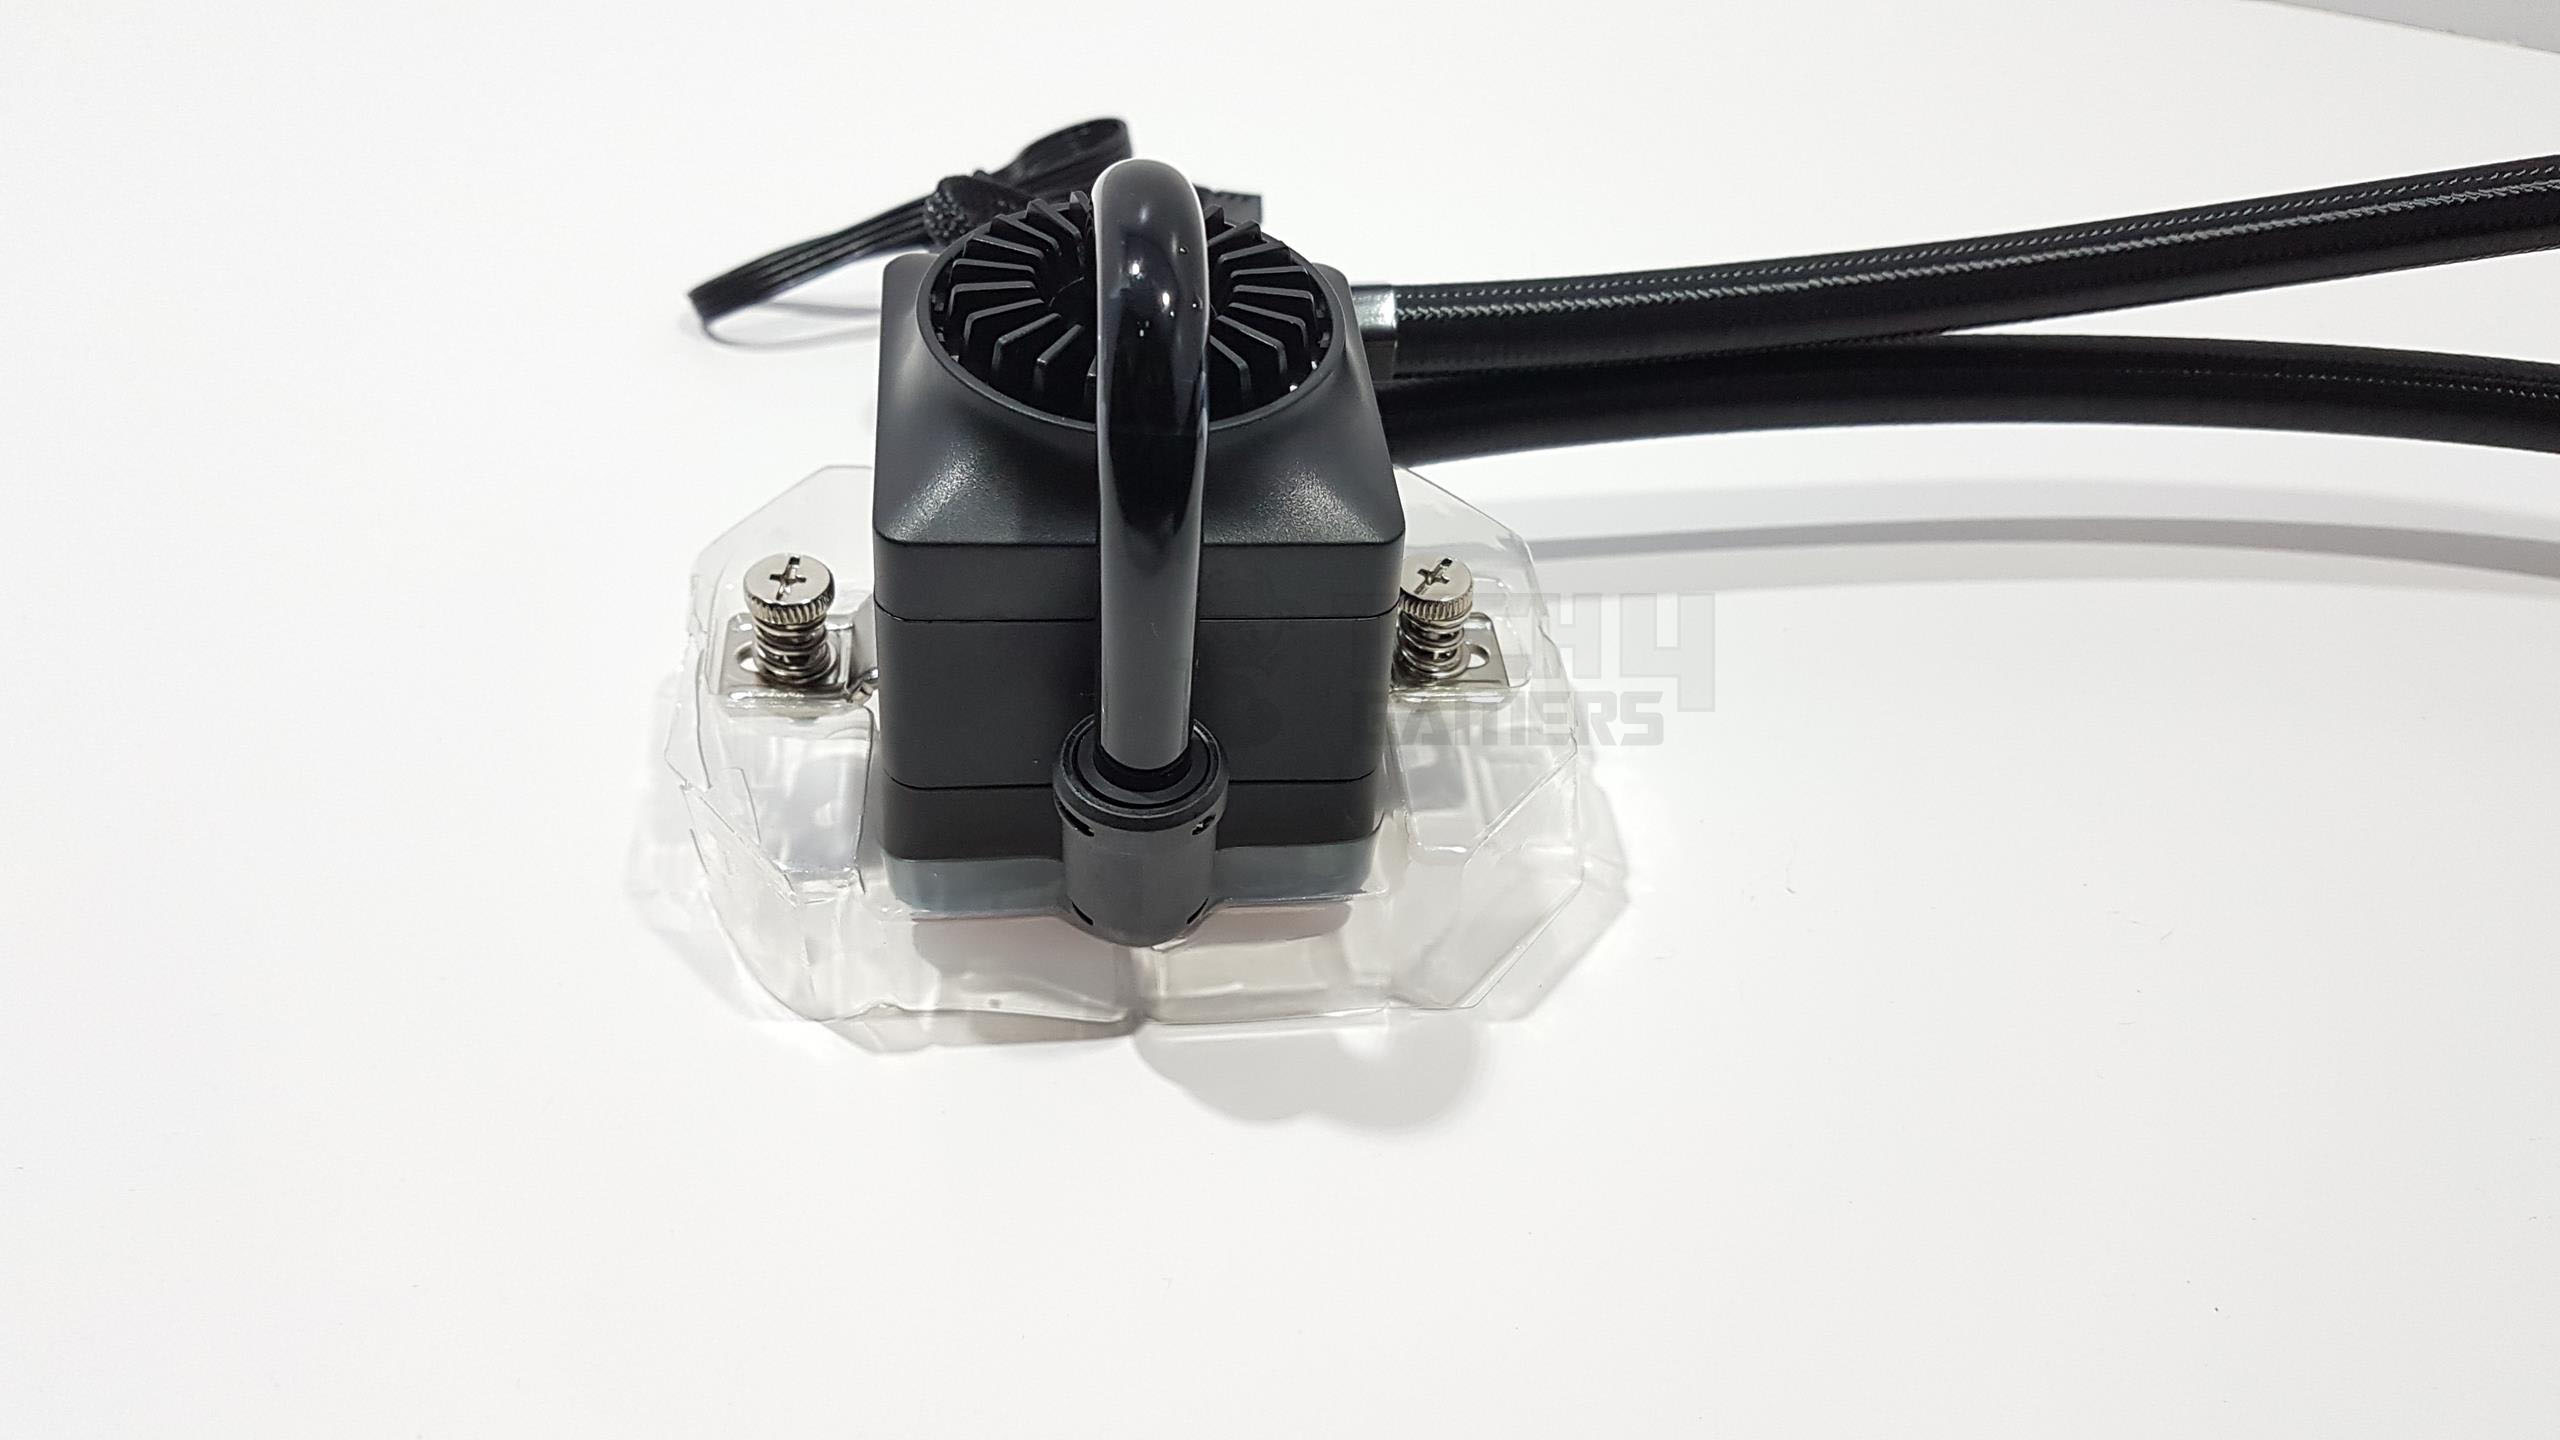
Now, let’s dive into the cooler’s main component—the water block with the pump housing. Unlike simpler designs with just the pump, this cooler impresses by integrating reservoirs on top of the pump housing. This not only enhances aesthetics, especially with lighting-enabled reservoirs but also boosts coolant capacity.

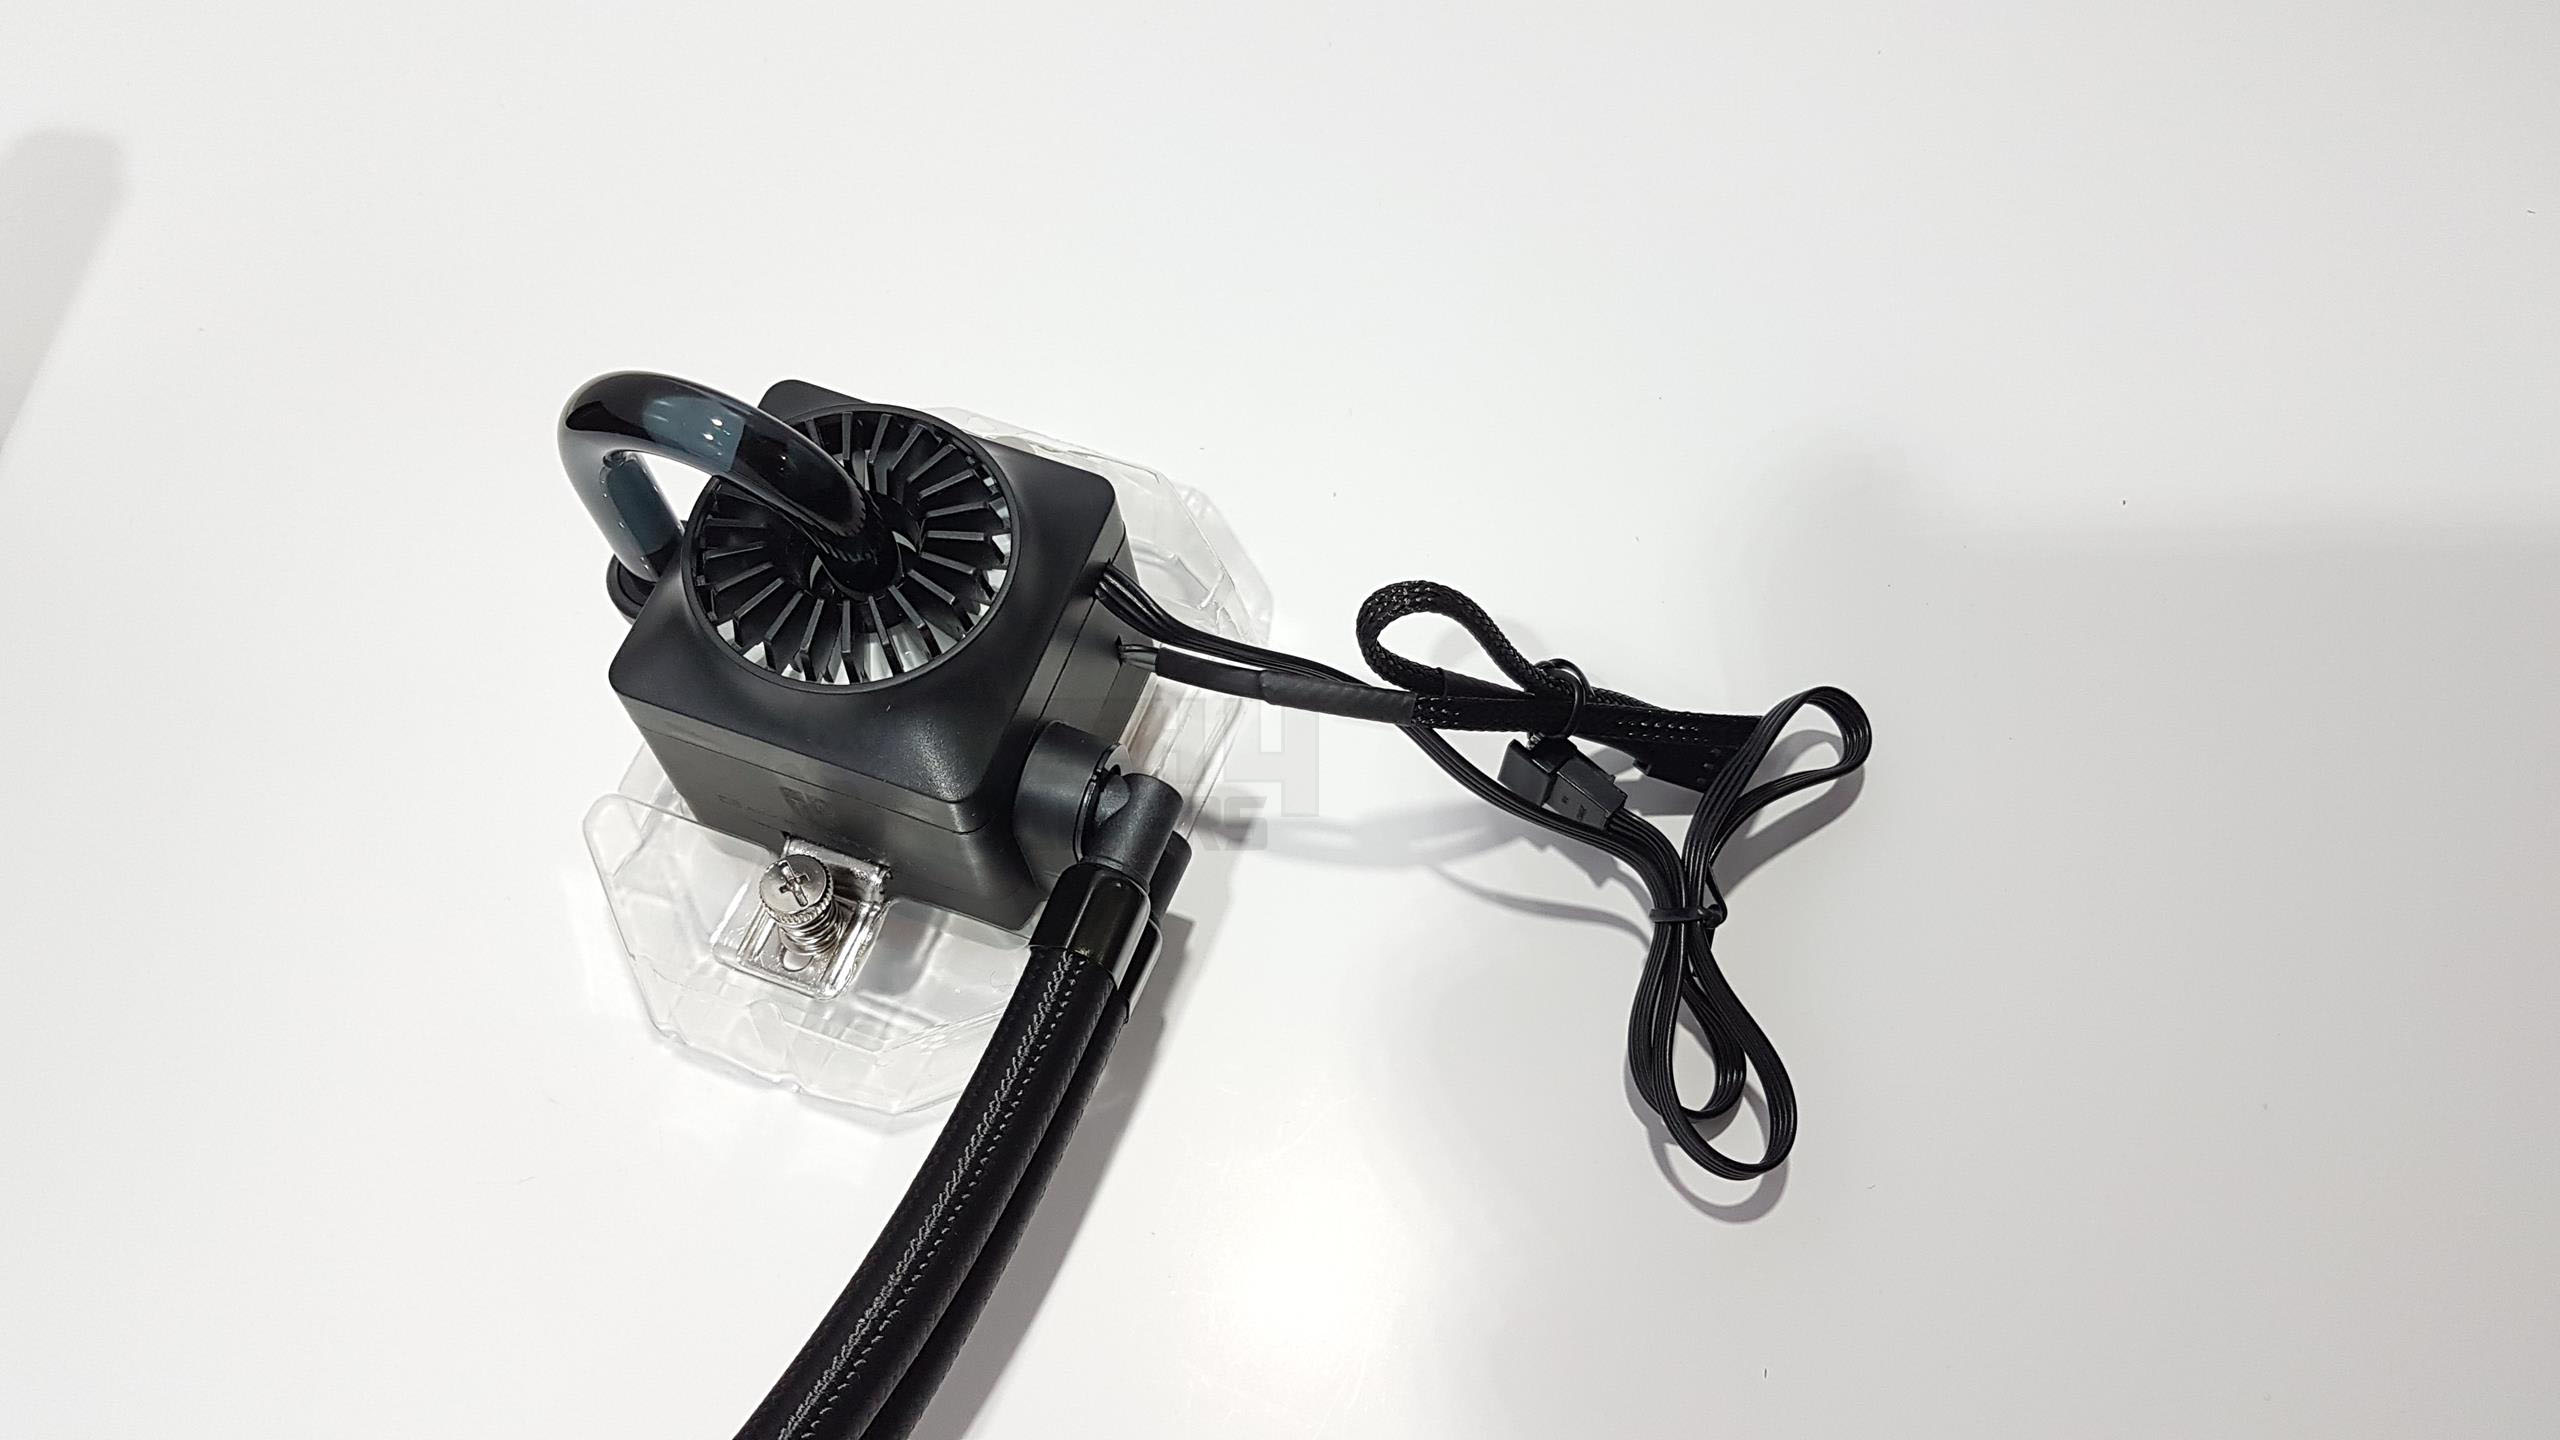
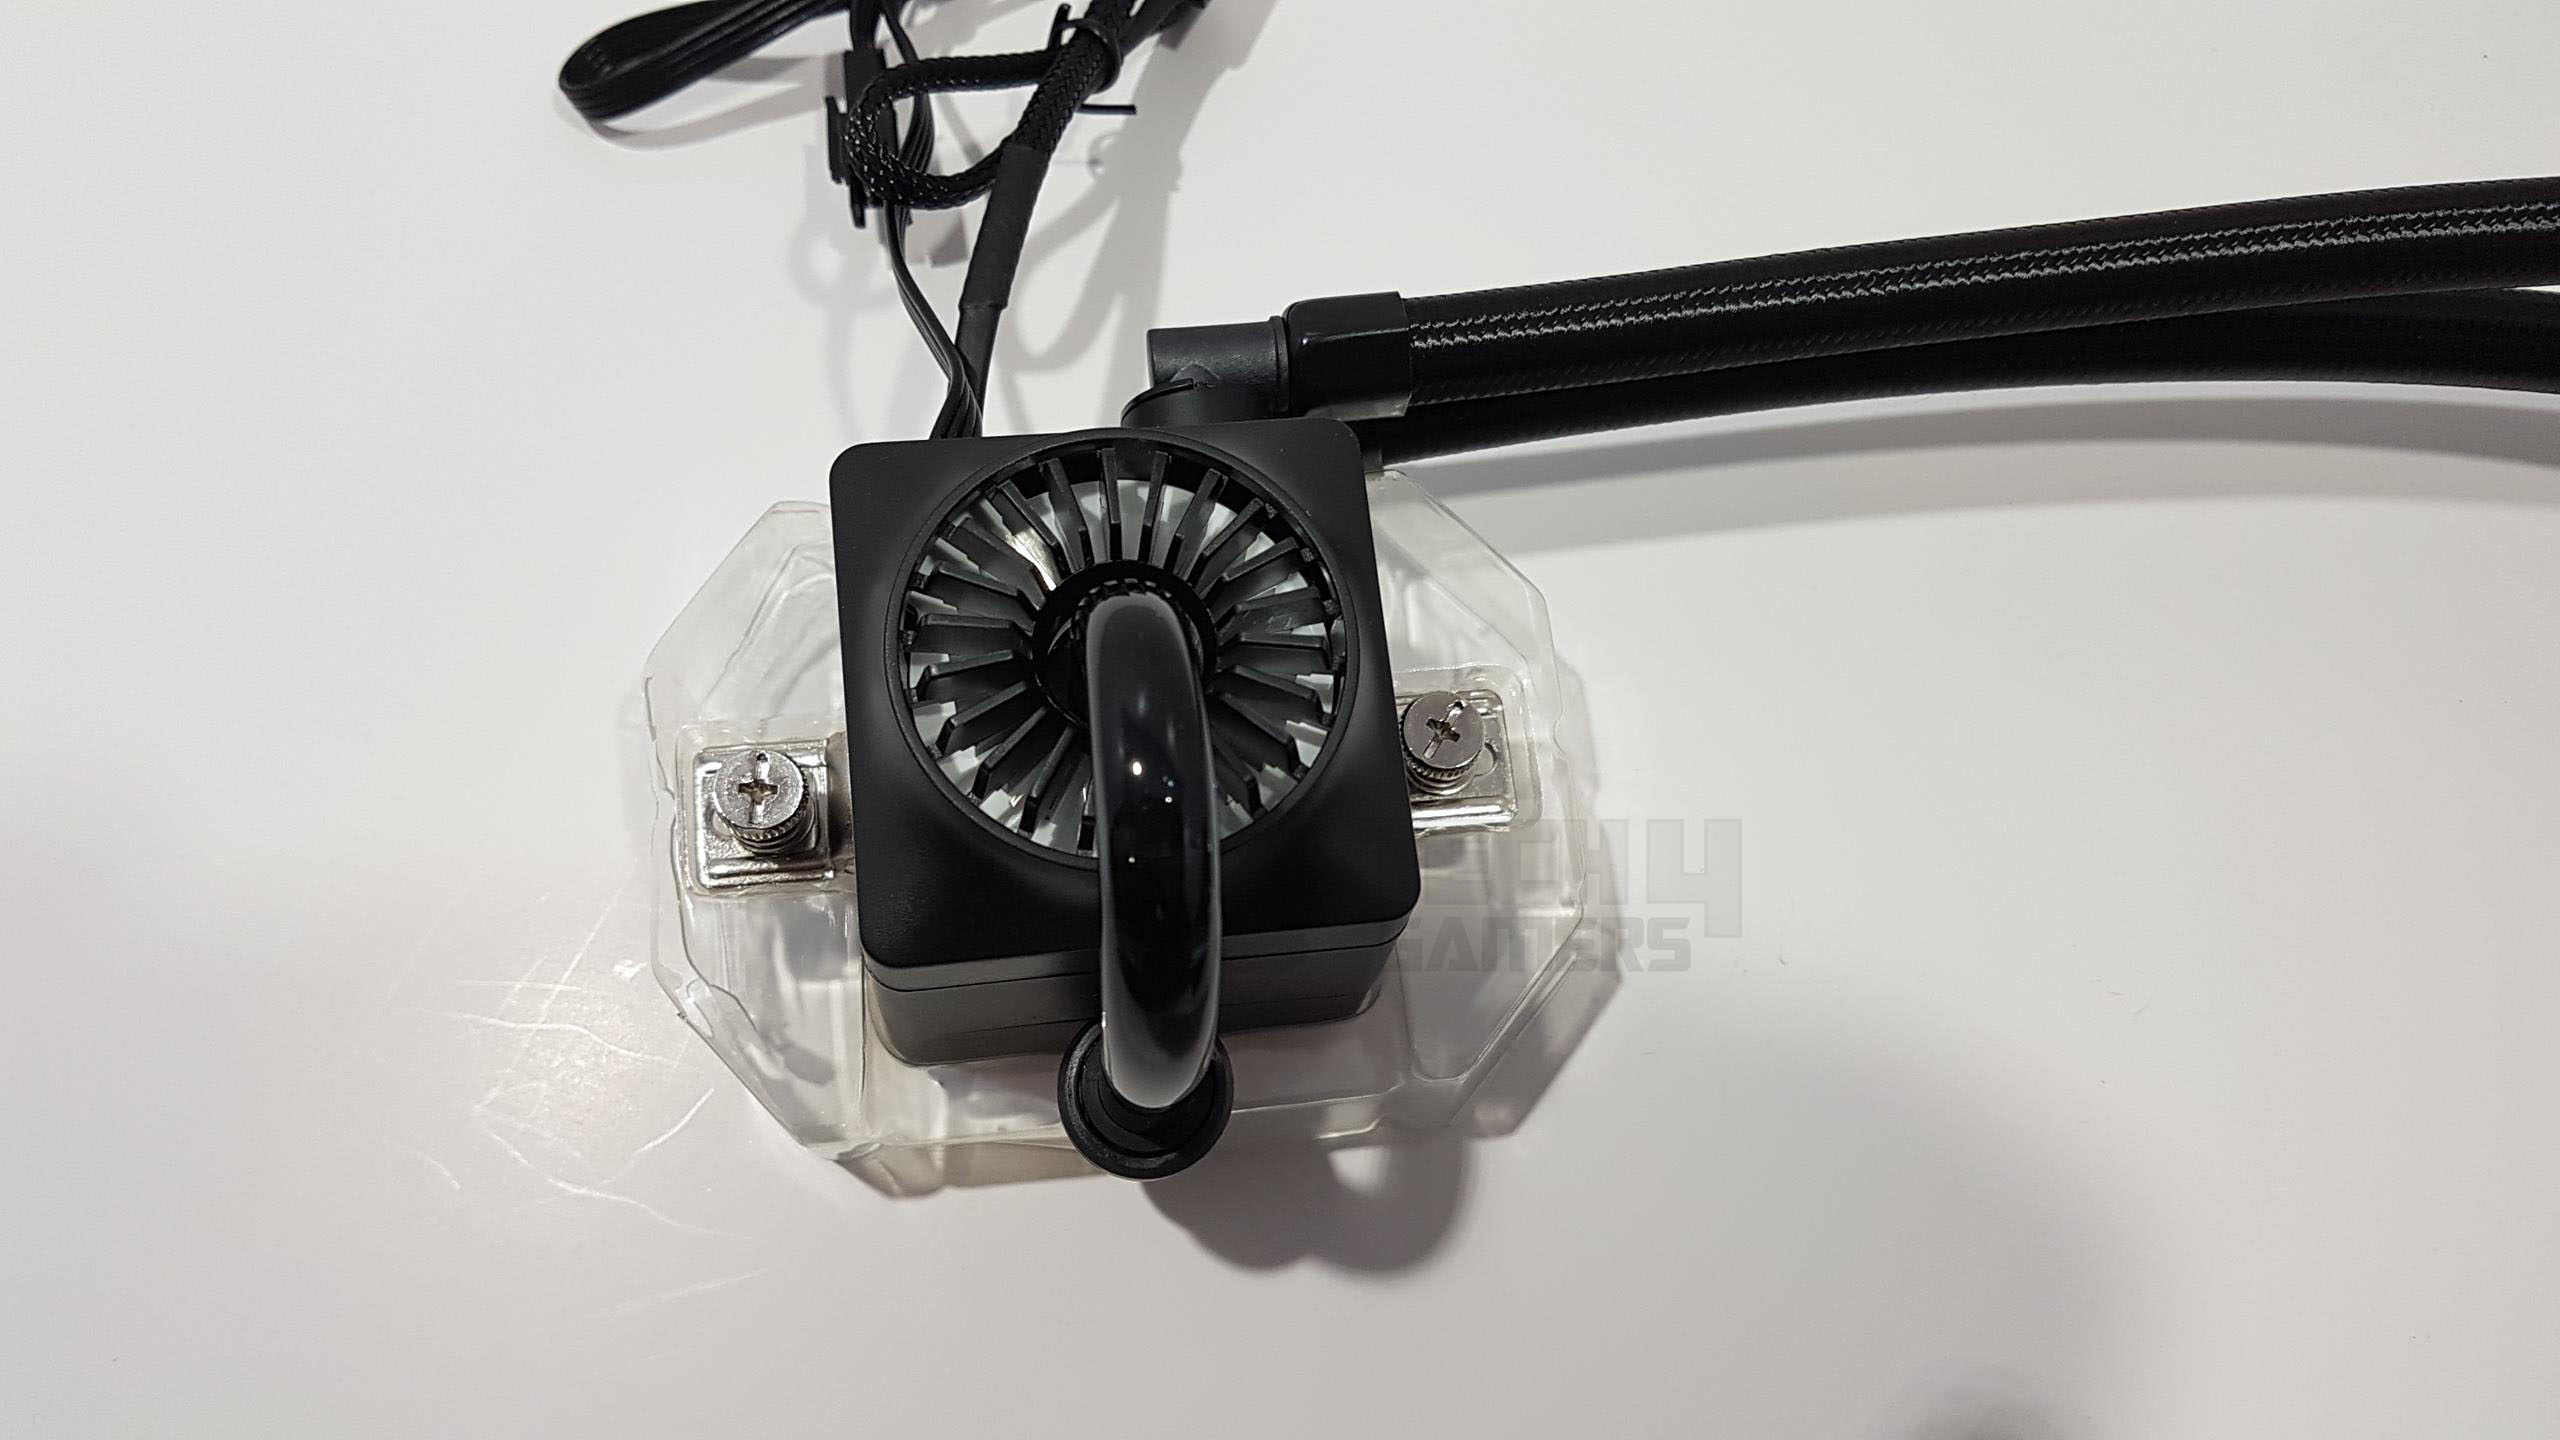
The block measures 92.5mm x 93mm x 85mm (L x W x H), making it larger than some CLCs but compact compared to Reeven’s Naia 240 and Aerocool’s L240. Cutouts on top encircle a glass pipe with a white diffuser underneath, housing RGB LEDs. The pipe channels coolant from the bottom to the upper chamber, showcasing a distinctive three-chambered design that ingeniously circumvents the Asetek patent.
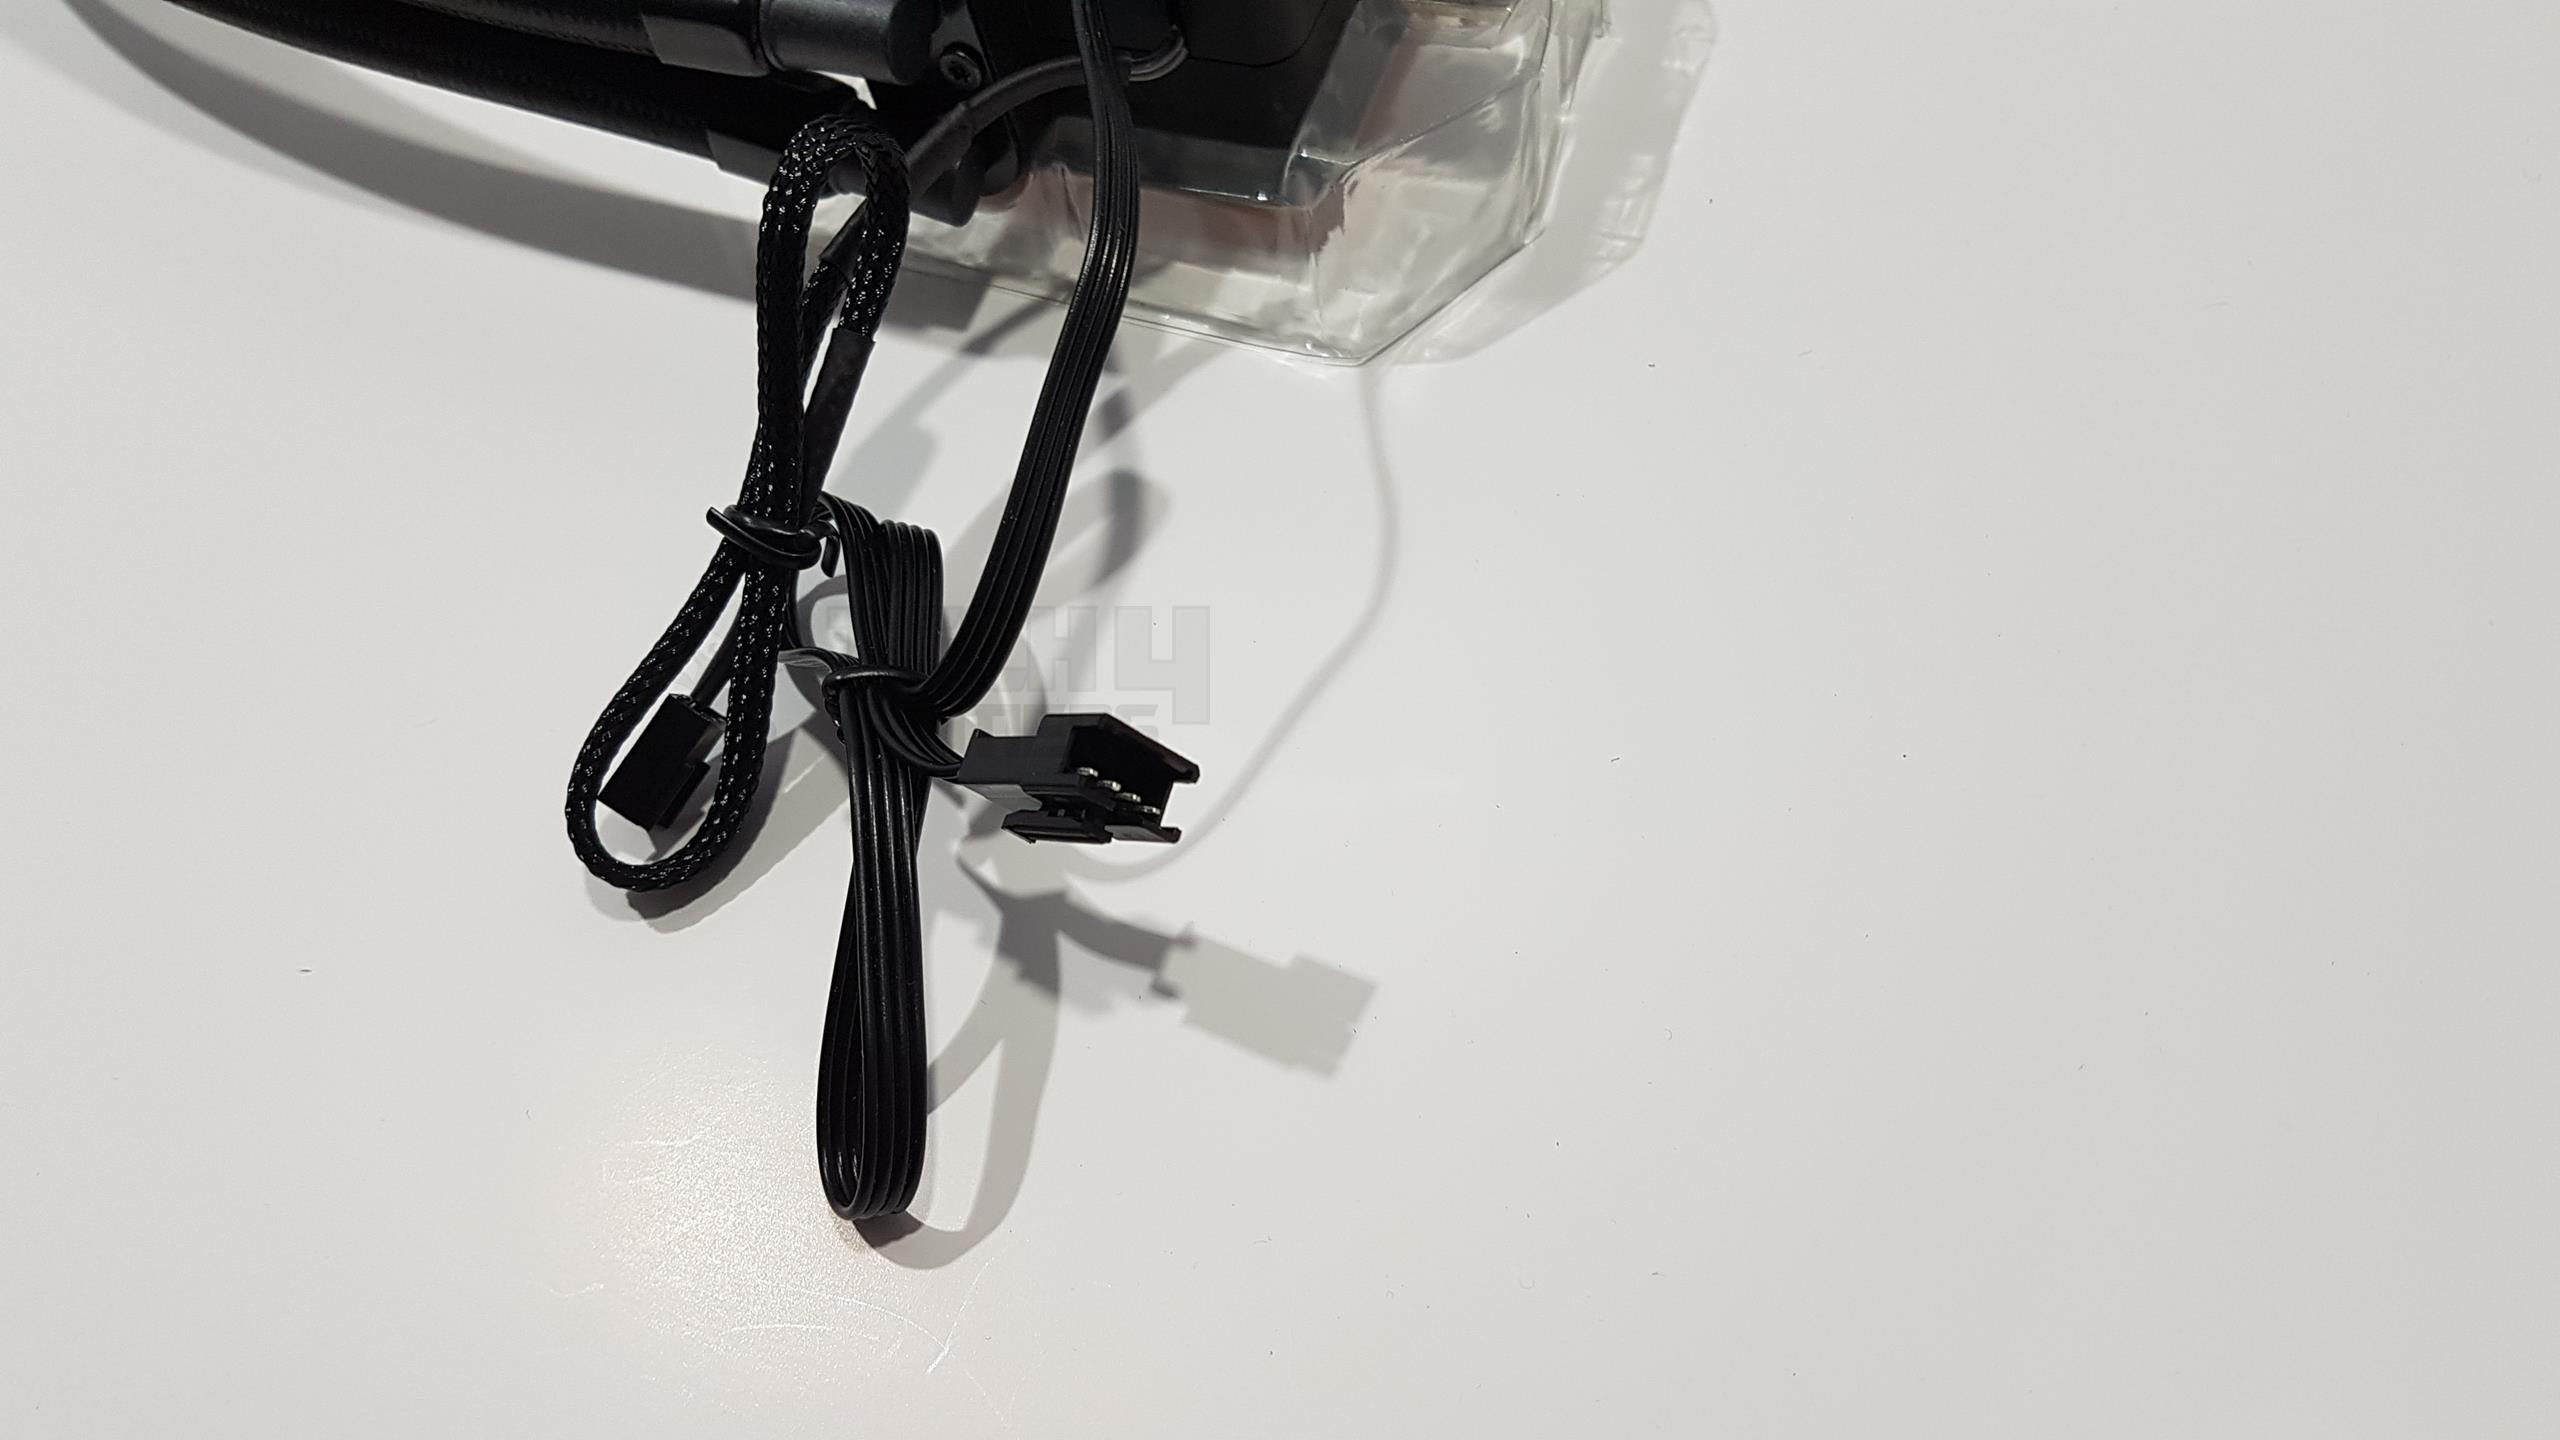
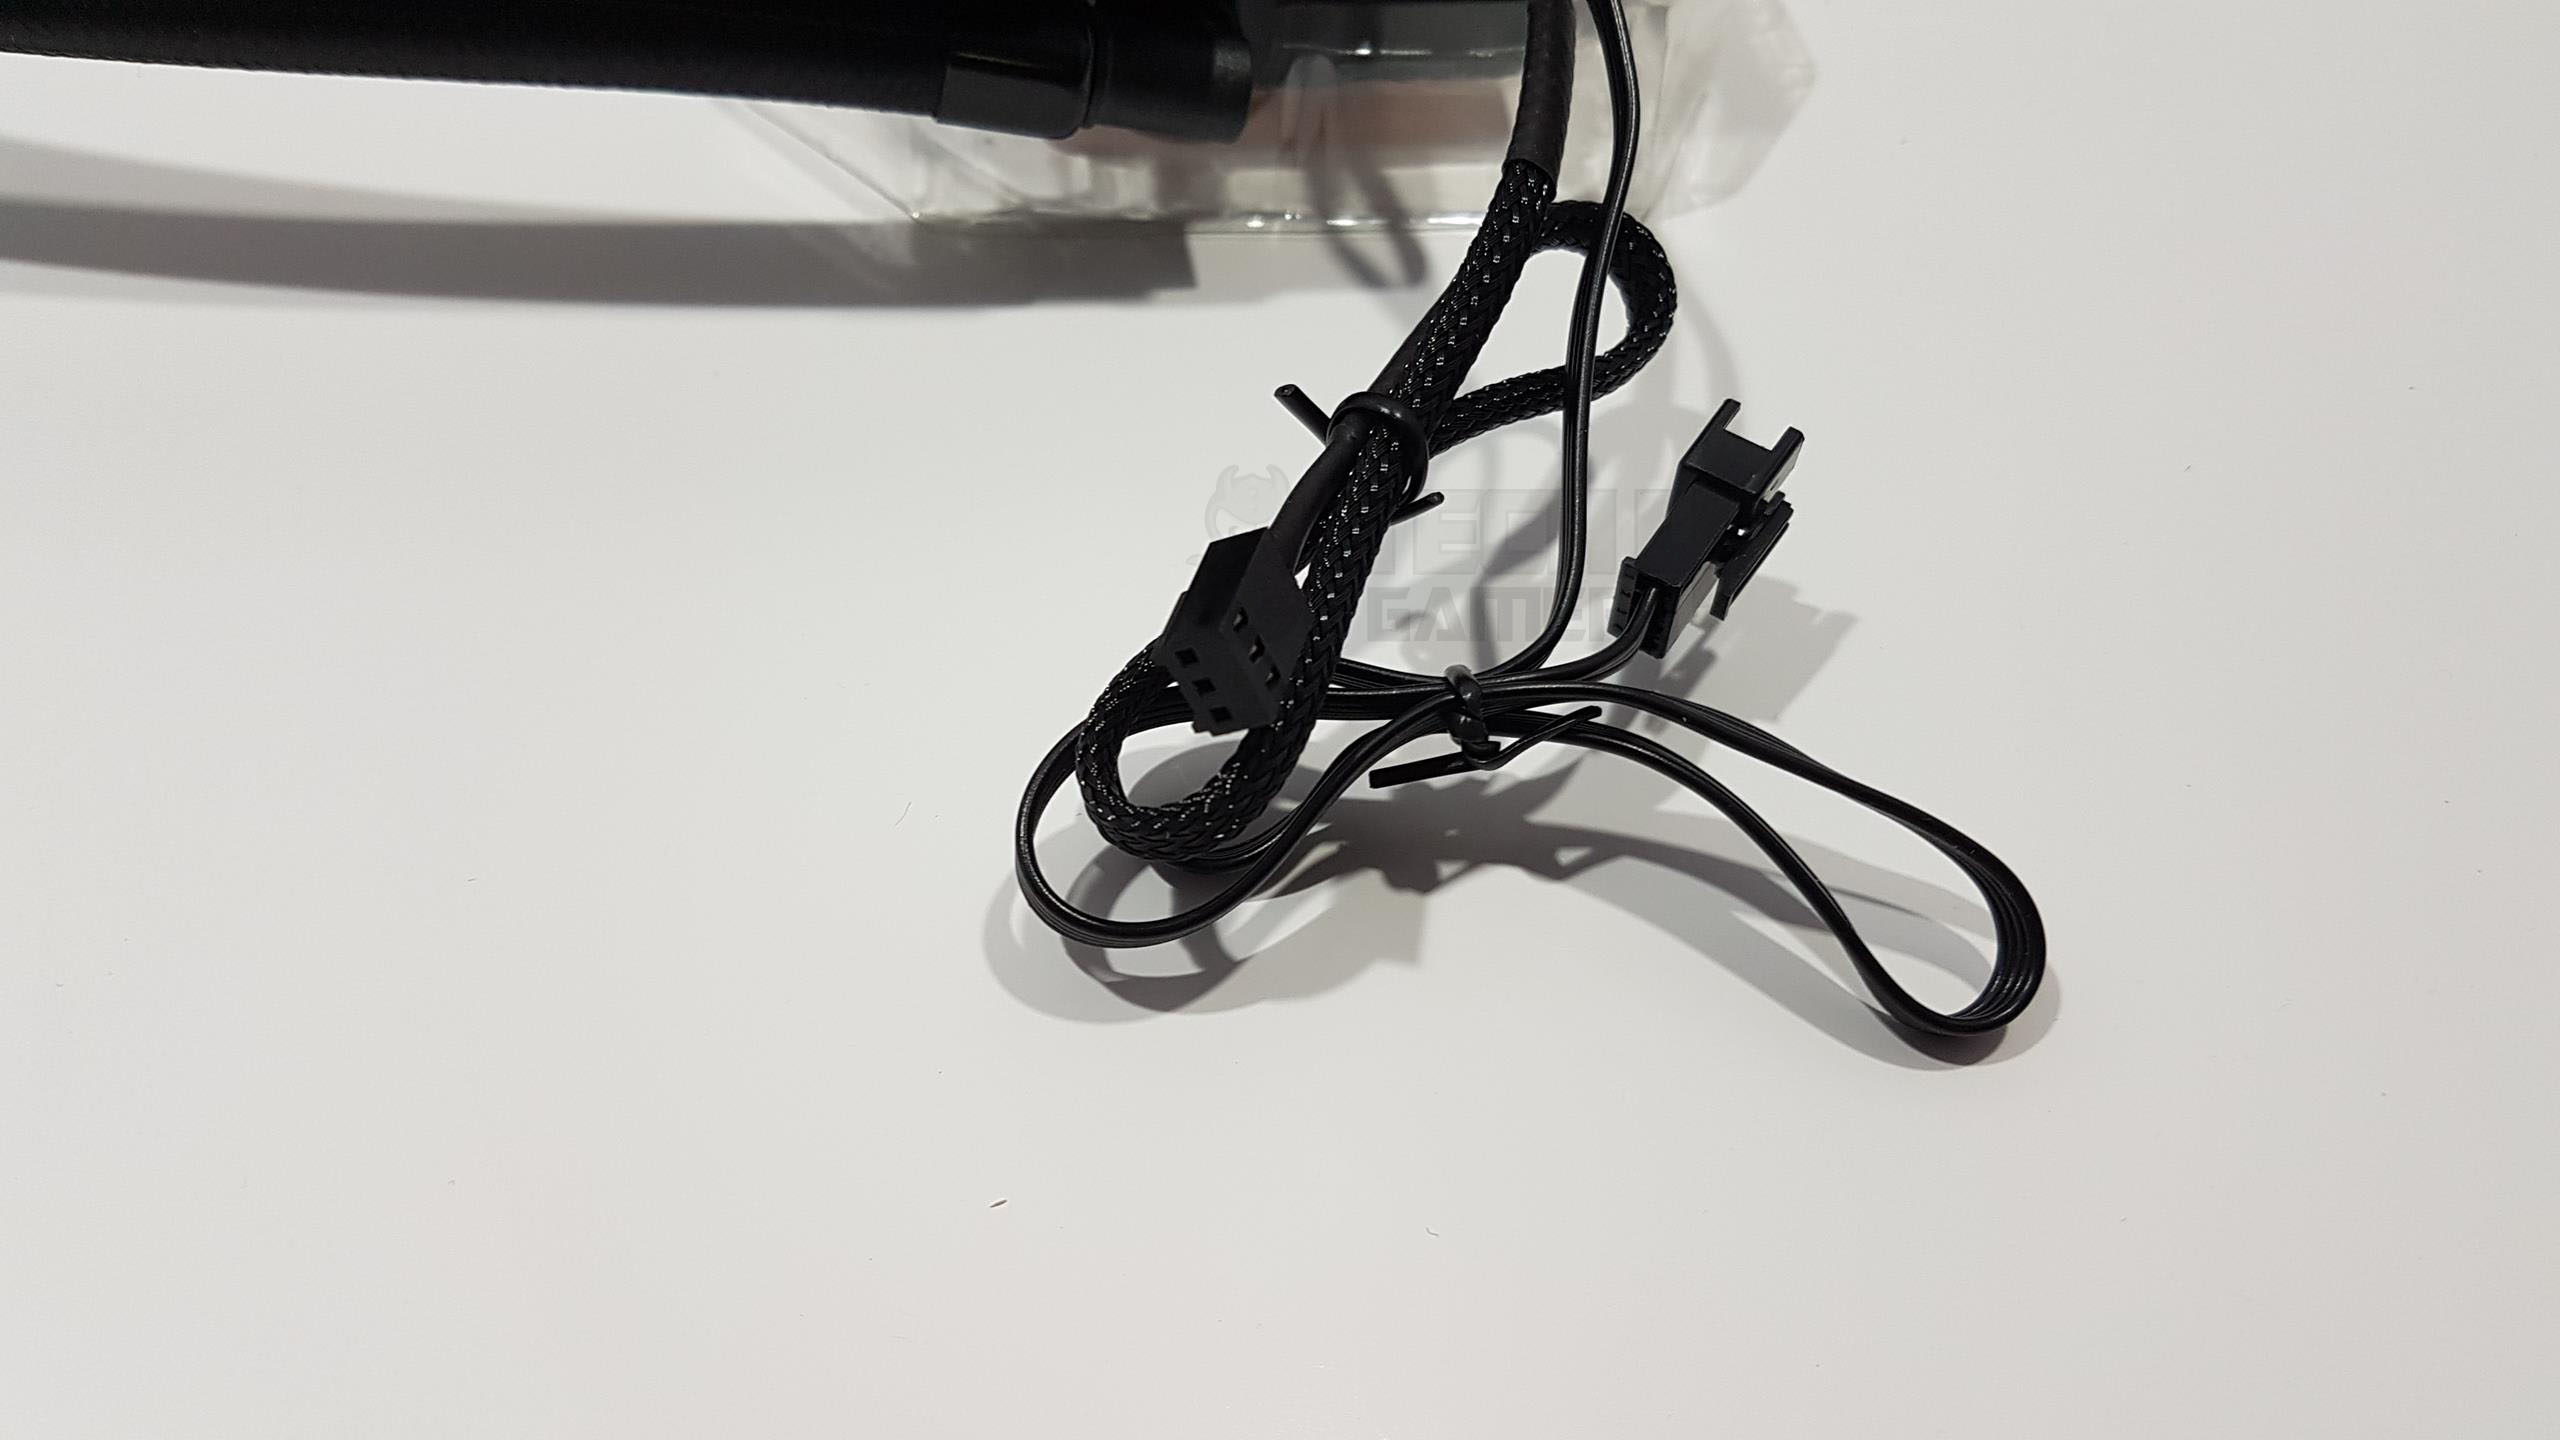
This is the RGB connector that can be hooked up with the provided RGB controller or dedicated RGB sync cable. There is a sleeved 3-pin connector cable coming out of the housing with an approximate length of 260mm. This is to power up the pump.
The motor of the unit is built with a balanced closed impeller and high-quality ceramic bearing to obtain a near-silent performance level. The pump has a rated speed of 2100±10% RPM at 12V. Power consumption is 1.8 Watts. The pump’s life expectancy is 120000 hours. Its operating voltage is 6 ~ 13.8 VDC. It draws a maximum of 0.15A.
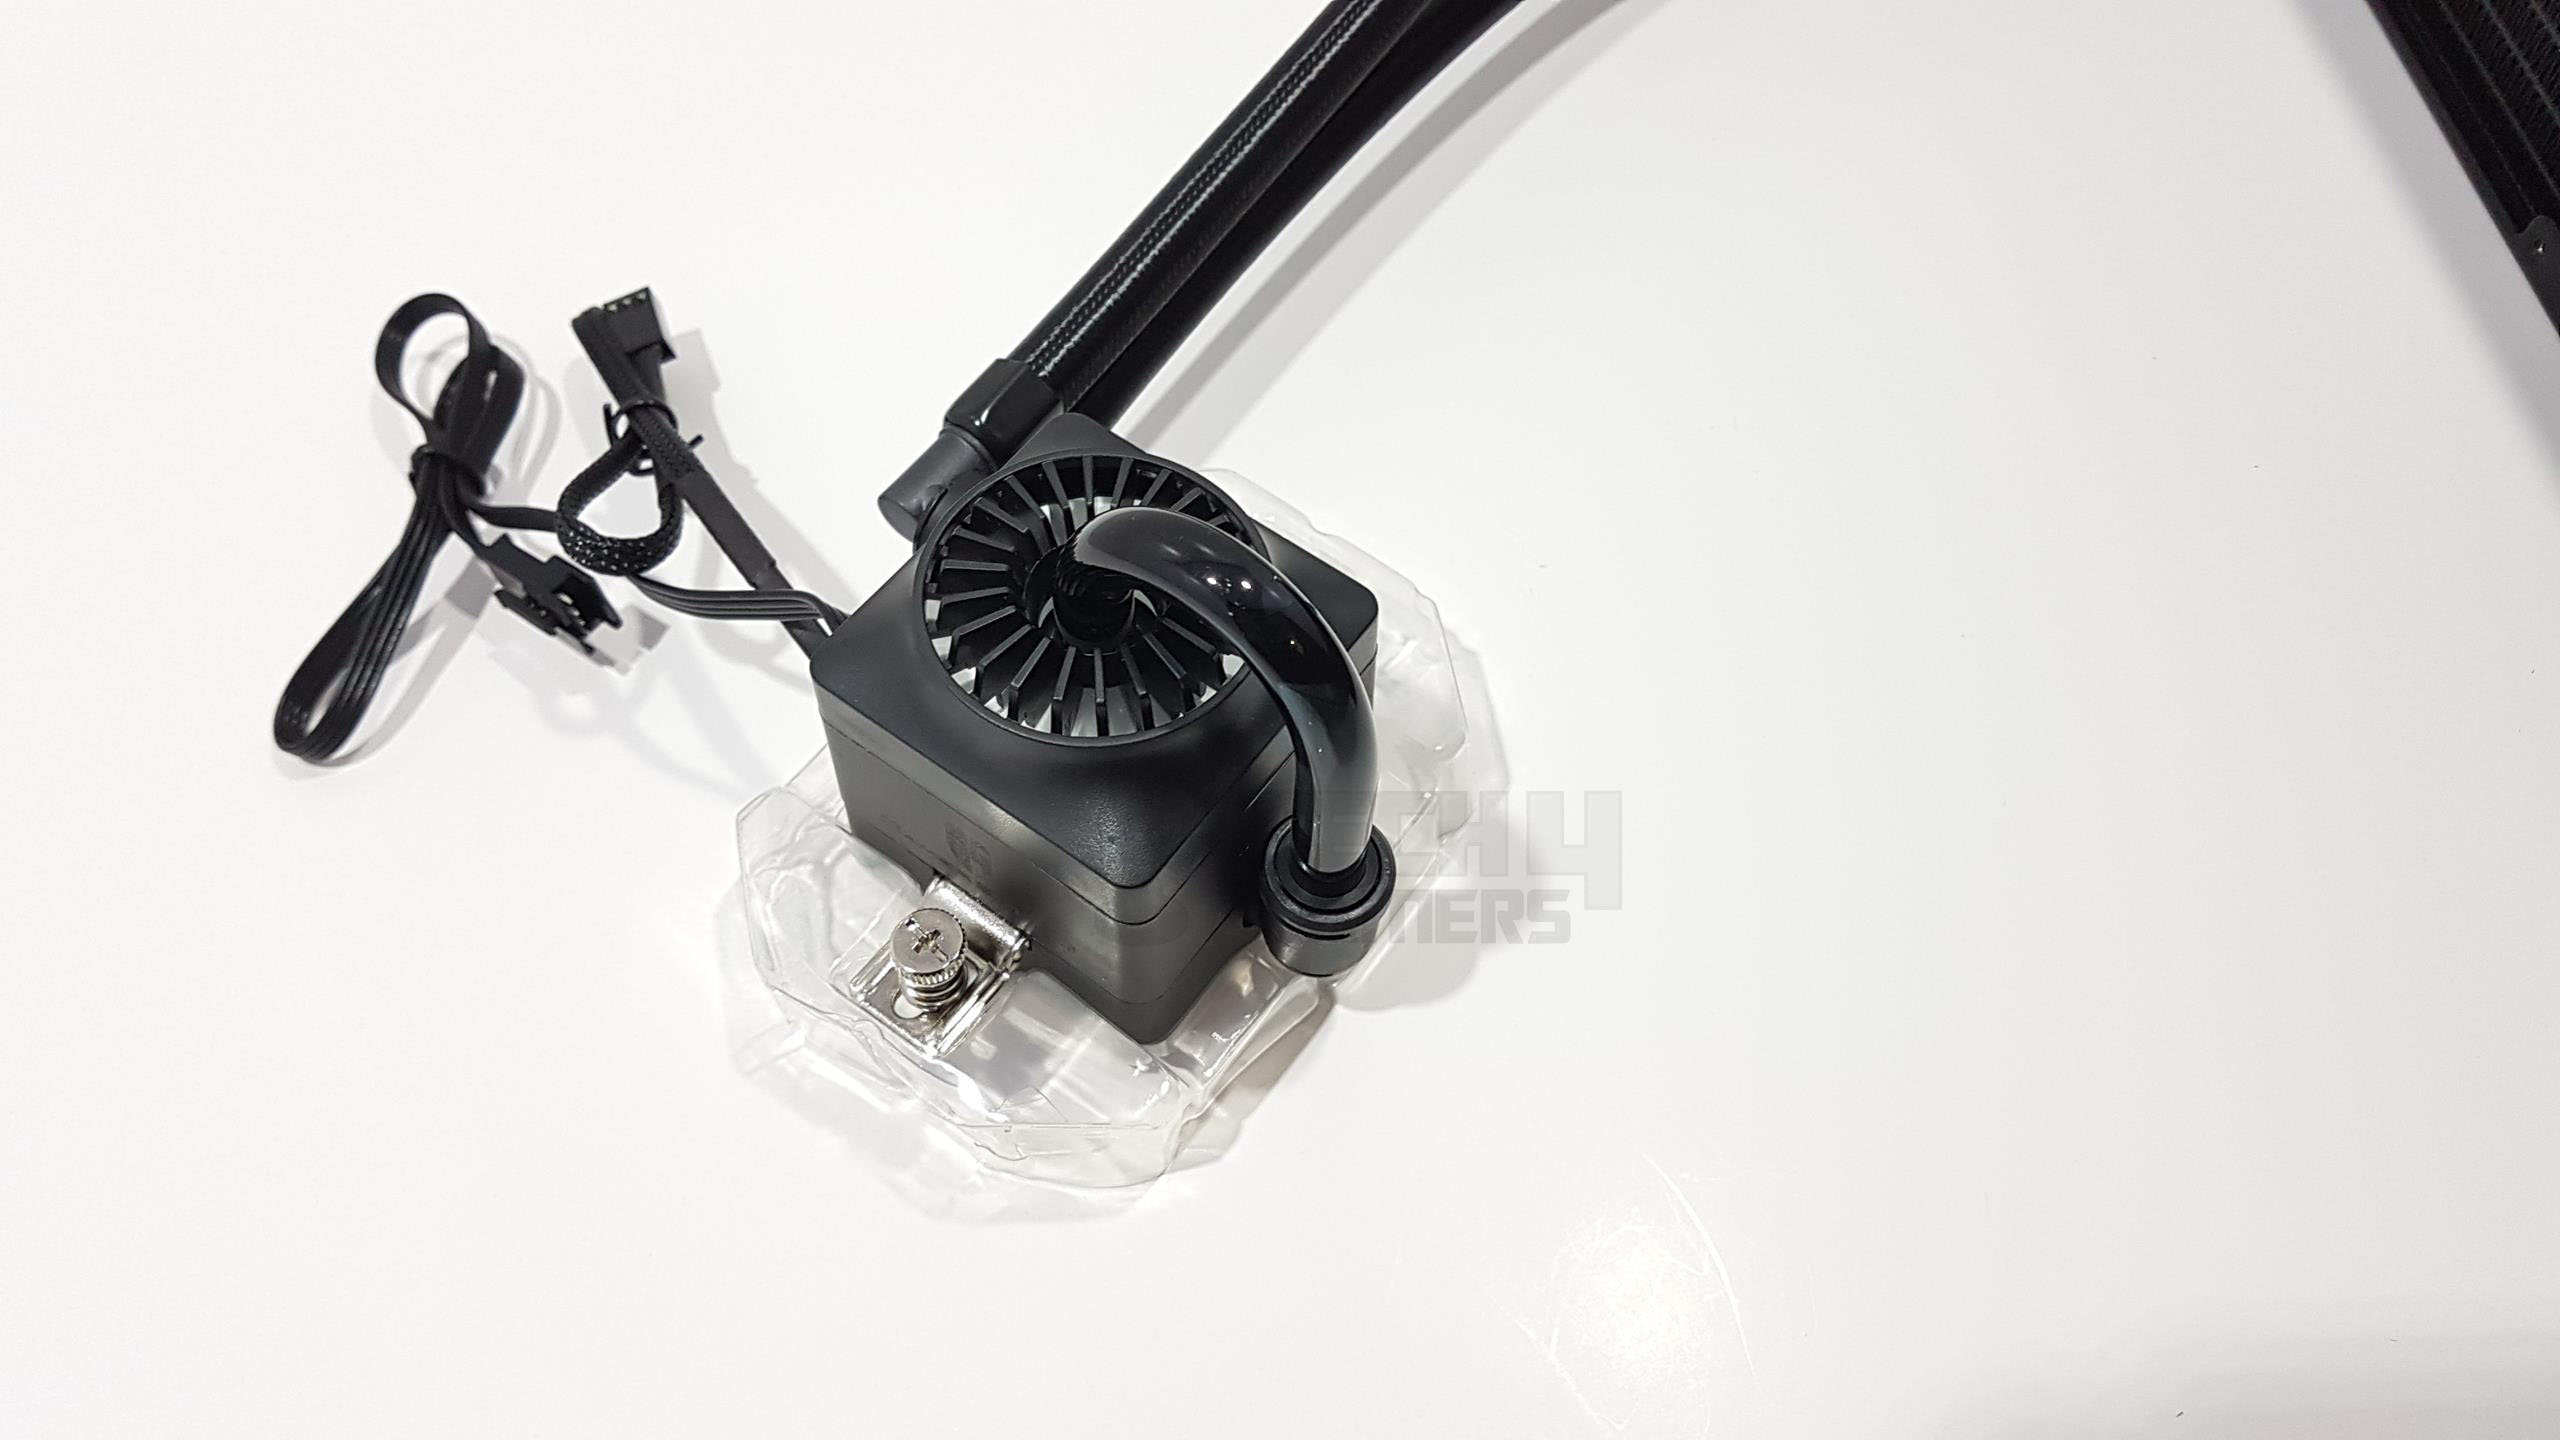
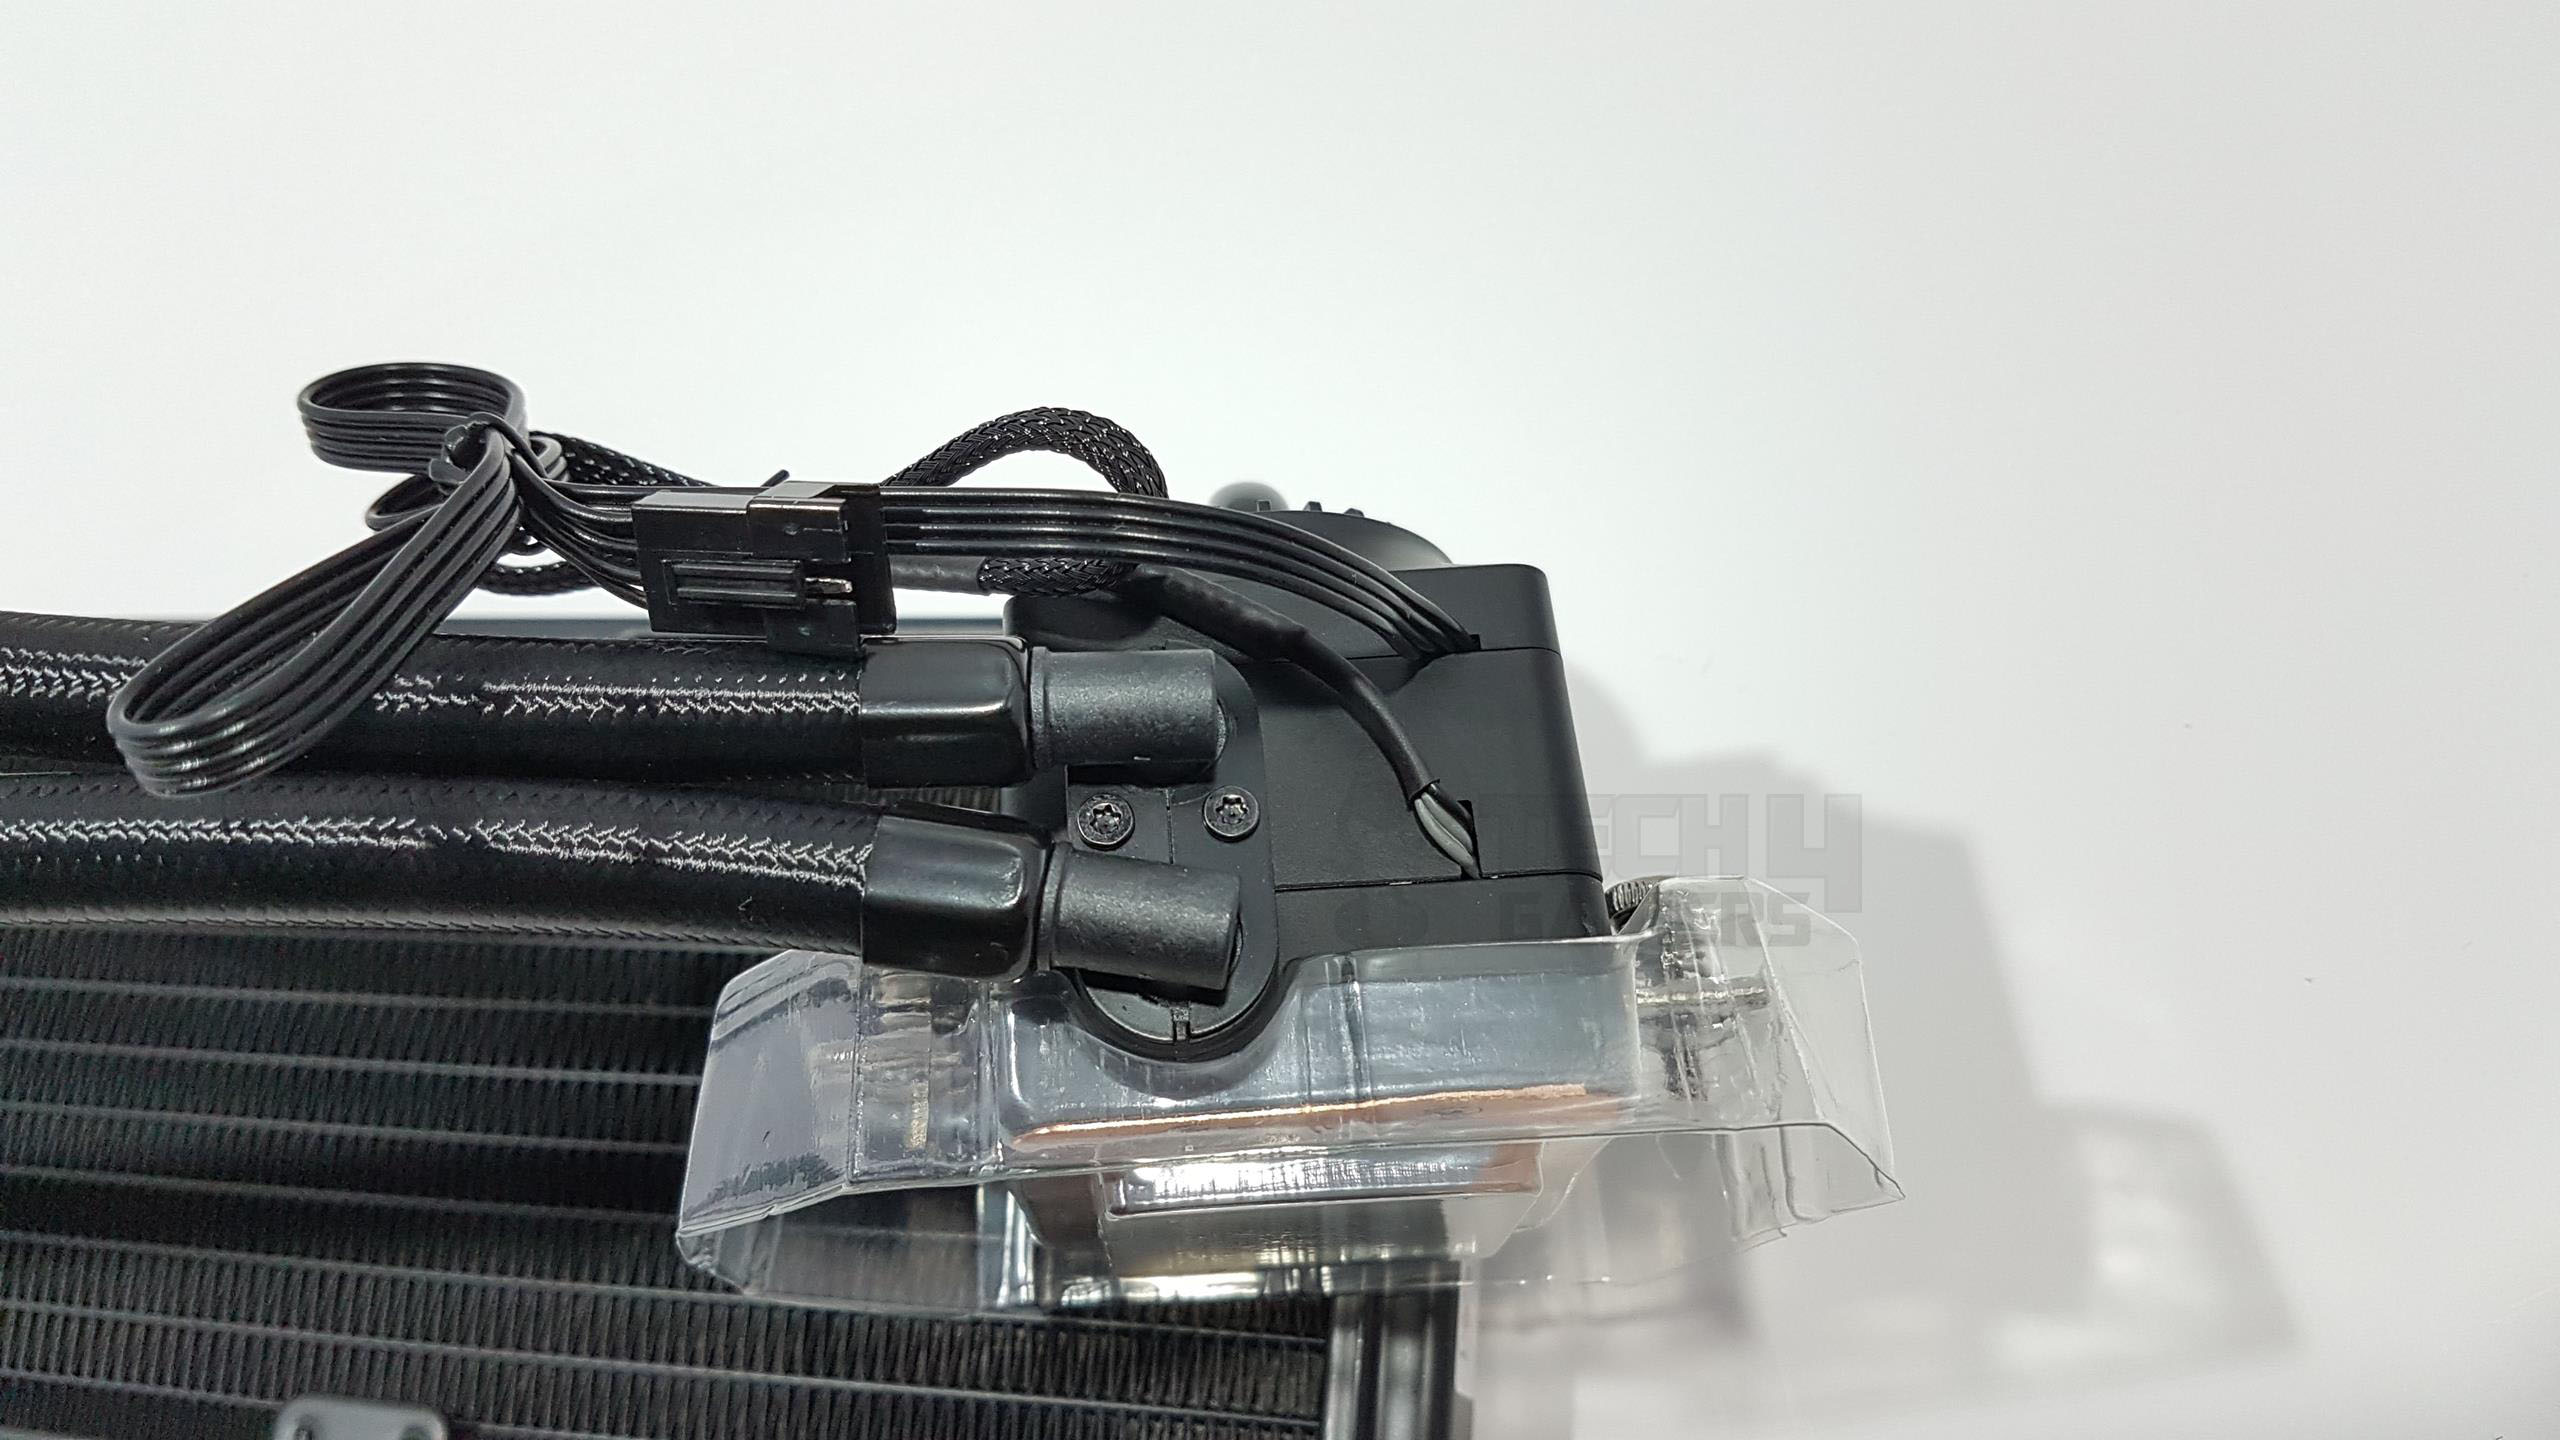
Due to the 90-degree rotary configuration and a bit of stiff hosing, it could be hard to install the block in certain orientations. Here is the tip, decide the orientation of the block before installing the cooler in the chassis. Two cables are coming out of the pump housing. One is a 4-pin flat cable with an approximate length of 396mm.


Examining the block’s base, it’s noteworthy with a size of 53x53mm, generously accommodating the CPU IHS, even for a sizable one like the i7 6850k (38x38mm). The base, polished in copper, though not mirror-like, features a plain surface.
Rounded on three corners with one flat line, it incorporates enhanced high-density water microchannels and a potent autonomous circulation system, resulting in a 10% boost in heat dissipation efficiency.


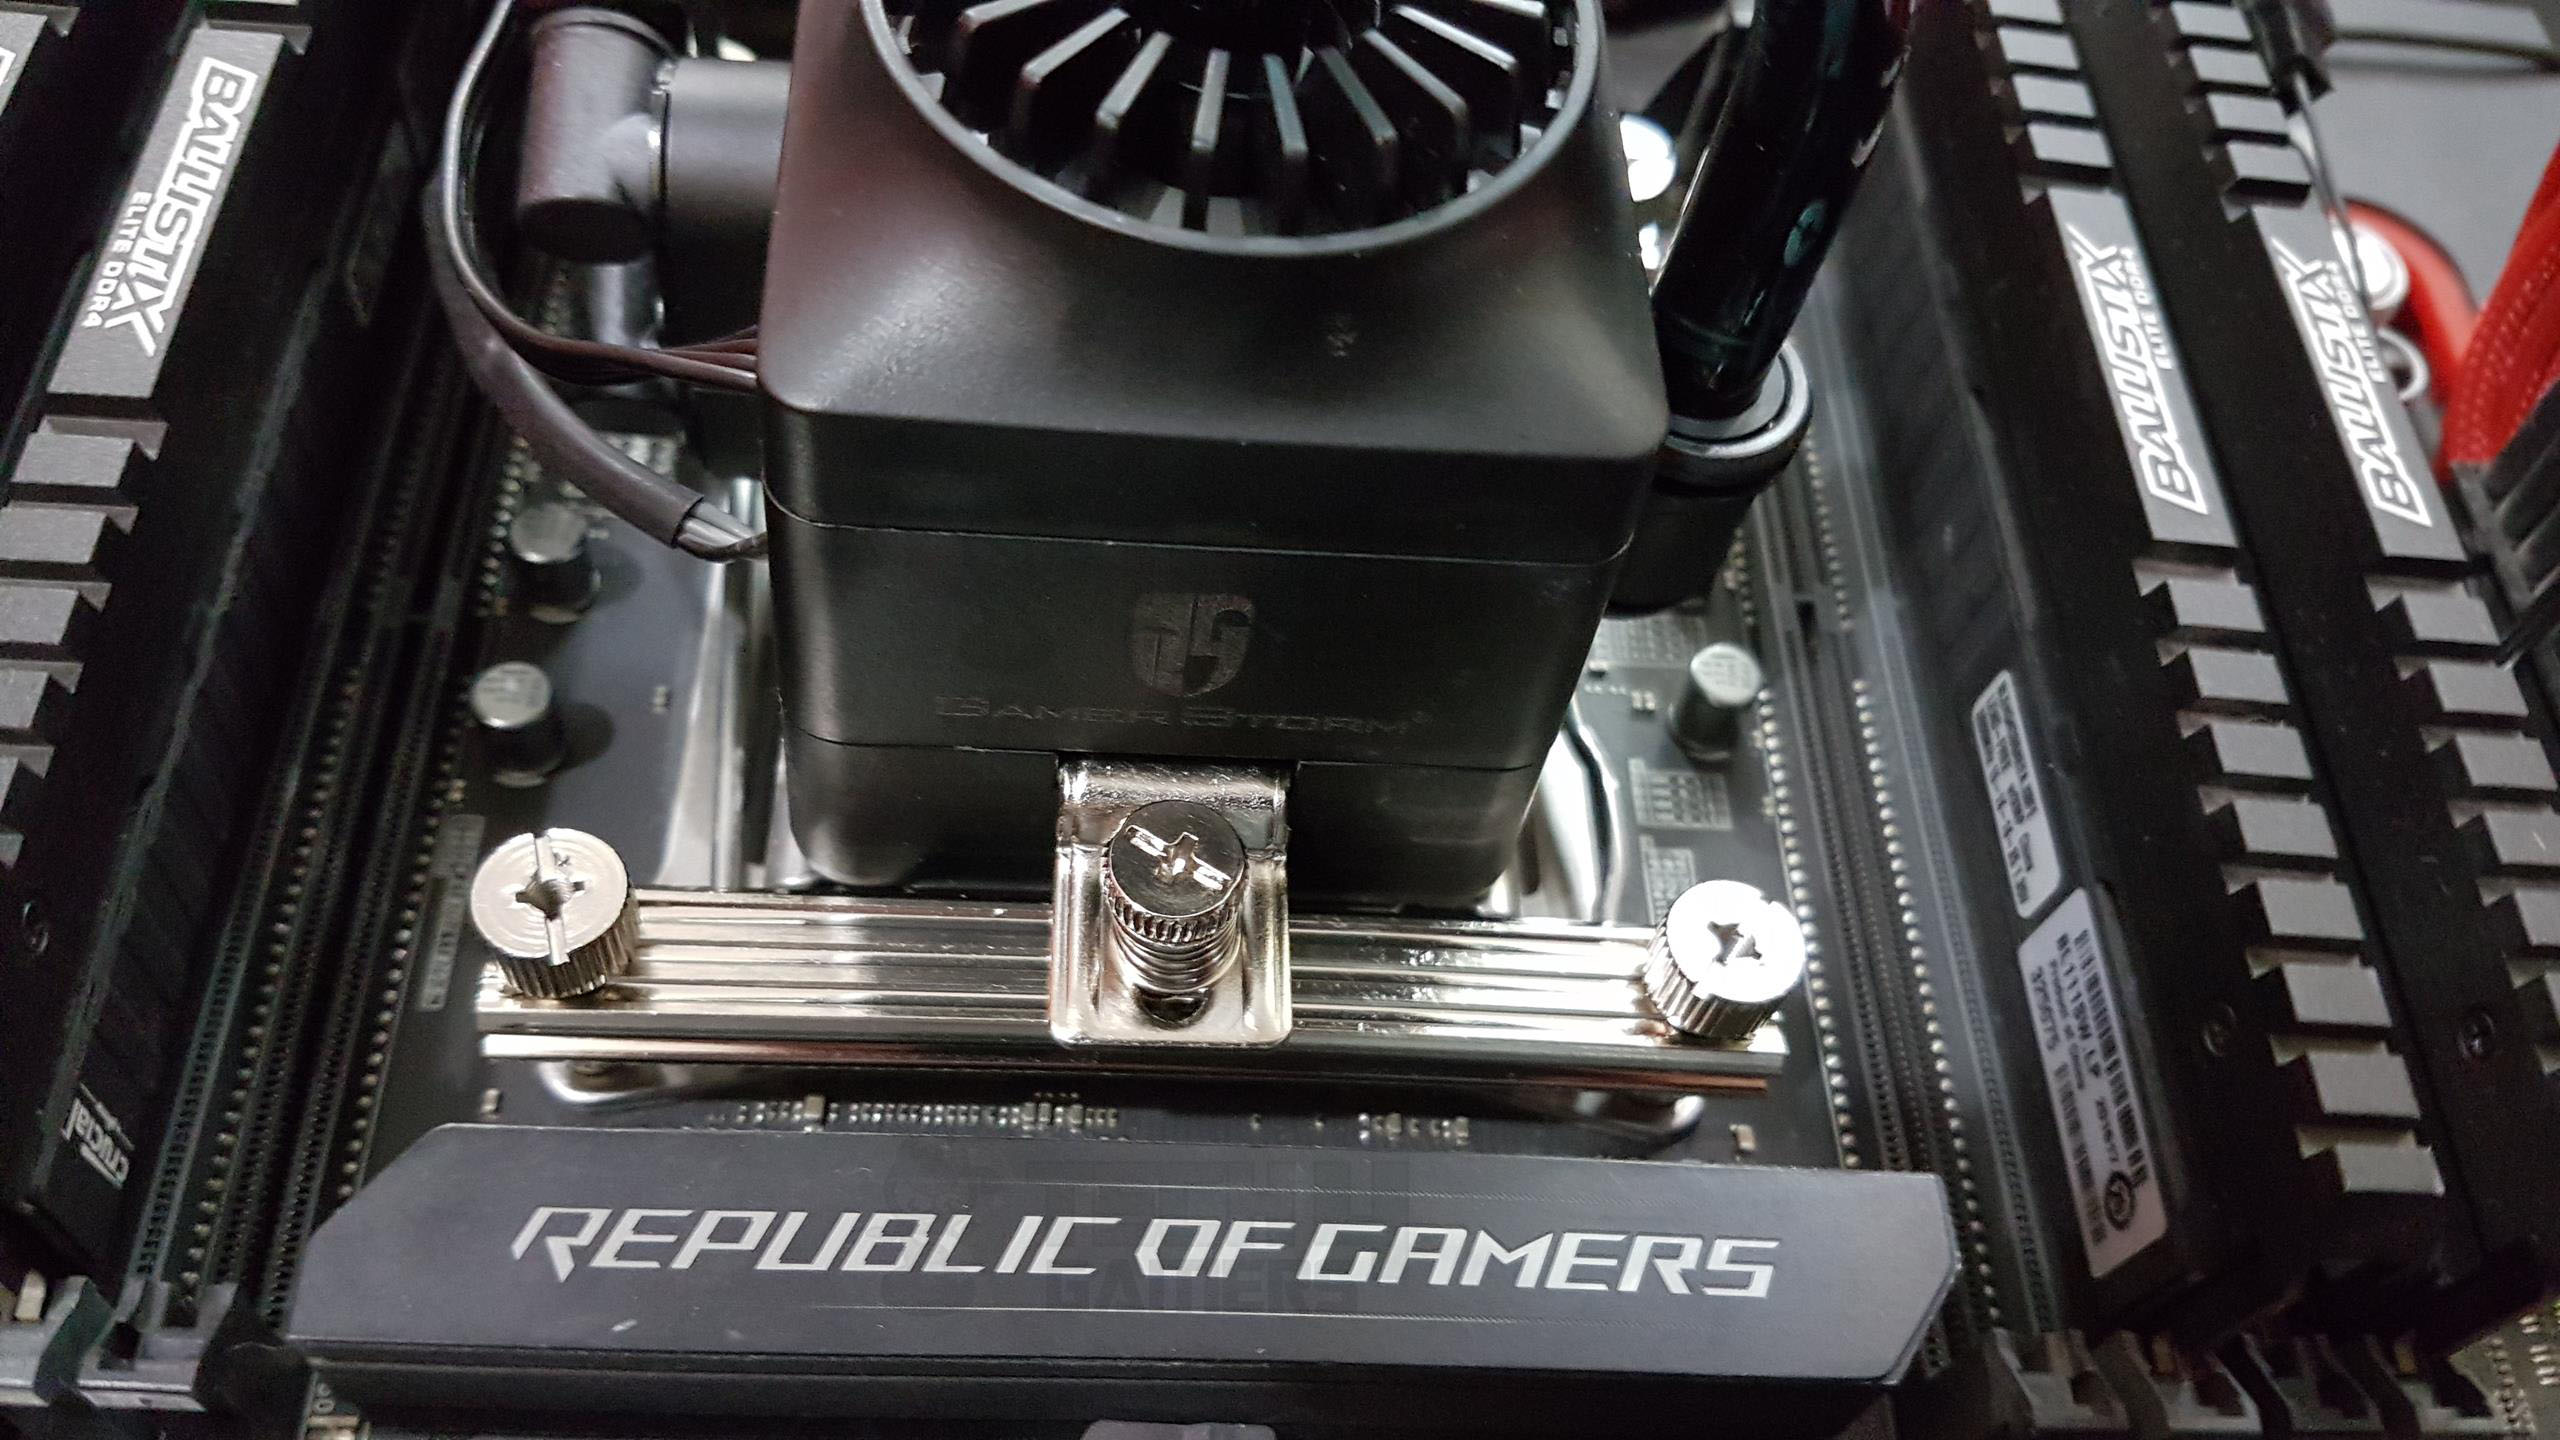
Deepcool uses closed impellers with a phase induction motor for strong liquid flow. The block, featuring pre-installed spring-loaded screws and the GamerStorm logo, has hoses positioned at a 90-degree rotation on the back. I can rotate them slightly upward and downward, although movement is limited.


We got two TF120 fans from Deepcool for this cooler. They’re different from standalone TF120s—no LEDs, black frames, and gray anti-vibration pads. GamerStorm is embossed on two corners. Each of the 9 blades has a dual-layer design without a sticker on the motor hub.
Running at 12VDC, speeds range from 500±200 to 1800±10% RPM, providing a max airflow of 153.04 CFM. Noise levels vary from 17.6 to 31.3 dB(A), and they offer a max static pressure of 3.31mmH₂O. Using Hydro Bearings, they have an MTBF of 50,000 hours. The 4-pin power cable is about 275mm long and comes sleeved.
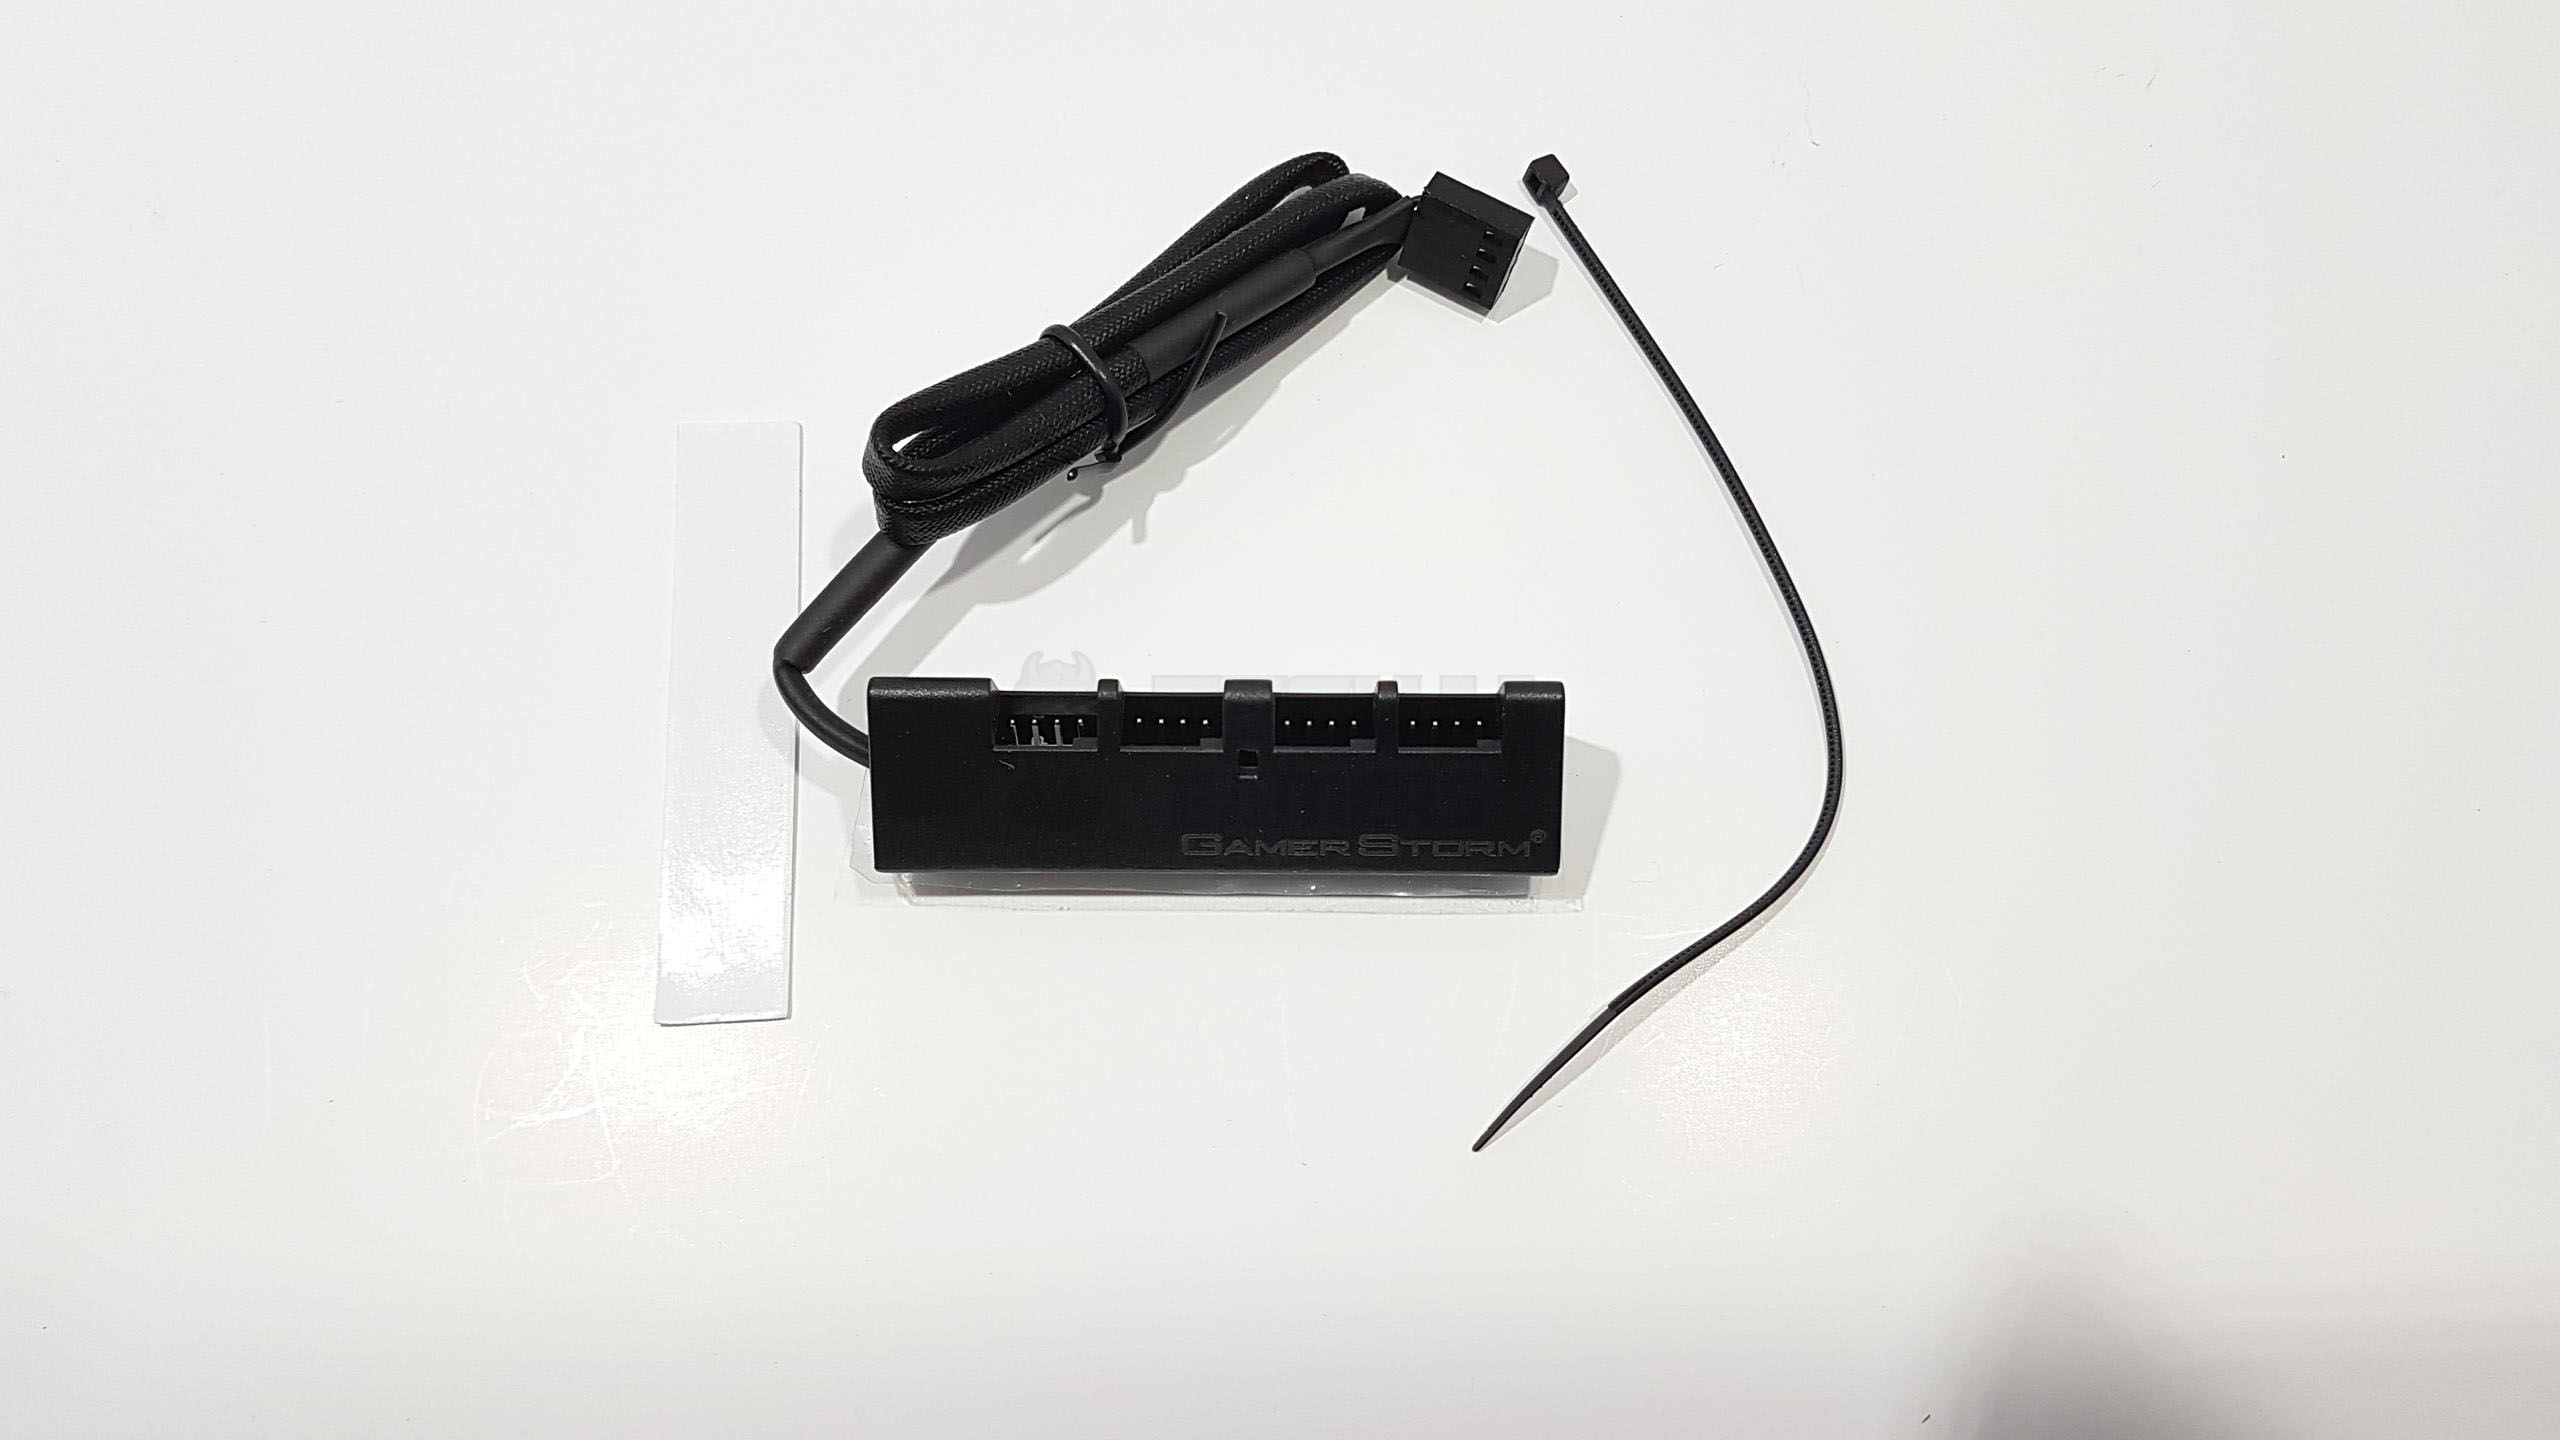
Deepcool includes a 4-port fan hub for a push/pull setup, easy to install with 3M double-sided tape. The cable is about 410mm long, and they add a 4-pin PWM extension cable of approximately 391mm for extra convenience.

Flipping the fan reveals raised tabs forming air channels on each corner, reducing noise caused by airflow turbulence. The black sticker on the motor hub displays GamerStorm branding and specifications.
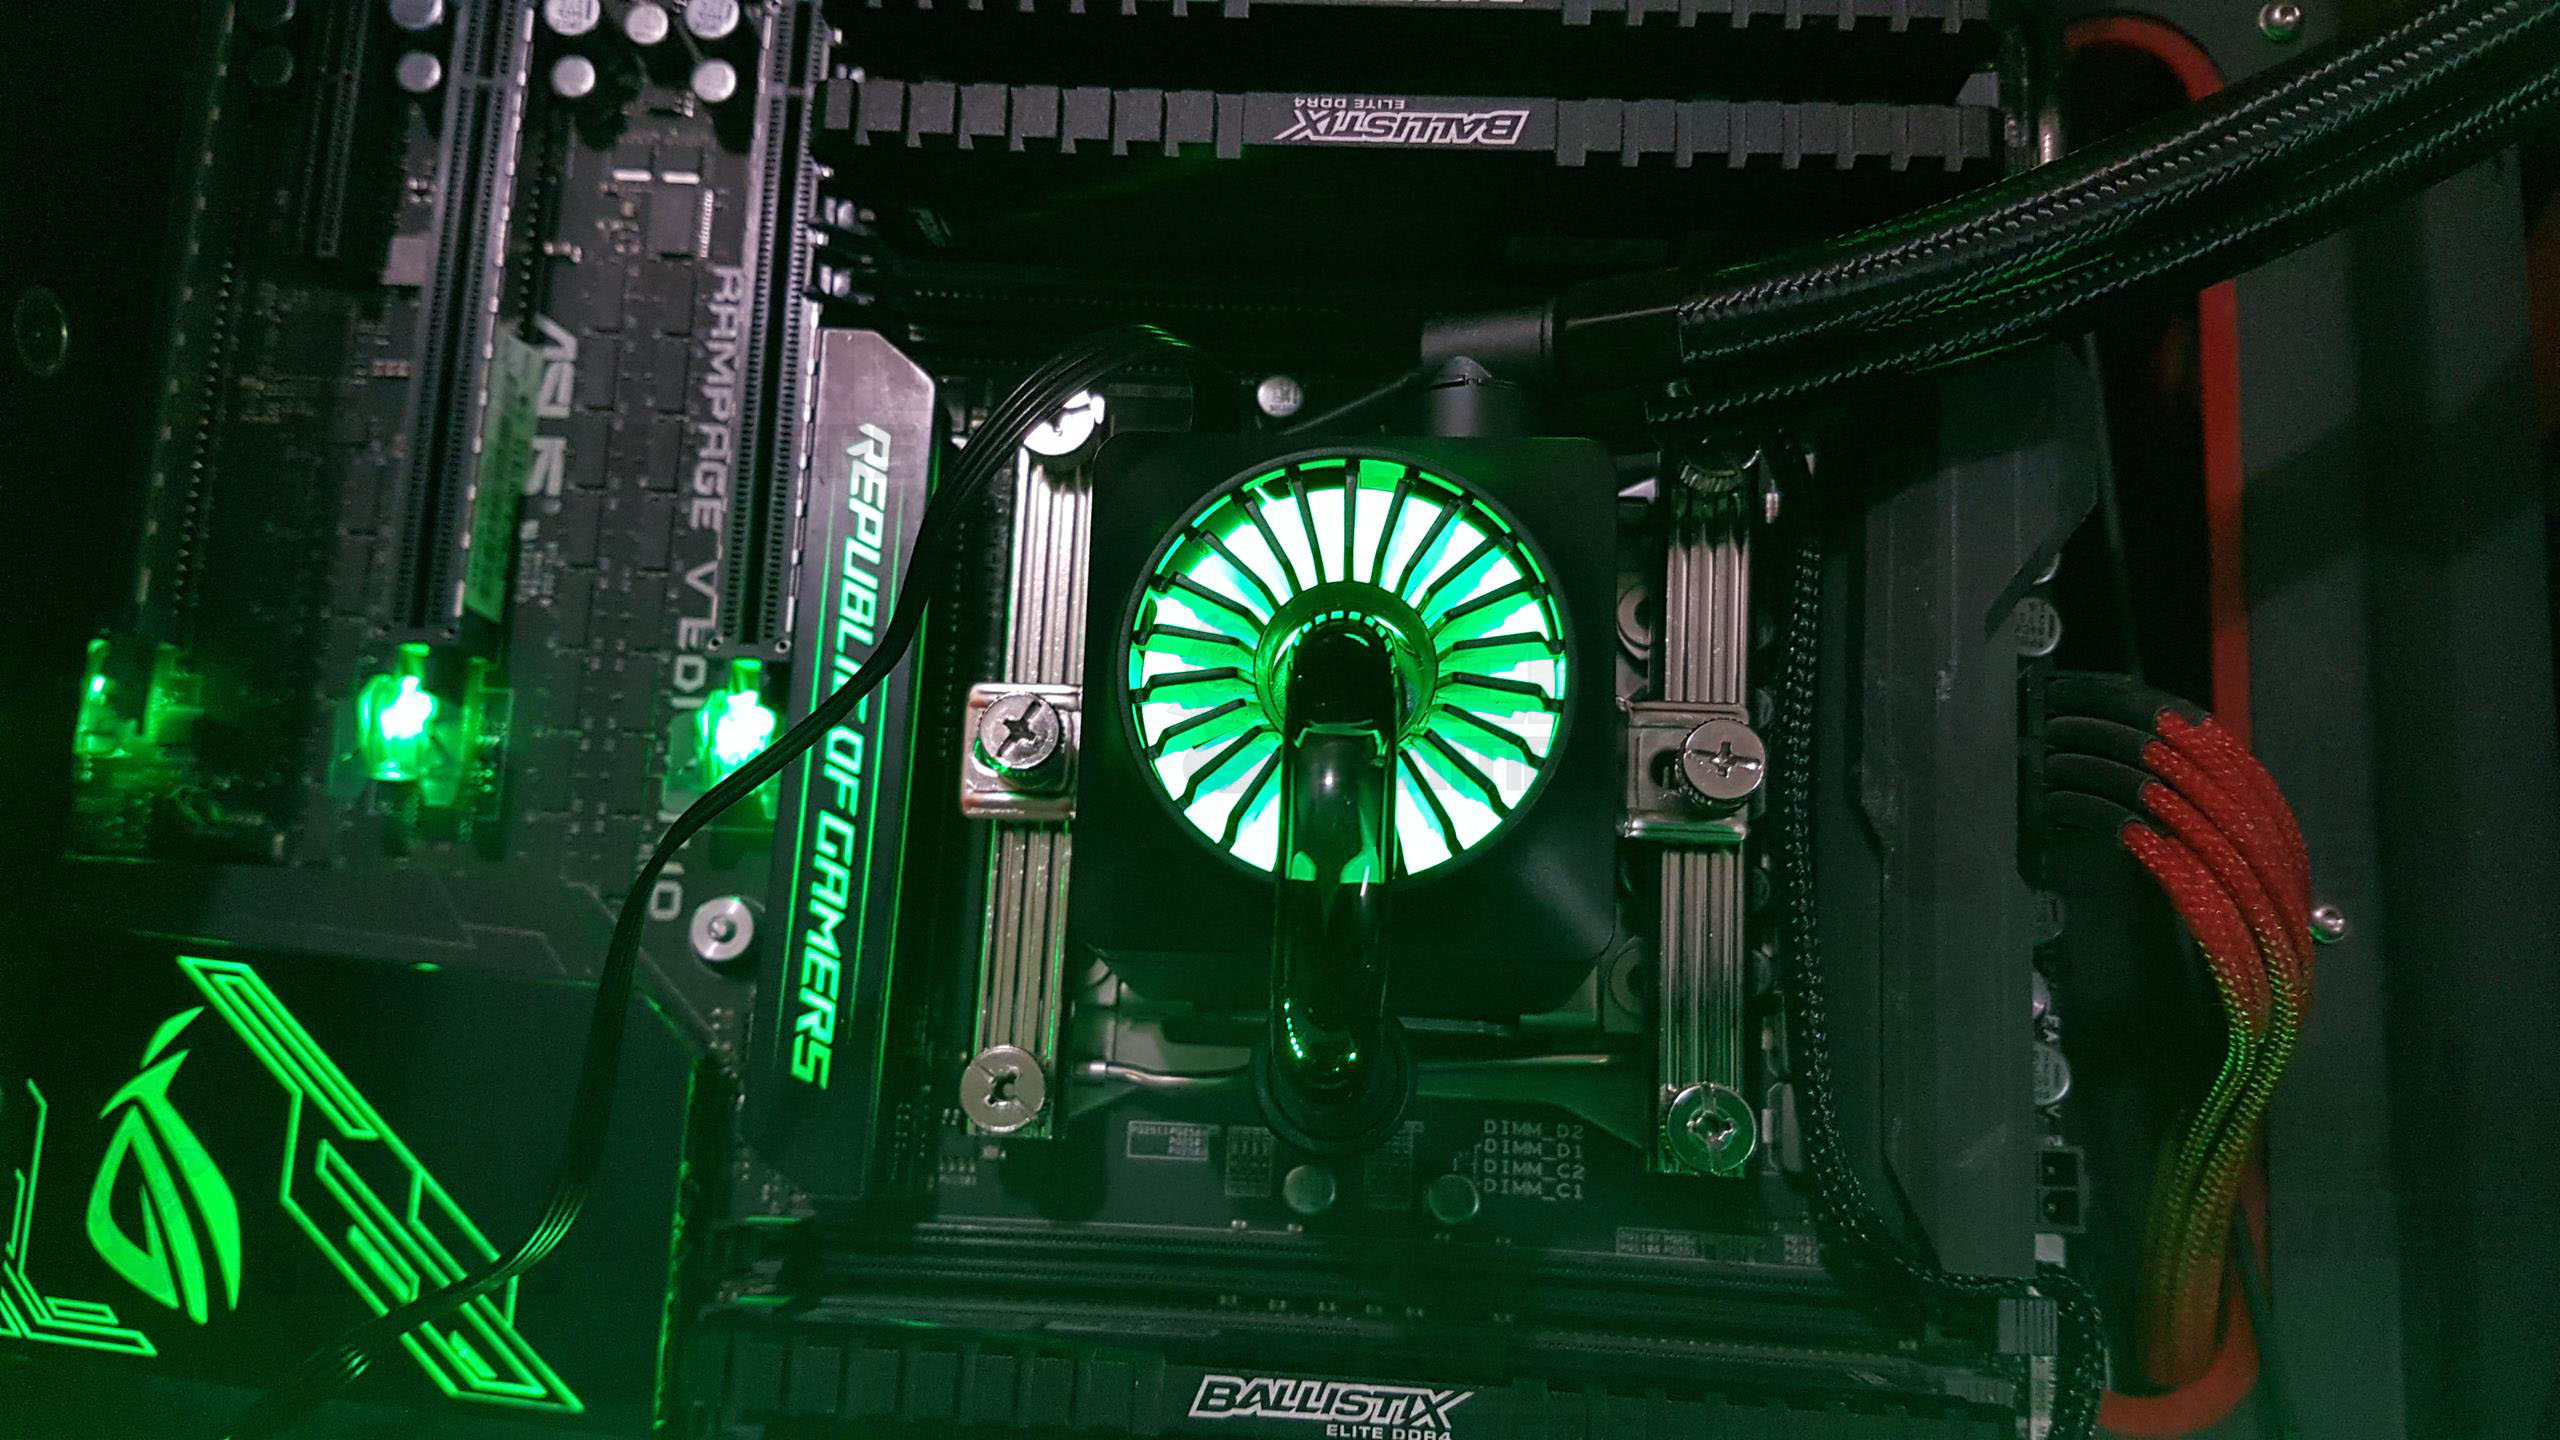
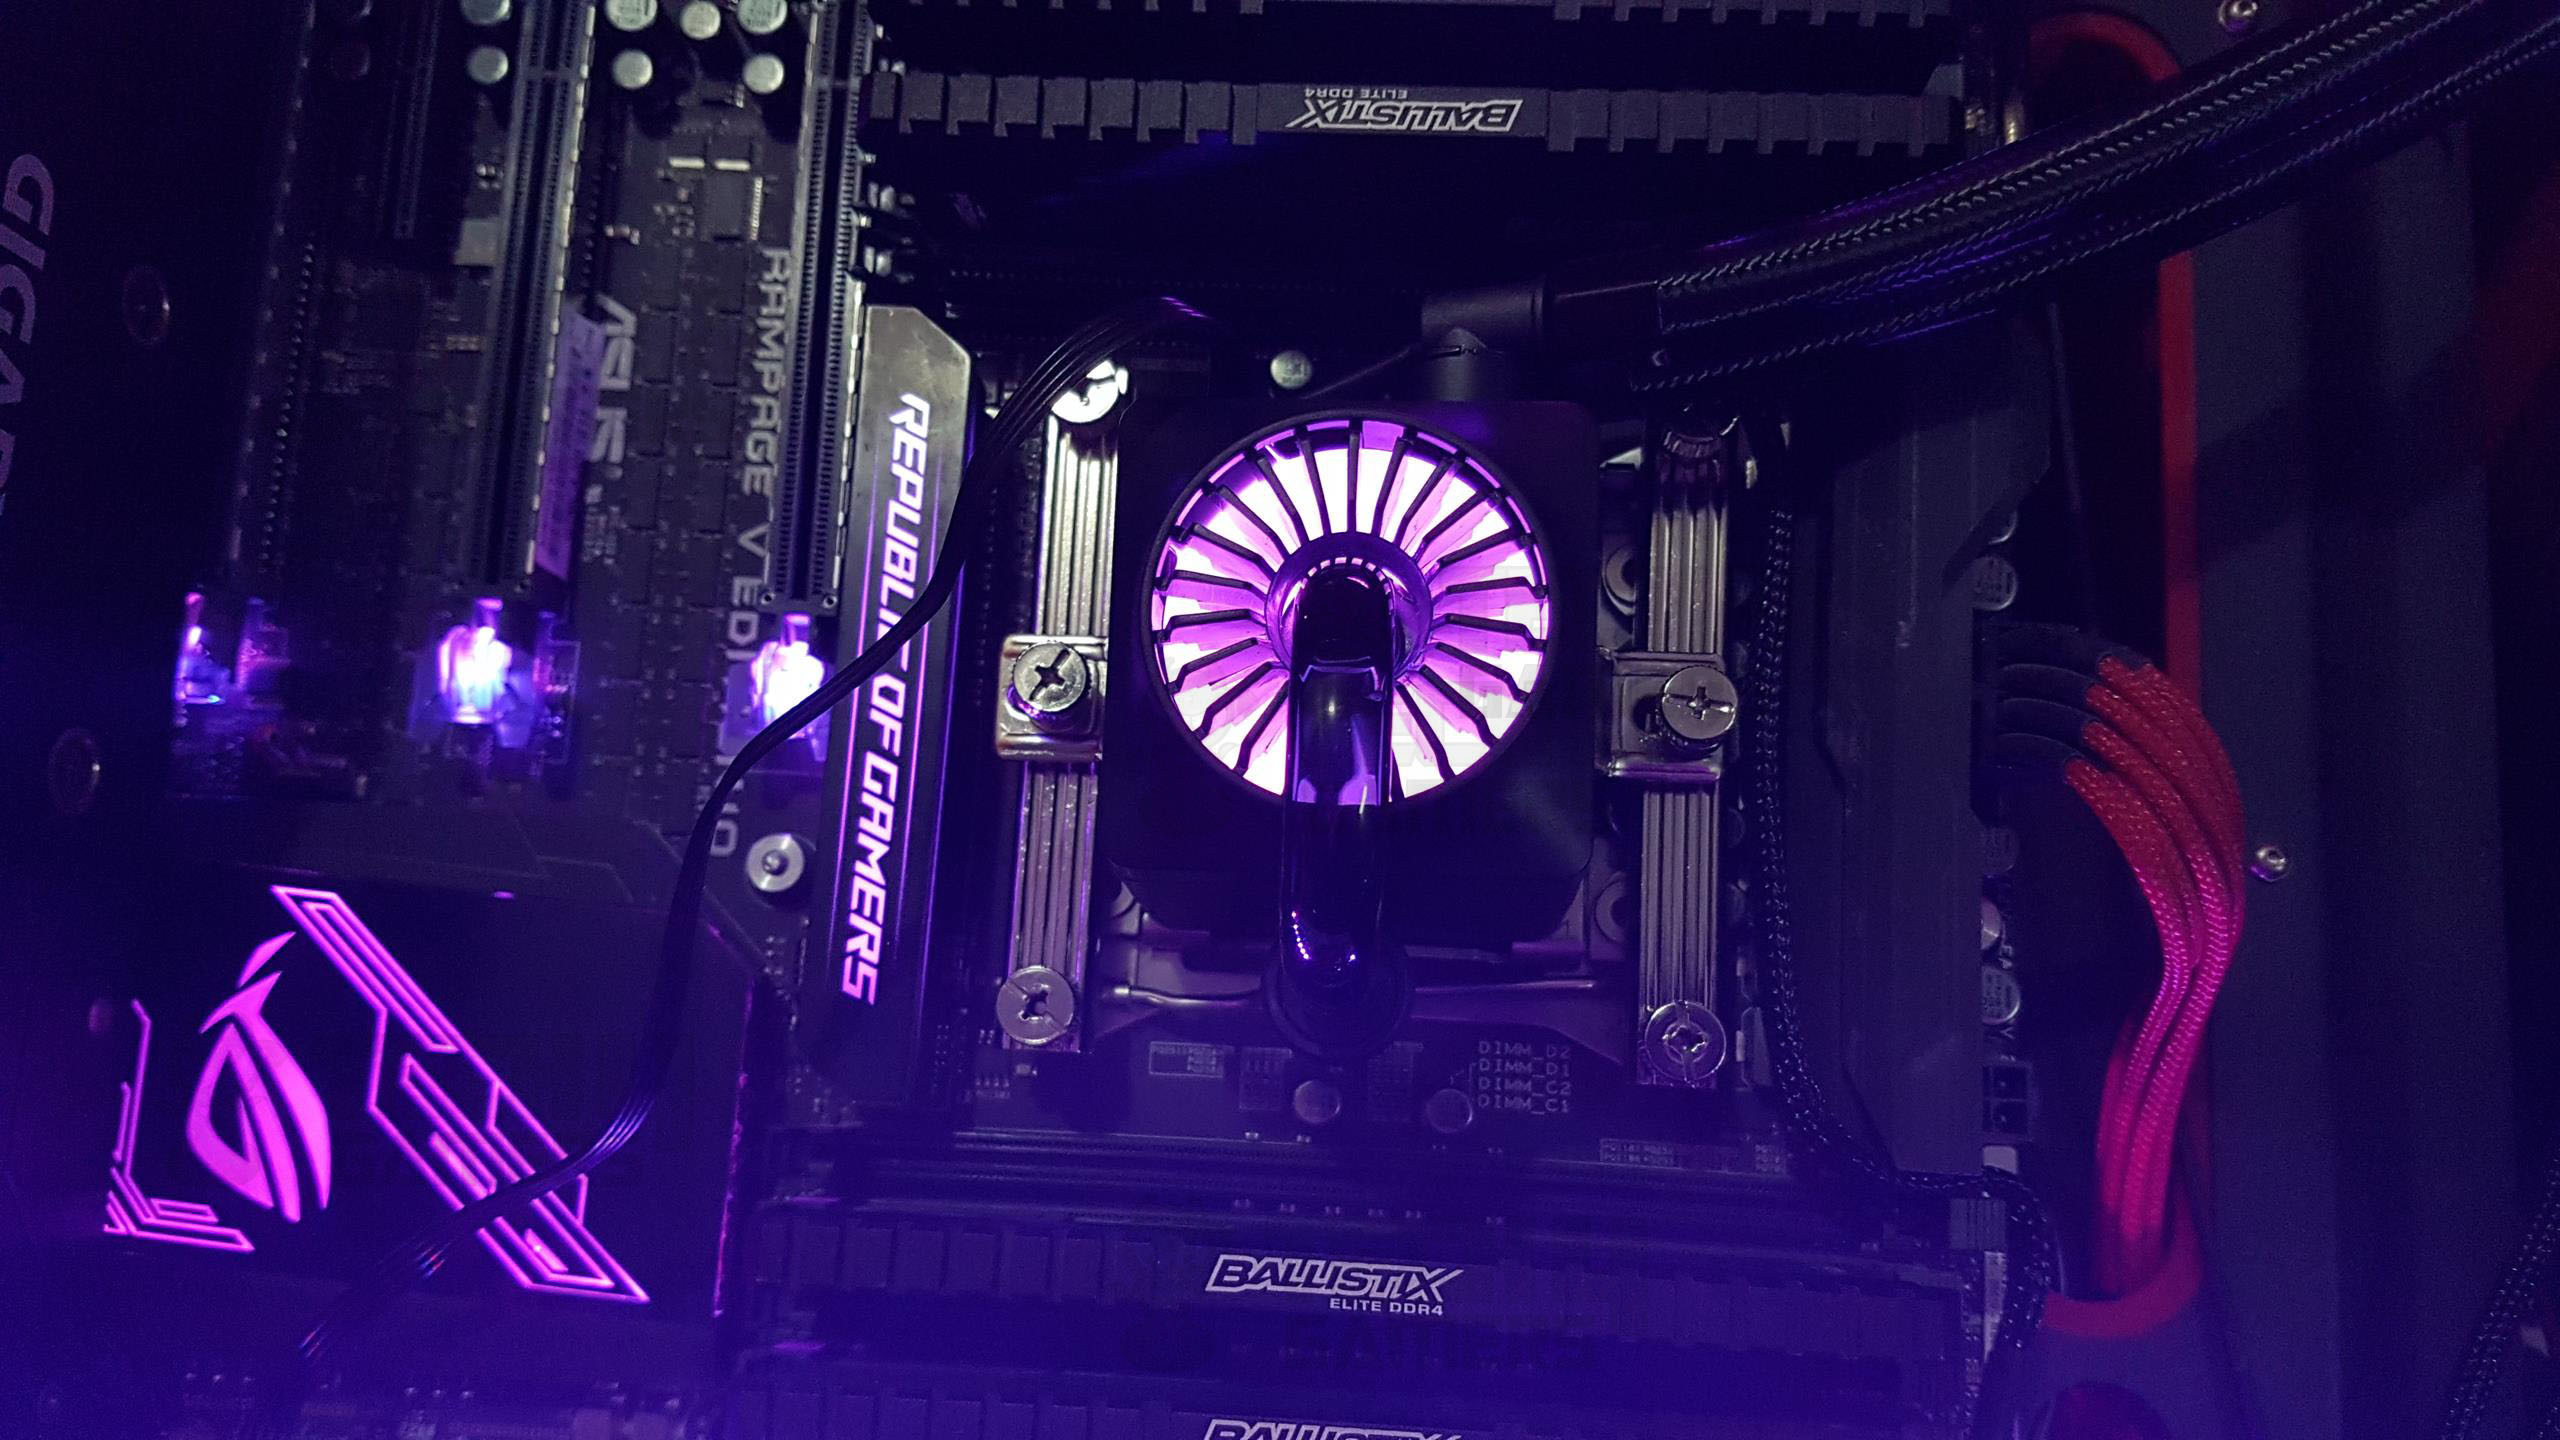
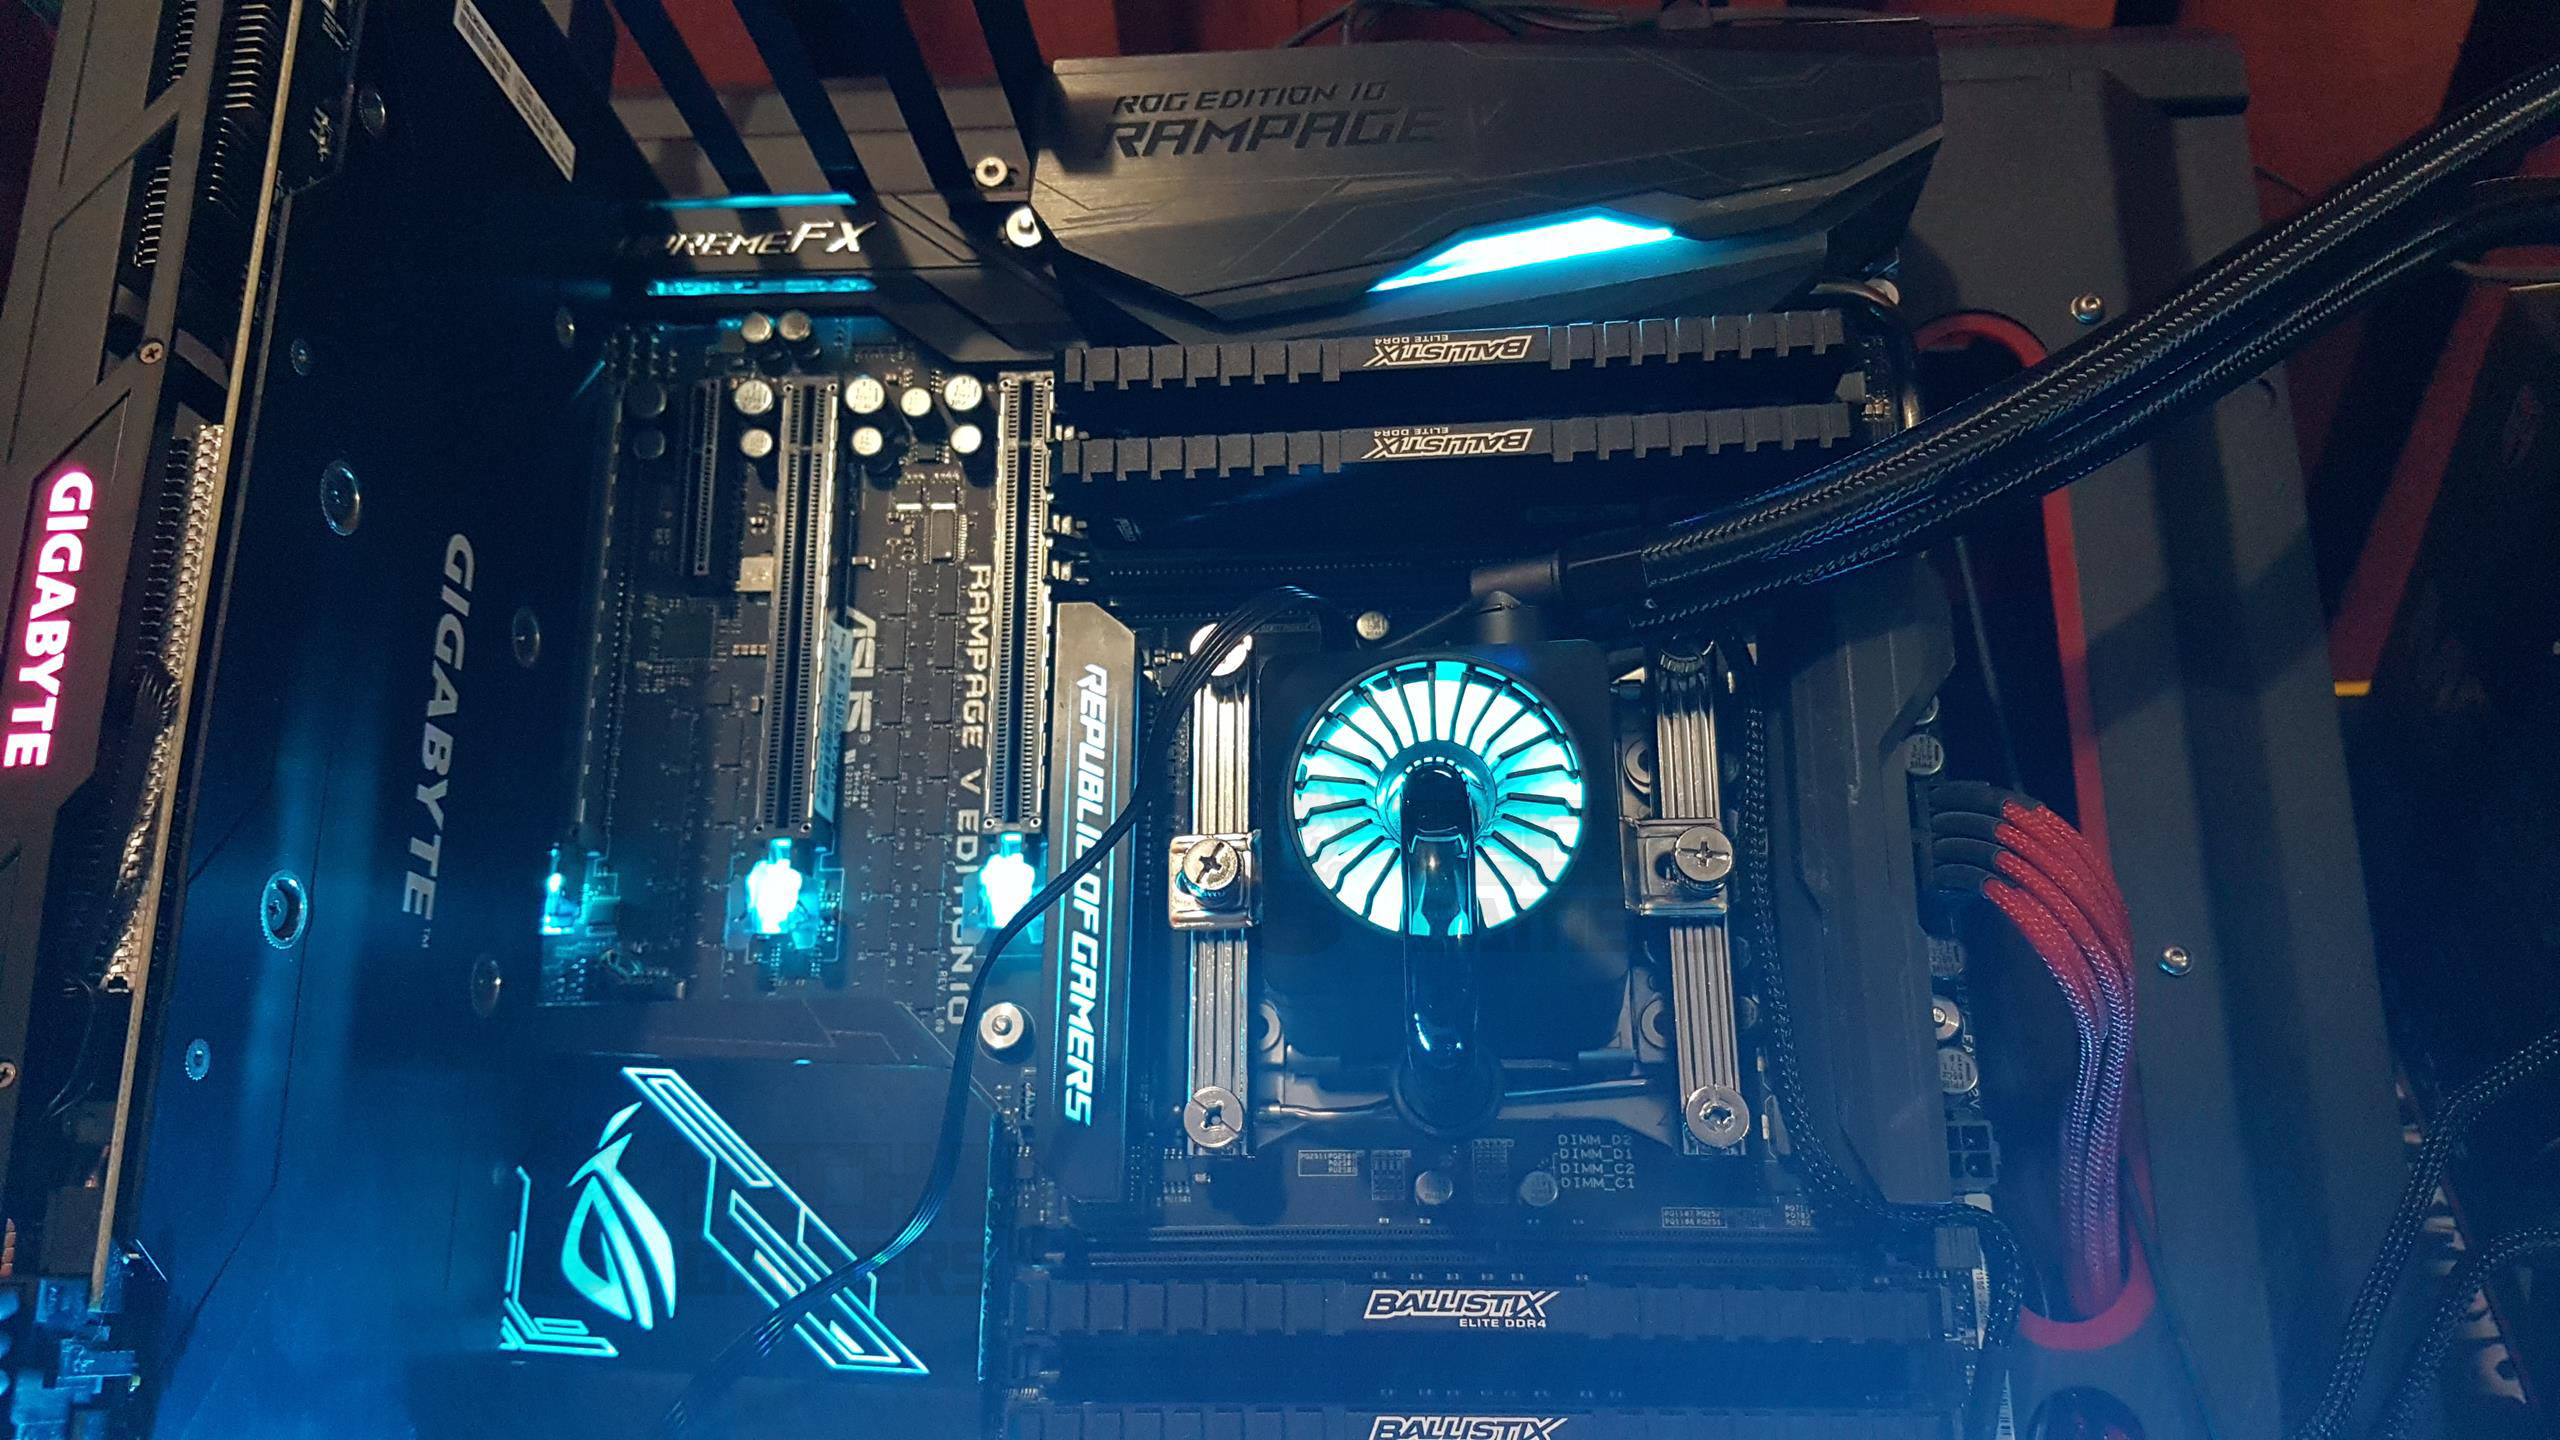
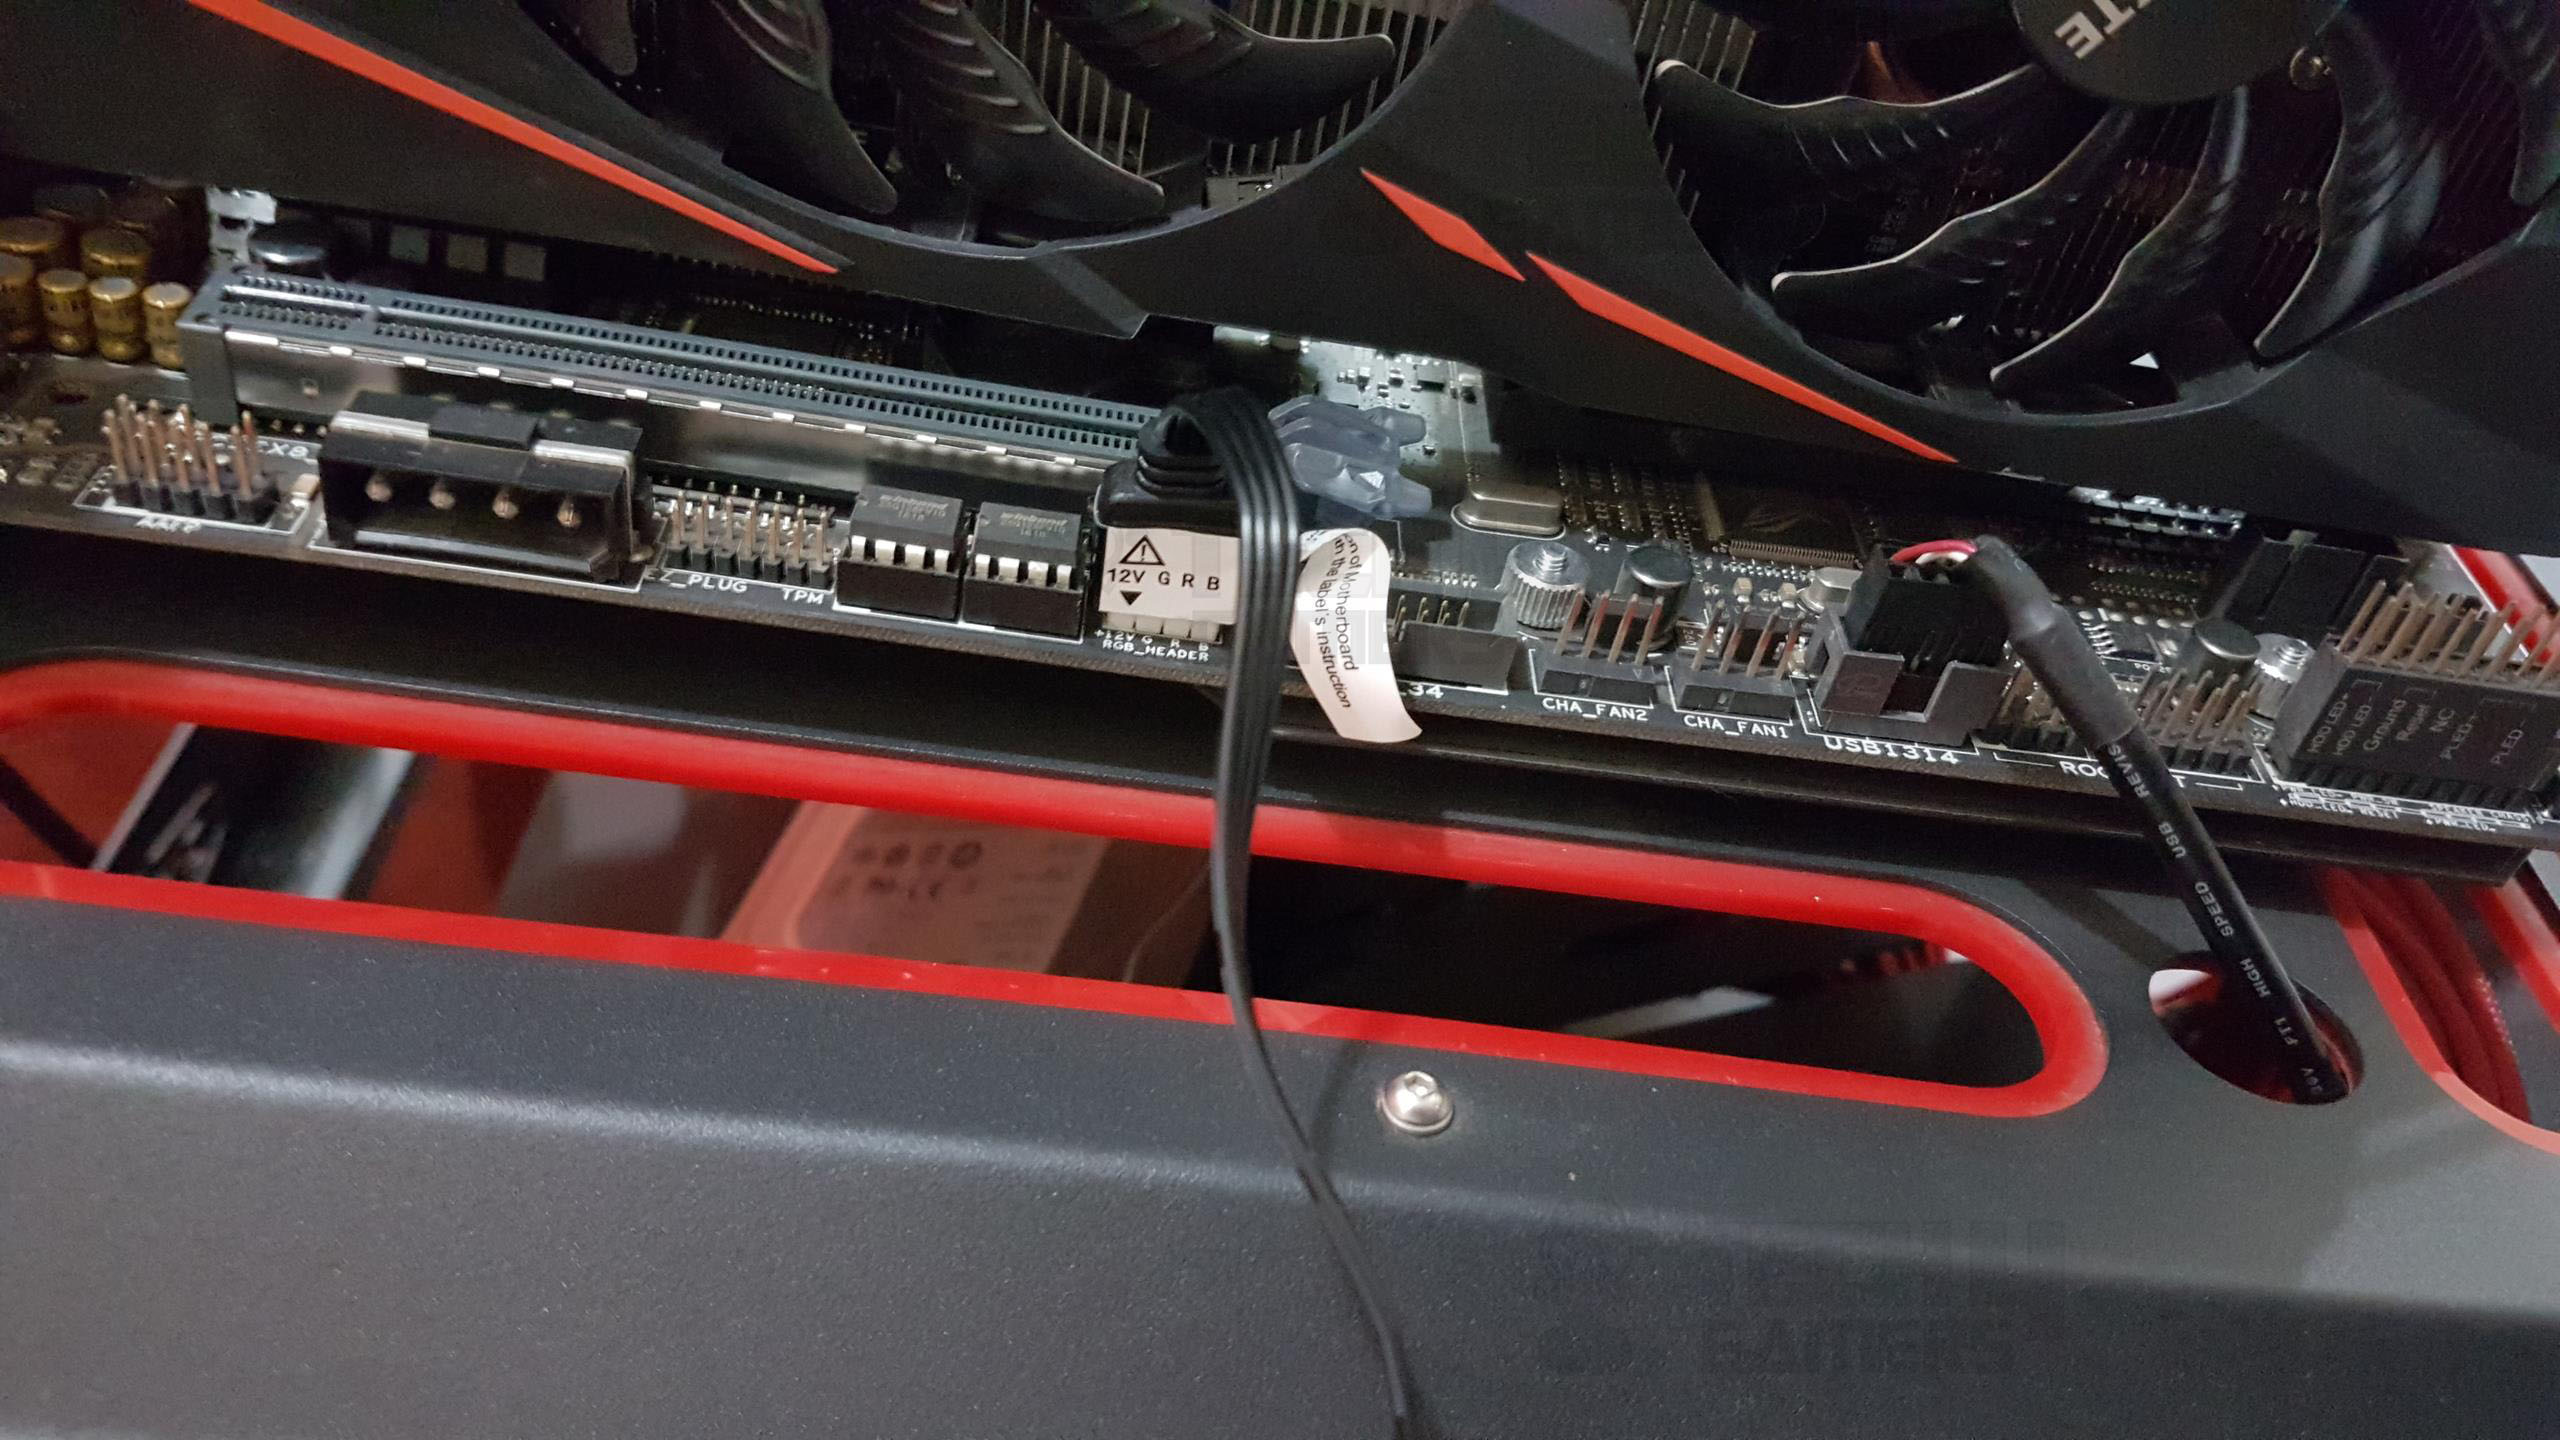
RGB Lighting
Let’s check out Deepcool’s RGB lighting gear. The 4-pin RGB cable from the pump housing doesn’t directly link to my motherboard’s RGB header. But, Deepcool has two solutions: a dedicated controller powered by SATA, handling up to two RGB devices.
The controller, with a 400mm power cable and 48mm RGB cables, features three buttons. The top button (M) cycles through lighting modes, the middle adjusts brightness and turns lighting on/off, and the bottom (S) regulates speed.
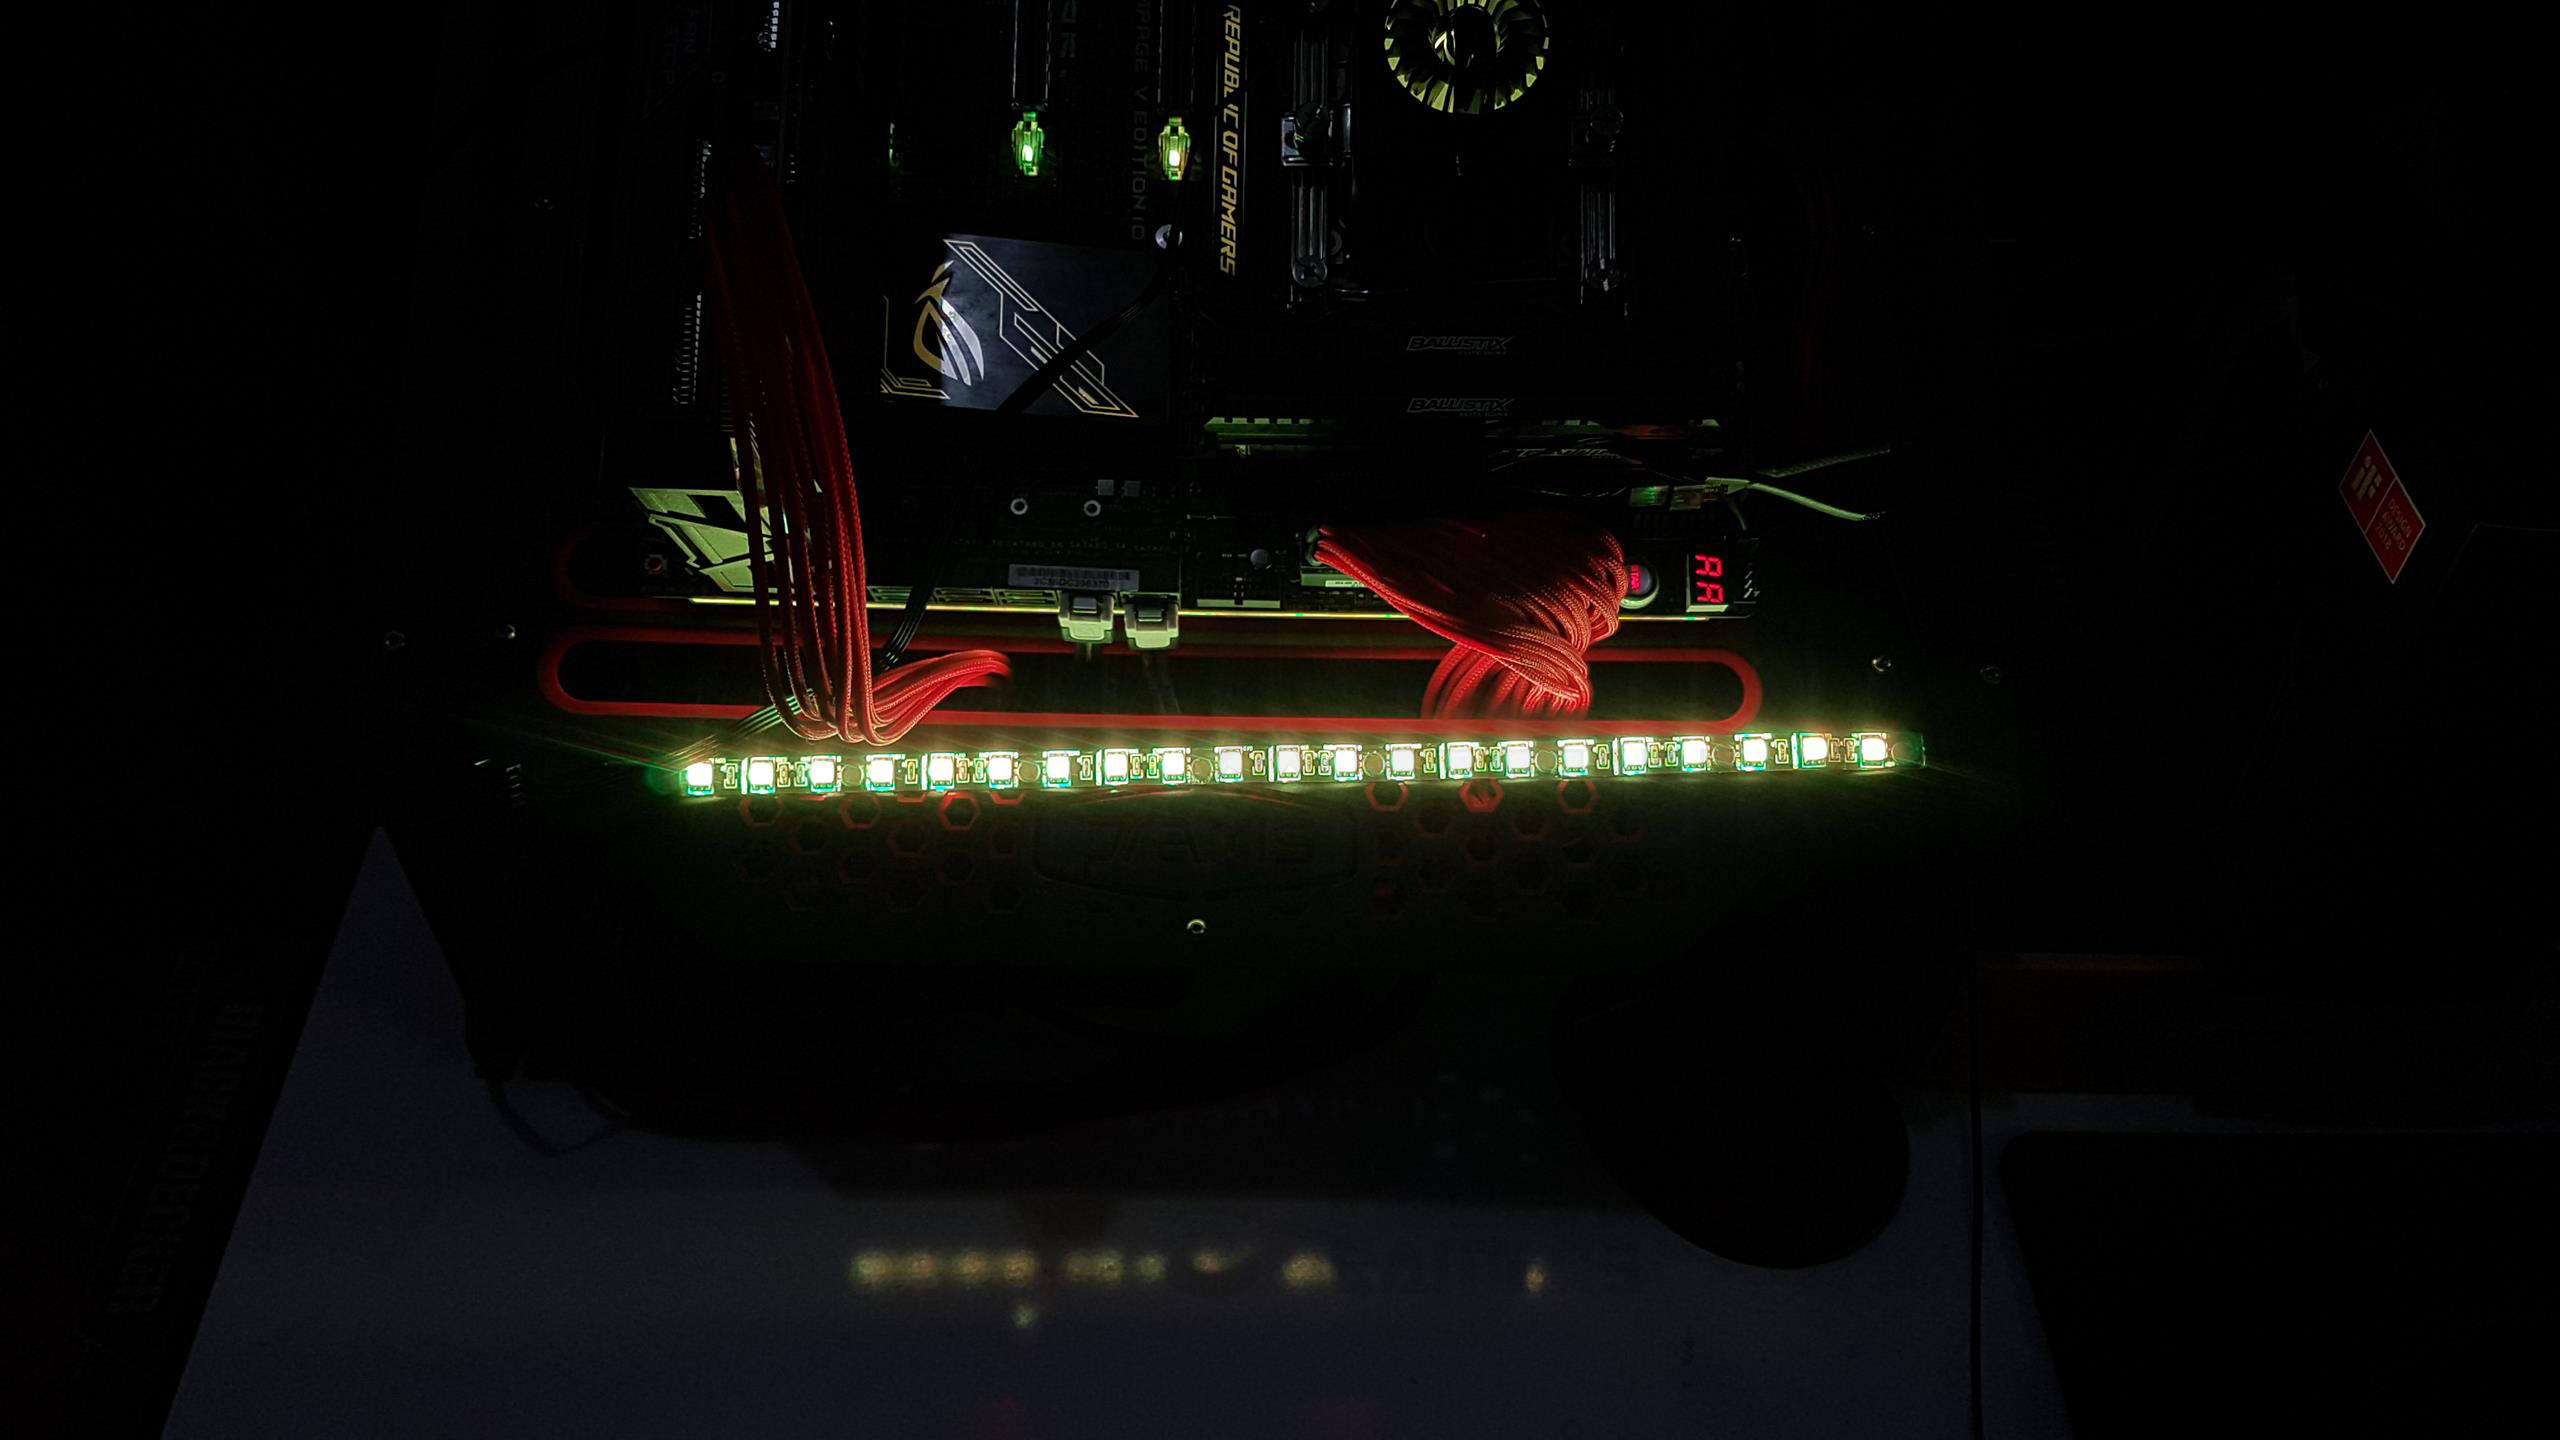
The RGB Sync cable has a 4-pin connector (12V/12V GRB) with a 300mm length, aligning perfectly with my motherboard. Two 114mm RGB connecting cables offer flexibility. Deepcool also throws in a 21-LED RGB LED Strip (non-addressable), approximately 340mm long, with 3M adhesive and magnets for easy mounting. I can connect the LED strip and cable to either the controller or RGB Sync cable. It’s a comprehensive lighting solution for my chassis, not to be overlooked.


Installation
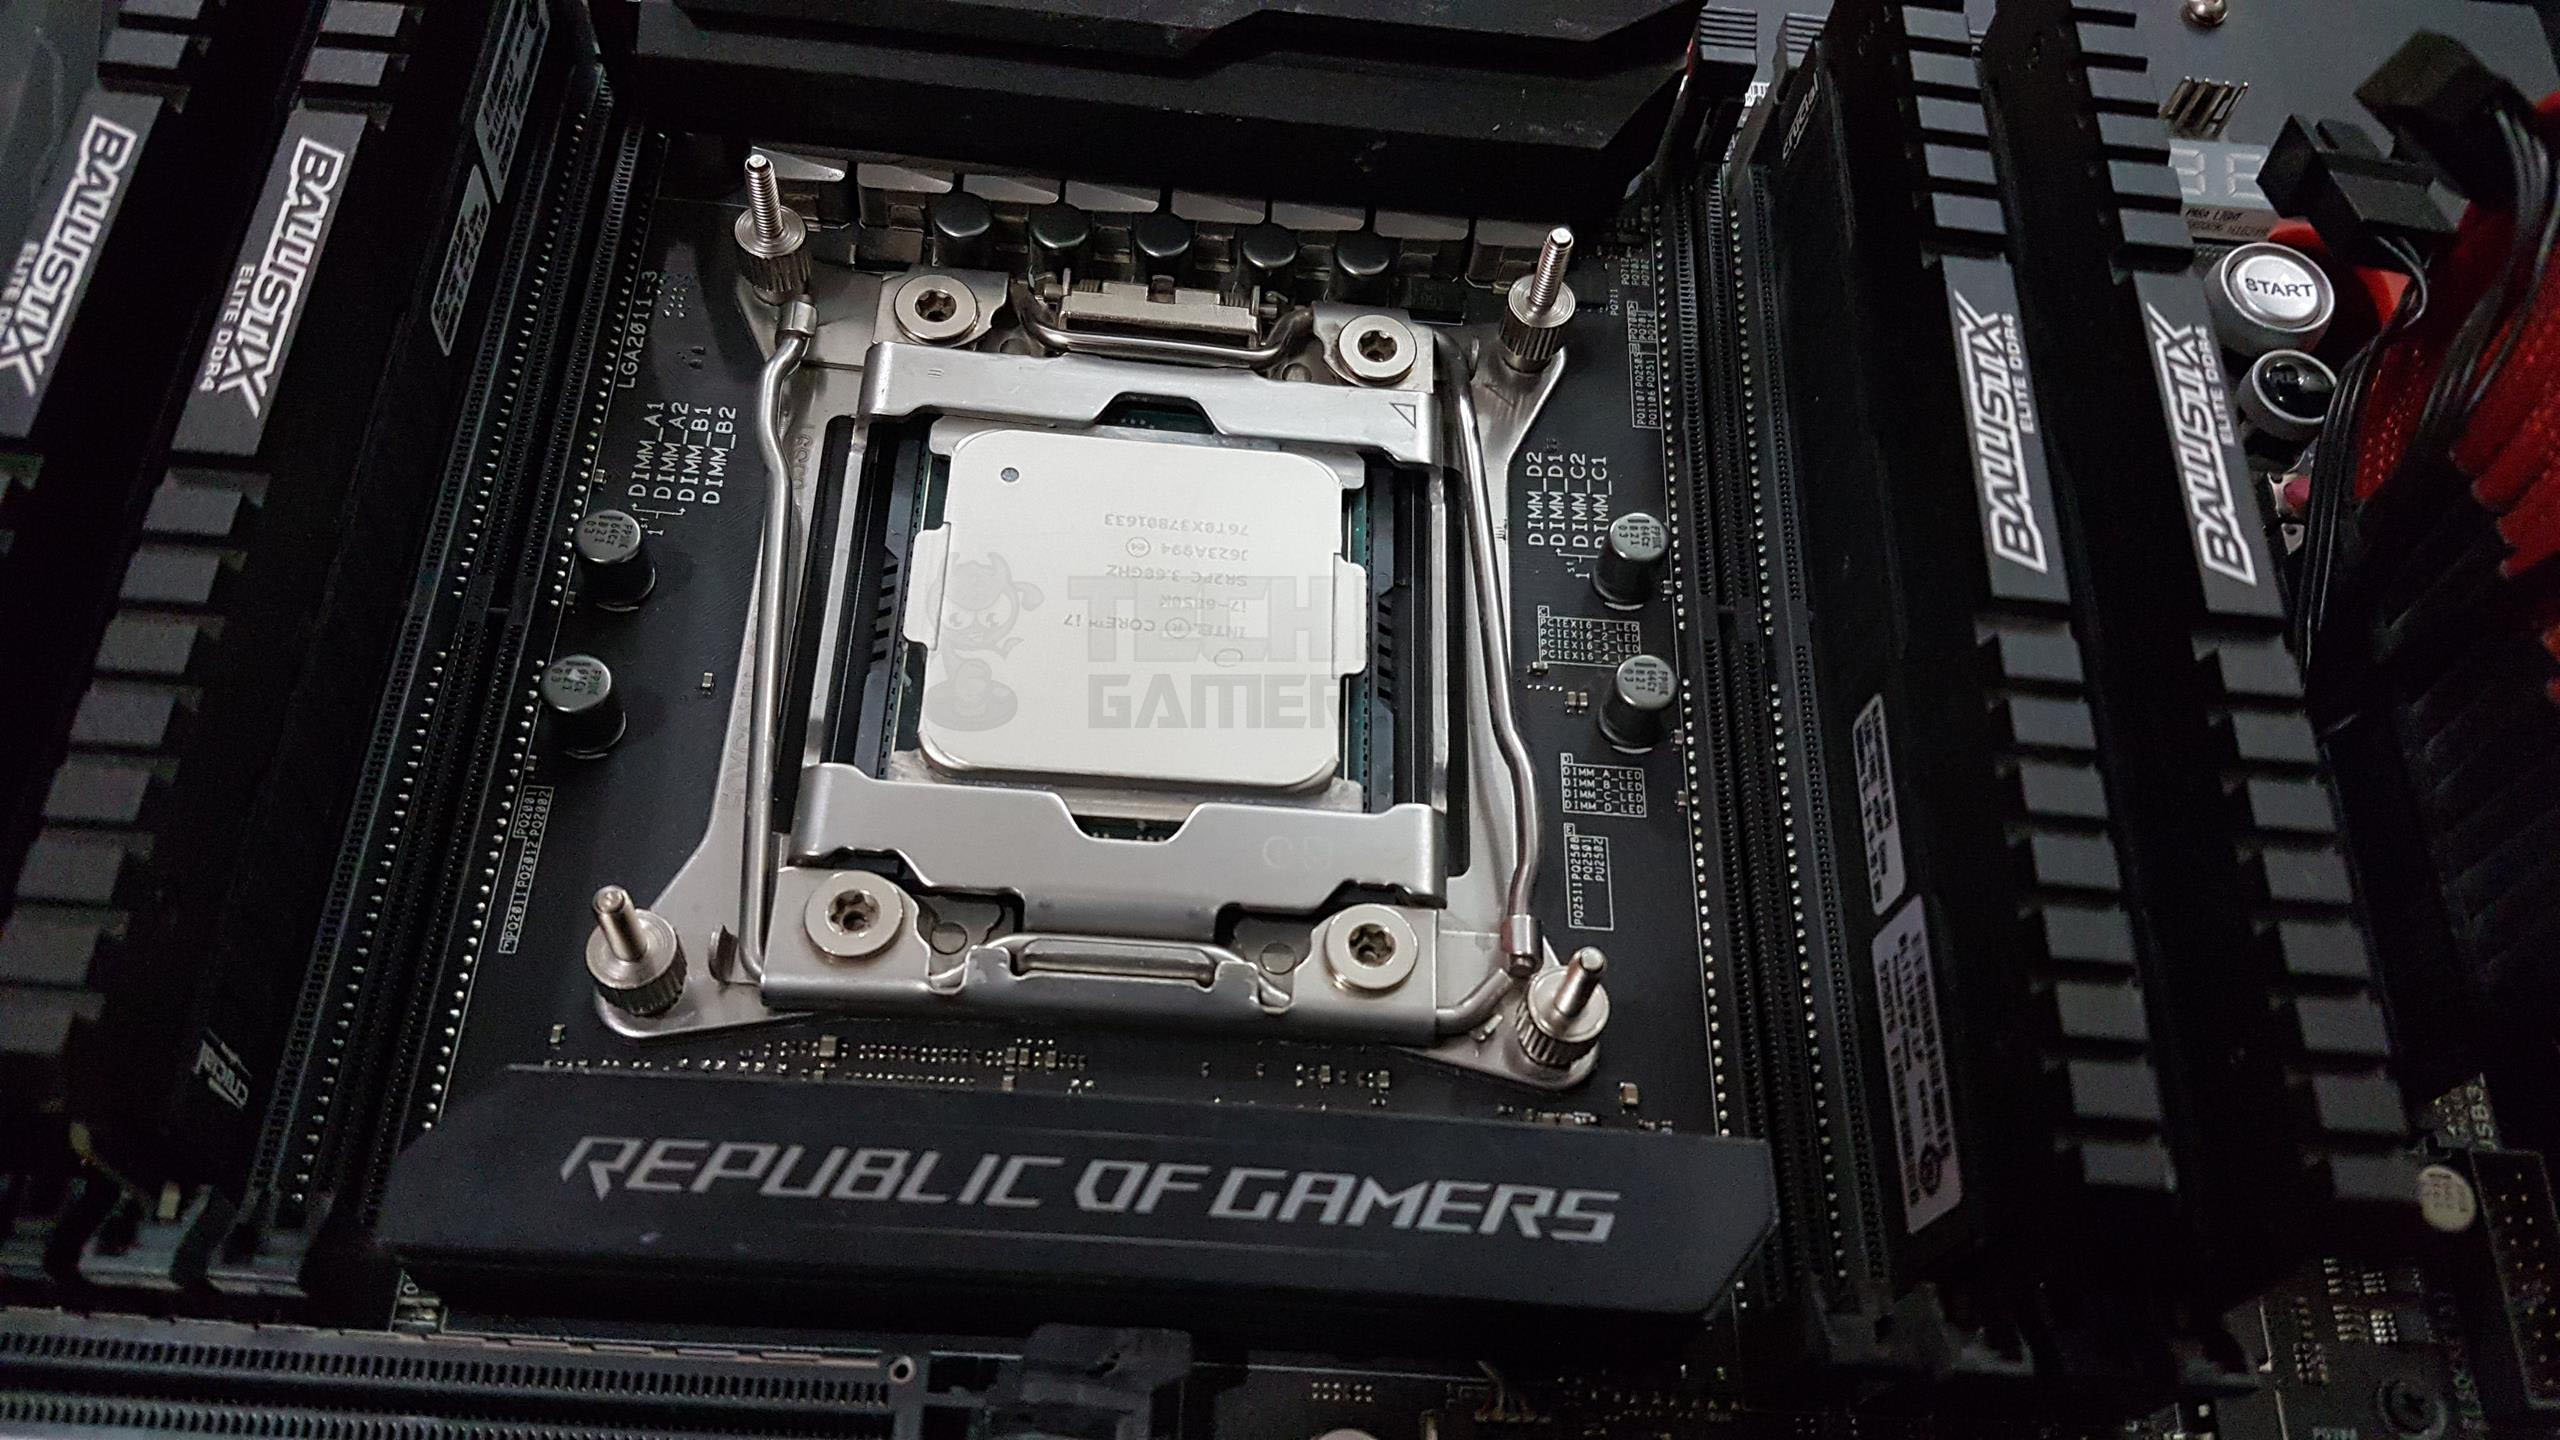
We have tested the cooler on the X99 platform using the 2011-3 socket. Let’s get those fans onto the radiator.
- Test the cooler on the X99 platform with the 2011-3 socket.
- Attach the fans to the radiator using the 8 long screws. If opting for push/pull, acquire another 8 screws.
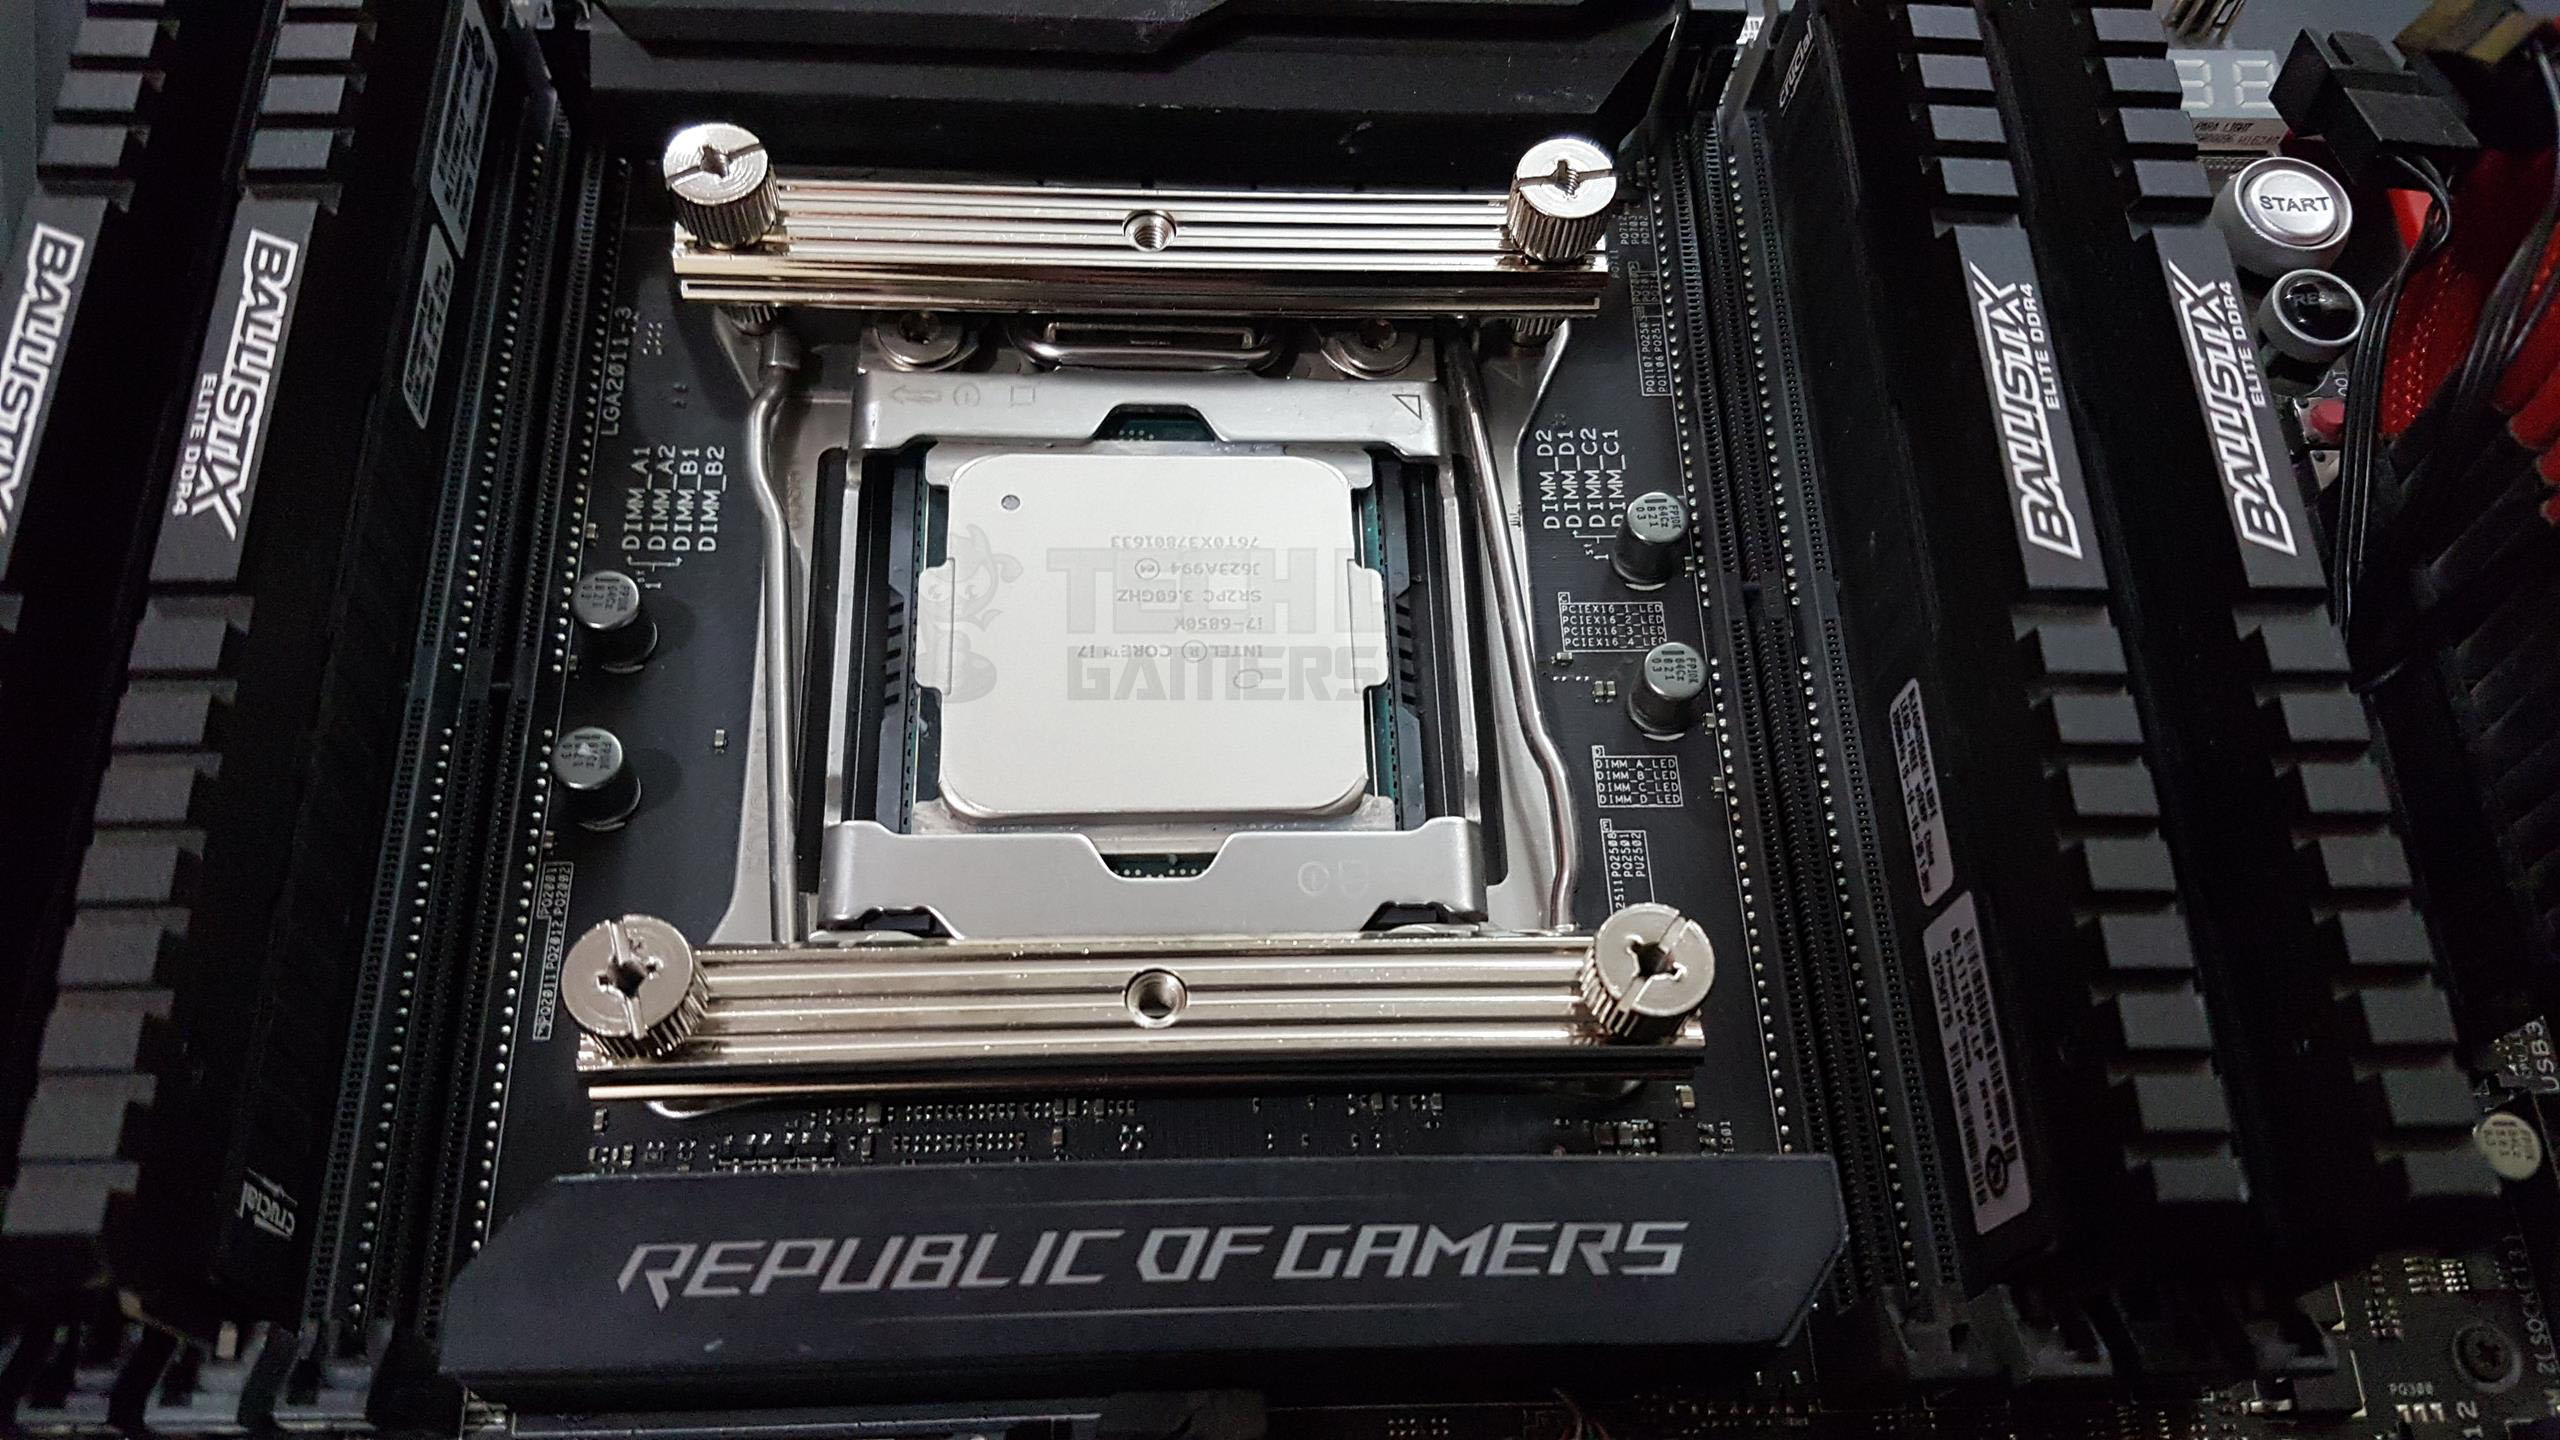
- Take 4 double screw bolts from the Intel LGA 2011-v3/LGA 2011 container and secure them around the socket area using the small-size screw side.
- From the Intel LGA 1366/115x container, retrieve 2 Intel Mounting brackets. Position them on the longer end of the double screw bolts after deciding the block’s orientation.
- Using 4 small-size nuts from the same container, fasten the mounting brackets on the double screw bolts.
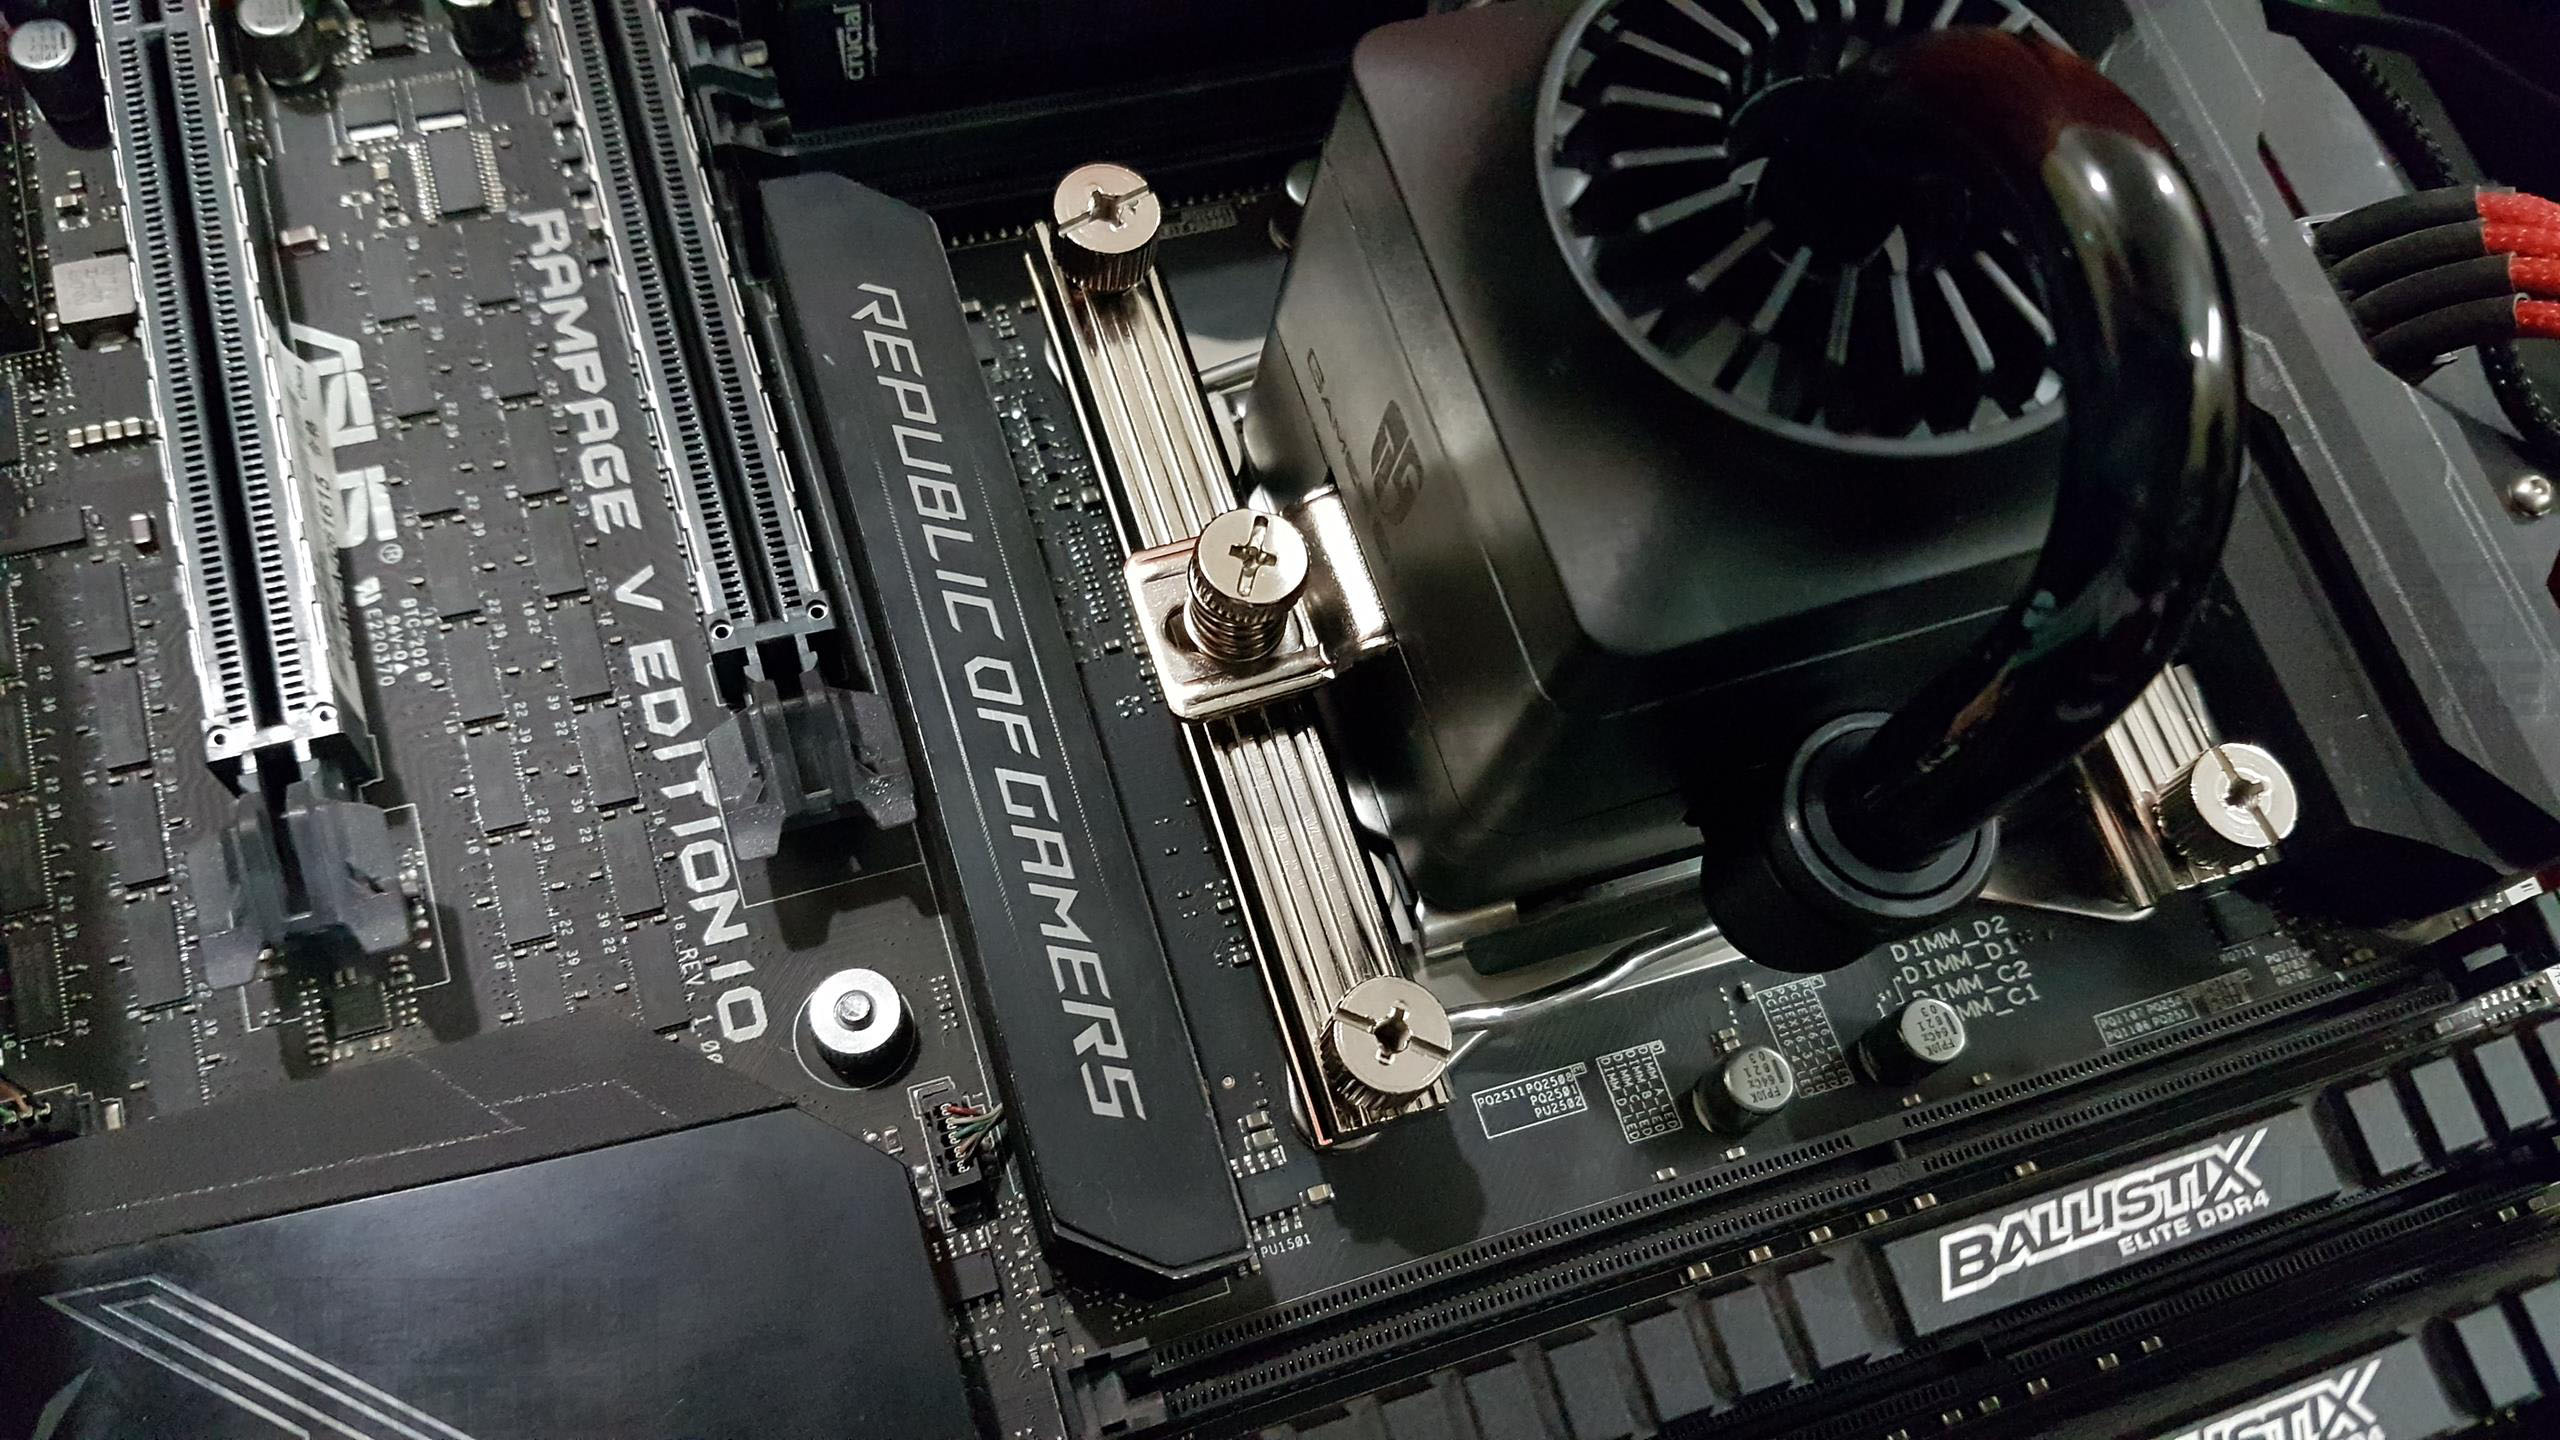
- Apply thermal paste and place the block on the CPU IHS. Ensure that the spring-loaded screws align with the mounting brackets’ holes, then tighten until the thread runs out.
- Connect the 3-pin power cable to the motherboard’s CPU fan header and the RGB cable to either the RGB Controller or RGB Sync Cable.
- Connect the fans’ power cables to the fan headers or the included fan hub.
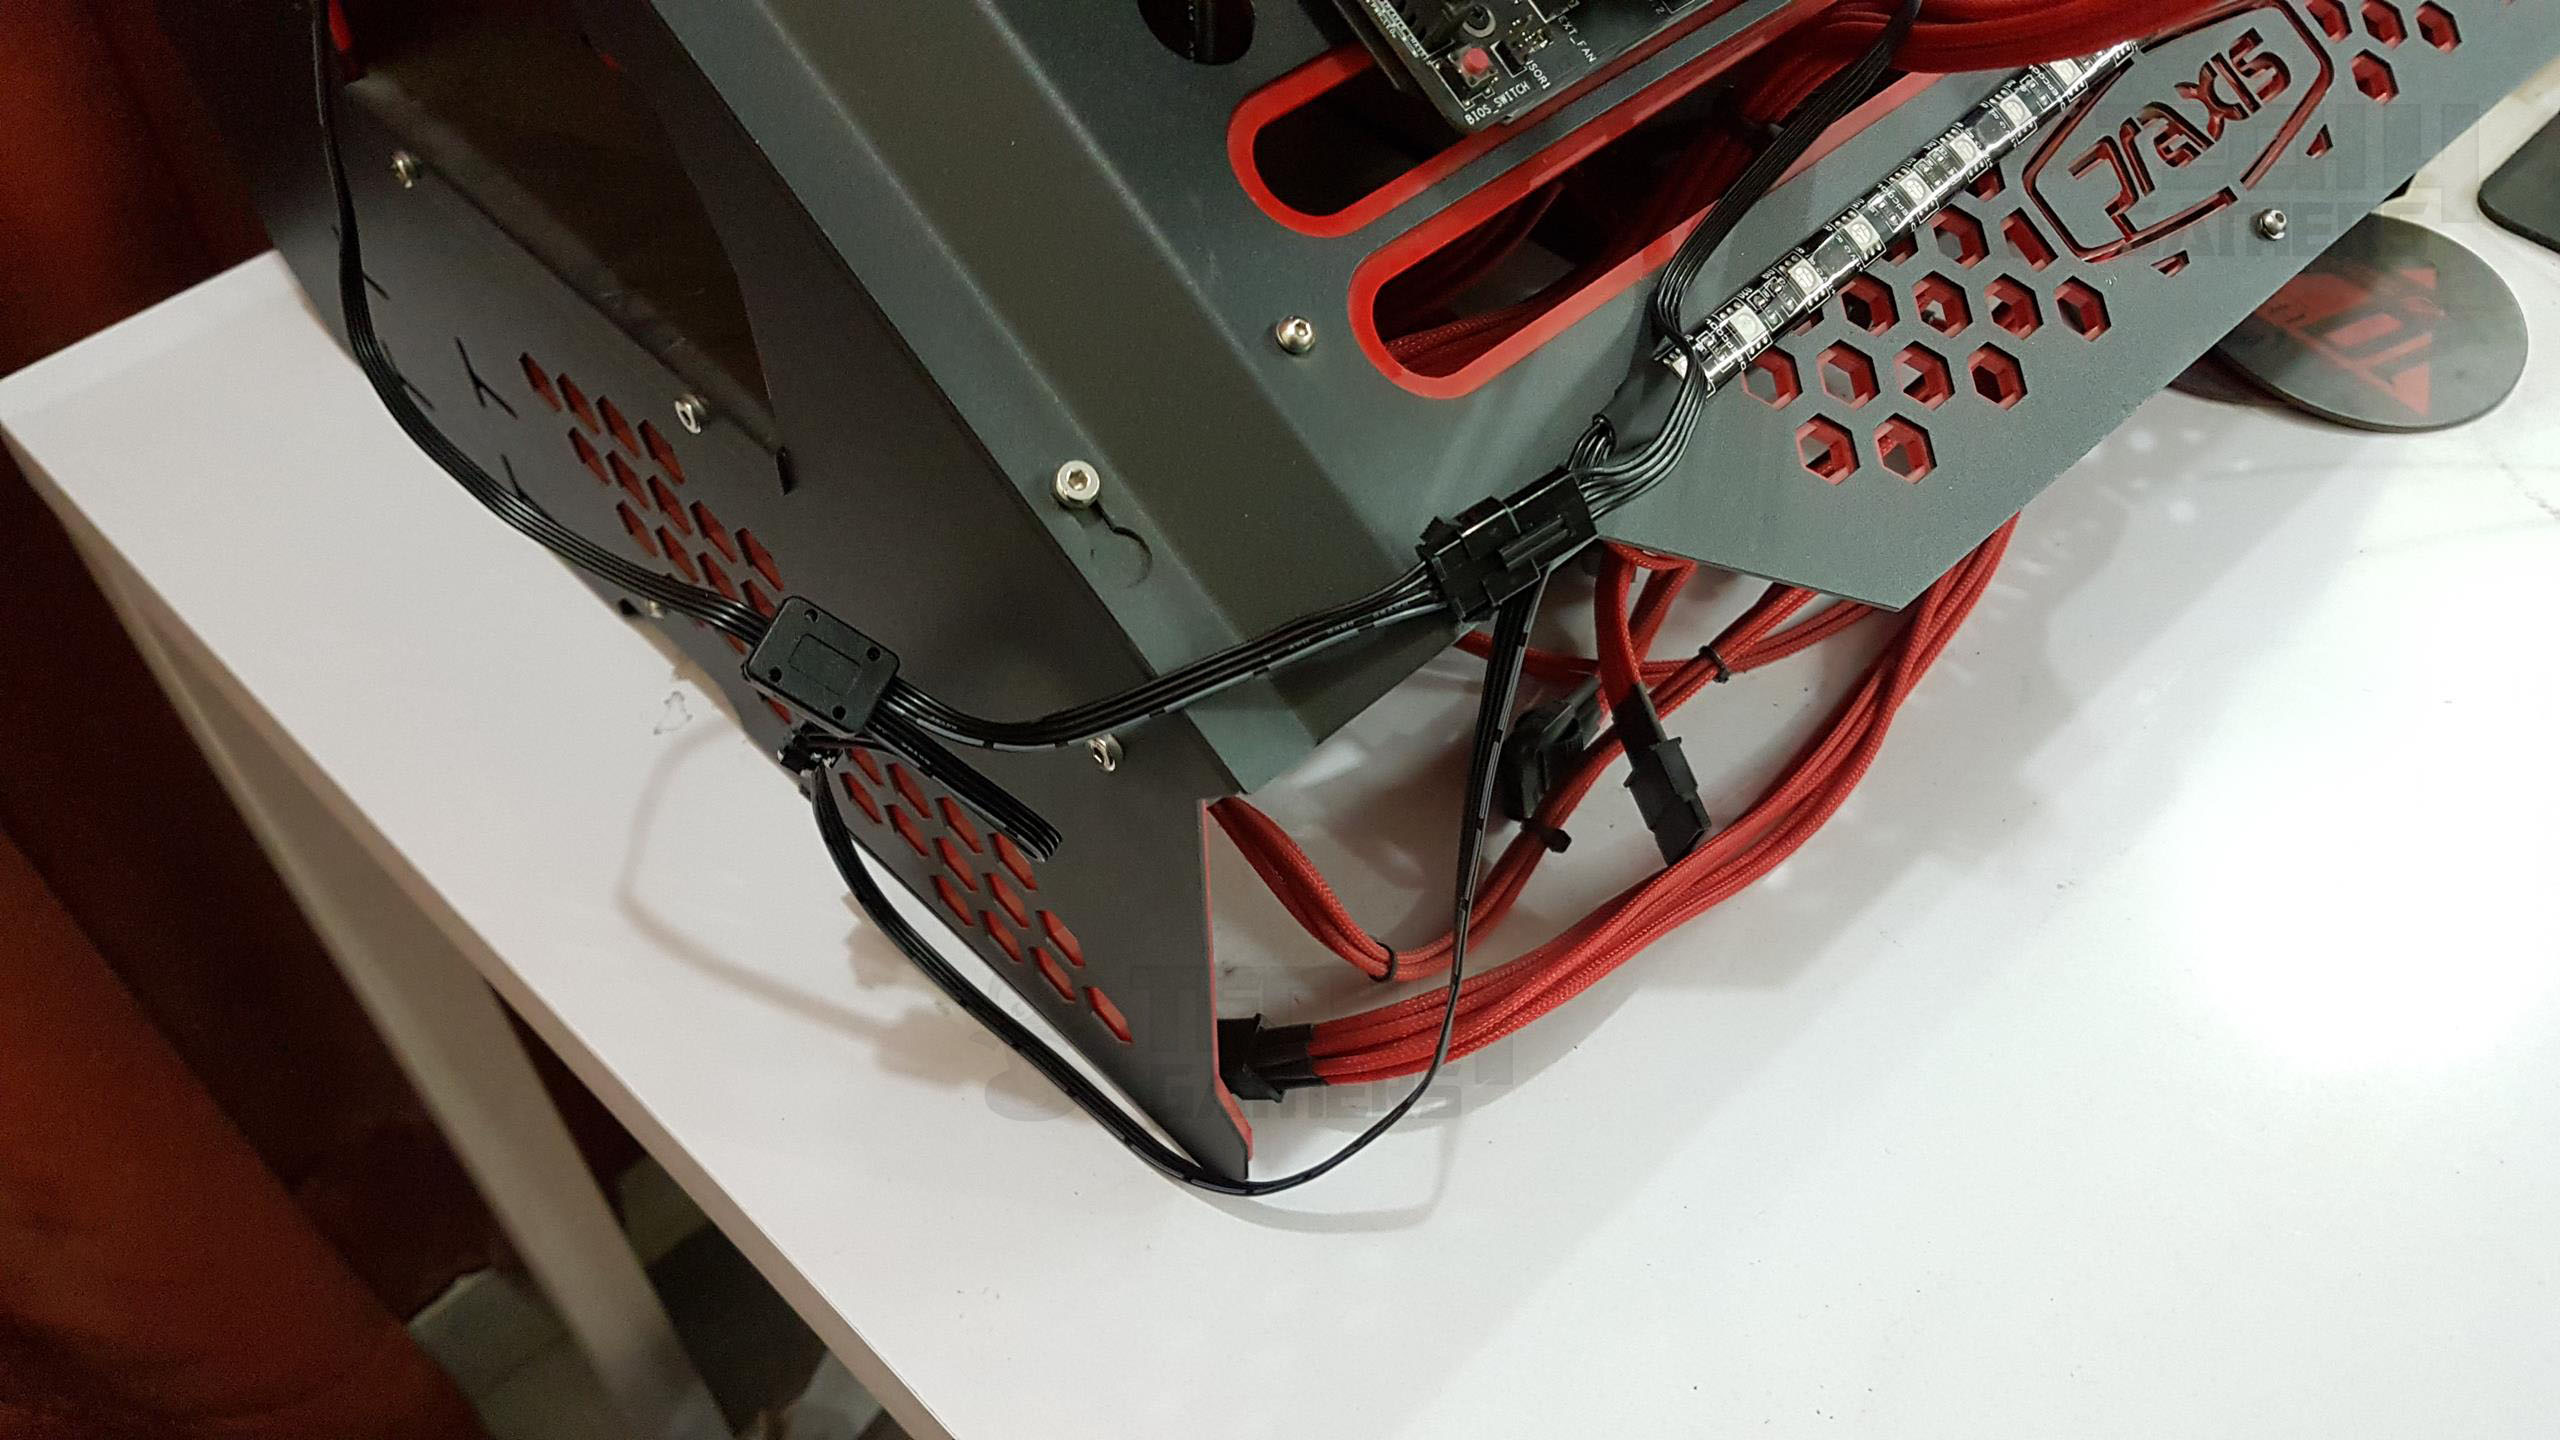
- If adding the LED strip, choose a spot and use the magnetic or adhesive side to attach it.
- Connect the LED strip’s RGB connector to either the RGB Controller or RGB Sync Cable.
- If using the RGB Sync Cable, hook up its RGB connector to the motherboard’s RGB-enabled header.
- Ensure no clearance issues are observed with the first PCIe slot and/or DIMM. The installation is complete.


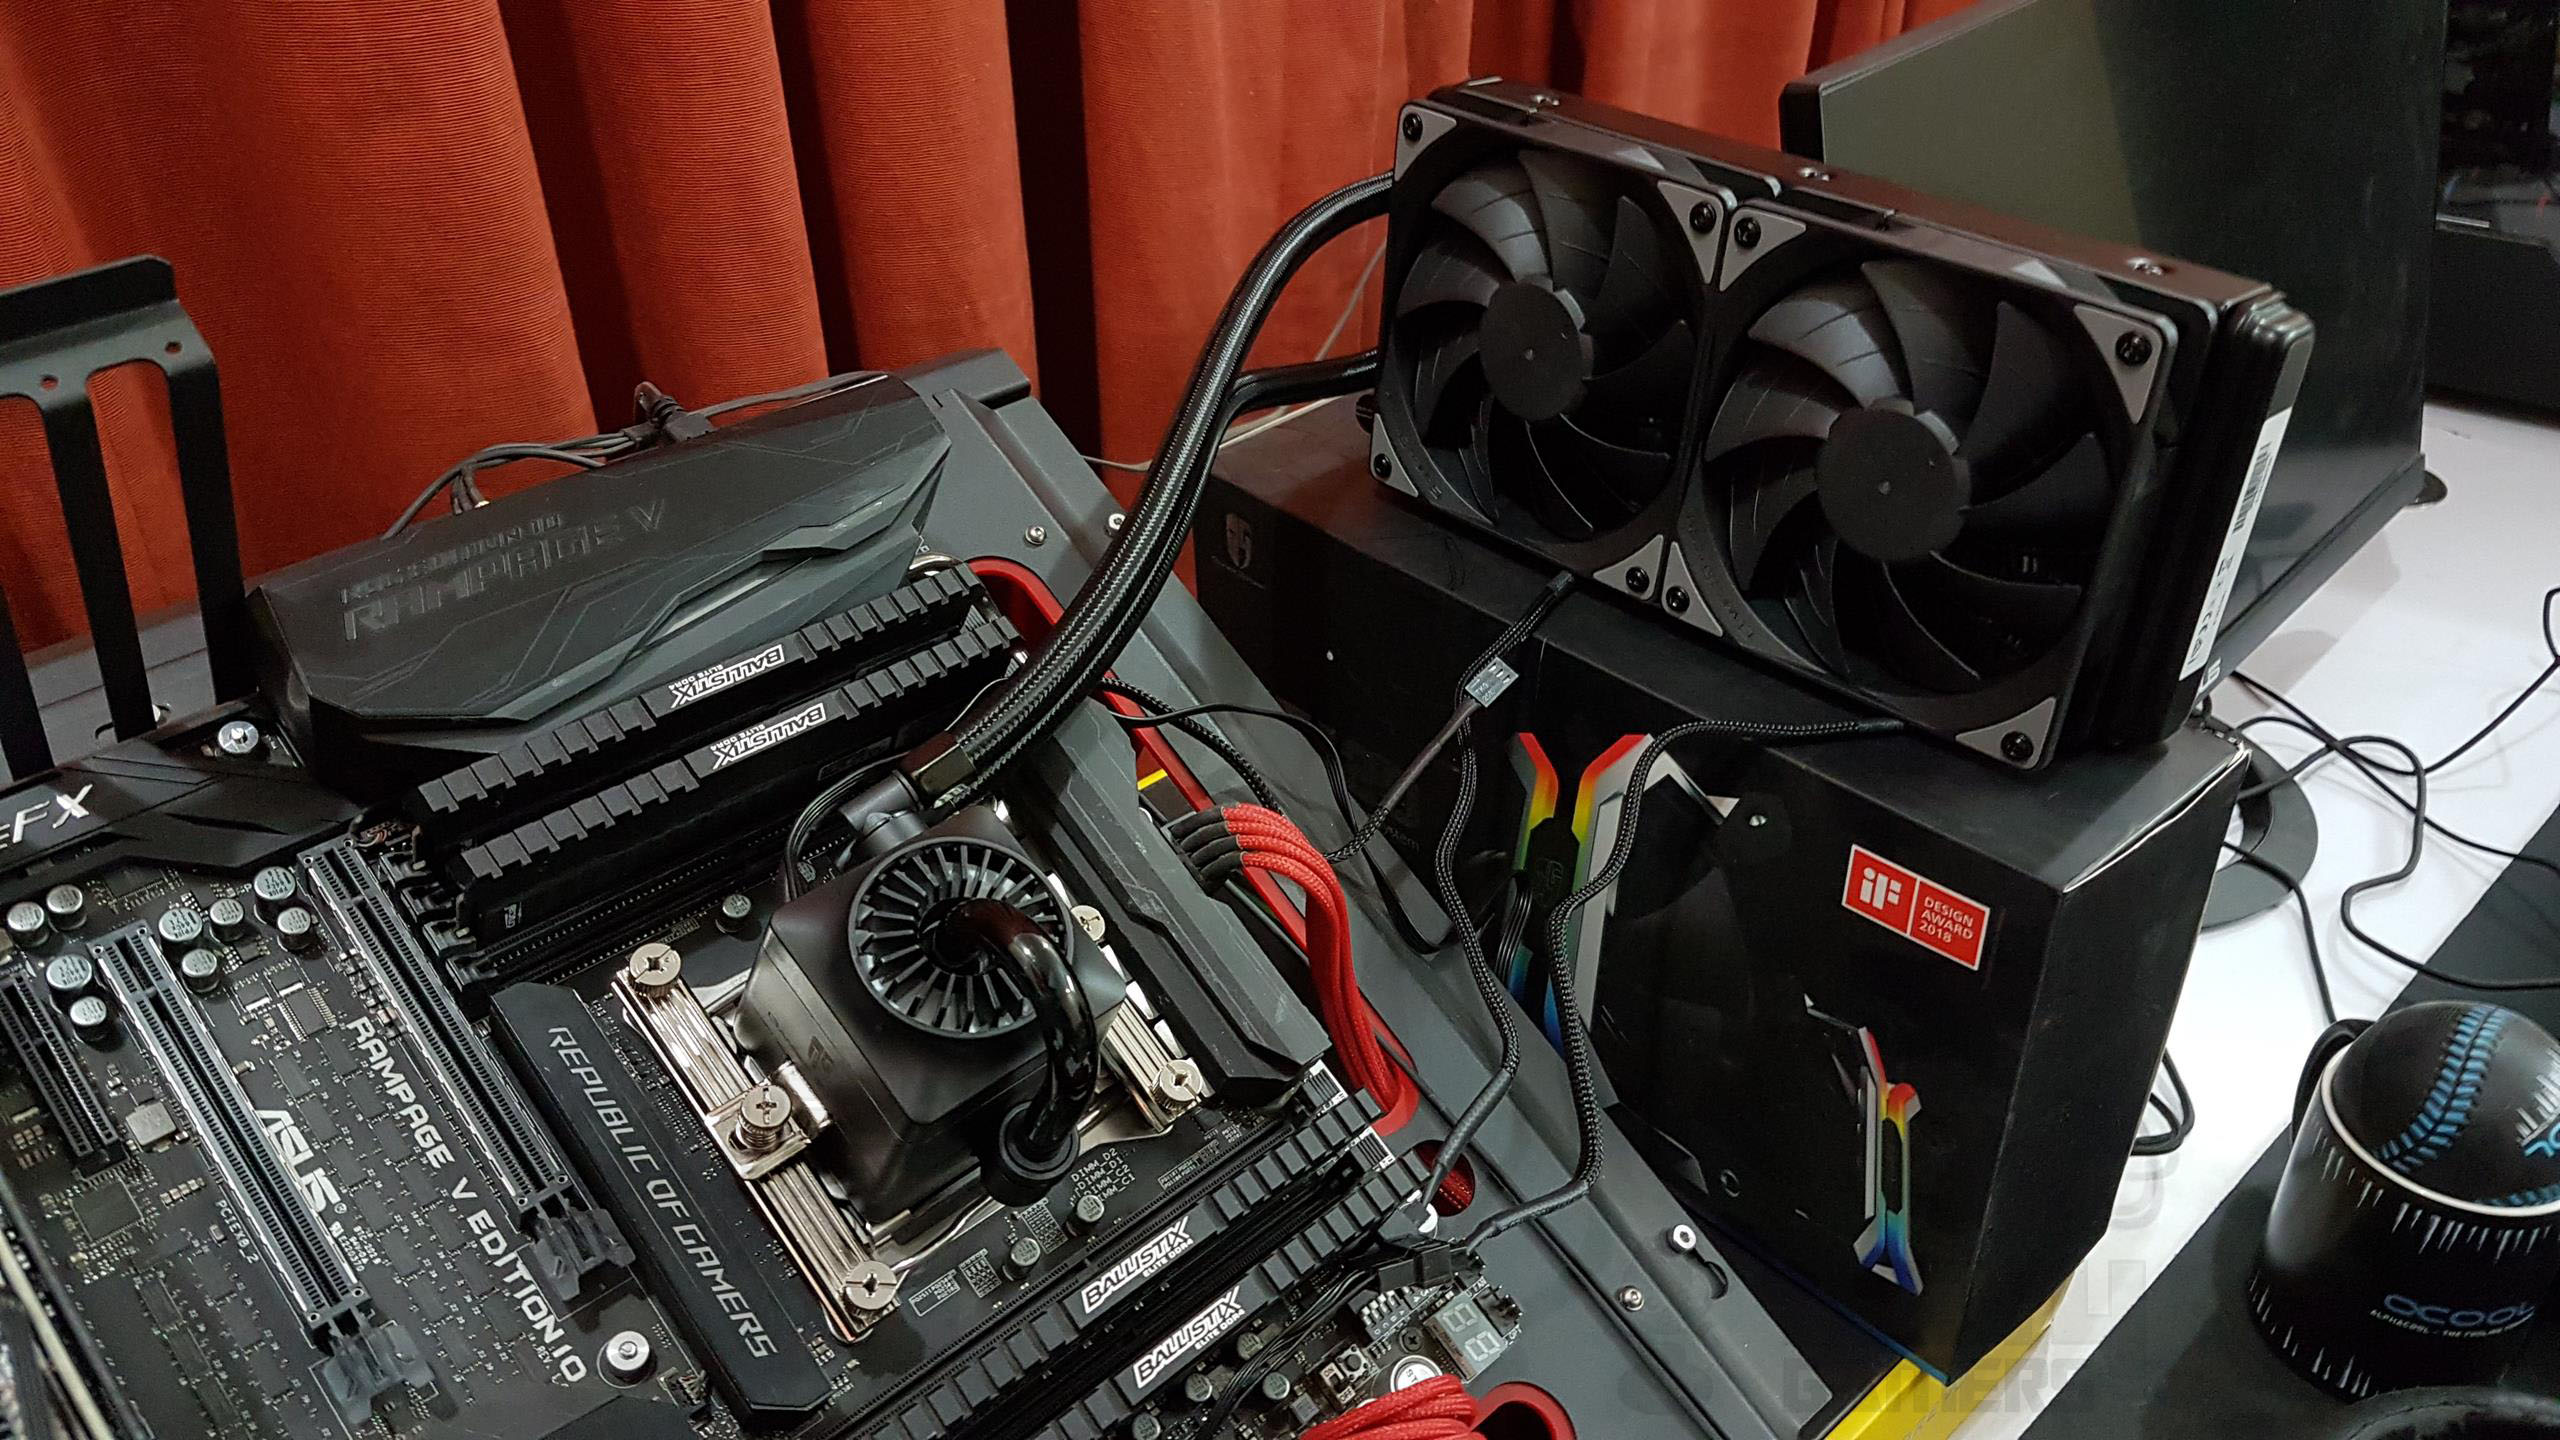

Testing
The following test bench was used for testing this cooler:
- Asus Rampage V Edition 10
- Intel i7 6850k
- Crucial Ballistix Elite 4x4GB @ 3000MHz
- Gigabyte GTX 1060 6GB
- Samsung 840 EVO 250GB SSD
- WD Black 6TB
- Corsair AX1200i
The following software was used for the testing and monitoring:
- Asus Real Bench v 2.44
- Real Temp GT v 3.70
I’m currently using Noctua NT-H1 thermal paste for standardized testing across all coolers on my bench. The cooler is tested at stock clocks (3.6GHz, 1.136V manual VCore) using Asus RealBench 2.44 for stress testing. Each run lasts 60 minutes with a 15-minute cooldown. Fans and the water pump run at 100% RPM.
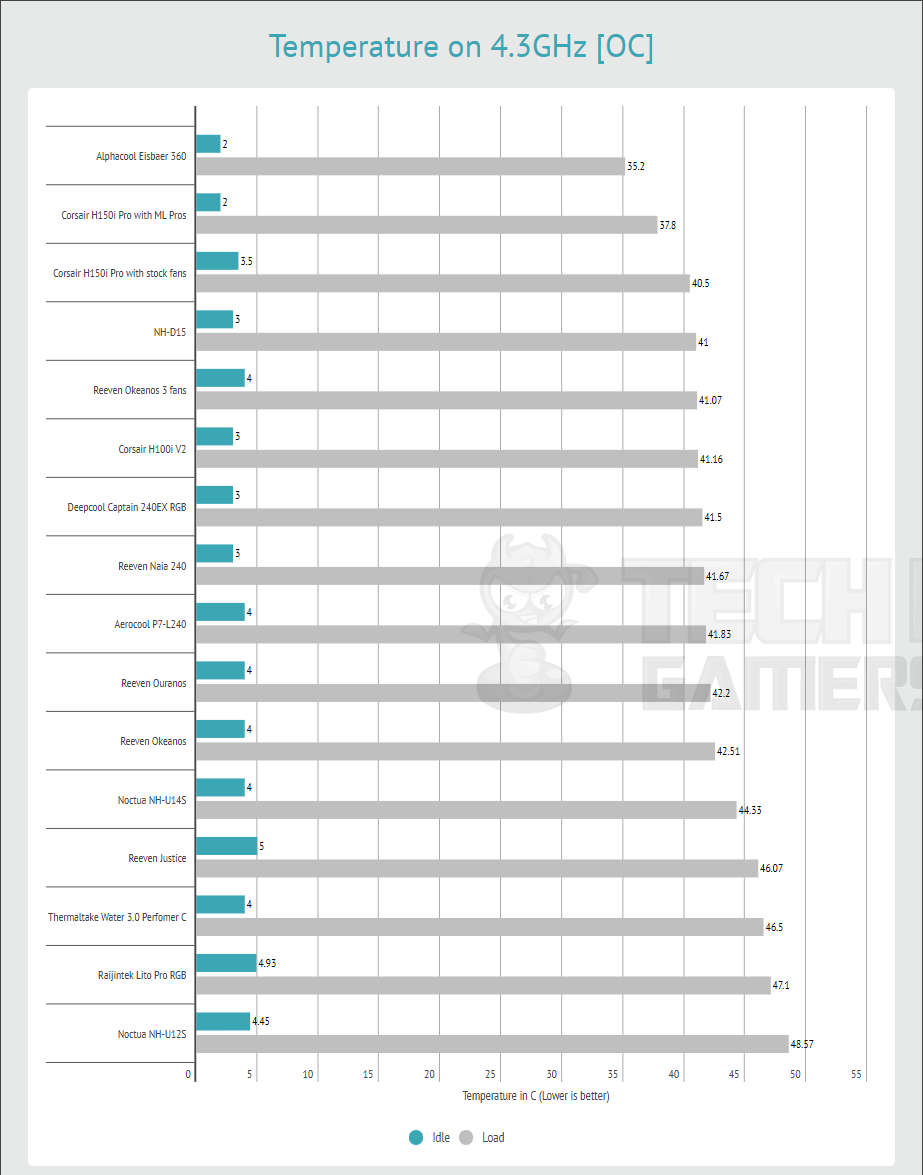
For overclocking (4.3GHz, 1.350V manual Vcore), three test runs are conducted, and the maximum average of the three tests is reported. Delta temps are calculated by subtracting the ambient temp from the max average temp. The content was delayed as we retested two other 240mm CLCs for a better comparison.
Thermal Results
Let’s take a look at the graphs:
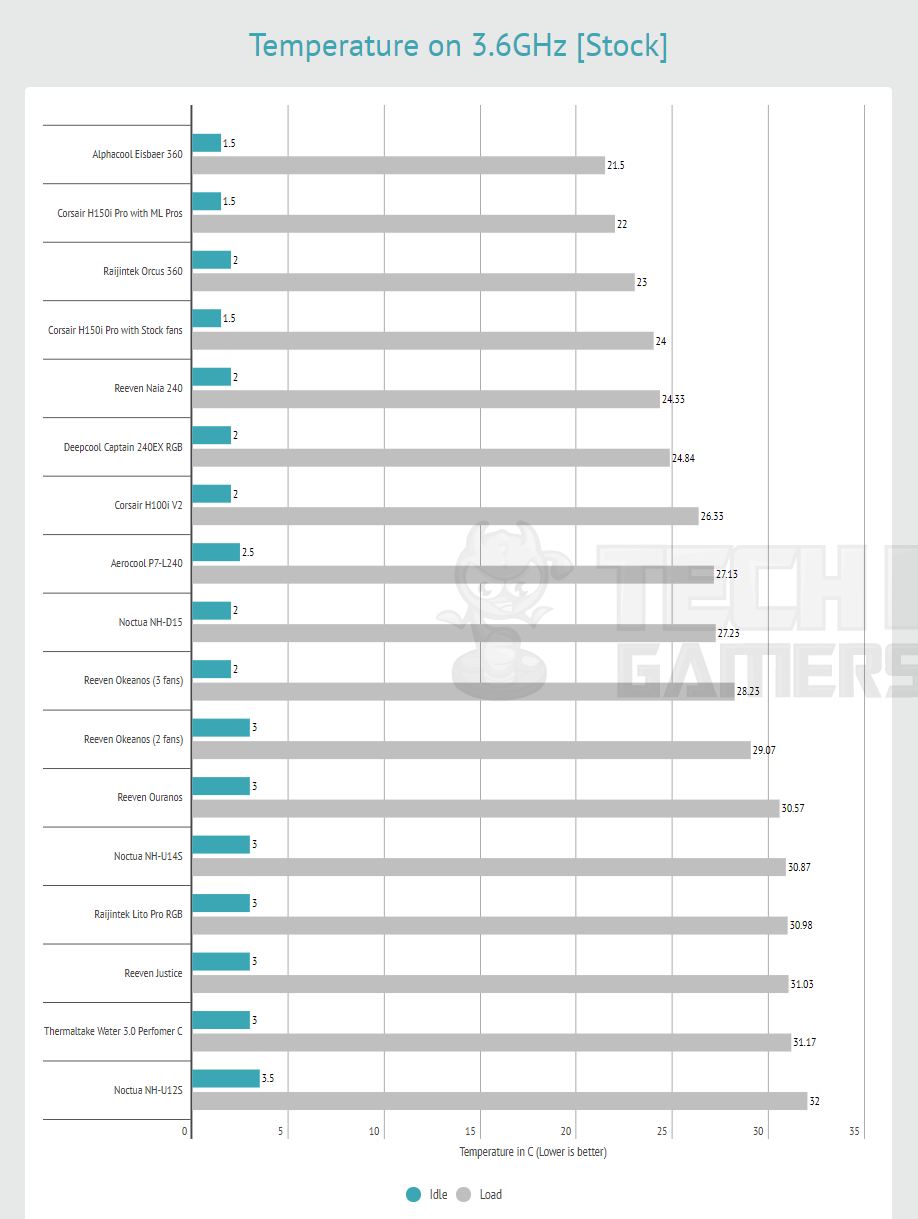
Acoustics
We could not measure the sound level of the unit as the summer season here is at its peak and the ceiling fan plus the noise coming out of the room would invalidate the actual sound level. Based on our experience with the fans and coolers testing, we can confidently say that the fans are less noisy as compared to the Corsair H100i V2, Reeven Naia 240, and Aerocool P7-L240. They can be heard but are not teasing.
Should You Buy It?
After thoroughly reviewing the Deepcool Captain 240EX, who would I suggest this for:
Buy It If:
✅Efficient cooling is essential for you: If you are looking for a cooling solution that not only looks good but also performs well, the Deepcool Captain 240EX is equipped with high-performance TF120 fans, a 240mm radiator, and an efficient water flow design.
✅You prioritize Aesthetics: The Deepcool Captain 240EX RGB CPU Cooler boasts a visually stunning arc reactor-like design with integrated RGB lighting.
✅Hassle-Free Installation Matters: The cooler is ideal for users who want a hassle-free installation process. If you value simplicity and ease of setup, the Deepcool Captain 240EX provides a complete cooling solution.
Don’t Buy It If:
❌Addressable RGB Lighting is Essential: If you require a cooler with addressable RGB lighting for more advanced customization options, the Deepcool Captain 240EX may not meet that specific need.
❌Extreme Overclocking is a Priority: The cooler is not recommended for users who prioritize extreme overclocking scenarios.
Conclusion
In wrapping up my thoughts on the Deepcool Captain 240EX, it’s more than just a cooling solution. The aluminum radiator, with its unique 20 FPI design, keeps things lightweight and efficient. The upgraded anti-explosion rubber tubing adds a nice touch, staying flexible without any annoying kinks.
The motor, with its balanced closed impeller and ceramic bearing, whispers rather than roars at 2100±10% RPM. Those 90-degree rotary hoses at the back? Sure, they have limited movement, but they add character.
The pump is a powerhouse at 1.8 Watts, promising a robust 120,000-hour lifespan with a modest draw of 0.15A at 6 ~ 13.8 VDC. Switching gears to the TF120 fans, they’re not your run-of-the-mill crowd. With a distinct bearing design, these fans gracefully dance between 500±200 and 1800±10% RPM, ensuring a sweet spot for your cooling needs. And when it comes to moving air, they don’t hold back, boasting a solid 153.04CFM of airflow.
Deepcool throws in thoughtful extras—a 4-port fan hub, PWM extension cable, and an RGB controller for that personal touch. Sync it up with your motherboard using the RGB Sync cable. And the RGB LED Strip? It’s like the cherry on top with 21 non-addressable LEDs.
So, in a nutshell, the Deepcool Captain 240EX isn’t just a cooler; it’s a statement. It cools, it dazzles, and it’s packed with extras to make your rig truly yours.
Recent Updates
- January 15, 2024: A few text changes to improve readability.
Thank you! Please share your positive feedback. 🔋
How could we improve this post? Please Help us. 😔
[Hardware Reviewer & Editor]
Meet Nauman Siddique, a highly experienced computer science graduate with more than 15 years of knowledge in technology. Nauman is an expert in the field known for his deep understanding of computer hardware.
As a tech tester, insightful reviewer, and skilled hardware editor, Nauman carefully breaks down important parts like motherboards, graphics cards, processors, PC cases, CPU coolers, and more.
- 15+ years of PC Building Experience
- 10+ years of first-hand knowledge of technology
- 7+ years of doing in-depth testing of PC Hardware
- A motivated individual with a keen interest in tech testing from multiple angles.
- I majored in Computer Science with a Masters in Marketing
- Previously worked at eXputer, EnosTech, and Appuals.
- Completed Course in Computer Systems Specialization From Illinois Tech
Get In Touch: nauman@tech4gamers.com


