 Threads
Best 360mm AIO?
Review Summary
The Corsair H150i Pro stands out as a top-performing 360mm AIO cooler, offering an excellent balance between low noise levels and impressive cooling capabilities. Its build quality is top-notch, featuring a 360mm radiator with ML series fans and an Asetek 6th Generation pump. With a temperature of 40.5°C on an Intel Core i7-6850K at 4.3 GHz, it showcases strong performance. The RGB lighting, controlled by Corsair Link software, adds a customizable touch. While it comes at a premium price, the H150i Pro is a solid choice for users prioritizing silent operations and premium build quality in a 360mm AIO cooler.
Hours Tested: 5

Overall
-
Build Quality - 9/10
9/10
-
Design - 9/10
9/10
-
Performance - 8.5/10
8.5/10
-
Features - 9/10
9/10
-
Value - 7.5/10
7.5/10
Pros
- Outstanding Performance
- Low Noise Operation
- Top-Notch Build Quality
- RGB Customization
- Easy Installation
Cons
- Premium Price
- No RGB Fans Included
- Software Dependency


Today, we will be taking a look at the Corsair H150i Pro. H150i is a 360mm cooling solution from Corsair featuring an Asetek 6th Generation pump with a reportedly smaller cold plate. Corsair has been marketing their new Pro series coolers to be silent and the H150i Pro Review promises to achieve that in a 360mm form factor. We have to see if this comes at the cost of performance margin or if it’s the other way around.
Key Takeaways
- The Corsair H150i Pro is for users who want a balanced noise-to-performance ratio from a 360mm AIO without compromising on the build quality.
- The Corsair H150i Pro is not for those working with a limited budget.
- The Corsair H150i Pro provided impressive performance, managing a temperature of 40.5°C on an Intel Core i7-6850K at 4.3 GHz.
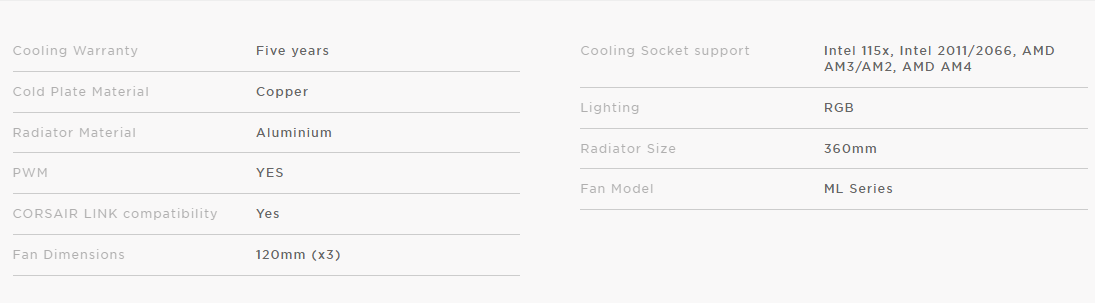
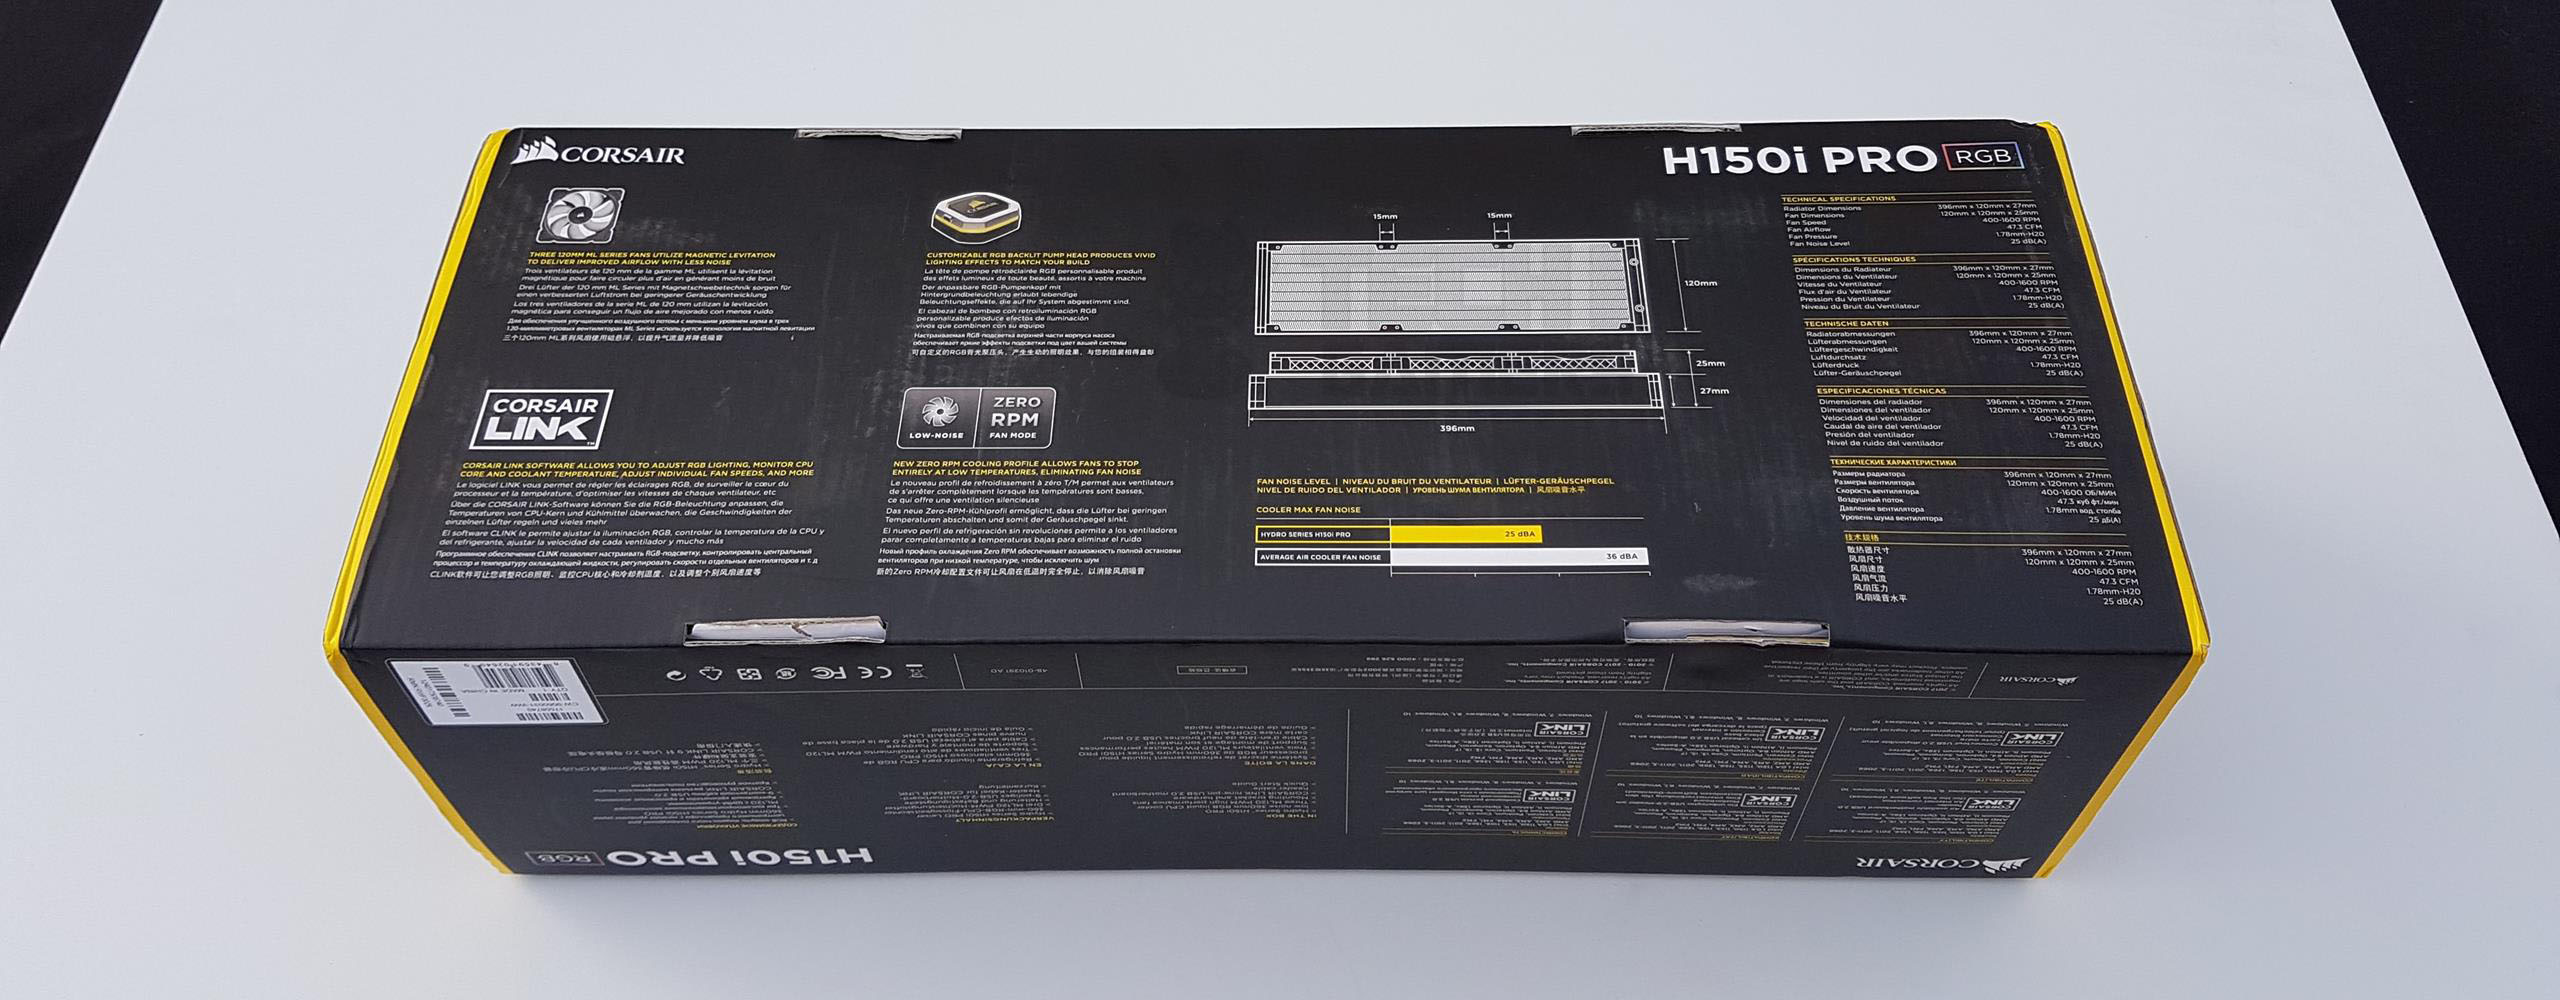
Detailed specifications of the Corsair H150i Pro RGB.
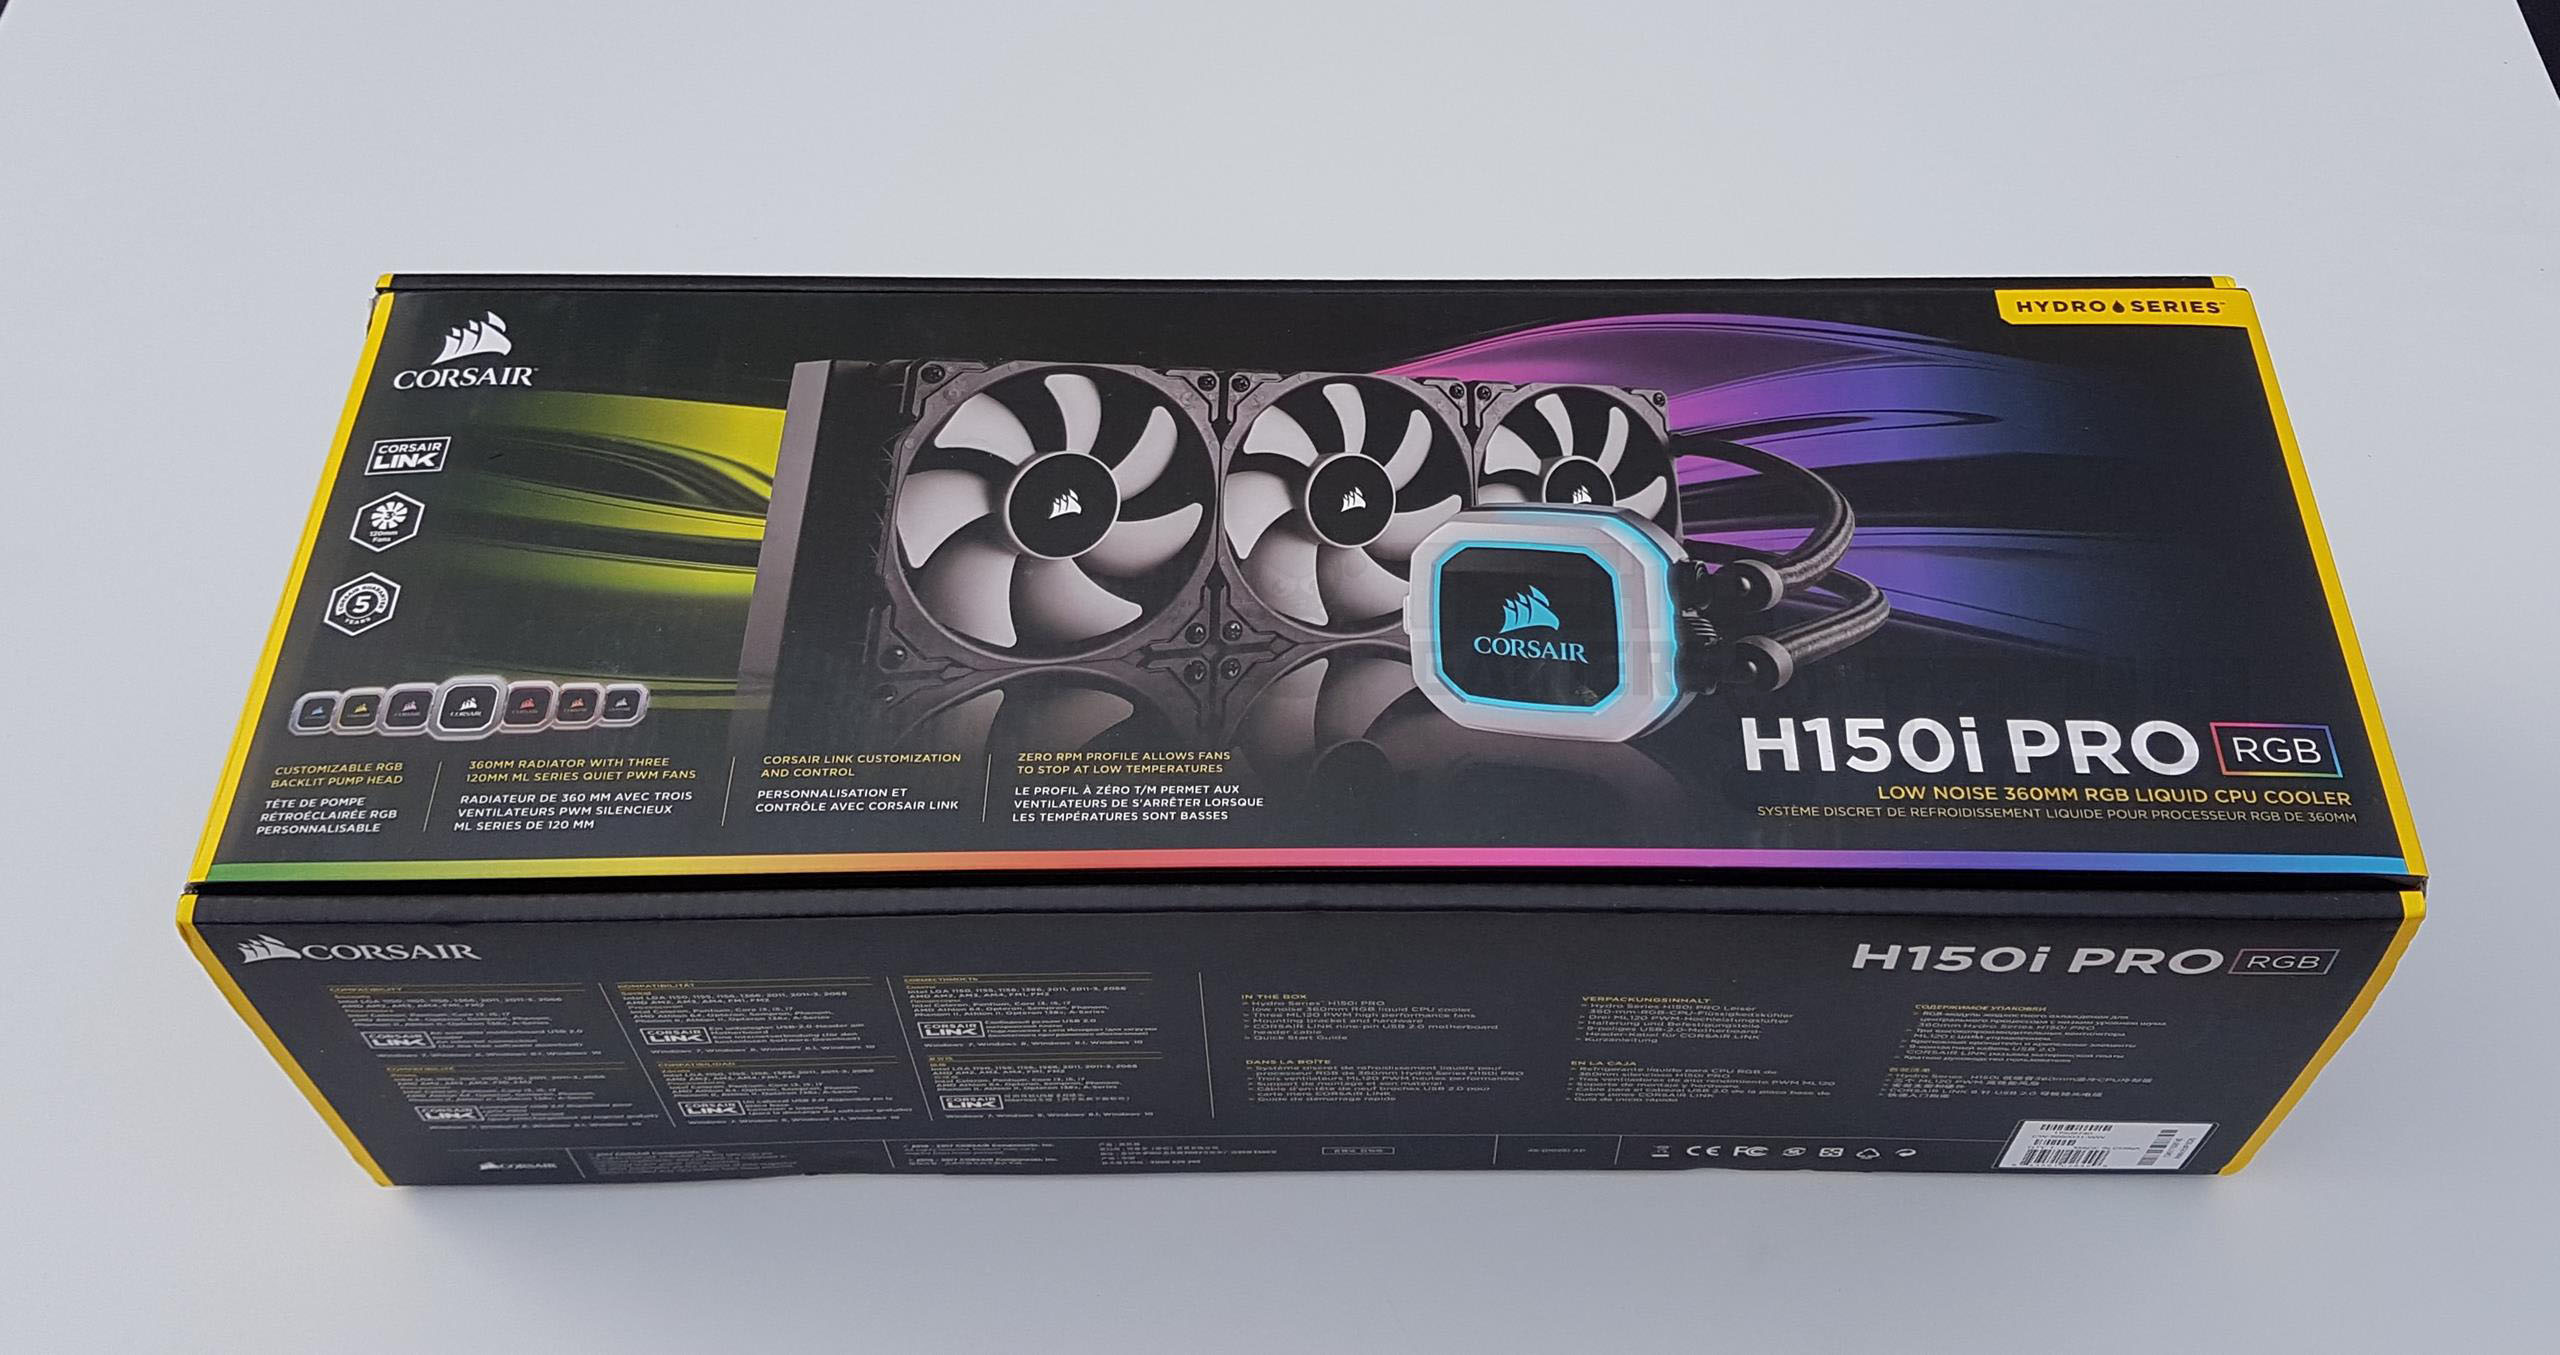
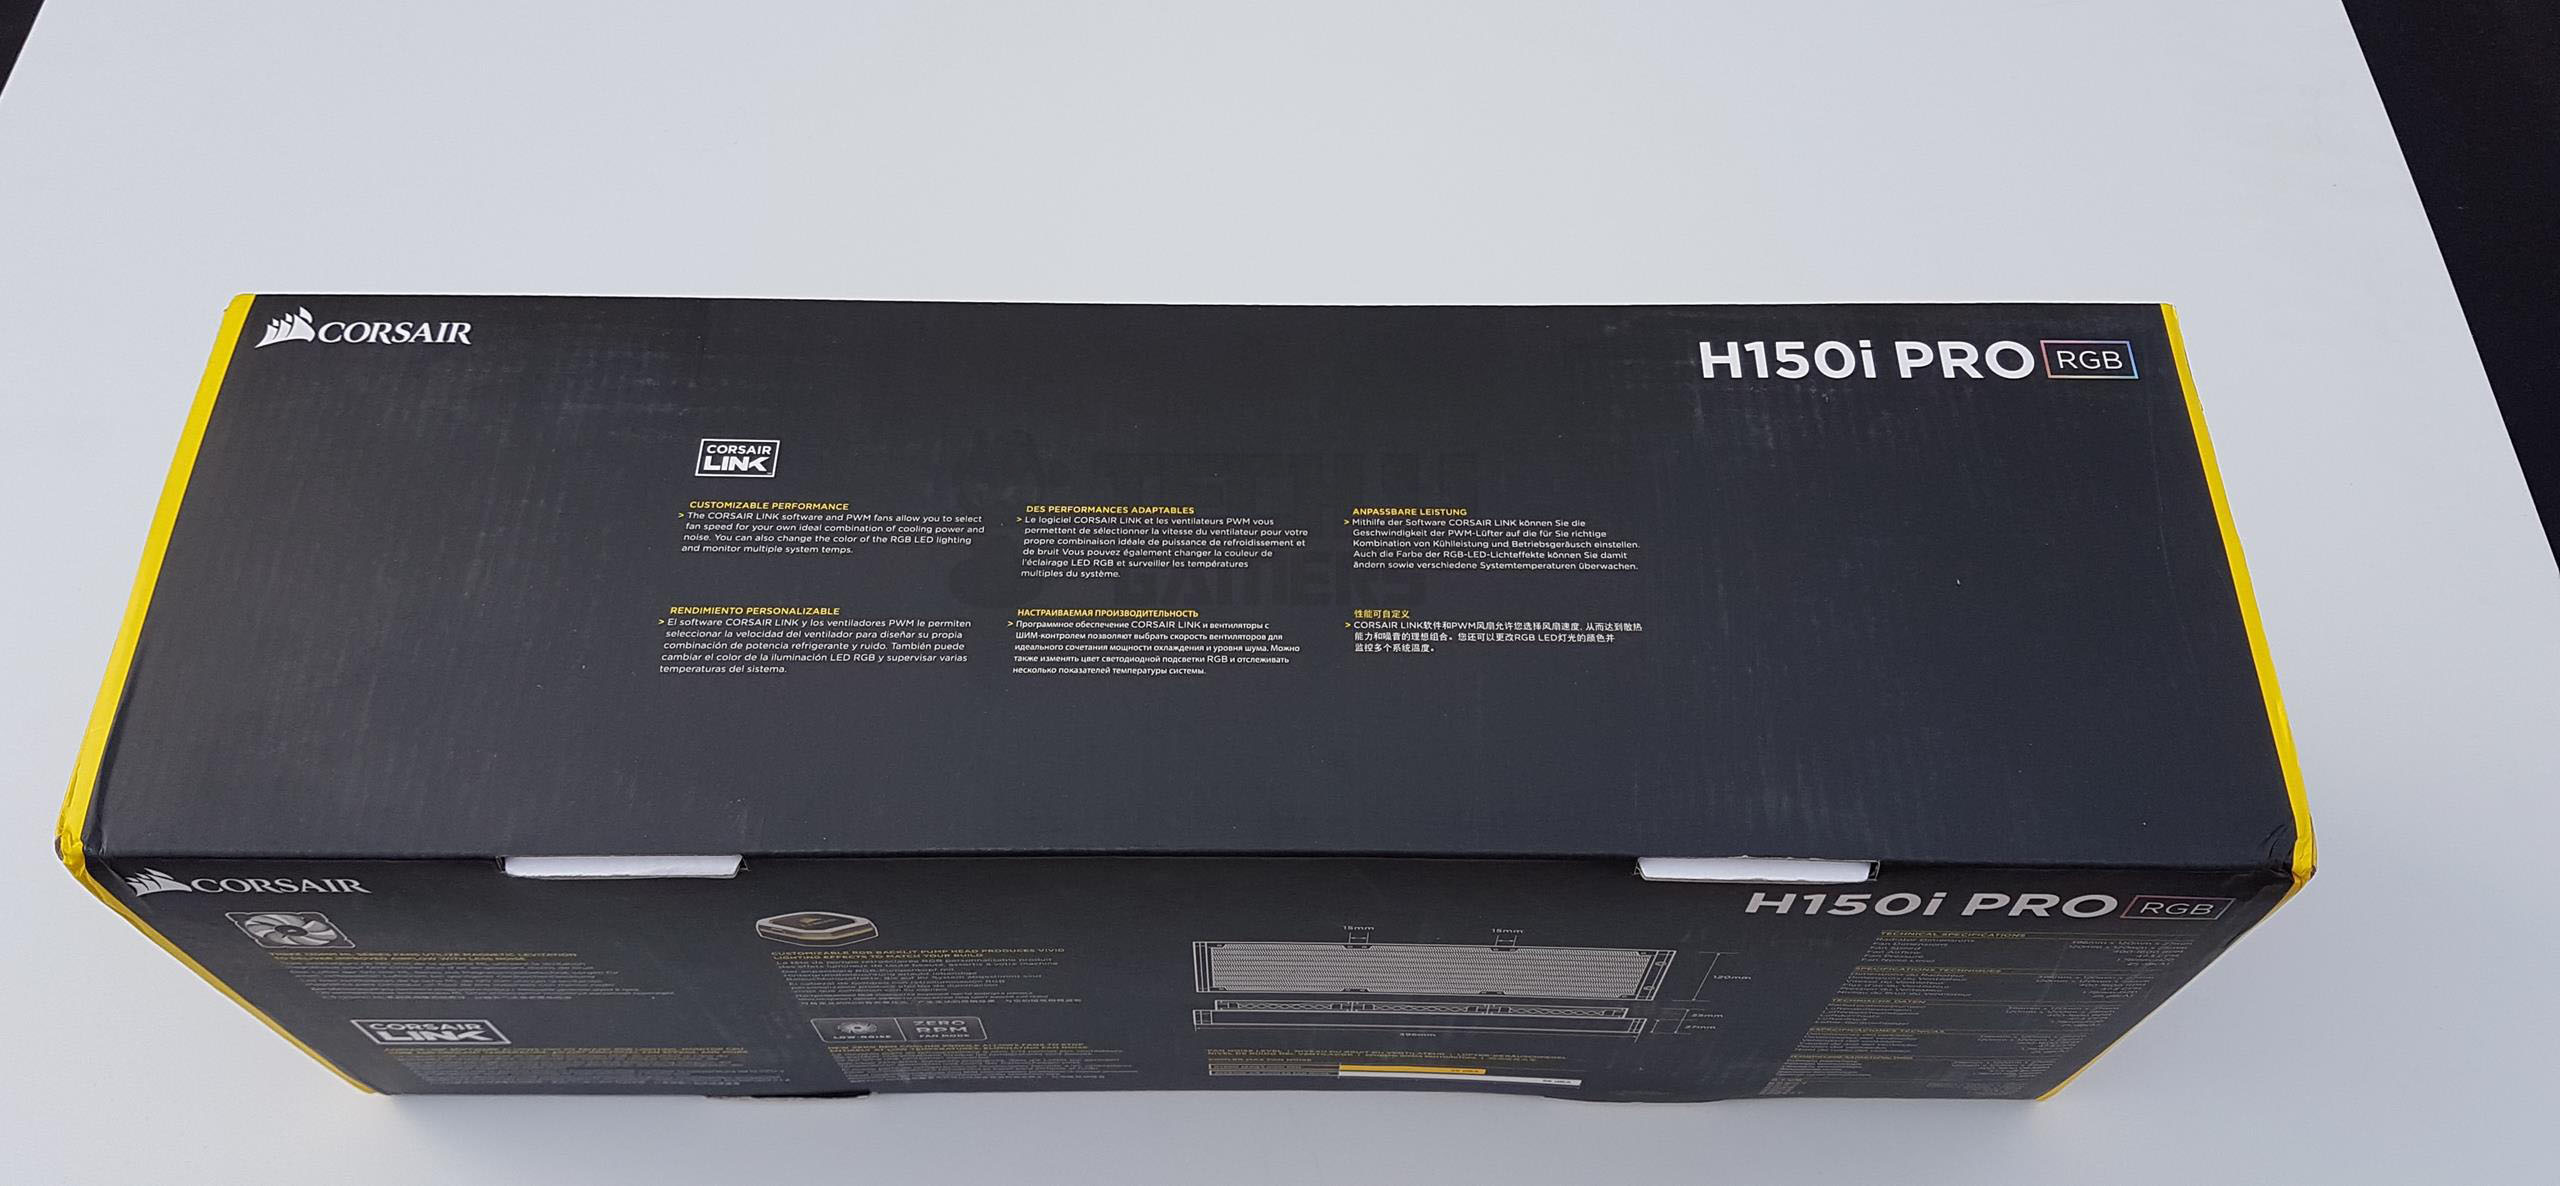
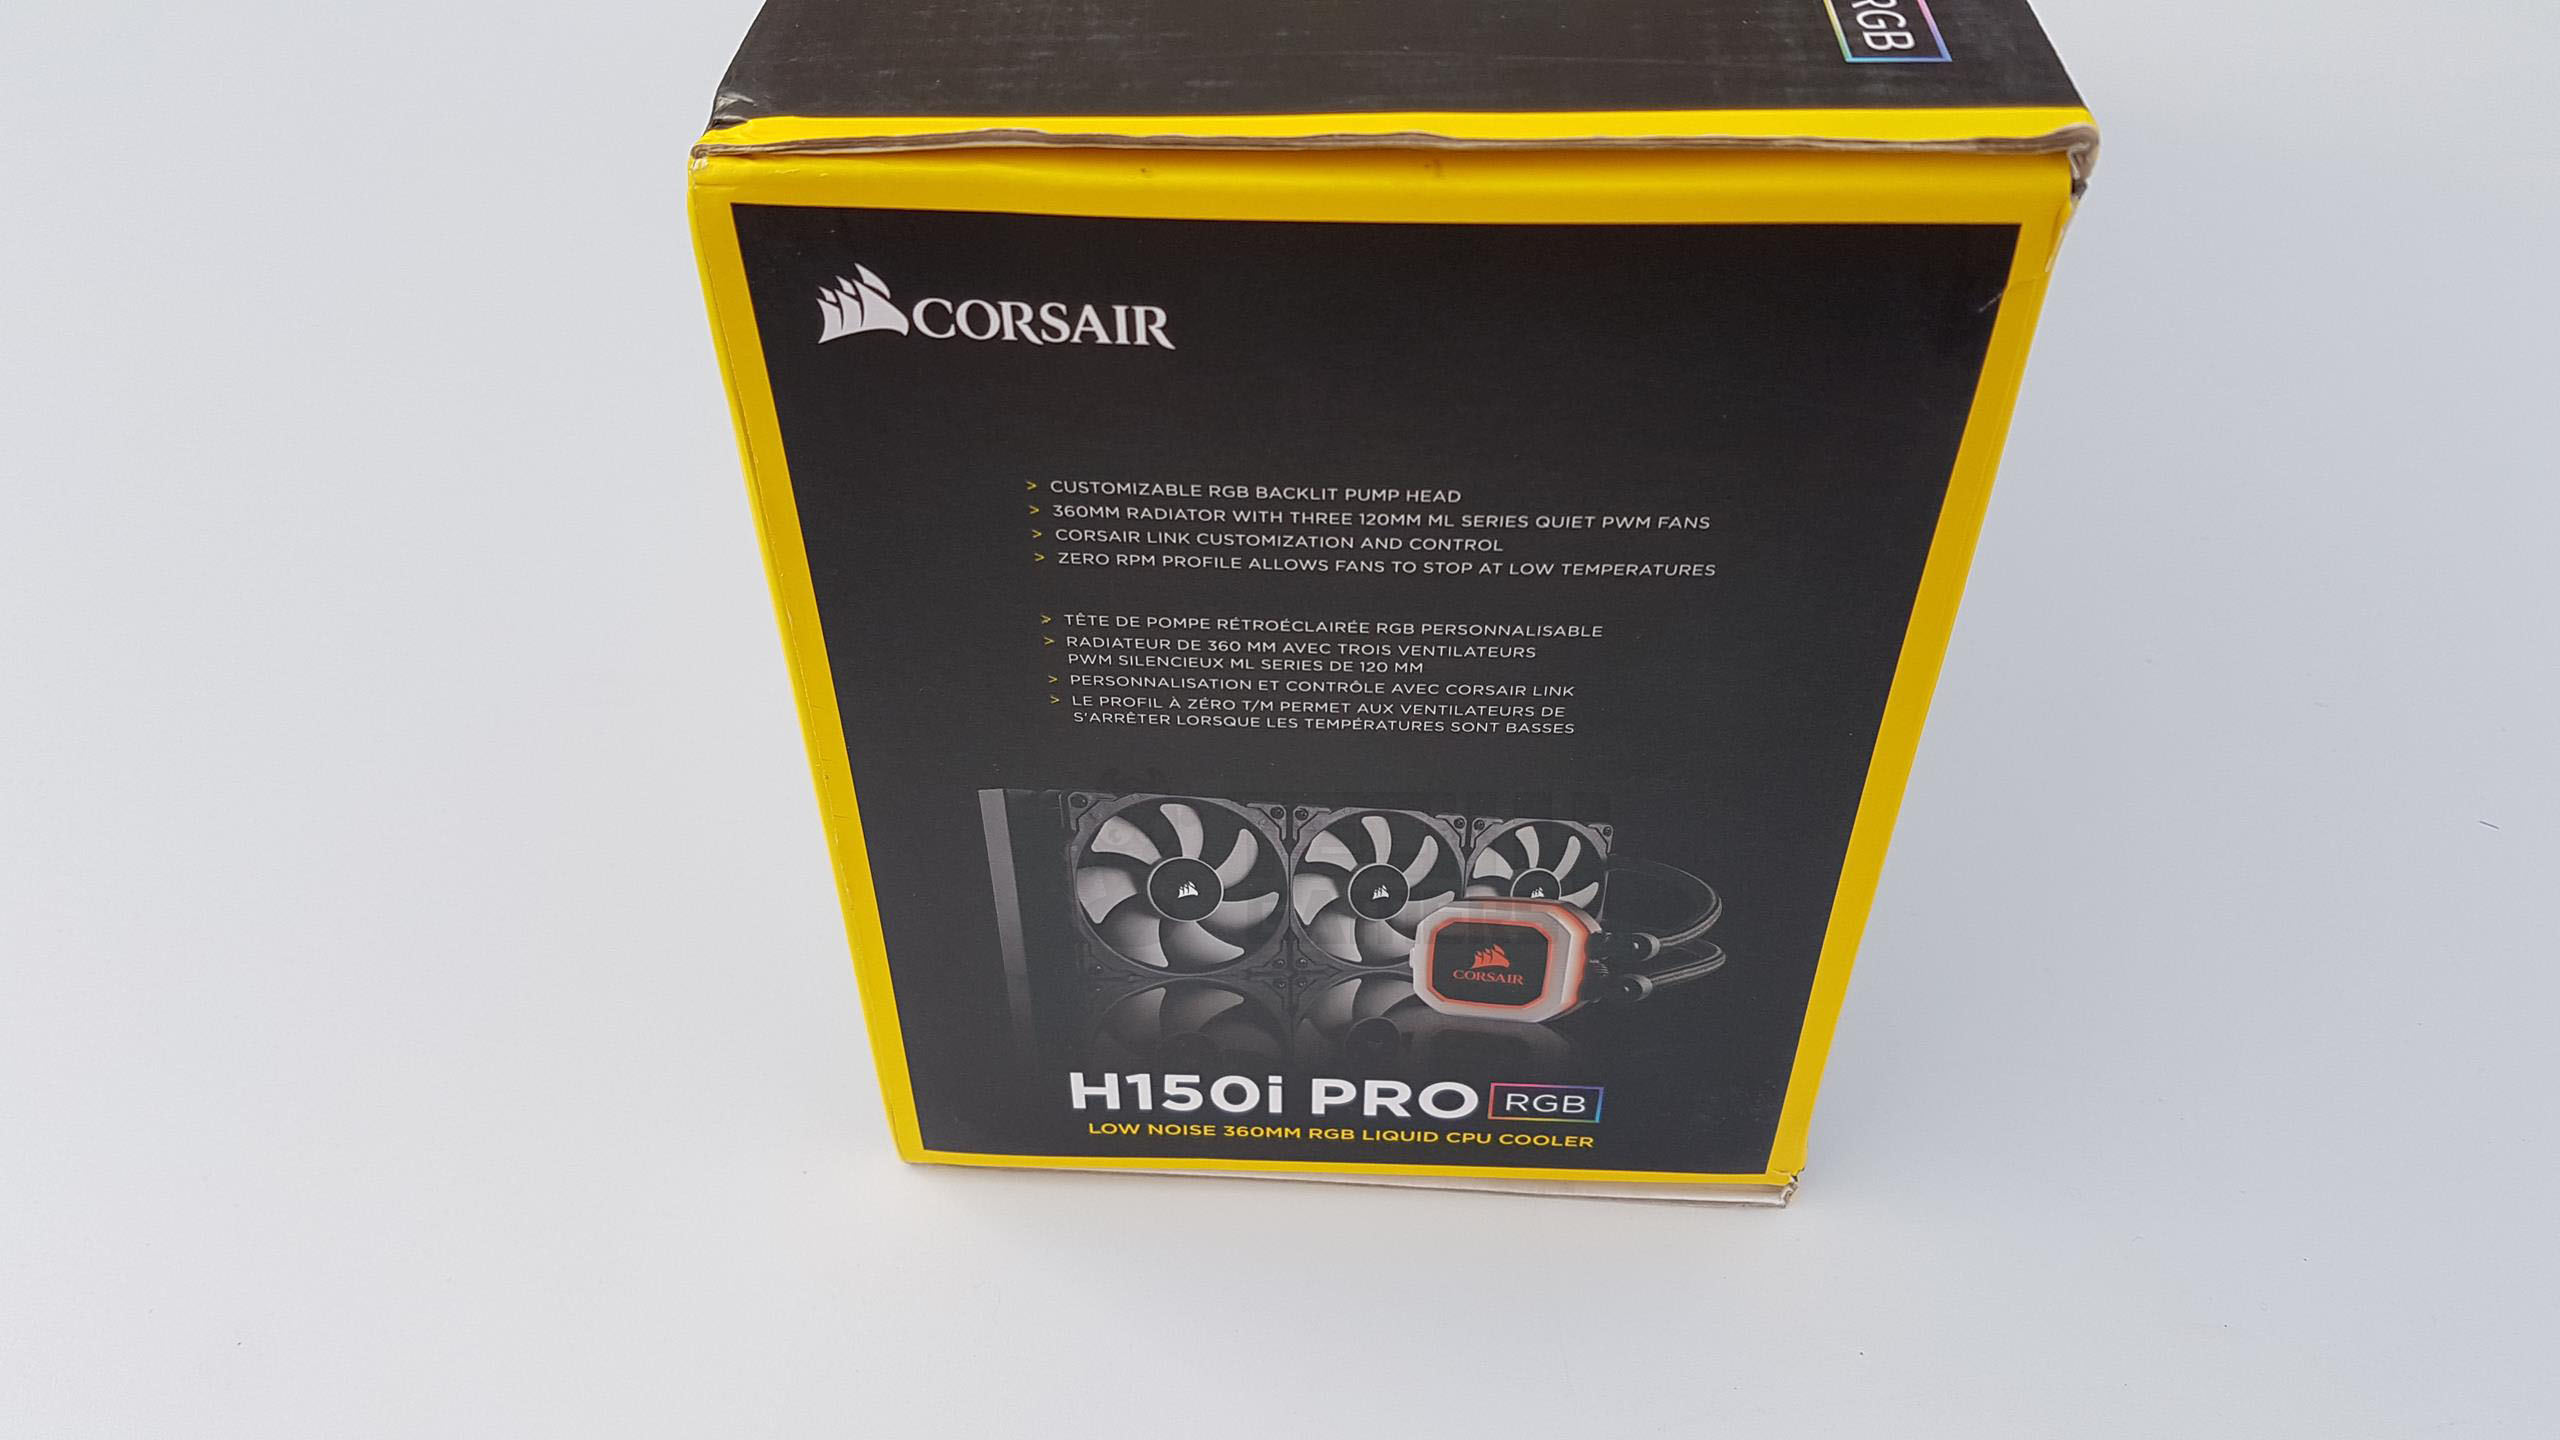
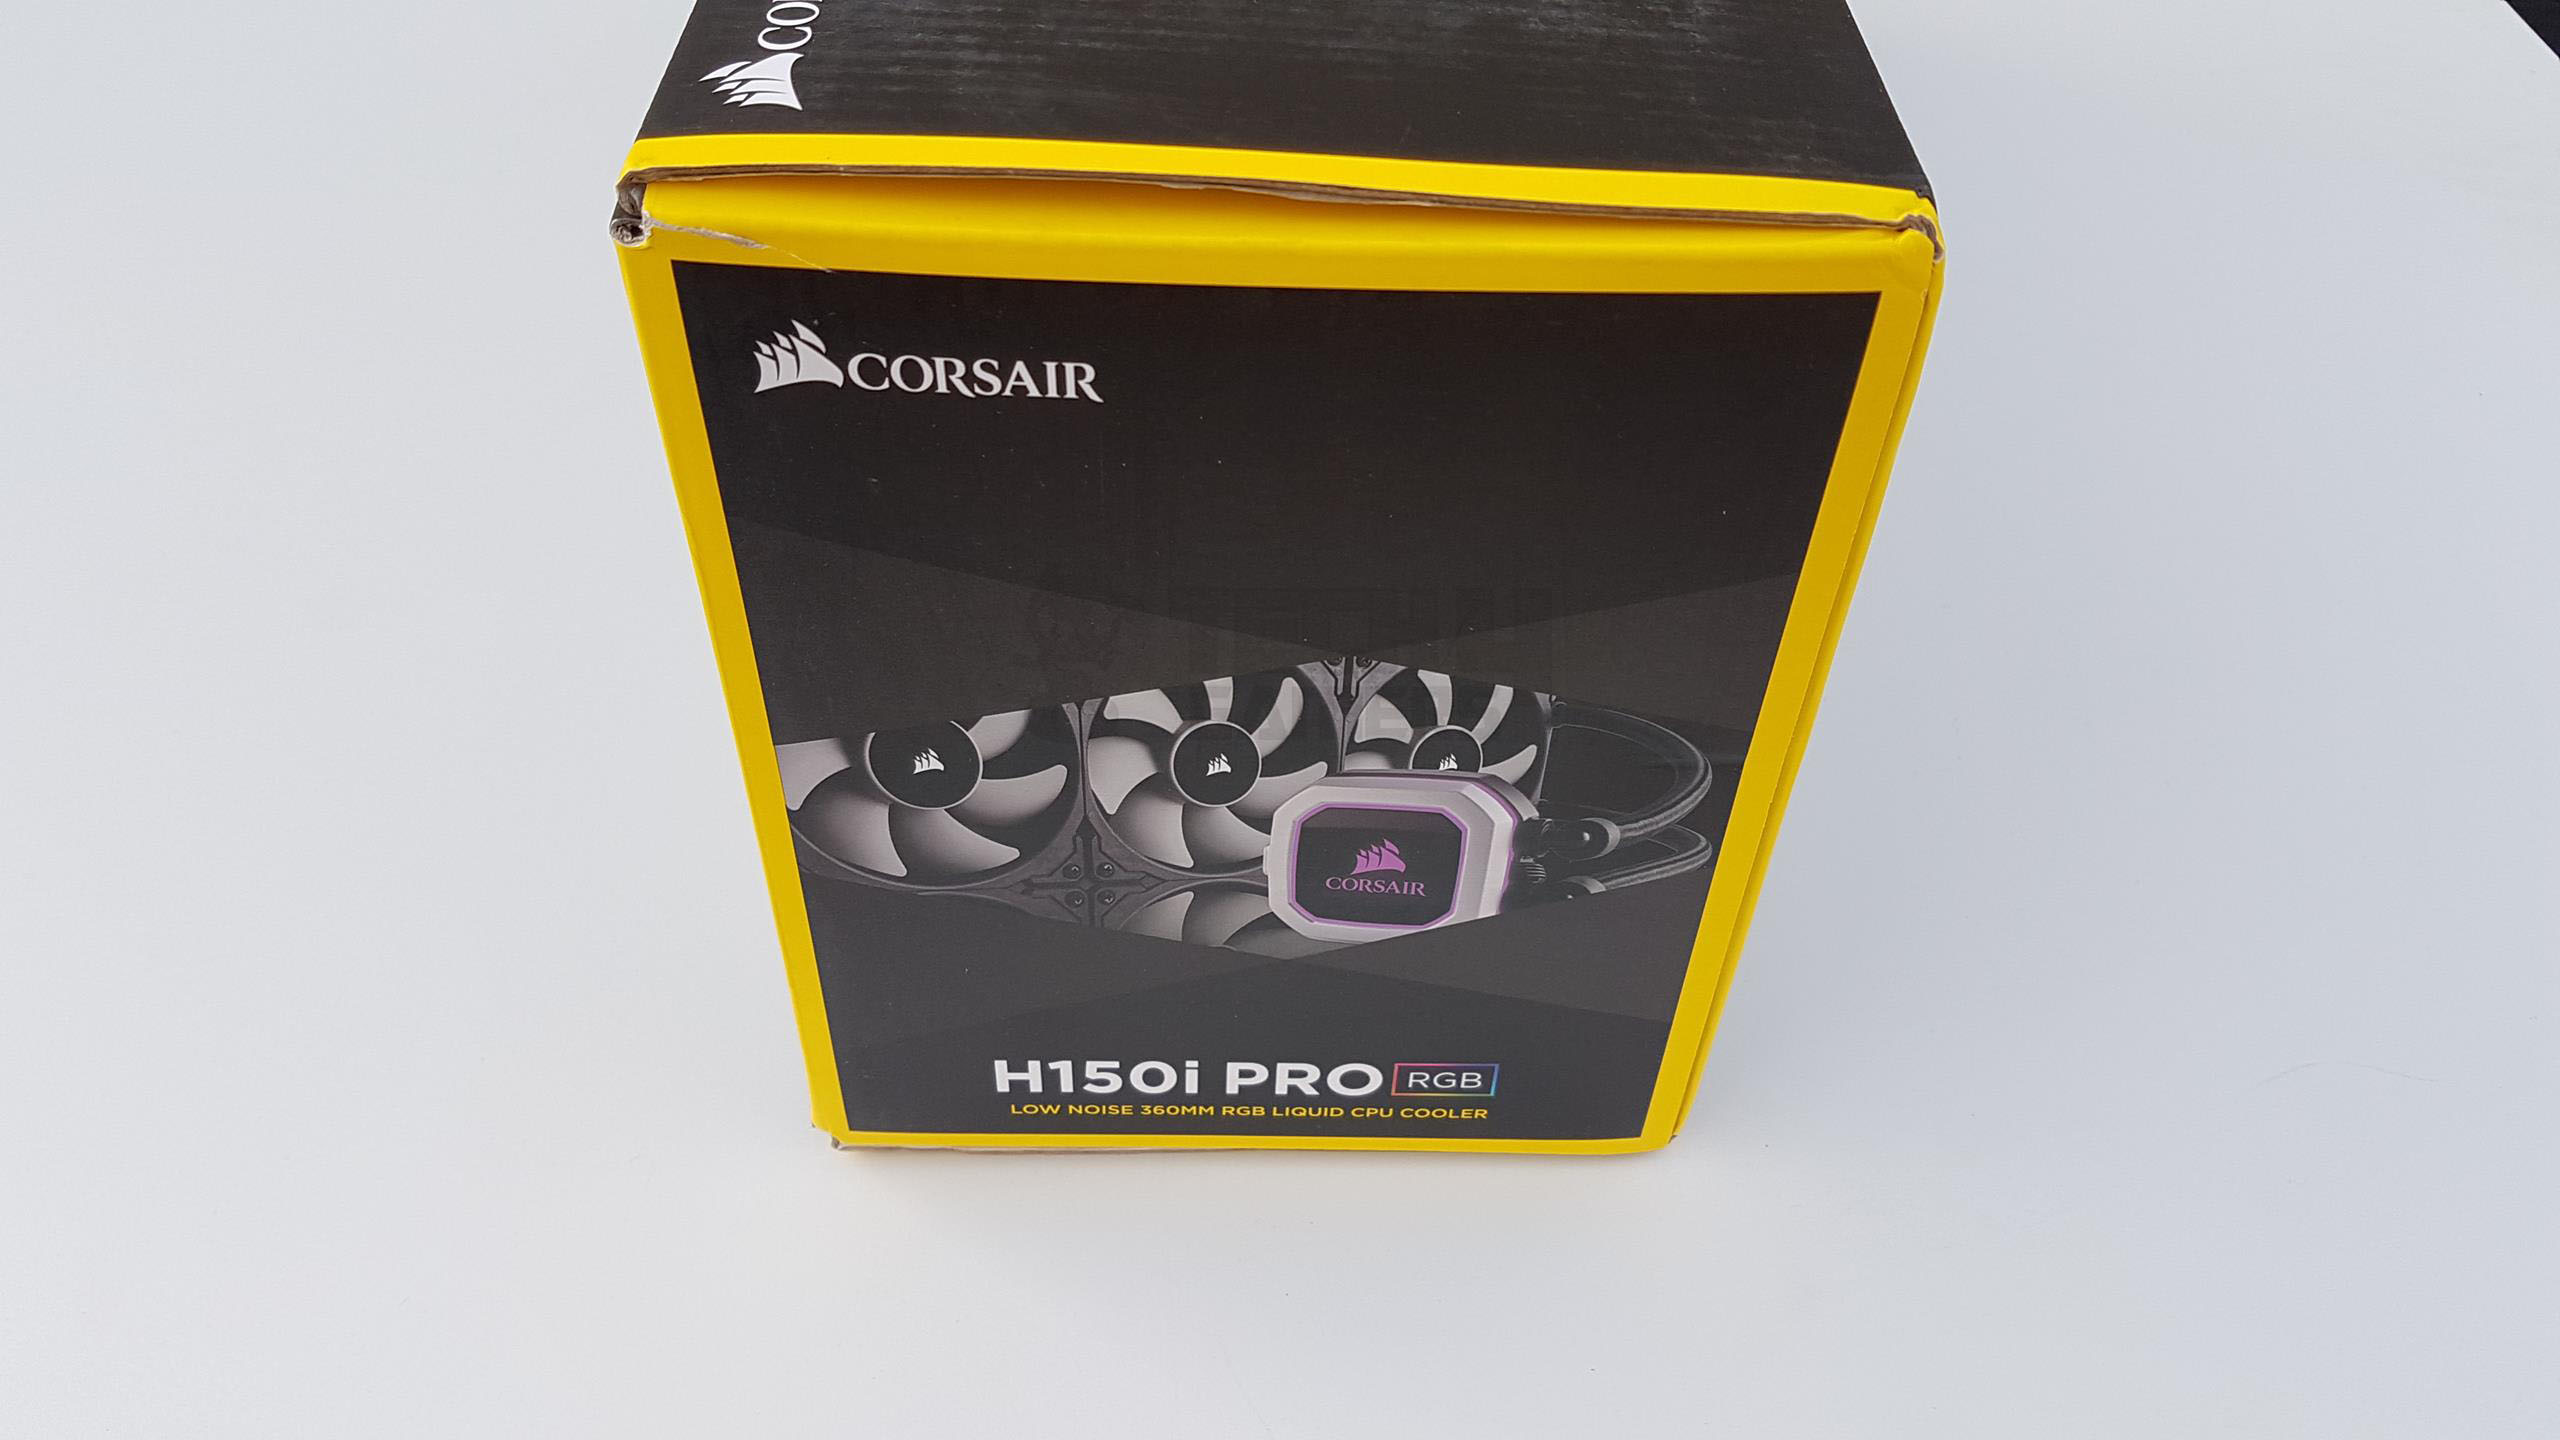
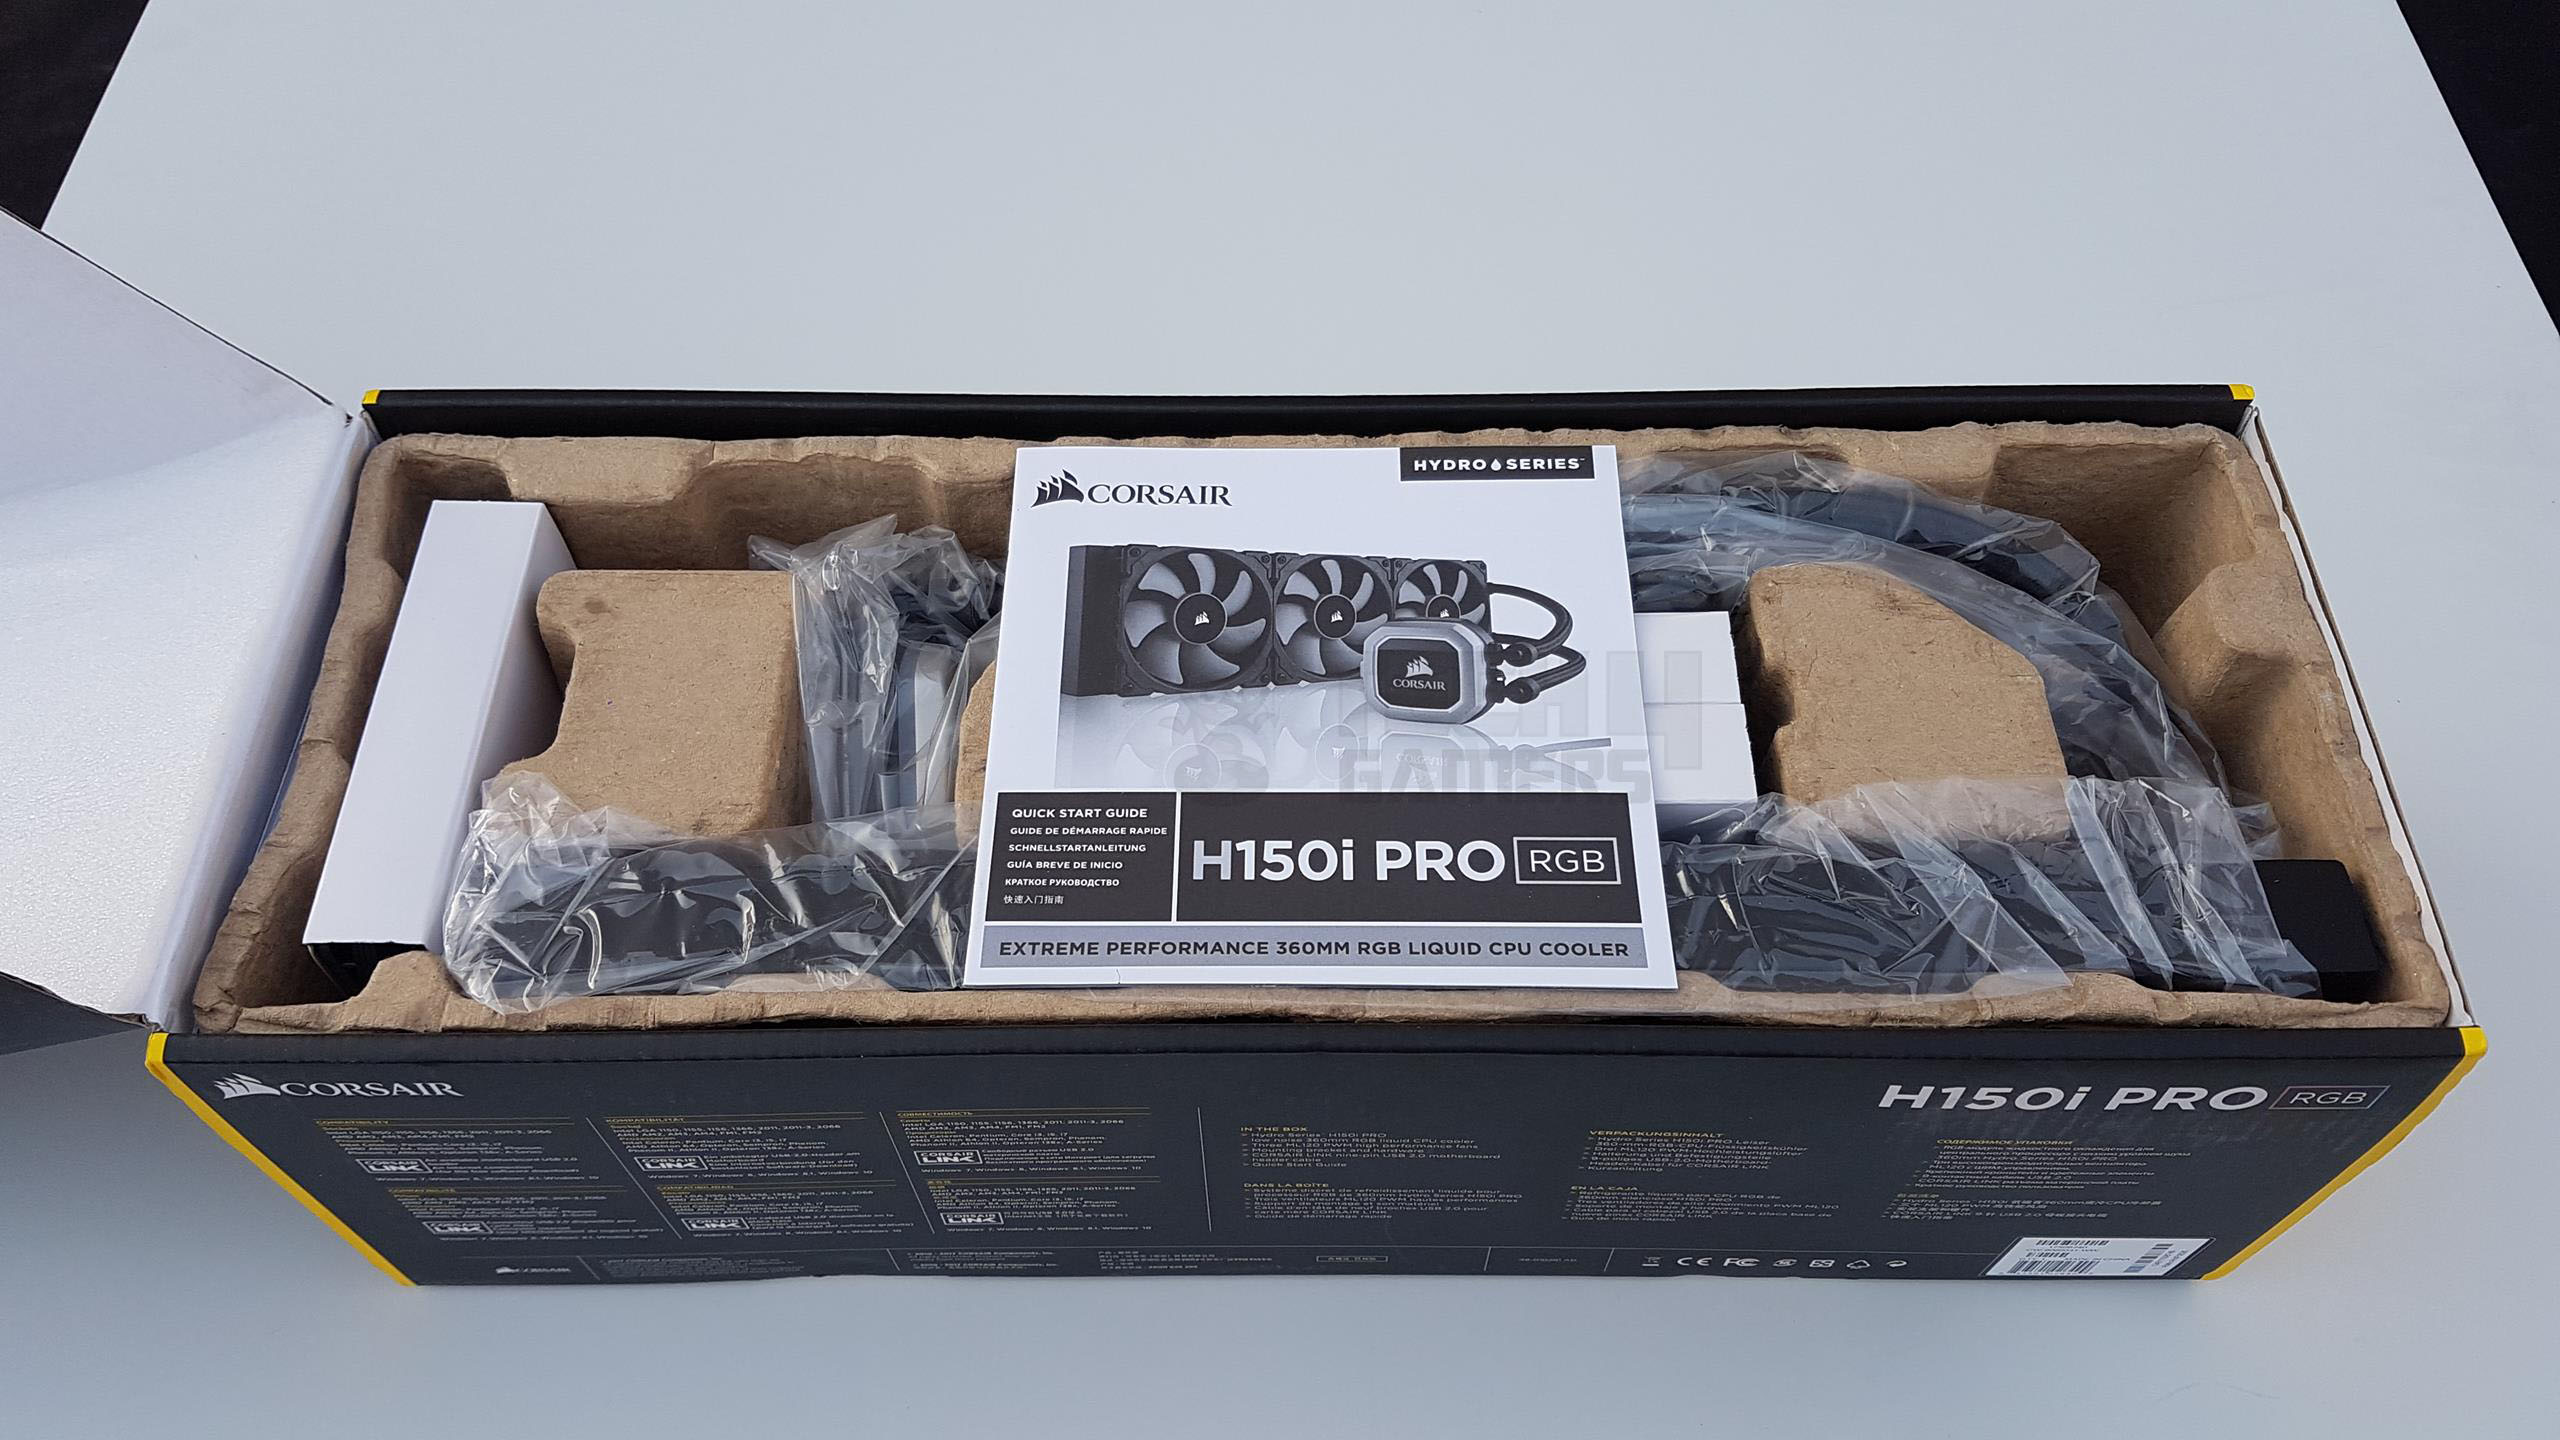
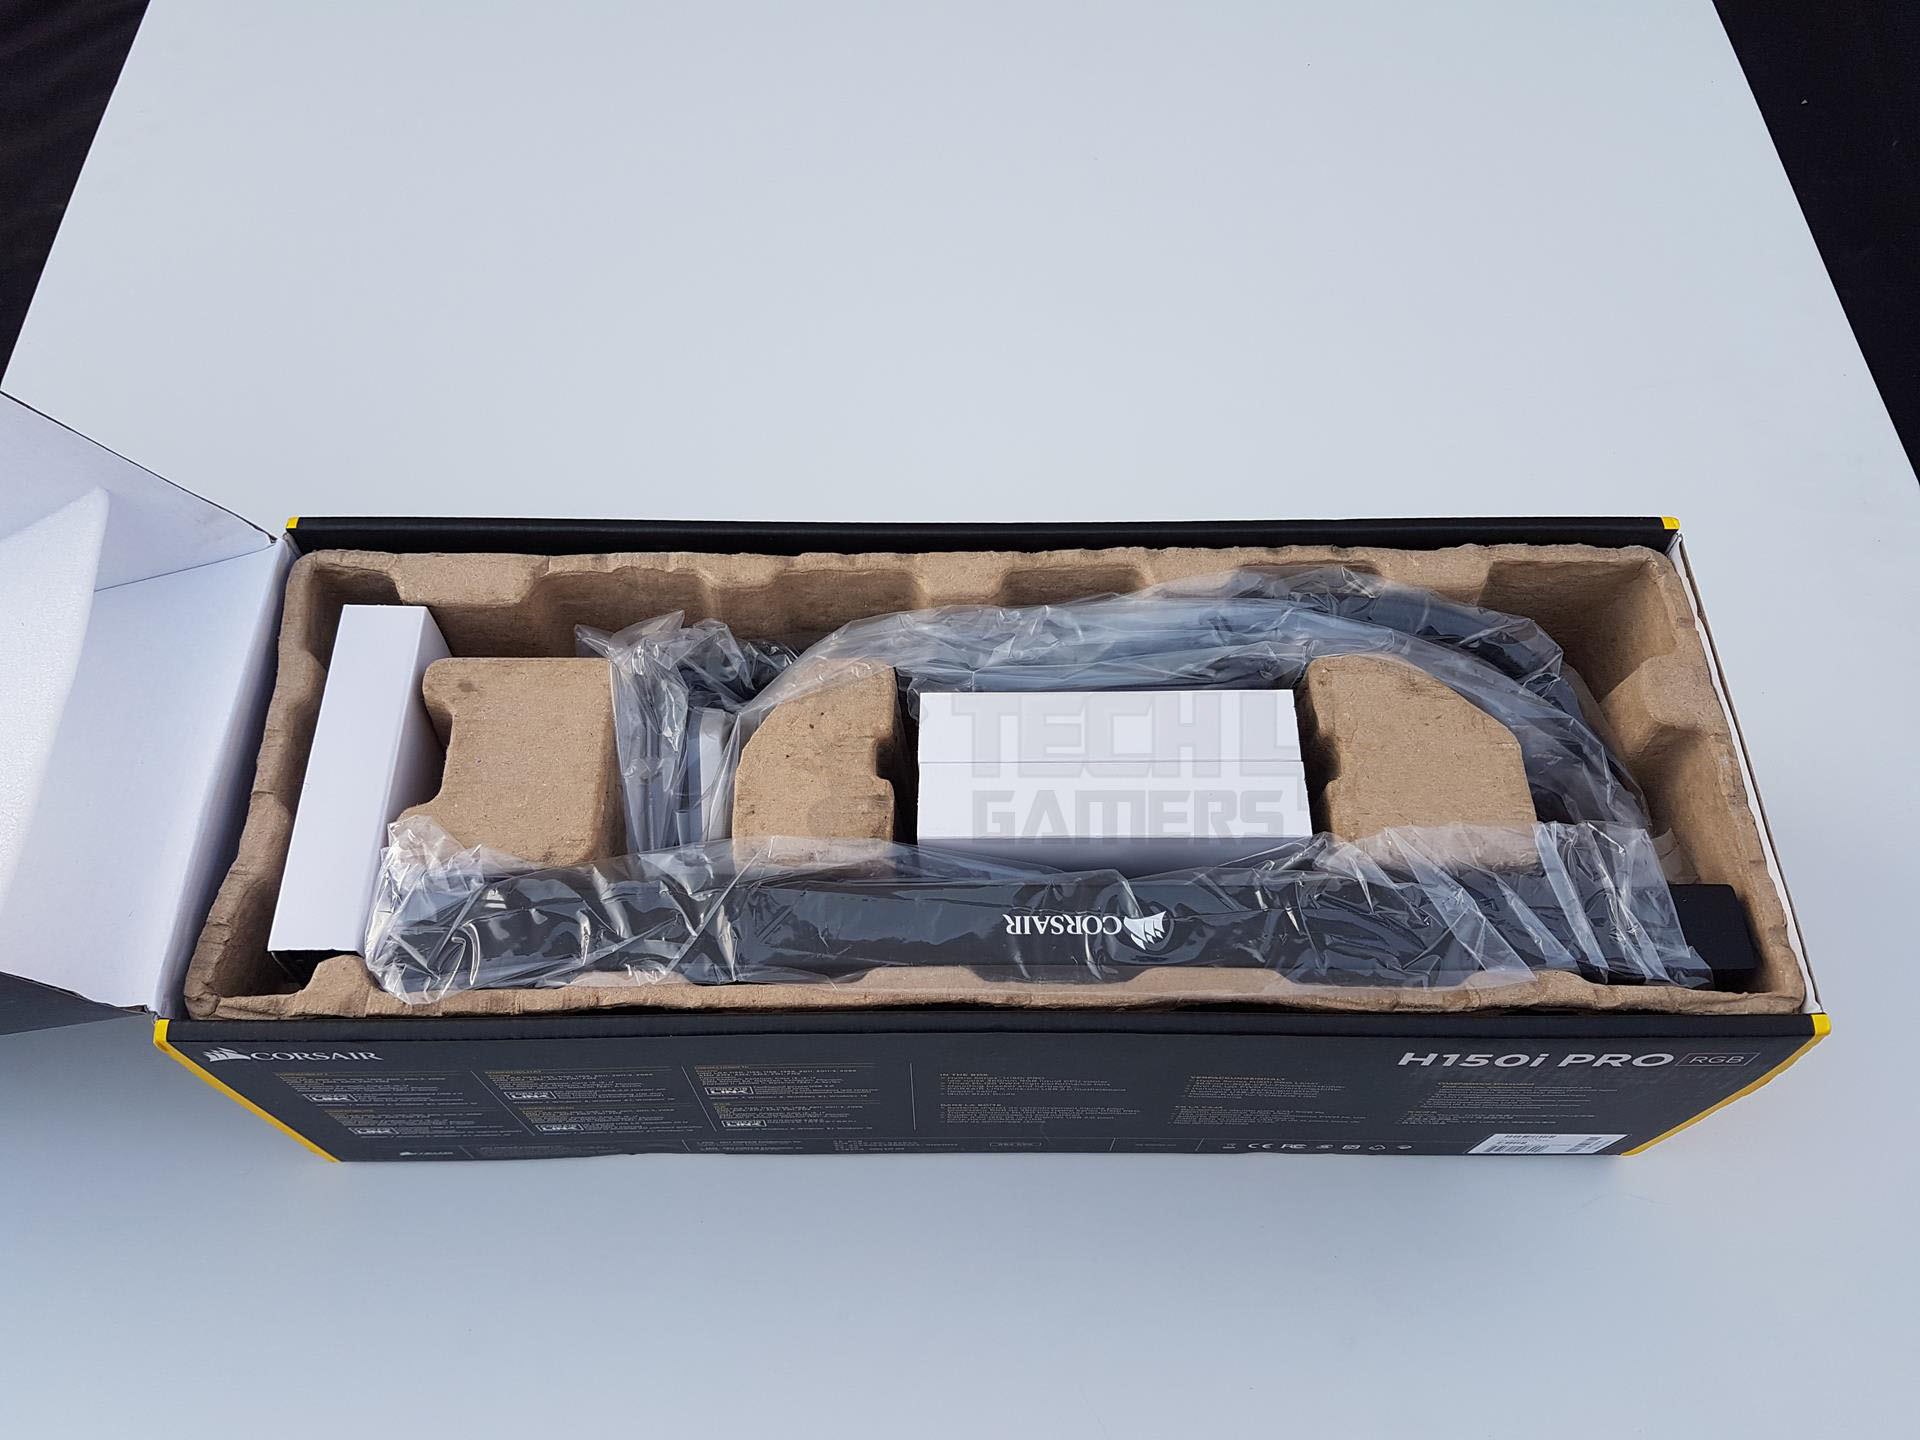
Packaging and Unboxing
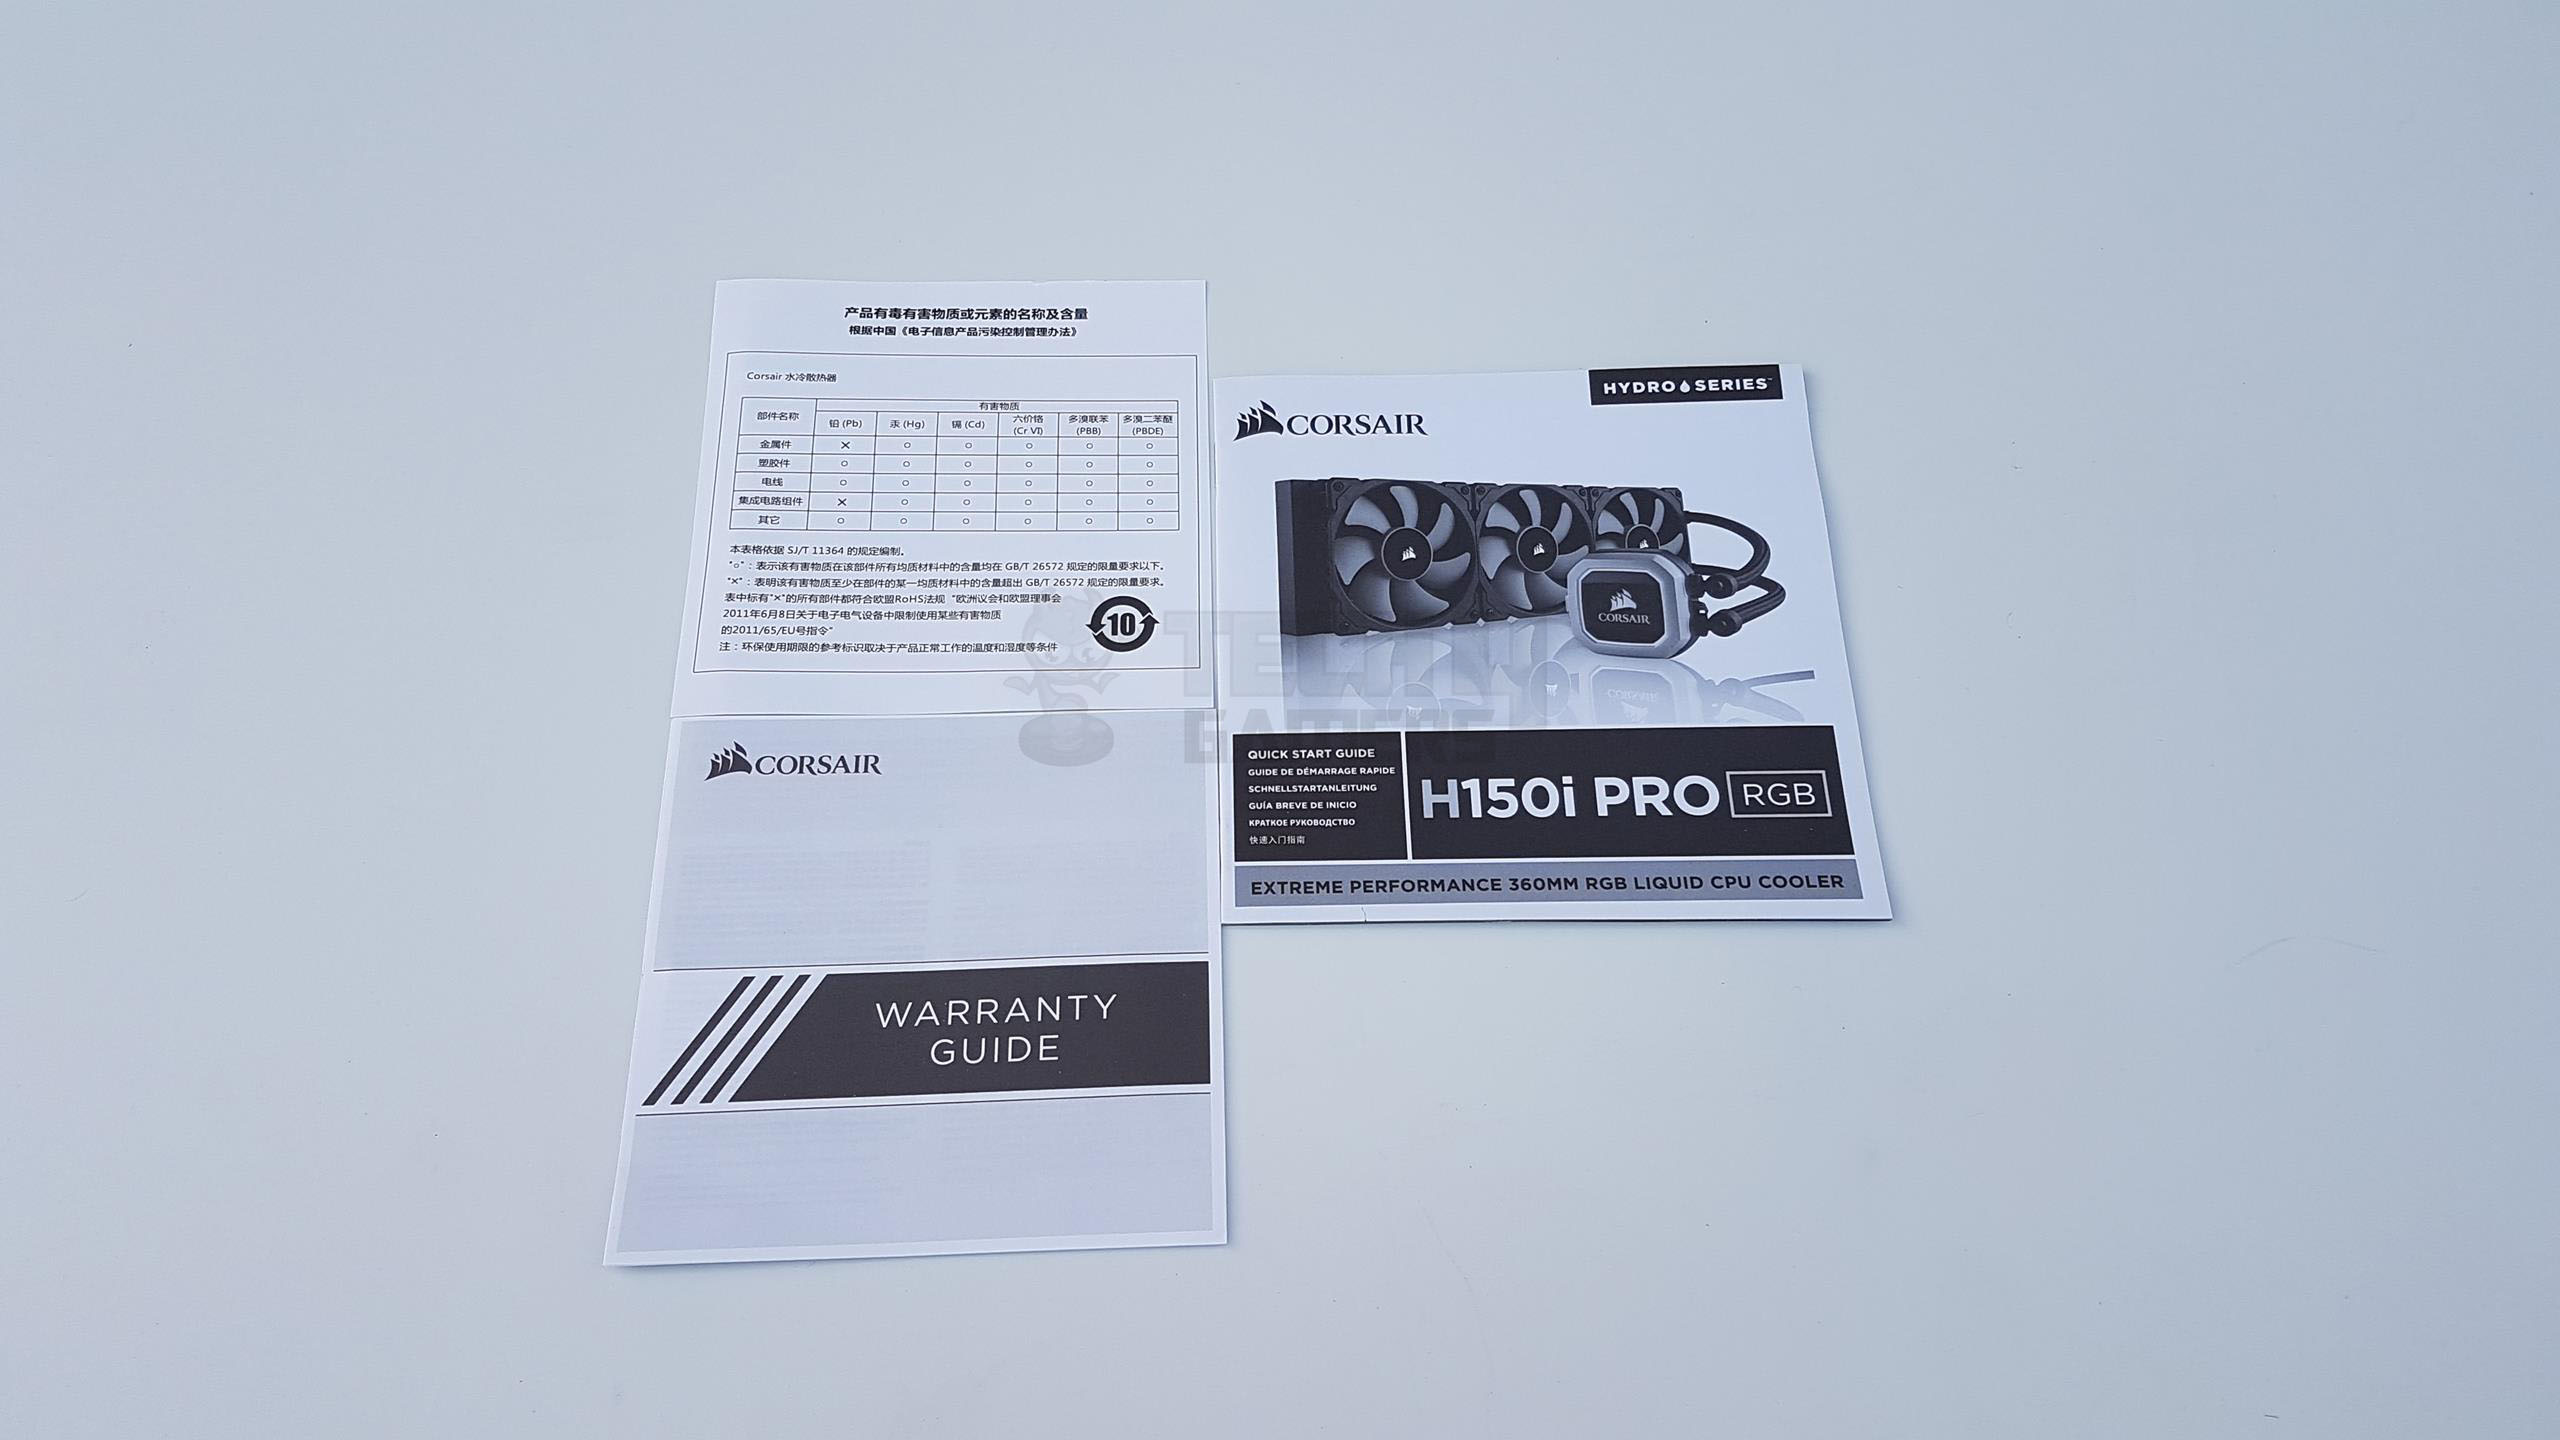
Here is the complete unboxing experience of the Corsair H150i Pro RGB. 5 years of Corsair Guarantee is provided, I am wondering if this is their way of saying warranty.
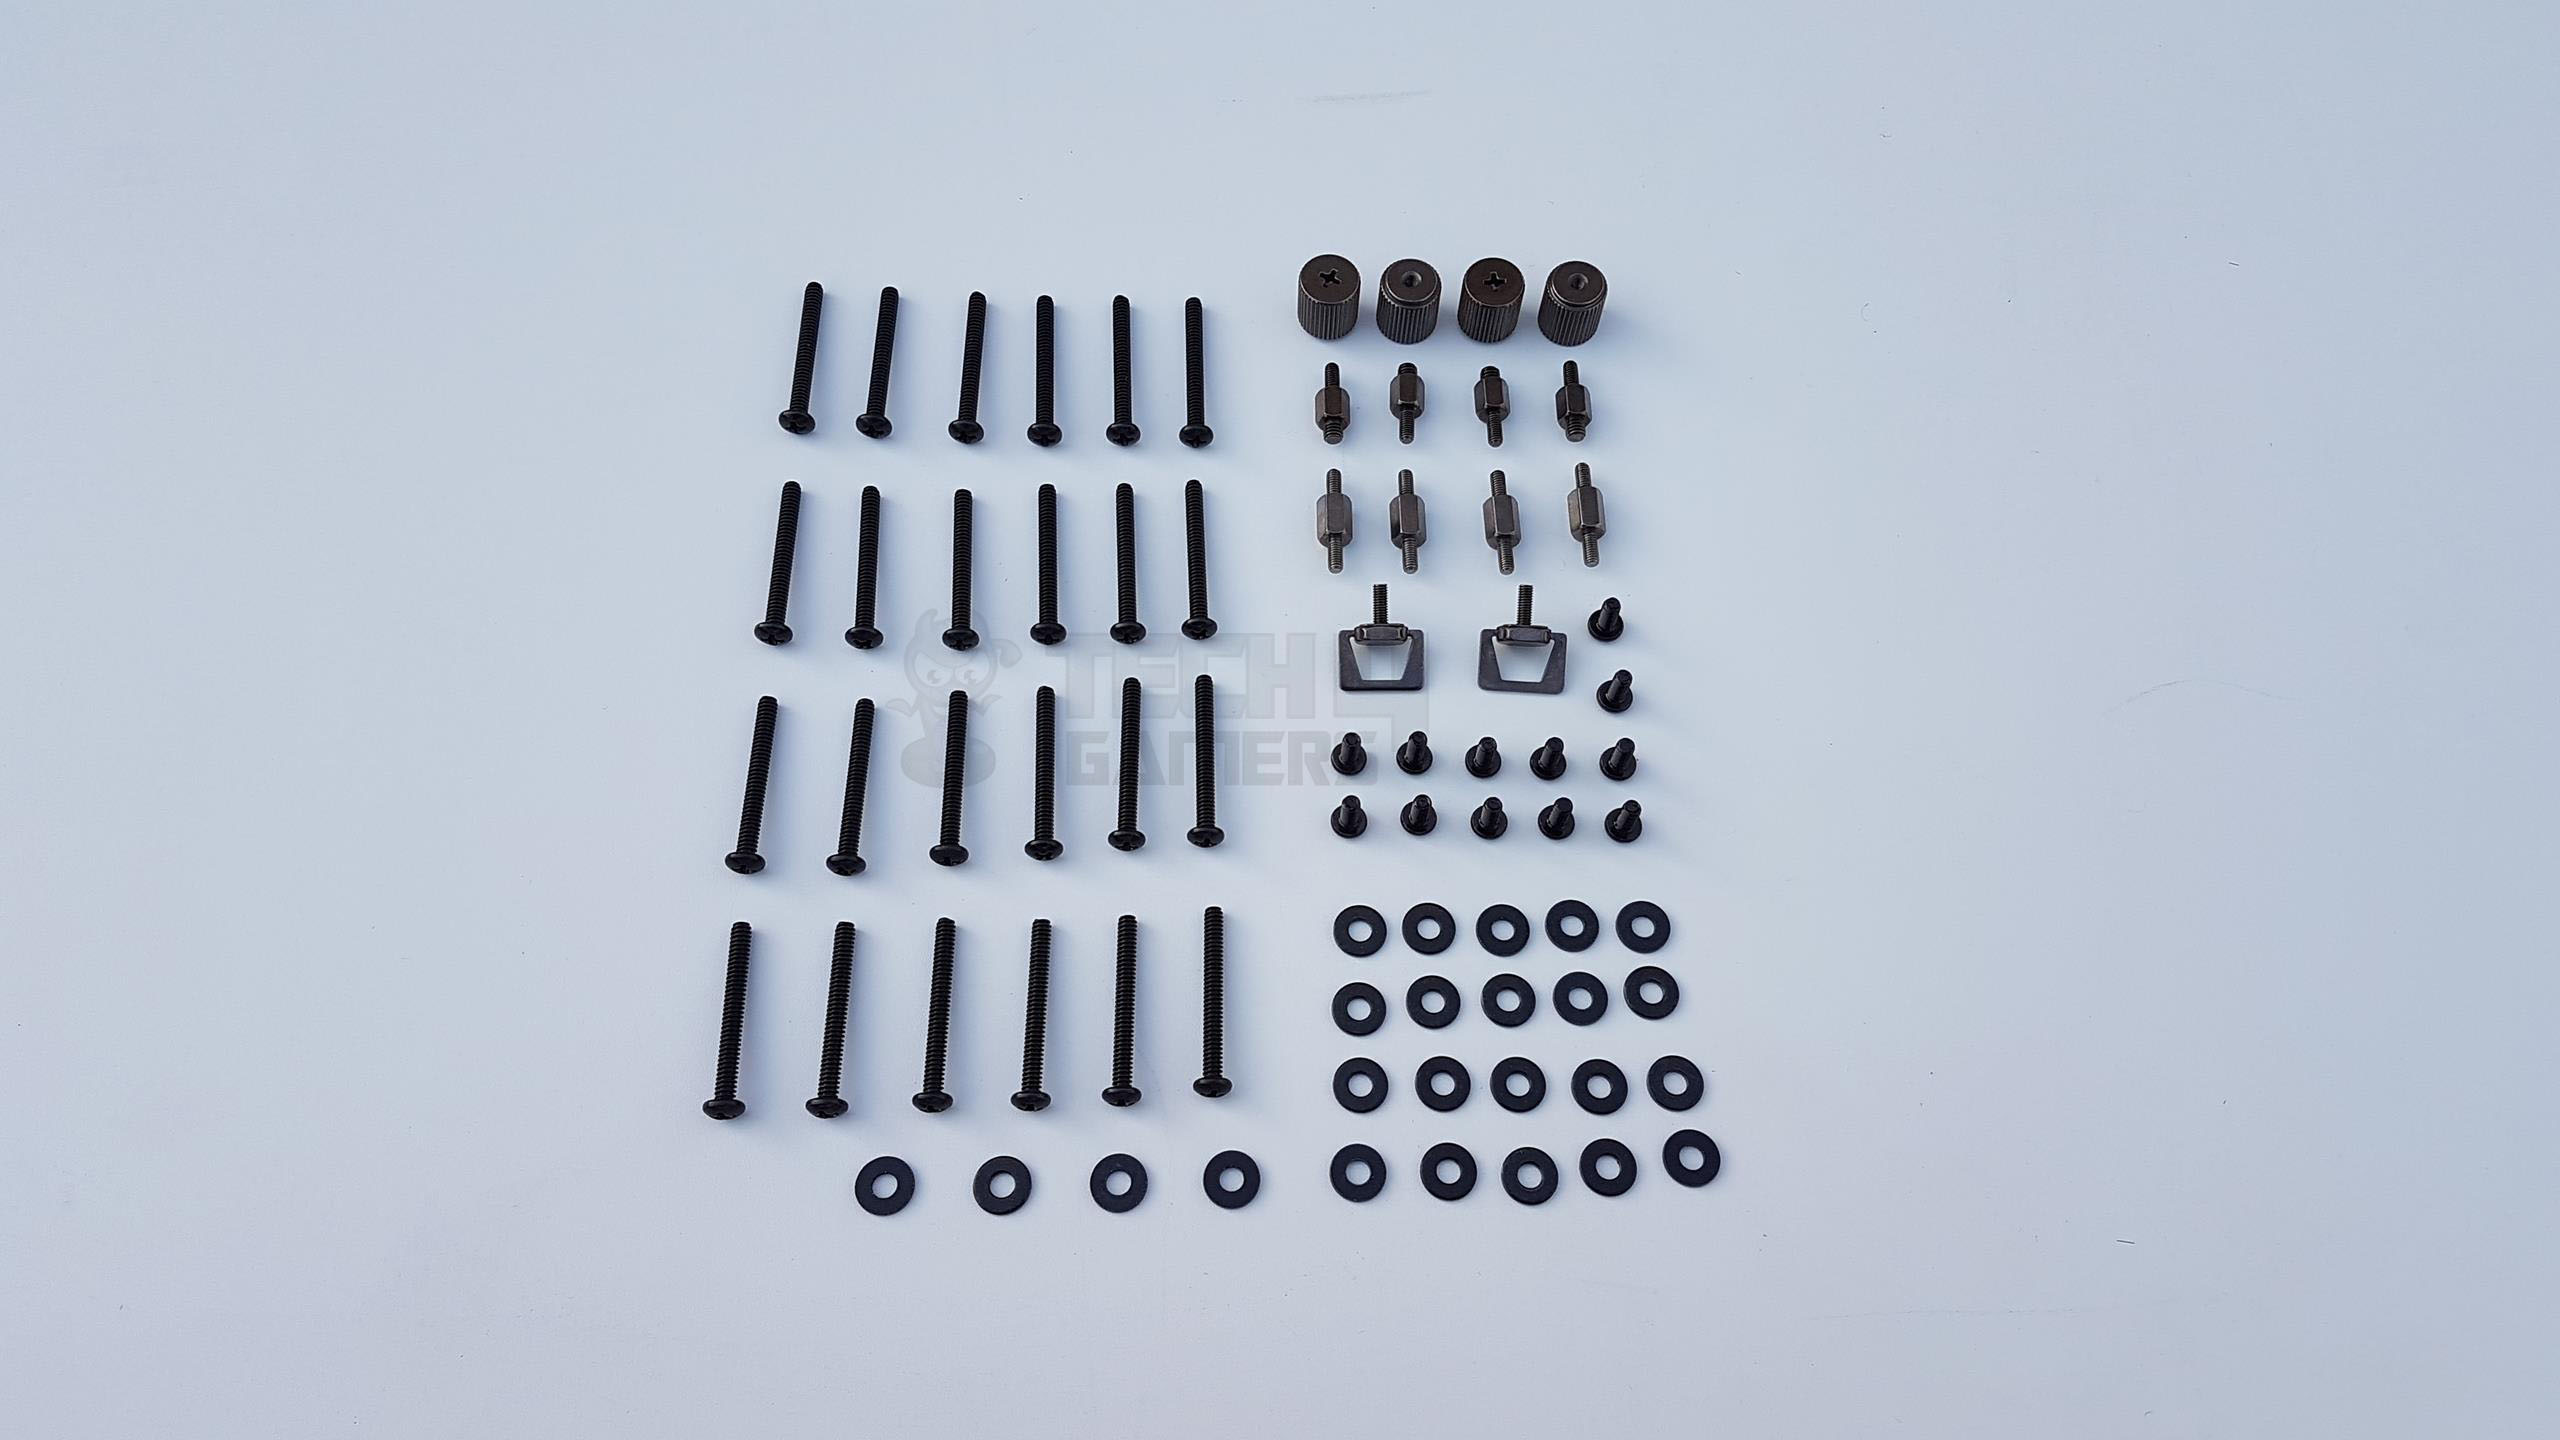
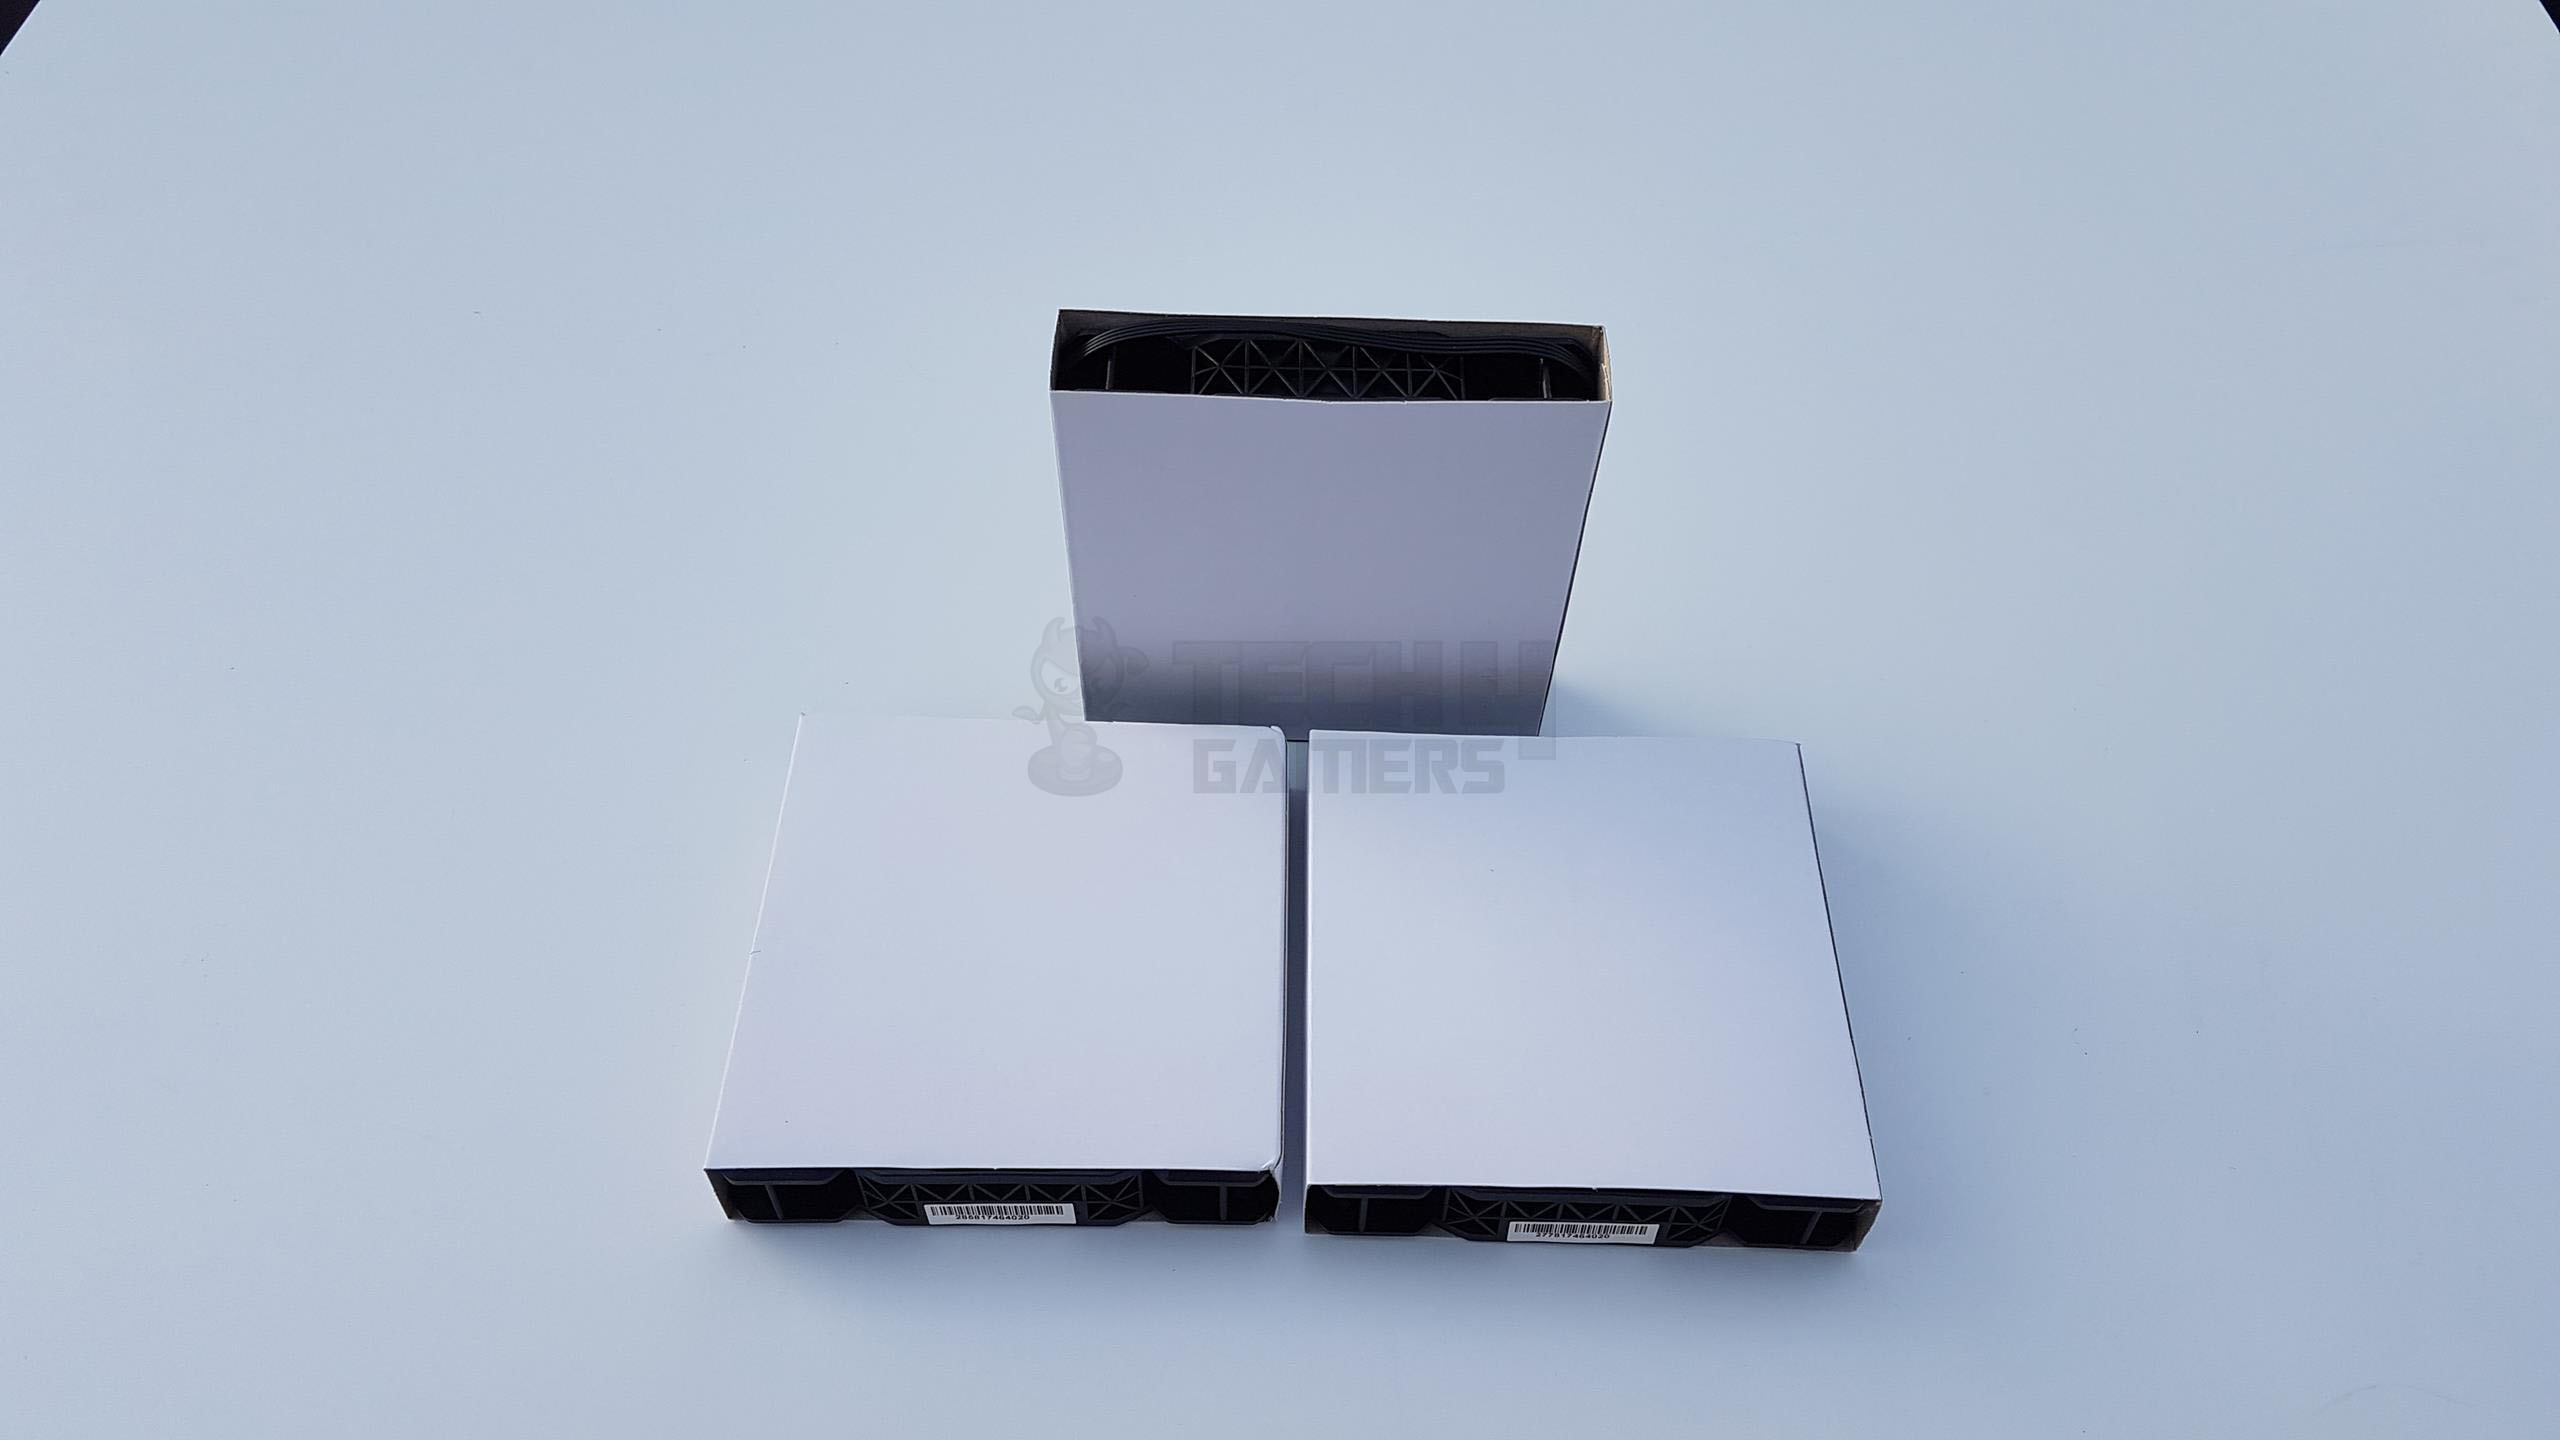
Accessories
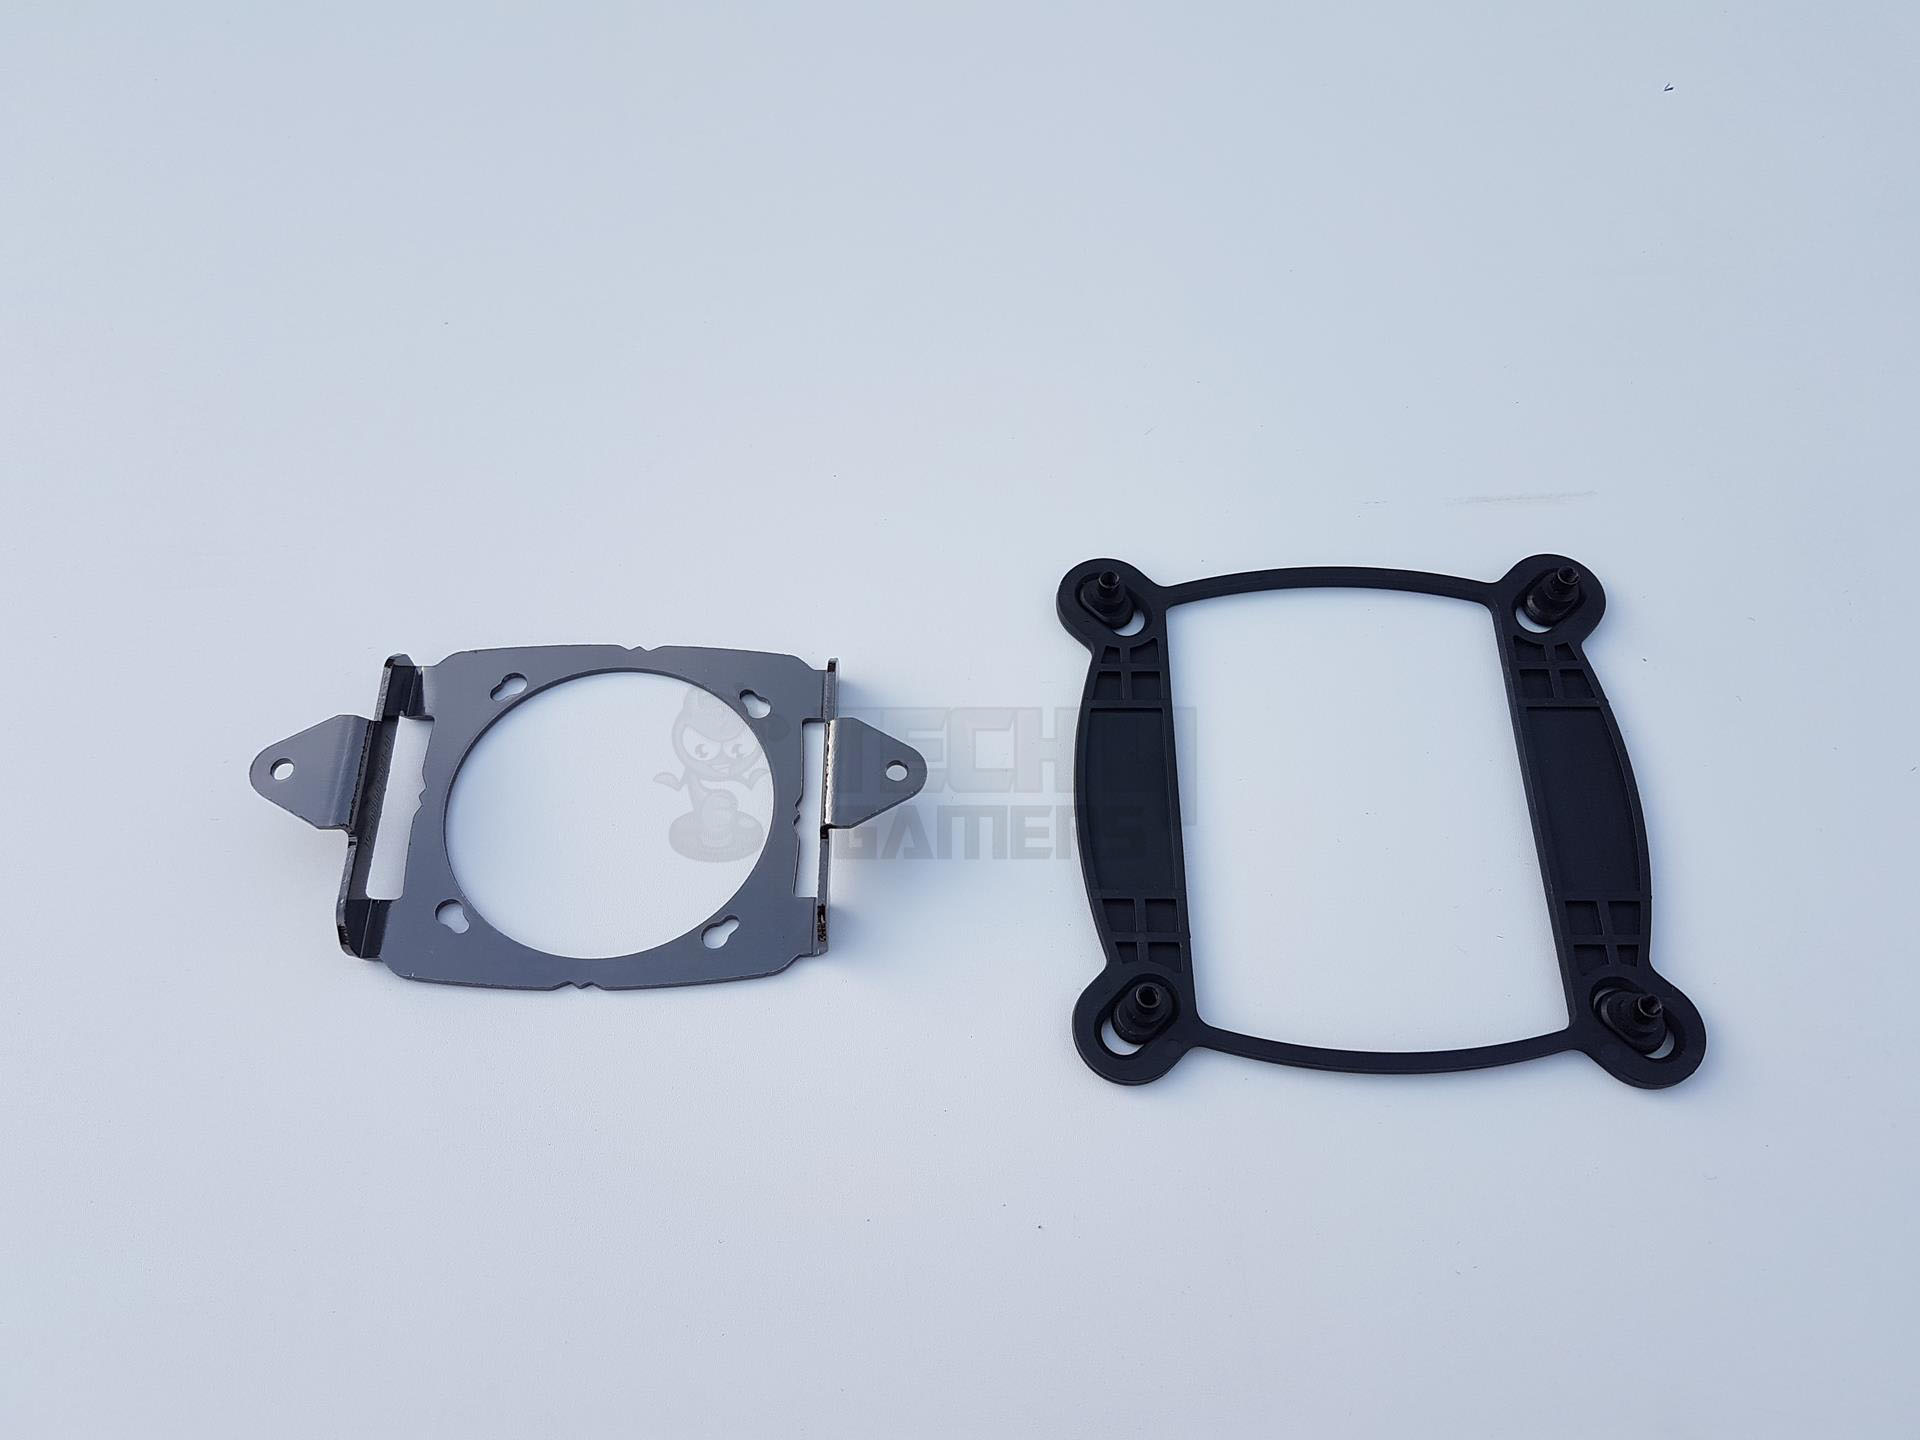
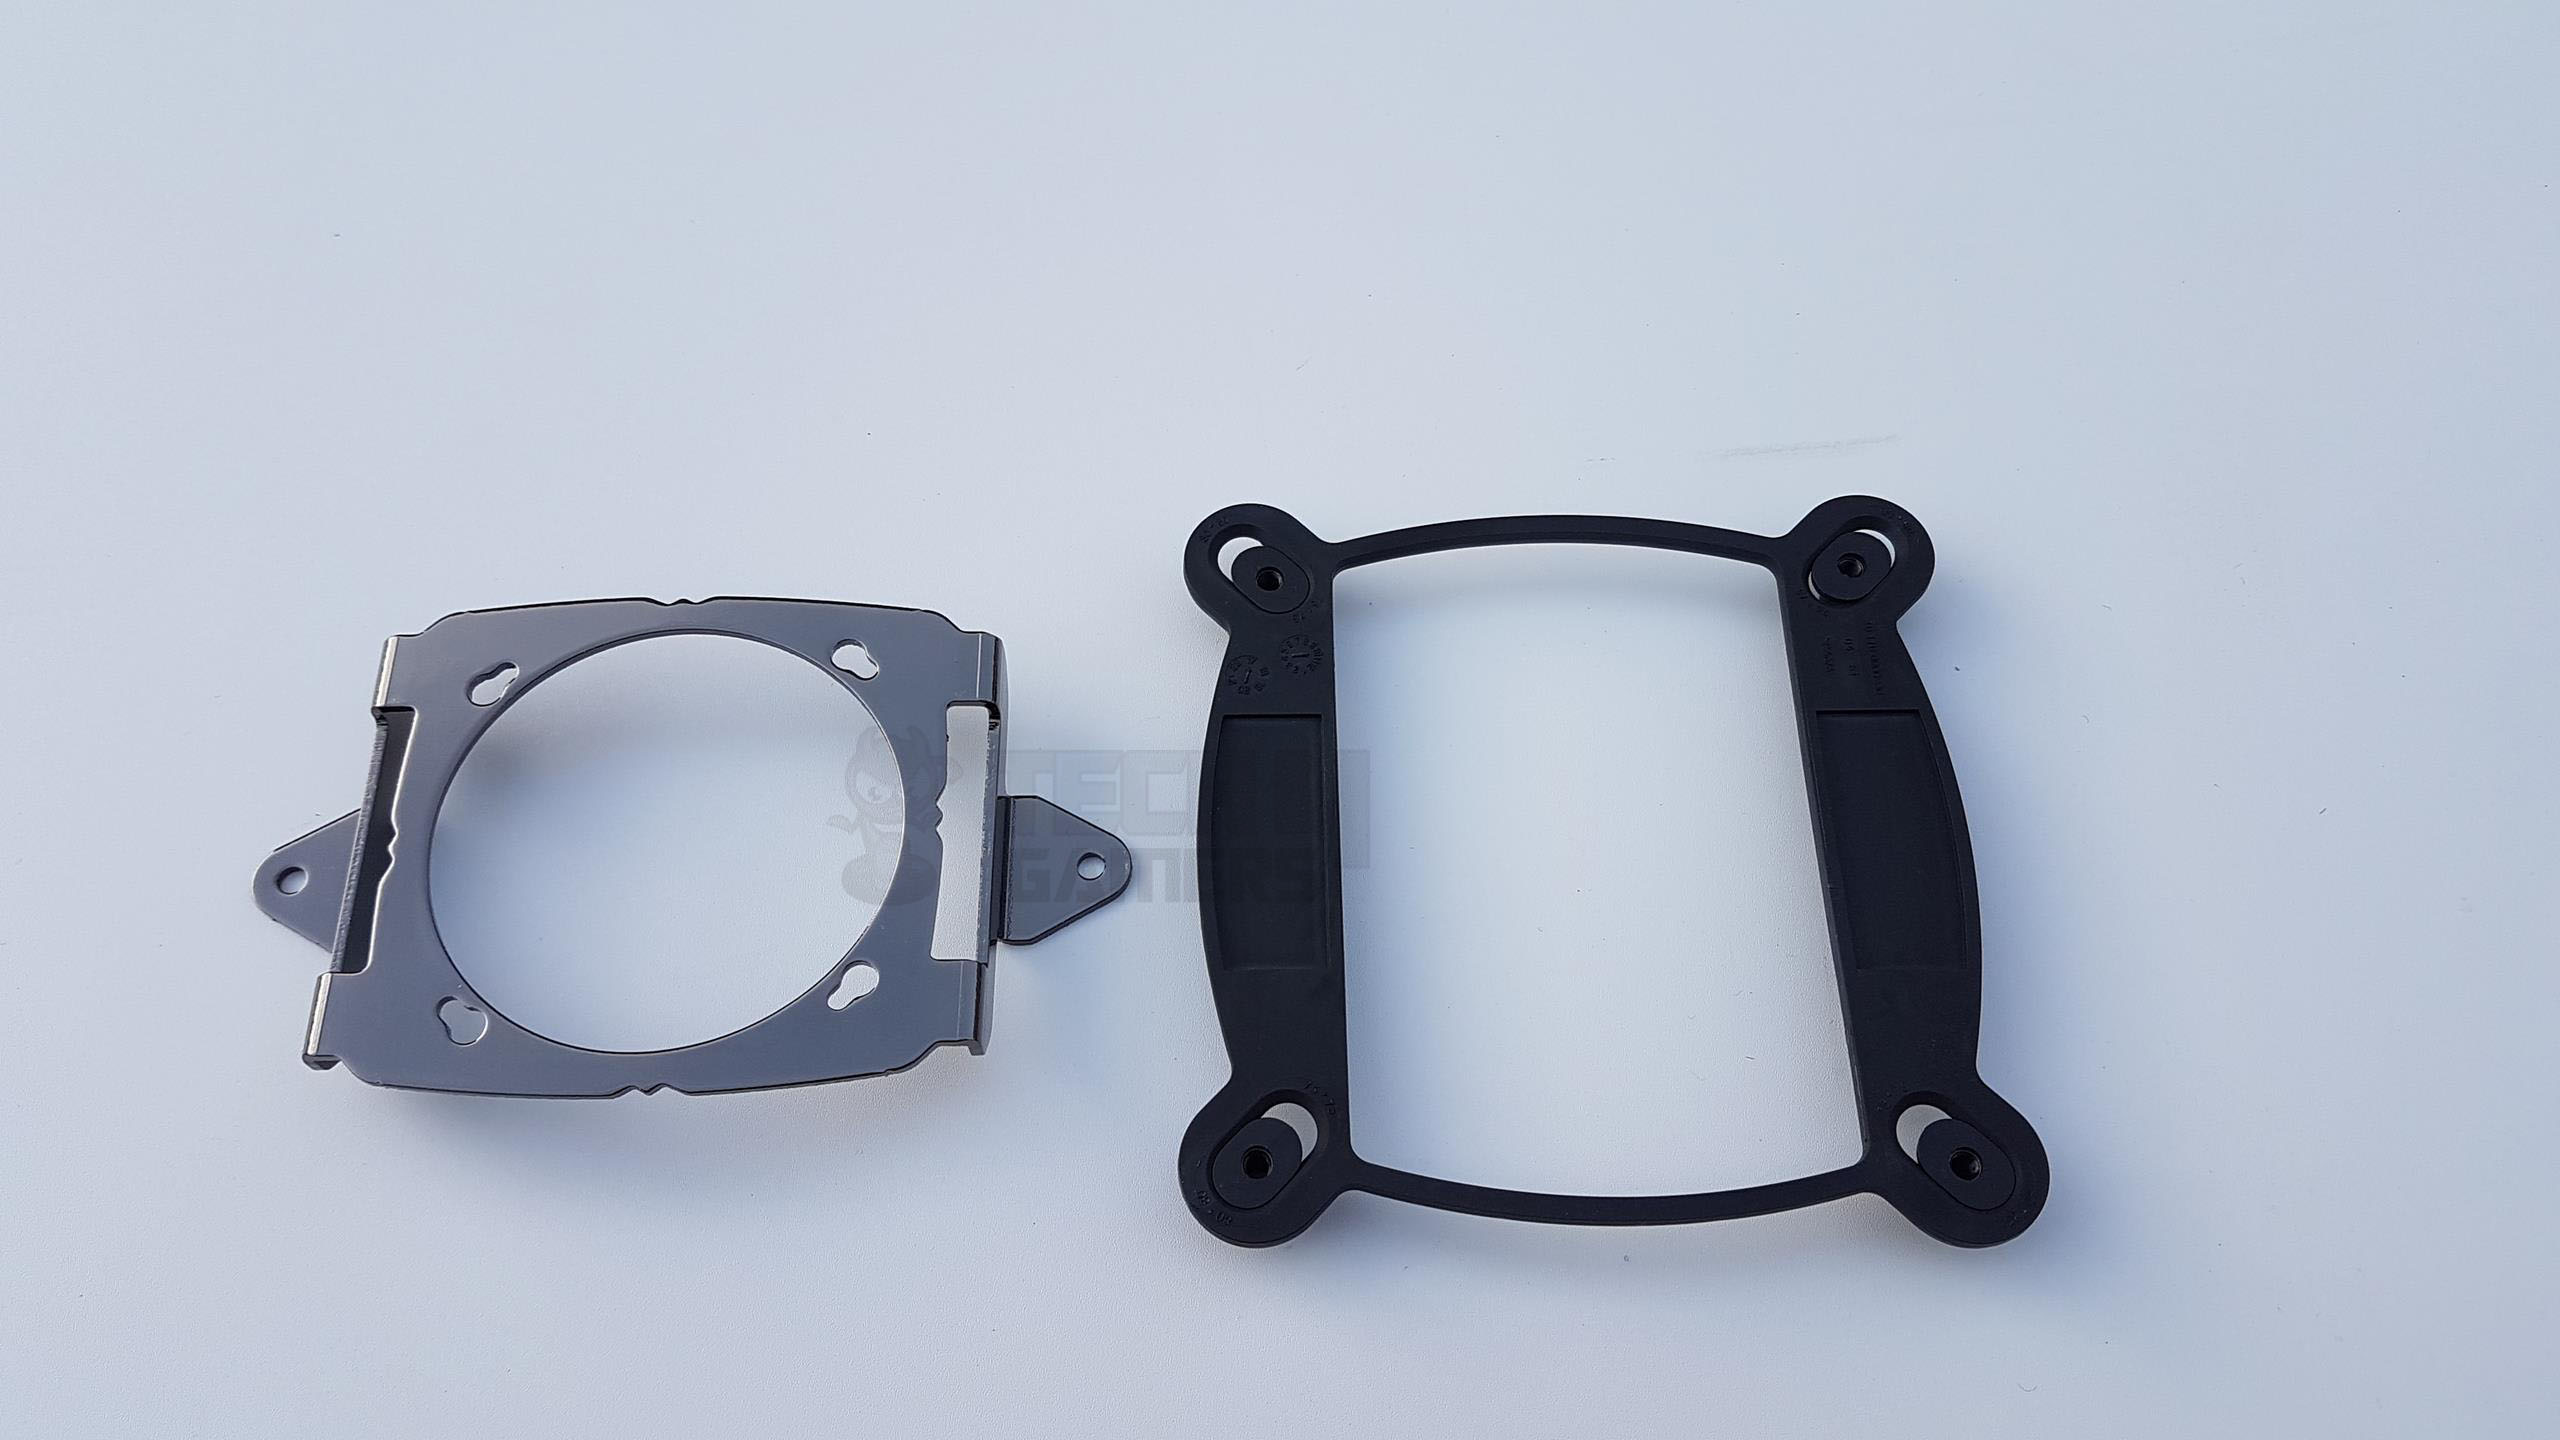
The accessories included with the package are three ML120 PWM fans, a Hydro Series H150i Pro, a mounting bracket and hardware, a Corsair Link 9-pin USB 2.0 cable, and a quick start guide.
Closer Look
H150i Pro is a 360mm closed-loop liquid cooler from Corsair. Let’s take a closer look at the unit and see what it is all about.
Radiator
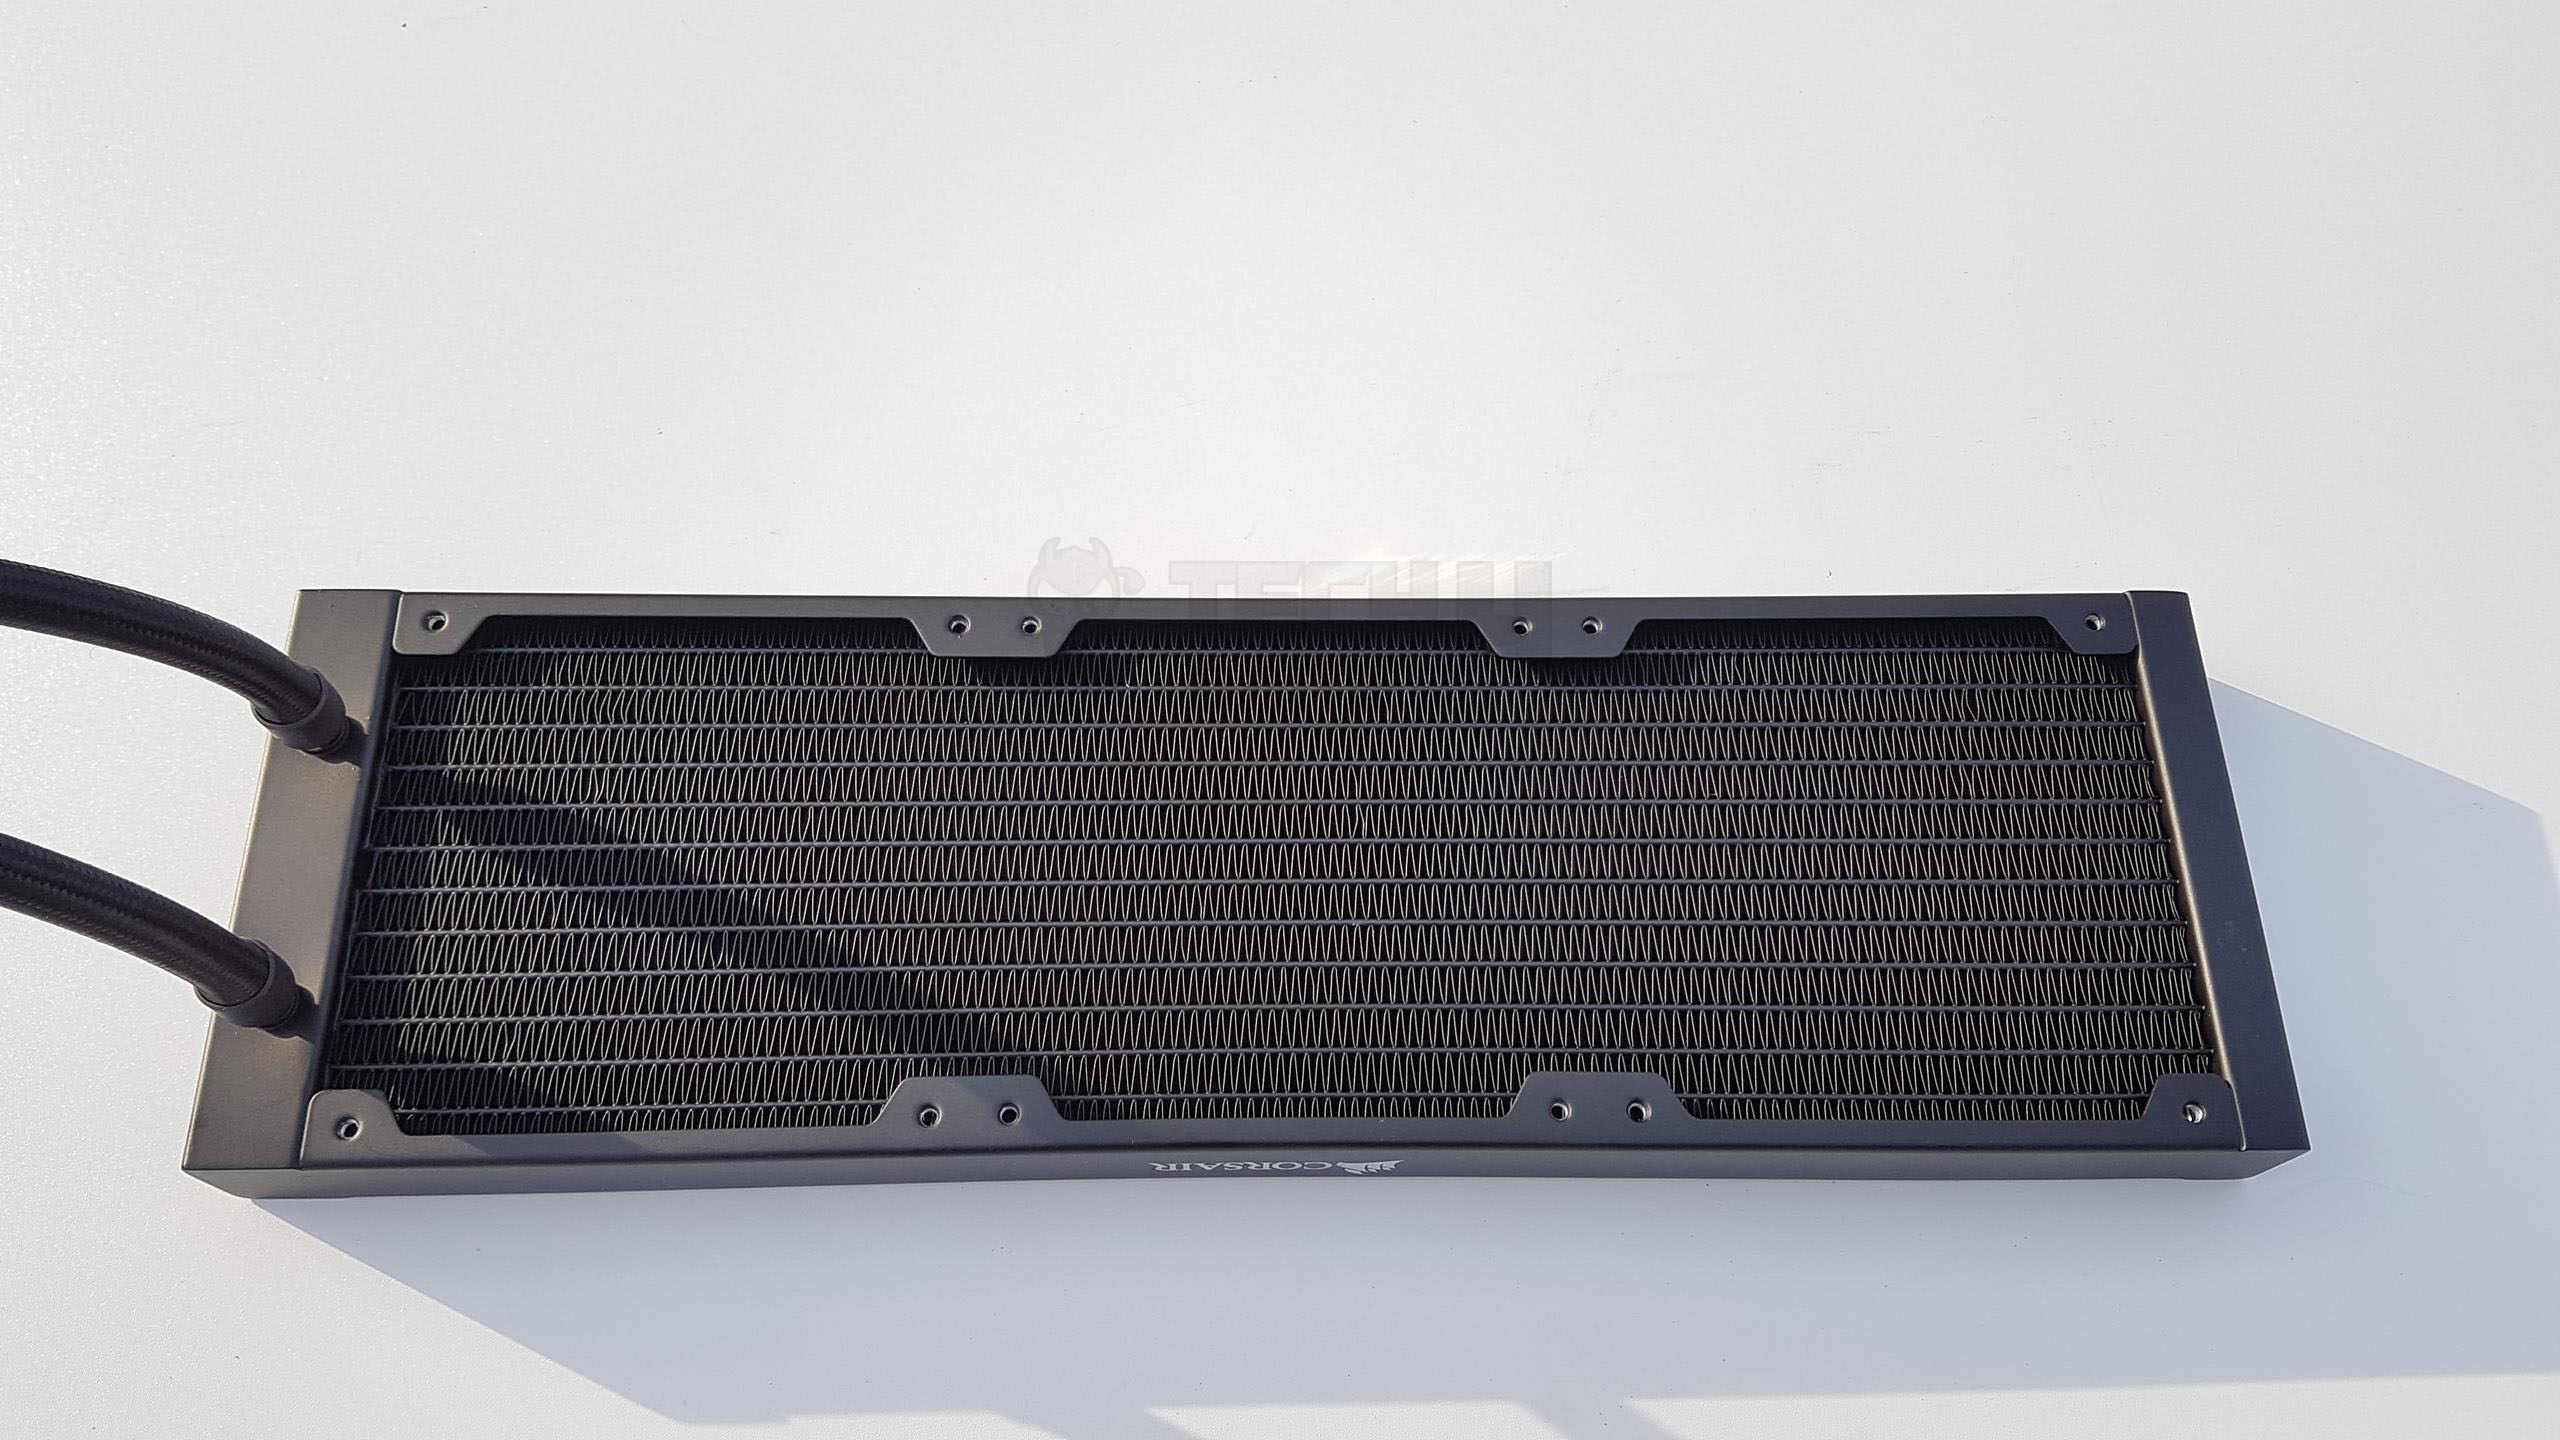
It has a 360mm radiator with three non-RGB, 120mm ML series Low Noise PWM fans. Don’t confuse these fans with the regular ML series fans which are high-performance series fans. We will give a rundown of the specification comparison of fans below.
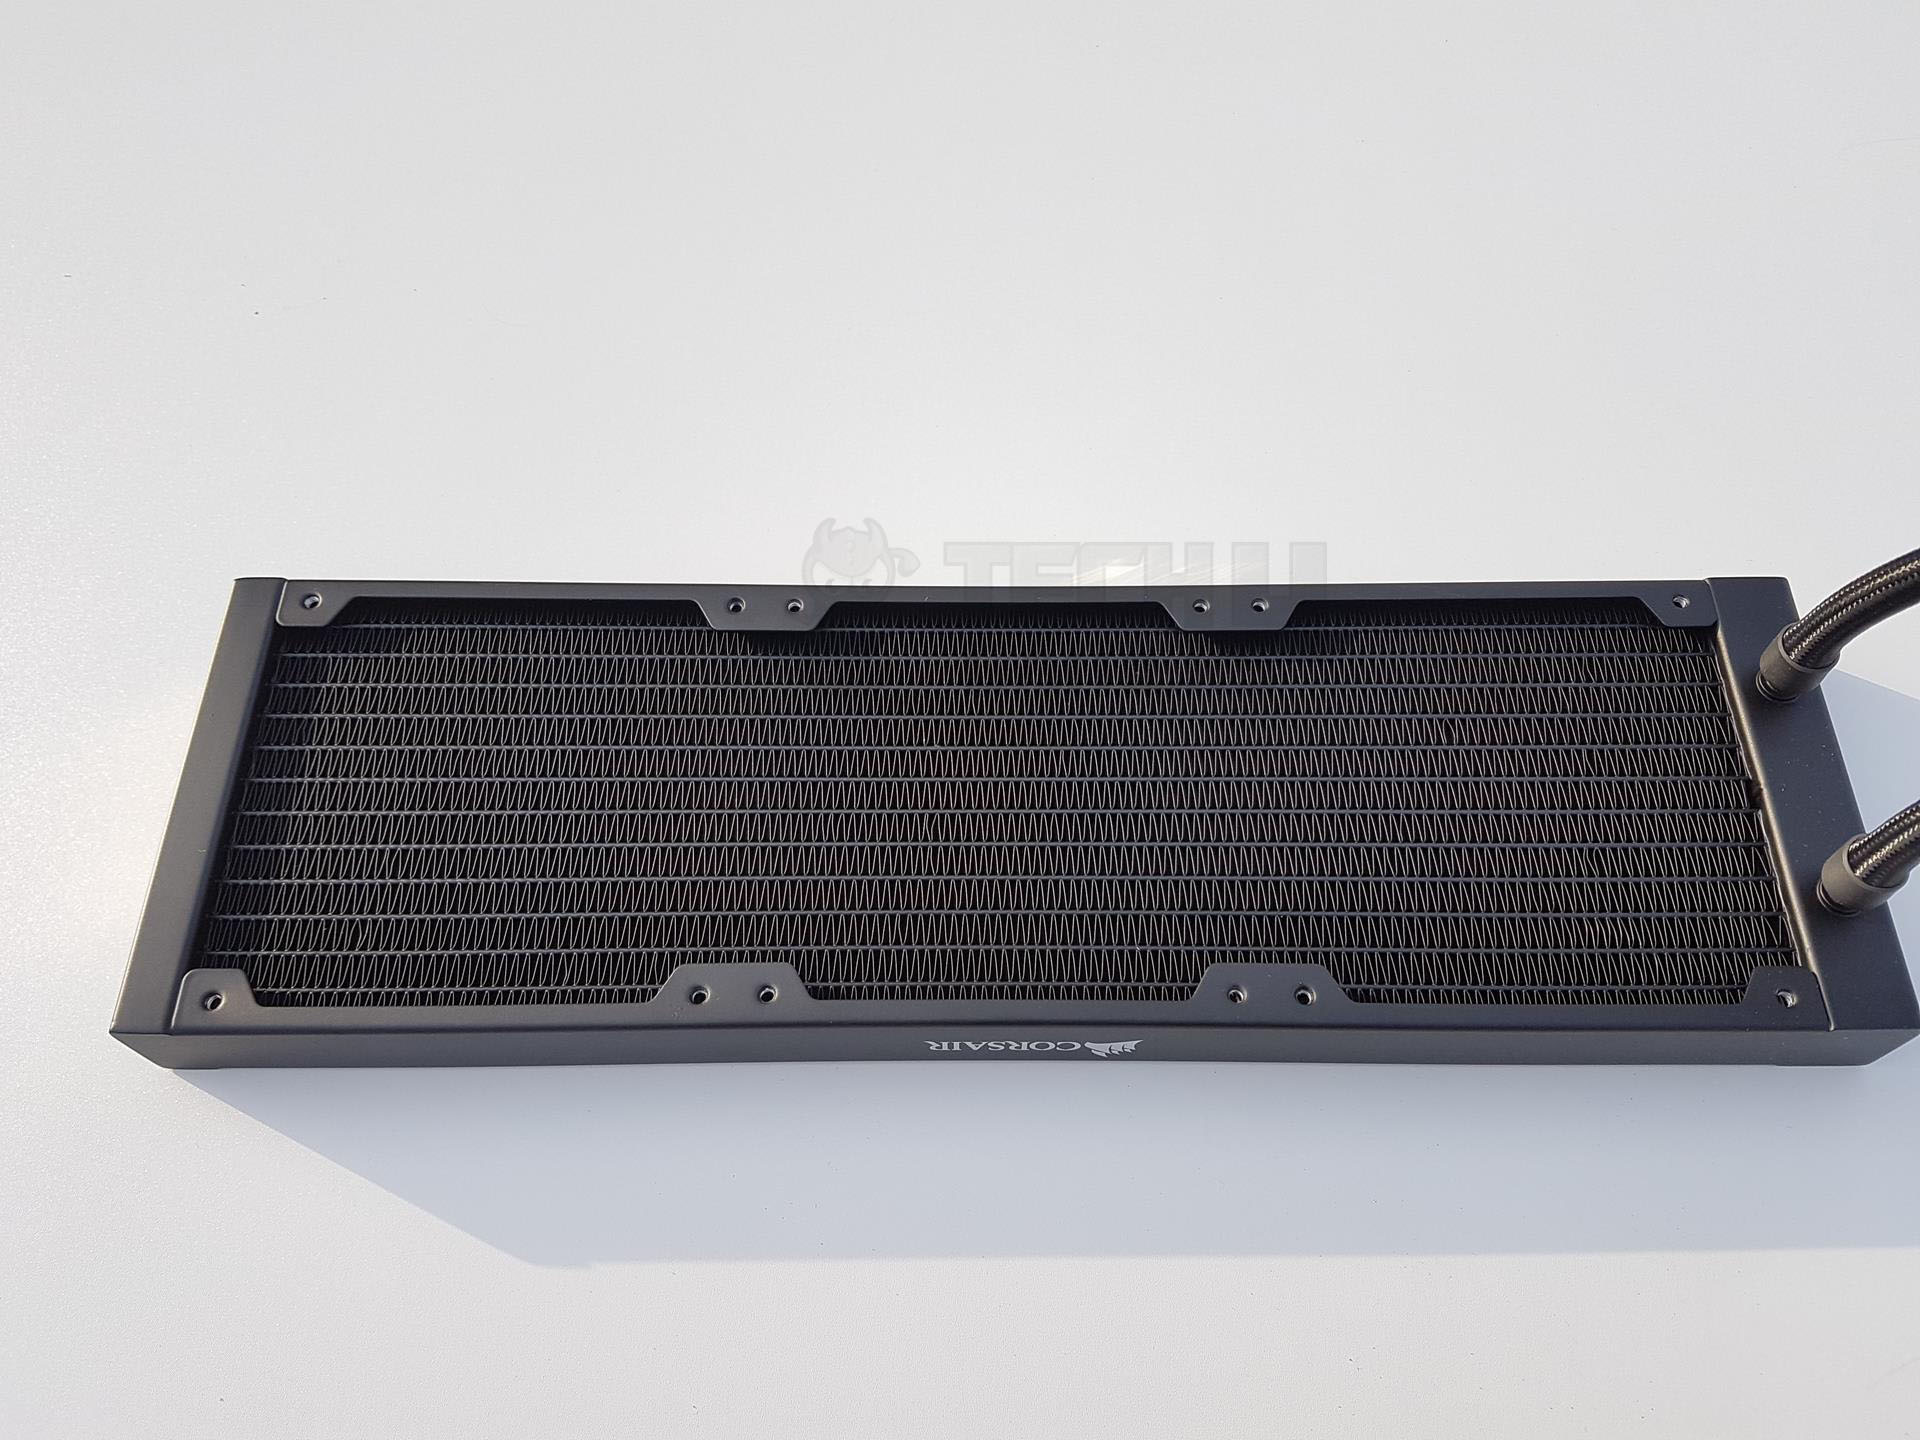
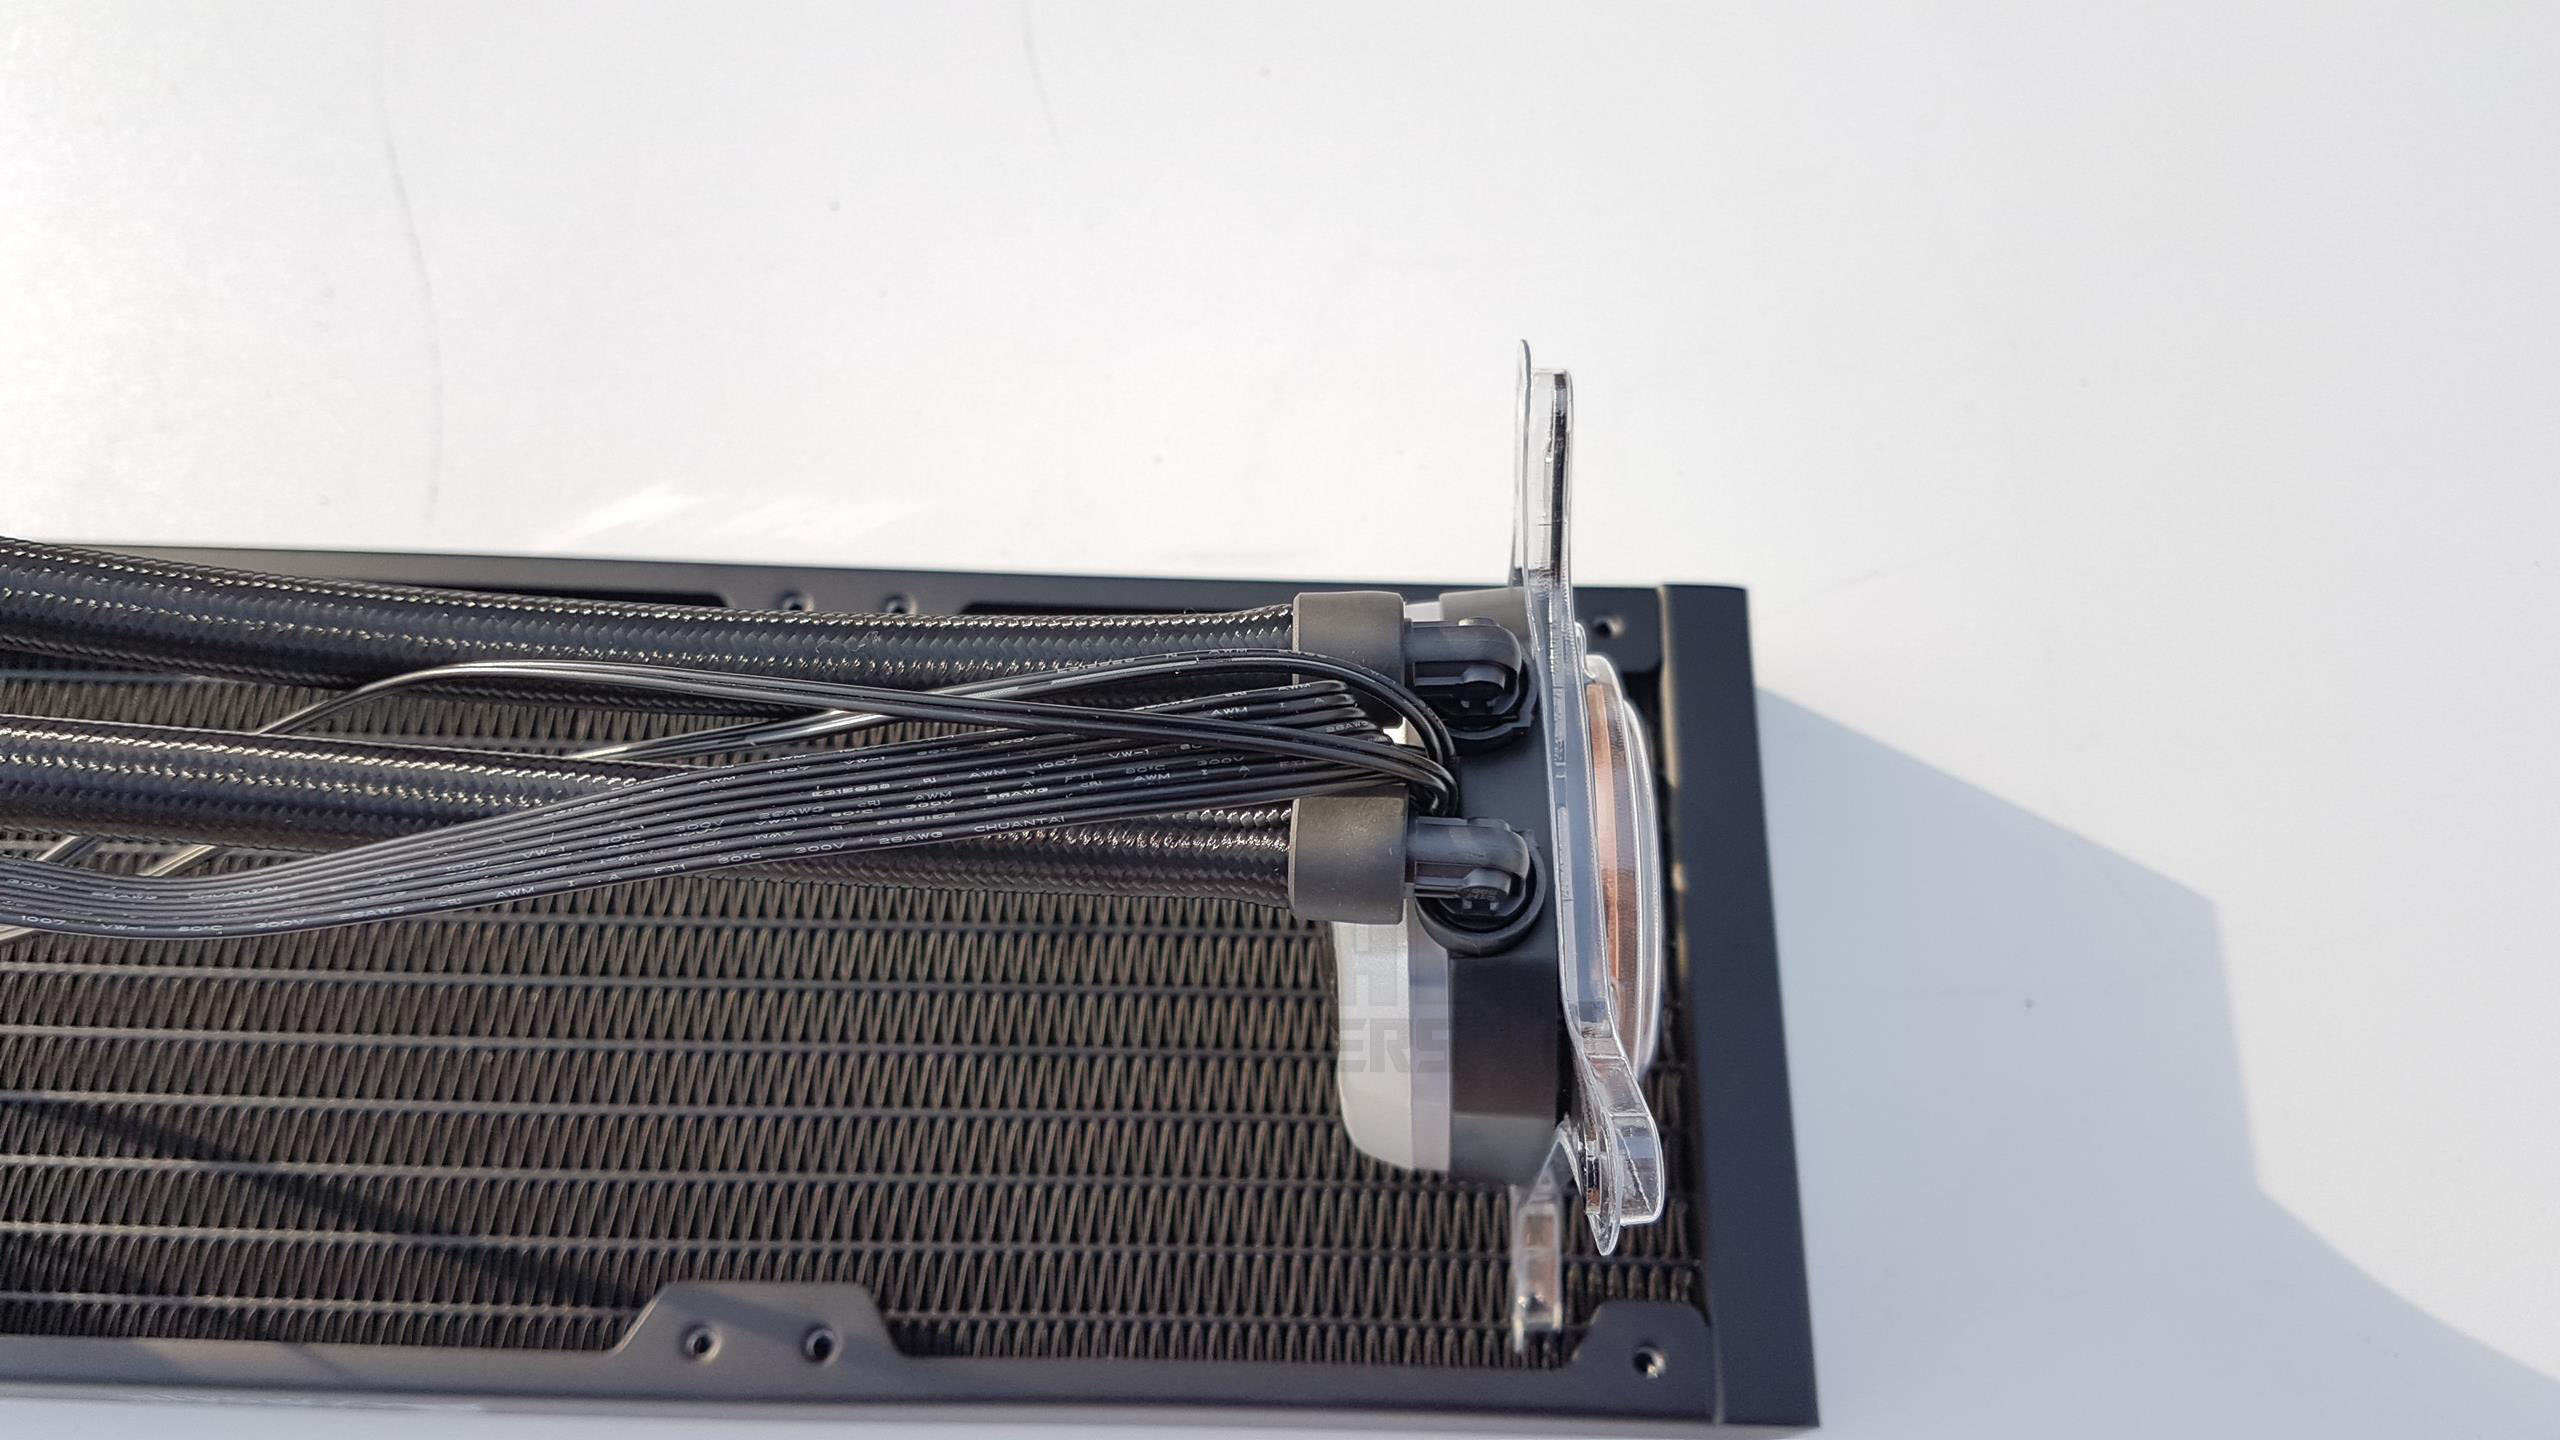
The radiator dimensions are 396x120x27mm, with a 27mm thickness. With 25mm fans, the total thickness is 52mm. It has a dense fin stack with a 20 FPI count, made of lightweight aluminum.
The rectangular blocks on both ends enhance the unit’s aesthetics. There are 12 channels for water flow, featuring standard inlet and outlet blocks. Hot water enters through the inlet, traverses channels, and exits as cooler water through the outlet.
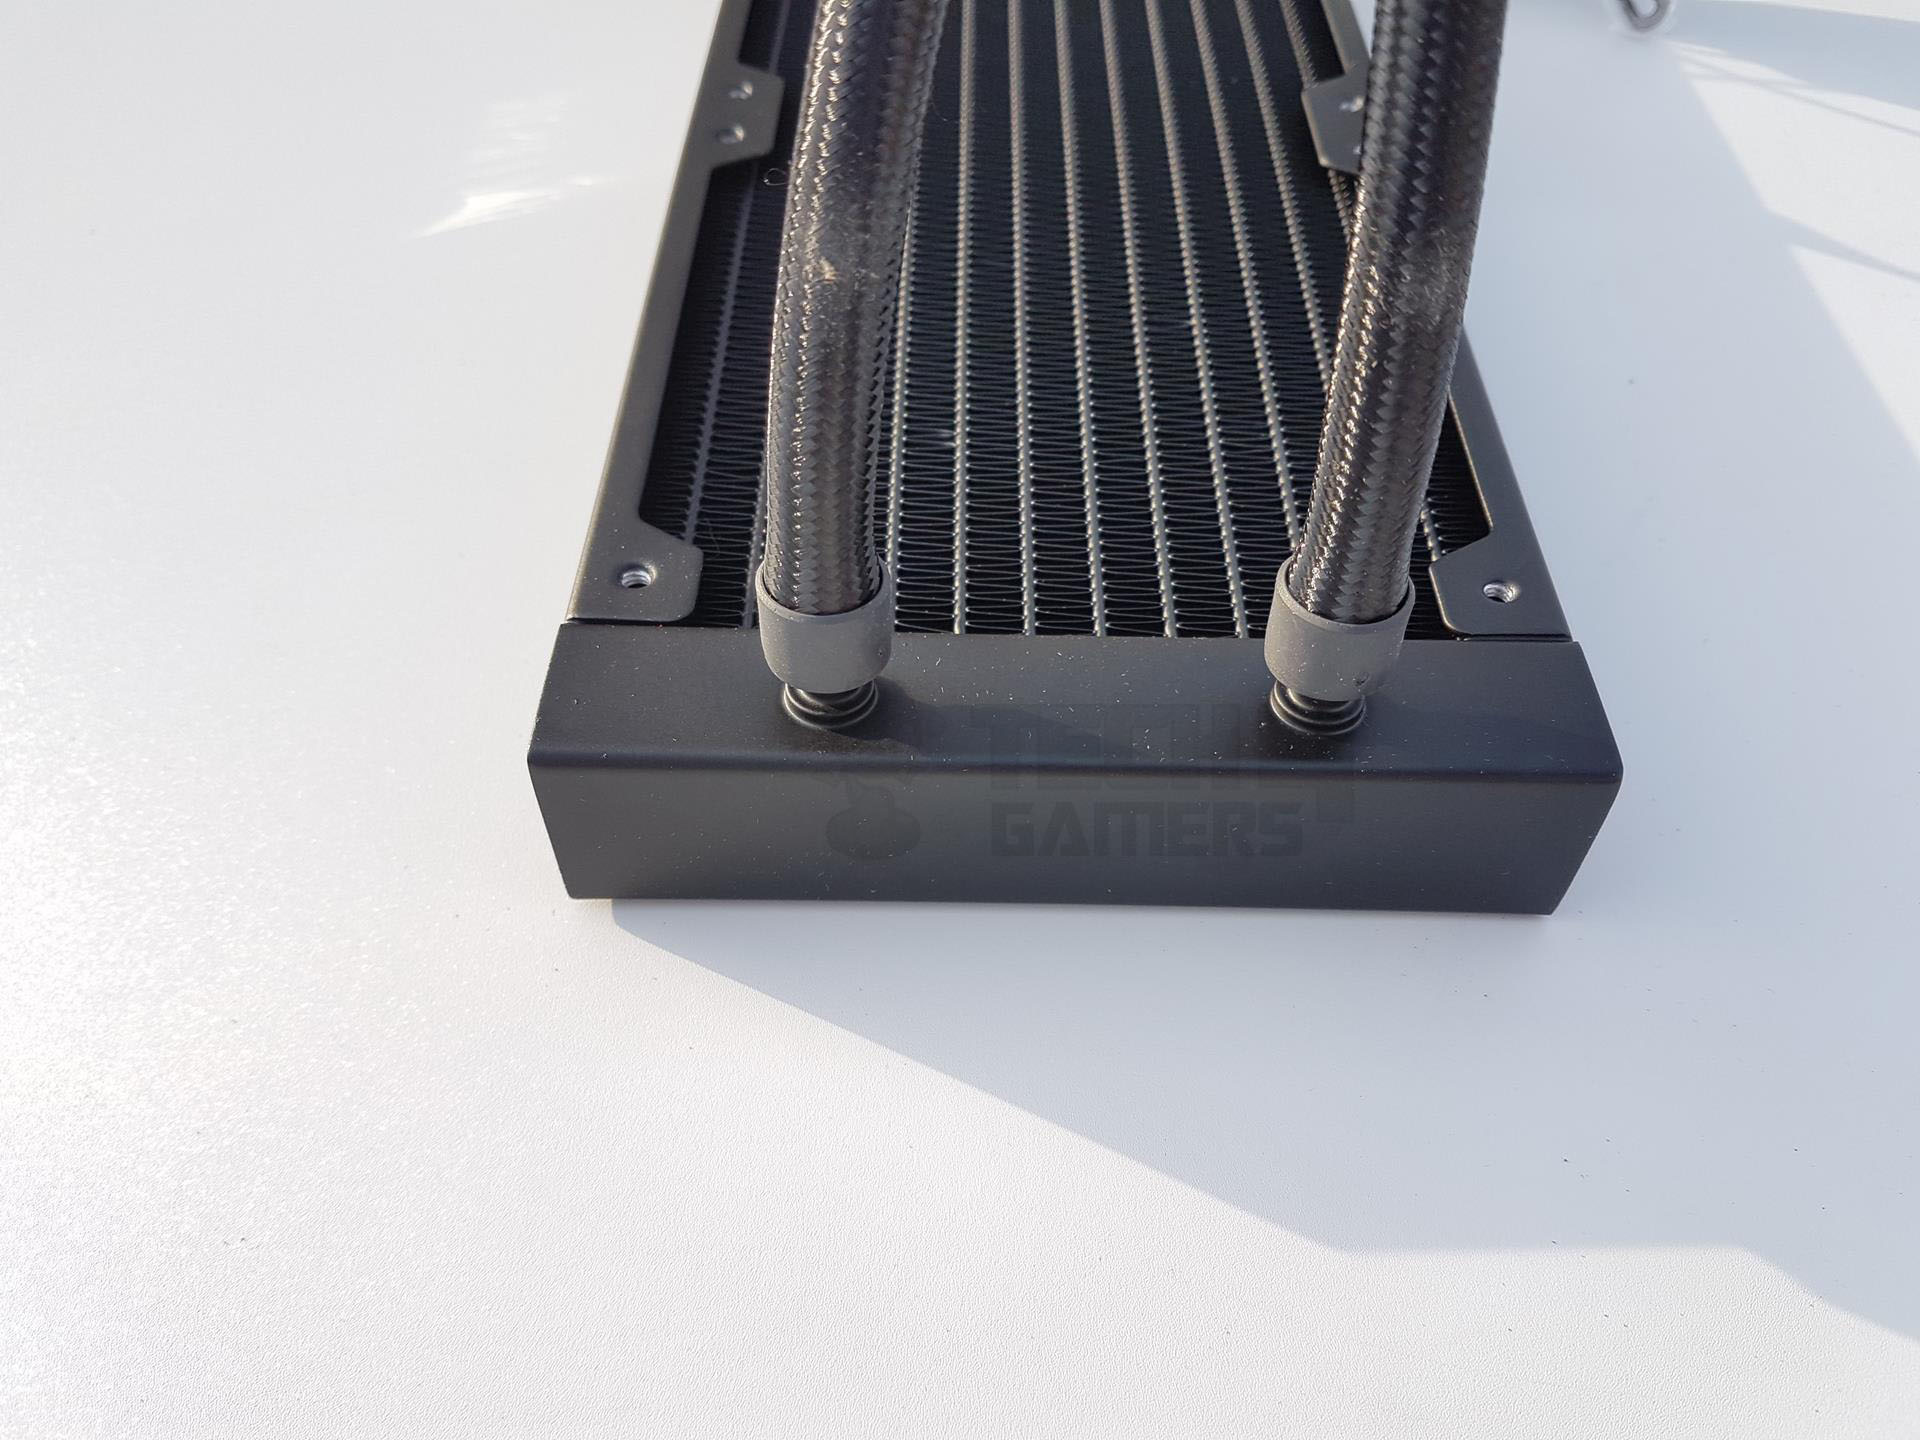
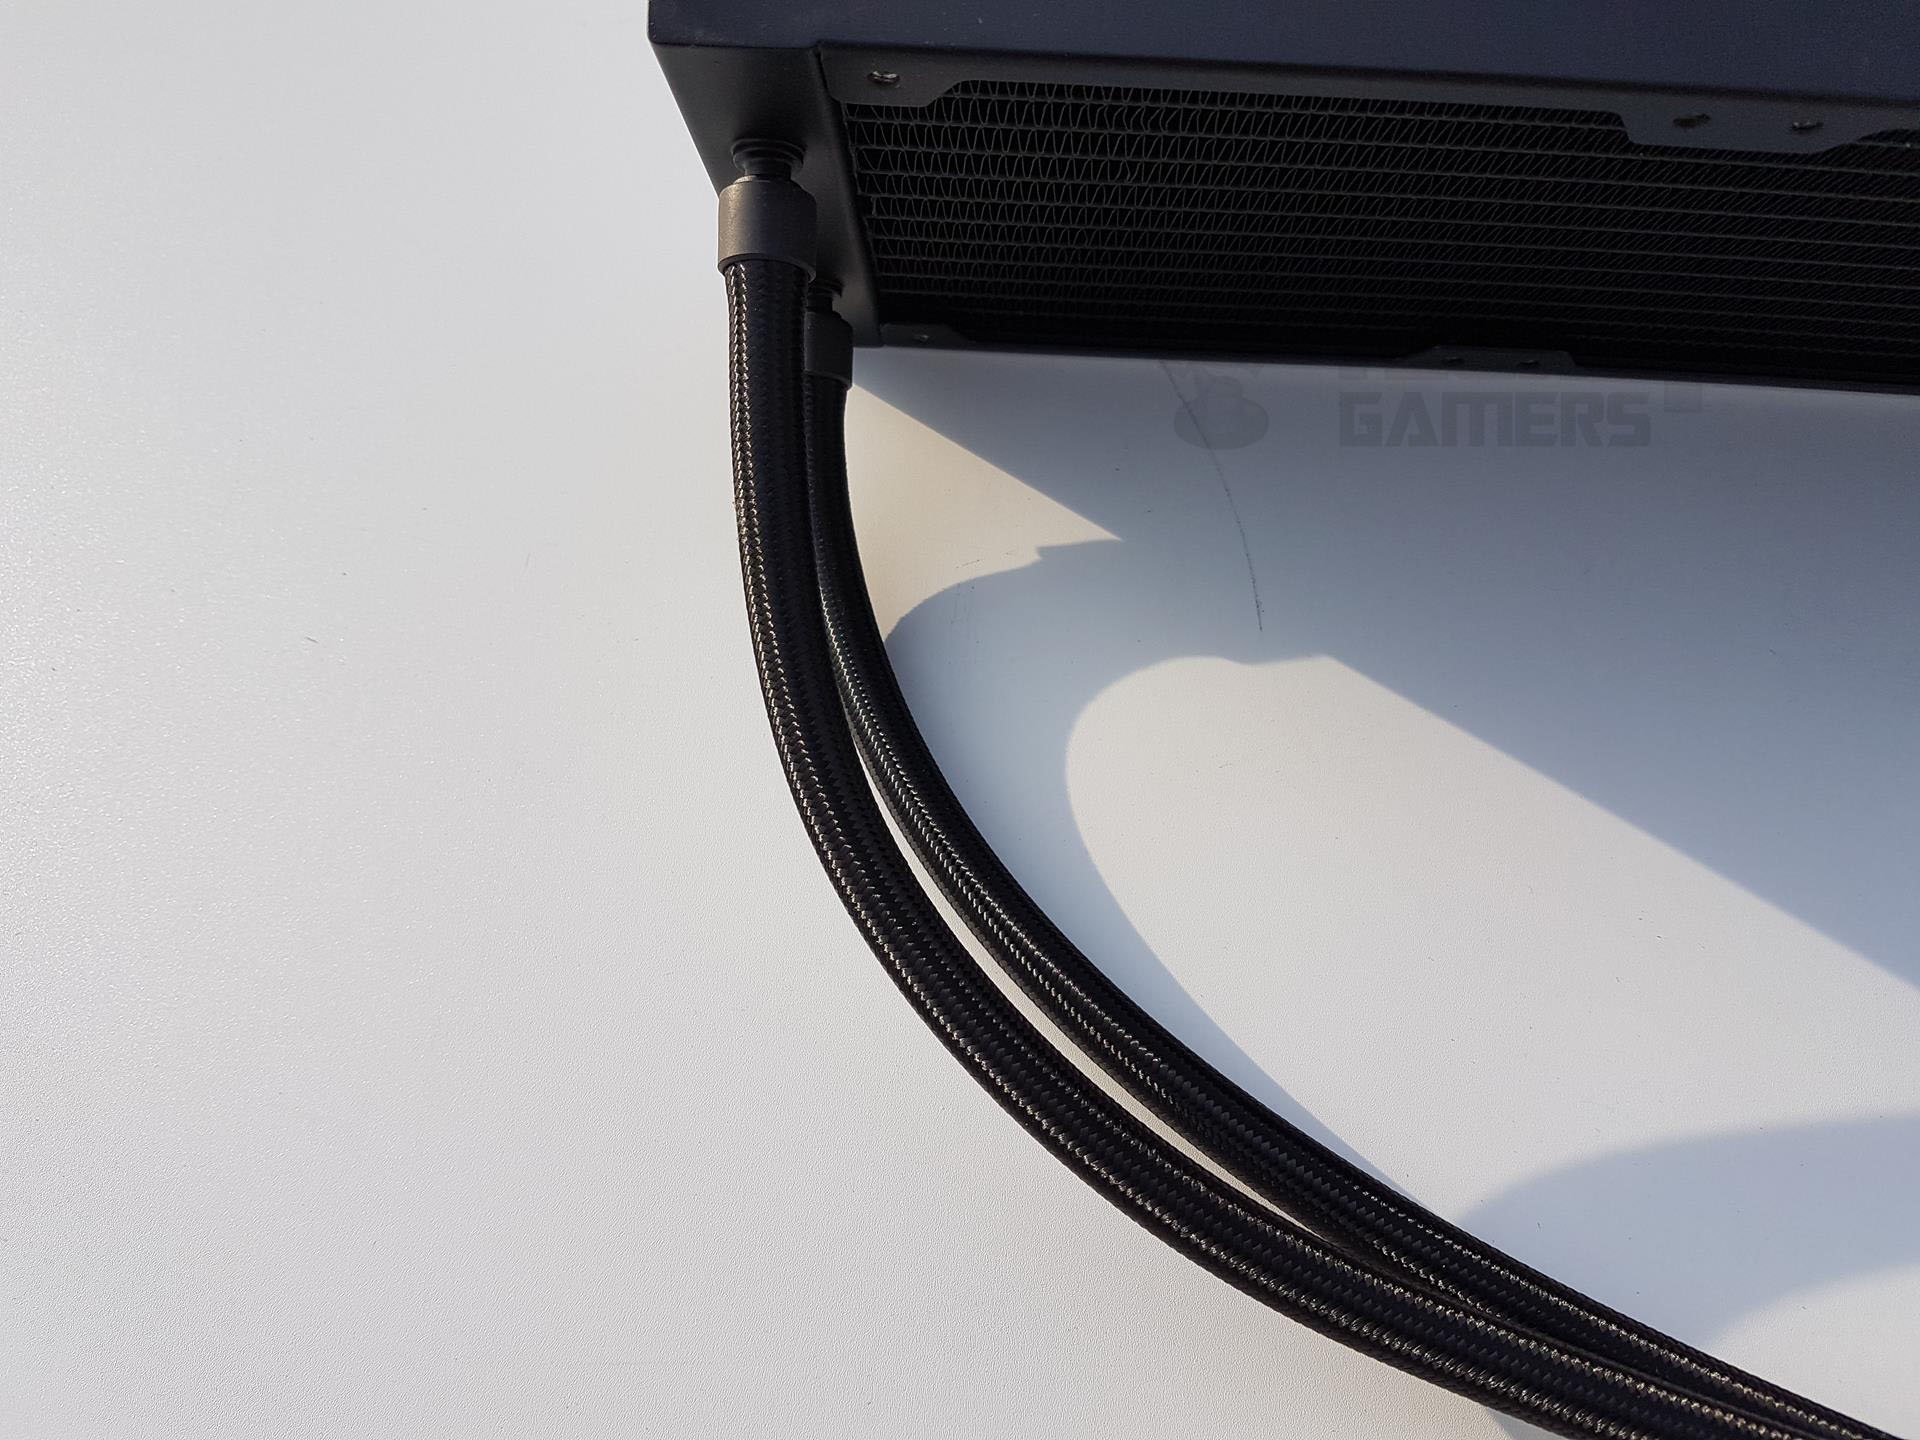
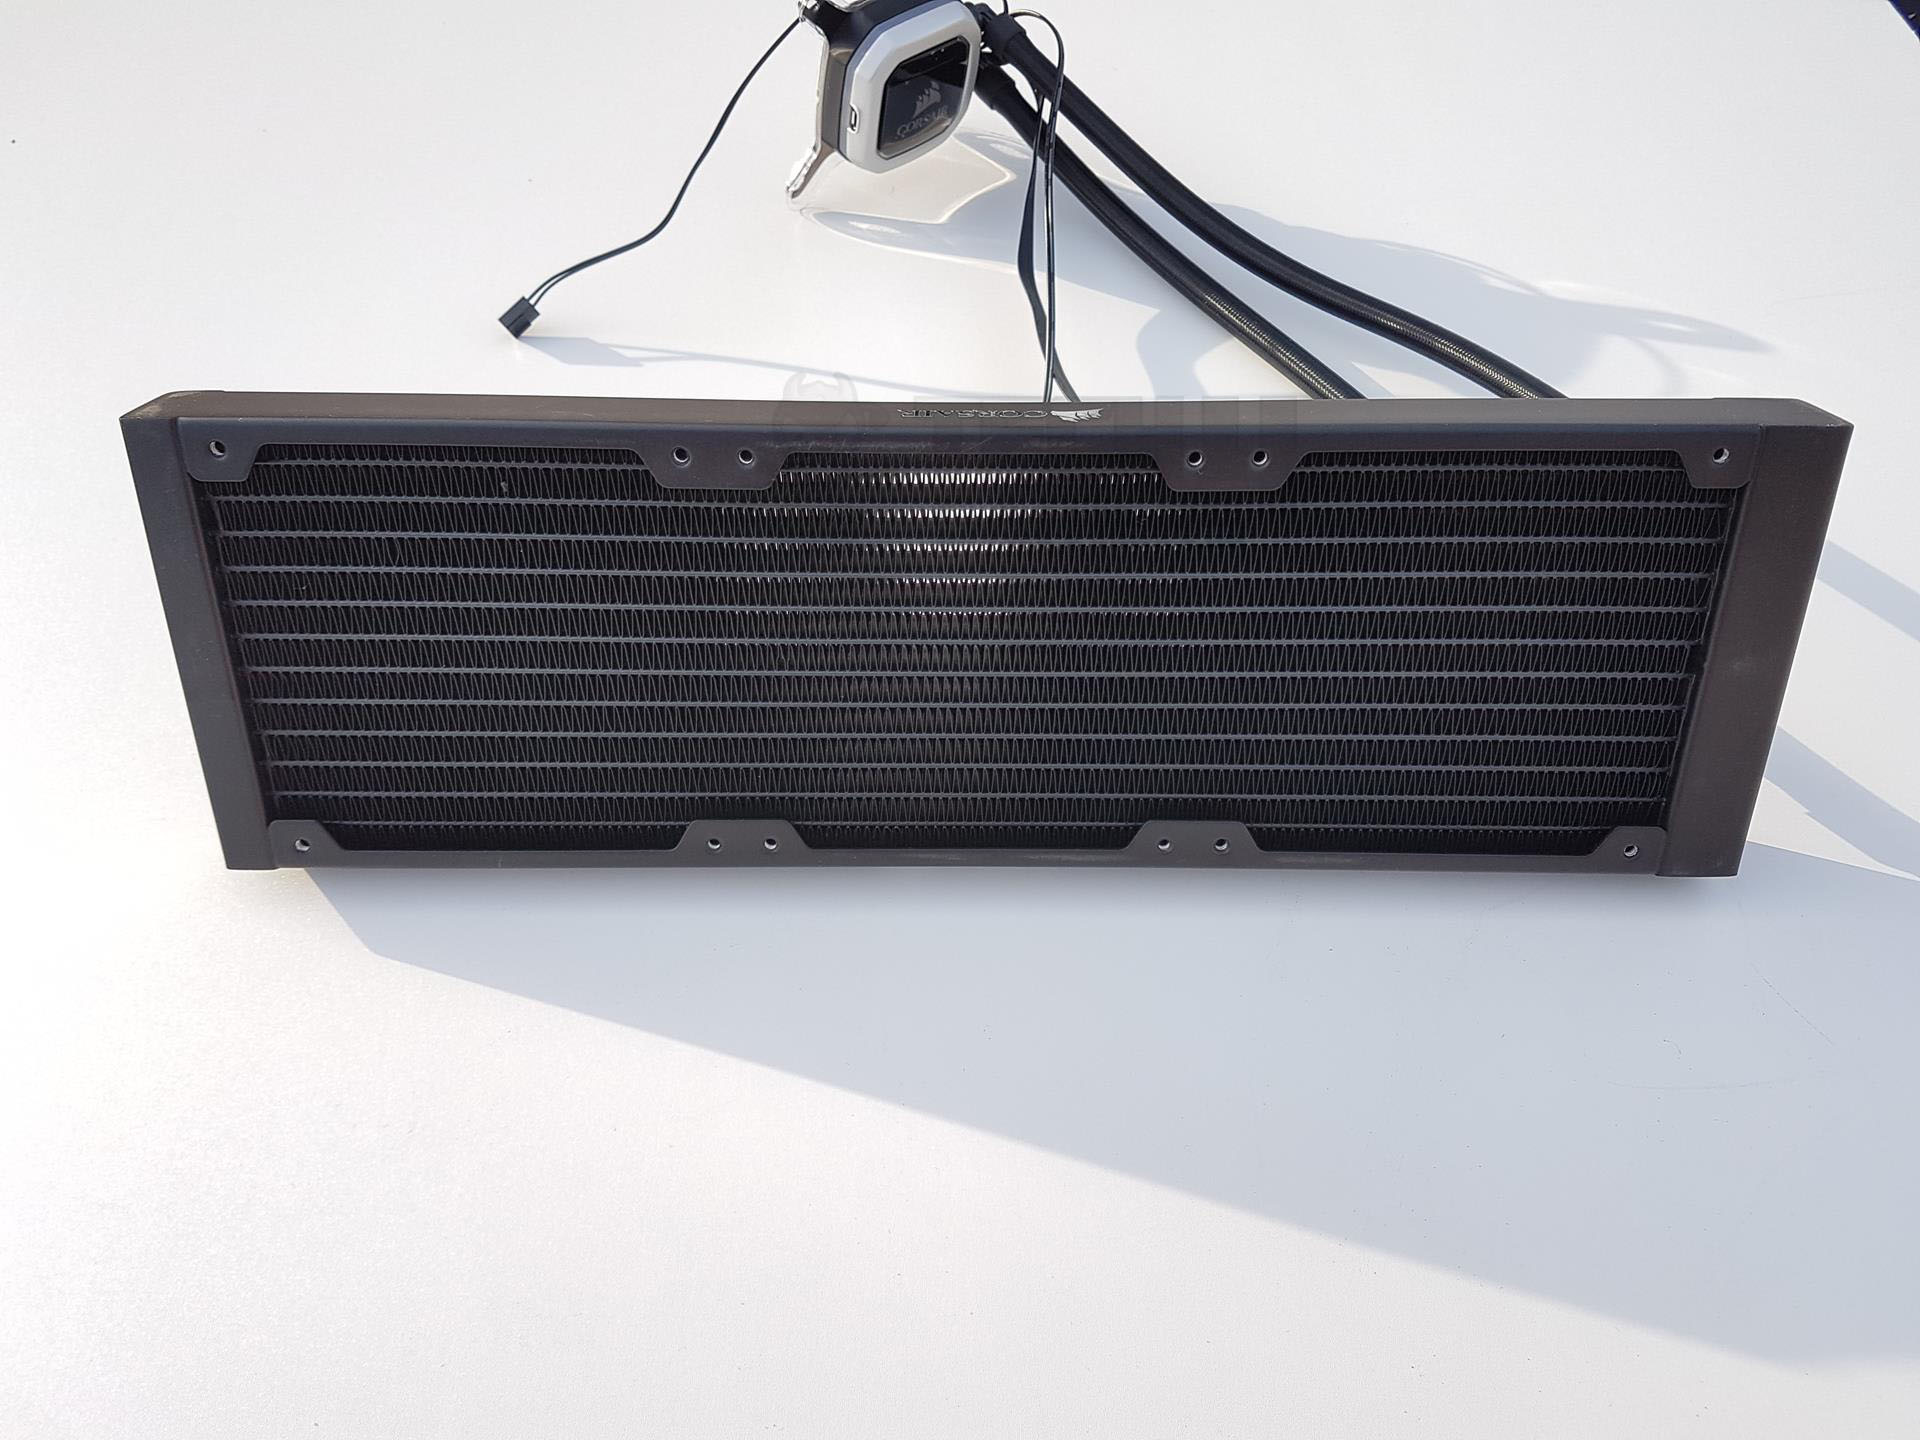
There are no protective sheets over the fins under the fan mounts. So, take care while mounting the fans as longer screws could damage the fins which would hamper the performance of the cooler. It is recommended to use the supplied long screws to mount the fans onto the radiators using the washers. The hoses are firmly fitted on the radiator assembly and on the pump housing.
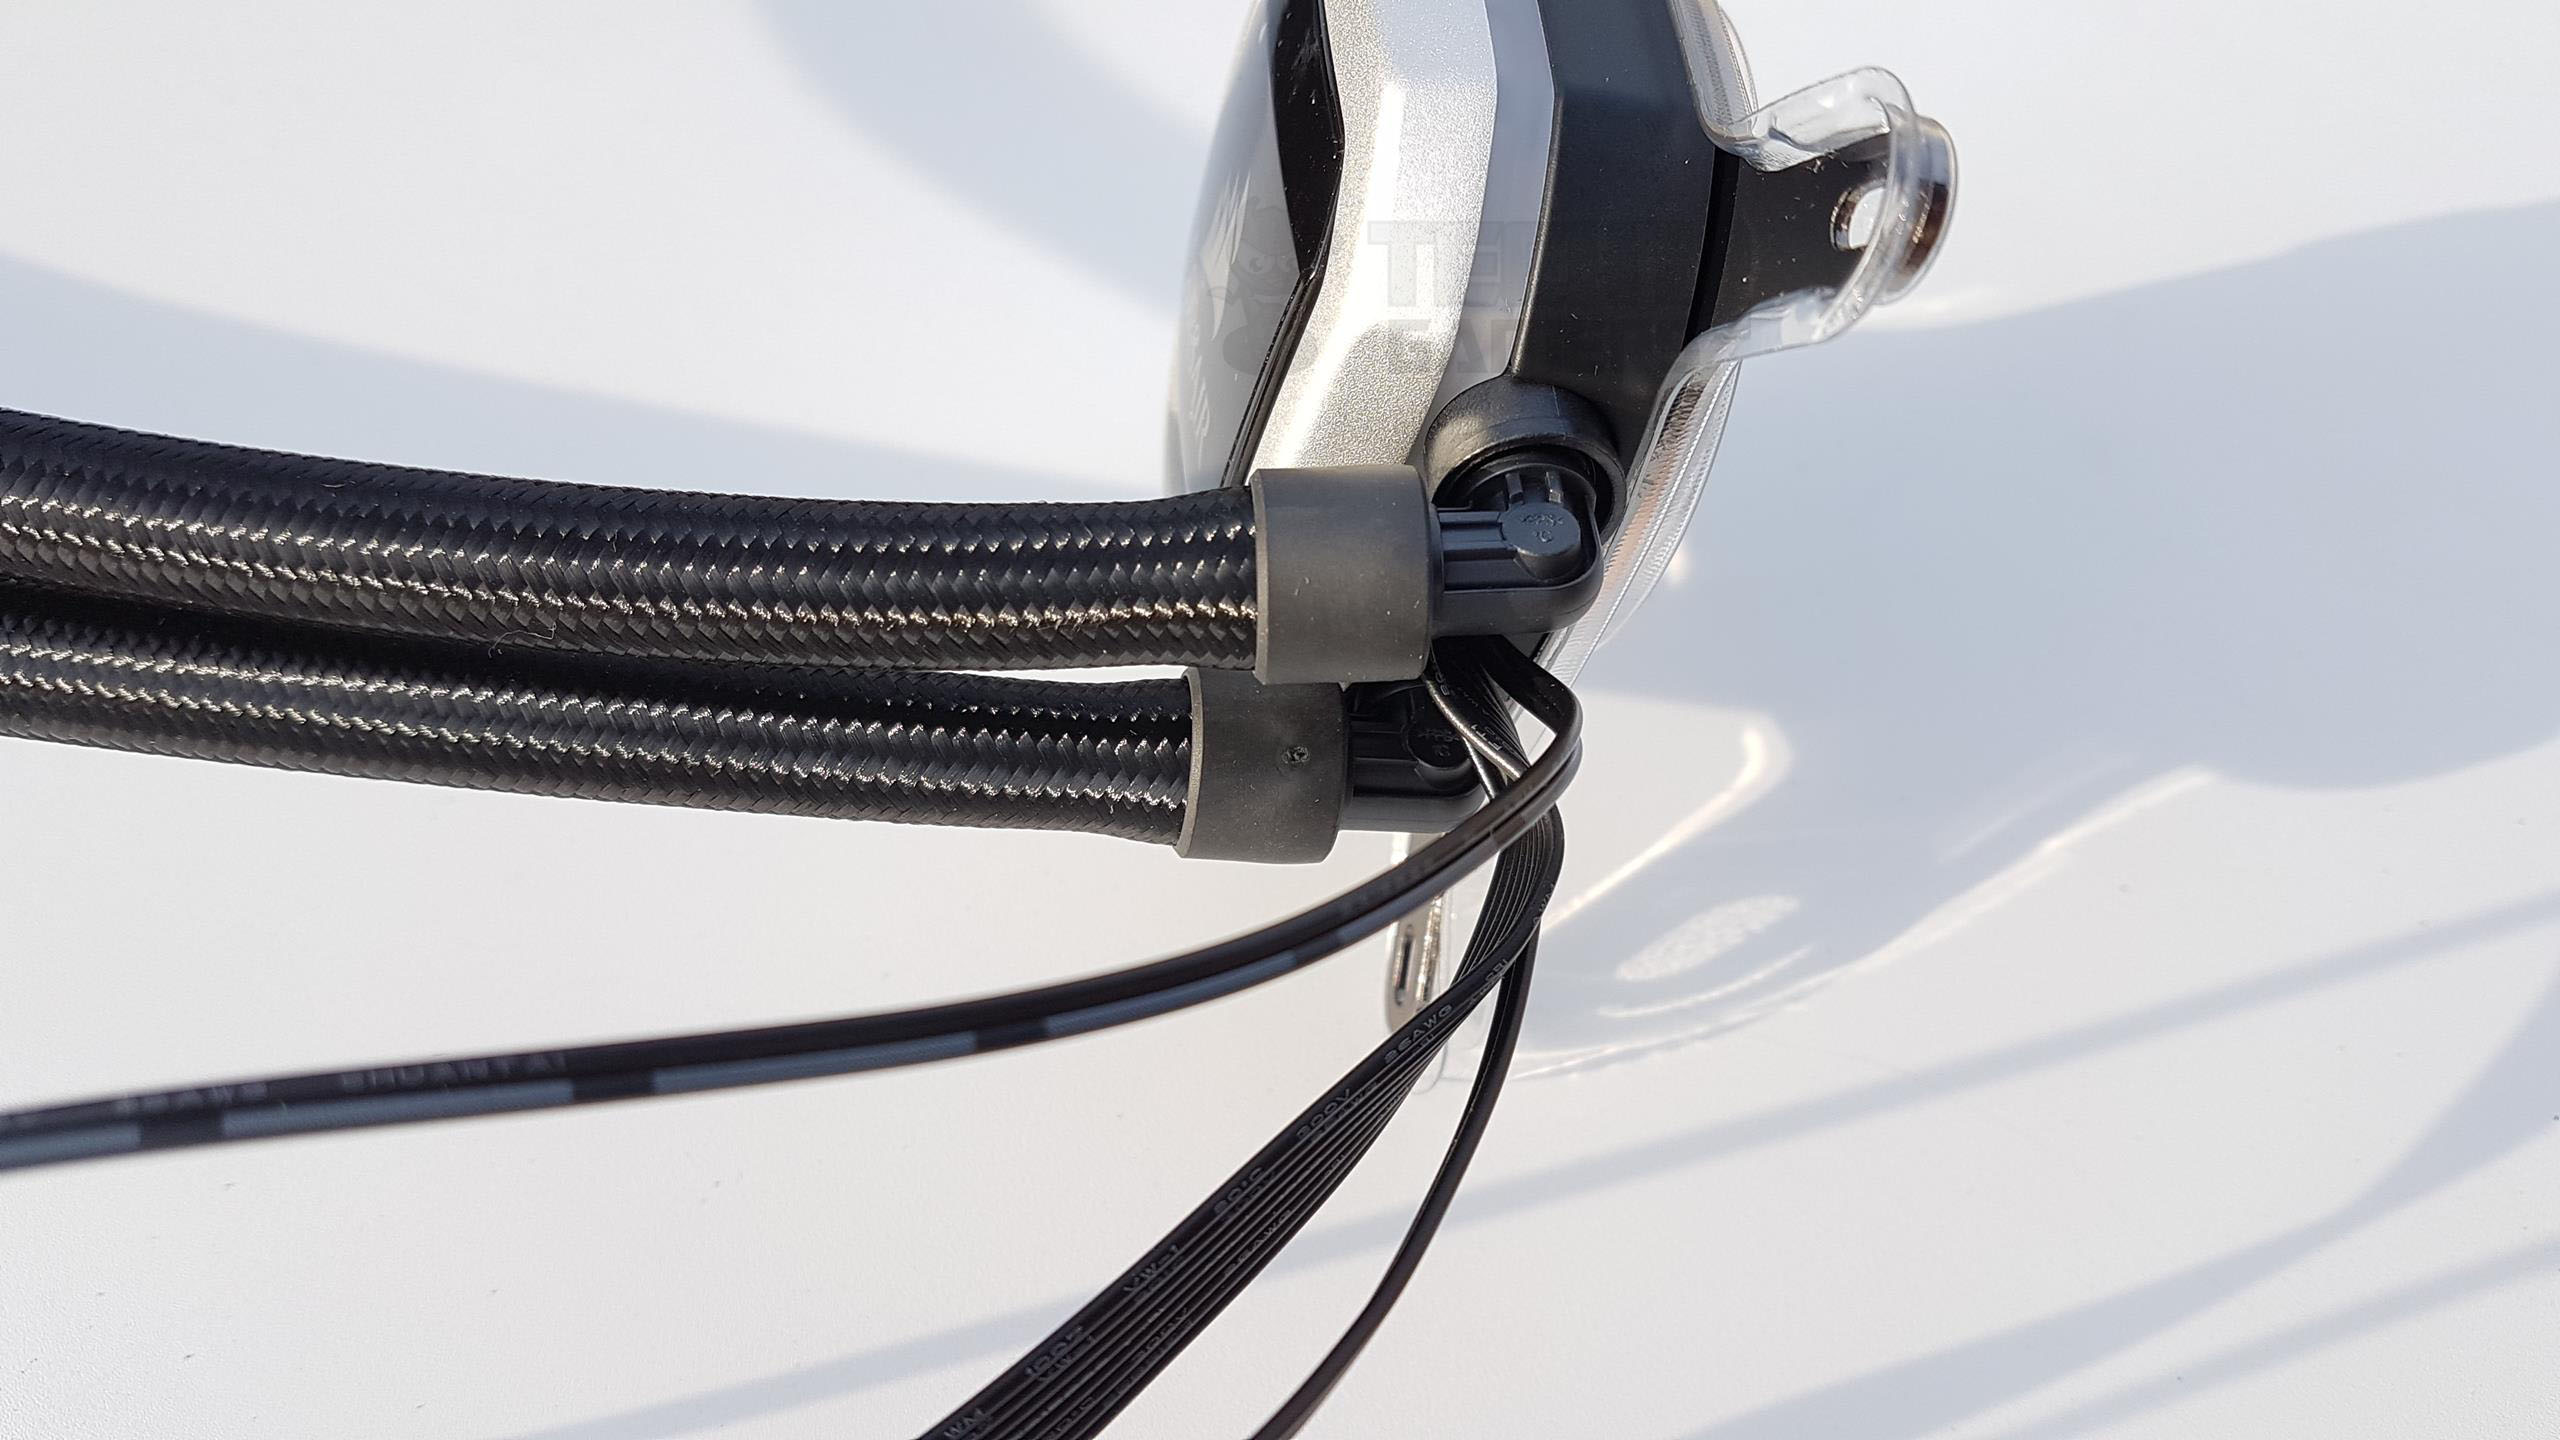
Corsair likely uses Teflon-based meshed hoses, though it’s not confirmed. The soft, flexible tubing doesn’t kink, a positive change from the previous Hydro series. Pro series hoses are thinner, making them easier to manage inside the chassis with the desired orientation.
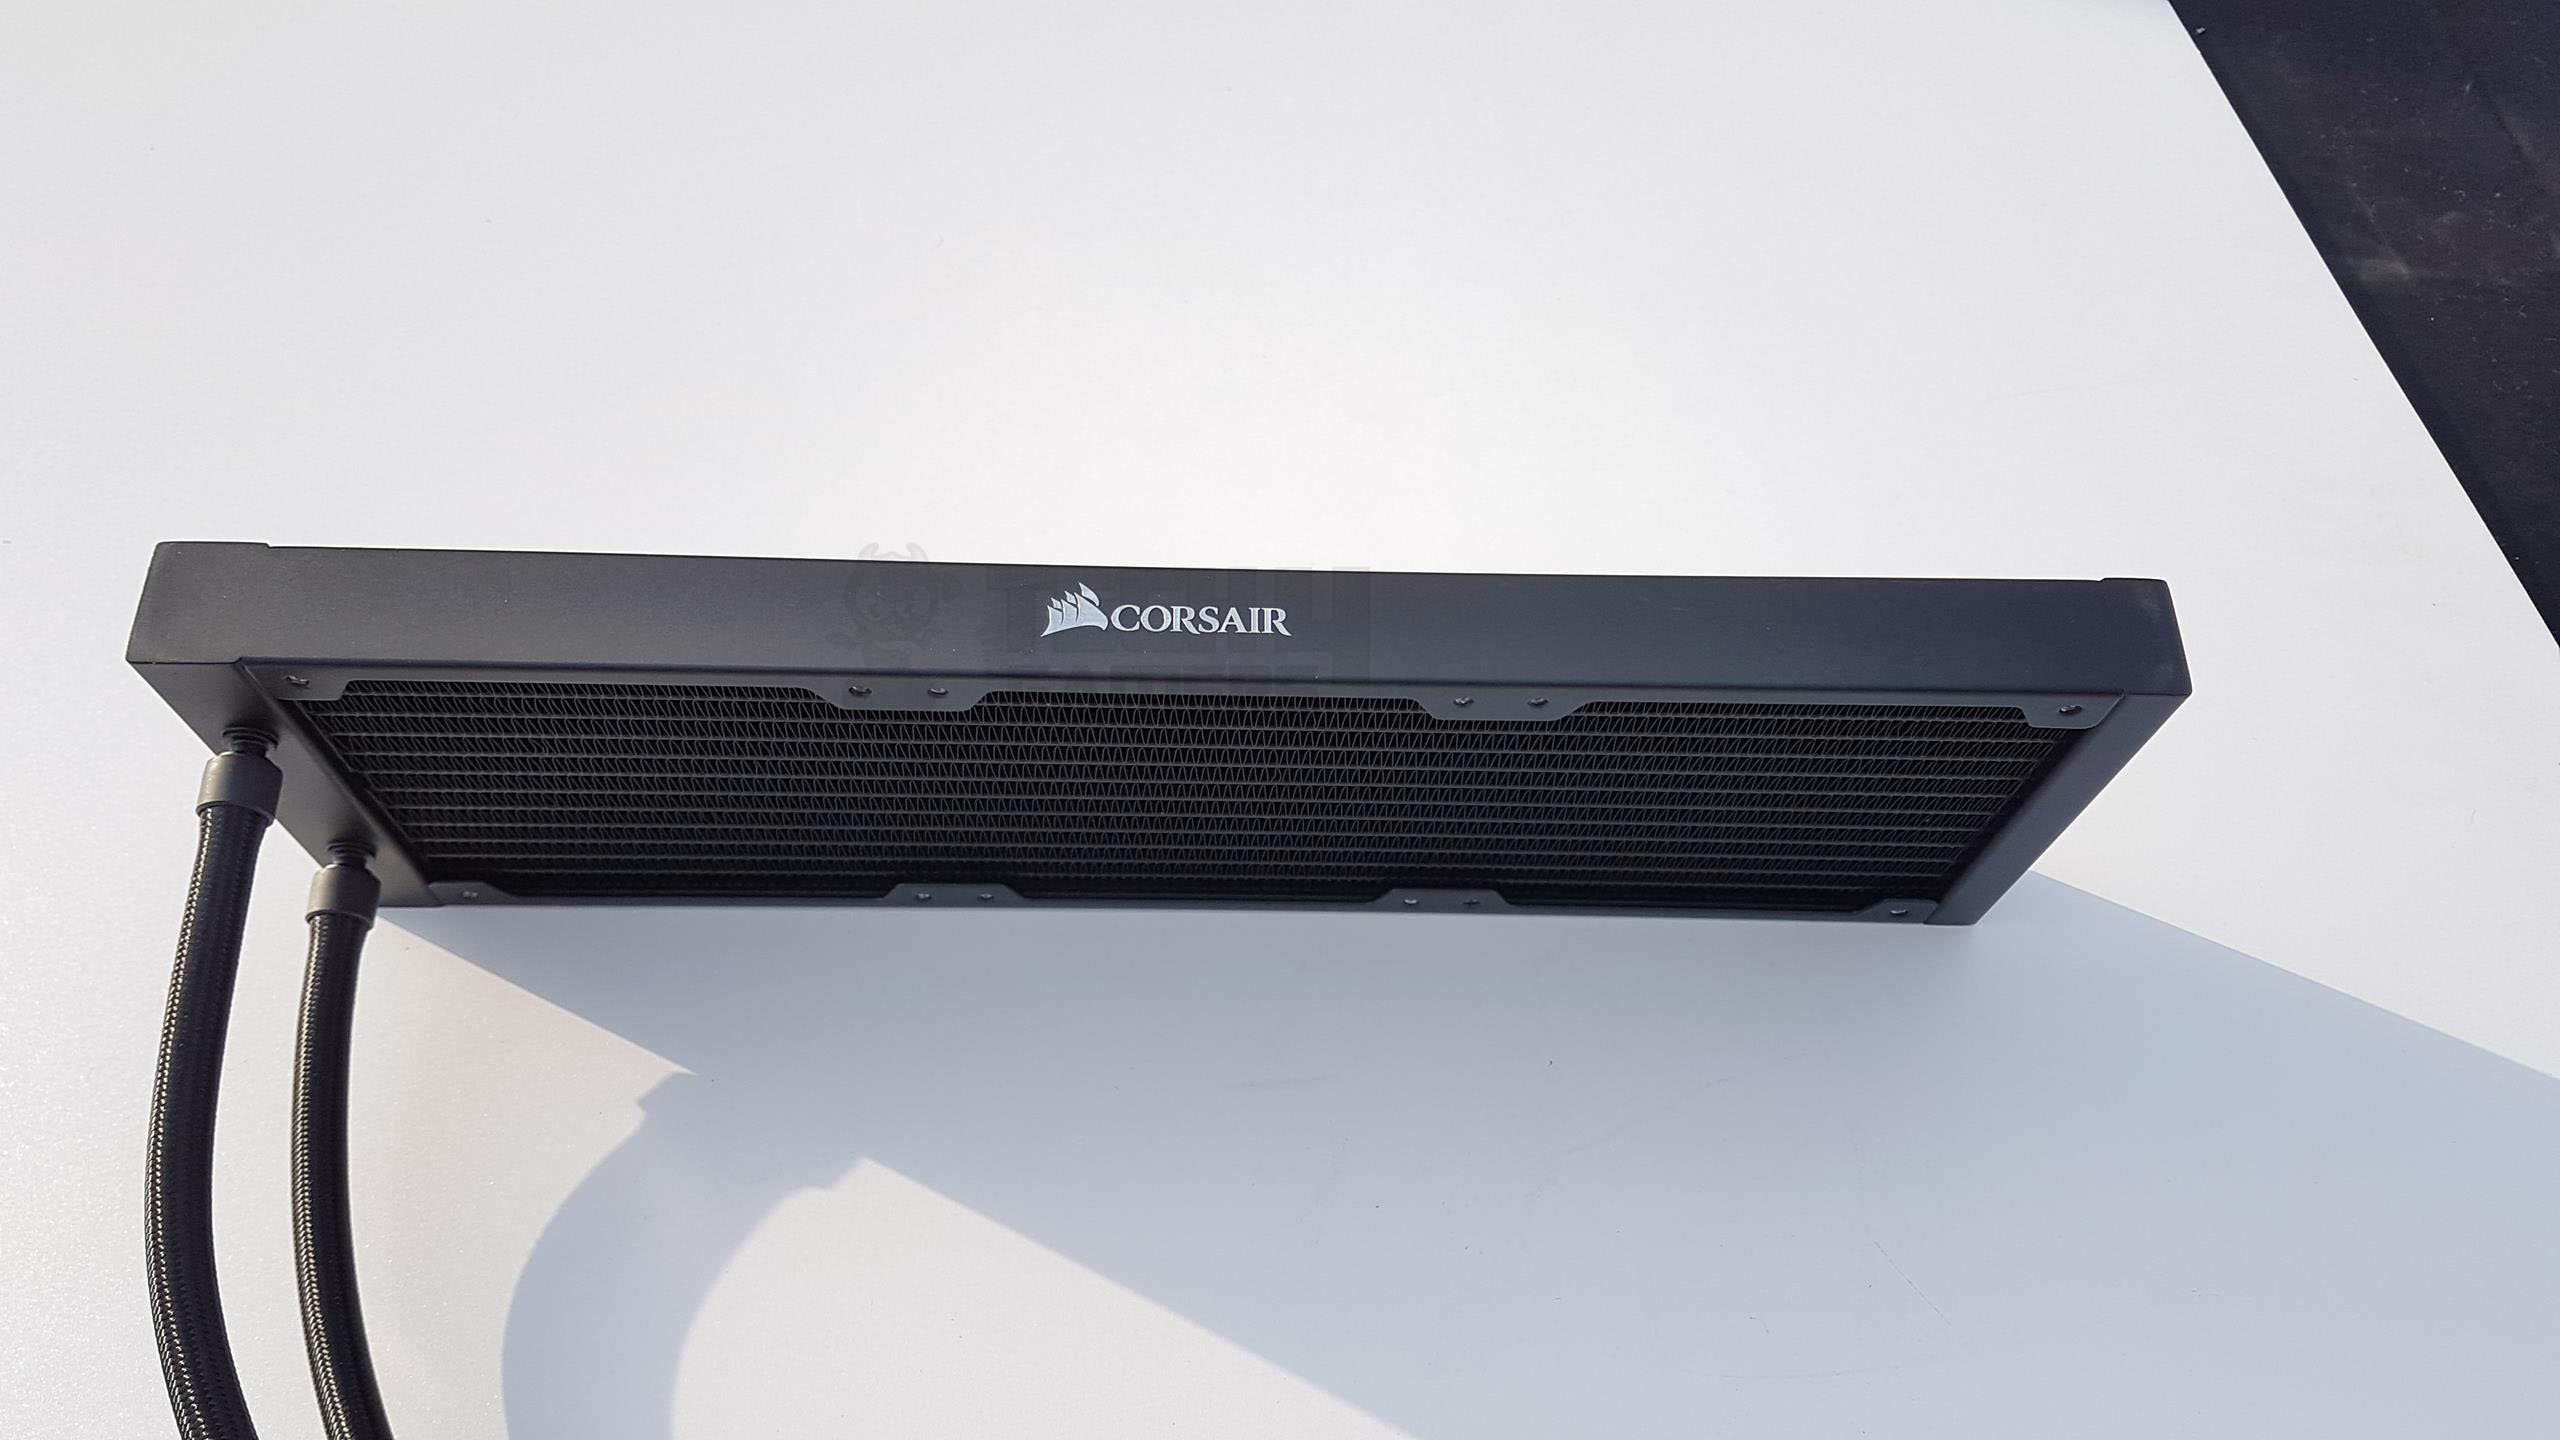
The finishing of the radiator is top notch and we did not observe any bend fin on the assembly part. The radiator is 396mm long, the largest in the 360mm CLC category, just 1mm longer than the Raijintek Orcus 360. The tight 15mm gap between fan mounts poses a challenge for fan spacing. Fully assembled with fans, it has a depth of around 54mm. Shiny silver Corsair branding is present on both sides of the radiator.
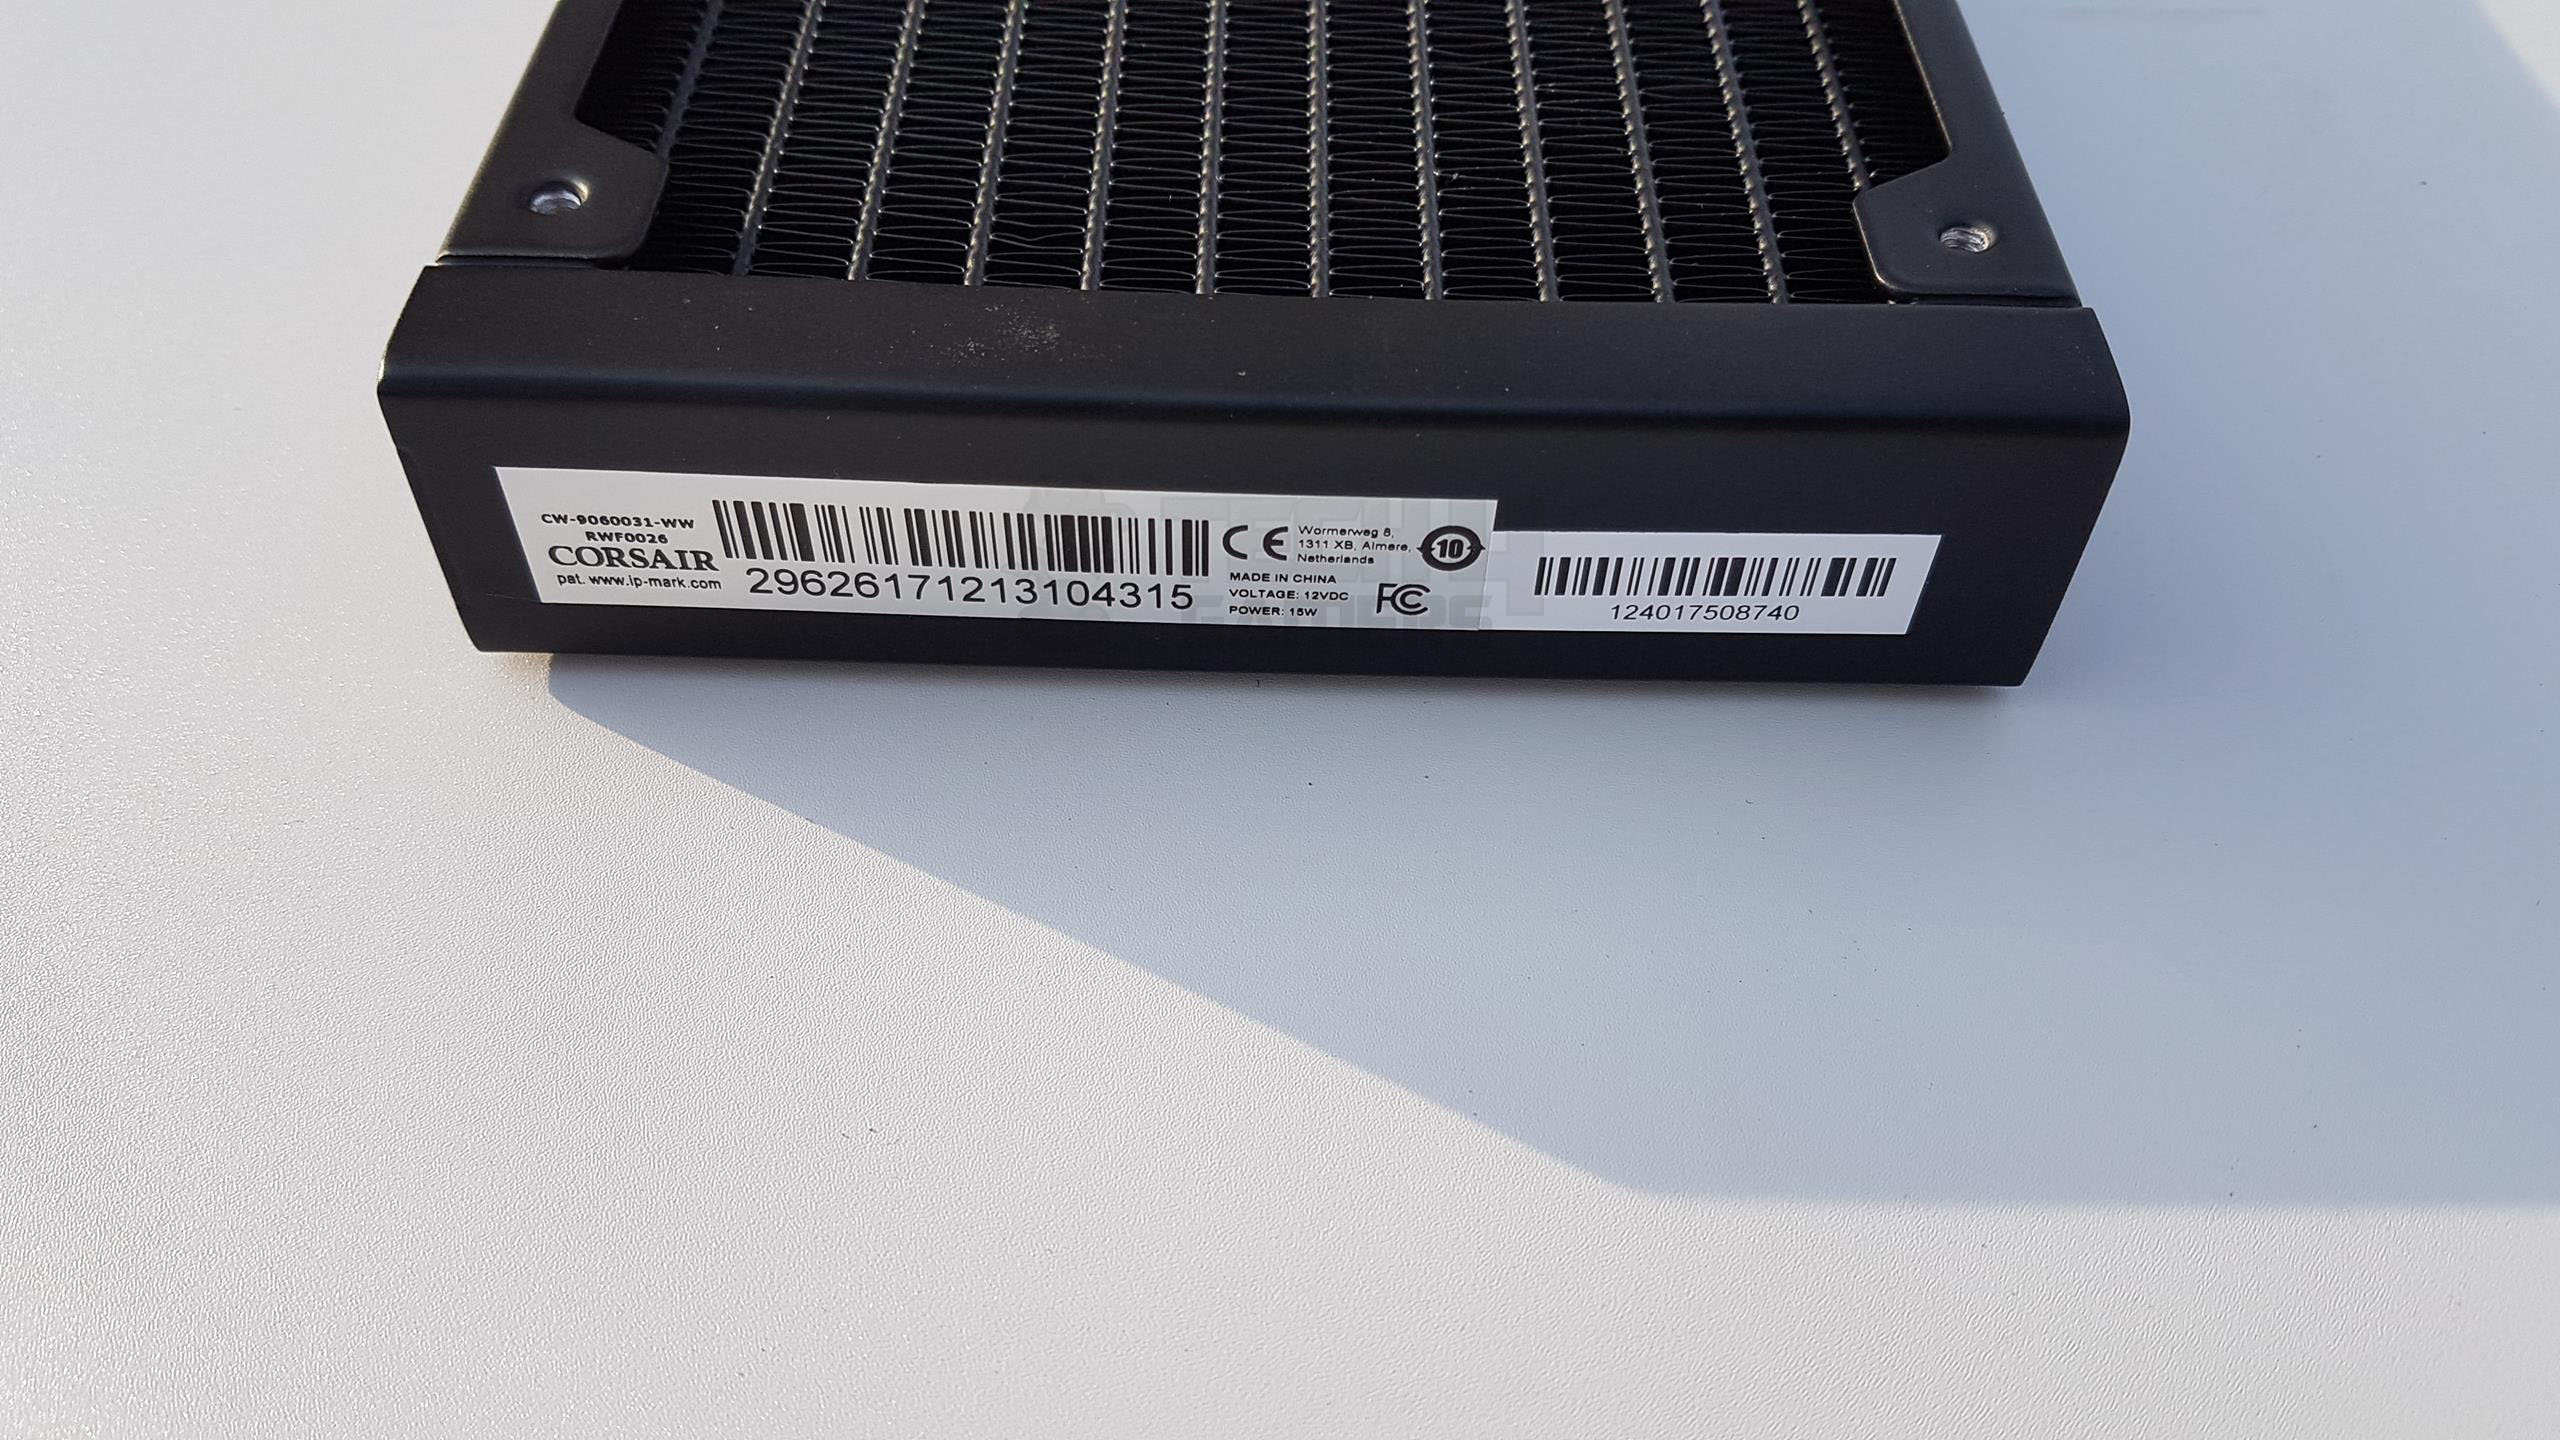
This radiator lacks a swappable sidebar, unlike non-Pro Hydro series coolers. No radical changes in the radiator or hoses compared to previous-gen Corsair Hydro series coolers. Hose length is around 393mm.
Pump And Block
Let’s take a look at the main ingredient of the design.
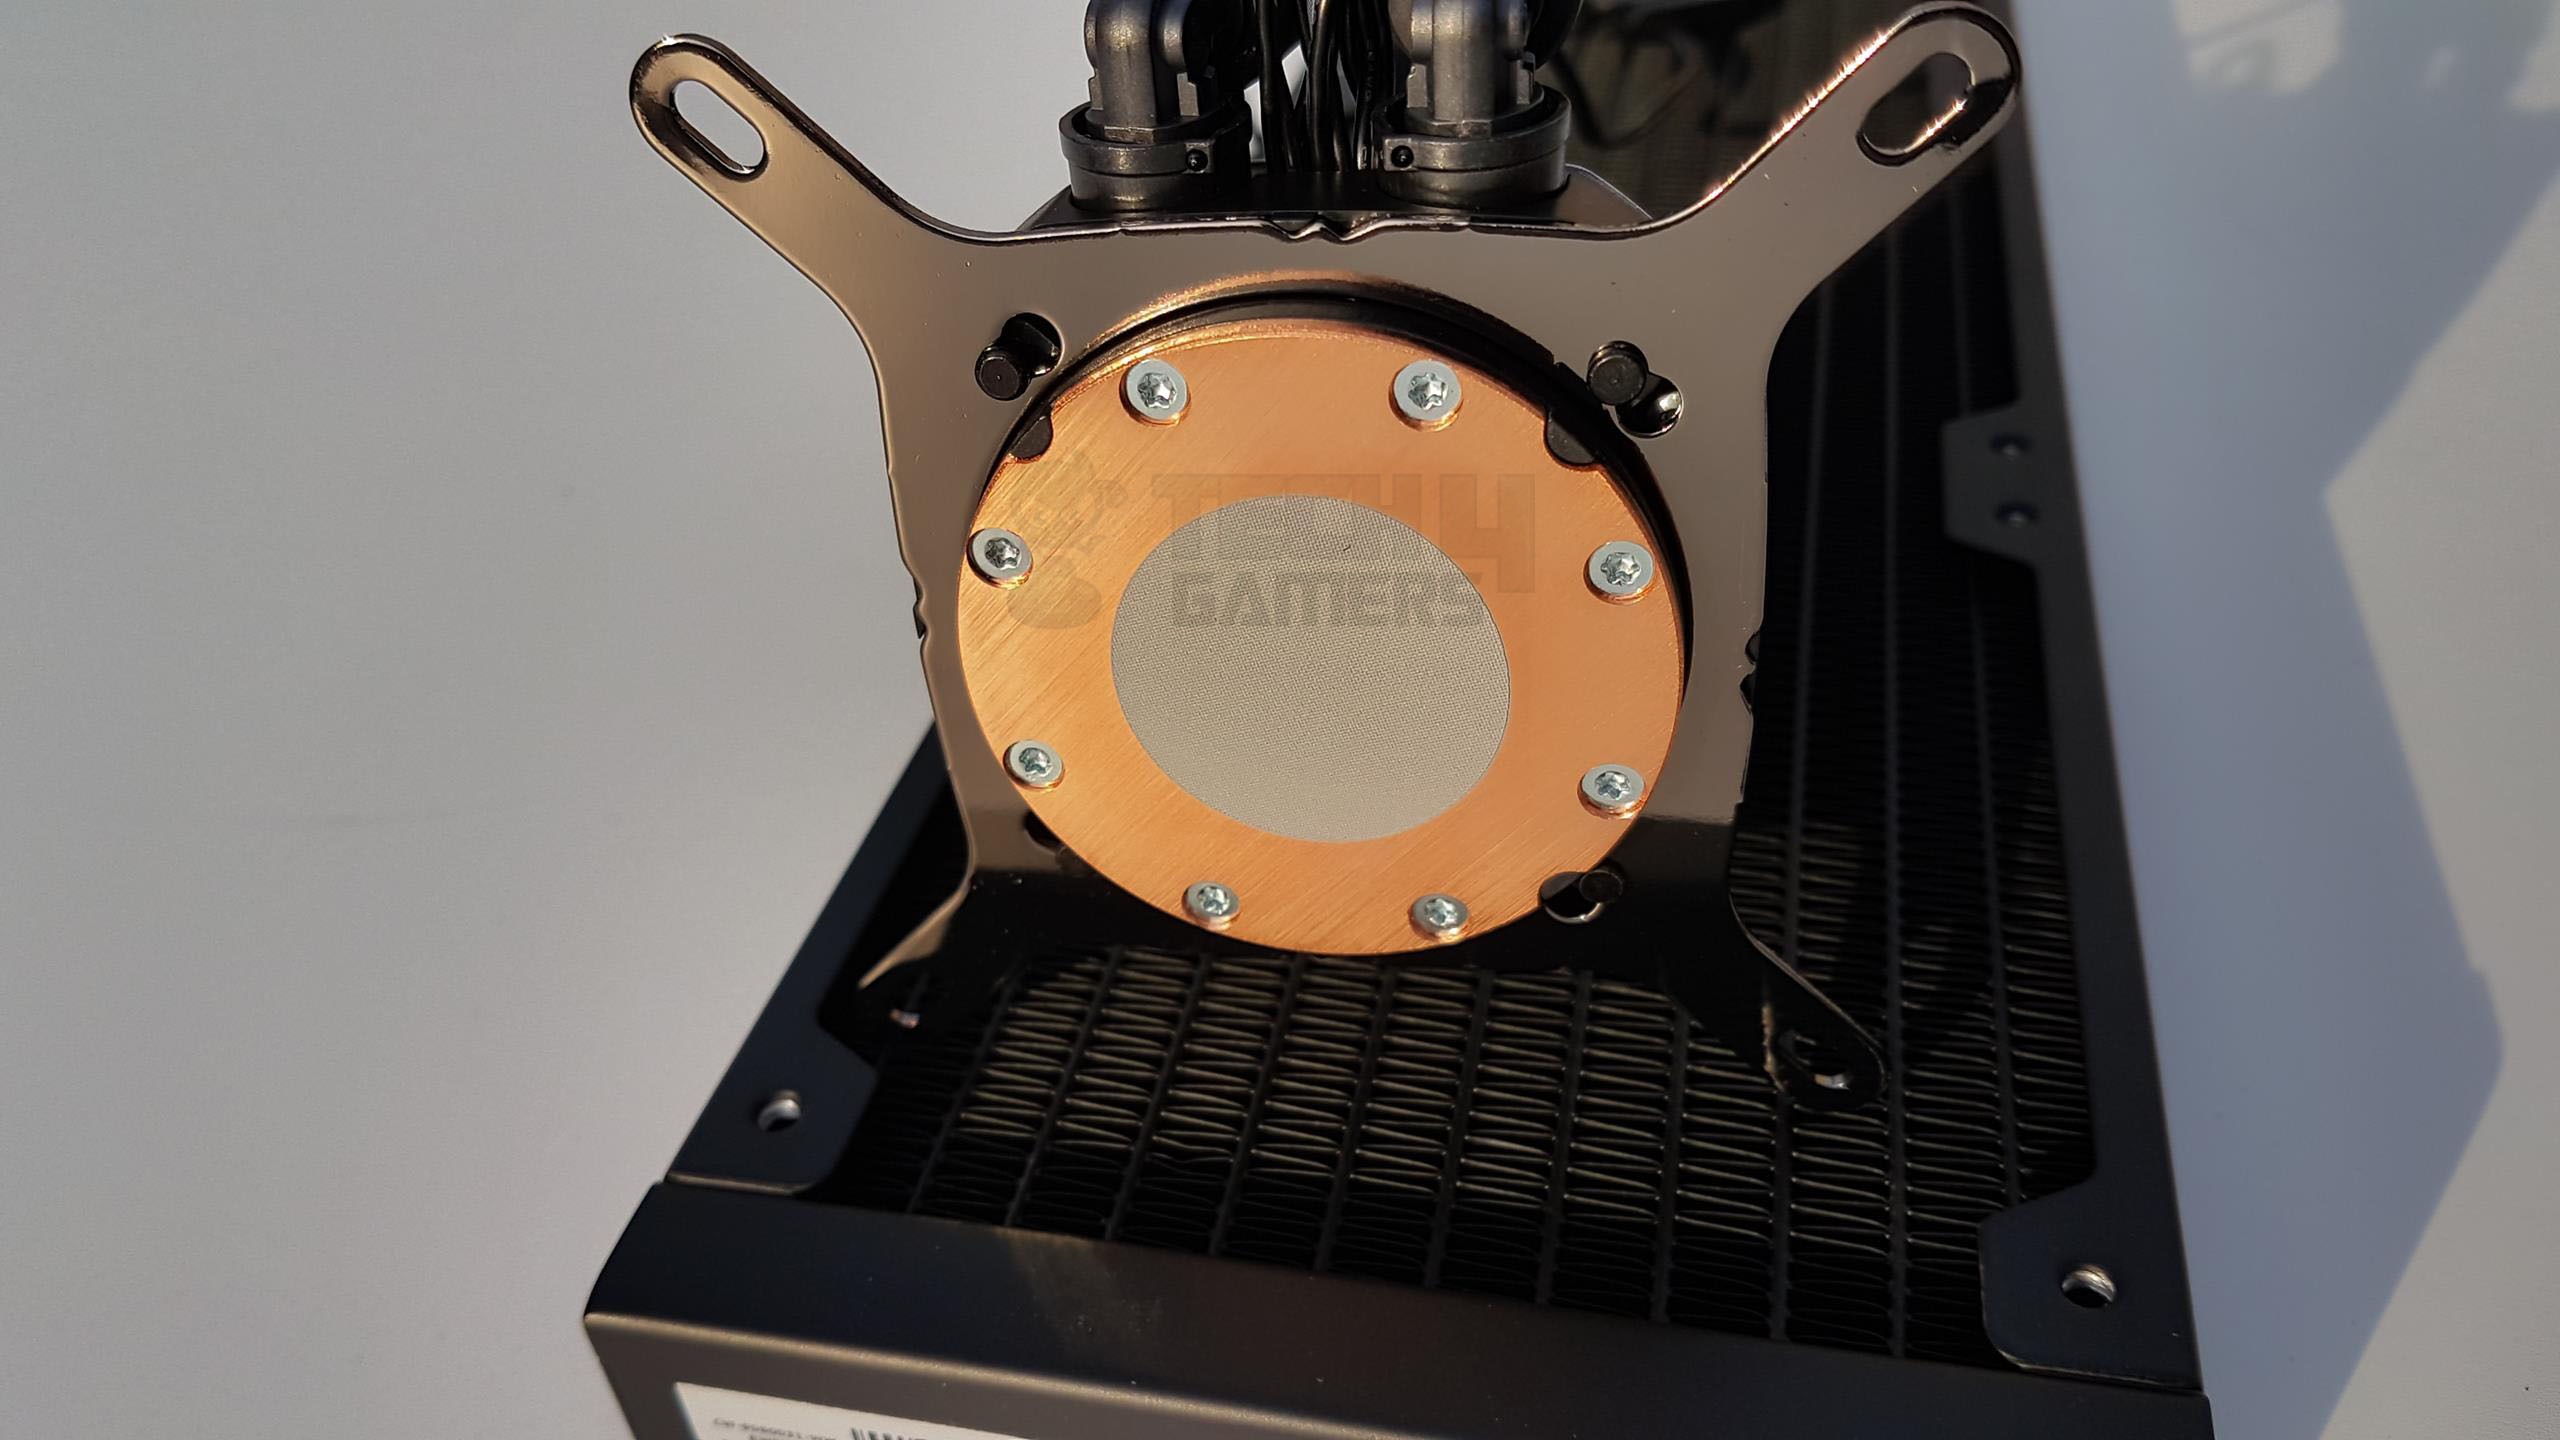
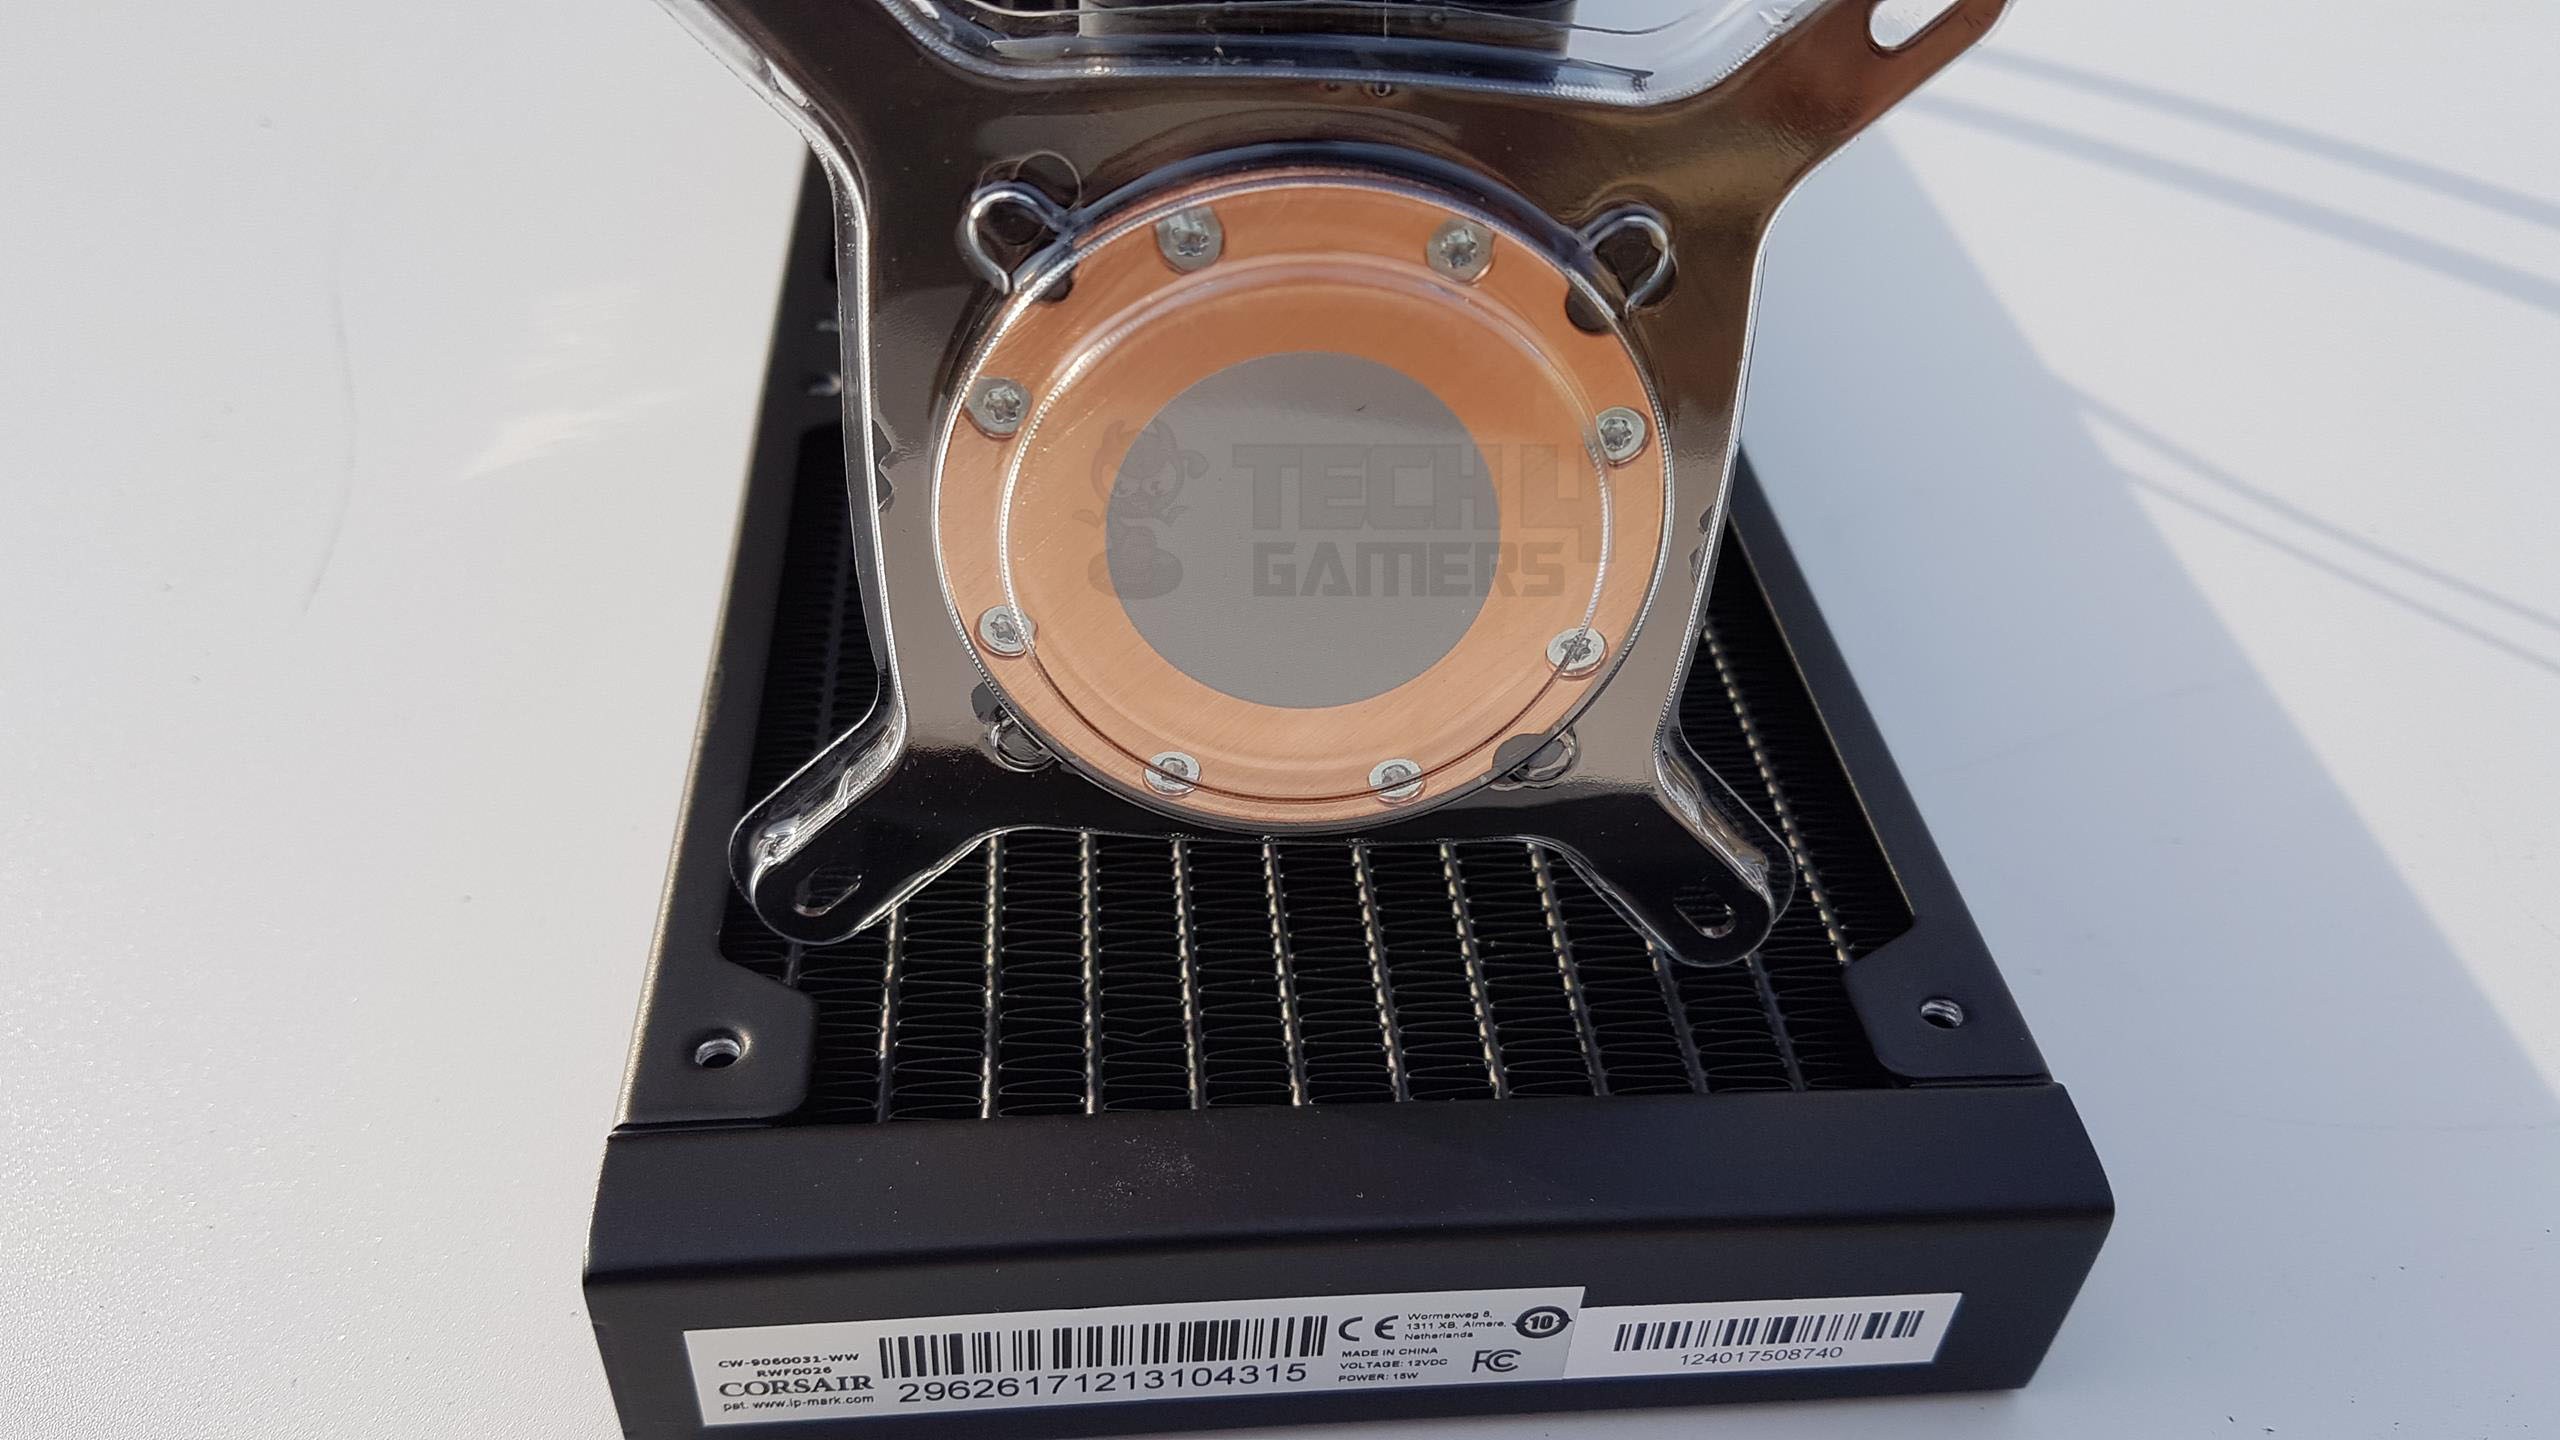
This cooler is the first, as per our limited knowledge, to be using the Asetek 6th generation pump and PCB. Reportedly, this unit is also using a smaller cold plate though we could not get confirmed information regarding the no of fins used in the cold plate and the gap between the fins.
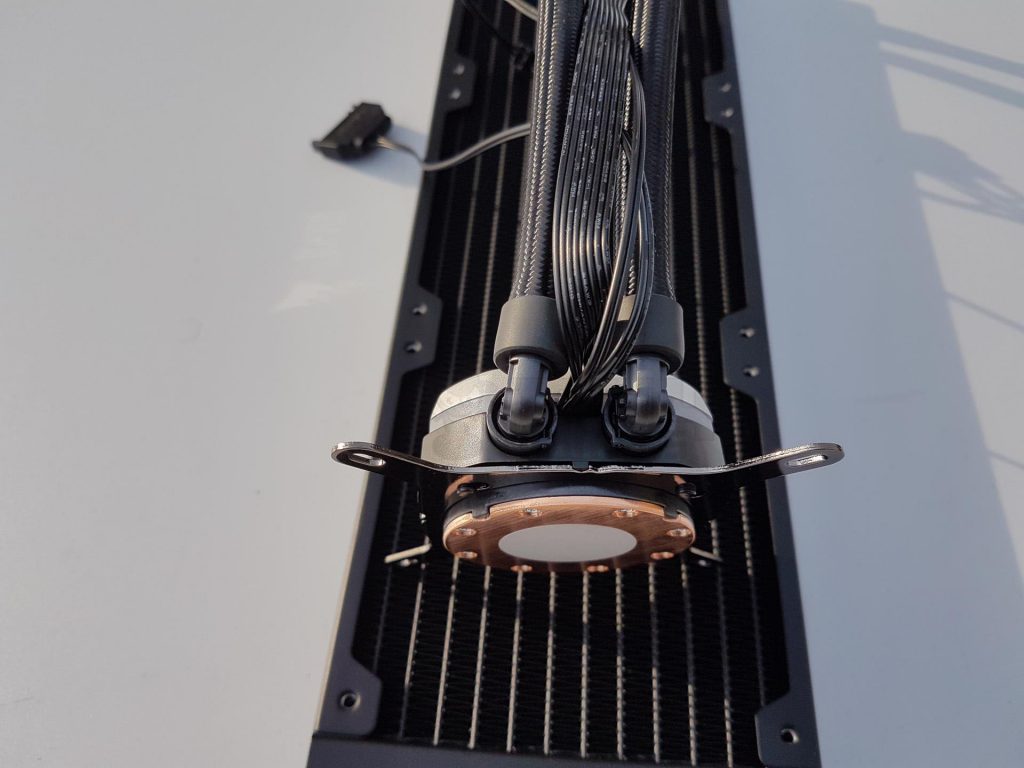
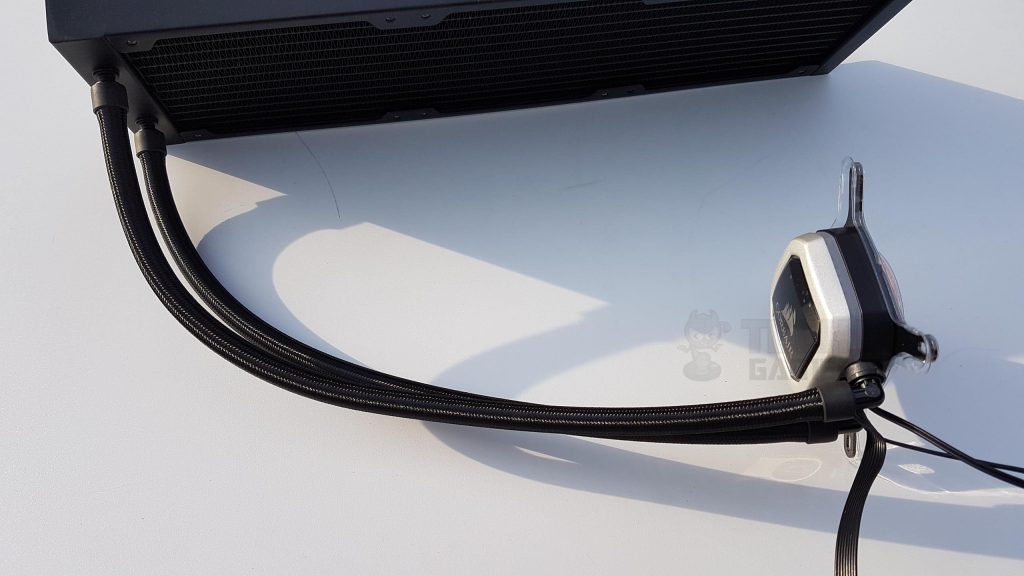
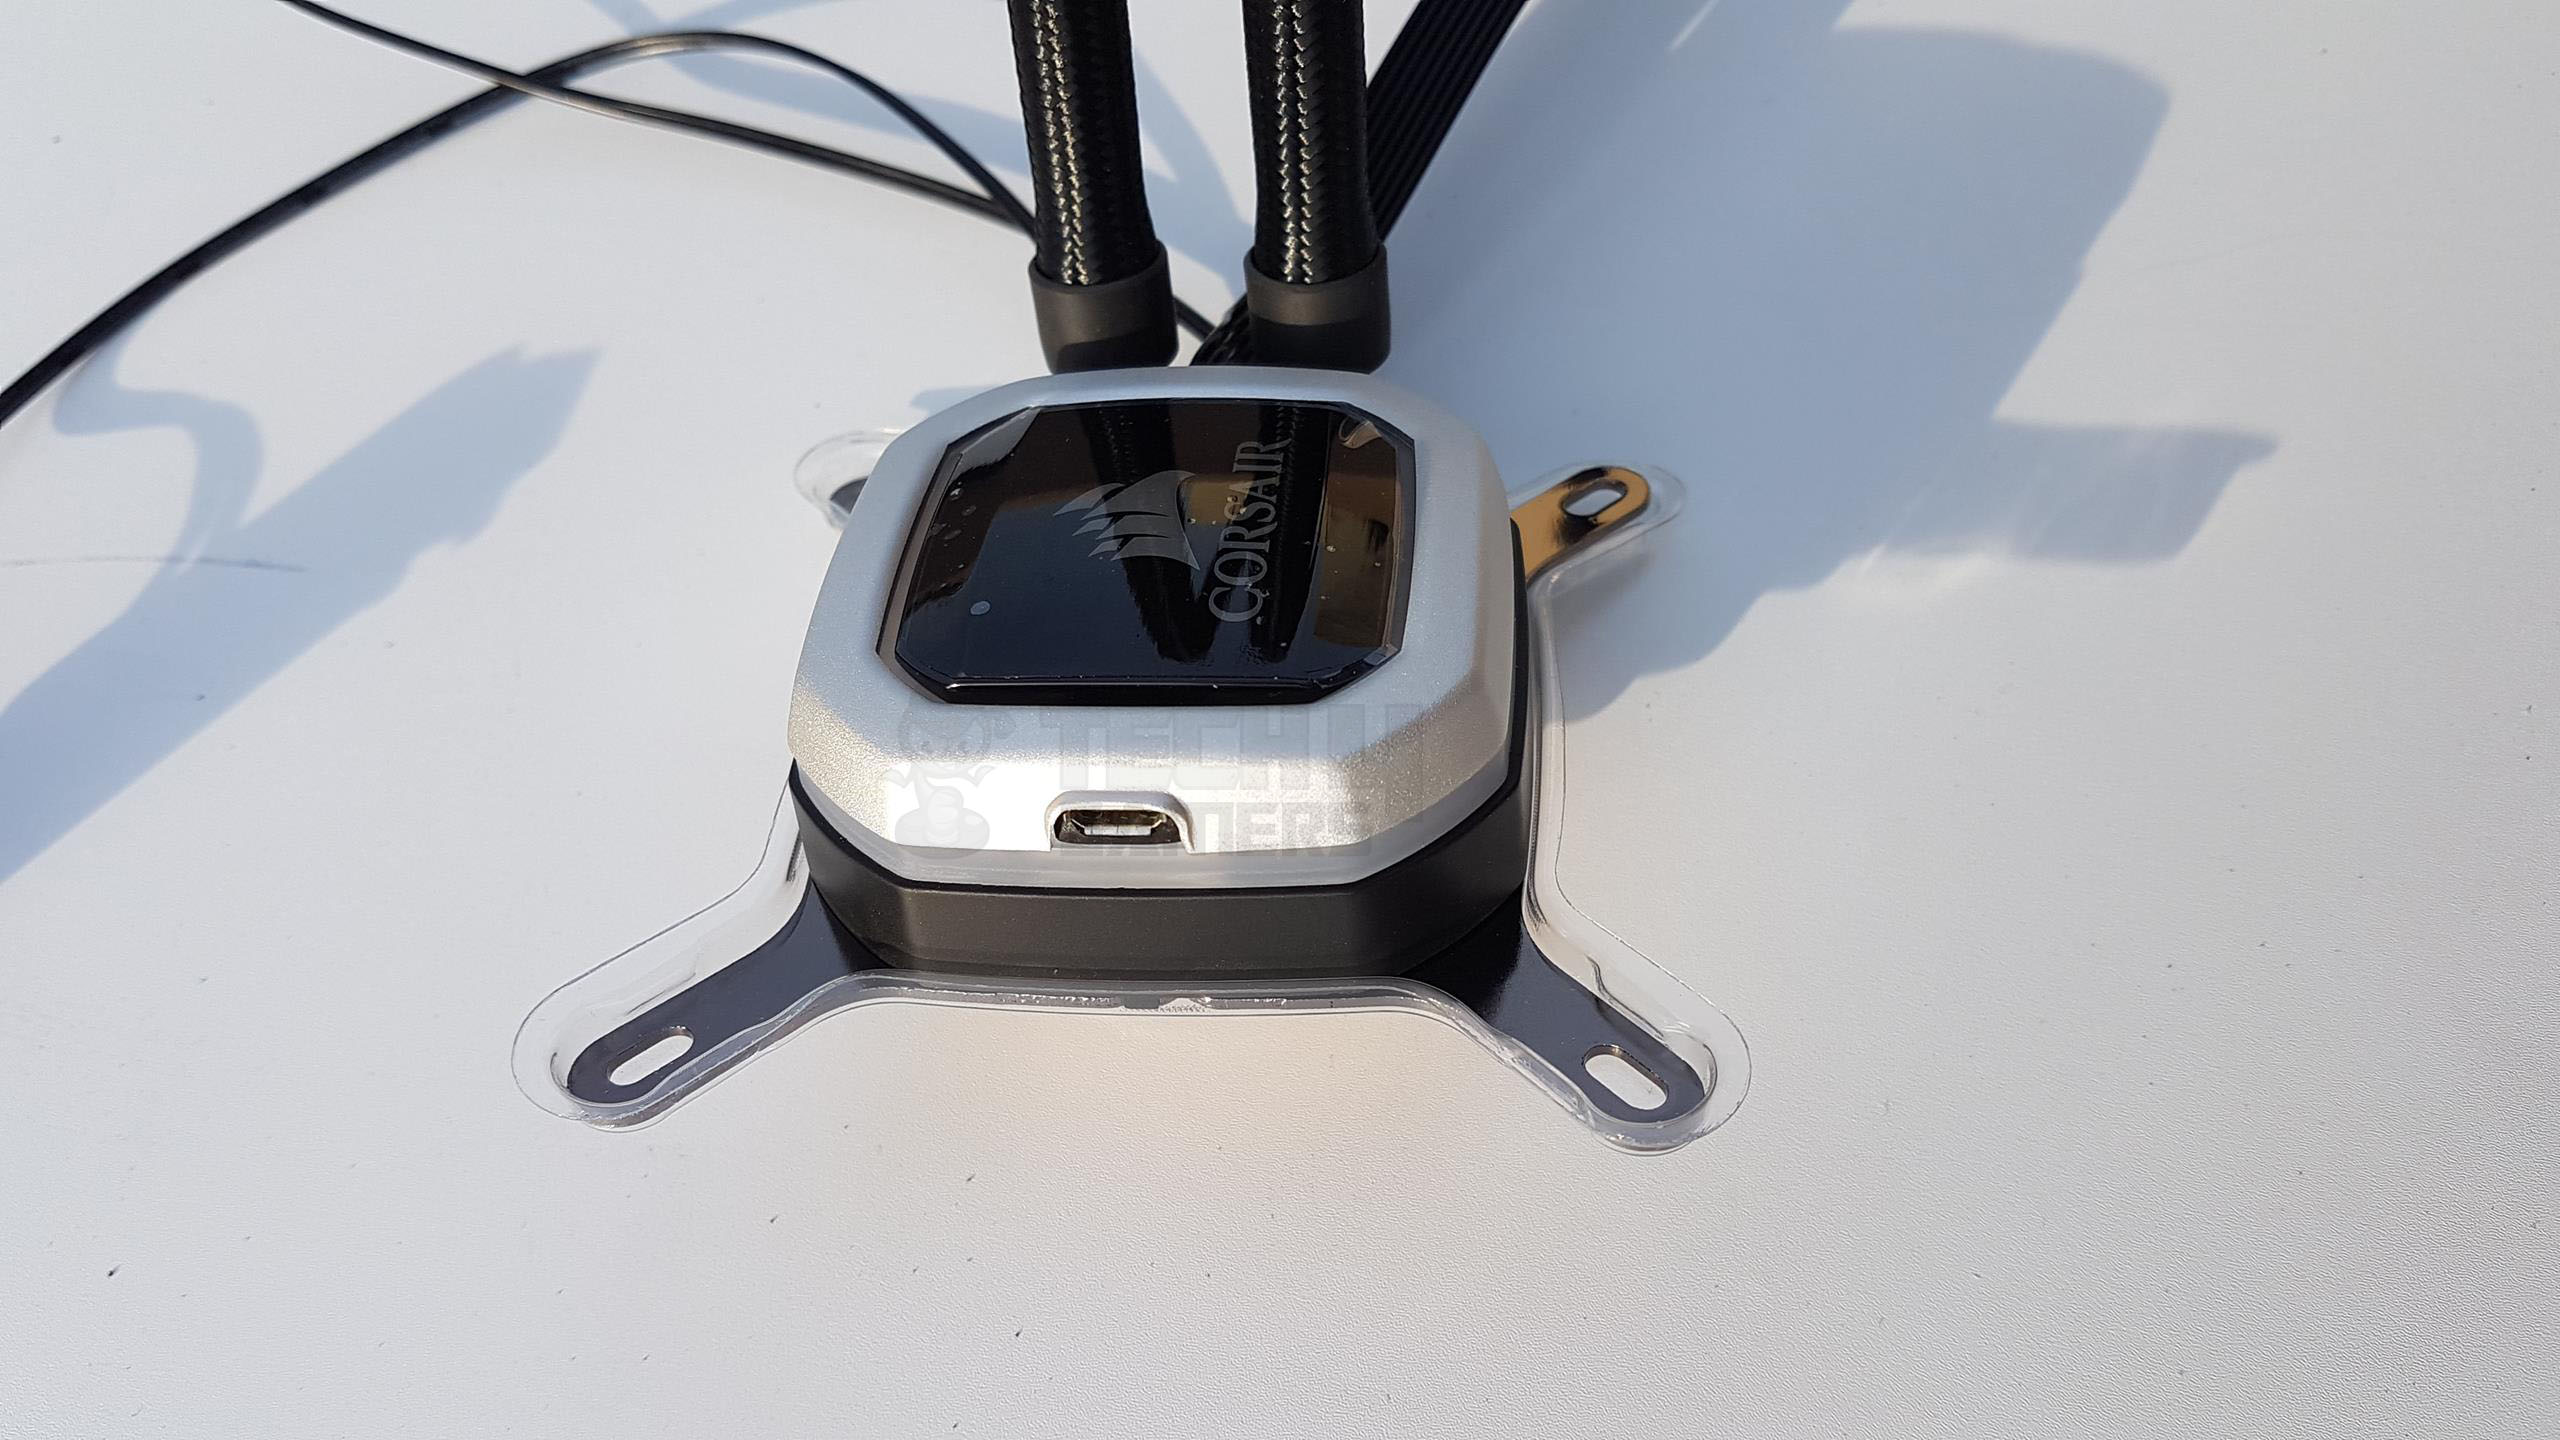
The cooler features a circular copper base with a pre-installed Intel mounting bracket and Asetek thermal paste. A new pump housing with RGB LED lighting is exclusive to the Pro series, a departure from the previous Hydro series coolers. The hoses are implemented at a 90° angle on the block.

They are not protruding a lot as we saw on the Aerocool P7-L240 hence RAM clearance is not an issue with the H150i Pro. Hoses can be rotated on the left or right side depending upon the orientation of the cooler. After calculation, I found that the dimensions of the block are approximately 78x30x62mm. The block has a two-toned chassis with a diffusor sitting in between.
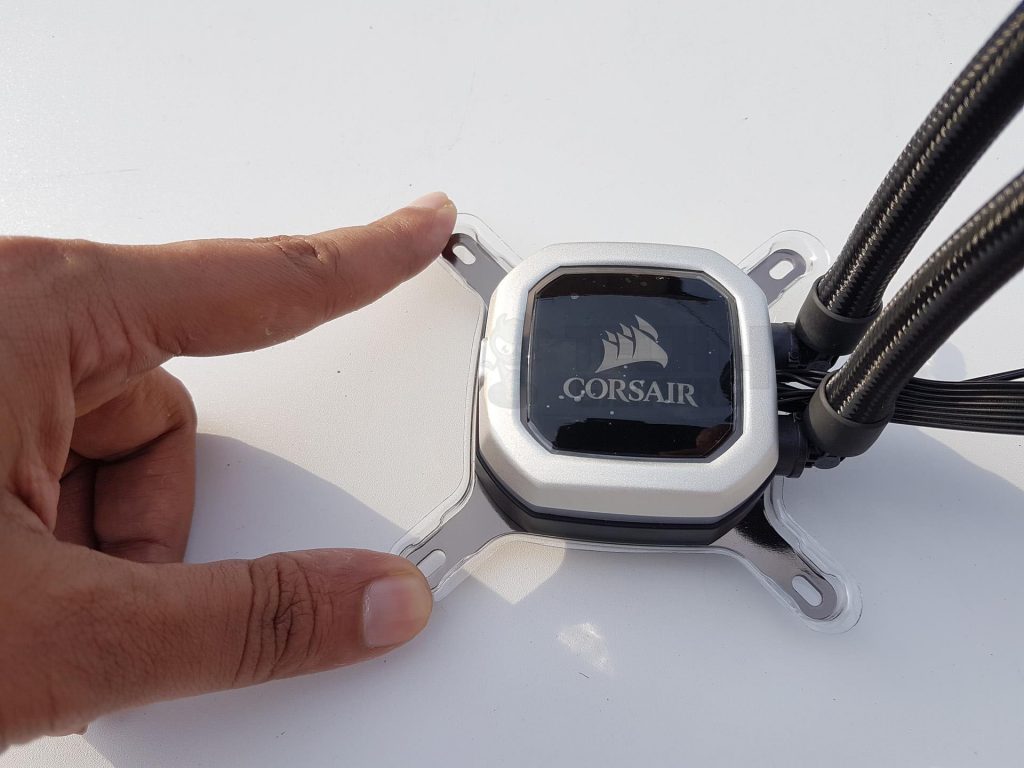
The cooler has a dual-tone design with a white top and black bottom. The top side features a hexagonal-shaped reflective black module with the Corsair brand name and logo. A diffuser in the gap provides lighting. The central module’s raised surface enhances the overall symmetry of the block’s design.
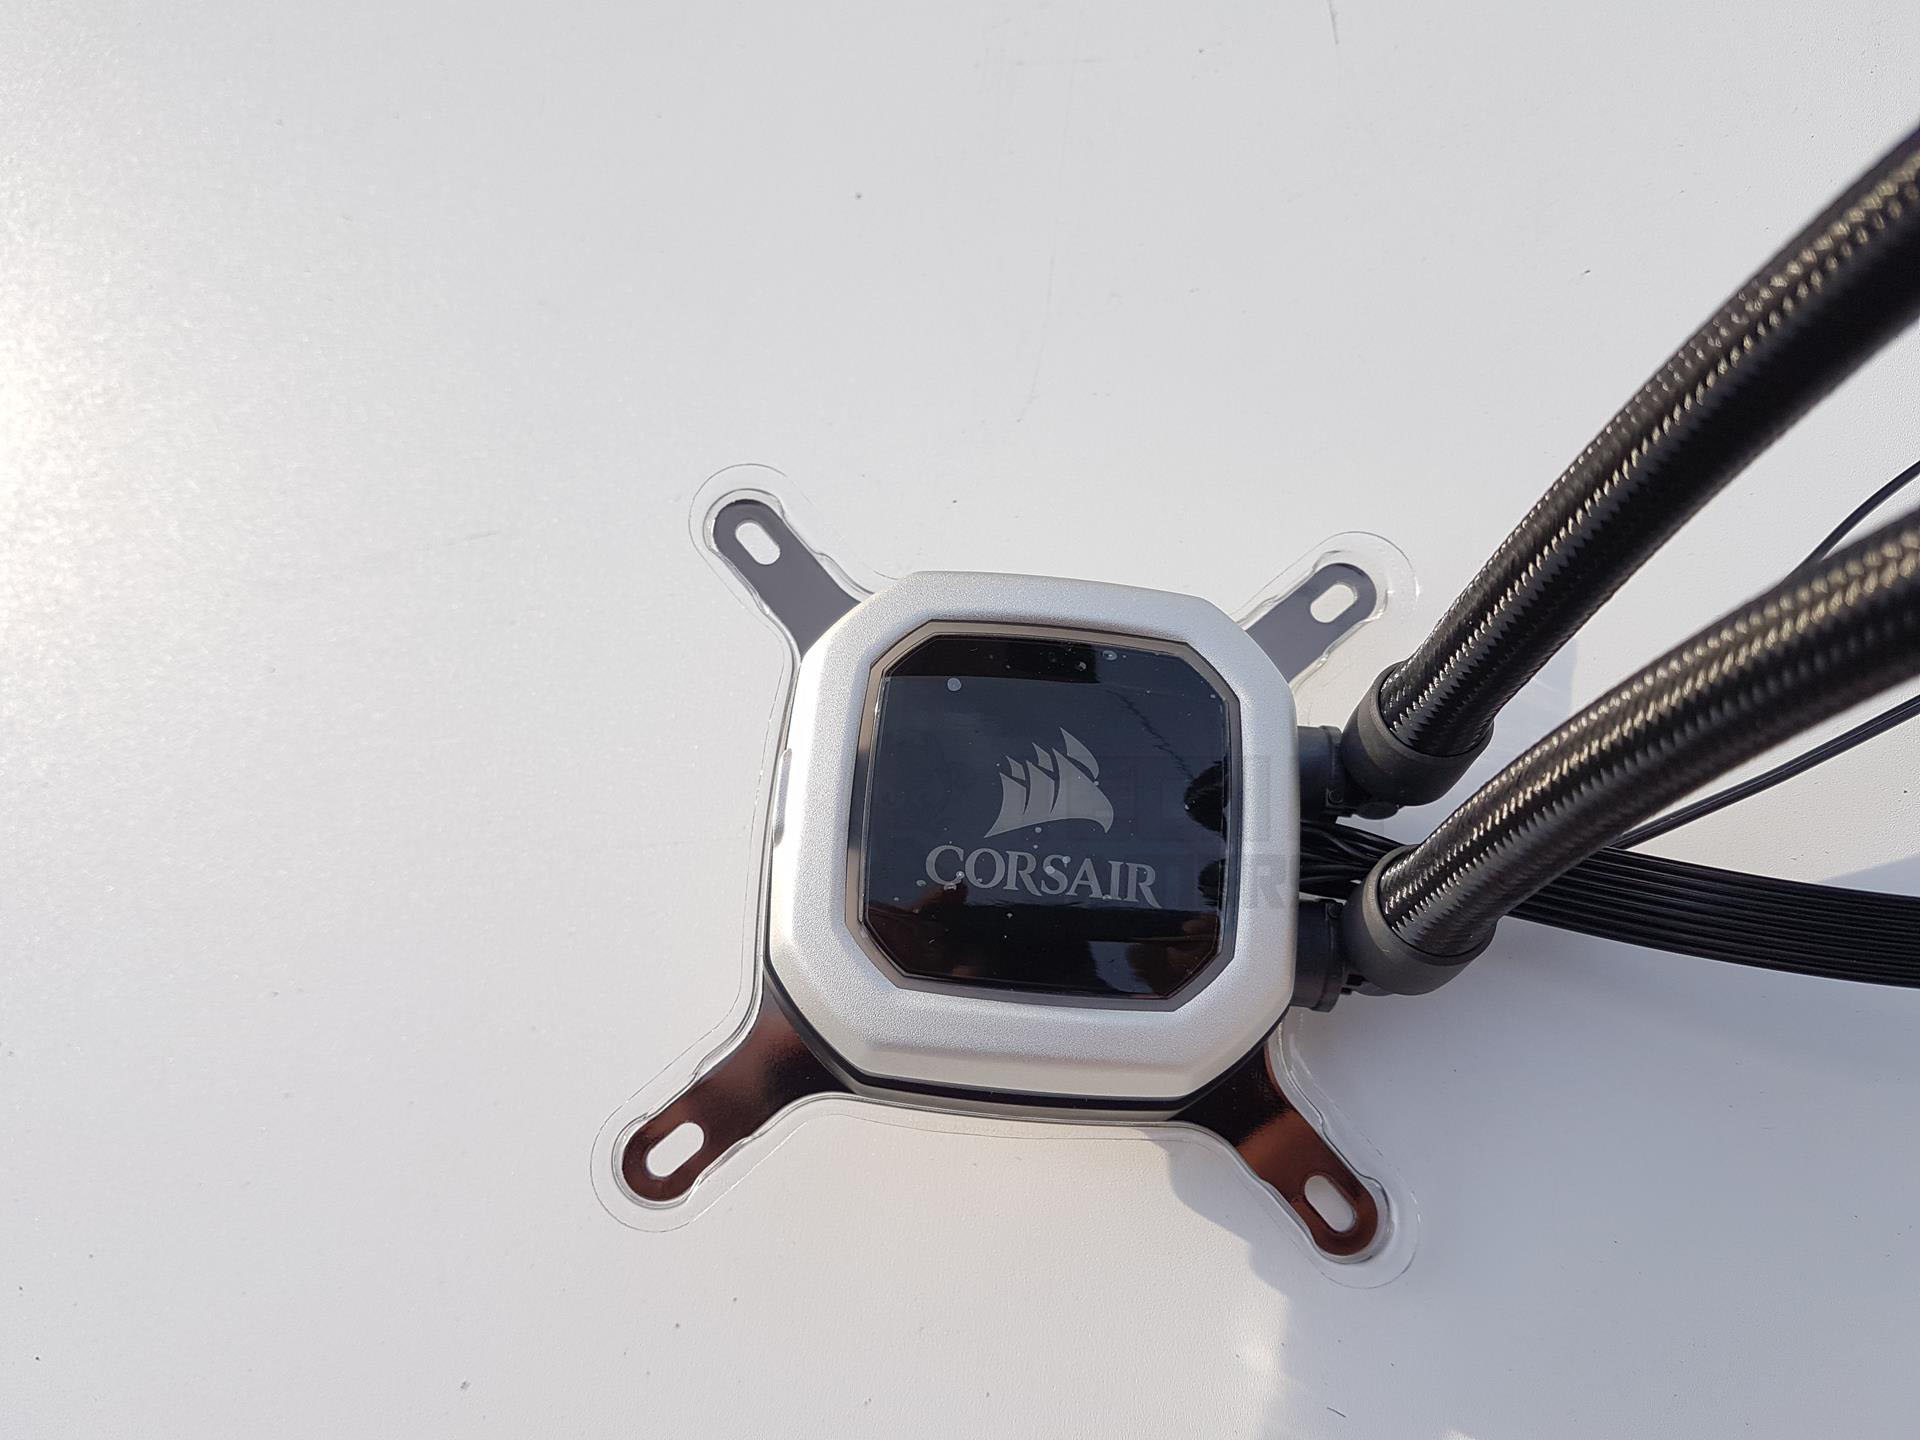
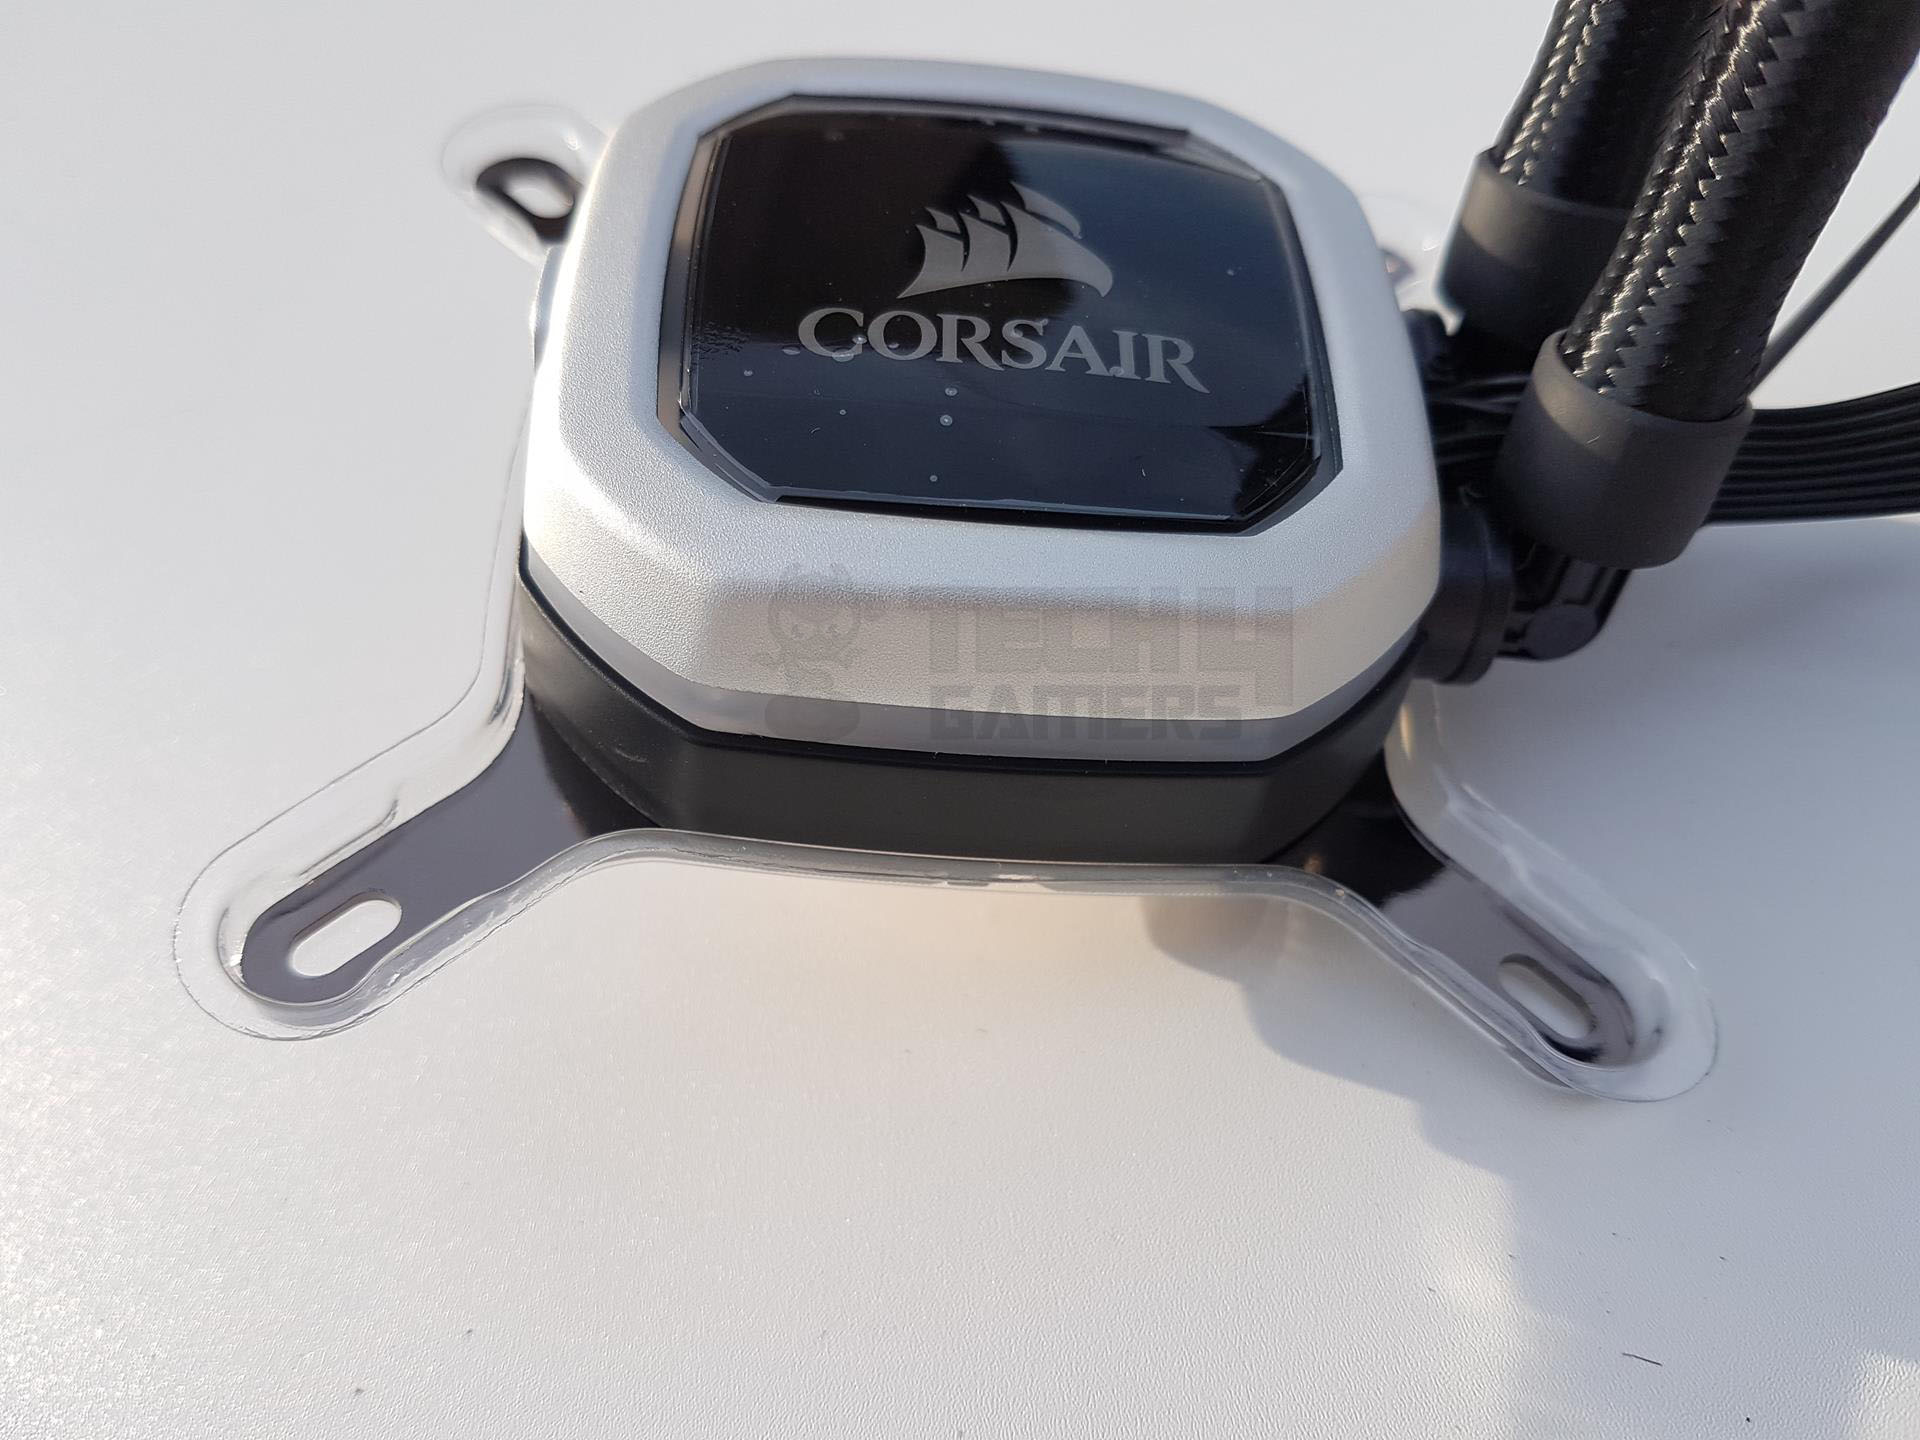
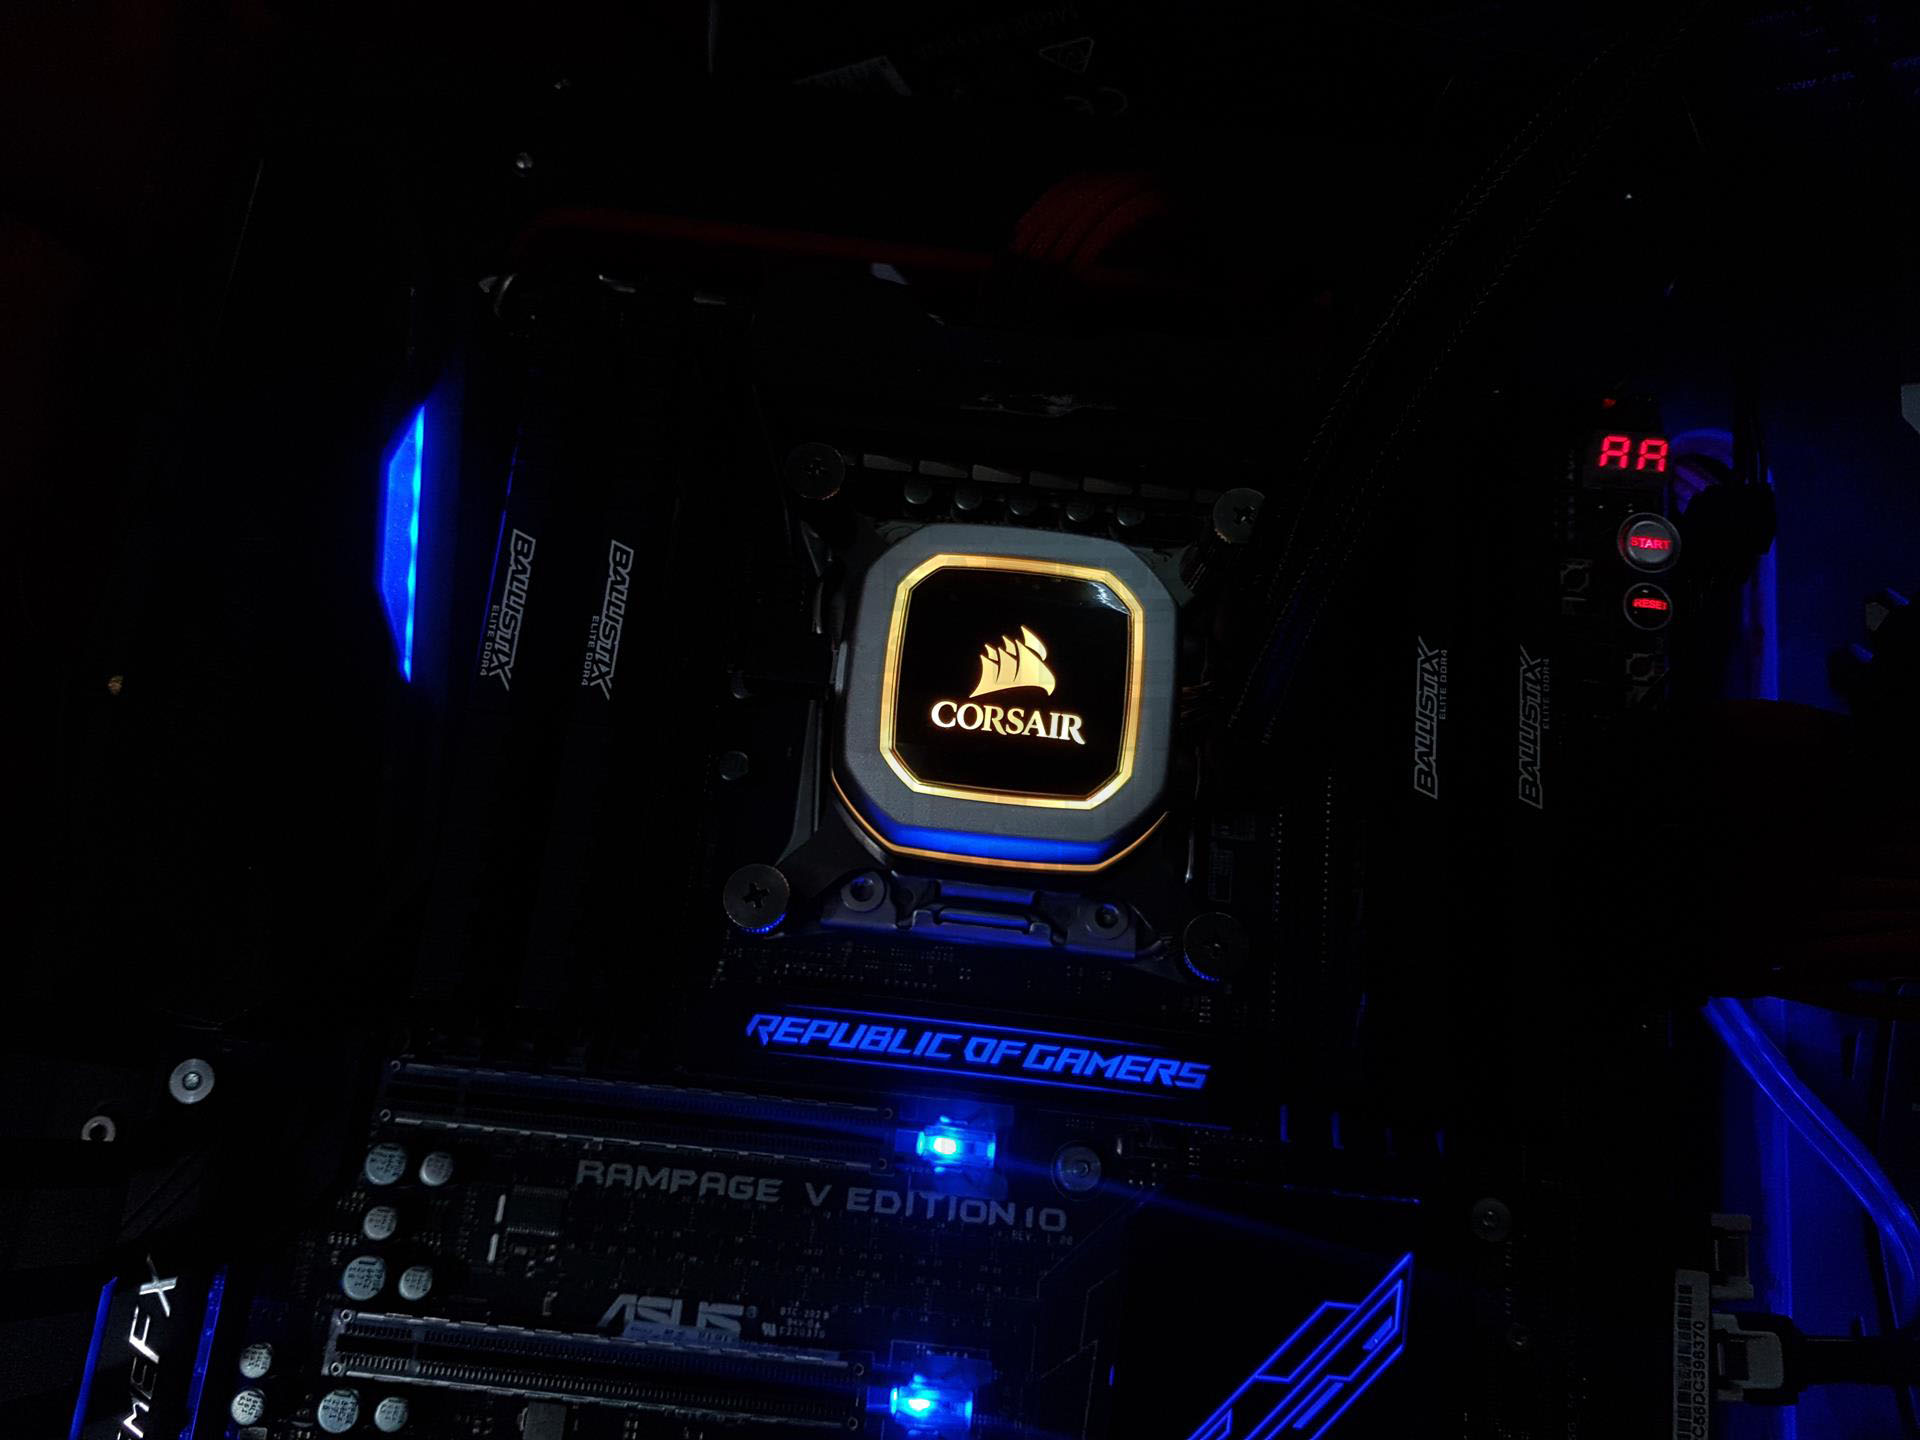
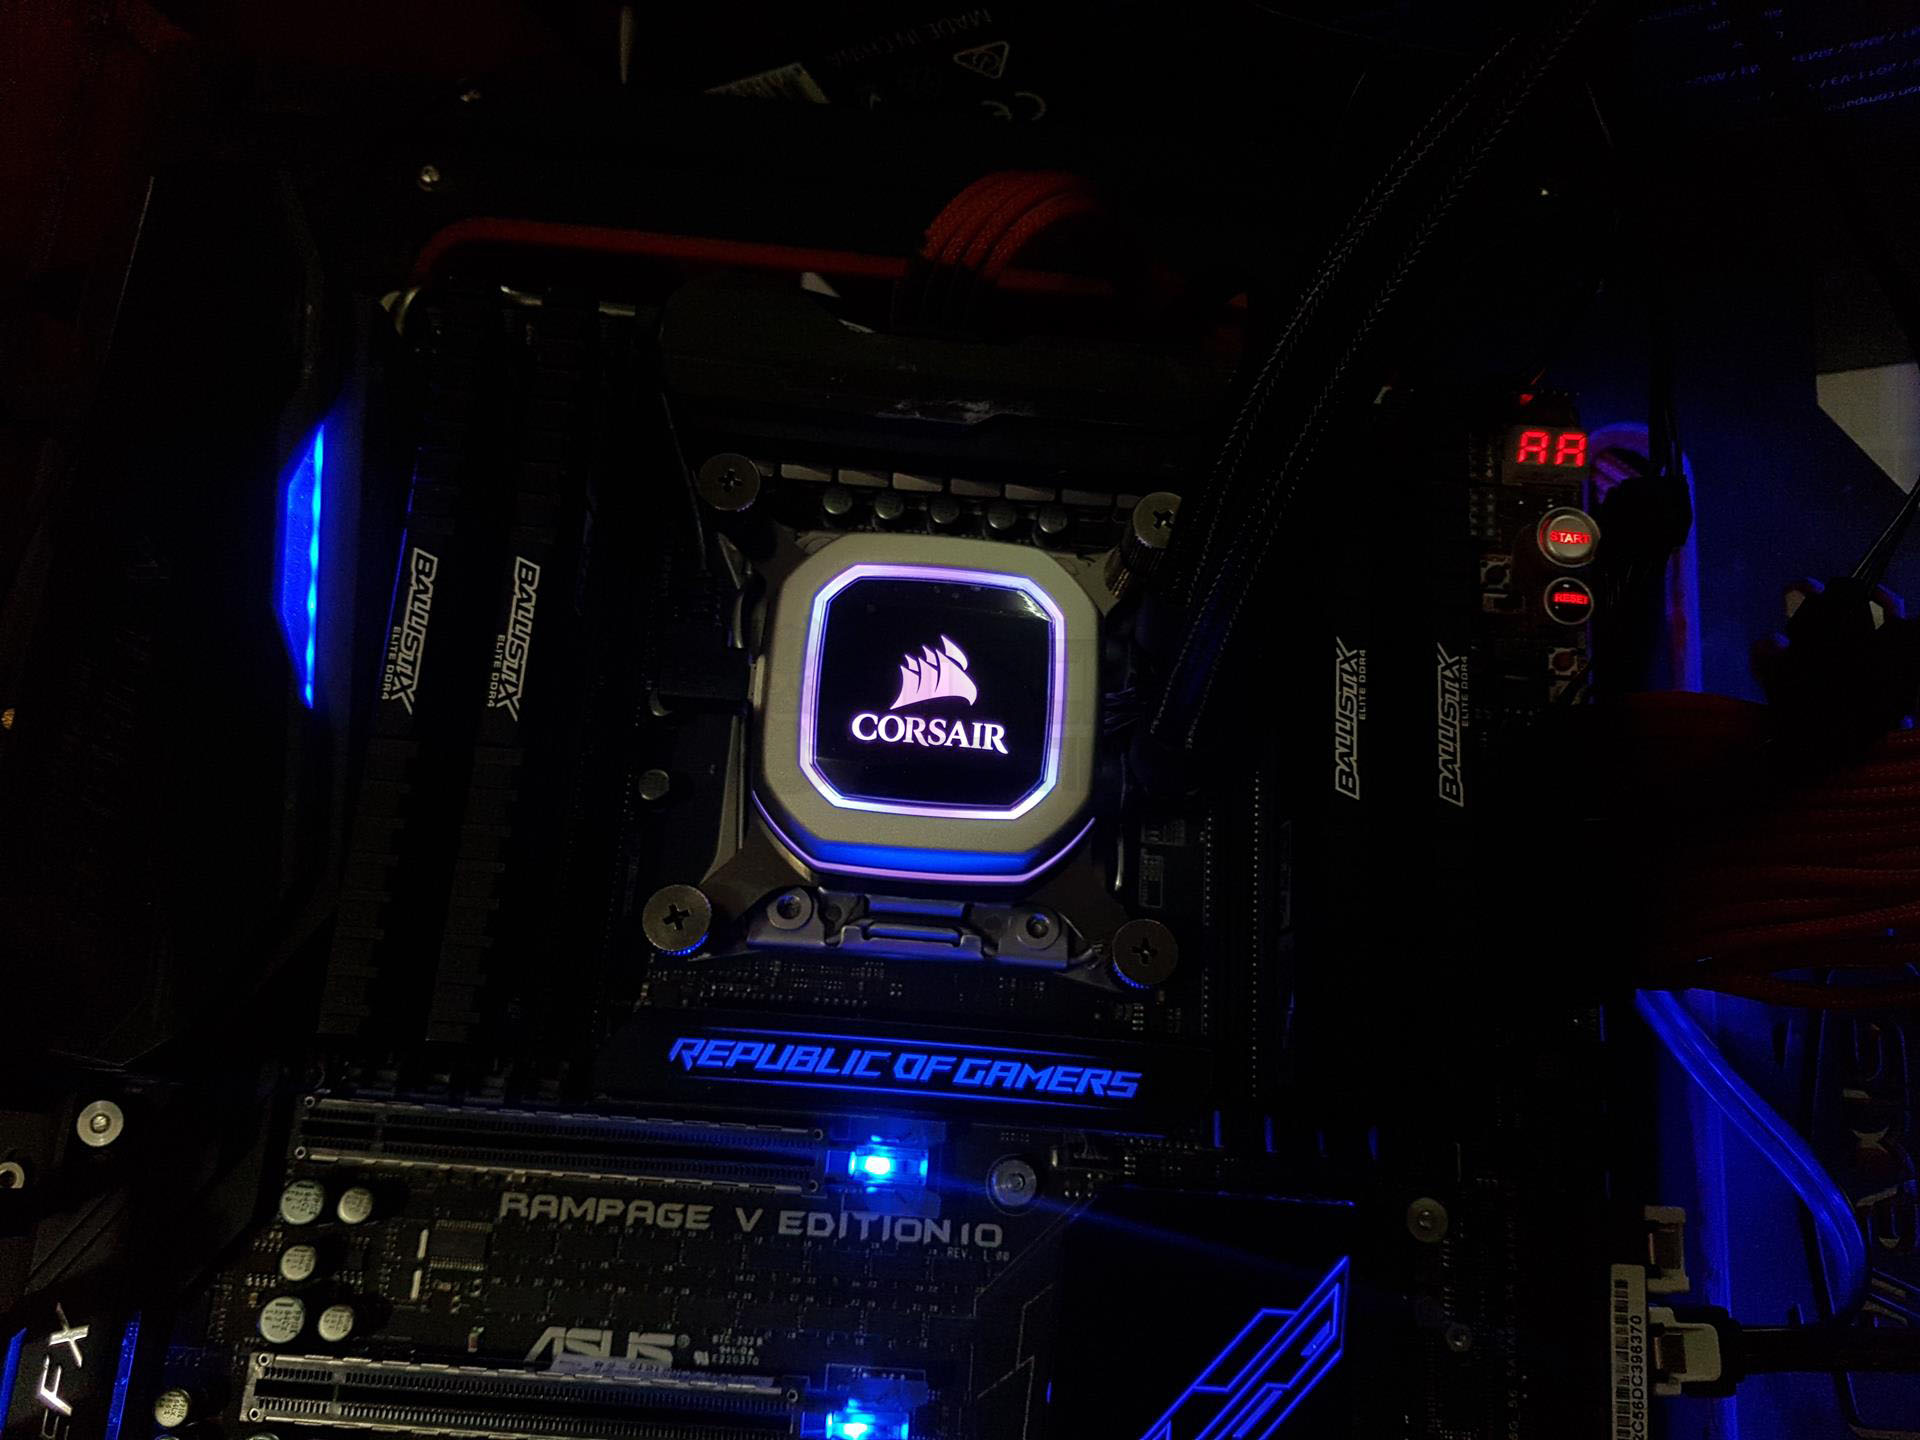
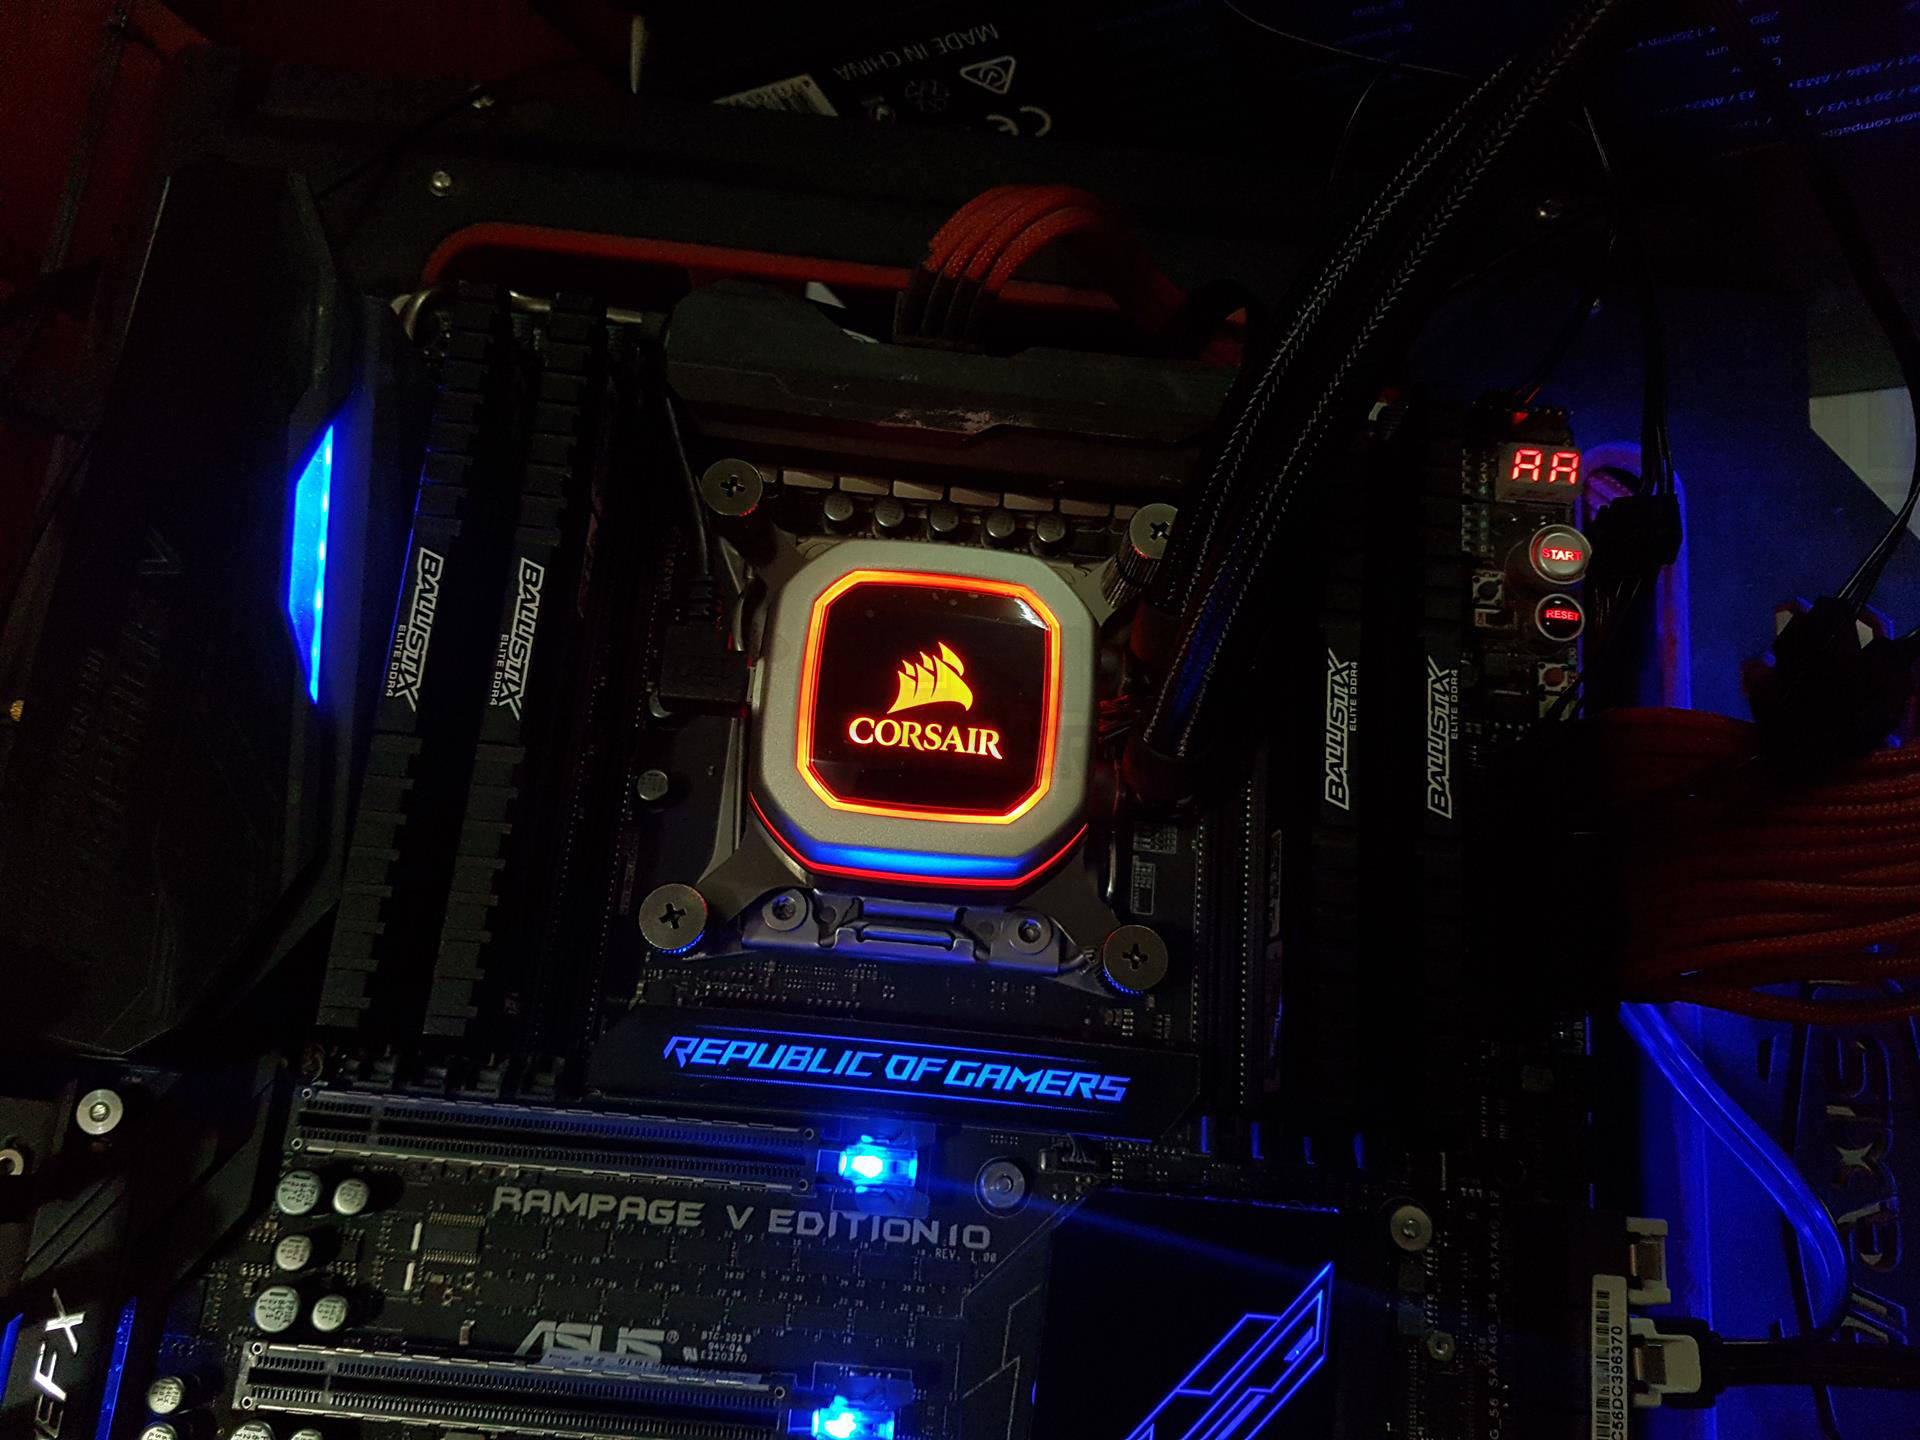
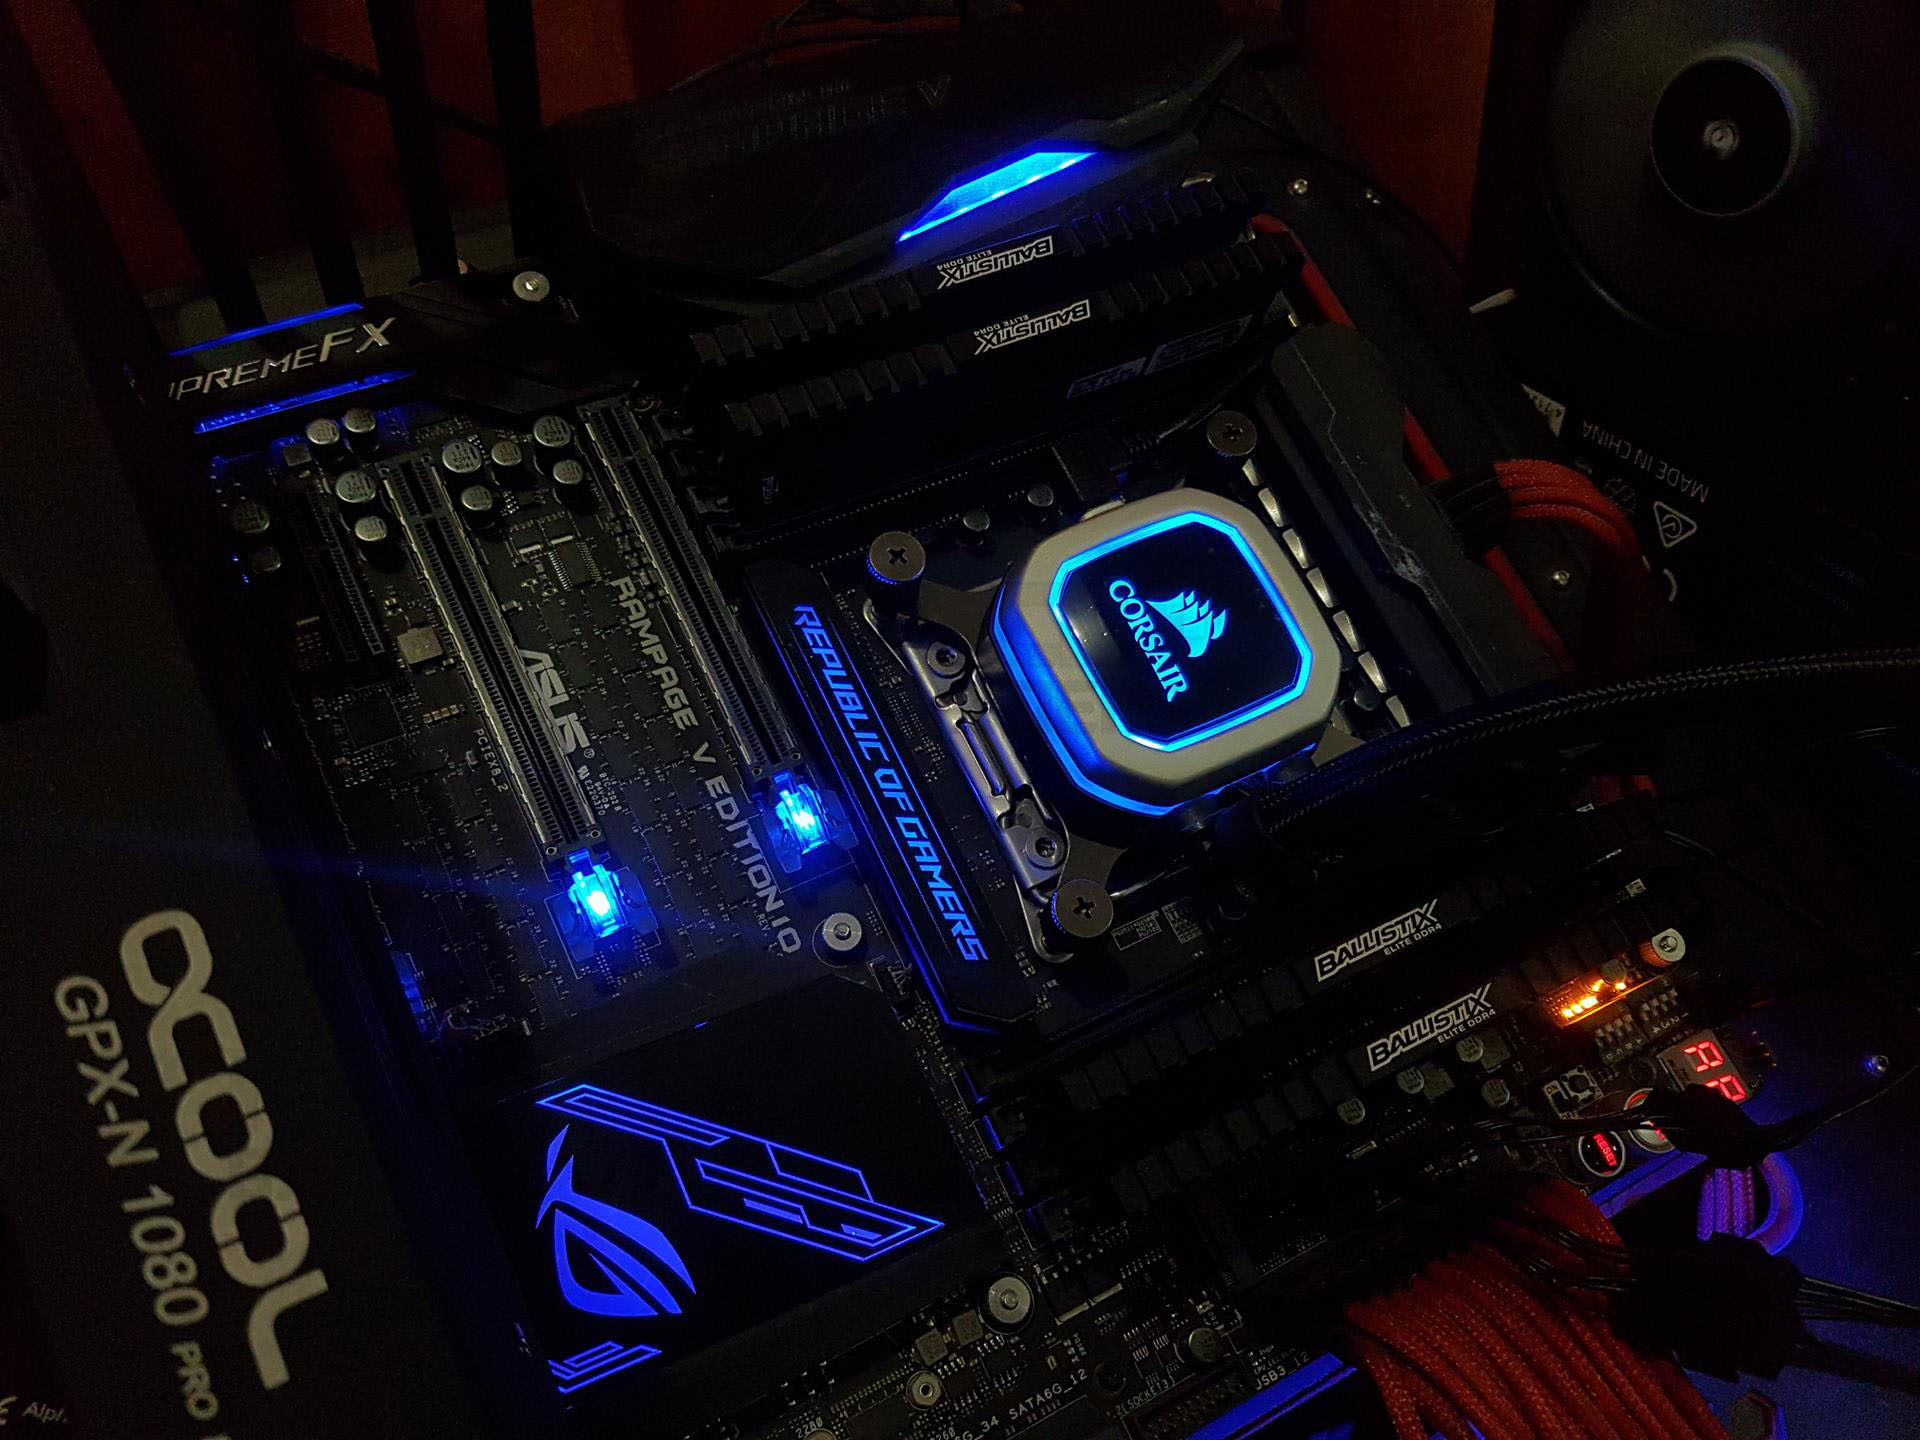
There are three zones of the block that light up when powered on. One is the diffusor sitting between the top and the bottom portion of the chassis, second is another diffusor around the central module on the top side of the block. The third is the Corsair brand name and logo on the top.
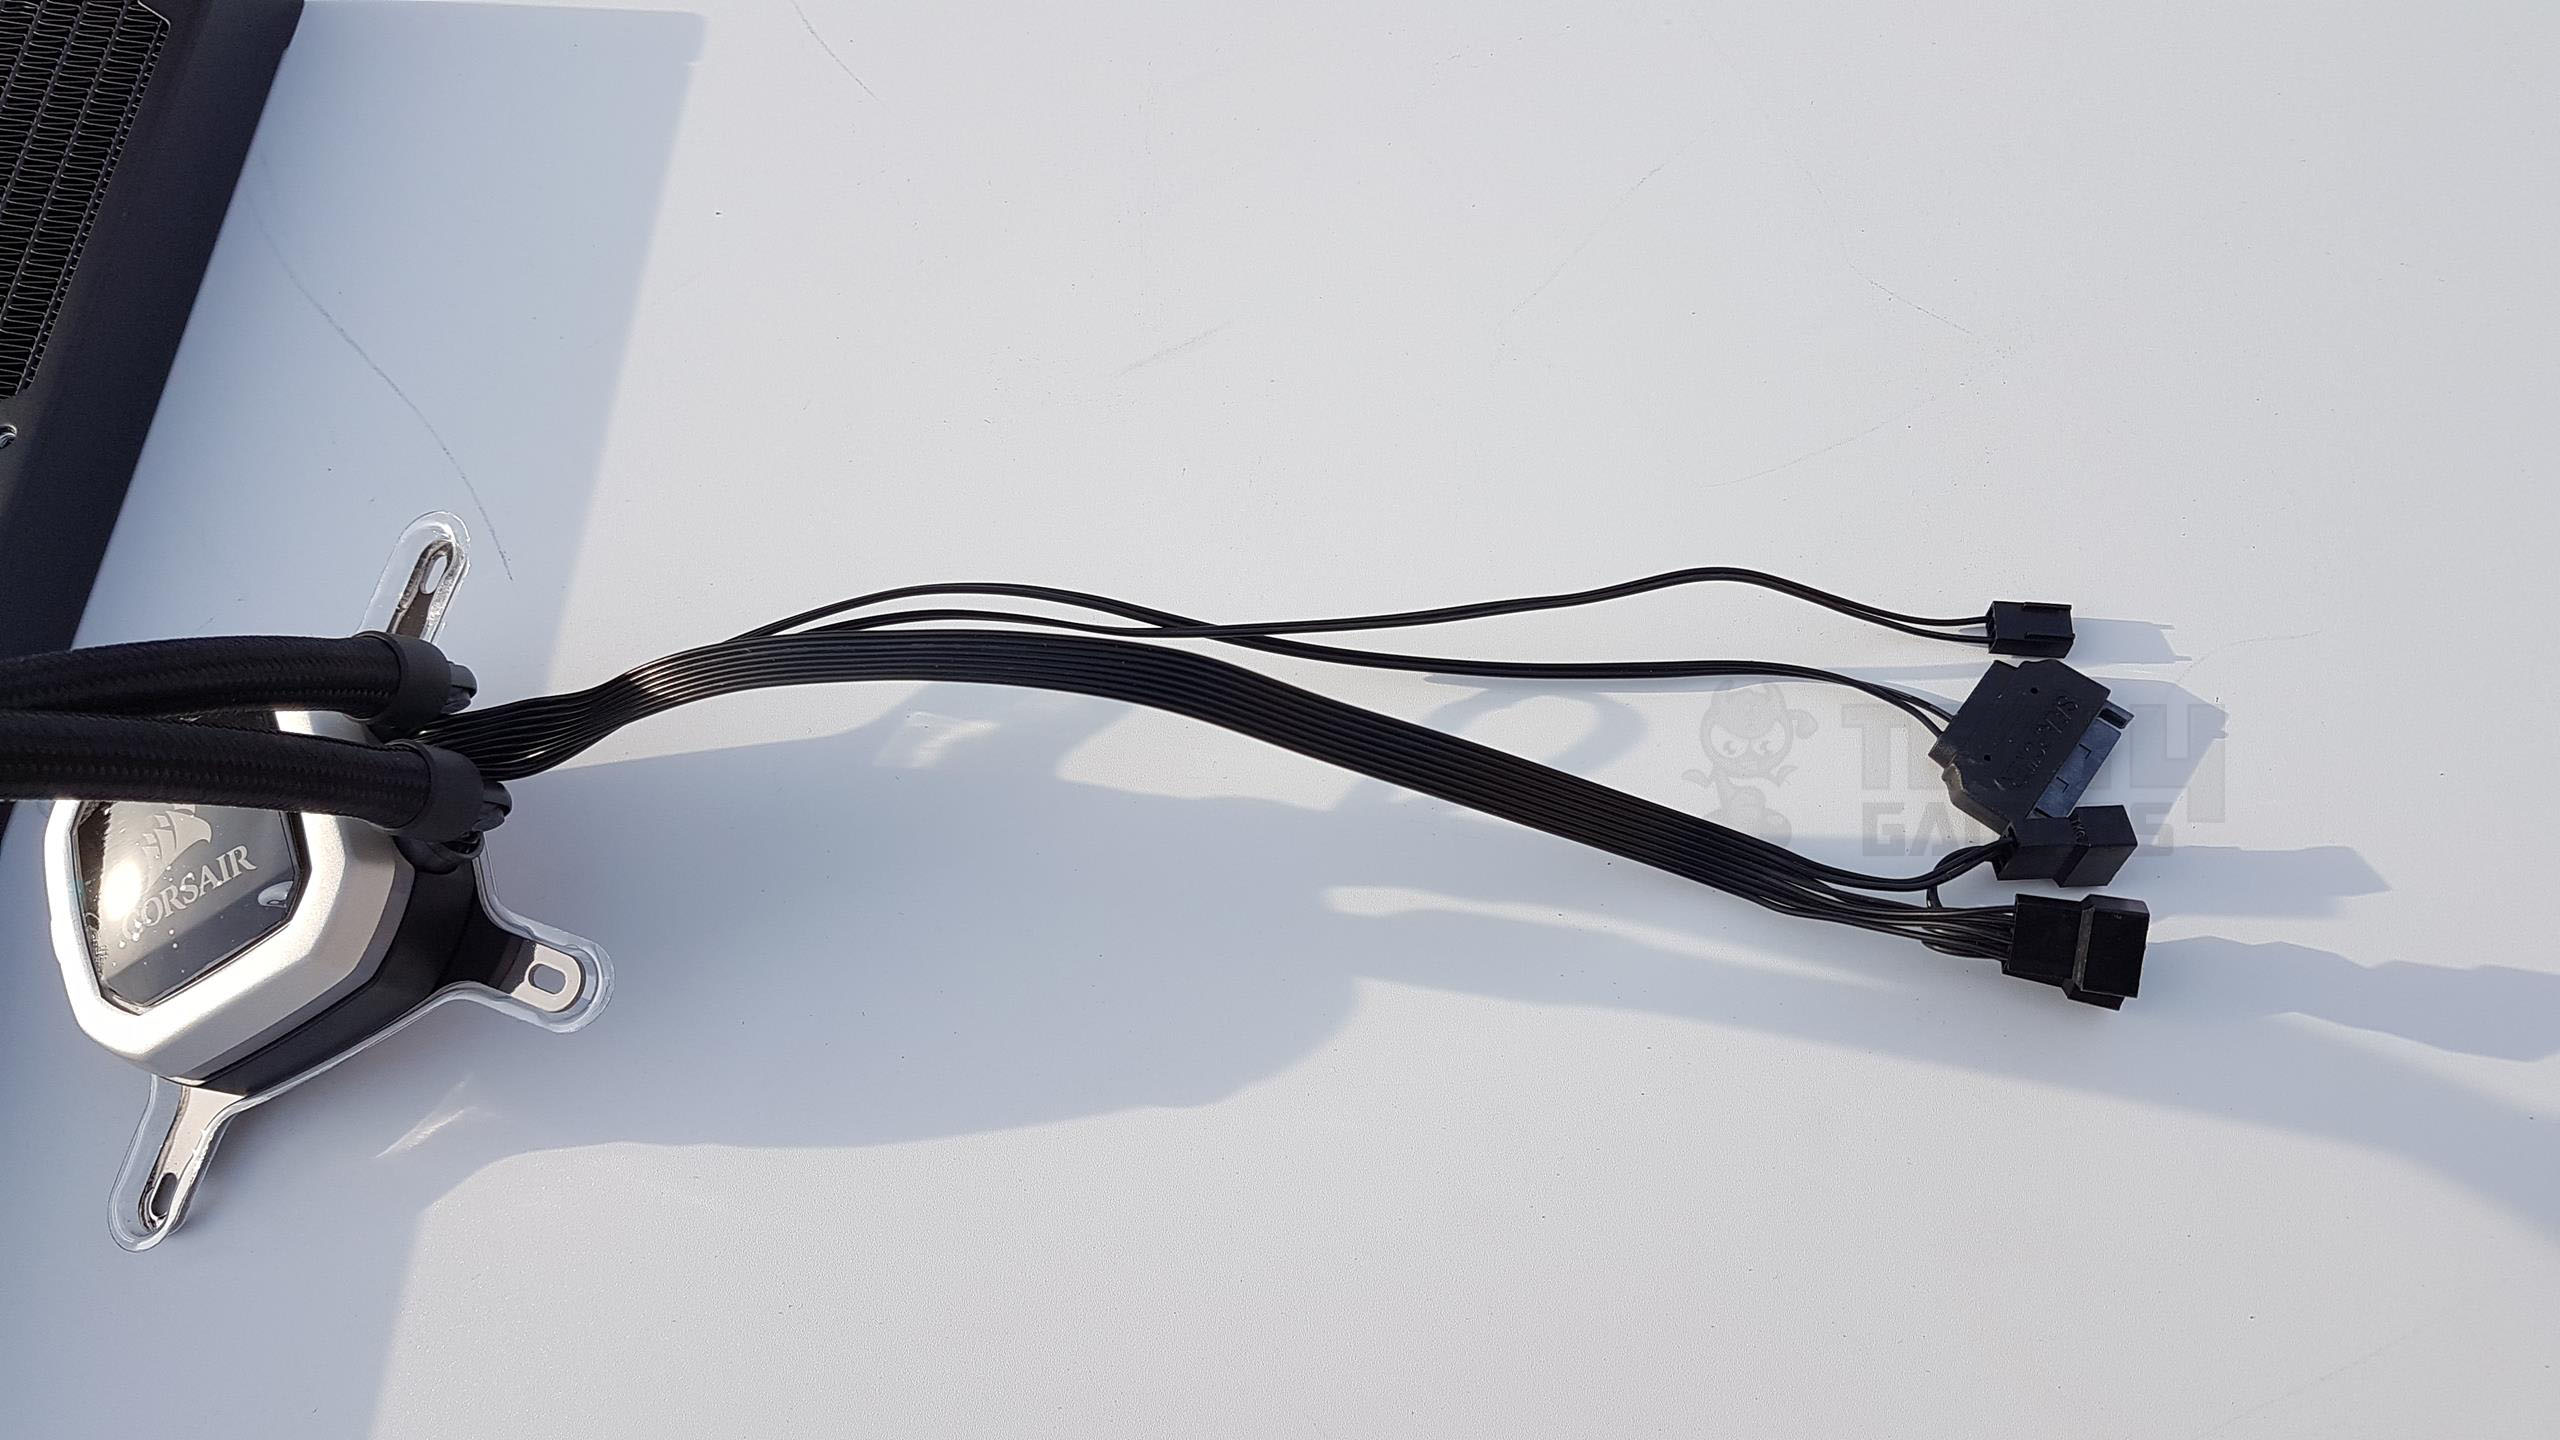
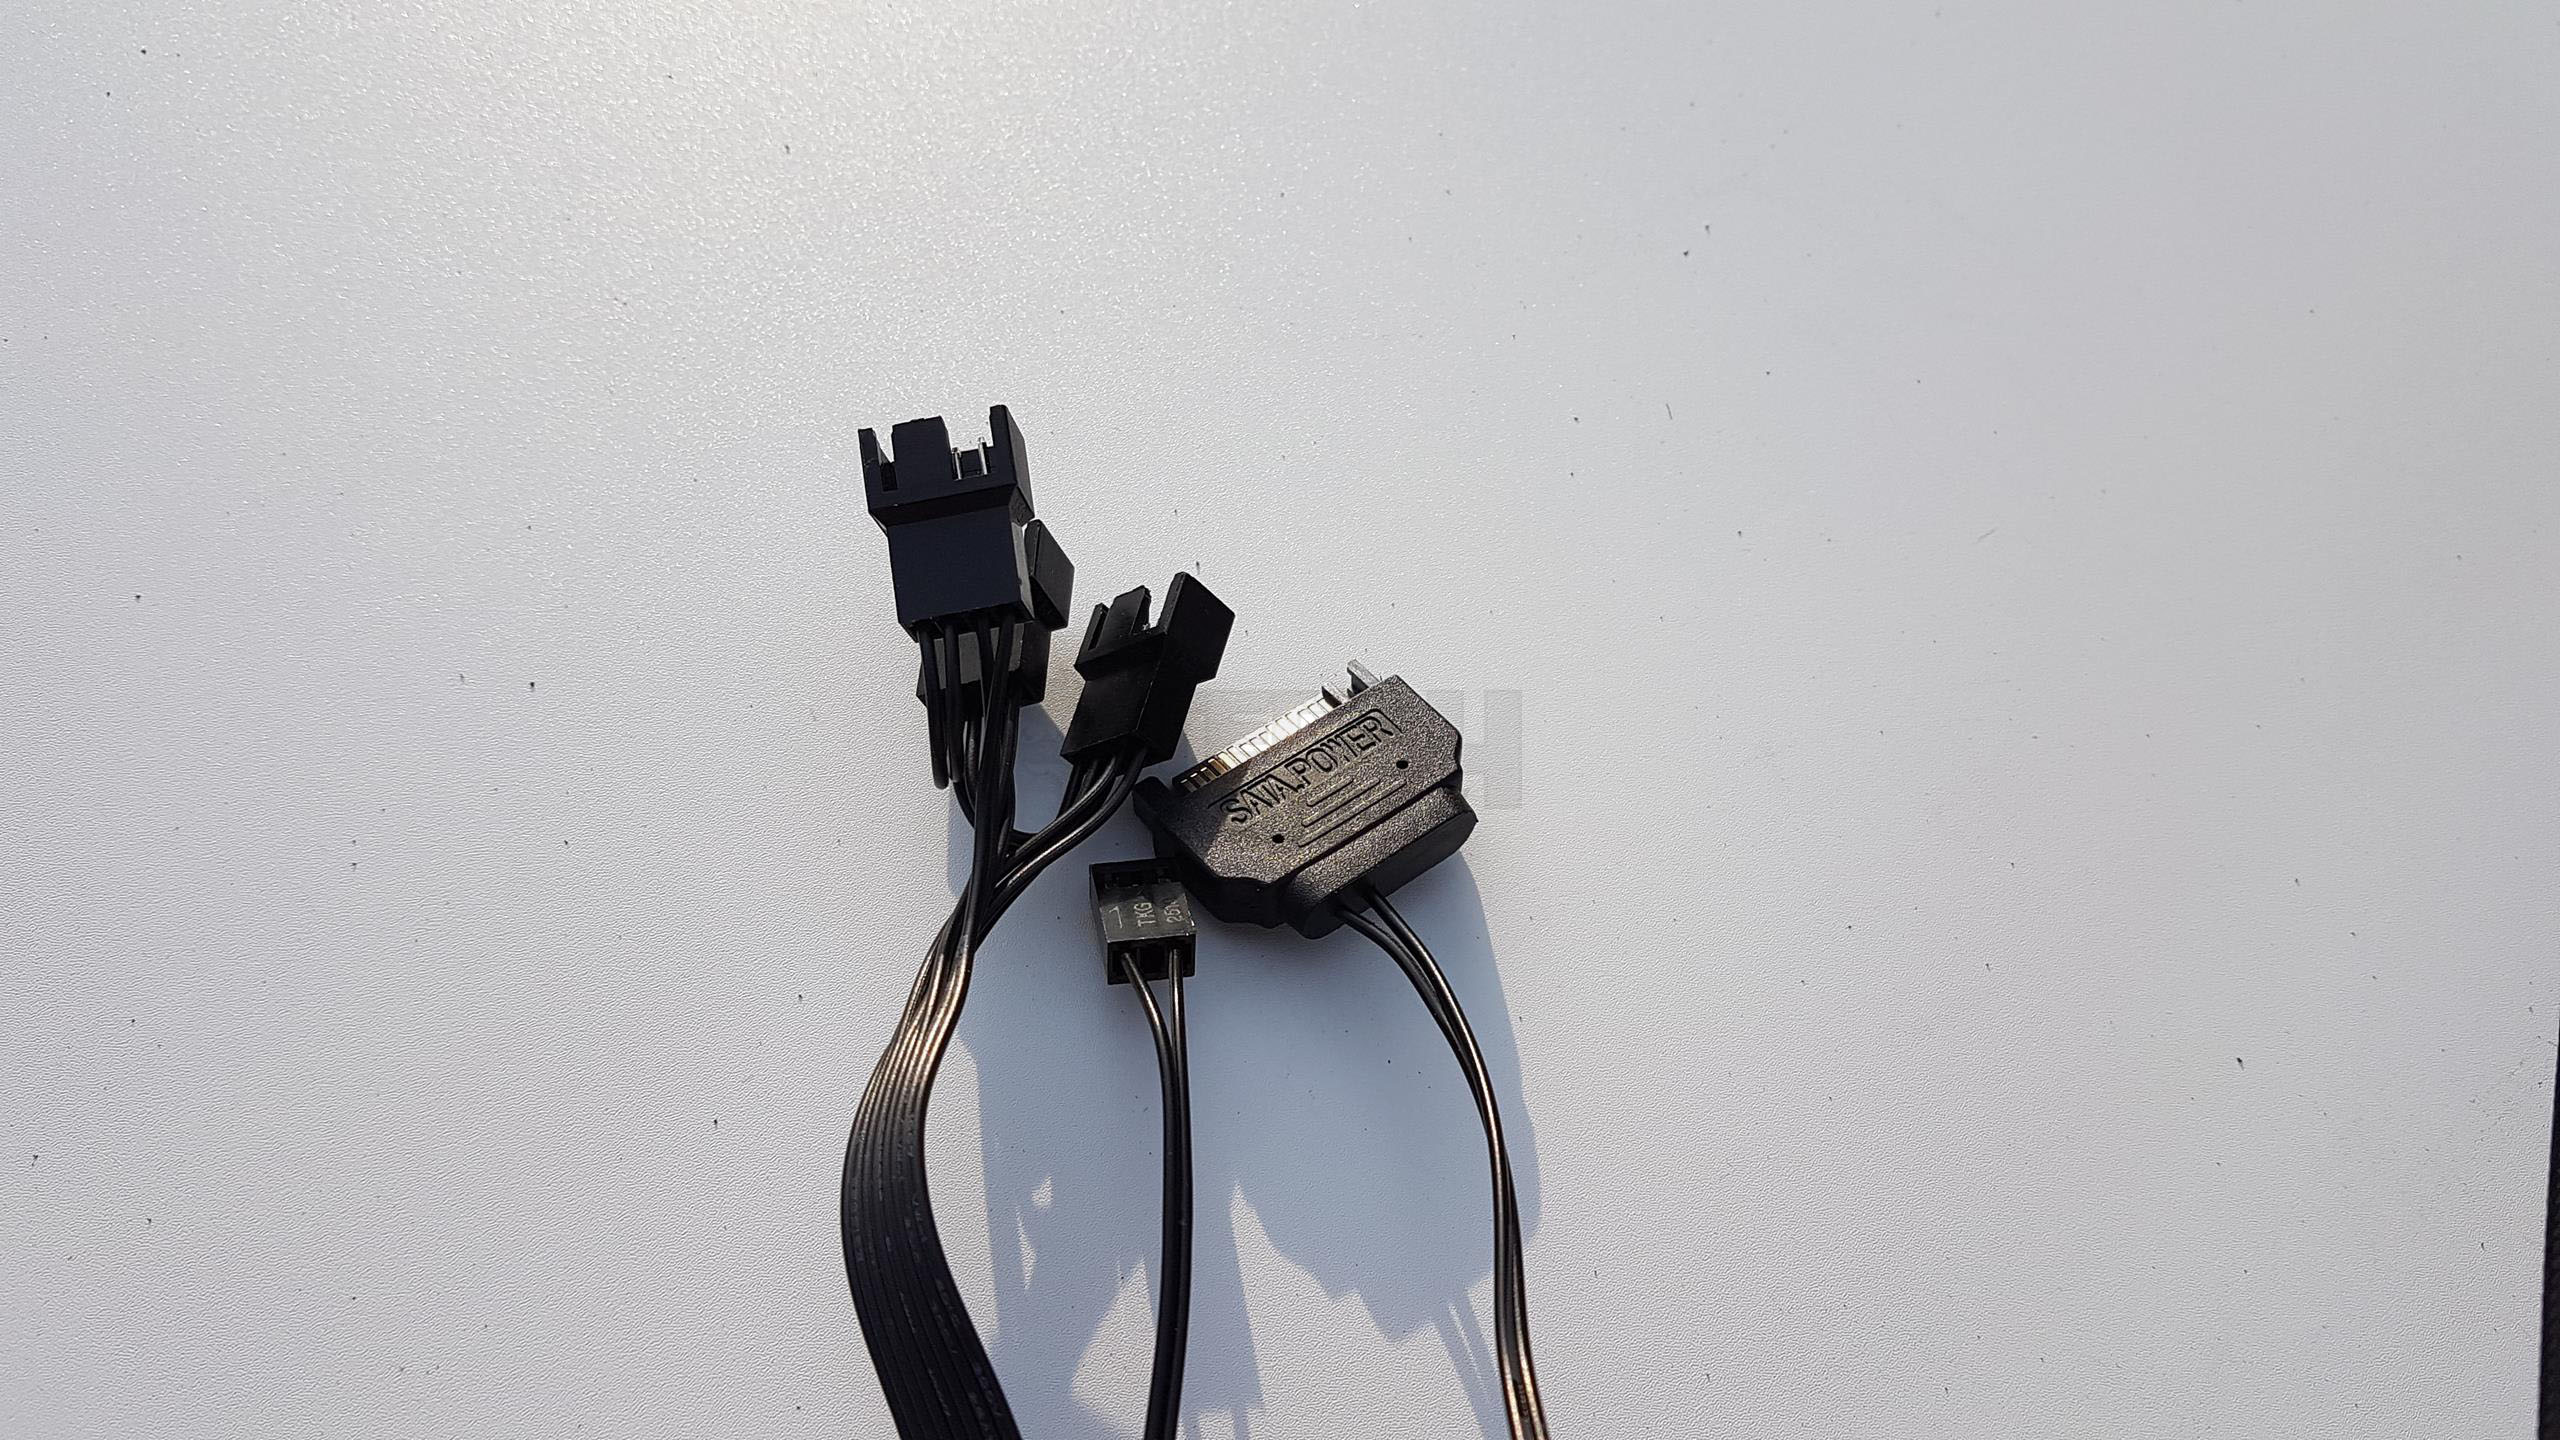
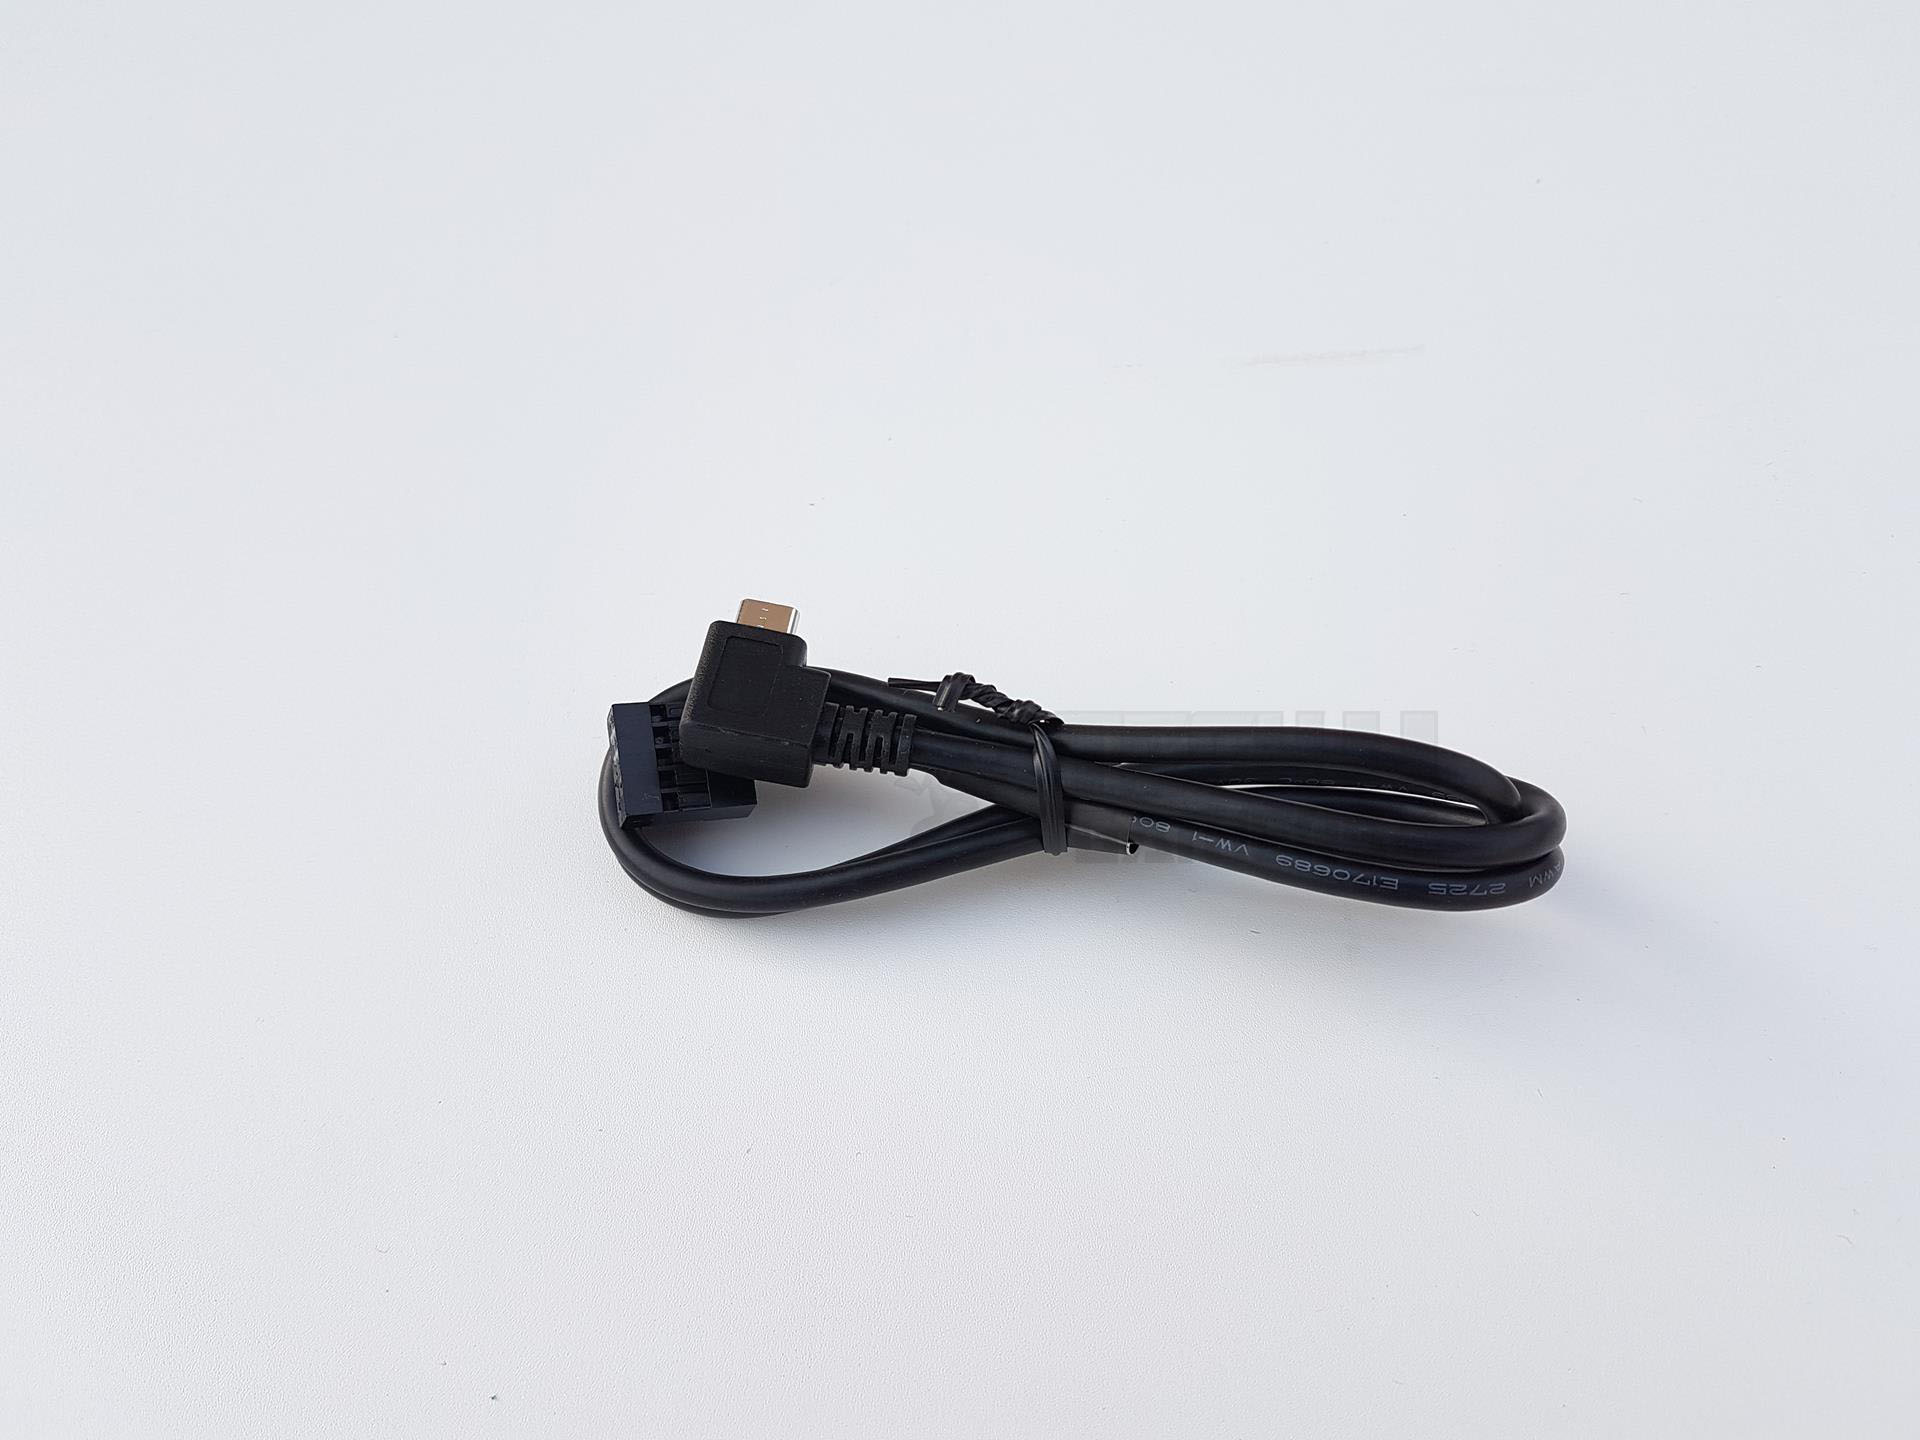
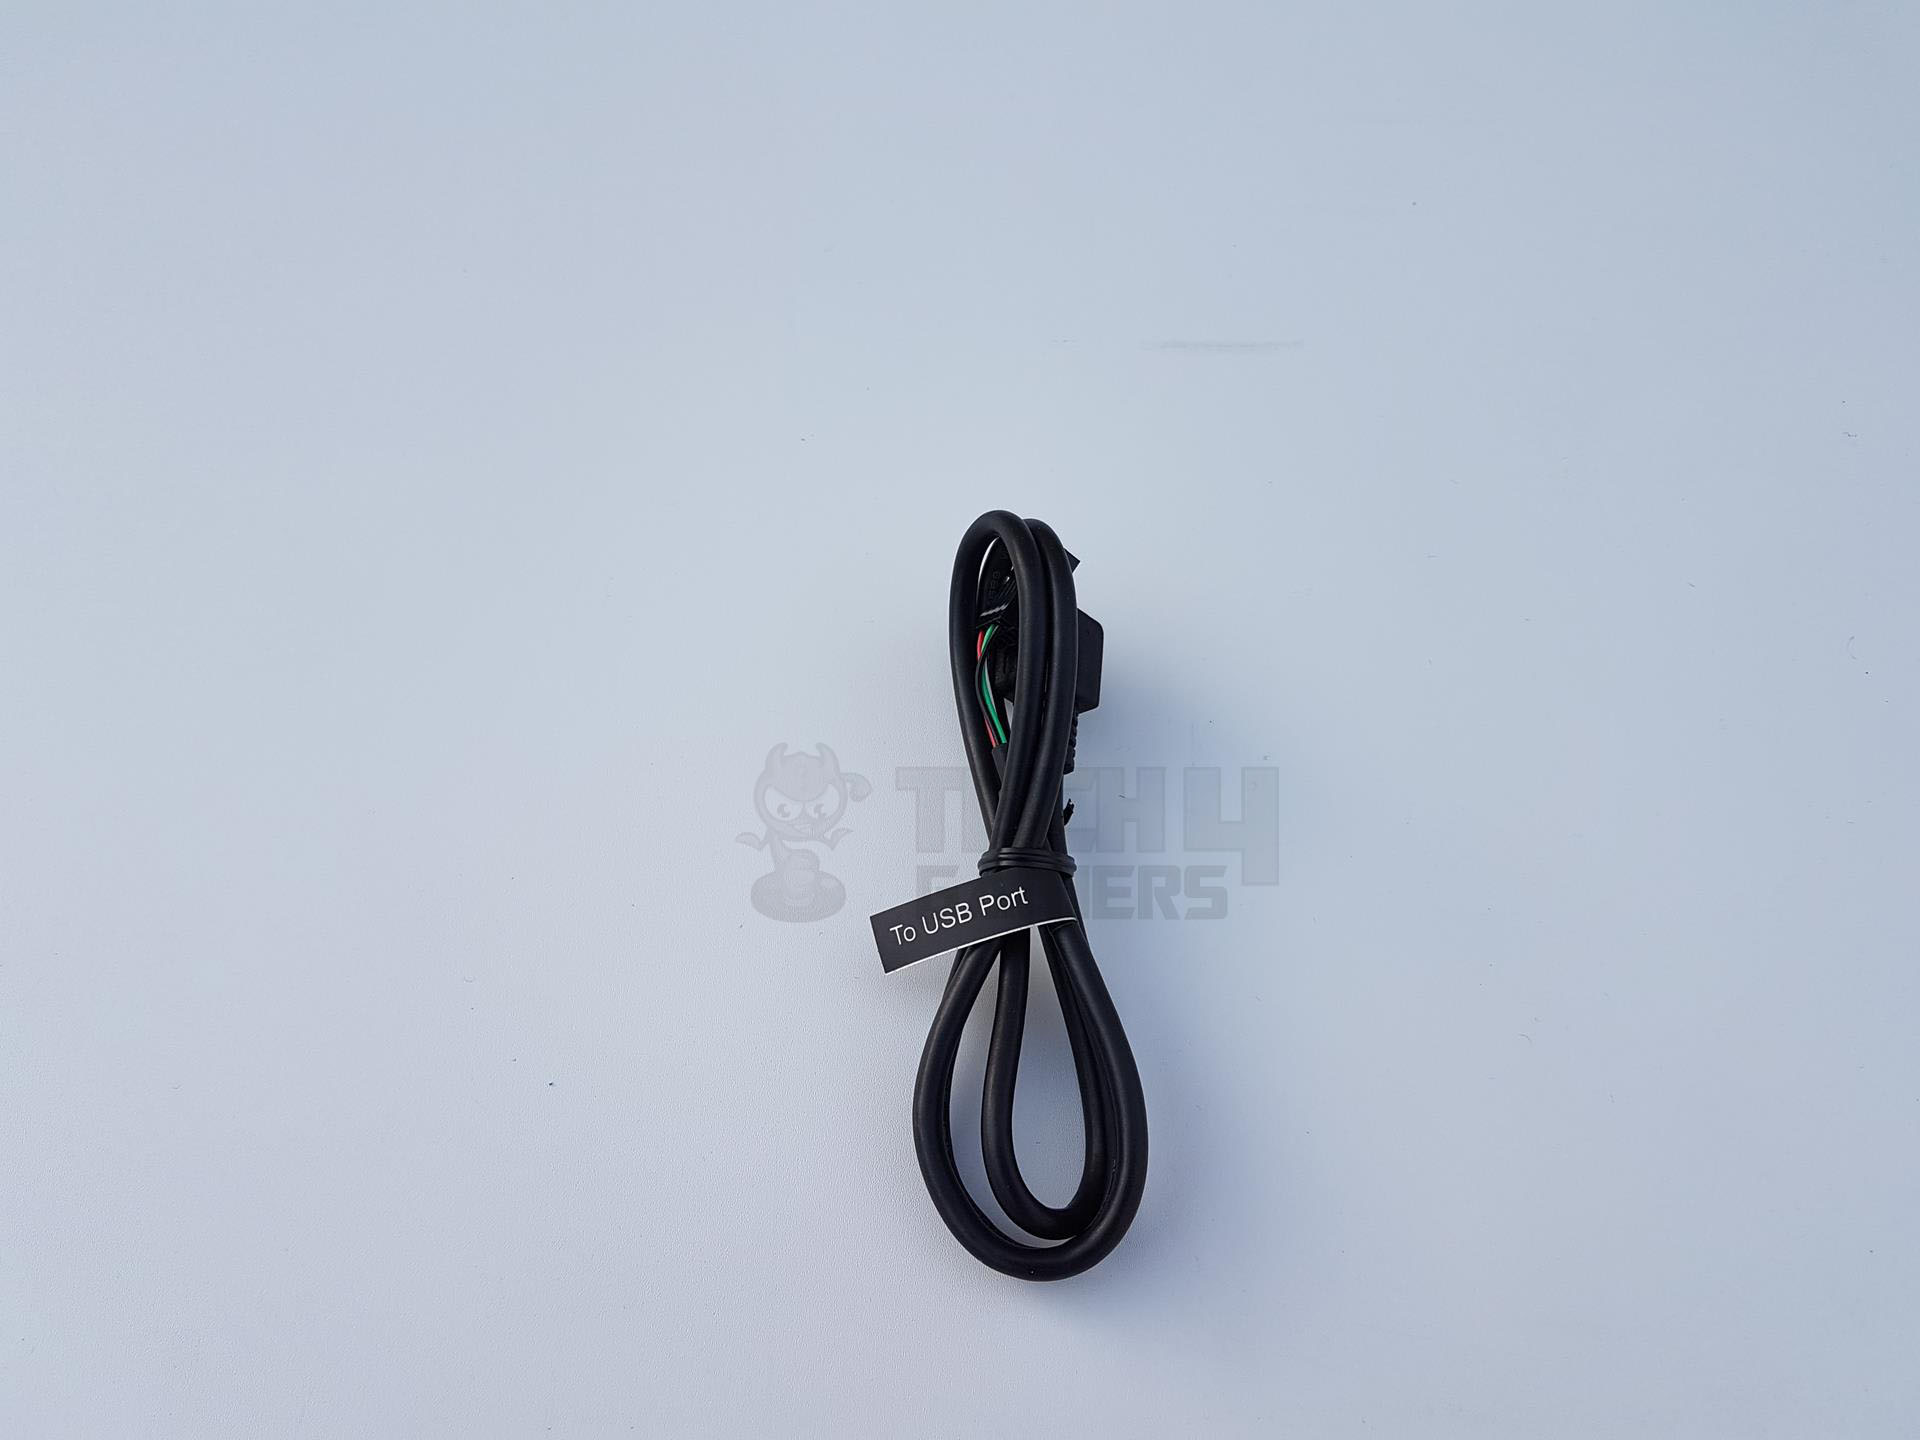
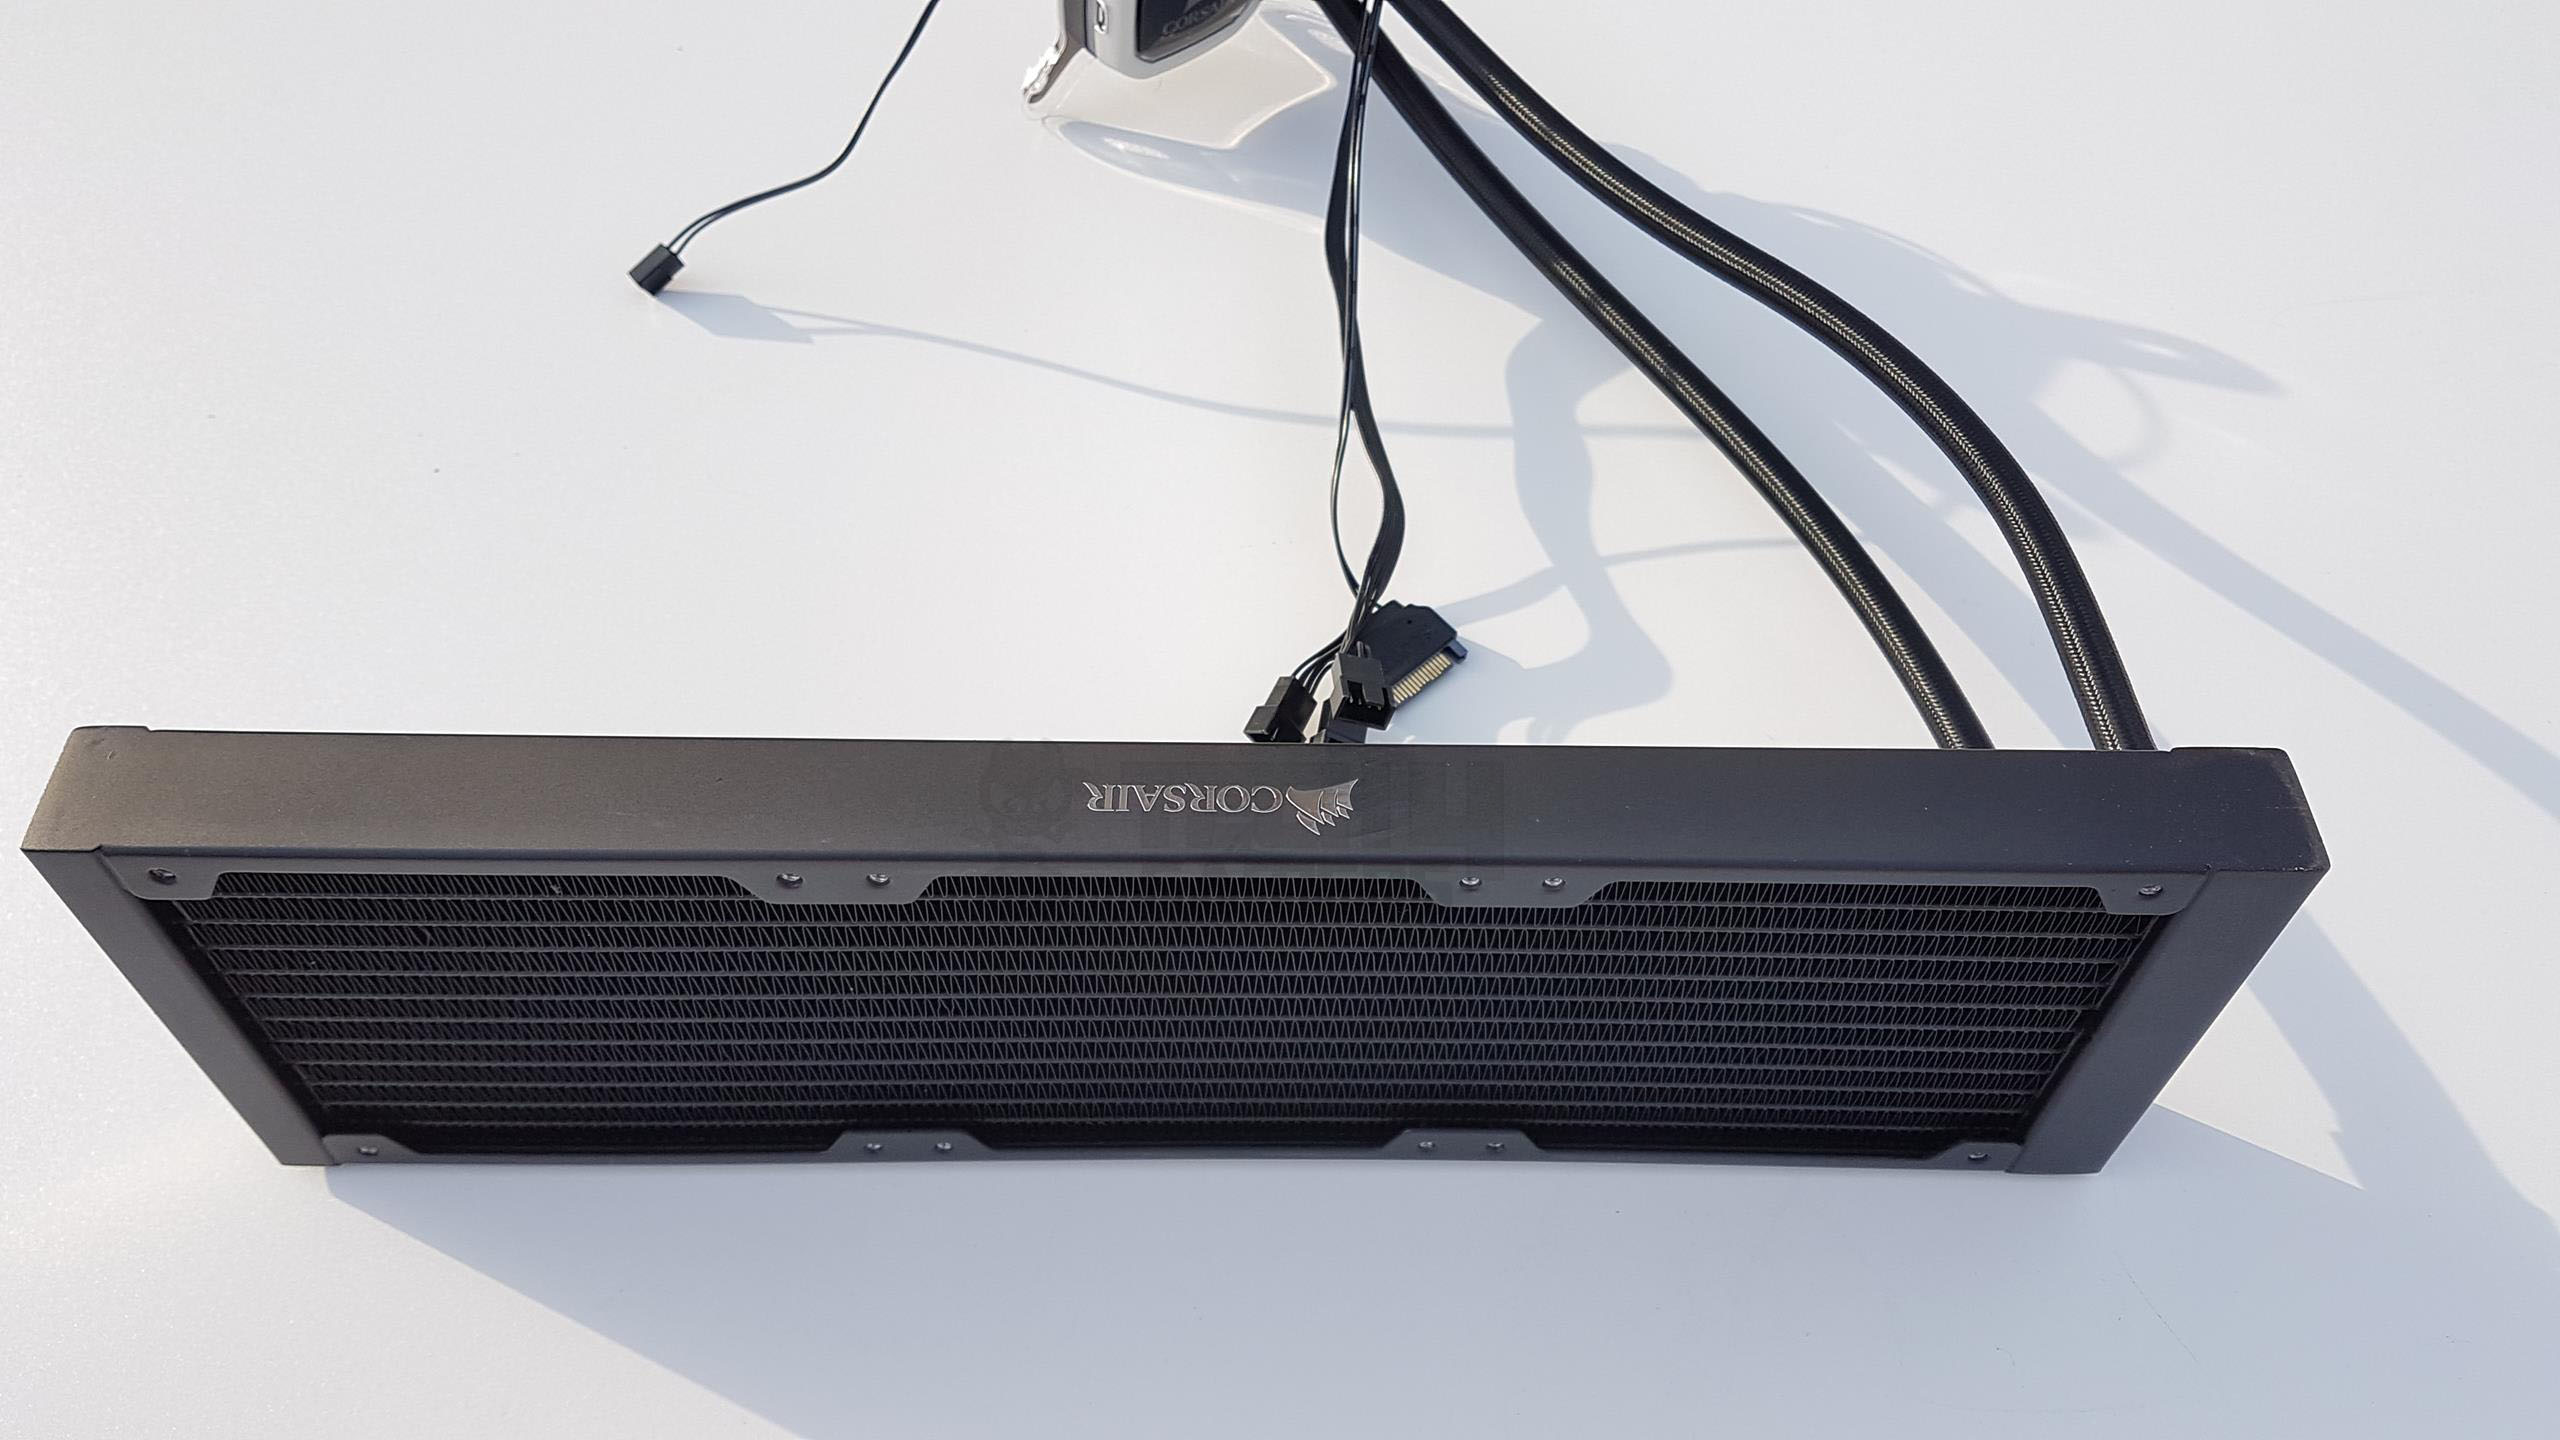
The front side of the block features a micro USB port connected to a 9-pin USB 2.0 cable for Corsair Link software control. Three cables on the rear side include a 263mm SATA cable for power, a 270mm 3-pin cable for pump speed reporting, and a splitter cable with three 4-pin headers for ML series fans.
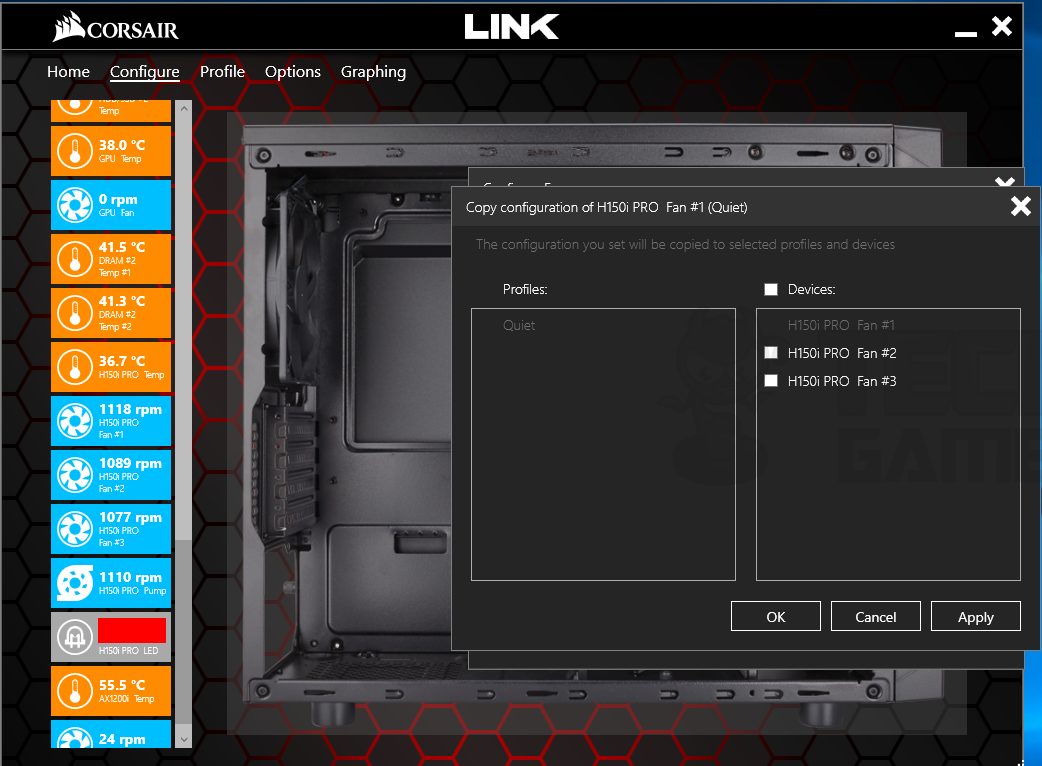
While not mandatory, connecting fans to the splitter enables Corsair Link control; otherwise, fans can be connected directly to the motherboard or a fan controller. Adding on to that, the length of this cable is approximately 295mm.
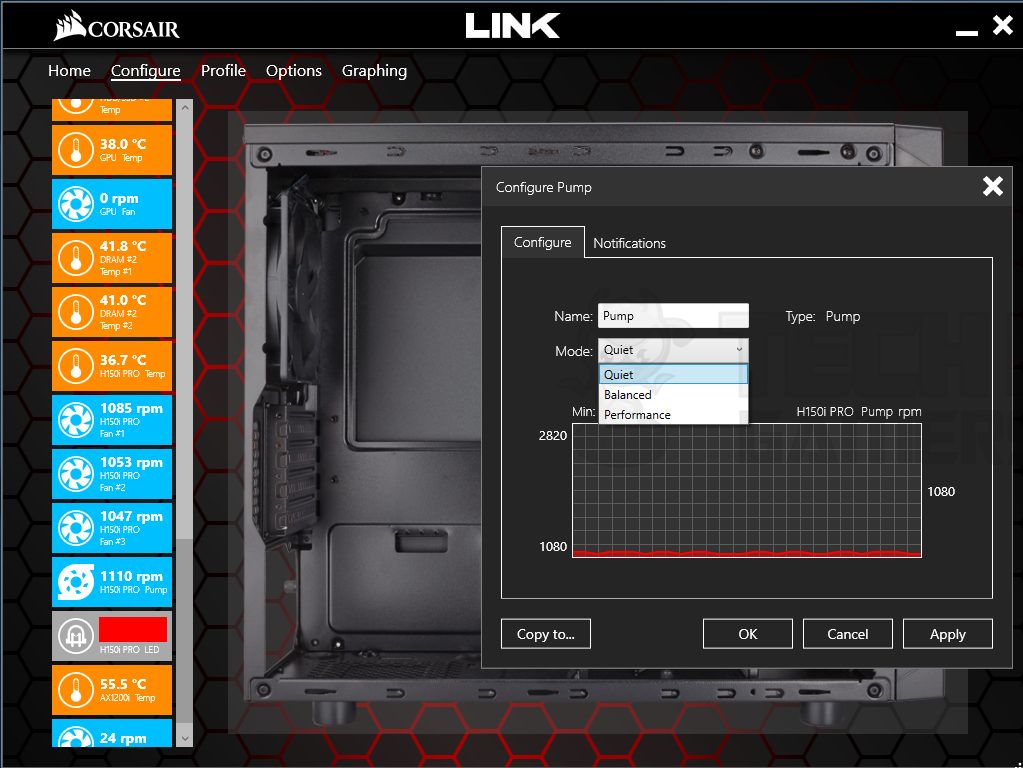
The pump is rated at a maximum of 2800 RPM at 12V DC. In our testing, the pump hits 2820 RPM in Performance mode, 1080 RPM in Quiet mode, and roughly 2100 RPM in Balanced mode. As was the case with the previous-generation hydro series coolers, you can’t control the pump’s speed without Corsair Link software and Corsair has maintained this implementation with their Pro series coolers as well.
On a personal note, I am against such design considerations where users are bound to software use. Anyhow, this is my personal opinion and has nothing to do with the performance of the pump or the unit. Unfortunately, I was not able to gather information on the flow rate of this pump. To my surprise, the new Pro series coolers are not yet listed on the Asetek website.
Fans
Now that we have taken a look at the unit’s main assembly, it is time to dig these ML Low Noise PWM fans. The H150i Pro CPU Liquid Cooler comes with three non-RGB 120mm fans. They feature a black frame similar to the regular ML series high-performance PWM fans, each equipped with 7 gray blades.
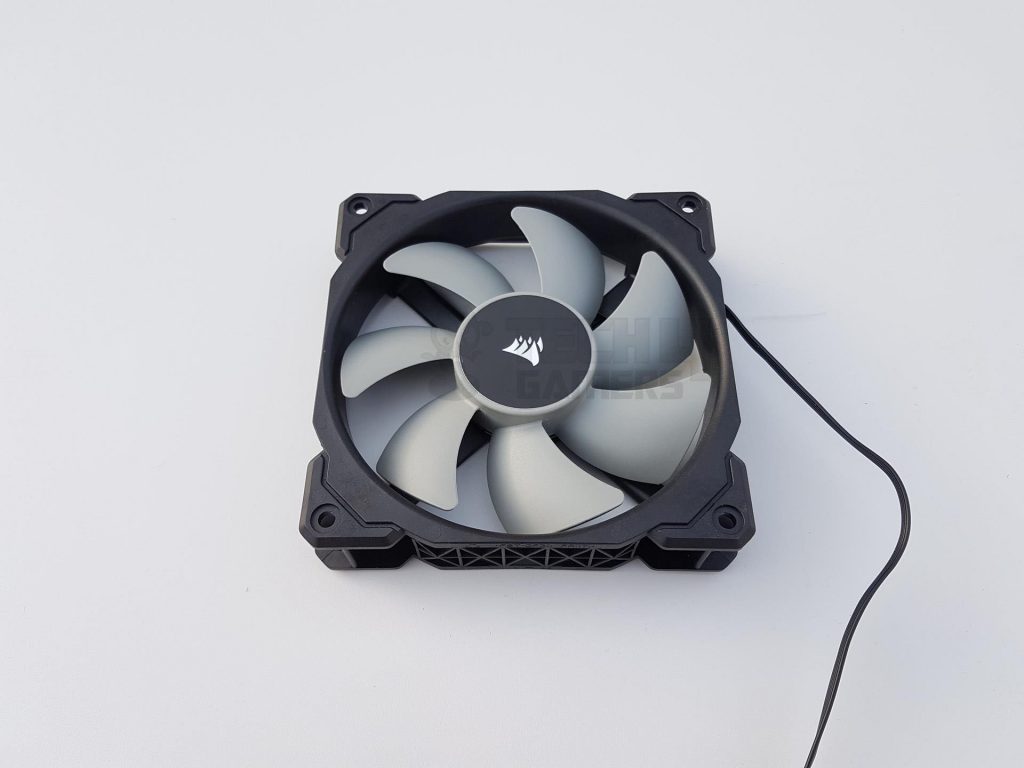
Surprisingly, the fans lack anti-vibration pads despite Corsair’s focus on silent cooling. The motor hub features a black sticker with a white Corsair logo. The frame is narrow in the center, and thicker on the edges, with 111mm spacing between mounting holes. A serial number sticker is on one side of the frame.
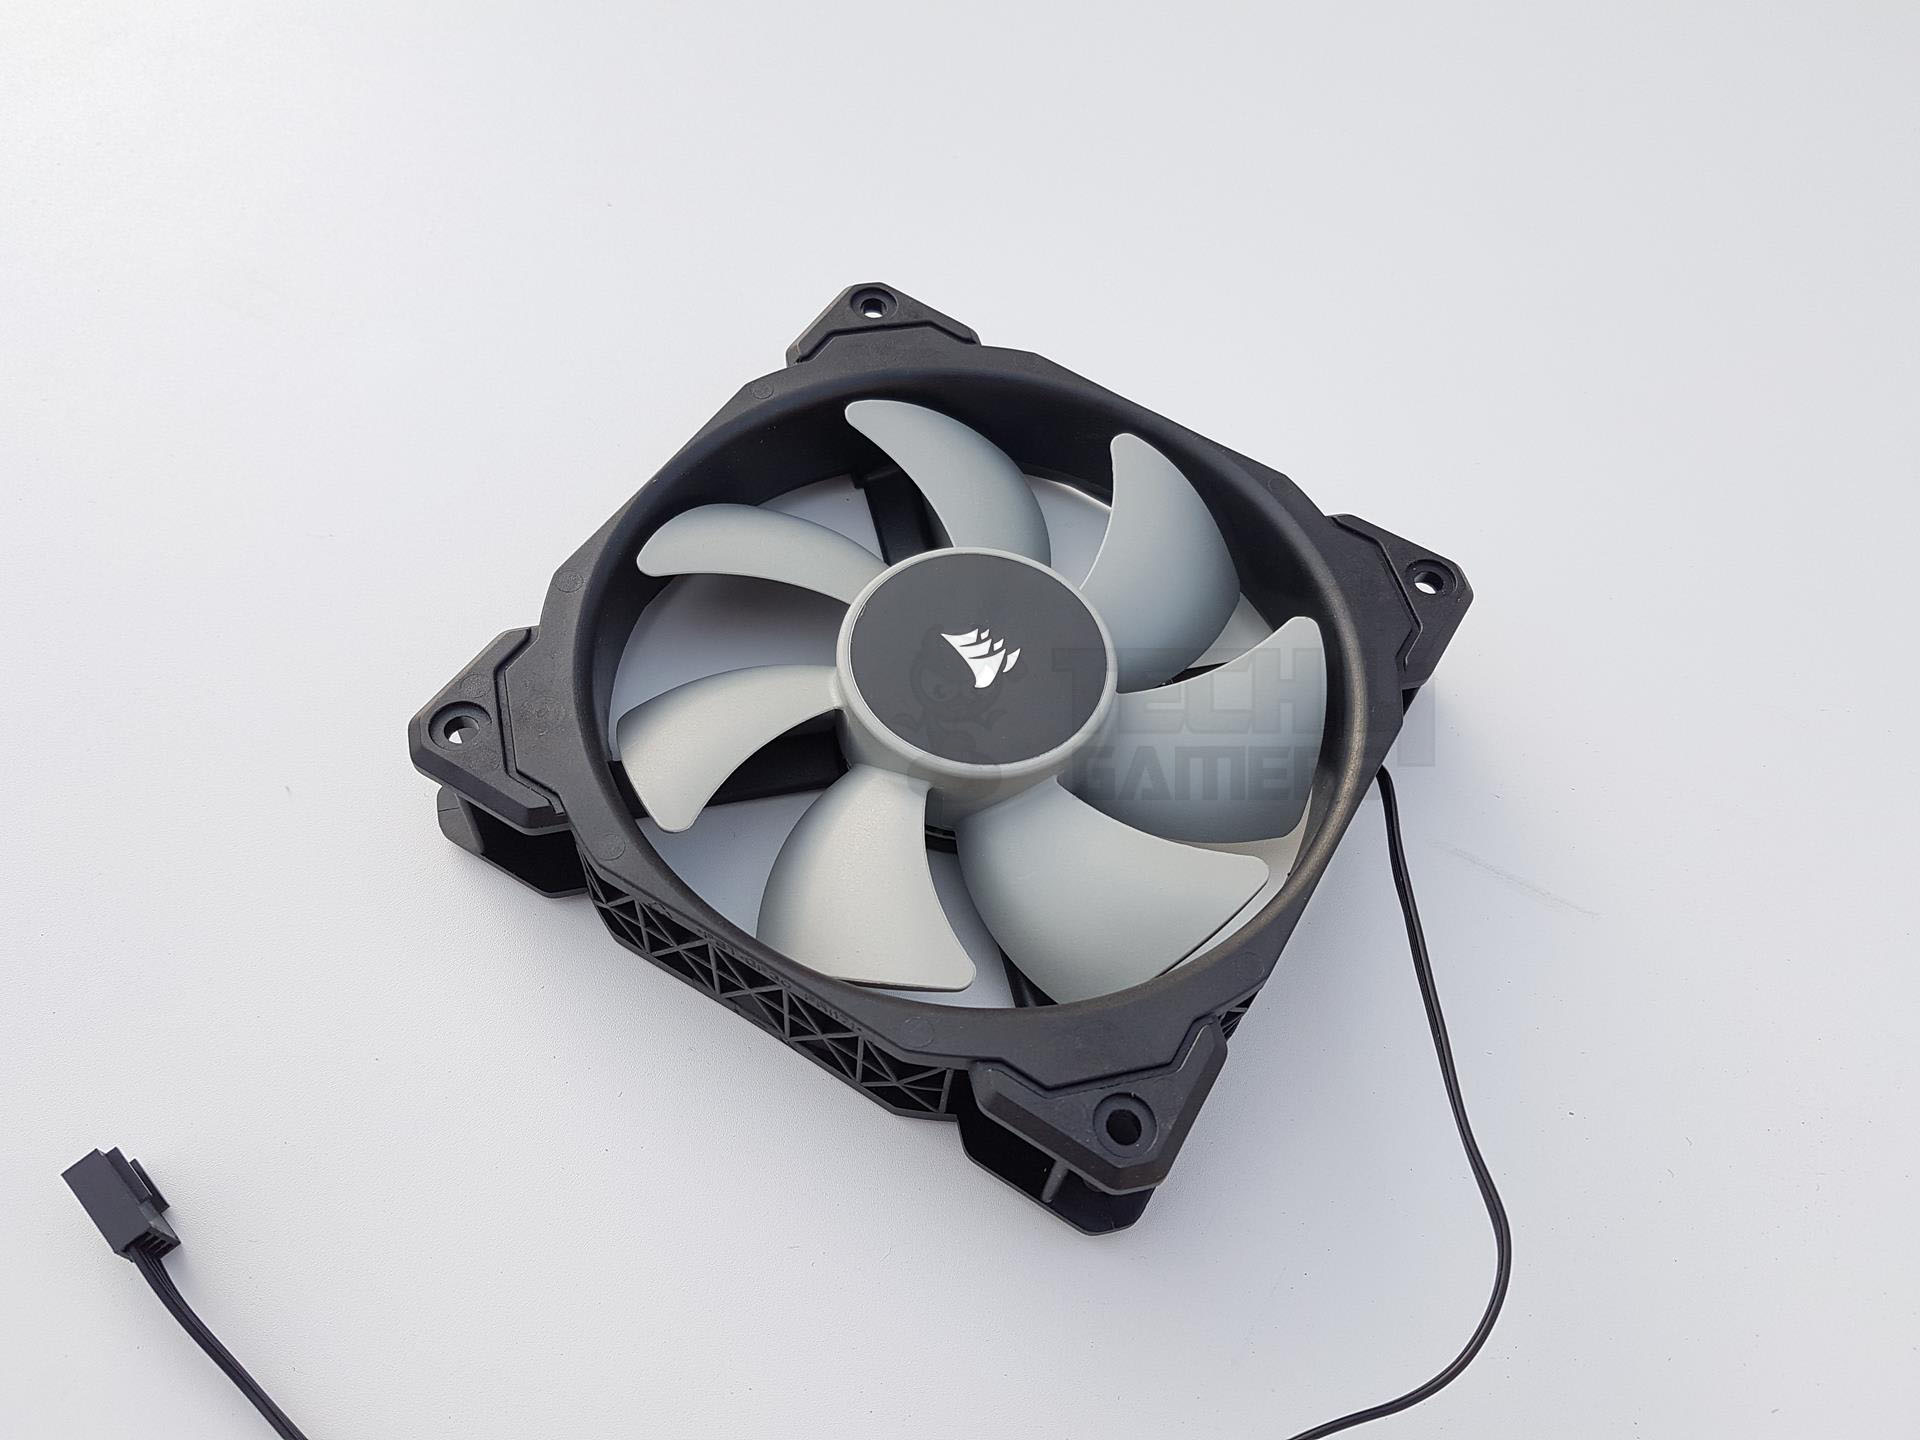

The central area of the frame’s sides has triangle cutout-like design patterns. One side has two arrow indicators showing the airflow direction and spinning direction of the fan blades. The backside of the fan has a 4-arm assembly in an X pattern. There is a sticker pasted on the motor hub with half of its cover in black having the Corsair brand logo printed on it.
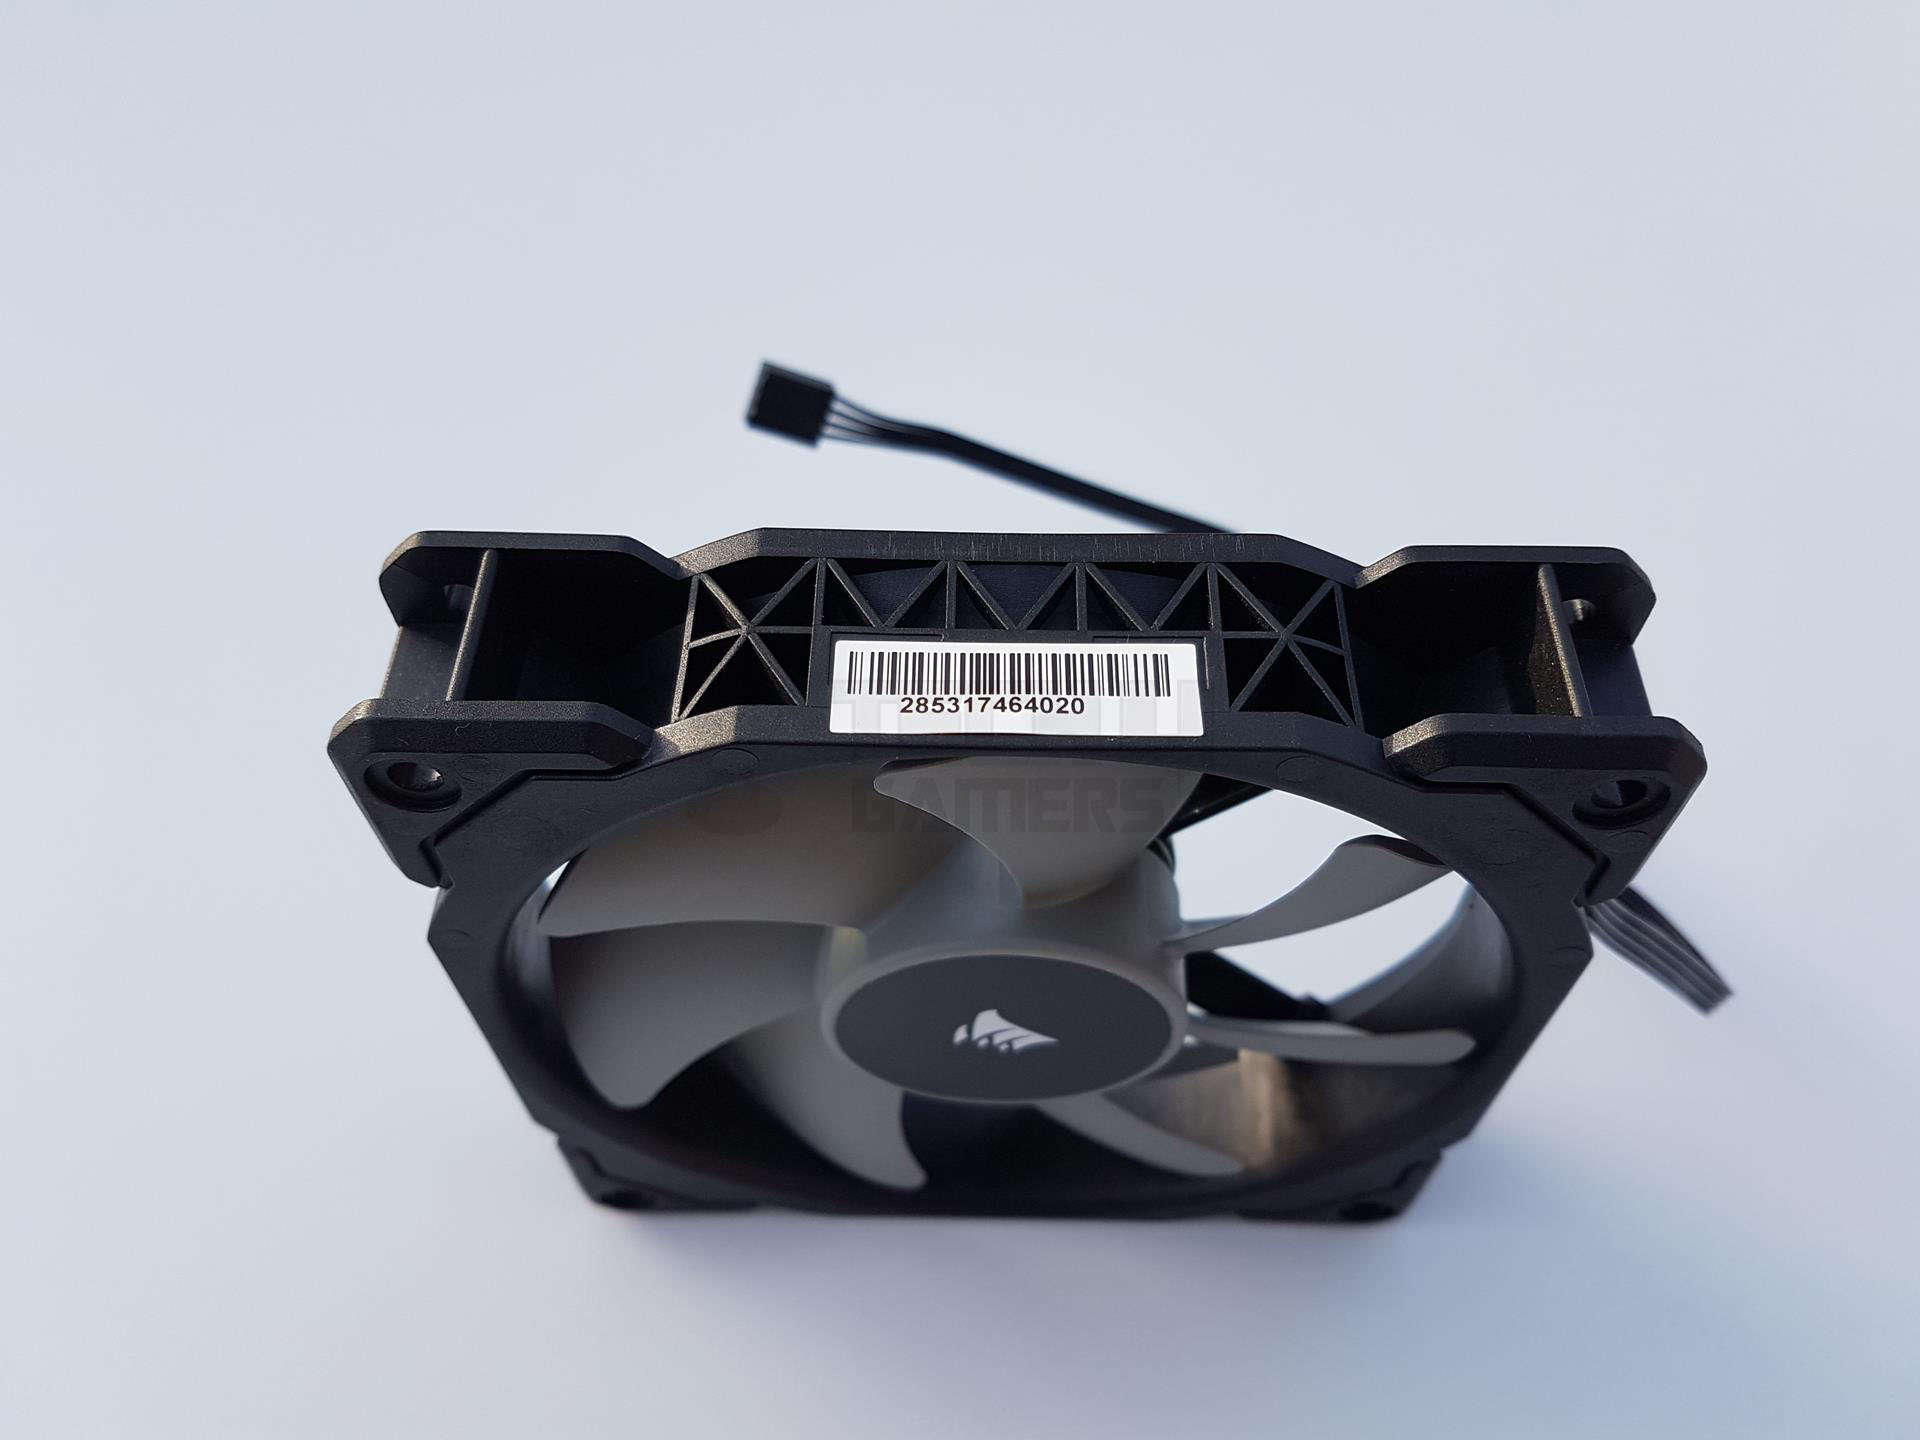
The fan takes 0.219A with 2.628W of power. The fans are made in China. One of the arms has an inset for cable routing with a proper catcher. There is a cutout on the left side’s frame from where the cable is routed out of the frame. Cable has a 4-pin PWM connector and has a length of approximately 292mm.
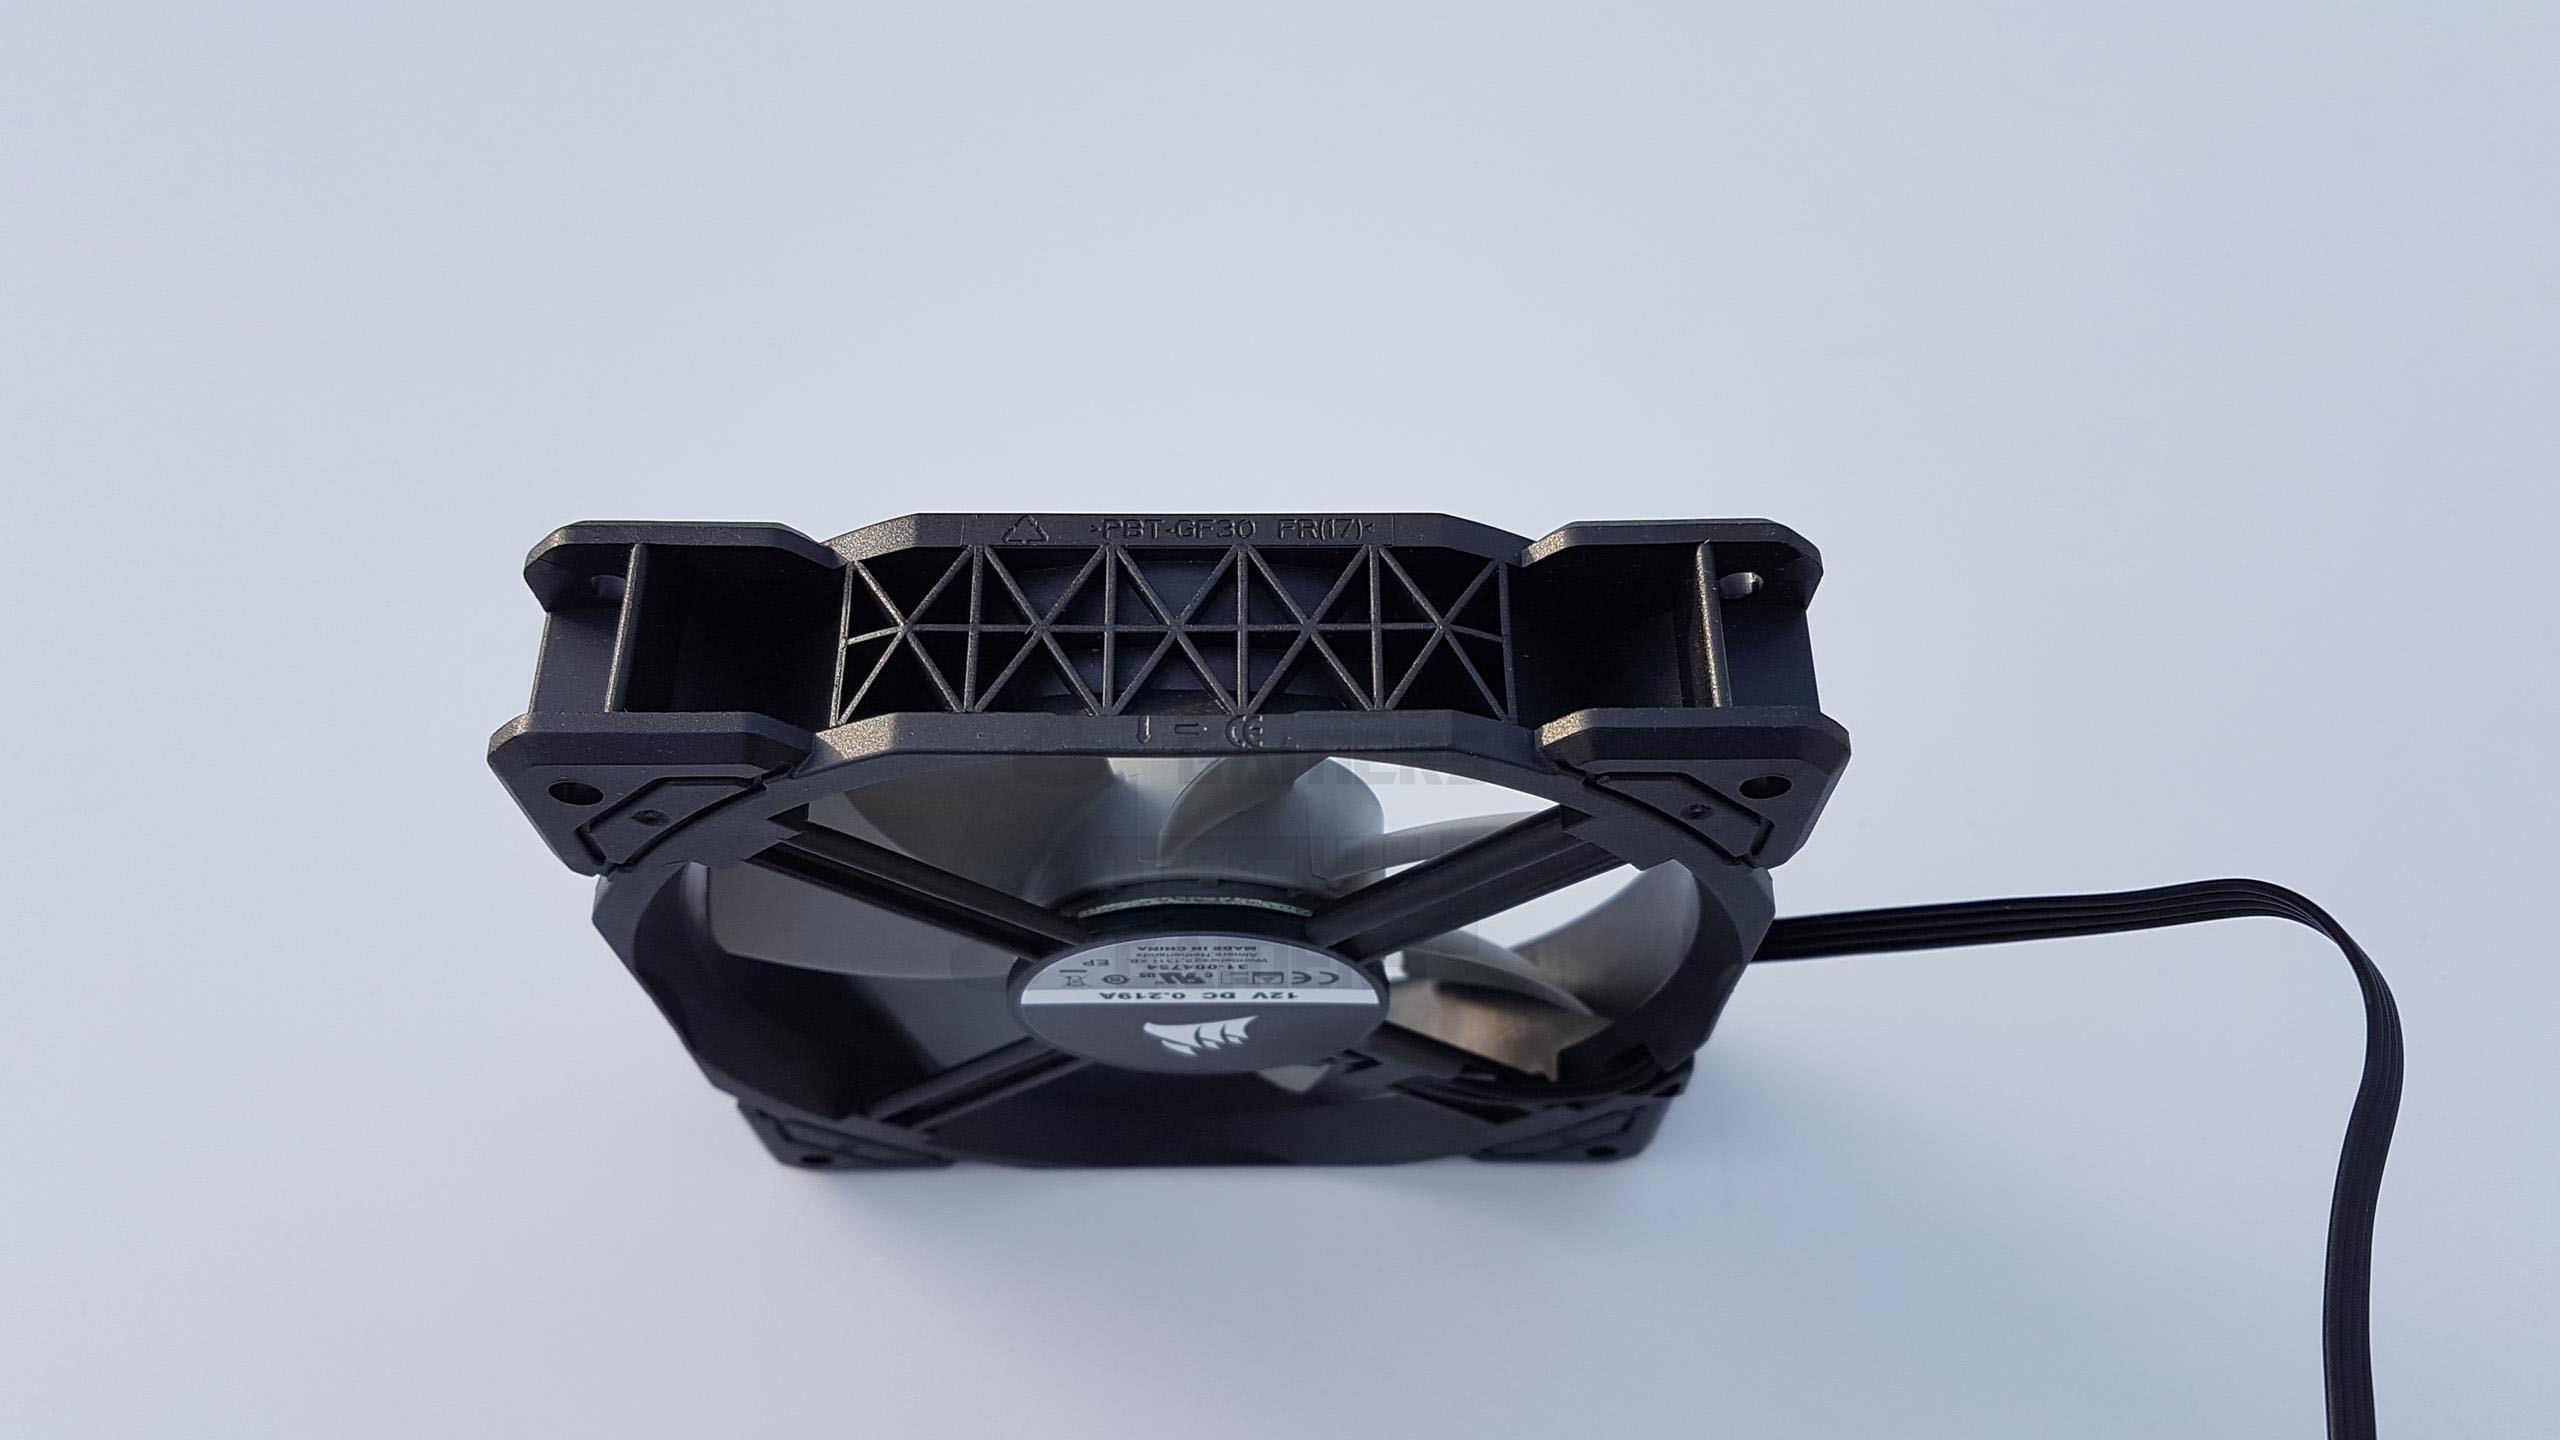

Here is a quick rundown of these fans’ specifications. They are rated at 47.3 CFM with a static pressure of 1.78 mmH₂O. Maximum speed is rated at 1600 RPM with 25 dB(A) sound level.
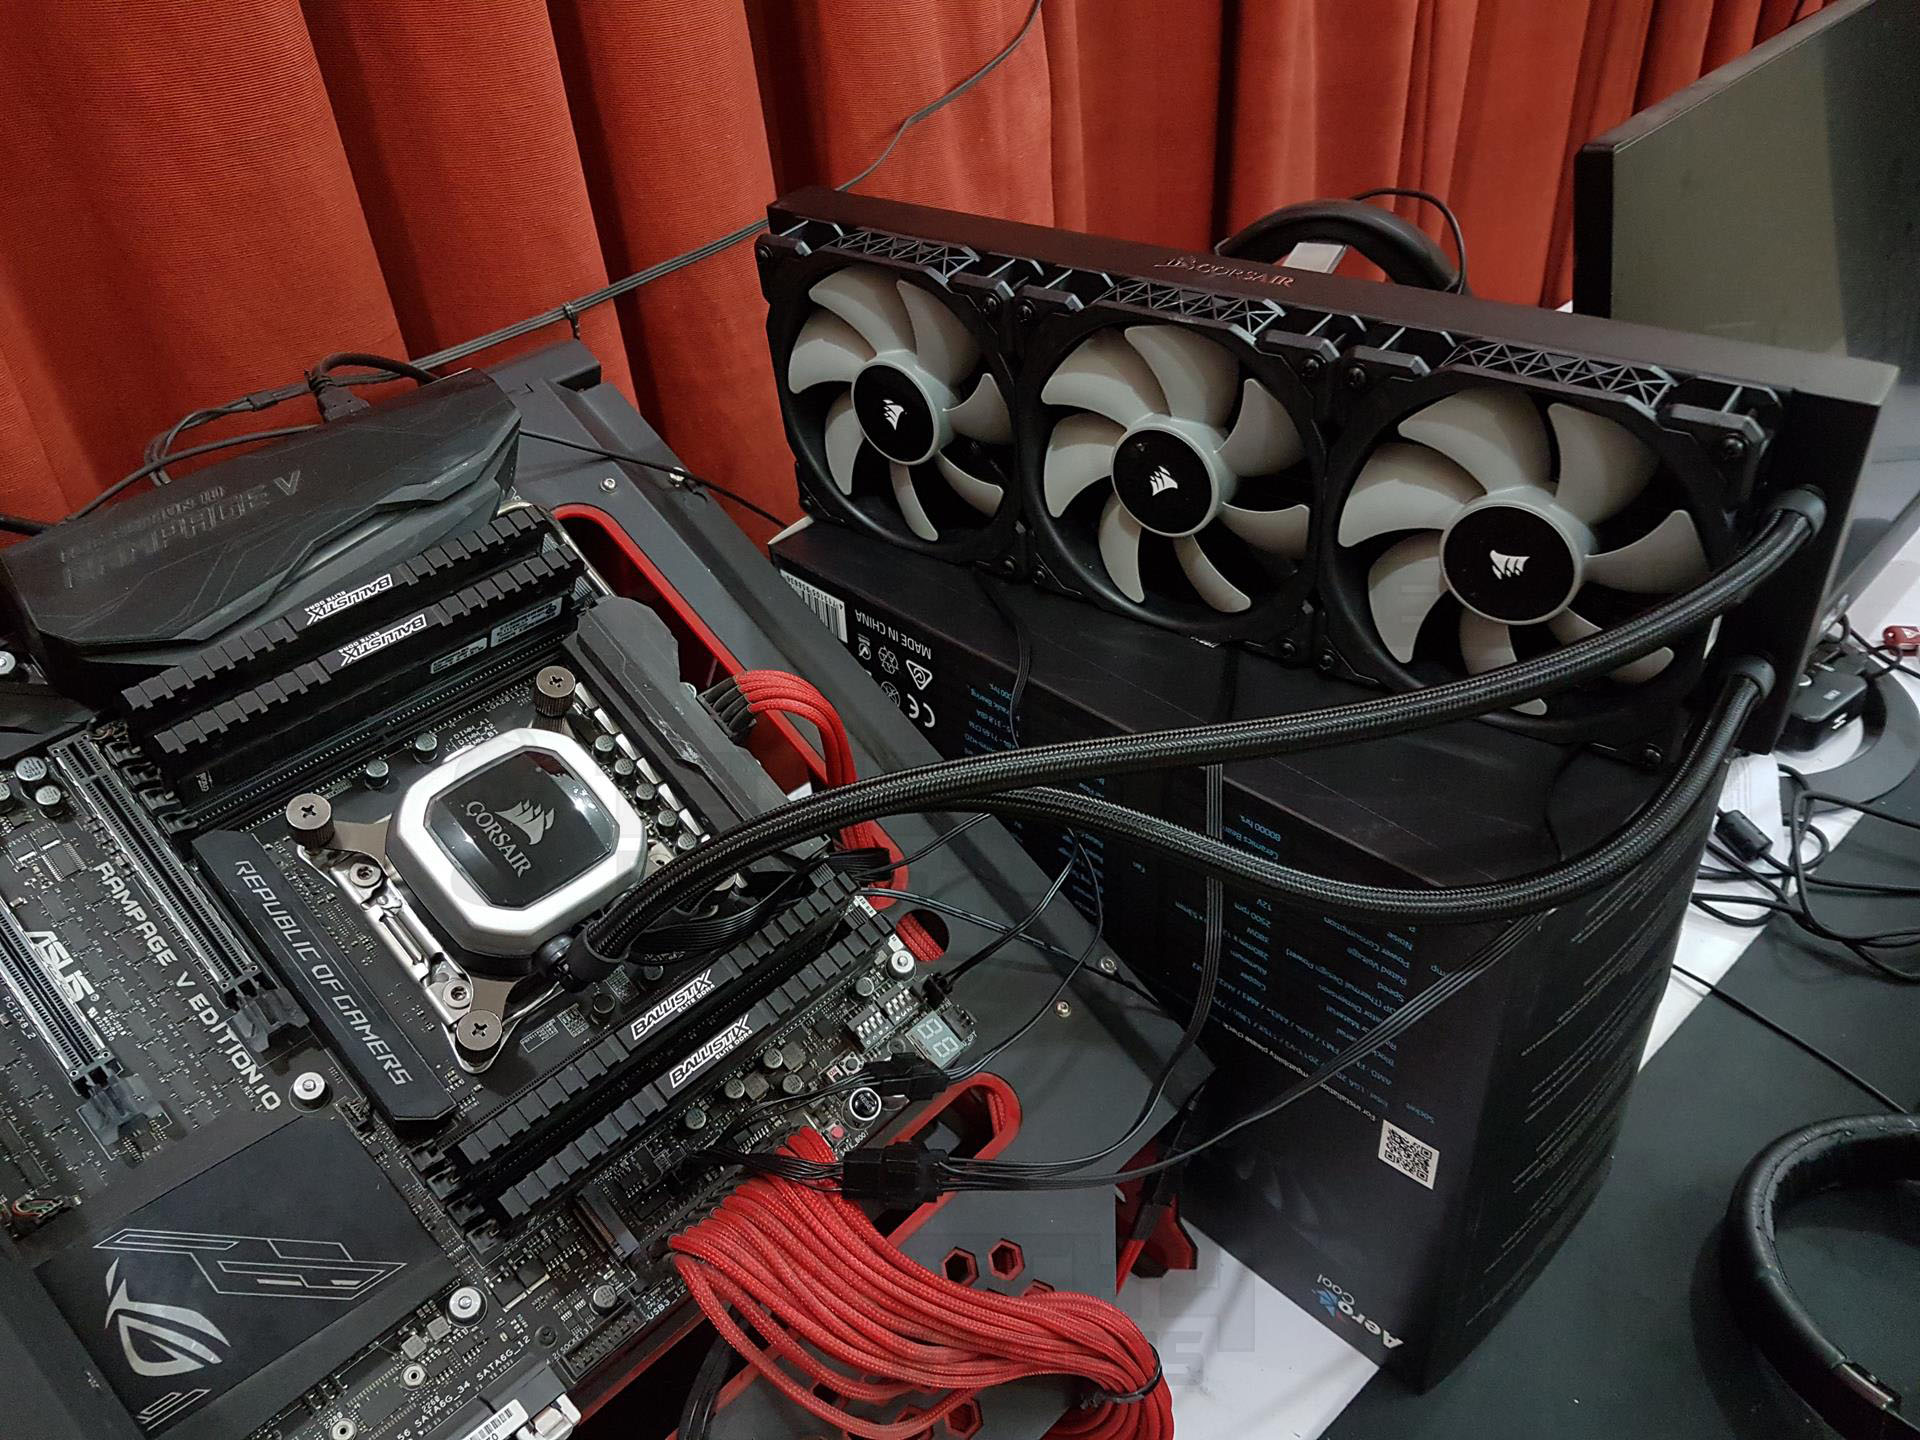
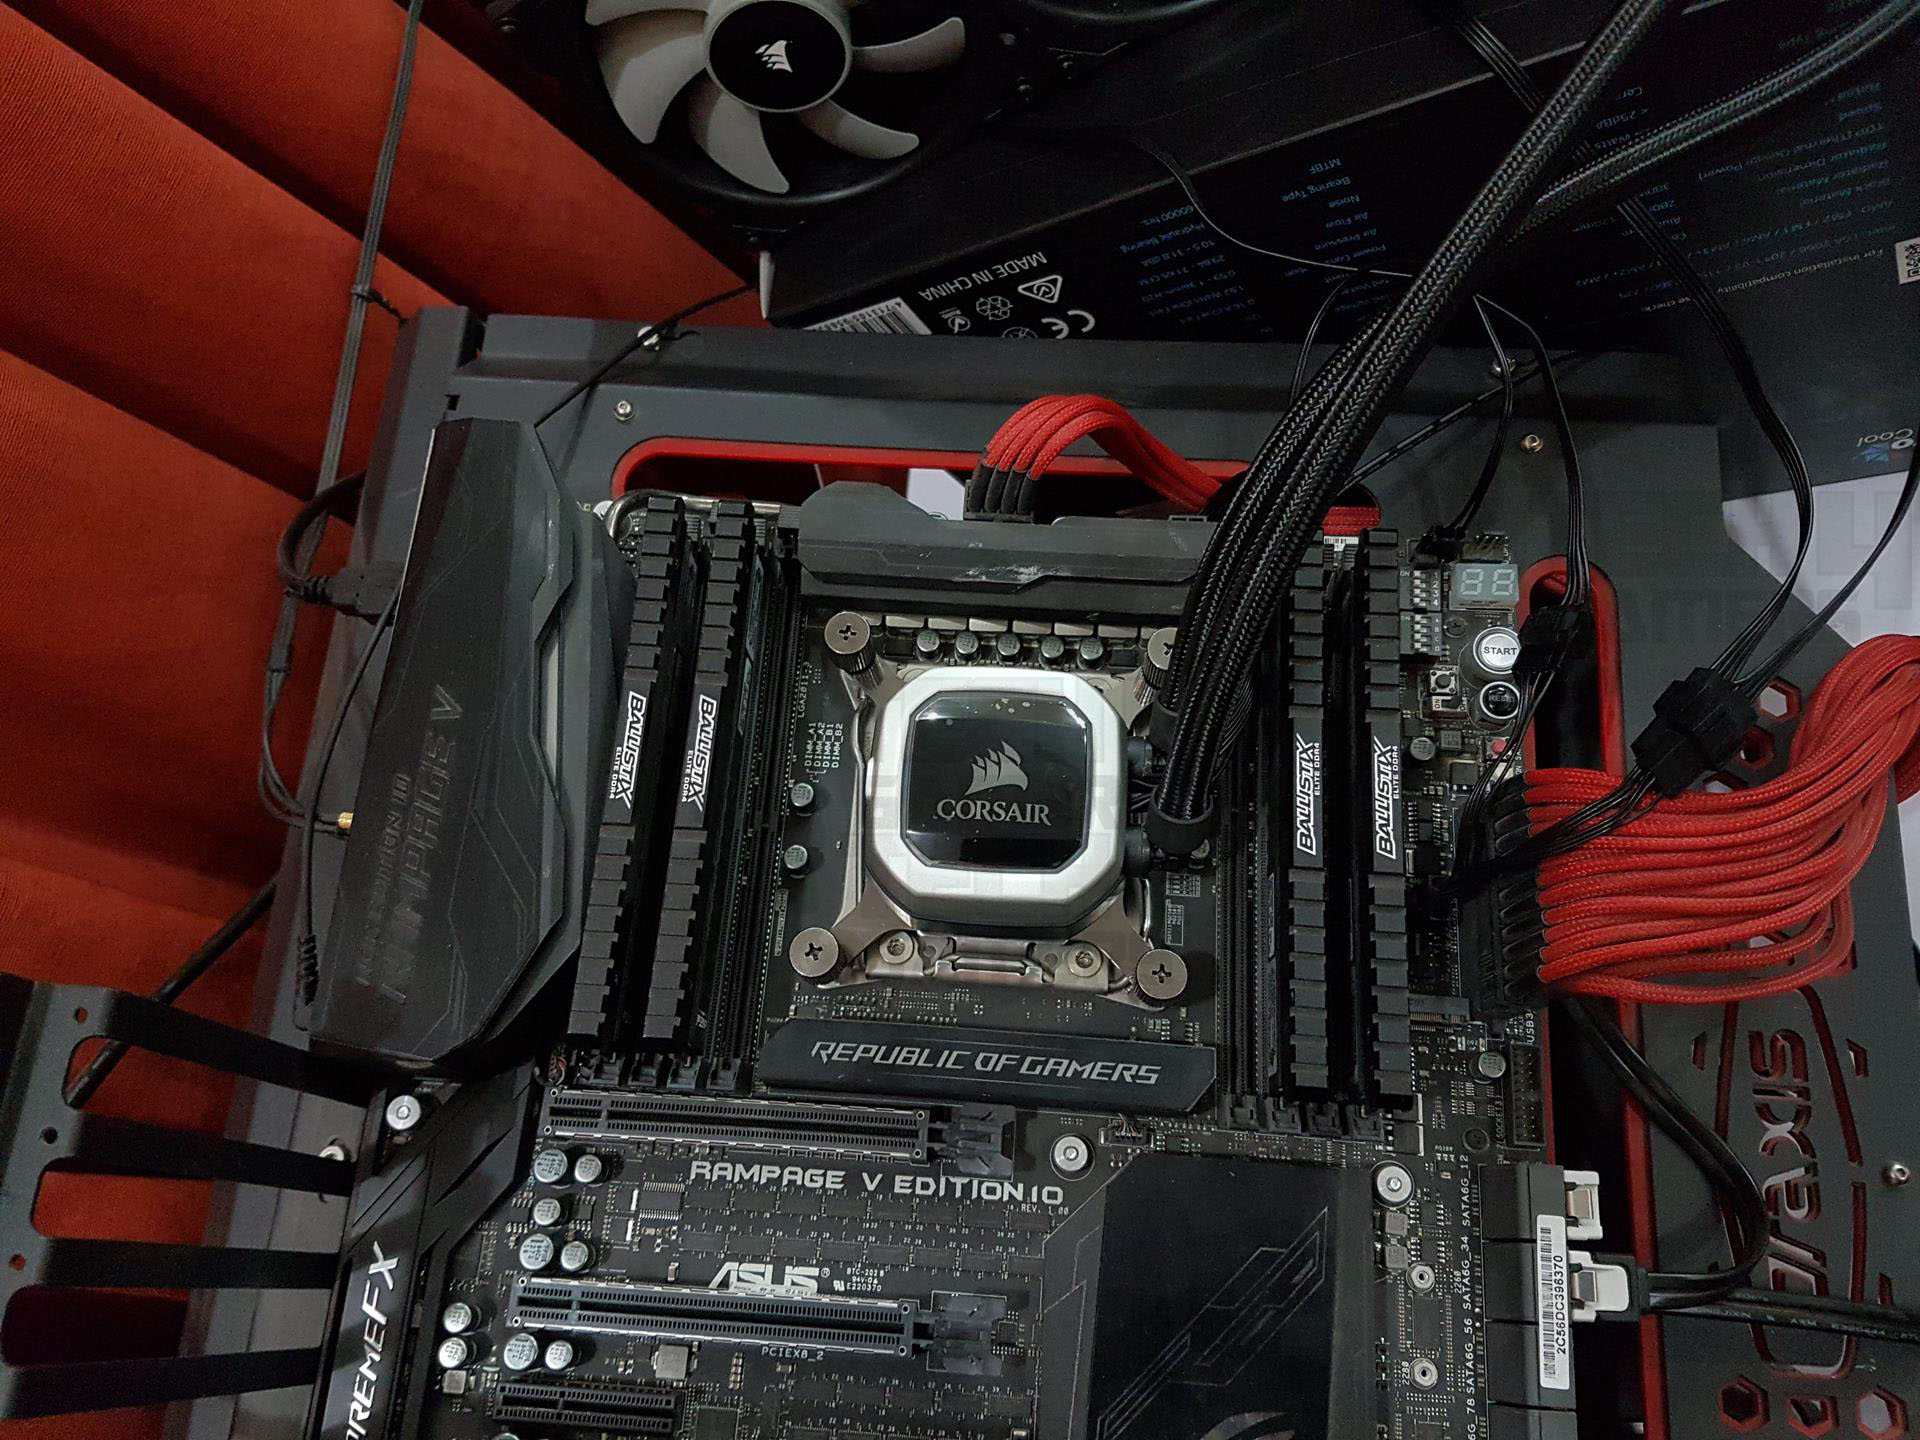
Installation
The installation method is the same as we have seen in the previous generation of the hydro series coolers.
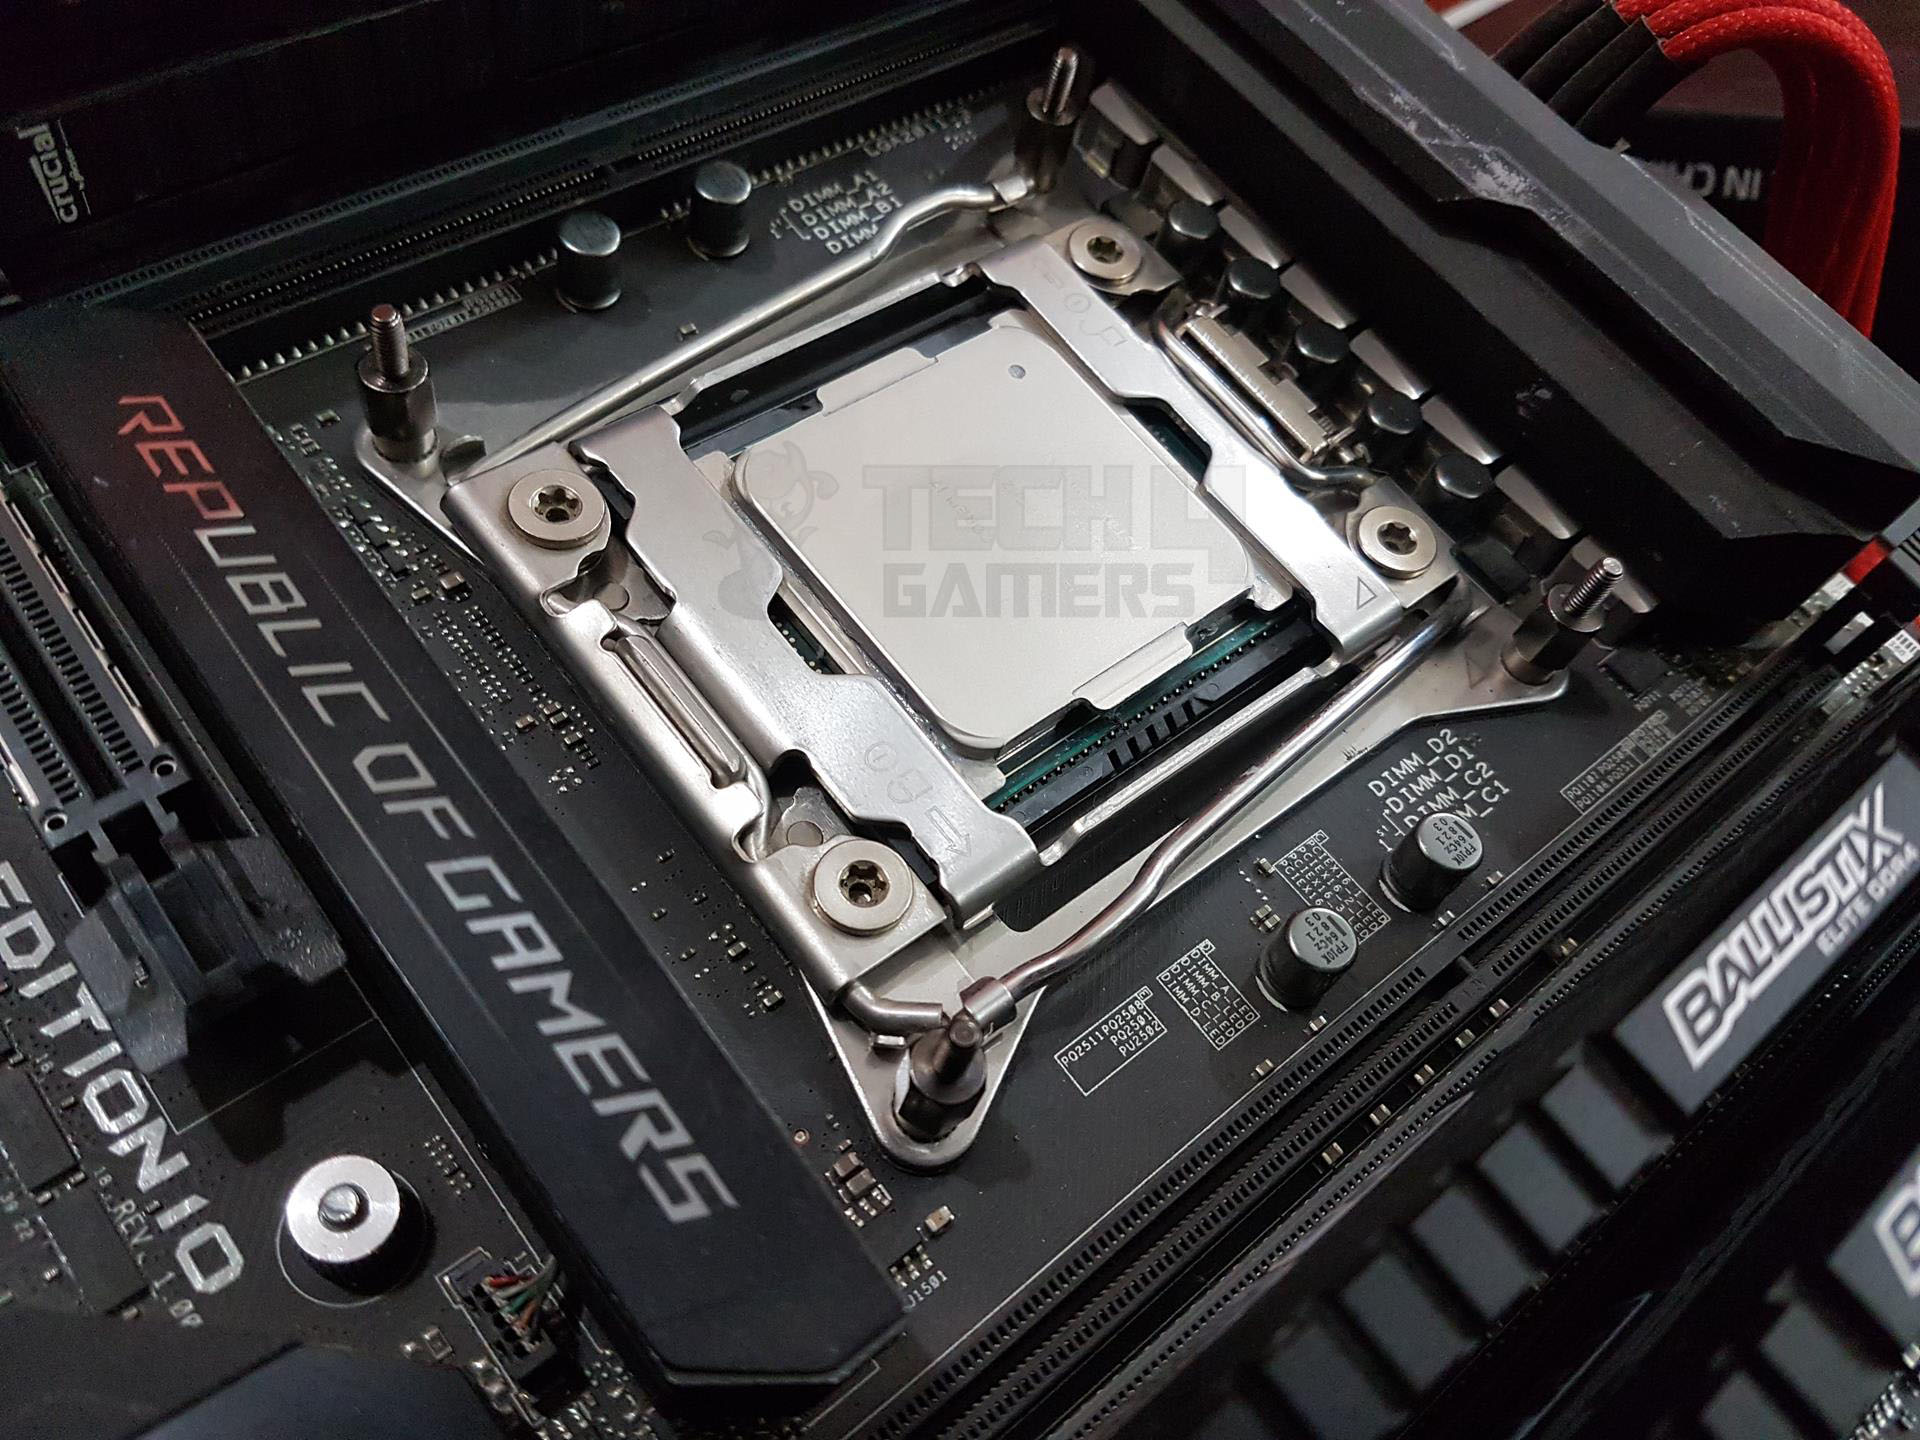
We have tested the cooler on the X99 platform with a 2011-3 socket.
- We started with installing 4 standoffs on the pre-mounted holes around the socket. Use the ones with different threading on both ends as these are the ones dedicated to 2011/2011-3/2066 sockets.
- Next, we apply the thermal paste on the IHS of the CPU. We are using Noctua NT-H1 thermal paste on our test bench to test the coolers.
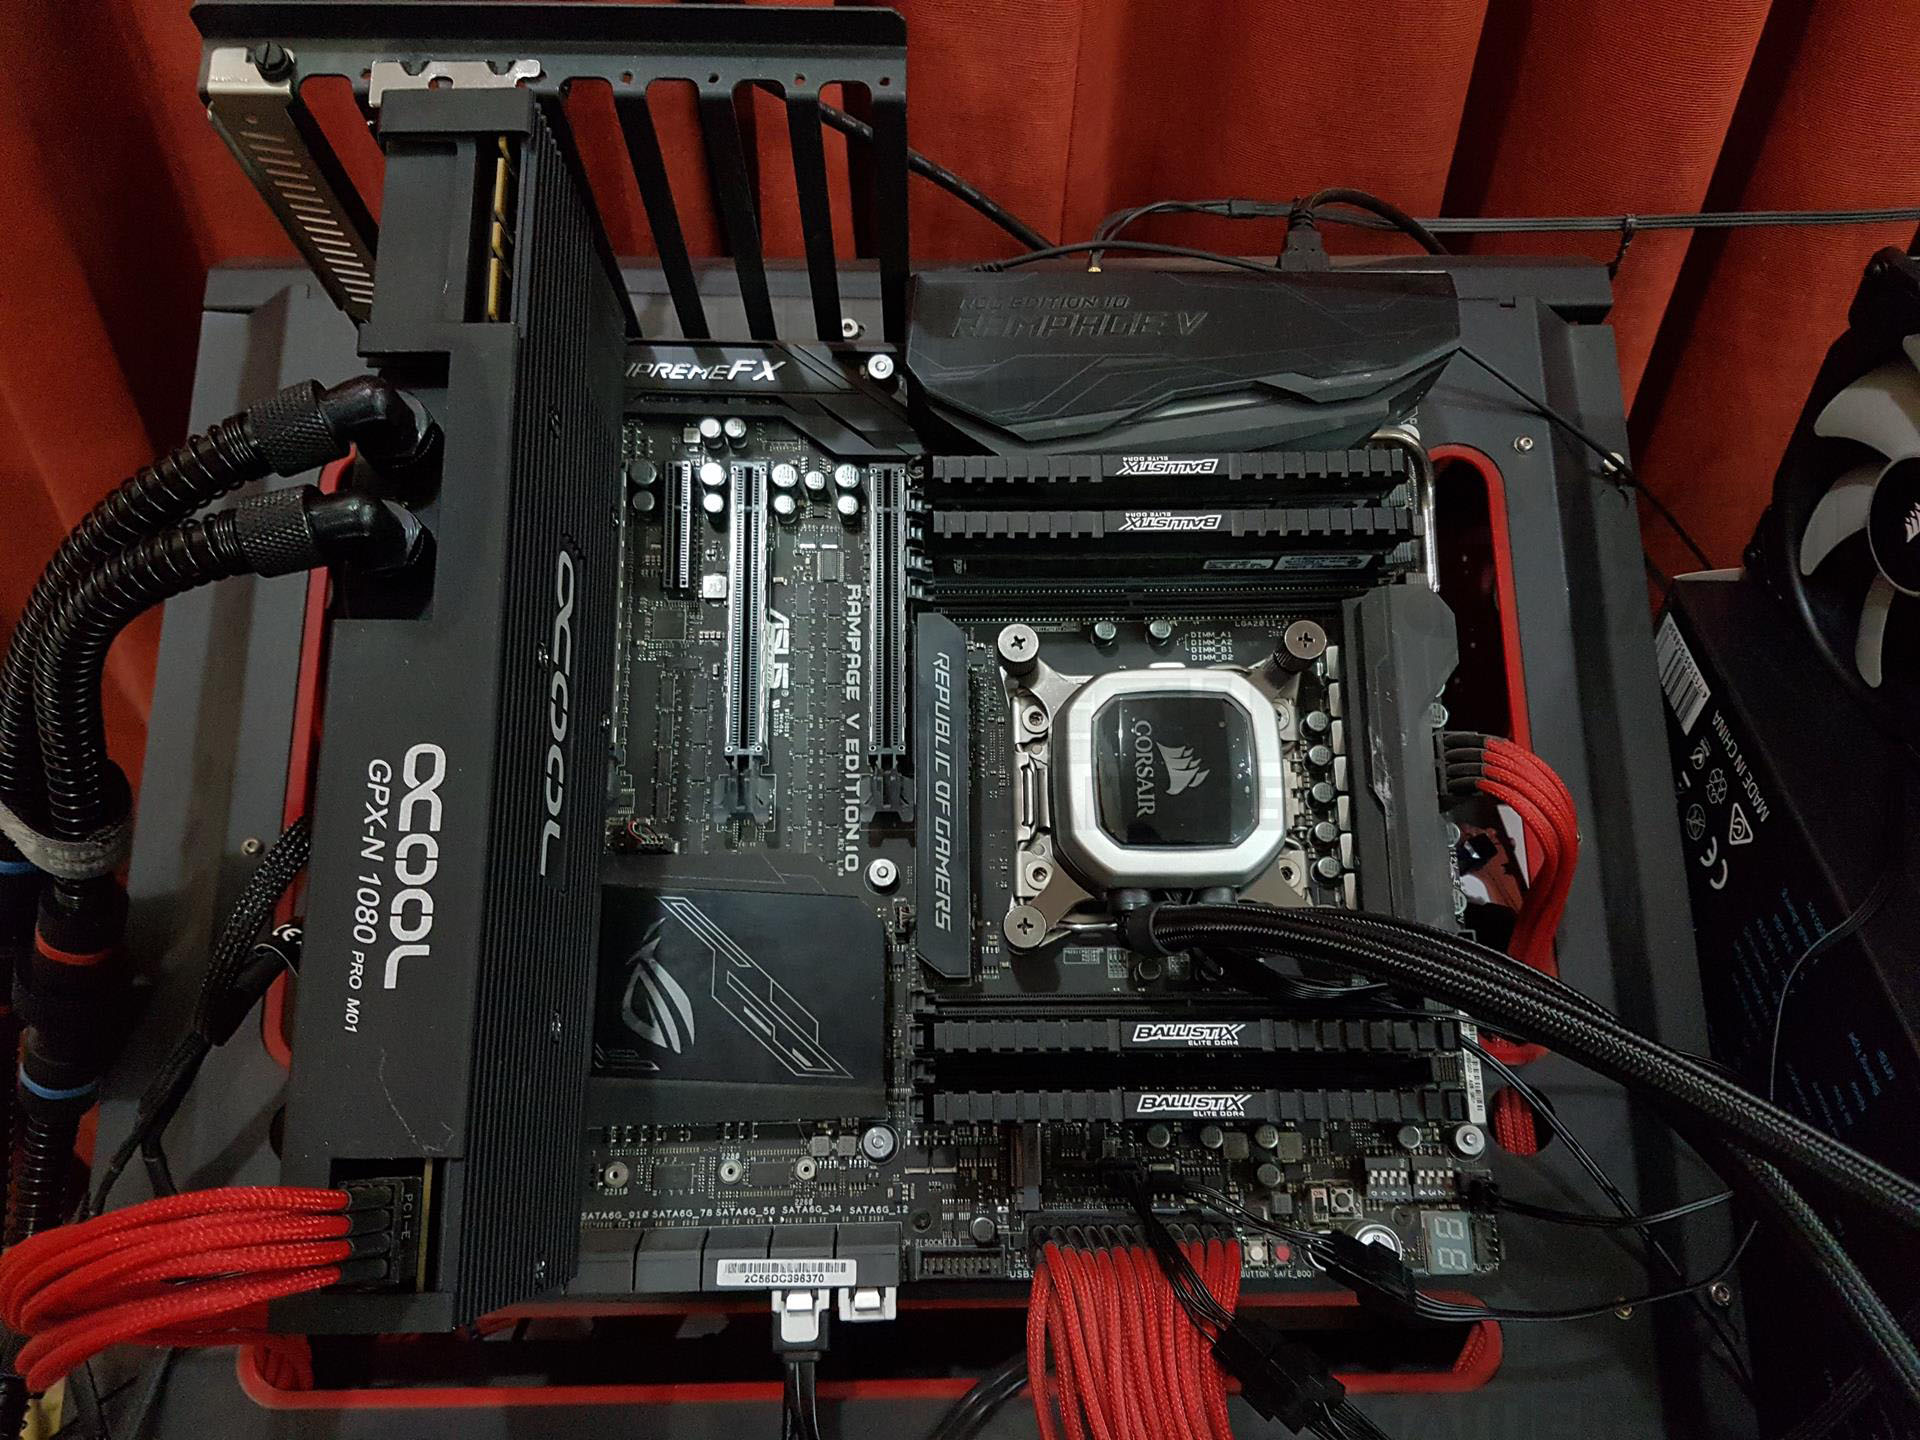
- Place the block on the standoffs by aligning the holes on the pre-installed Intel bracket with the screw threading.
- Use the thumbscrews to secure the block. Make sure to mount the block in a diagonal pattern for even pressure. Tighten them till the thread runs out but don’t over-tighten the block.
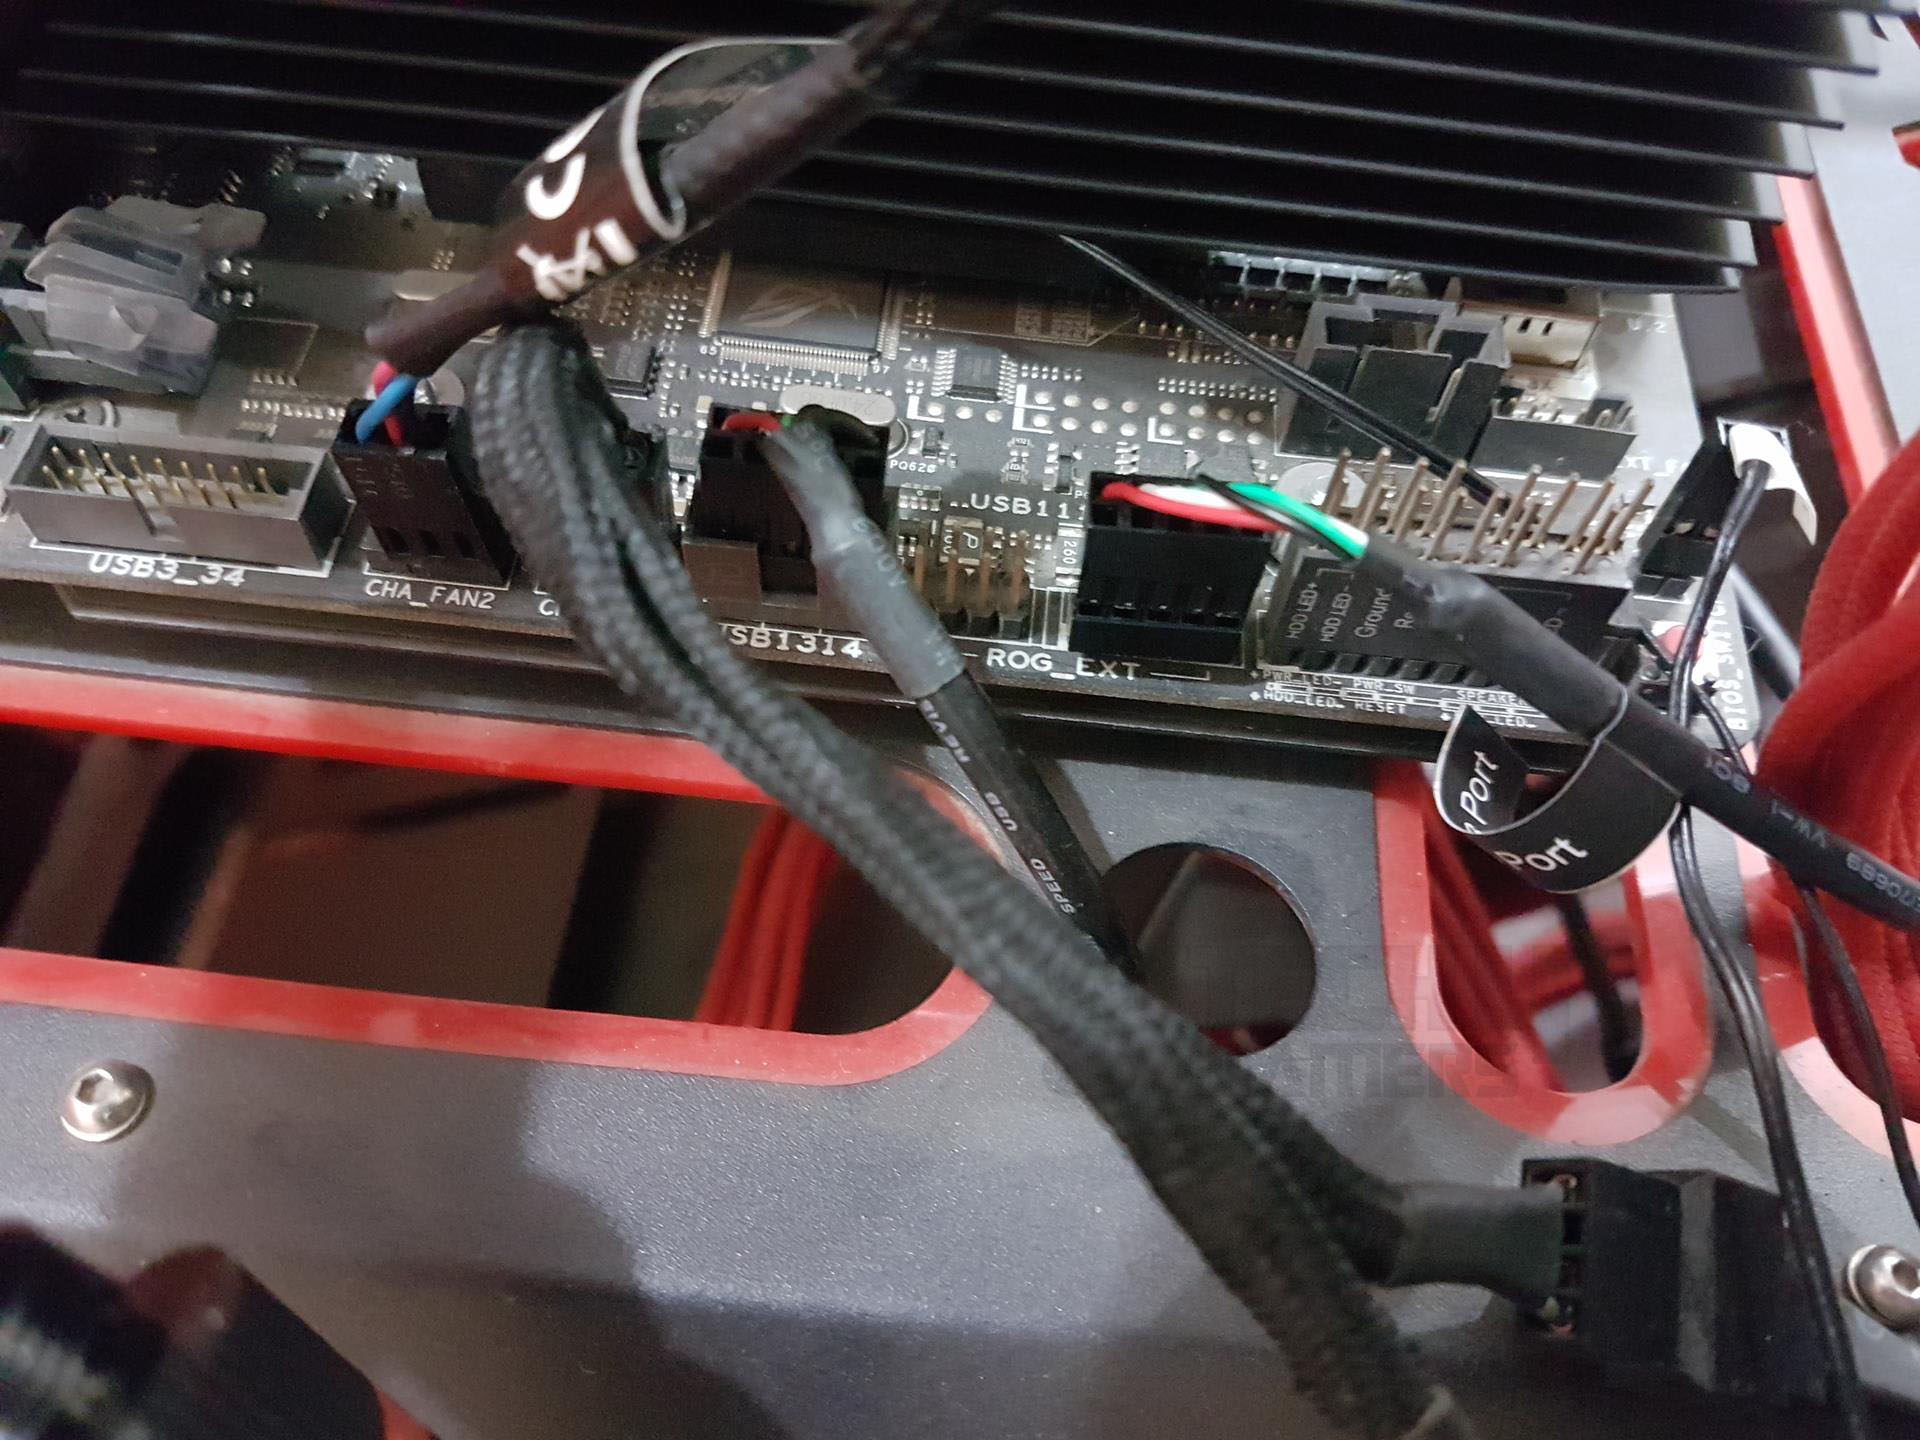
- Connect the SATA cable to the PSU’s SATA Cable.
- Next, Connect the 3-pin connector to the CPU fan header along with the Link cable to the block and any available USB 2.0 header of the motherboard.
Test Setup and Testing Methodology
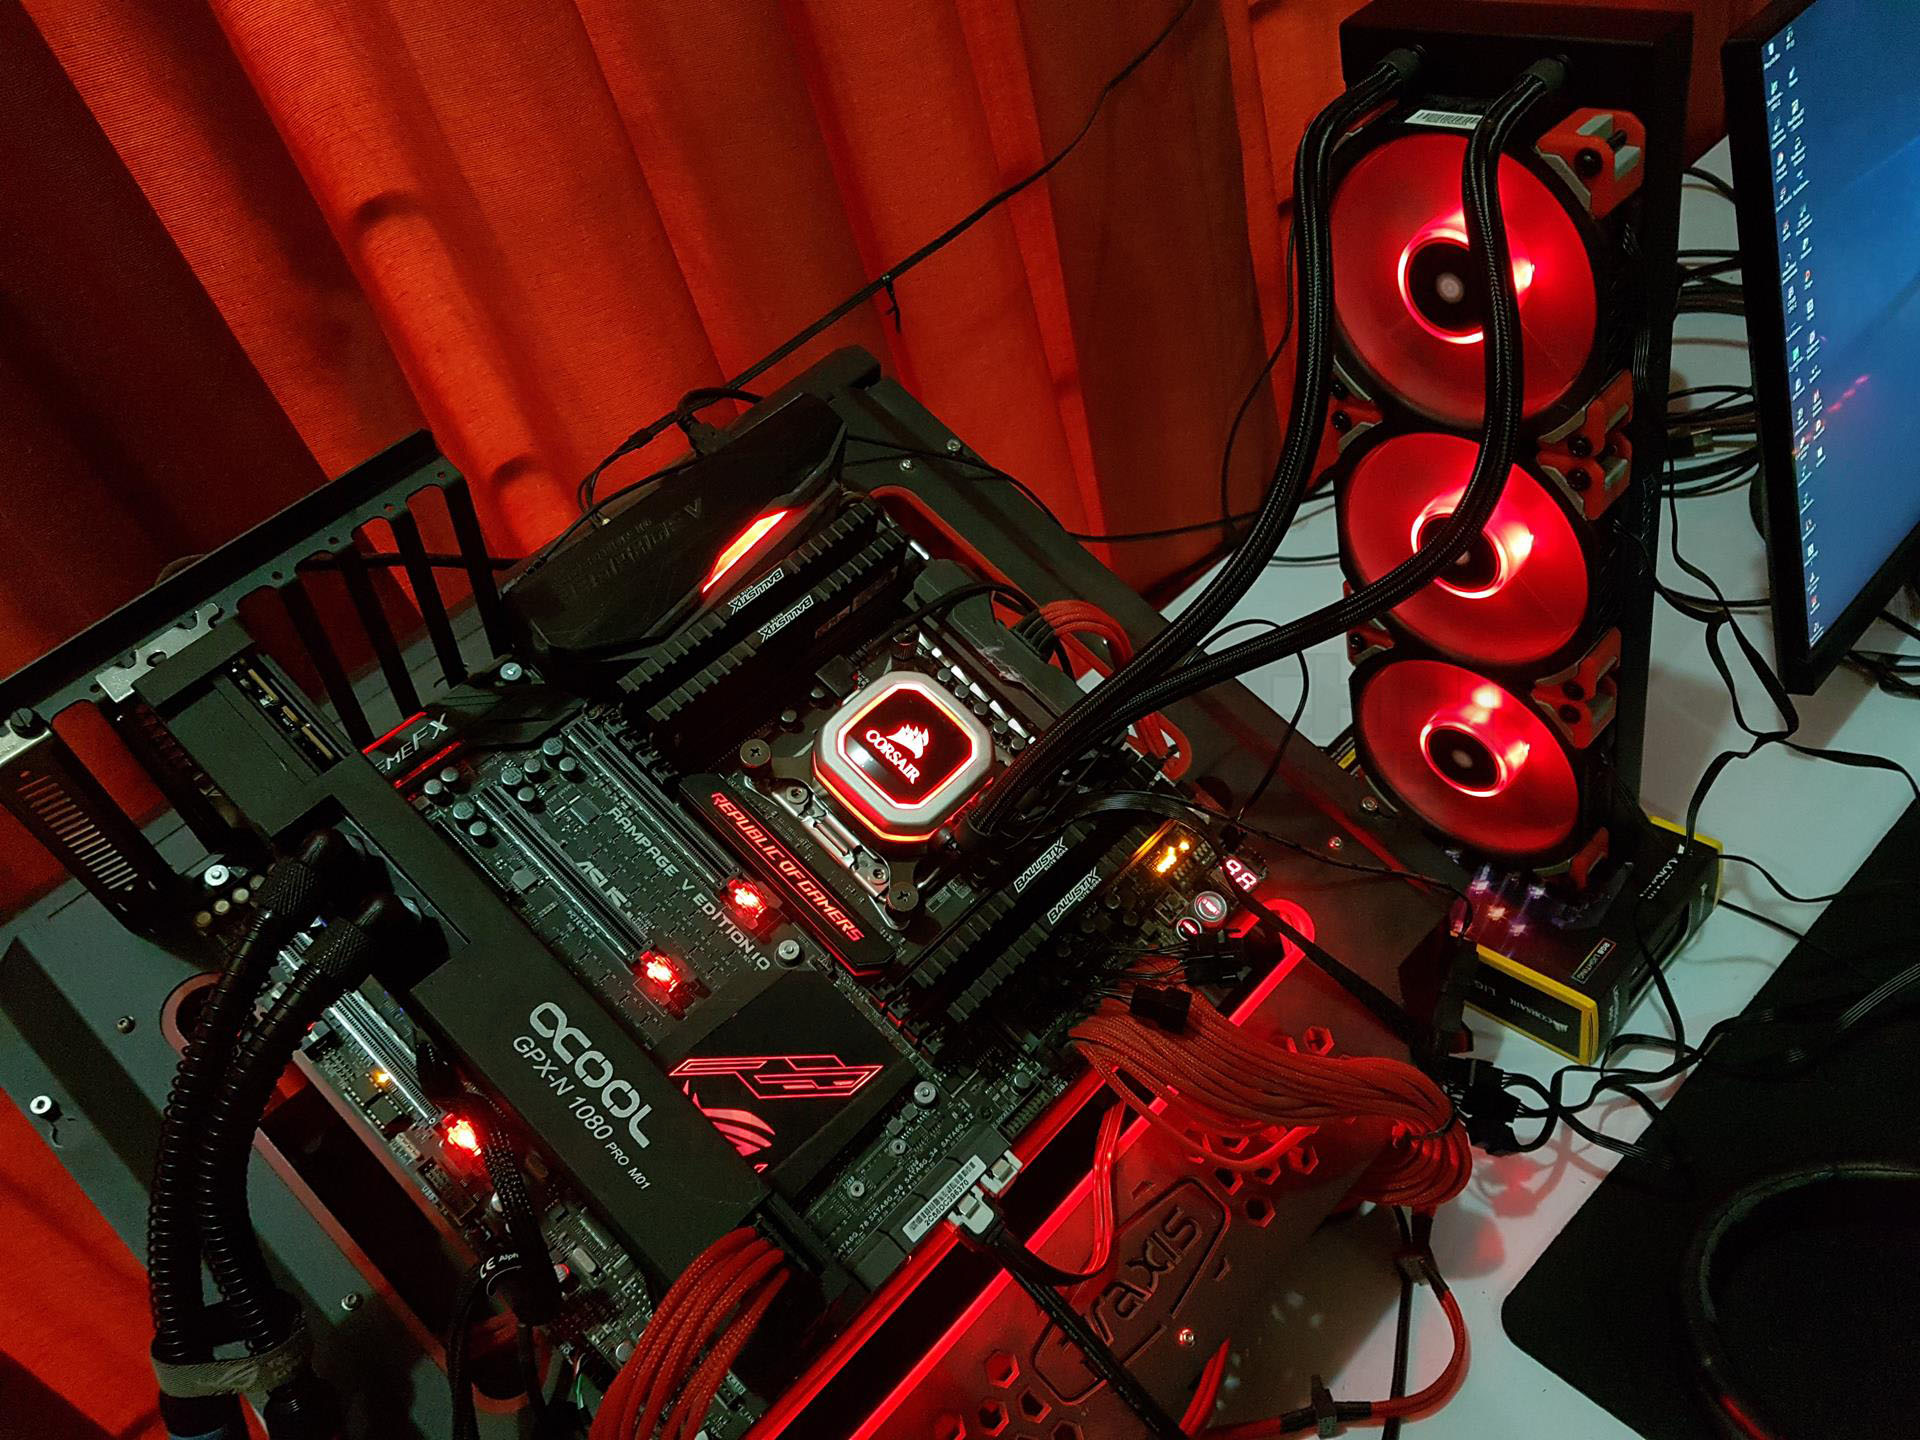
Following test bench was used for testing this cooler: –
- Asus Rampage V Edition 10
- Intel i7 6850k
- Crucial Ballistix Elite 4x4GB @ 3000MHz
- Nvidia GTX 1080 FE
- Samsung 840 EVO 250GB SSD
- WD Black 6TB
- Corsair AX1200i
Following software were used for the testing and monitoring.
- Asus Real Bench v 2.44
- Real Temp GT v 3.70
The Noctua NT-H1 thermal paste is consistently used on the test bench for standardization. Testing involves a 60-minute stress test on stock clocks and a 4.3GHz overclock with a 15-minute cooldown. Fans and the water pump run at 100%. The average of three test runs is used for reporting, and the delta temperature is calculated by subtracting ambient temperature.
Deviating from noise-normalized testing, high-performance PWM fans (Corsair ML Pro) will be tested with the cooler to investigate potential performance differences and trade-offs. Results will be graphed for comparison. Testing with ML Pros was done on the same parameters as was with the Low Noise PWM ML fans that are shipped with the H150i Pro cooler. Before we proceed to the results, here is a comparison of the fans in terms of their specification:
| Parameter | ML Low Noise PWM | ML Pro PWM |
| Airflow (CFM) | 47.3 | 12 – 75 |
| Speed (RPM) | 1600 | 400 – 2400 |
| Static Pressure (mmH₂O) | 1.78 | 0.2 – 4.2 |
| Sound Level (dBA) | 25 | 16 – 37 |
Results
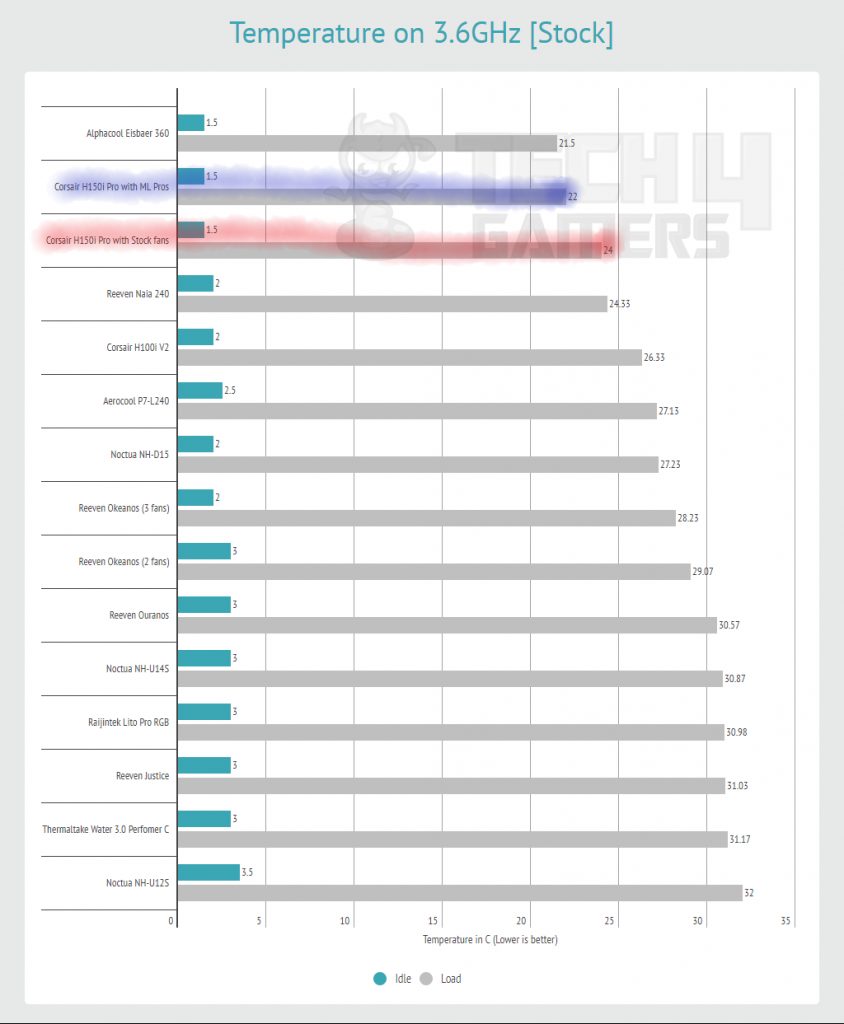
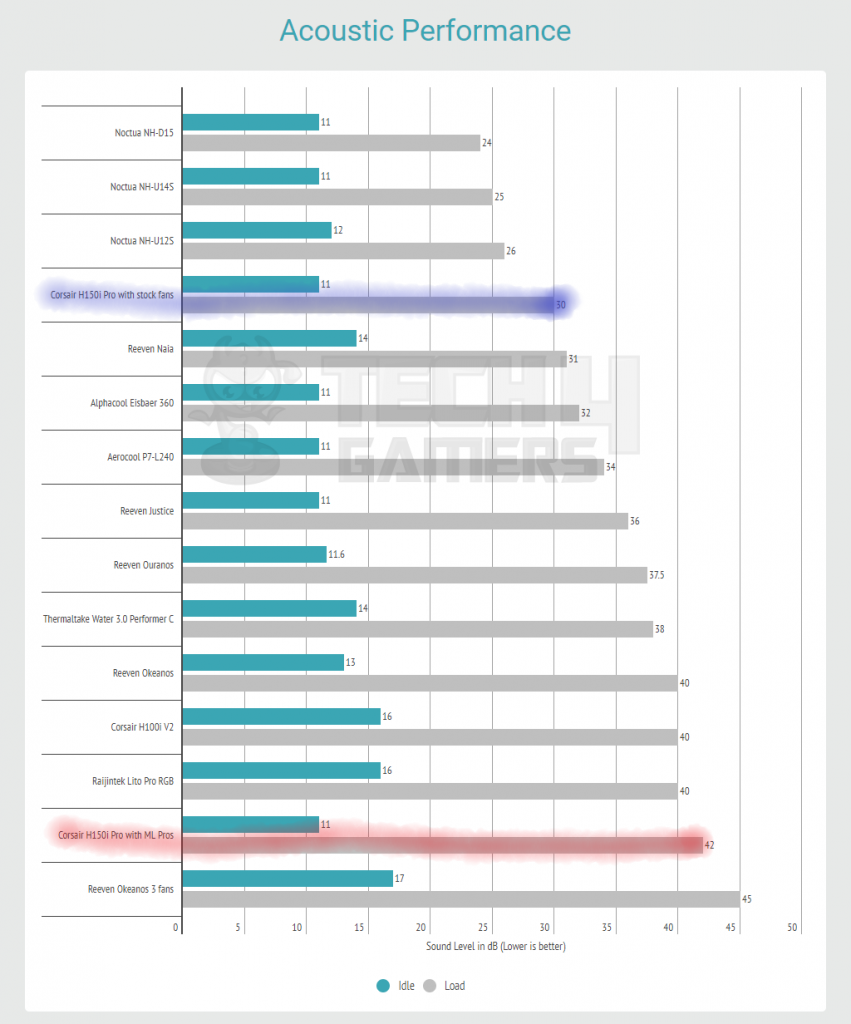
Let’s take a look at the results and see how the cooler performs with both of these fans. On stress testing with stock clocks, the cooler was doing 24°C with the stock fans which is shy above 24.33°Cthat the Reeven Naia did. Reeven Naia is a 240mm cooler. There was a difference of 2.5°C between the Corsair H150i Pro and Alphacool Eisbaer 360 with Eiswind 12 fans.
With ML Pros, the cooler achieved a temperature of 22°C, only 0.5°C less than the Alphacool Eisbaer 360, indicating a neck-and-neck performance. While the Corsair H150i Pro, with high-performing fans, can compete with any cooler, its focus on low-noise cooling still delivers a commendable performance, considering the fans’ noise level.
Next, we overclocked the chip to 4.3GHz using 1.350V on VCore. Maximum temperature with the stock fans was 40.5°C which is higher than the Reeven Naia’s 38.8°C. Alphacool Eisbaer 360 was doing 35.2°C so strictly between two 360mm coolers the Corsair H150i Pro was trailing by 5.3°C. Next, we ran the test with the Corsair ML Pros and the cooler was doing 37.8°C which 2.7°C improvement over the stock fans.
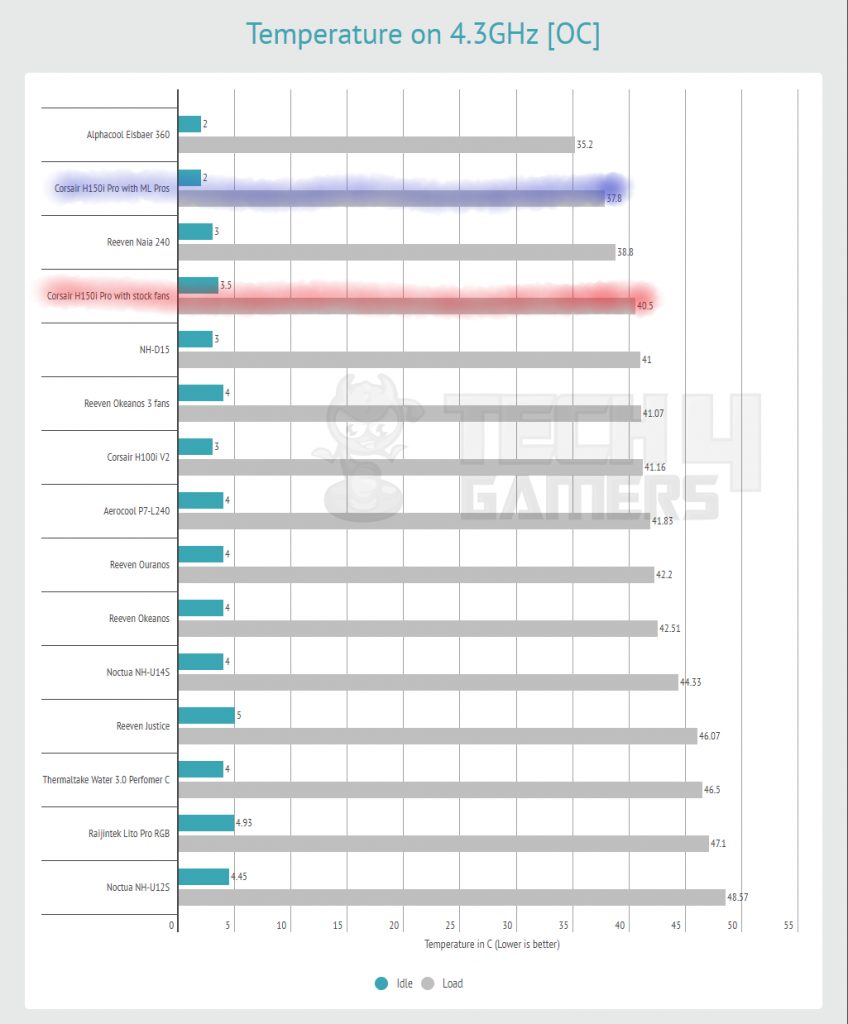
In terms of the relative performance, the Corsair H150i Pro offers a decent performance yet at silent levels which have enabled the Corsair to achieve what they have been marketing about this cooler. And we can see that with high-performance fans, this cooler can take the challenge with any other cooler in the market; mind you, in closed loop category.
The measured sound level with stock fans and the pump at full speed was 30dBA, while with ML Pros, it increased to 40dBA. Users face a clear choice between silent operations with stock fans or higher performance with louder high-performance fans. Opting for performance increases the overall cost significantly, diminishing the value proposition of the cooler. Given the premium pricing of the Corsair H150i Pro, additional spending on fans may not be a wise move.
I’d like to mention that sound levels are measured using a Fonseo Digital Sound Meter during testing. The Corsair AX1200i’s fan operates below 40%, and the Alphacool Eisbaer fan runs at 40%. Despite the pump emitting a whining sound at full speed, it is inaudible under Balanced/Quiet mode.
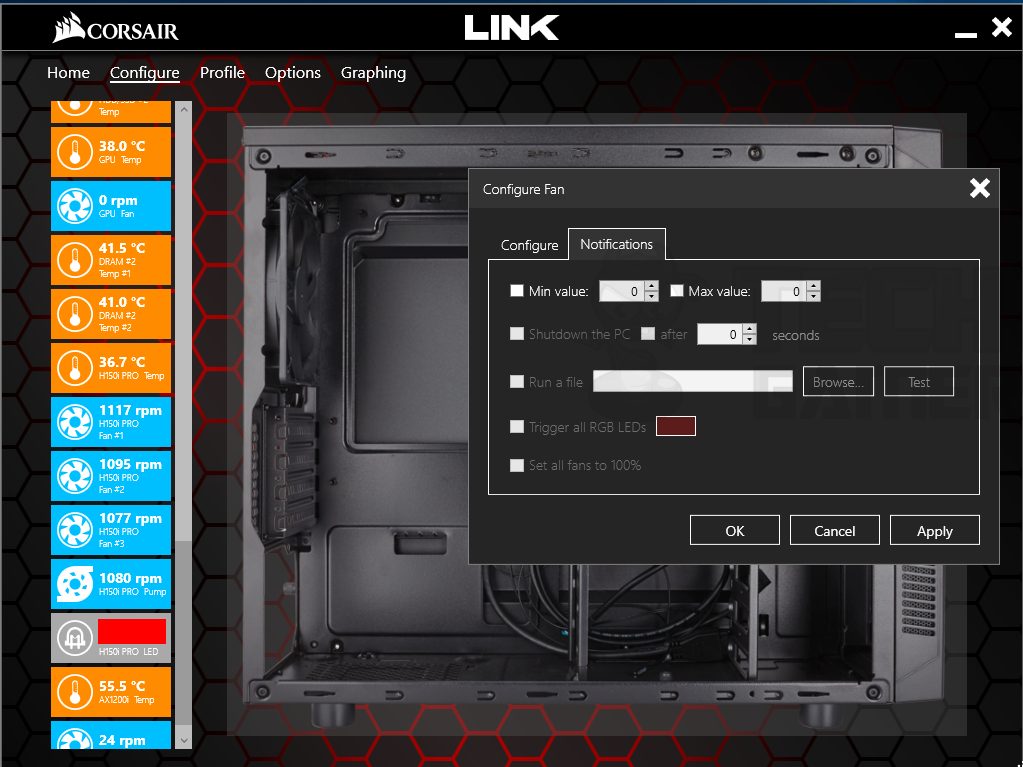
Software and RGB Lighting
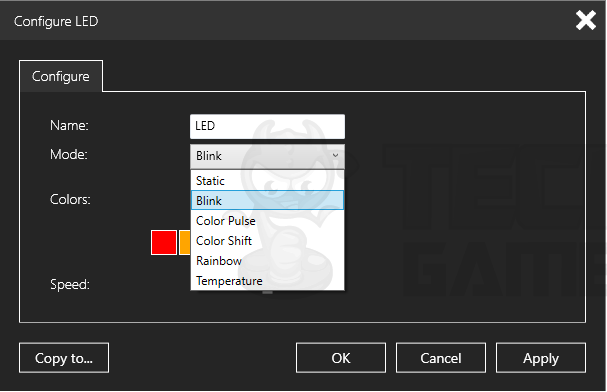
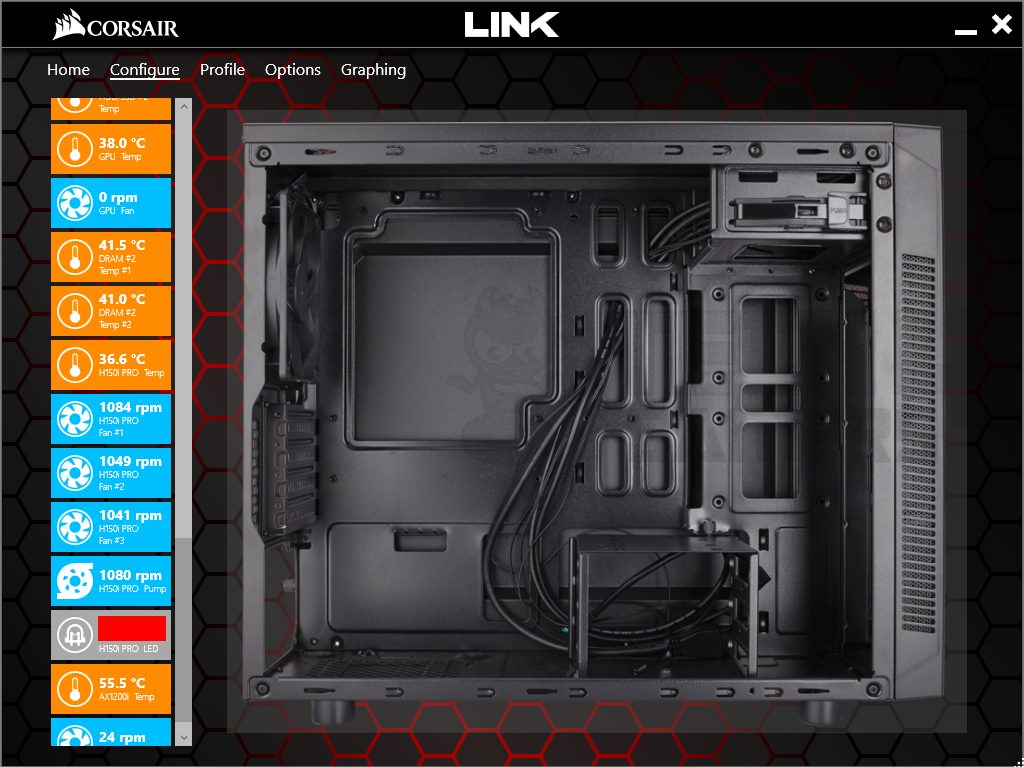
Corsair Link software, version 4.9.5.25, provides control for lighting effects, pump, and fan settings on the cooler. The main interface displays temperatures for various components, including CPU, motherboard, storage, graphics card(s), RAM, cooler, and Corsair digital PSUs. Focusing on the cooler settings, the summary includes current temperature and RPM readings for fans and the pump.
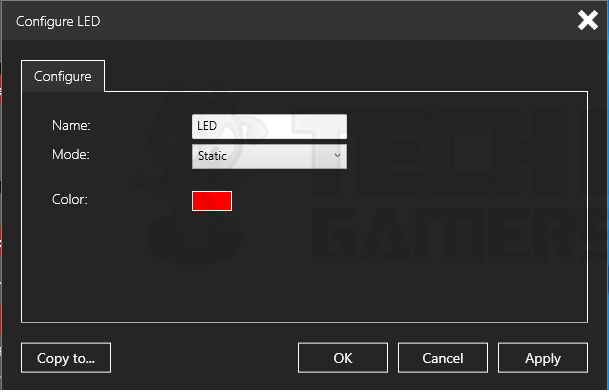
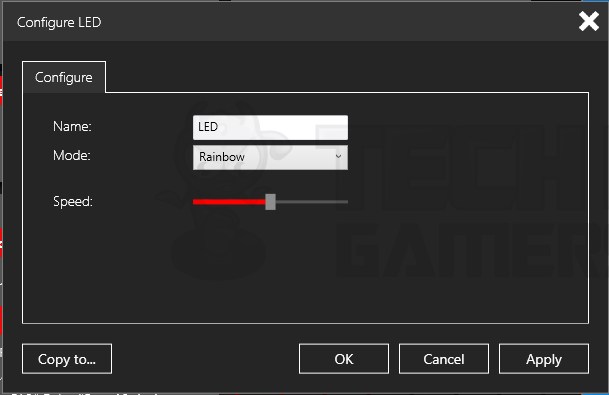
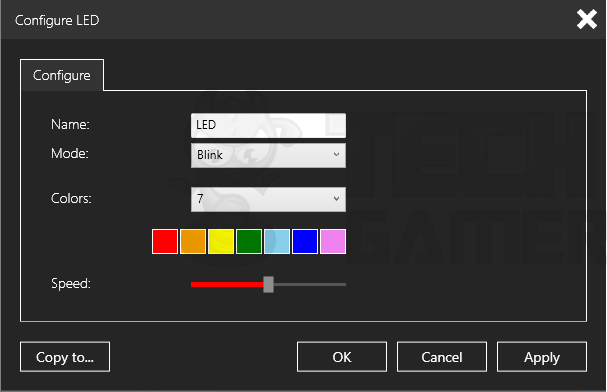
Clicking on the LED color opens the Configure LED window, offering multiple options to customize LED effects for the cooler.


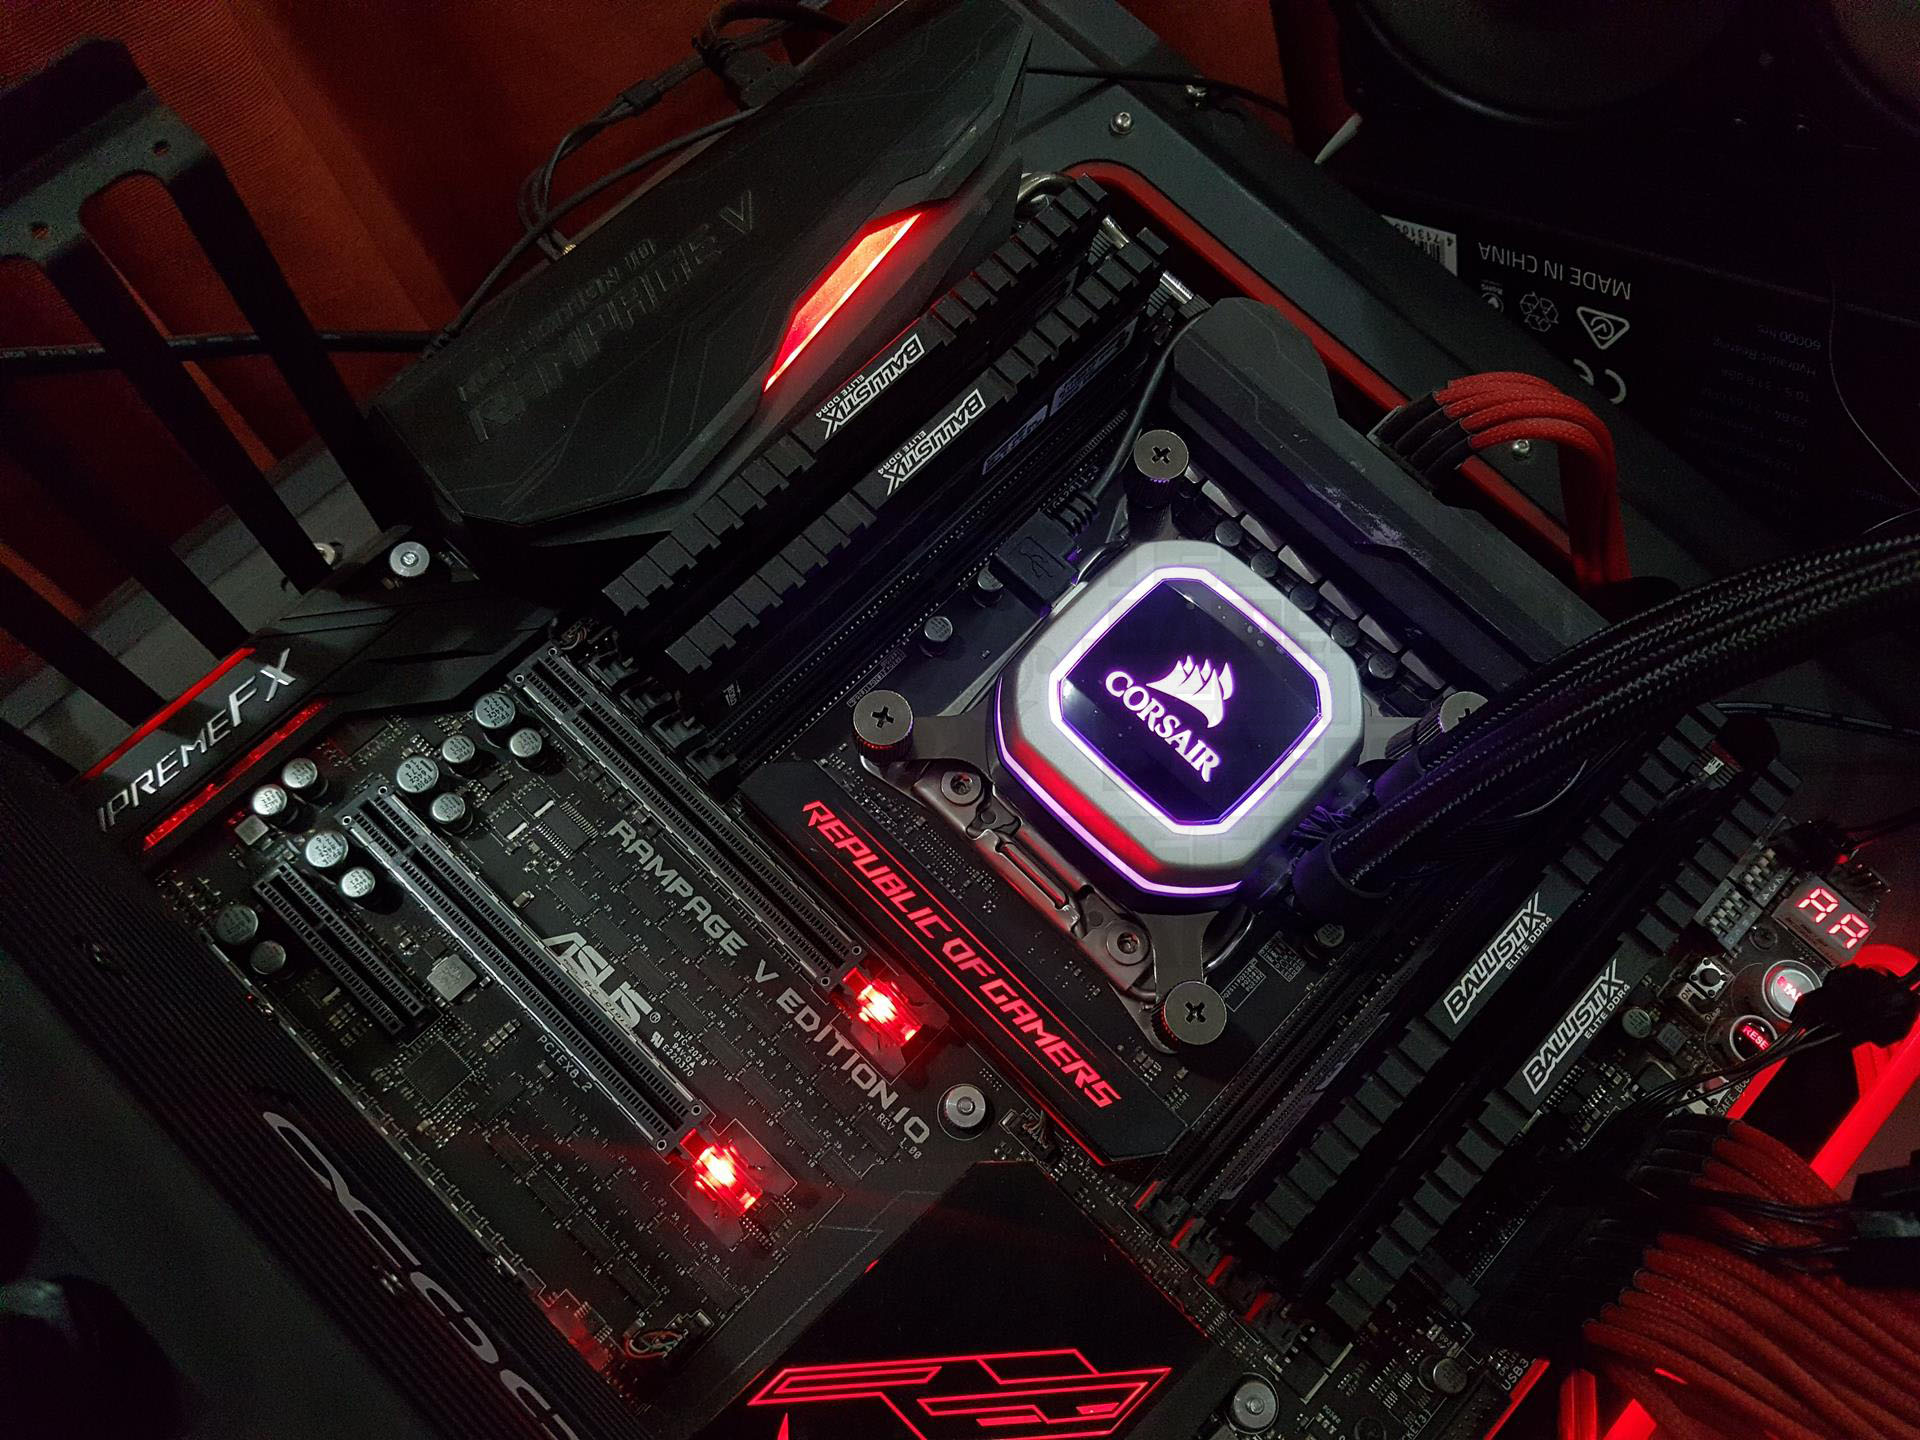
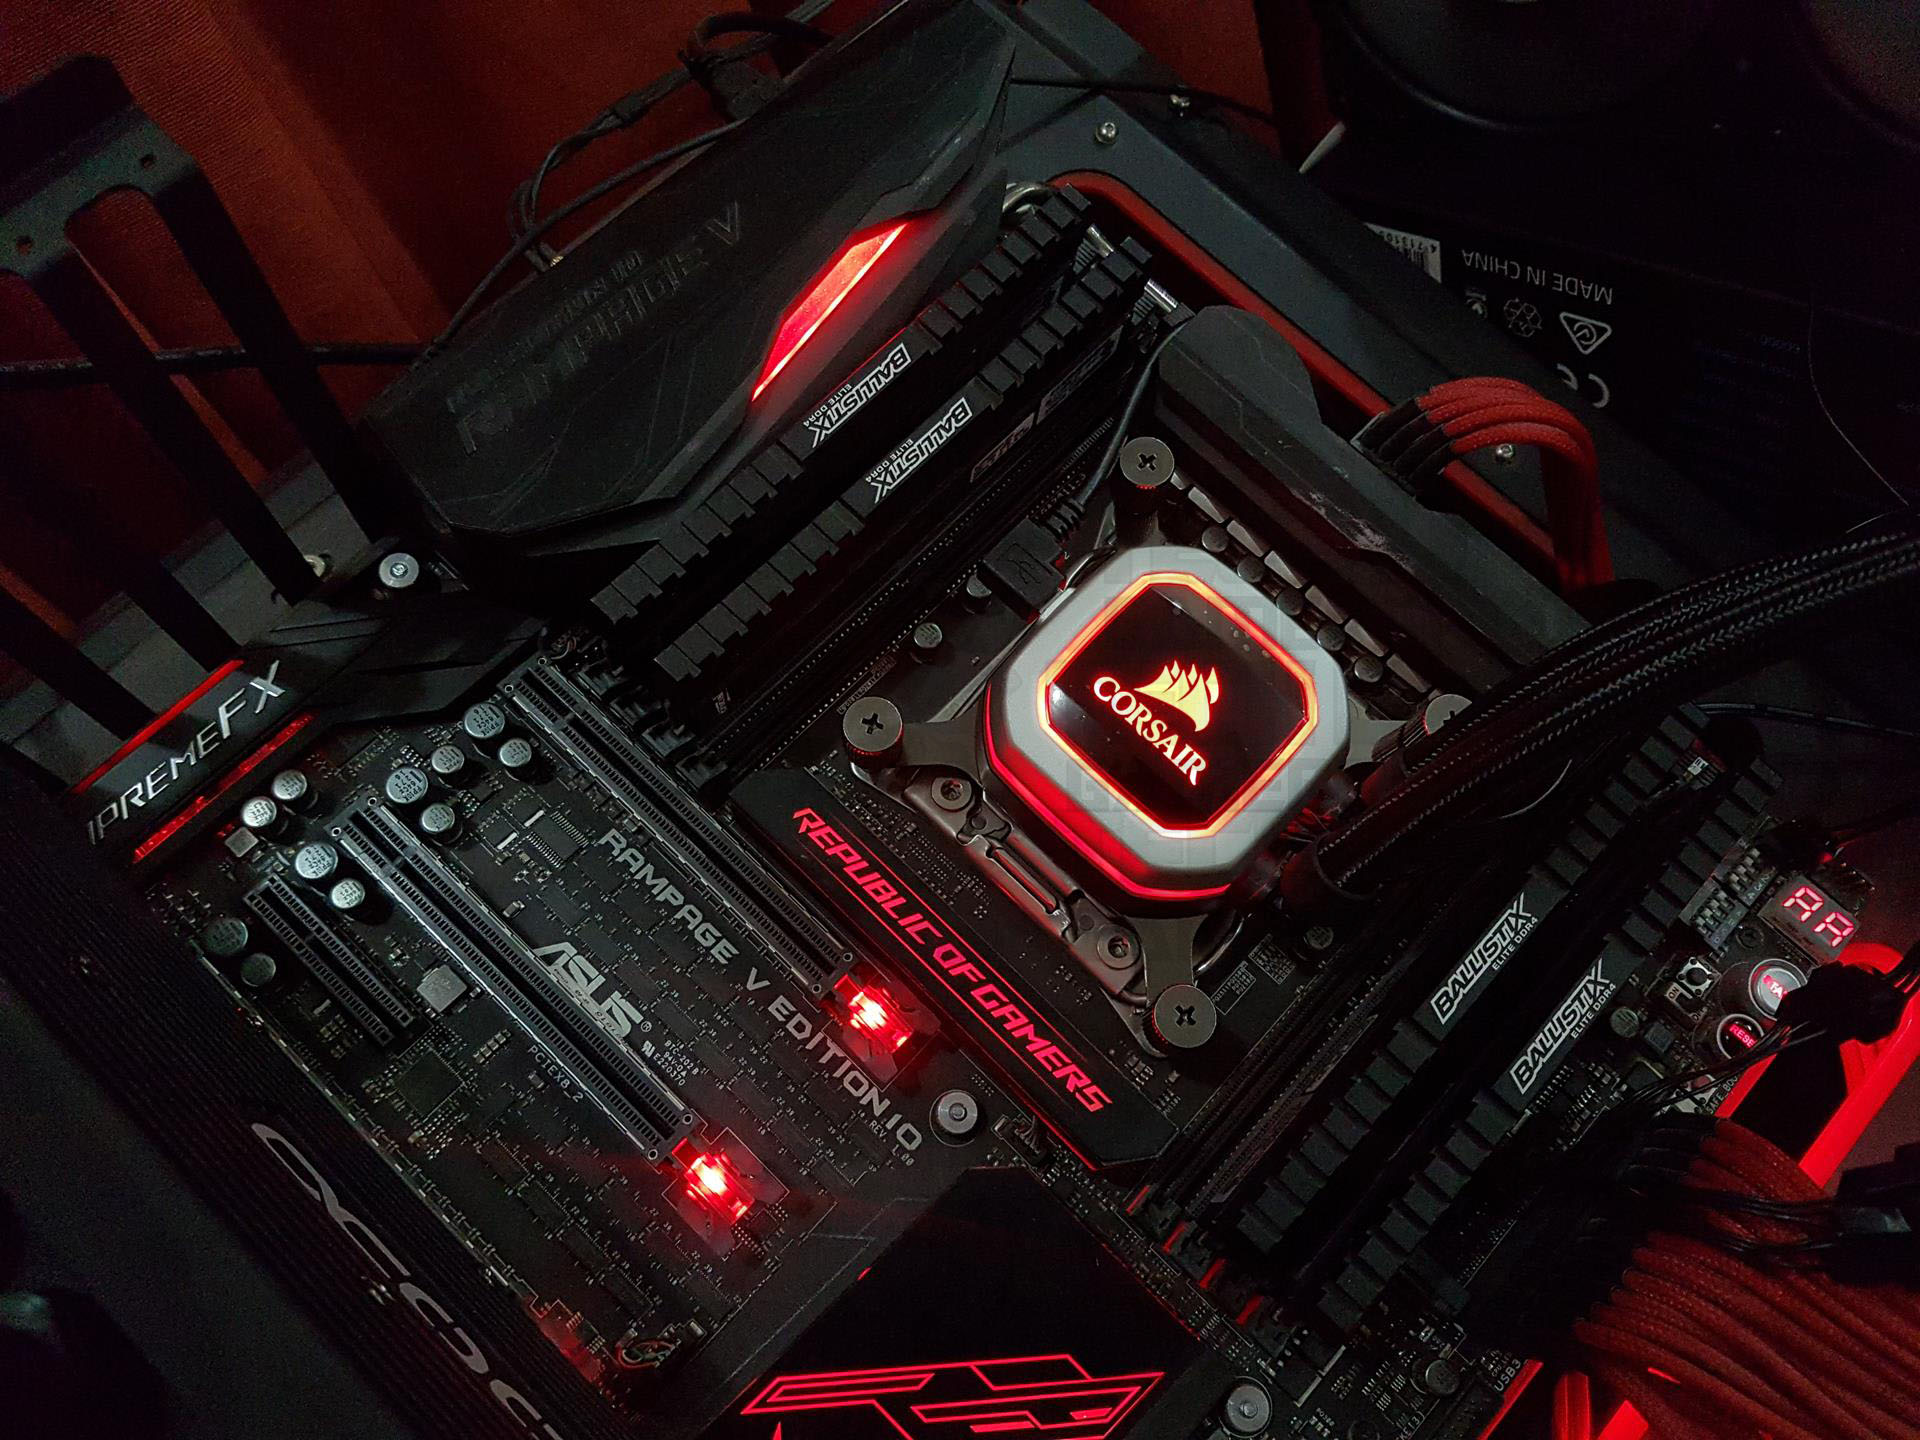
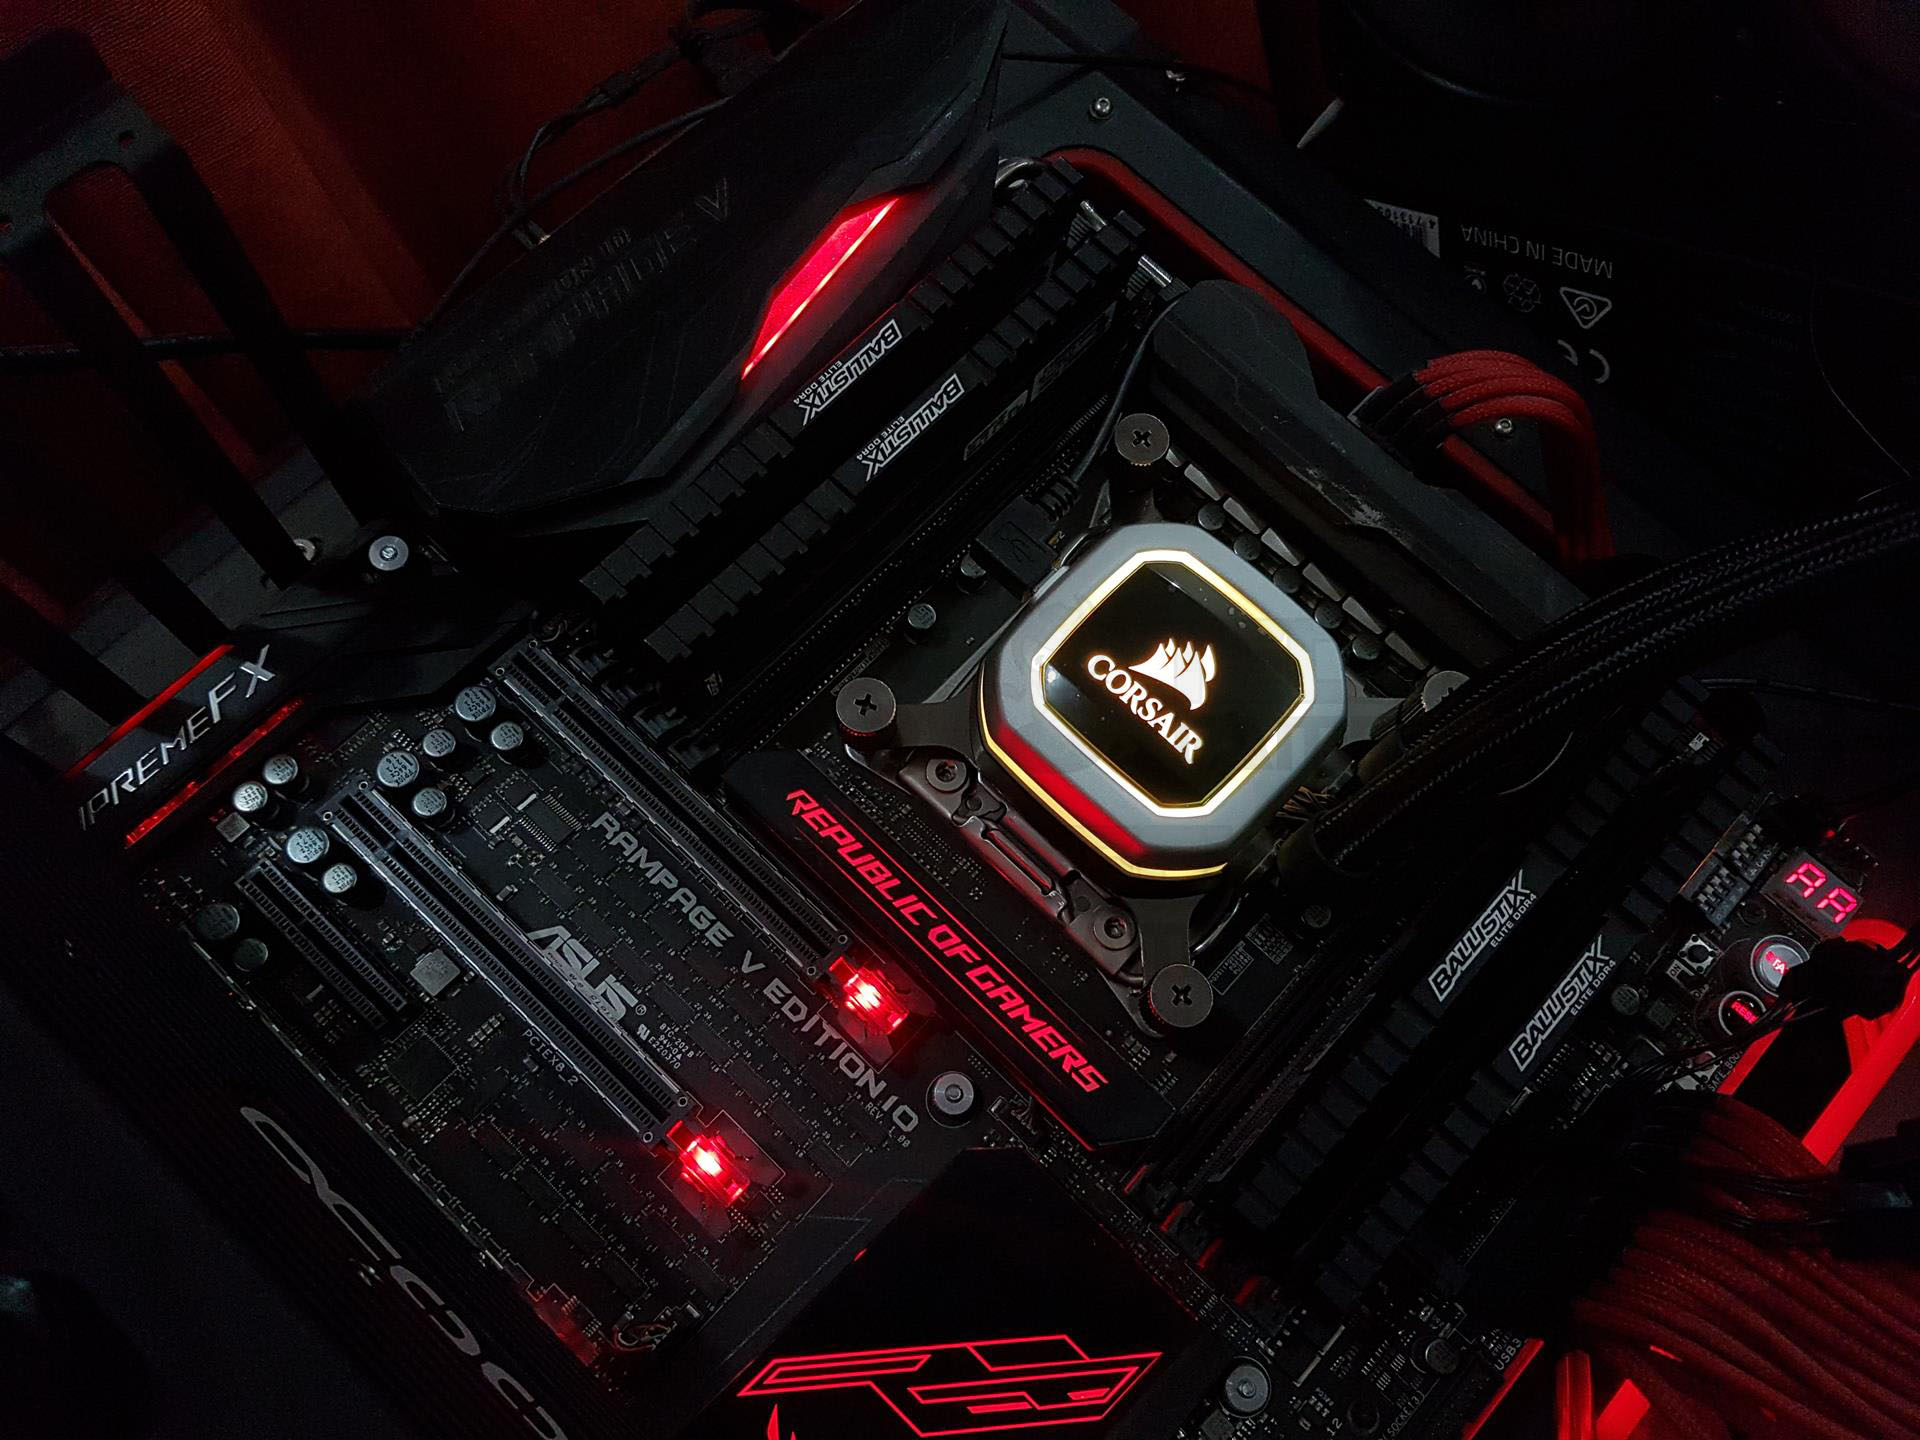
Here are a few pictures of the unit with LED lighting effects.

Should You Buy It?
Buy It If:
✅You want a capable 360mm AIO cooler with RGB: Throughout my tests, the Corsair H150i Pro provided excellent performance.
✅Low noise levels are a priority for you: Low noise levels are a guarantee with the Corsair H150i Pro thanks to the silent ML series fans.
✅You want uncompromised build quality: In my experience, the Corsair H150i Pro’s build quality was among the best in the business.
Don’t Buy It If:
❌You want a more value-centered offering: While the COrsair H150i Pro is a very capable 360mm AIO cooler, those looking for budget-friendly offerings will have to look elsewhere.
❌You want RGB fans: The Corsair H150i Pro does not come with RGB fans.
Conclusion
We have three factors at hand; Performance, Noise, and Value. This cooler is not a value product as it is an expensive solution given the performance level that it is offering but it is a clear winner in terms of low noise operations. It is clear that with this cooler, either you go for silent operations or high performance but not both at the same time.
On a build quality forefront, the Corsair H150i Pro raised no concerns. The finishing of the radiator is excellent and we did not observe any bent fin on the assembly part. Hoses on the Pro series cooler are thinner than the ones on the non-Pro series coolers hence they are easy to manage inside the chassis as per the required orientation.
The cooler performs well with stock fans, aligning with Corsair’s emphasis on low noise and adequate cooling. However, its performance is comparable to some 240mm coolers, making the price a crucial factor. Upgrading to better fans for higher performance adds to the cost. The 5-year warranty reflects Corsair’s confidence in the product.
Awards Received By The Corsair H150i Pro
Recent Updates
- December 22, 2023: Few text changes to improve readability. Also added image galleries.
Thank you! Please share your positive feedback. 🔋
How could we improve this post? Please Help us. 😔
[Hardware Reviewer & Editor]
Meet Nauman Siddique, a highly experienced computer science graduate with more than 15 years of knowledge in technology. Nauman is an expert in the field known for his deep understanding of computer hardware.
As a tech tester, insightful reviewer, and skilled hardware editor, Nauman carefully breaks down important parts like motherboards, graphics cards, processors, PC cases, CPU coolers, and more.
- 15+ years of PC Building Experience
- 10+ years of first-hand knowledge of technology
- 7+ years of doing in-depth testing of PC Hardware
- A motivated individual with a keen interest in tech testing from multiple angles.
- I majored in Computer Science with a Masters in Marketing
- Previously worked at eXputer, EnosTech, and Appuals.
- Completed Course in Computer Systems Specialization From Illinois Tech
Get In Touch: nauman@tech4gamers.com


