 Threads
A Capable Air Cooler!
Review Summary
The Thermaltake Frio Extreme is a powerful dual-tower CPU cooler, delivering impressive thermal performance with two 140mm fans and six copper heat pipes. While ideal for users prioritizing cooling efficiency, its noise level of 57 dB(A) at max speed may deter those seeking a silent experience. The bulky design poses clearance challenges in smaller cases, making it less suitable for compact builds. Priced at USD 77 with a ten-year warranty, it’s a solid choice for performance-focused enthusiasts willing to tolerate some noise.
Hours Tested: 5

Overall
-
Build Quality - 9/10
9/10
-
Design - 8/10
8/10
-
Performance - 8/10
8/10
-
Features - 8/10
8/10
-
Value - 7/10
7/10
Pros
- Excellent Cooling Capabilities
- Sturdy Build Quality
- 10-Year Warranty
Cons
- Higher Noise Levels
- Bulky Design


Thermaltake graciously fulfilled my request to review the Thermaltake Frio Extreme for a roundup. This detailed review focuses on the dual-tower cooler, featuring two 140mm fans, 56 aluminum fins per tower, and a combination of 6 copper heat pipes with a nickel coating.
- Why you can trust Tech4Gamers: Our reviews are based on dedicated hands-on testing by our team of experienced hardware experts. Find out more about how we test.
Key Takeaways
- The Thermaltake Frio Extreme is for those looking for a well-built CPU cooler that provides remarkable cooling performance.
- The Thermaltake Frio Extreme is not for users looking for a silent CPU cooler.
- The Thermaltake Frio Extreme provides a robust 6 heatpipe design, capable fans, along with 10 years of warranty.
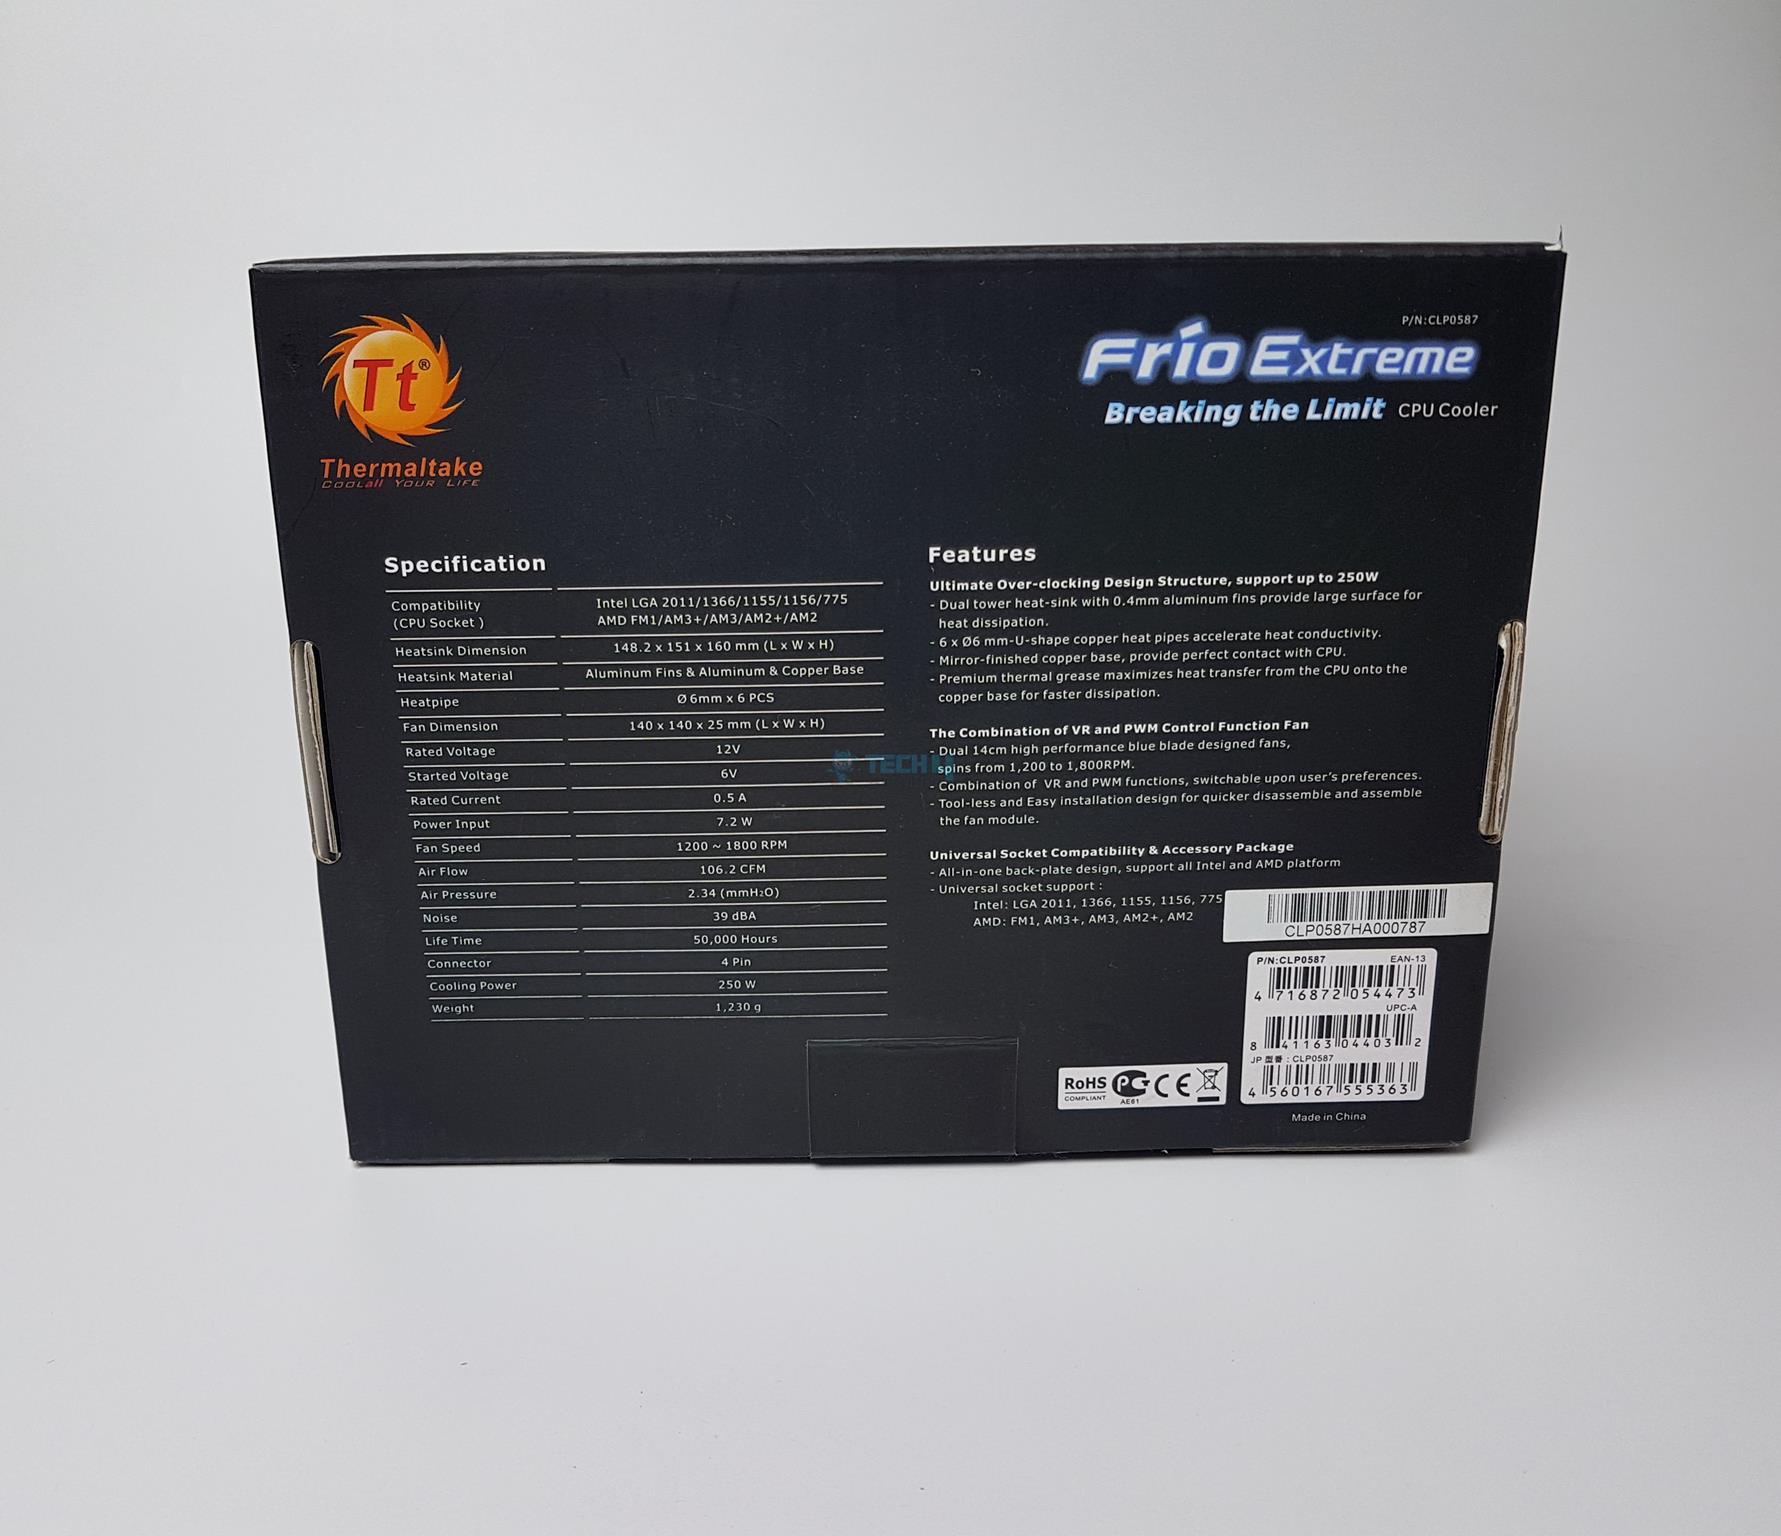
Let’s start with the specifications.
| Product | Thermaltake Frio Extreme |
| Intel Socket | Intel LGA 2066/2011-3/2011/1366/1156/1155/1151/1150/775 |
| AMD Socket | AMD FM2/FM1/AM3+/AM3/AM2+/AM2 |
| Warranty | 10 Years |
| Heatpipe | 6mm x 6 PCS |
| Fan Dimensions | 140(L) x 140(H) x 25(W) mm |
| Fan Speed | 1200 ~ 1800 RPM |
| Power Input | 7.2 W |
| Max Airflow | 106.2 CFM |
| Static Pressure | 2.34 mmH2O |
| Noise Level | 38 dBA ~ 18dBA |
| Fan Life Time | 100,000 Hours |
| Weight | 1230g |
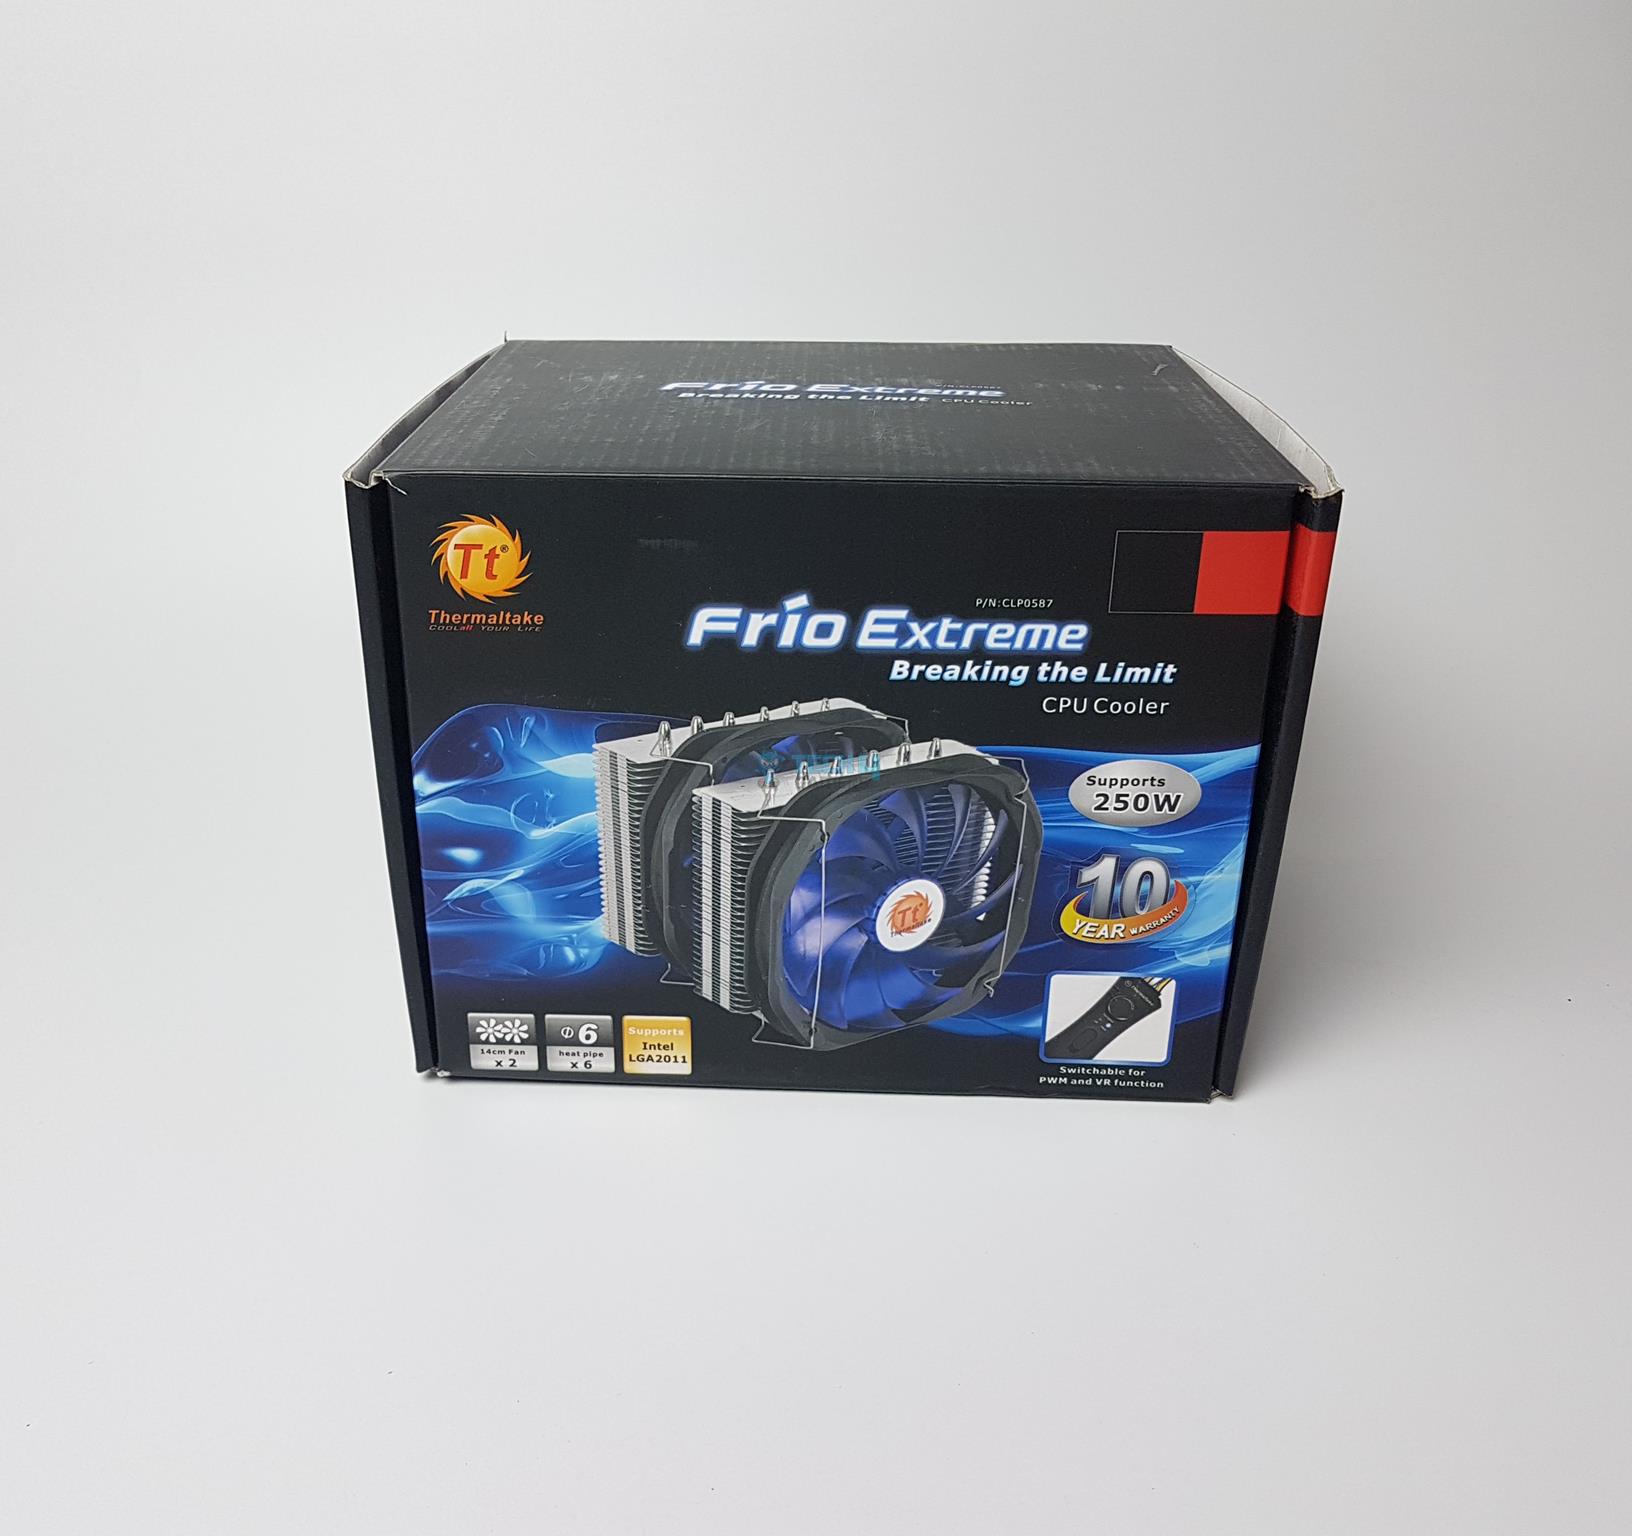
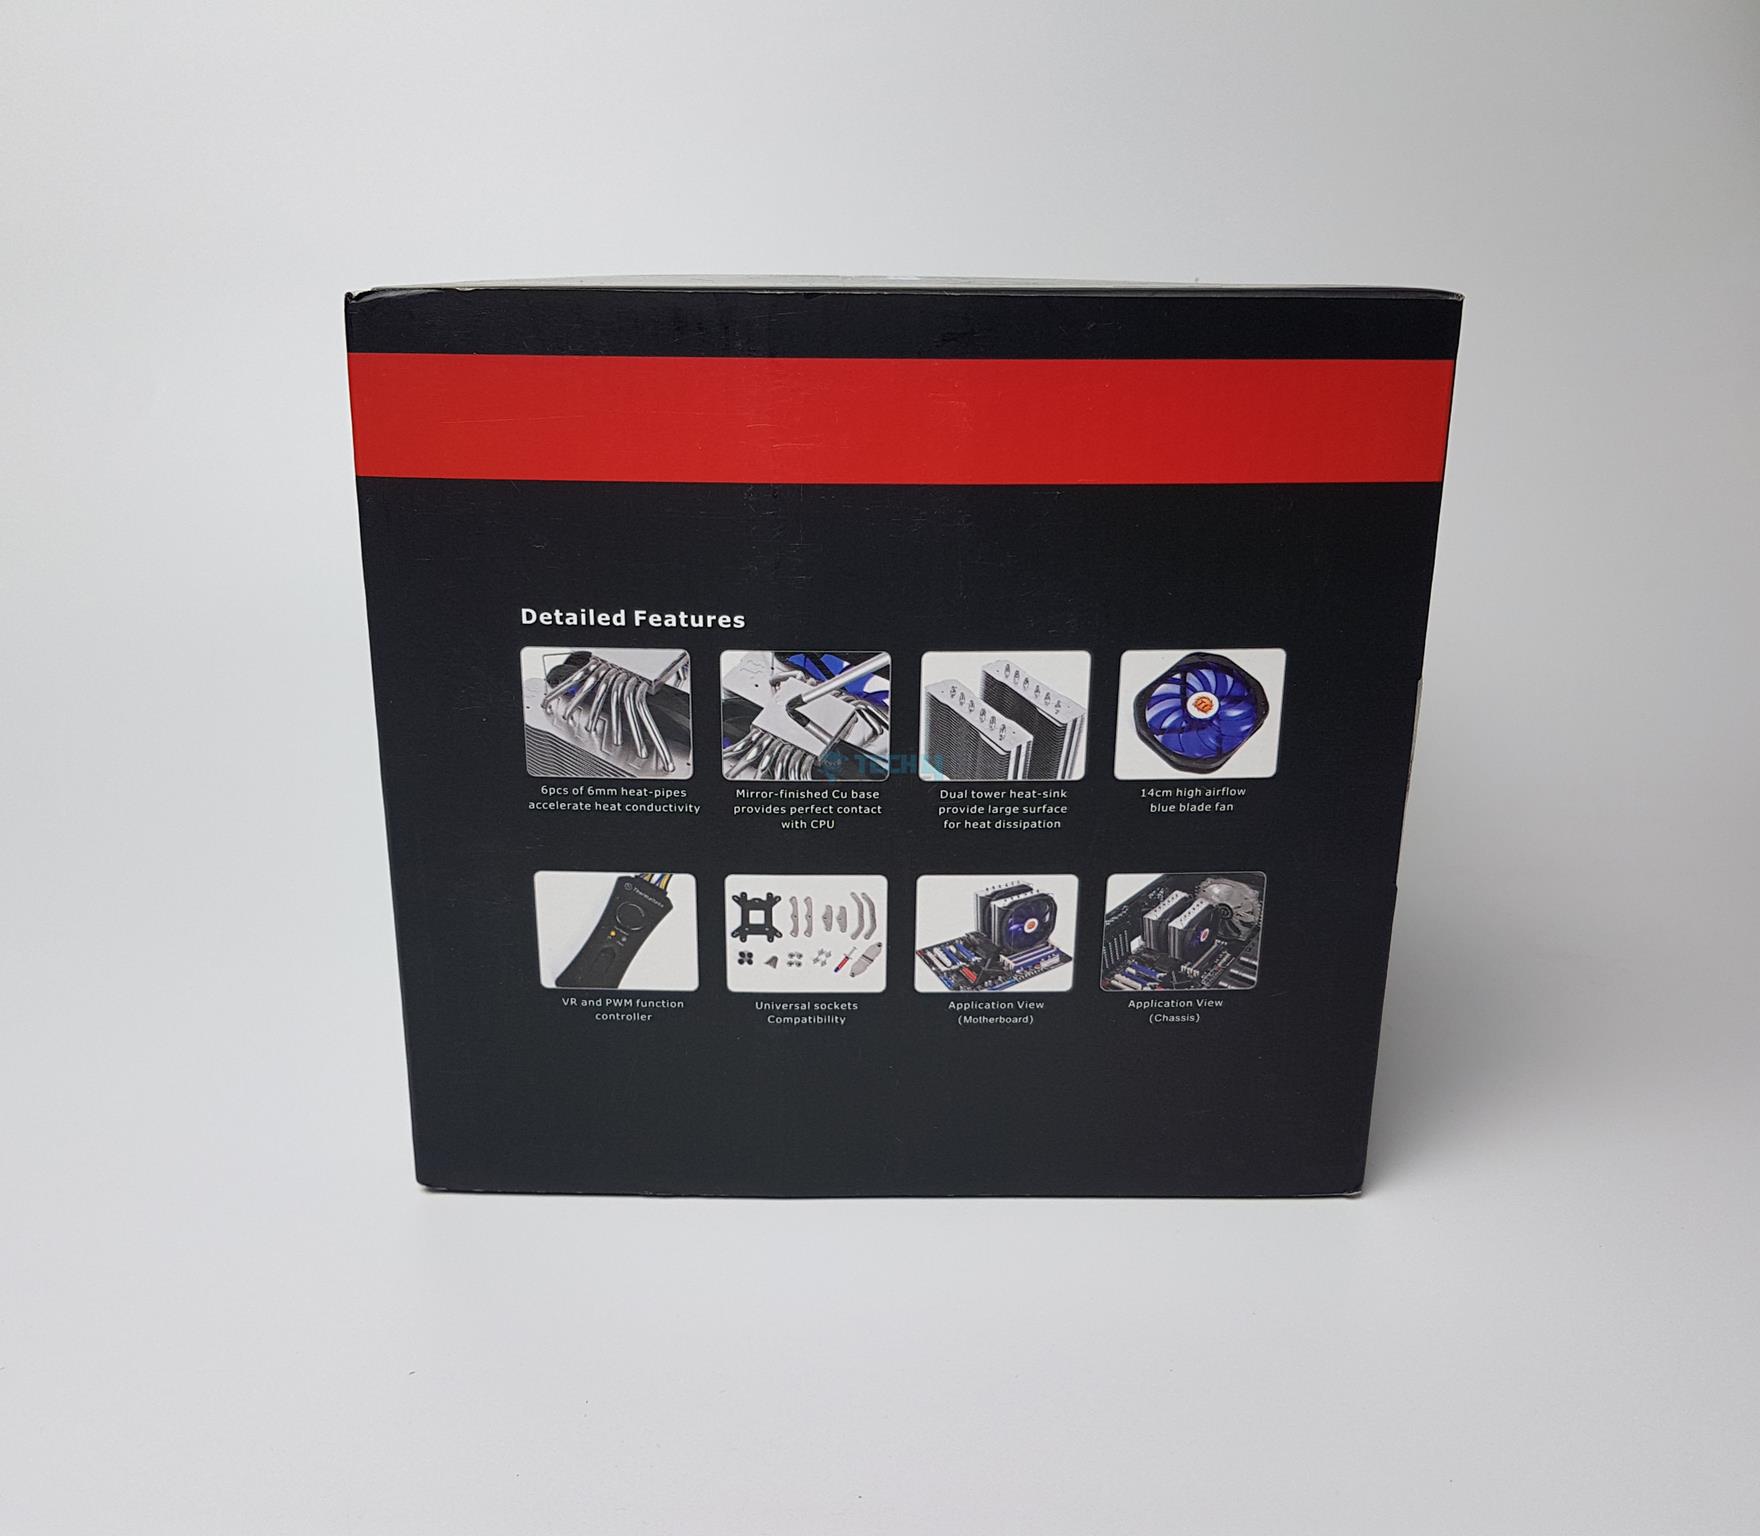
Packaging and Unboxing
Here is the unboxing experience of the Thermaltake Frio Extreme.
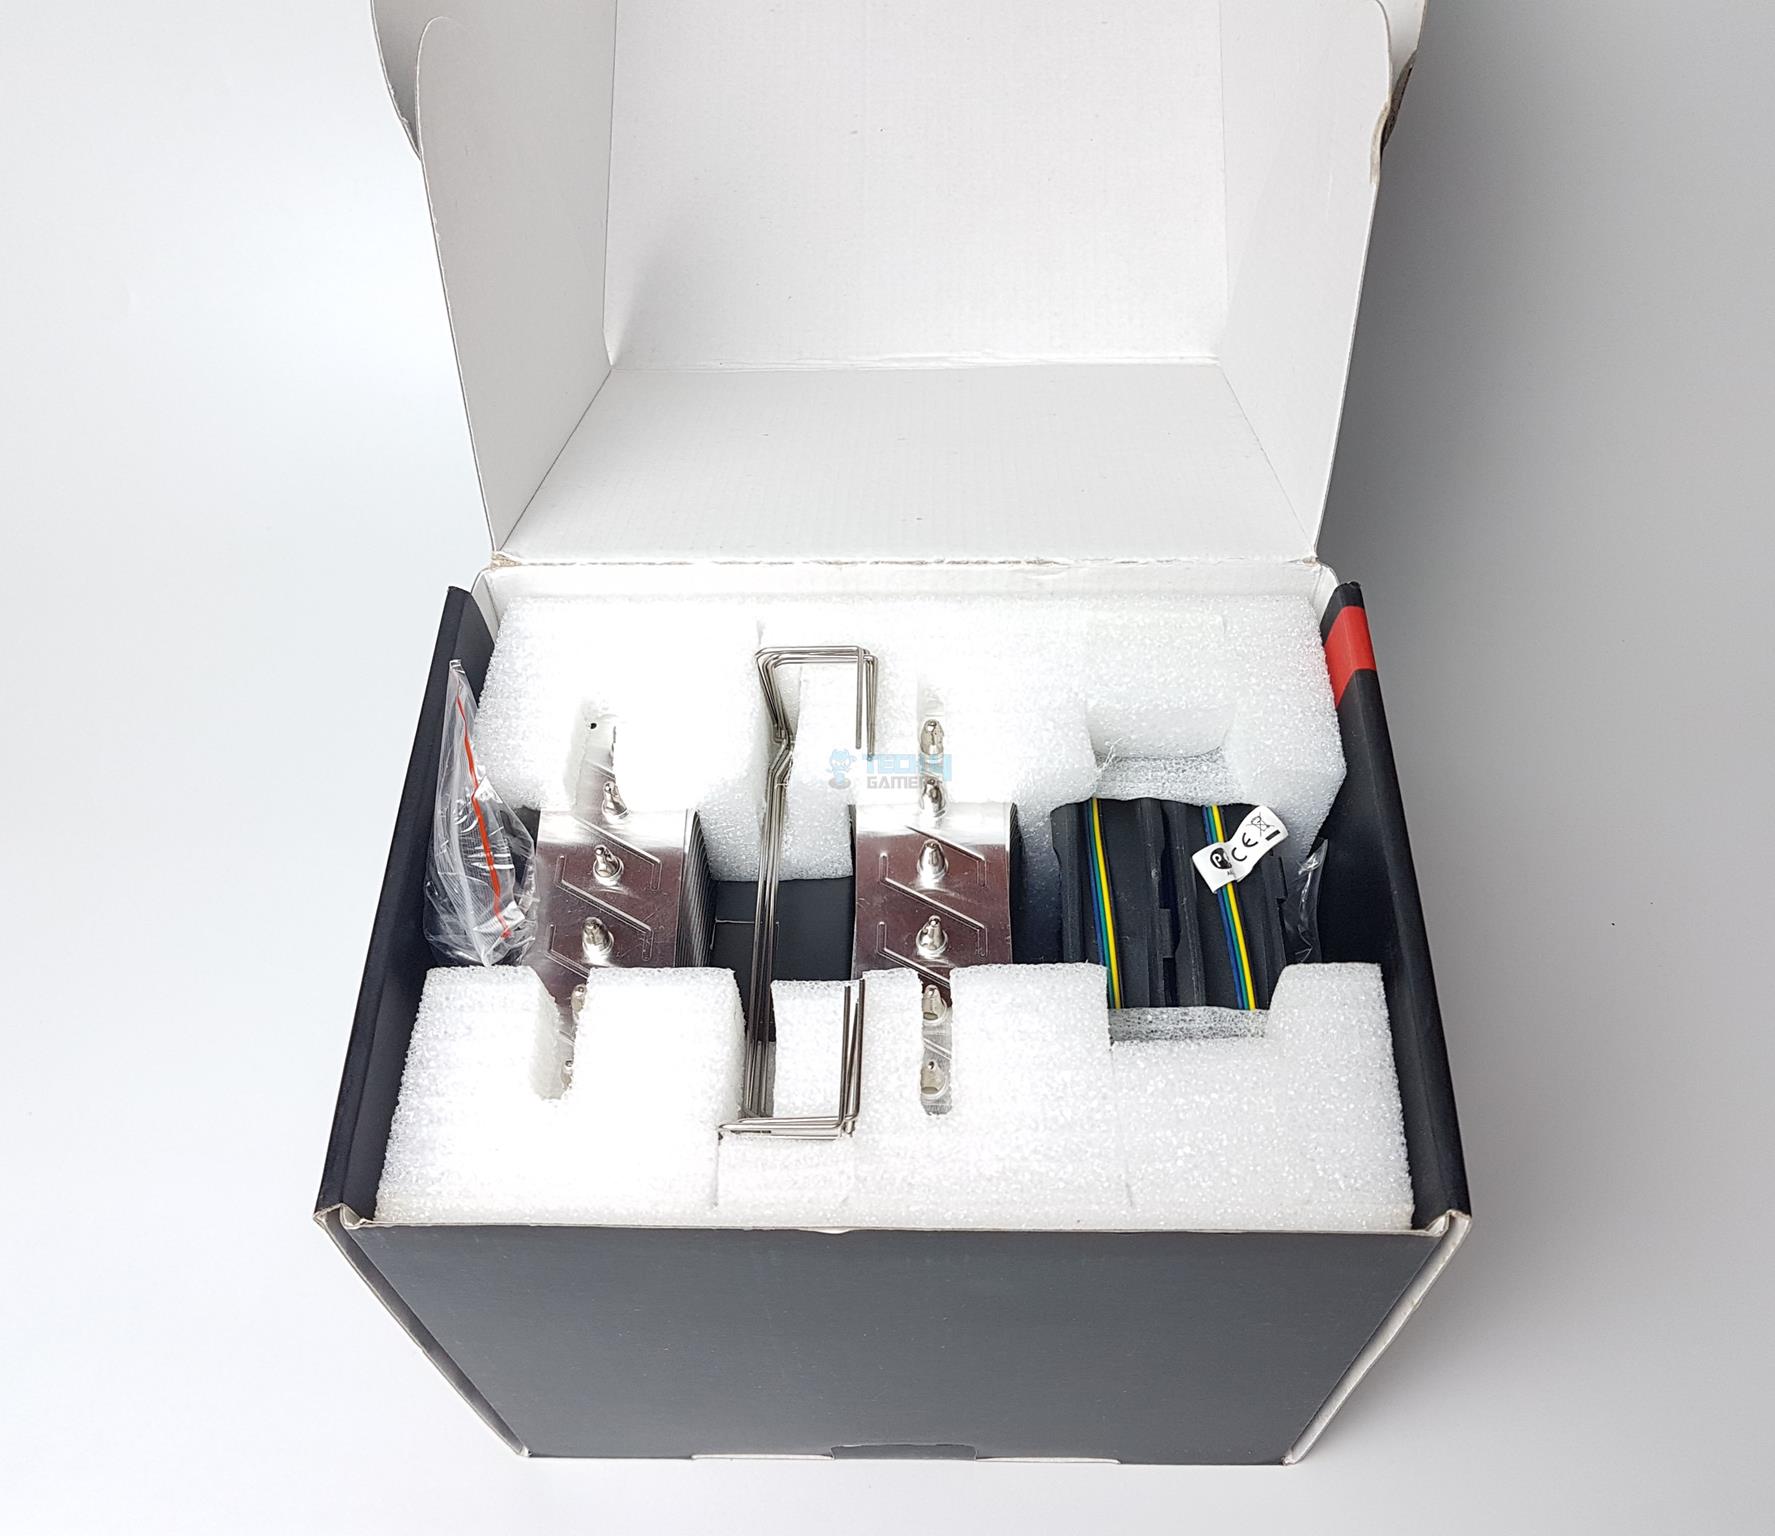
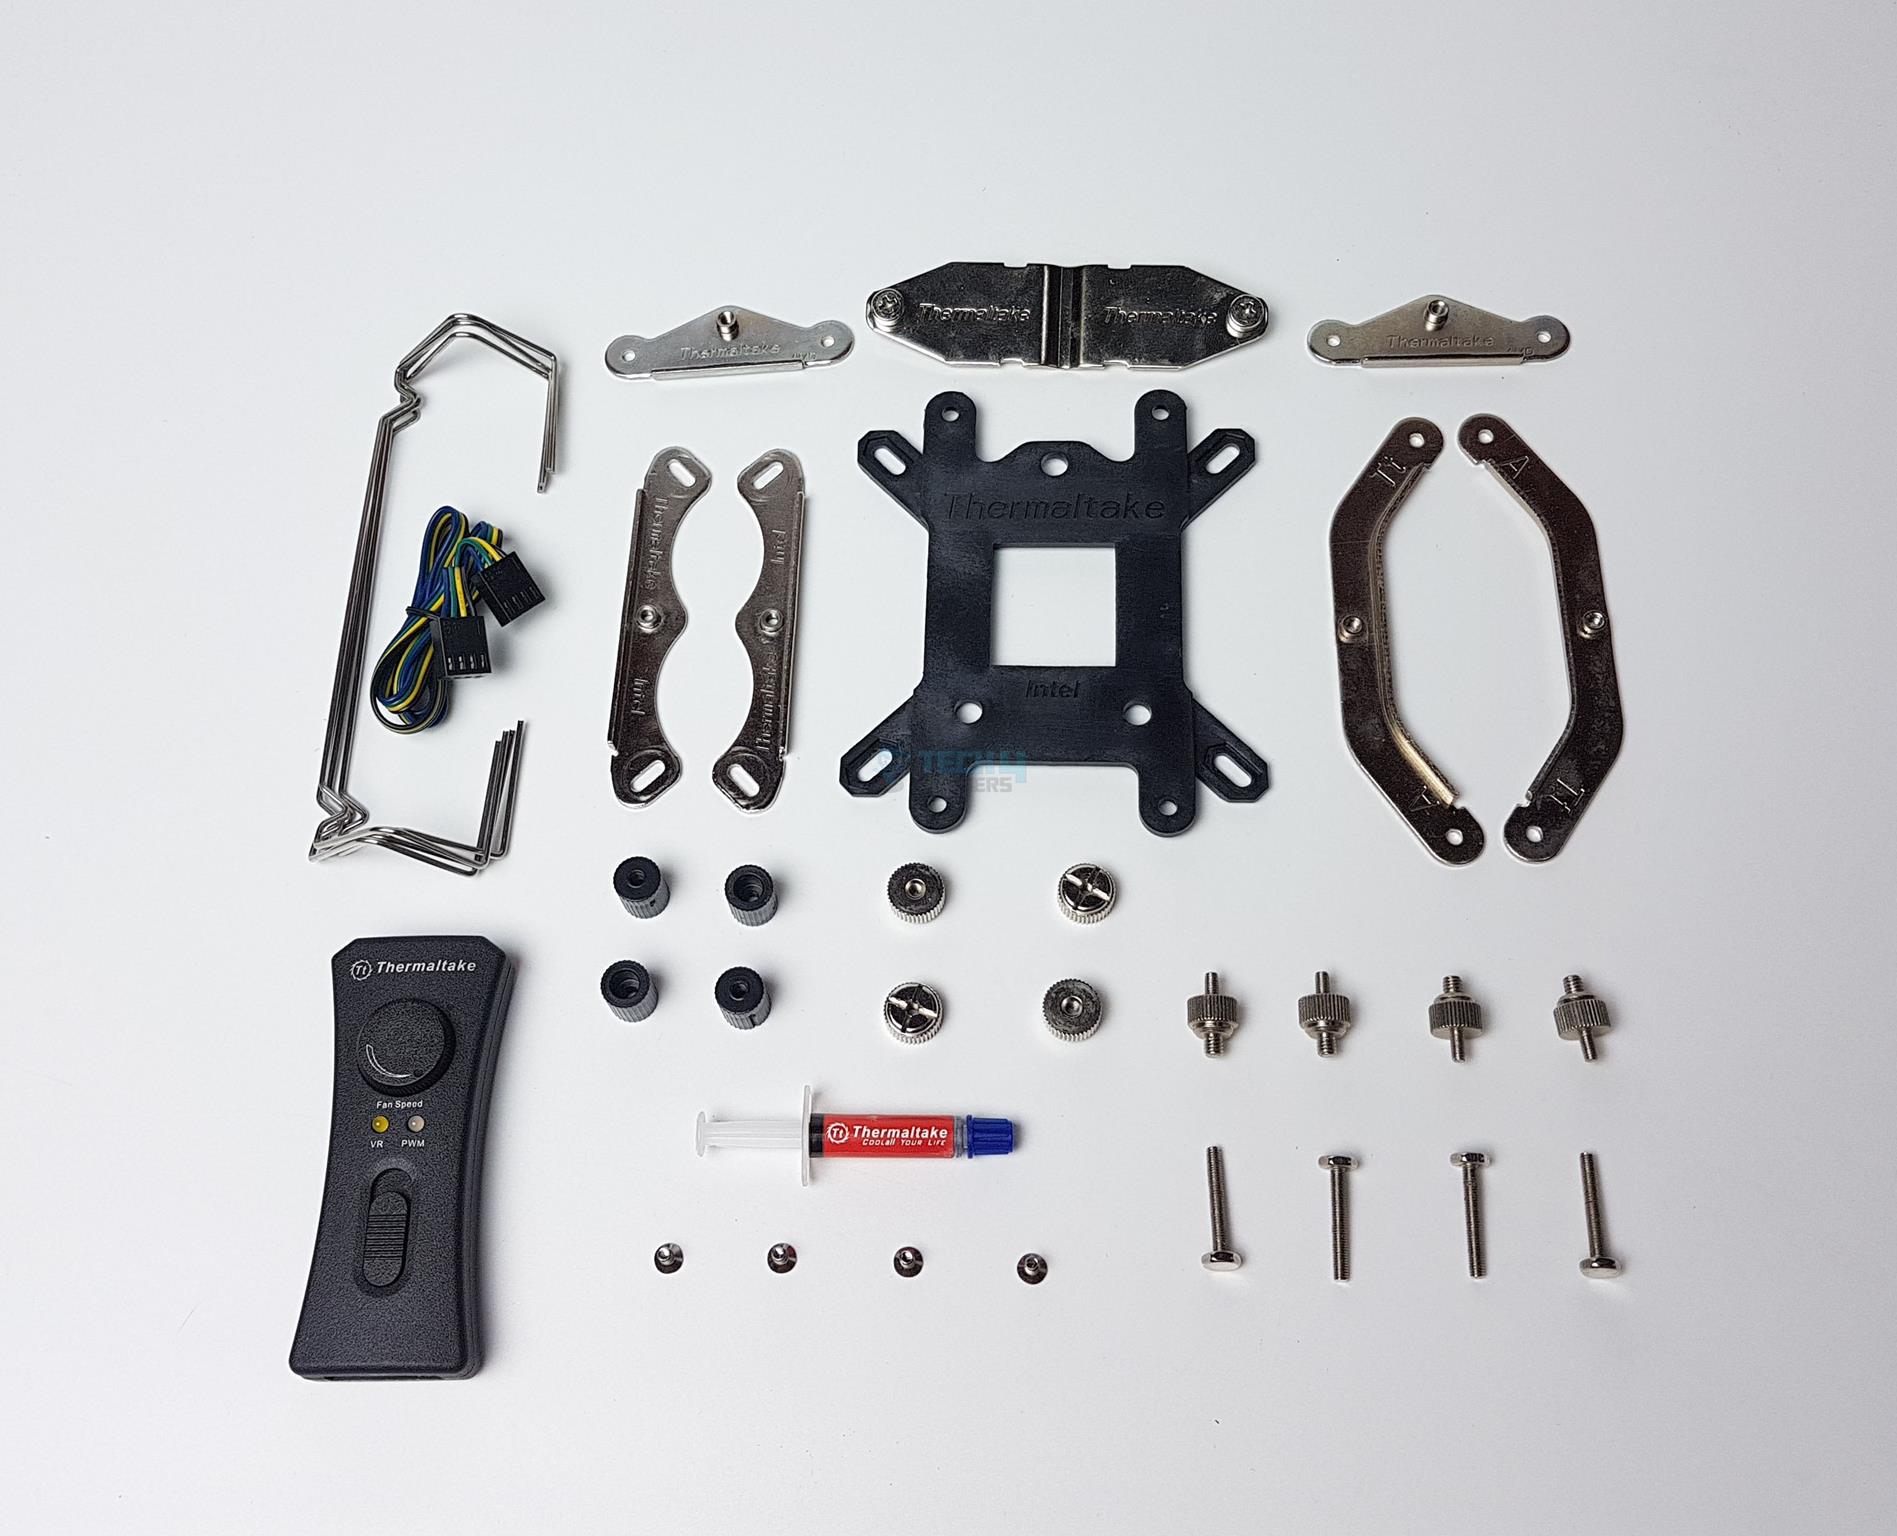
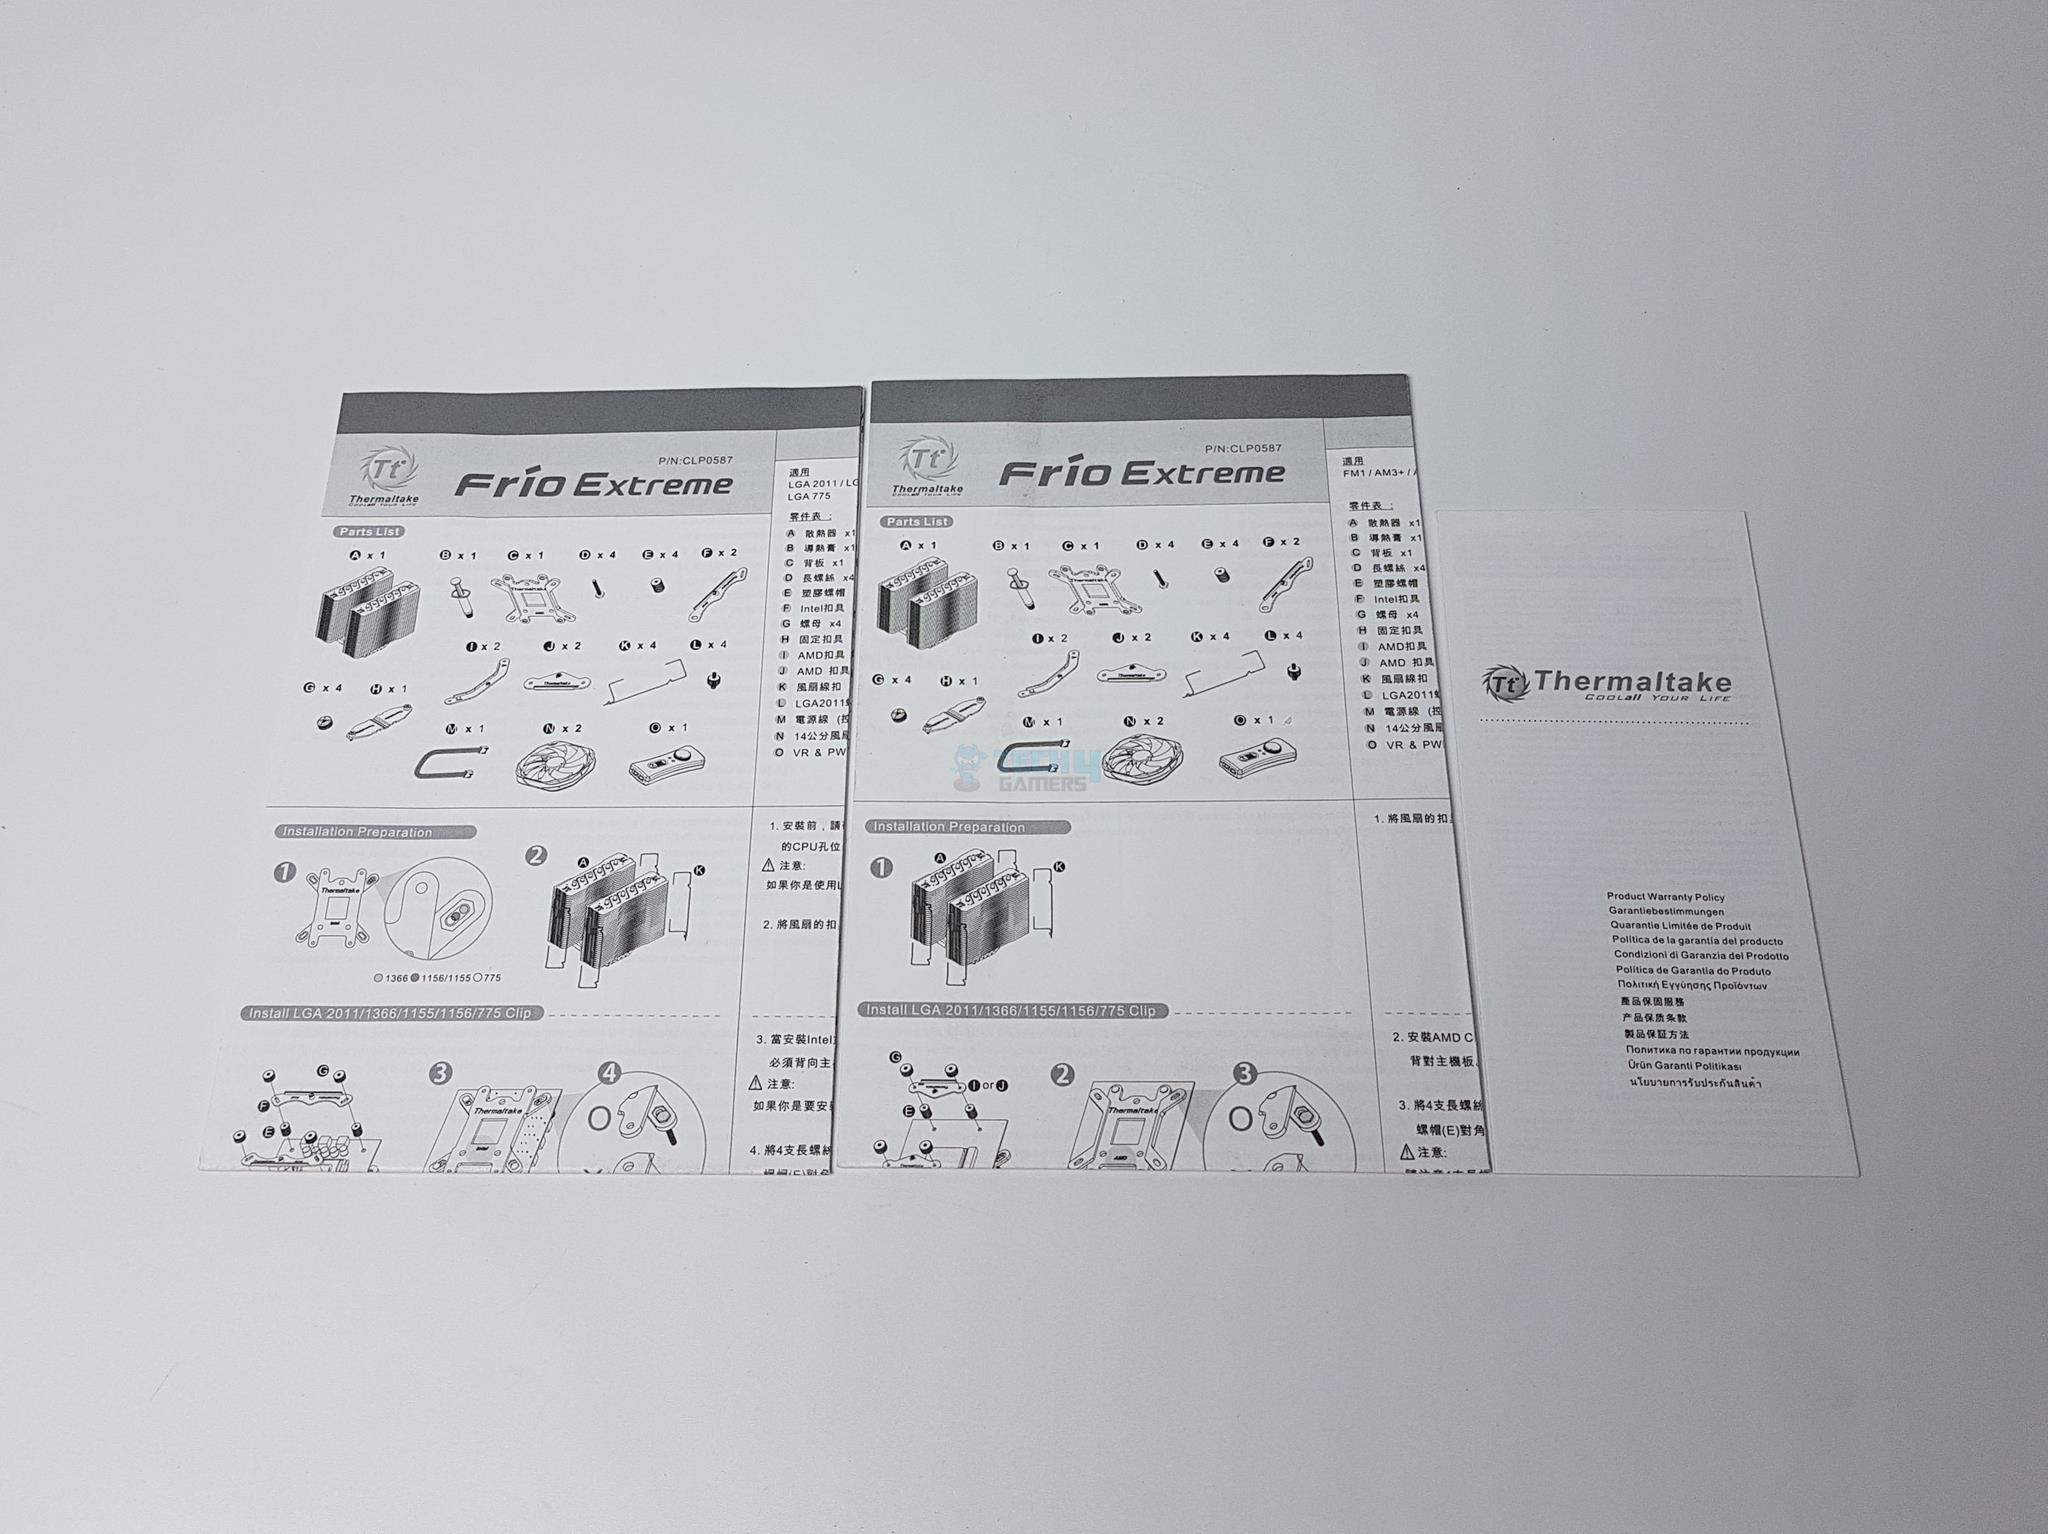
Box Contents
The package includes a comprehensive set of components for the Thermaltake Frio, featuring a heatsink, two 140mm fans, four fan clips, an Intel/AMD backplate, two Intel mounting brackets, four AMD mounting brackets, a crossbar, four black spacers, four Intel LGA-20xx standoffs, four thumb nuts, four long screws, four small screws, a VR/PWM controller, a PWM cable, thermal paste, two user manuals, and a warranty policy.
Closer Look
The Thermaltake Frio Extreme is a dual tower cooling solution rated for 250W TDP cooling potential. This is my second set of tests on this cooler as the first one was on the Intel Z390 socket where this cooler participated in the round-up content on other media sites and this cooler packs some sucker punch for the raw cooling potential.
Heatsink
The dimension of the Thermaltake Frio Extreme is 148.2x151x160mm (LxWxH). The height of the cooler is 160mm and it is a critical factor for clearance for the chassis. The cooler is rated for up to 250W TDP and weighs 1230g. The cooler is compatible with Intel LGA 2066/2011-3/2011/1366/1156/1155/1151/1150/775 and AMD FM2/FM1/AM3+/AM3/AM2+/AM2 sockets.
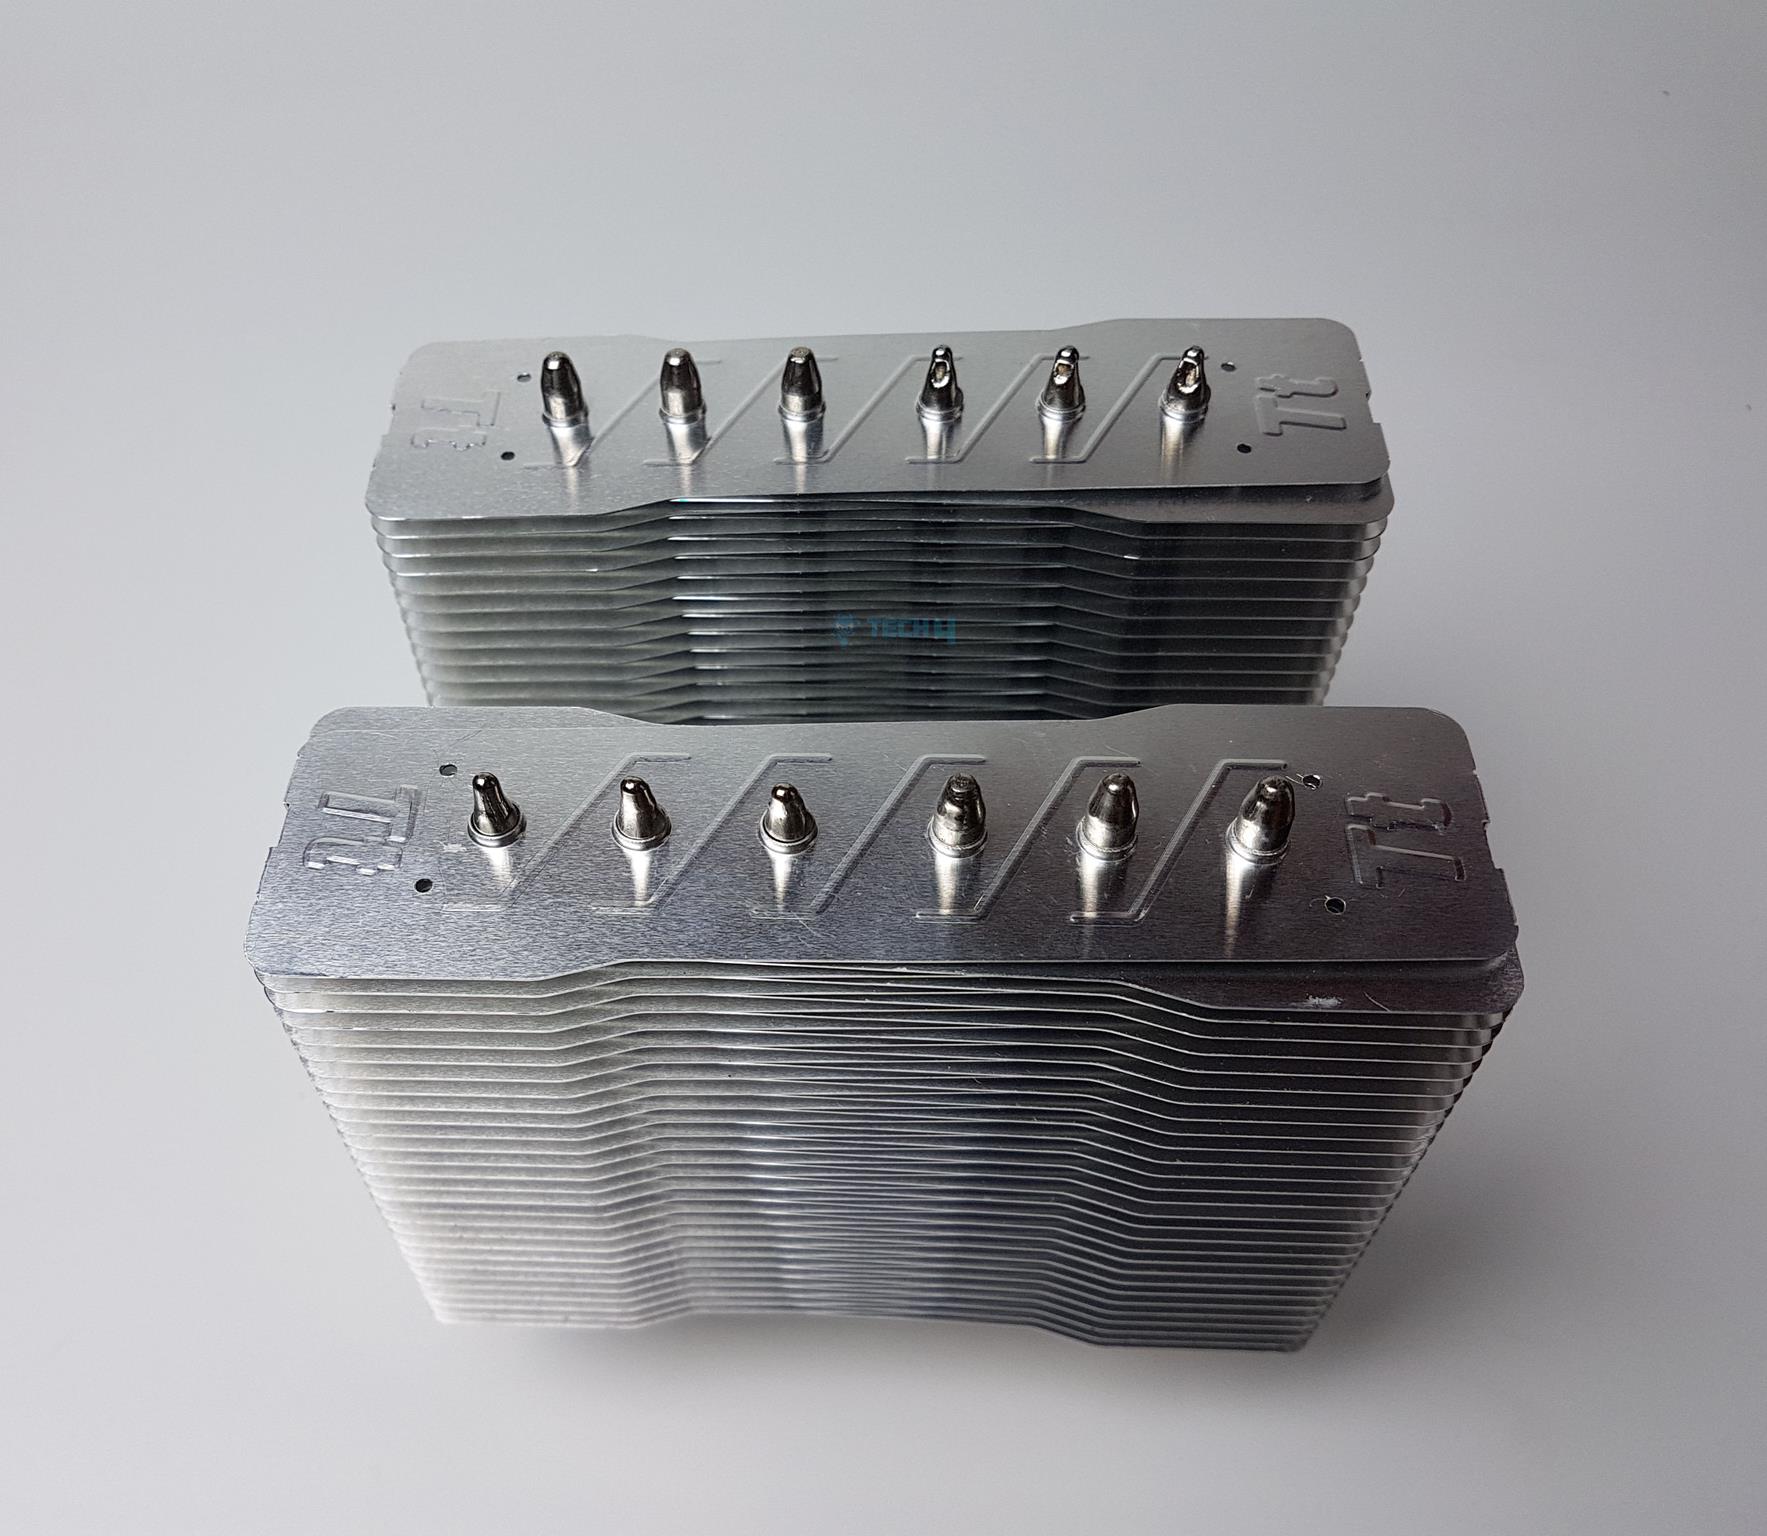
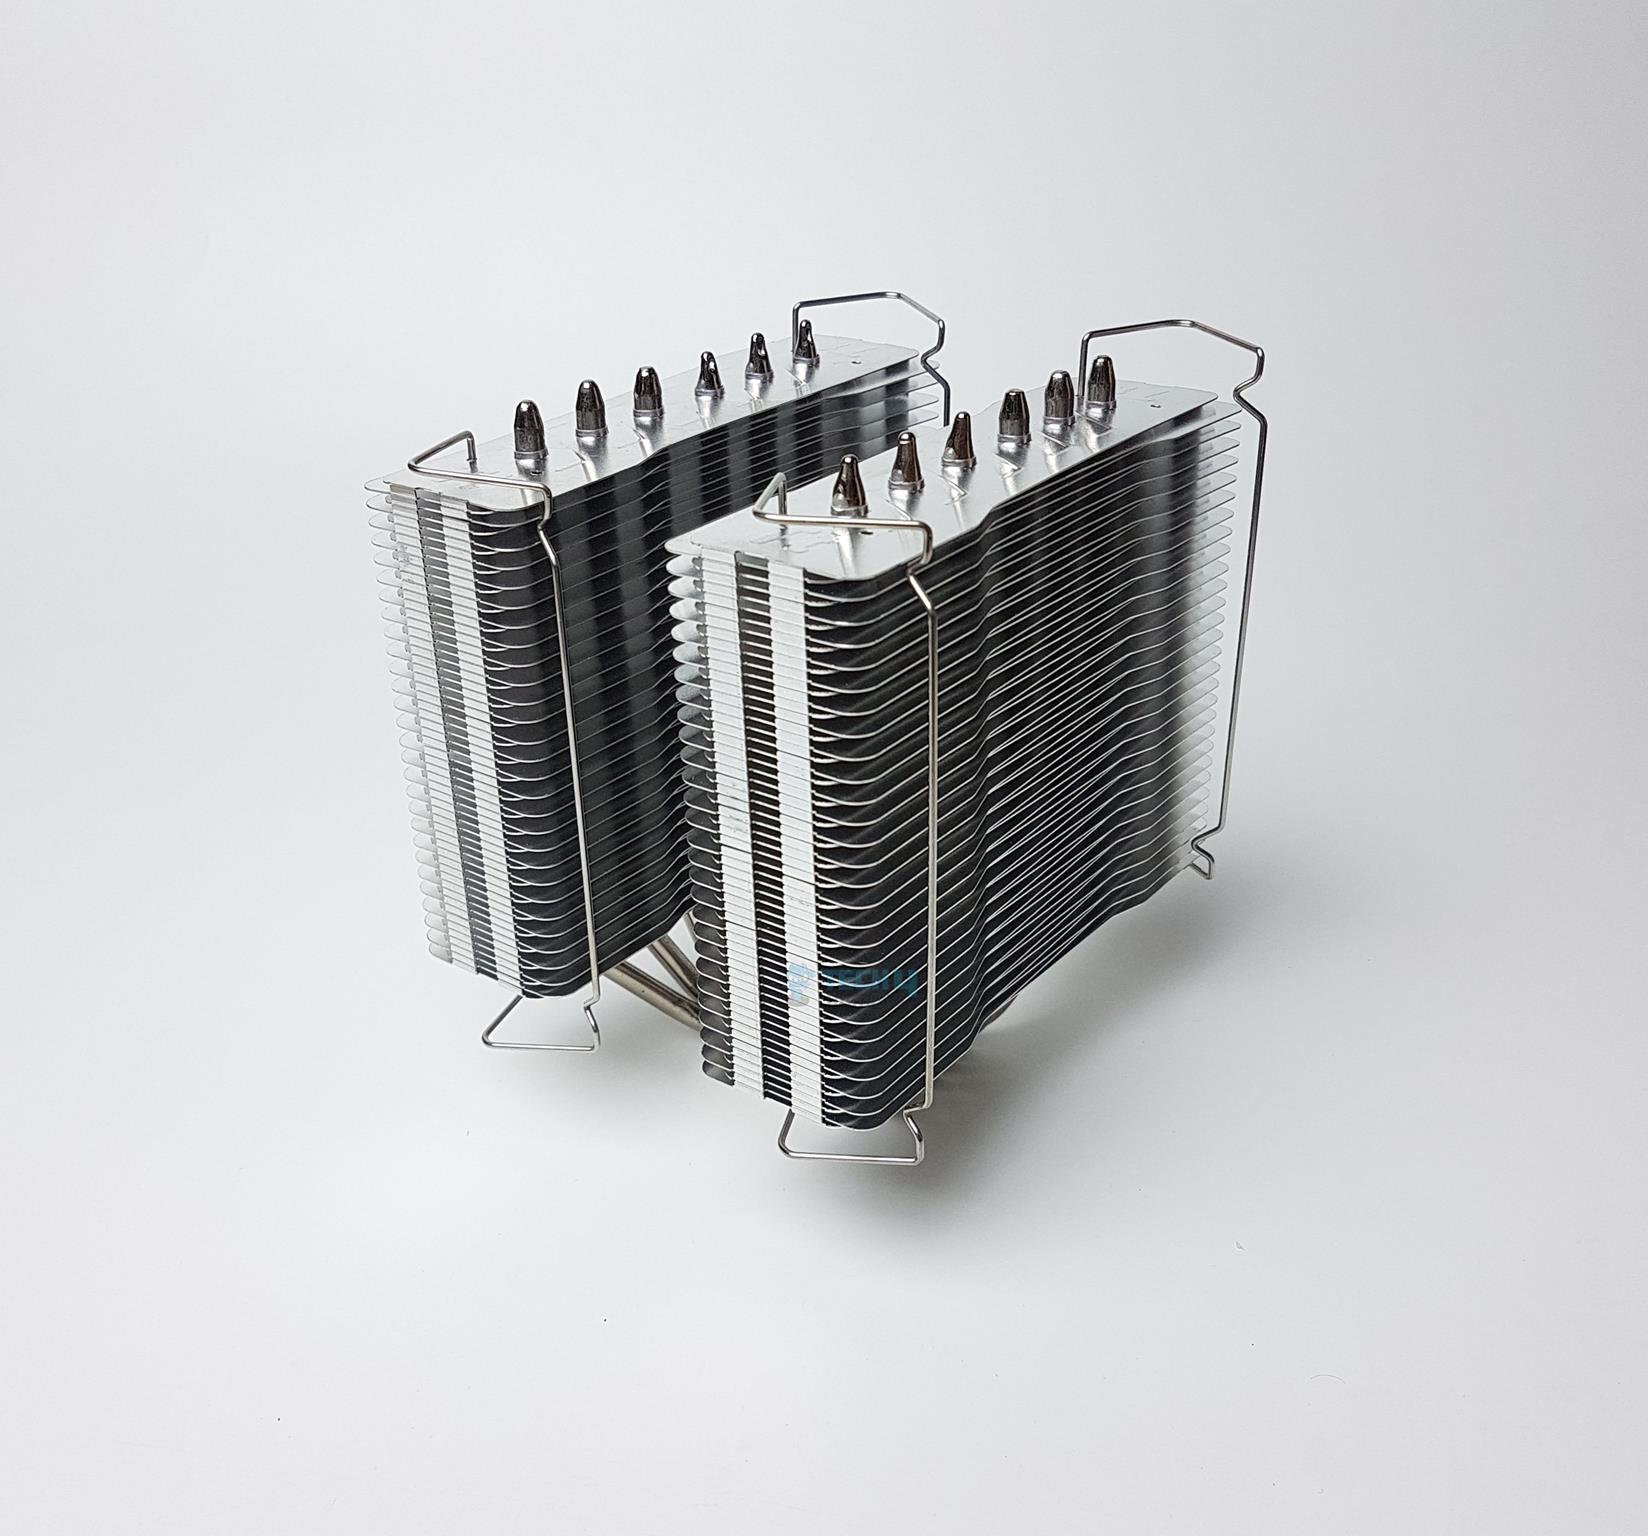
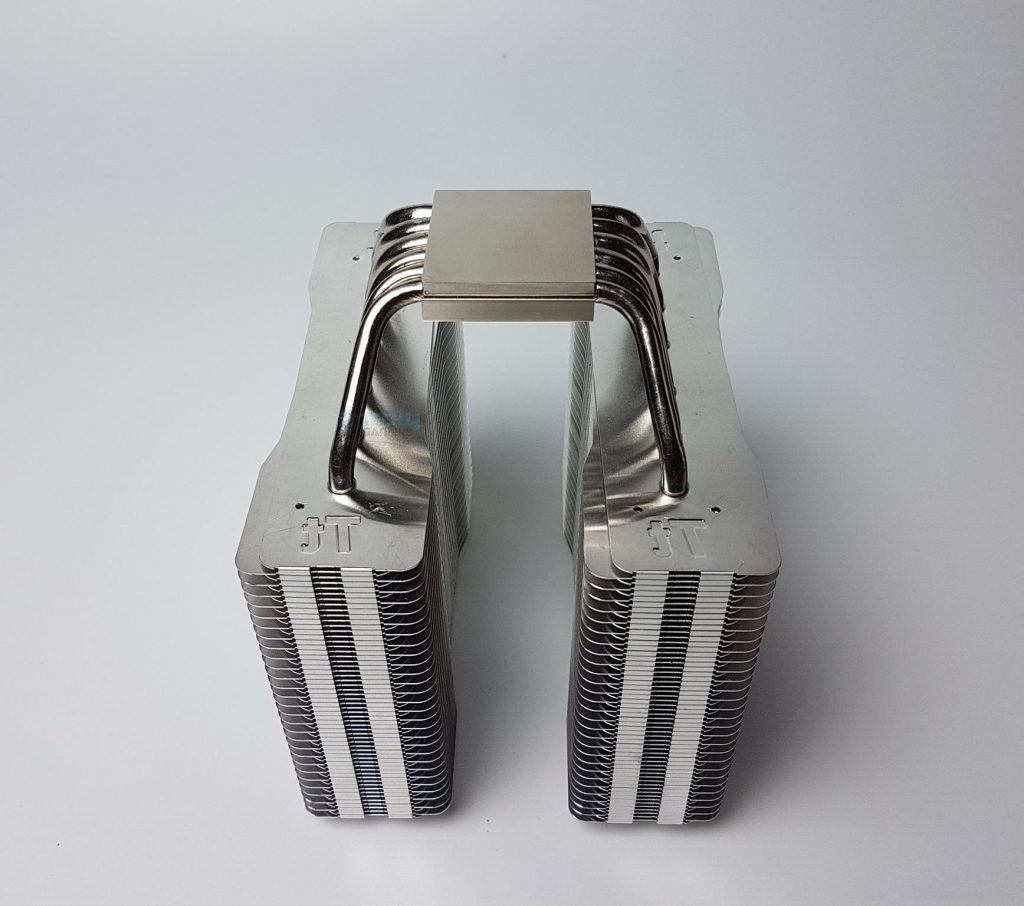
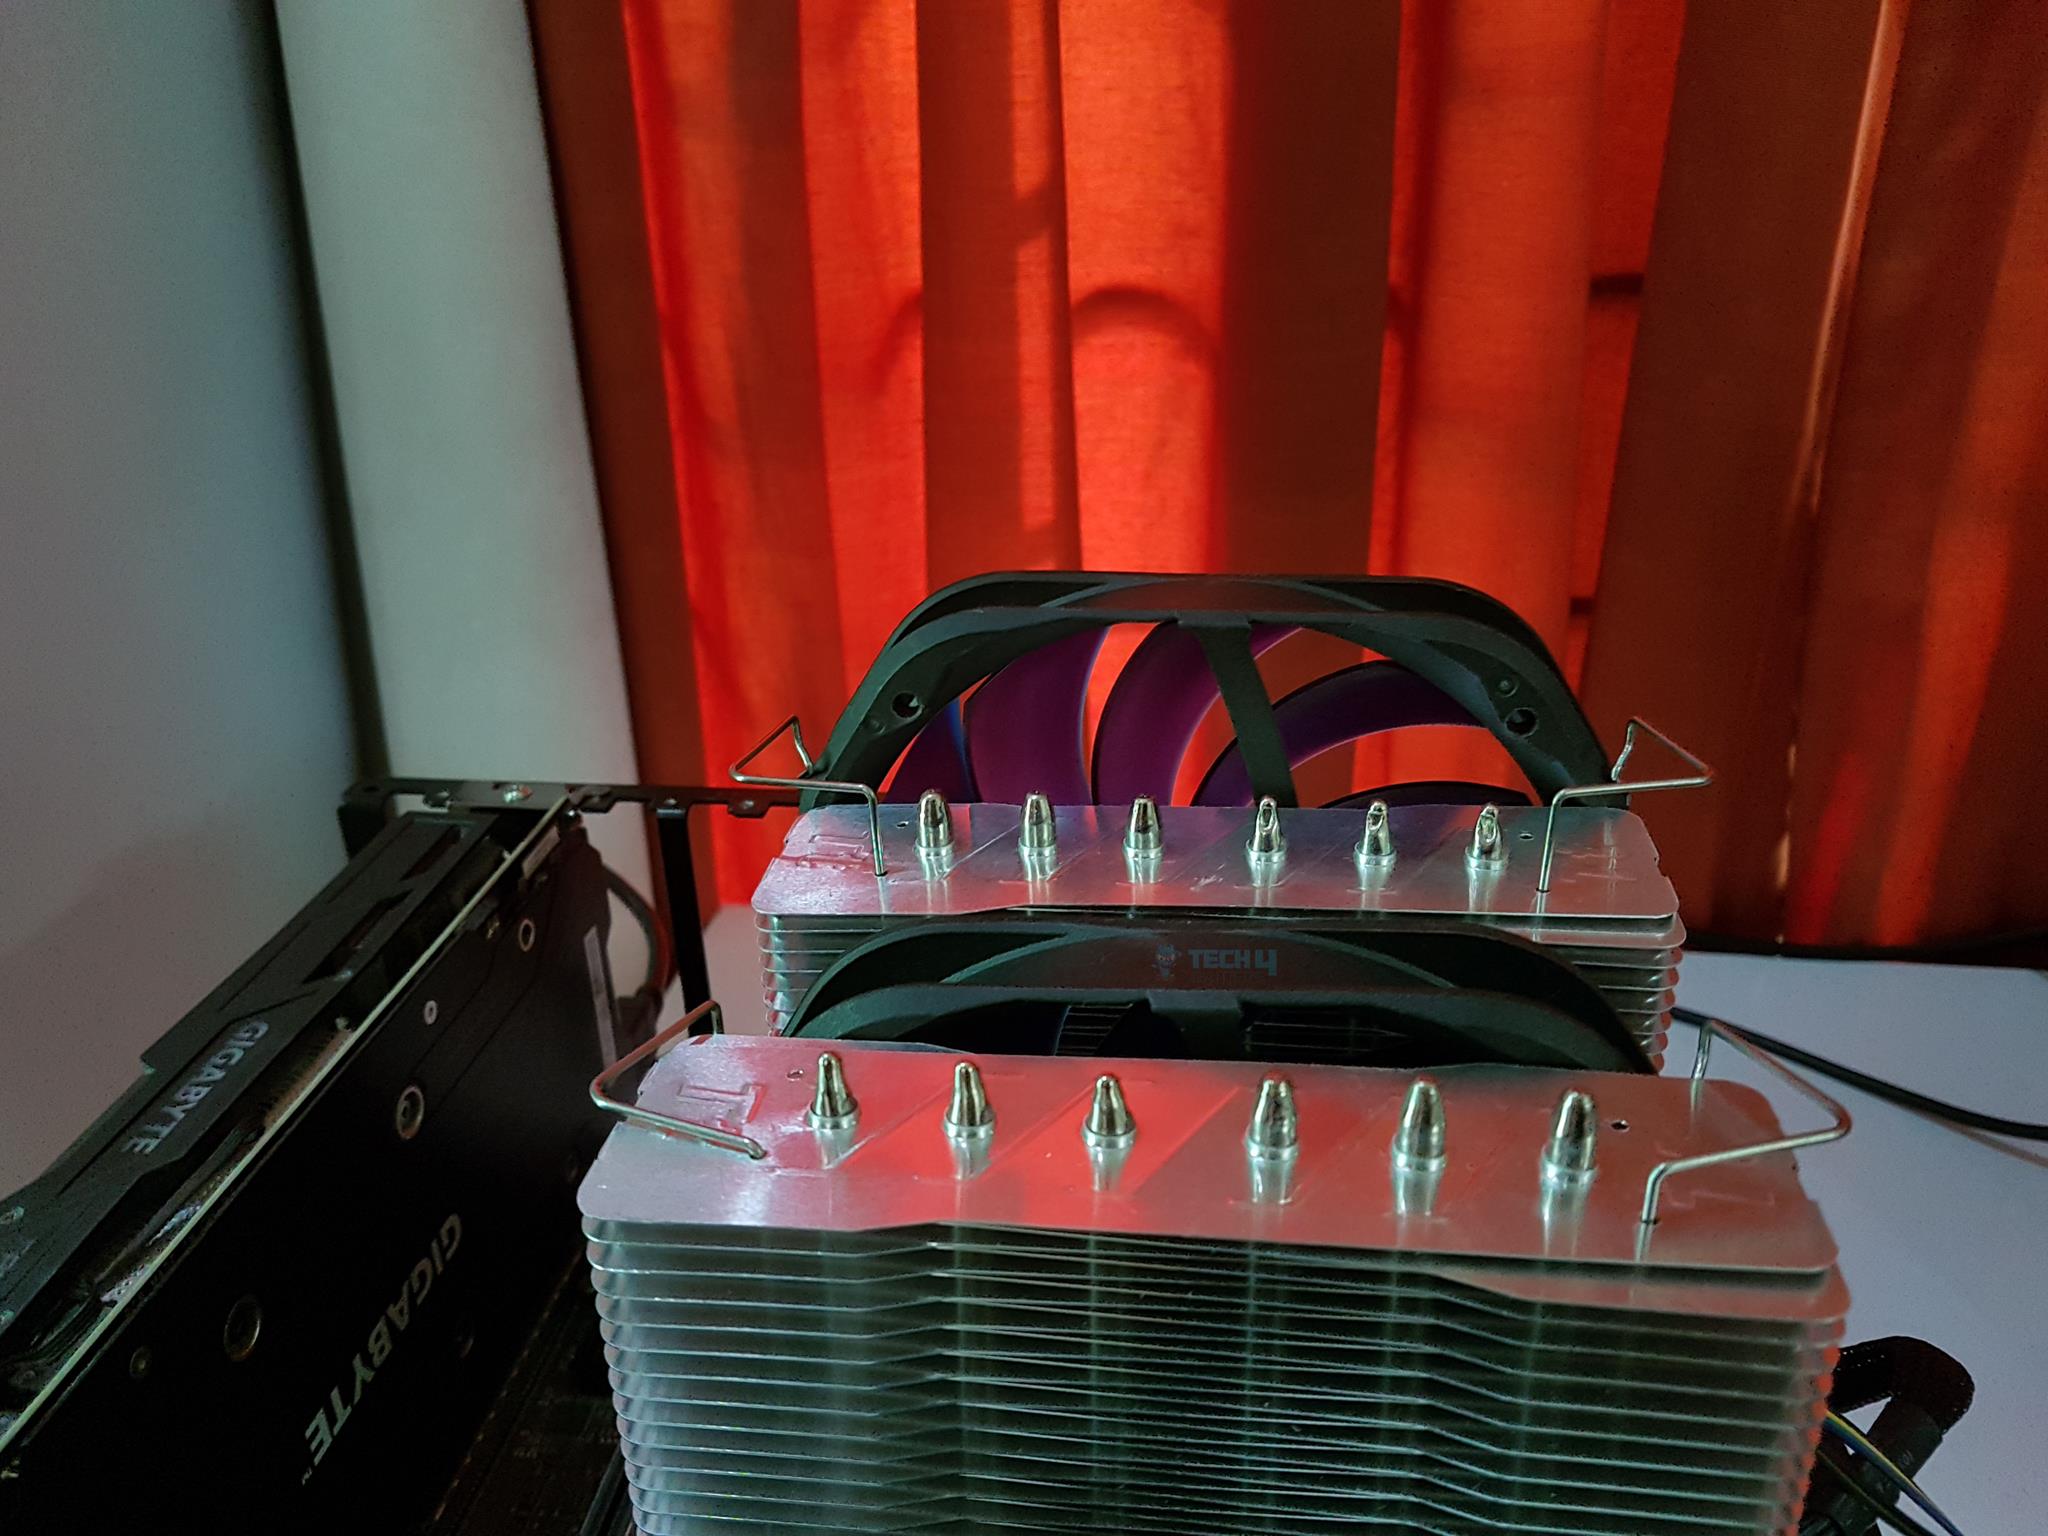
The cooler’s complete assembly boasts a sleek silver finish, exuding an industrial aesthetic. Examining it from the top, I observe the heat pipes intricately soldered with the fins, arranged linearly and culminating at the top. Notably, Tt brand logos are on both sides of the upper fins. A distinctive lining texture between the heat pipes’ terminating ends adds a cool visual touch.
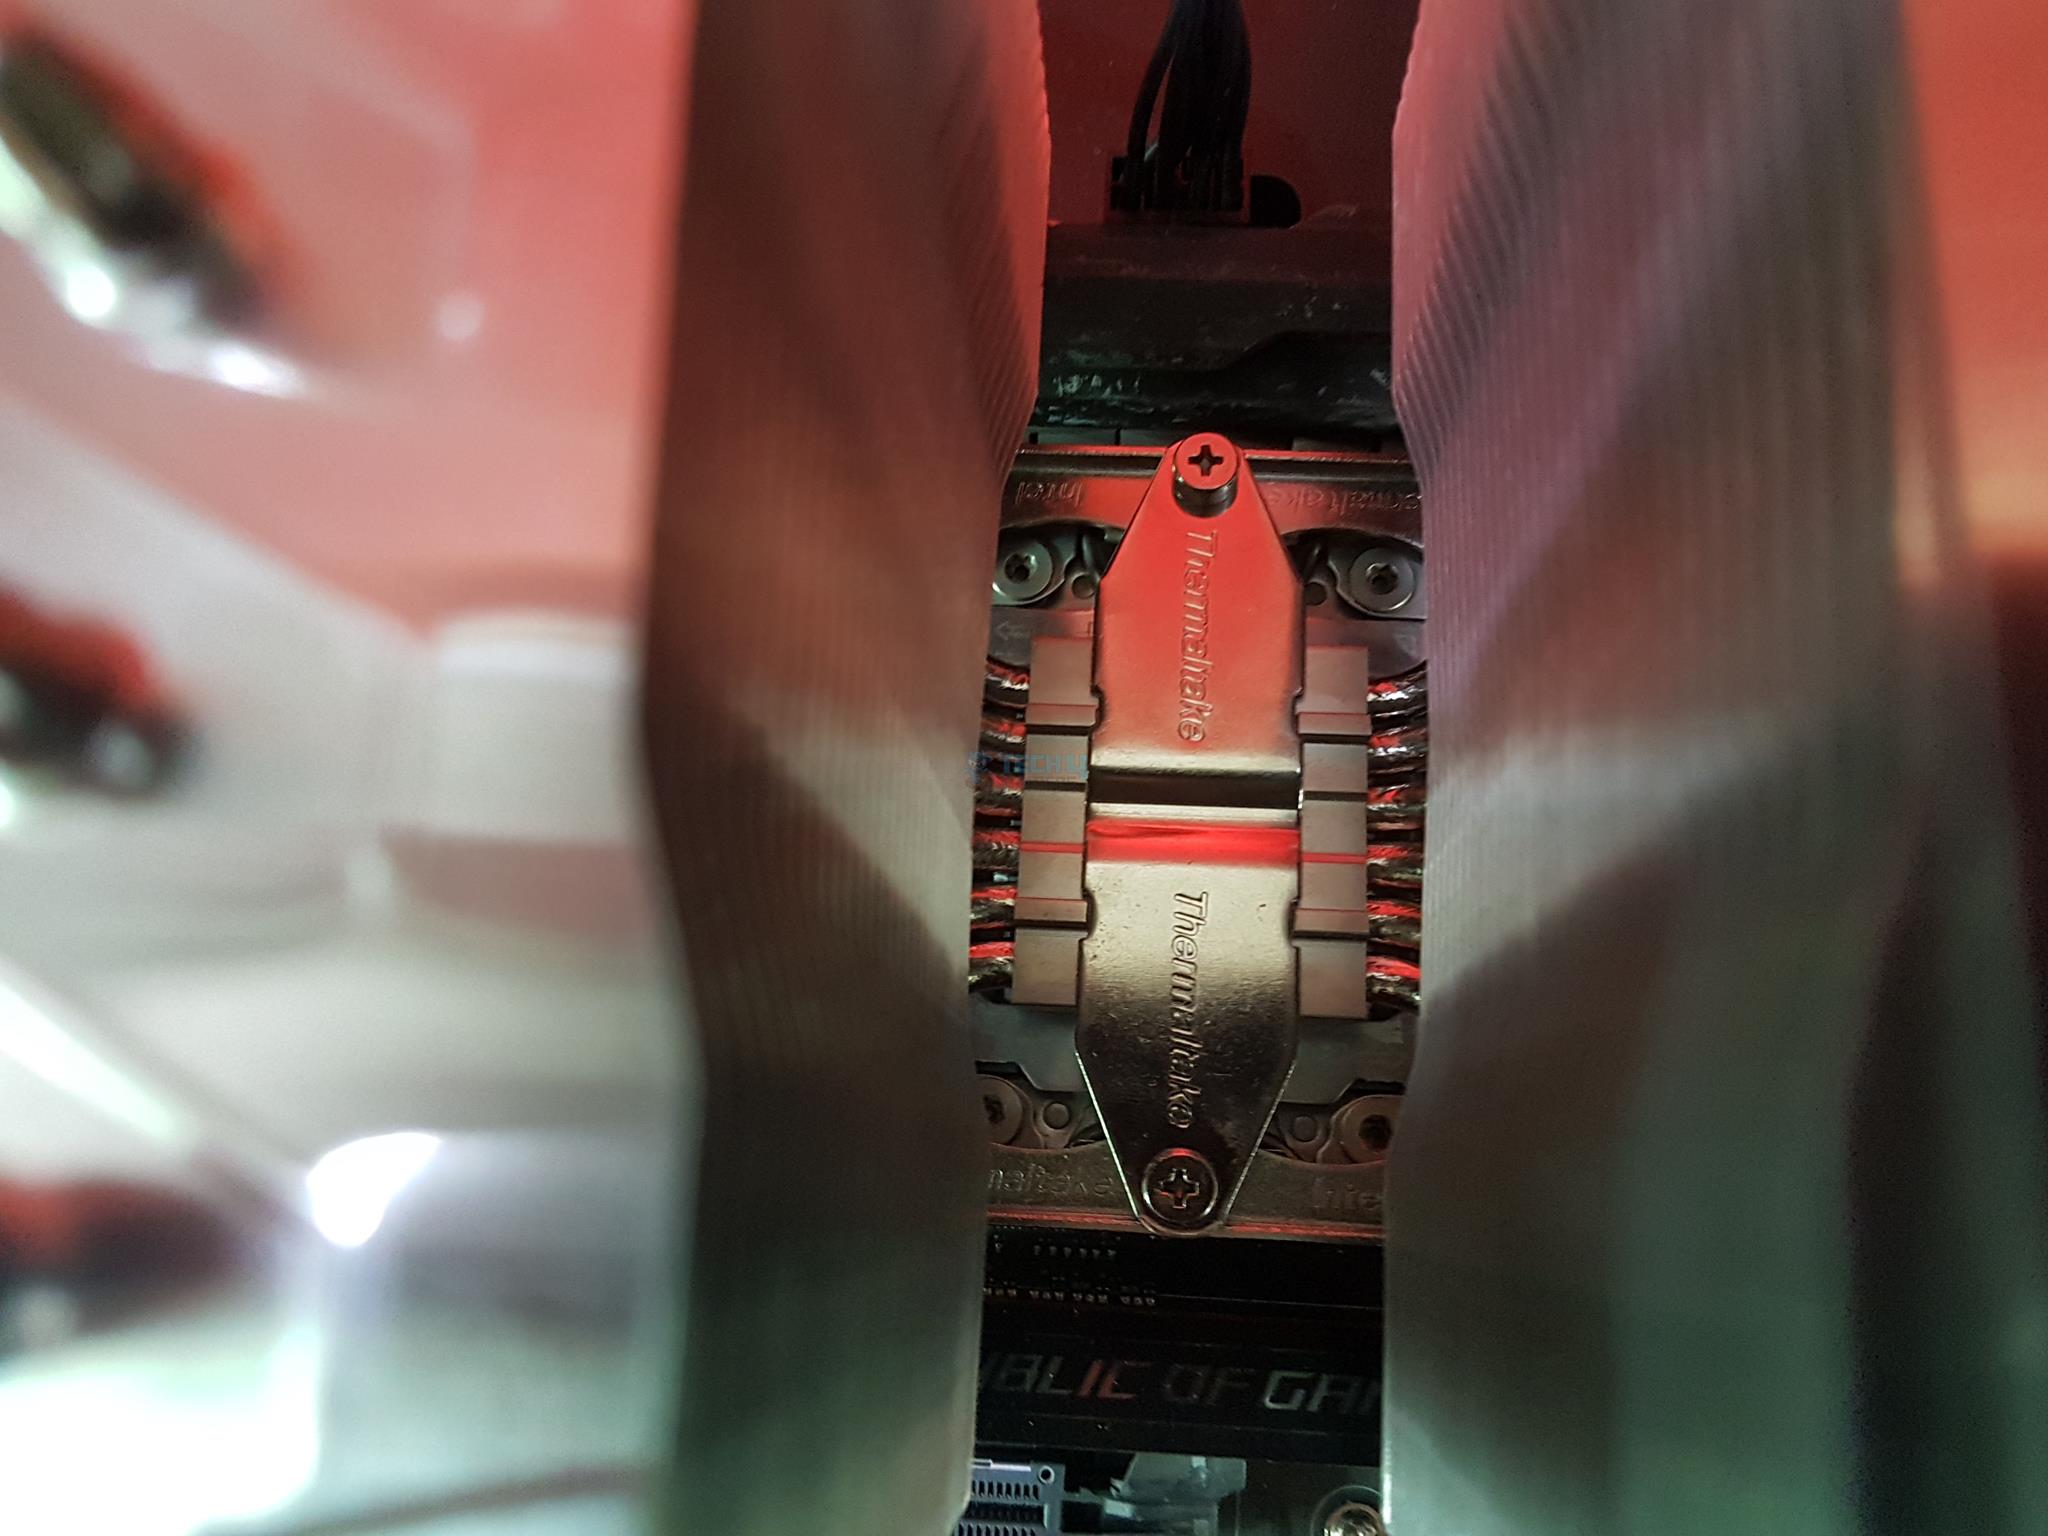
Drawing attention to functionality, two holes on each side of the top fins serve as insertion points for metal clips. It’s worth noting that the depicted installation deviates from Thermaltake’s suggested method, a realization I made post-installation. Curiosity led me to compare the two methods, revealing negligible differences well within the acceptable margin of error.

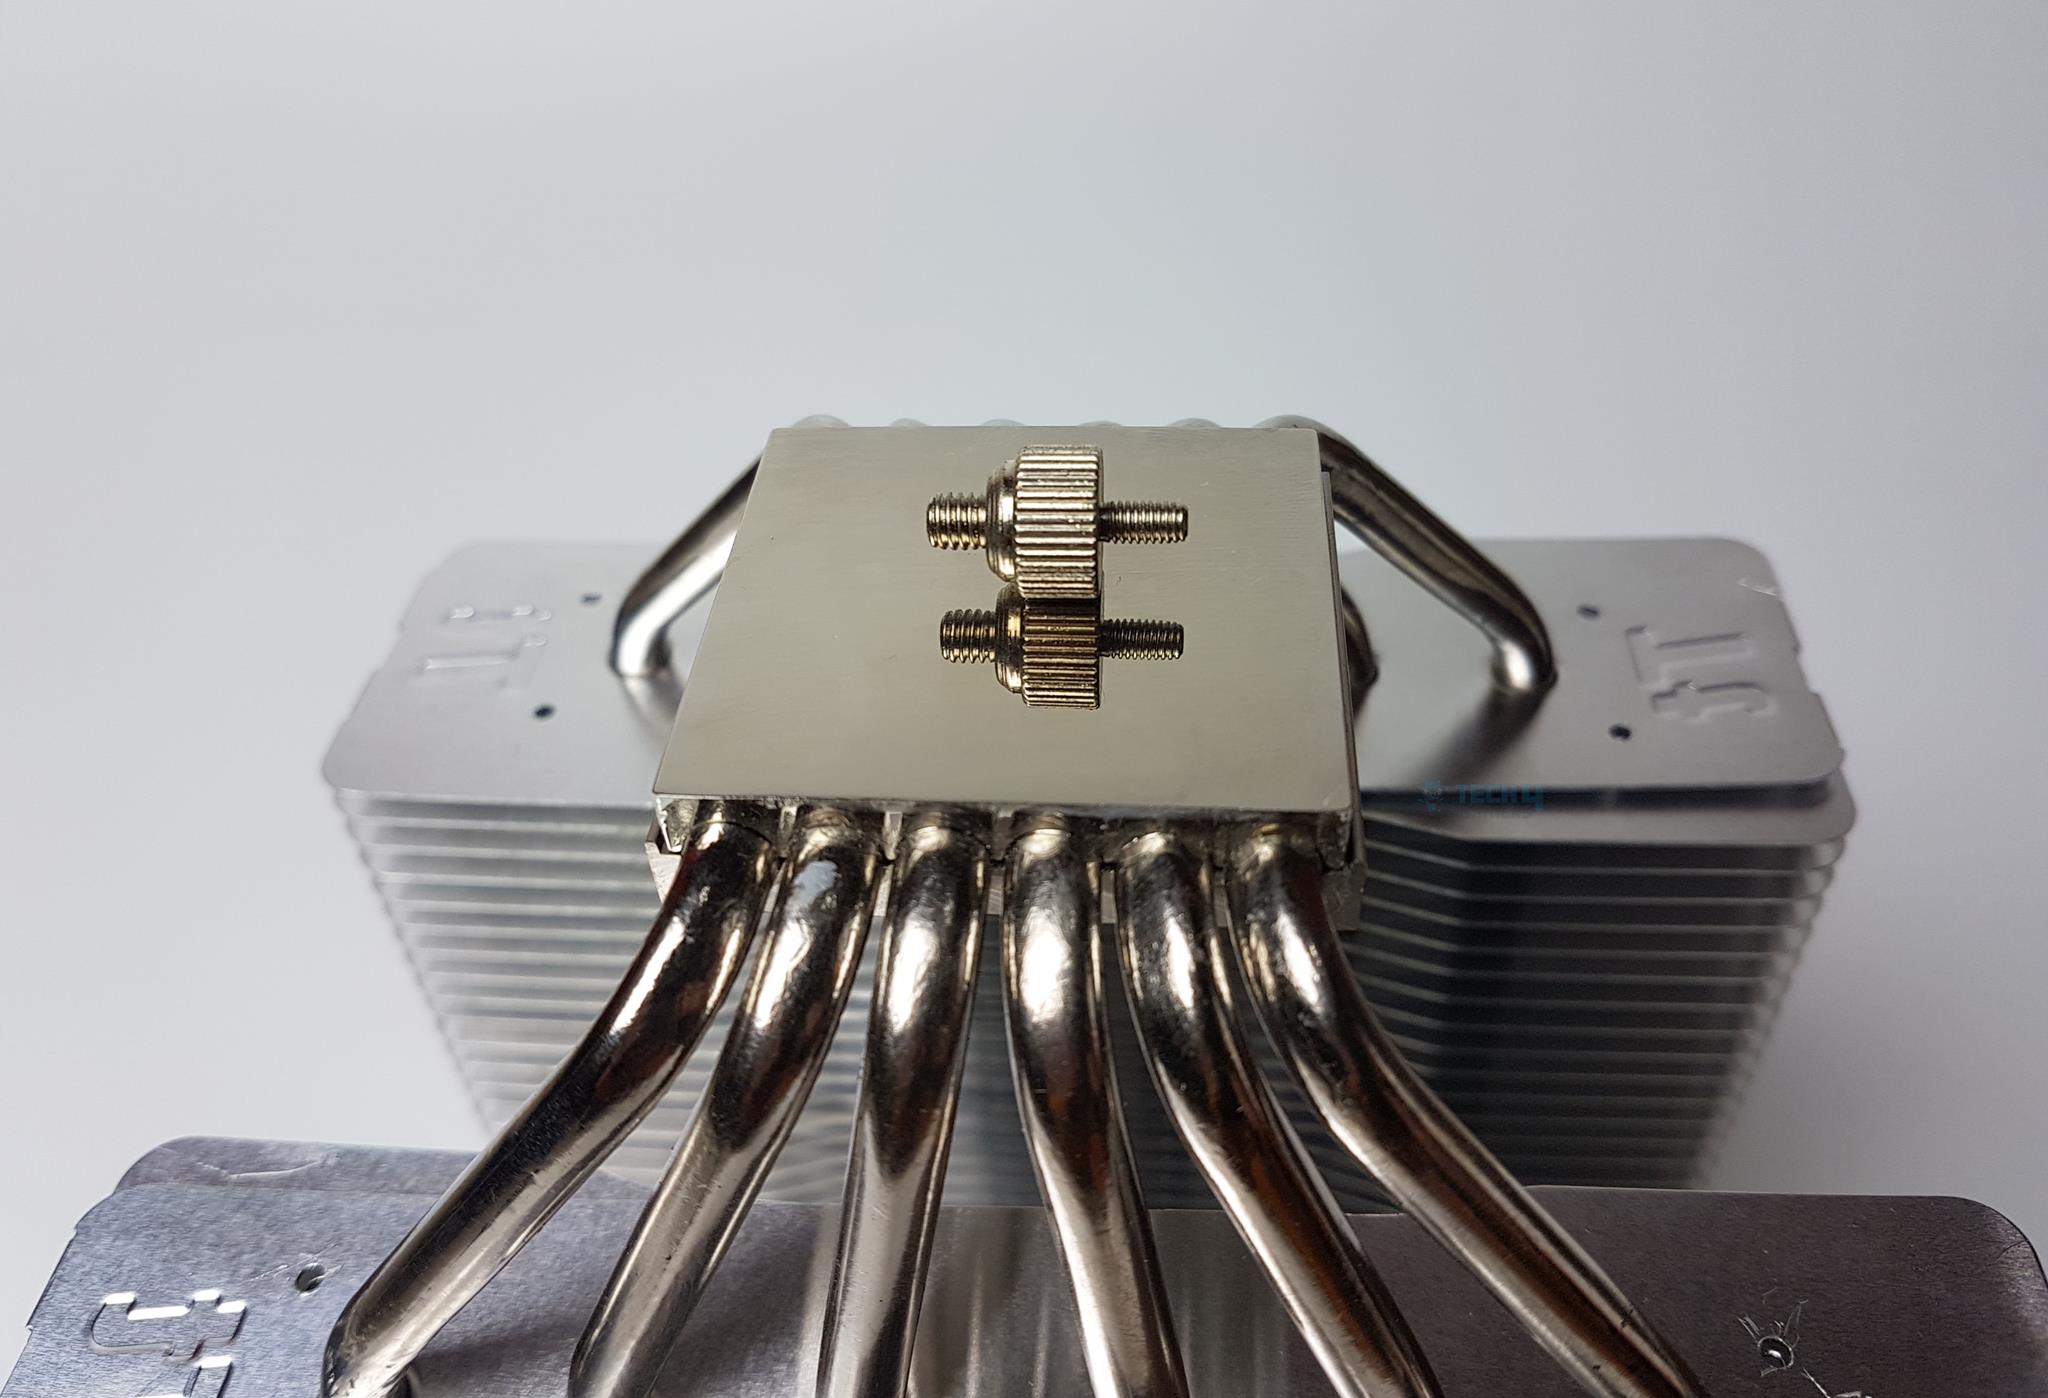
This picture shows the correct way of installing the metal clips.
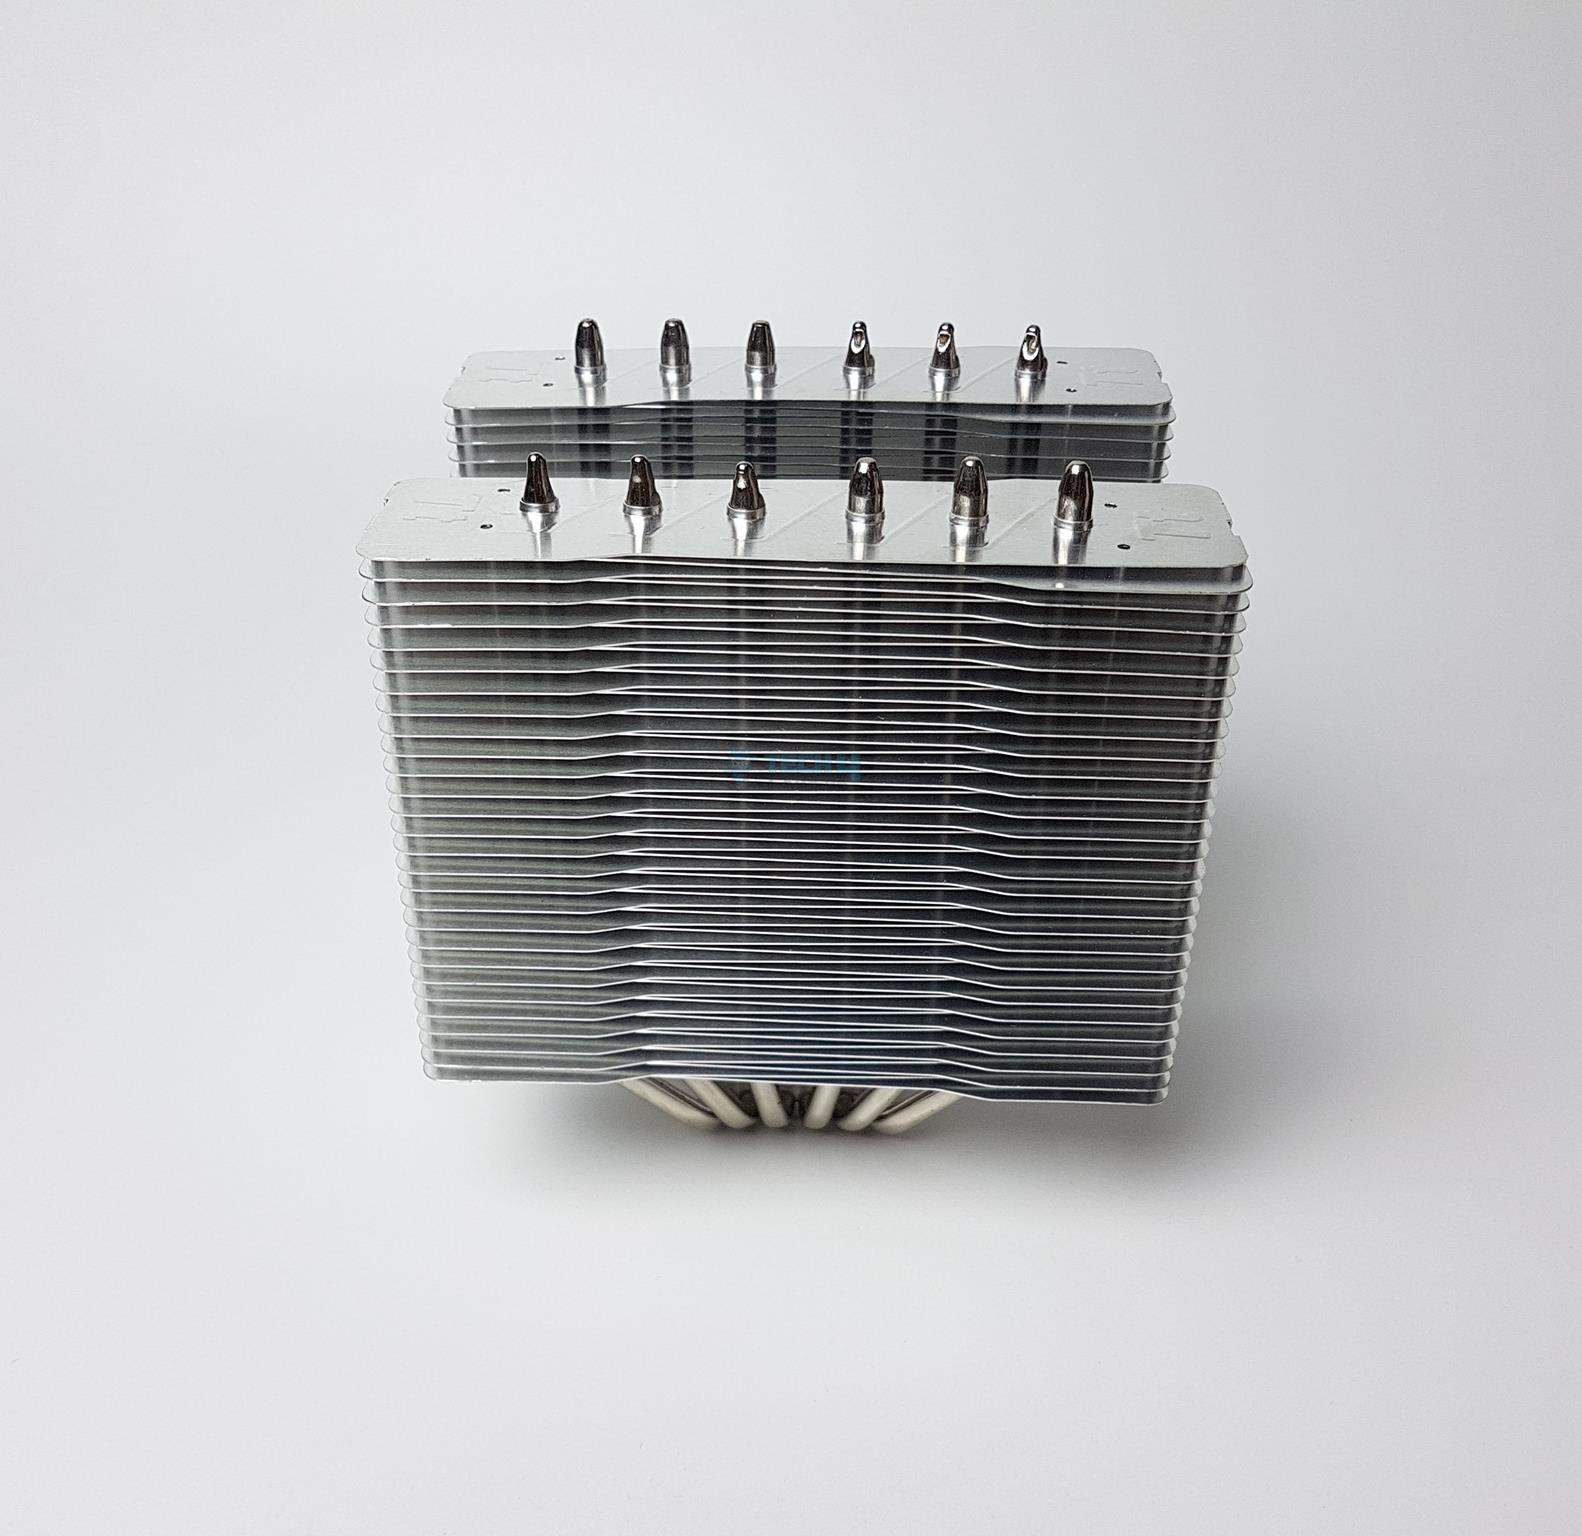
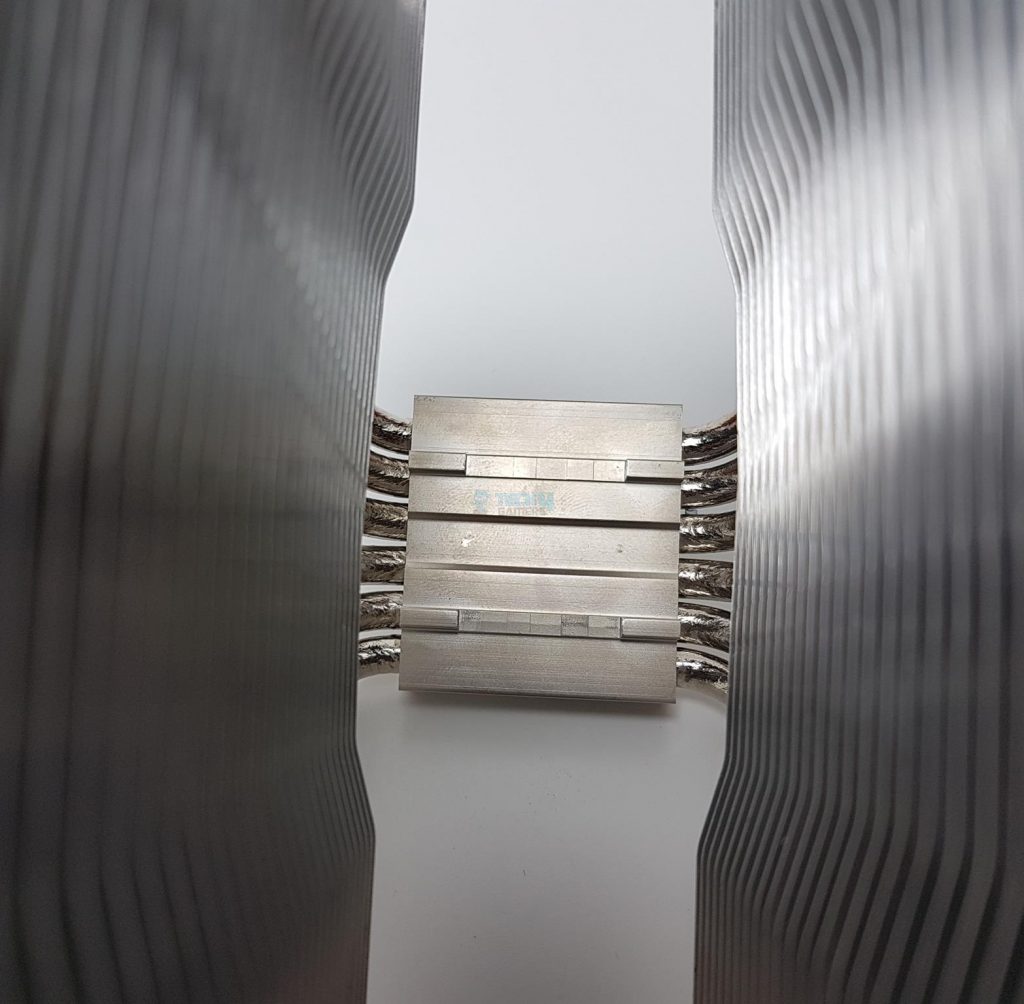
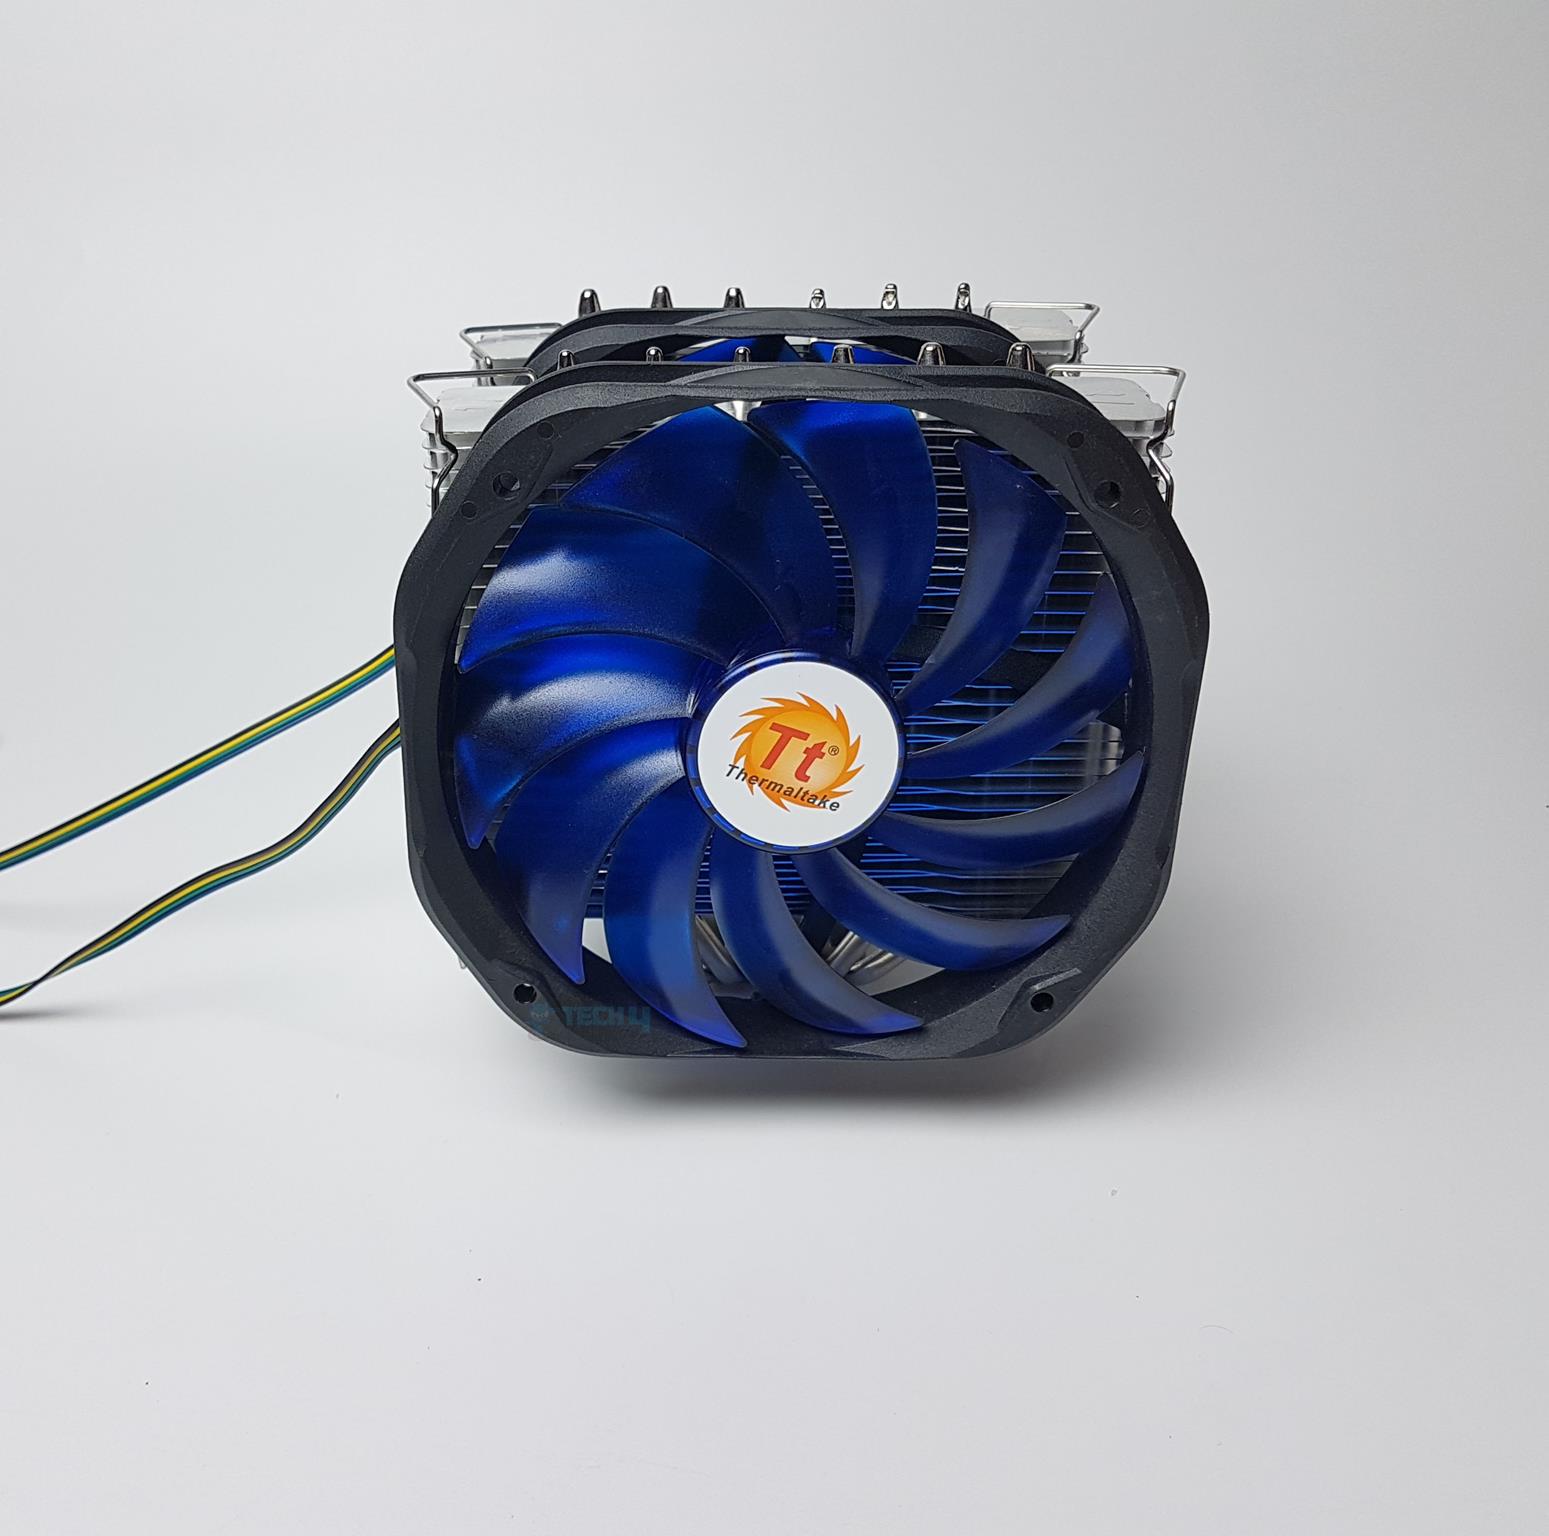
Examining the Thermaltake Frio Extreme from the front reveals a robust heatsink featuring 56 aluminum fins. Each fin, measuring 37mm in width, adopts an intriguing design approach by offsetting 6mm from the one below, resulting in a total stack width of approximately 43mm on both sides. The middle section maintains a 37mm width, creating a subtle inset compared to the borders. Despite the offset arrangement, the fin stack isn’t densely packed.
In the accompanying image, the clear depiction showcases the consistent offset placement of fins on both the left and right sides. Notably, the fins’ outer edges boast rounded finishing, eliminating any sharp edges. Unlike some designs, there are no cutouts on either side to secure the locker of the metal clip, aligning with the distinctive metal clip installation method mentioned earlier.

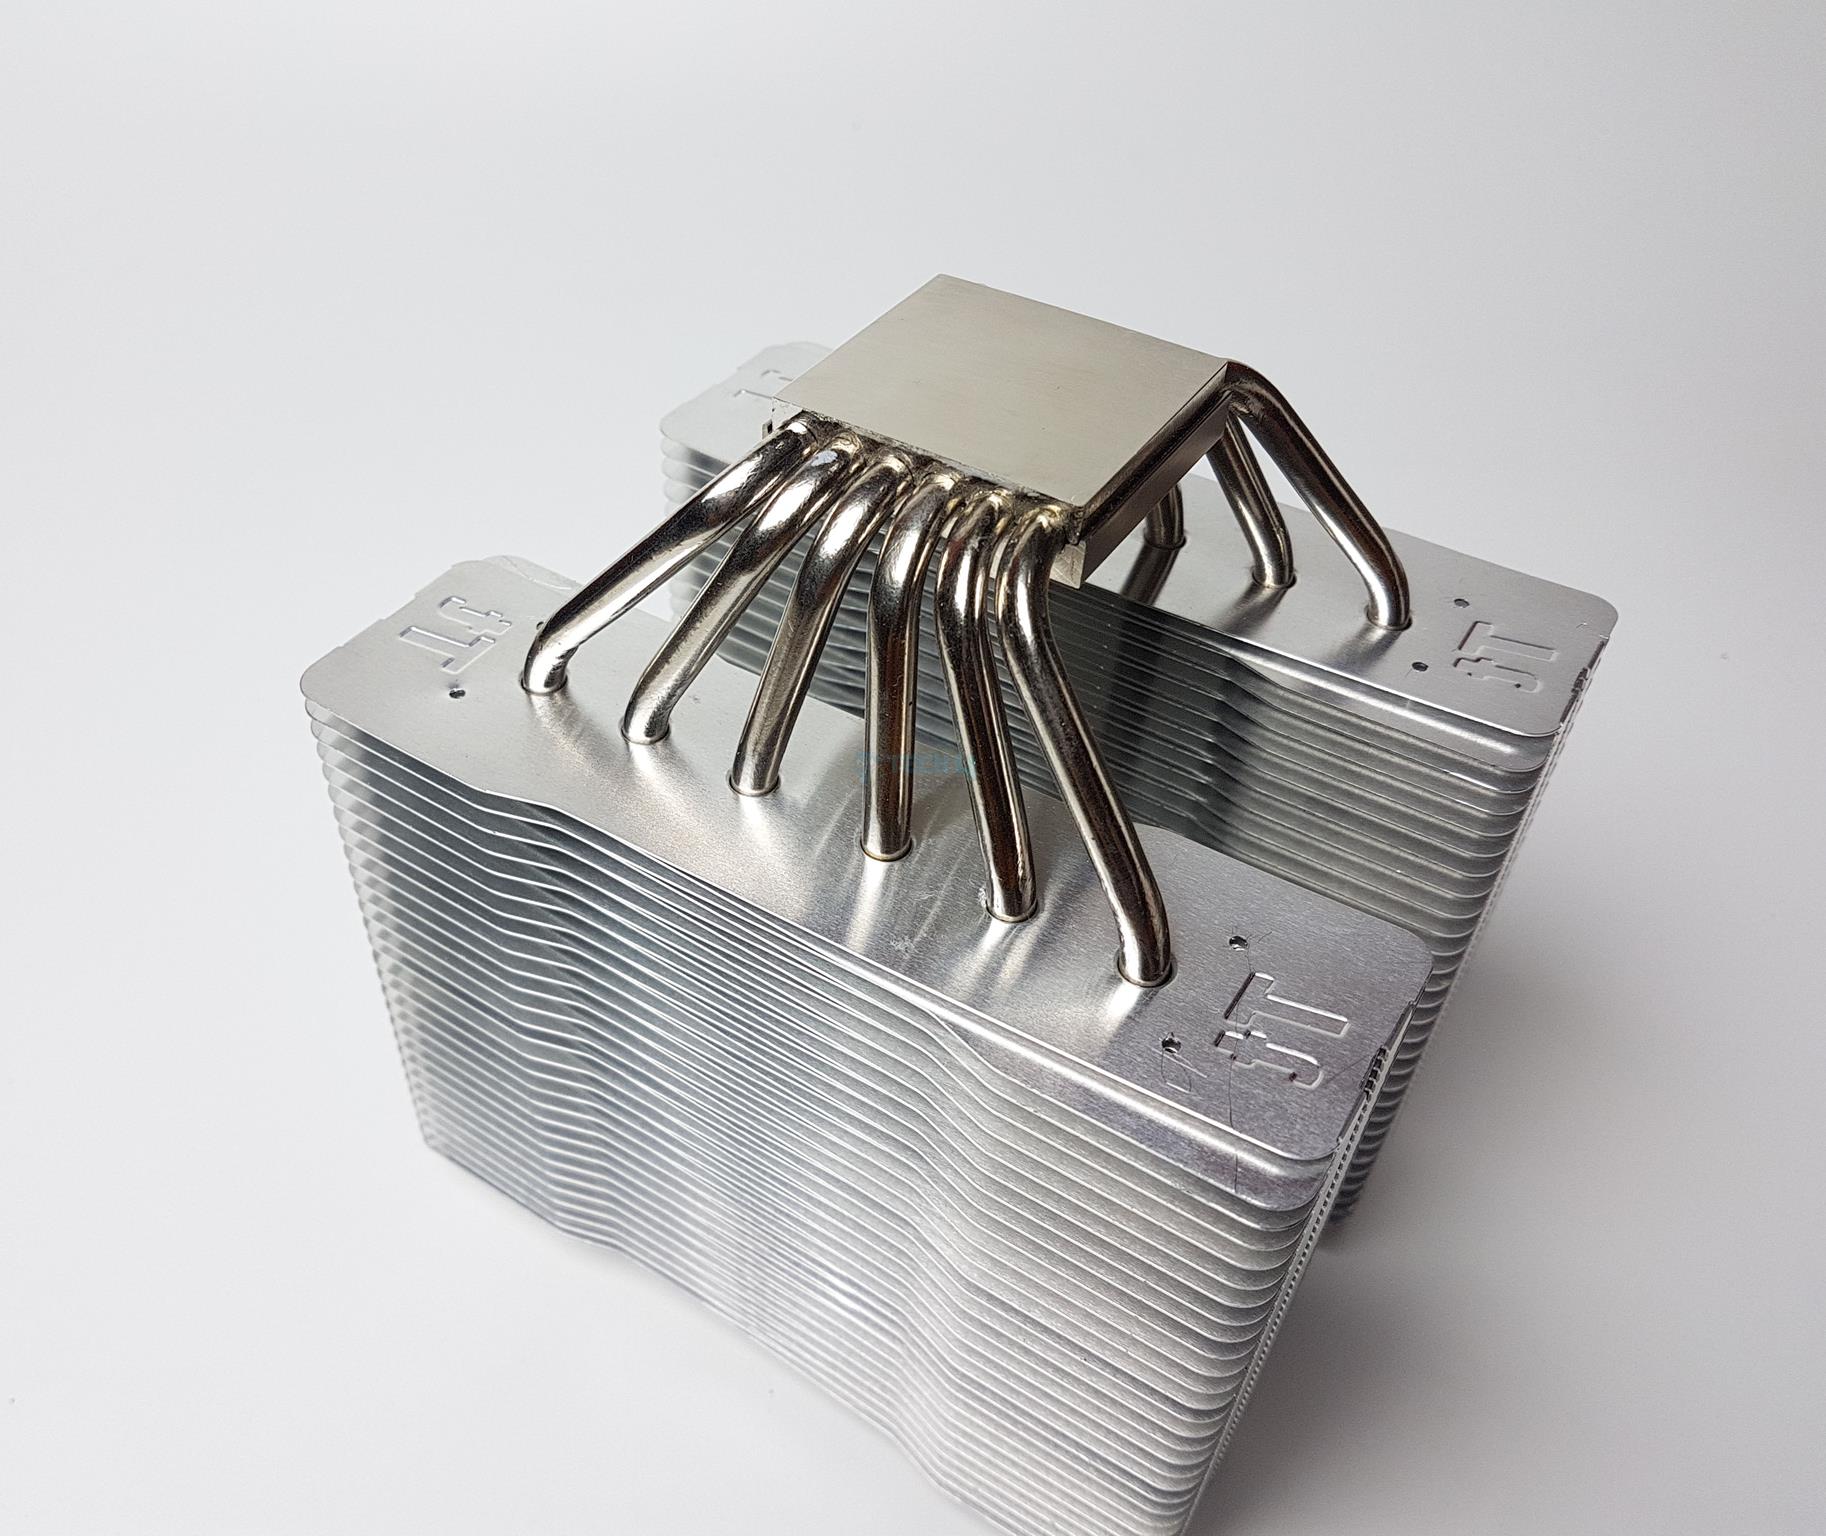
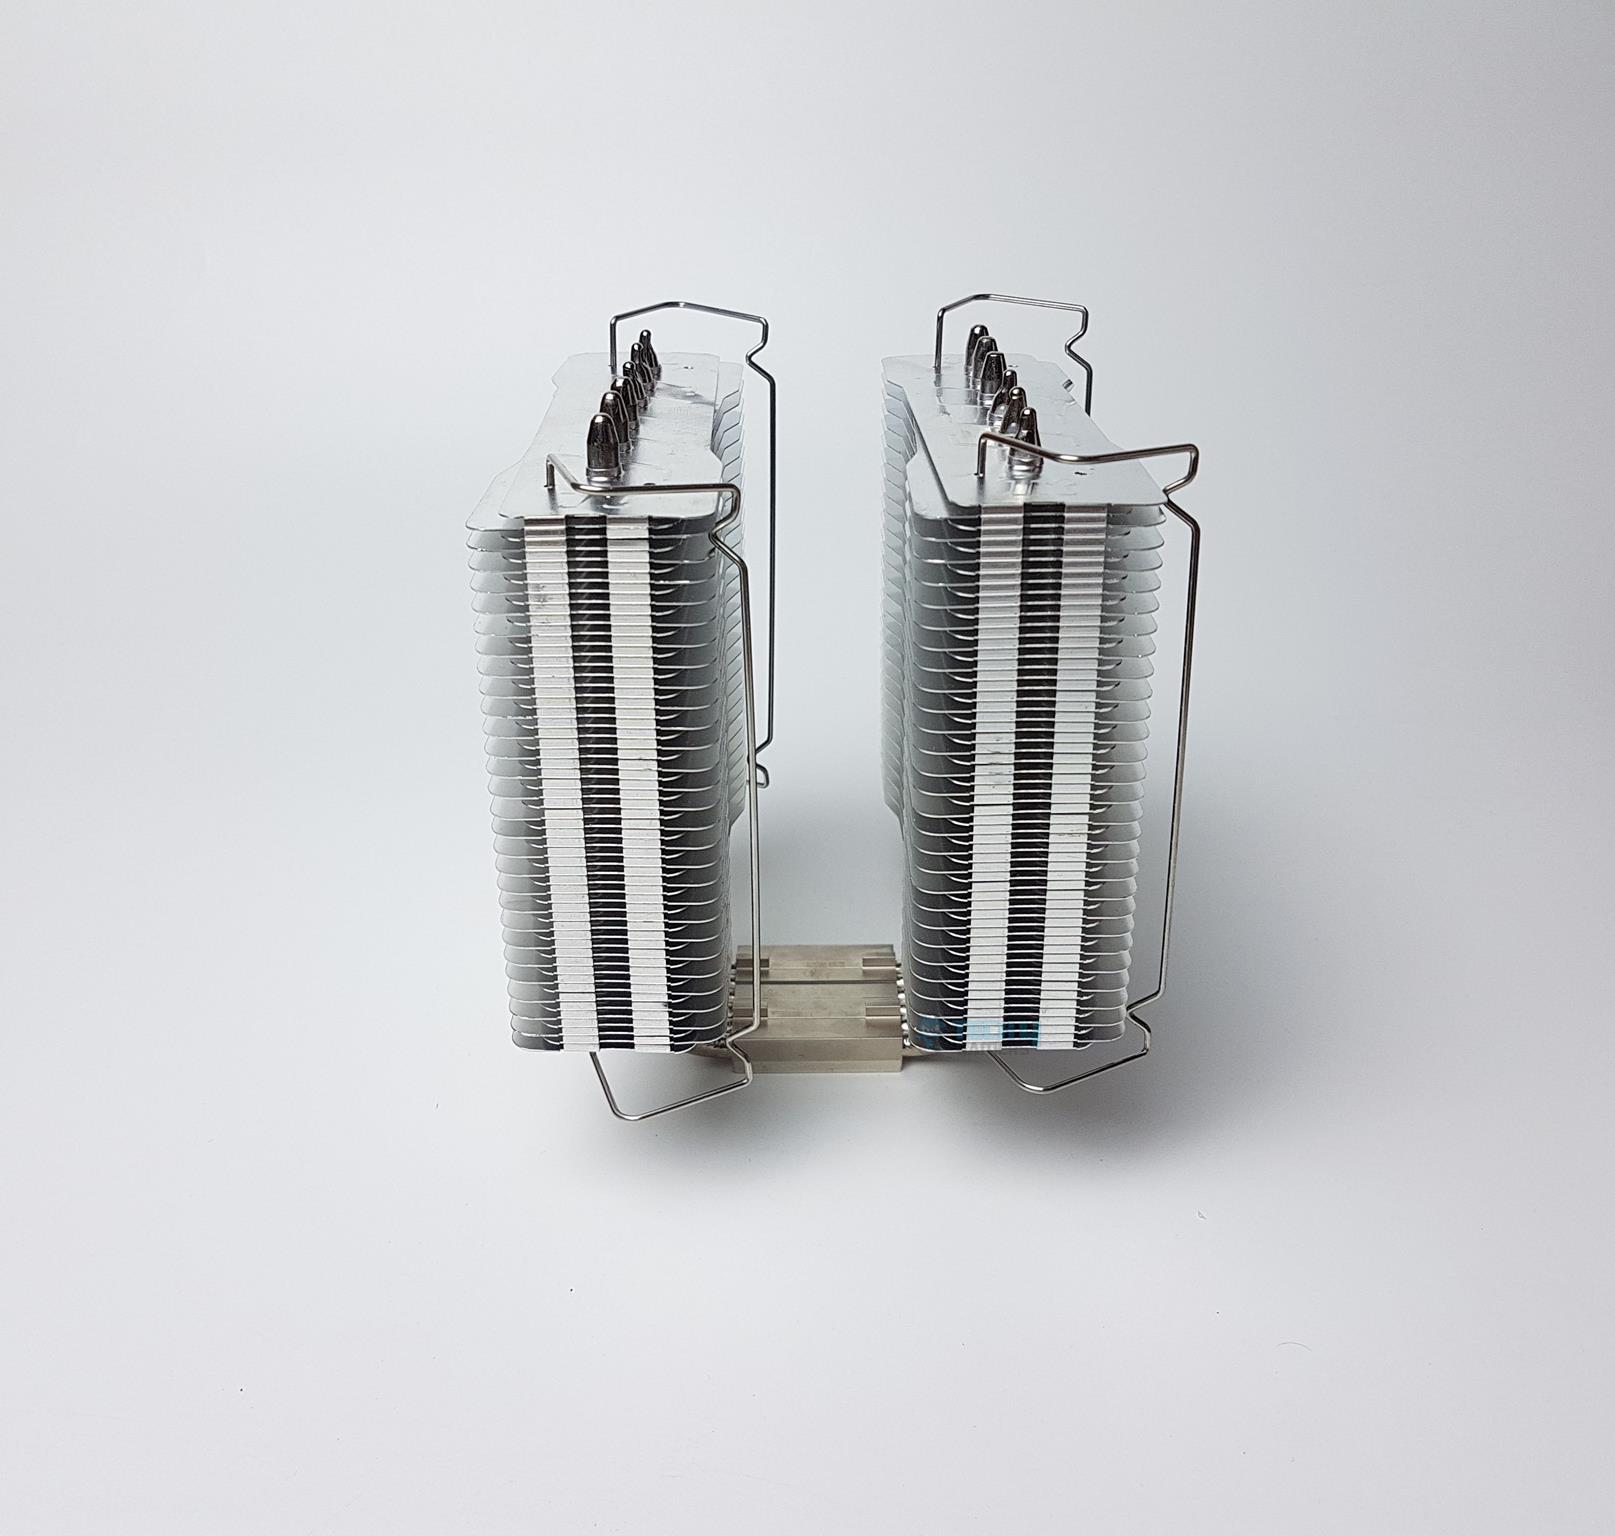
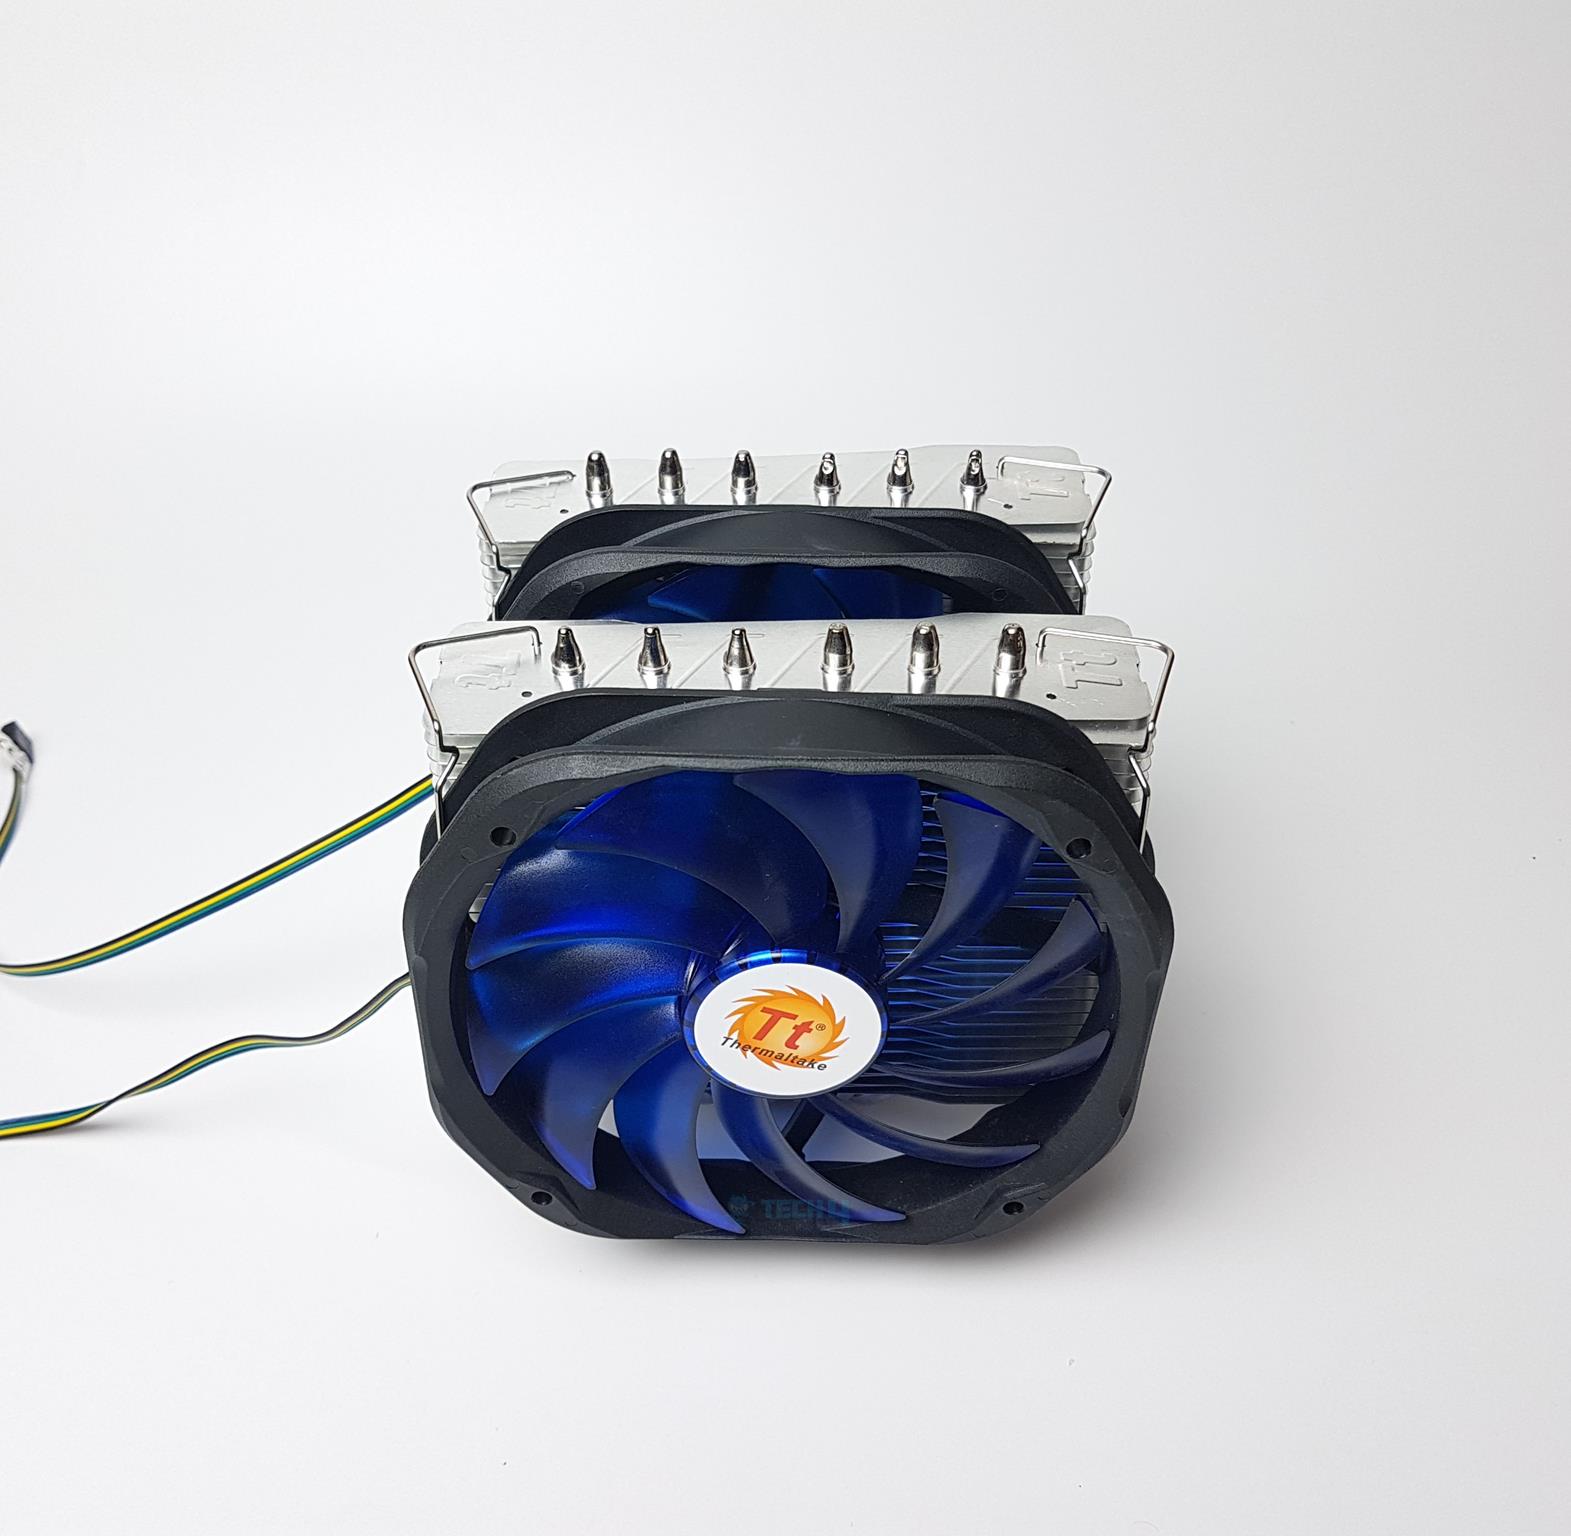
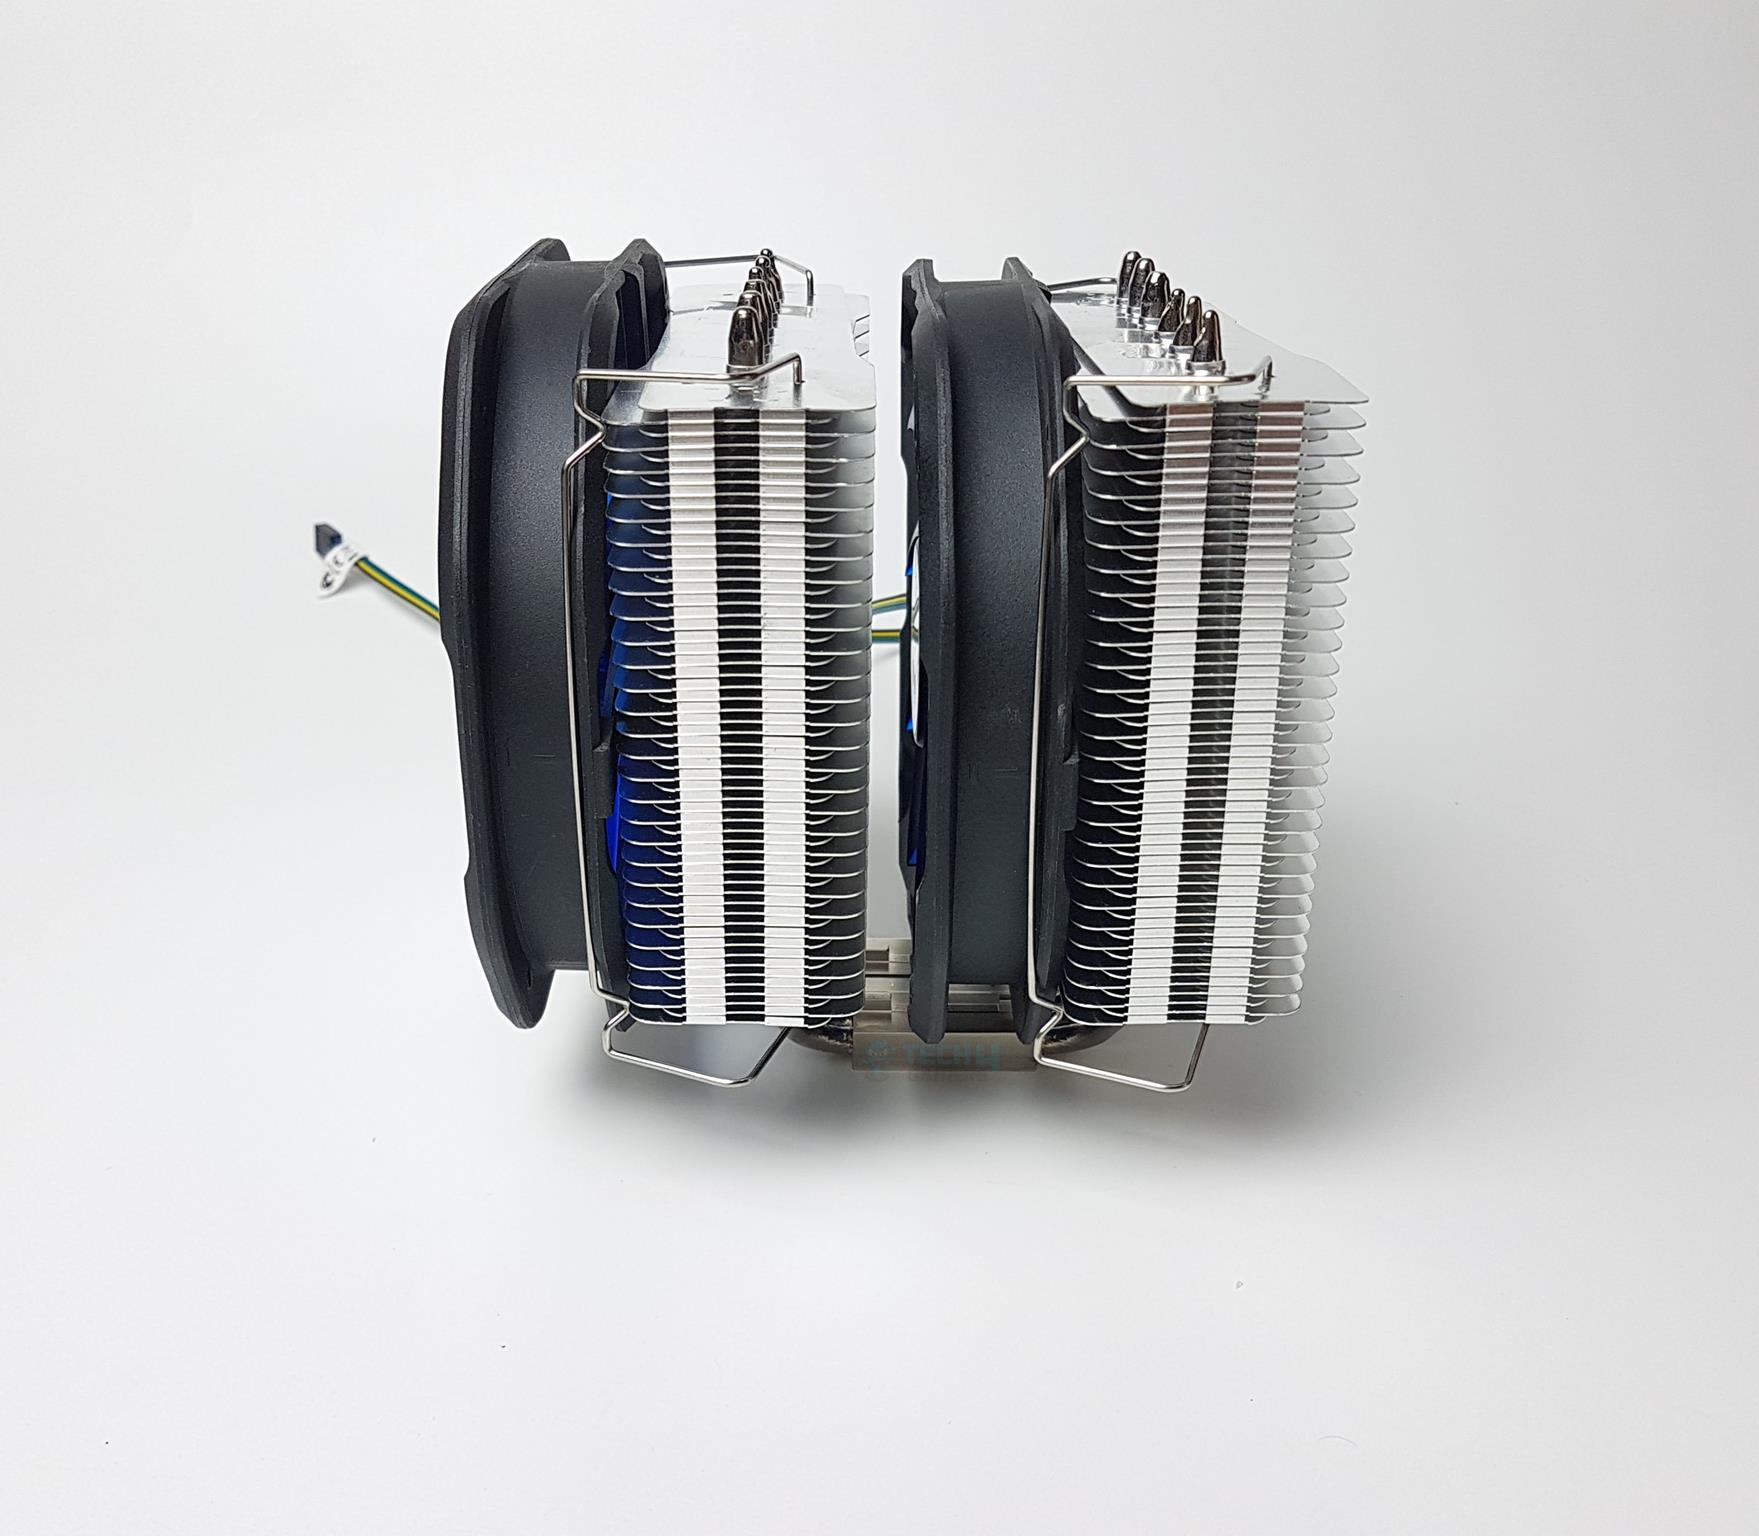
The image above provides a straightforward cross-sectional view of the heatsink, showcasing a well-organized and thoughtful design, including the clear presentation of the offset pattern. In the Thermaltake Frio Extreme review, the cooler incorporates six copper heat pipes, each with a practical 6mm thickness and a nickel coating for durability. These heat pipes are neatly arranged in a linear fashion on the base, forming a simple and effective U-shaped design.
The U-shaped design is more obvious here.
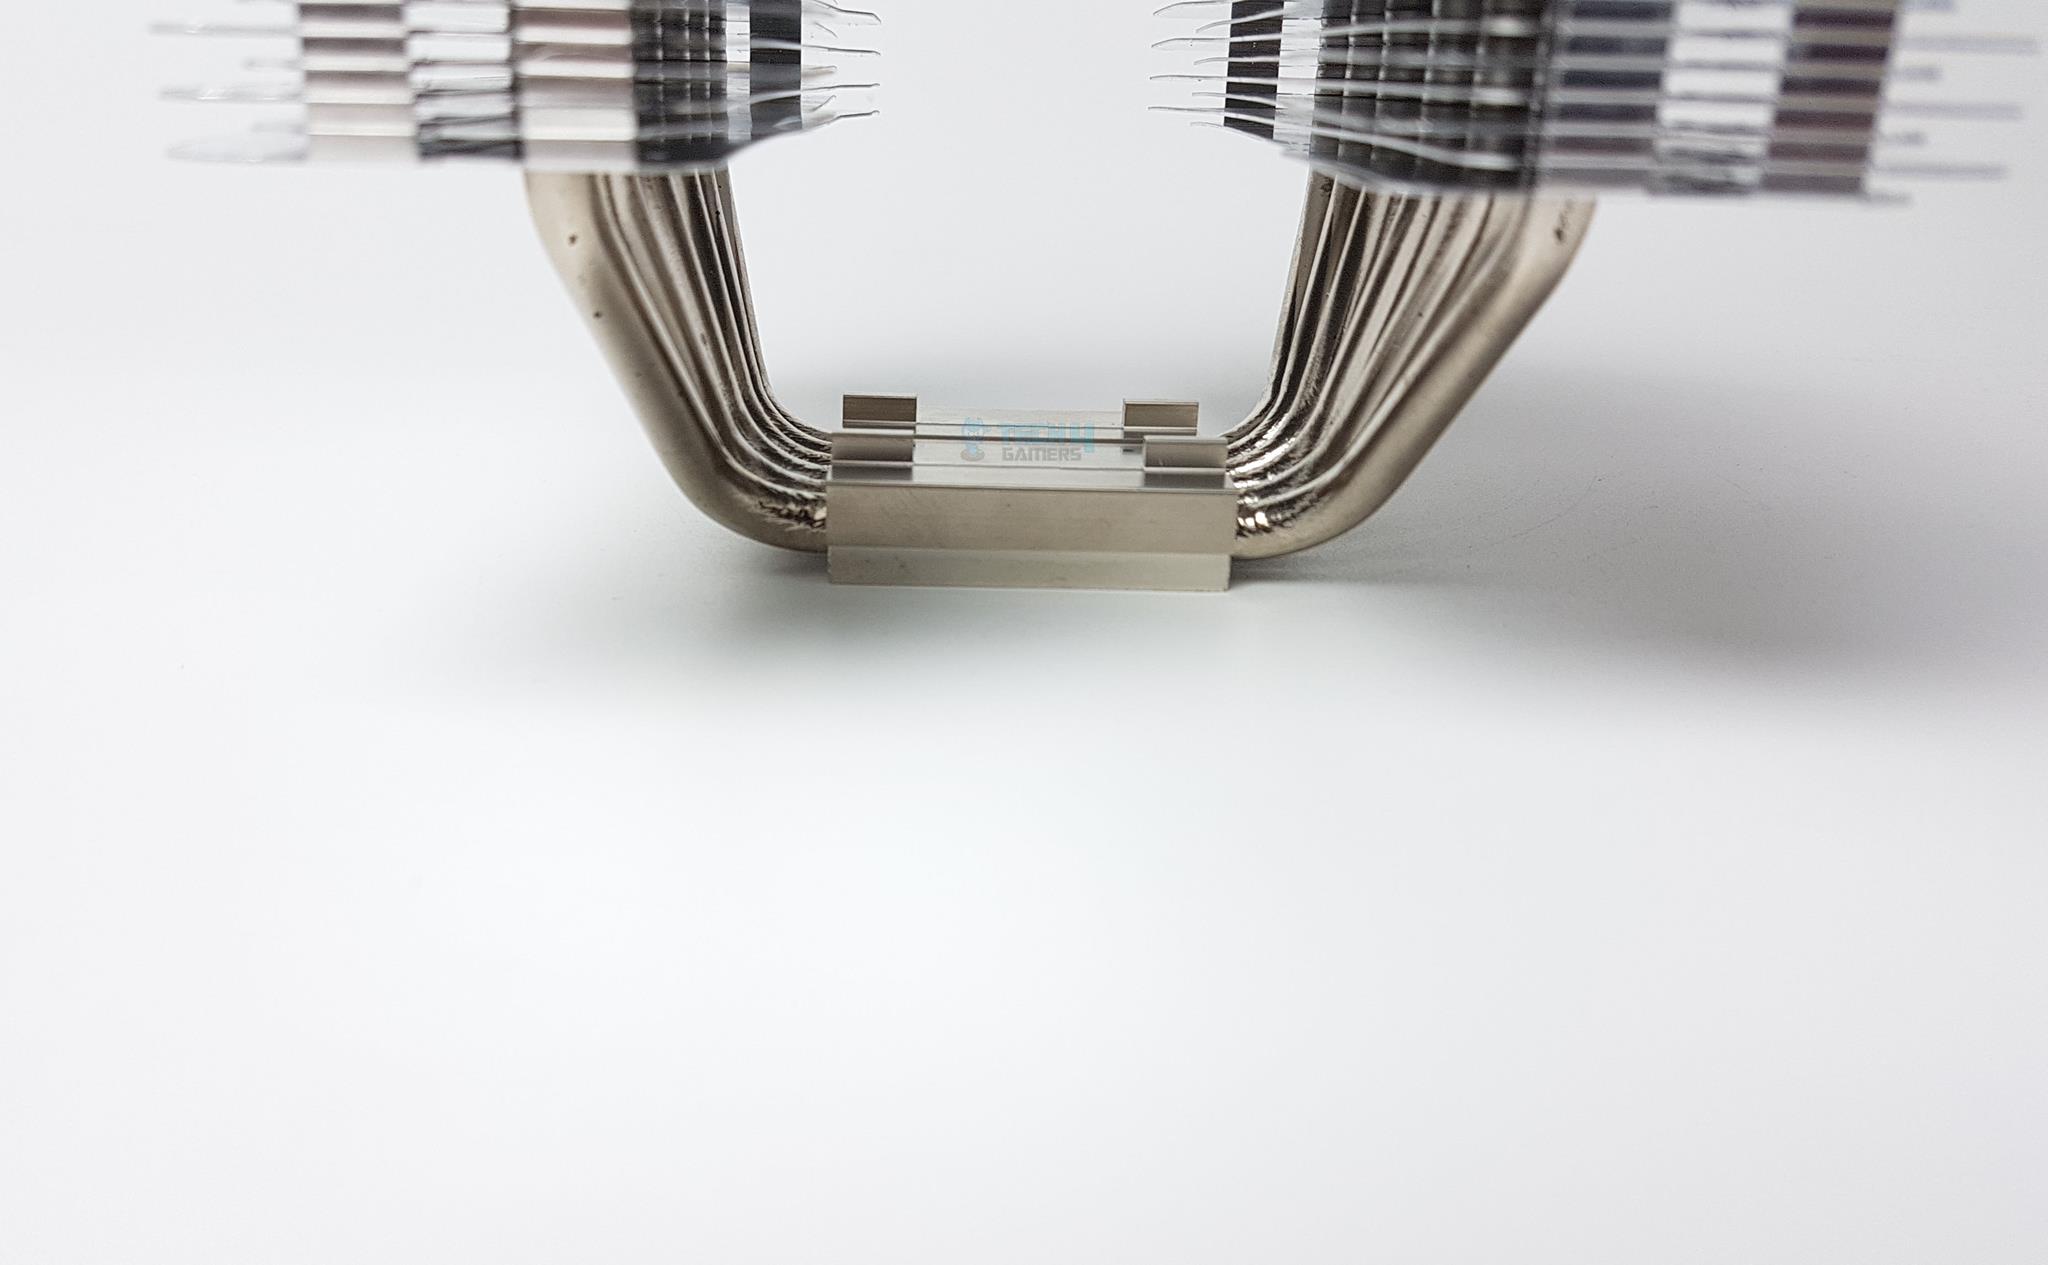
Looking at the base of the cooler, there is a protective transparent cover on the base to avoid scratching and any damage to the surface. The user is required to remove or peel off this transparent cover before the installation. The copper base is in mirror-finishing and measures approximately 39.5×41.5x4mm. The total height of the block is approximately 13mm.
Examining the top of the block reveals four raised surfaces arranged in pairs, with a cutout area between each pair to accommodate the crossbar. The raised surfaces secure the crossbar in place. The fans feature 11 translucent blue blades, centered around a Thermaltake Tt brand logo sticker. The fan frame has a non-squarish shape, and its mounting corners lack anti-vibration pads.
Fans
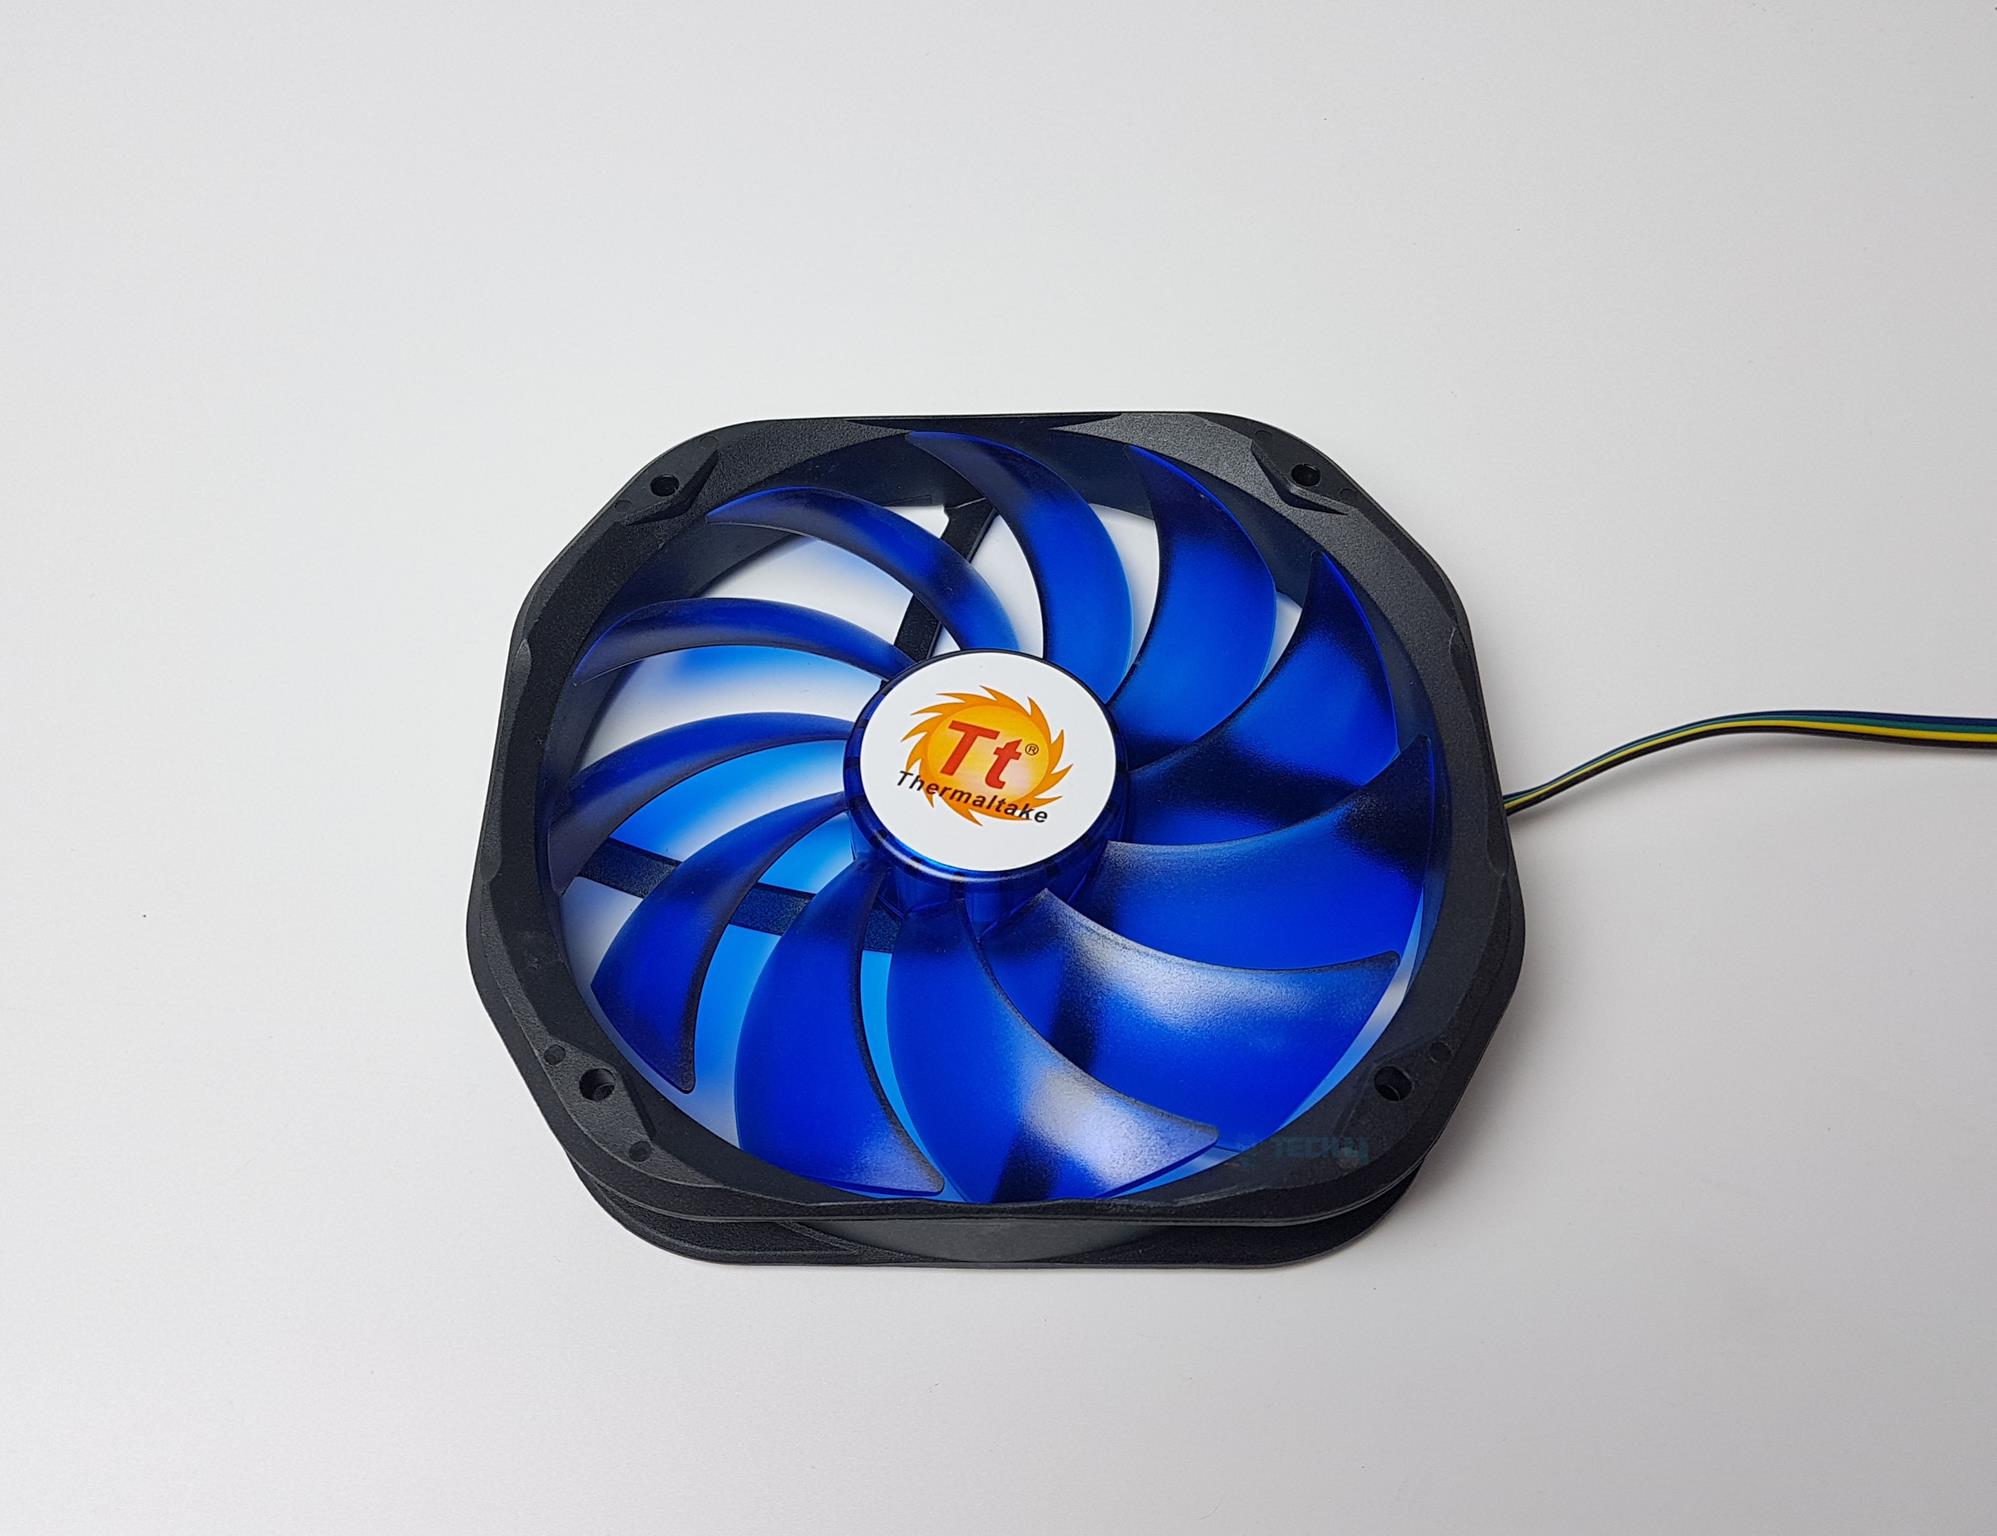
Thermaltake has provided 2x 140mm high airflow fans with this cooler. Here are the specifications:
| Dimension | 140x140x25mm |
| Rated Speed | 1200~1800 RPM |
| Rated Voltage | 12V |
| Rated Current | 0.5A |
| Power Input | 7.2W |
| Air Flow | 106.2 CFM |
| Air Pressure | 2.34 mmH₂O |
| Noise | 18~38 dB(A) |
| Fan Life Time | 100,000 hours |
| Power Interface | 4-Pin PWM |
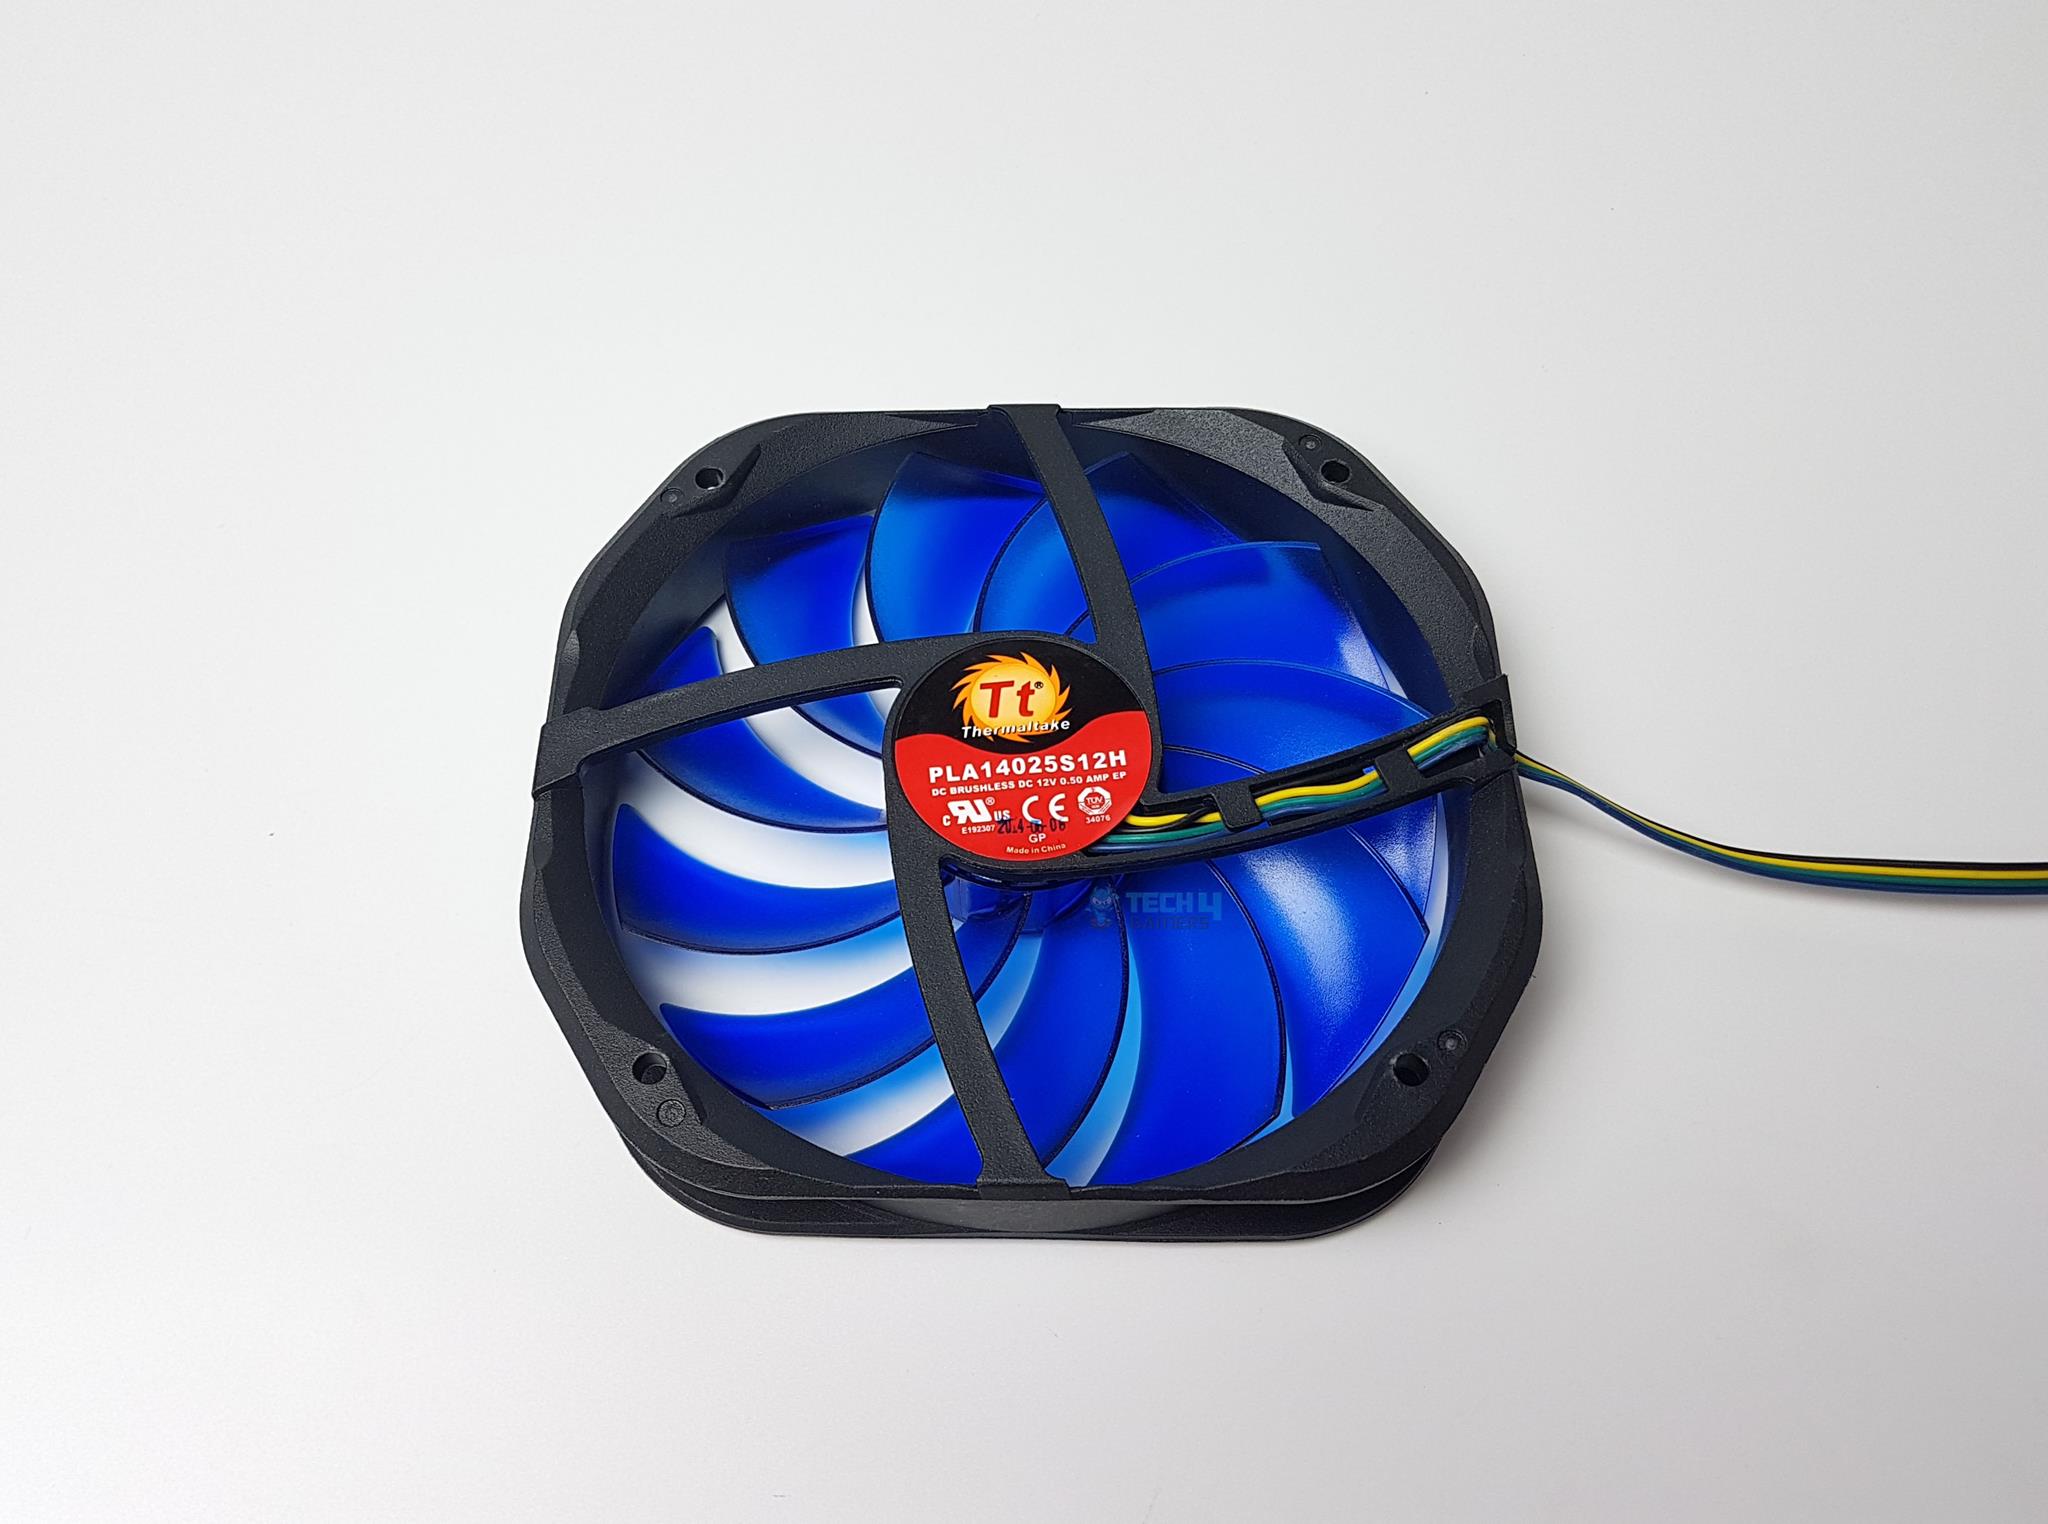
The fan’s model is PLA14025S12H and it is made in China. There is a 4-arm assembly on the backside which is holding the fan motor and blades onto the frame.
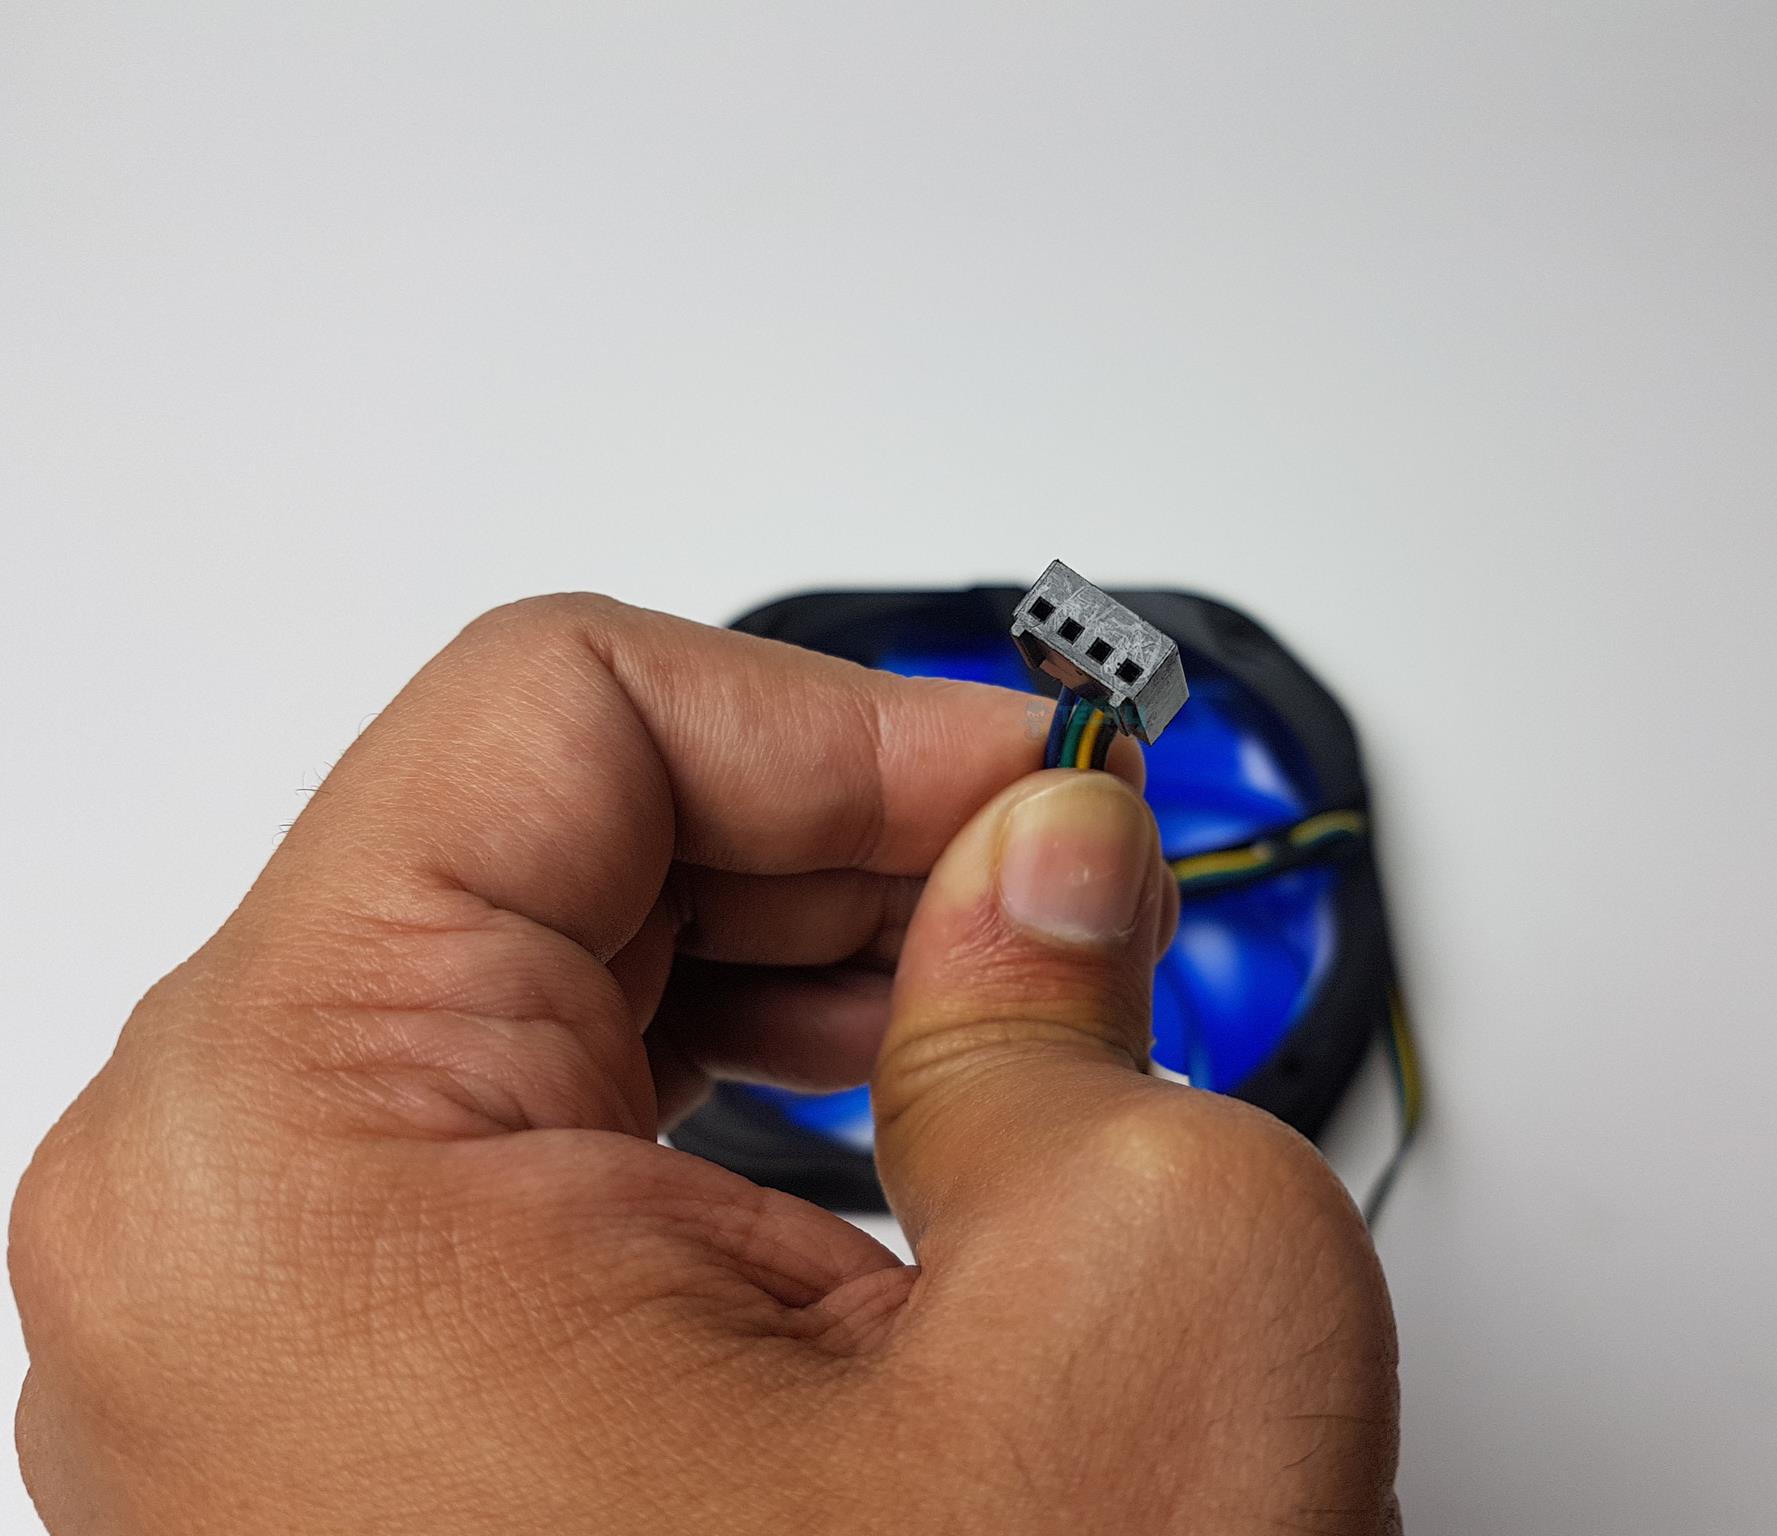
Both fans have a 4-pin PWM black color connector. The length of the power cable is approximately 320mm.

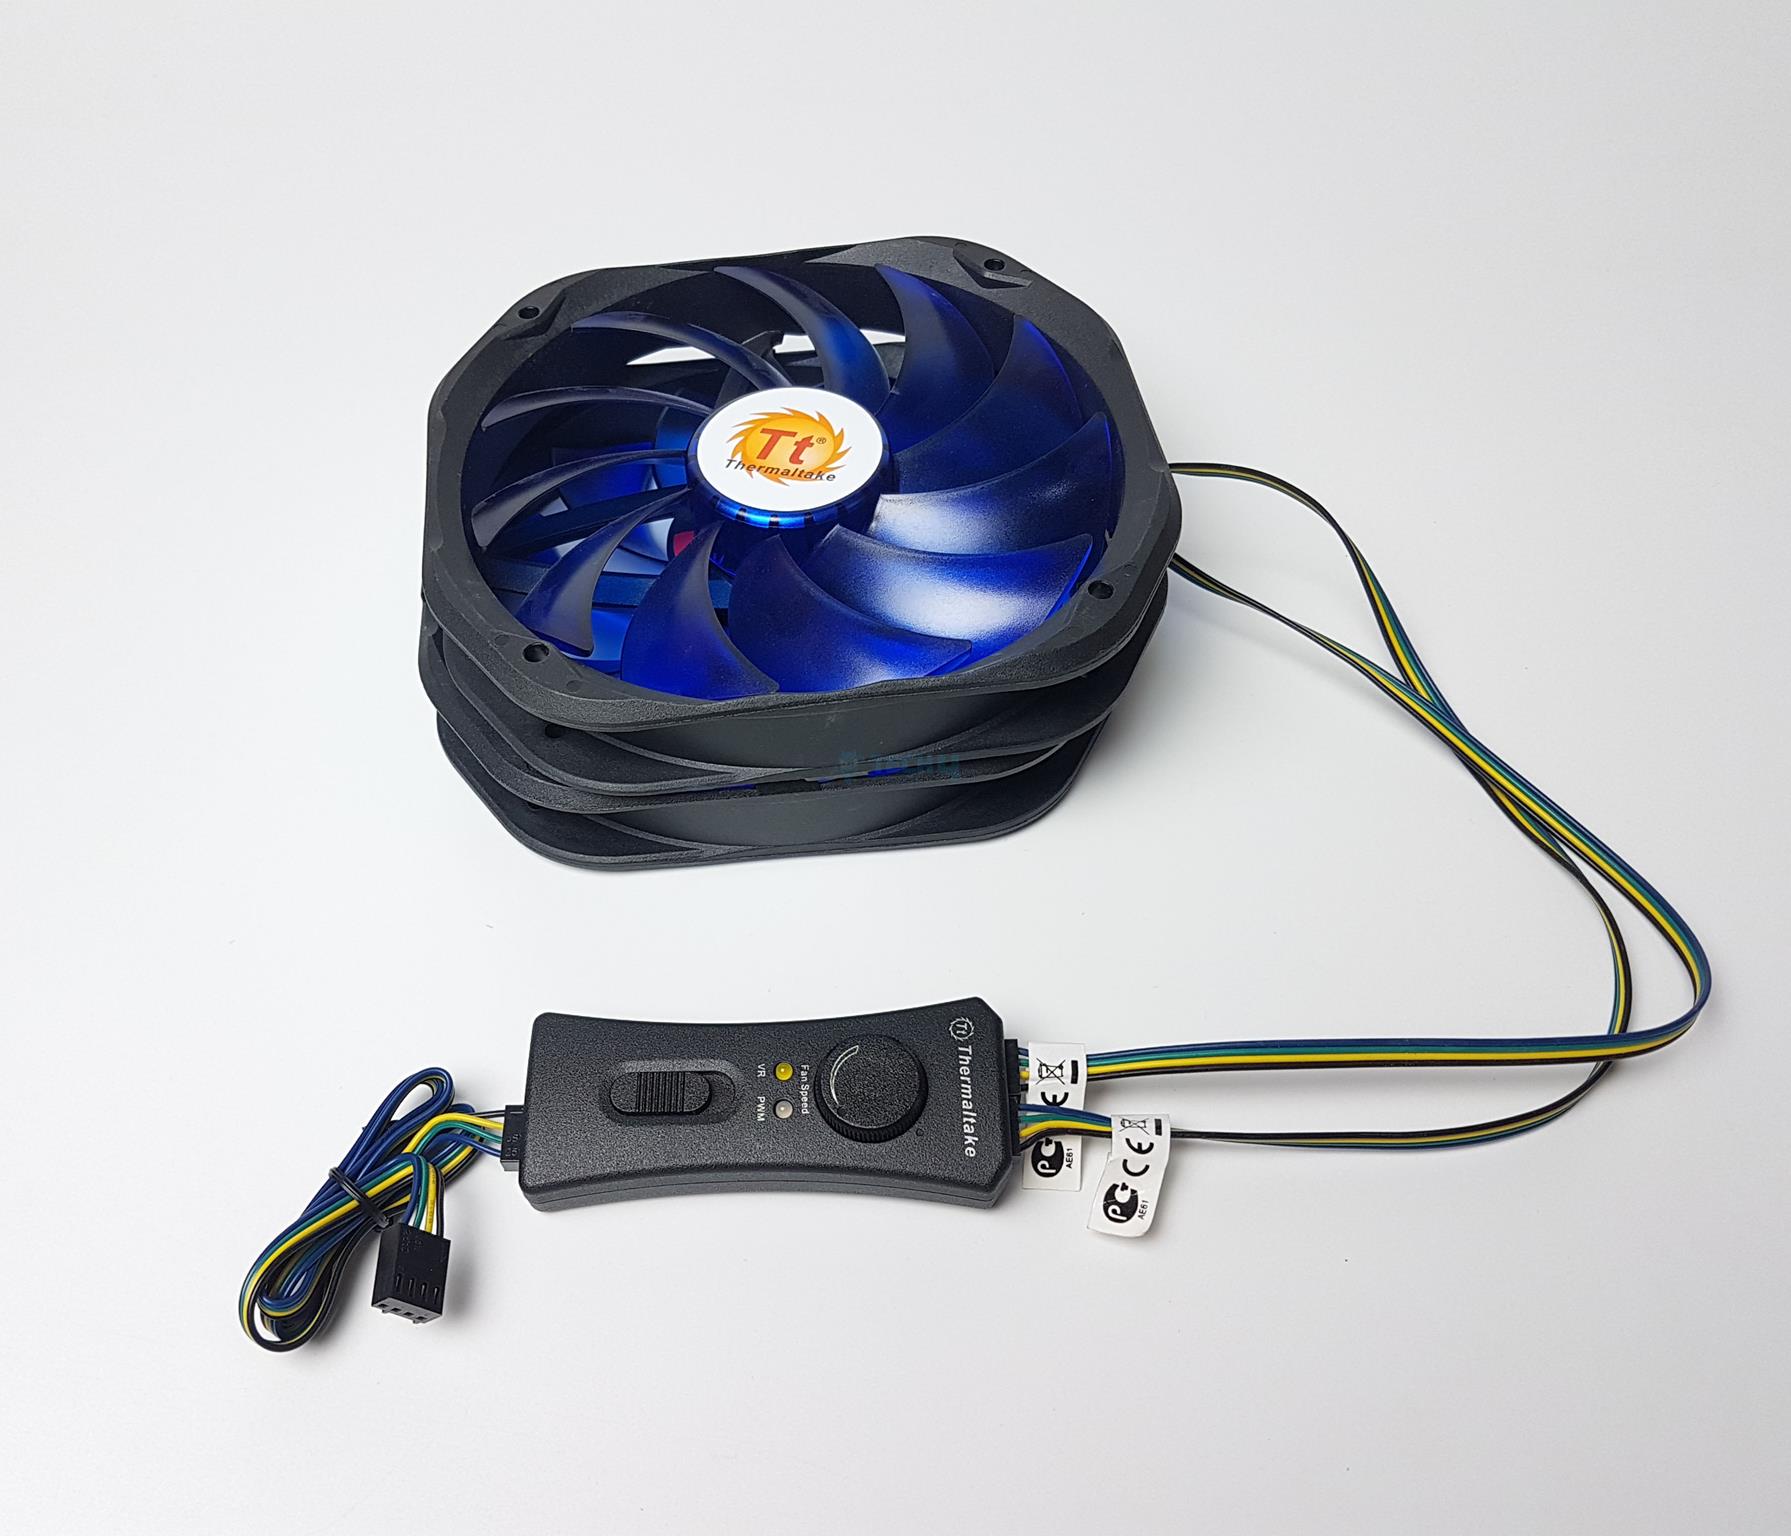
Thermaltake has provided a dedicated fan controller in the cooler. This controller does not use any external power source (SATA/MOLEX). There is a VR knob on the top which can be used to regulate the speed of the fans. There are two LEDs below the knob. The VR LED is in yellow and the PWM LED is in white. There is a slider at the bottom which is used to switch between the mode.
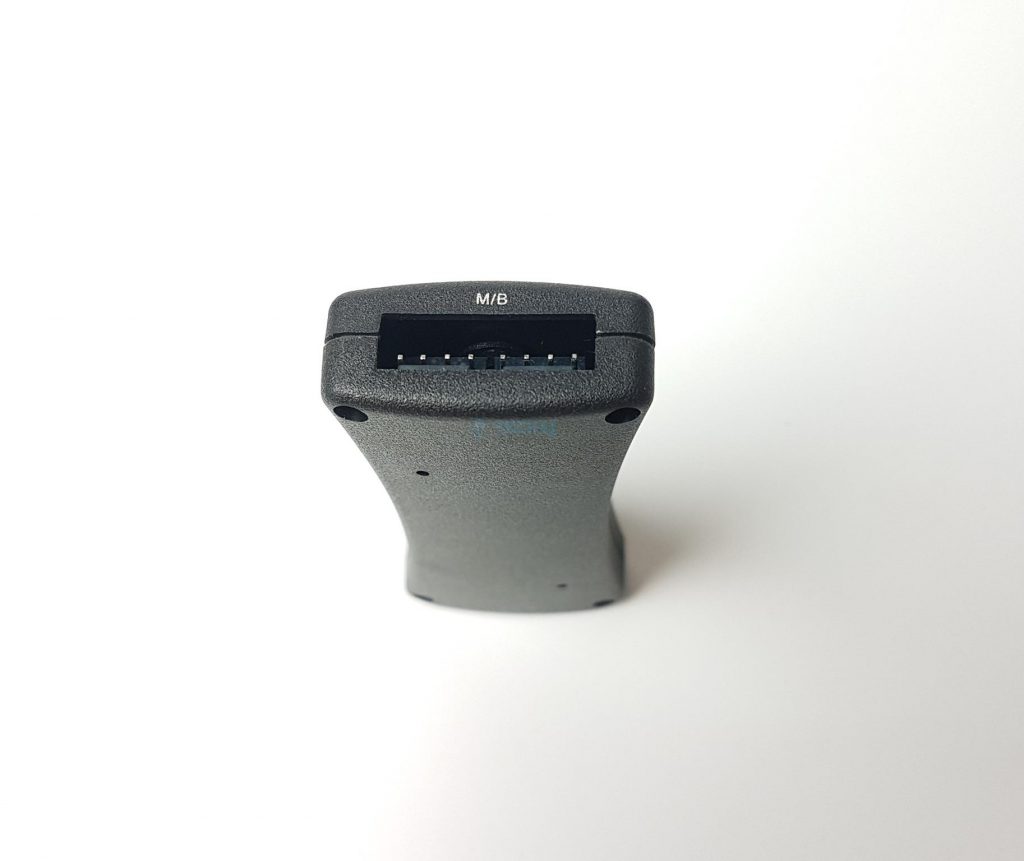
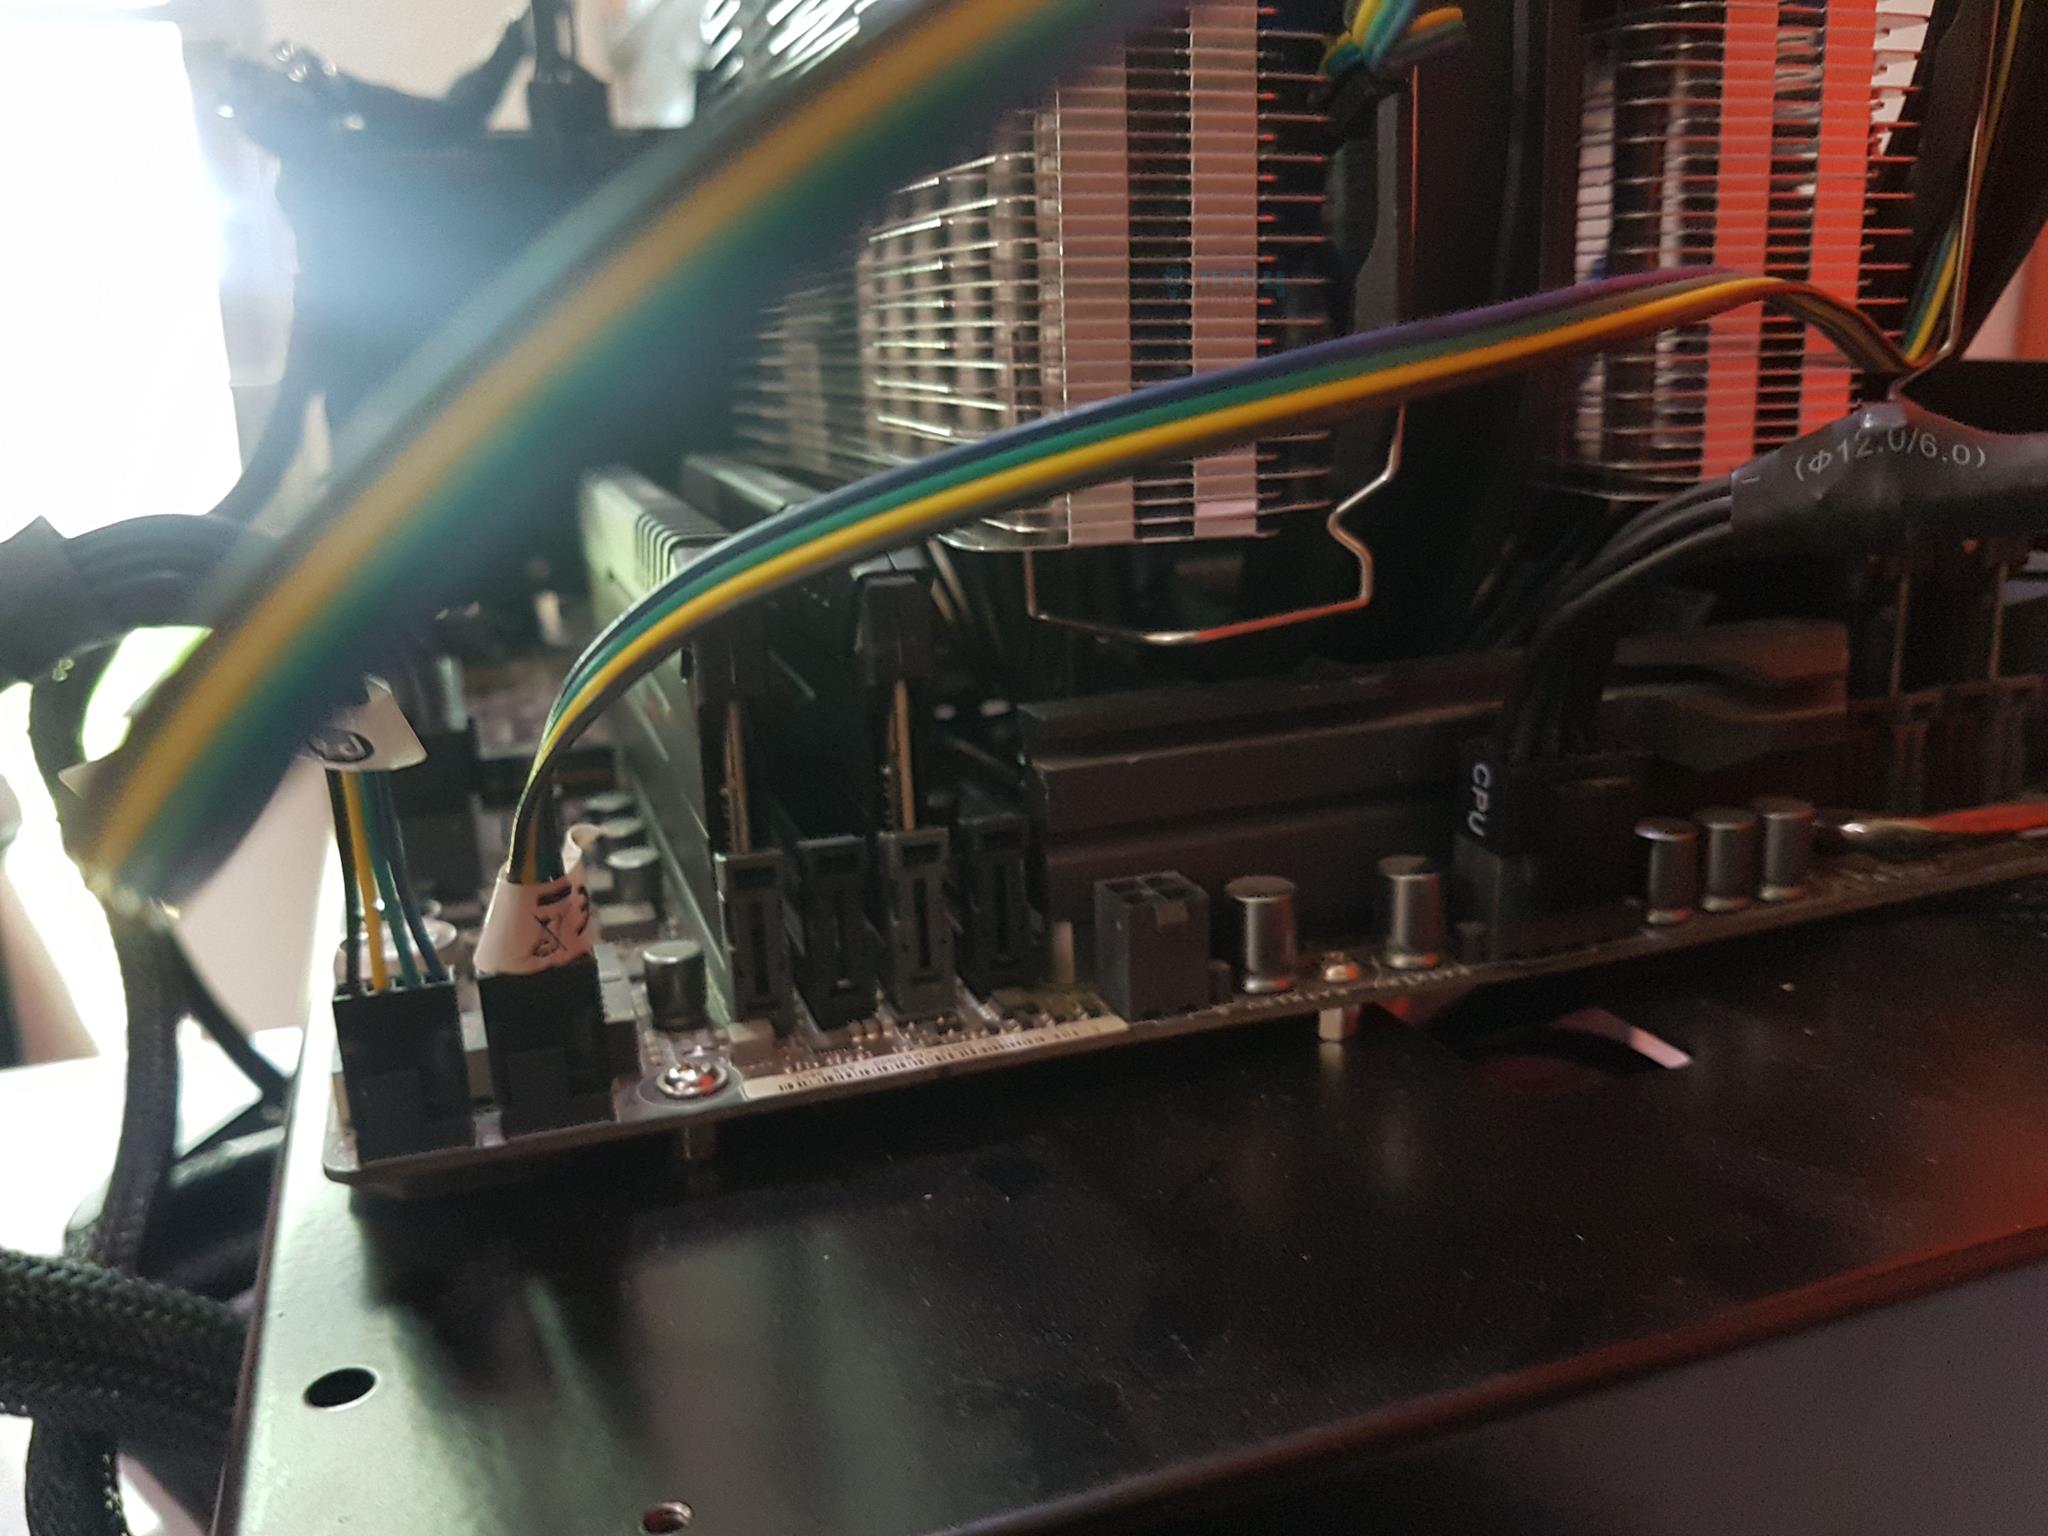
M/B stands for the motherboard. One end of the bundled PWM cable is connected to either of the headers of the controller and the other end is connected to the CPU fan header on the motherboard. Both fans are connected to this end of the controller.
I did not use the controller as both fans were connected to the CPU and CPU_OPT fan headers of the motherboard.
Installation
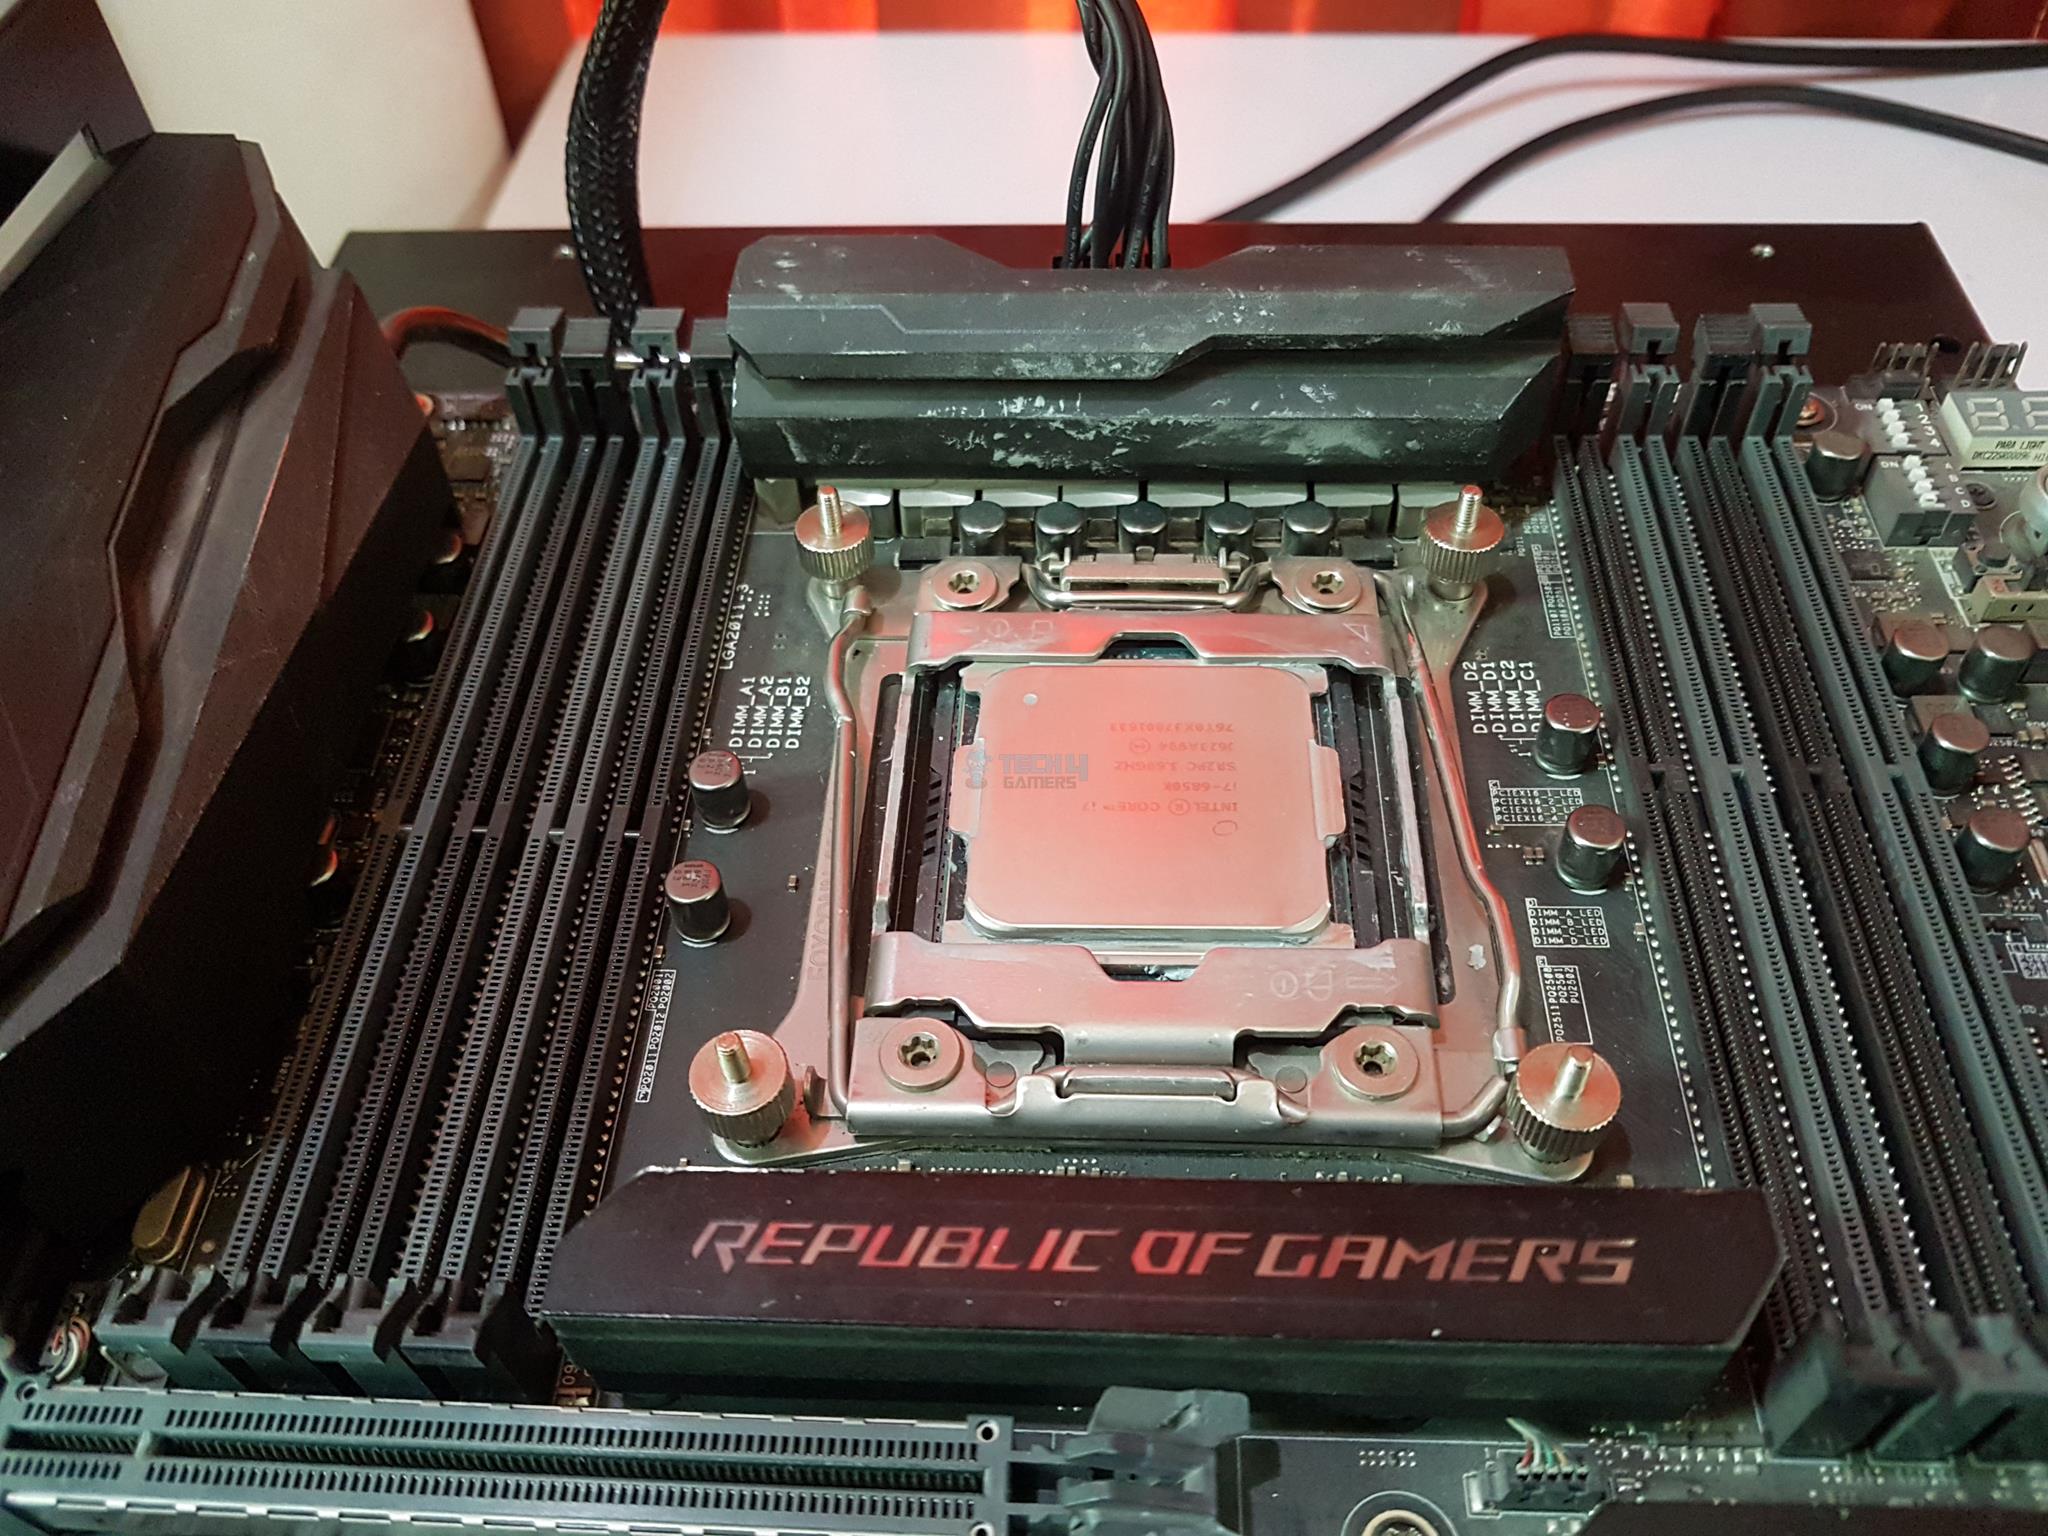
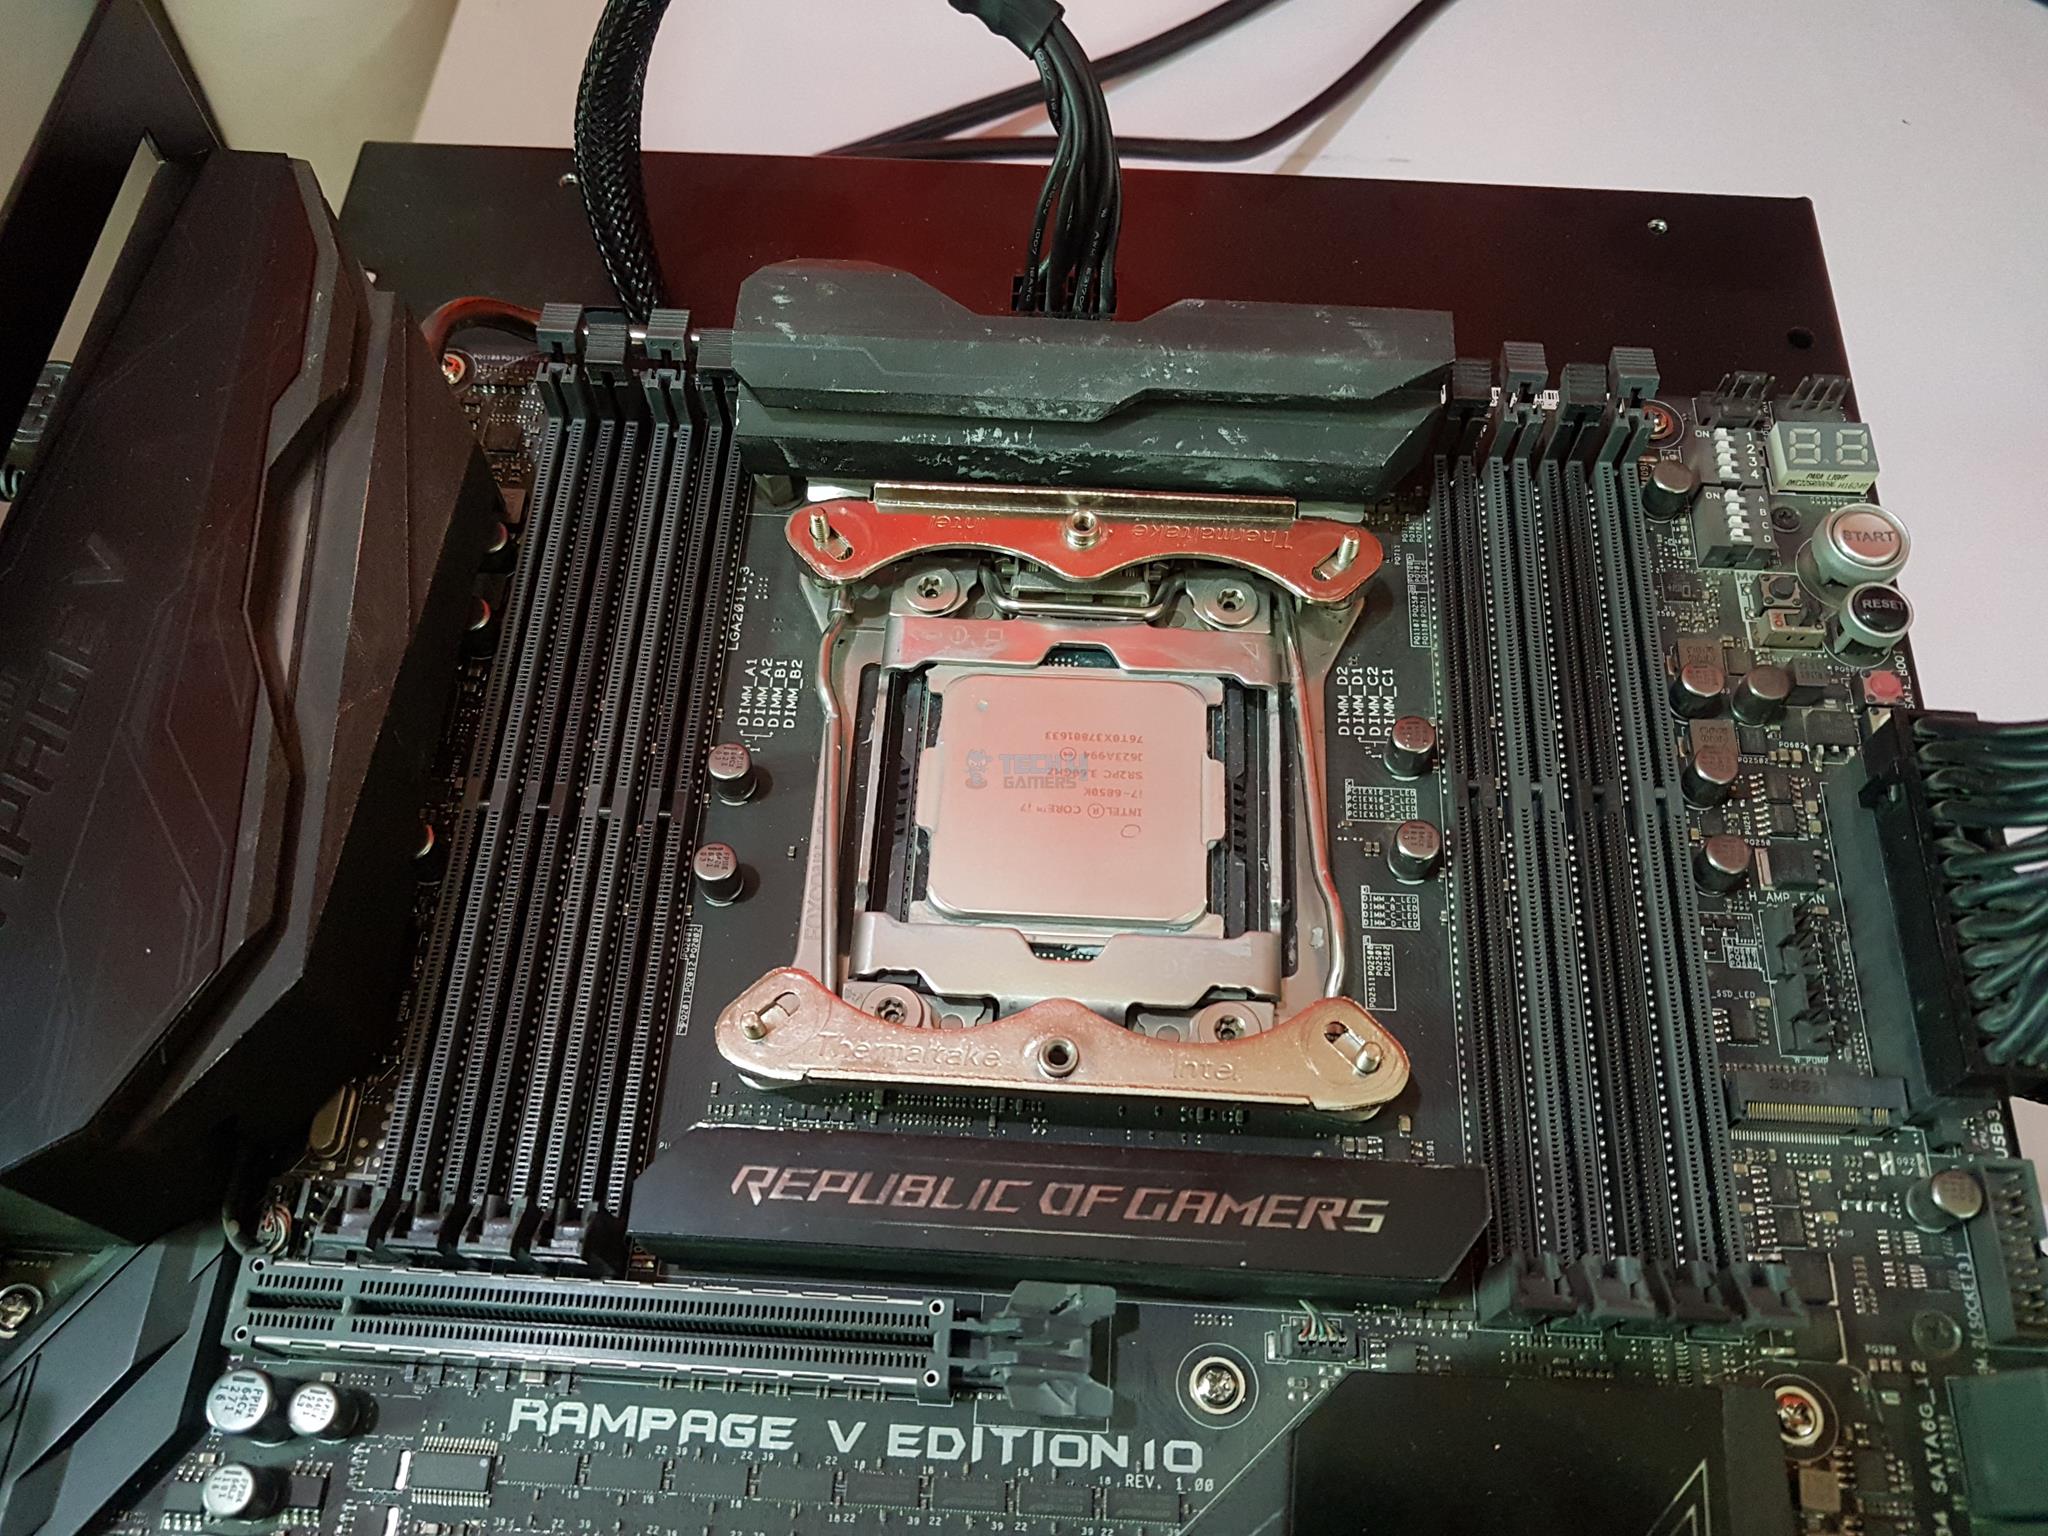
I have tested the cooler on the Intel LGA-2011(3) socket on the X99 platform. Here are the installation steps on this socket.
- Install the LGA-20xx standoffs.
- Place the Intel mounting brackets with their pointy edges facing the socket. Make sure that the standoff side faces up.
- Use thumb nuts to secure the mounting brackets. Apply the thermal paste and peel off the safety sticker from the base of the heatsink. Install the fan metal clips on the heatsink.
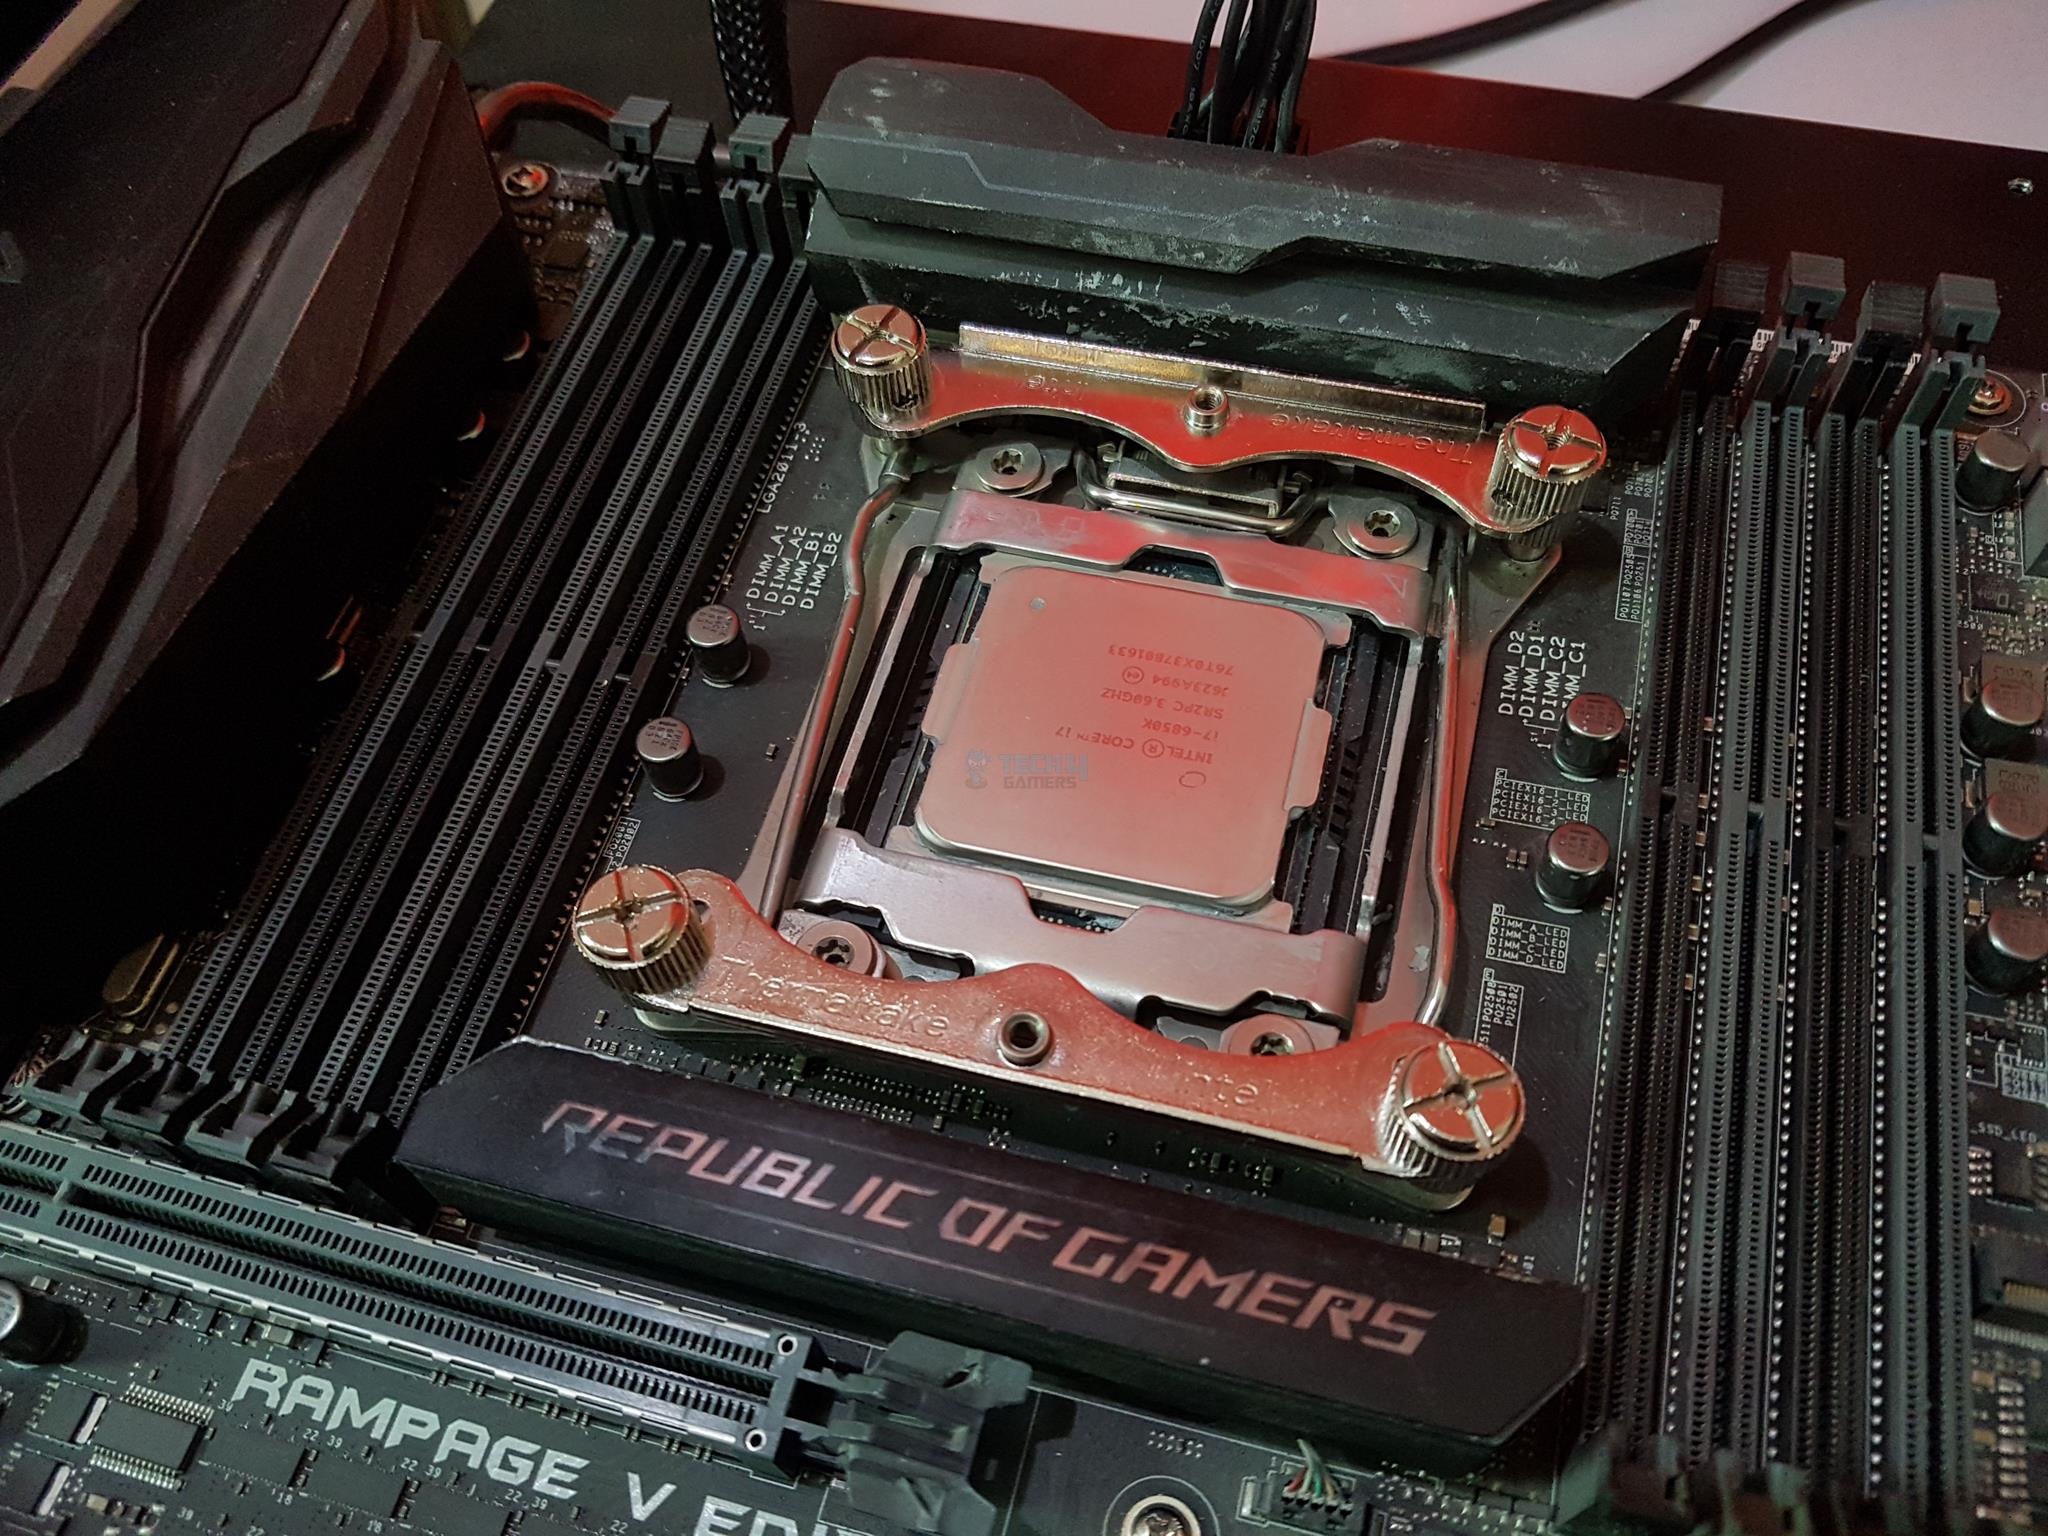
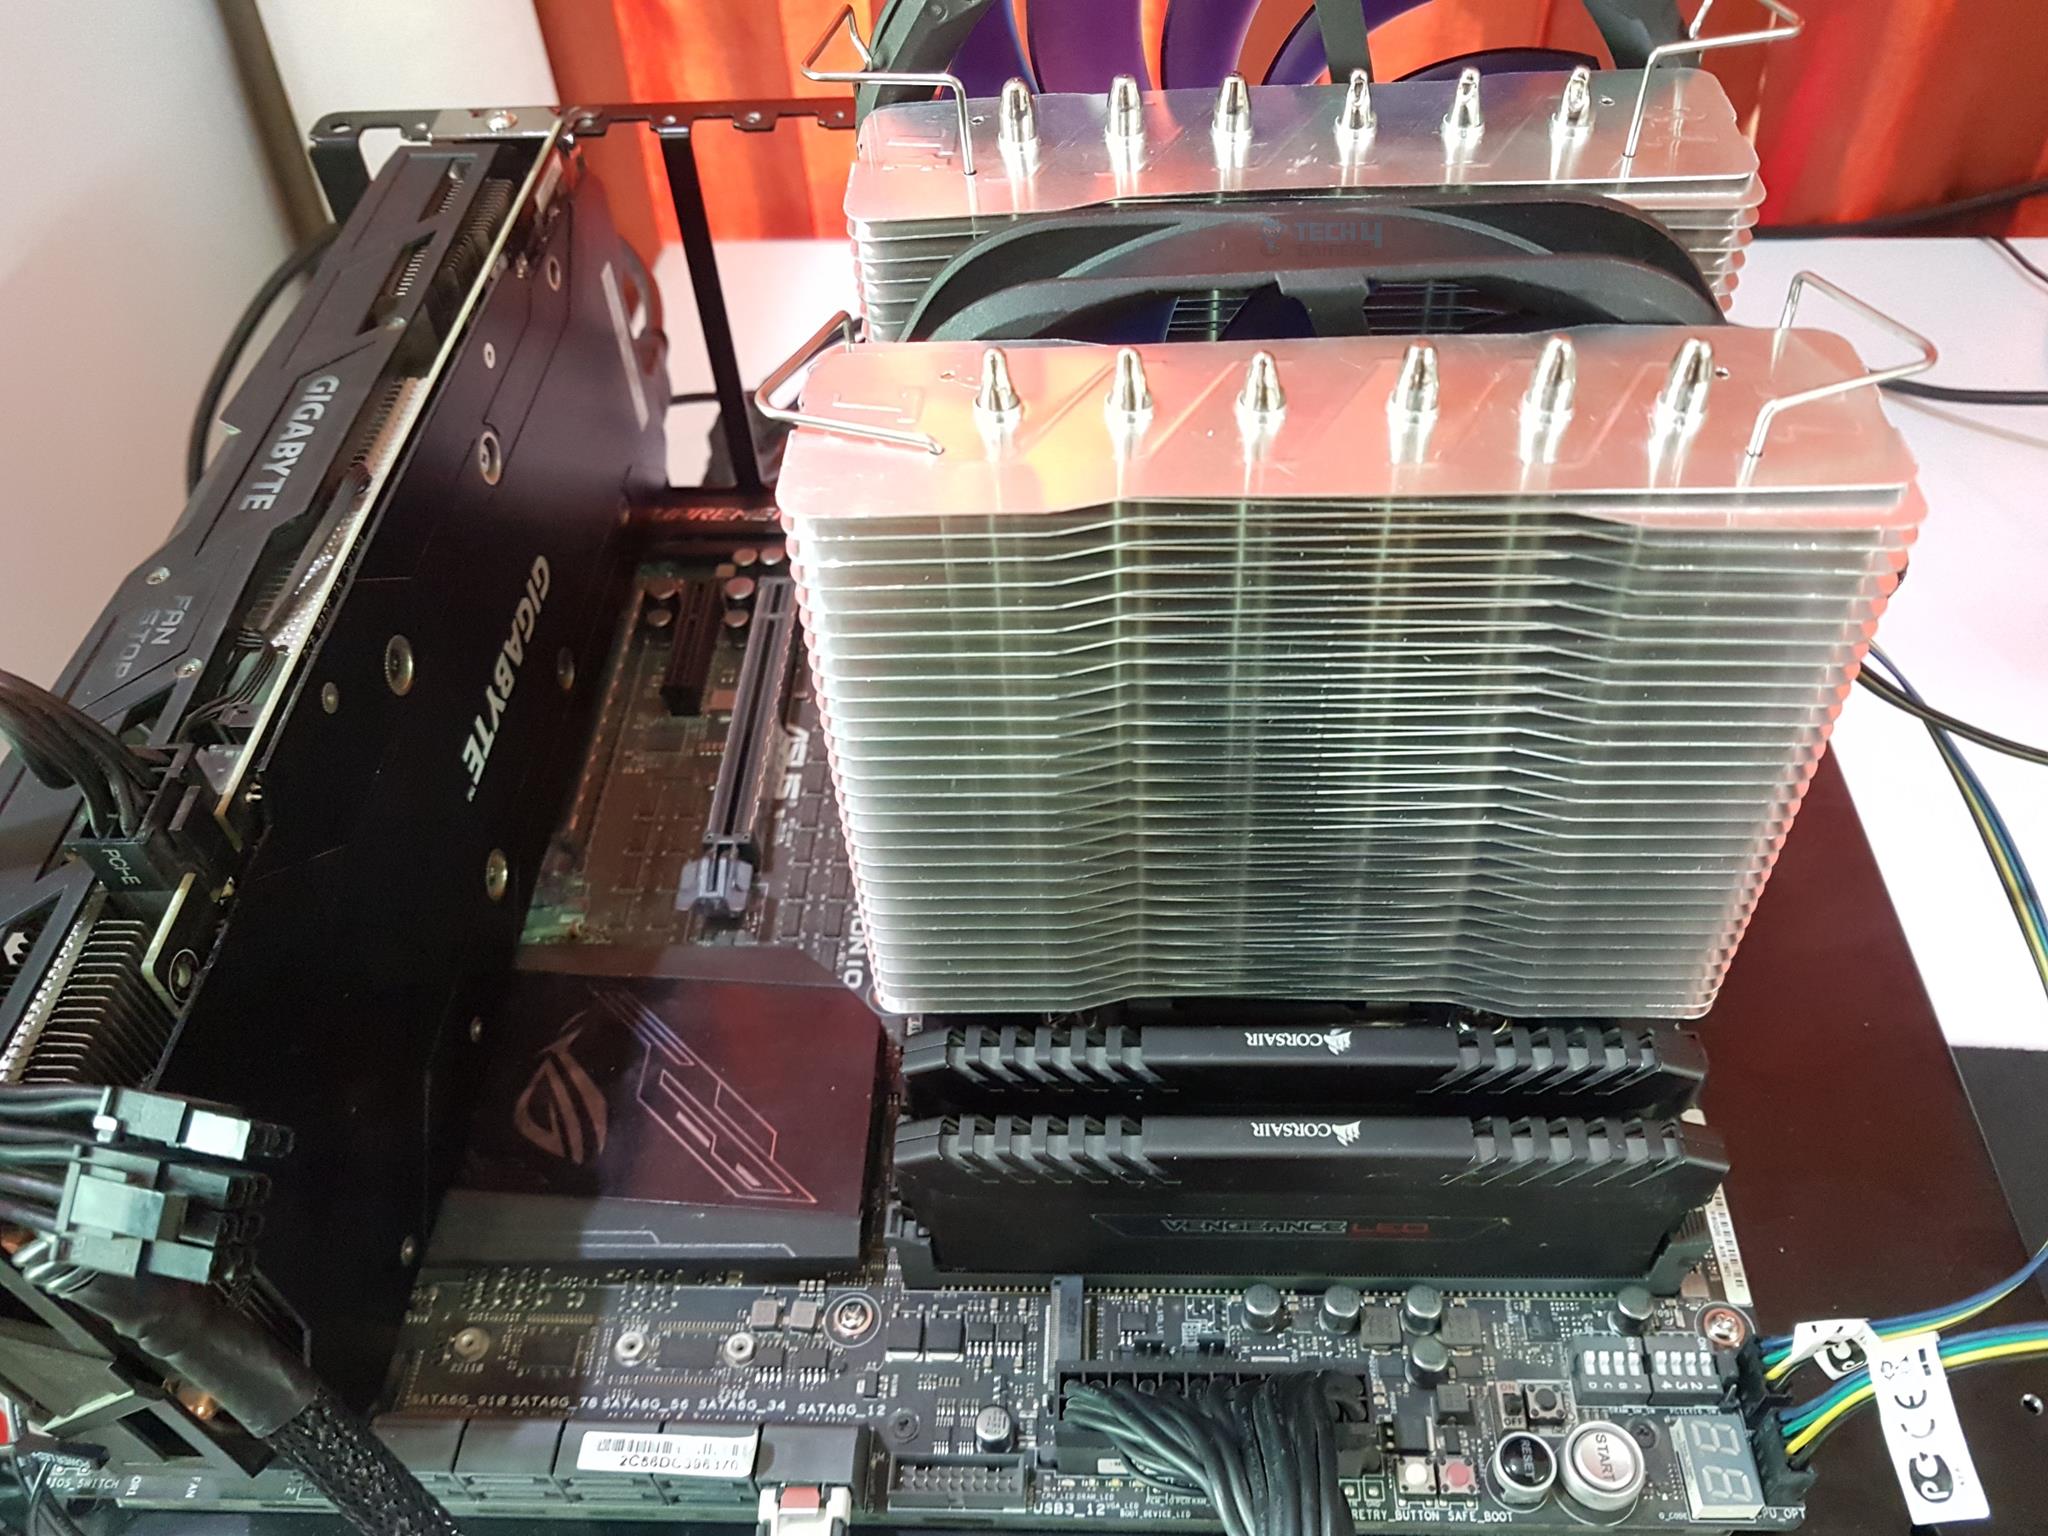
- Place the crossbar on the top of the block as shown in the picture. Now, carefully place the heatsink on by aligning the spring-loaded screws on the crossbar with the standoffs on the mounting brackets.
- Start alternately screwing the spring-loaded screws until the threads run out. Install the fans and connect their power cables to the source. This would complete the installation.
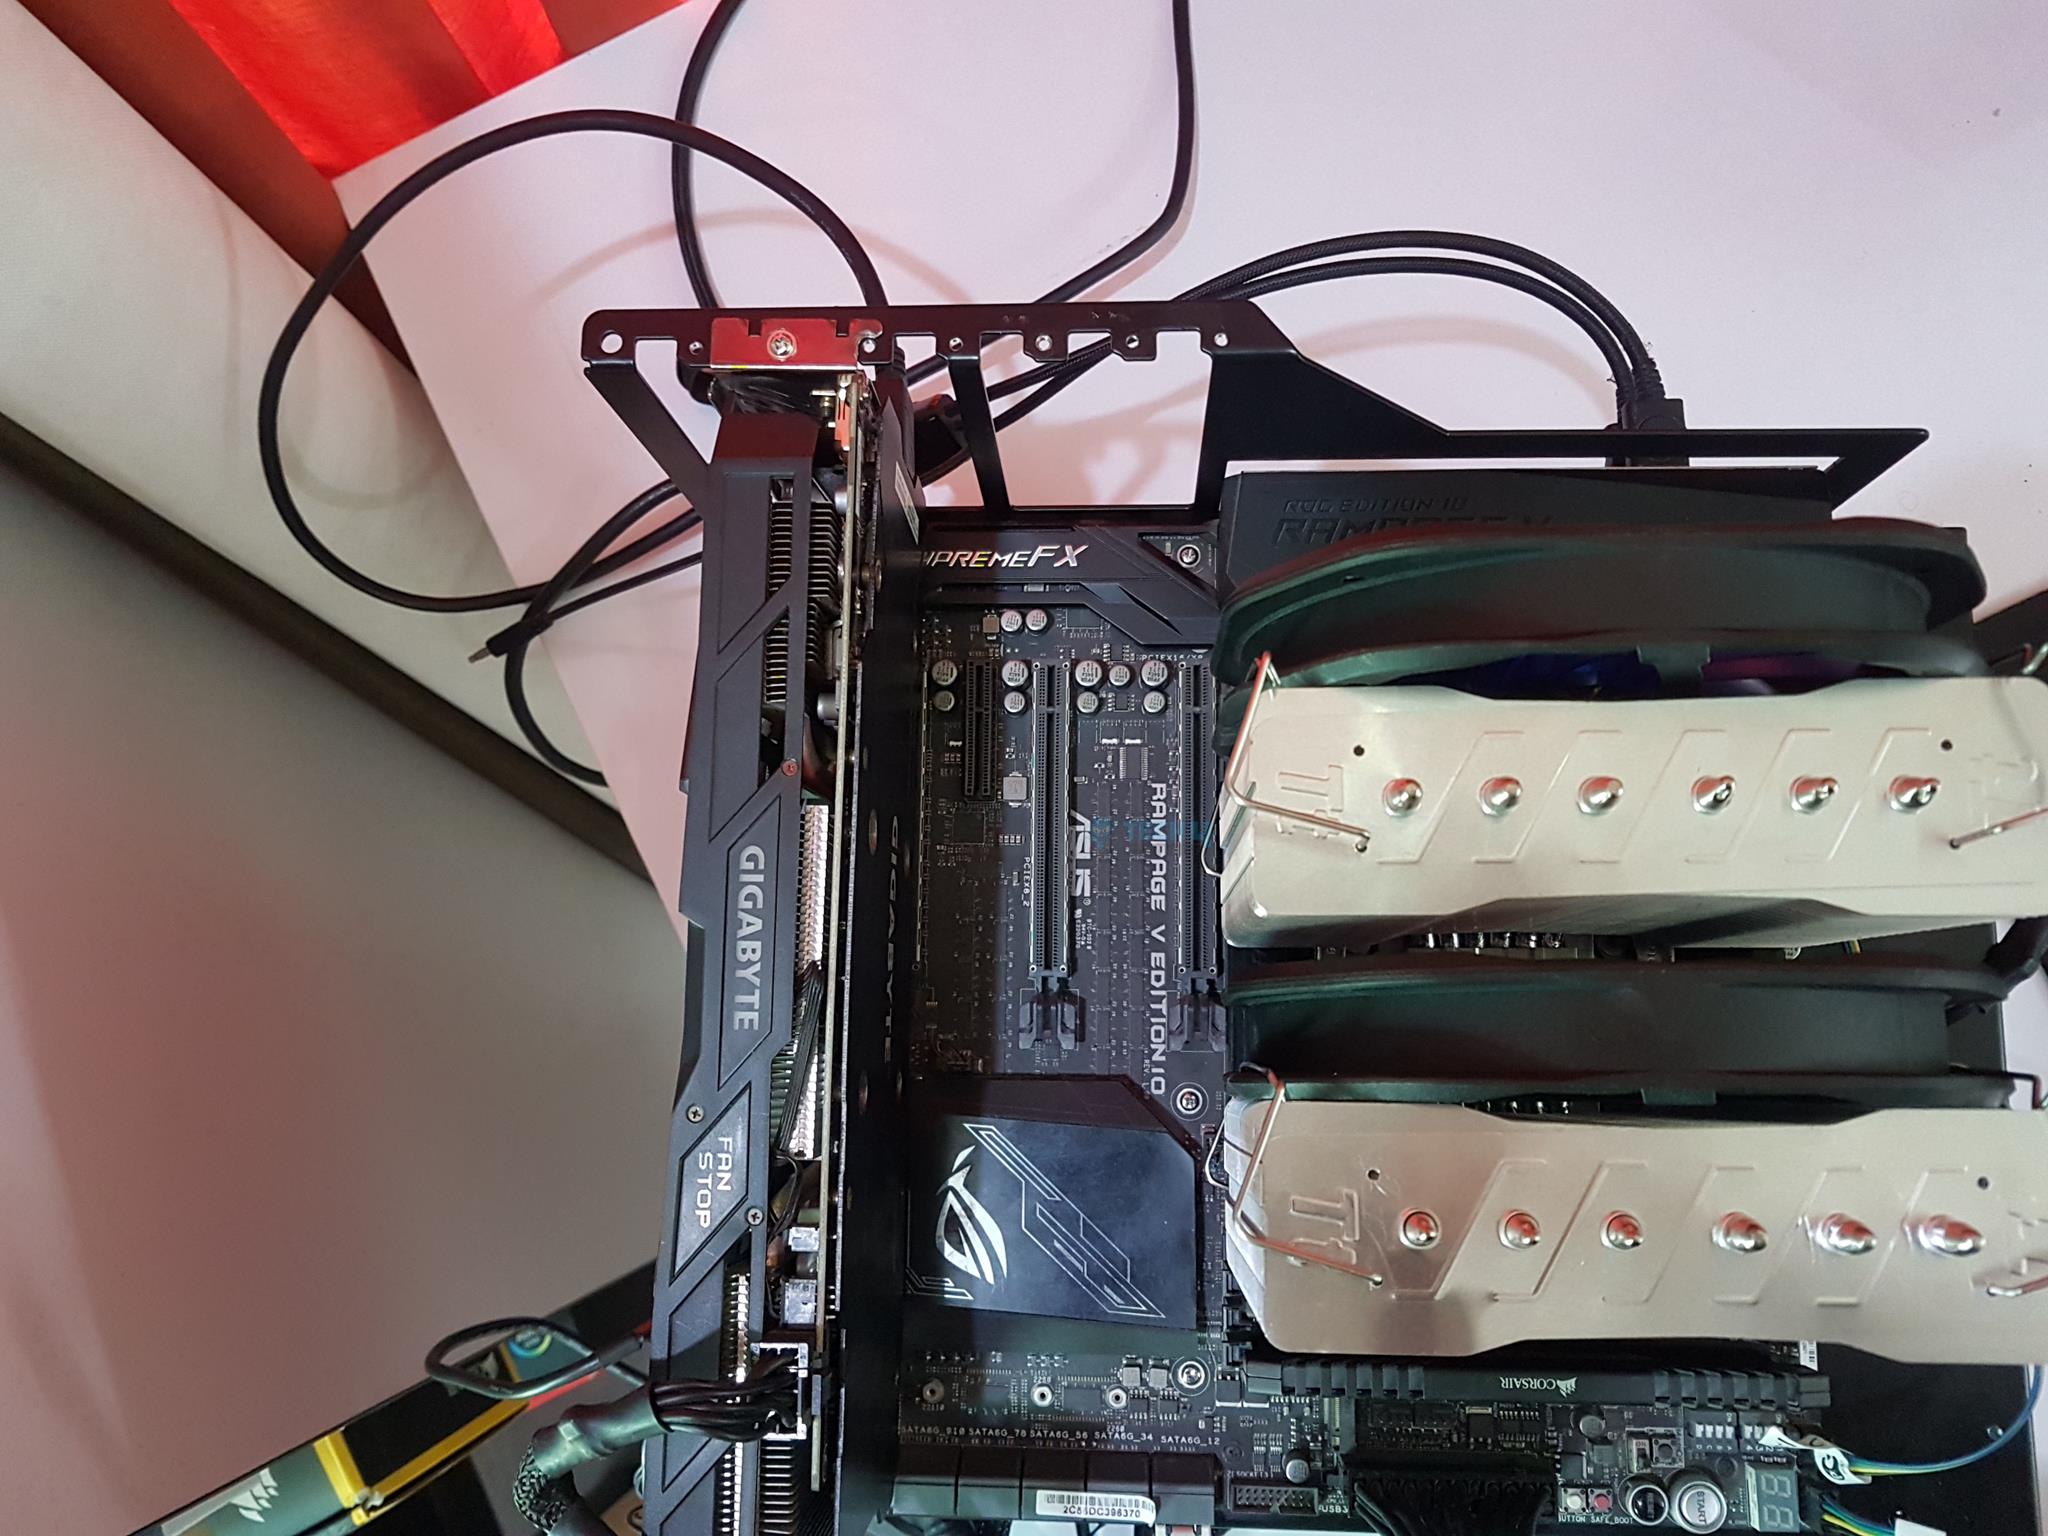
Here are pictures of the assembled unit:

Clearance
The height of the Thermaltake Frio Extreme is 160mm. You can use the PCPartPicker to check the compatibility of the cooler concerning the chassis. As a general rule, your chassis should have a minimum of 162mm or so clearance for this CPU Cooler height. Why more? In case you need to adjust the height of the fan, you would need more room in the chassis.
Testing
The following configuration was used:
- Asus Rampage V Edition 10
- Intel i7 6850k
- CORSAIR Vengeance 4x8GB @ 2666MHz
- Gigabyte GTX 1060 6GB
- Samsung 840 EVO 250GB SSD
- CORSAIR AX1200i 1200W PSU
- Primochill Praxis Wetbench
The following software was used for testing and monitoring.
- Asus Real Bench v 2.44
- Real Temp GT v 3.70
Here is the settings table for testing:
| Intel | Stock Voltage (V) | 1.130 |
| Stock Clock (MHz) | 3600 | |
| OC Voltage (V) | 1.350 | |
| OC Clock (MHz) | 4300 | |
| Turbo Boost | Disabled | |
| C-States | Disabled | |
| Speed Step | Disabled | |
| Thermal Paste | Noctua NT-H1 | |
| Test Run Time | 60 minutes | |
| Idling Time | 15 minutes | |
| Fan Speed | Manually set to run at 100% PWM cycle. | |
A 60-minute stress test is conducted post-cooler installation, followed by a 15-minute shutdown to allow thermal paste bonding. Noctua NT-H1 is consistently used for standardization. Delta temperatures (average of core max temps minus ambient temp) are graphed.
Testing occurs on an open-air bench; chassis results depend on airflow. Variability is expected due to factors like mounting pressure, thermal paste application, ambient temperature, and silicon differences. Methodology details are crucial for result interpretation.
Results
Let’s take a look at the results.
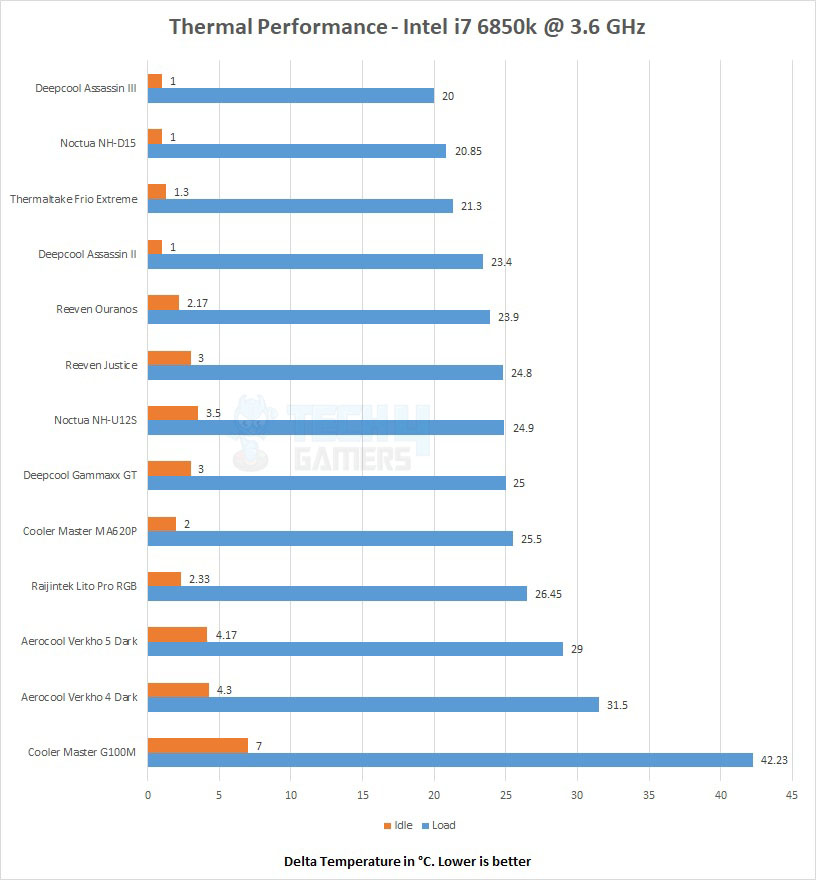
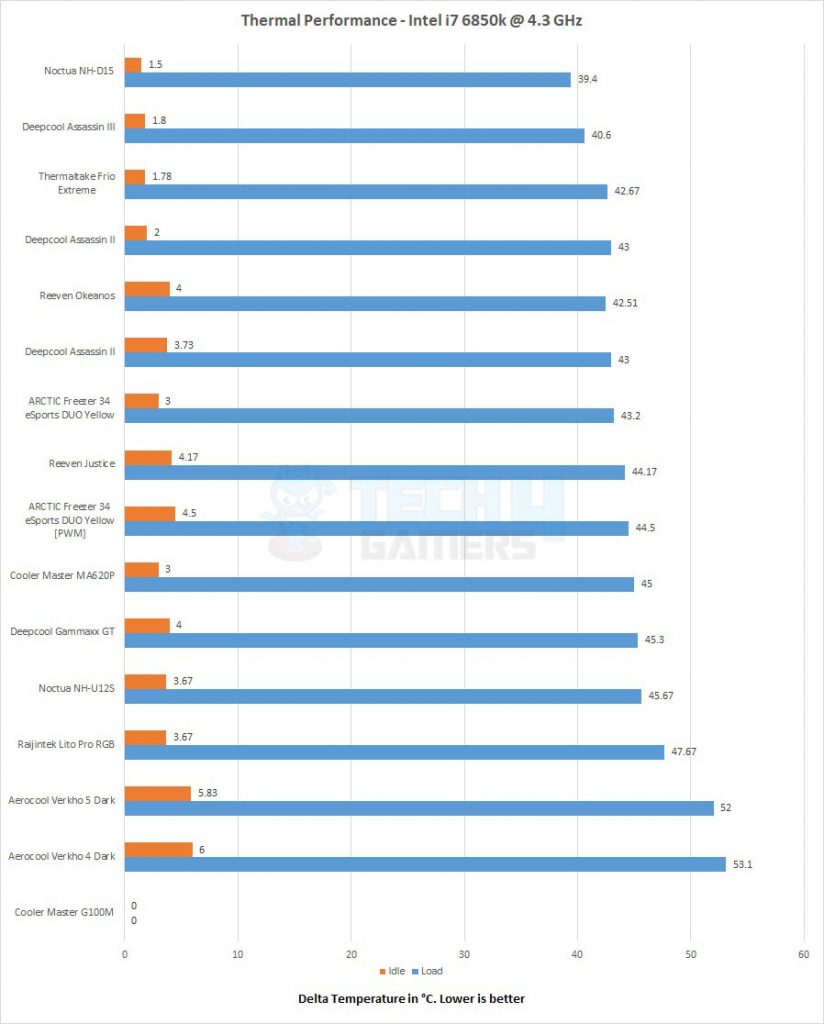
The Thermaltake Frio Extreme has performed well in thermal testing.
Noise
The sound meter showed the noise level of the cooler to be 57 dB(A) with an ambient sound level of 32 dB(A). On the lower end of the PWM duty cycle, the noise was 44 dB(A) approximately with a speed range of 1300.
Should You Buy It?
After testing, I was able to understand who the cooler was designed for.
Buy It If:
✅You want a capable dual-tower cooler: The Thermaltake Frio Extreme provides outstanding thermal performance.
✅You want a well-built air cooler: The build quality of the Thermaltake Frio Extreme stands out when compared to other dual tower coolers.
Don’t Buy It If:
❌You want a silent experience: With the fan’s minimum operating speed of 1200 RPM, the Thermaltake Frio Extreme does not provide a quiet experience, which can be a dealbreaker for some.
❌You are building a small form factor PC: The cooler’s bulky design introduces several clearance issues, making it unsuitable for those building a compact system.
Conclusion
The Thermaltake Frio Extreme, features a dual-tower design with two 14cm high-airflow fans, impressing us with its robust build and specifications. The two towers, each with 56 aluminum fins, exhibit an offset design with a 6mm gap. Six 6mm copper heat pipes in a U shape, nickel-plated and soldered, ensure efficient heat dissipation. The copper base requires manual crossbar installation during setup.
That said, Thermaltake sweetened the deal with a fan controller, letting me switch between VR and PWM modes. Connecting it to the motherboard using the PWM cable was a breeze. While installation can be a bit challenging, particularly with fan attachment, the cooler performed admirably on our thermal bench, albeit with an audible noise level.
Priced at USD 77 with a ten-year warranty, the Thermaltake Frio Extreme stands as a solid cooling solution, providing efficient performance for enthusiasts willing to manage the noise trade-off. Special thanks to Thermaltake for providing the Frio Extreme for our review.
Awards Received By The Thermaltake Frio Extreme
Here are the Tech4Gamers awards received by the Thermaltake Frio Extreme after thorough testing.
Recent Updates
- December 31, 2023: Few text changes to improve readability. No products were changed.
Thank you! Please share your positive feedback. 🔋
How could we improve this post? Please Help us. 😔
[Hardware Reviewer & Editor]
Meet Nauman Siddique, a highly experienced computer science graduate with more than 15 years of knowledge in technology. Nauman is an expert in the field known for his deep understanding of computer hardware.
As a tech tester, insightful reviewer, and skilled hardware editor, Nauman carefully breaks down important parts like motherboards, graphics cards, processors, PC cases, CPU coolers, and more.
- 15+ years of PC Building Experience
- 10+ years of first-hand knowledge of technology
- 7+ years of doing in-depth testing of PC Hardware
- A motivated individual with a keen interest in tech testing from multiple angles.
- I majored in Computer Science with a Masters in Marketing
- Previously worked at eXputer, EnosTech, and Appuals.
- Completed Course in Computer Systems Specialization From Illinois Tech
Get In Touch: nauman@tech4gamers.com


