 Threads

There may be several instances requiring you to test the motherboard without a CPU, such as when you are purchasing a used motherboard and want to test its functioning. The process is easy, but you must be careful while tackling the delicate PC components.
Key Takeaways
- The motherboard holds various components like the CPU, GPU, and fans.
- Avoid touching the motherboard to any metallic surface or object.
- No beeping sounds or LED lights not blinking may indicate a faulty motherboard.
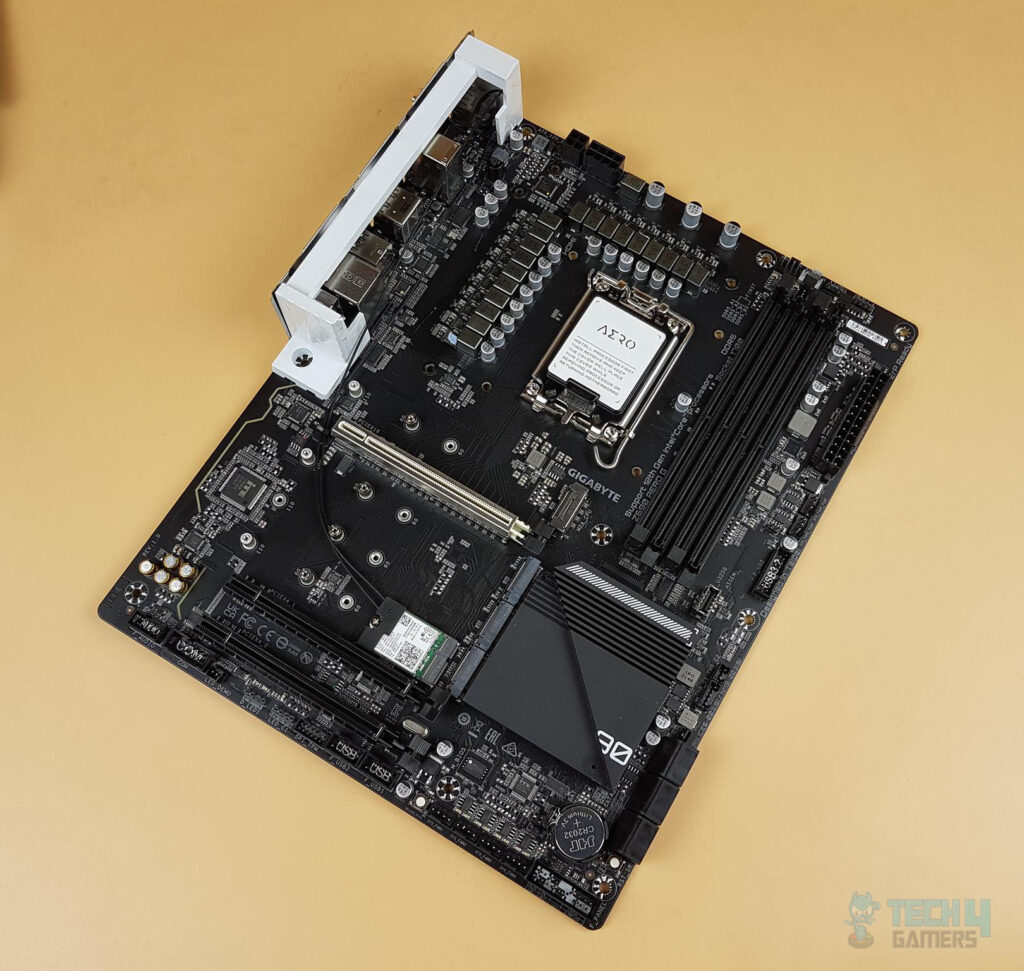
First, unbox your motherboard and remove the foam or the soft material it was protected with inside the box. Next, place your motherboard on that material. Alternatively, you can set your motherboard on its box, anti-static foam, or any cardboard material. Safely Place Your Motherboard
Once your motherboard is securely in place, connect the power connectors. Your power supply unit should have an 8-pin connector for the CPU and a larger 24-pin connector for the motherboard. Disregard the 4-pin connector, as it’s for older CPUs.Plug In the Power Connectors
After connecting your motherboard with the PSU, plug the PSU into the wall socket to power it up. Like the motherboard, ensure the PSU is not placed on a bare metallic or conductive surface. You can use an anti-static foam or a cardboard box.Power Up The PSU
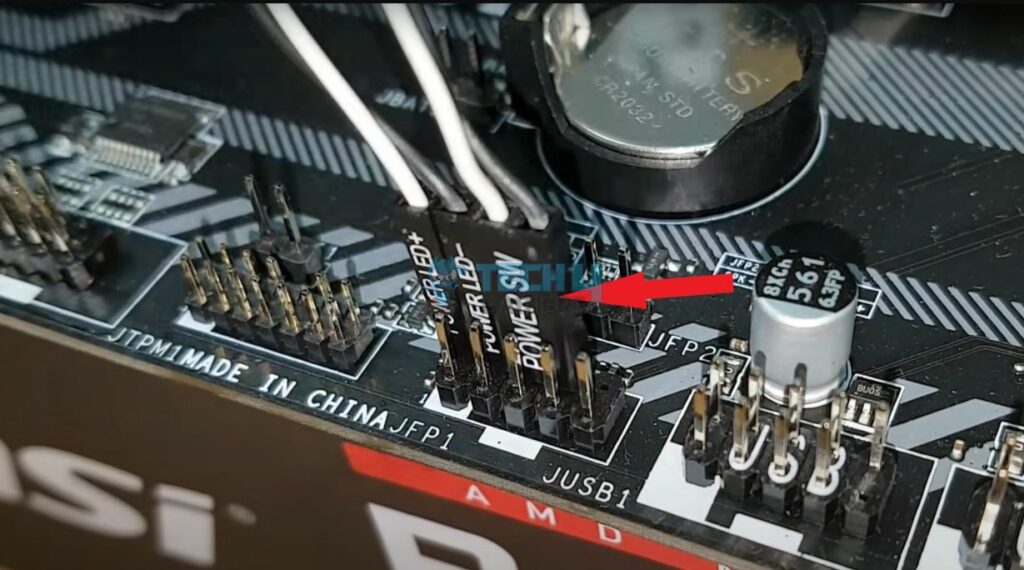
Locate the power switch pins on the front panel header to check if your motherboard works. Connect the power switch cable from the case to these pins and press the power button to turn on the motherboard. If the motherboard isn’t in a case, bring the case nearby to use its power switch cable or carefully jump-start it manually by touching the two power switch pins with a small flat-head screwdriver.Turn On the Motherboard
Observe for LED lights and listen for beeping sounds to check if the motherboard is functioning. If you detect any signs of activity, it indicates the motherboard is working. In contrast, if it lacks LED lights or internal speakers, connect a fan to SYS_FAN1, and if it starts spinning, it confirms the motherboard’s operation. If no LED lights or beeping occurs, the motherboard may be defective. While testing the motherboard, I kept myself grounded at all times and wore safety gloves to avoid electric shocks. Upon turning on the power, the lights came up on the motherboard, indicating a successful testing. If that’s not the case for you, verify that you have performed each step properly and connected everything correctly. In case the problem persists, your motherboard may have run out of its lifespan, so get it checked by a technician. Check If Motherboard Is Working or Not
You can review your motherboard’s manual to check if it has LED lights and internal beep speakers. Alternatively, look for them on the motherboard, as the LED lights are easy to spot, and the beep speaker will look like a black cylinder. You can also use a multimeter to test your motherboard without a CPU. To check your motherboard model, press Windows + R > Type msinfo32. In System Information, your motherboard info will be shown next to BaseBoard Manufacturer, BaseBoard Product, and BaseBoard Version. You can also check its box or the manual. Two beeps mean there is something wrong with the motherboard. In that case, check if your motherboard is under warranty and replace it or send it for repairs. FAQs
More Related To Motherboards:
- How We Test Motherboards
- How To Remove GPU From The Motherboard
- How To Clean A Motherboard?
- Motherboard RGB Header
Thank you! Please share your positive feedback. 🔋
How could we improve this post? Please Help us. 😔
[How To’s & Guides Editor]
Haddi has been in the Gaming and tech Space for over 10 Years Now; he has worked on notable websites like eXputer, Gamepur, Gear Siege, Gearnuke, and plenty more. He is an expert at Games & PC Hardware; you can expect him to solve any problem. People often joke, that if there is any problem anyone can solve, Haddi can solve it faster. Currently, Haddi writes and manages a Team of Experts at Tech4Gamers.
Contact: Haddi@tech4gamers.com


