 Threads
Good 240mm AIO?
Review Summary
The Cooler Master MasterLiquid ML240L RGB is a complete cooling solution at affordable pricing which not only provides adequate cooling performance but also comes with an RGB lighting solution on the fans and on the block. This is a better-value product, given the local pricing of the other 240mm liquid coolers.

Overall
-
Performance - 8.5/10
8.5/10
-
Design - 9/10
9/10
-
Build Quality - 9/10
9/10
-
Features - 9/10
9/10
Pros
- Adequate cooling performance at an affordable price
- Aluminum-based radiator with low-resistant design and 20 FPI count
- MasterAir 120 AB fan for better air pressure and airflow
- Slim radiator design with no angular borders and a straight-line design
- Dual chamber pump design with RGB lighting and low-profile design
Cons
- No protective plating under the mounting holes, which could easily damage the fins
- The barbs are not in parallel implementation, which could make installation challenging for some users


When it comes to PC Cooling and Chassis, Cooler Master needs no introduction. Ever since its foundation in 1992, the company rolled out its first CPU Cooler in 1993, with major breakthrough coming in 1999 when its first all-aluminum-based handmade chassis was launched. Their success has continued ever since then I’ll be taking a look at the Cooler Master has sent their ML240L RGB CPU Liquid Cooler for review from their Master Liquid Lite series.
Key Takeaways
- The Cooler Master MasterLiquid Lite ML240L RGB is for users looking for a decent-performing 240mm cooler that showcases excellent value without compromising on its appearance and build quality.
- The Cooler Master MasterLiquid Lite ML240L RGB is not for anyone who wants a completely hassle-free installation
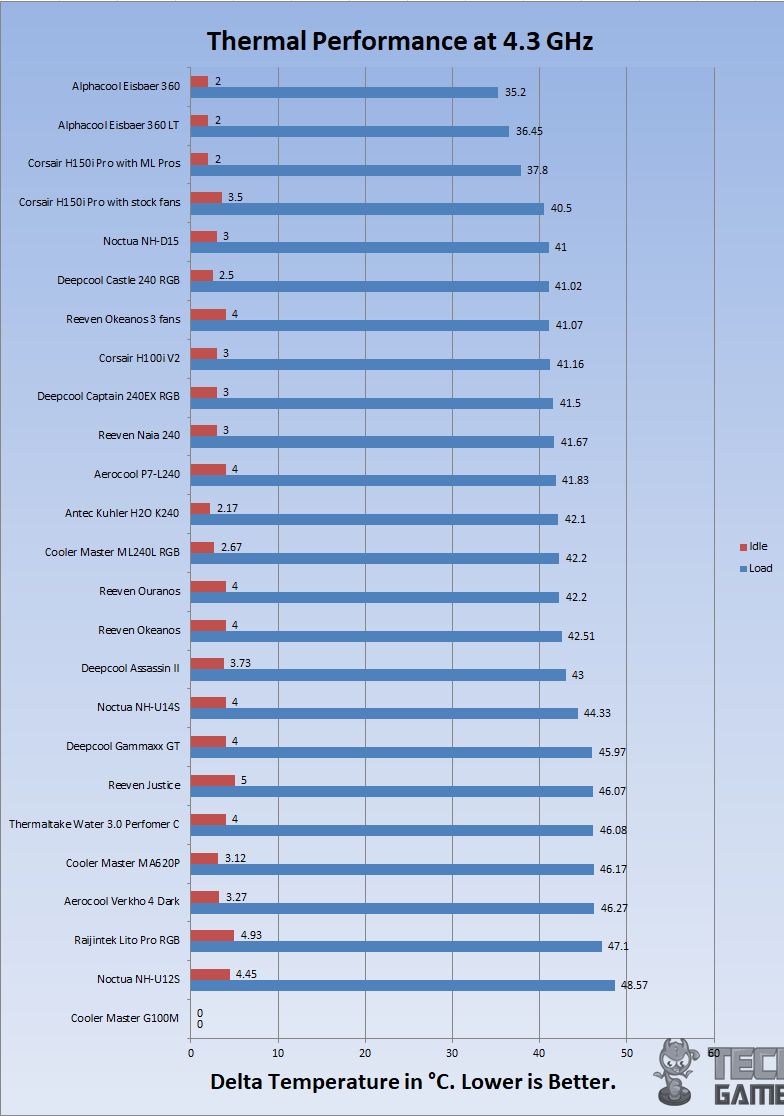
- The Cooler Master MasterLiquid Lite ML240L RGB delivers impressive results, maintaining temperatures of 42.2°C on an i7-6850K at 4.3 GHz.
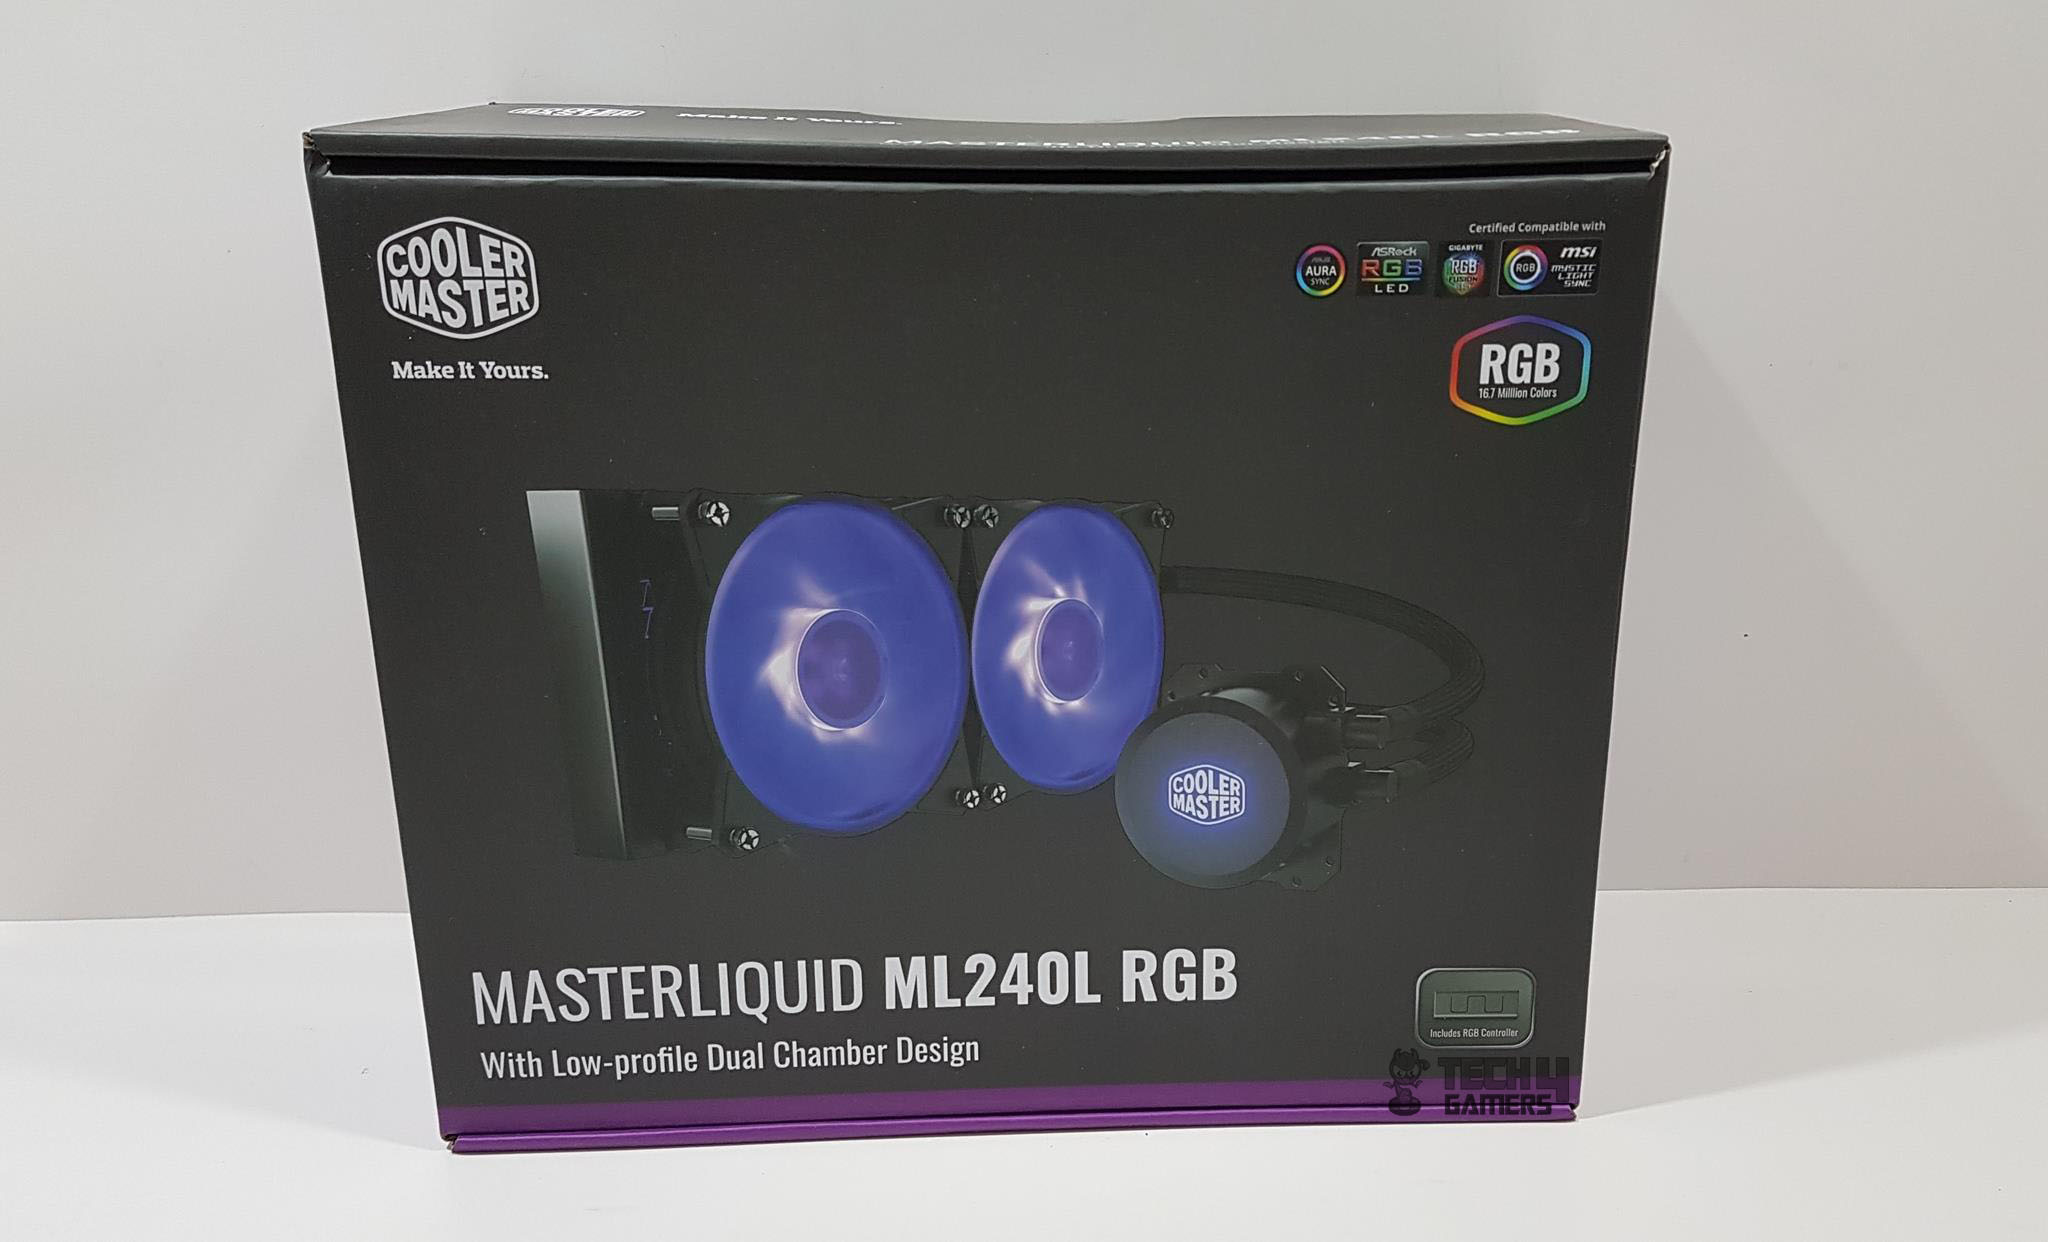
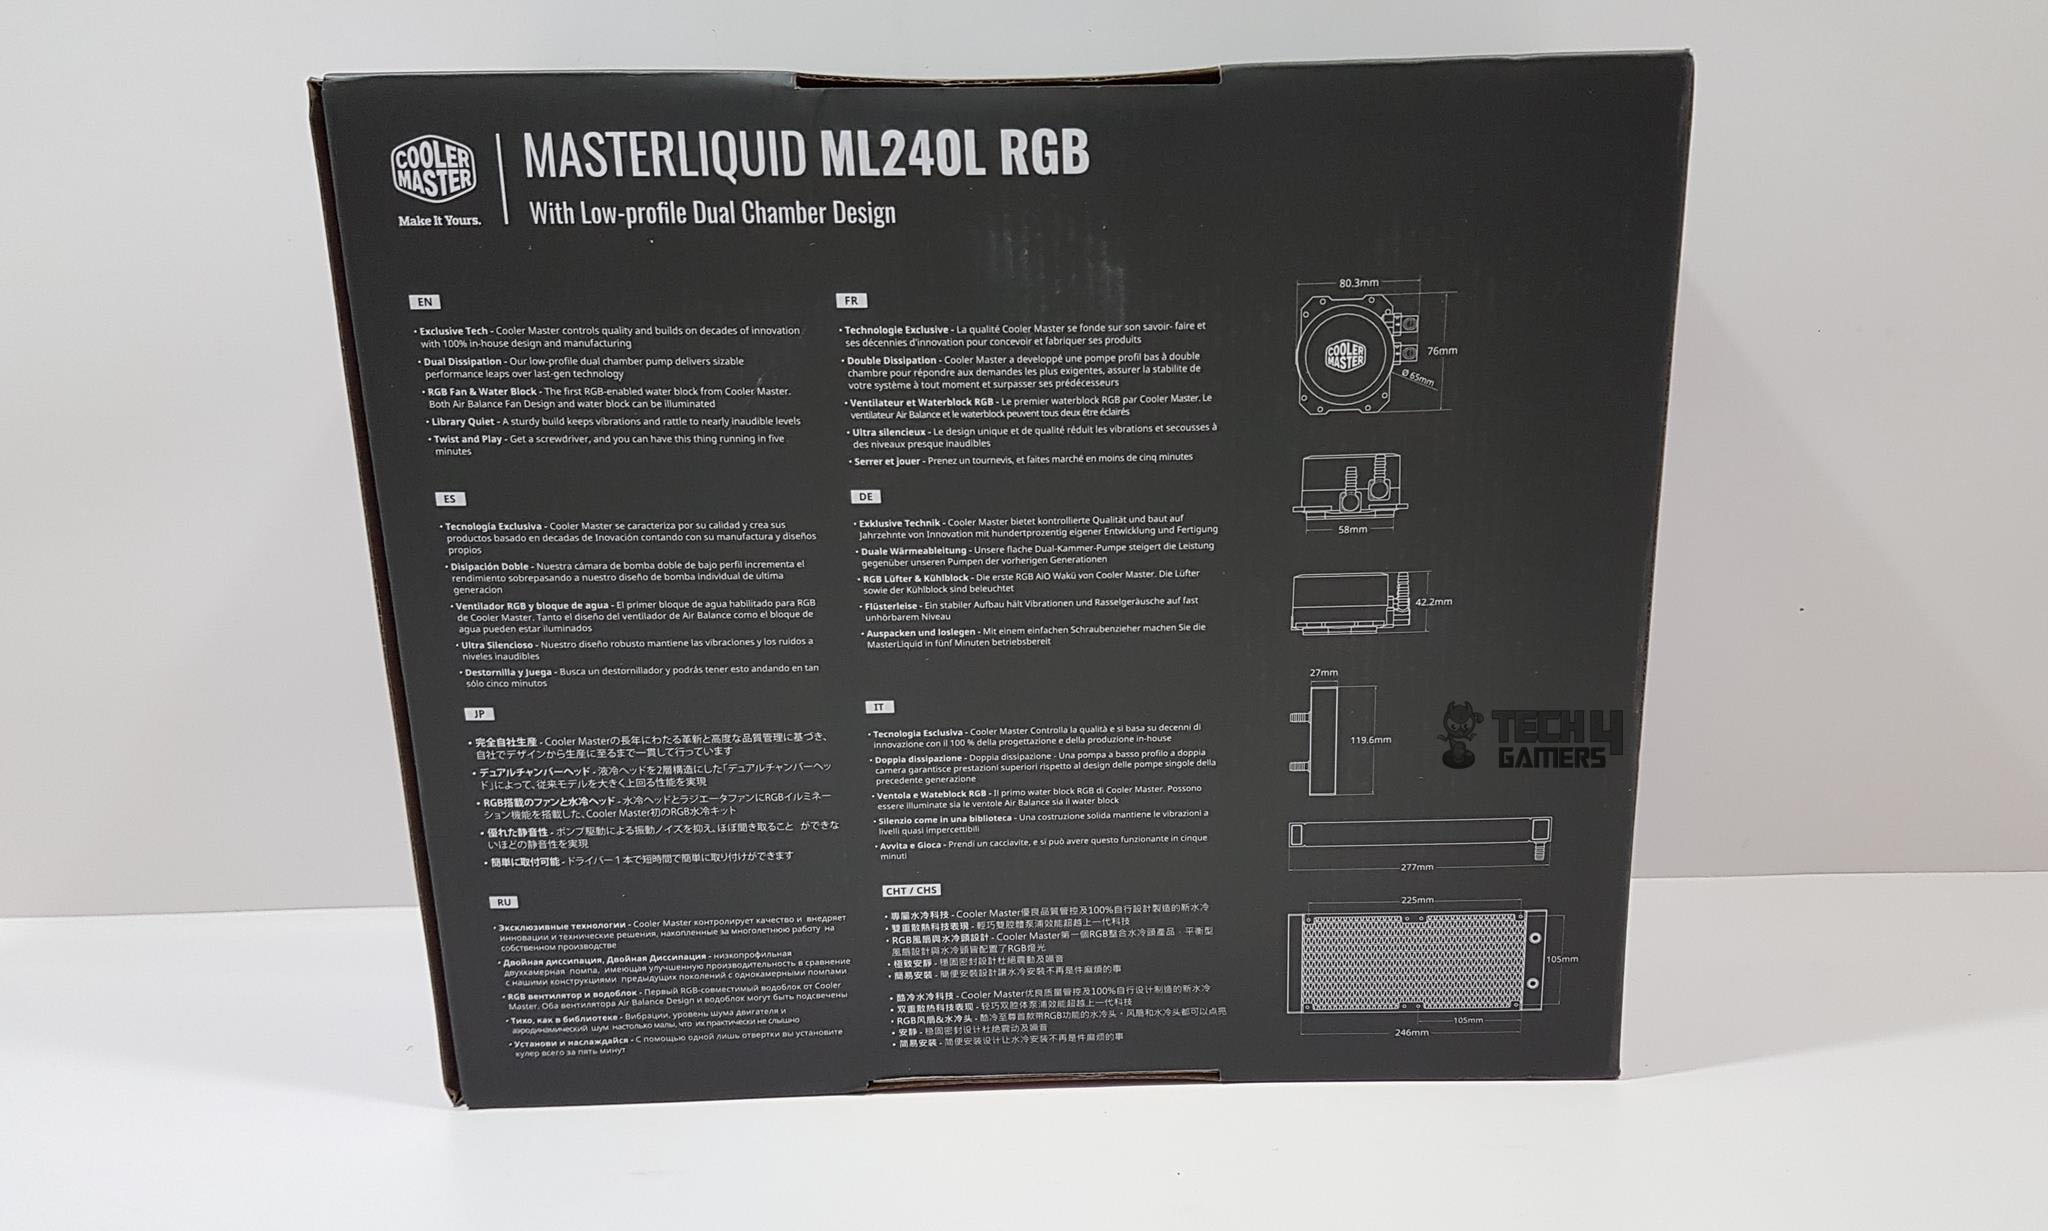
Packaging and Unboxing
Complete unboxing experience for the Cooler Master MasterLiquid Lite ML240L

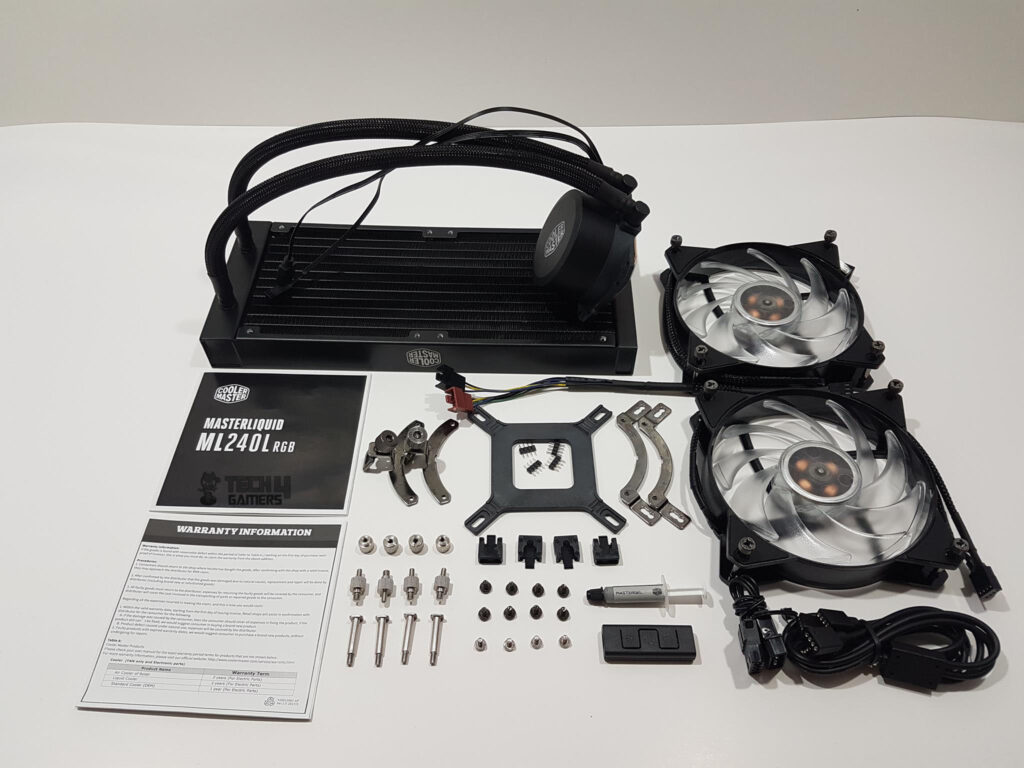
Contents
Here is everything included in the box.
Closer Look
The Master Liquid Lite focuses on bringing adequate performance at user-friendly pricing, and ML240L RGB is among the liquid coolers from this series. The l suffix indicates the Lite, and RGB needs no introduction.
Radiator
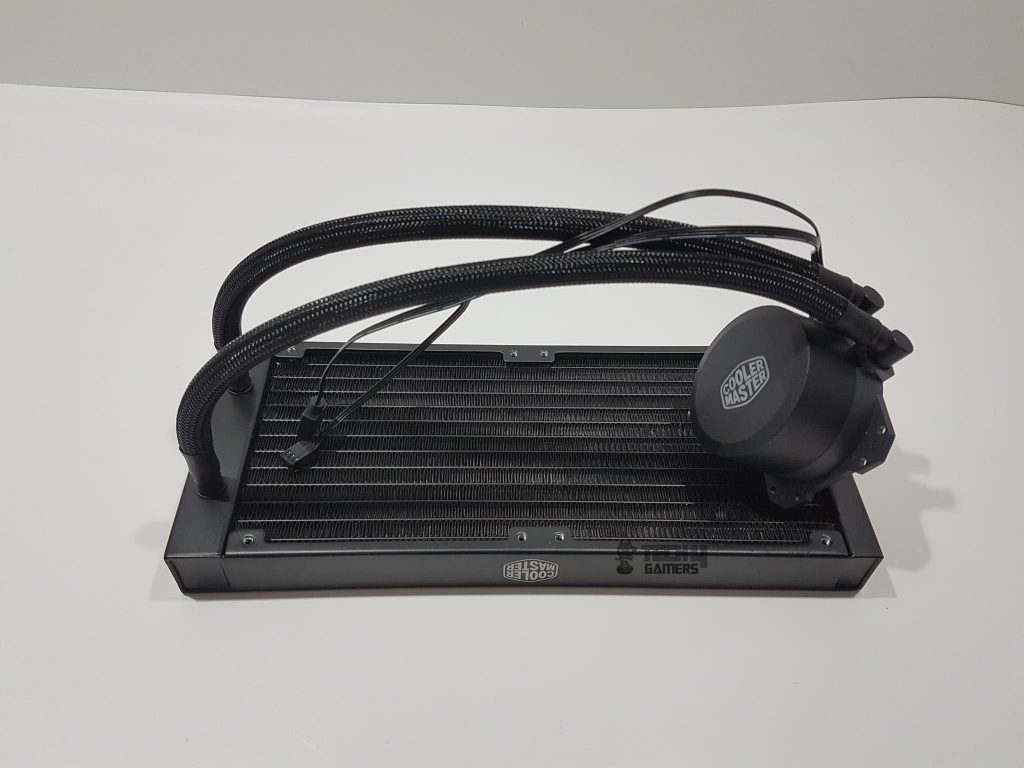
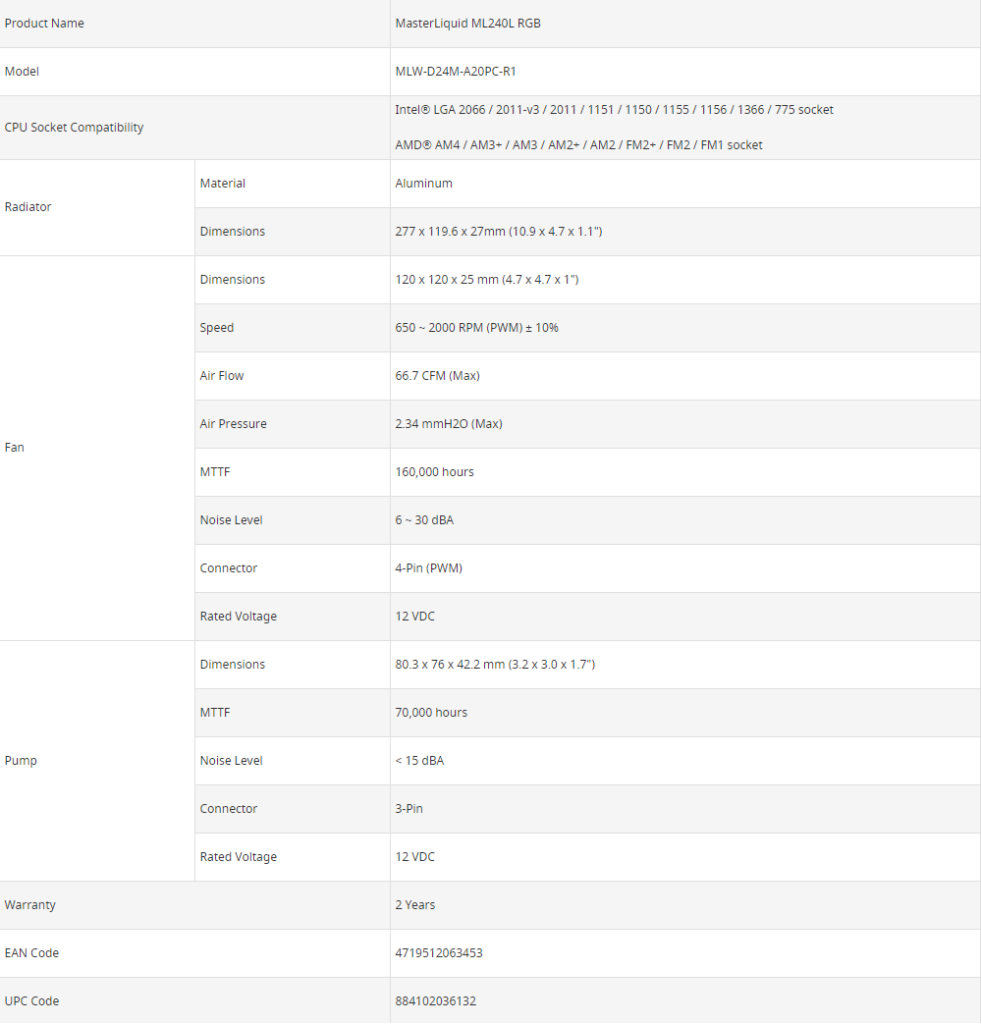
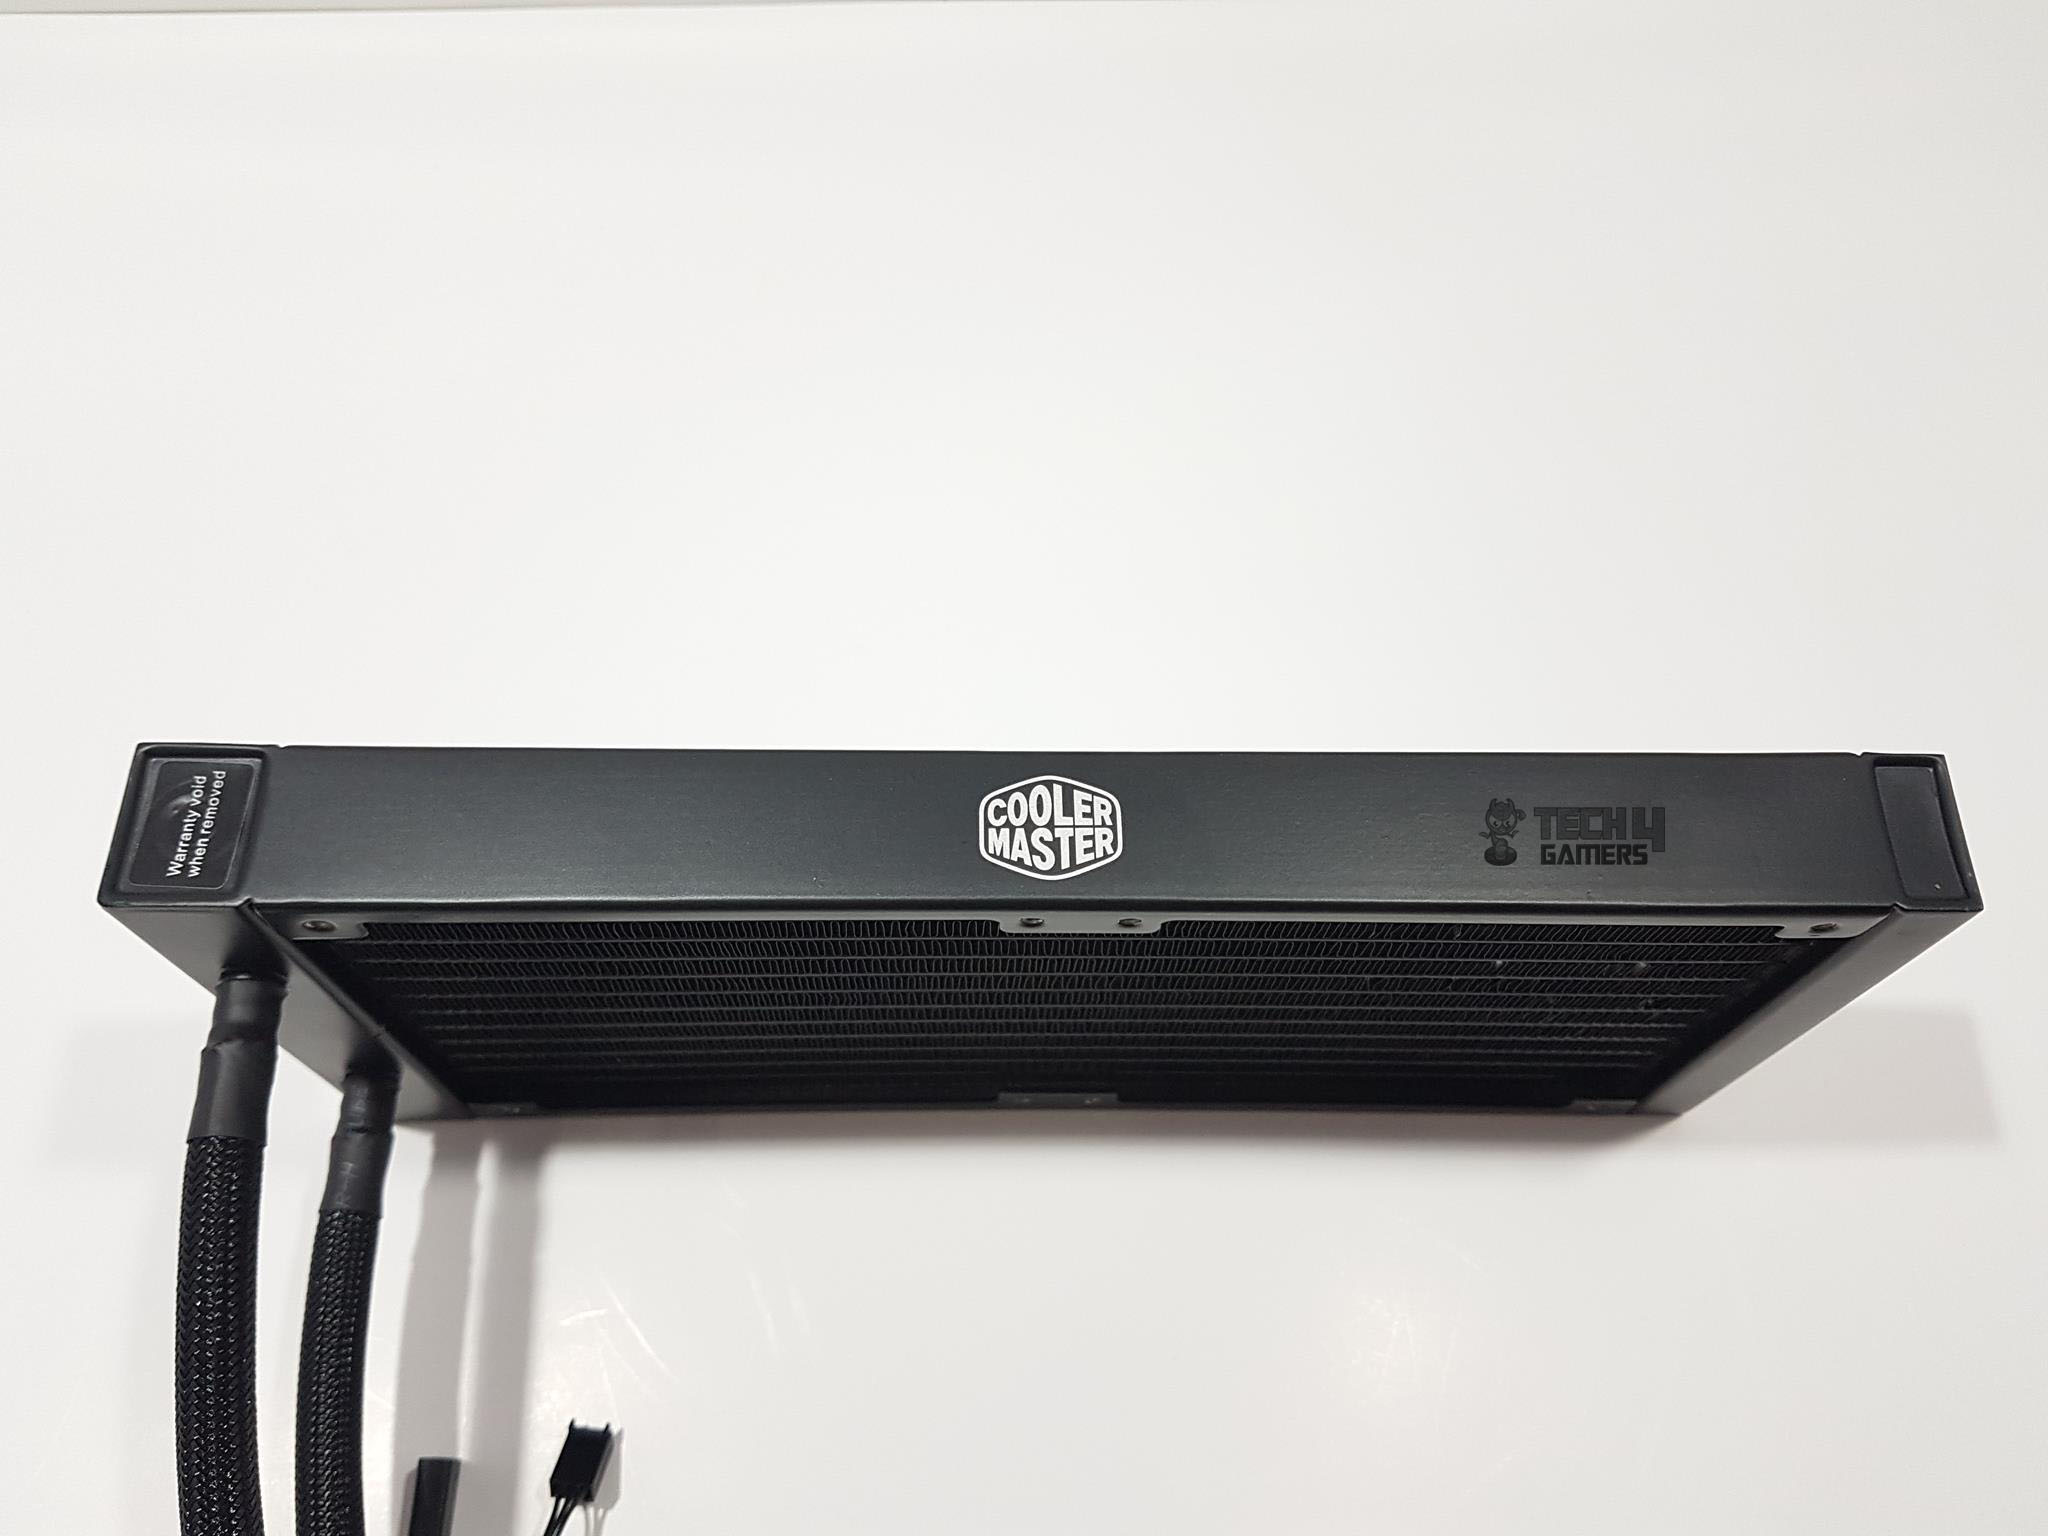
Let’s dive into the cooler’s design and our testing. The radiator measures 277×119.6x27mm, with a slim profile. With 25mm fans, expect a total height of around 55mm. It’s a 240mm low-resistance solution from Cooler Master, featuring an aluminum construction for lightweight design
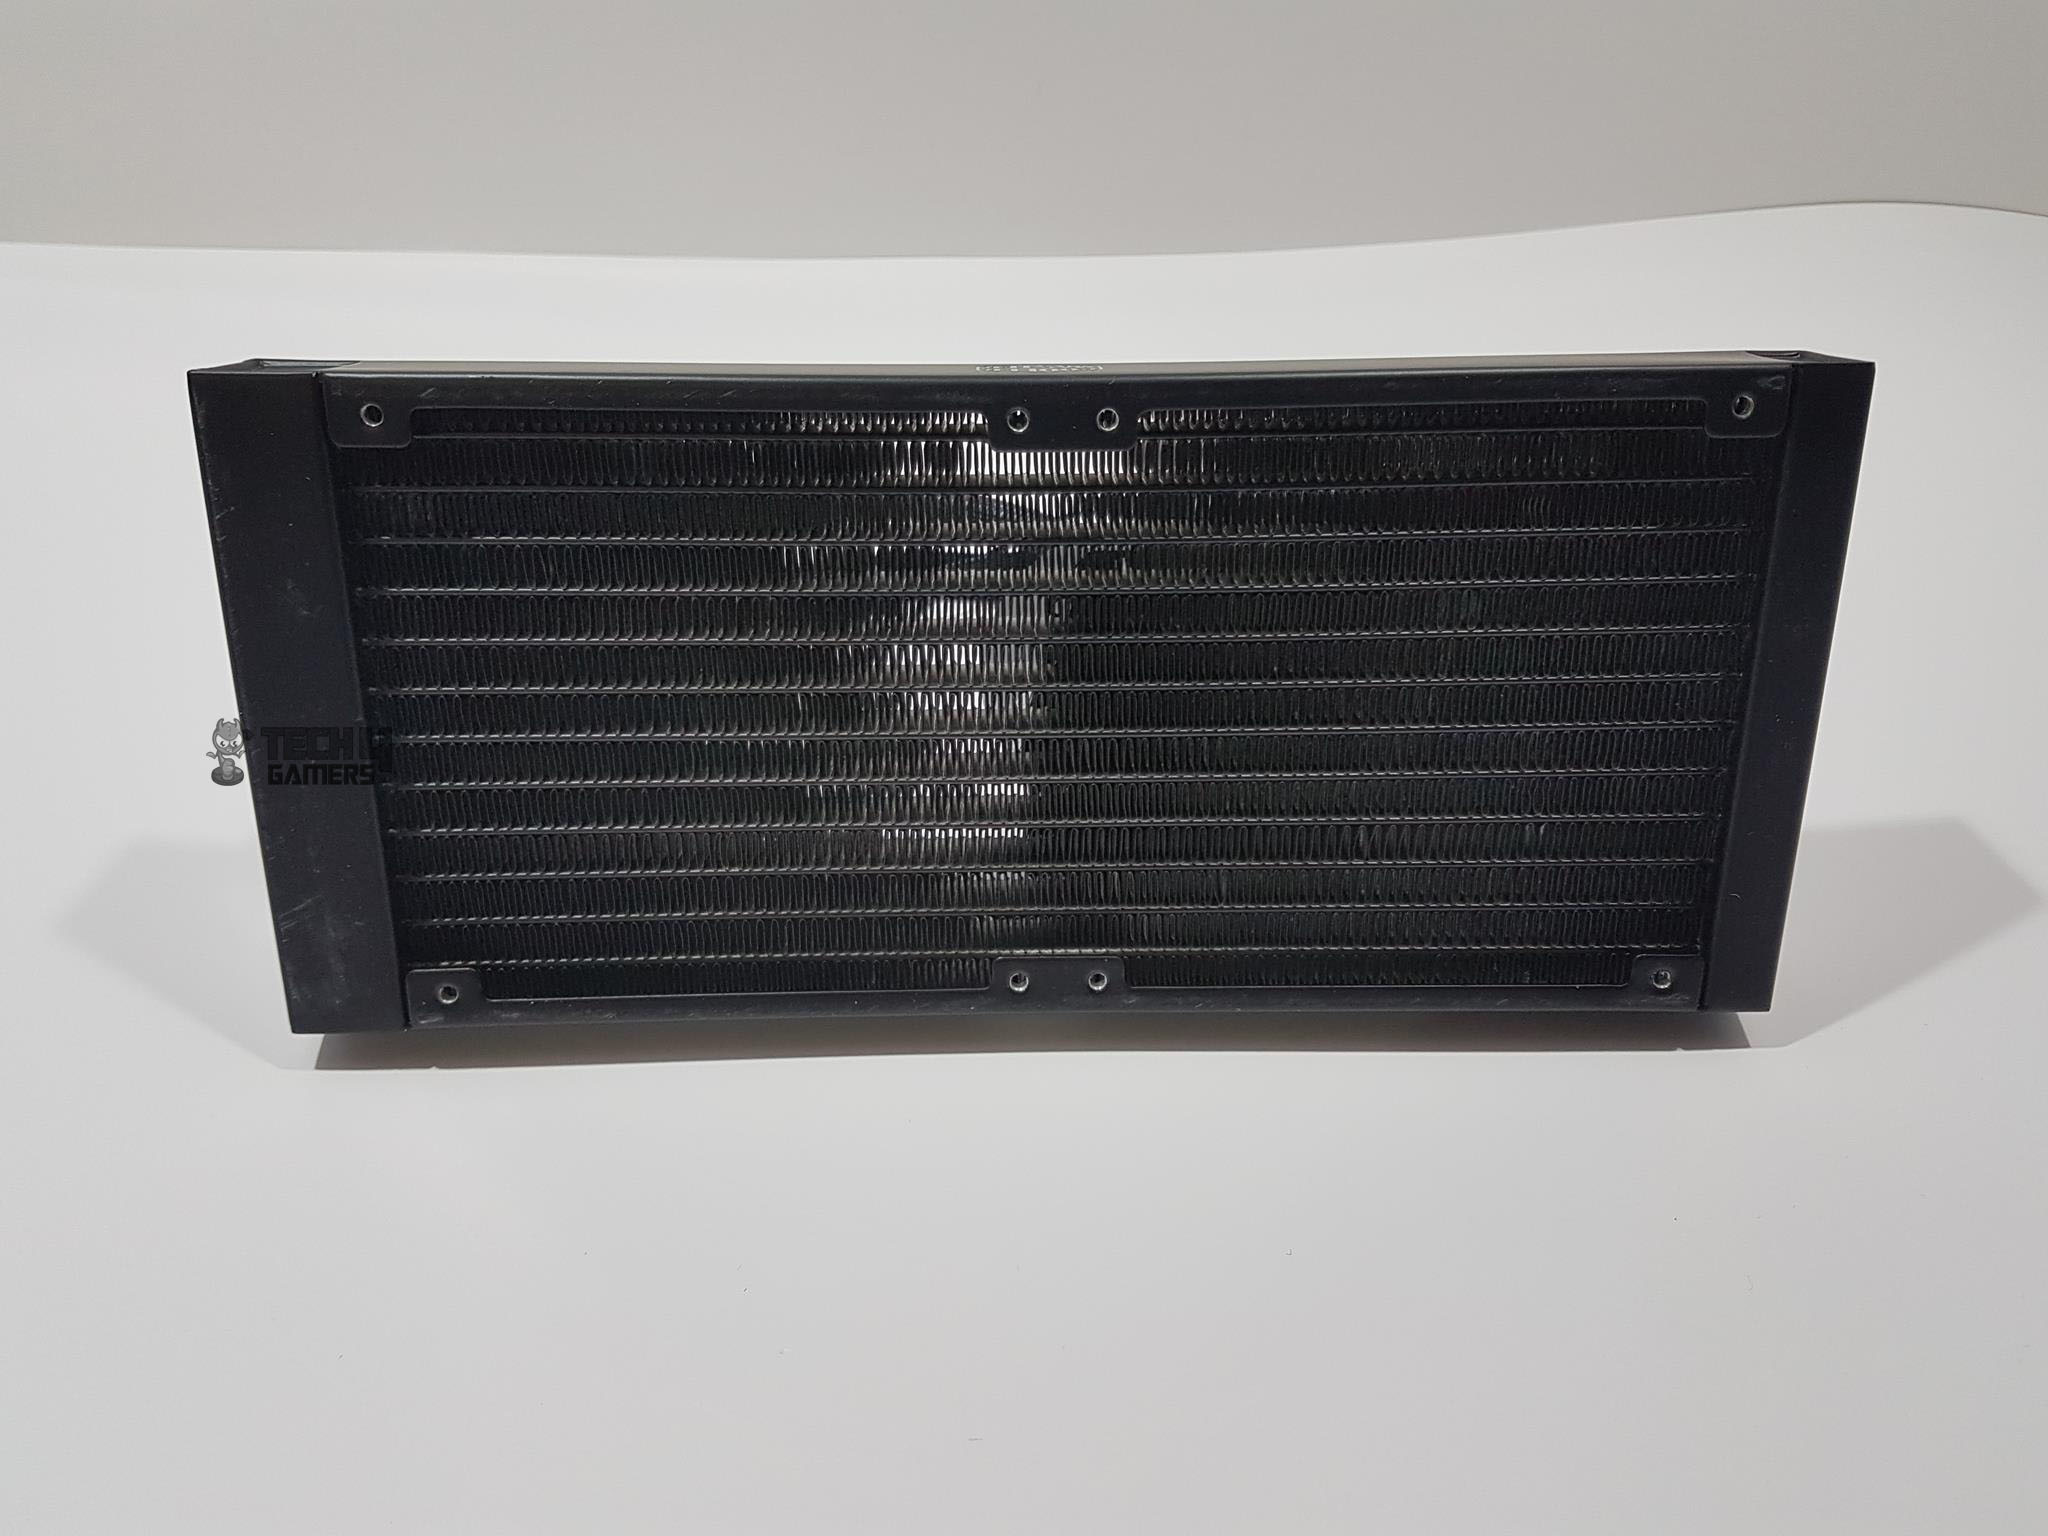
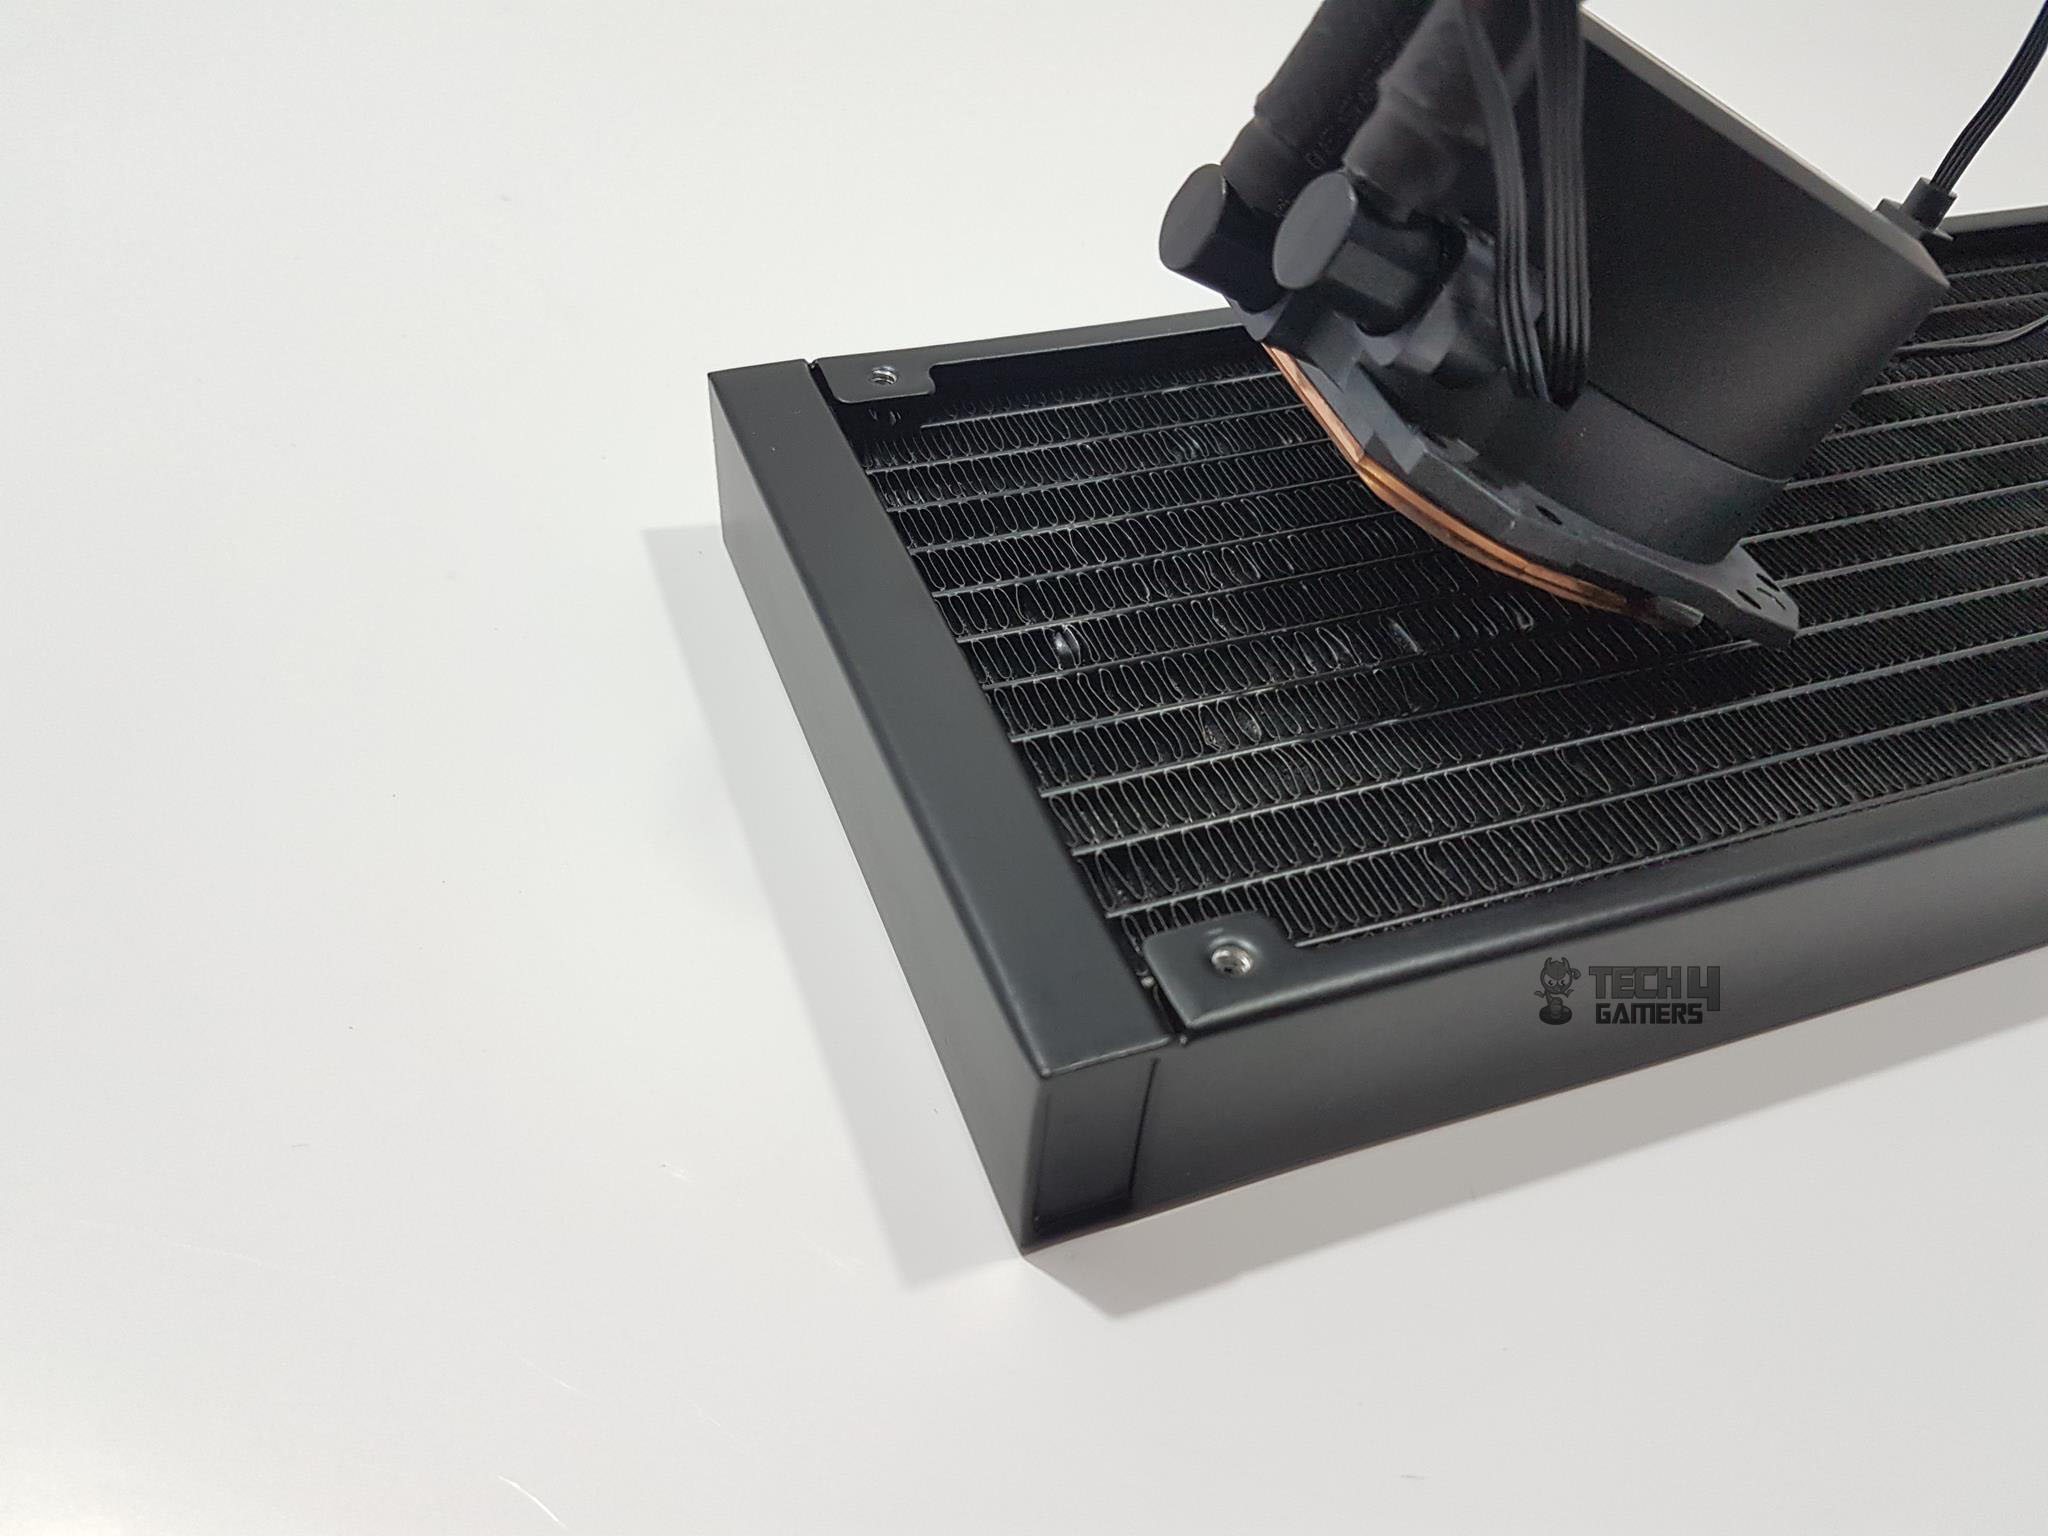
The radiator has a 20 FPI count, suggesting it pairs well with fans offering high airflow and air pressure. Unfortunately, our sample shows an unusual number of bent fins, deviating from the norm. With 13 channels and a straight-edged design, it stands out, unlike rounded-edge alternatives. The barbs feature heat shrinks, and the Cooler Master logo is printed in white on both sides.
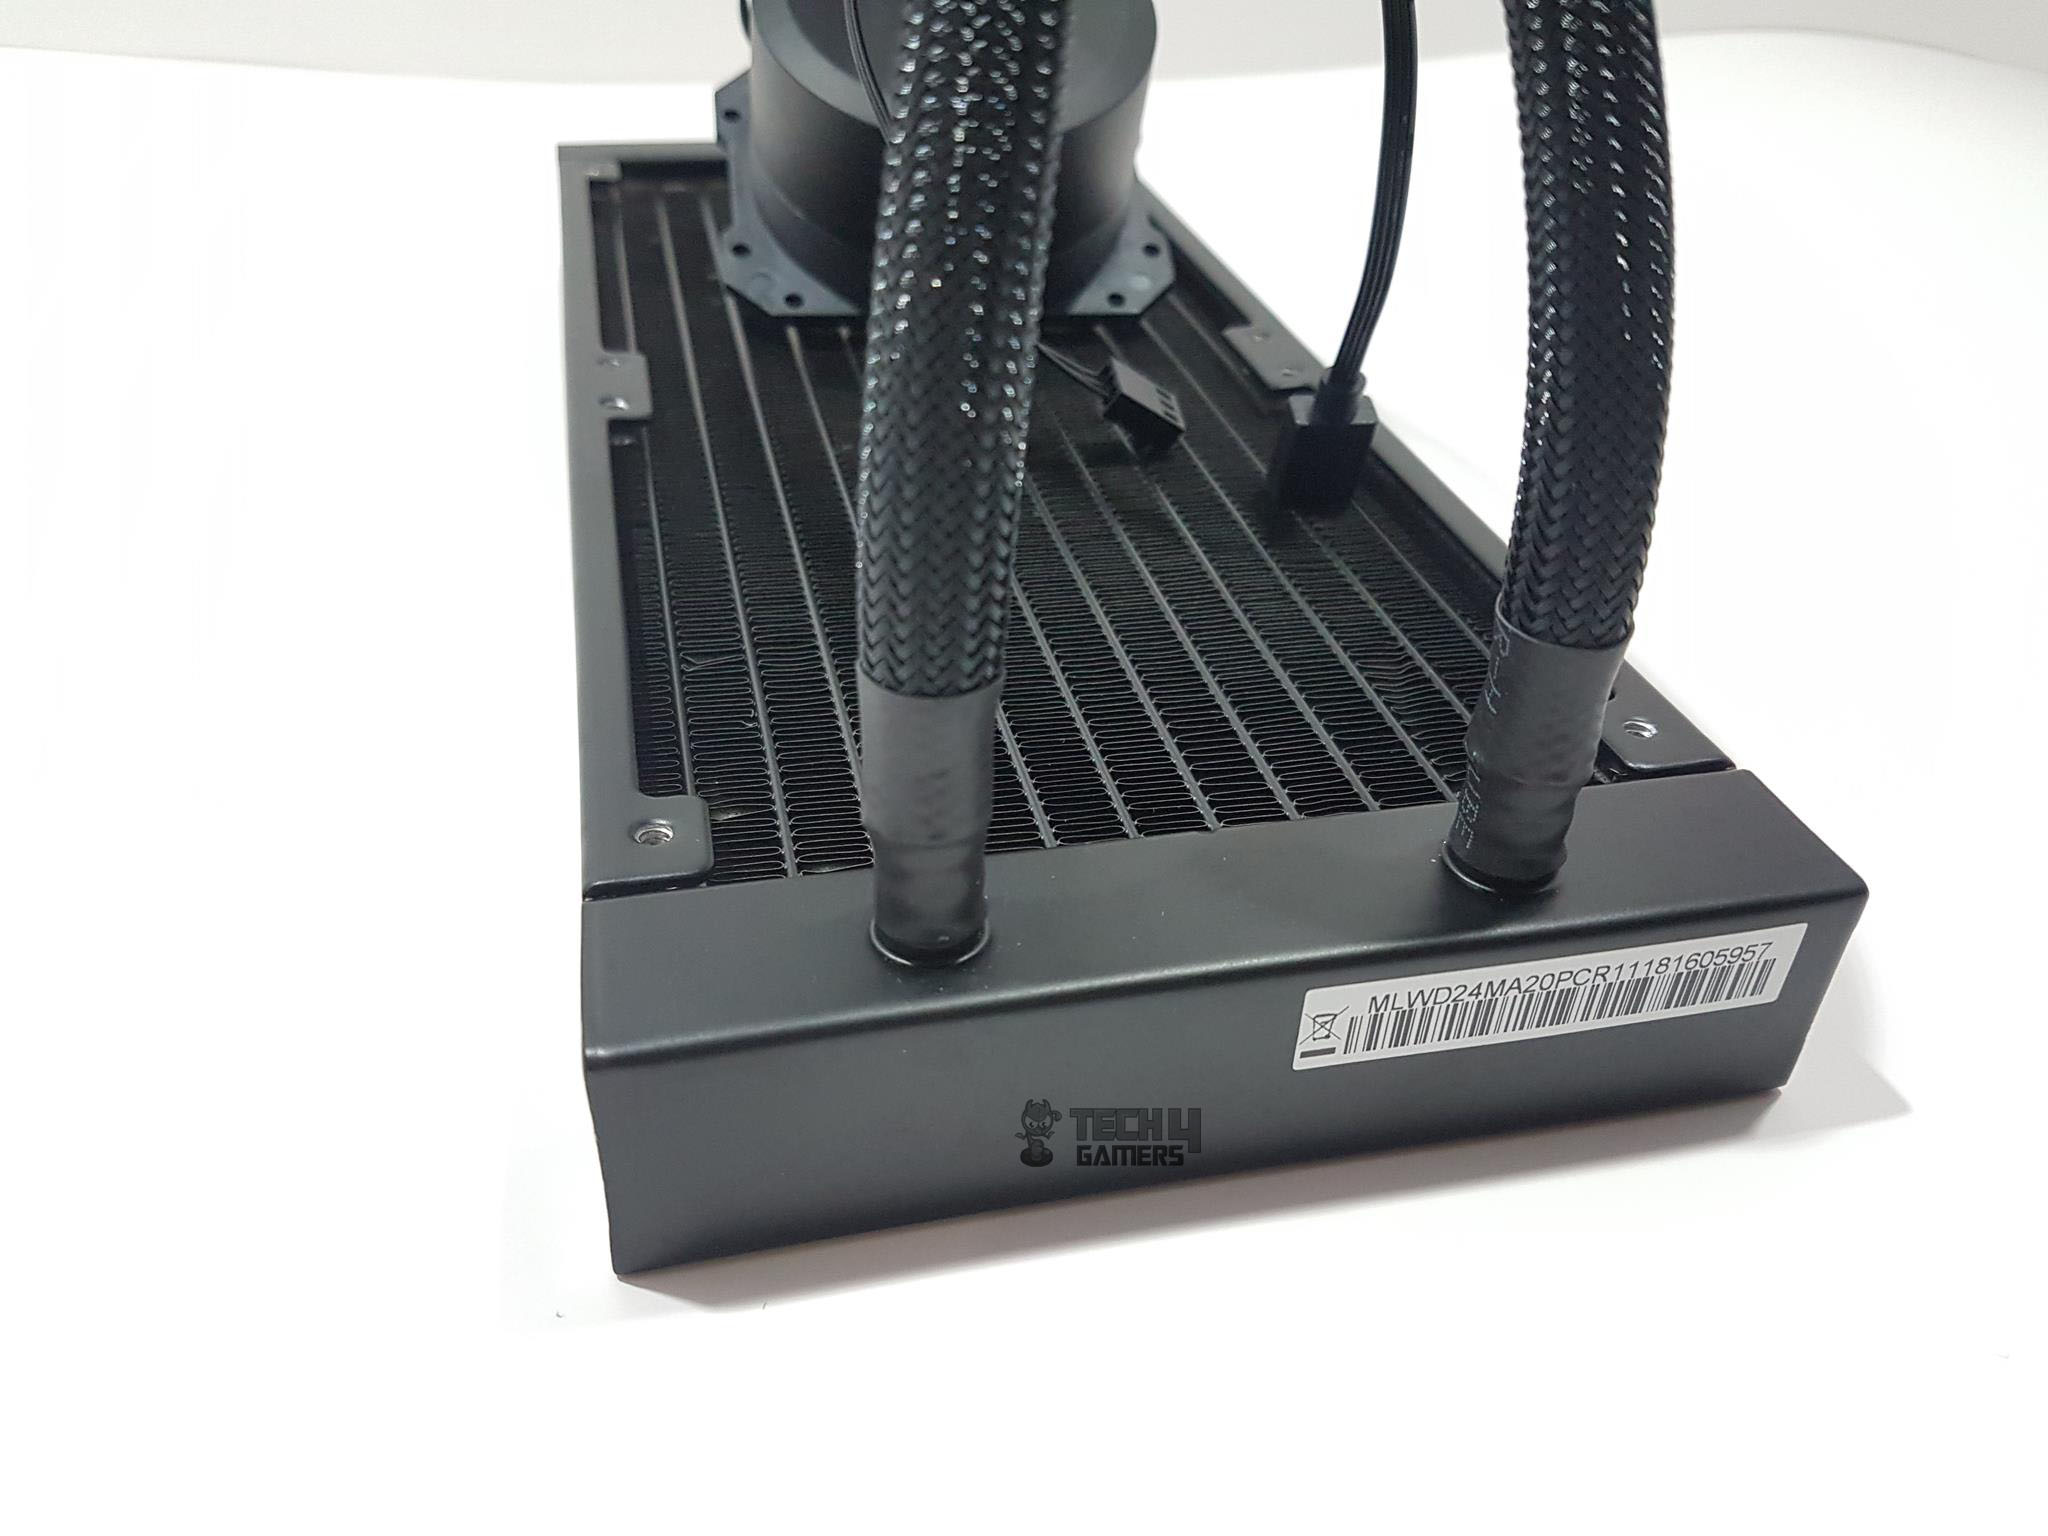

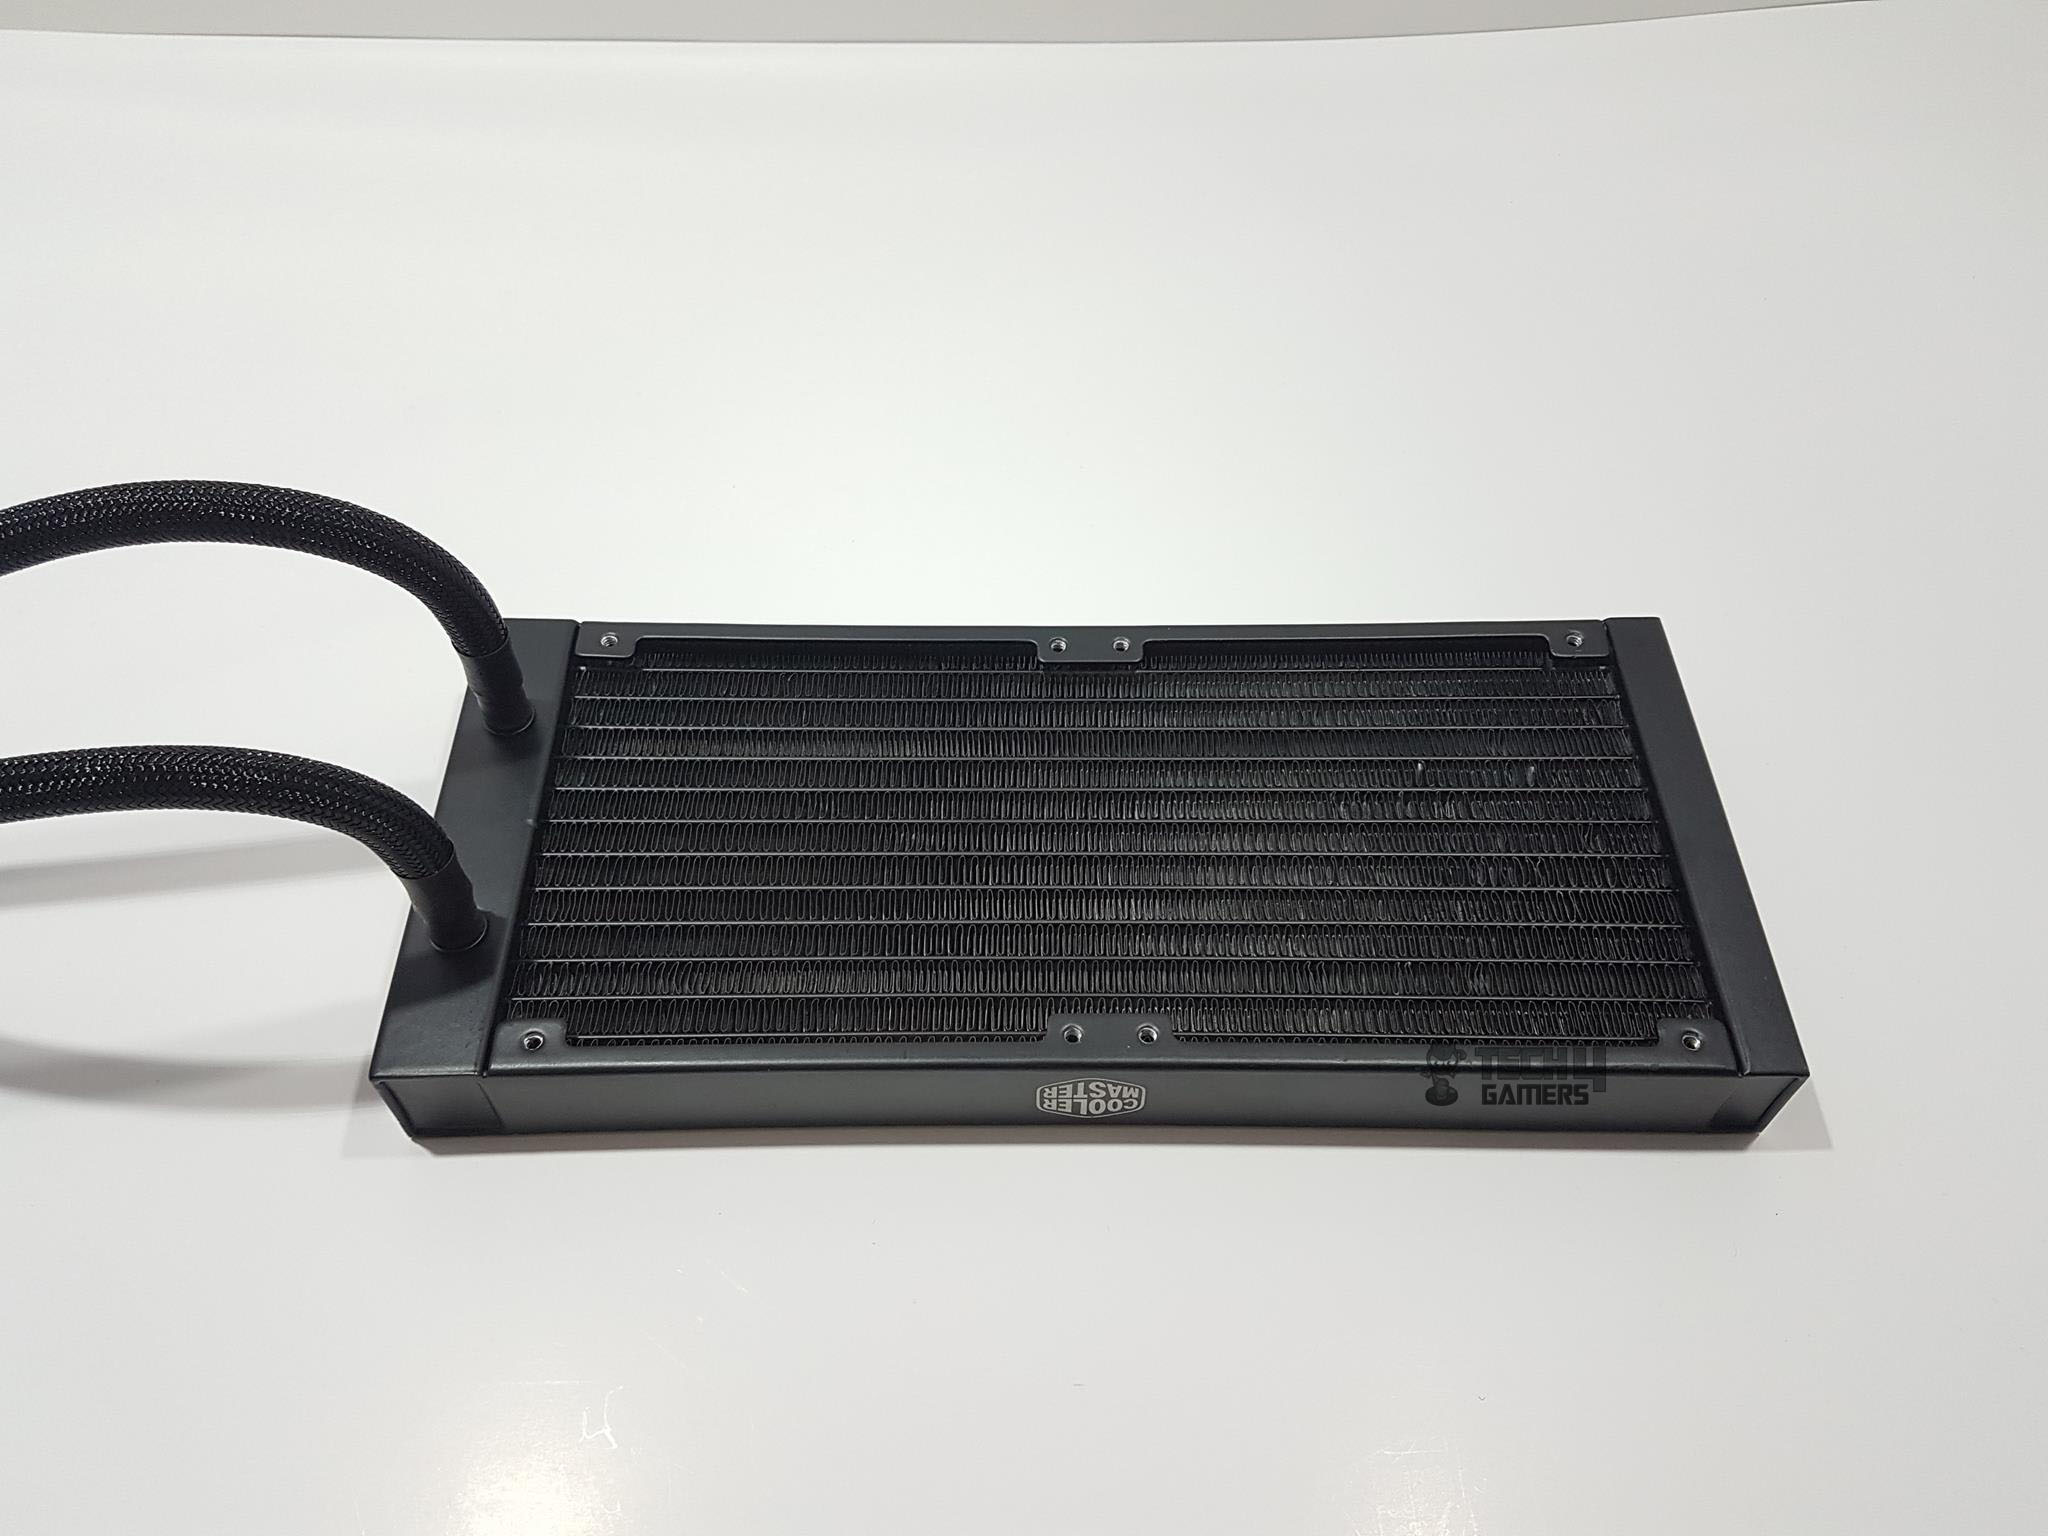
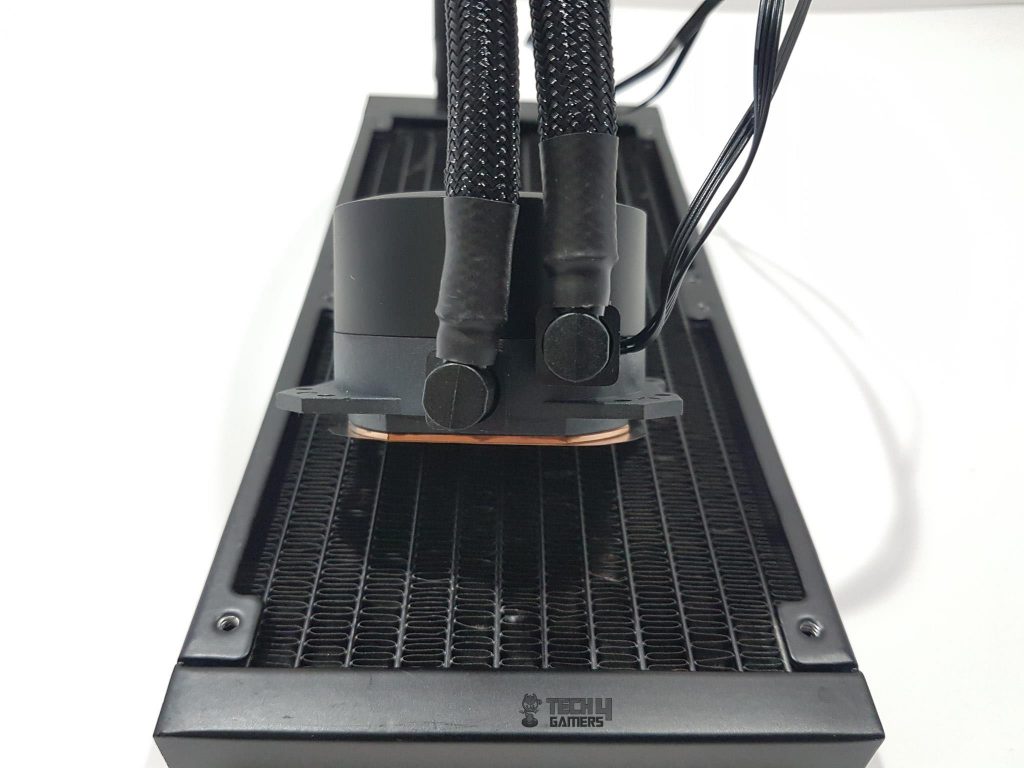
The assembly, in matte gray, spans 277mm, including the head chambers. Mounting holes have a 105mm spacing, with the fins area measuring 246mm in total length. The radiator depth is 119.6mm. Note that there’s no protective plating under the mounting holes, so caution is needed during fan installation to avoid damaging fins. A sticker is on the hoses chamber.
Note the heat shrinks cover the braided hoses on the barbs. There is what seems like a refill port – if I am not wrong – on the left side of the chamber, which is covered with a Warranty Void when removed sticker. The far chamber features a slim design, with mostly bent fins. The tubing is a dual-layer system, with FEP on the inside and a meshed, braided exterior for a clean look. Despite being somewhat flexible, the tubings maintain a sleek appearance on this cooler.
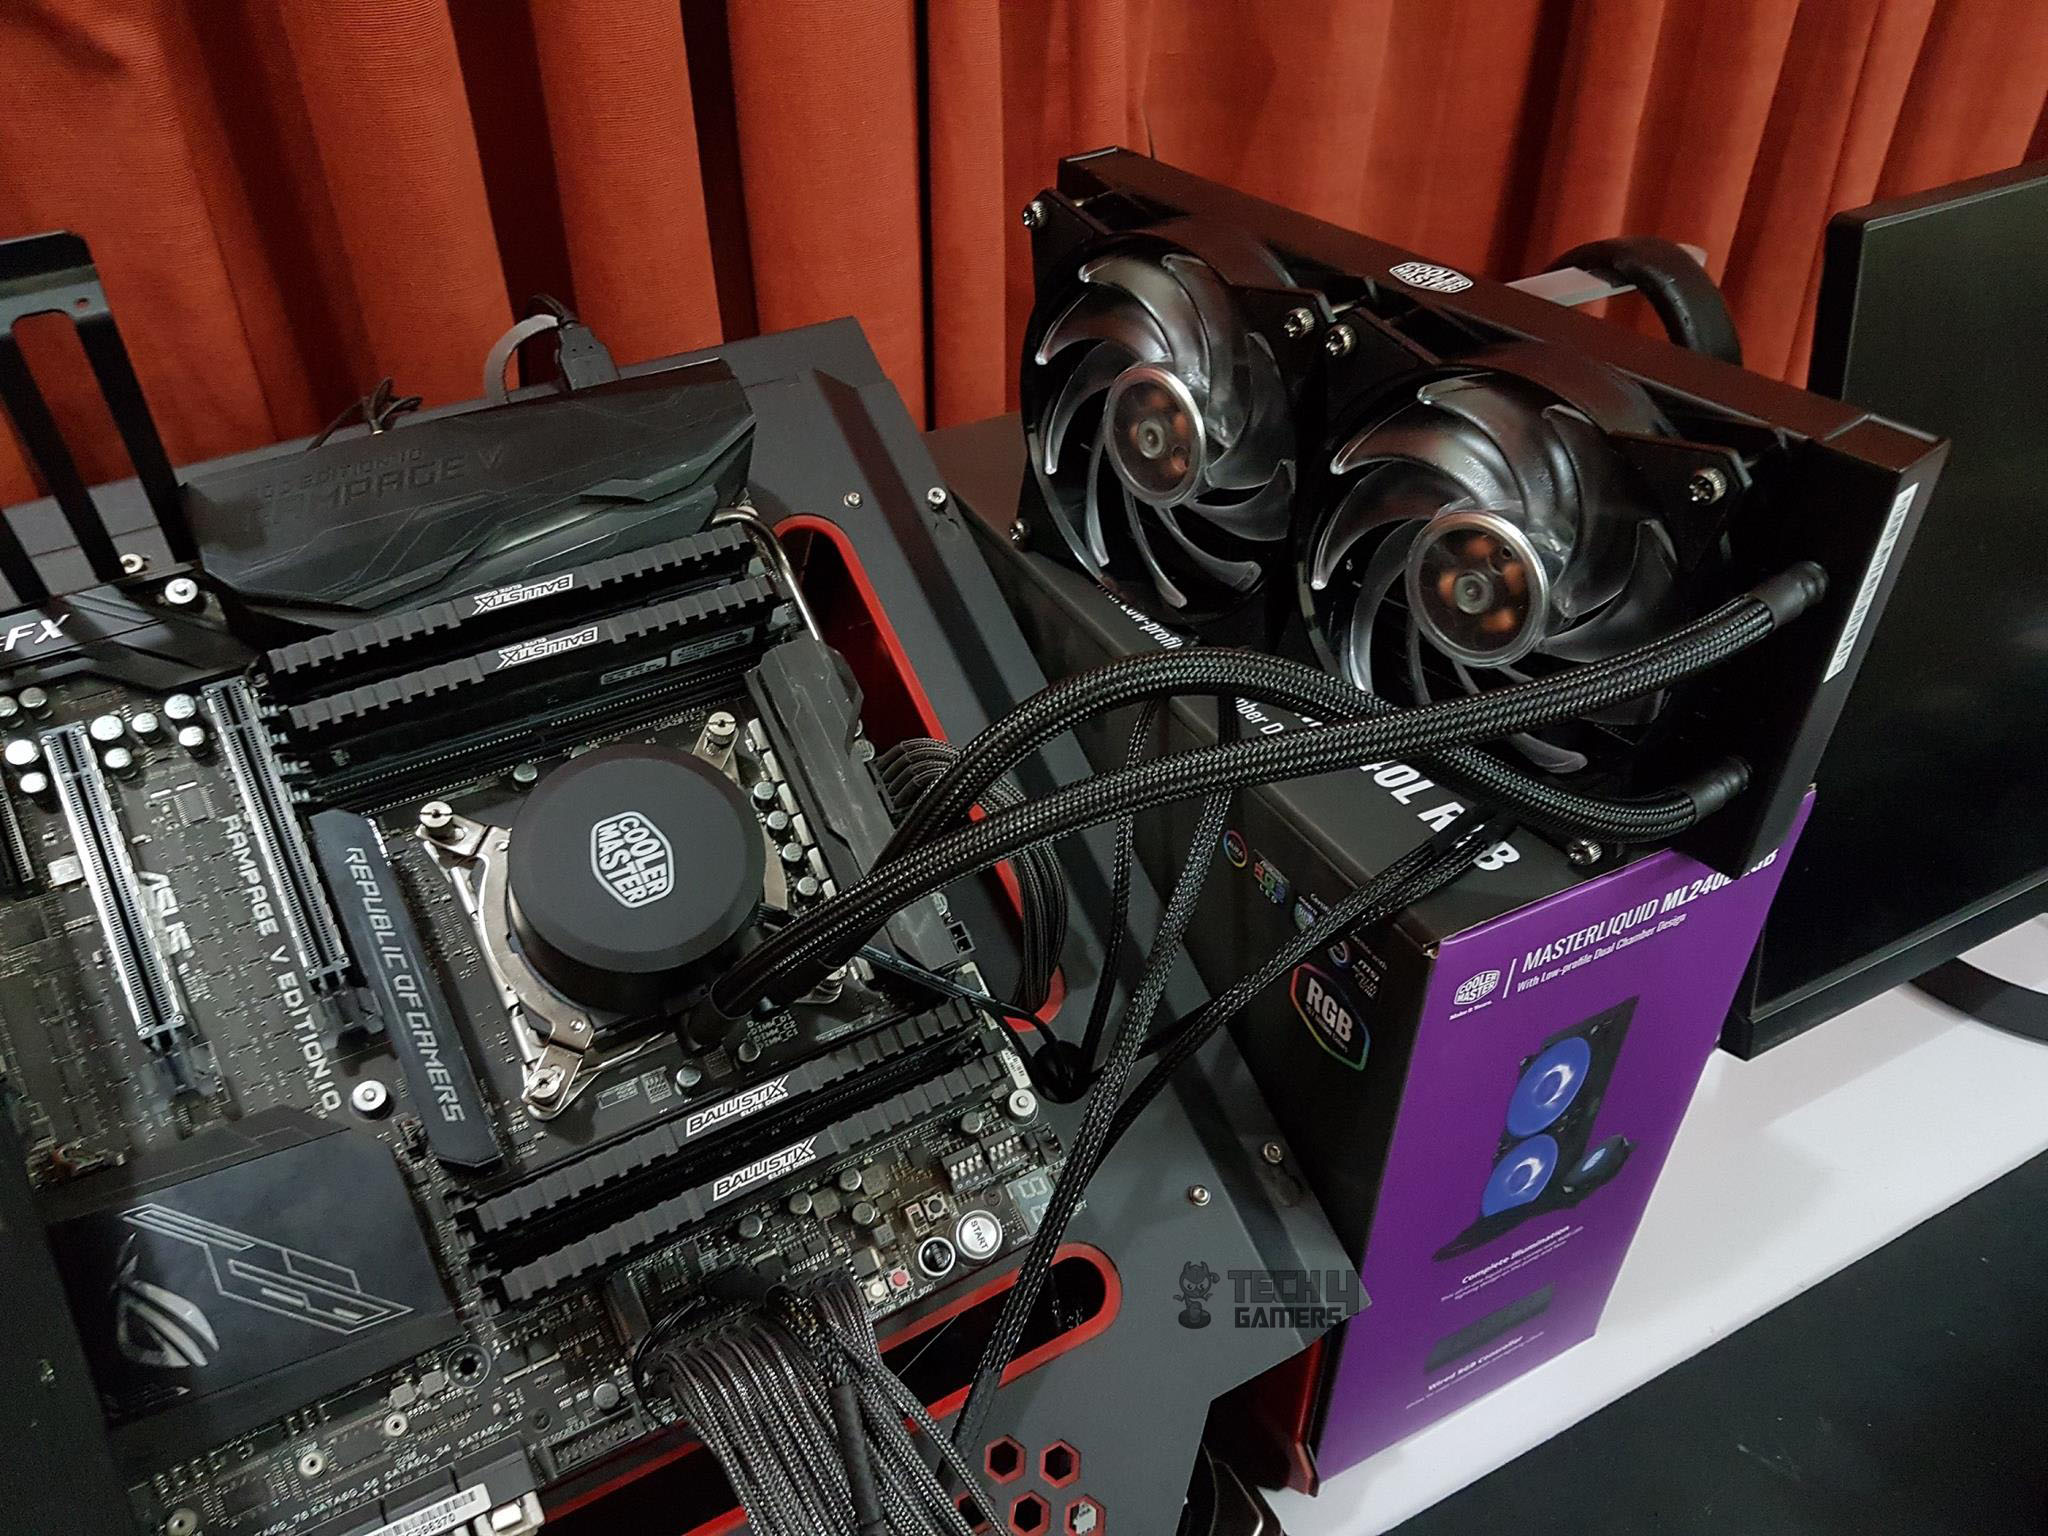
Pump
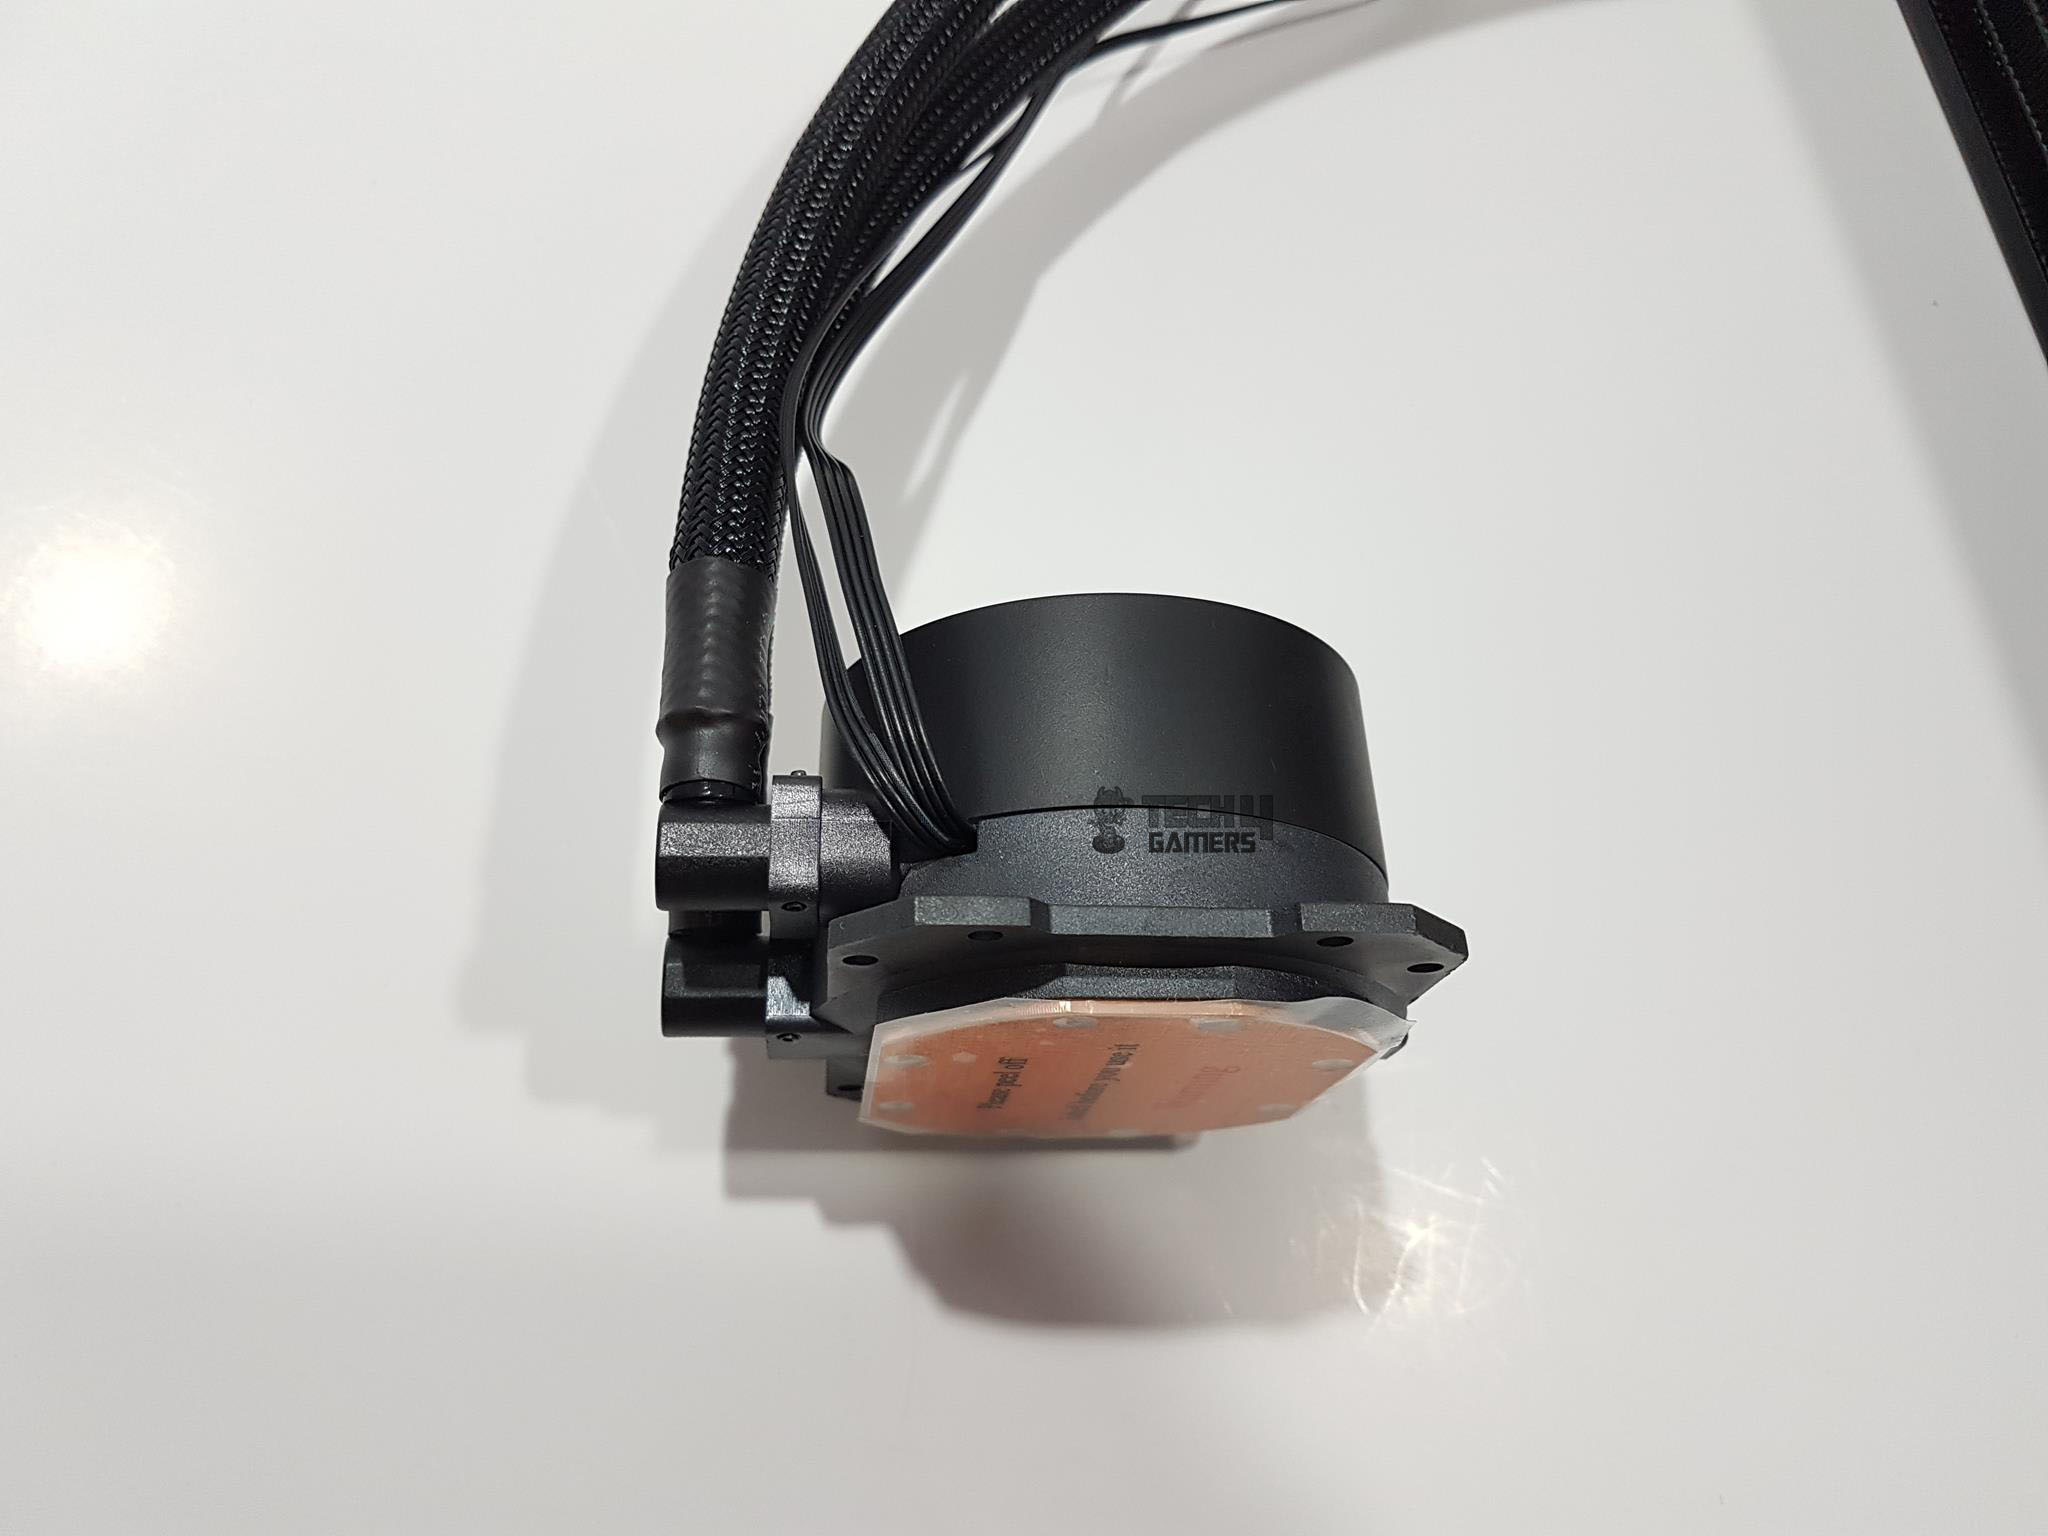
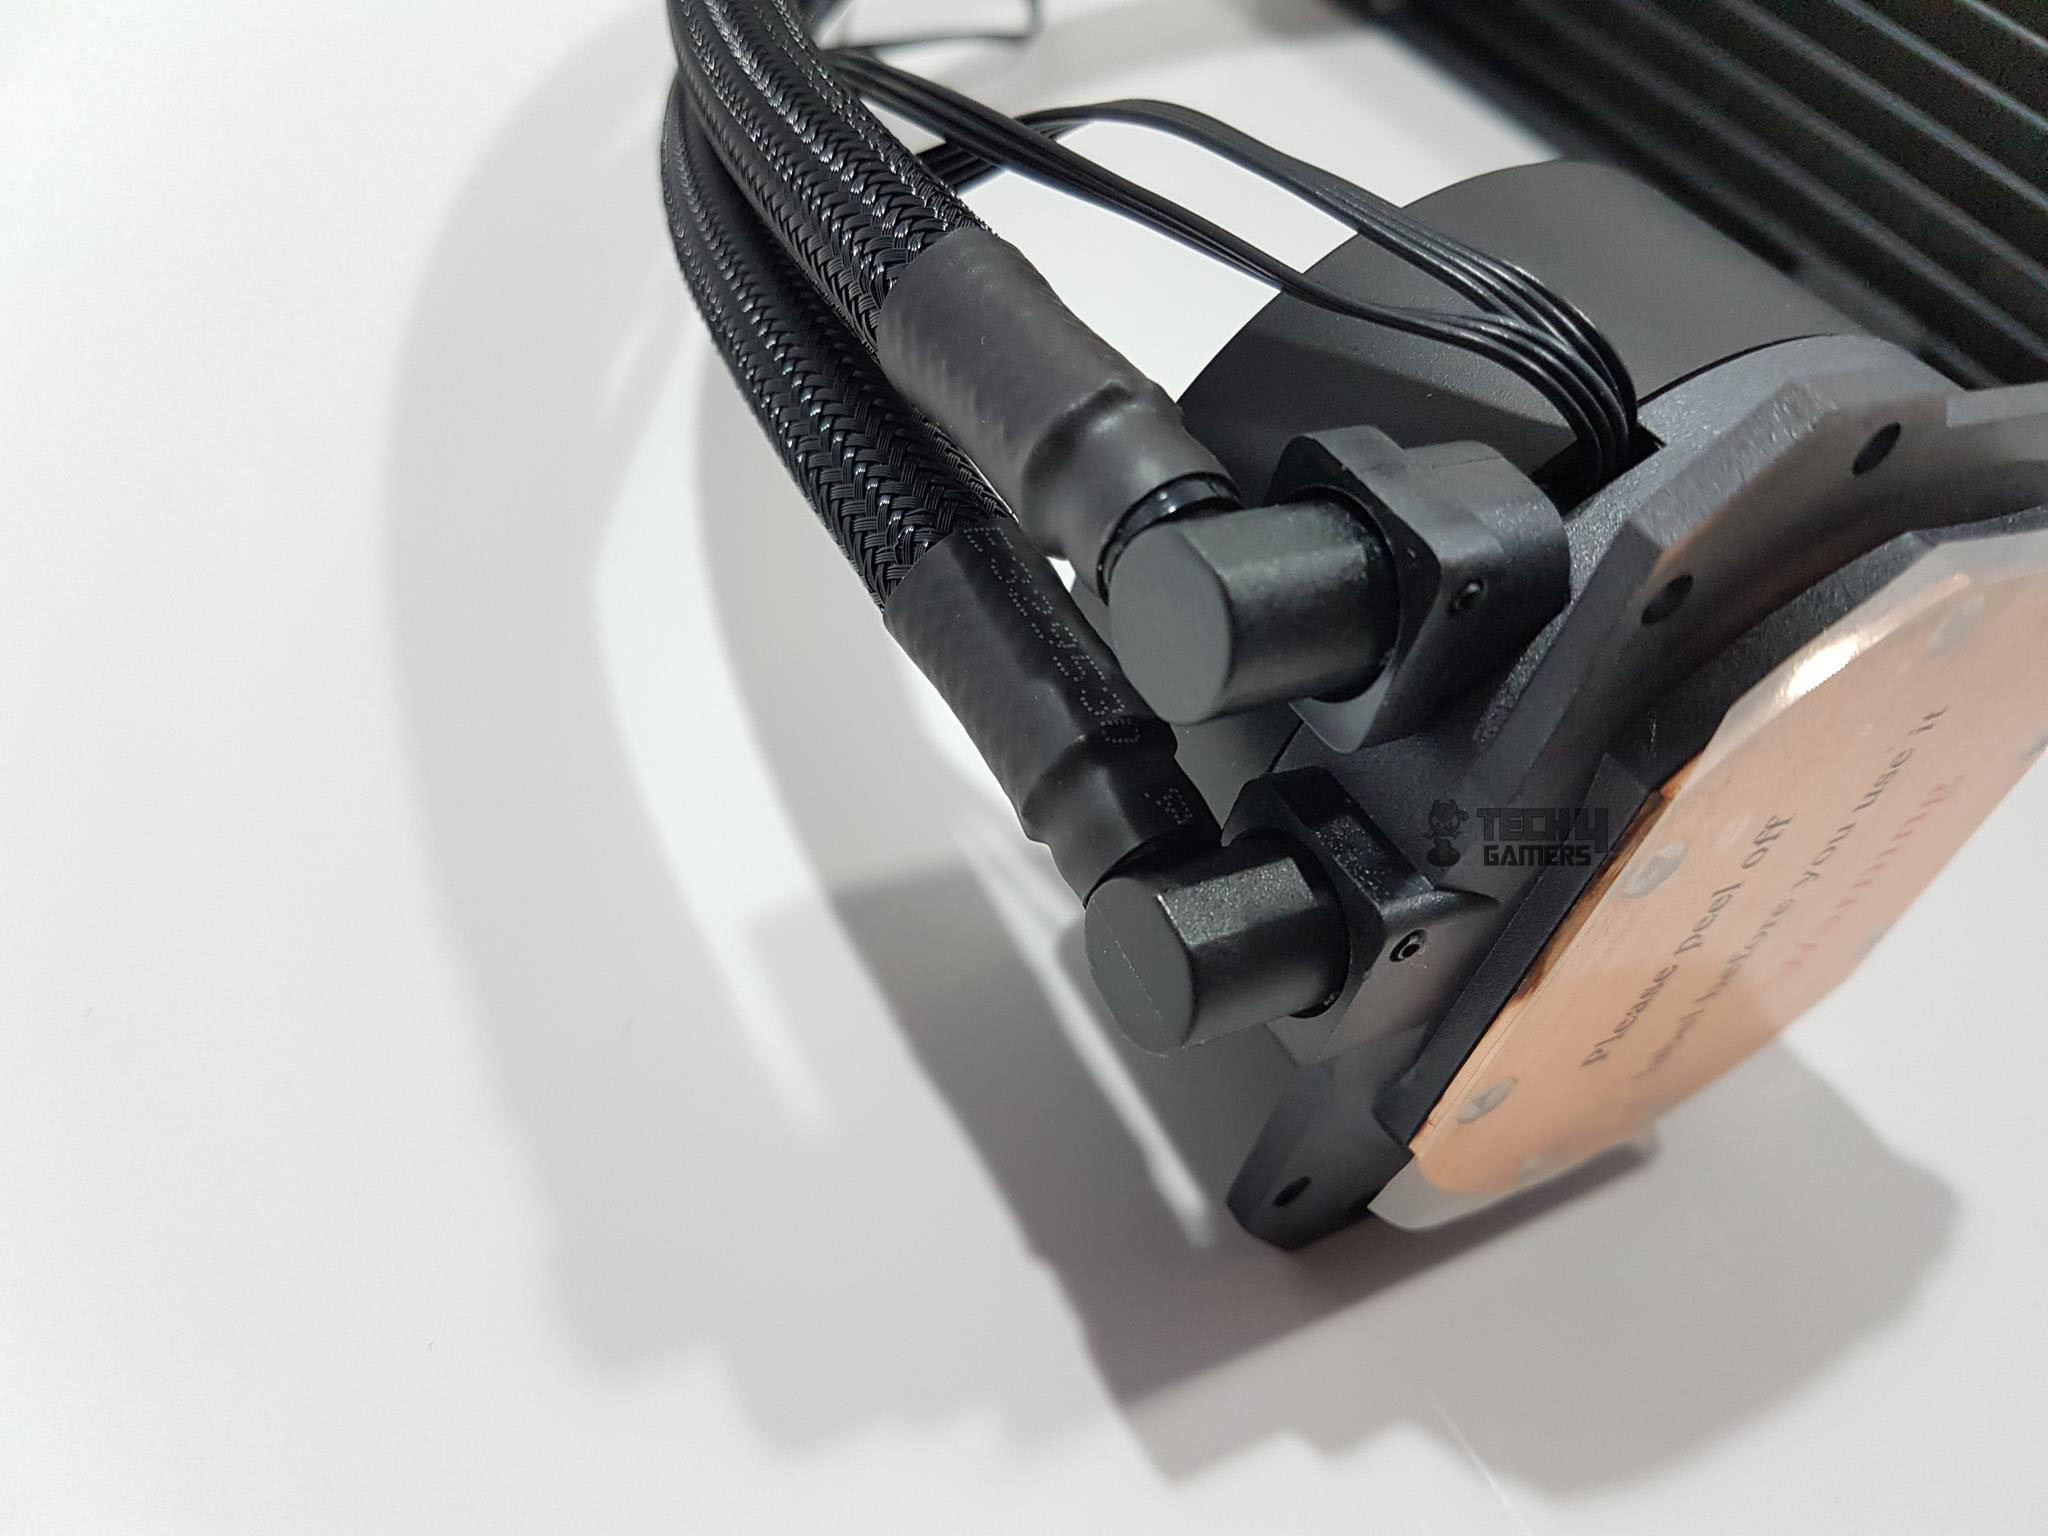
Now, examining the pump. The housing boasts a two-tone color scheme—gray and black. The complete block stands at a total height of 42.2mm, showcasing a low-profile dual-chamber design. Circular in shape, the housing features tubings at varying heights on the back side. Notably, there’s an arrow indicating the coolant flow direction on both 90° barbs.
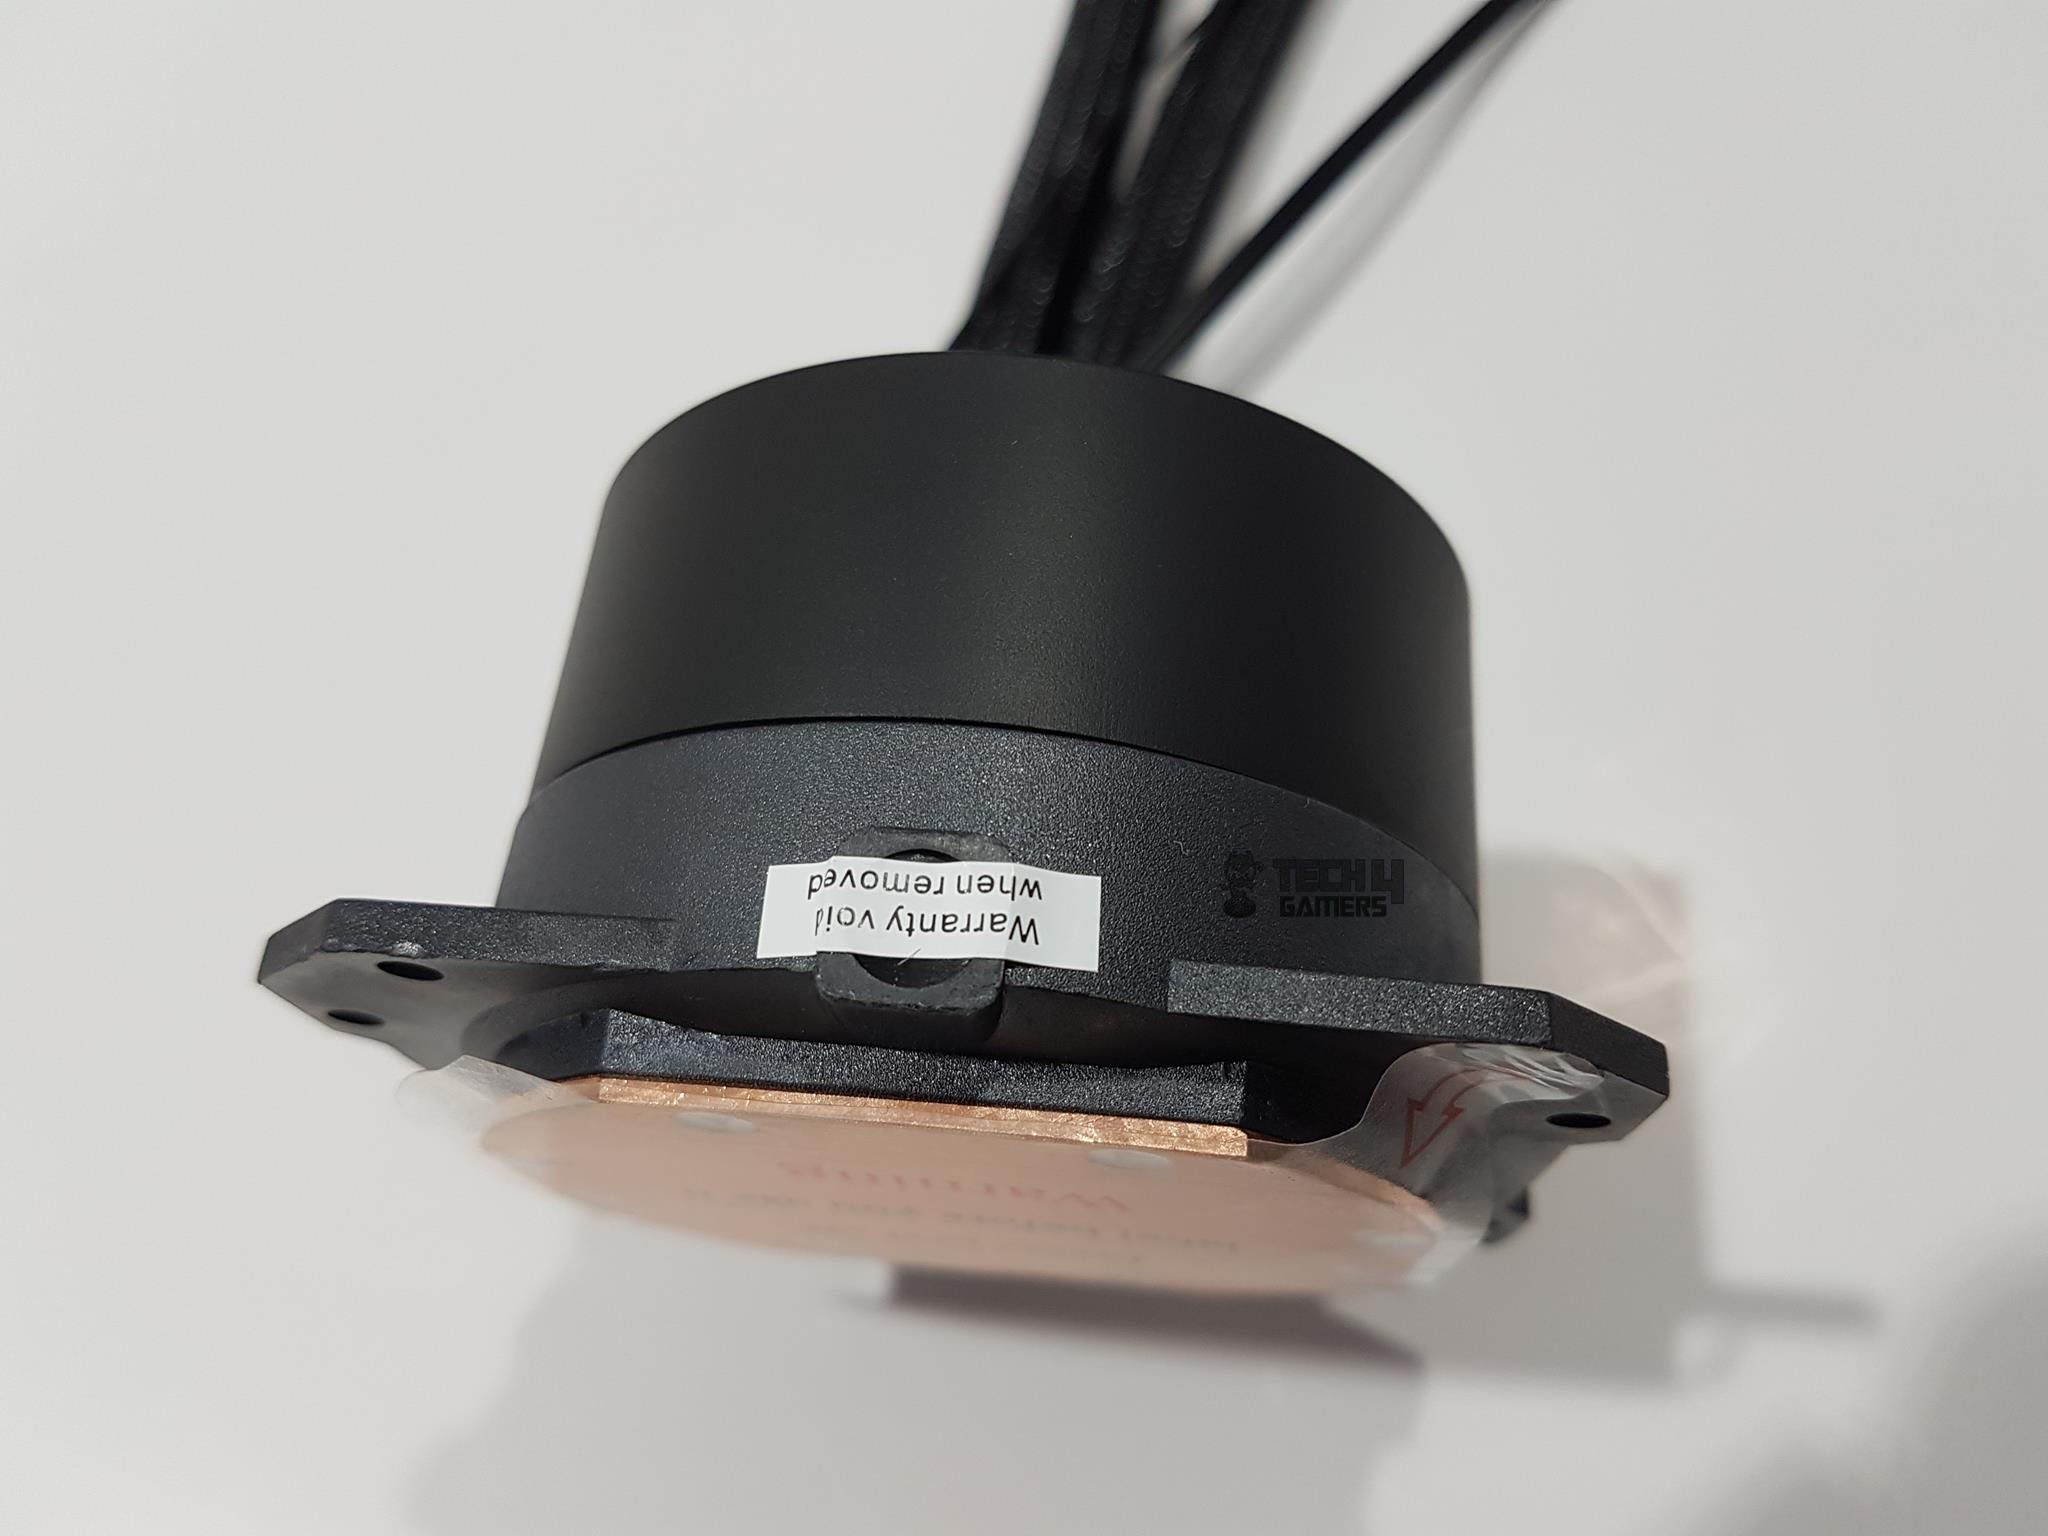
The pump has a bottom tubing for cold coolant intake and a top hose for expelling hot coolant. From the outgoing hose’s right side, there are two cables: a 330mm 3-pin power cable and a 290mm 4-pin LED cable. The housing has a bottom extension forming part of the body with drilled holes in each corner for mounting brackets.
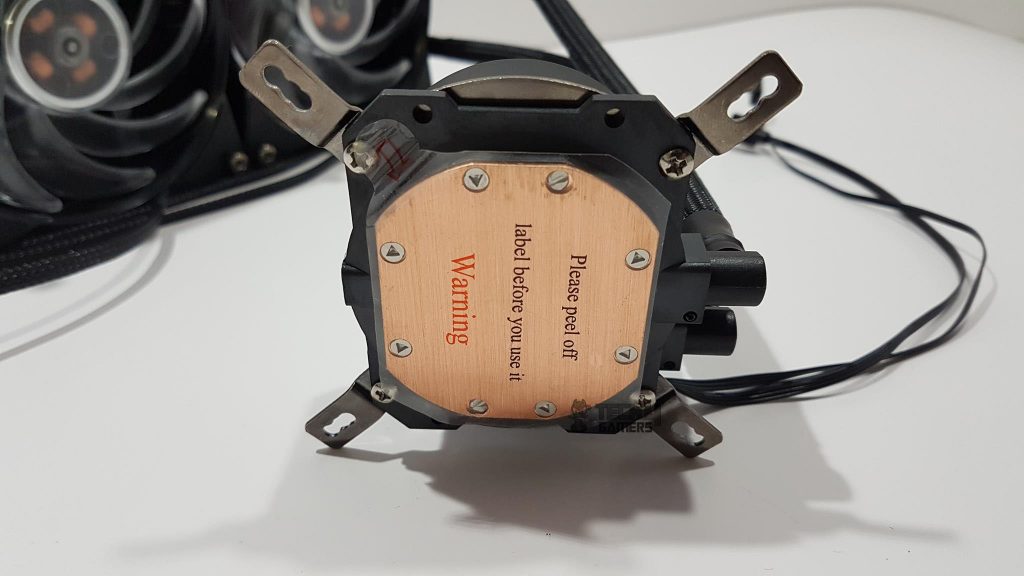
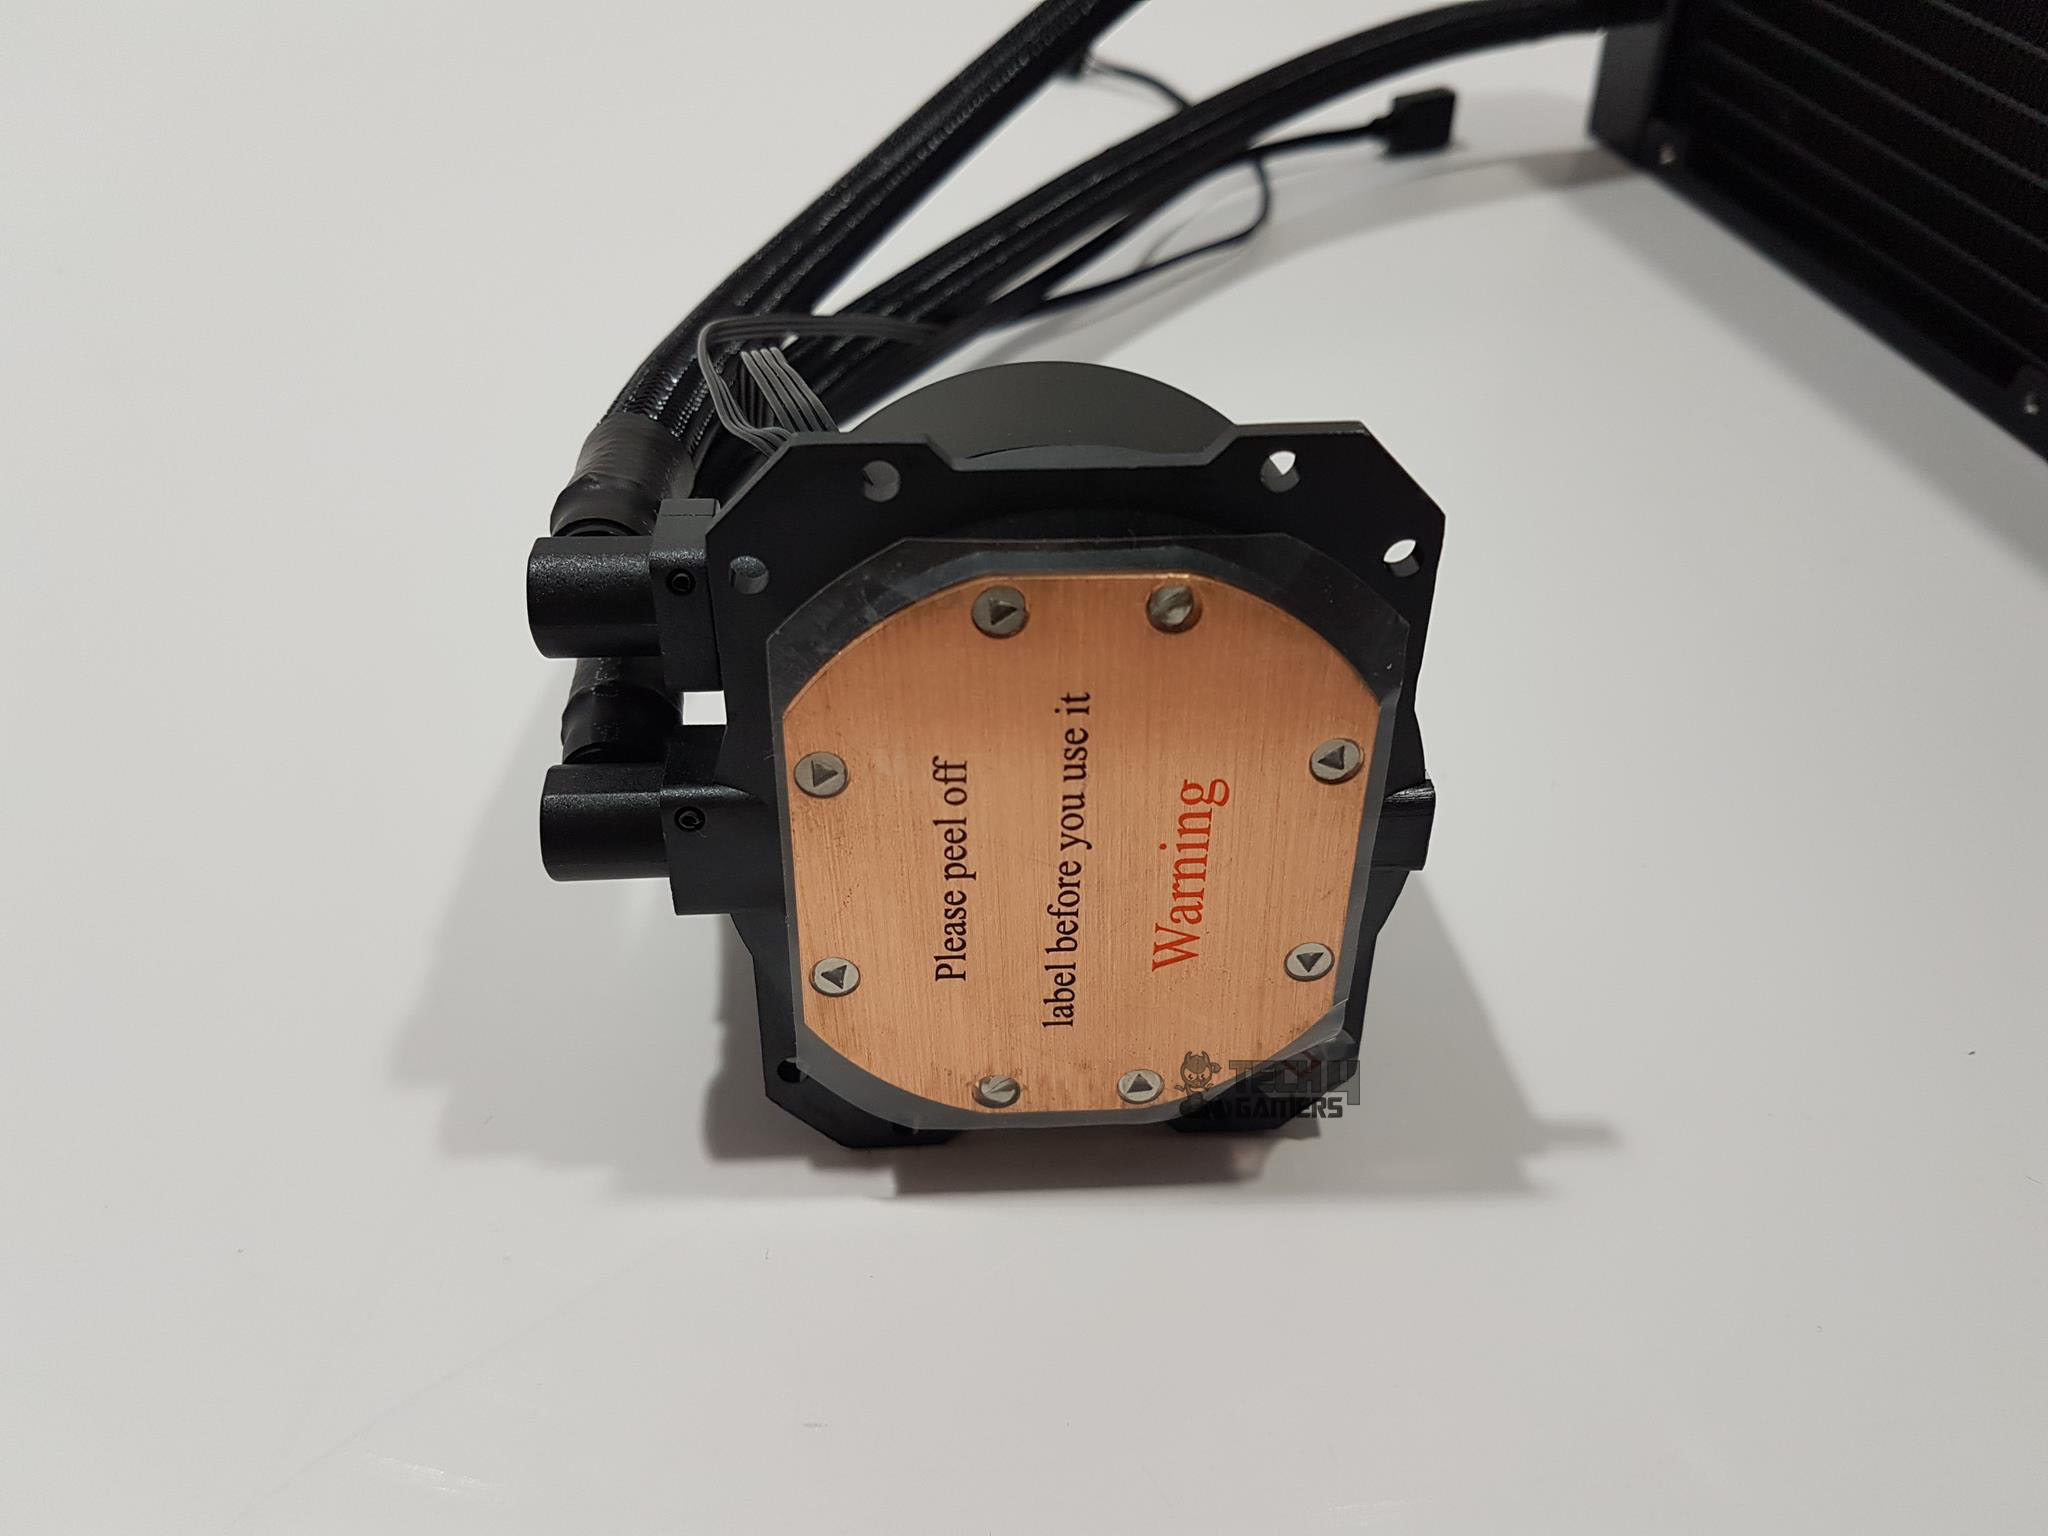
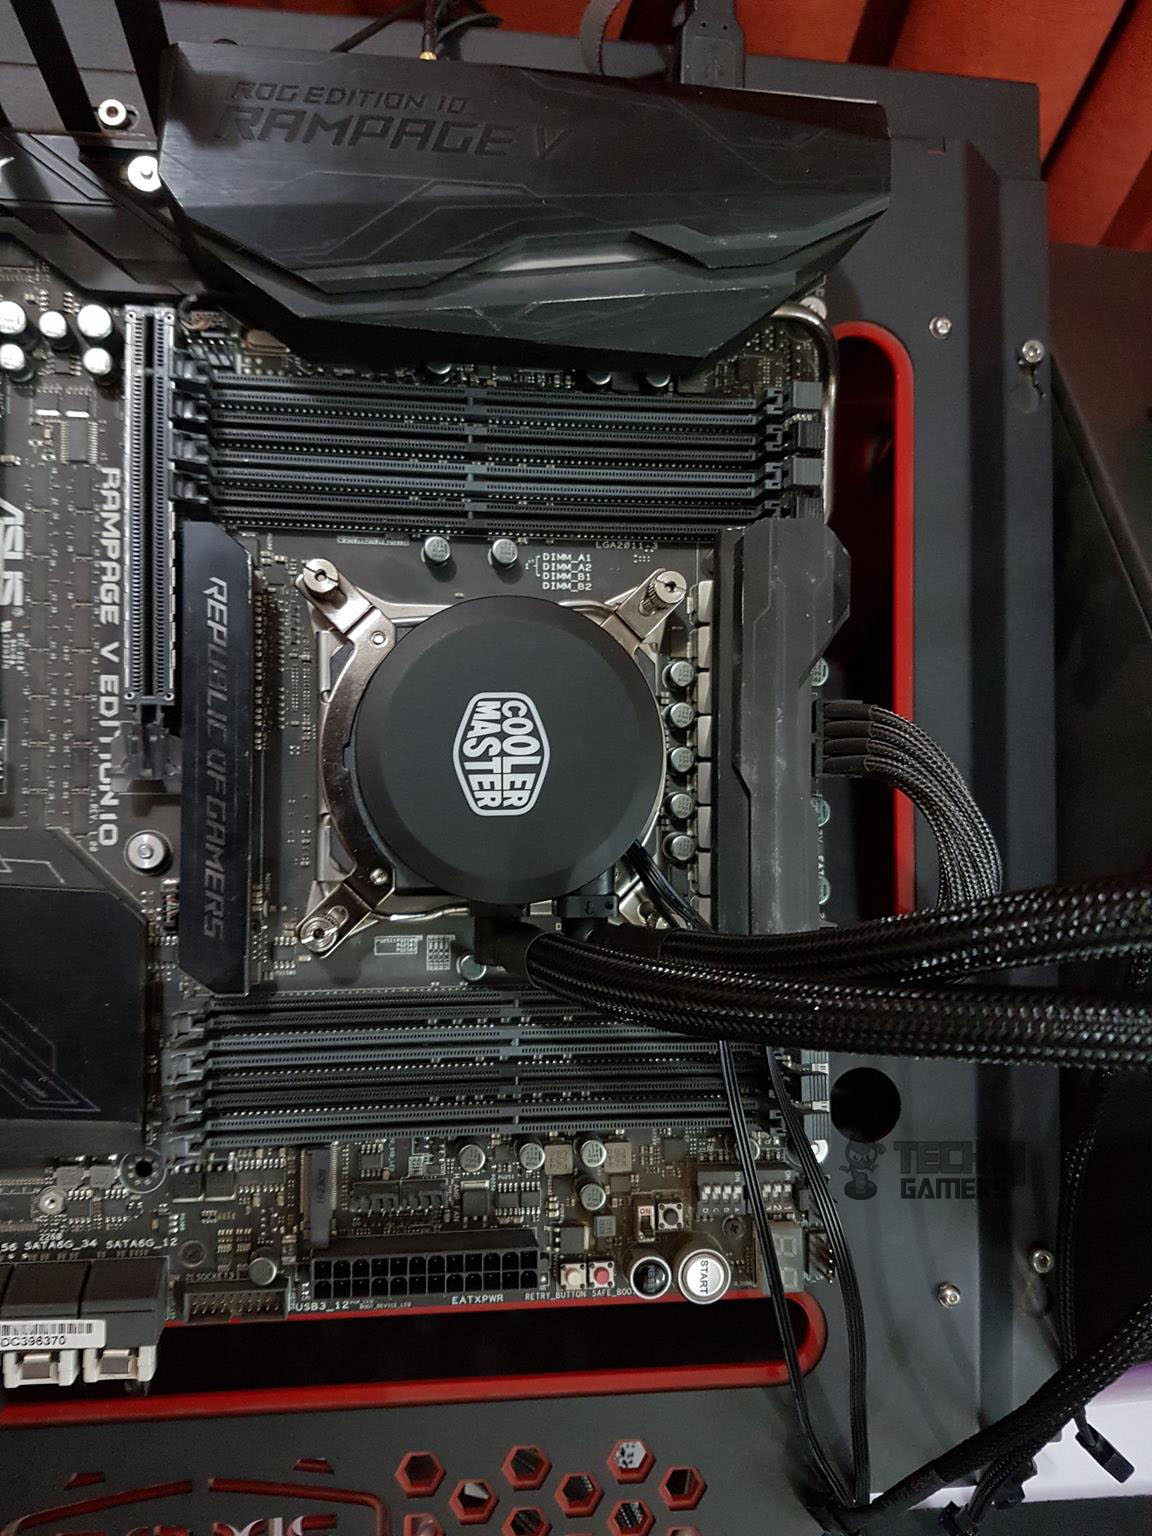
The mounting plate is 76×80.3mm with a circular portion of 65mm diameter. The copper base is 65x50mm without pre-applied thermal paste, and it has a cautionary transparent sticker. The block features a Cooler Master logo on top that lights up when connected to an LED cable..
The copper base has an angular, almost convex polygon shape. A refill port on the housing is covered by a white Warranty void if removed sticker. The pump has a 70,000-hour MTTF, equivalent to 7.37 years of continuous 24/7 operation. Noise level is <15 dBA at 12VDC, and our sample ran at 2170 RPM at 100% speed.
Fans
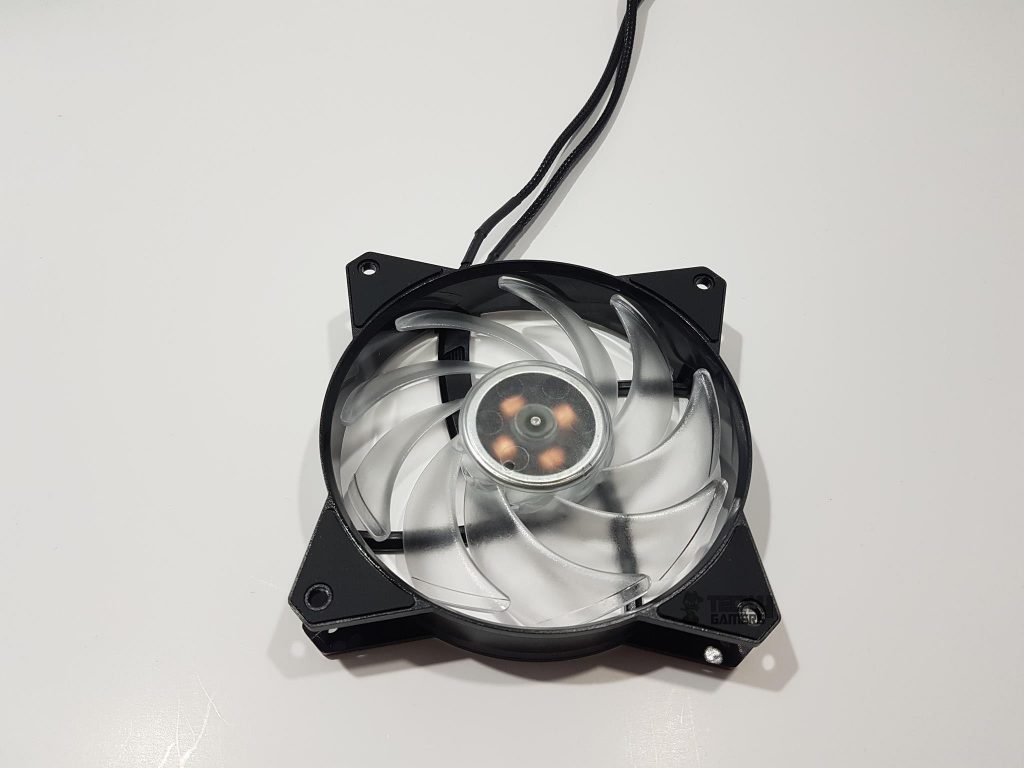
Cooler Master’s cooler comes with two 120x120x25mm MF120R RGB fans. They operate at 650~2000 RPM, but our sample reached 2057 RPM. Airflow is 66.7 CFM, air pressure is 2.34mmH2O, and noise levels range from 6 to 30 dBA. The 4-pin PWM fans have a 12VDC rating, 0.37A current, and a power consumption of 4.44W.
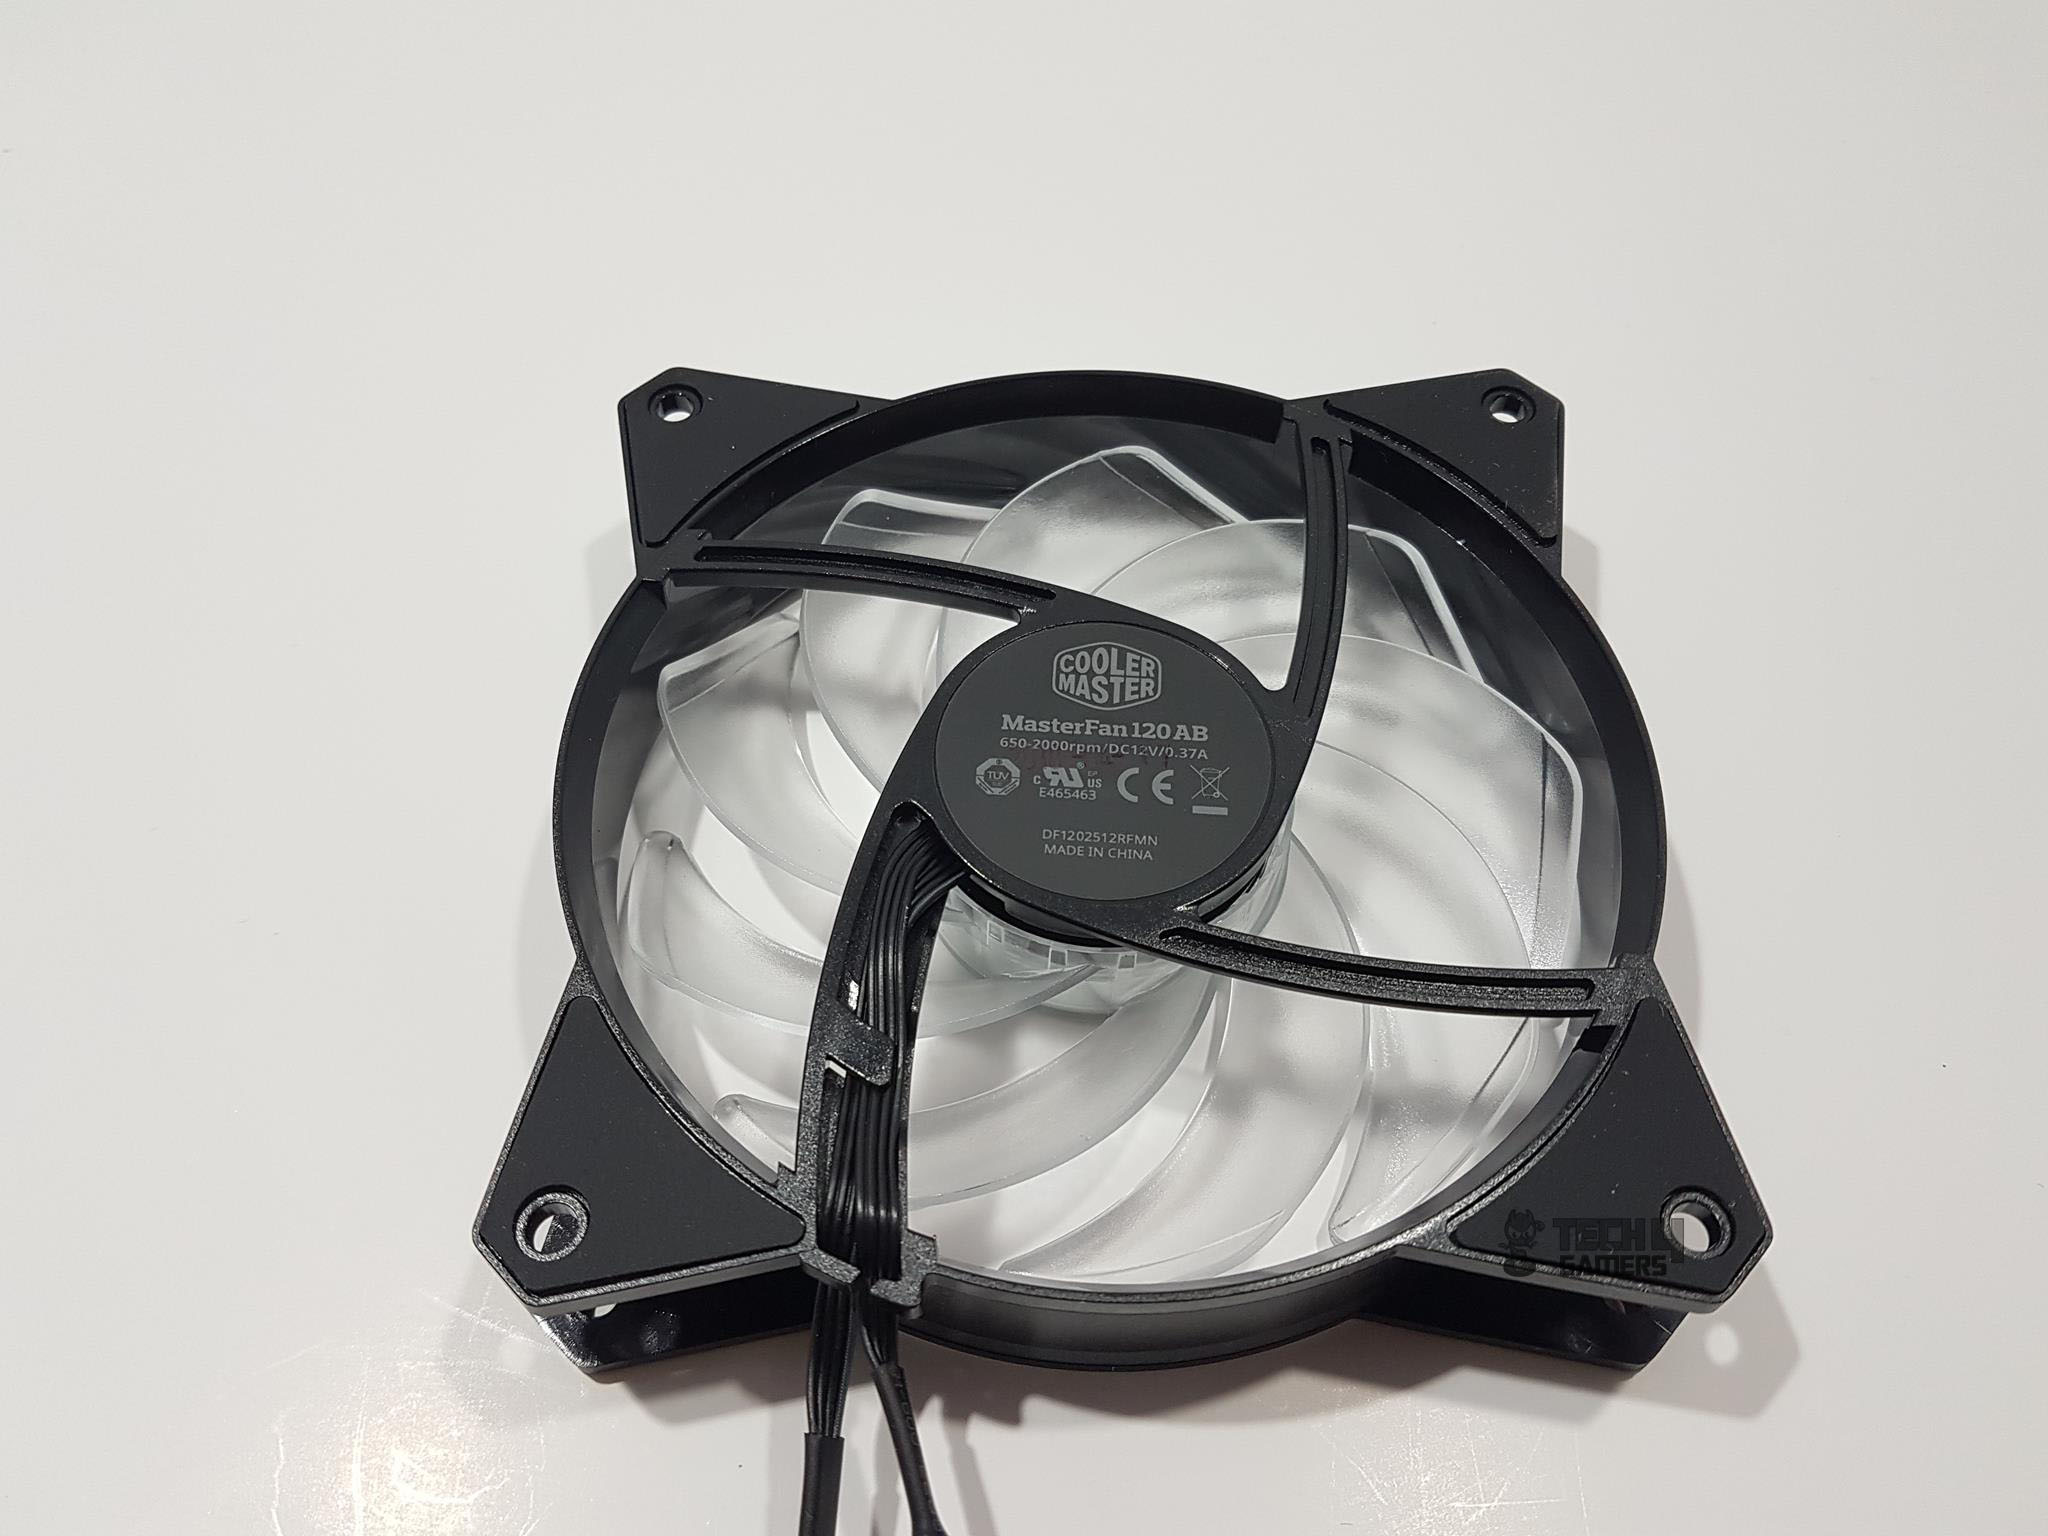
The fan features a 4-arm assembly on the back for cable routing, with widened paths for cables. Two flat cables emerge from the hub, which has a dark gray sticker with the Cooler Master logo and “MasterFan 120 AB” indicating Air Balance.
The fan, made in China, has a front view with 9 transparent impellers, each with a raised trailing edge. The transparent hub houses RGB LEDs. The circular frame has four trapezoid-shaped mounting hubs with anti-vibration rubber pads for symmetry.
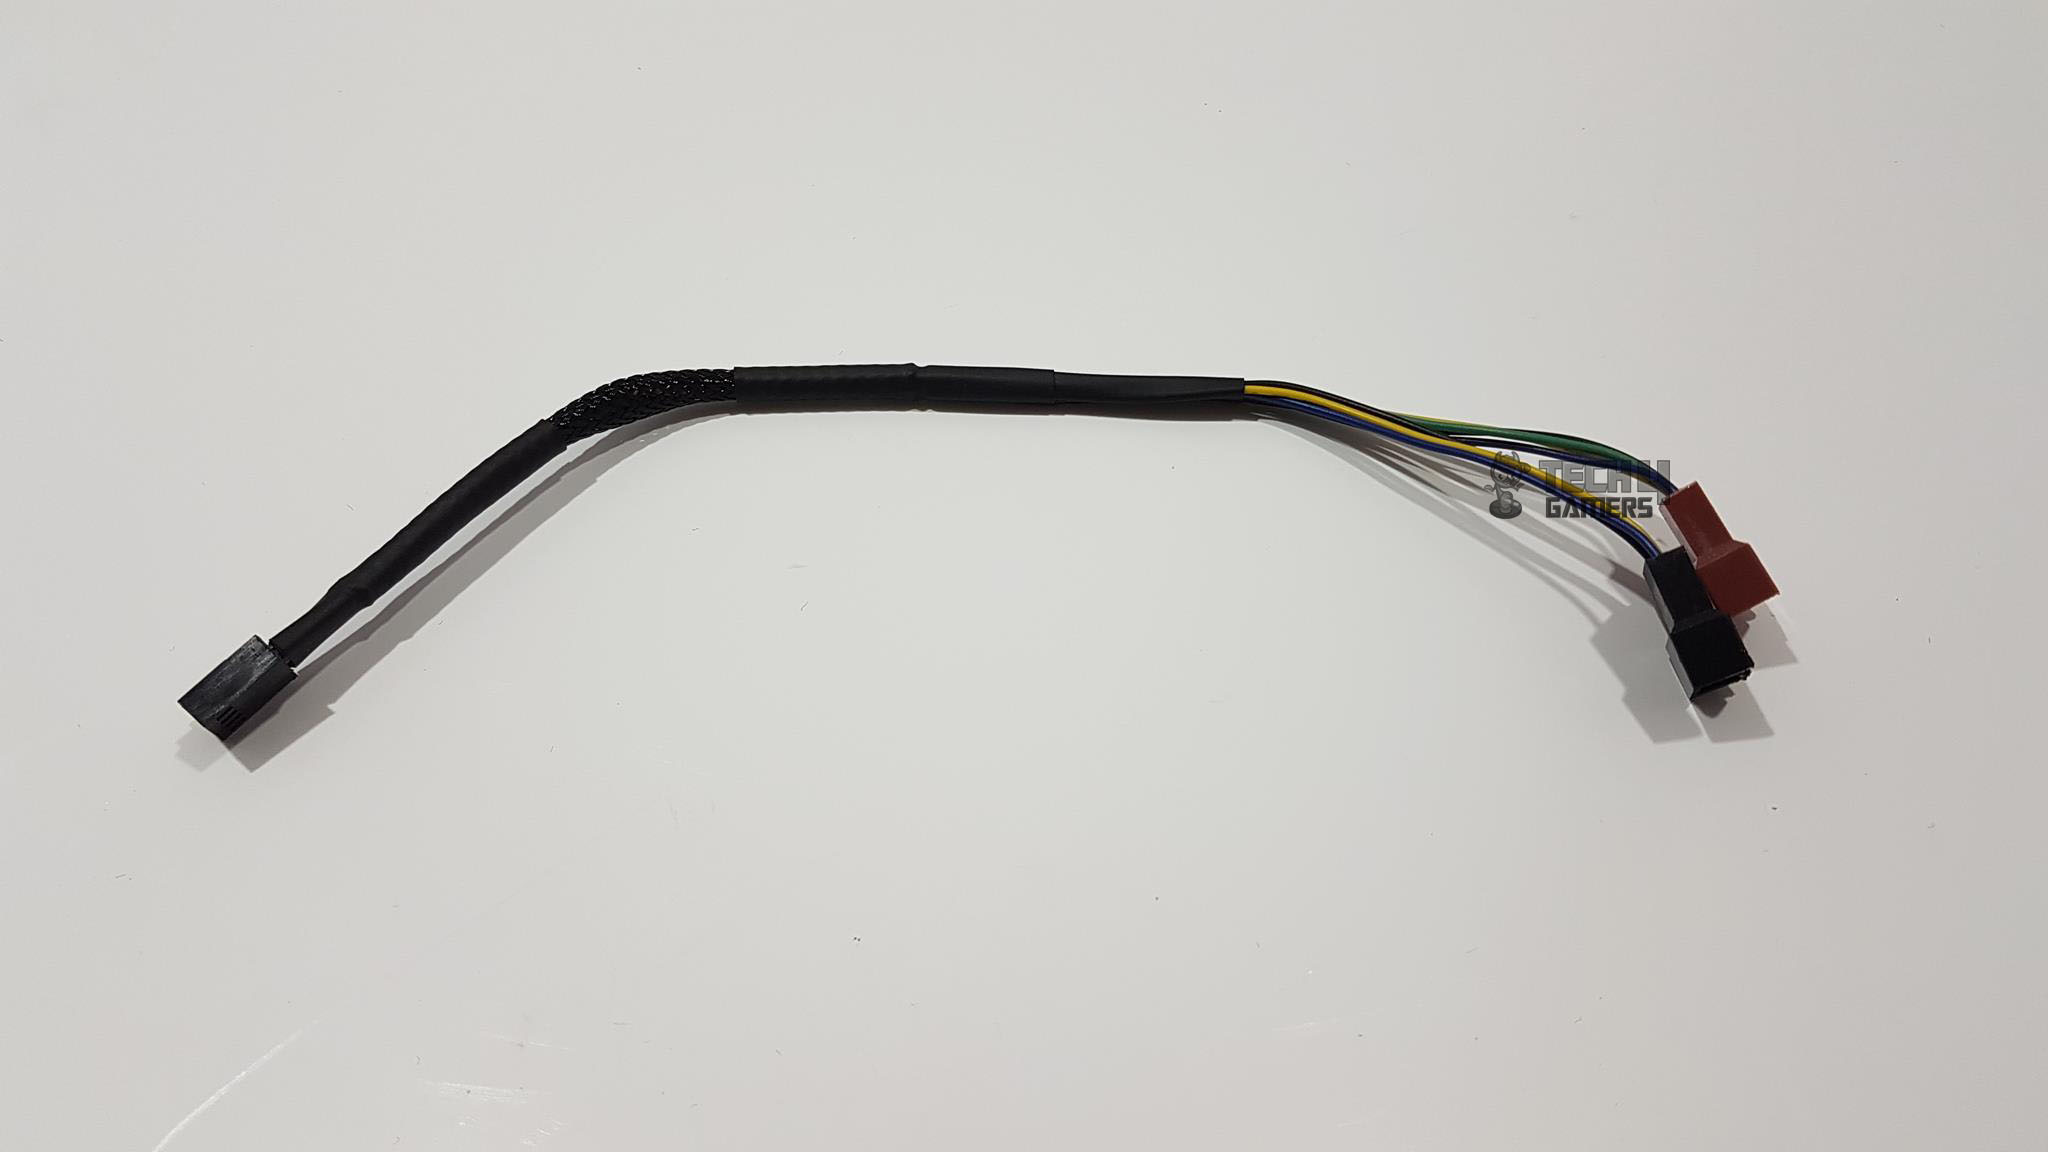
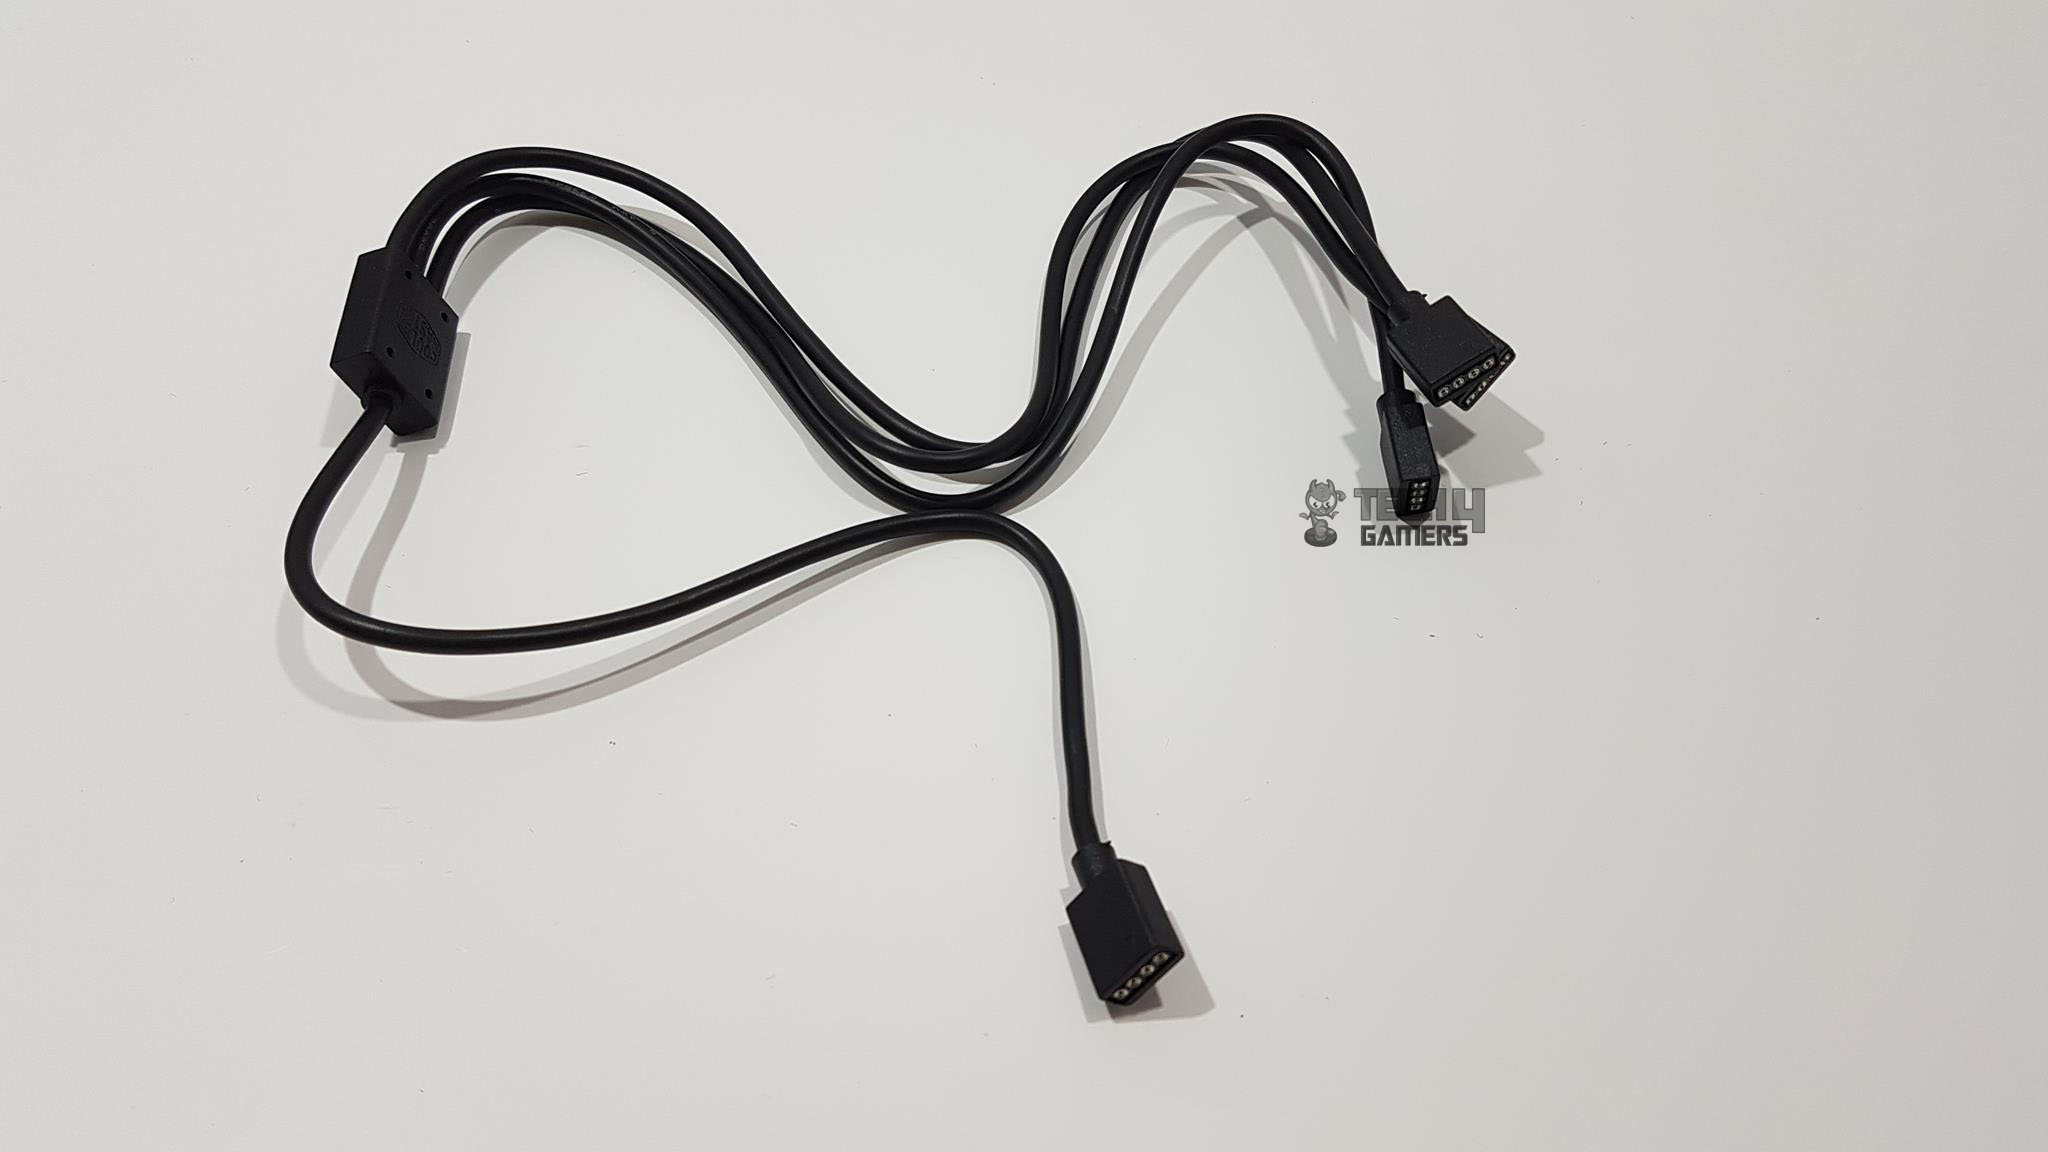
The fan has an impressive MTTF of 160,000 hours, equivalent to around 18.26 years of continuous 24/7 operation. It comes with two cables: a 295mm 4-pin power connector and a 290mm 4-pin RGB LED cable. The fan Y-splitter cable is approximately 226mm long, and features black and beige connectors. Additionally, Cooler Master provides a 218mm LED 3-way splitter cable along with 317mm extensions (3x). The package includes 4 cable pins.
A-RGB Lighting
Cooler Master has bundled an RGB controller to control the lighting effect of the cooler.
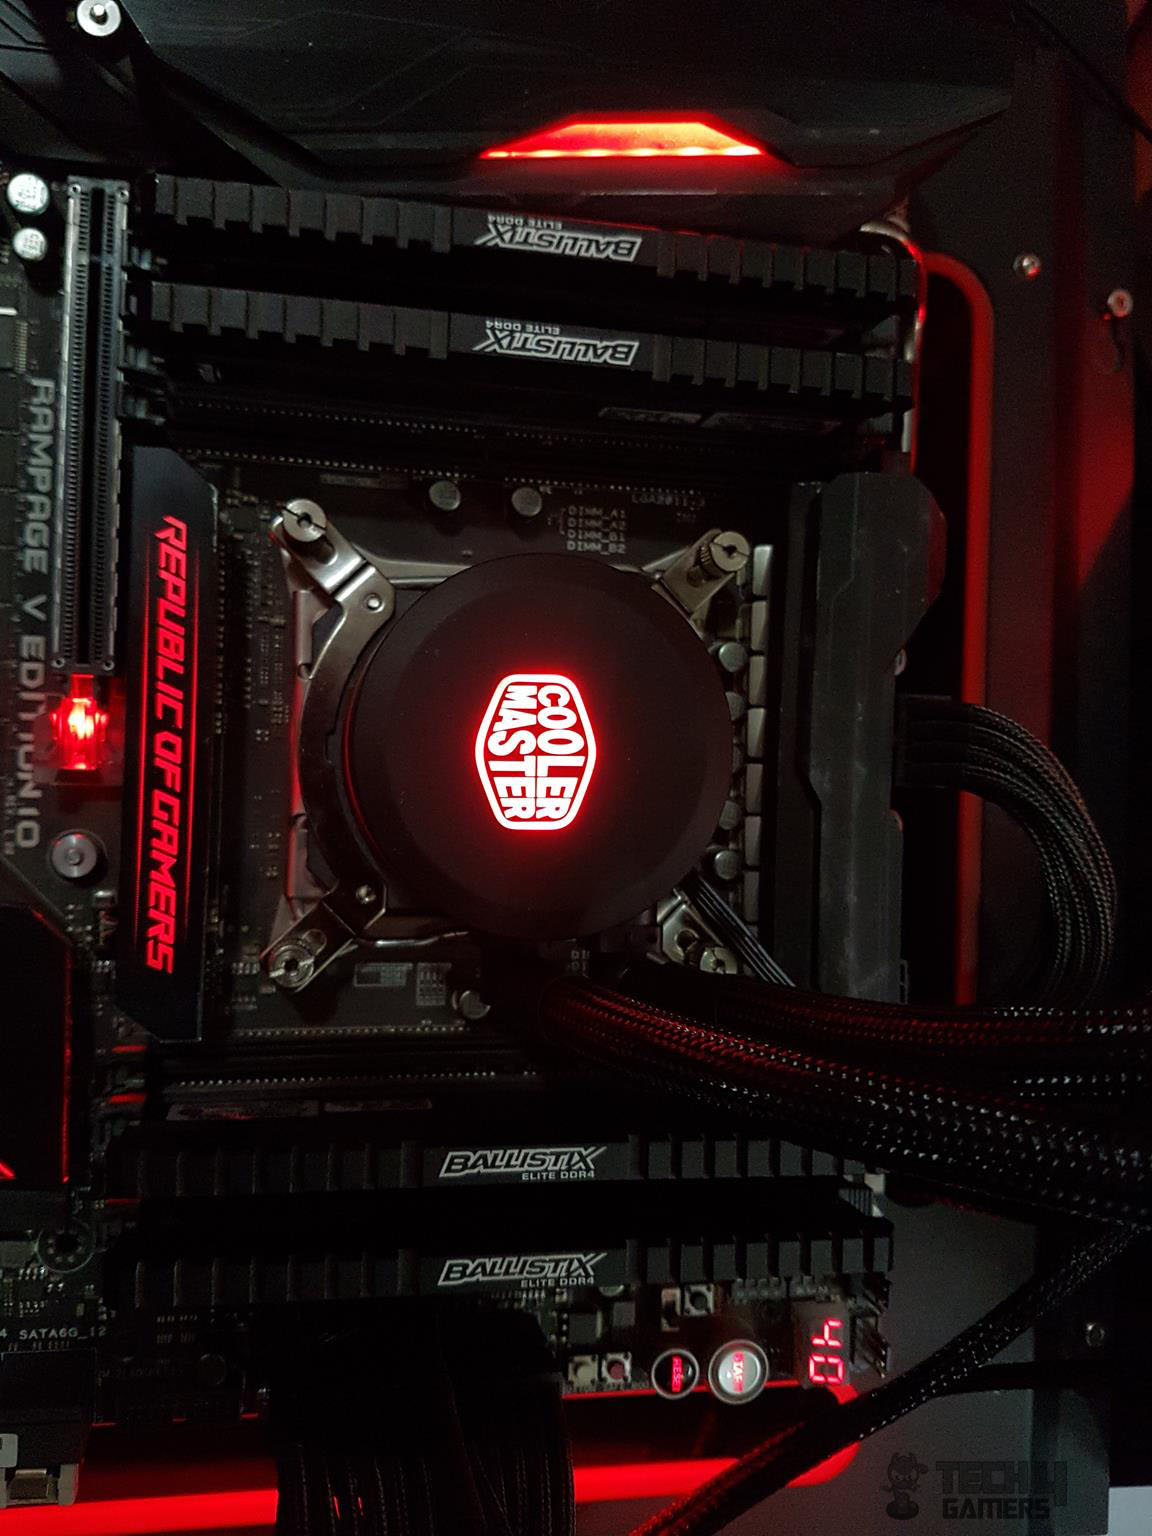
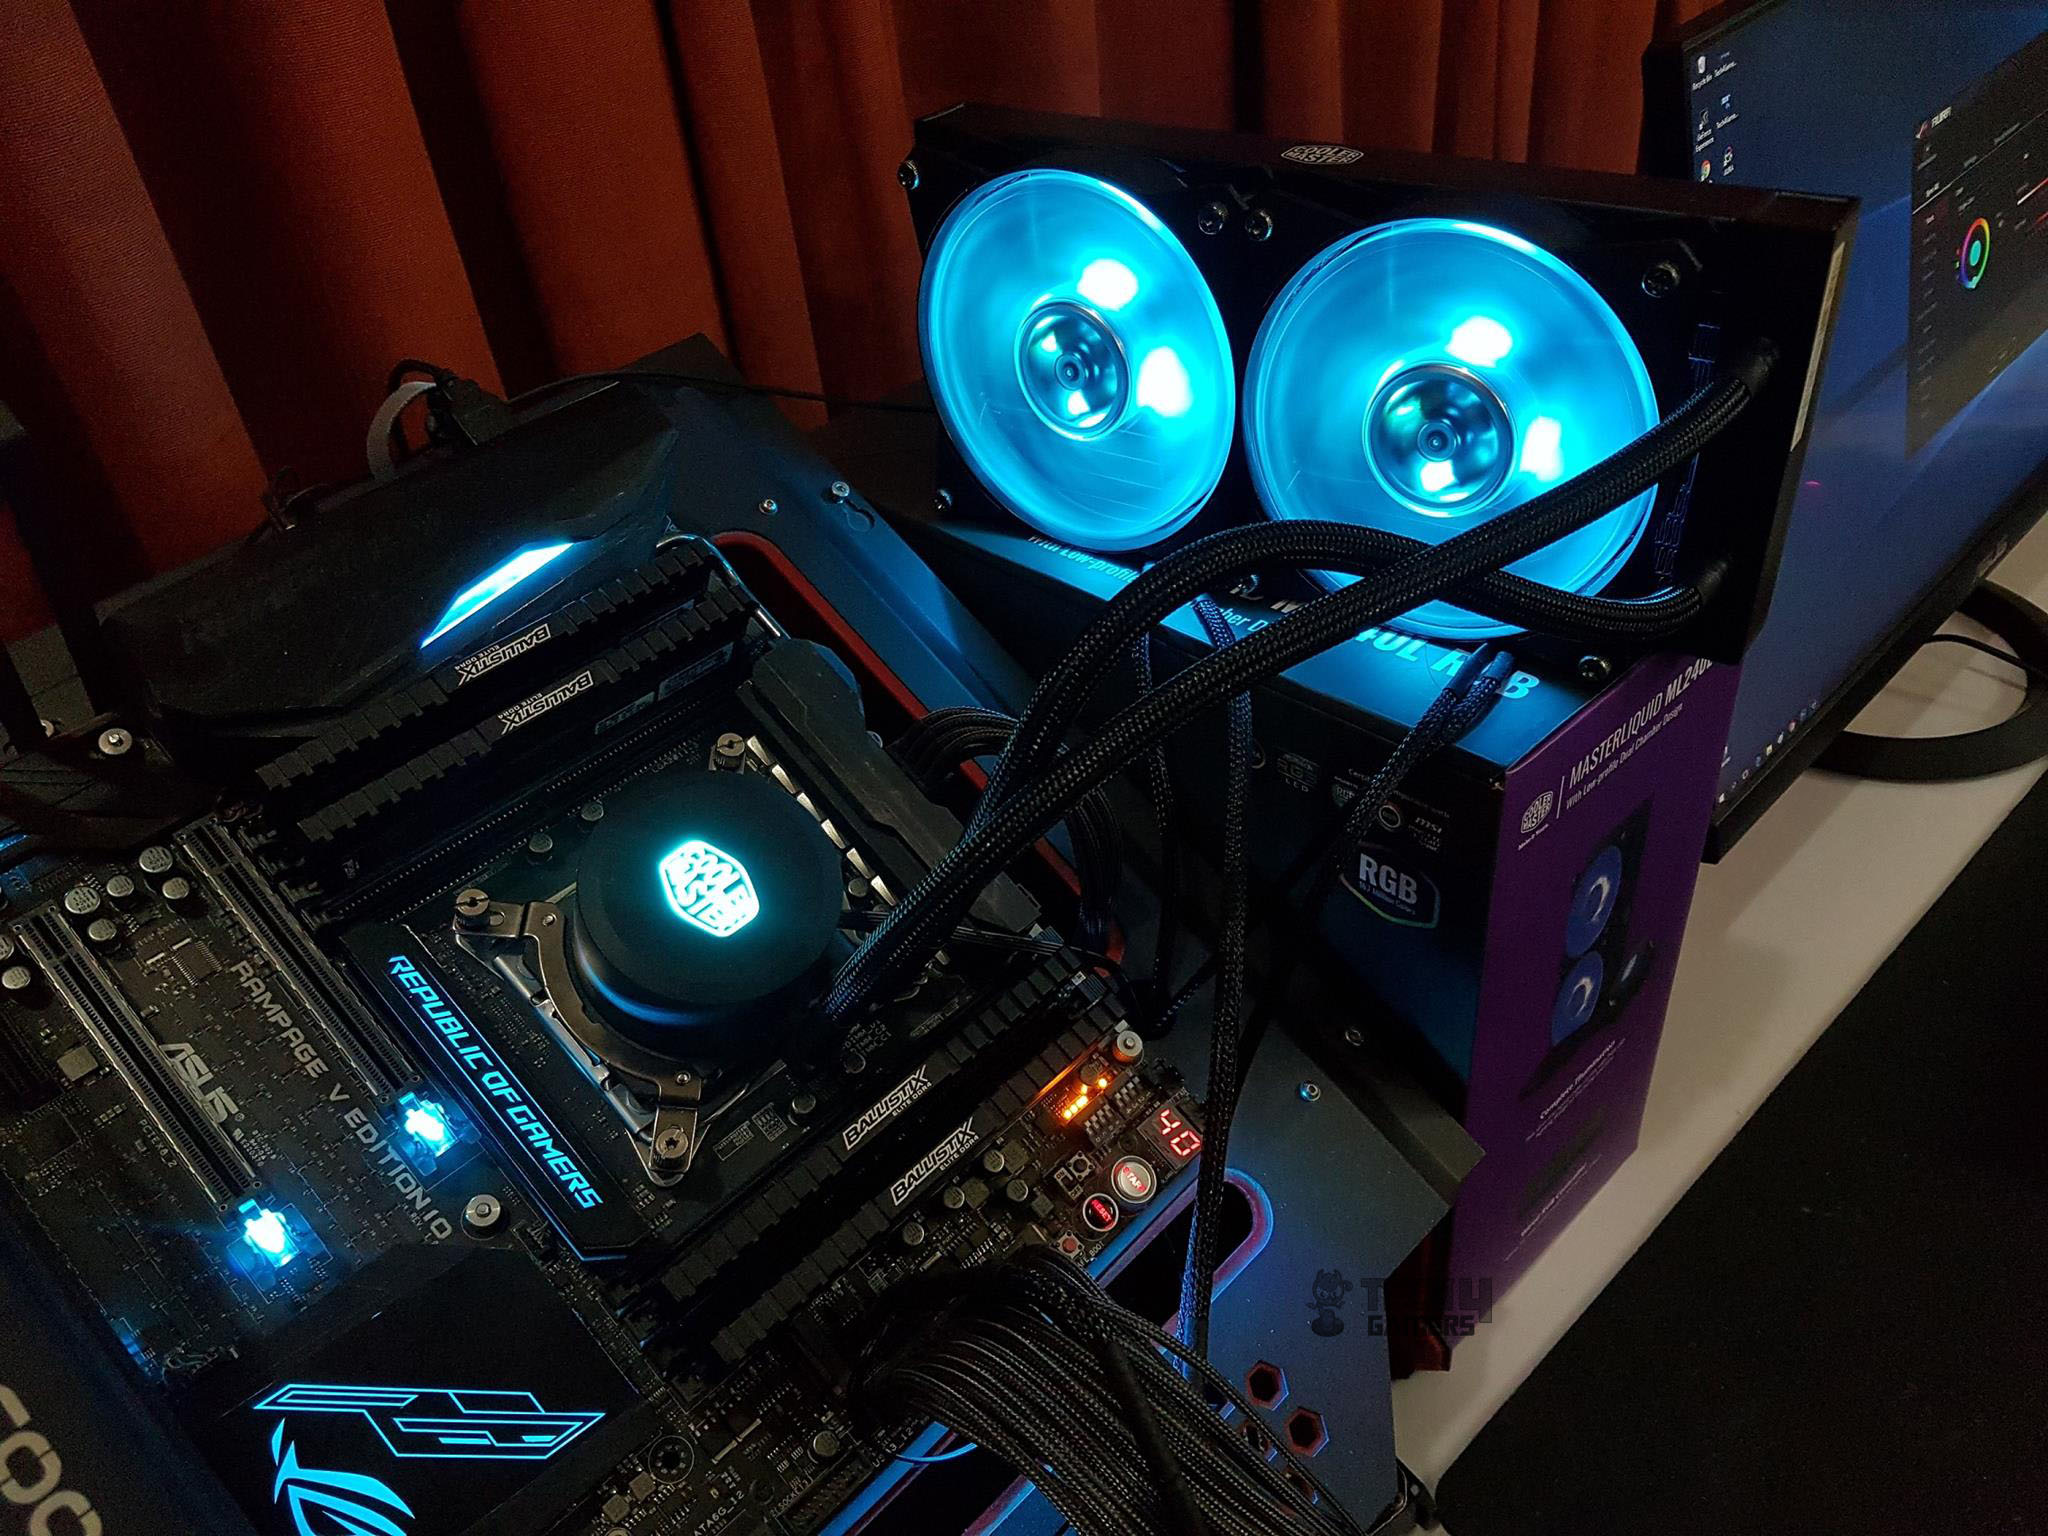

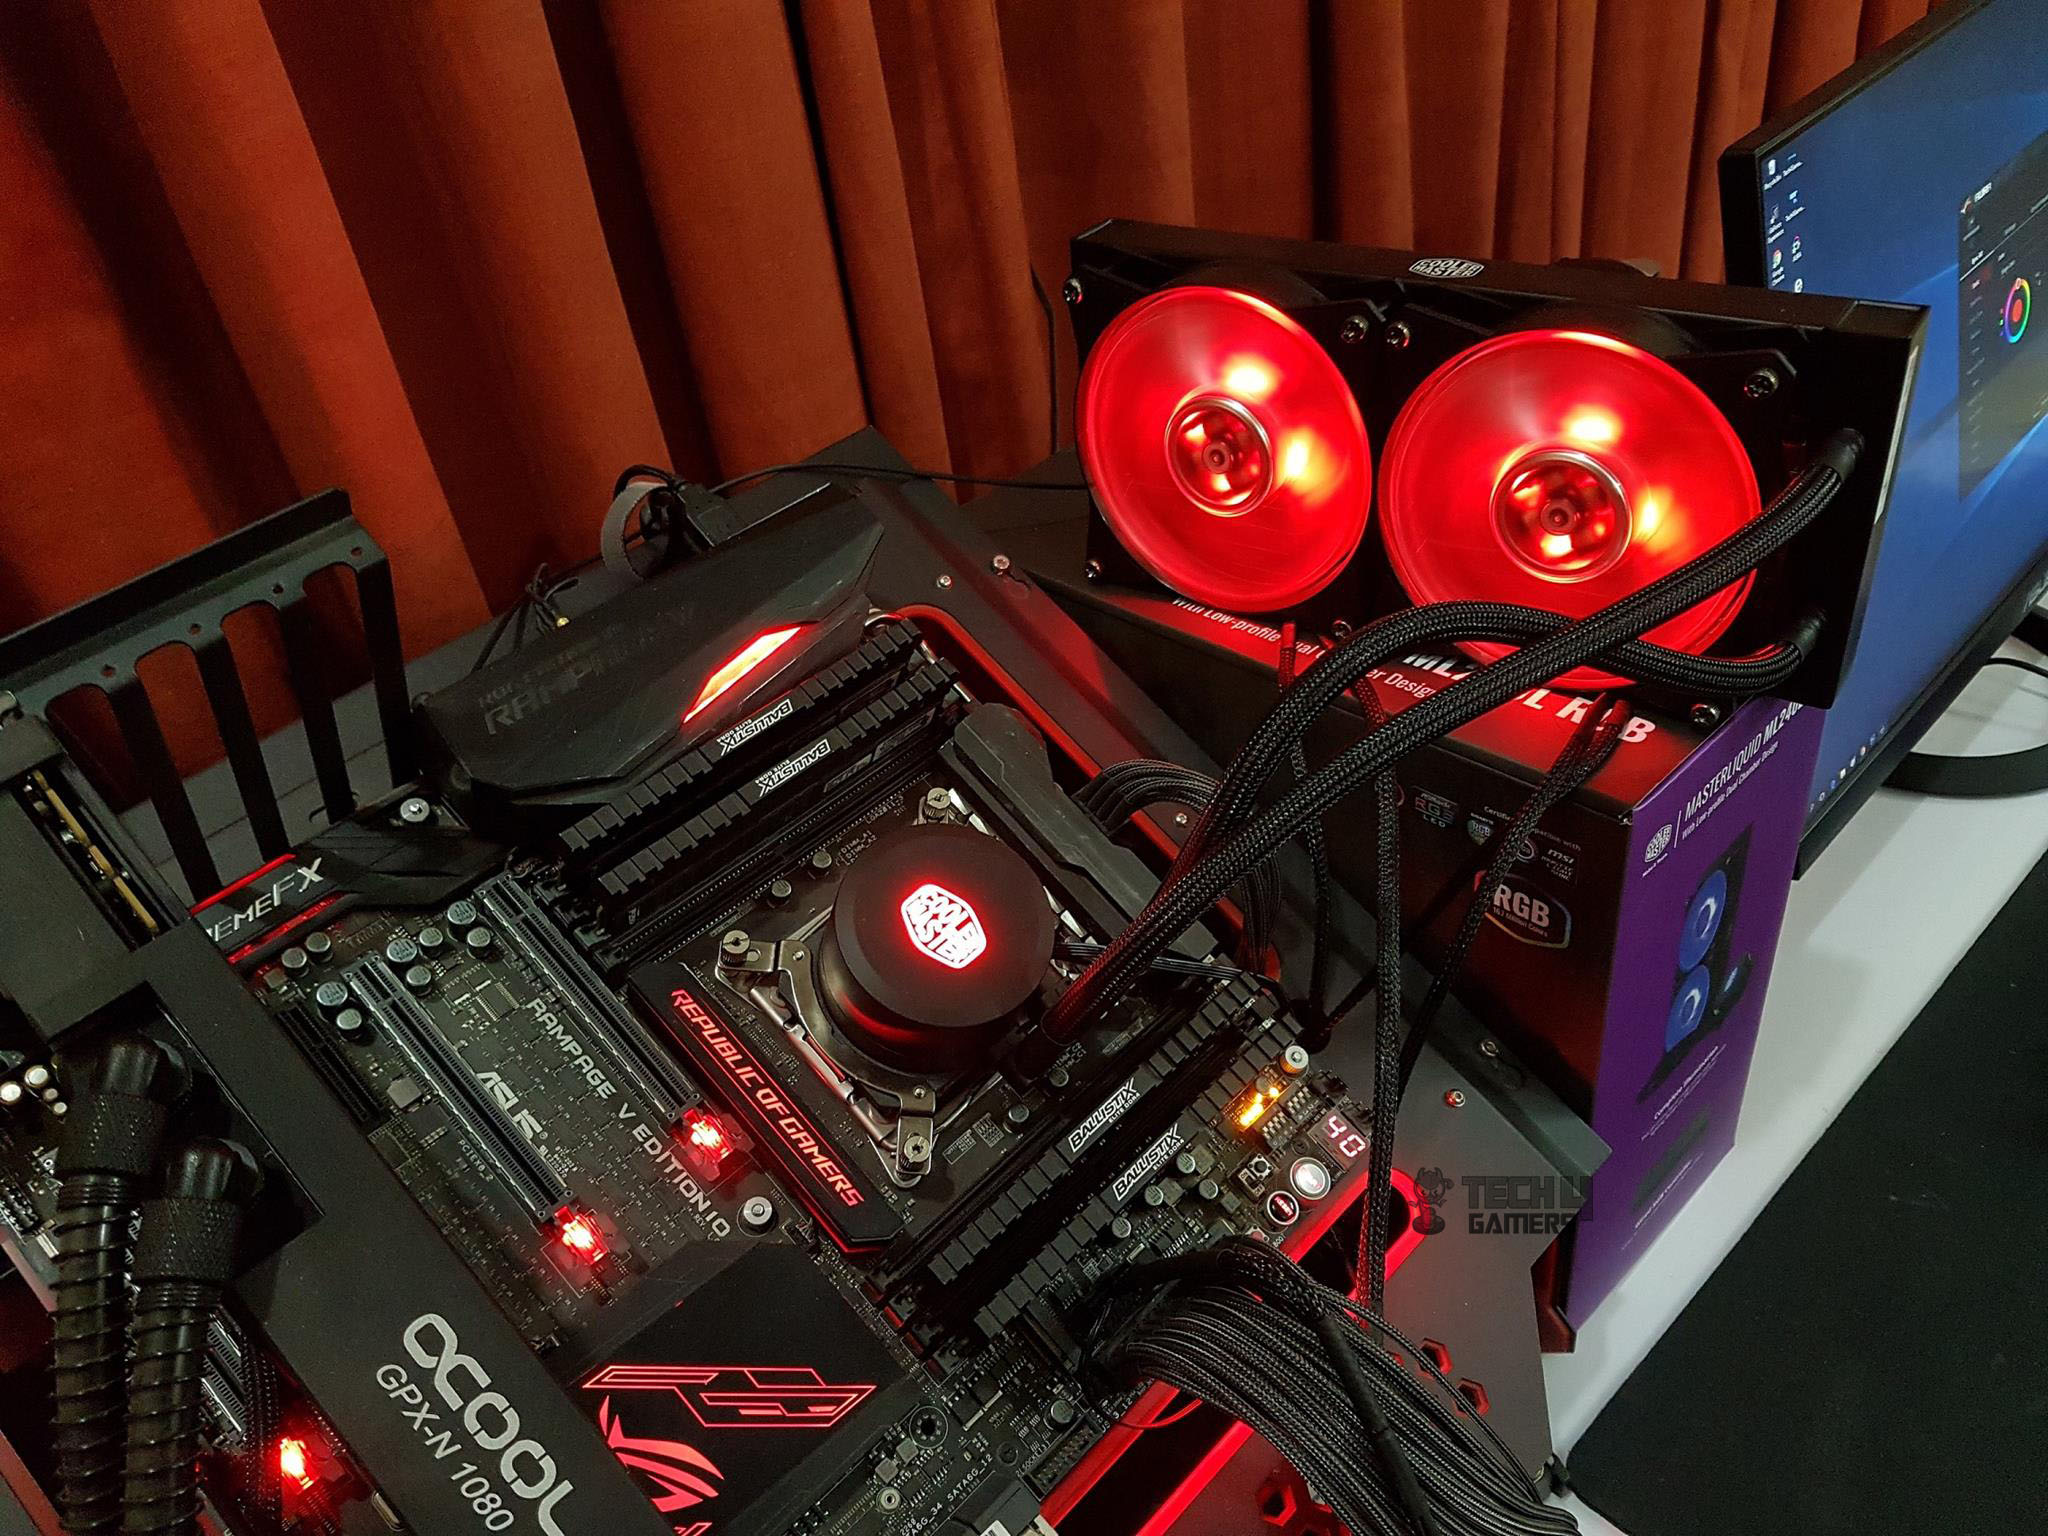
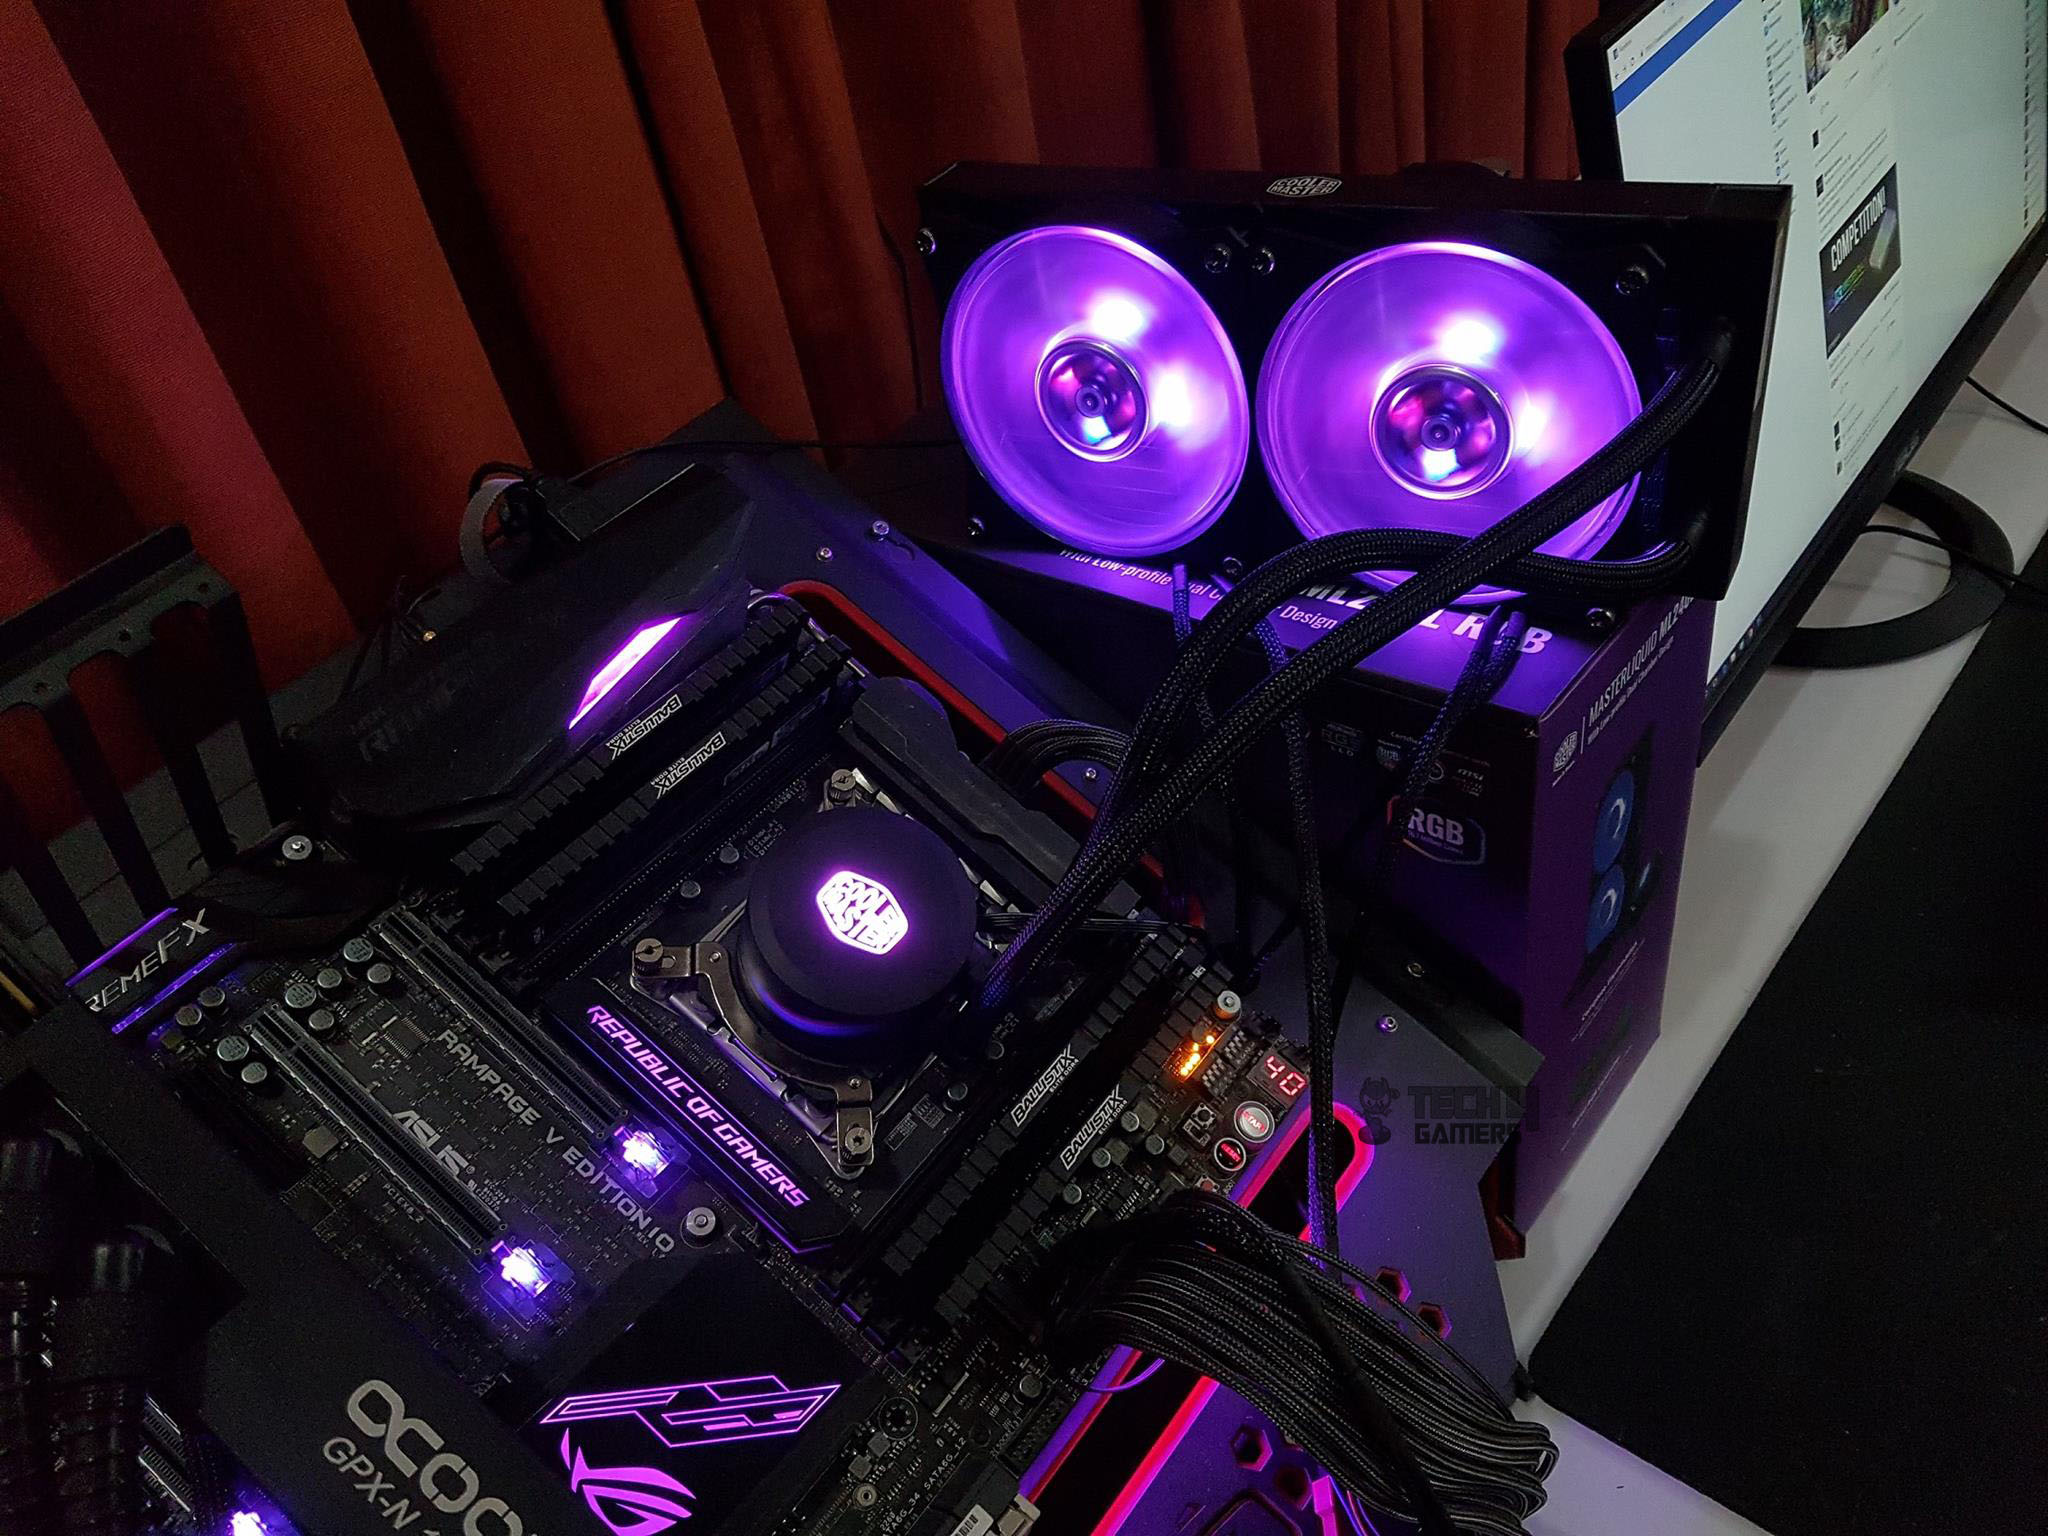
The lighting effects are right on the money, and I love the colors. It is not overly done and has even lighting for smooth and better visuals. Users can customize the looks as per the build’s color theme though personally, the purple color looks that good in person on this cooler
Installation
I have tested this cooler on an Intel LGA2011-V3 socket (X99). Below is the installation guide for Intel LGA 2011-V3:
- Install the LGA-2011 screws on the mounting holes around the CPU Socket
- Install the Intel mounting brackets onto the Cooler’s base using 4x small screws. Make sure that brackets are pointing outwards. Consult the manual before installation. The screws are mounted from the underside of the base.
- Take off the warning sticker from the base of the cooler.
- Apply the thermal paste on the CPU Surface.
- Place the cooler on the CPU by aligning the holes on the mounting brackets’ heads with the LGA 2011 screws.
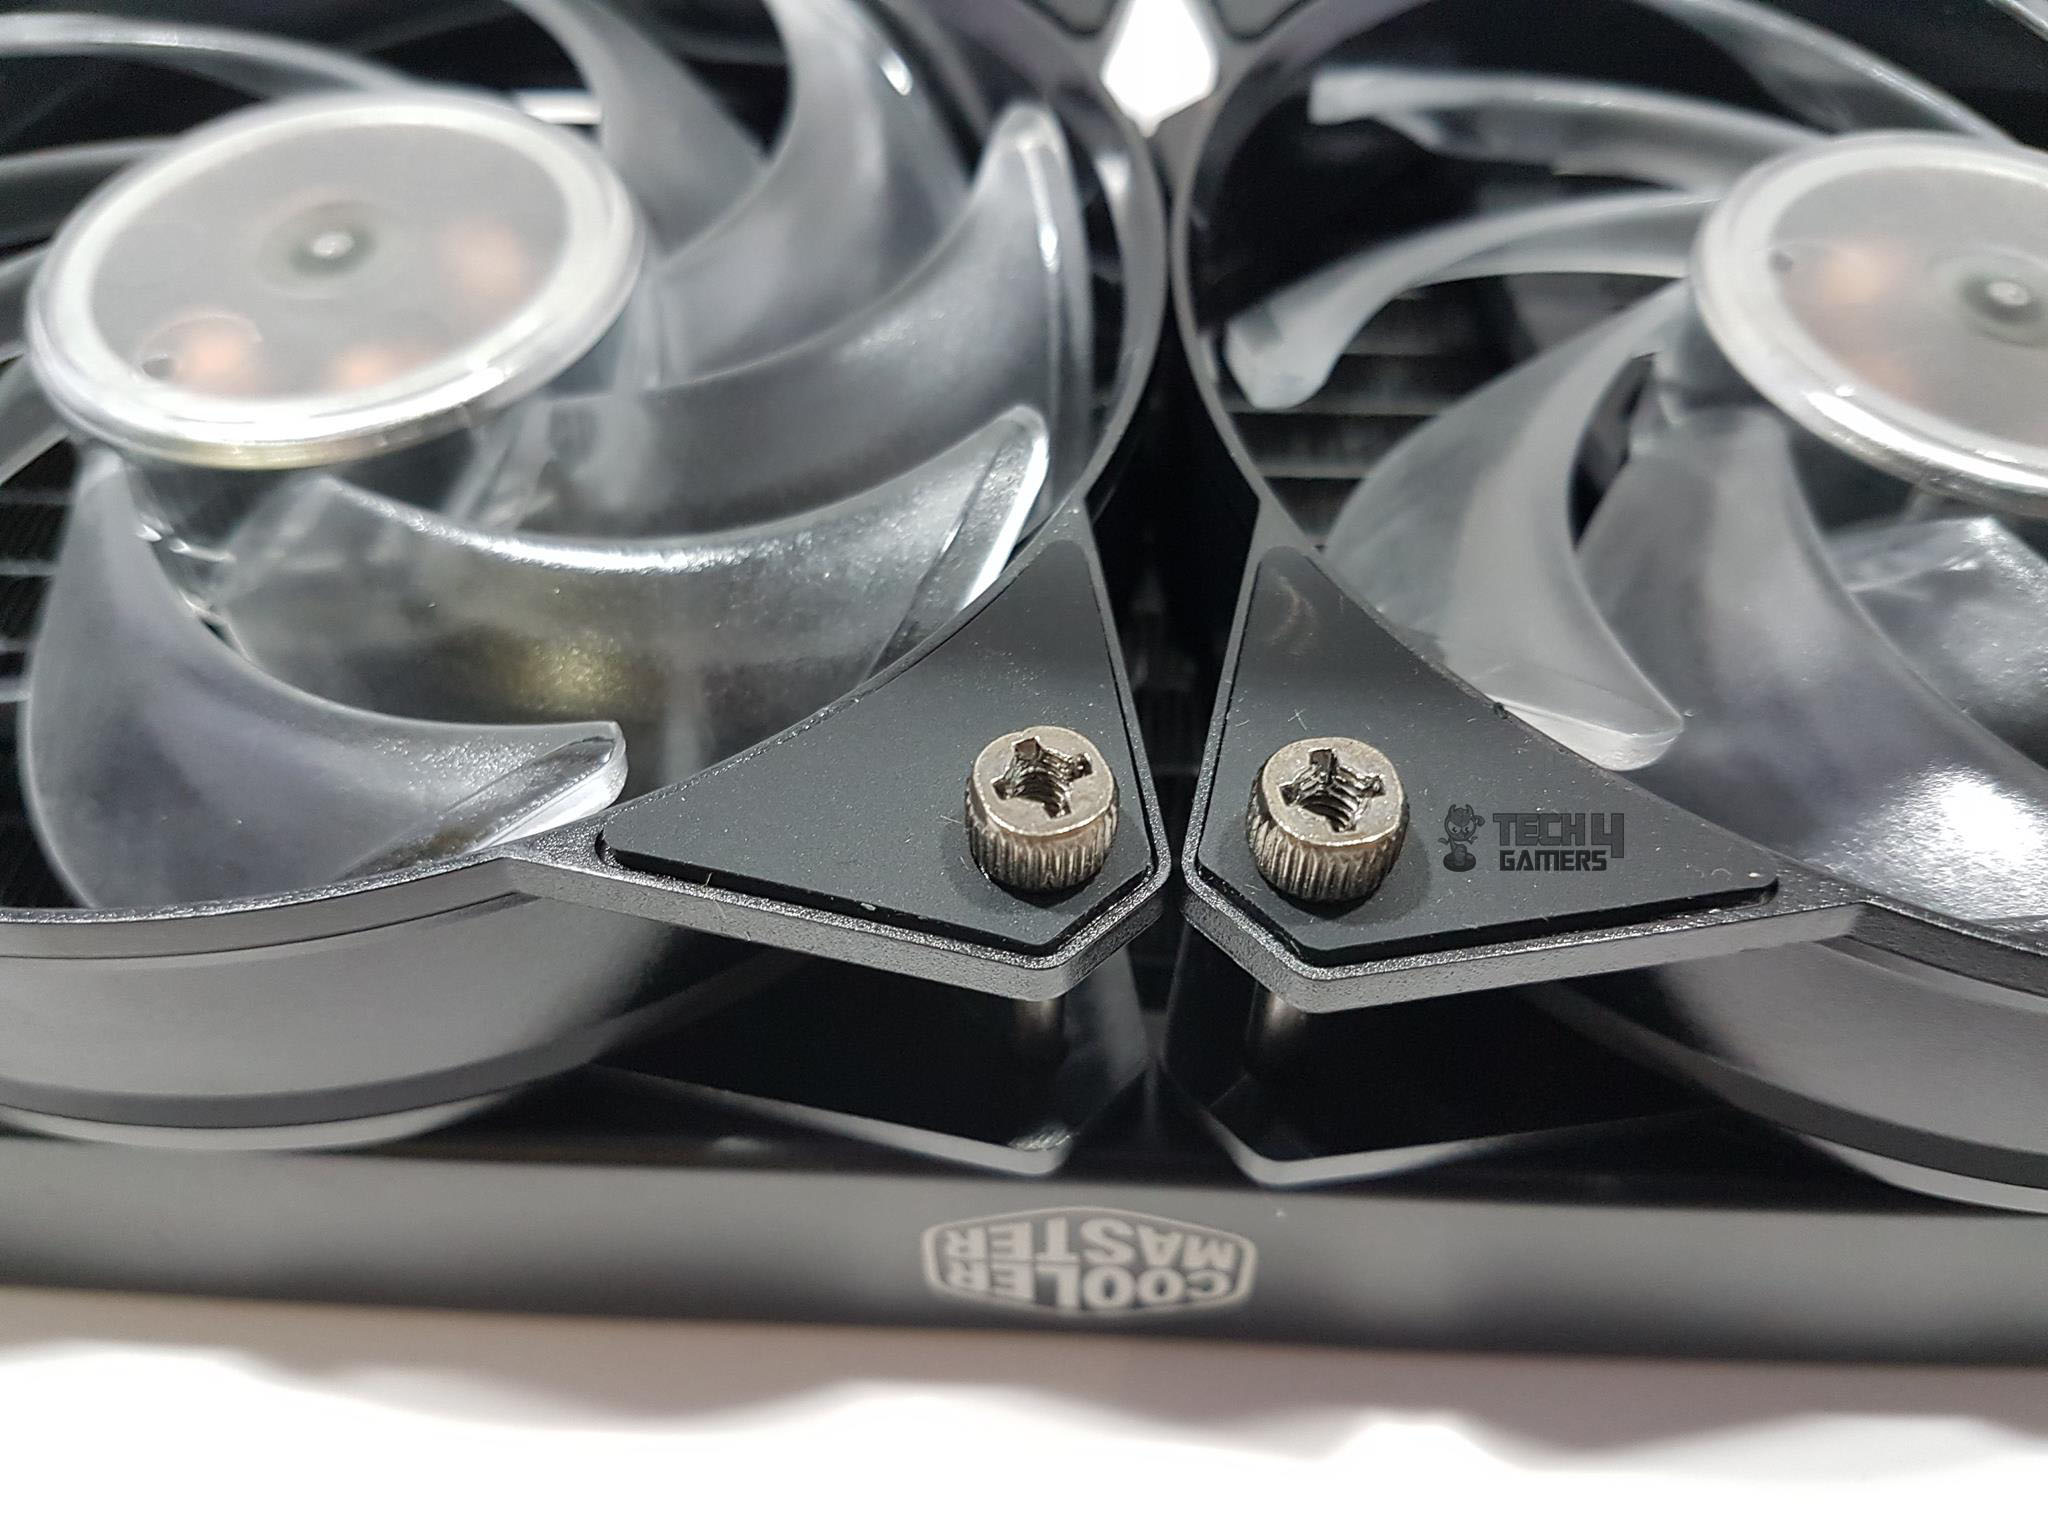
- Secure the cooler by using the hex nuts. Use a screwdriver for this job and go diagonally for even pressure.
- Connect the 3-pin PWM cable to the CPU fan header or any of your desired fan headers.
- Connect the 4-pin LED cable to the controller or RGB header on the motherboard. Make sure to match the small arrow symbols on the same side. The Arrow side is the 12VDC.
- This would complete the installation.
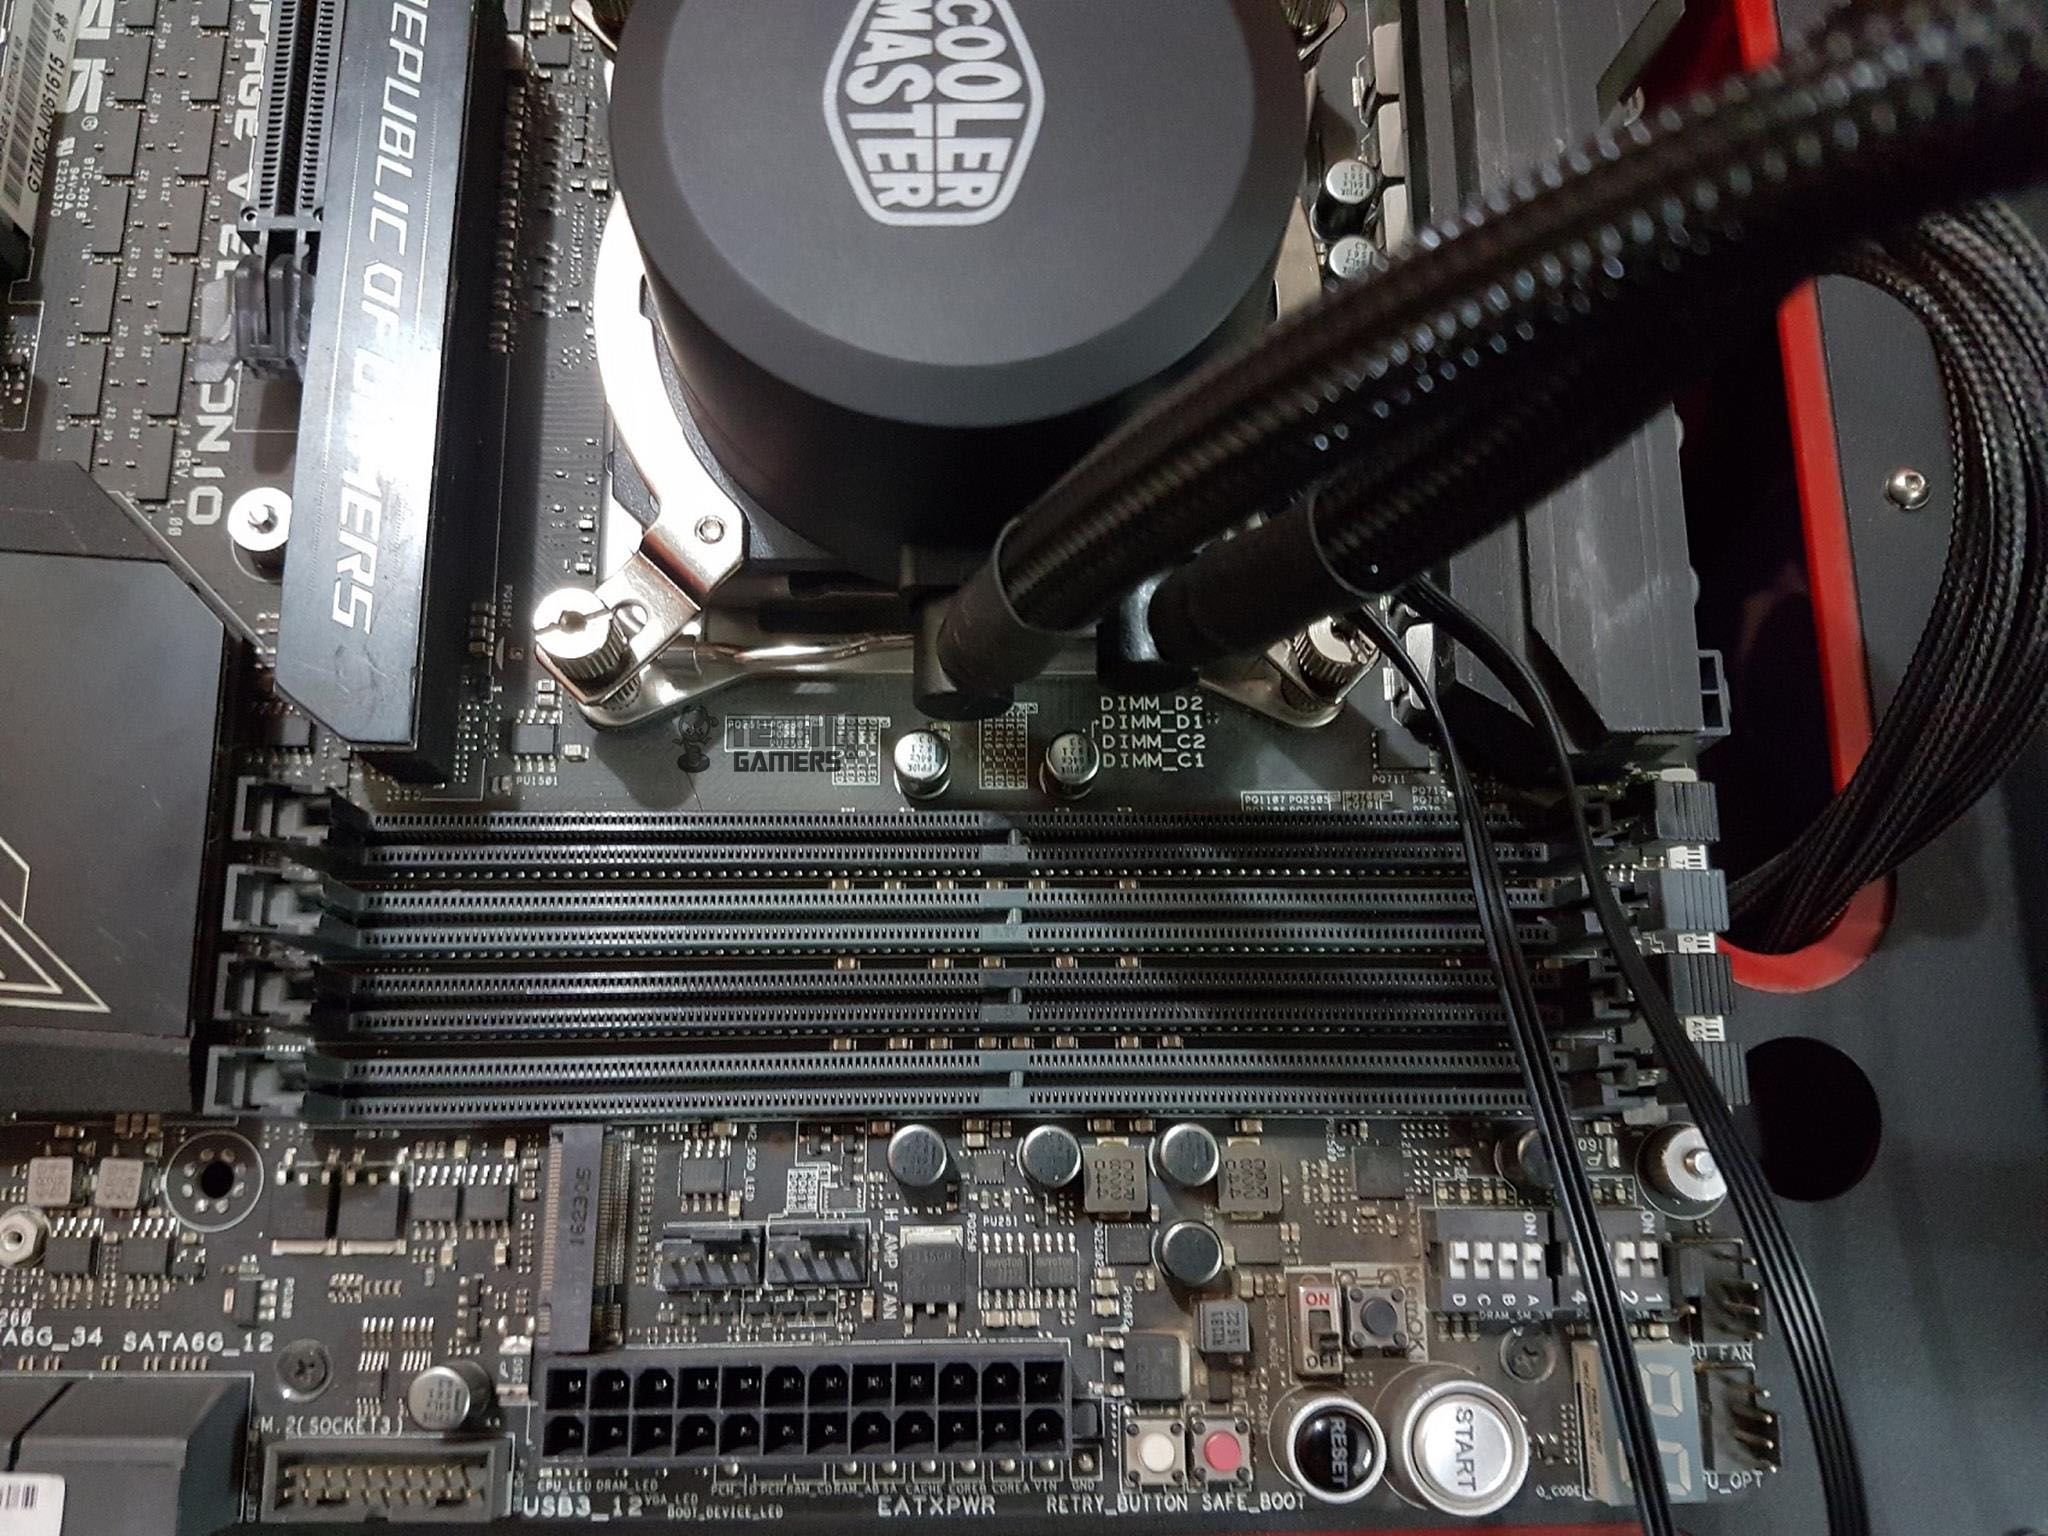
Clearance and Installation Notes
The best thing about AIOs is the maximum clearance and compatibility with respect to the chassis, DIMM slots, and PCIe slots. This cooler has no such clearance issue. The tubes are not blocking any DIMM slot, and RAM modules of any height can be used. Similarly, the block is not obstructing the first PCIe x16 3.0 slot. Make sure that the chassis has provision for a 240mm radiator mounting, and you are good to go.
Testing
The following test bench was used for testing this cooler: –
- Asus Rampage V Edition 10
- Intel i7 6850k
- Crucial Ballistix Elite 4x4GB @ 3000MHz
- Nvidia GTX 1080 FE with Alphacool Eiswolf GPX Pro
- Samsung 840 EVO 250GB SSD
- WD Black 6TB
- Corsair AX1200i
- PrimoChill Praxis WetBench
The following software were used for testing and monitoring.
- Asus Real Bench v 2.44
- Real Temp GT v 3.70
I have used the Noctua NT-H1 thermal paste across all coolers for standardization in testing, eliminating potential performance variations from different pastes. Tests are conducted on a 3.6GHz CPU at 1.136V VCore using Asus RealBench 2.44 for 60 minutes with 15-minute cooldowns. Fans run at 100% RPM. Overclocked tests involve 4.3GHz at 1.350V VCore, with three runs averaged for reporting. Delta temp is the max average core temp minus ambient temp.
The pump was made to run at 100% during the testing. The testing is done on an open-air bench system. Once inside the chassis, the temperatures are expected to rise and would largely depend upon the optimal airflow inside the chassis.
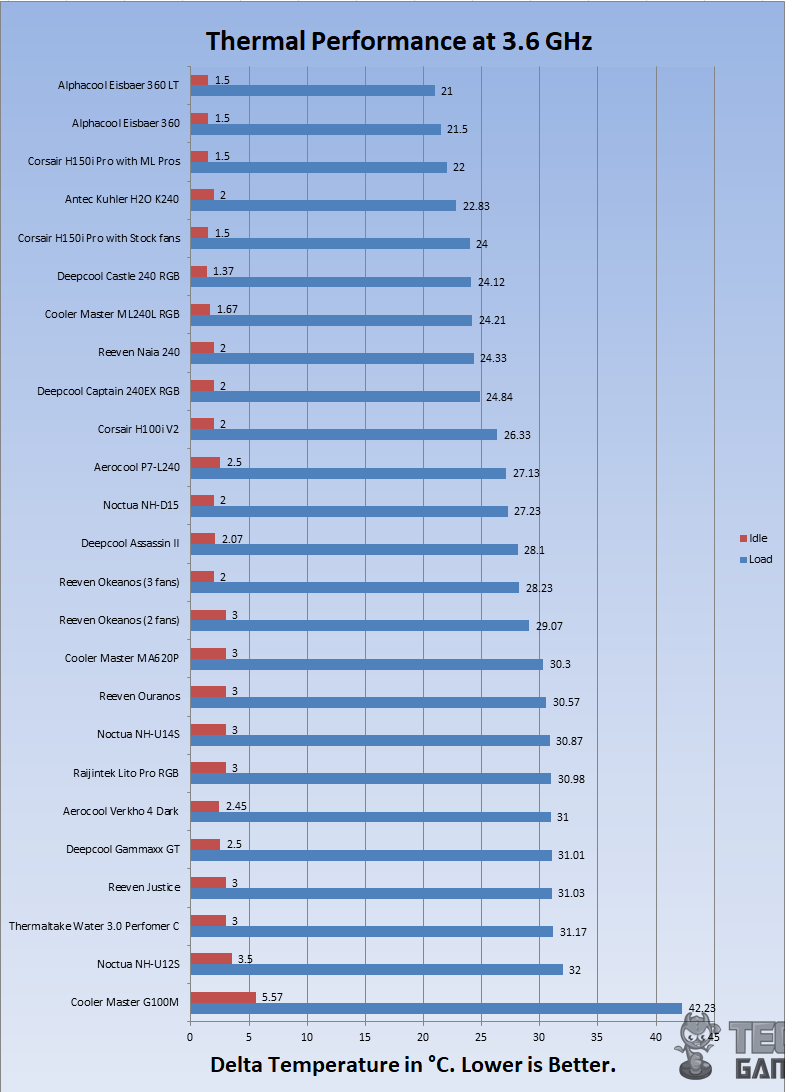
Let’s take a look at the results. On stock clocks, i.e 3.6GHz at 1.13V, the chip was idling at 1.67°C. Under the stress test, the cooler was doing a delta of 24.21°C. There is a marginal difference between this cooler and other coolers like Reeven’s Naia 240 and Deepcool’s Castle 240.
With overclocked chip at 4.3GHz using 1.350V, the chip was idling at 2.67°C, and under load, it was doing 42.2°C. It is sitting at the bottom of the 240mm AIOs in the graph. No complaint there, as this is more than adequate cooling from a budget cooler.
I could not measure the sound level of the unit as the summer season here is at its peak, and the ceiling fan plus the noise coming out of the room would invalidate the actual sound level. Based on my experience with the fans and coolers testing so far, the fans were audible but not teasing at all.
Should You Buy It?
After hours of testing, I’ve listed a few points that might help with your buying decision.
Buy It If:
You want a value-for-money 240mm cooler: The Cooler Master Masterliquid Lite ML240L RGB maintains an adequate price-to-performance ratio while also incorporating sleek RGB lighting.
You prefer RGB: The cooler’s stunning display of RGB combined with its vast compatibility make it a suitable choice for anyone who is interested in RGB lighting on a AIO cooler.
You want a reasonably silent 240mm AIO: In my experience, the Cooler Master MasterLiquid Lite ML240L RGB managed to remain silent throughout the tests.
Don’t Buy It If:
You want hassle-free installation: The non-parallel barbed fittings on the radiator might make installation a bit more frustrating.
Conclusion
Cooler Master is making a strong comeback with their Master series of products. Master Liquid is a name given to their liquid cooling line of products. On the MasterLiquid Lite ML240L, the focus is on adequate cooling performance backed by sublime visuals yet at affordable pricing. The cooler features an aluminum-based radiator with a low-resistant design.
Cooler Master employs a low-profile dual-chamber design with RGB lighting in the pump. The housing has black and gray tones, that works in tandem with the RGB to enhance the cooler’s design. Speaking of which, Cooler Master has also given full control over the RGB functionality of the cooler, including a wired controller that features 6 modes. It is worth mentioning that the lighting is vivid, based on 12VGRB, and non-addressable.
In my experience, the cooler offers excellent clearance, with its copper base measuring 65x50mm. Cooler Master is offering two years of warranty on this cooler. I have tested this cooler on Intel LGA2011-V3. This cooler was sitting at the bottom of the other 240mm coolers tested on this test bench with a closer margin. This is actually a good performance at this price range which is bundled with an RGB lighting solution.
I am thankful to Cooler Master for giving me the opportunity to review their MasterLiquid ML240L RGB CPU Liquid Cooler.
Recent Updates
- November 12, 2023: Few text changes to improve readability.
Thank you! Please share your positive feedback. 🔋
How could we improve this post? Please Help us. 😔
[CPU Coolers & RAM Expert]
Hayyan Serwer is a tech enthusiast, with a love for PC building and article writing. Hayyan specializes in writing about CPU coolers and RAM kits. Hayyan has been familiar with the tech industry for over half a decade now, and has now stepped into providing quality reviews for the latest and greatest tech.
Get In Touch: hayyan@tech4gamers.com


