 Threads
Excellent Budget Option!
Review Summary
The Aerocool Cylon RGB is a budget-friendly mid-tower chassis that stands out with its stunning RGB implementation on the front panel. It offers a compact design suitable for any gamer’s desk, featuring an acrylic side panel, a full-length PSU shroud, and adequate clearance for graphics cards. Despite its affordability, it doesn’t compromise on practical features, making it an attractive choice for budget-conscious users.
Hours Tested: 8-10

Overall
-
Performance - 7/10
7/10
-
Design - 8/10
8/10
-
Features - 7/10
7/10
-
Value - 9/10
9/10
Pros
- Budget-Friendly
- Aesthetic RGB
- Decent Build Quality
- Compact Design
- Motherboard Compatibility
Cons
- Limited Airflow
- Non-Reusable PCIe Covers
- Single Pre-Installed Fan


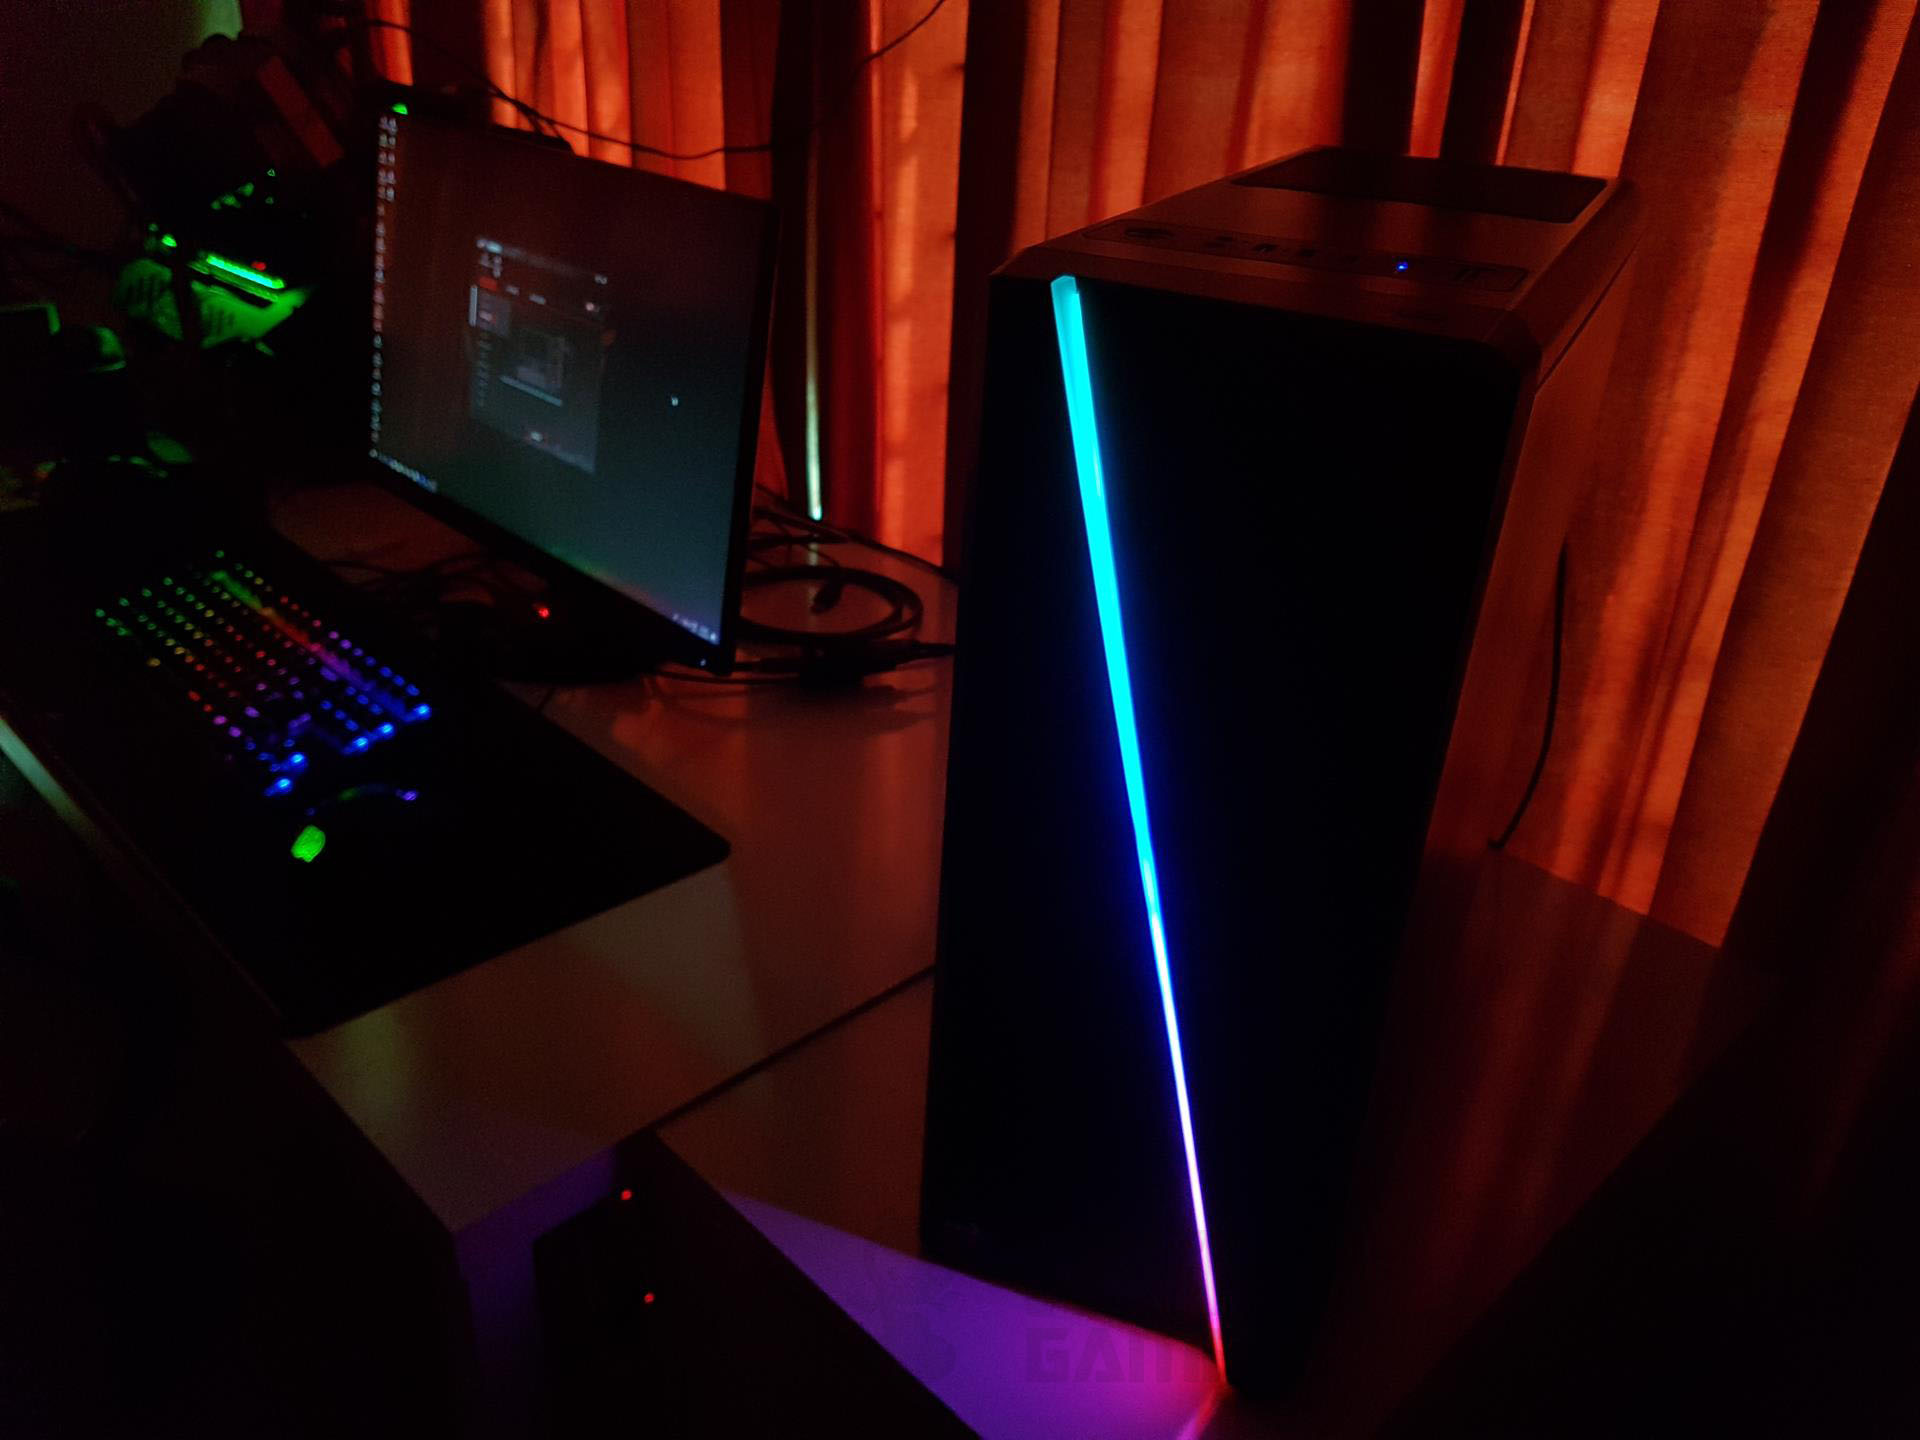
Aerocool has sent us the Cylon RGB for Review, a compact, mid-tower chassis that has a stunning RGB implementation on the front panel that makes it stand out. When housing a fully assembled PC, this chassis adds a phenomenal touch to any gamer’s desk. Similar to other budget mid towers, this chassis offers minimal compromises and practical features such as a full-length PSU shroud, front RGB flow, ample clearance for graphics cards, as well as other features that I’ll be discussing in this review.
- Why you can trust Tech4Gamers: Our reviews are based on dedicated hands-on testing by our team of experienced hardware experts. Find out more about how we test.
Key Takeaways
- The Aerocool Cyclon RGB is designed for those looking for a budget-friendly mid-tower case that does not compromise on RGB.
- The Aerocool Cyclon RGB is not for users interested in benefitting from better case airflow.
- The Aerocool Cyclon RGB provides a sleek design, and acrylic side panel along with decent build quality.
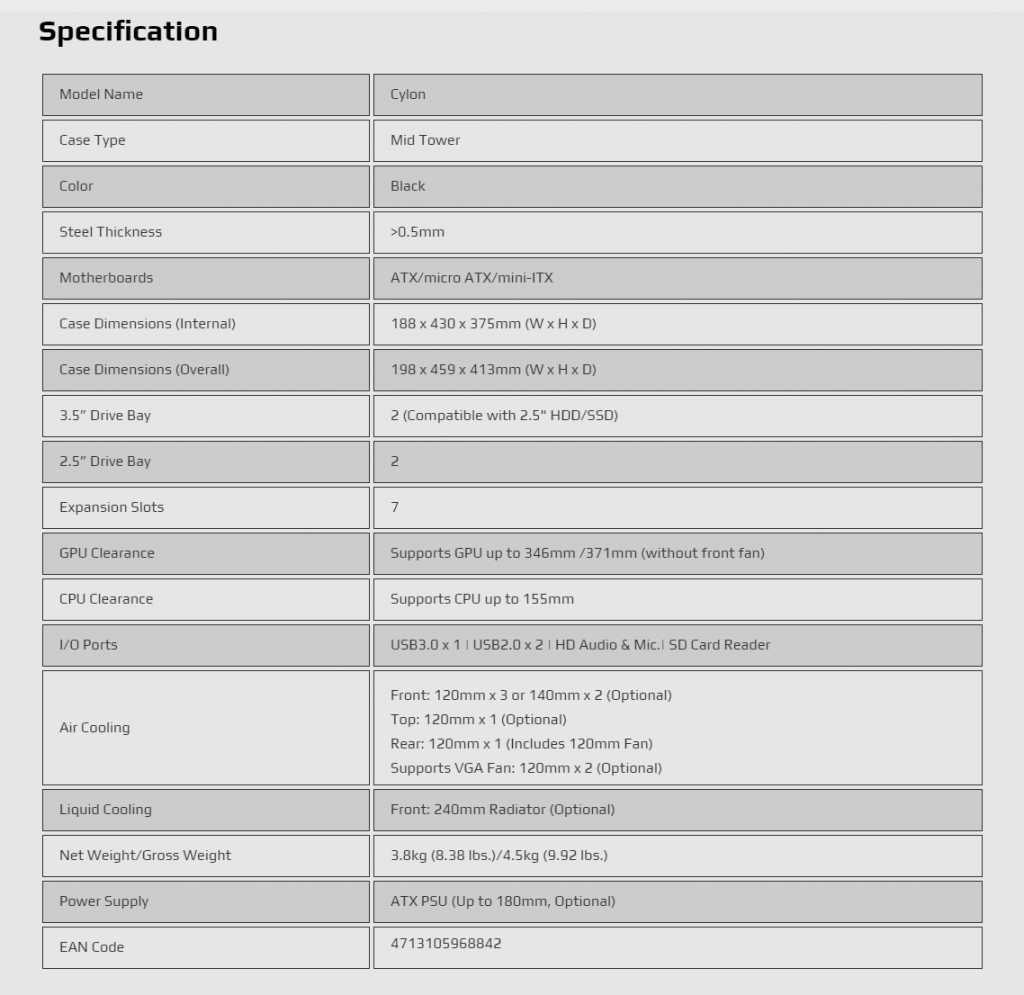
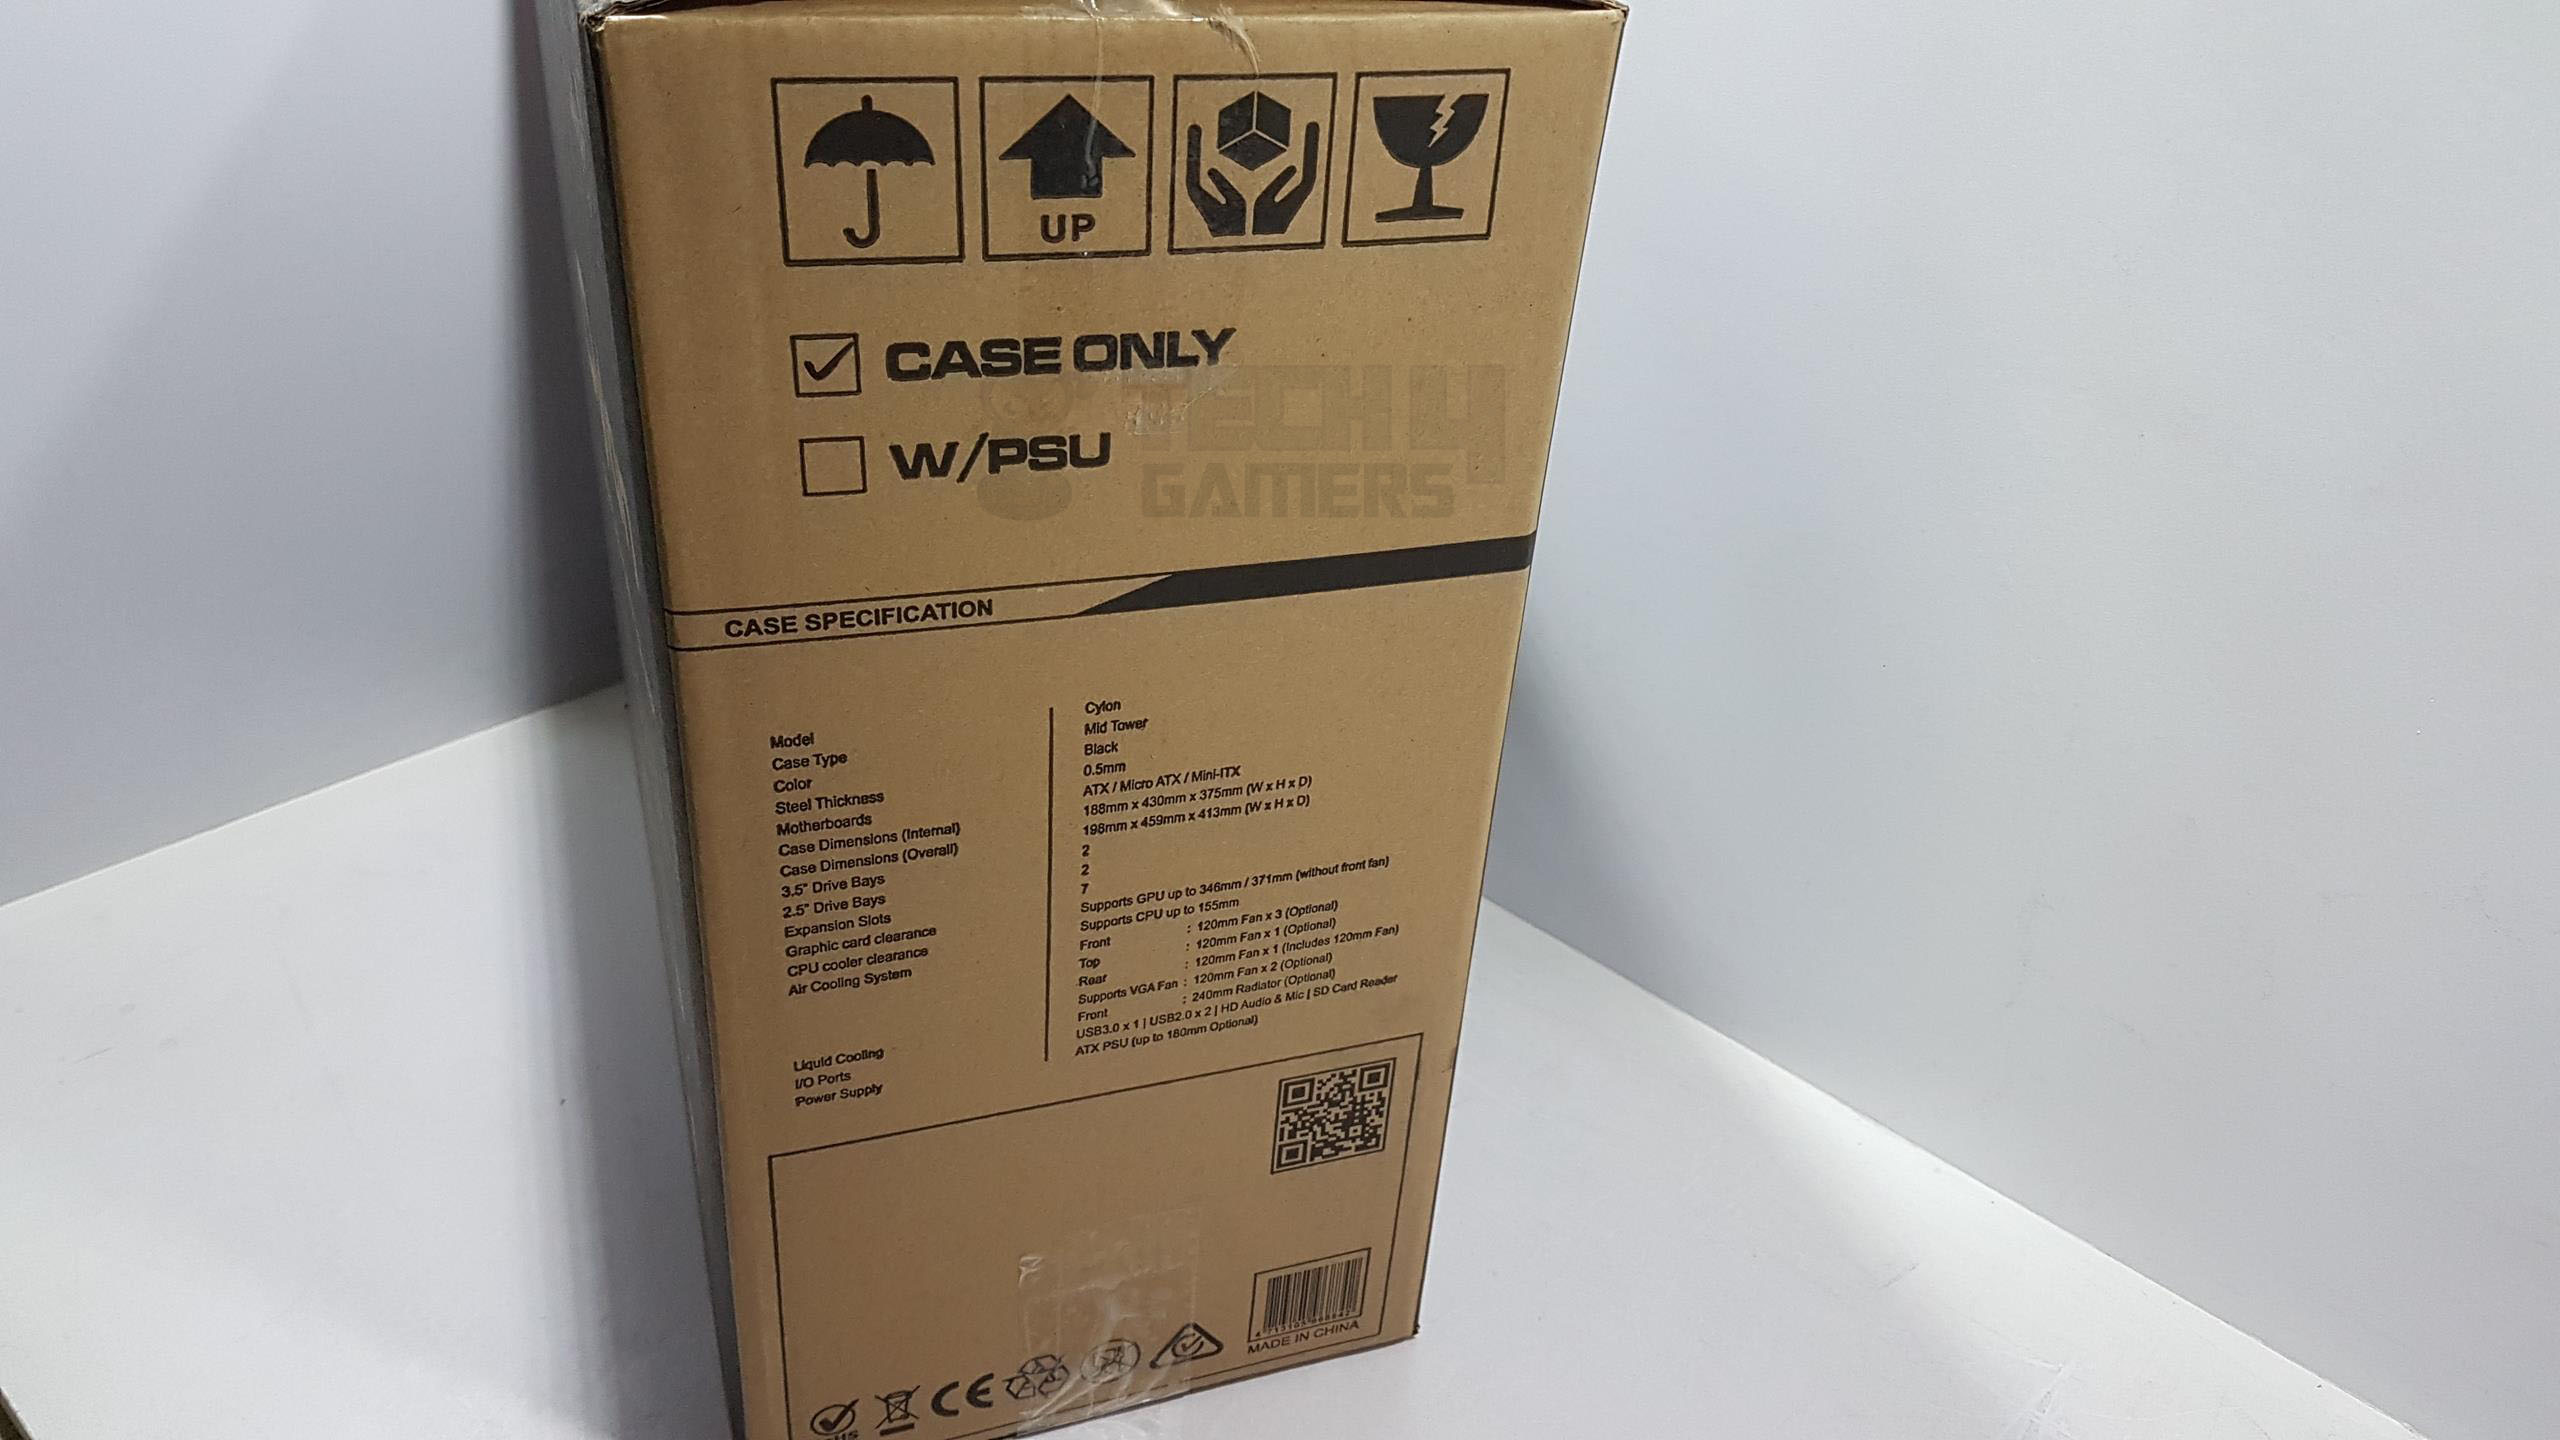
Detailed specifications of the Aerocool Cyclon RGB.
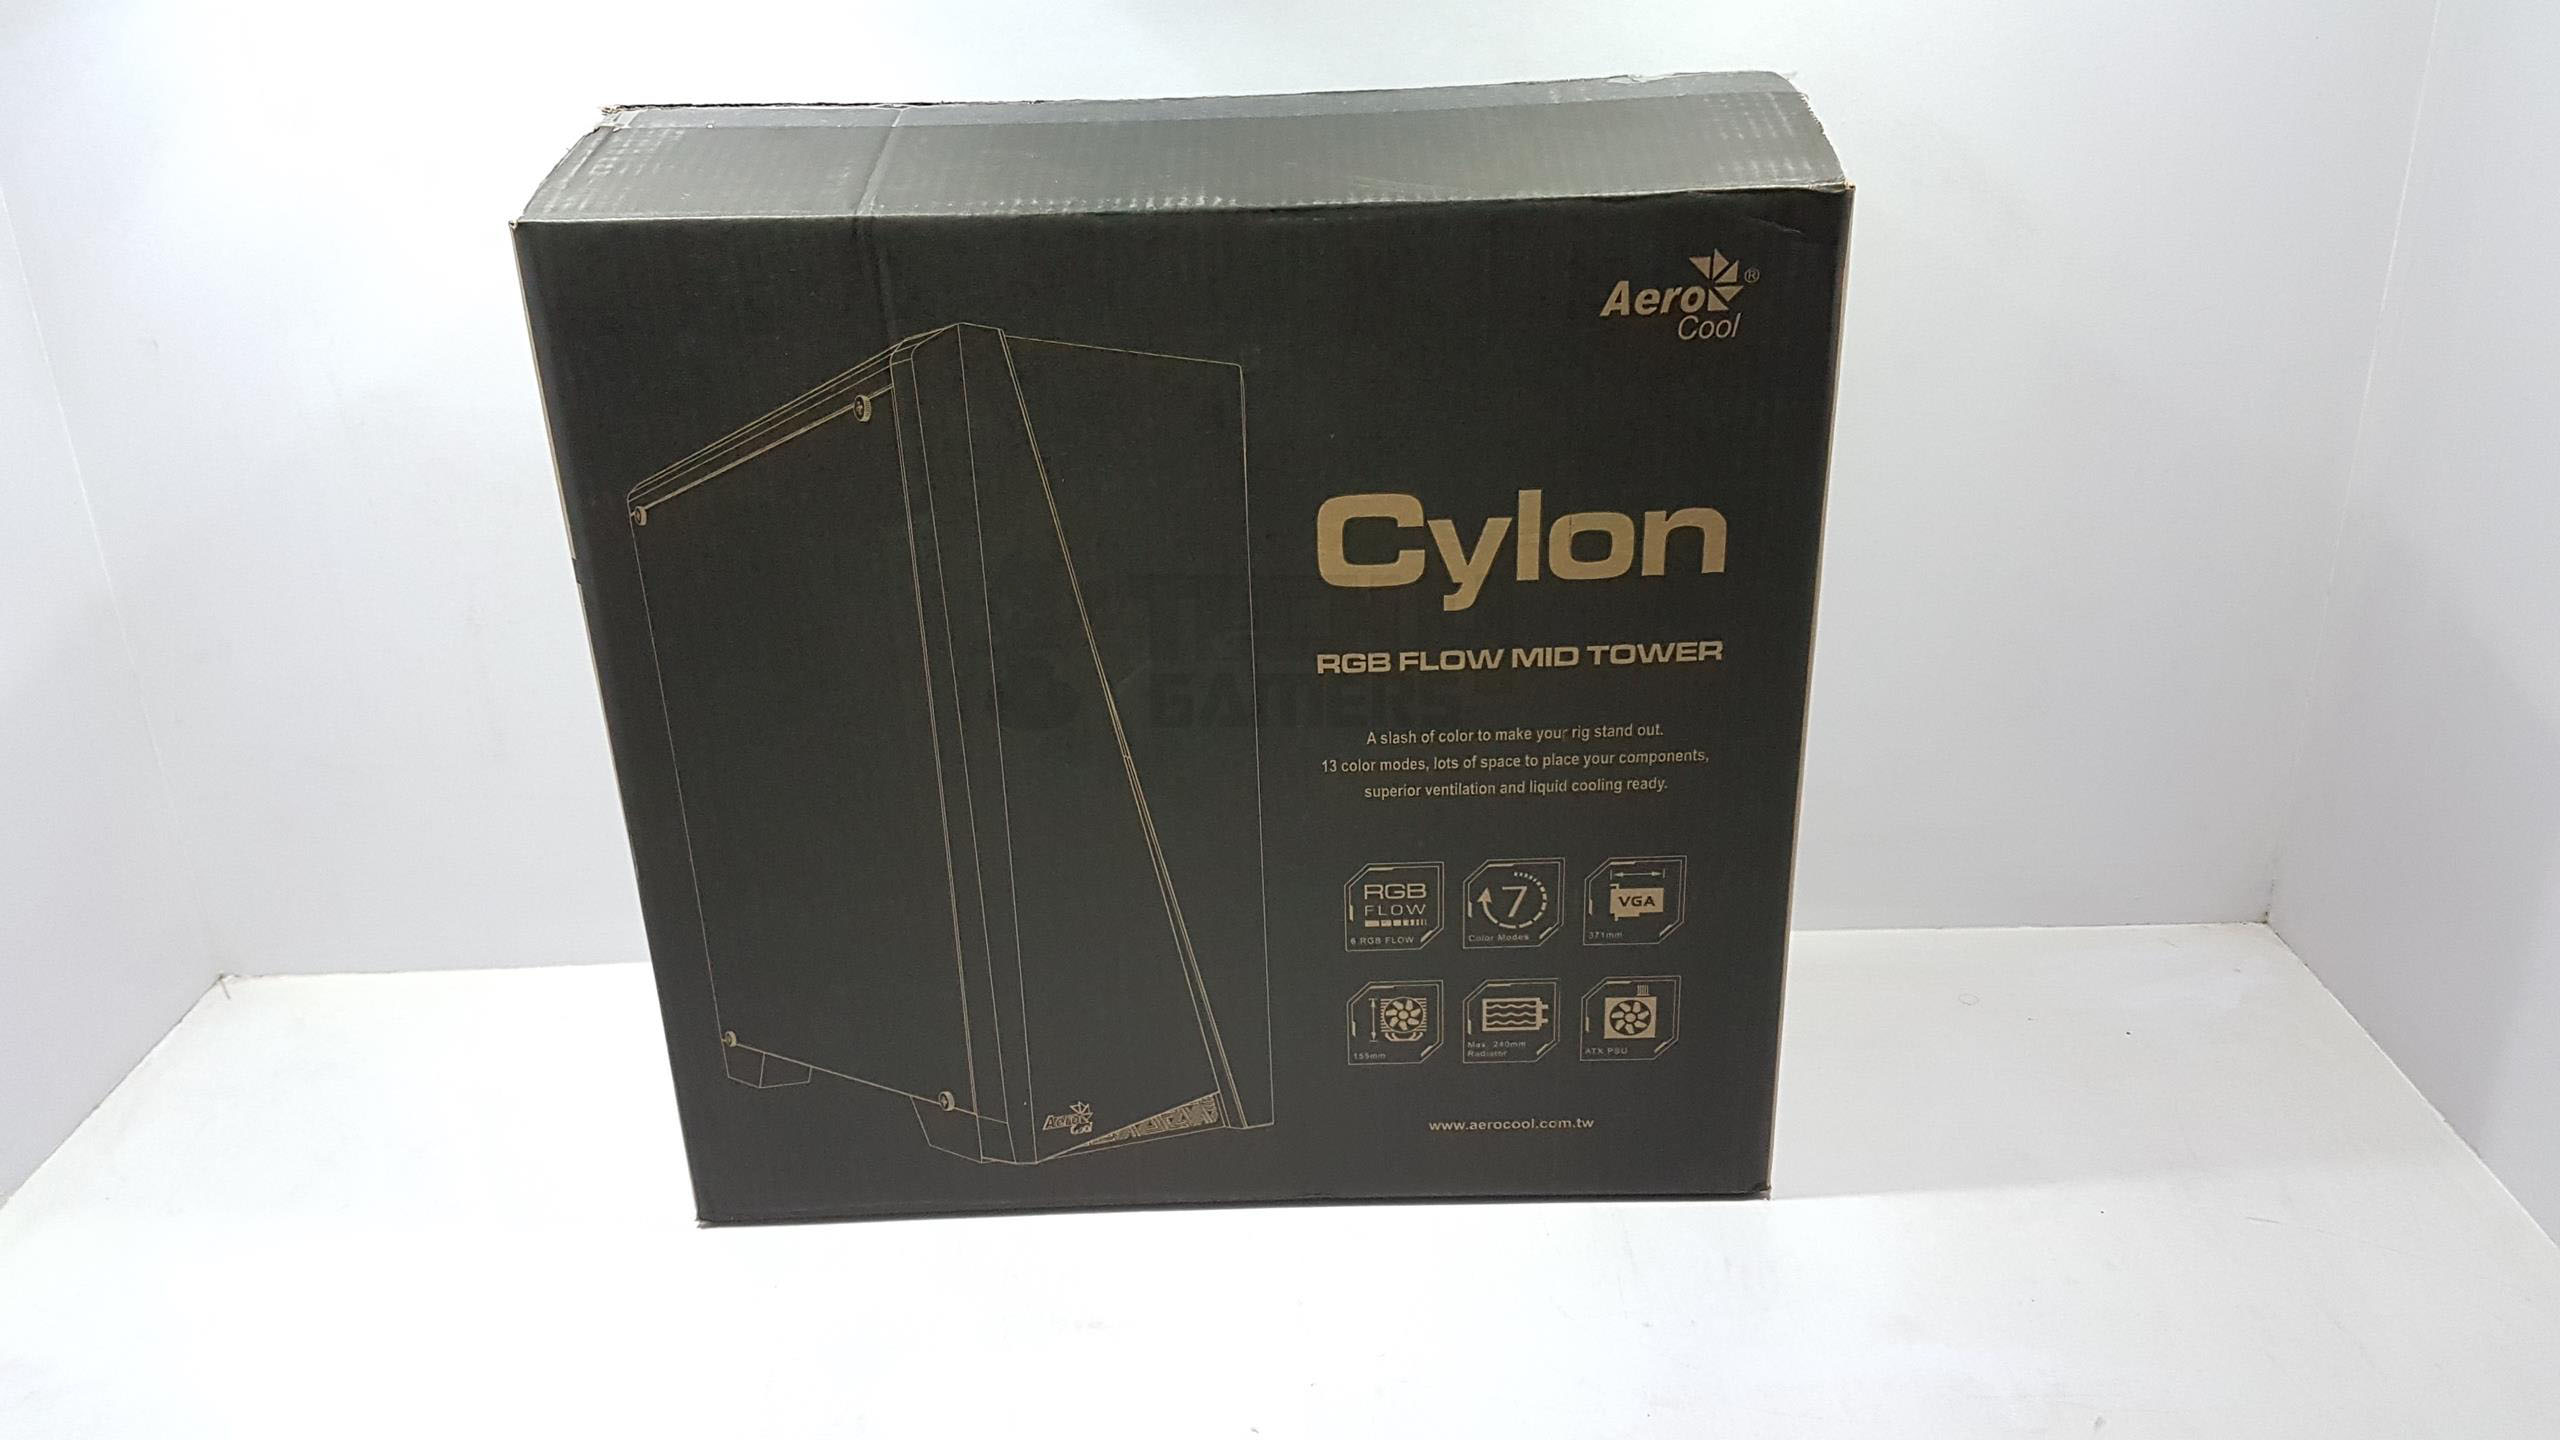
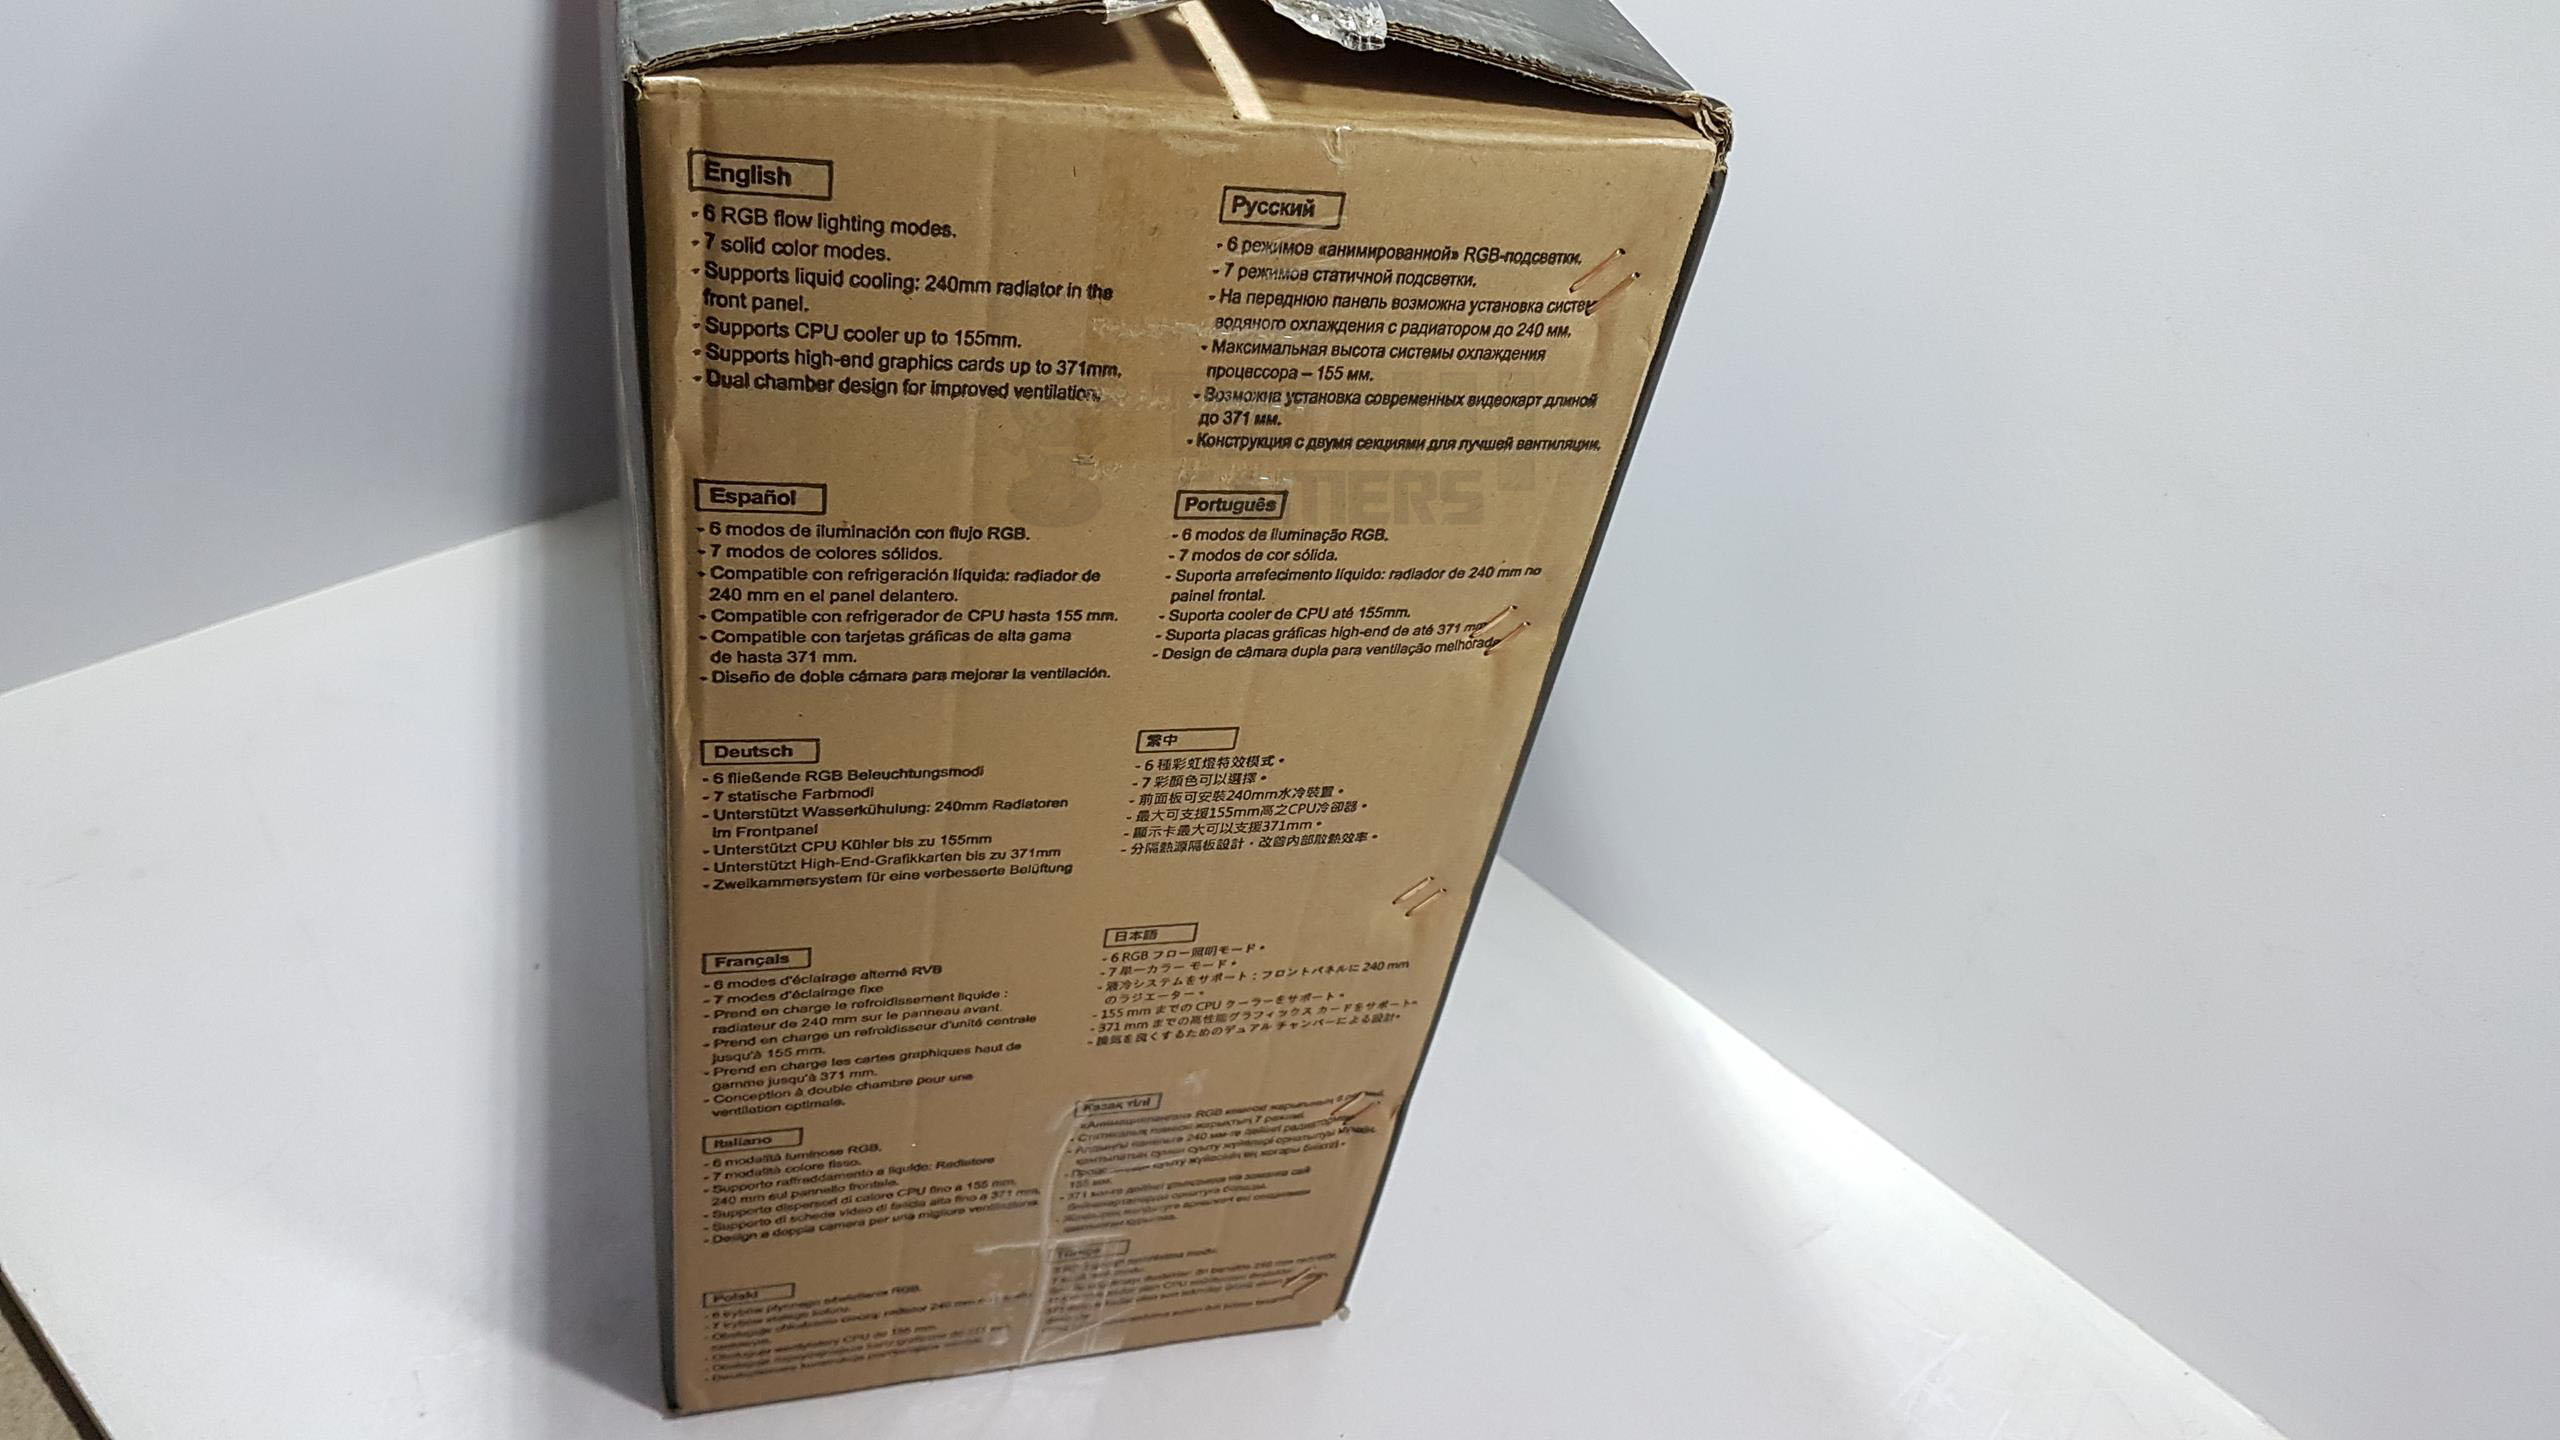
Aerocool Cylon Packaging and Unboxing
Unboxing experience of the Aerocool Cyclon.
Aerocool Cylon RGB Gaming Case Accessories
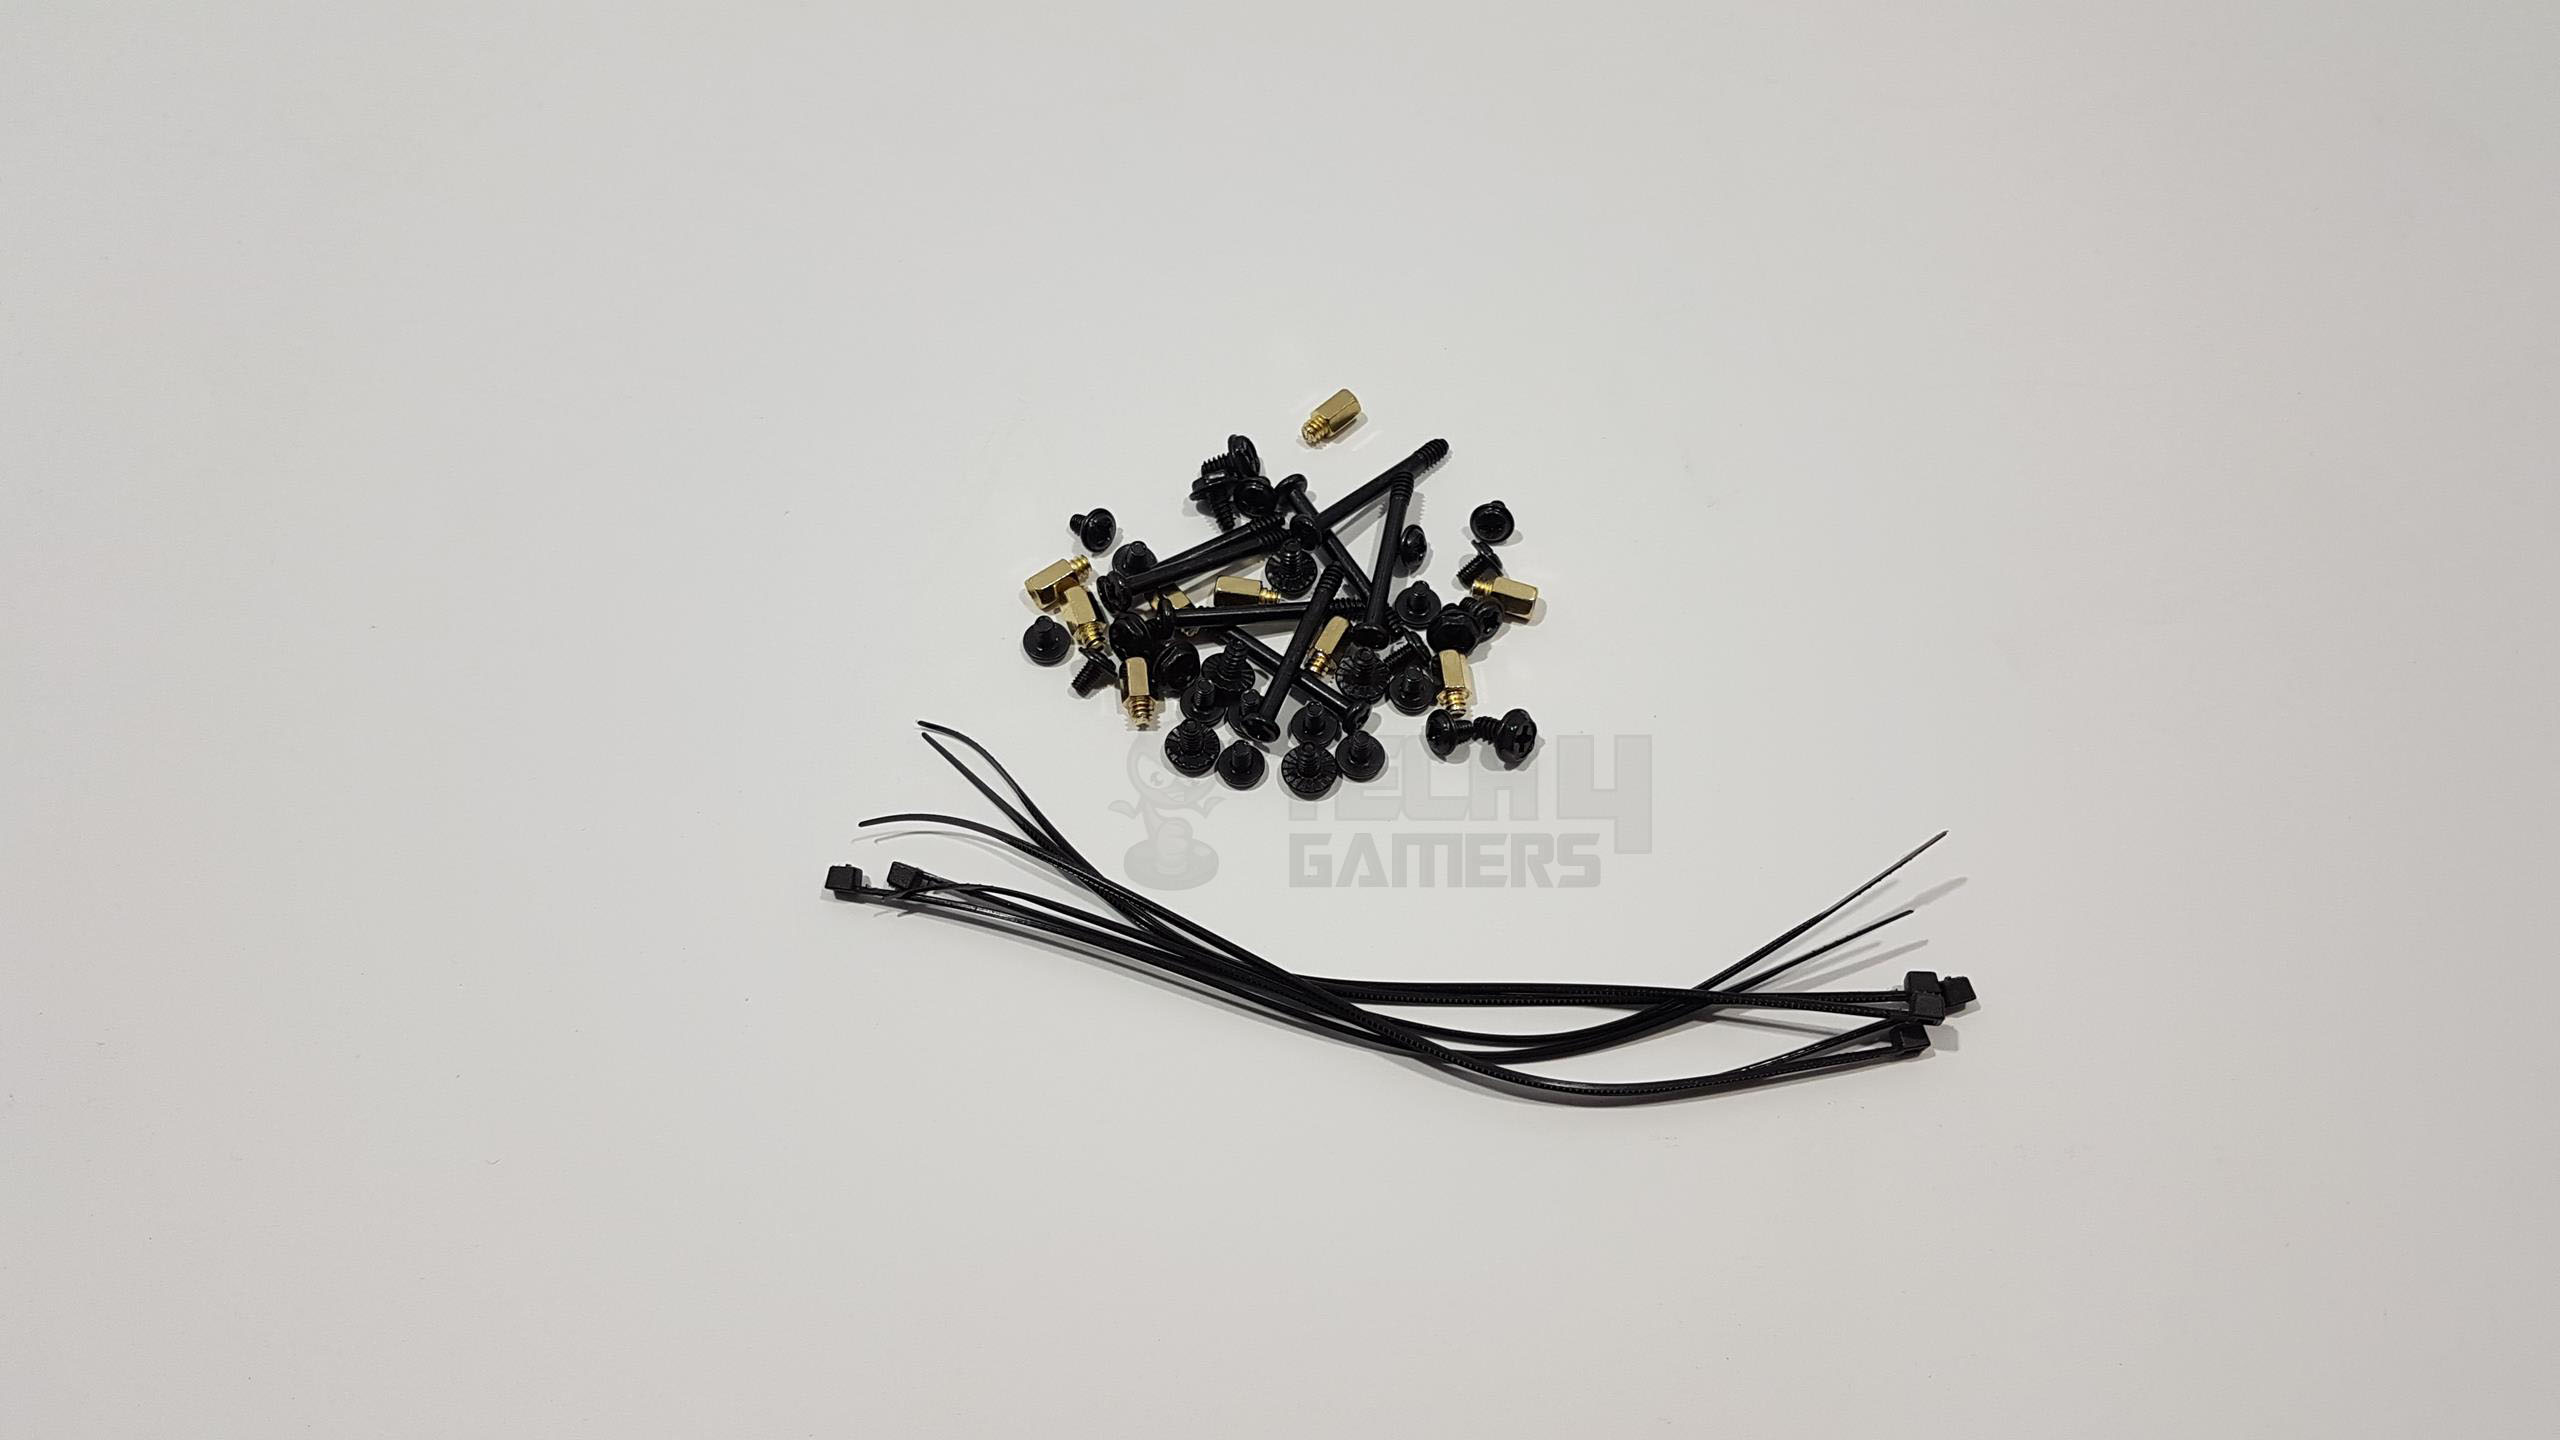
The Aerocool Cylon RGB has provided a user manual to help in installation inside this chassis and a bag full of various screws, standoffs, zip ties. They have included long screws in case additional fans are to be mounted on the 240mm radiator if need be.
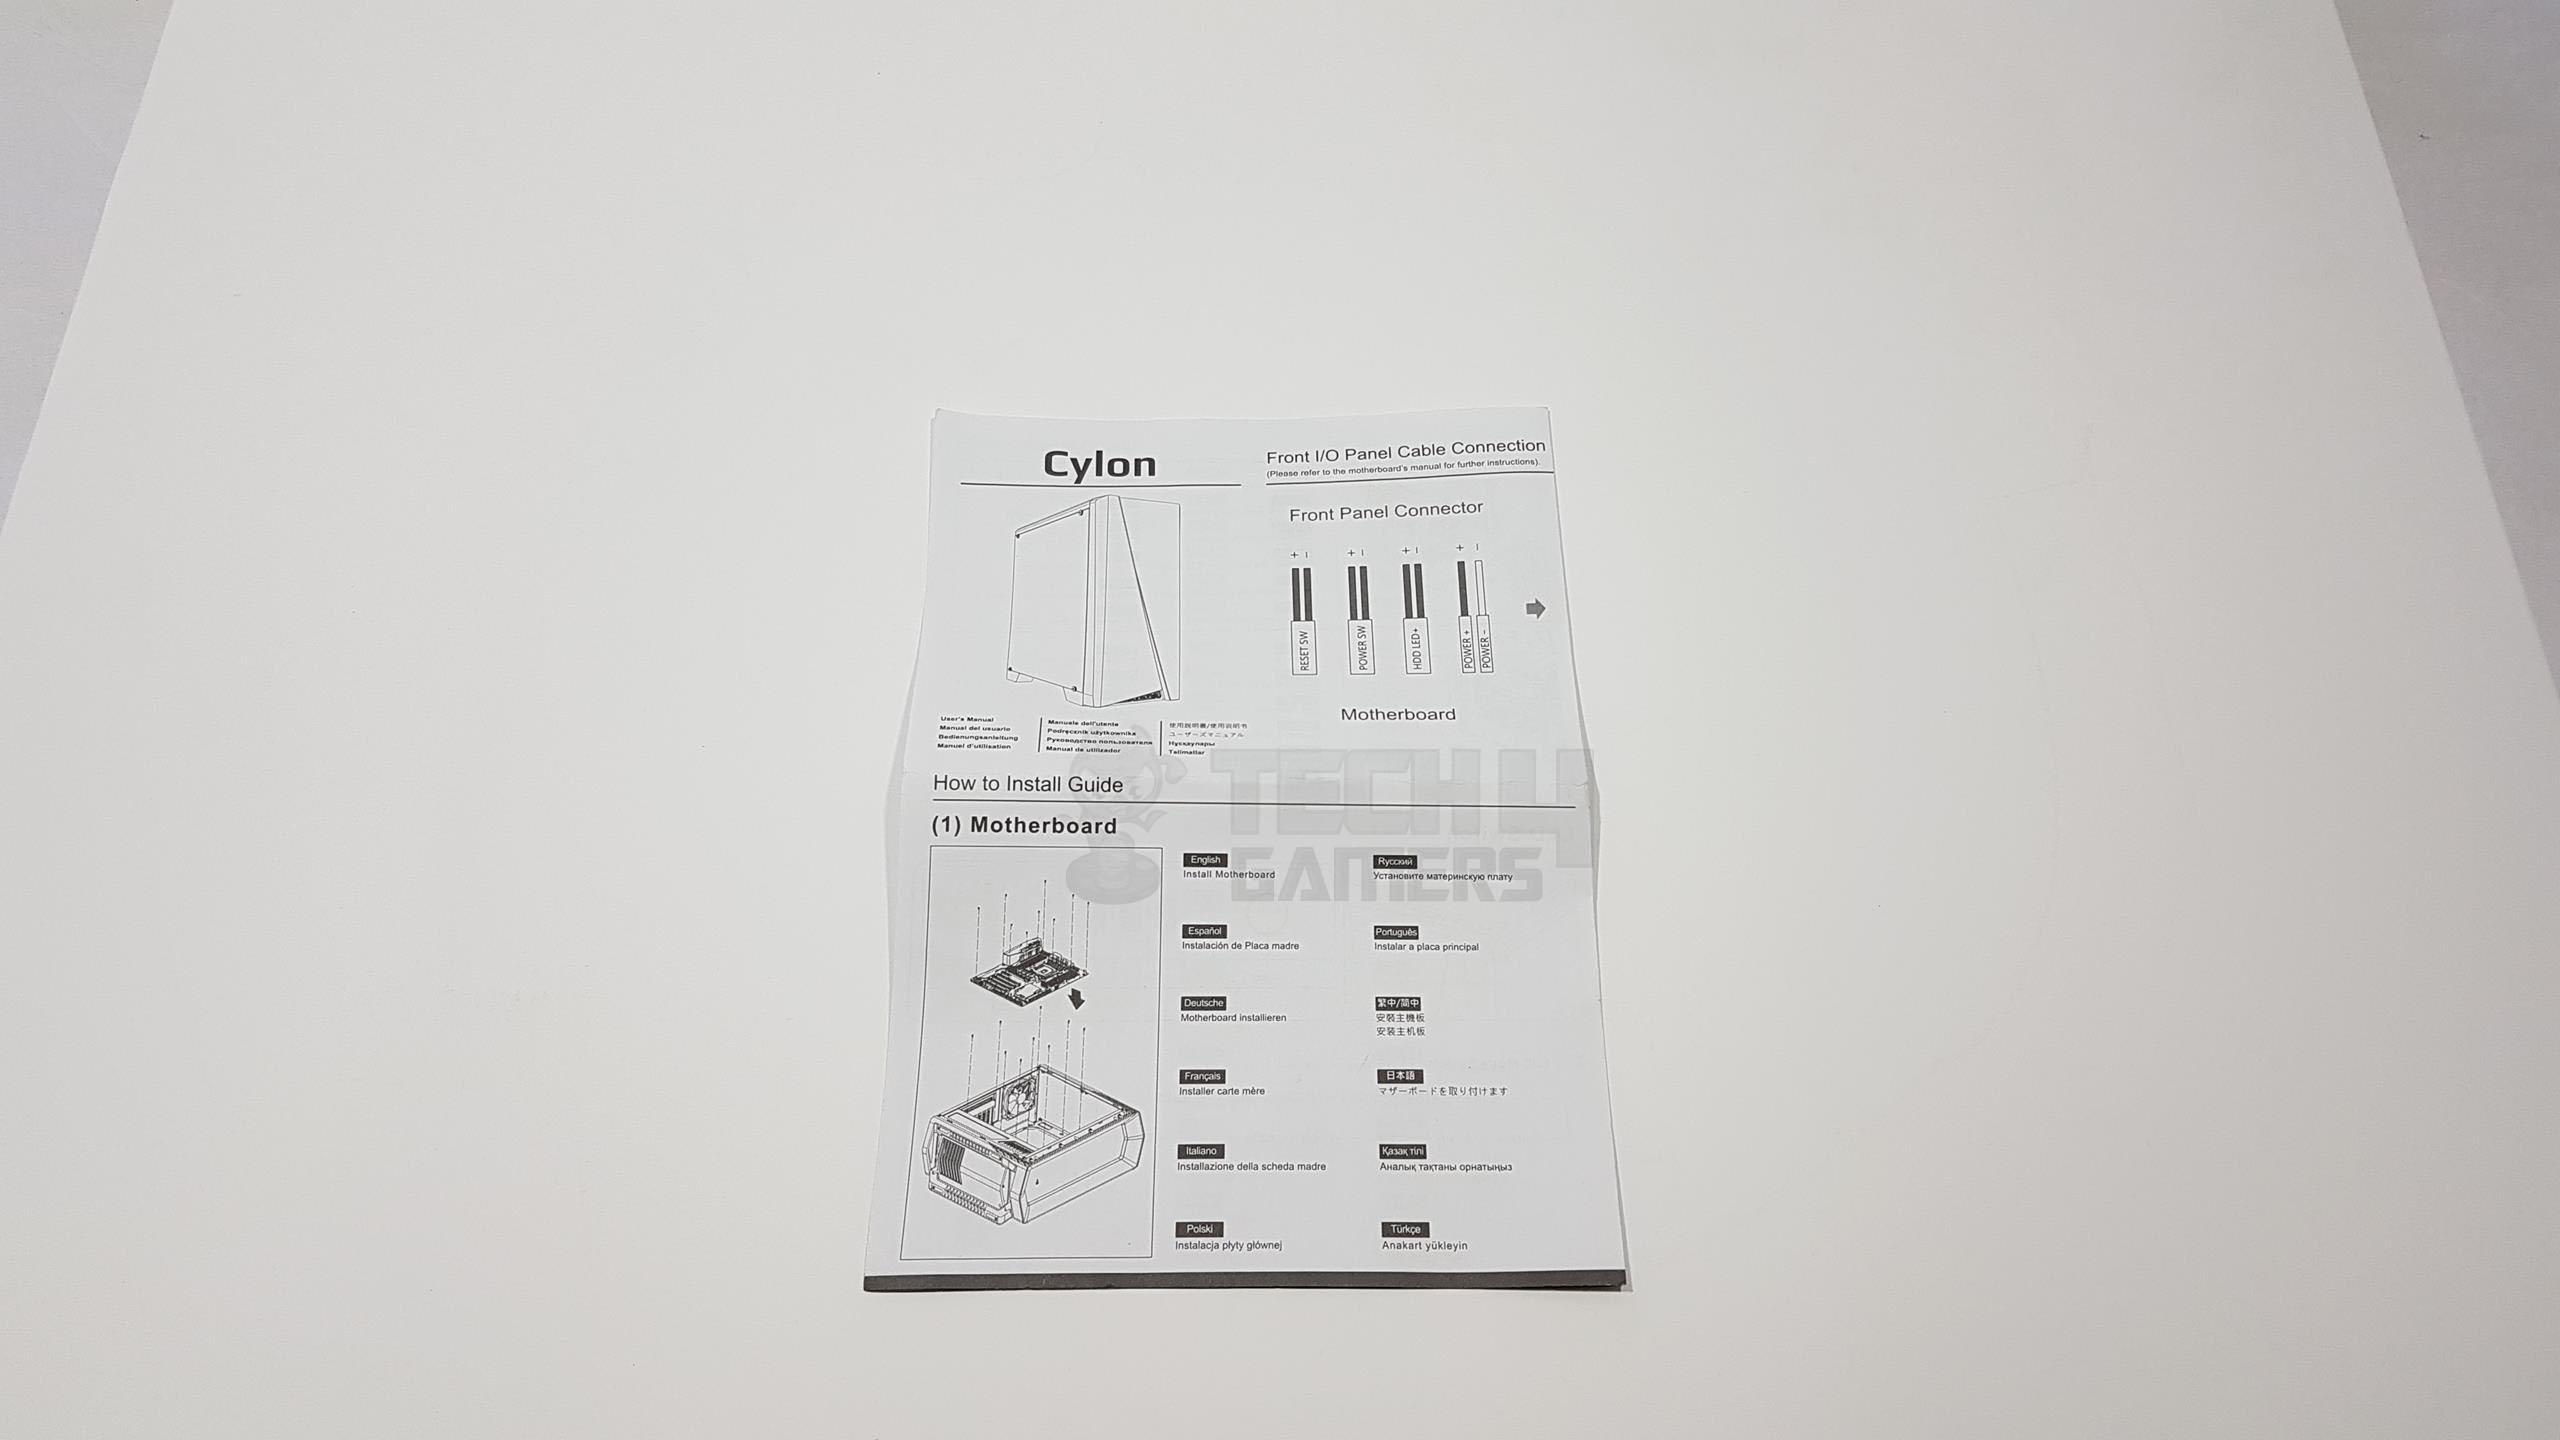
Aerocool Cylon RGB Manual Closer Look
Cylon from Aerocool is an entry-level, mid-tower gaming chassis that is compact yet spacious enough to house a well-built gaming PC. Our sample is in black color though the chassis is also available in the white color at the same price which is good thinking on the part of Aerocool. The chassis is made of steel (0.5mm thickness) and plastic and features a window side panel to showcase your build.
Front Panel
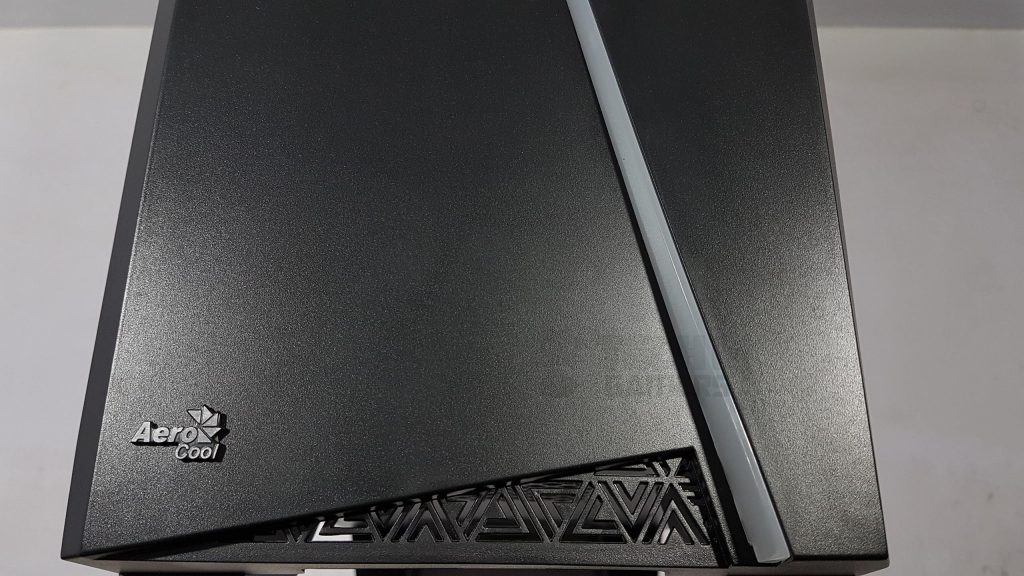
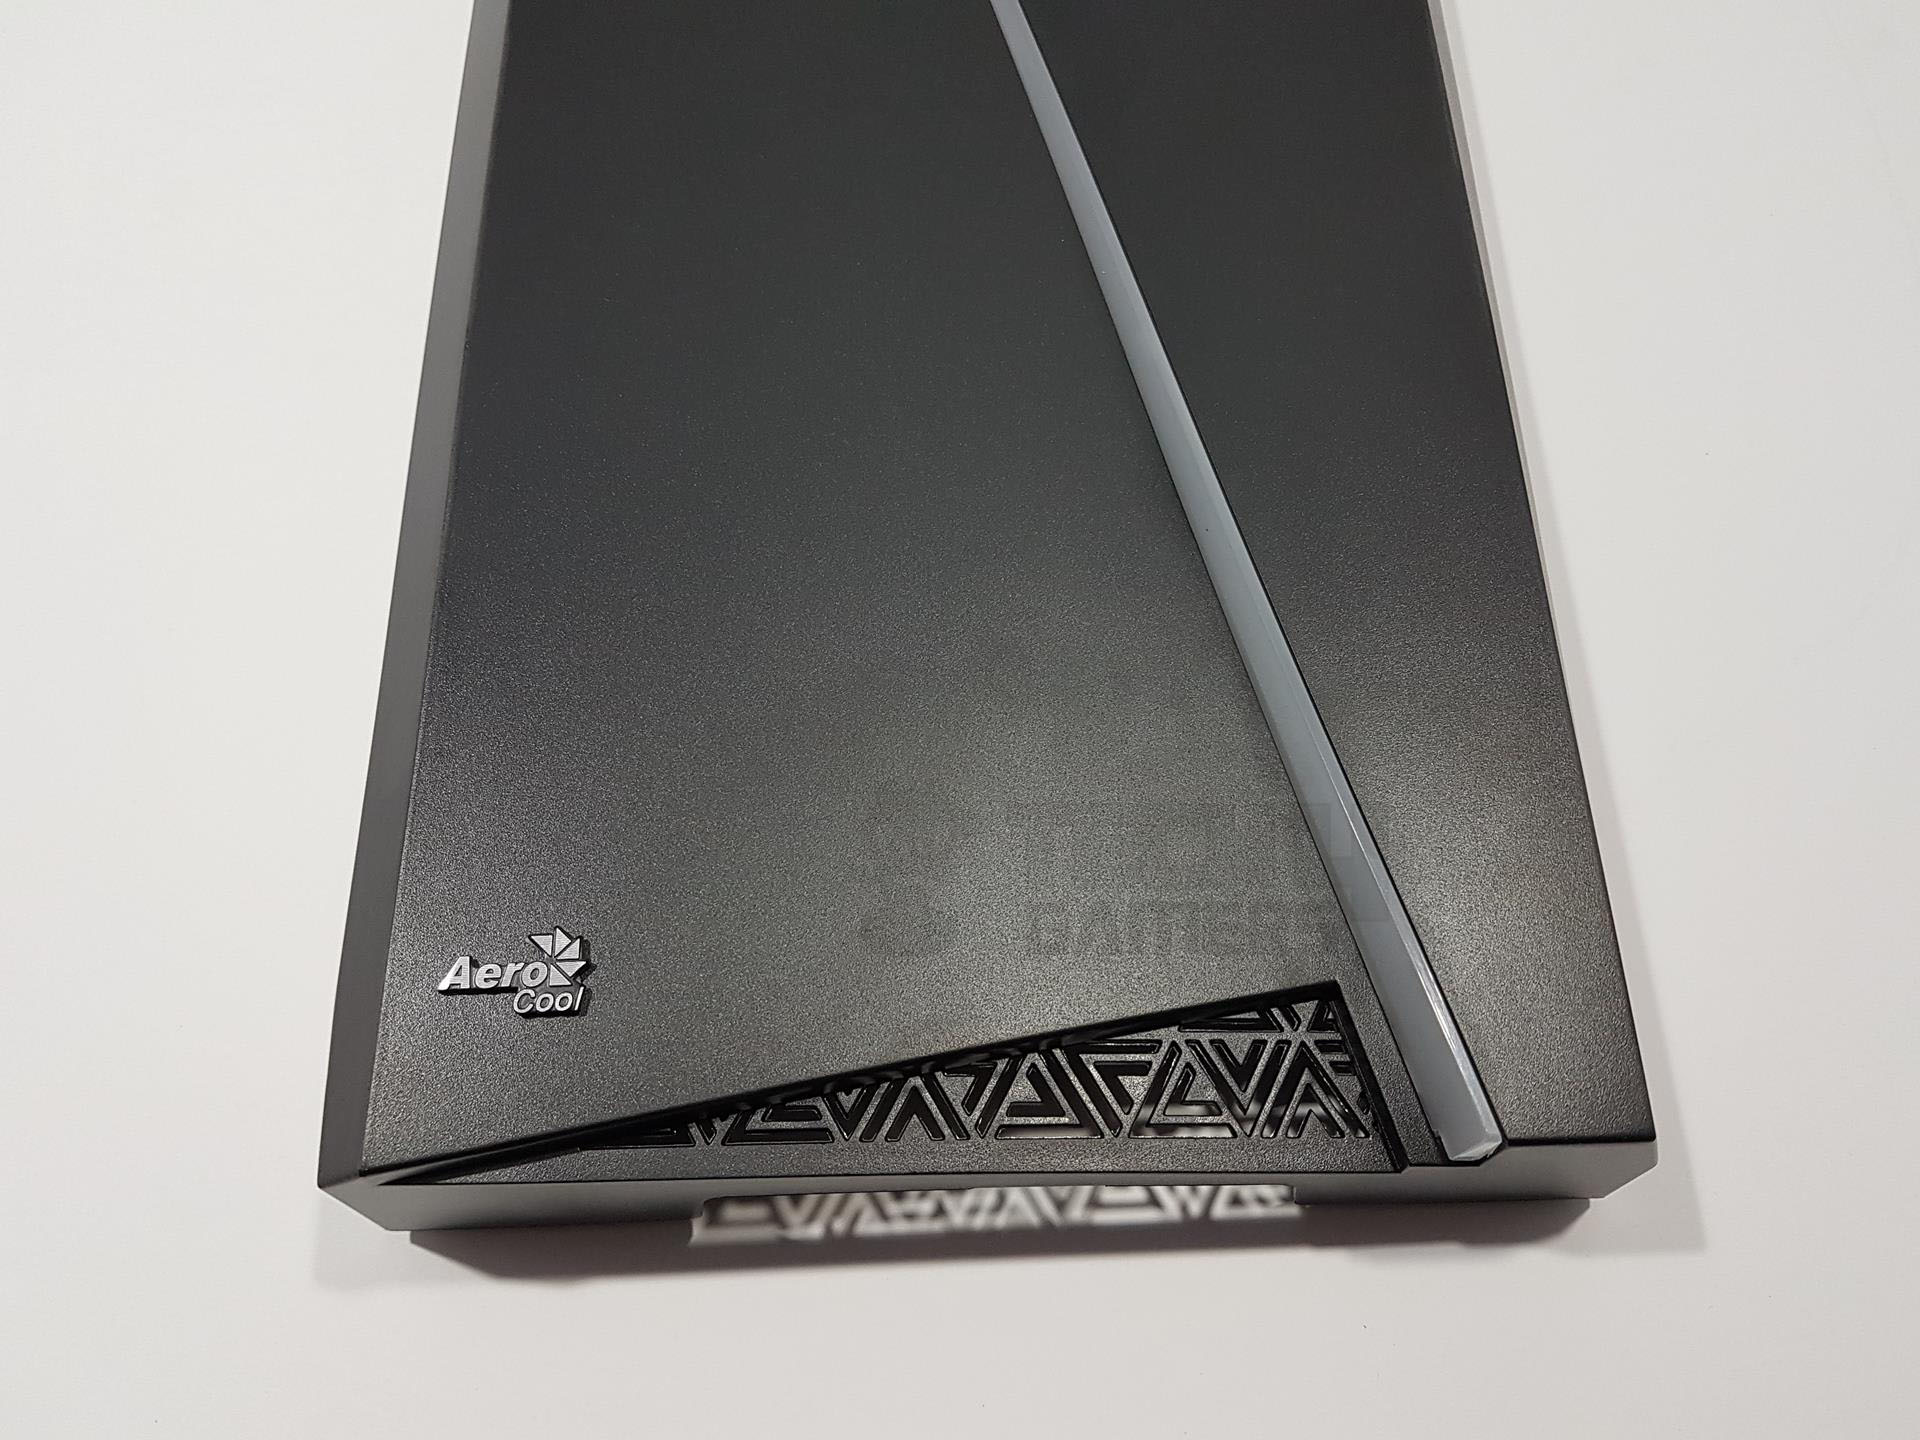
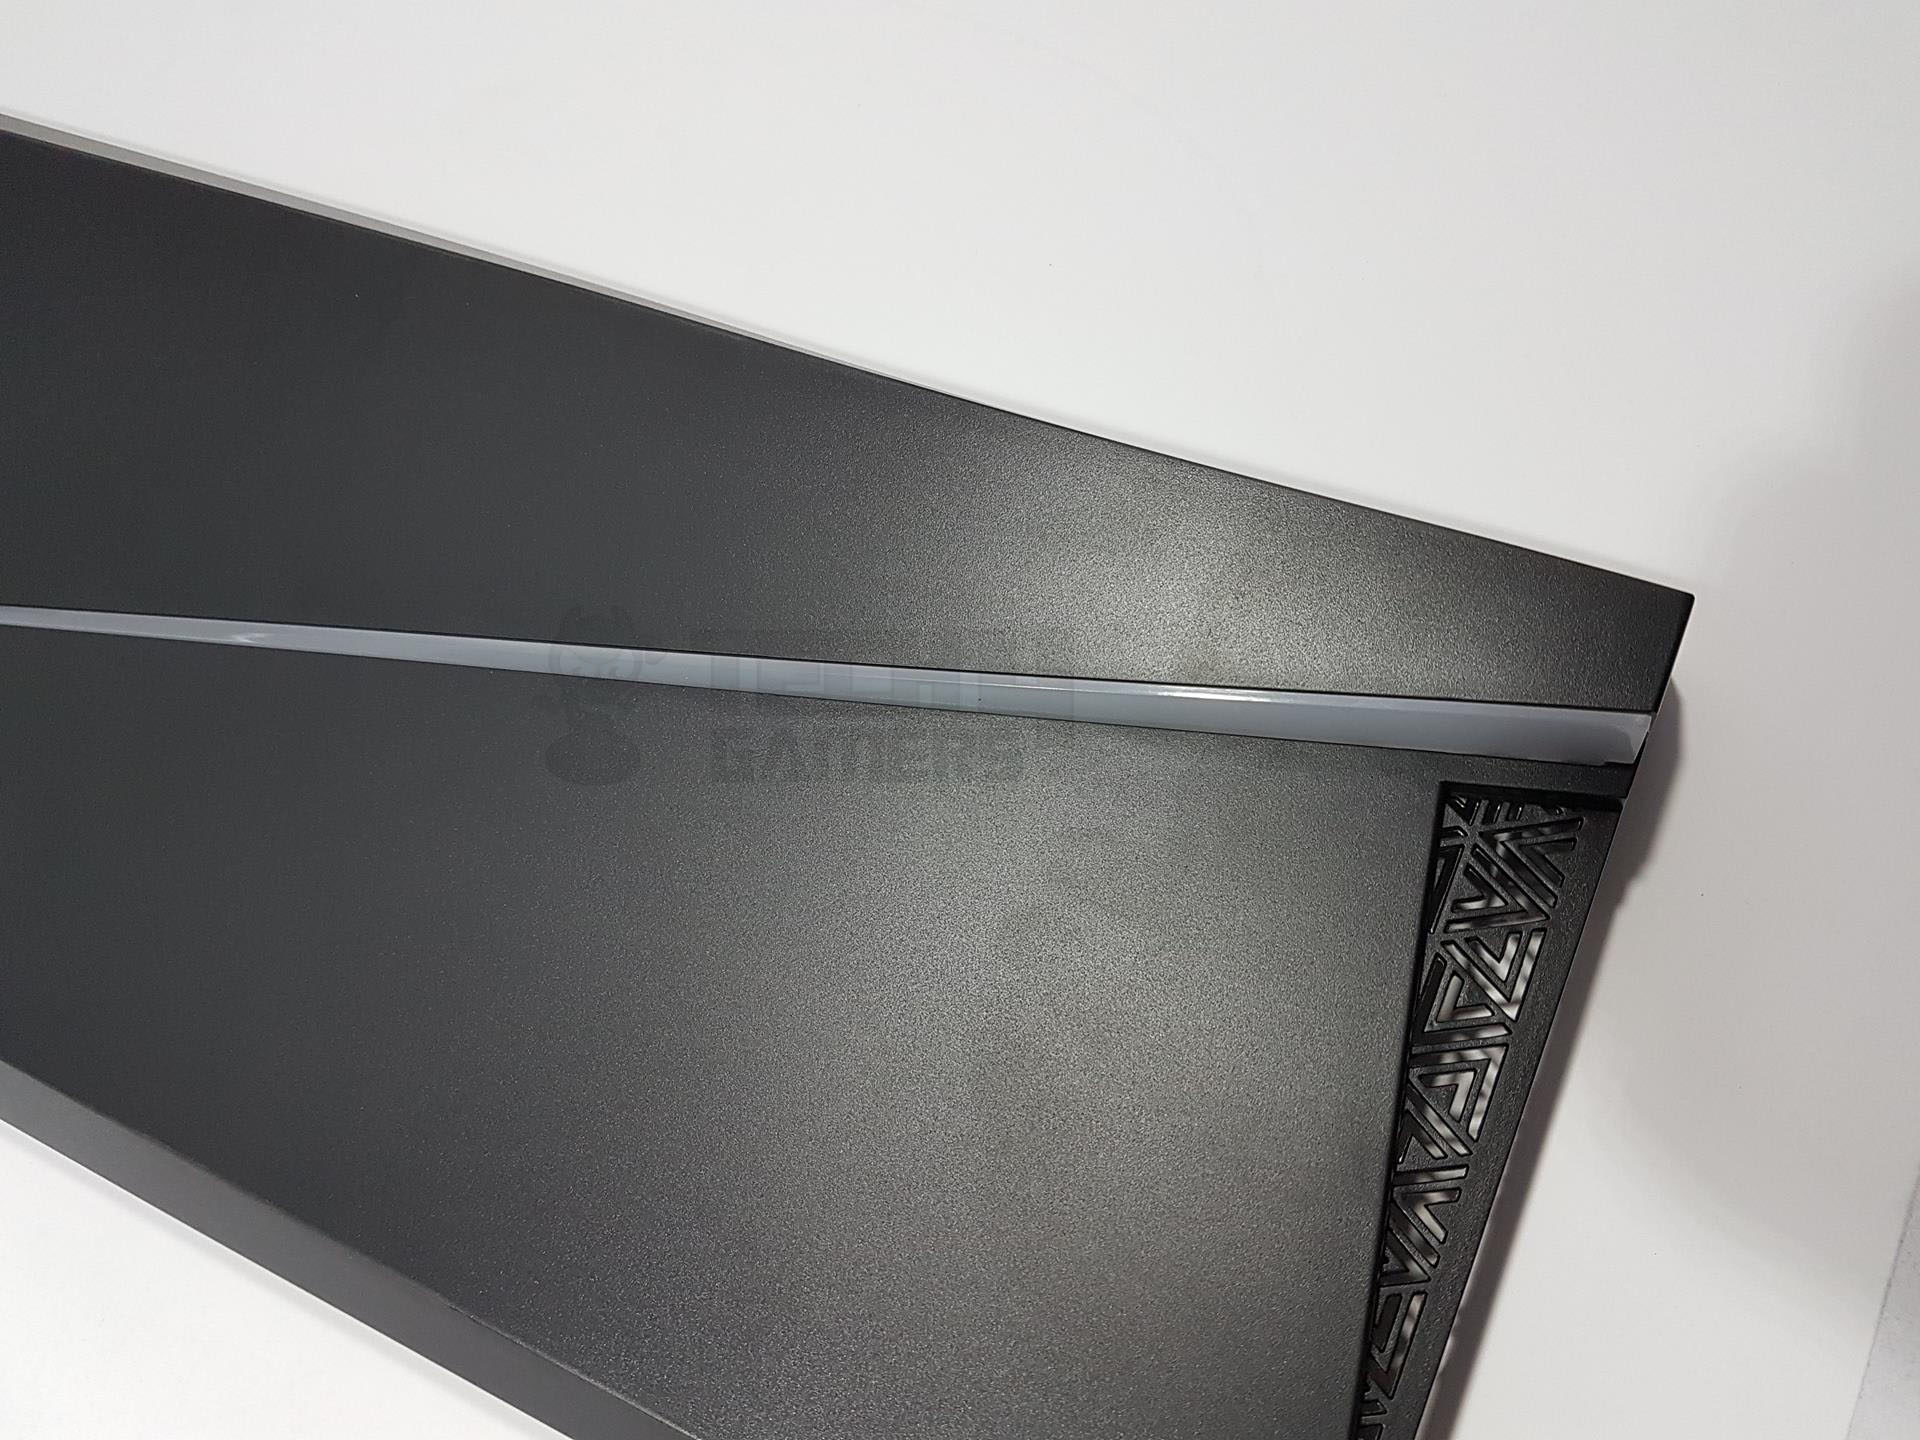
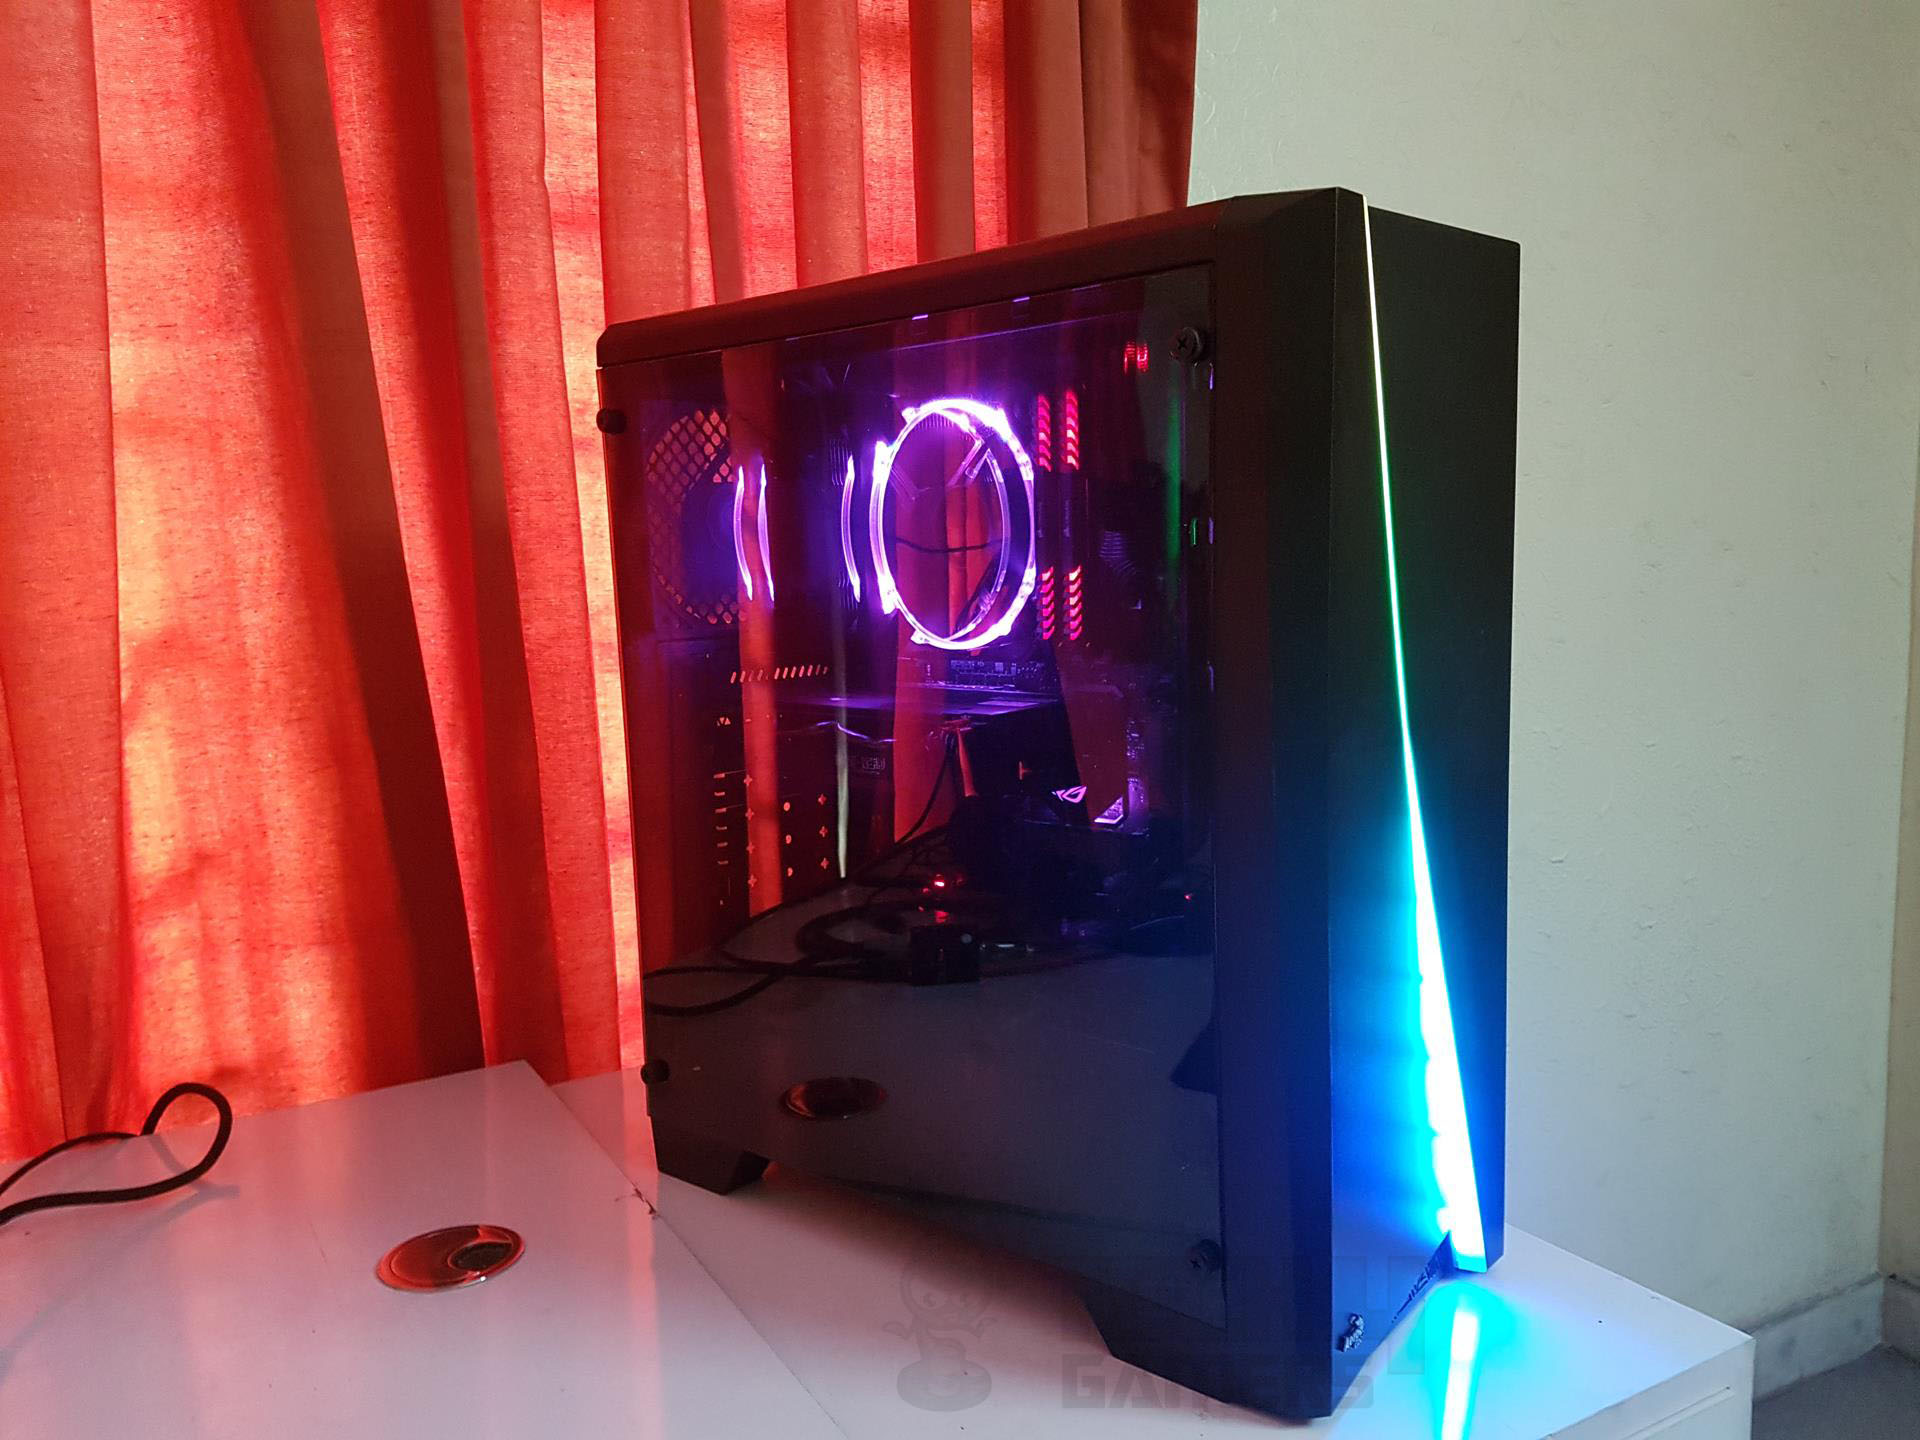
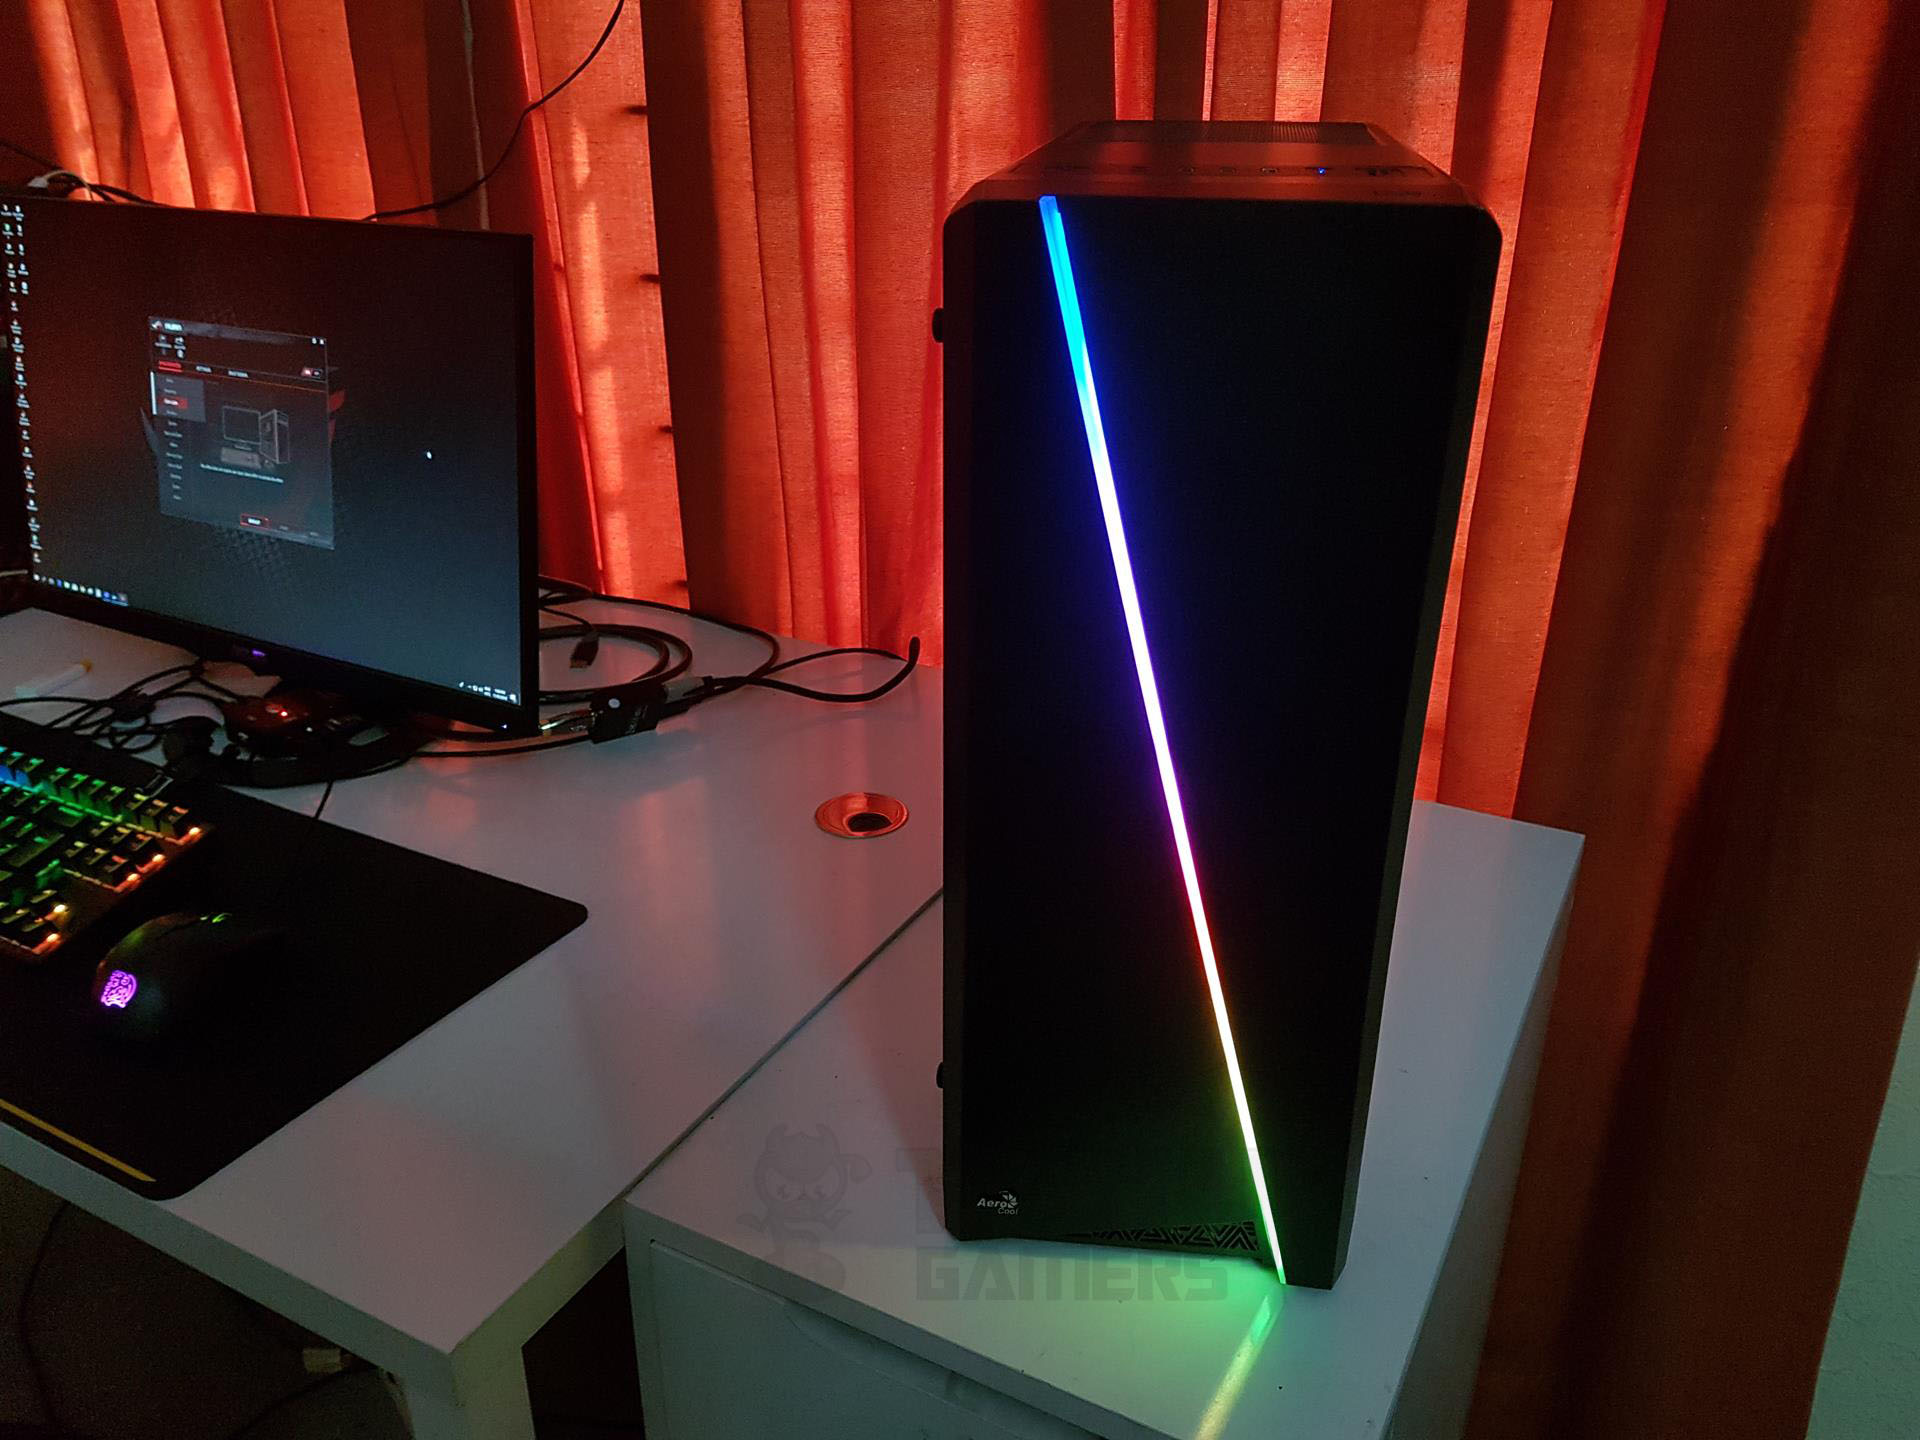
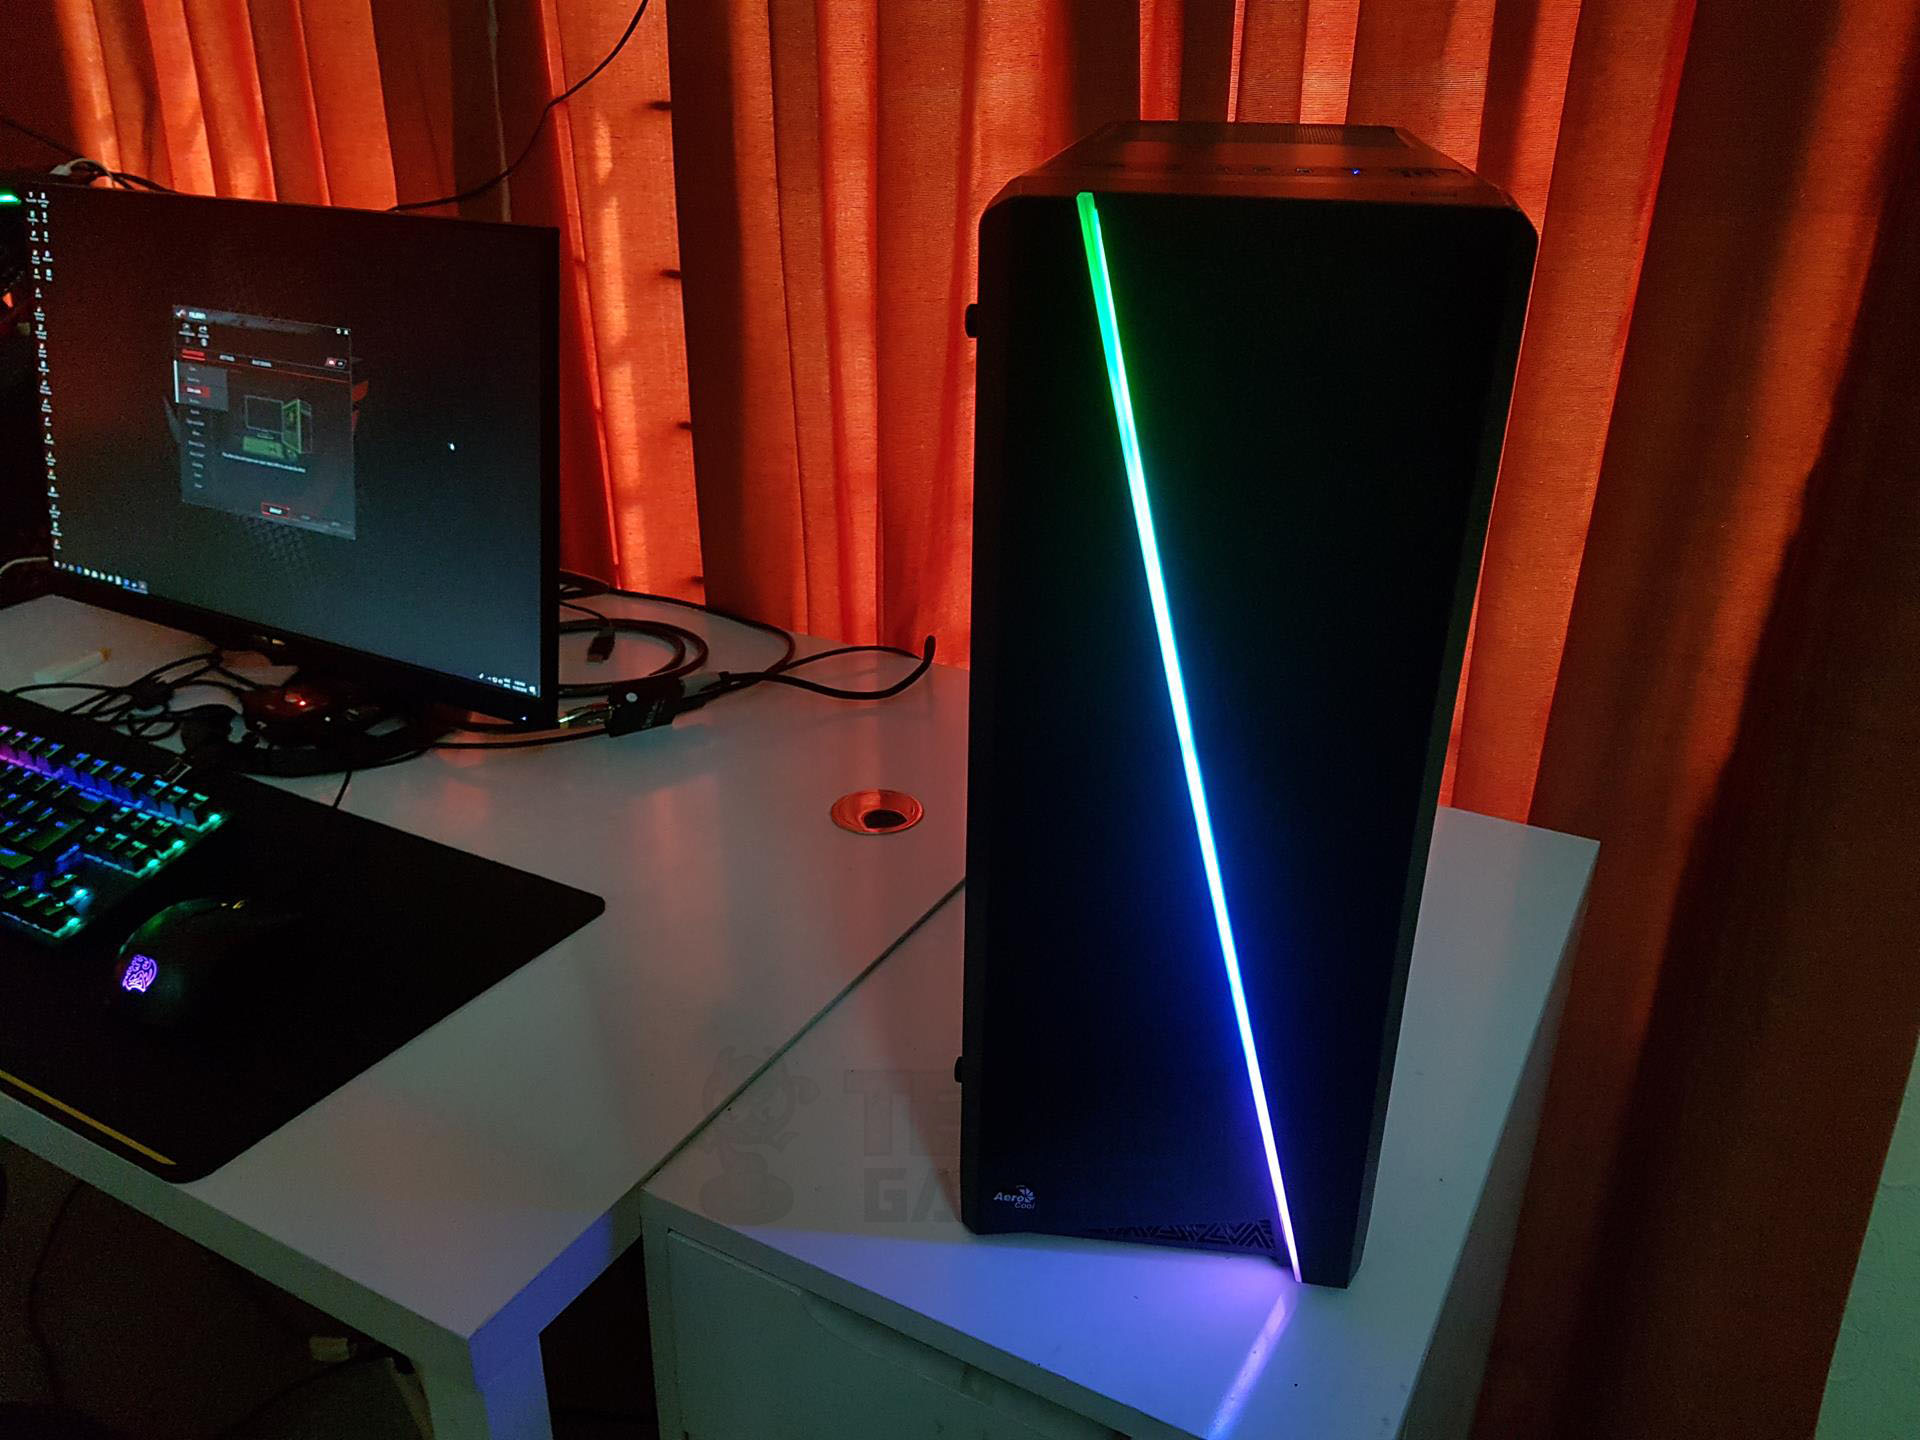
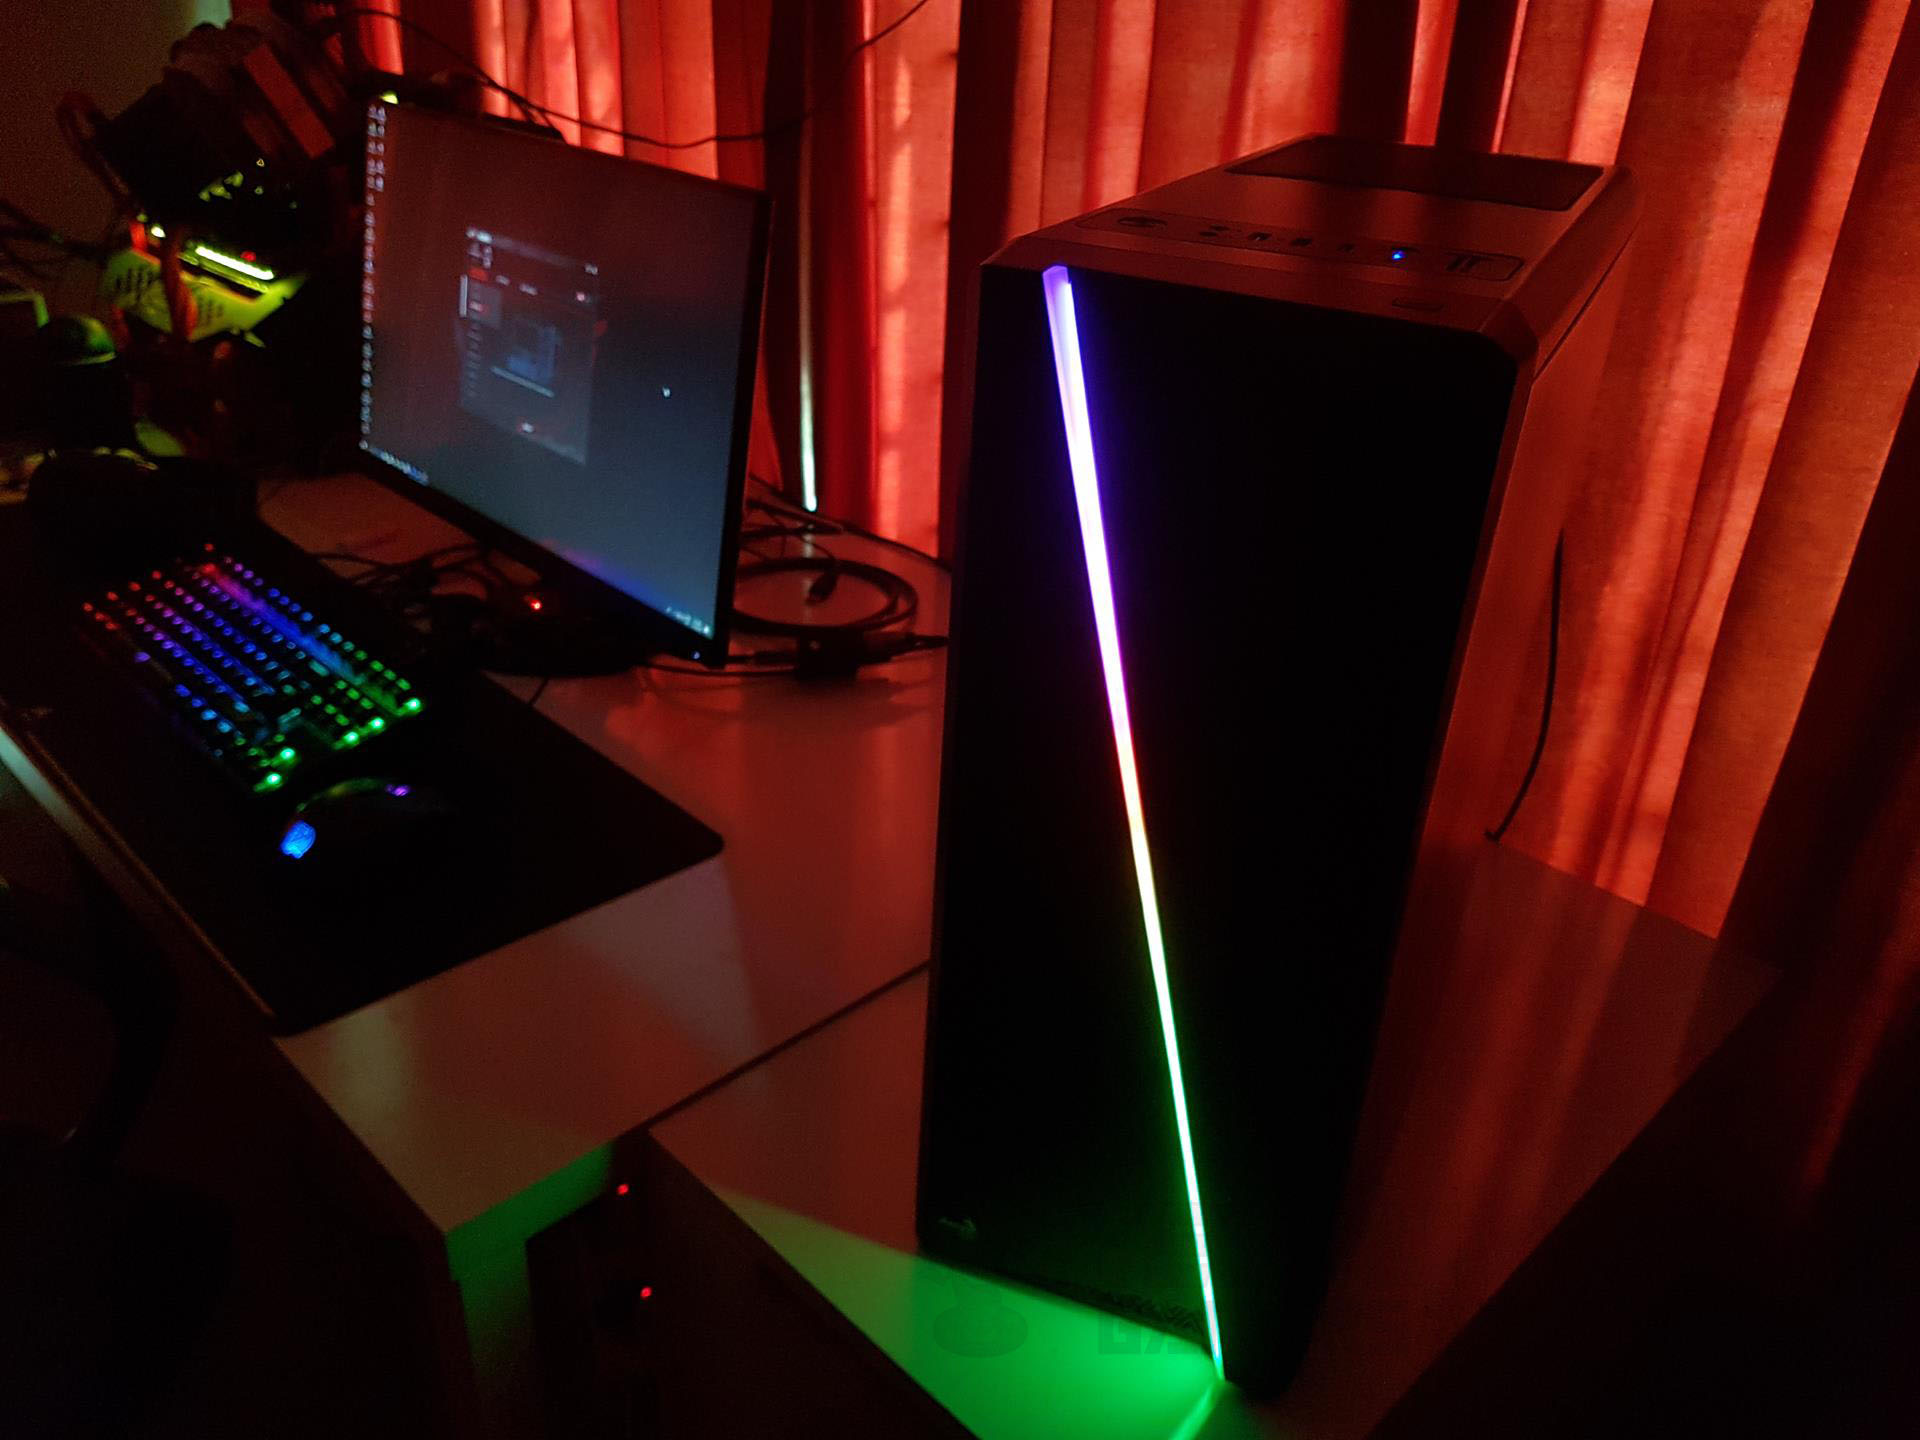
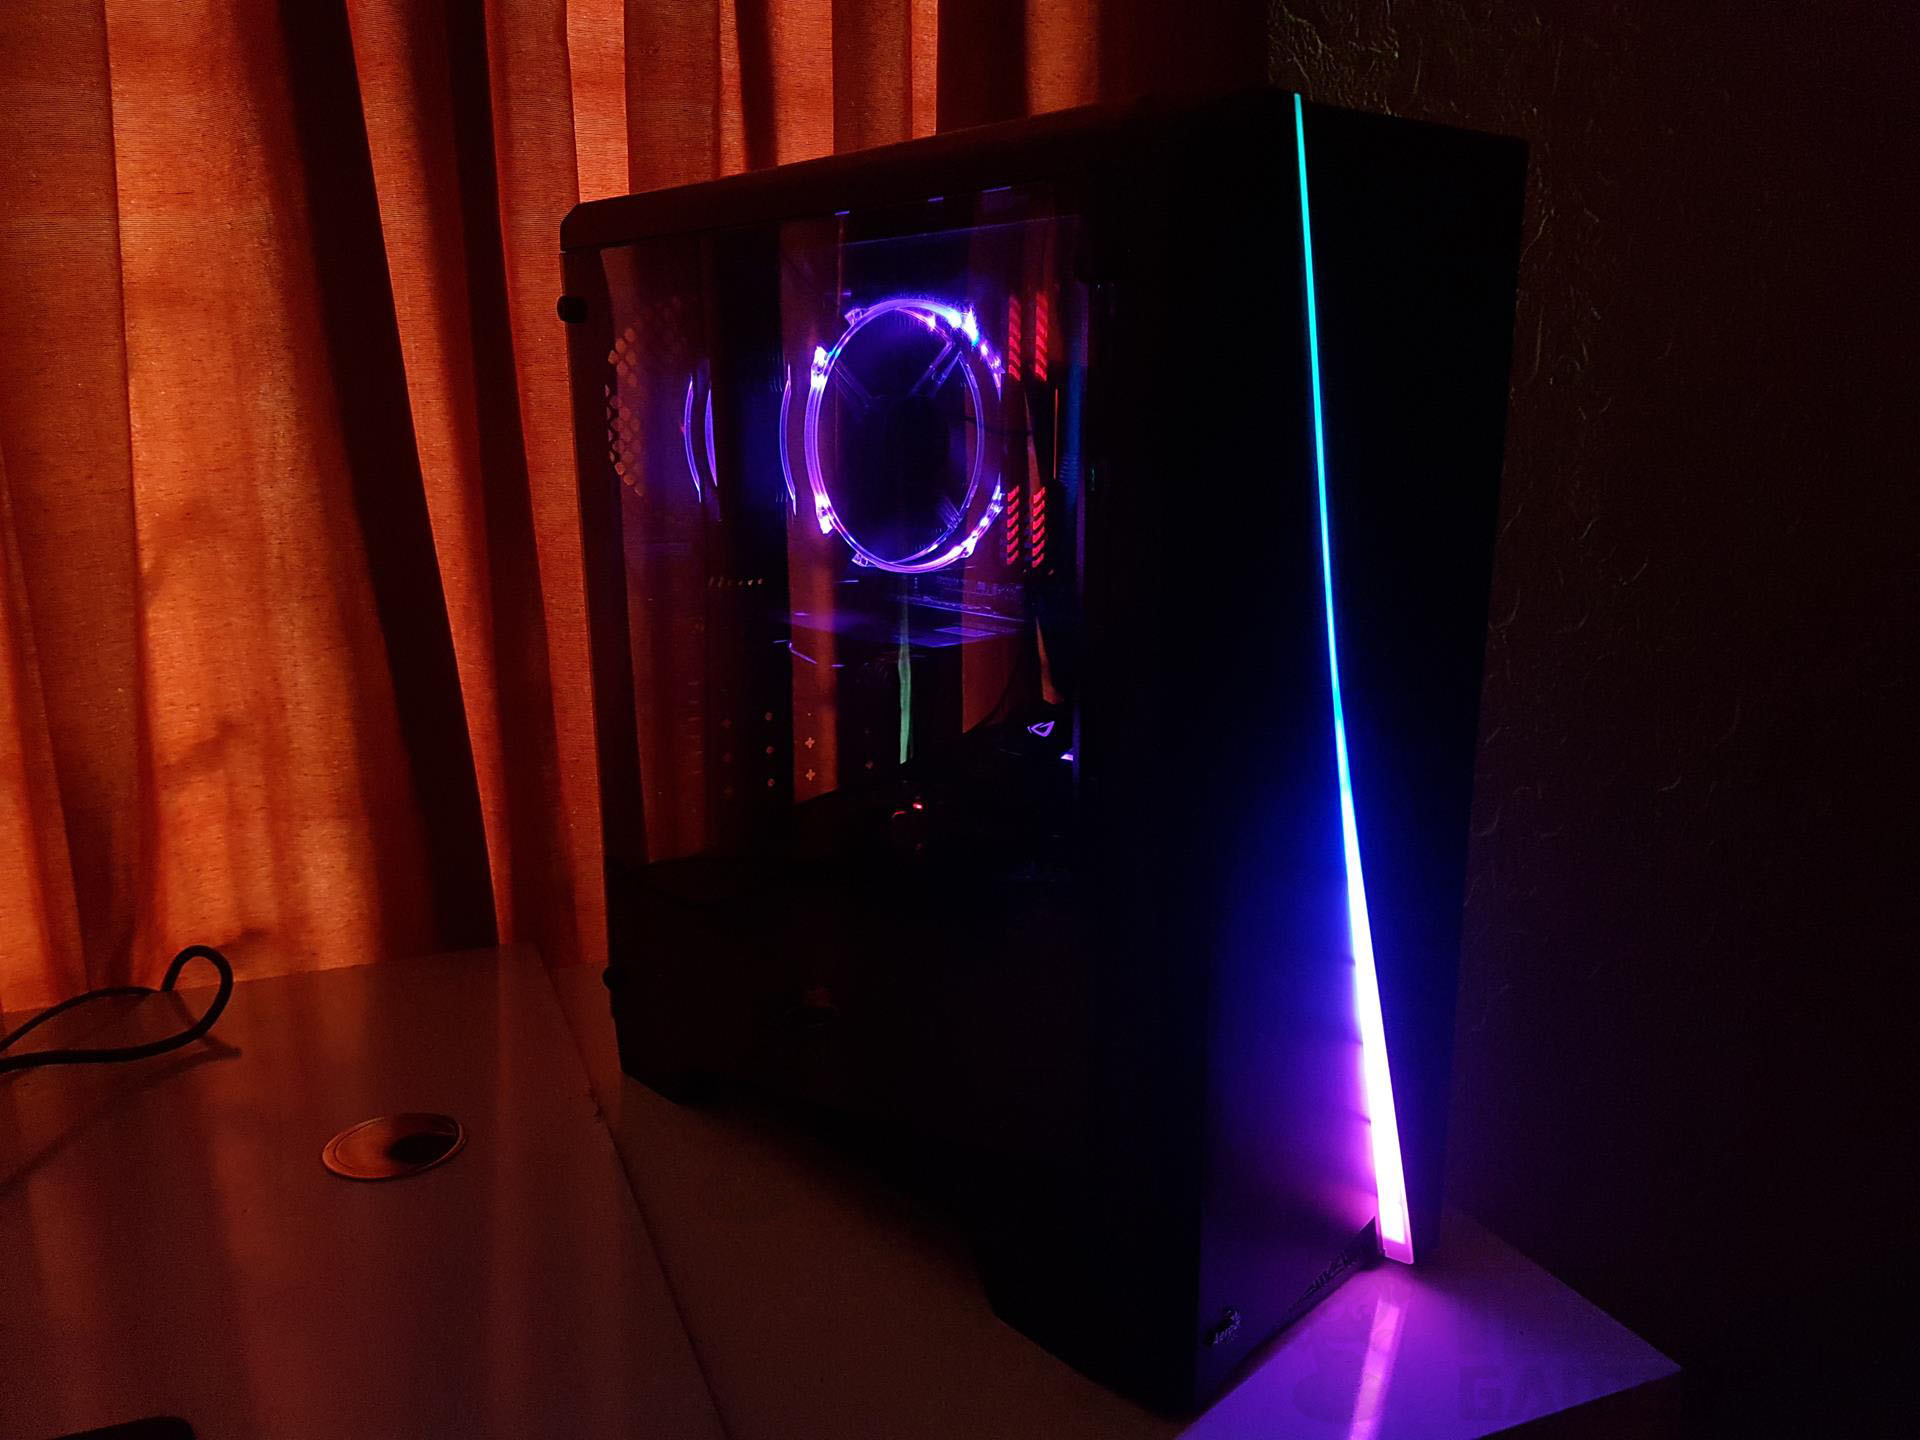
The Aerocool Cyclon RGB chassis features a distinctive front panel with an irregular polygon design. The polygons, without uniform alignment, incorporate a frosted white diffuser in the middle, illuminated by an RGB LED strip, giving the case a unique and vibrant aesthetic.
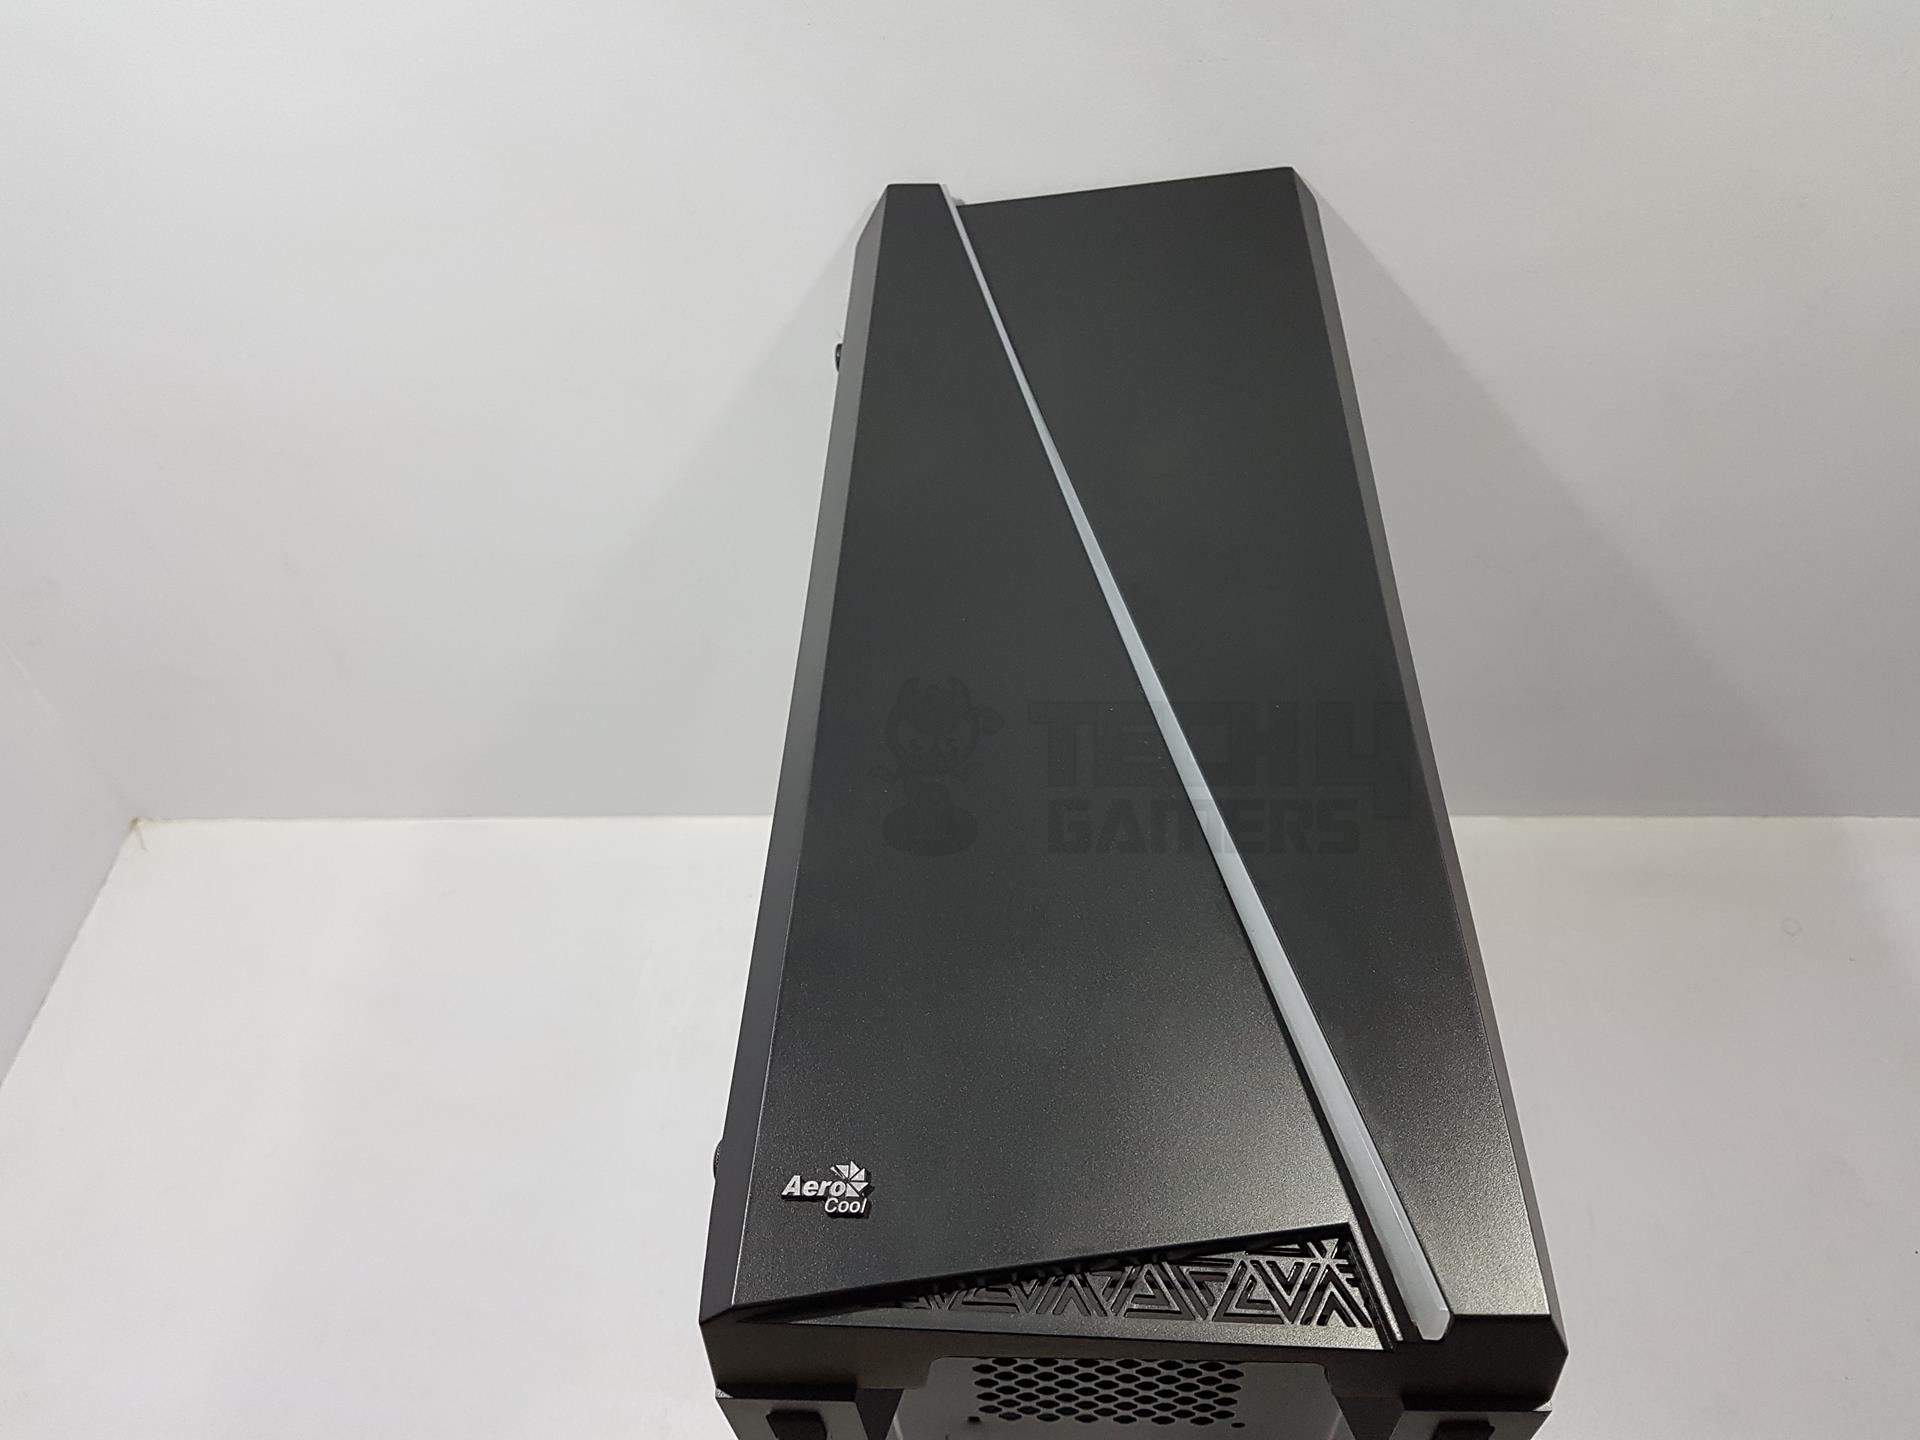
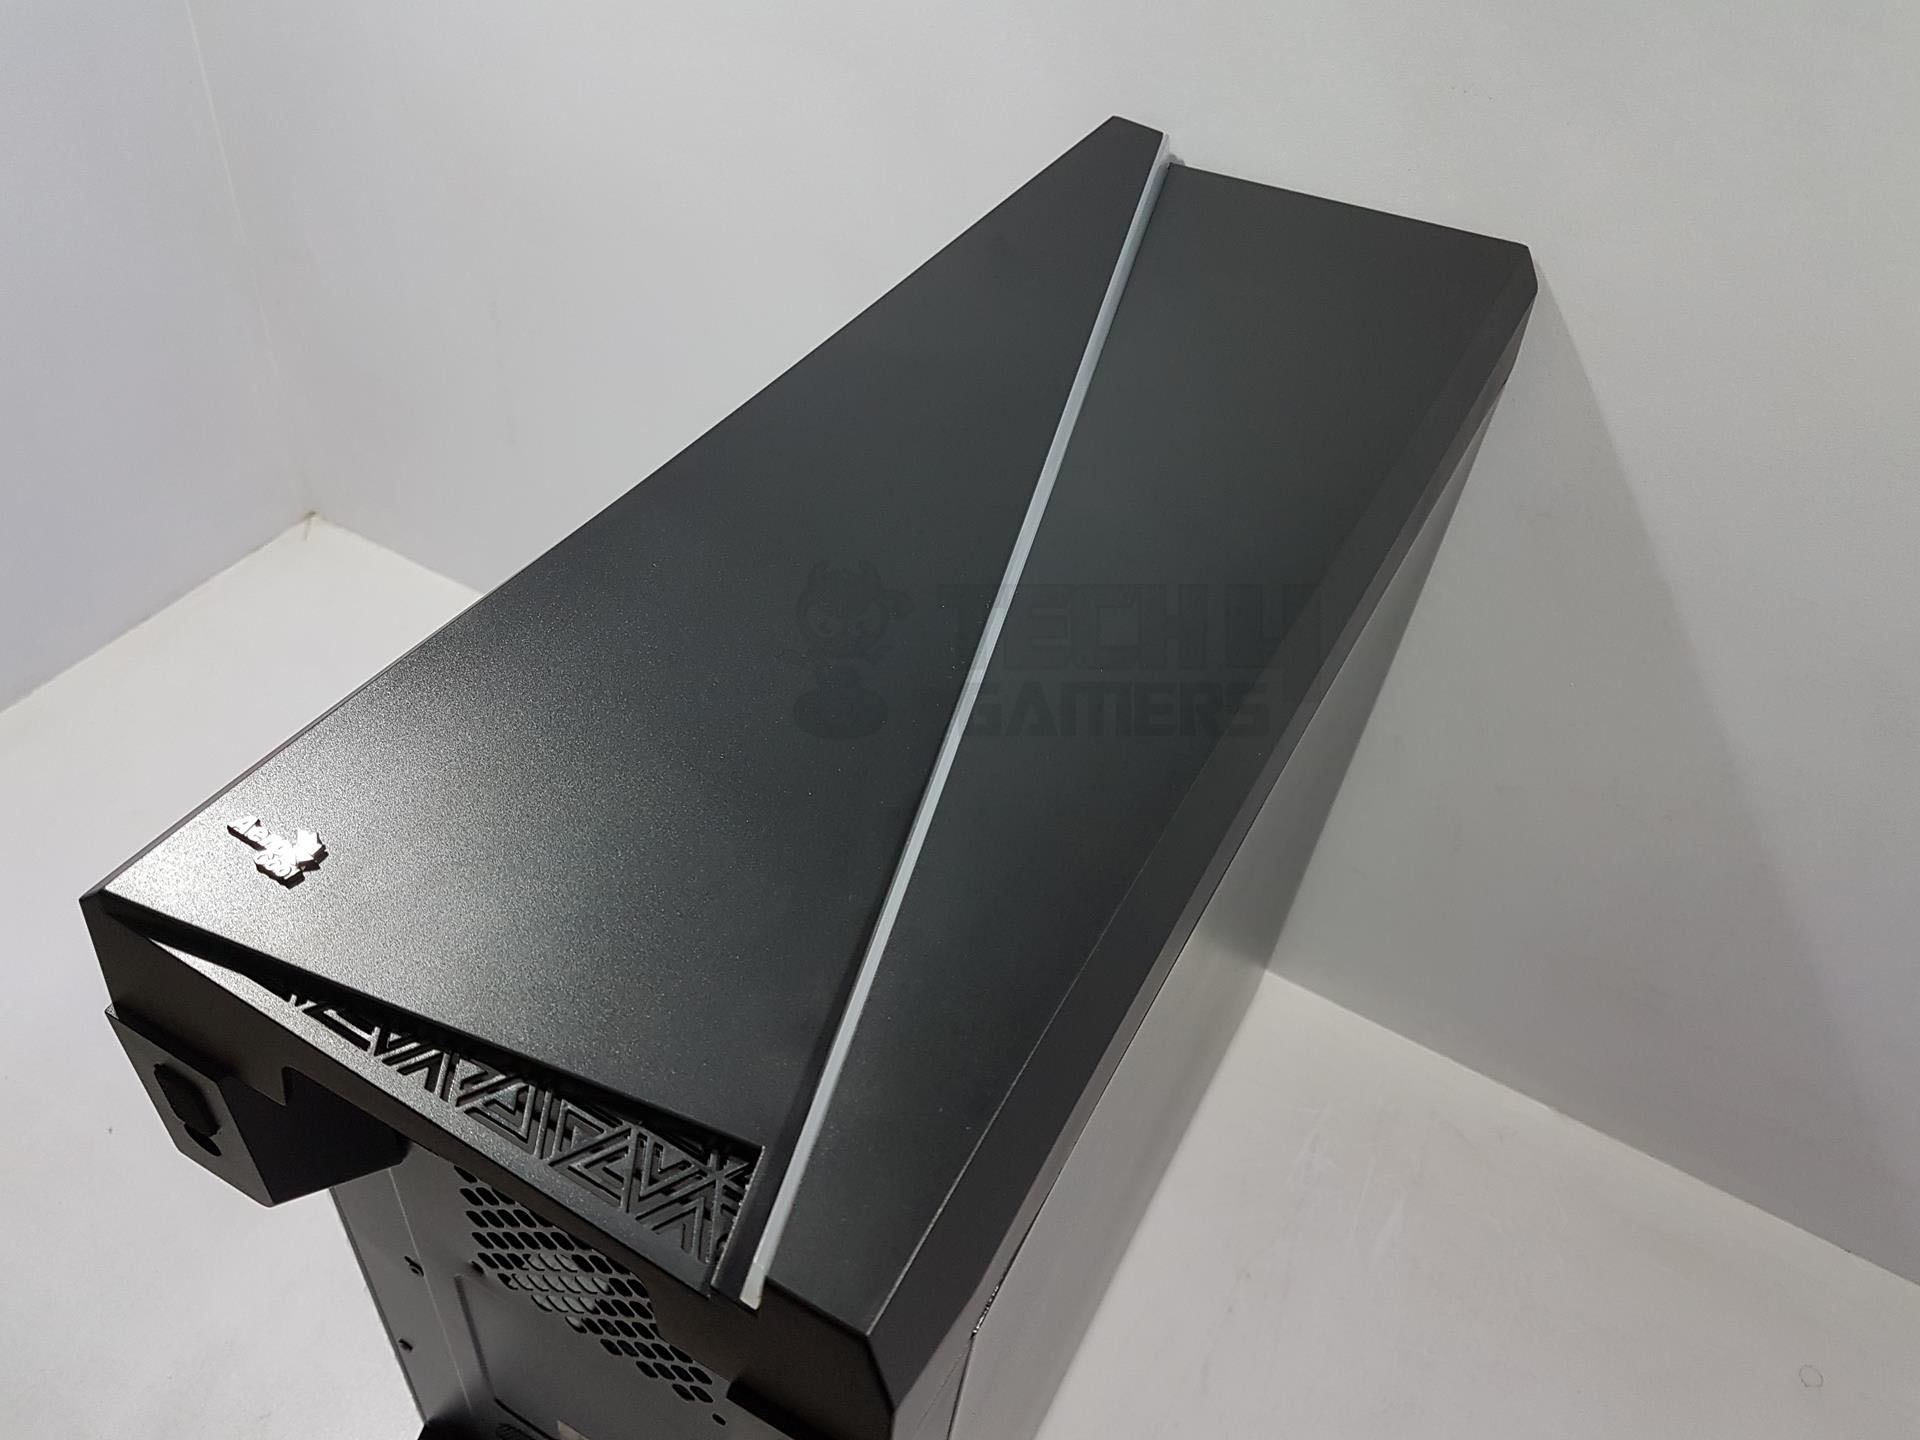
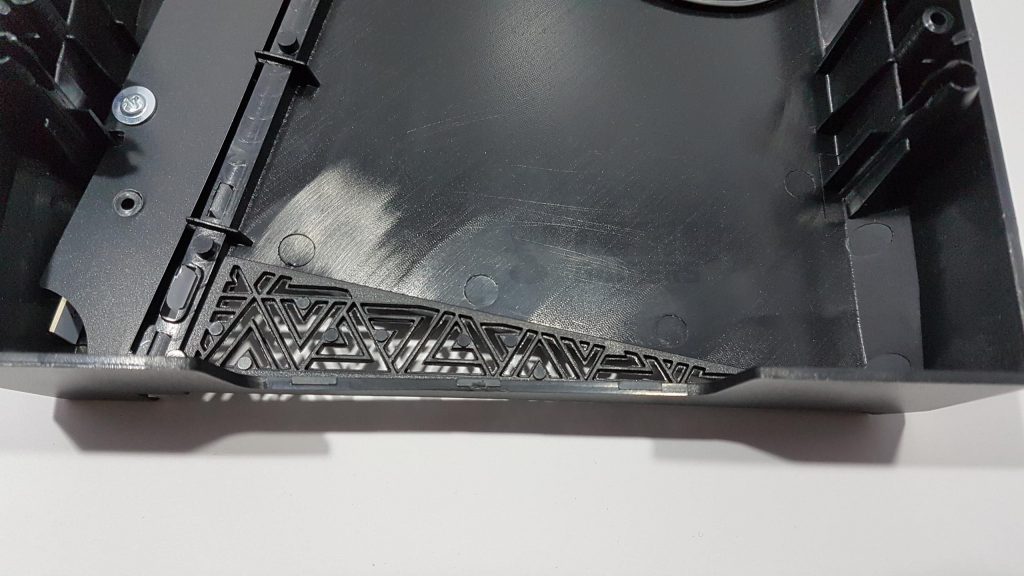
When powered on, the diffuser enhances the chassis with a stunning yet subtle appearance. The bottom of the front panel features an elegant Aerocool brand name and logo, reminiscent of Asus ROG’s Cyan design. A triangle-shaped cutout design on the bottom right not only contributes to the overall aesthetics but also serves as a fresh air intake.
I wish they had made it a bit more elaborative to the extent that more of a bottom portion has it featured on it. The front panel can be taken off. To do that, place your hand underneath the bottom side and pull it out.
There are no vents or cutouts on the top or the left/right sides of this panel for air intake but only at the bottom. Let’s take a look at the backside of this panel.
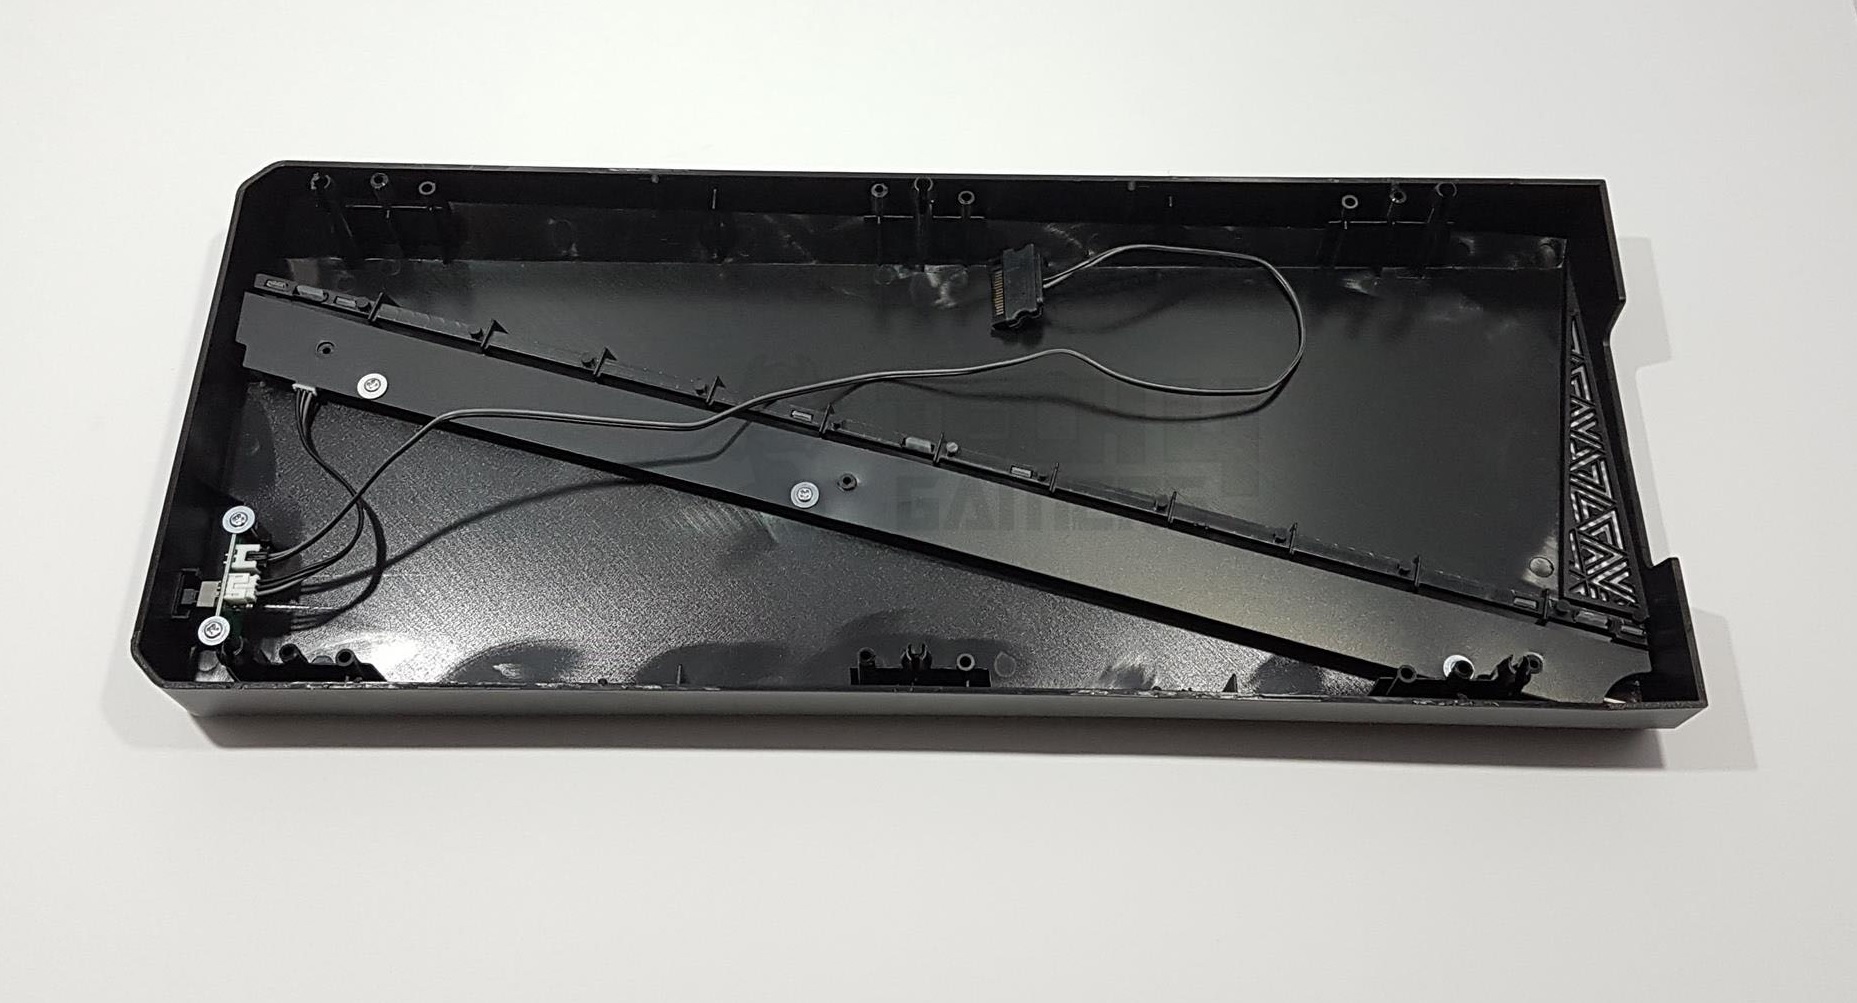
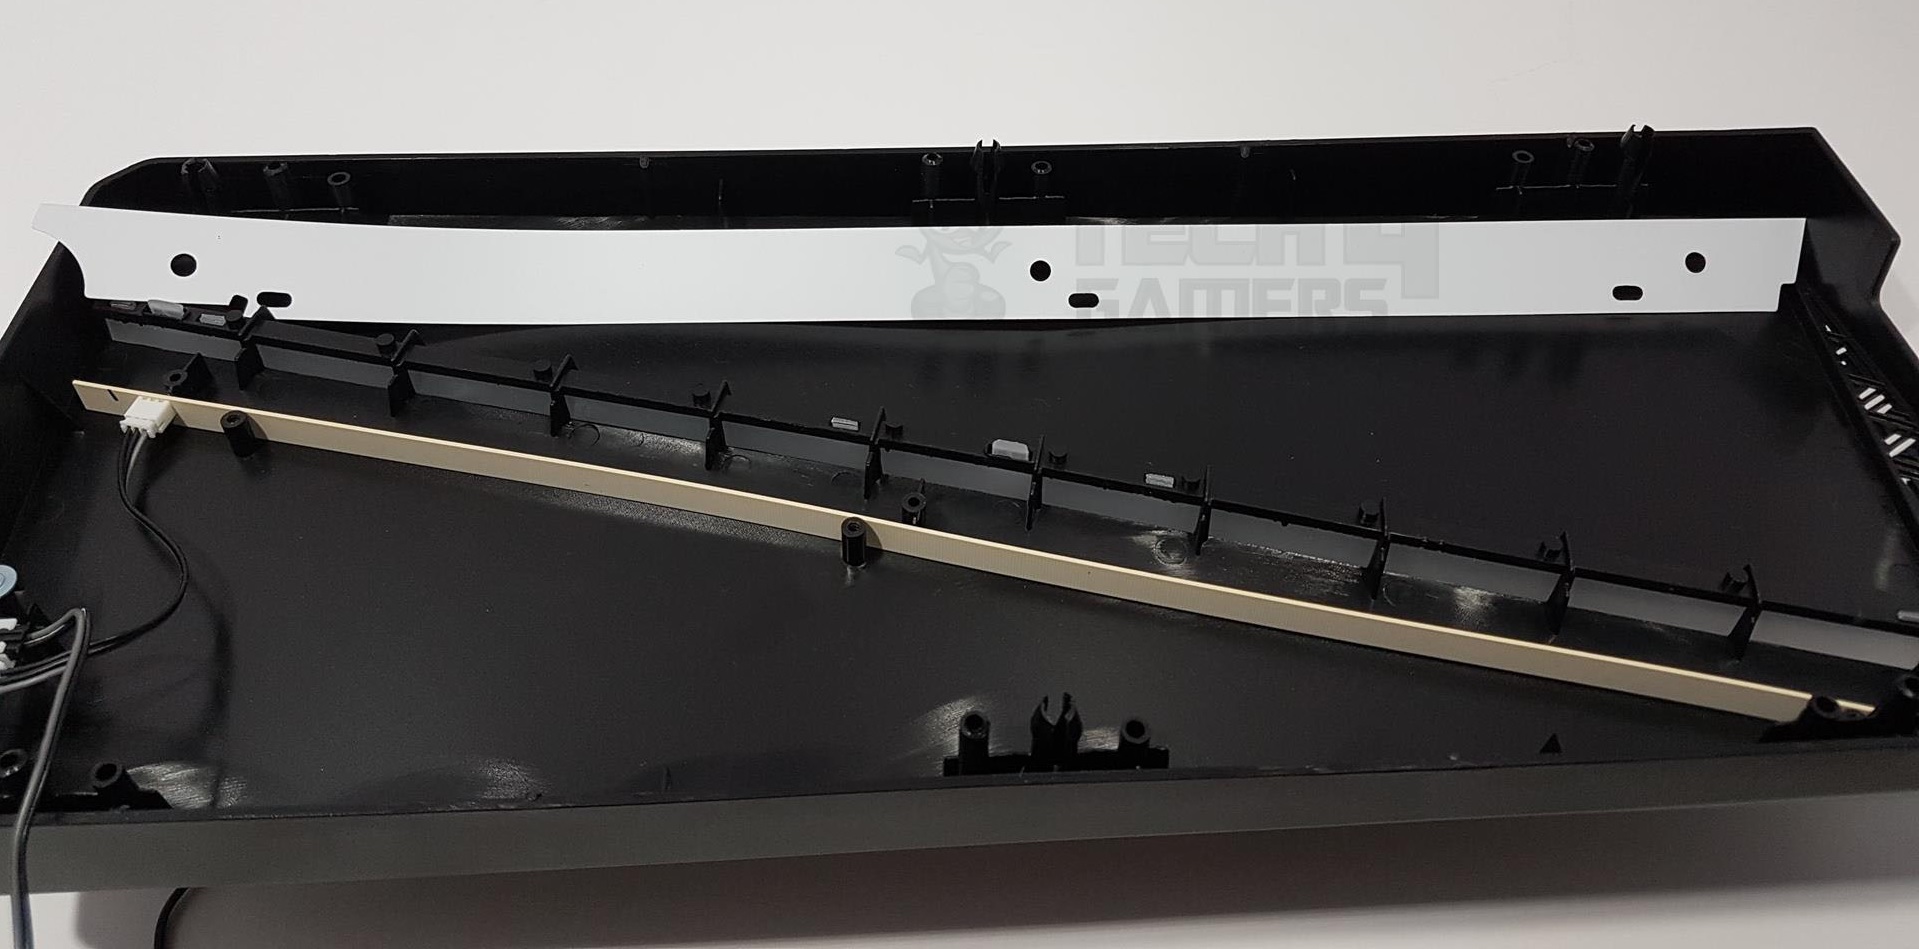
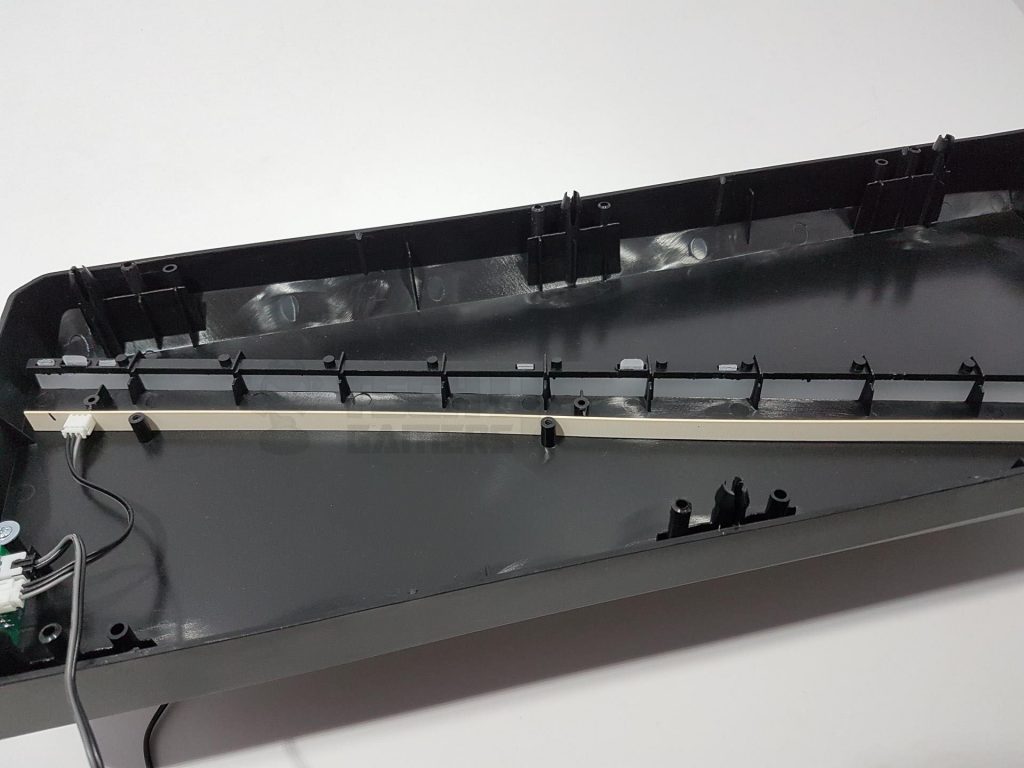
On top, a power circuit facilitates easy LED mode changes. To prevent light leakage, the diffuser and LED strips are covered by a strip. The SATA-powered LED strip, housing 18 LEDs, faces the diffuser directly. The cover strip, secured by three silver screws, has a white underside, ensuring light emission only through the diffuser.

While we are at it and have removed the front panel to show its details, let’s take a look at the frame of the chassis from the front side. There are sliding mounting points for the 120mm fans. The top side gives the impression that the chassis was designed to accommodate the 5.25” drives though there is no support from inside the chassis. There is a single cover at the top which is hinged with the frame on two points. It is loose and can be snapped off, so take care while assembling.

There are two cable routing cutouts on the front side which don’t make sense as the fans are installed inside the chassis, not on the outside of the front panel. Nevertheless, they are there in case you need them. The frame is solid and we have no complaints in terms of the frame’s strength. The bottom side is facing the HDD cage which is fixed under the PSU shroud and is not removable.
If you are to use 240mm AIO then I would suggest doing it in the middle to bottom fan mount positions. This is due to two reasons: first, the top cover can be used but is not rigid, and too much weight may snap it off. Second, there is only one air intake point from the front side which is at the bottom of the chassis. So you would want to remain near the air intake point rather than being far away from it as air intake is restricted in this case.
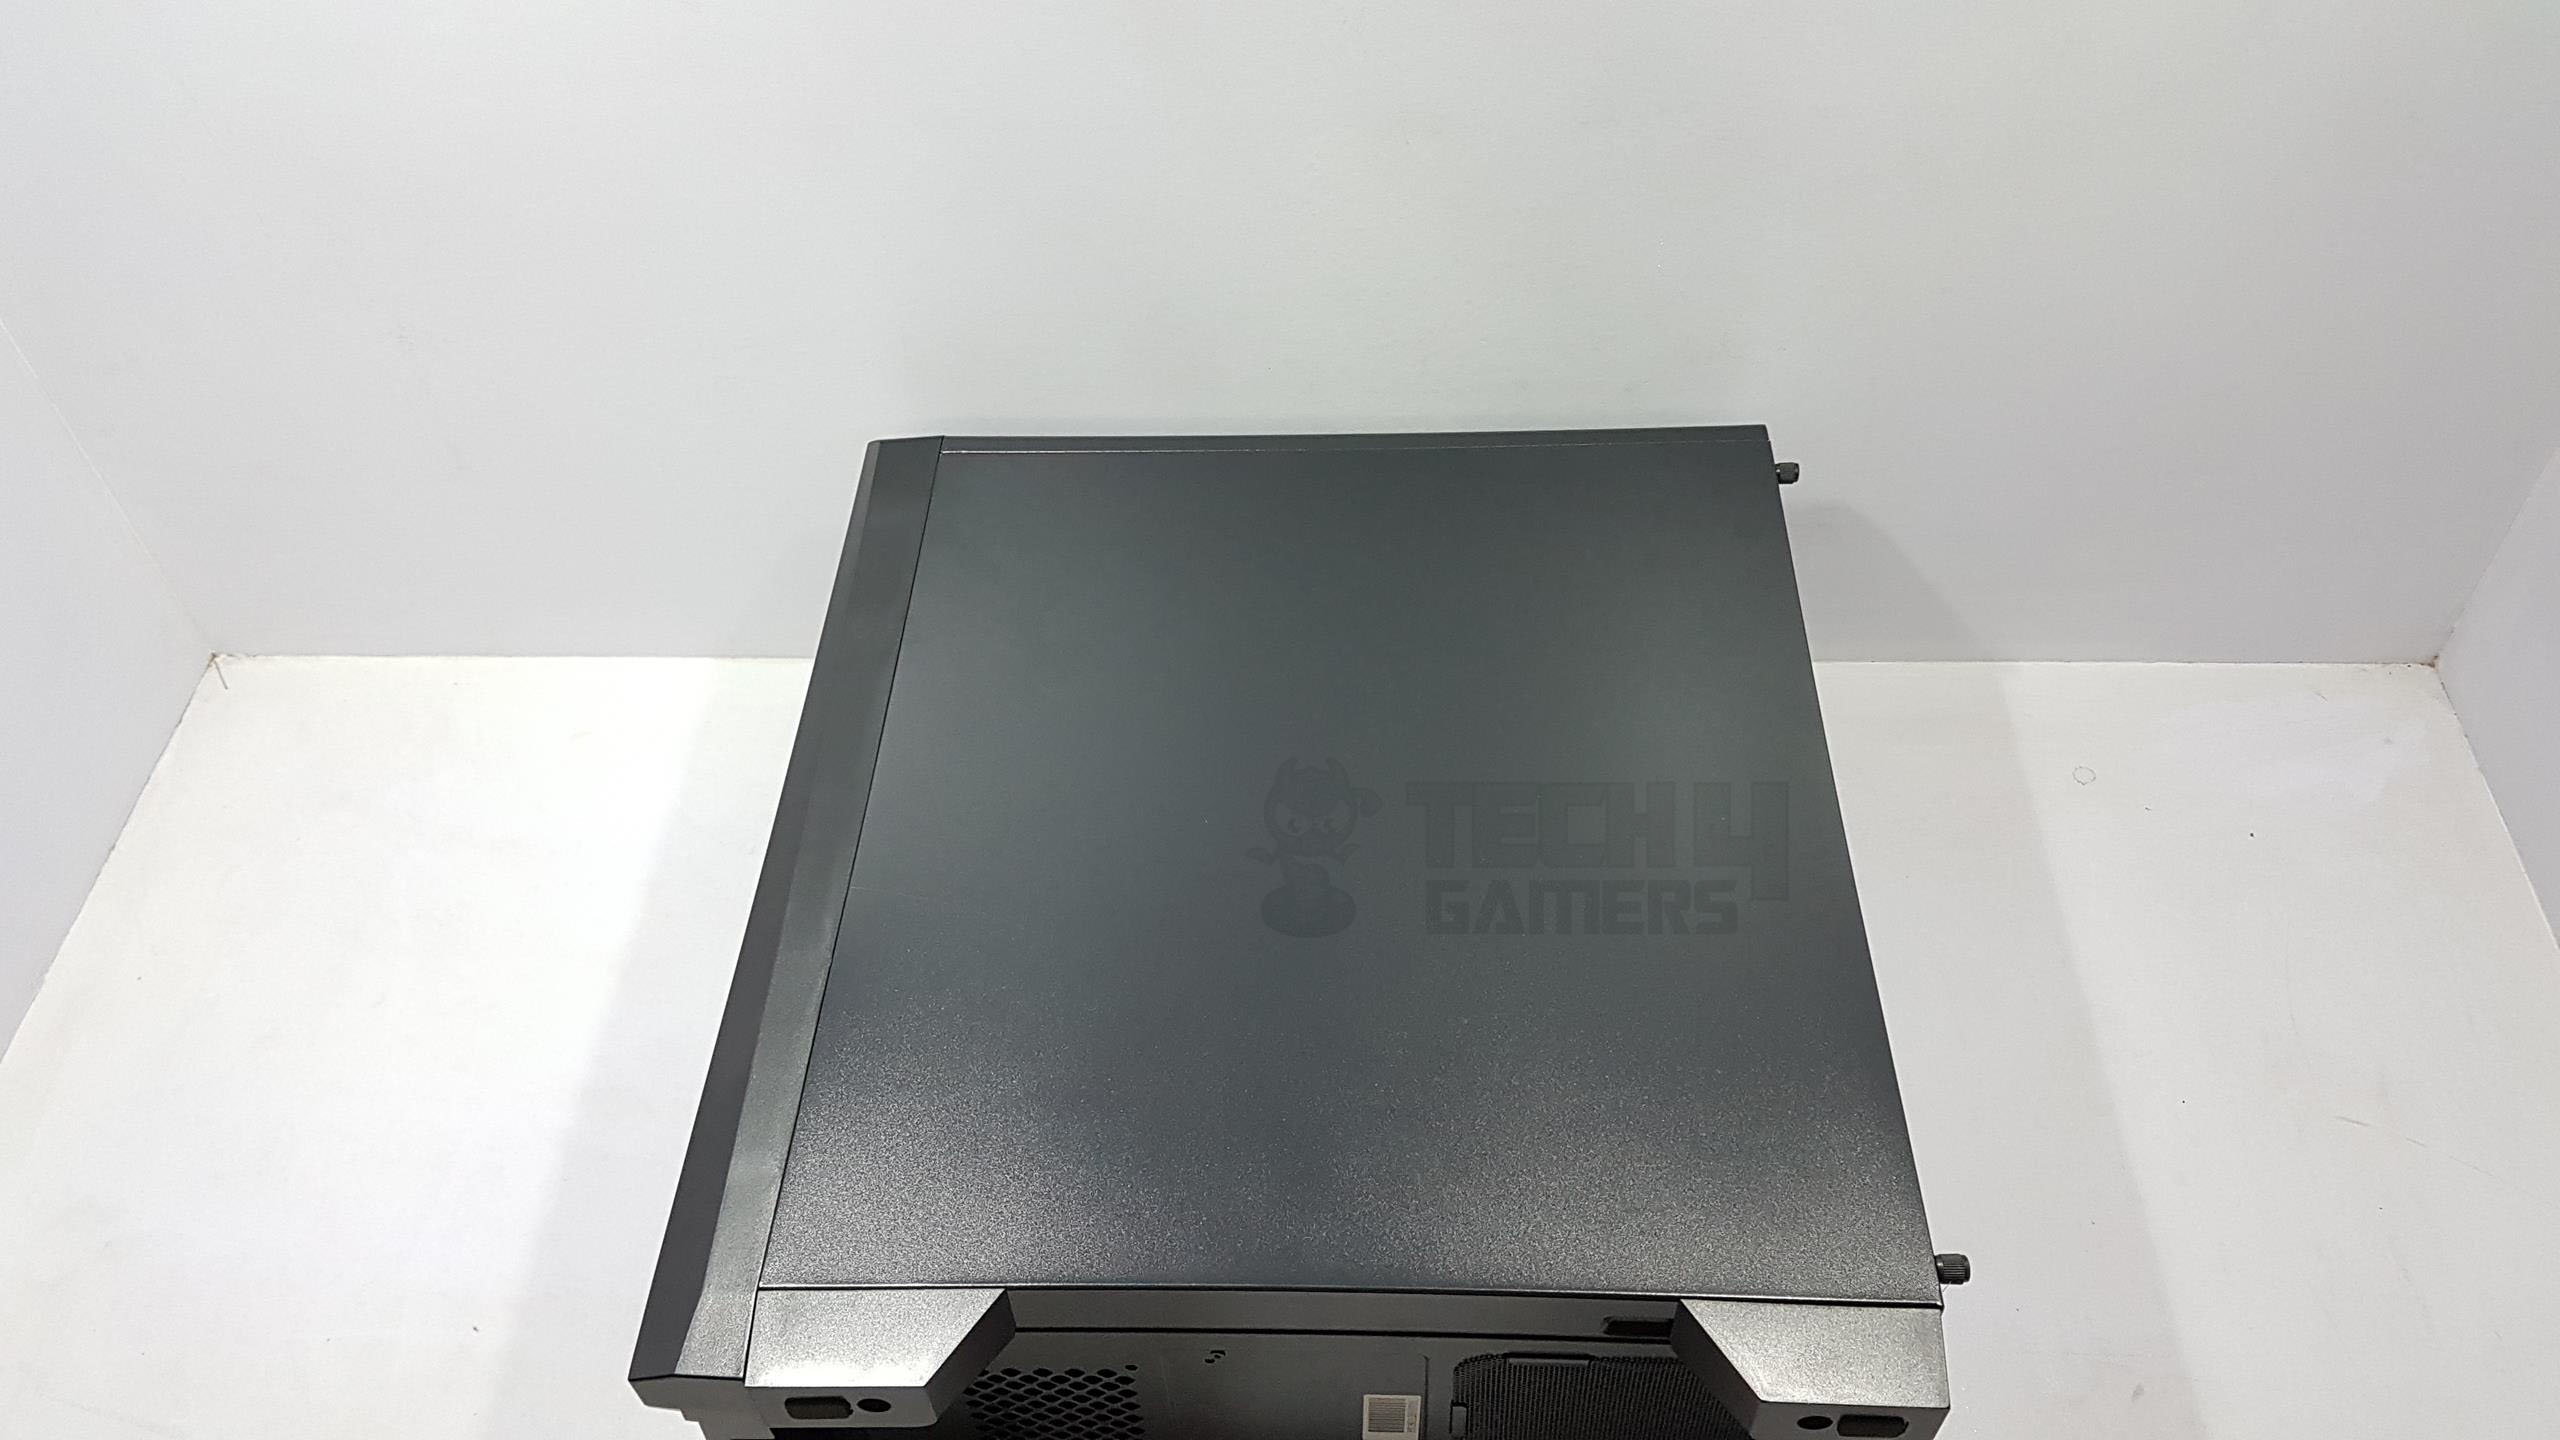
Top Panel
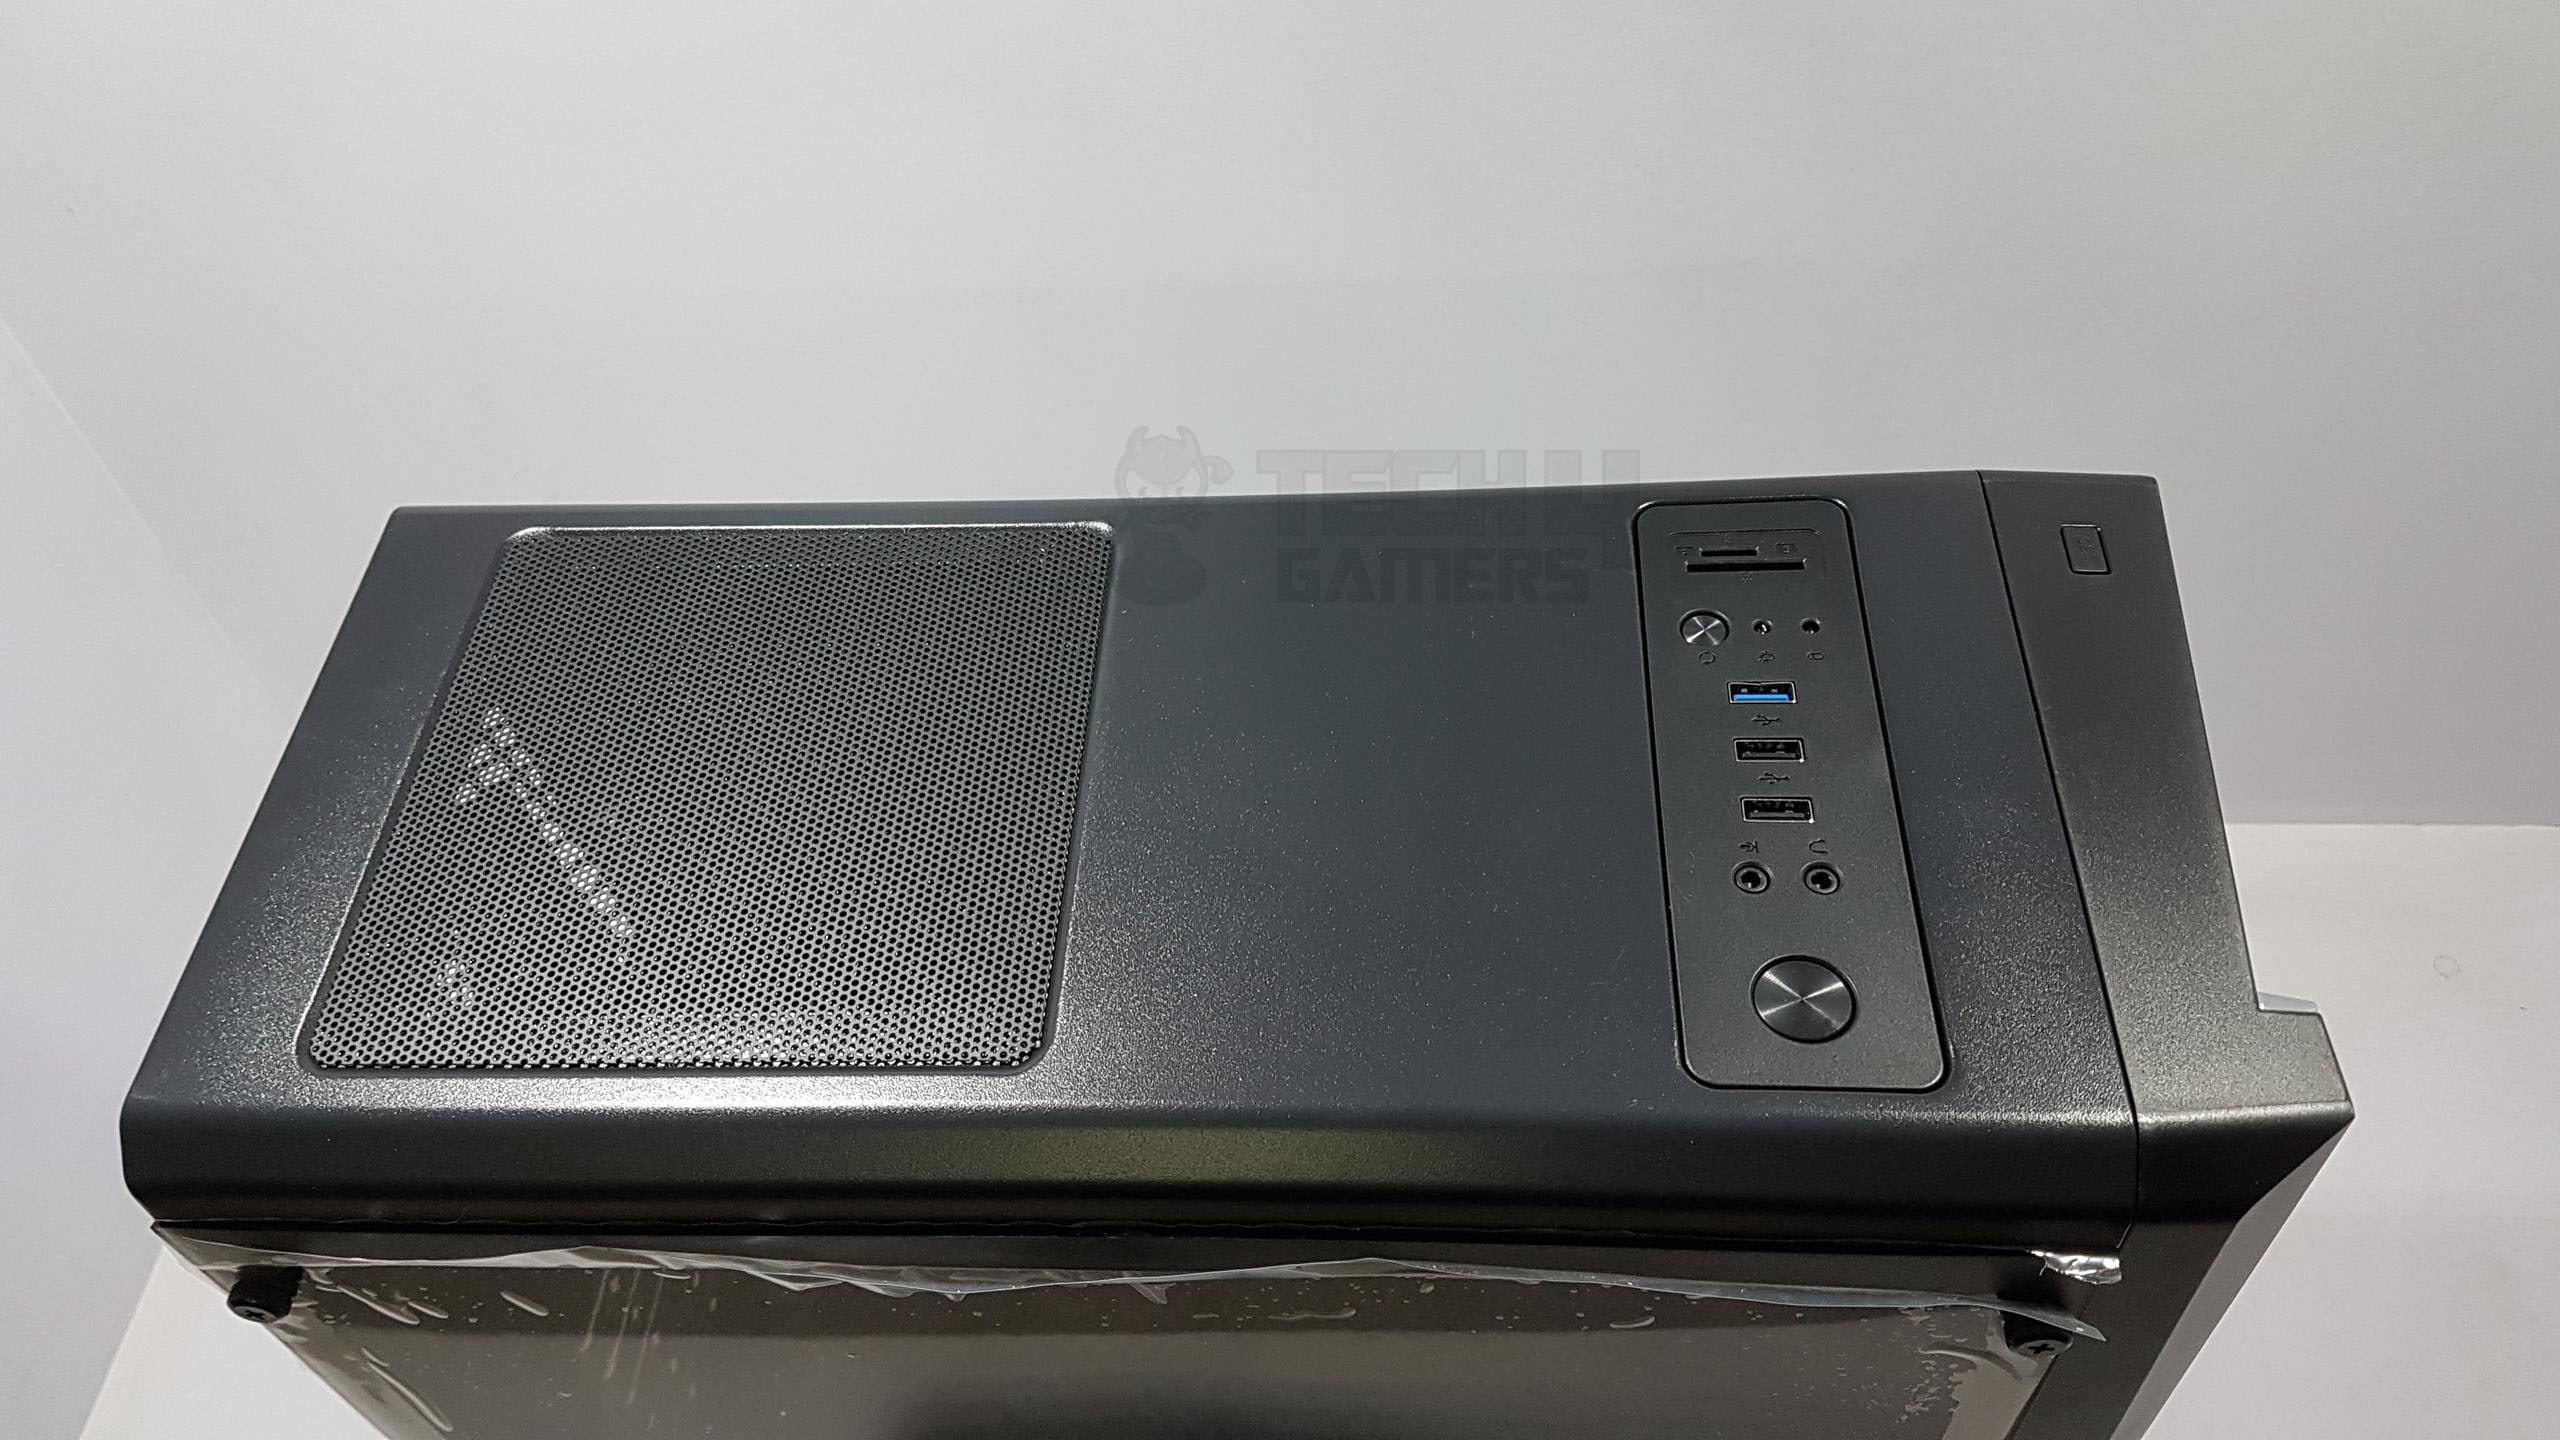
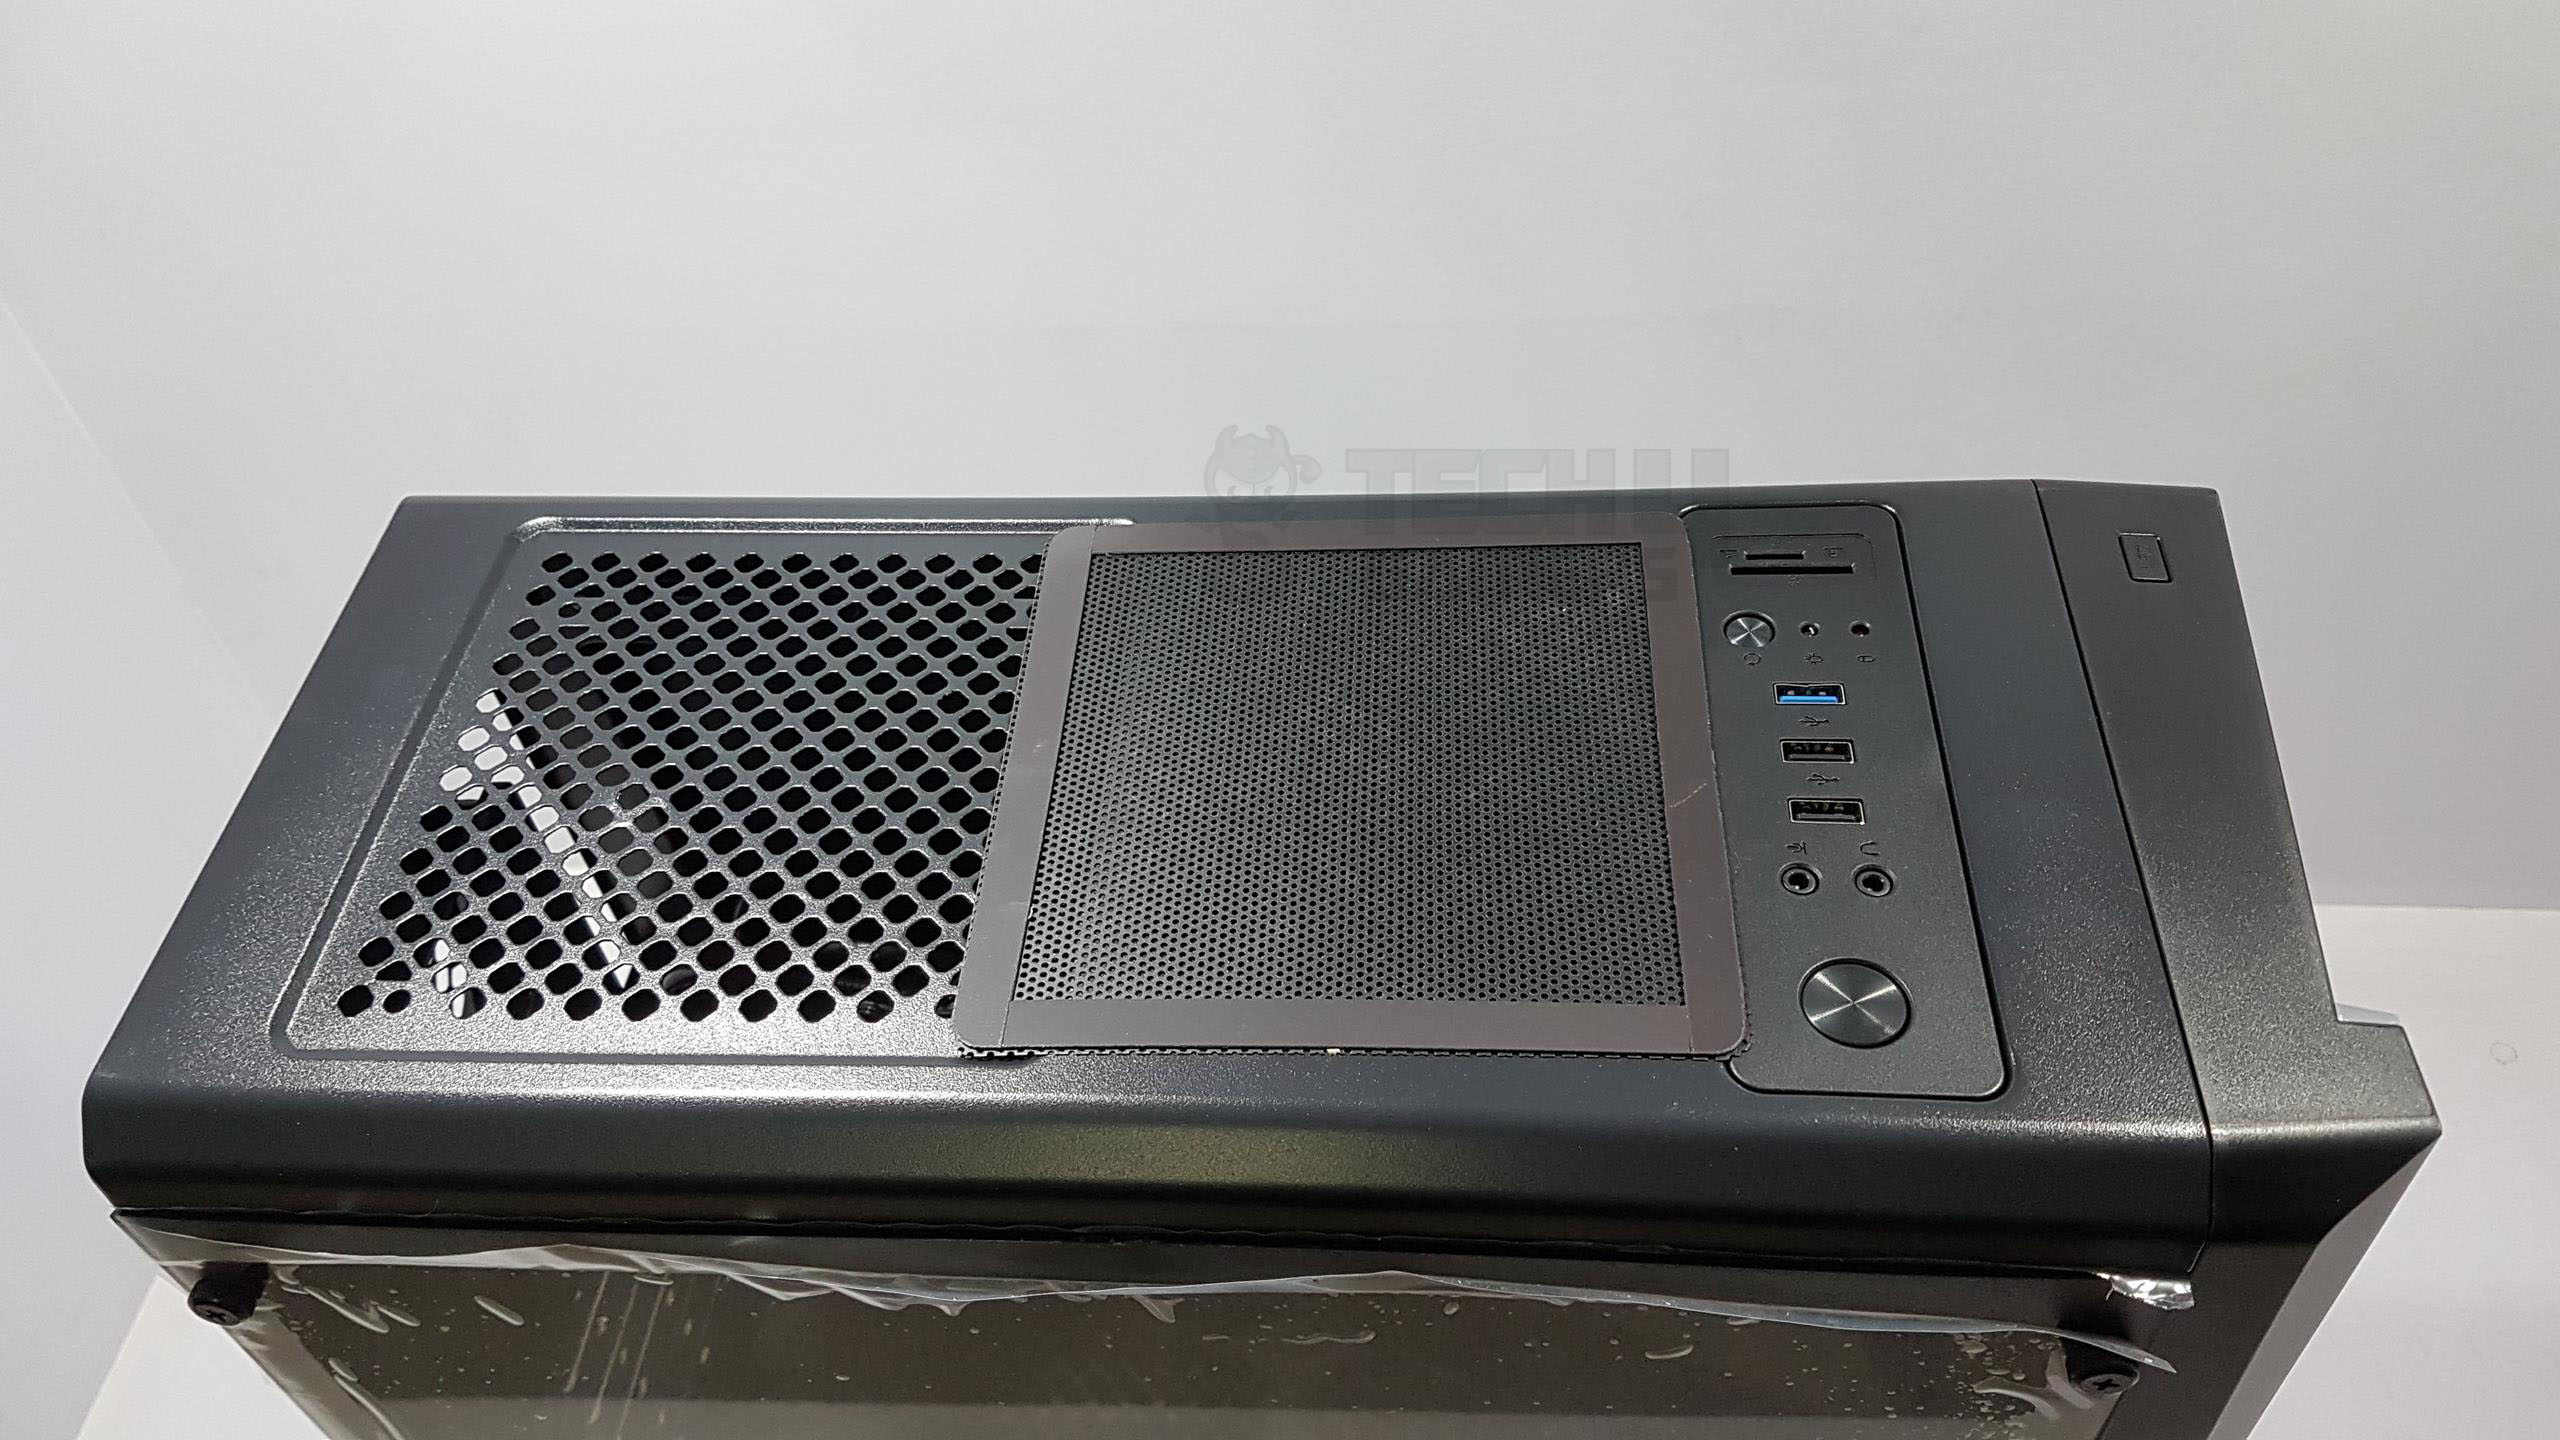
The top side features an elegant two-tone black color. On the left, there’s a vented area with a magnetic dust filter for a single 120mm fan. The I/O panel on the Aerocool Cylon RGB takes a unique approach.
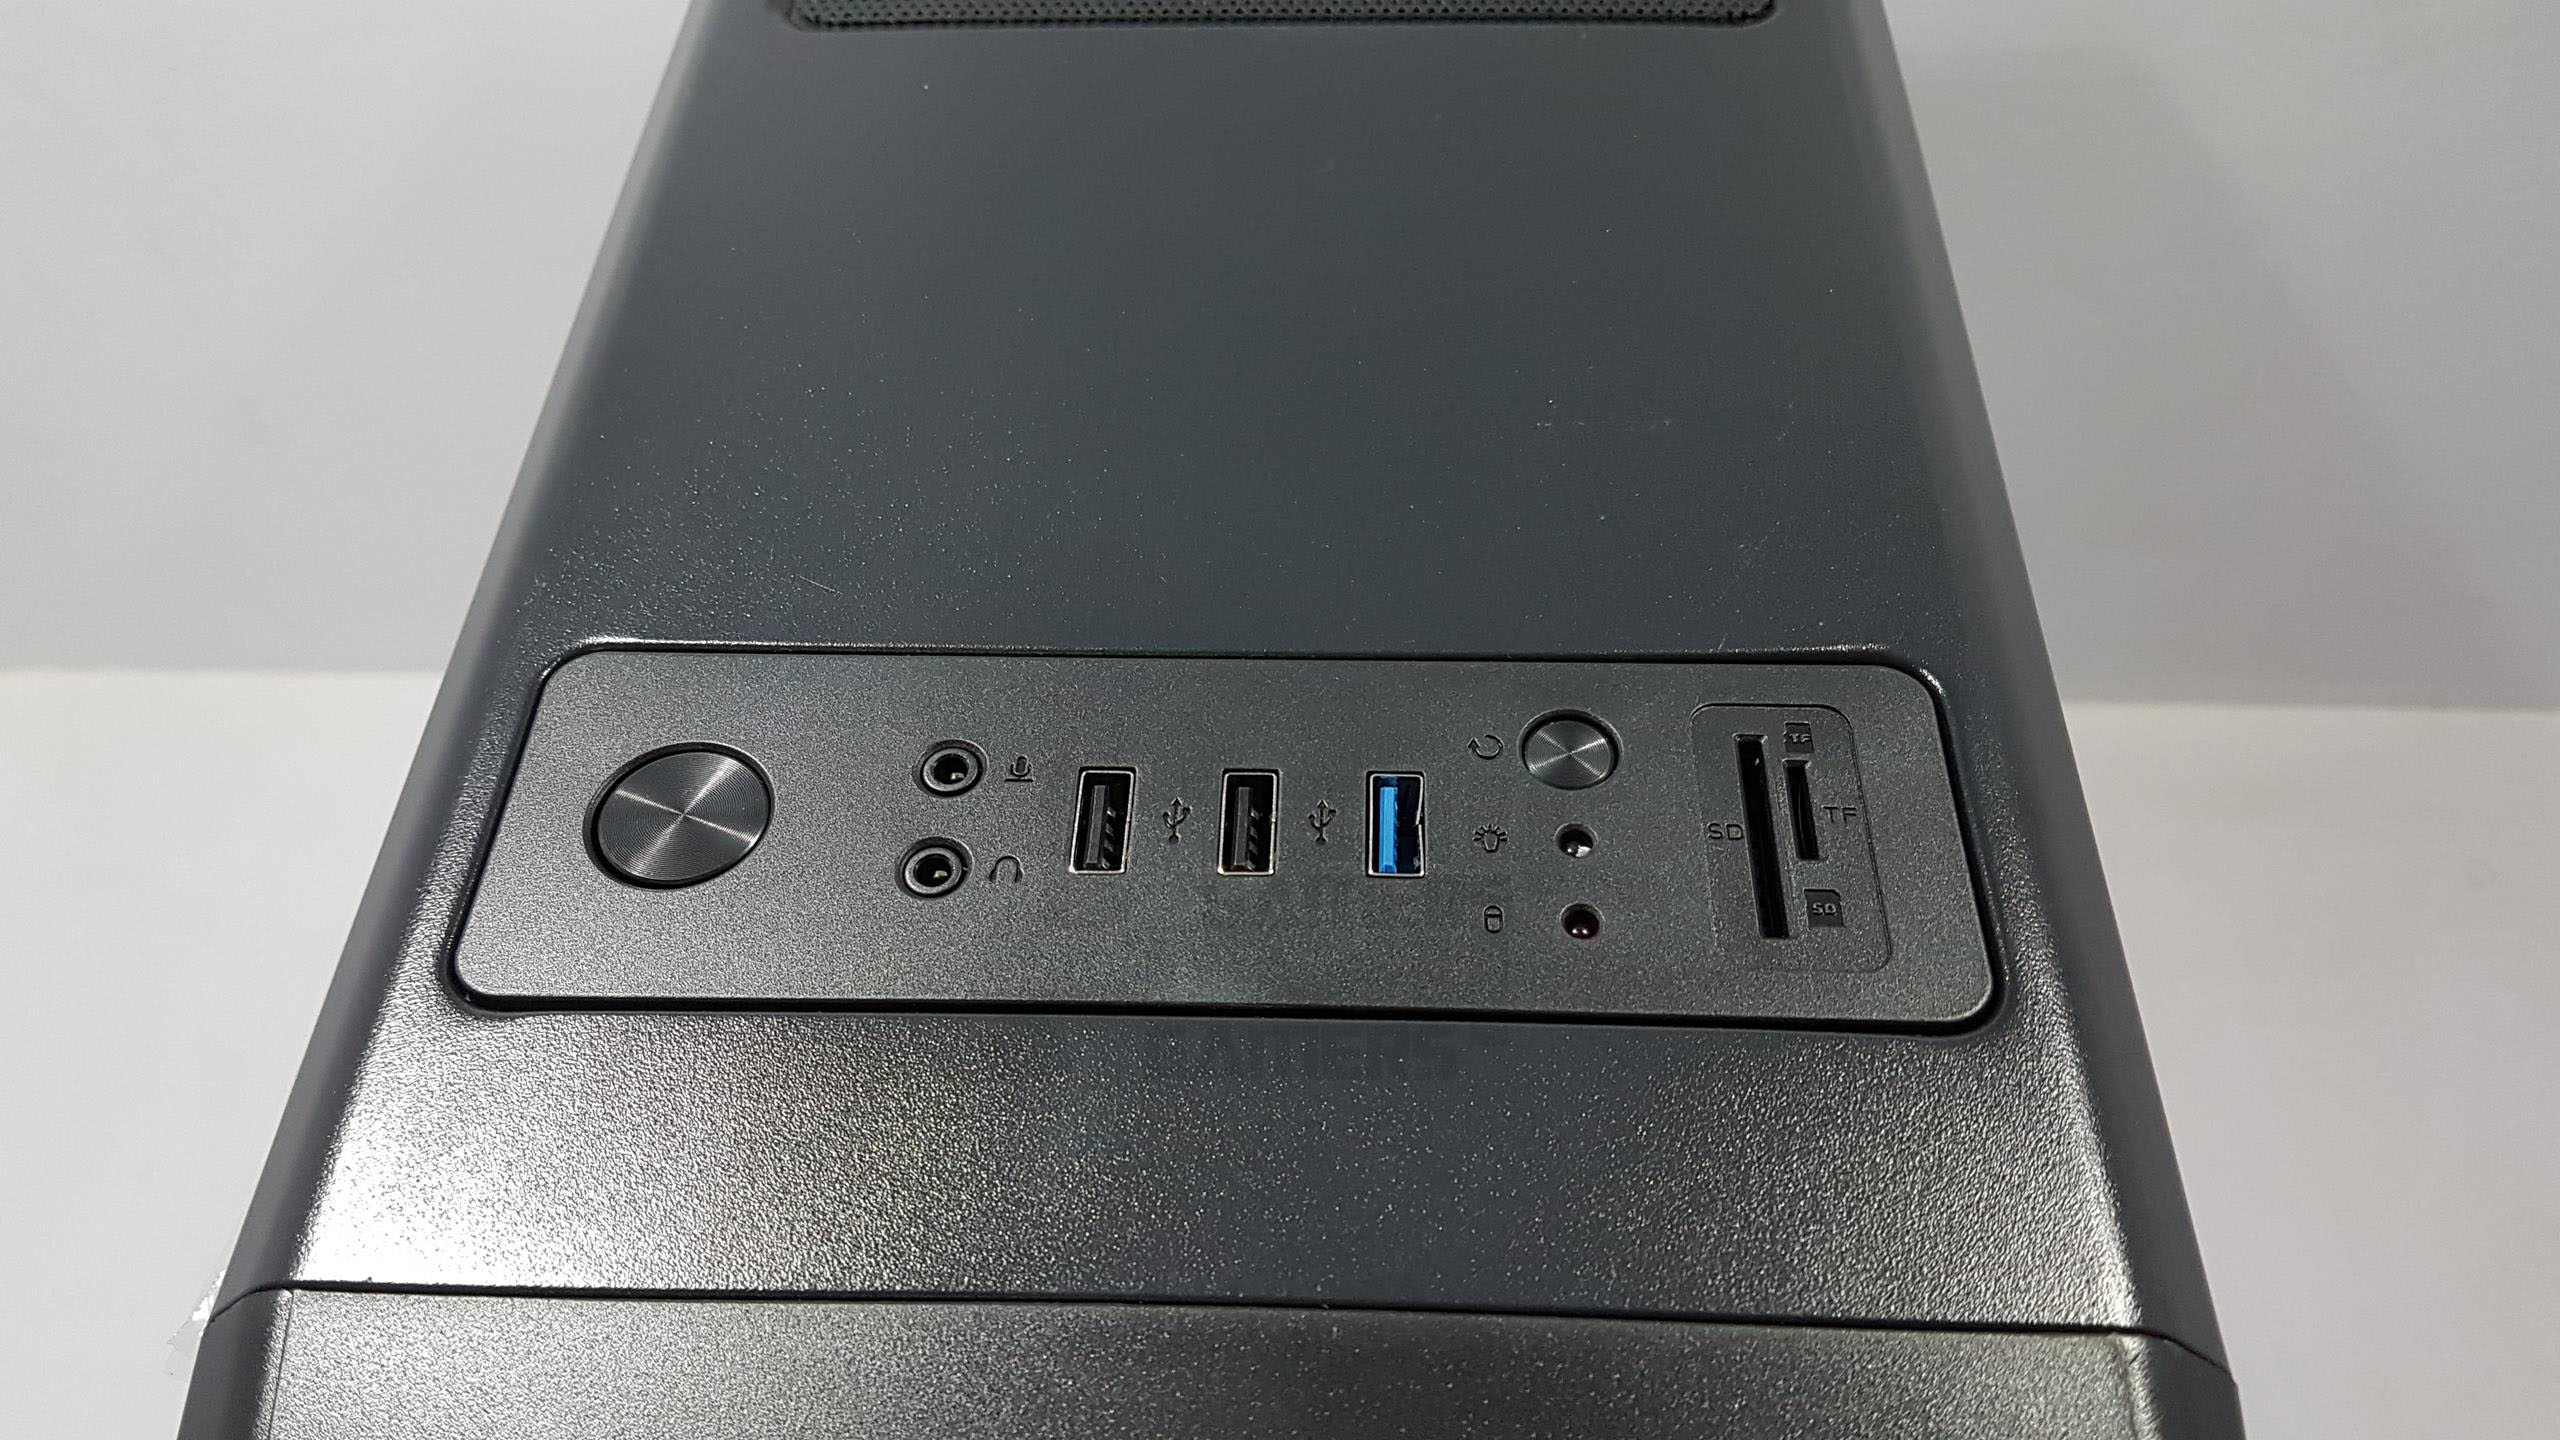
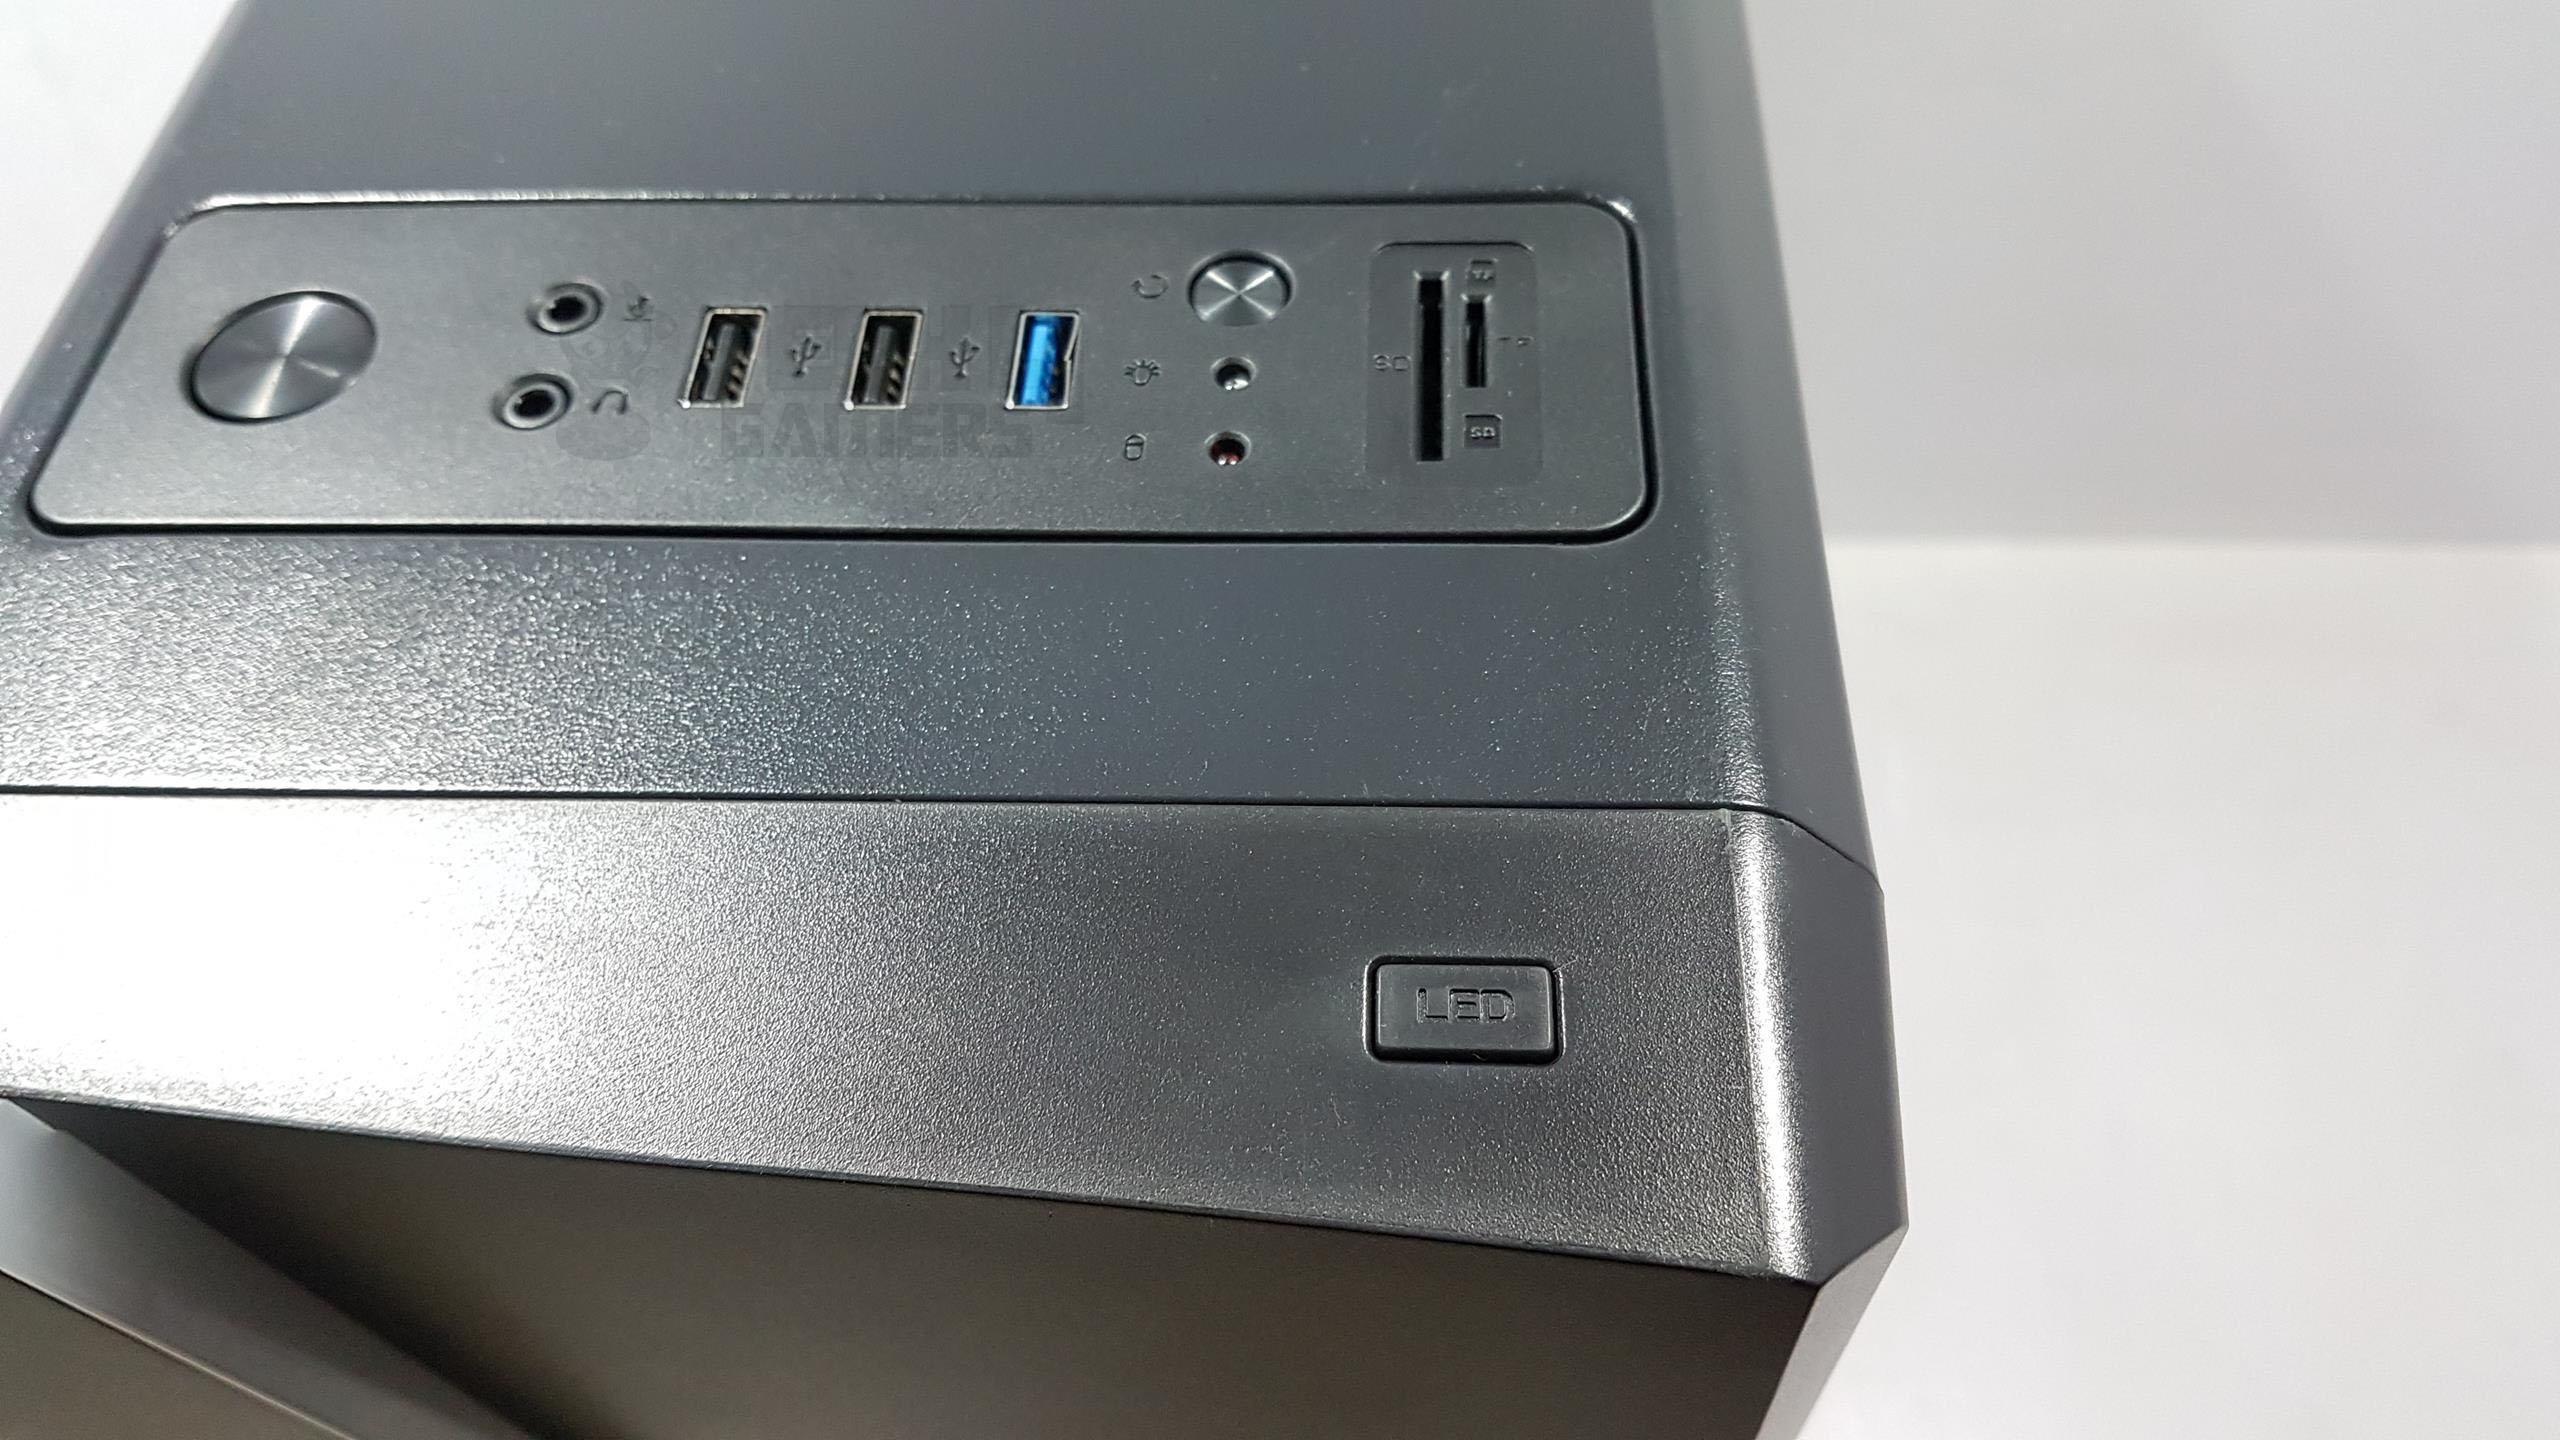
The I/O panel is offset, featuring a single RGB lighting control button. The rounded power button produces a satisfying tack sound. The panel includes microphone and audio jacks, two USB 2.0 ports, one USB 3.0 port, and a slightly recessed reset button. LED indicators for HDD and power are present, along with microSD and TF card reader ports on the far right, providing added functionality at this price point.
Rear Panel
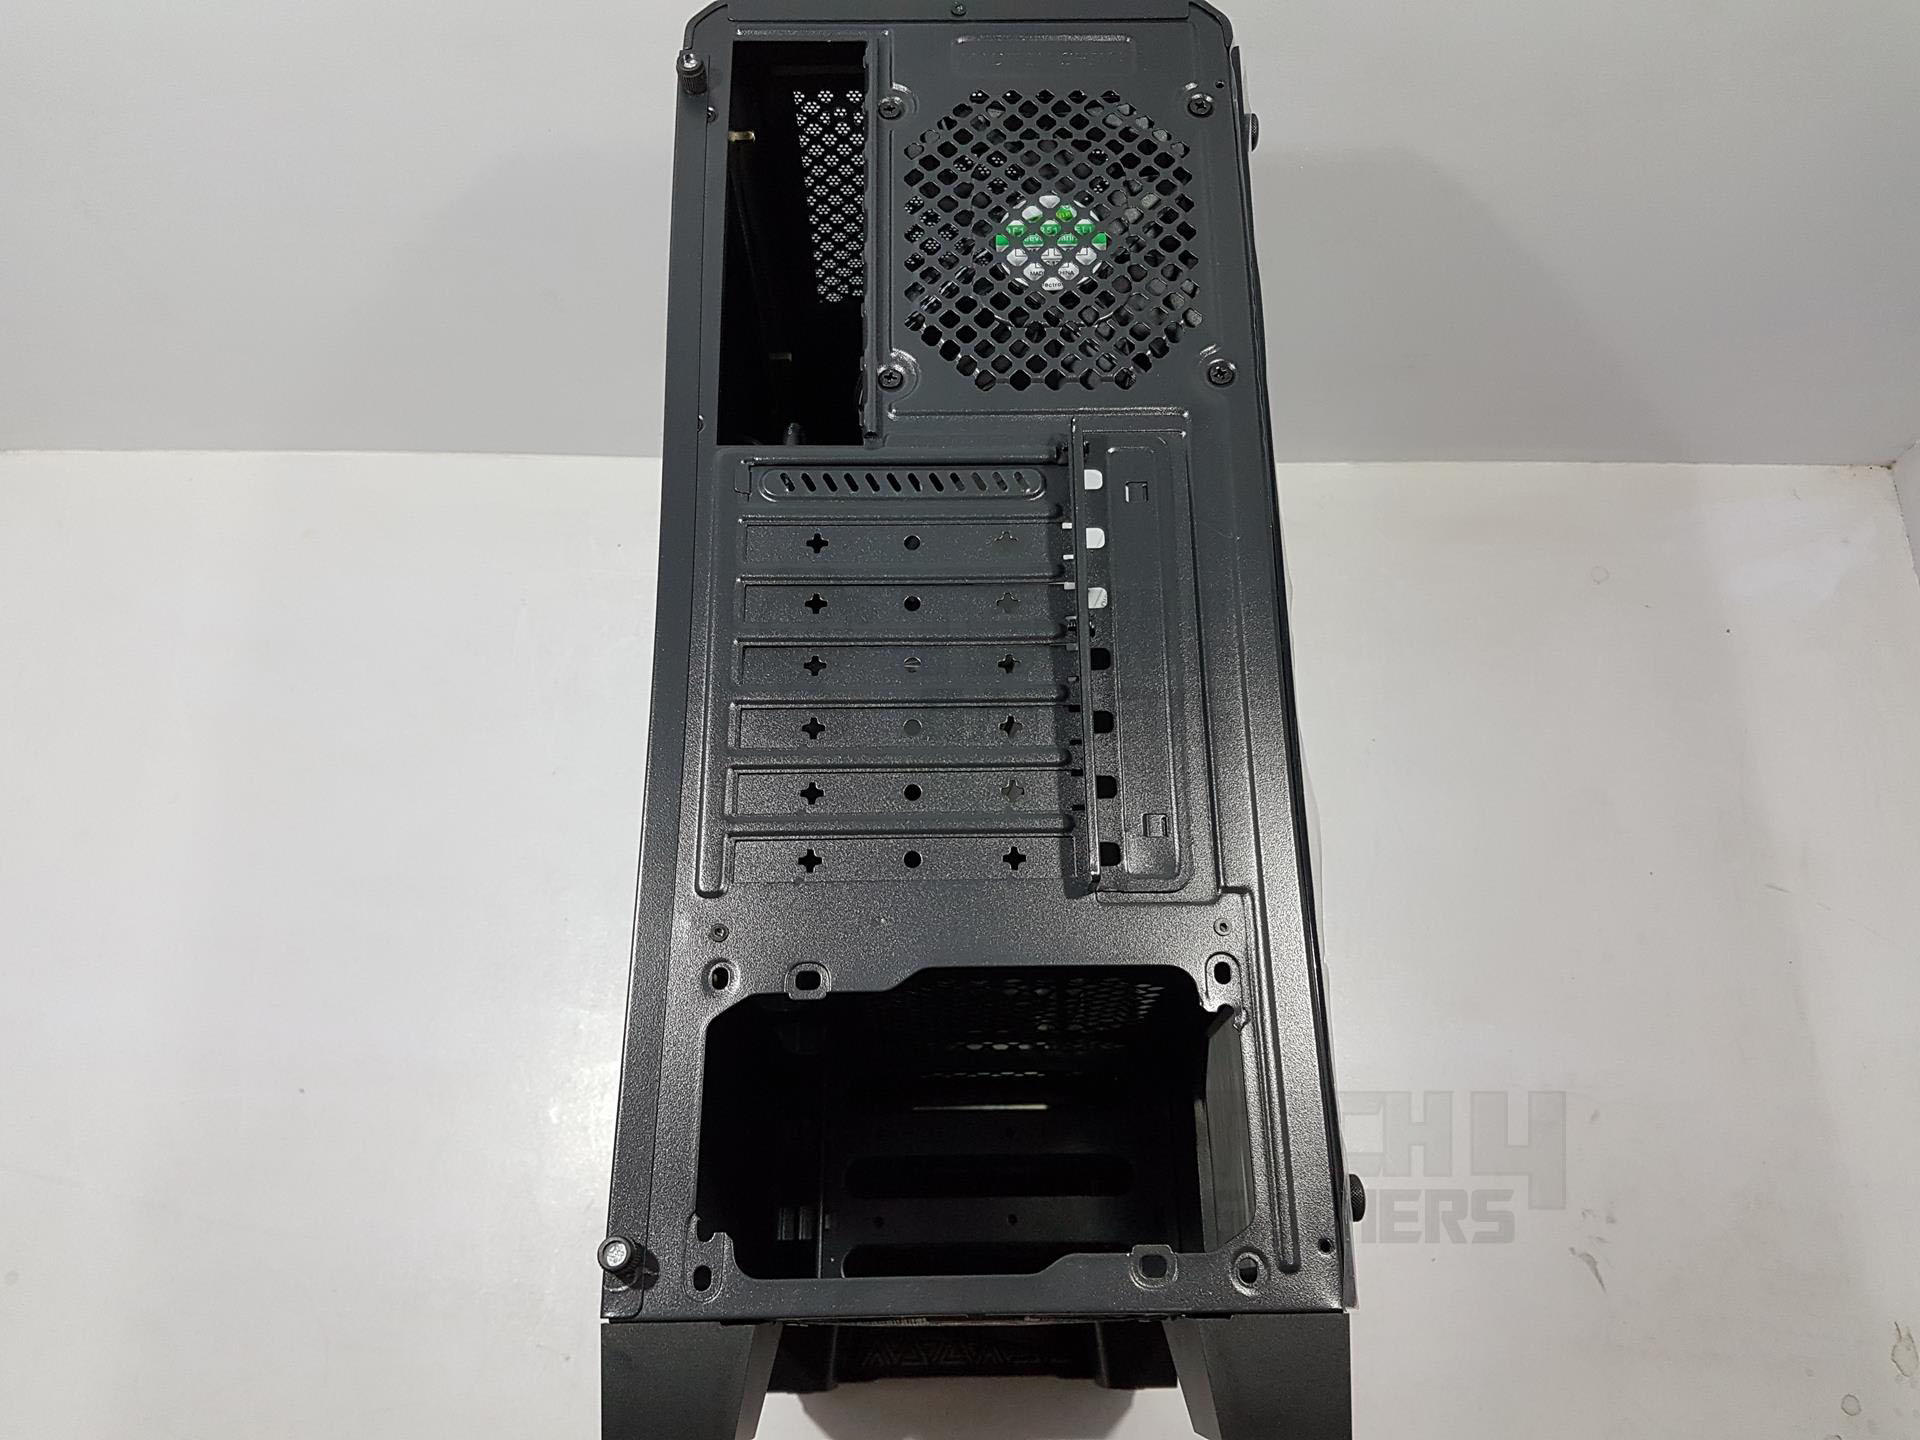
The rear side has a standard layout, featuring an I/O shield opening at the top and a fixed 120mm fan mount on the right. Seven PCIe slots are present, with only the first being reusable and vented. The remaining six are fixed and can be snapped off but are not reusable. This is another cost-saving aspect that I would, personally, recommend a design where all covers can be reused. Another design element is the external screw mounting.
There is a cover plate with two M4 screws on it that is to be used to mount the graphics card on the chassis securely. For ventilation, the 6 covers have cutouts in the shape of + and o. There is a standard ATX PSU mount at the bottom of the chassis. Two thumb-type screws can be seen on the left side to secure the left panel onto the chassis. The window panel has a different mounting mechanism.
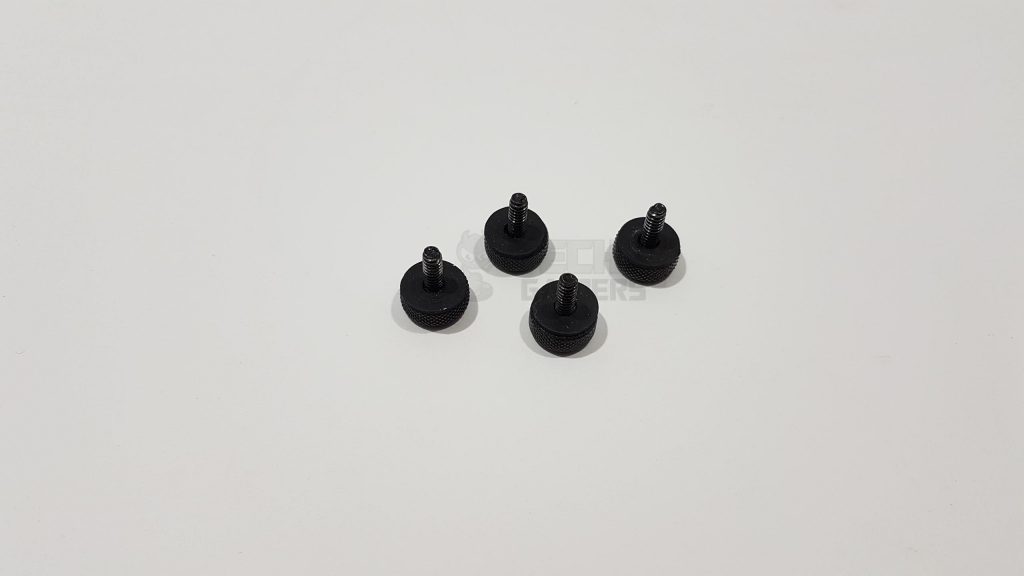
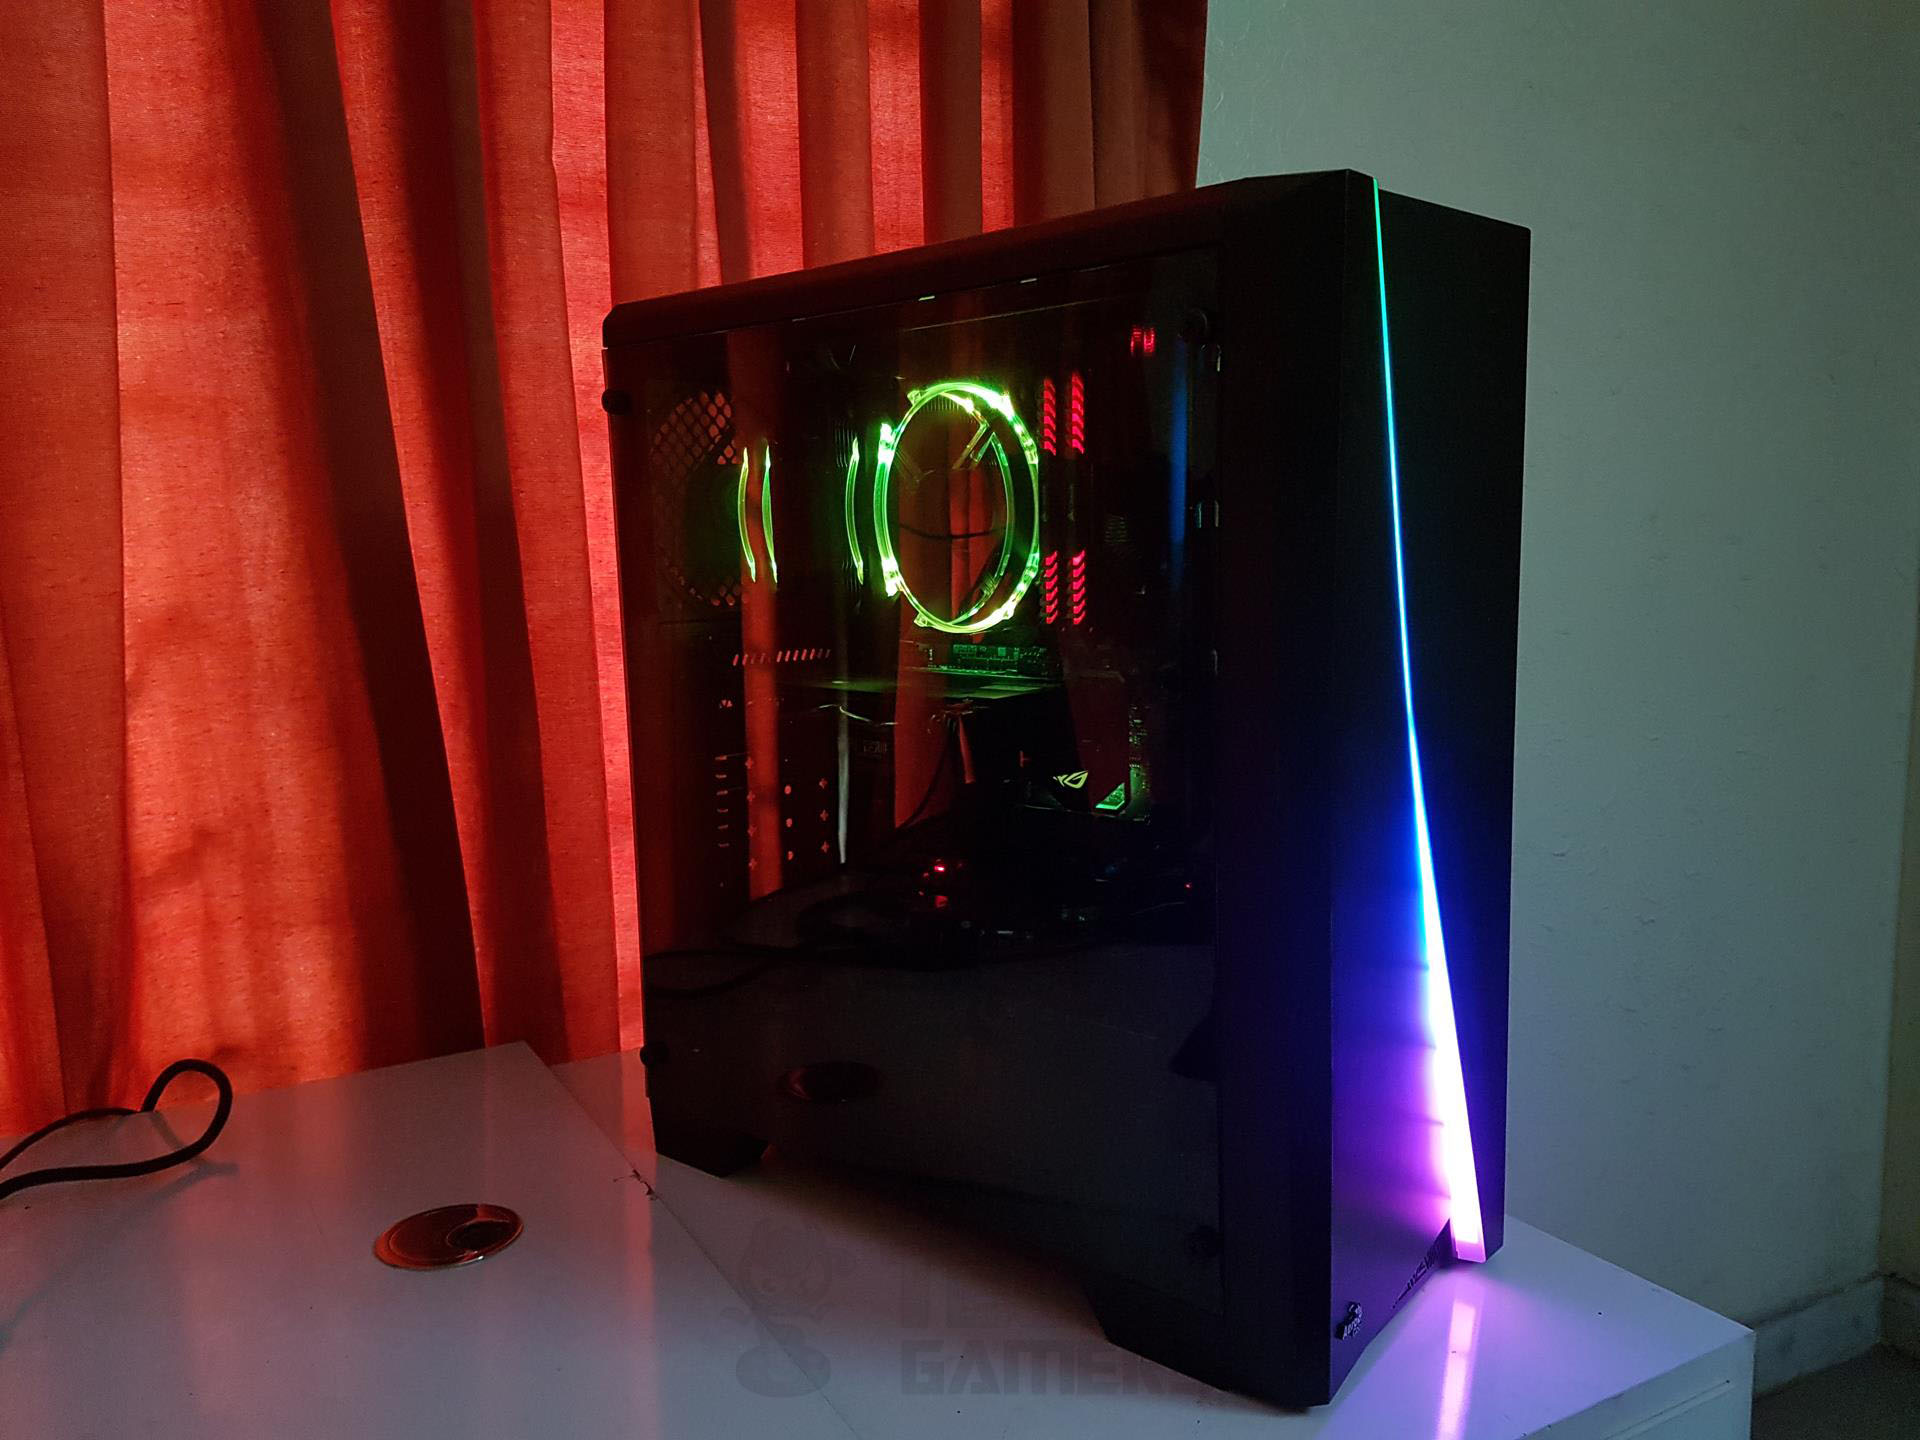
Side Panel
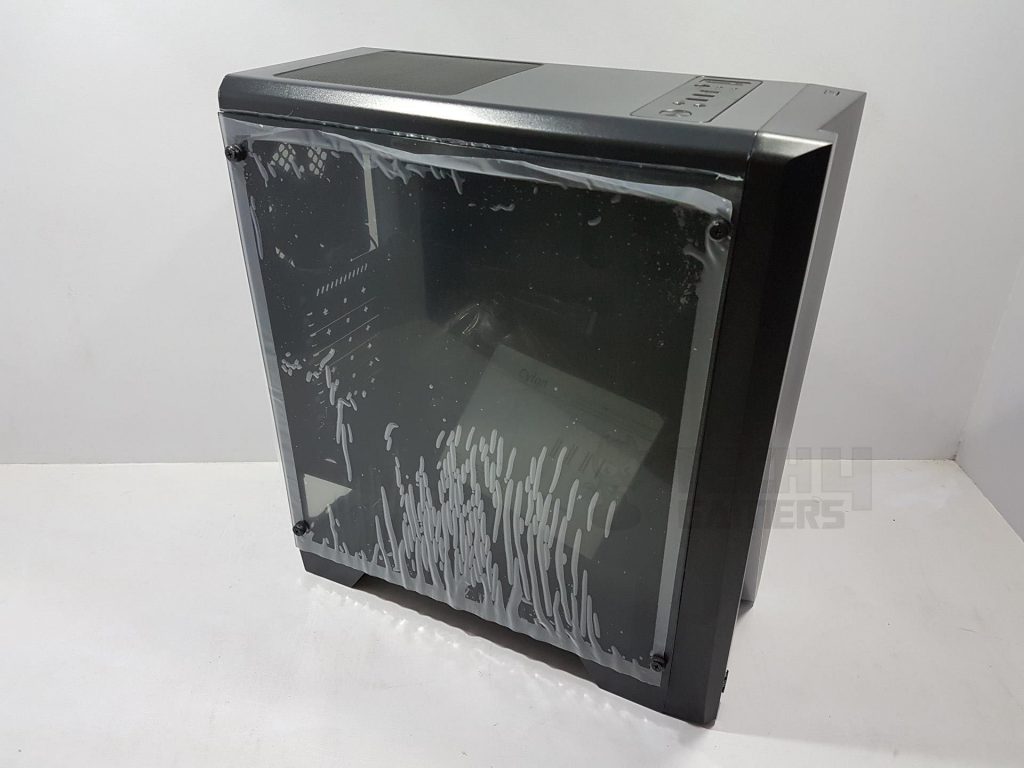
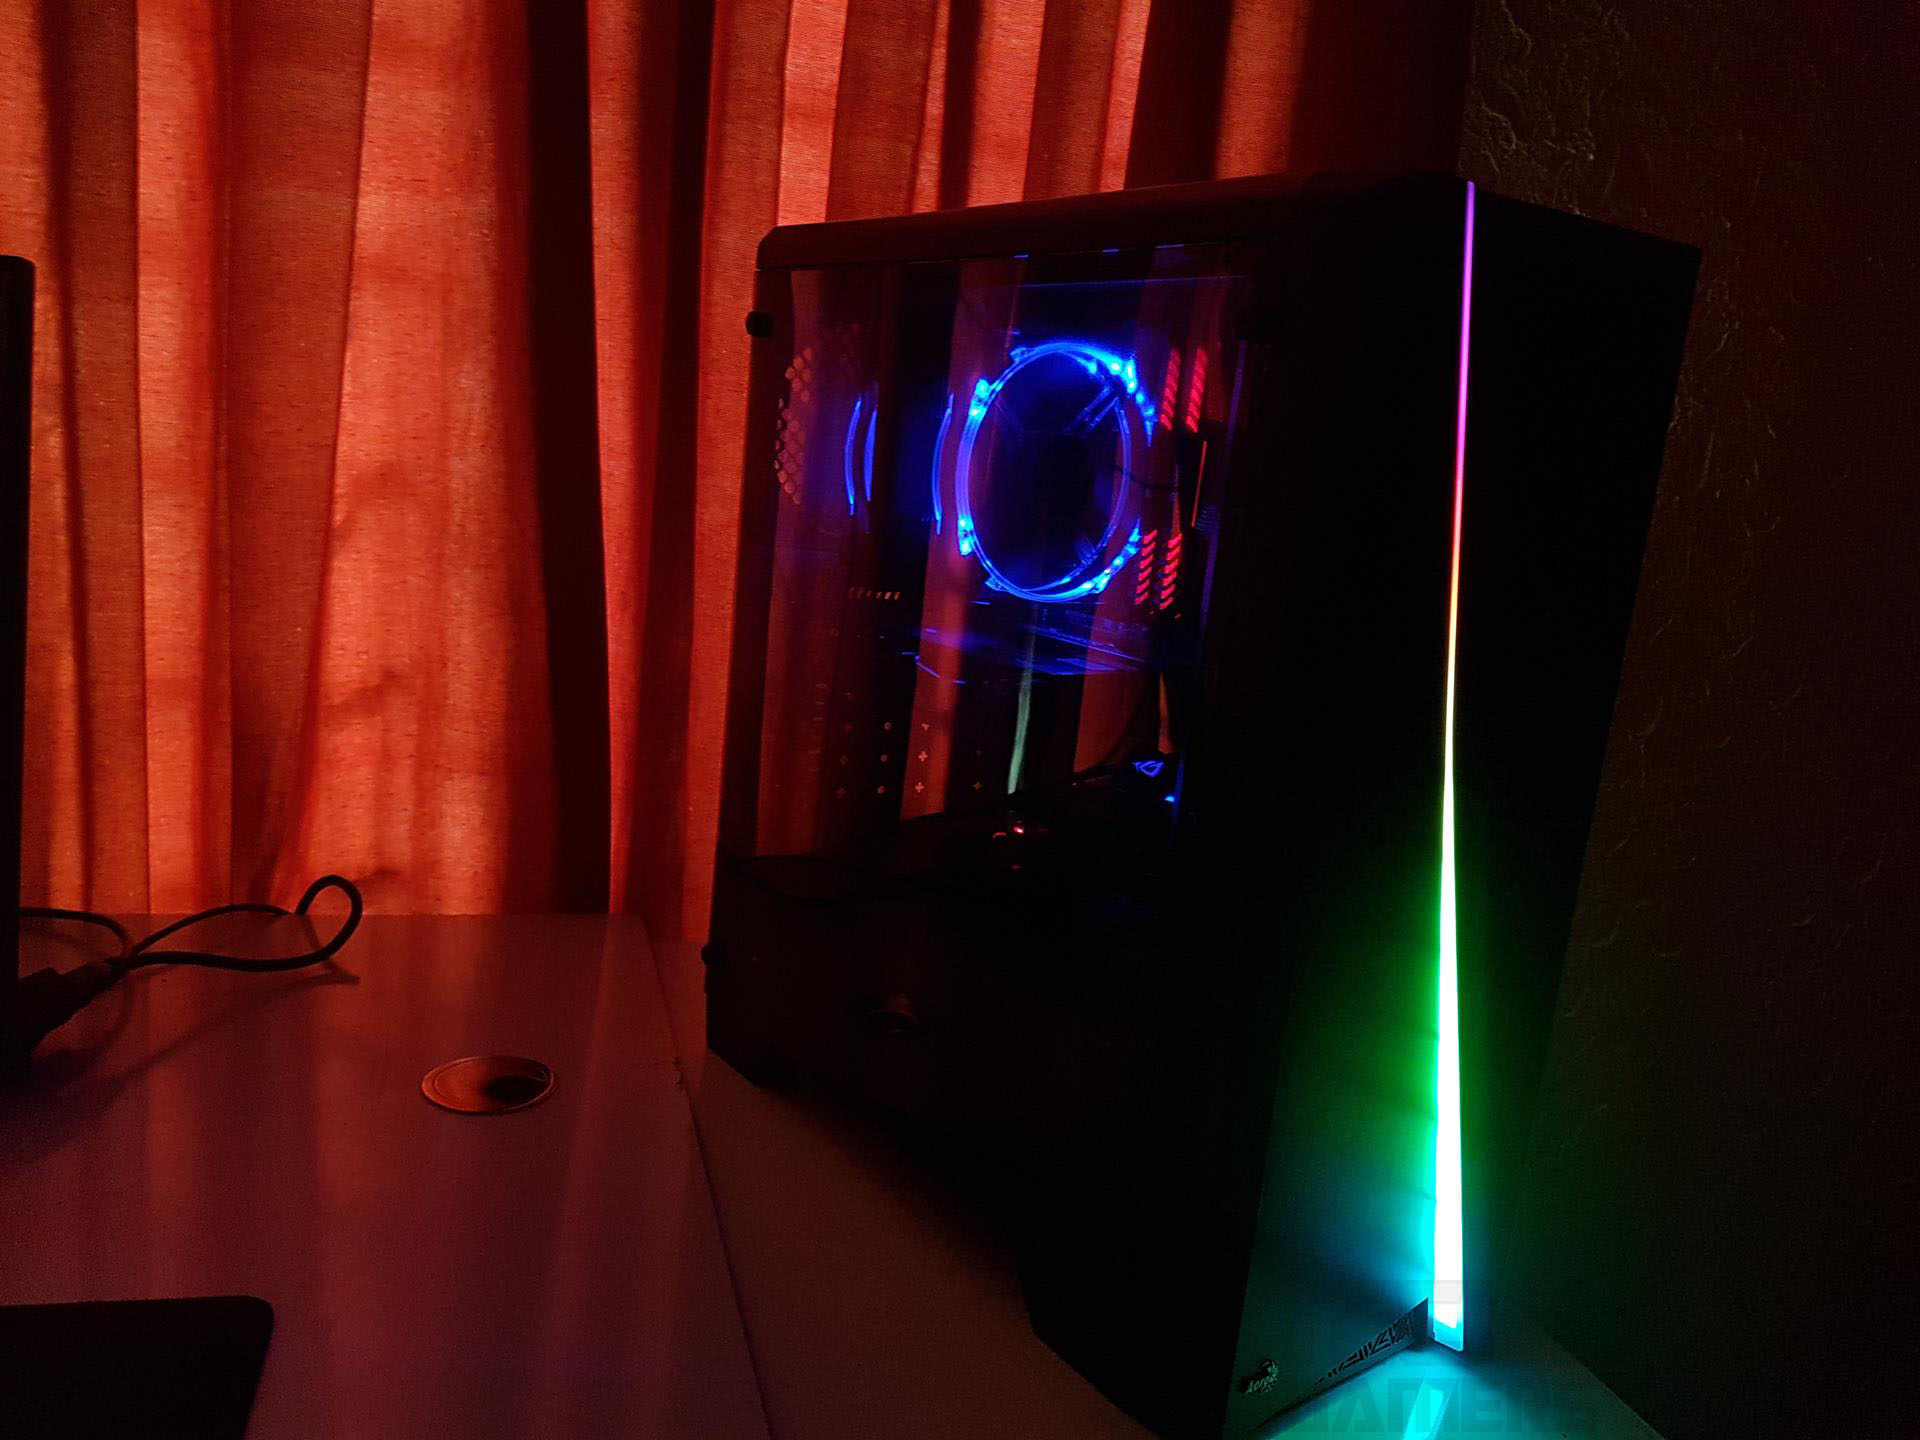
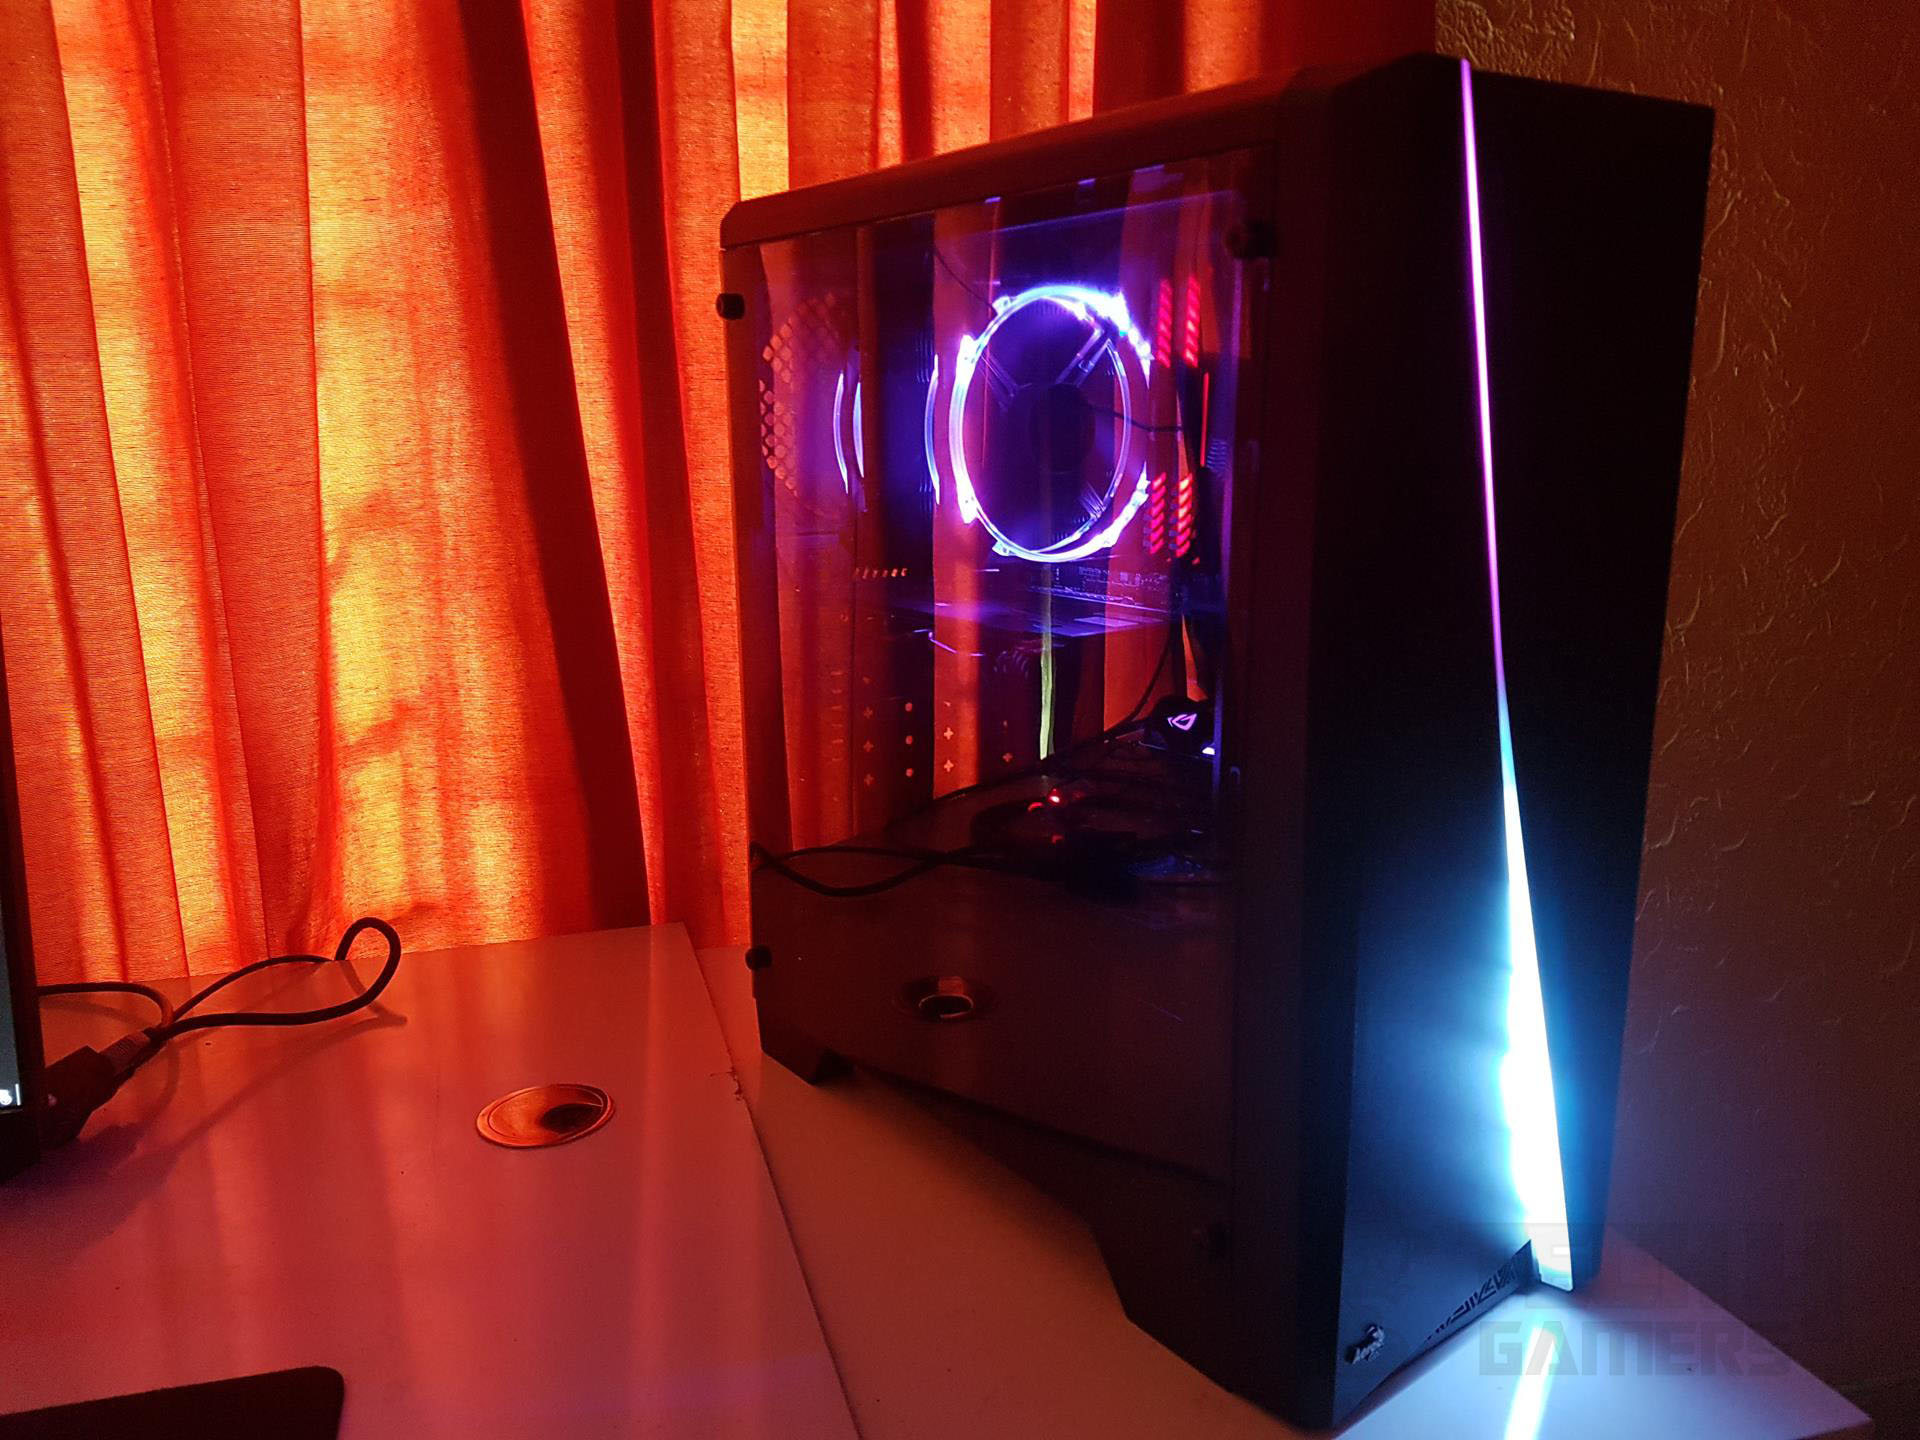
The right side features an acrylic window panel, secured by four screws with rubber washers. Unlike traditional steel-framed panels with thumb screws, this design, while cost-saving, requires careful installation due to close-edge mounts. The edge-to-edge black-tinted panel has high reflection and conceals the build rather than showcasing it.
An LED lighting solution would be needed inside the chassis to illuminate the interior well enough so that it can be seen from the outside. The acrylic itself is lightweight and it has protective sheets on both sides. I would highly suggest not taking these sheets off before completing and testing the build. The panel can be easily scratched.
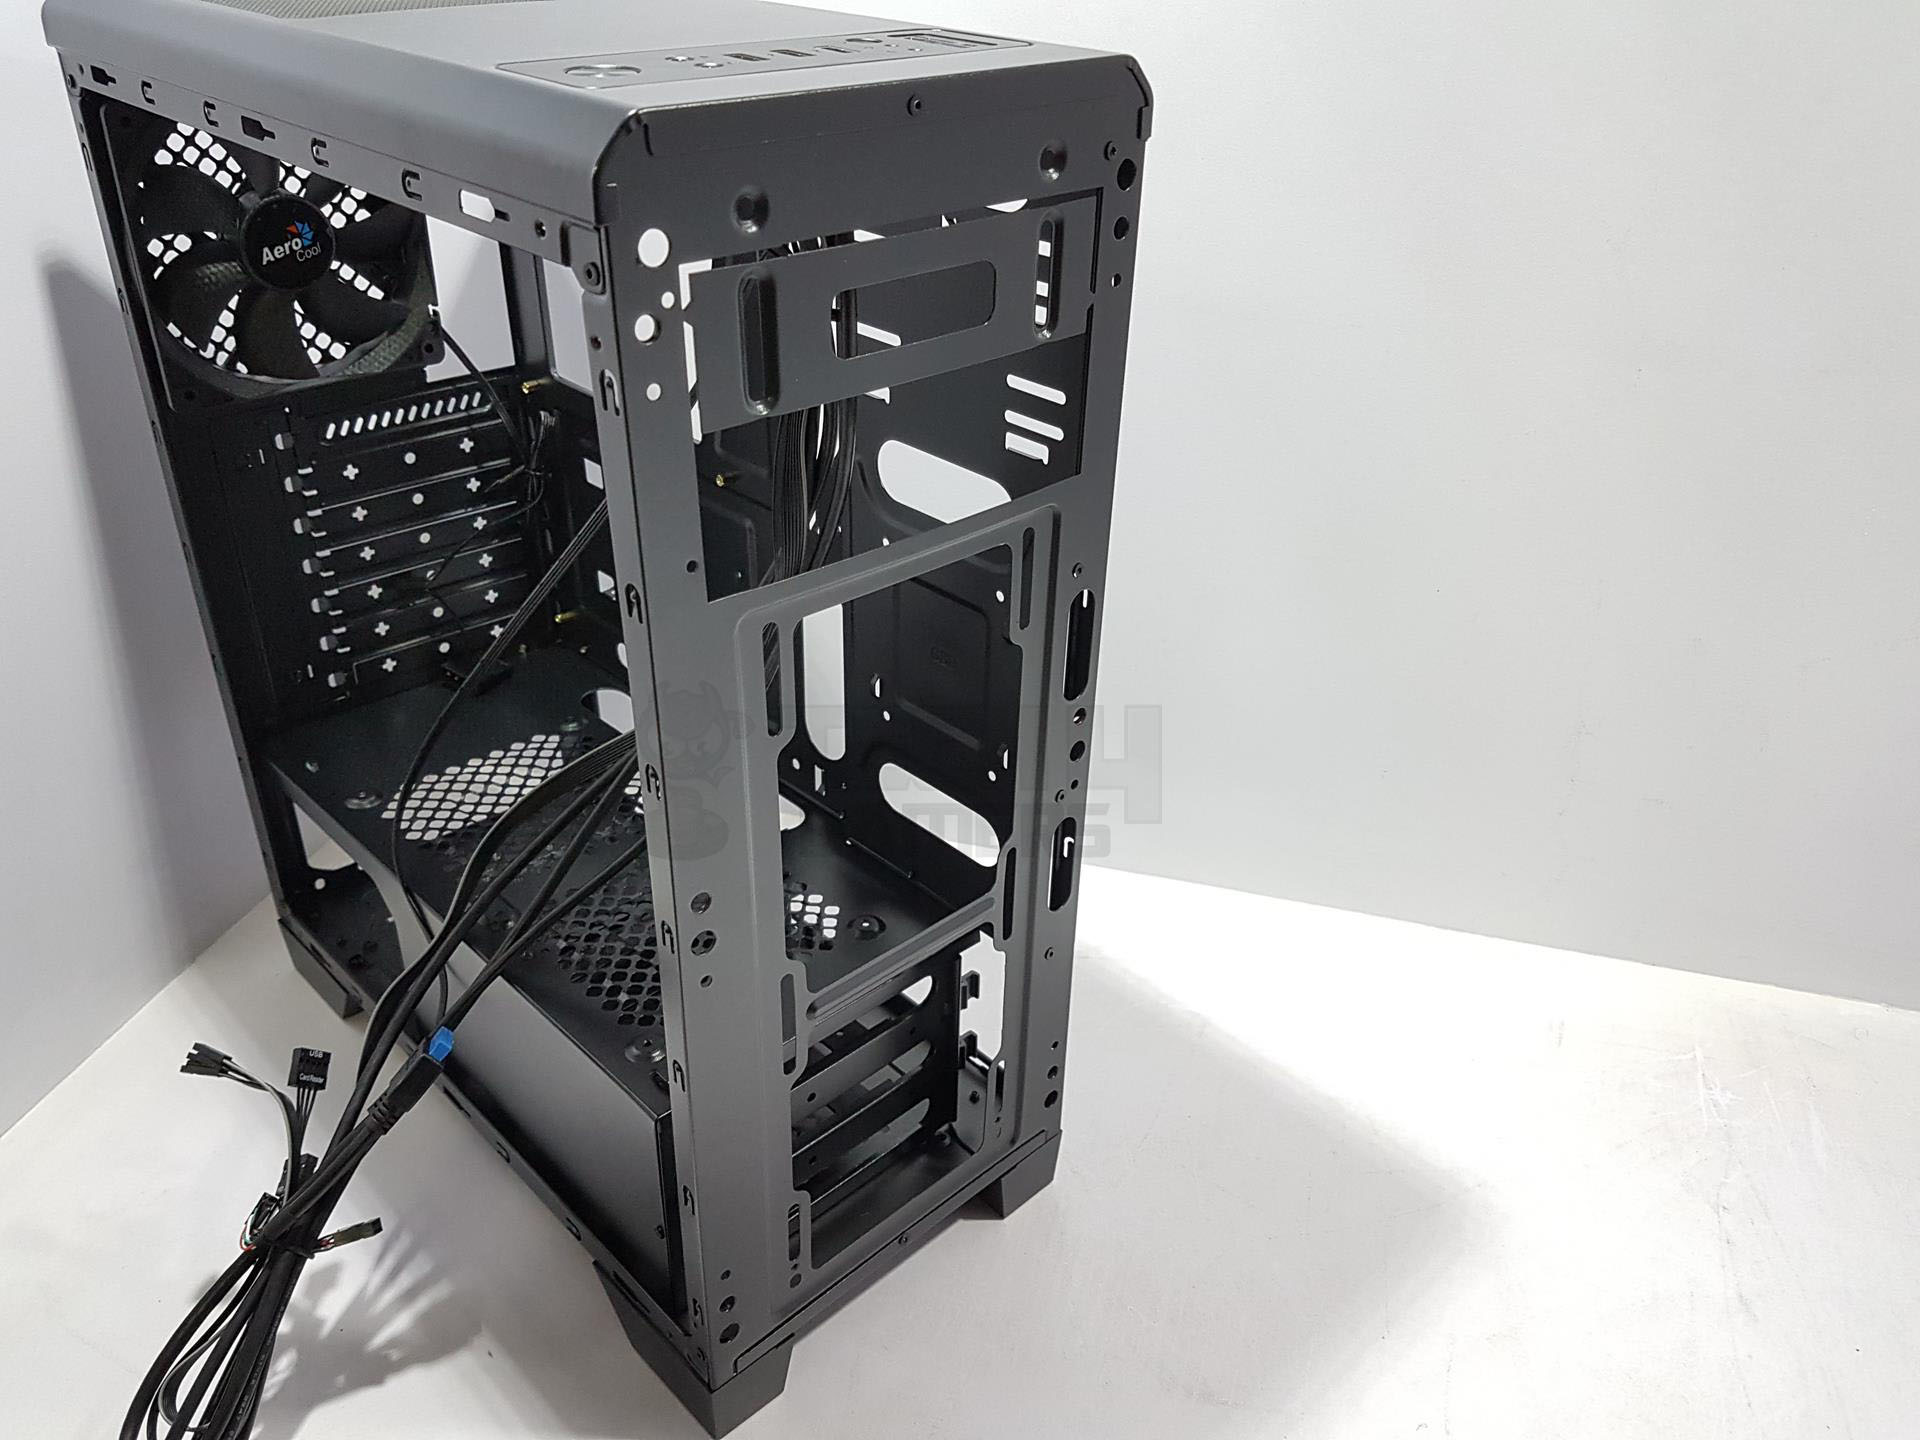
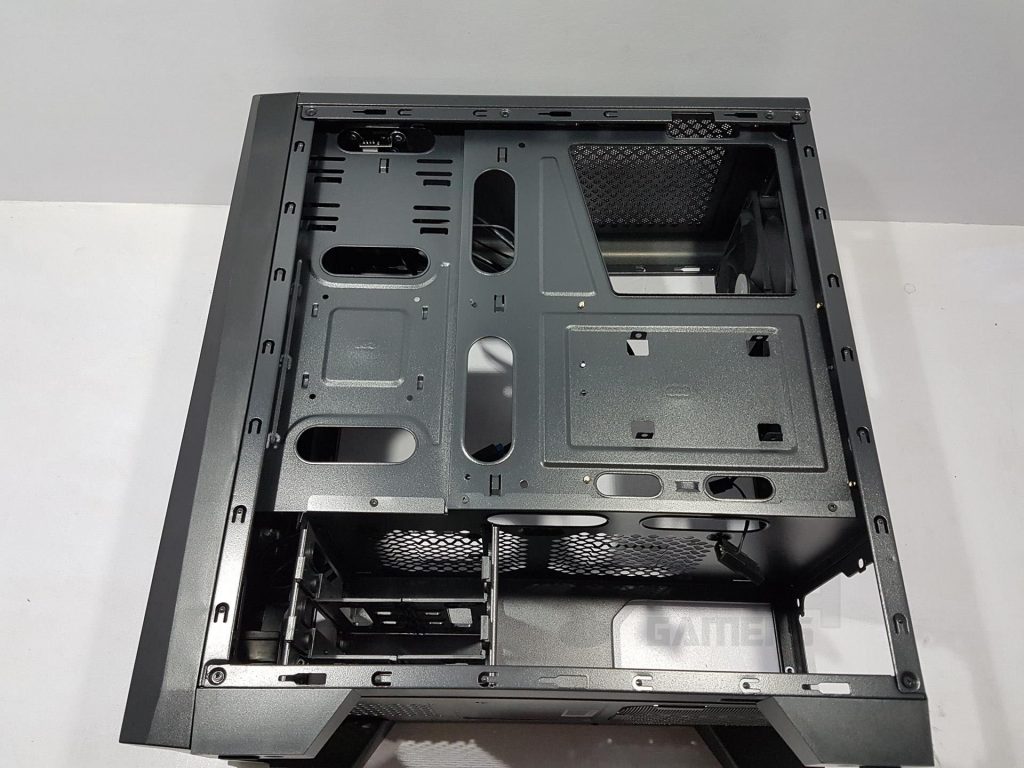
The interior of the chassis supports ATX, microATX, and Mini-ITX motherboards in a compact mid-tower design. It includes a pre-installed 120mm fan at the rear for effective cooling; however, that is the only pre-installed fan you will be getting with this case.
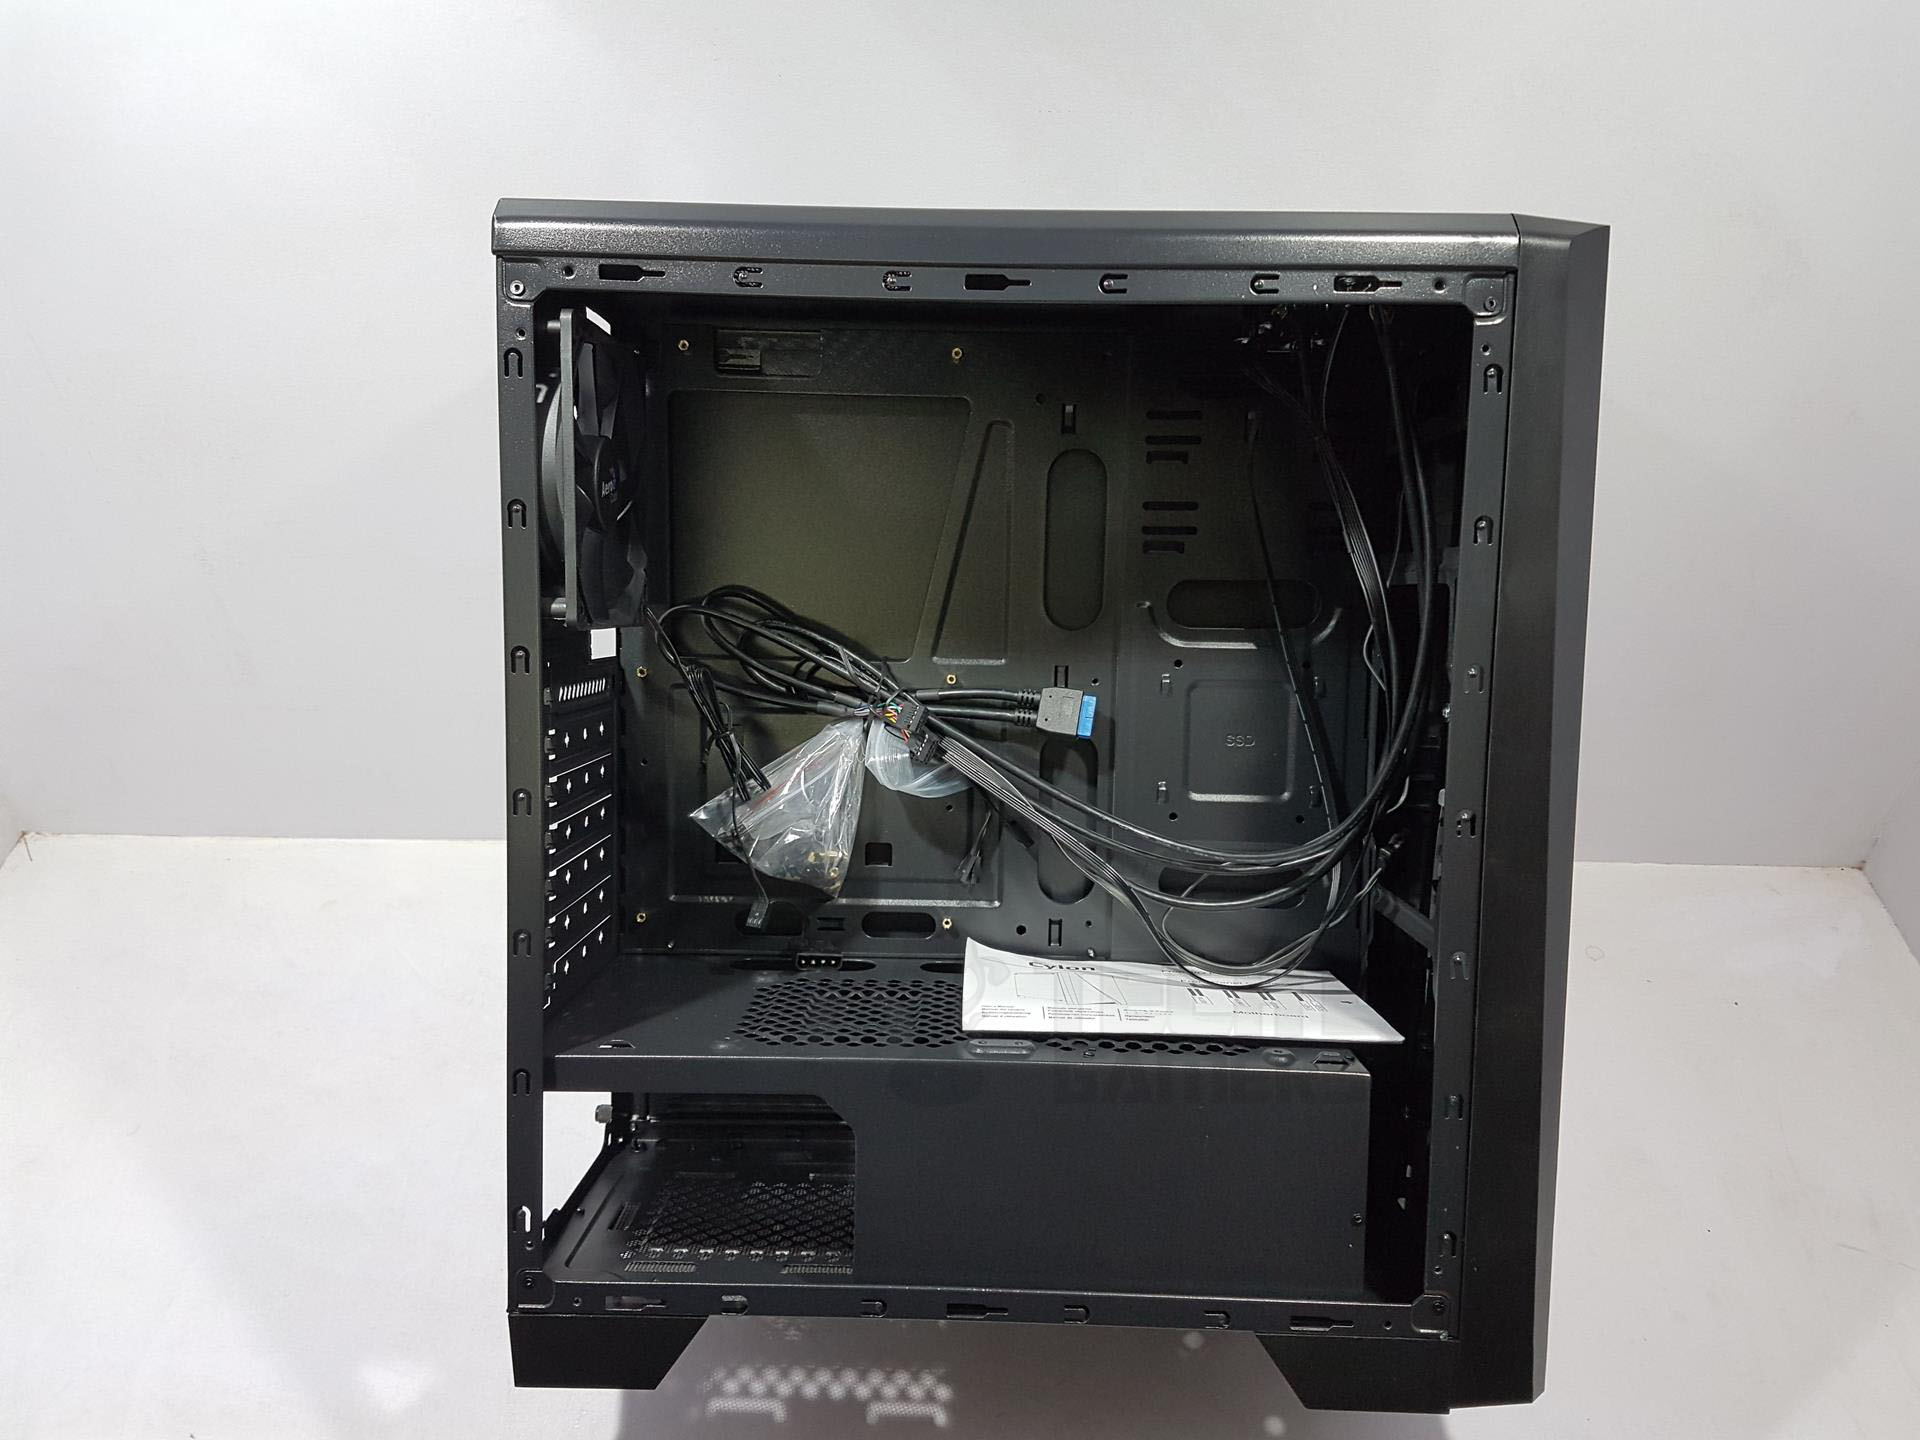

The motherboard tray measures 12″ x 9.6″, including cutouts on the bottom and right side for cable management. A top cutout facilitates EPS cable routing, while two on the PSU shroud aid in connecting cables to bottom motherboard headers. The chassis comes with 6 pre-installed standoffs.
I would have loved to see all 9 standoffs to be pre-installed. Full ATX size motherboard has a dimension of 12” x 9.6” and as such this Aerocool Cylon RGB chassis provides a challenge to the builder for the cable management on the front. Ideal for motherboards with a length of 8.8″, the chassis accommodates them well. A top mount supports a 120mm fan, while the motherboard tray features a large CPU cutout for easy cooler installation.
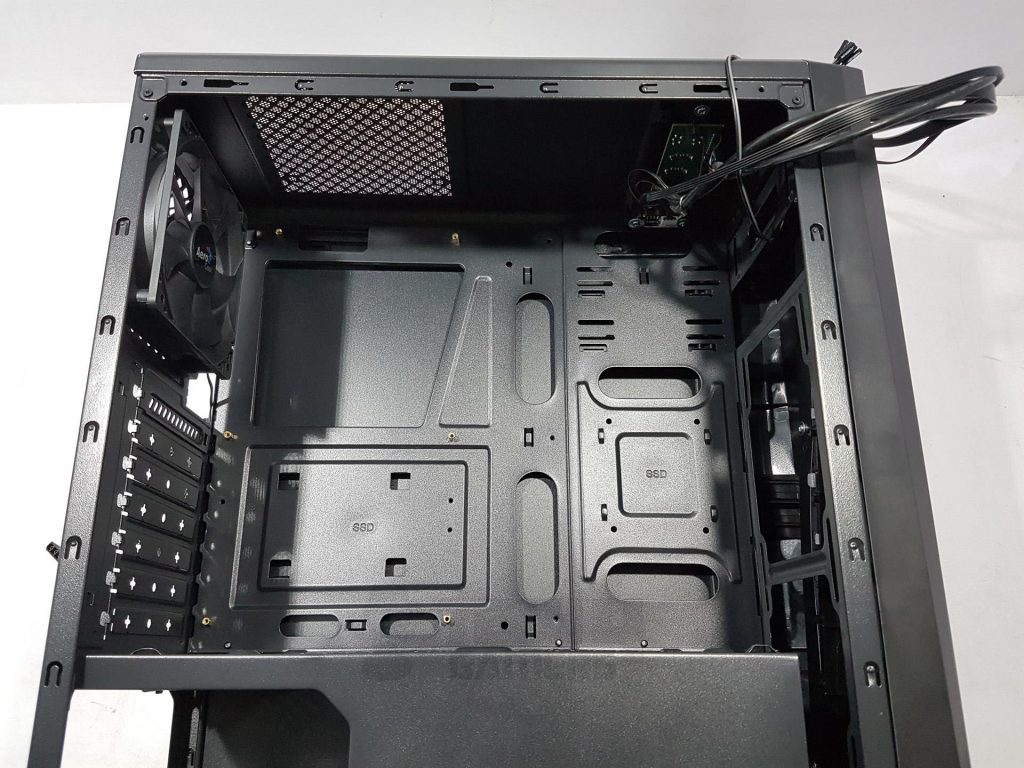
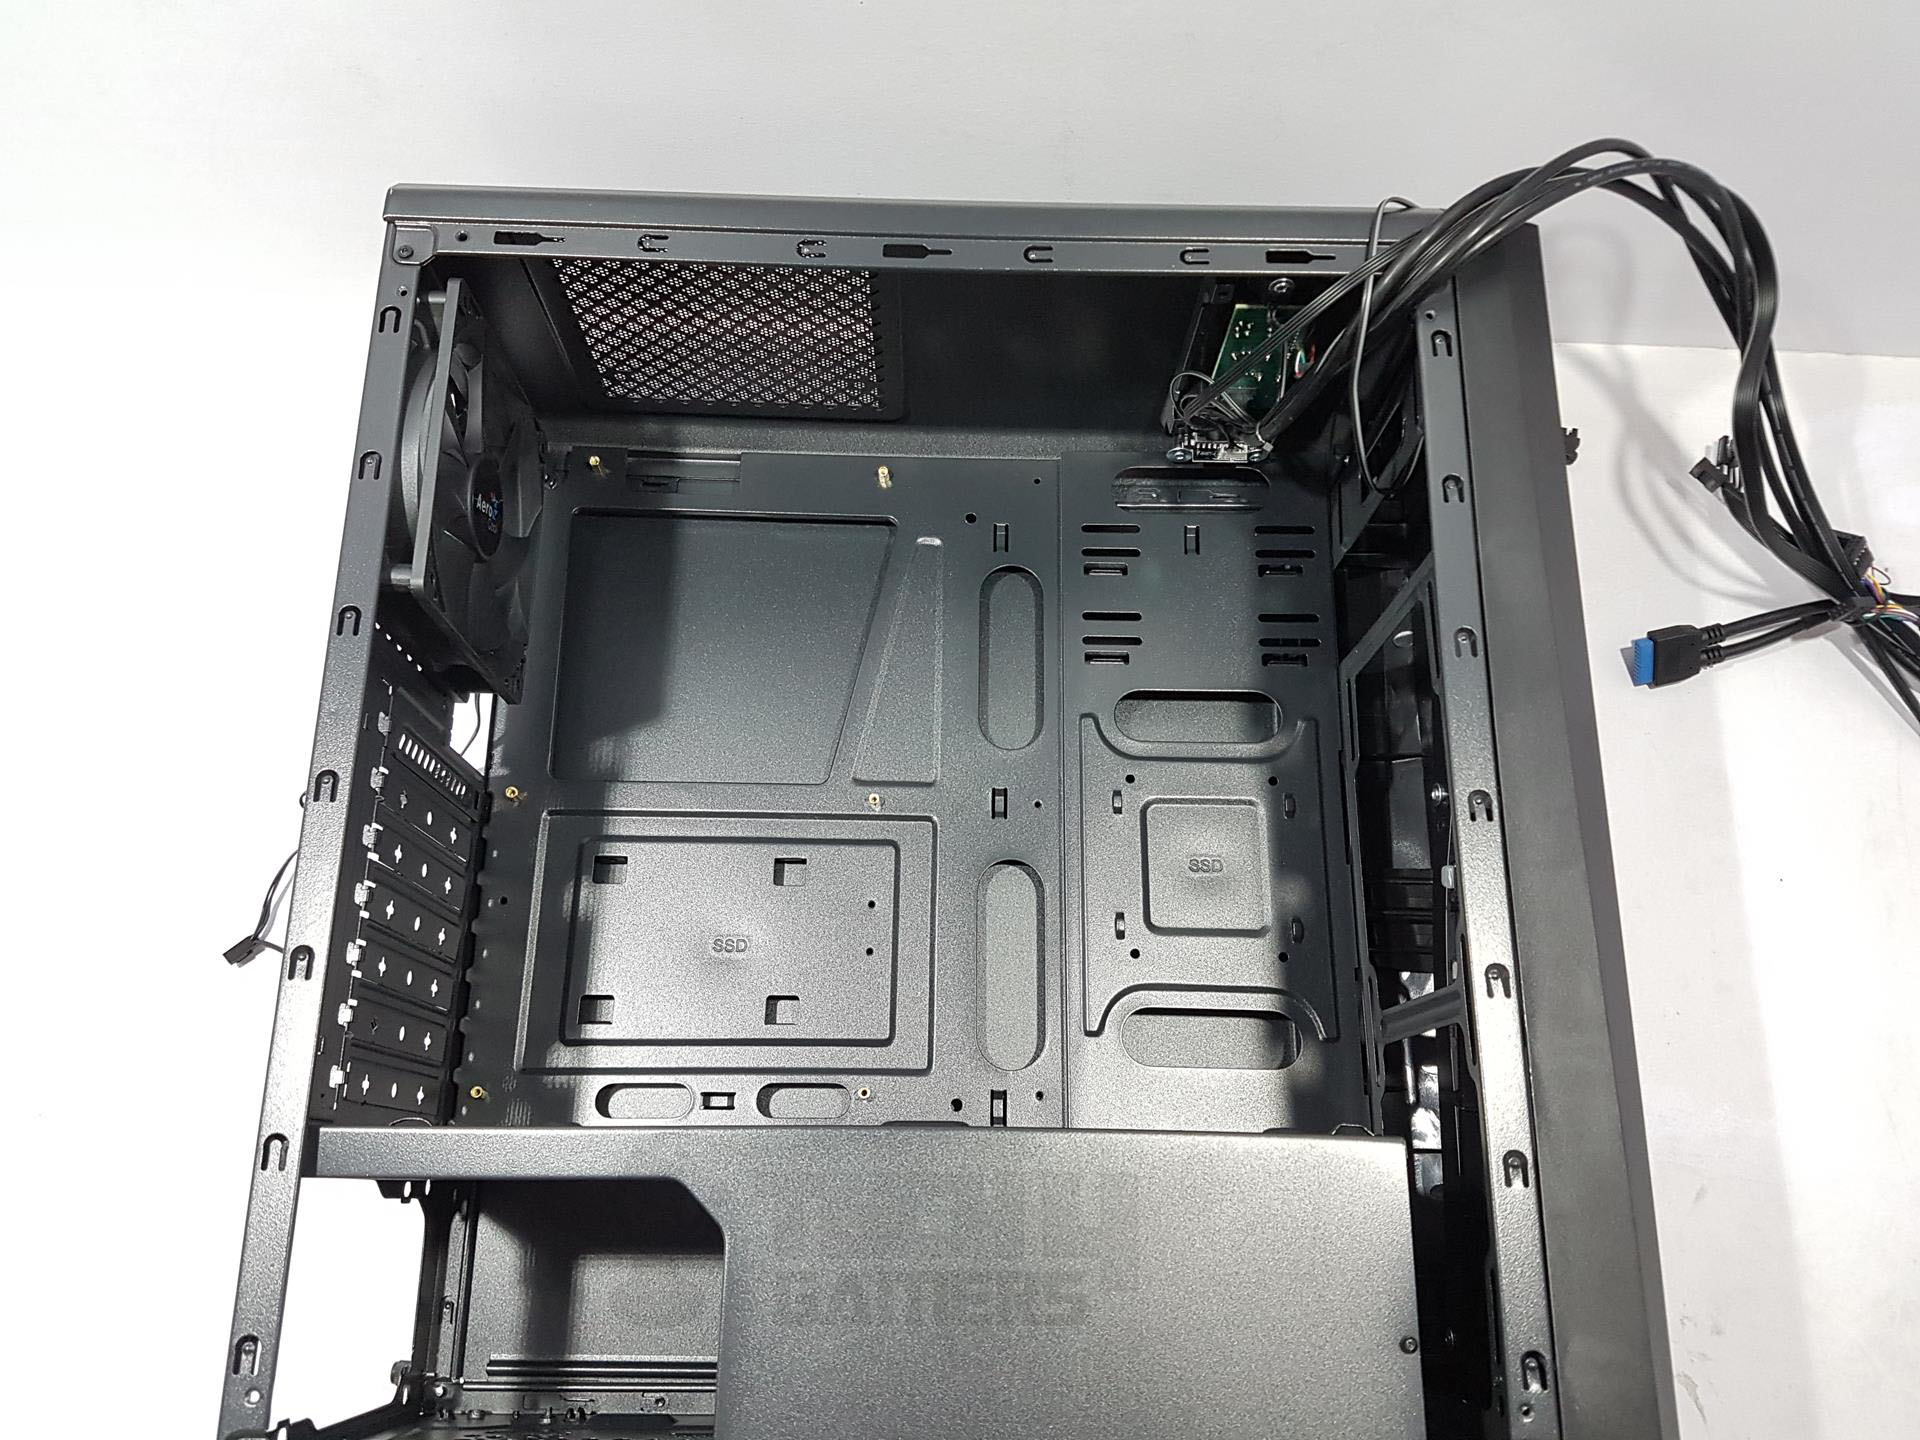
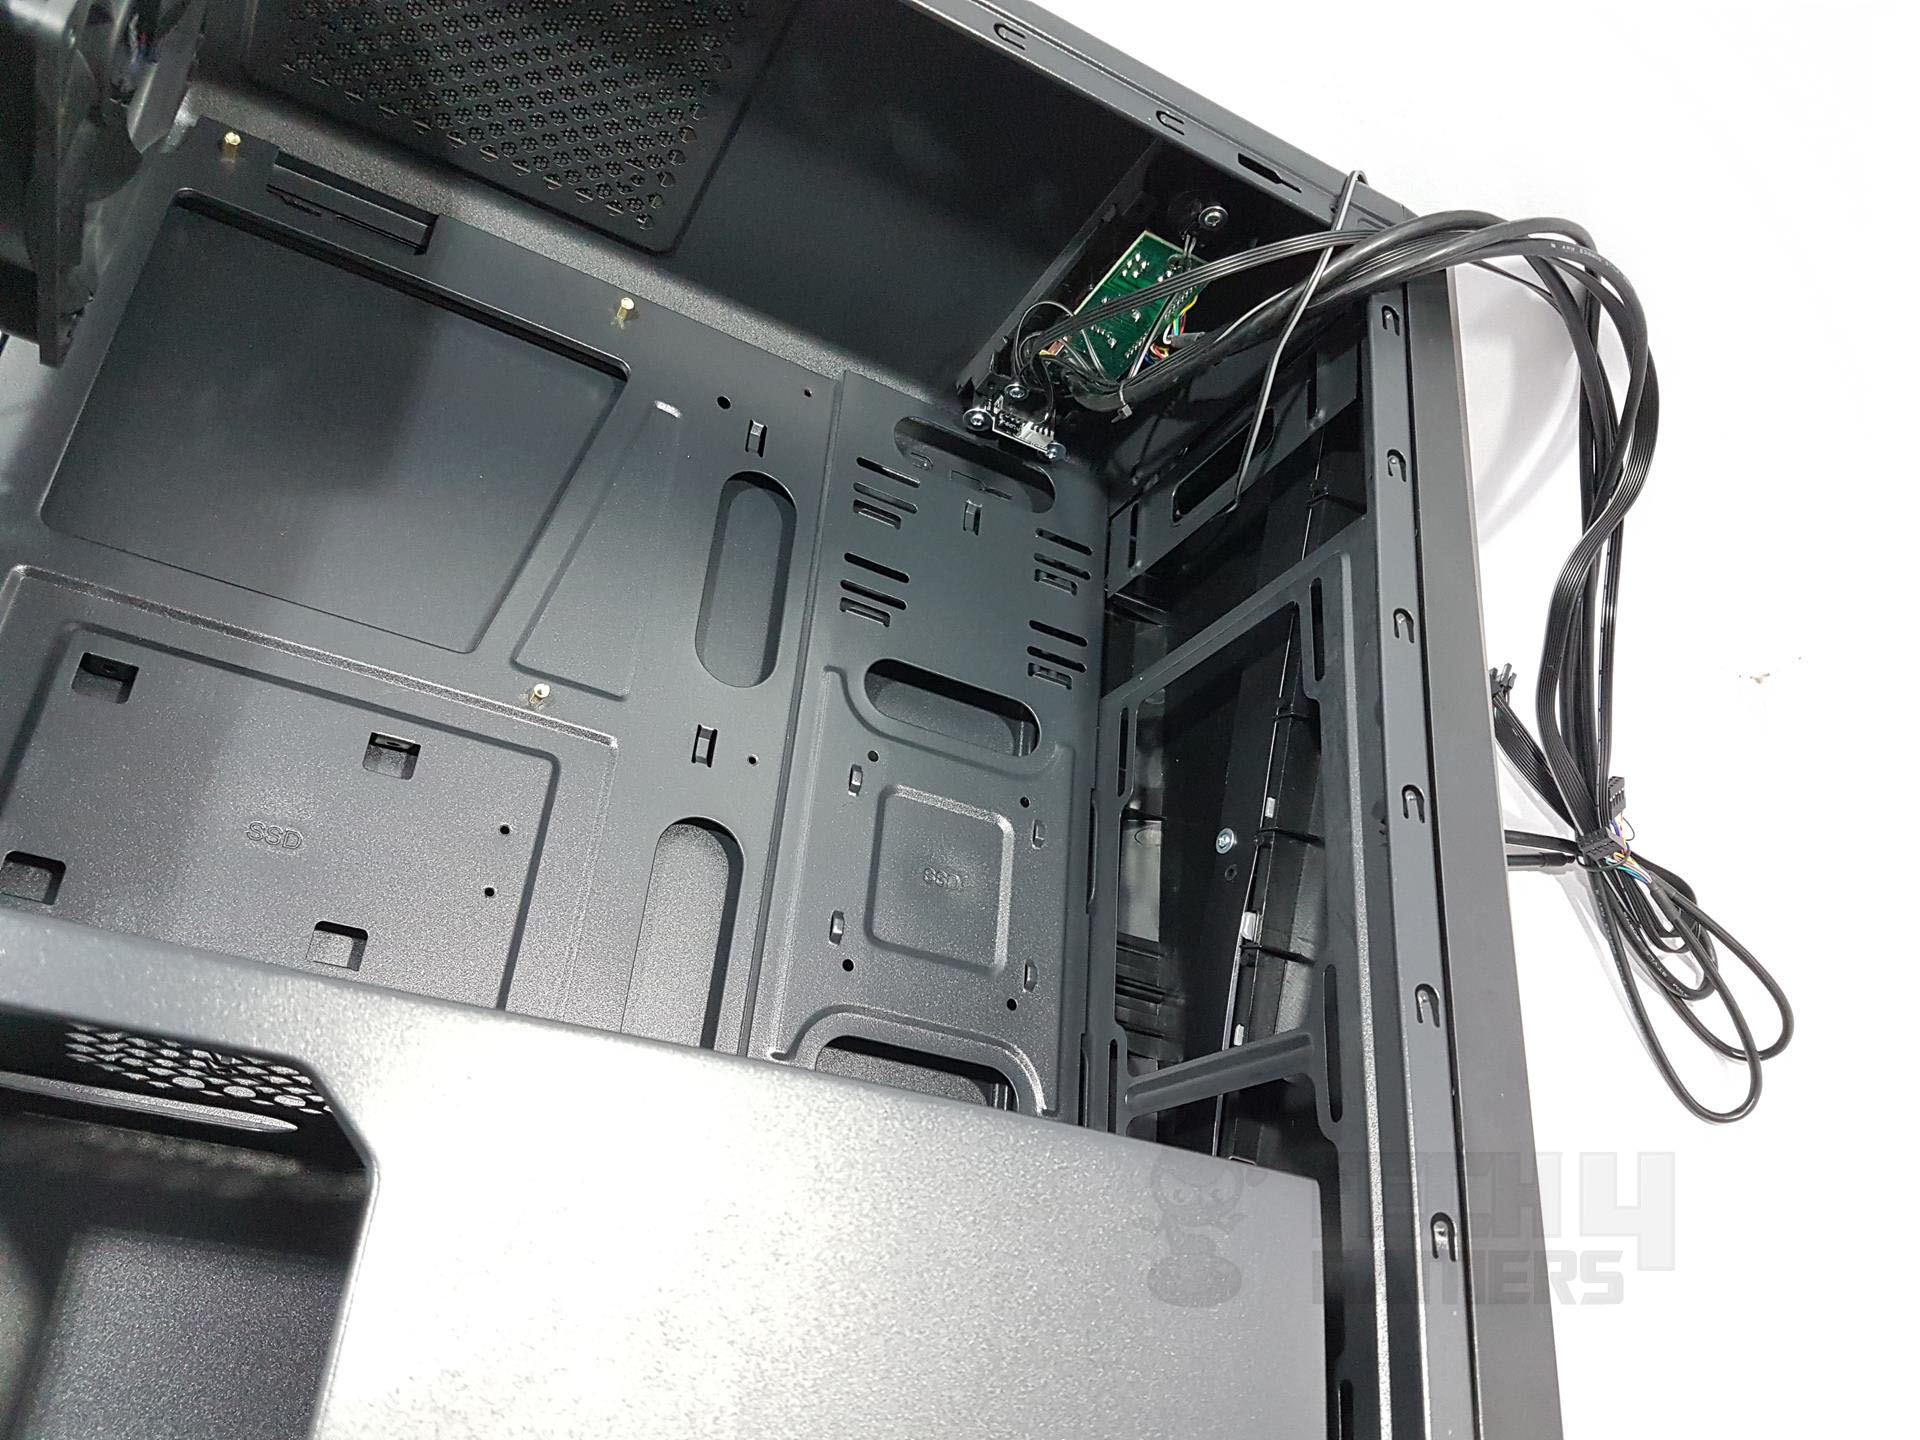
With a maximum CPU cooler height of 155mm, the motherboard tray features an inset compared to the right side frame. Three cutouts on the right side facilitate cable management, including one for the front I/O panel. Additionally, there’s an SSD mount in the mid-section with two cutouts in a horizontal layout, one above and one below the mount.
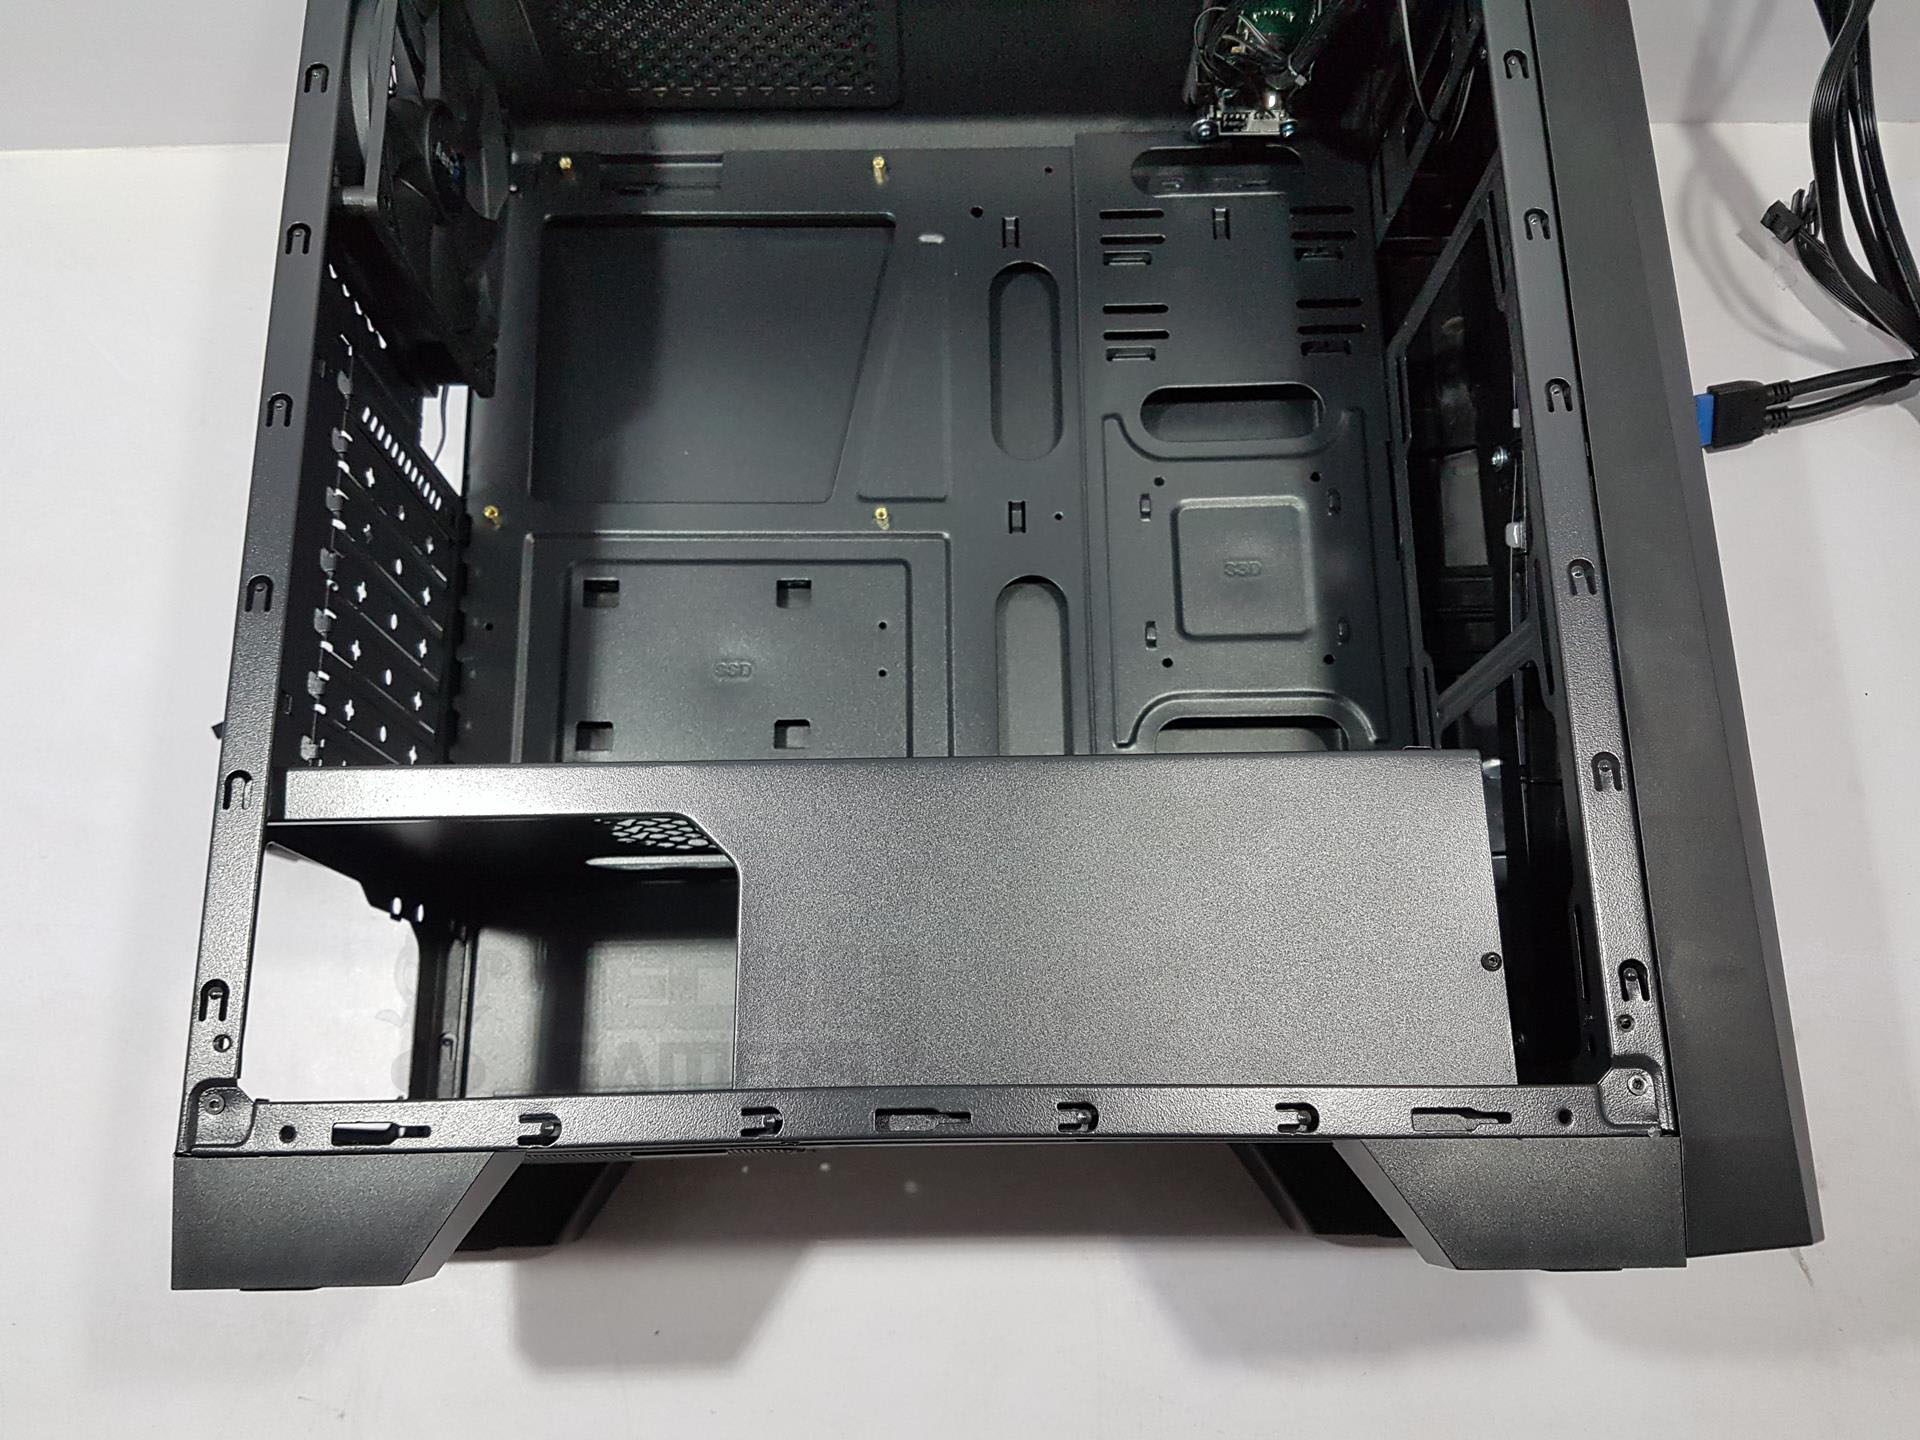
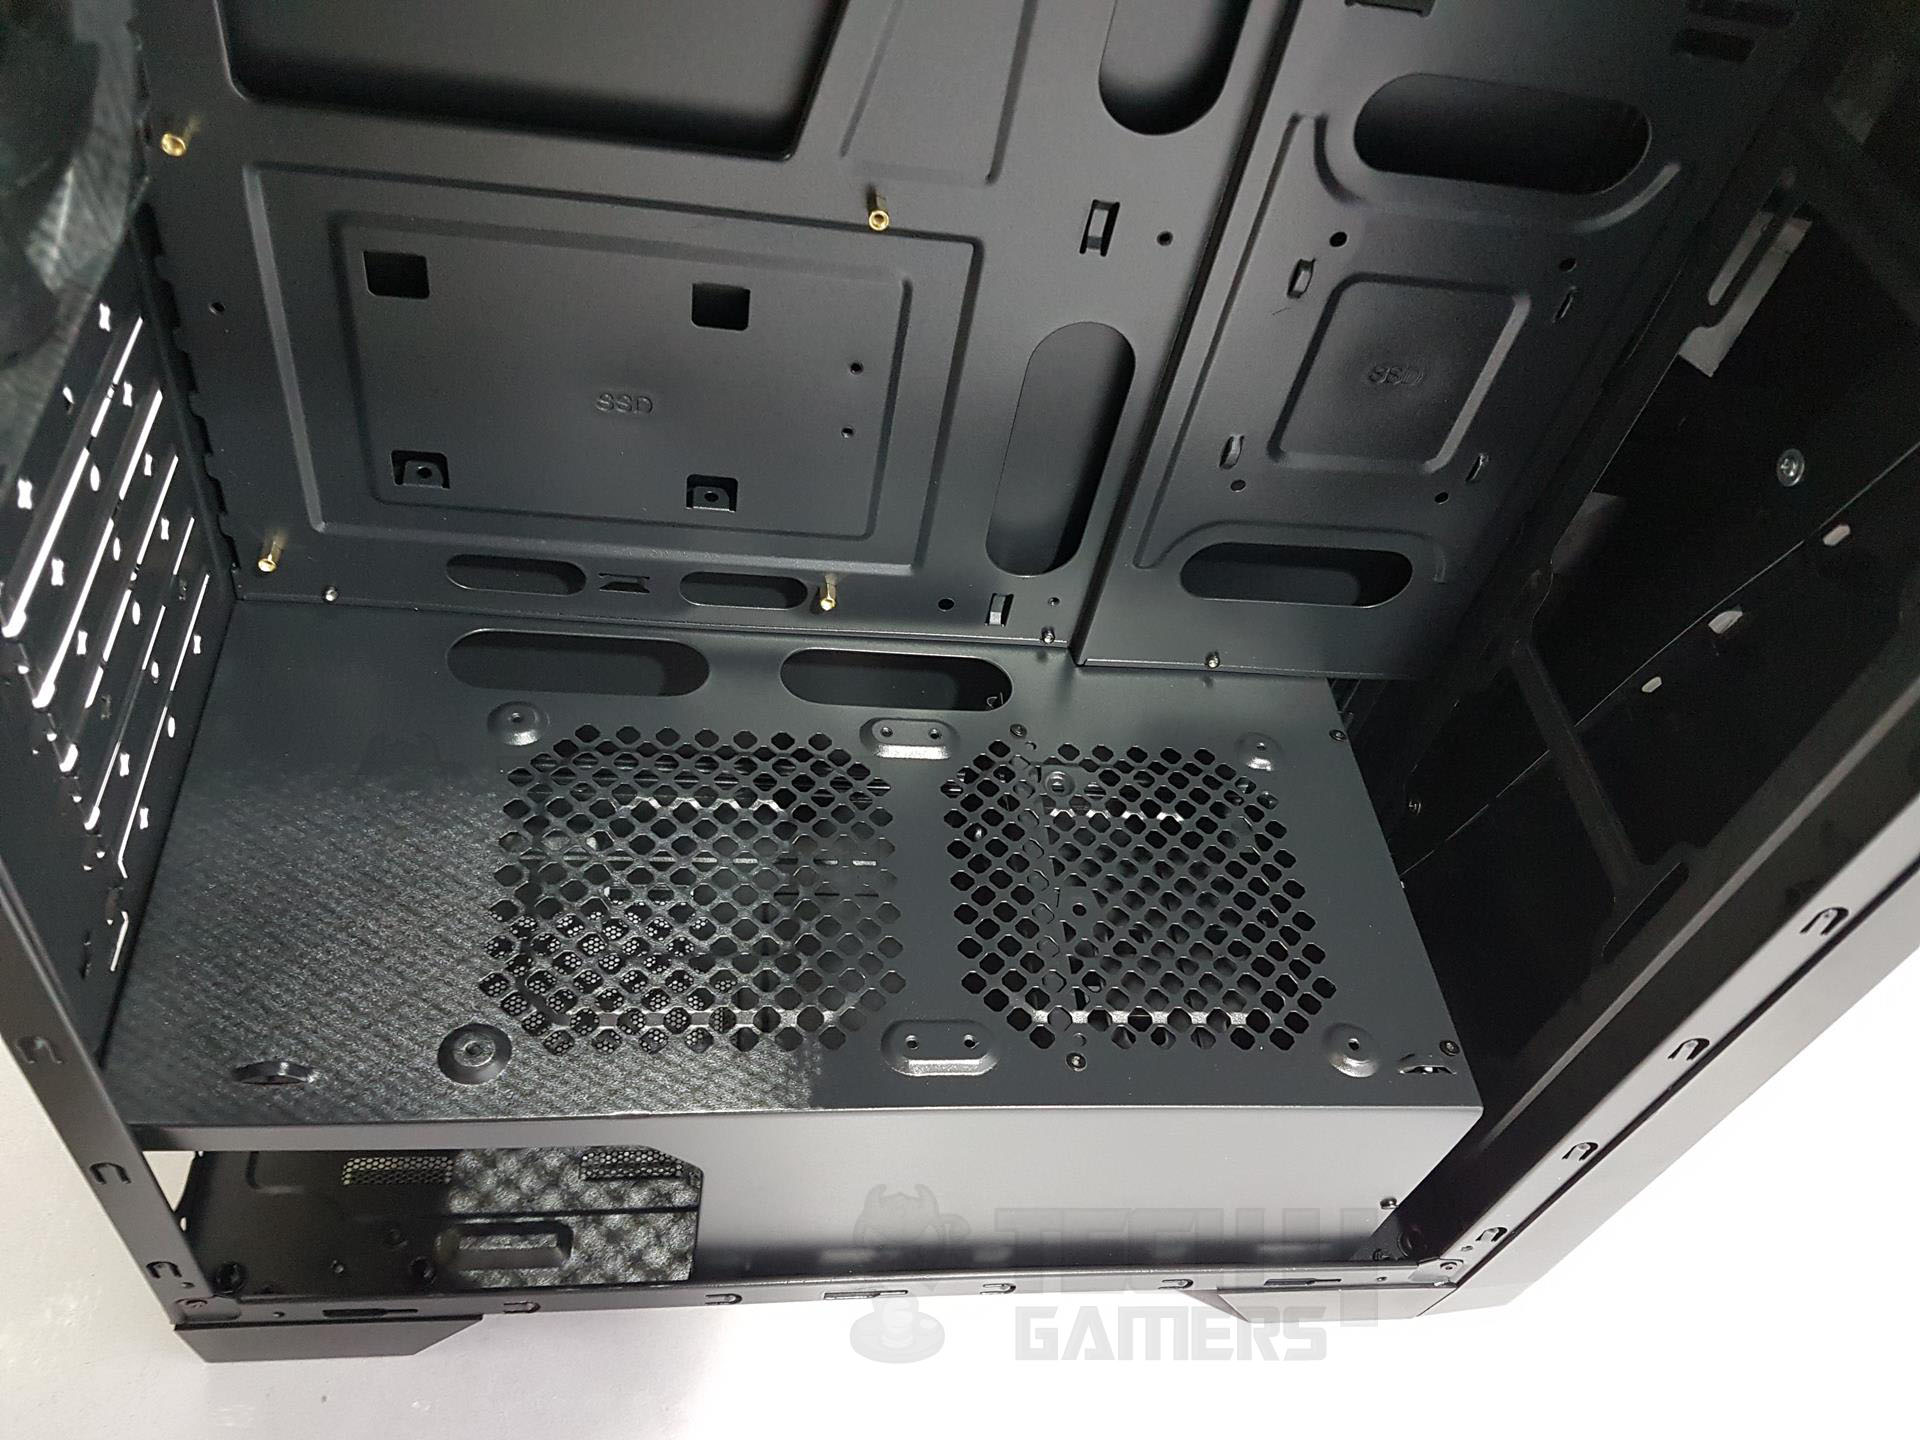
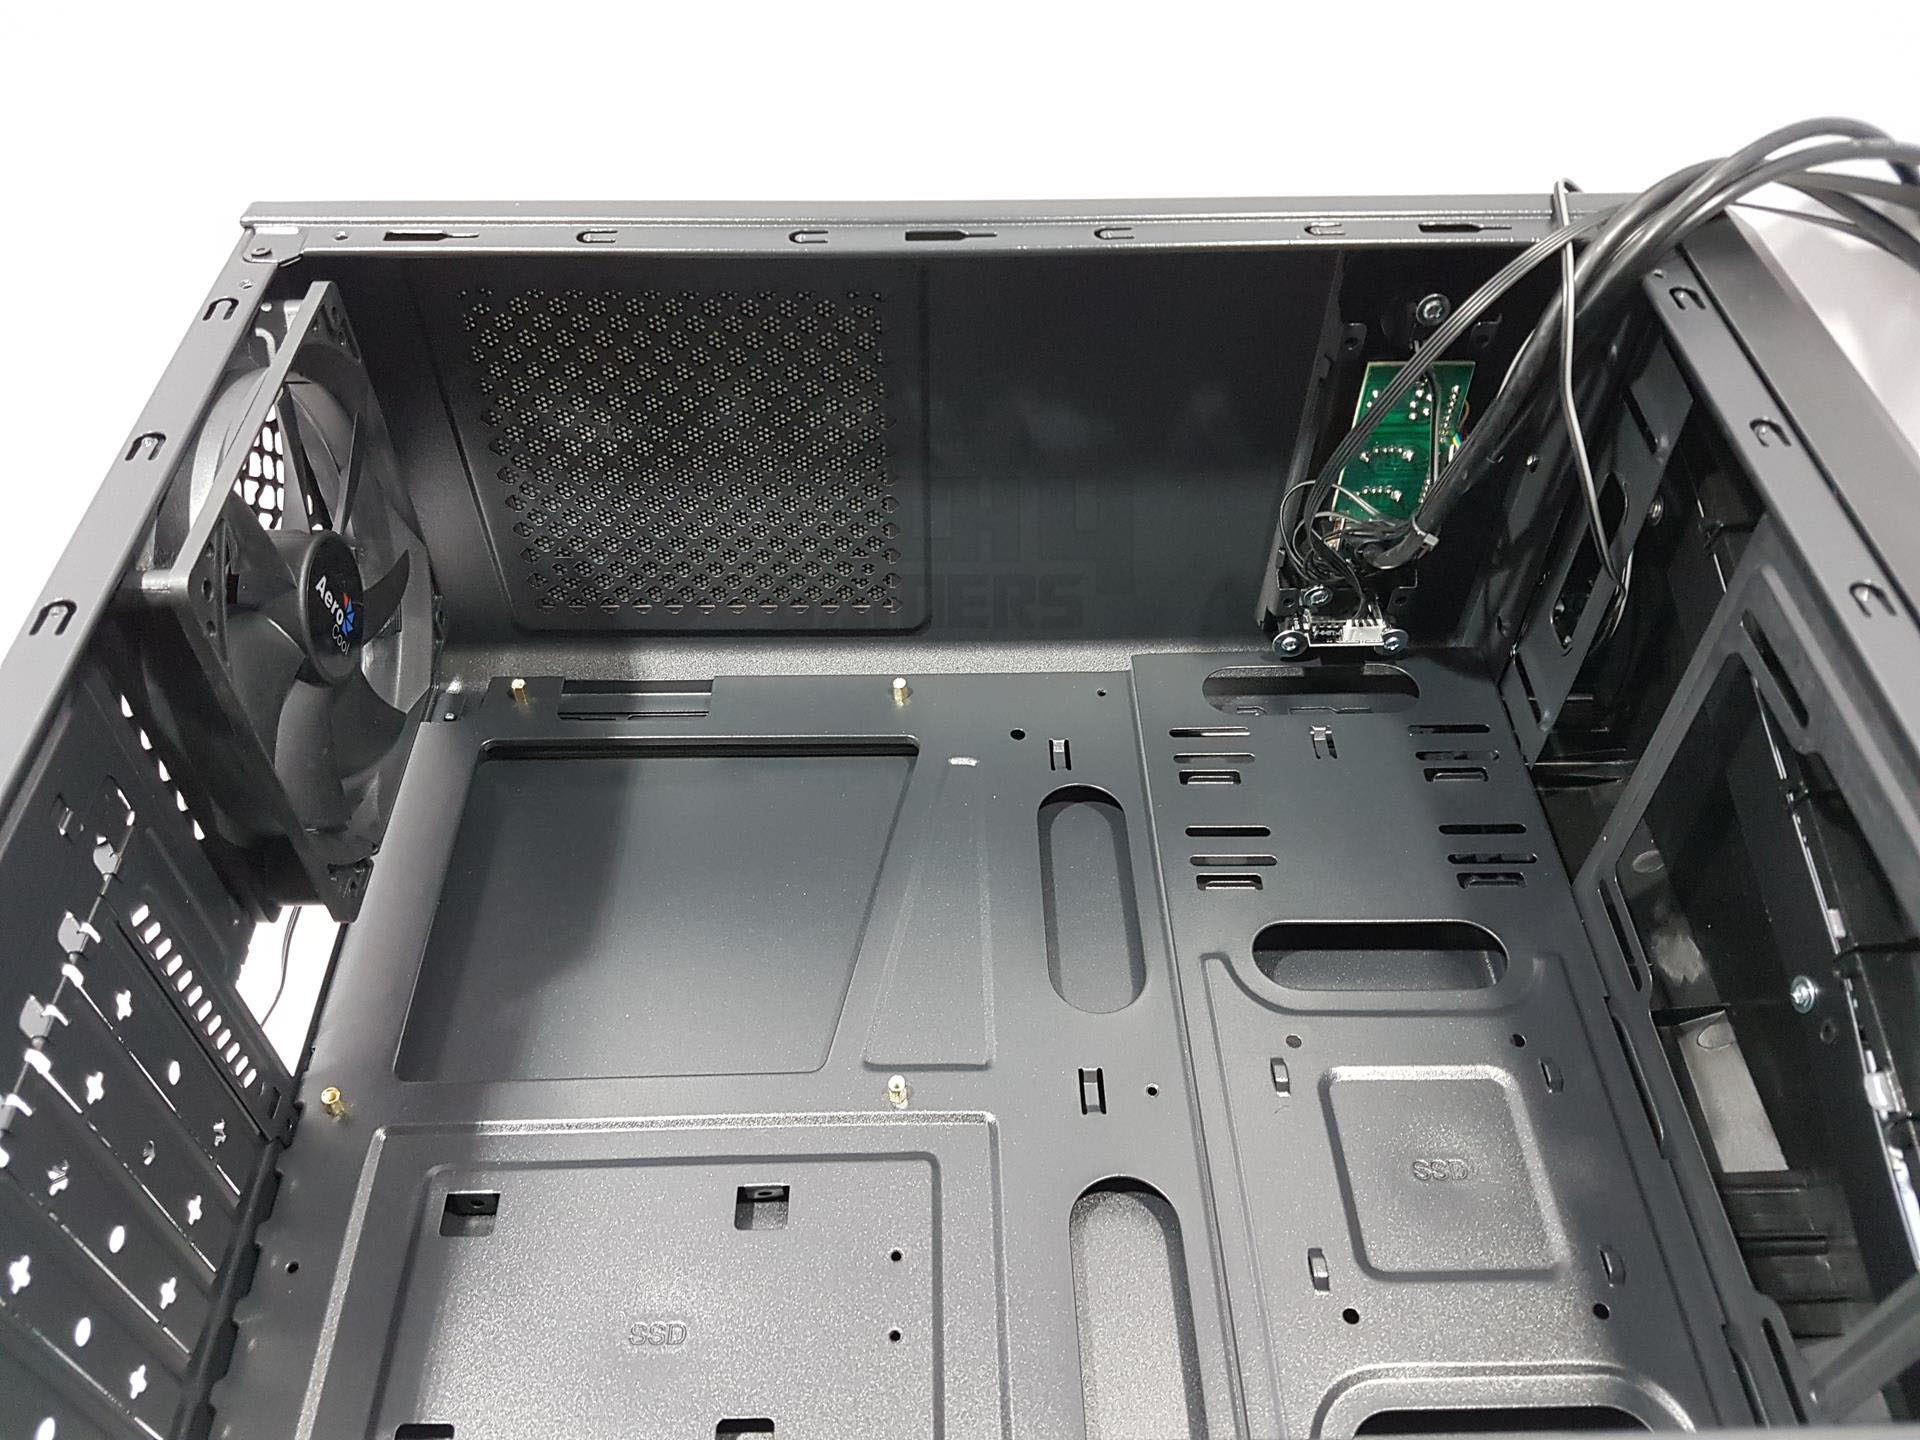
The PSU shroud spans the chassis length, creating a dual-chamber design. A cutout on the left side reveals the PSU label, and a gap between the front fan rails and shroud allows bottom fan mounting. Raised tabs on the shroud support two 120mm fans without dust filters, enhancing direct air throw to the GPU. However, limited air intake may result, especially over the storage drive cage.
Two well-placed holes on the shroud facilitate cable management, lacking rubber grommets for cost-saving. PCIe slot covers feature a snap-off design, except the first vented cover. The pre-installed 120mm fan has both a 3-pin and Molex connector. In terms of cooling support, this chassis has support for up to three 120mm fans on the front or two 140mm fans on the front.
This is surprising as most of today’s motherboards have enough fan headers to power the fans but it is still a nice addition by the manufacturer. The distance between the 3-pin connector and the Molex needs to be increased as they are on the same cable and the distance is less so it makes it difficult to better cable manage it.
Bottom

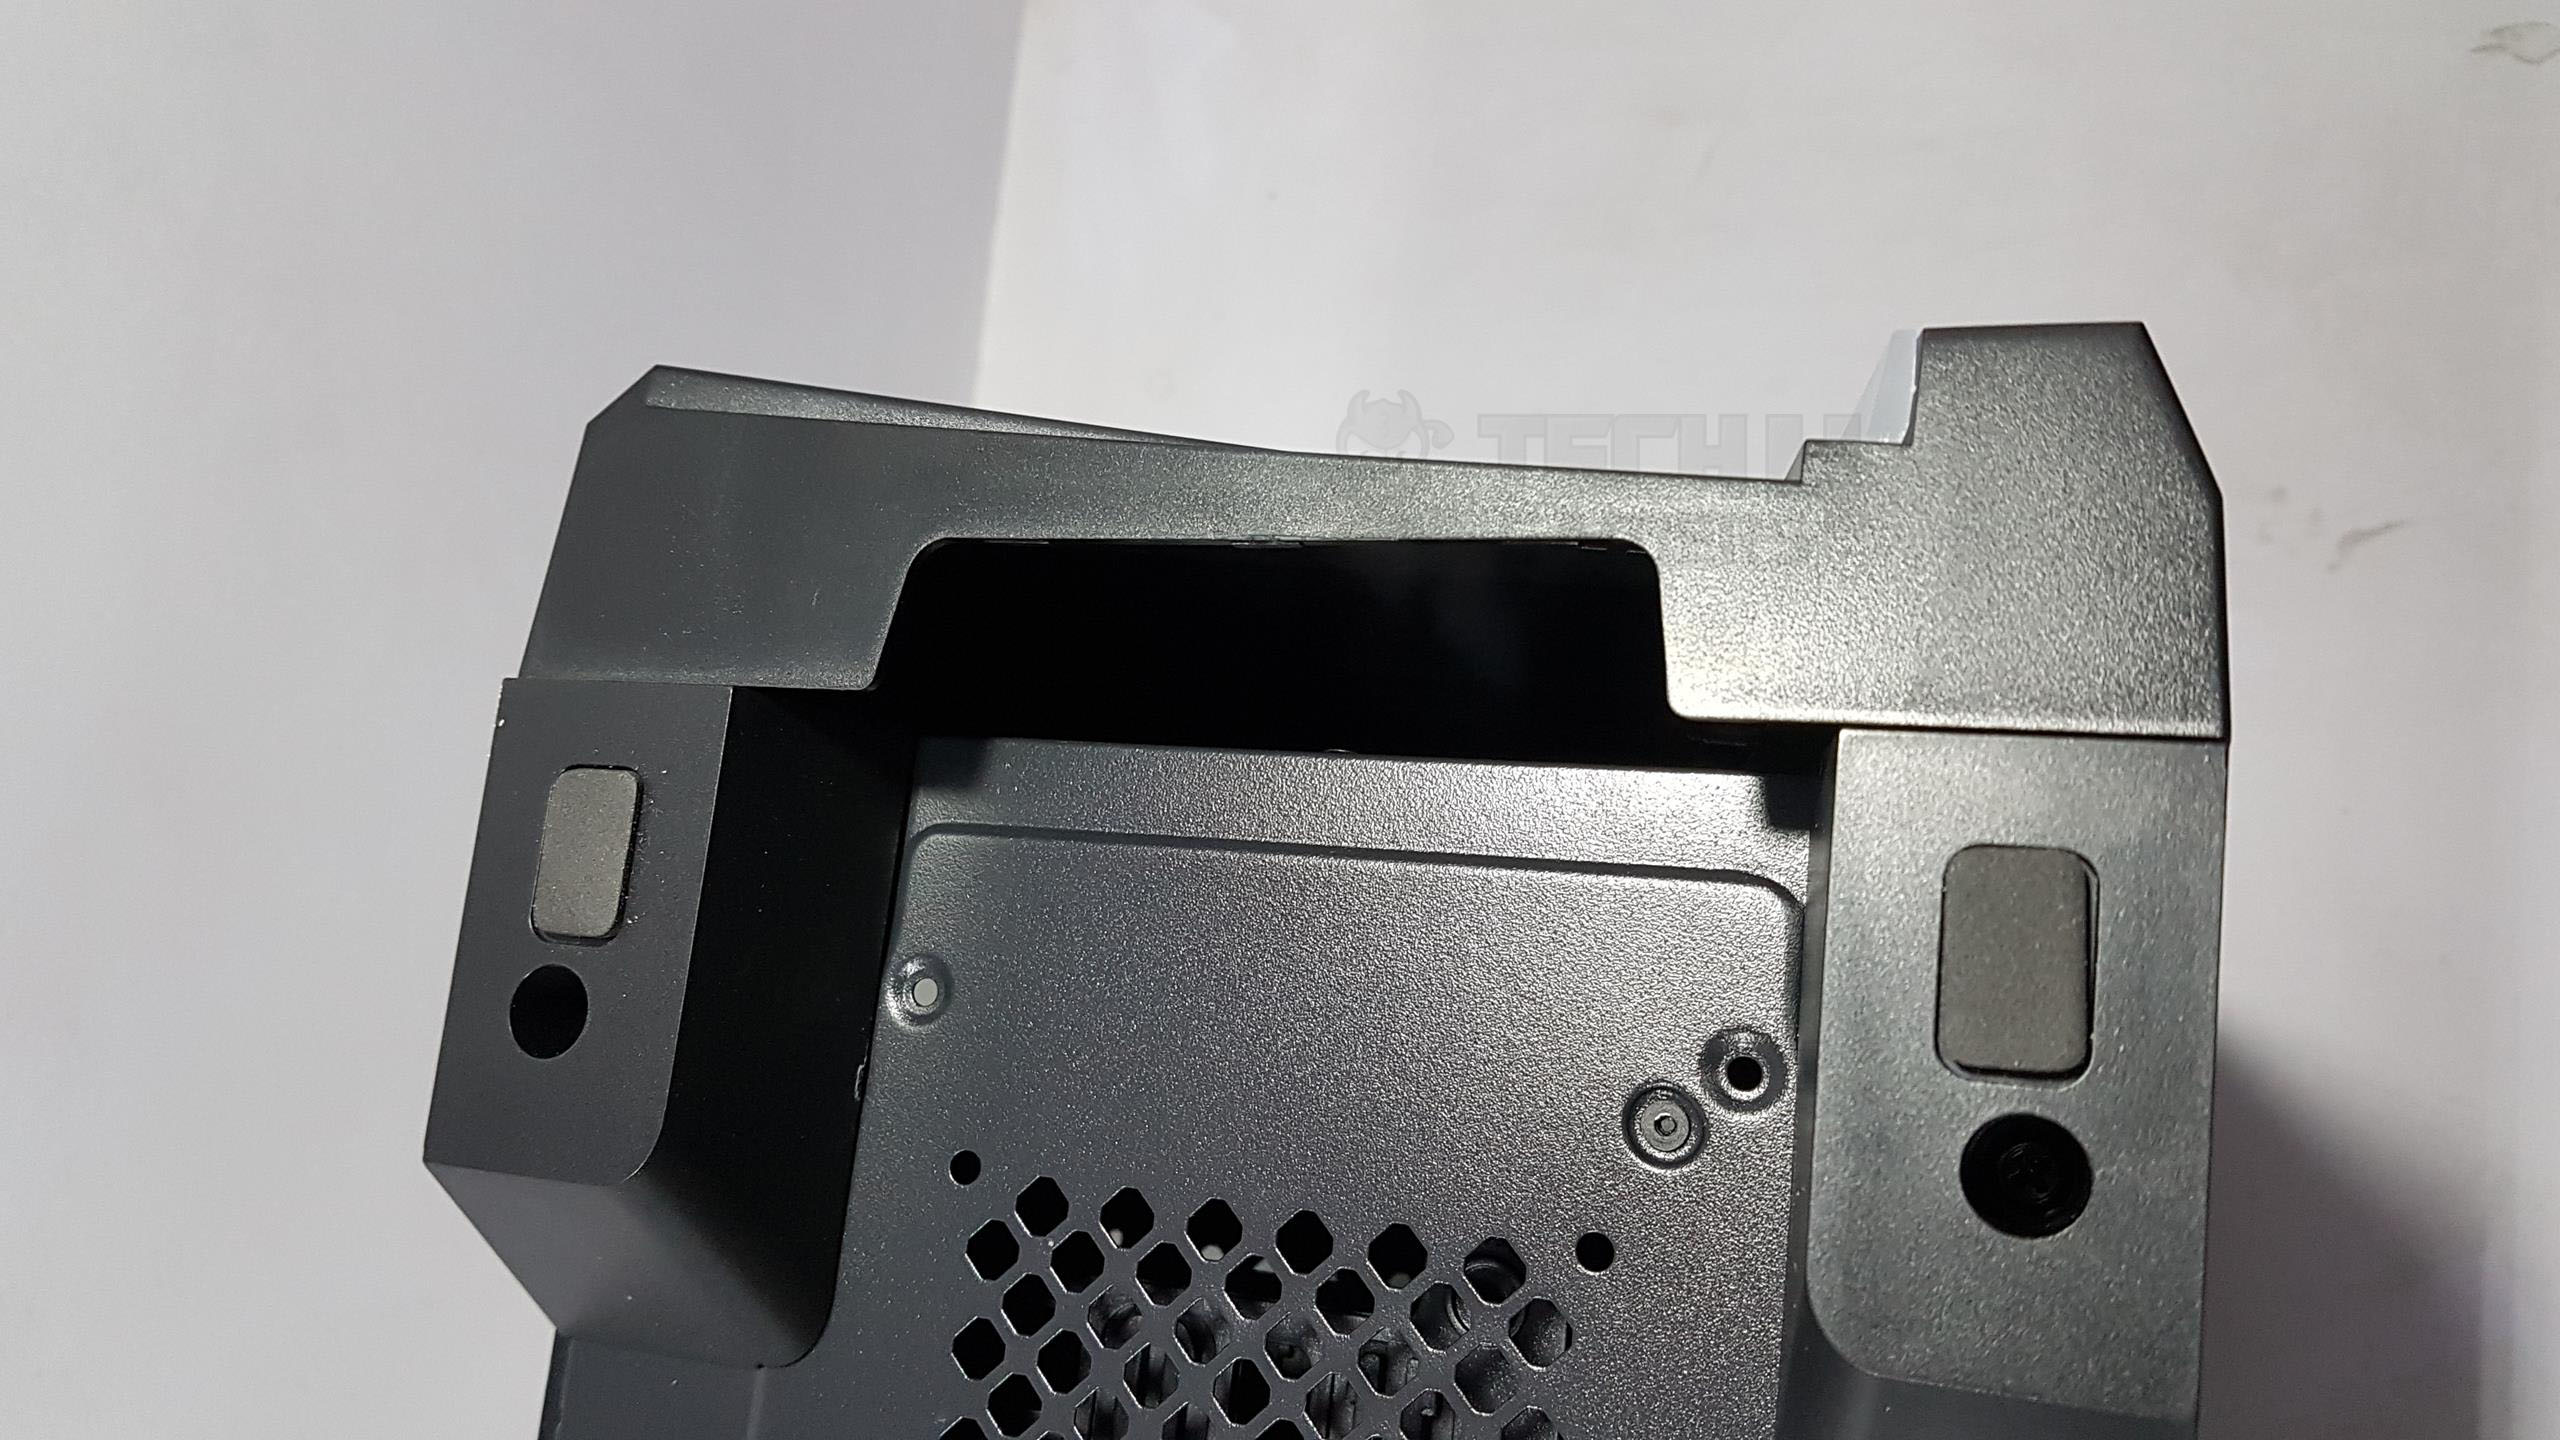
The bottom side of the chassis has 4 long feet to raise the height of the chassis from the ground. This is essential as the air intake is from this side on the front panel. The PSU mount has a dust filter which is not magnetic.
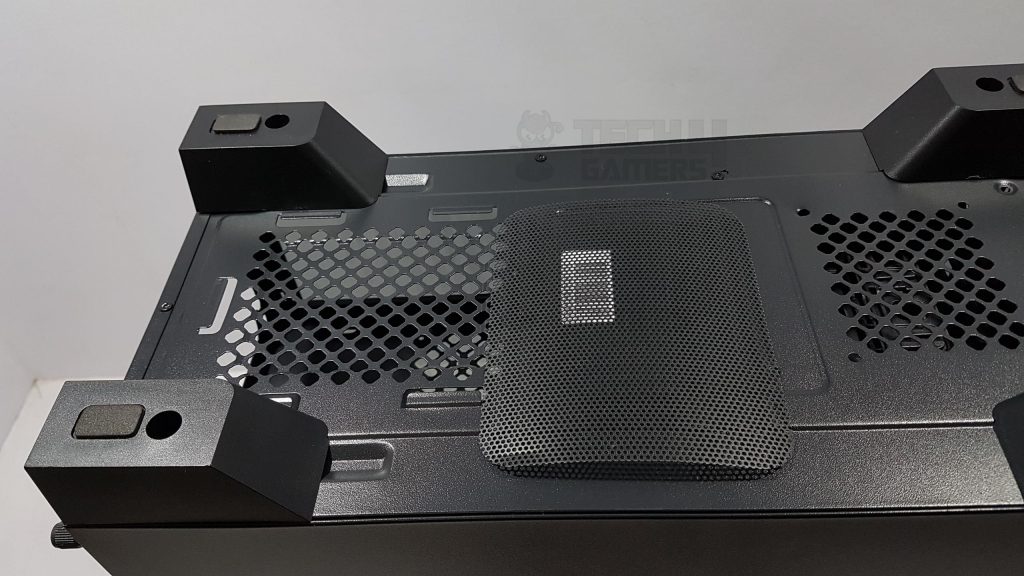
The storage drive cage has a vented area closer to the front side and it is not filtered. Serial no sticker is pasted in the middle of this side. There are rubber pads on each of the feet to avoid scratching the surface where the chassis will be placed.
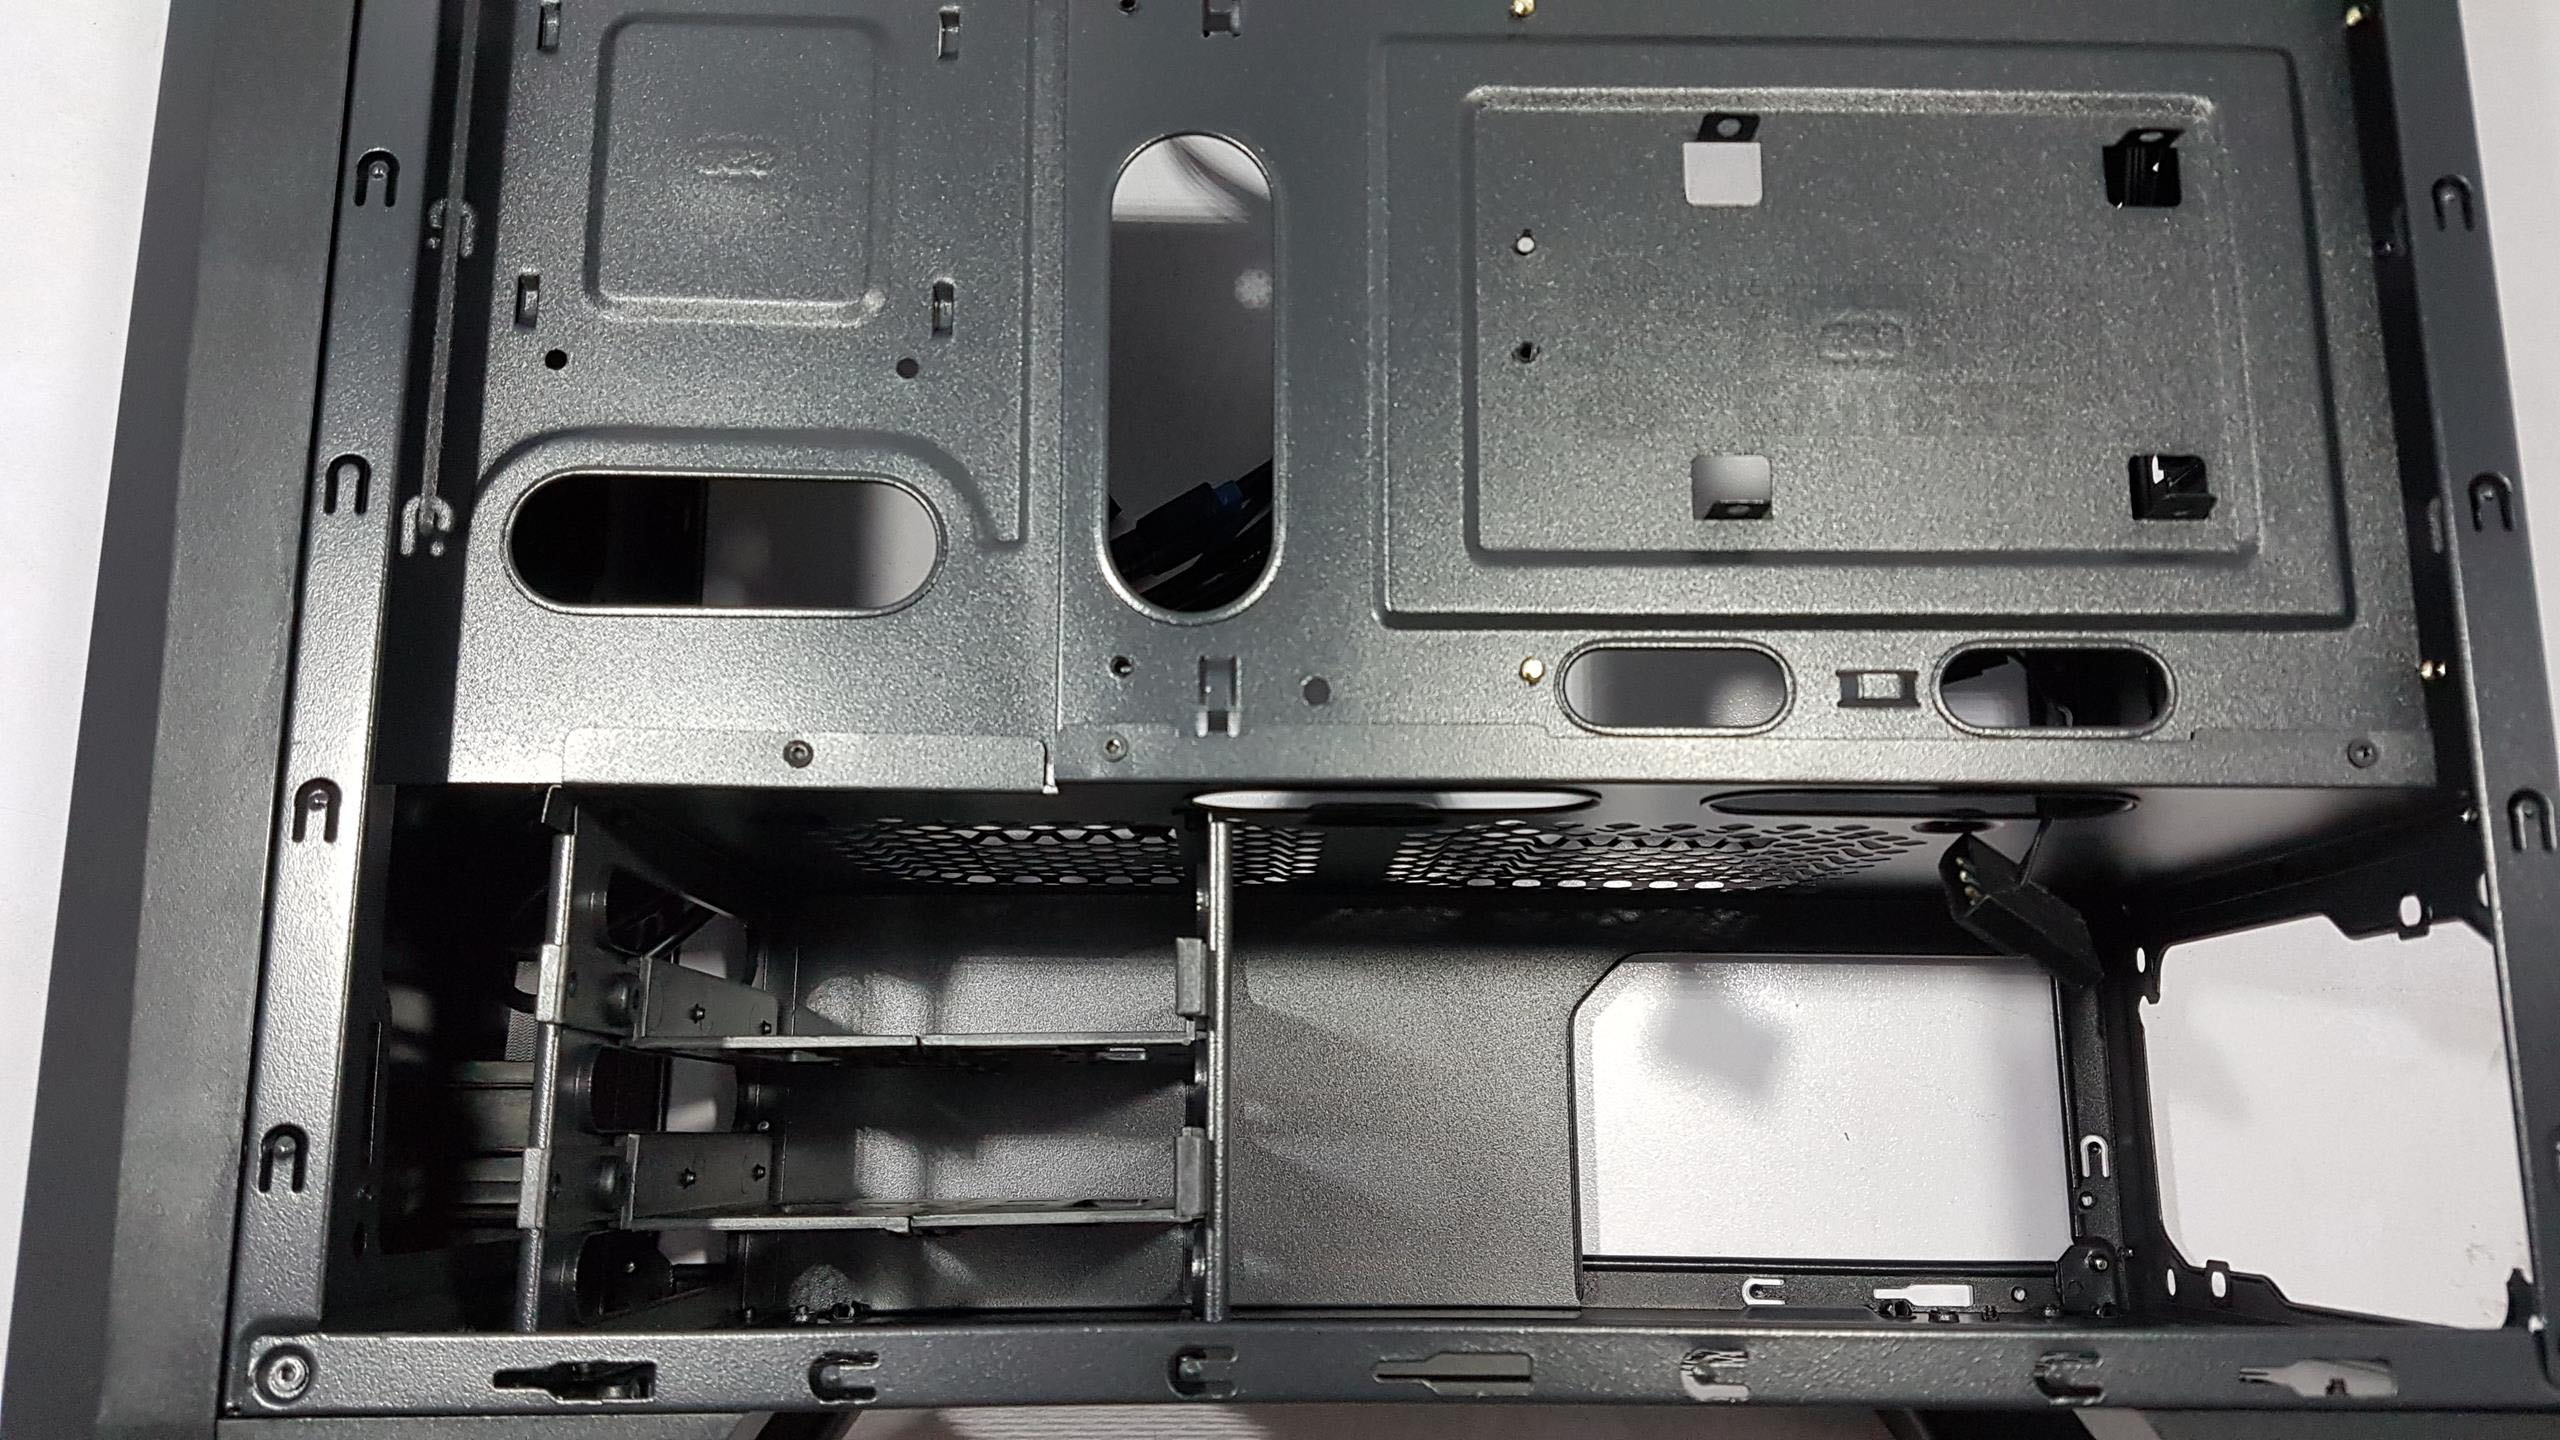
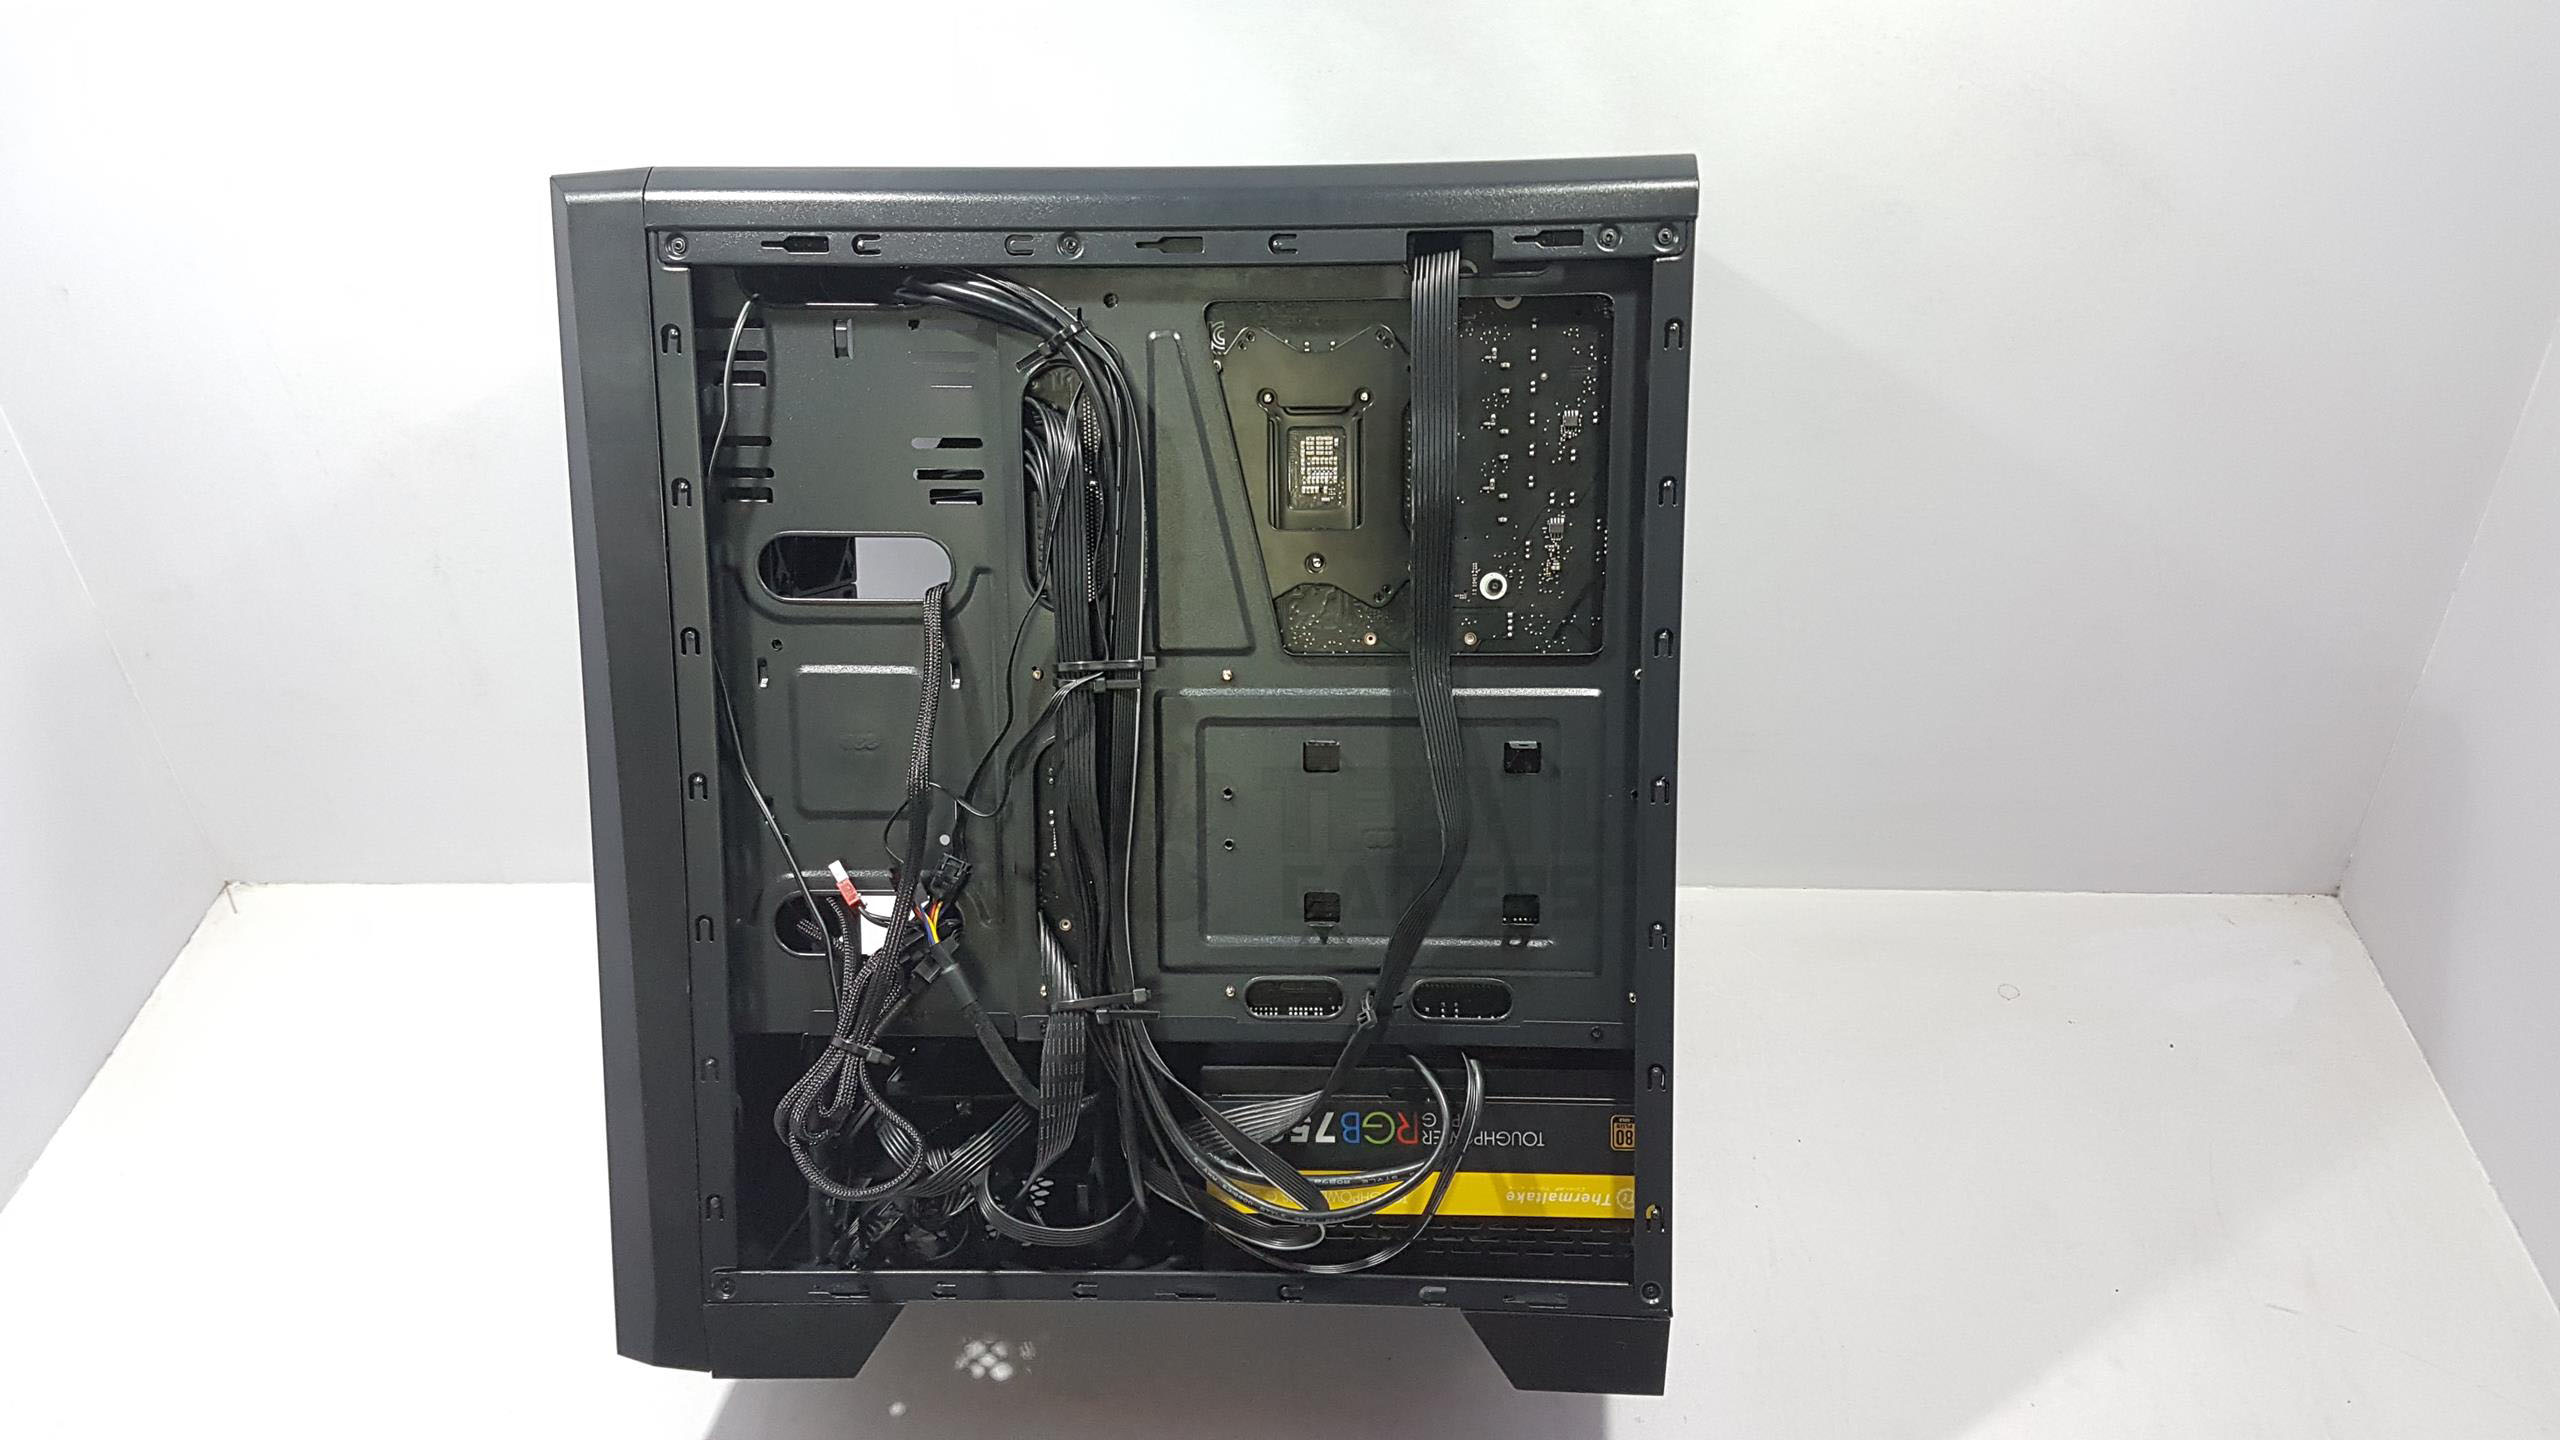
Backside
The left side has a plain steel panel. The color on the panel cover and the plastic body of the chassis can be easily distinguished though they don’t give any bad impression and symmetry is there in the design flow.
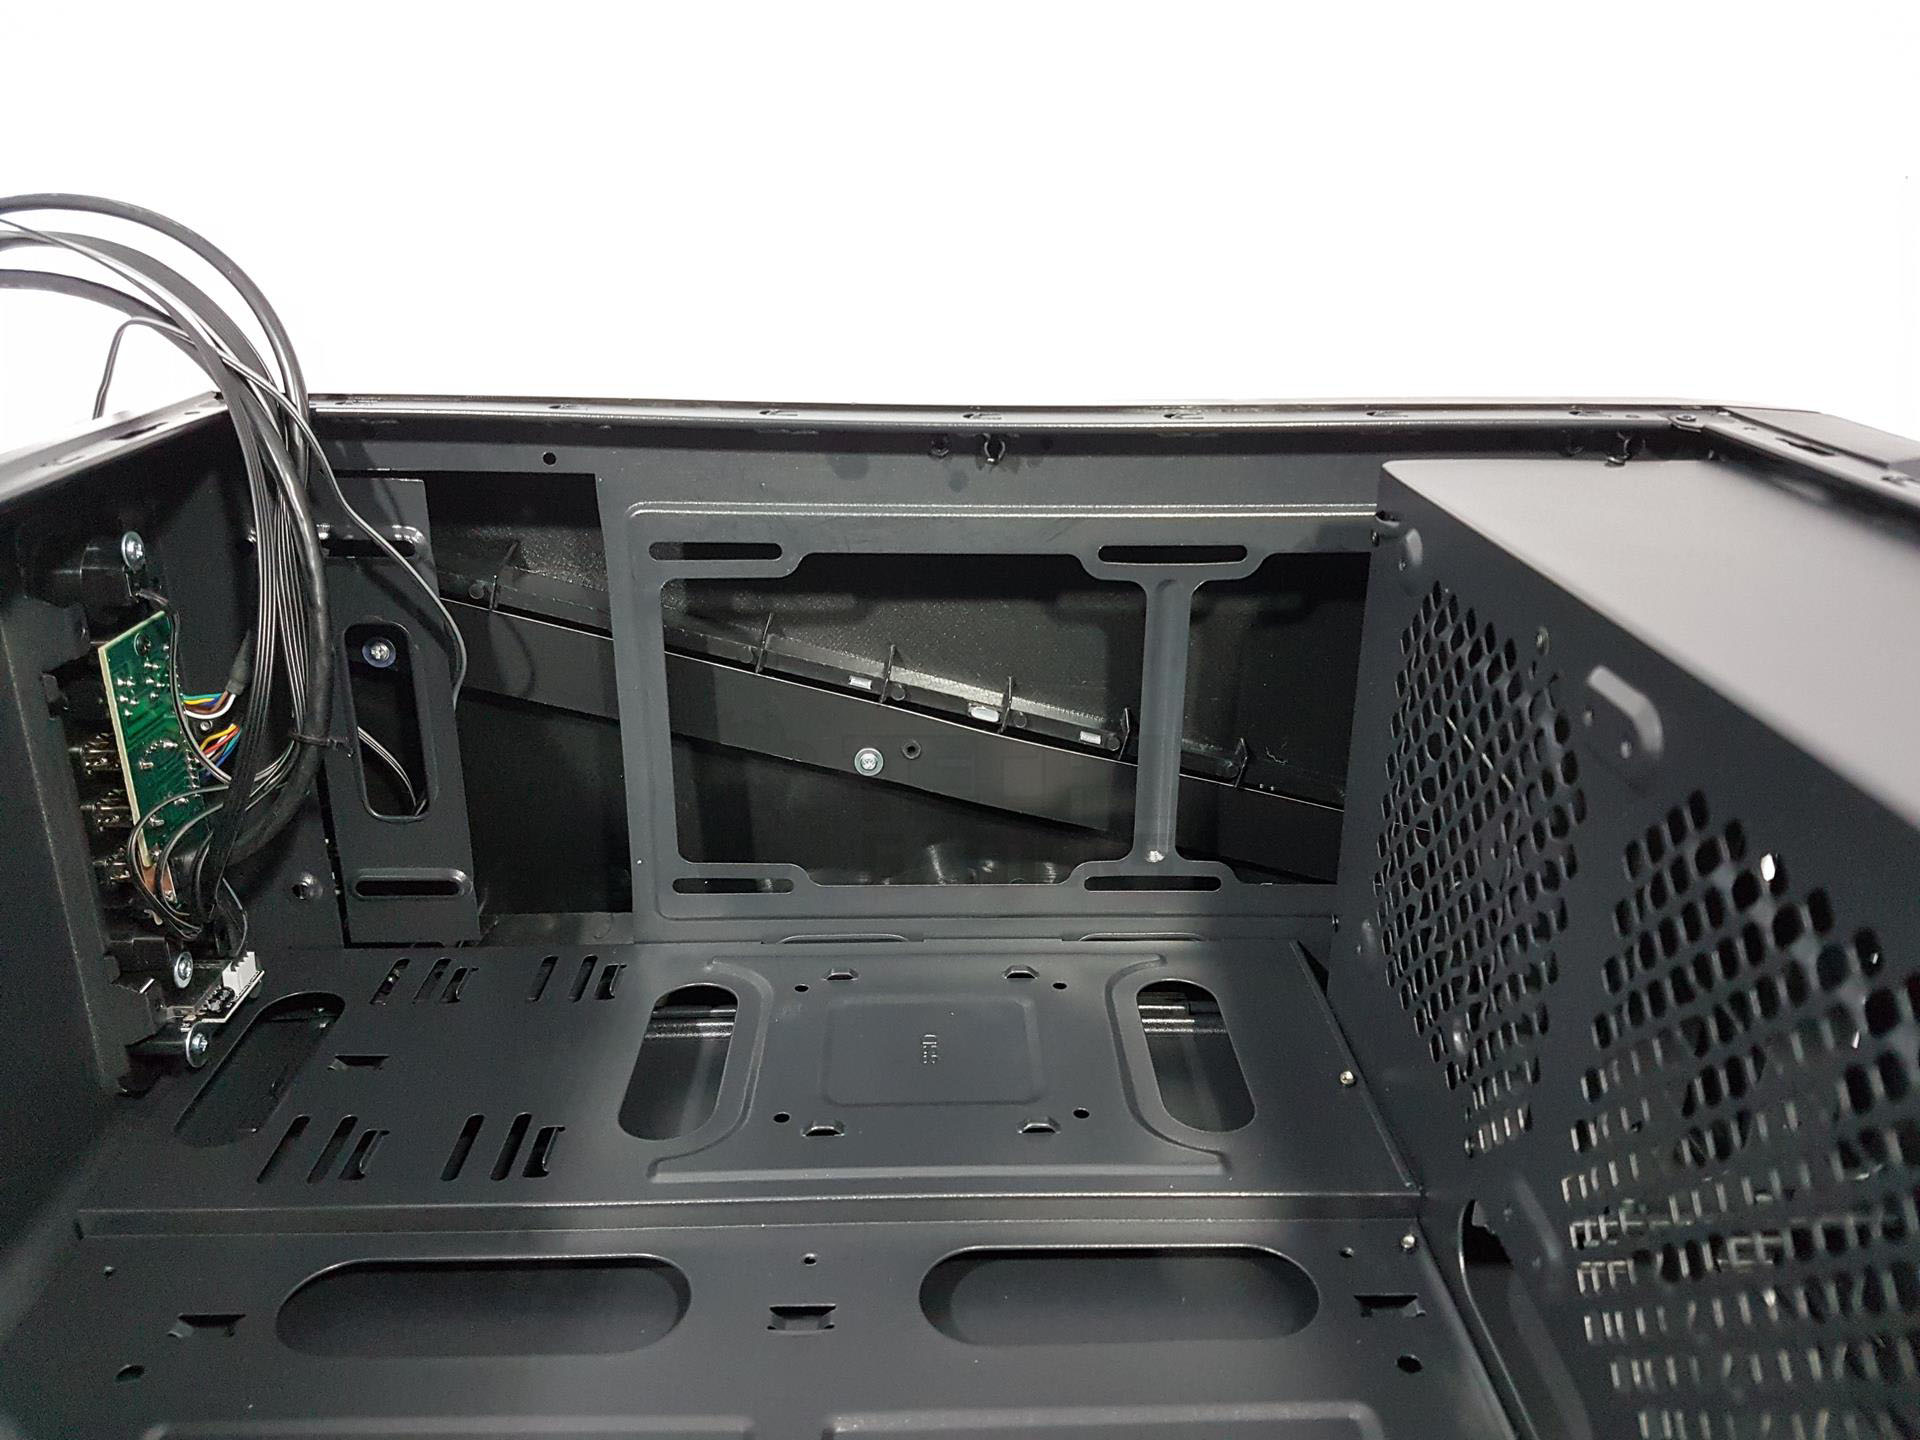
Let’s take a look at the backside of the frame. On the top side, there is a cutout on the left and the right sides. There is a large size CPU Cutout area to help make the CPU cooler’s installation easy. There is an SSD mount on the motherboard tray under the CPU Cutout area. There are 6 cable tie spots on the backside. Though this is not a complaint a few more would have come in handy. On the bottom, we have the second chamber.
The right side accommodates a PSU mount with a capacity of up to 180mm, but using 160mm or less is advised for better cable management. The left side features a fixed storage drive cage with two caddies, each supporting a 3.5″ HDD or 2.5″ SSD. Caddies are labeled for easy SSD identification. Included cables consist of a USB 3.0 connector with an additional USB 2.0 connector, another USB 2.0 connector for USB ports, and one for the microSD card reader. Front panel and HD Audio cables are generously long for convenient routing and cable management.
Test Build And Experience
The following components were used for the test build:
- Intel i7 8700k
- Raijintek Leto Pro RGB Cooler
- Asus Maximus X Hero
- Corsair Vengeance 2x8GB DDR4
- Colorful iGame GTX 1050Ti
- Samsung PM961 250GB M.2 NVMe SSD
- WD 6TB Black HDD
- Thermaltake TP DPS G 750W RGB PSU
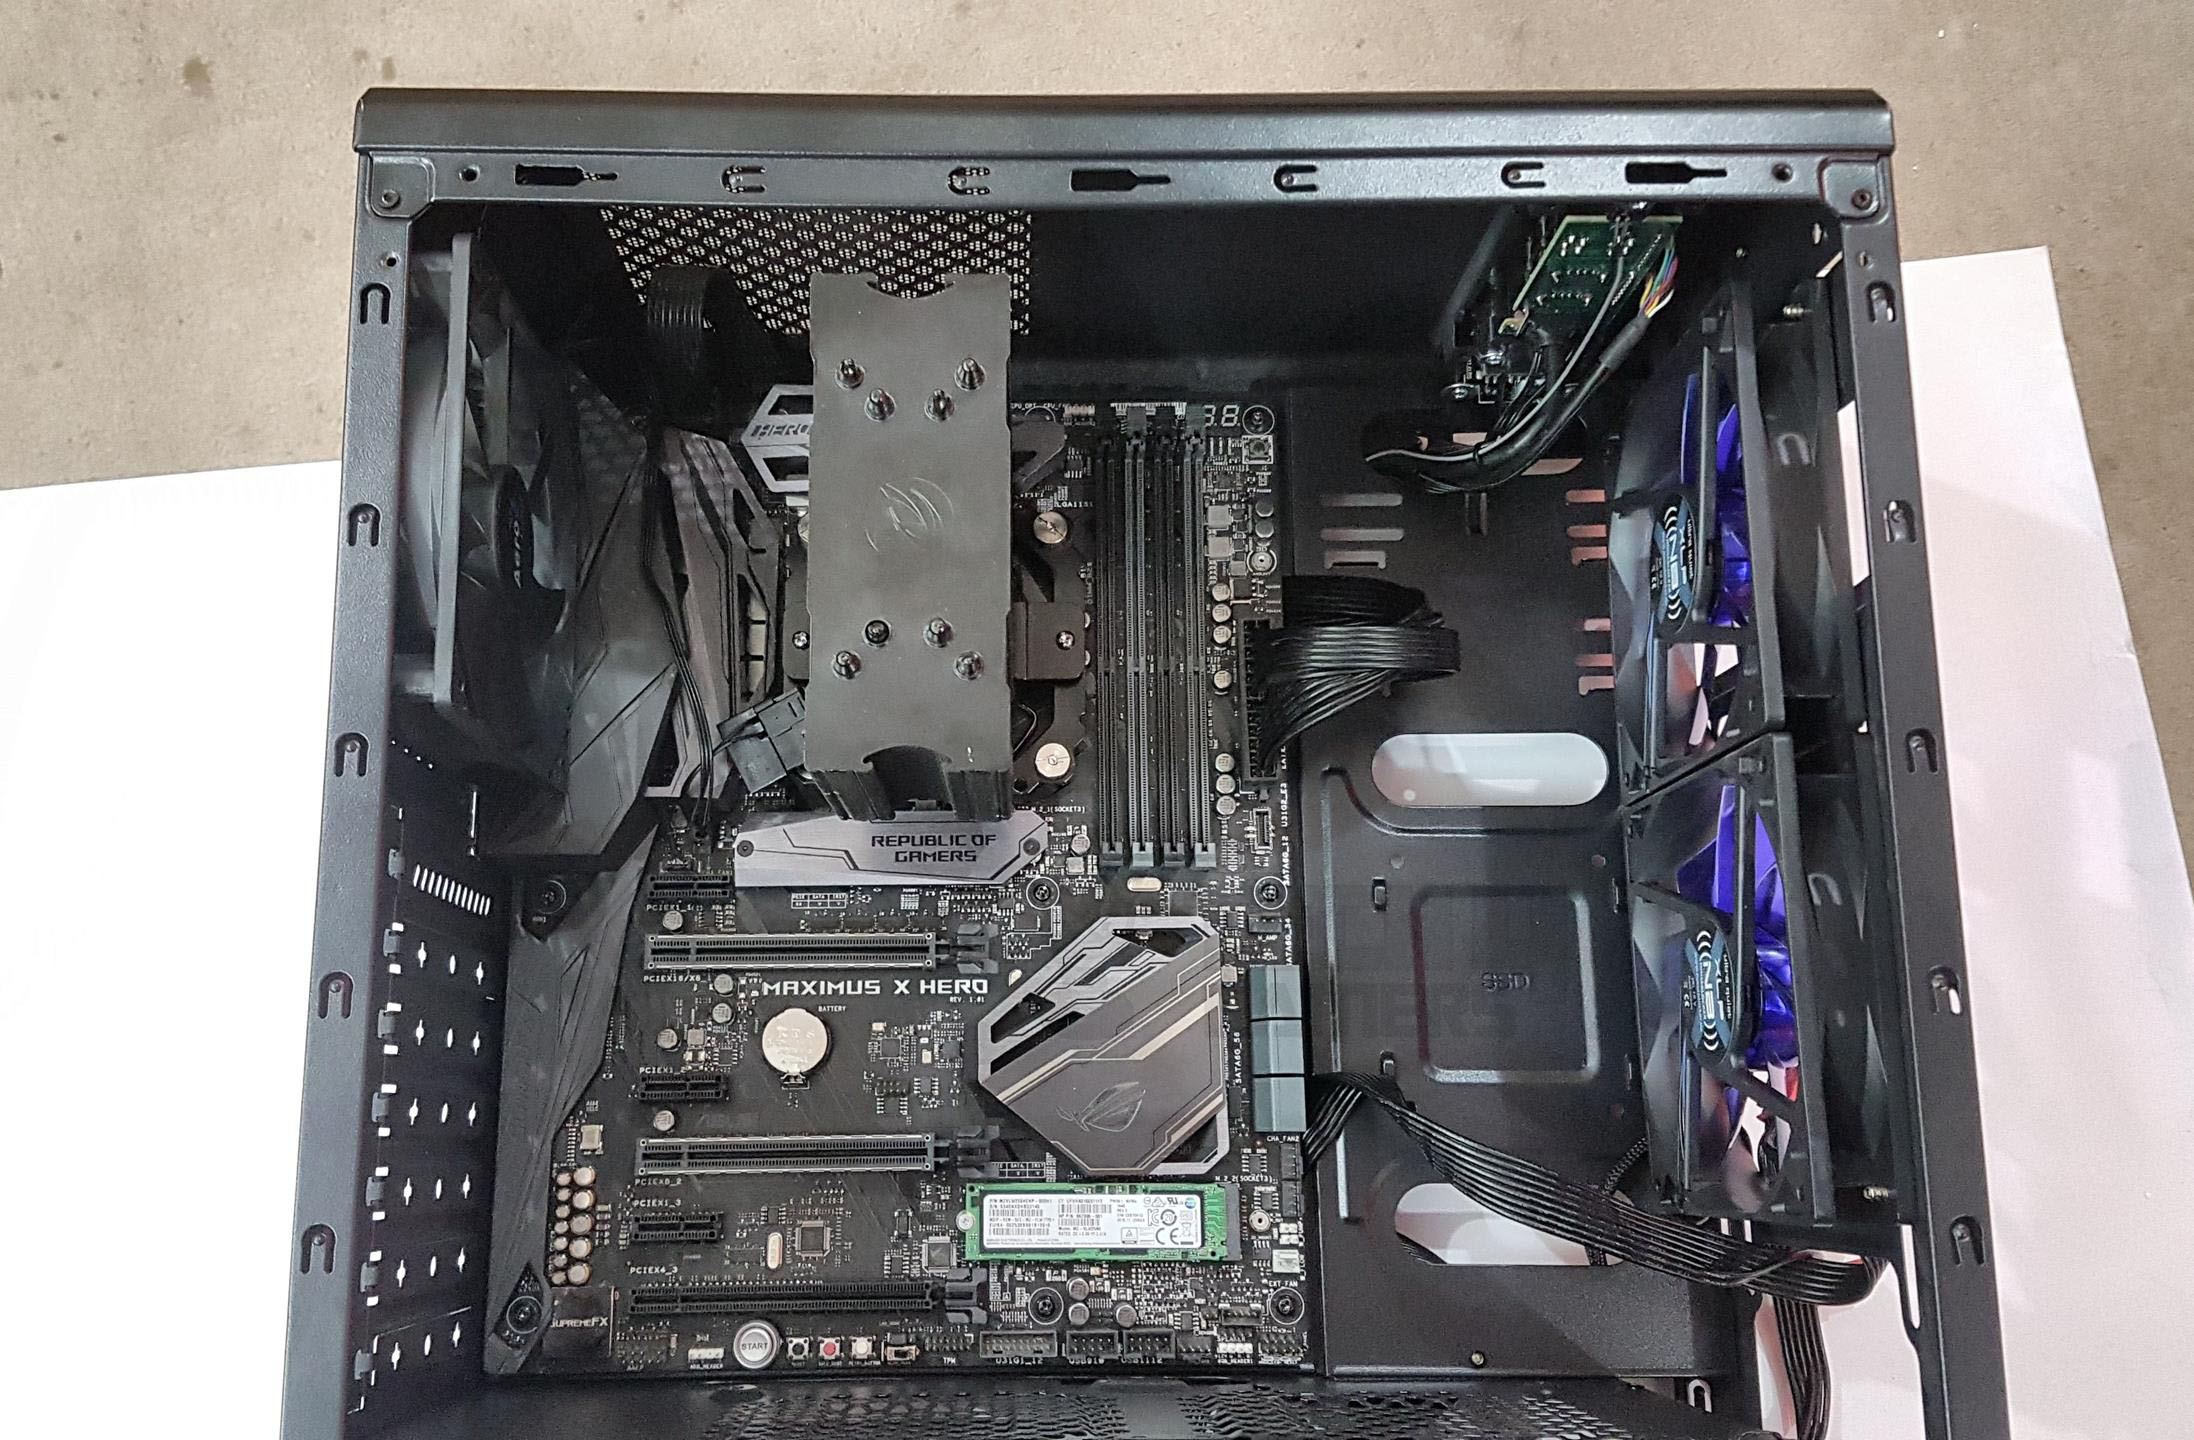
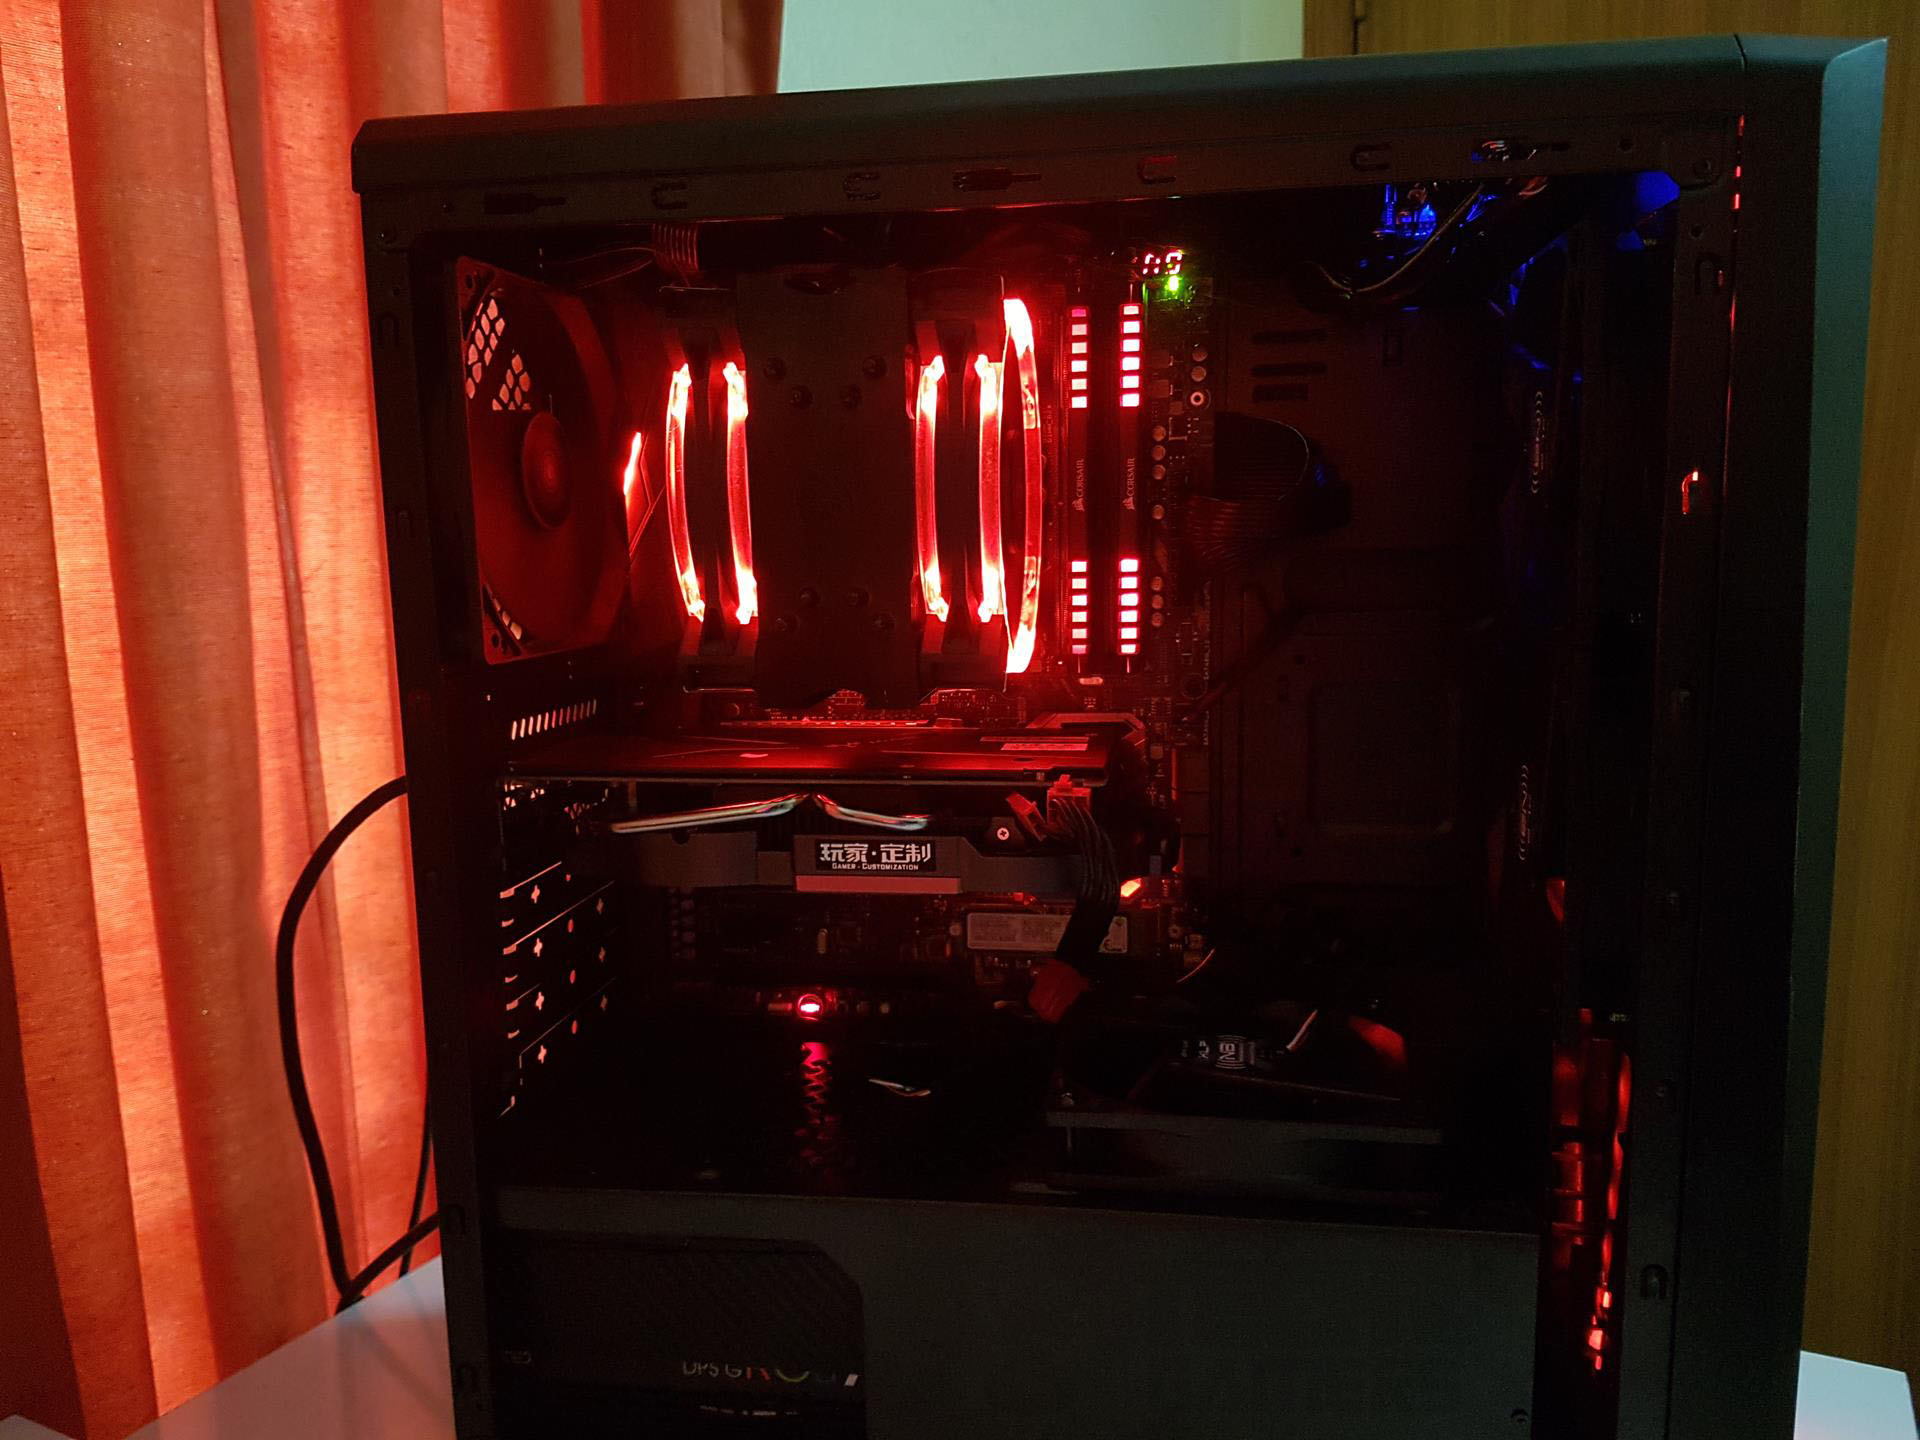
With only one pre-installed 120mm fan, I added two Noiseblocker NB-BlackSilentFan XL-P fans for front air intake and one on the PSU shroud. These fans offer an airflow of 75.3 CFM and a max speed of 2000 RPM. Using an Asus Maximus X Hero motherboard (12” x 9.6”), the challenge arose due to its full coverage, especially with vertical cutouts. To address the cable passage, I prioritized the two horizontal cutouts above and below the SSD mount for a cleaner build.
Starting with fan installation and connecting cables to the modular PSU before insertion, I navigated challenges with EPS, 24-pin ATX, and PEG cables through cutouts before securing the motherboard. The high-profile I/O cover posed an obstacle, requiring the removal of the rear fan for a successful installation. This improvised cable management resulted in a cleaner overall look. On the other hand, Installing the rear 120mm fan was a bit tight but manageable.
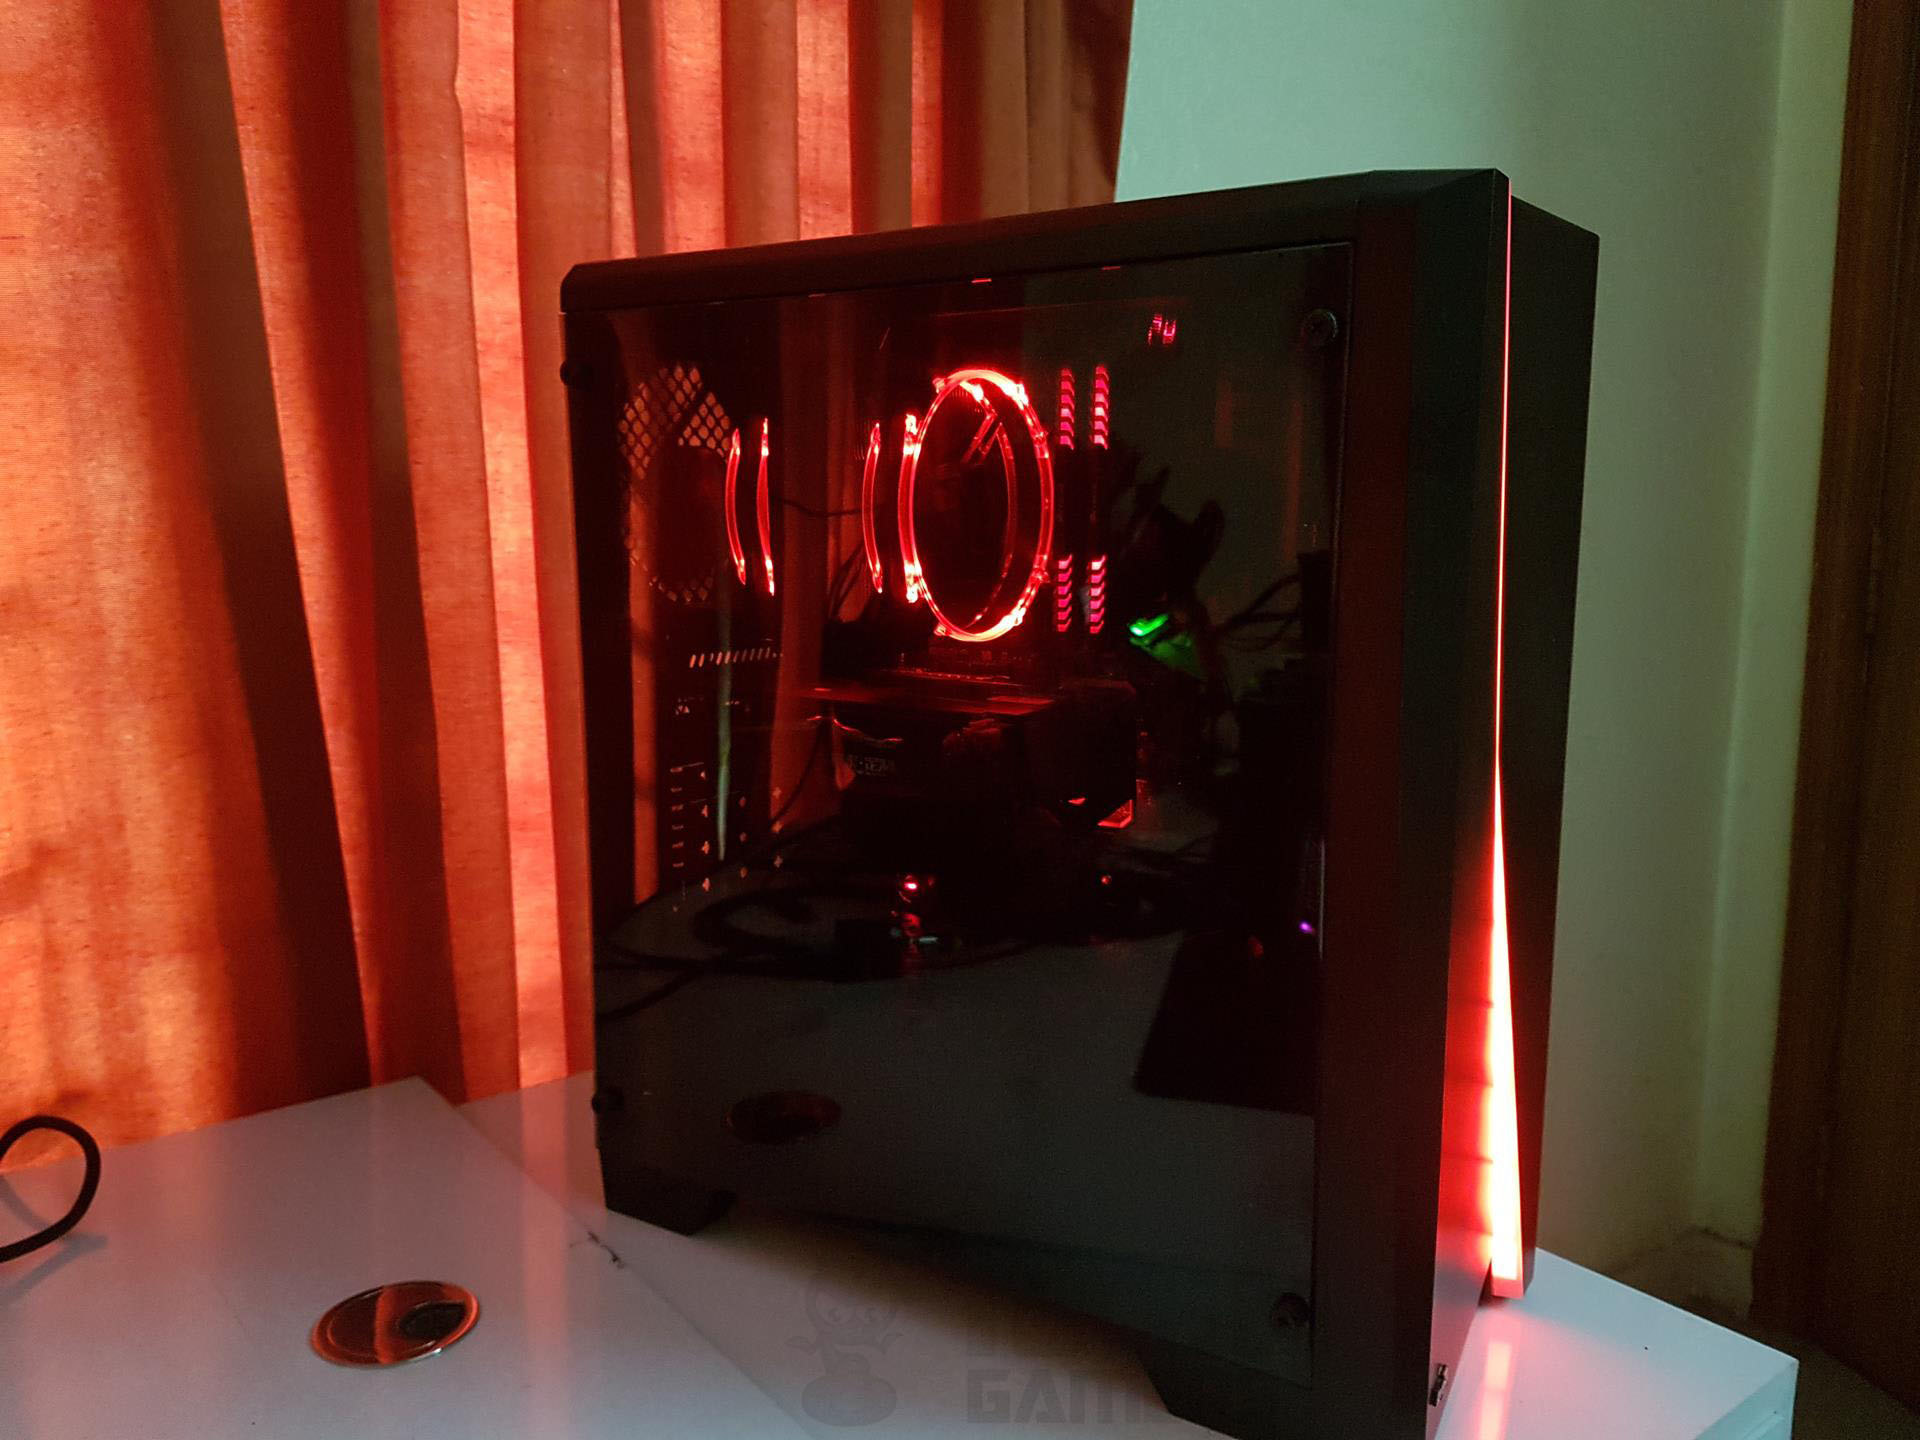
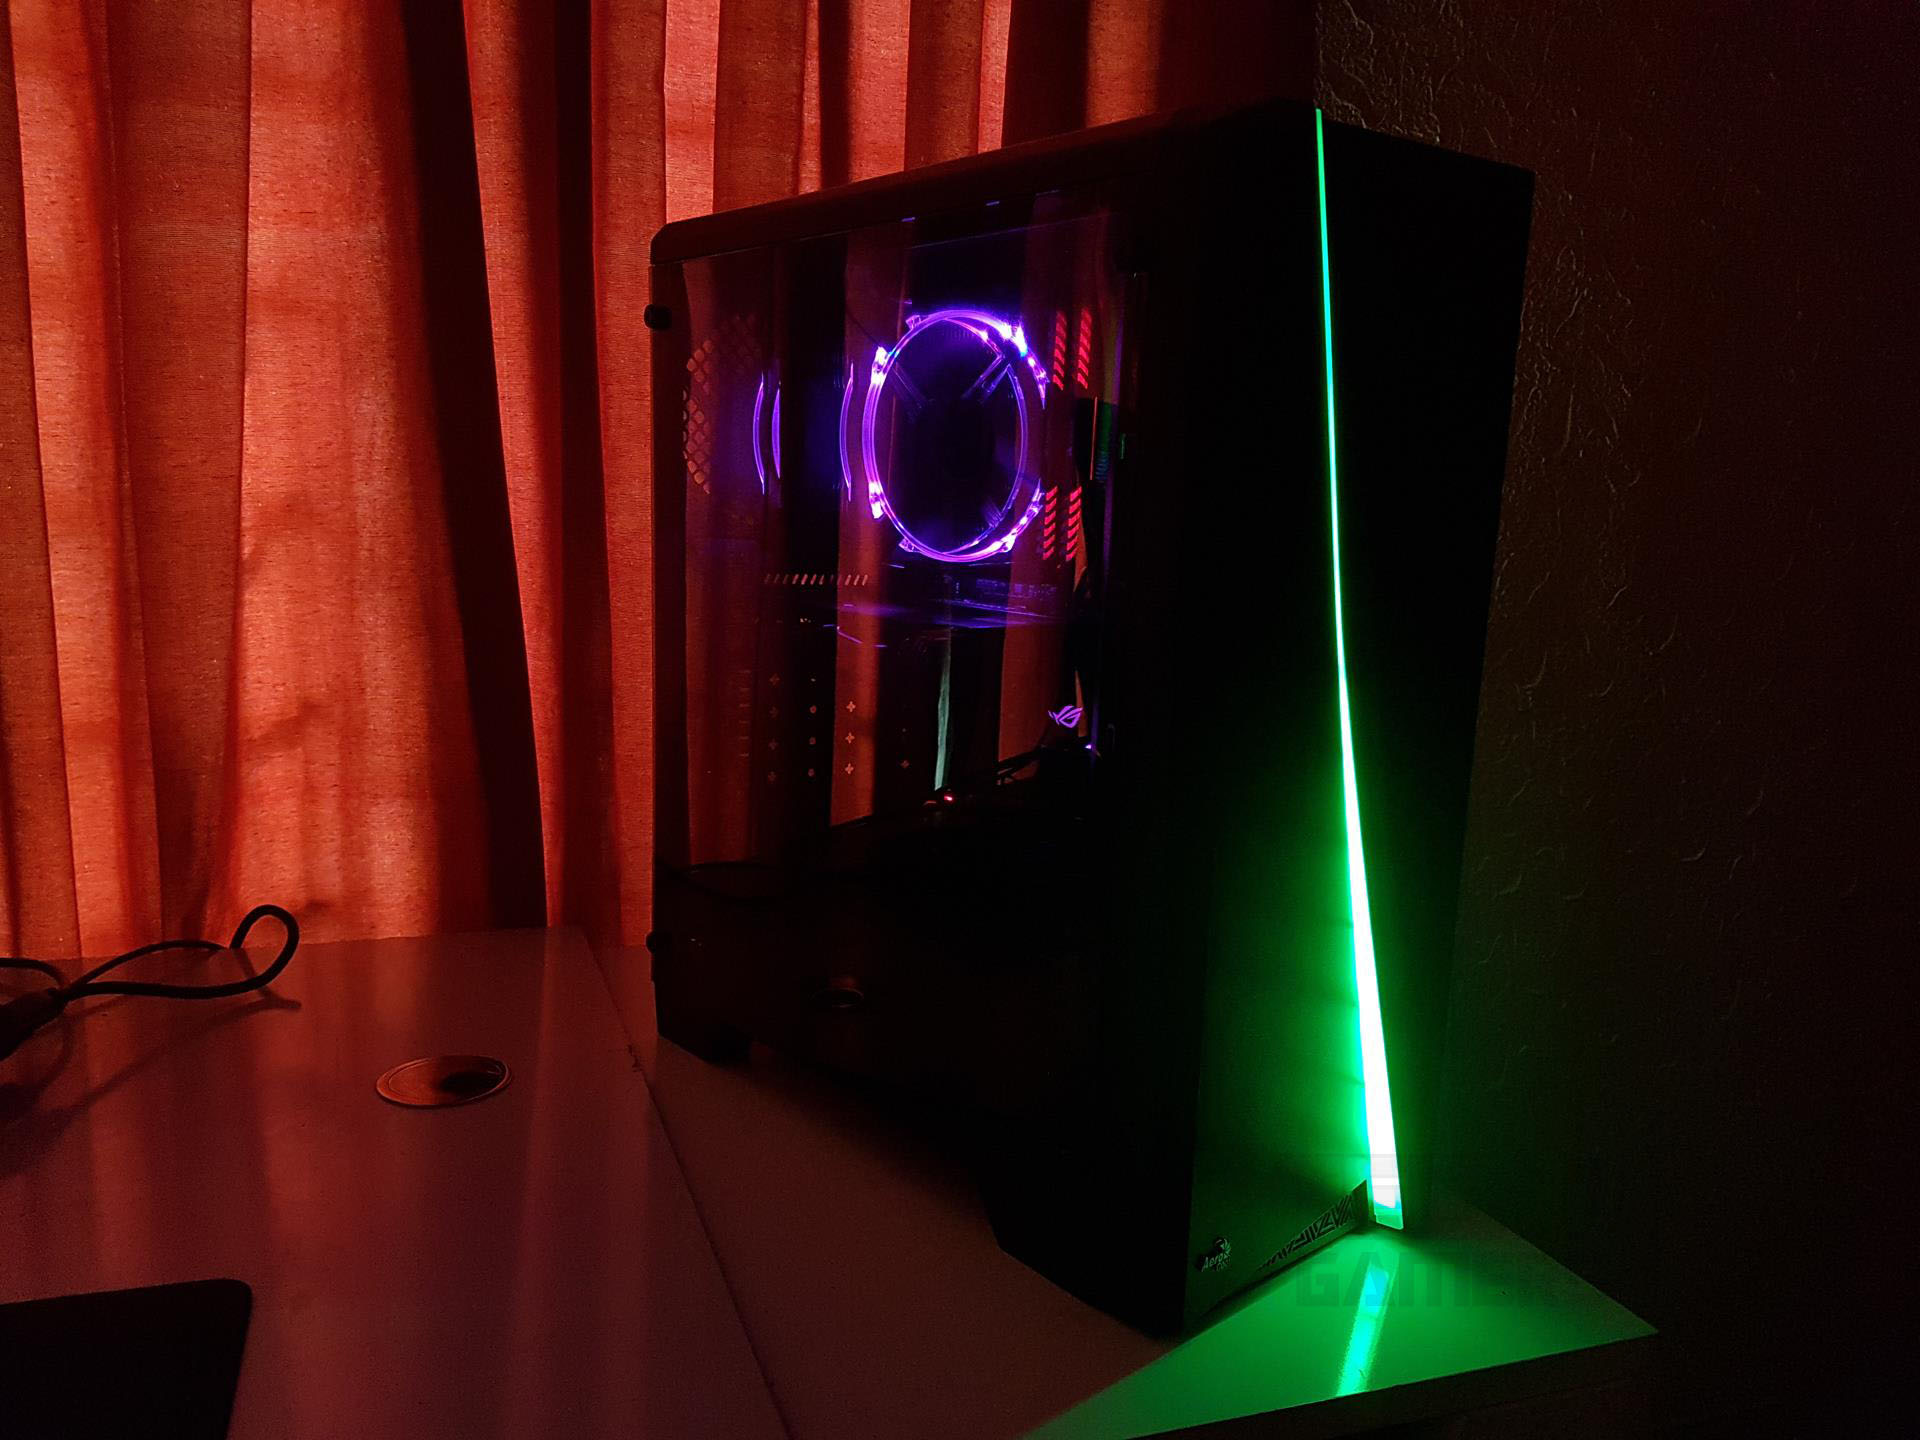
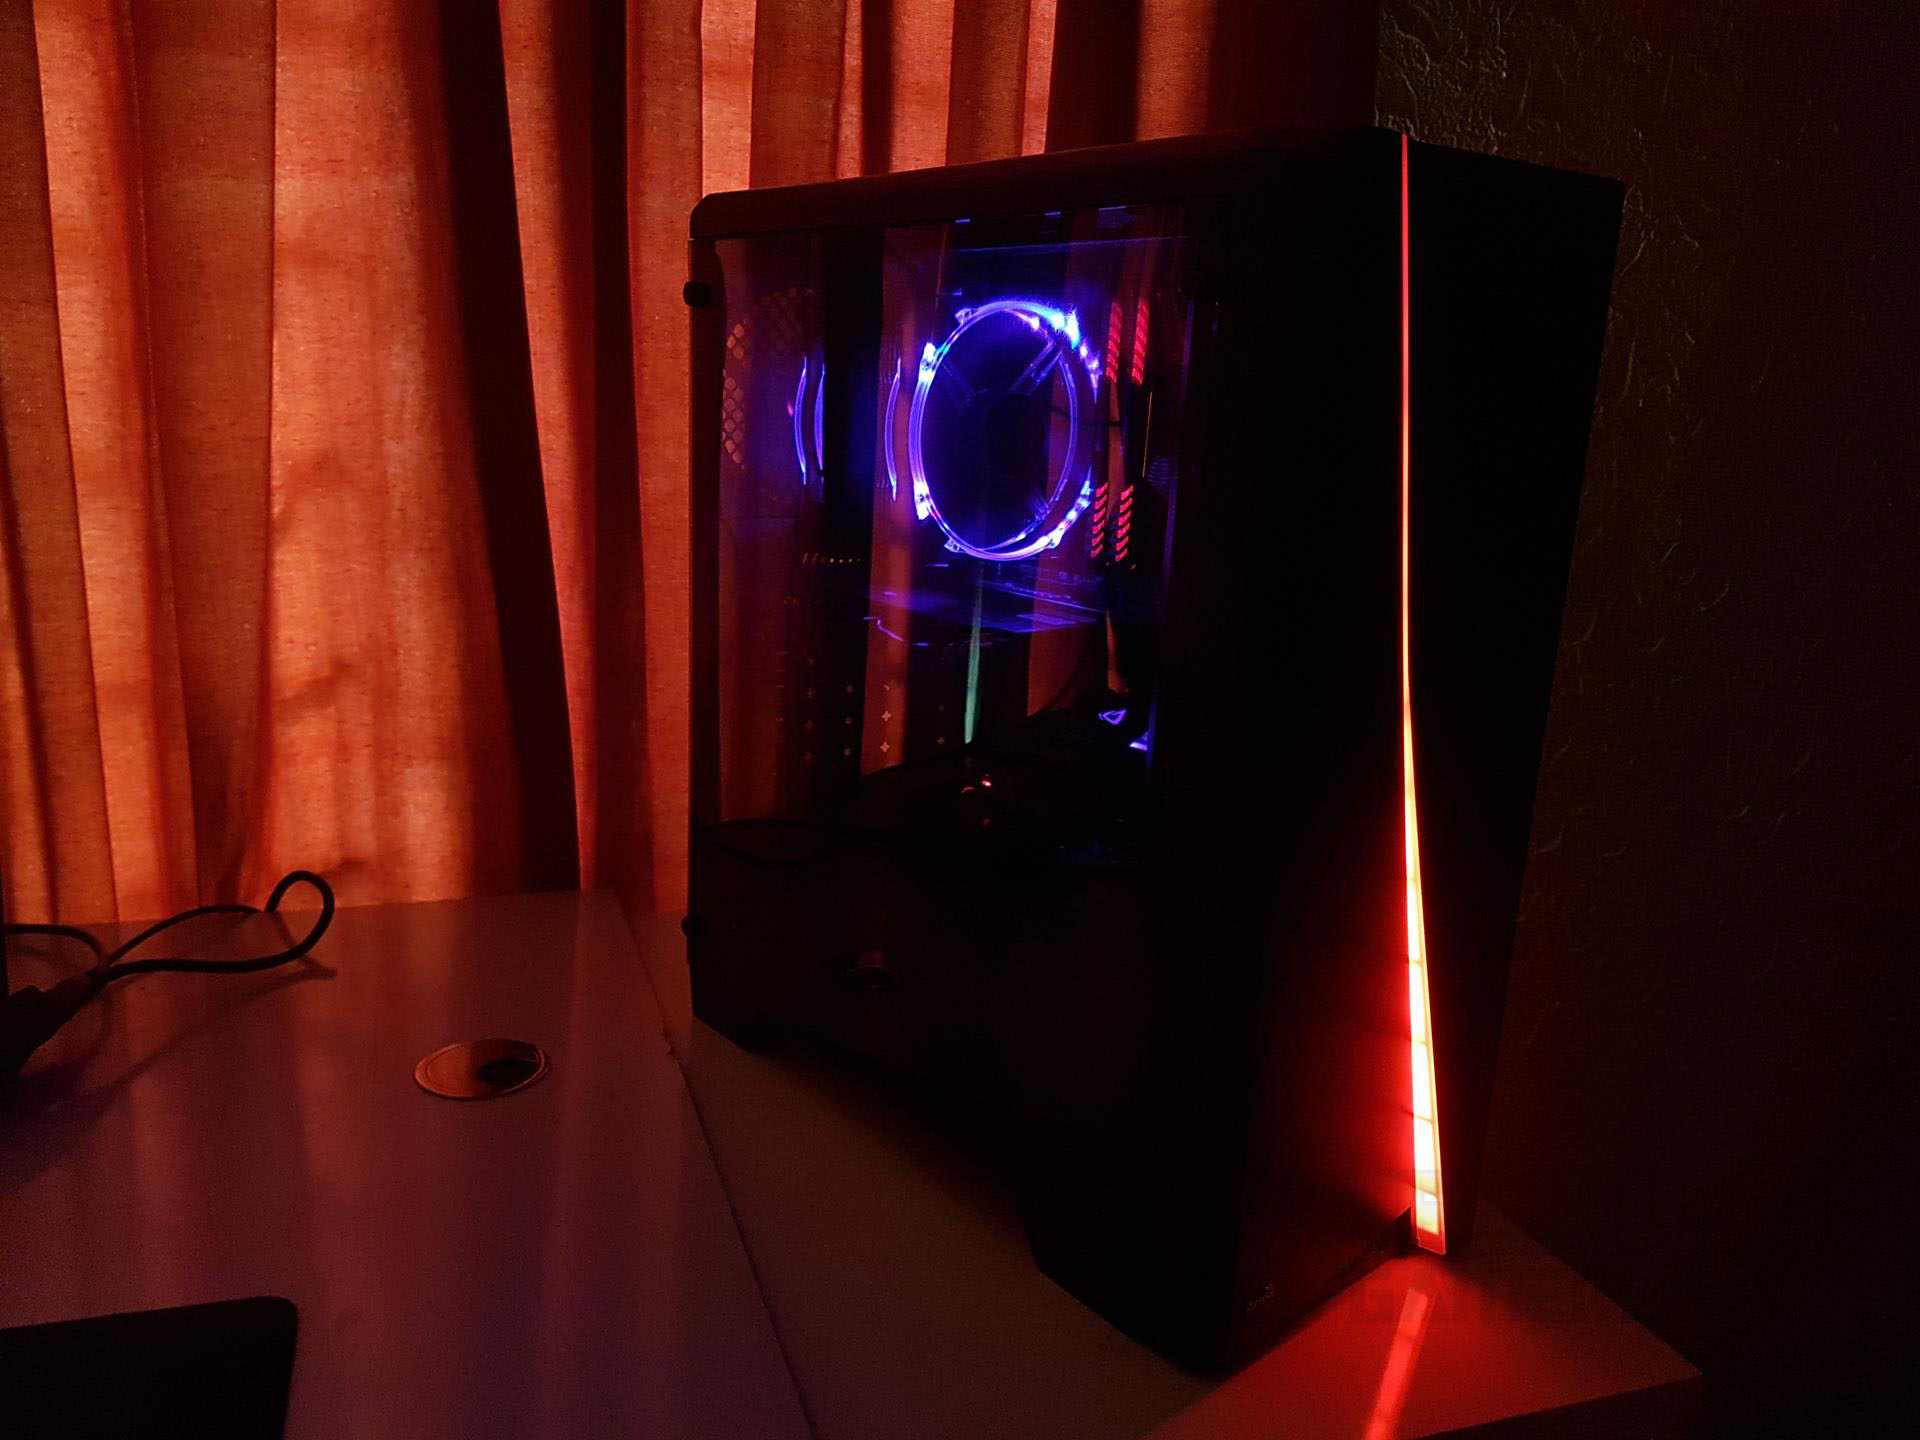
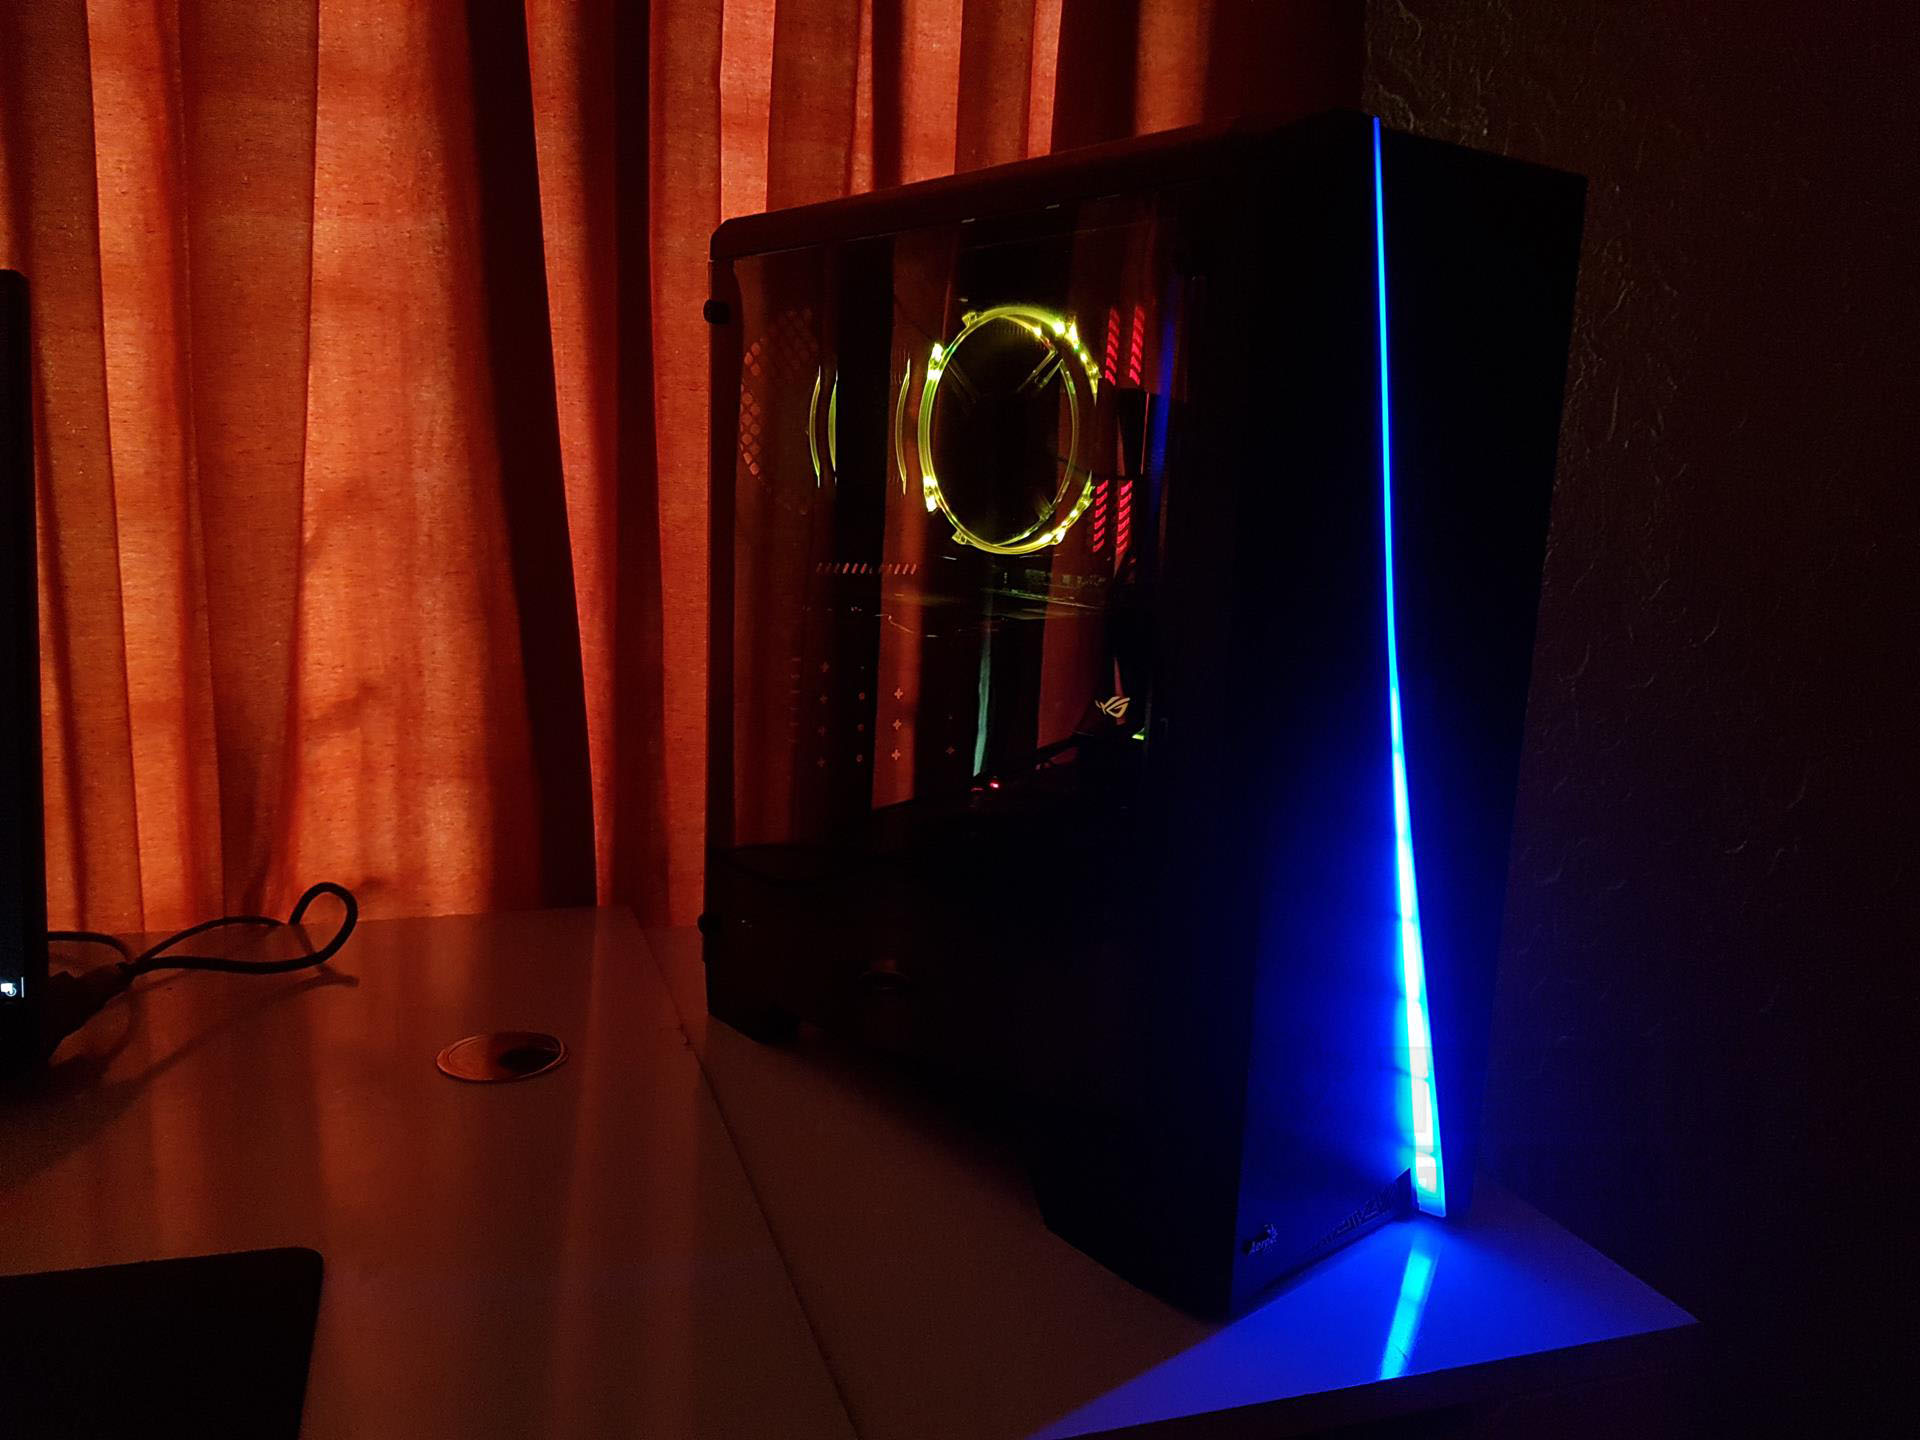
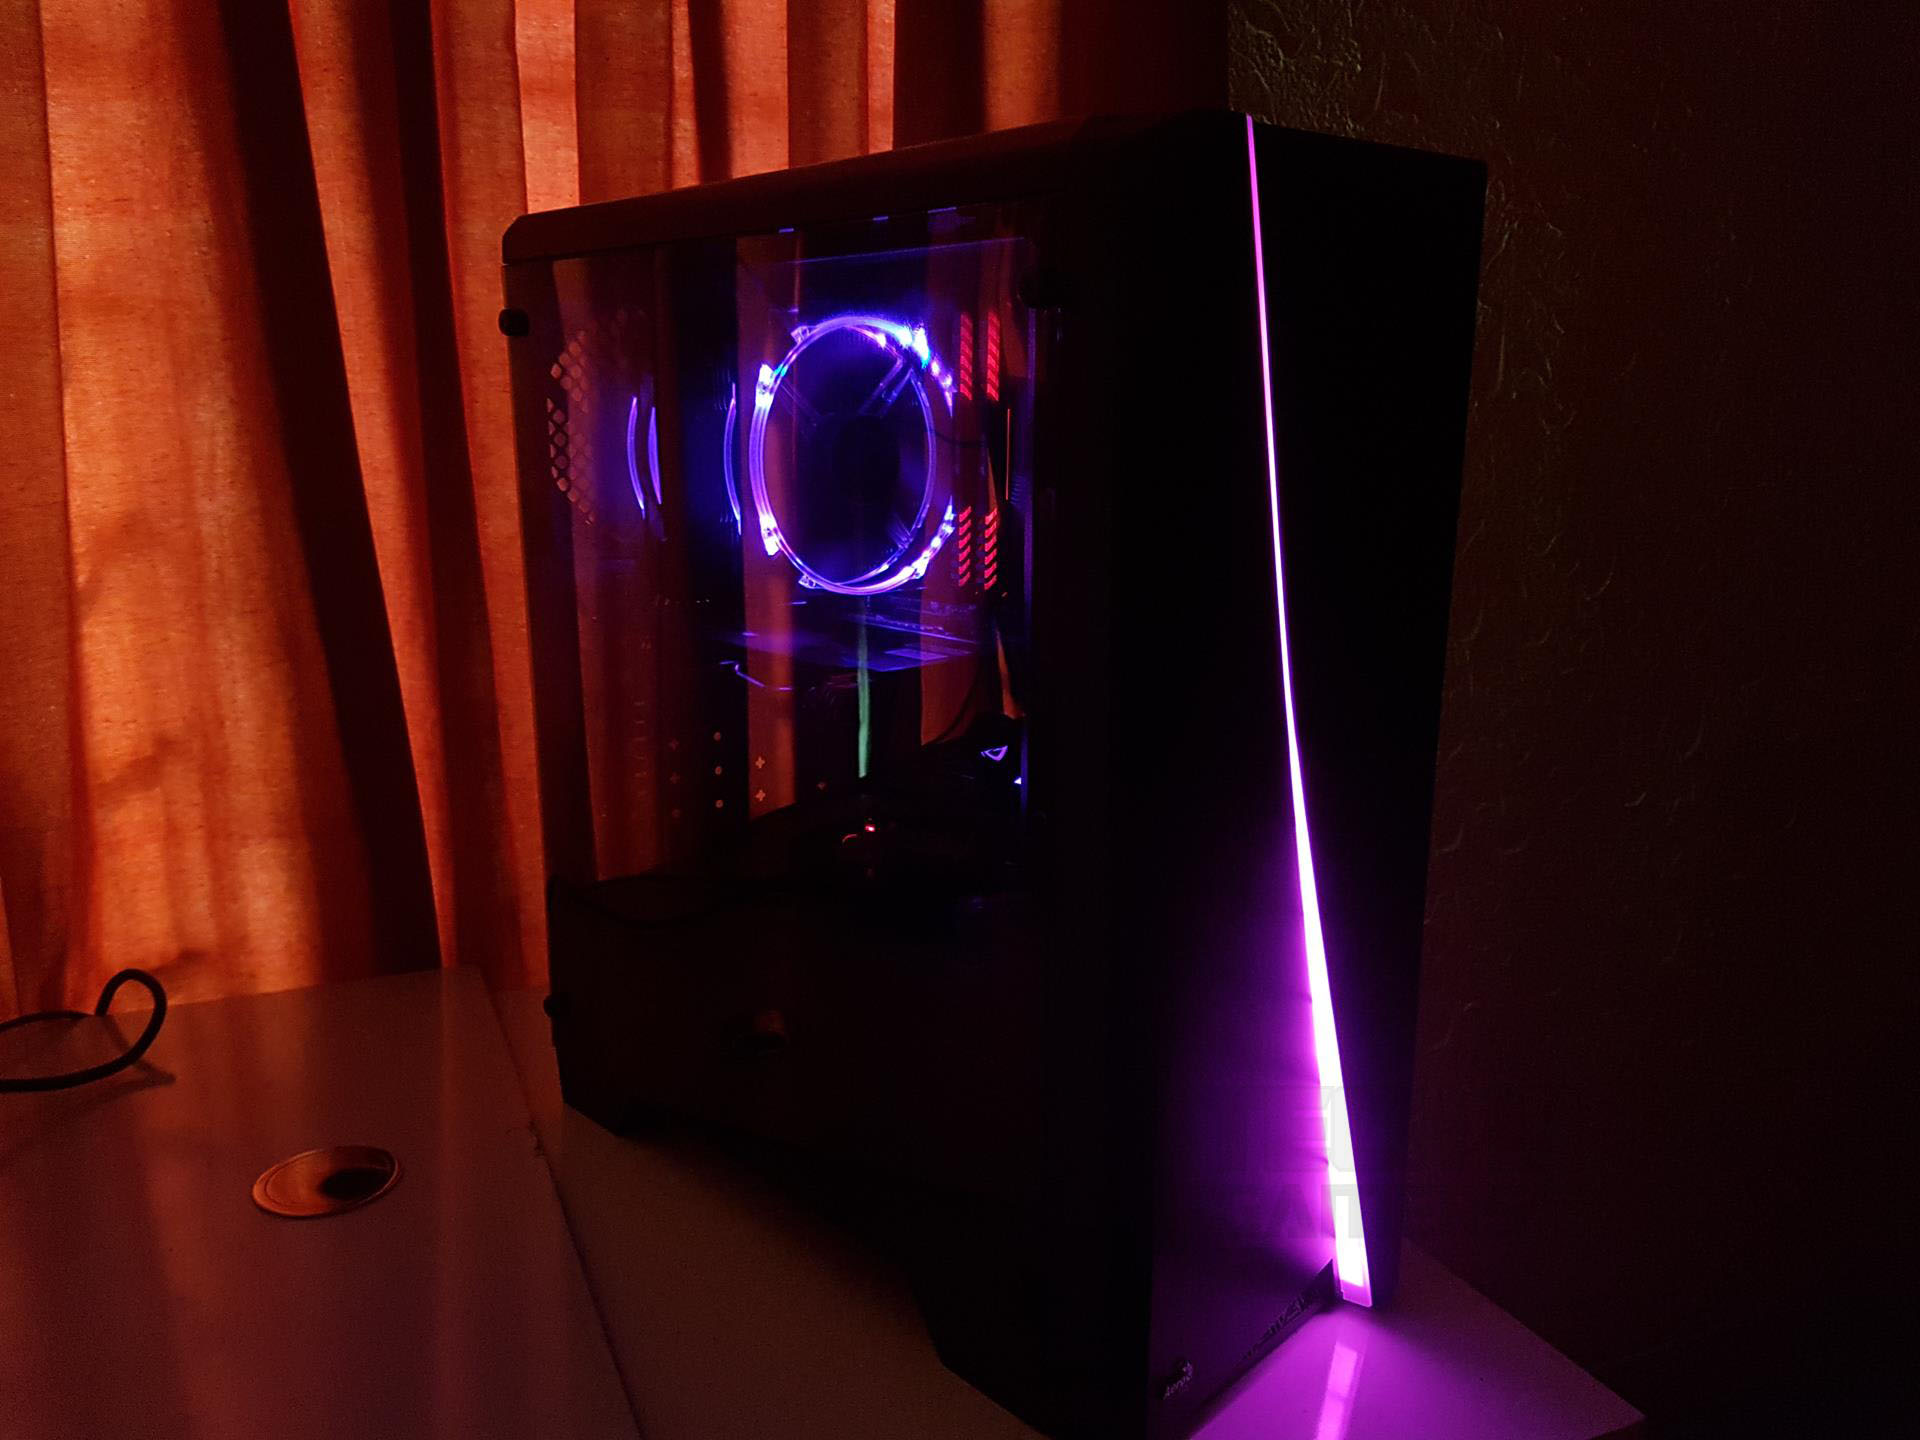
RGB
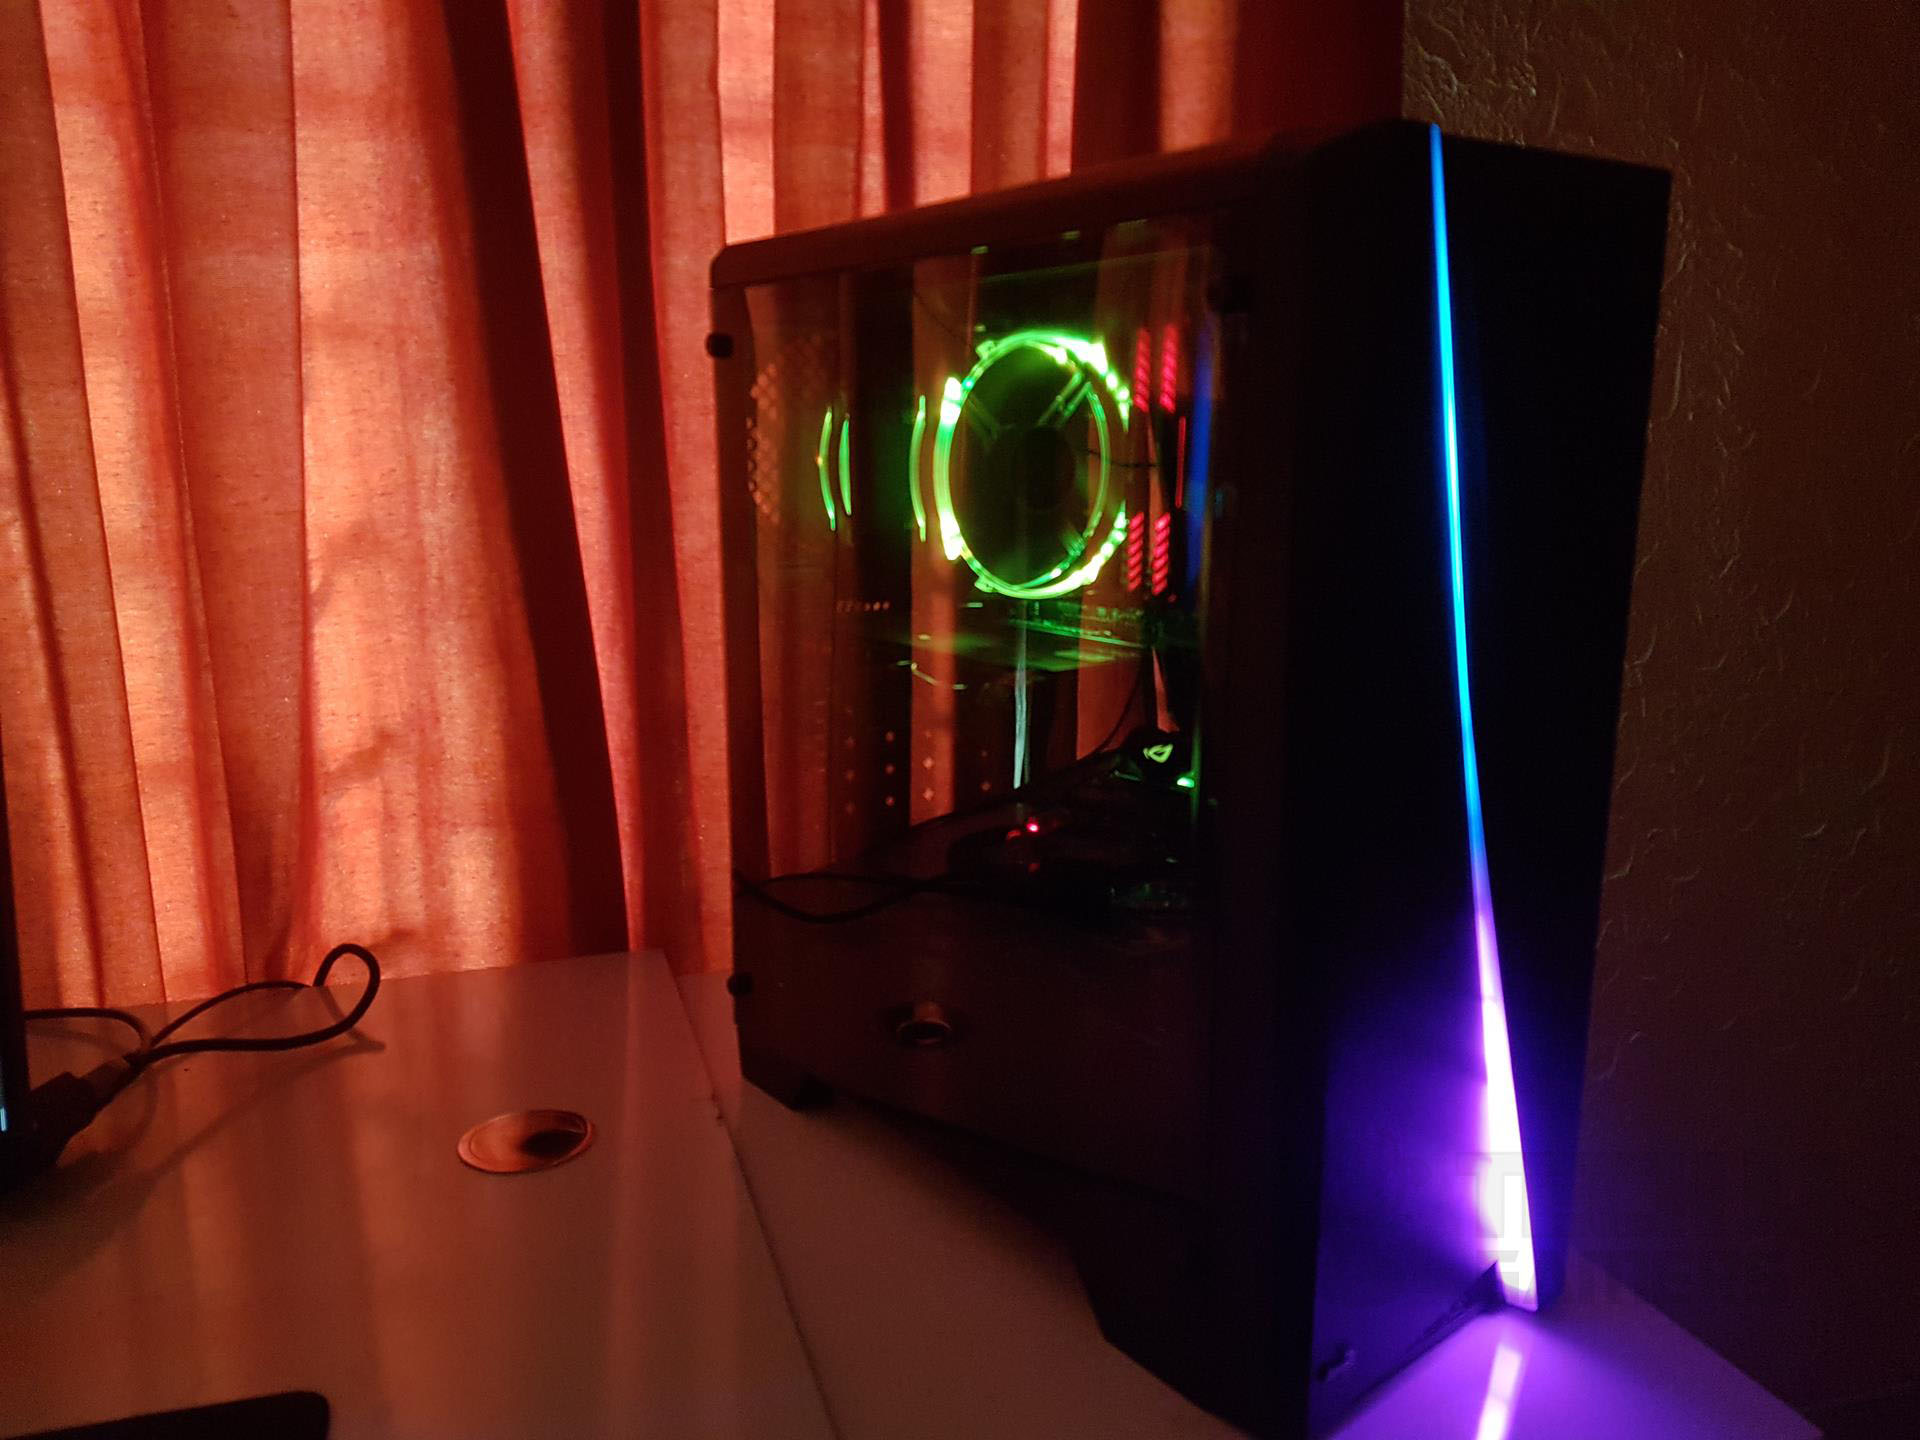
The RGB Lighting on the front is stunning and looks dope. 13 preset effects can be controlled using a single button located on the top panel closer to the front panel. 6 effects pertain to the Rainbow mode which the Aerocool is referring to as RGB Flow. Then there are 7 static color modes. The button acts as a toggle and pressing it at a time would cycle the mode one be one in the order described above.
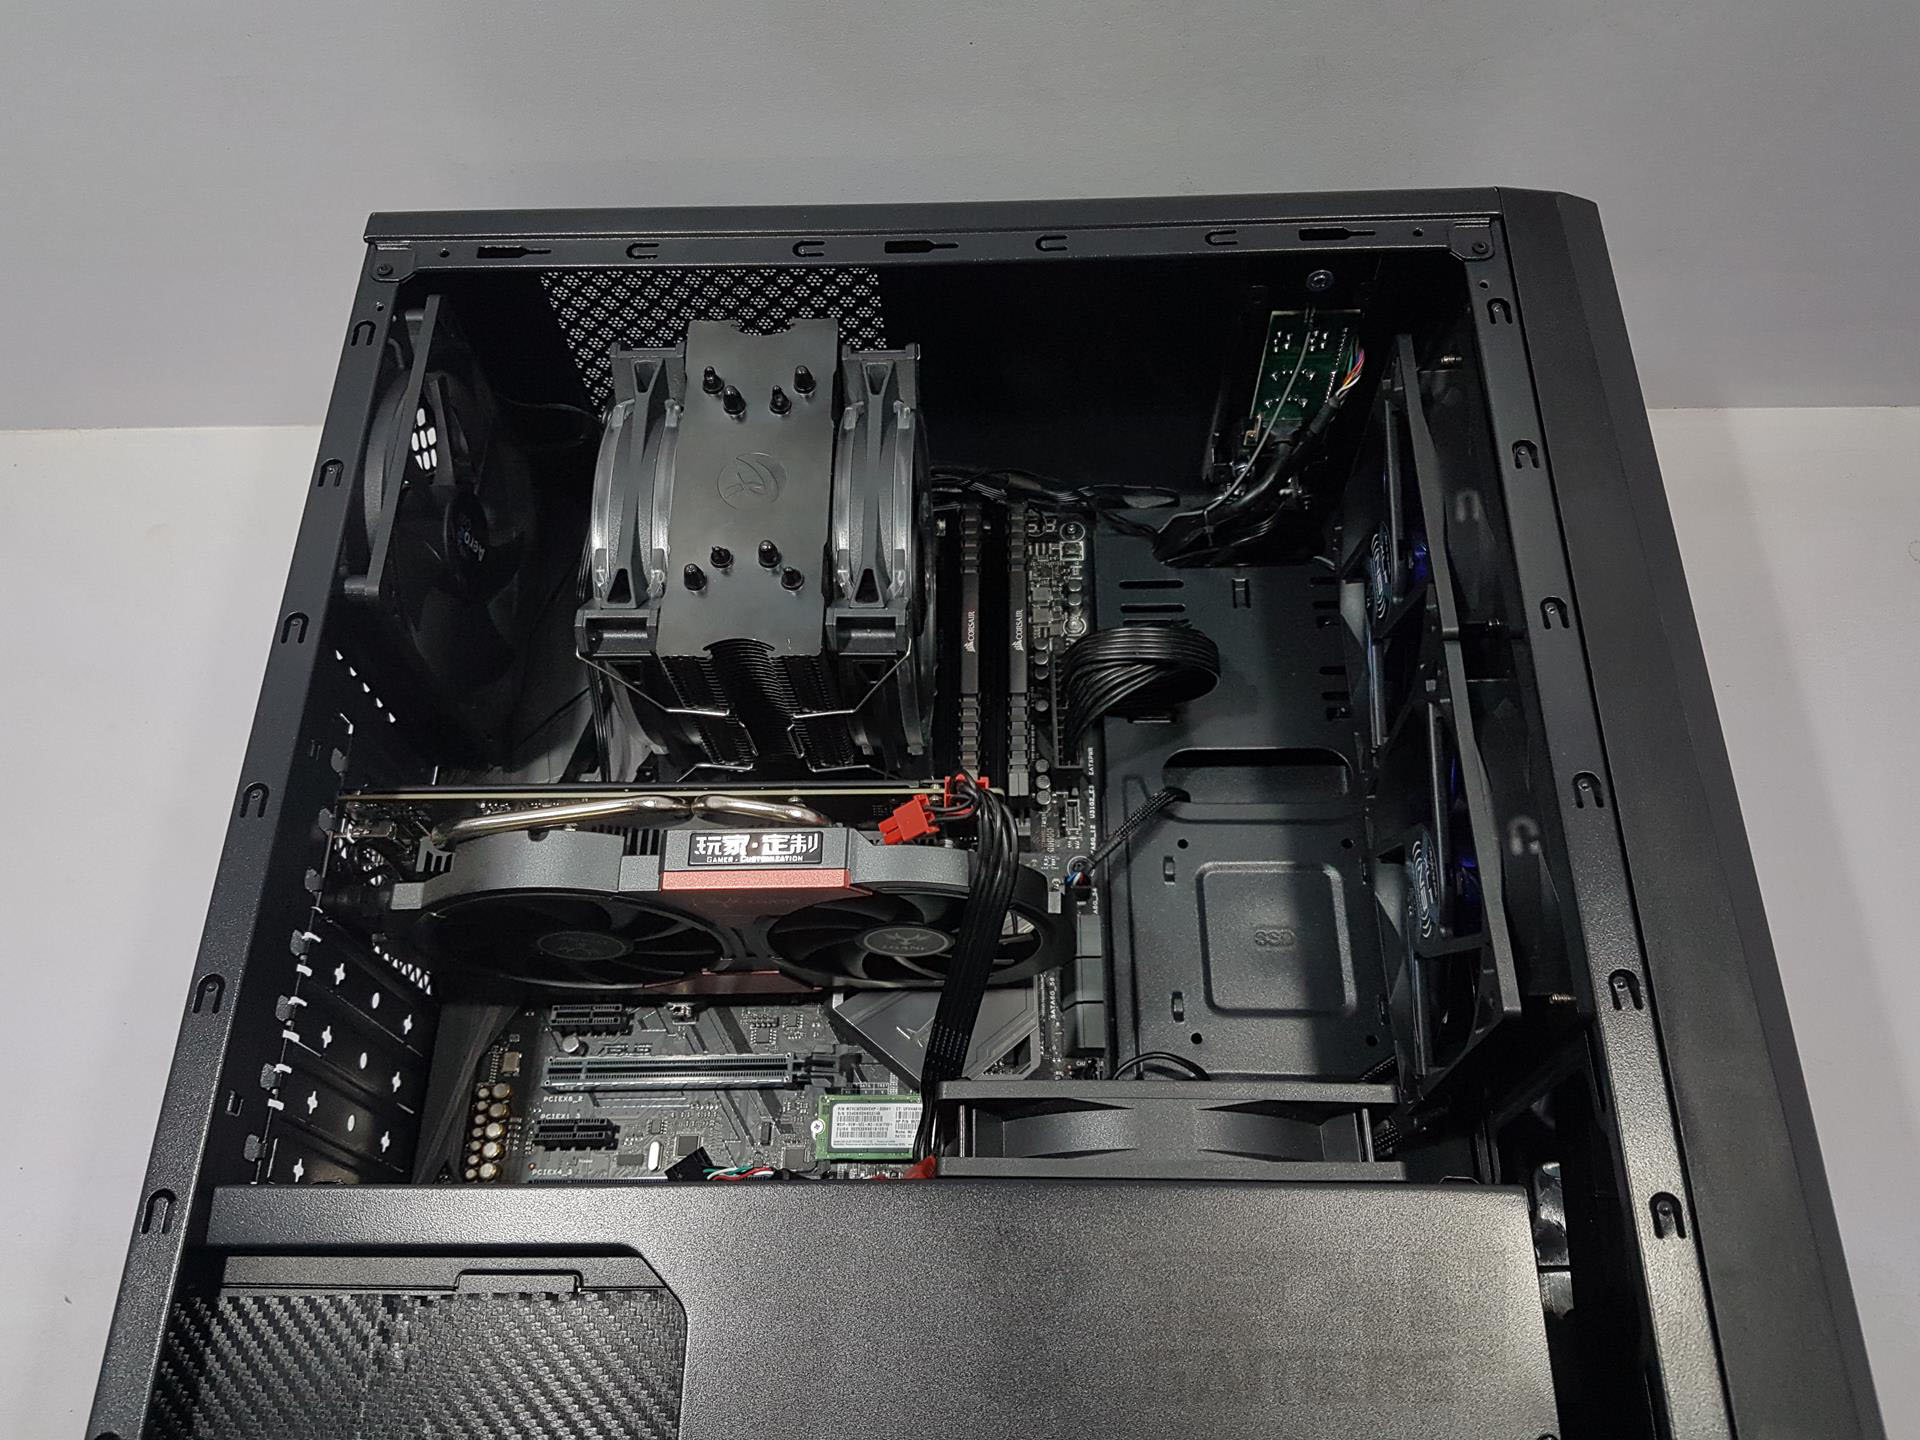
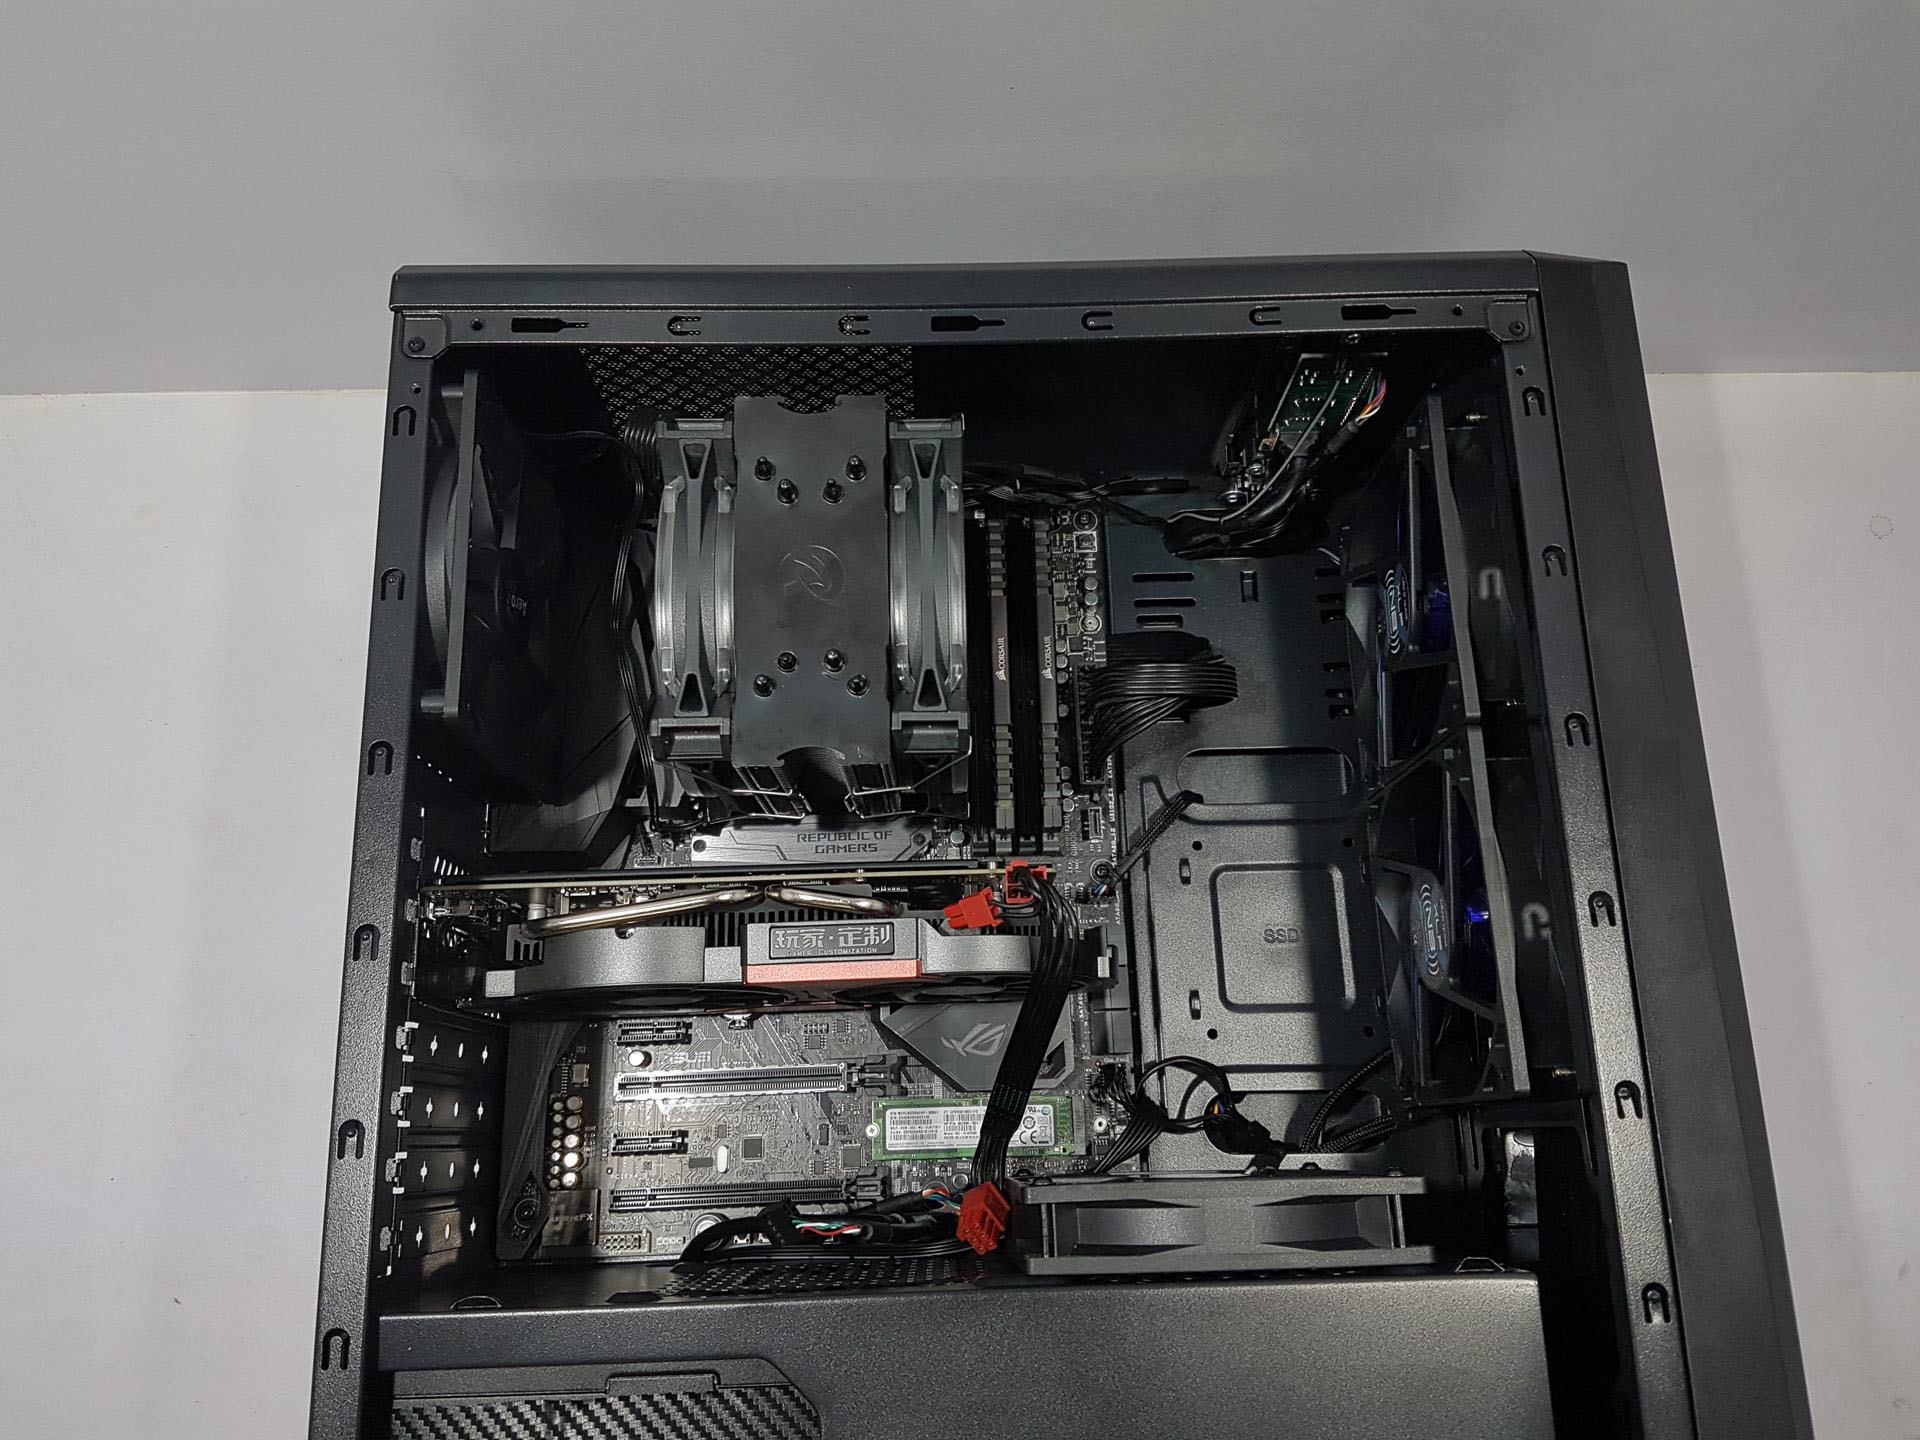
Overall, the building experience in this chassis was good and it took me less time to build inside. I did not use GTX 1080 FE as it is under Alphacool Eiswolf GPU Cooler. The thicker rad was not a fit on the rear hence went with the GTX 1050Ti in the test build. My build has shown that despite being a budget, entry-level chassis, this chassis can accommodate enthusiast-grade builds easily.


Should You Buy It?
After testing, I managed to identify the target audience for the Aerocool Cyclon RGB.
Buy It If:
✅You are working with a small budget: The Aerocool Cyclon RGB is priced at an extremely reasonable point, making it one of the cheapest mid-tower cases you can currently get your hands on.
✅You want a mid-tower case with a PSU shroud: Despite its lower overall price, the Aerocool Cyclon RGB comes with a surprisingly well-built PSU shroud.
✅You prefer RGB: With a large RGB stripe spanning the length of the front panel, as well as a 120mm RGB fan at the back of the case, it is safe to assume that Aerocool has not skimped out on the RGB on the Cyclon.
Don’t Buy It If:
❌You want a glass panel: The Aerocool Cyclon RGB comes with an acrylic panel on the side, which can be a deal-breaker for some.
❌You are looking for better airflow: Lack of any support for intake fans on the front side means that the Aerocool Cyclon RGB won’t be able to offer the best airflow possible.
Conclusion
Overall, the build process in this chassis was enjoyable. Keep in mind that ATX motherboards with a length of 8.8” are ideal to prevent obstruction of cutouts and cables. For better airflow, consider adding more vents on one side of the front panel with dust filters for improved intake. The fan closer to the source would provide ample airflow but the fans far from the source would not be effective. I recommend adding another fan at the front, as the bottom-mounted fan showed better airflow.
While a 240mm AIO is an option, a budget CPU cooler or 120mm AIO might be more suitable for budget builds. Cable management at the back was decent with no notable challenges. The PCIe slot covers are fixed and follow the snap-off design. Once, removed, they can’t be used again which seems to be another cost-saving factor. There is only one air intake on the front which is from the bottom or underneath of the bottom side. This design restricts the airflow.
Value-for-money is where the Aerocool Cyclon RGB truly shines. In spite of the lower price point, Aerocool has managed to add an acrylic side panel, a PSU shroud, as well as a well-built structure all the while incorporating sleek RGB that adds to the overall aesthetics.
We are thankful to the Aerocool for giving us the opportunity to review their Cylon RGB Gaming Chassis.
Awards Received By The Aerocool Cyclon RGB
The Aerocool Cyclon RGB received the following Tech4Gamers Awards.
Recent Updates
- December 24, 2023: Few text changes to improve readability. No products were changed.
Thank you! Please share your positive feedback. 🔋
How could we improve this post? Please Help us. 😔
[Hardware Reviewer & Editor]
Meet Nauman Siddique, a highly experienced computer science graduate with more than 15 years of knowledge in technology. Nauman is an expert in the field known for his deep understanding of computer hardware.
As a tech tester, insightful reviewer, and skilled hardware editor, Nauman carefully breaks down important parts like motherboards, graphics cards, processors, PC cases, CPU coolers, and more.
- 15+ years of PC Building Experience
- 10+ years of first-hand knowledge of technology
- 7+ years of doing in-depth testing of PC Hardware
- A motivated individual with a keen interest in tech testing from multiple angles.
- I majored in Computer Science with a Masters in Marketing
- Previously worked at eXputer, EnosTech, and Appuals.
- Completed Course in Computer Systems Specialization From Illinois Tech
Get In Touch: nauman@tech4gamers.com


