


Even overclocking in real life can cause you a headache, but imagine doing it in a PC Building Simulator. PC Building Simulator is a pretty popular game that allows players to simulate the experience of building and customizing their PCs. One of the exciting aspects of the PC Building Simulator is overclocking, a technique that boosts the performance of computer components beyond their factory settings.
- Overclocking in the PC Building Simulator involves increasing computer components’ operating frequency or speed beyond their default settings to unlock additional performance potential.
- The benefit of overclocking in the PC Building Simulator is enhanced performance for faster gameplay. Potential stability issues are the downside.
- In the PC Building Simulator, overclocking is simulated by adjusting clock speed and voltage settings in the BIOS menu to enhance component performance.
- To optimize overclocking in the PC Building Simulator, it is essential to familiarize yourself with the hardware and obtain a reliable overclocking tool.
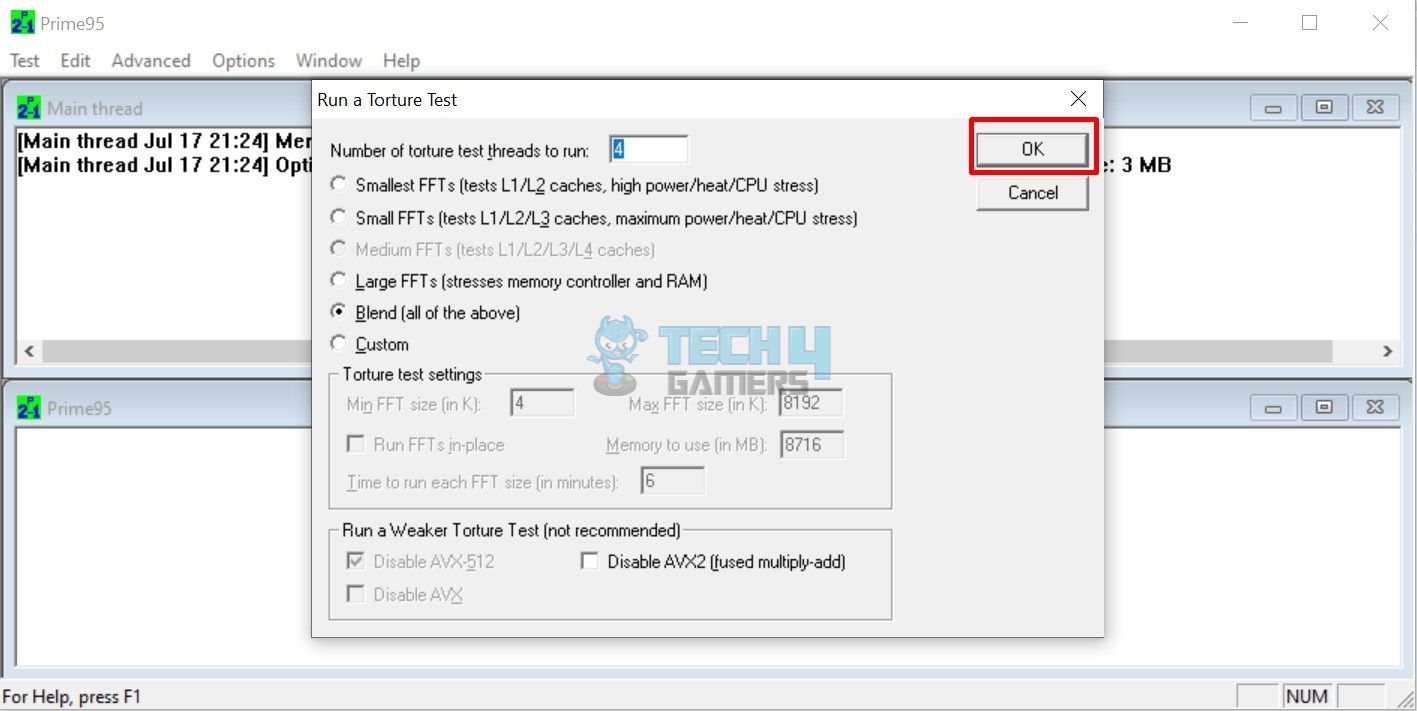
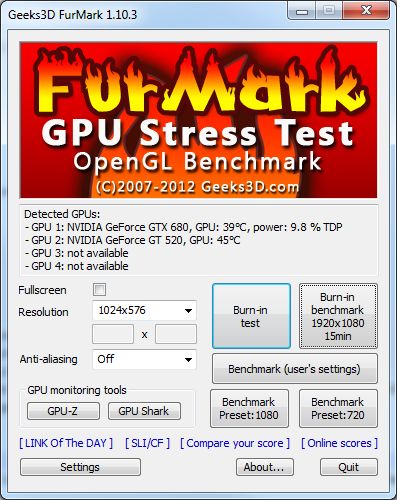
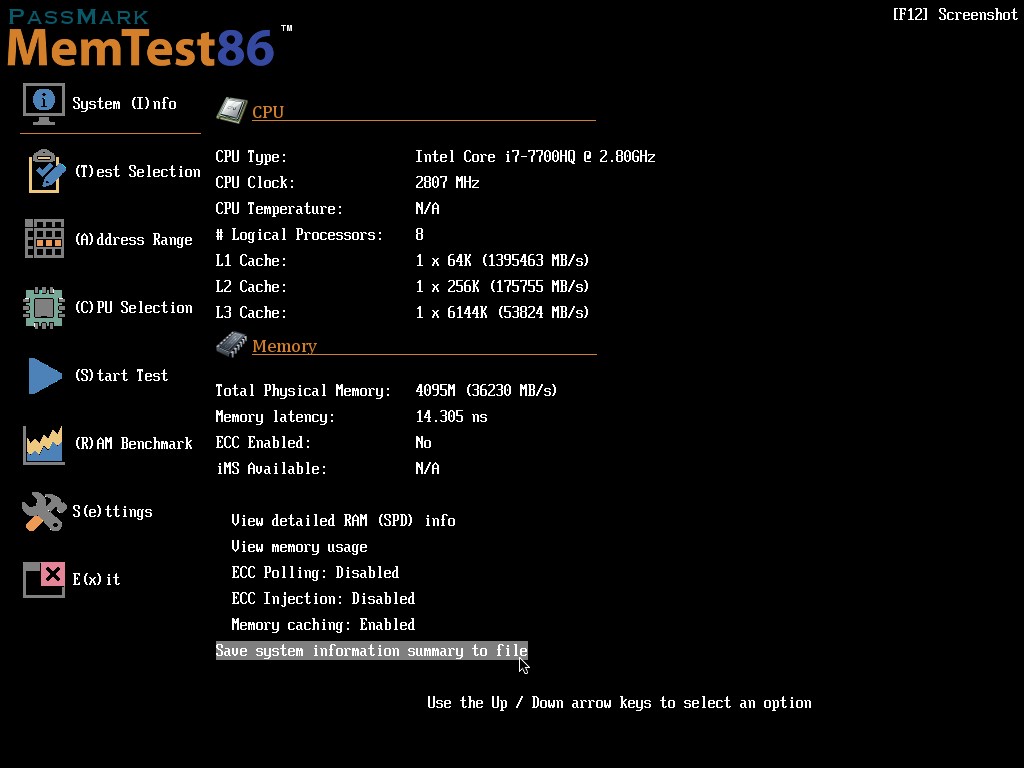
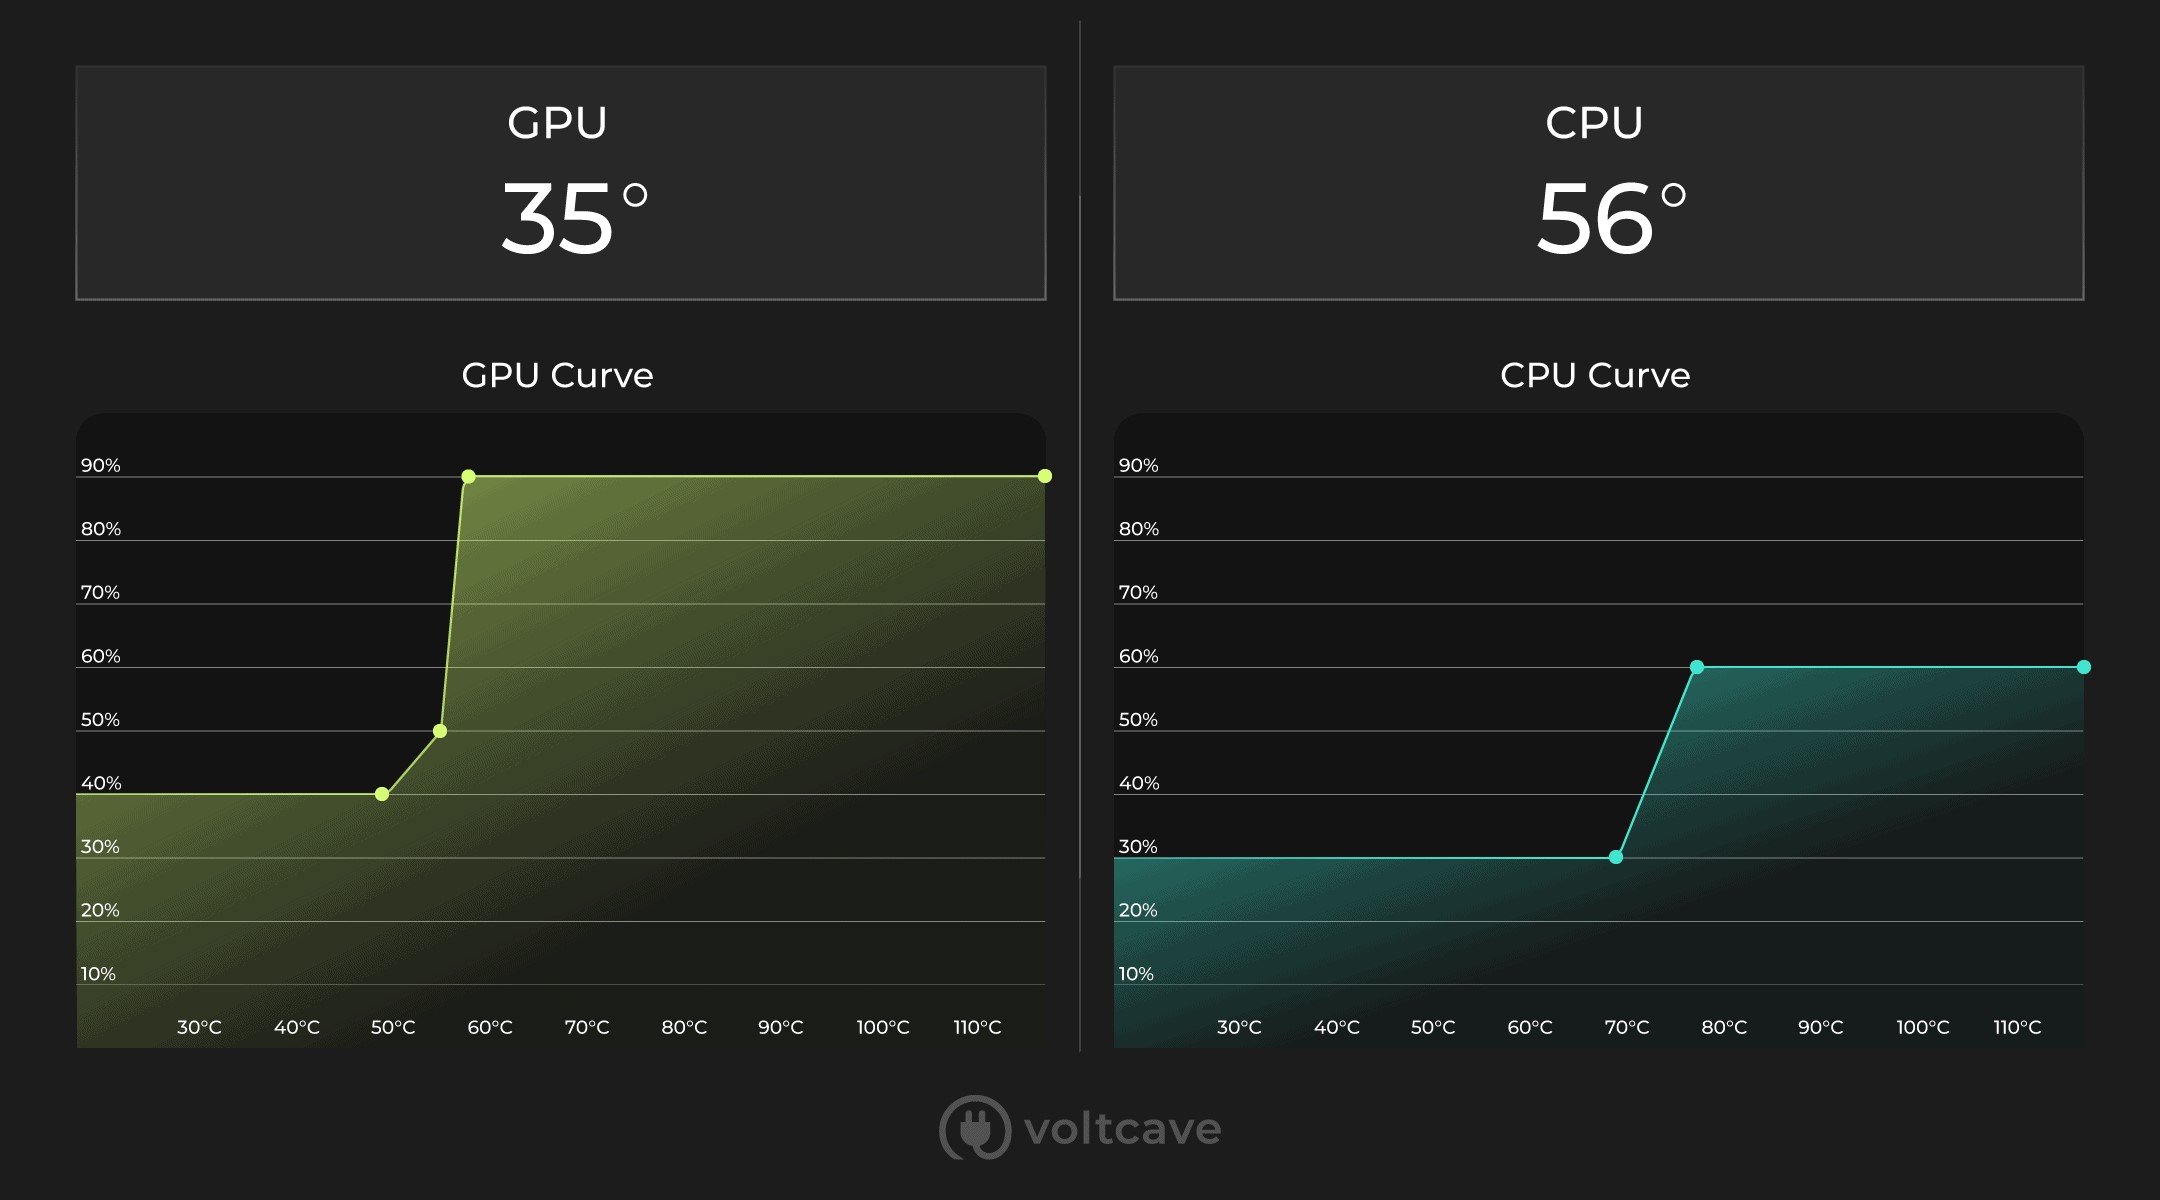
The CPU is often the best component to begin overclocking in the PC Building Simulator. CPU overclocking is the process of increasing a central processing unit’s clock speed to boost its performance beyond the manufacturer’s default specifications. This practice is often employed by enthusiasts seeking improved system responsiveness and faster computational speeds, particularly in gaming and resource-intensive applications. We took the following steps to overclock our CPU in the PC building simulator: This incremental approach helps to find the highest stable overclock for your CPU. To test stability, use the stress test feature within the overclocking tool or consider third-party software like Prime95, which stresses the CPU to its maximum capacity. GPU overclocking involves pushing a graphics processing unit (GPU) beyond its default clock speeds to achieve enhanced performance. This process, common among enthusiasts and gamers, can lead to improved frame rates and smoother graphics in applications and games as deduced by us. You can overclock your GPU by taking the following steps: These tests can help you identify any instability that might be caused by the overclock and thus ensure that your GPU is running smoothly. RAM overclocking refers to the process of increasing the clock speed and performance of a computer’s Random Access Memory (RAM) modules beyond their default specifications. The primary aim is to enhance system responsiveness and improve overall performance, particularly in memory-intensive tasks like gaming and content creation. Overclocking the RAM of your in-game PC can provide additional performance gains in certain applications. Here is how to do so: In addition to adjusting clock speeds and voltages, you can also optimize the cooling performance of your simulated PC by fine-tuning fan curves. Fan curves determine how the cooling fans in your system ramp up their speed based on temperature. Adjusting the fan curve ensures that the components receive adequate cooling at different temperature levels. This helps maintain stability and prevents overheating during intensive overclocking sessions. To make adjustments, you can look for “fan curve settings” in the BIOS or even within the overclocking tool. Fine-tuning the fan curves might not seem like much, but it can sometimes be your dark horse! PC building simulator is a game loved by people far and wide with many using it to pass their time. PC Building Simulator 2 is a favorite among users. When on Reddit I came across threads of people discussing this fun activity. Ok so PC building simulator 2 is really addictive I've spent all day playing it 😂😂 Have I just been doing work on my day off?! I literally have been buying multiple compost to assemble enough pcs to make a profit 🤣🤣 I've been brainwashed into doing work on my day off 😂 pic.twitter.com/8aI2JVuwC4 — JustRobTech (@GeekingWithRob) February 29, 2024 People on Twitter have found creative ways to determine how upgrades in their real-world setups will affect them by using the simulator game. By gradually adjusting clock speeds, voltages, and timings, you can achieve better performance, faster response times, and an overall improved gaming experience. I like this. A virtual way of seeing what real world improvements you can expect out of an upgrade. Very cool just for the FutureMark virtual benchmark. PC Building Simulator lands on Steam Early Access, overclocking support coming https://t.co/8xFDqTFY2x — Rockitsauce (@RealRockitsauce) March 30, 2018 The overclocking PC Building Simulator carries potential risks such as increased heat generation and system instability. However, it can be safe if done cautiously with proper monitoring and cooling. Overclocking generates more heat, so proper cooling is essential. Ensure that your simulated PC has adequate cooling, including proper airflow, CPU and GPU coolers, and case fans. PC Building Simulator allows CPU, GPU, and RAM overclocking. Also Check: Thank you! Please share your positive feedback. 🔋 How could we improve this post? Please Help us. 😔 [How To’s & Guides Editor] Haddi has been in the Gaming and tech Space for over 10 Years Now; he has worked on notable websites like eXputer, Gamepur, Gear Siege, Gearnuke, and plenty more. He is an expert at Games & PC Hardware; you can expect him to solve any problem. People often joke, that if there is any problem anyone can solve, Haddi can solve it faster. Currently, Haddi writes and manages a Team of Experts at Tech4Gamers. Contact: Haddi@tech4gamers.com
CPU Overclocking
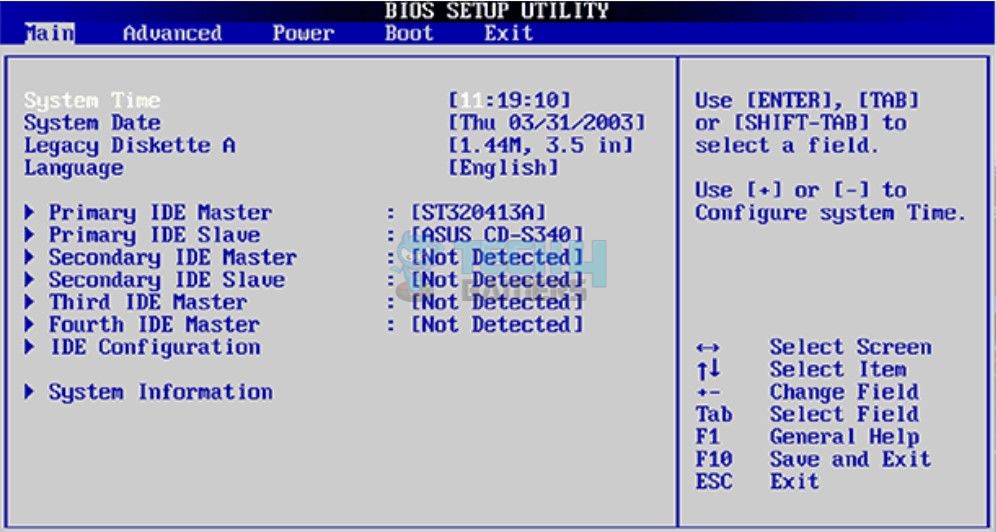
BIOS settings interface – (Image Credits: Tech4Gamers)
GPU Overclocking
RAM Overclocking
Fine-Tune Fan Curves
Final Thoughts
Frequently Asked Questions
![]()


