")


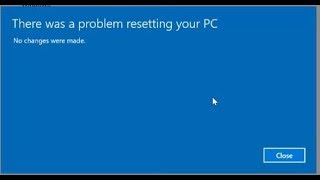
Occasionally, the error message “There was a problem resetting your PC” can occur when you try to reset your PC. This error, also known as the Blue Screen Of Death (BSOD), can happen for various reasons, including corrupt registry items, viruses, and malware. Moreover, frequent shutdowns or any external software can produce a hindrance in the form of an error.
- Users often face the error message “There was a problem resetting your PC” when resetting their computer systems.
- This error may occur due to various causes. Most of the time, the factors are corrupted Windows, viruses, bugs, crashes, etc.
- The error can be solved by simple solutions such as running antiviruses, checking system files, reinstalling Windows, and similar solutions.
The error message is generally displayed as:
Method Difficulty Rating
Rated: 5/10
Rated: 7/10
Rated: 5/10
Resetting Via Command Prompt (DISM Command)
A simple remedy for the issue is to run the DISM command in the command prompt. Microsoft designed this command to analyze, identify, and remove broken system files and directories inside the PC. Running this command has a fair probability of removing the error from the PC.
I resolved the issue on my PC using this method, which I why I recommend this method to users based on my experience. Follow these steps to launch the DISM protocol in the Command Prompt:
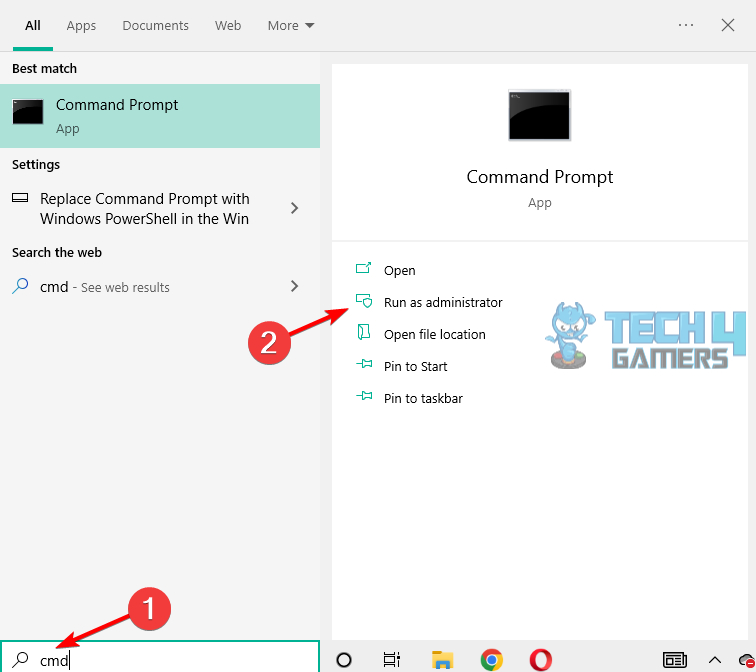
- Launch Command Prompt: Execute the Run utility > Type CMD.

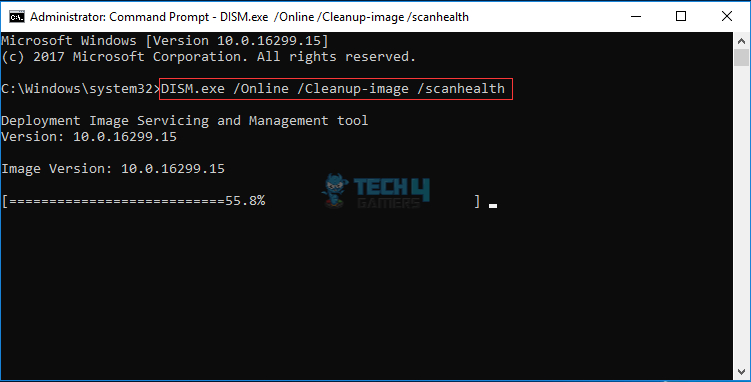
Run Command Prompt (Image Credits: Tech4Gamers) - Enter DISM Command: Enter the following command:
dism.exe /Online /Cleanup-image /scanhealth

DISM Commands Via Command Prompt (Image Credits: Tech4Gamers) - Please Wait: The DISM Command will start running, initiating the image servicing and management tool > Please wait while the DISM command finishes its operation.
- Check the error: After DISM Command completes its process > Close the command prompt > Reset the PC > Check whether the issue is resolved.
Using System Restore/ Restoring Last System Image
Another method is restoring the system using the system image recovery. This method allows using an older saved restoring checkpoint or file in the system’s memory, which the system uses to recover the older version of the system where the error was not present.
This method was a lifesaver whenever other methods failed to resolve the issue. The same was the case for several Microsoft users. This method can be followed using the following guide:
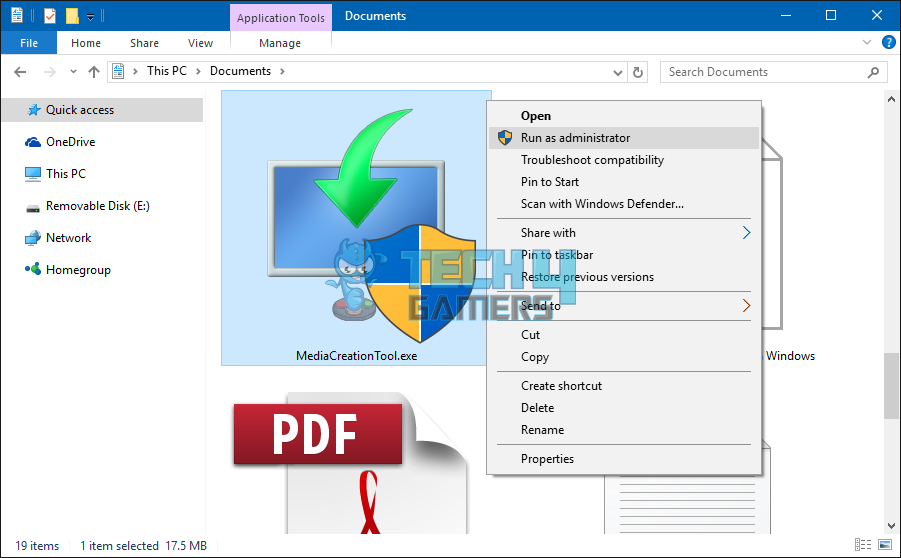
- Download & install Media Creation Tool: Download > Install the Media creation tool from the official Microsoft Website.

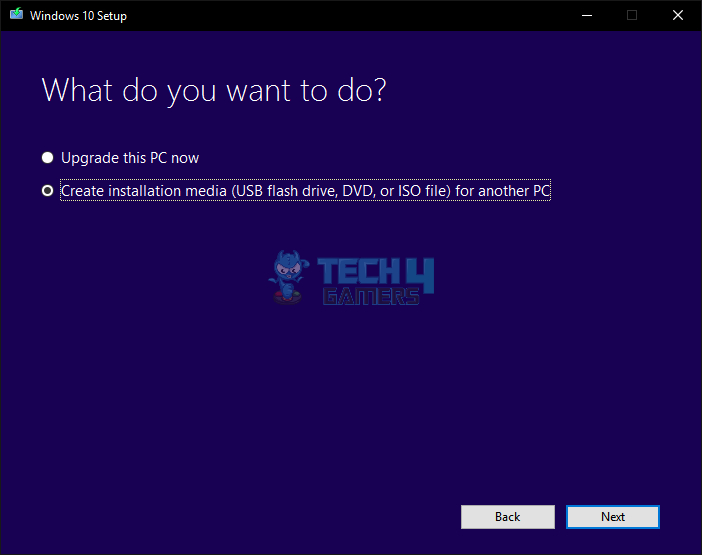
Media Creation Tool file (Image By Tech4Gamers) - Create Installation Media: Create Windows installation media using the tool > Restart your computer > Boot from the installation media (USB or Disc).

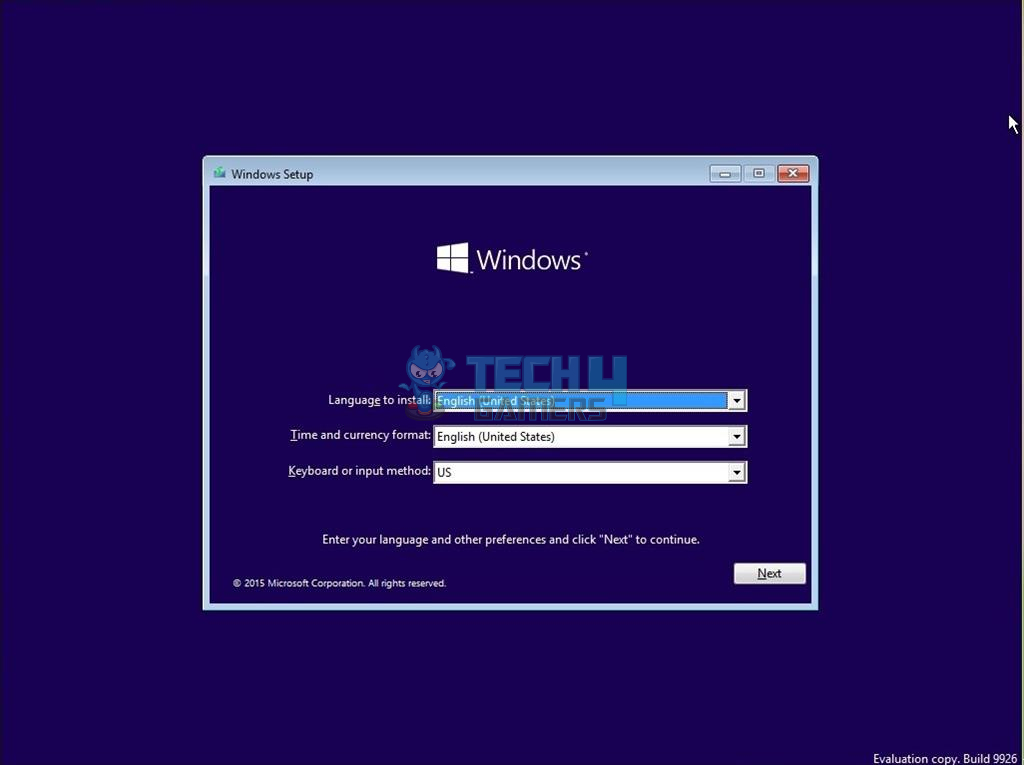
create installation media (Image By Tech4Gamers) - Set preferences: Set language > Time zone > Keyboard preferences during the installation process.

Language, Time, etc. (Image By Tech4Gamers) - Choose Startup Repair: Choose “Repair Your Computer” > “Troubleshoot” > “System Repair” to resolve startup issues.

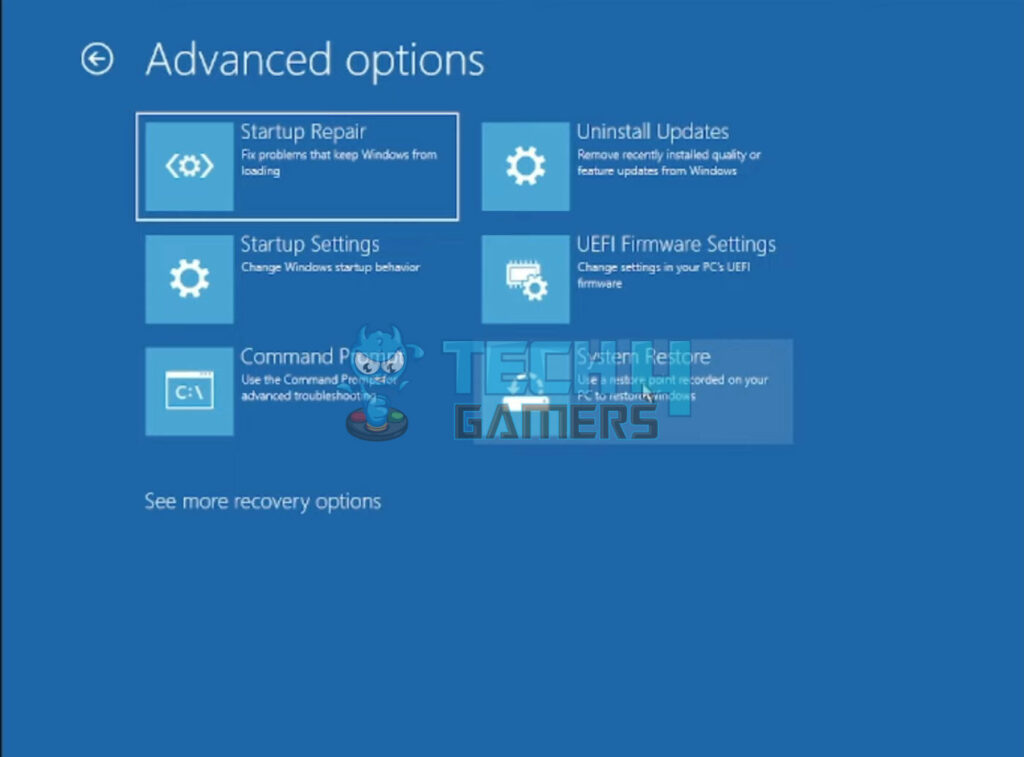
System Repair (Image By Tech4Gamers) - Use System Image Recovery: Select “System Image Recovery” from Advanced Options if you have a system image.

System Image Recovery (Image By Tech4Gamers) - Check the error: Restore your system to the latest known image from your backup > After system recovery, reset the PC and check for the error.

Launching System File Scan/ Using System Files Checker
Computer malfunctions can occur due to corrupt or virus-infected files, disrupting normal operations. In such instances, it becomes imperative to identify and eliminate these corrupt files causing system crashes.
I utilized the System Files Checker Scan to detect and remove the corrupted files from the system, addressing the issues related to the computer’s stability. You can also use the System Files Checker like me and multiple IFIXIT users who reported success after using this fix. Follow the steps below:
- Launch Command Prompt: Open the Run utility by searching the Windows Search bar > Type “cmd”.
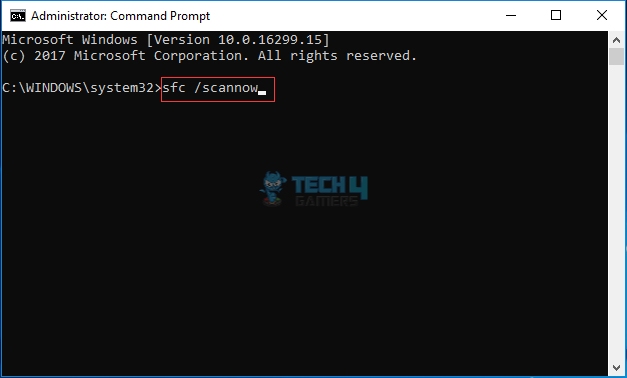
Run Command Prompt (Image Credits: Tech4Gamers) - Let SFC Scan complete: Allow changes if prompted > Type “sfc /scannow” in the Command Prompt > Press Enter > Wait for the System Files Checker to scan and fix files.

System Files Checker Via Command Prompt (Image Credits: Tech4Gamers) - Recheck issue status: Once complete, close the Command Prompt > Reset the PC to check for error resolution.
Last Remarks
Everyone using a Windows-operated PC knows the headache of coming across a BSOD error. In this article, we are specifically looking at the causes and solutions for the error message “There was a problem resetting your PC”. This error, commonly caused by corrupt drivers and system files, is persistent enough to disturb the users operation, which is evident from many frustrated tweets asking for help.
Any of y’all know how to fix the “there was a problem resetting your pc” error?
— Nick | Quentin Grimes Enjoyer (@nmgesus) June 5, 2021
As common as this error has gotten among the users, we still await an official update from the developers concerning this issue. Until then, users should use the workaround methods explained above. However, implementing those methods will not be a piece of cake without following a guide as they are complicated and diverse in my opinion.
Relevant Articles:
- Automatic Repair Couldn’t Repair Your PC [16 FIXES]
- The computer has rebooted from a bugcheck
- Windows could not prepare the computer to boot installation error
- Quick Fixes For Kernel Security Check Failure In Windows 11
- Windows 11: Computer Won’t Wake Up From Sleep [SOLVED]
- FIXED: Critical Process Died In Windows 11
Thank you! Please share your positive feedback. 🔋
How could we improve this post? Please Help us. 😔
[Errors Troubleshooting Expert]
Arsalan Shakil (aka GuyThatDoesEverything on YouTube) is a PC Tech Enthusiast and Electronic Geek. With over 10+ years of experience in Electronics, he then decided to explore Software Engineering to design embedded products and automate existing hardware solutions.
When he started tearing down old cameras to understand how they worked, he was shocked (literally, when he got zapped by a flash discharge capacitor), giving him the power (debatable) to fall in love with videography/photography. He also started making some fun videos that later became YouTube tech reviews.
Skills:
- 10+ years of experience in Electronics design, embedded solutions, and prototyping
- Majored in Software Engineering
- Research paper publication in IEEE for Embedded Military Uniform & LoRa WAN wireless technology
- Specialized in IoT Solutions
- PC Enthusiast & PC Modder
In his local region, he’s known to expose cheap PSU brands, often claiming fake certification or false claims on the box. He’s a true nerd and needed some friends in his life. Then he met some guys who work at Tech4Gamers, and they also came out to be equal nerds who suggested he join Tech4Gamers as a Hardware Expert.


