![The Computer has Rebooted From a Bugcheck Error [FIXED]](https://tech4gamers.com/wp-content/uploads/2024/03/BugcheckFeaturedImage-1068x580.jpg "The Computer has Rebooted From a Bugcheck Error [FIXED]")


“The computer has been rebooted from a Bugcheck” is one of Windows’s Blue Screens of Death errors. As the name indicates, this error occurs after a reboot. The primary culprits of this error include corrupt system drivers, memory problems, or lacking storage. We have researched and tested several methods to resolve this error.
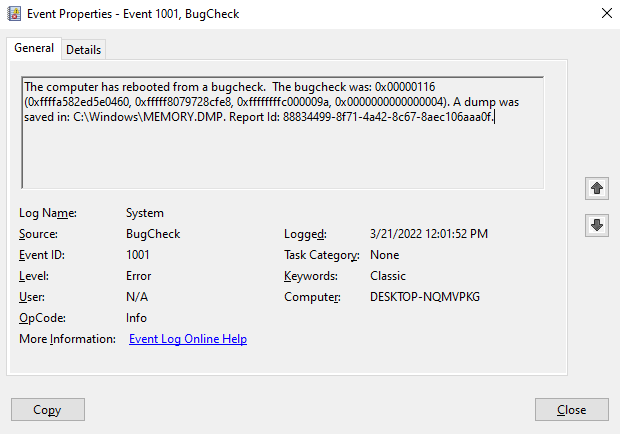
The error message looks like this:
Method Difficulty Rating
Rated: 4/10
Rated: 5/10
Rated: 7/10
Rated: 5/10
Rated: 6/10
Windows Updates:
Windows Update is crucial to keeping your Windows system protected and running smoothly. It supplies regular updates that patch security vulnerabilities, repair bugs, and introduce new features.
Since faulty and outdated drivers can cause the “The computer has been rebooted from a Bugcheck” error, you should perform Windows Updates to update all drivers and resolve this error. One of our team members faced this error, and updating Windows drivers resolved this issue for them. Here’s how you can perform this method:
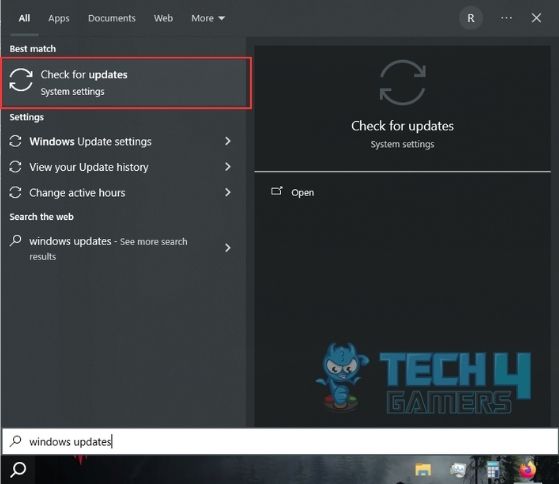
- Opening Windows Updates: Click on Search > Type Windows Updates > Open Check for Updates.

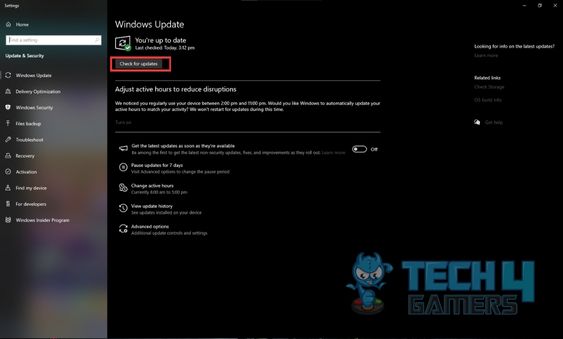
Windows Update Search – Image Credits [Tech4Gamers] - Checking Updates: Press Check for Updates.

Checking for Updates – Image Credits [Tech4Gamers] - Installing Updates: Let it download any updates > Restart the system for installation.
Uninstall CPU-Z:
CPU-Z is a popular tool for gathering information about various computer components, including the CPU, memory, and motherboard. However, it causes conflicts with system files or drivers. Although the software is handy, you should uninstall it if you’re encountering this error.
Uninstalling CPU-Z software eliminates such conflicts, allowing the system to operate smoothly and resolving the “The computer has been rebooted from a Bugcheck” error.
Follow the steps below:
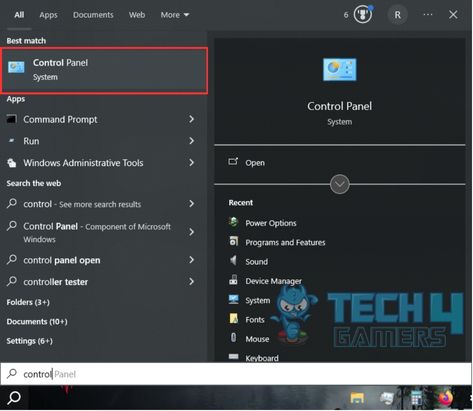
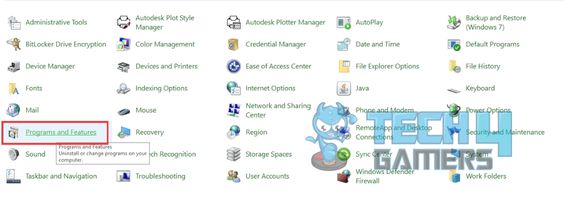
- Opening Control Panel: Click on Search > Type control > Click Control Panel.

Control Panel Search – Image Credits [Tech4Gamers] - Opening Programs and Features: Click on Programs and Features.

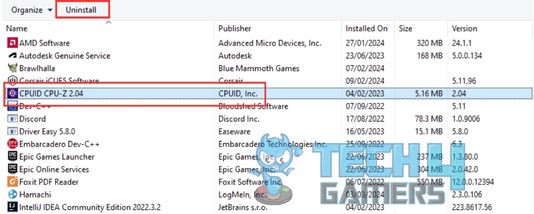
Programs and Features – Image Credits [Tech4Gamers] - Uninstalling CPU-Z: Click on CPU-Z Software > Click Uninstall > Follow all prompts.

Uninstalling CPU-Z – Image Credits [Tech4Gamers]
Update GPU driver:
GPU drivers facilitate communication between the operating system and graphics hardware. However, these drivers can cause bugs and errors when corrupted. Therefore, they should constantly be updated to the latest version to remove the potential risk of vulnerabilities.
Upon our research and further confirmation testing, updating GPU drivers resolved the “The computer has rebooted from a bugcheck” error for us. To do that:
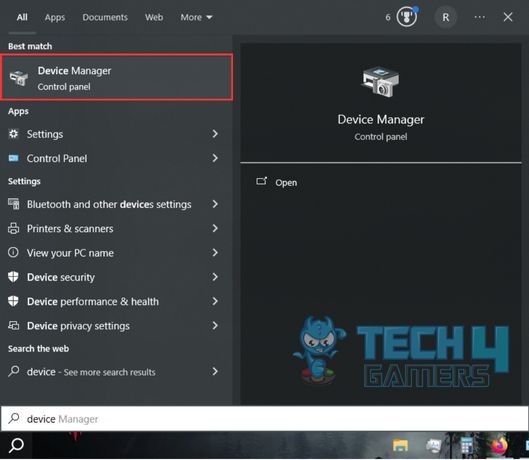
- Opening Device Manager: Click on Search > Type device > Click on Device Manager.

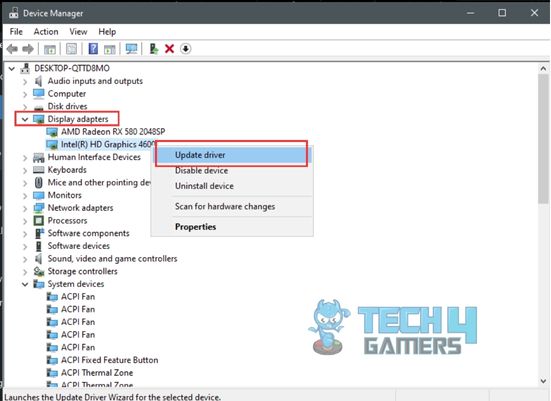
Device Manager Search – Image Credits [Tech4Gamers] - Updating GPU Driver: Double-click on Display Adapters > Right-click on your GPU driver > Click Update driver > Click Search Automatically for drivers.

Updating GPU Driver – Image Credits[Tech4Gamers]
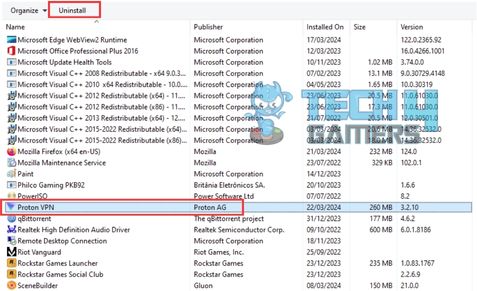
Uninstall VPN:
VPNs establish a private and protected network between you and the VPN server. They are most used when a public network is not secure or trustworthy. Therefore, VPNs add a layer of security to your data that cannot be accessed over the public network.
However, VPNs can sometimes conflict with system drivers, resulting in severe errors. If you do not actively use VPNs, we recommend uninstalling the VPN software, as it also worked for a user on SevenForums. Proceed with the following steps:
- Opening Control Panel: Click on Search > Type control > Click on Control Panel.

Control Panel Search – Image Credits [Tech4Gamers] - Opening Programs and Features: Click on Programs and Features.
Programs and Features – Image Credits [Tech4Gamers] - Uninstalling VPN Software: Click on the VPN software > Click Uninstall > Follow all prompts.

VPN Uninstall – Image Credits [Tech4Gamers]
Disable Fast Startup:
The Fast Startup feature allows a computer to boot up much faster after a proper shutdown. The reason is that it puts the system in hibernation mode rather than shutting it down. It is usually enabled by default if the system hardware can execute fast startup.
After experiencing the error ourselves, we found out that not shutting the system entirely can cause faults with crucial system files in hibernation mode. Thus, we disabled Fast Startup, which resolved the error for us.
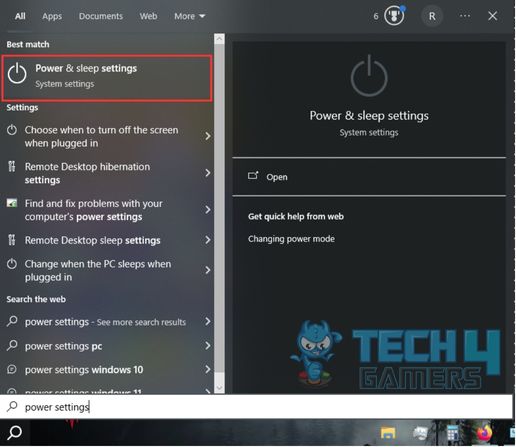
- Opening Power Settings: Click on Search > Type power settings > Click on Power and Sleep settings.

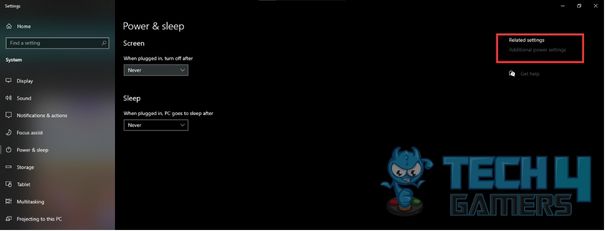
Power Settings Search – Image Credits [Tech4Gamers] - Opening Additional Settings: Click on Additional Power Settings.

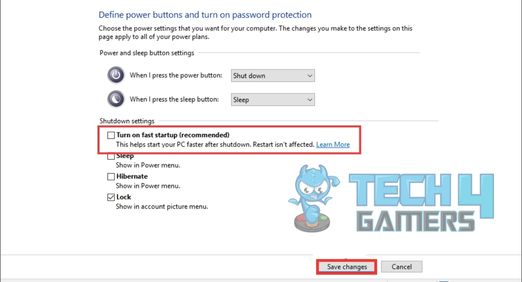
Additional Power Settings – Image Credits [Tech4Gamers] - Navigating to Startup Feature: Click Choose what the power buttons do.

Power Settings – Image Credits [Tech4Gamers] - Disabling Fast Startup: Uncheck Turn on Fast Startup.

Disabling Fast Startup – Image Credits [Tech4Gamers]

Final Words
In conclusion, the “The computer has rebooted from a bugcheck” error is primarily caused by faulty drivers and corrupt system files. The solution to this error includes uninstalling conflicting software and updating Windows. Users have reported on X that this error occurs randomly and frequently.
My TrackPoint issue with @LenovoThinkPad x13s is nothing compared to the fact that the computer resets itself when left alone.
"The computer has rebooted from a bugcheck". Great.
I know that it's the first Arm ThinkPad … but still. 🤦♂️ pic.twitter.com/B54QqfdqQm
— Cristian Adam (@cristianadam) March 16, 2023
Since this error has various specific codes, there is no one correct solution. While this error can be frustrating, the above solutions are all proven and tested for different codes, as we have also encountered this issue. The above methods are simple and easy to follow and should eliminate this error.
The error message “The system has rebooted from a bugcheck” means that your machine has experienced a critical error. As a result, The system automatically restarts when a “blue screen of death” (BSOD) occurs to stop further damage from occurring. Hardware issues such as bad RAM or insufficient memory, device drivers that are either not up to date or incompatible, and corrupted system files. This error can be solved by updating the device drivers, uninstalling corrupt software, and updating Windows.FAQs
Related Articles:
- How To Fix “KMODE_EXCEPTION_NOT_HANDLED” Error?
- How To Fix “WHEA_UNCORRECTABLE_ERROR”
- How To Fix Kernel Data Inpage Error 0x0000007A?
- Your PC Did Not Start Correctly: Our Proven Fixes [2024]
Thank you! Please share your positive feedback. 🔋
How could we improve this post? Please Help us. 😔
[Errors Troubleshooting Expert]
Arsalan Shakil (aka GuyThatDoesEverything on YouTube) is a PC Tech Enthusiast and Electronic Geek. With over 10+ years of experience in Electronics, he then decided to explore Software Engineering to design embedded products and automate existing hardware solutions.
When he started tearing down old cameras to understand how they worked, he was shocked (literally, when he got zapped by a flash discharge capacitor), giving him the power (debatable) to fall in love with videography/photography. He also started making some fun videos that later became YouTube tech reviews.
Skills:
- 10+ years of experience in Electronics design, embedded solutions, and prototyping
- Majored in Software Engineering
- Research paper publication in IEEE for Embedded Military Uniform & LoRa WAN wireless technology
- Specialized in IoT Solutions
- PC Enthusiast & PC Modder
In his local region, he’s known to expose cheap PSU brands, often claiming fake certification or false claims on the box. He’s a true nerd and needed some friends in his life. Then he met some guys who work at Tech4Gamers, and they also came out to be equal nerds who suggested he join Tech4Gamers as a Hardware Expert.


