Your GPU, essential for gaming and graphics-intensive tasks, can develop fan issues over time. Unusual noises, overheating, or fan failure demand action. Therefore, you should know how to replace GPU fans to maintain performance and longevity.
Key Takeaways
- Replace a malfunctioning GPU fan to ensure your GPU functions properly and to prevent damage.
- Installing an incompatible fan can permanently damage your graphics card.
- Find a replacement fan that is an exact match for your previous one in manufacturer’s stores or from specialized websites, carefully uninstall your old fans, plug in the new ones, and test your new GPU.
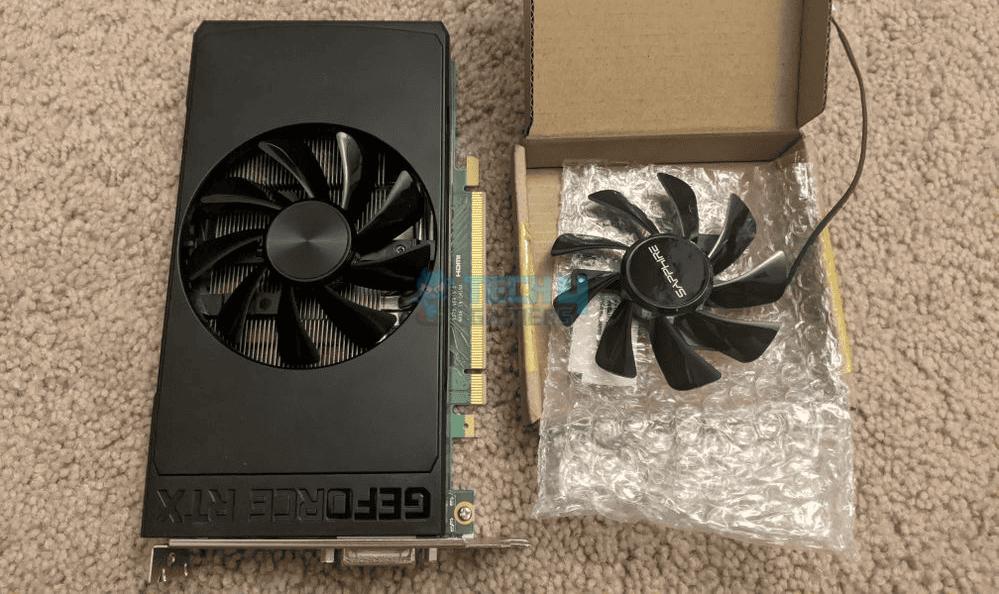
First, determine your existing fan’s type (axial or radial) and size. Ensure the replacement fan matches your GPU’s original size, shape, mounting, and connector. To find a suitable replacement, check with the GPU manufacturer or specialized replacement fan shops, or search for non-functional GPUs with compatible fans in used marketplaces.Identify The GPU Fan And Find A Replacement
After finding a compatible replacement, I safely removed the GPU from the motherboard. Ensure that you use light hands when handling the GPU.Remove The GPU From The Computer
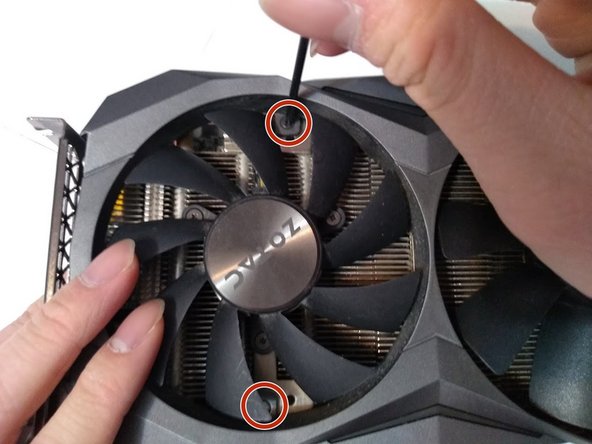
Next, I unplugged the cables and removed fan screws/clips. Once the old fans have been removed, it’s time to clean the area since dust can accumulate over time. Thoroughly clean the GPU and its surrounding areas.Remove The Old GPU Fans
To install the new GPU fan, plug the fan connector into the GPU board. Do this carefully so that you don’t damage the connector pins. Then, align the fan with the screw holes or clips on the heatsink and begin securing the fan in place using those screws or clips.Install The New GPU Fans
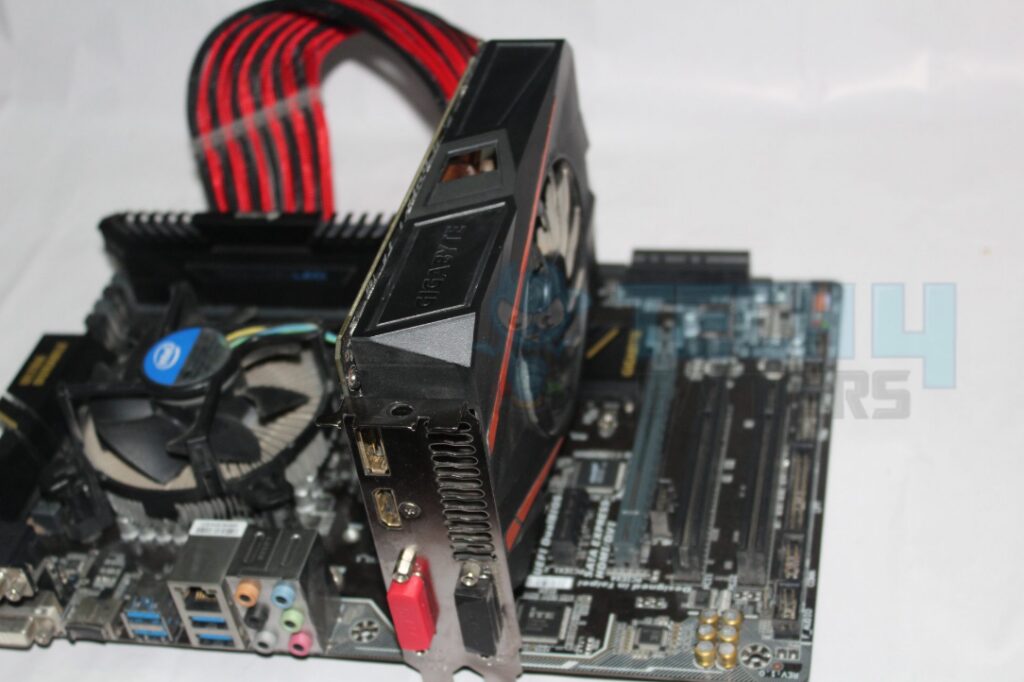
Once the new fan is installed, carefully align the PCIe slot and gently push the graphics card into place until you hear a click. Ensure the graphics card is securely fastened, and all cables are reconnected.Reinstall The GPU
With the GPU reinstalled, power on your computer and check the GPU fan to ensure it is spinning. For better assurance, I ran a stress test and played a demanding game to ensure the GPU worked correctly.Test The GPU
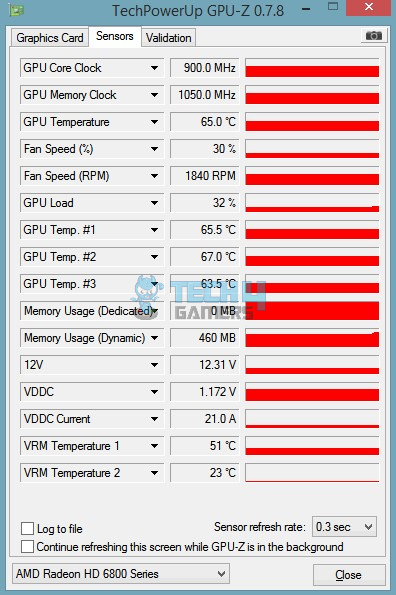
Monitoring the GPU temperature after replacing the fan is essential to ensure it’s working correctly. Software like MSI Afterburner and GPU-Z were helpful for me to monitor the graphics card’s temperature, fan speed, and other parameters.Monitor GPU Temperatures
Final Words
While replacing a GPU fan can be a bit tricky for newbies, these methods proved helpful in ensuring I do not mess up any steps or damage my GPU. Furthermore, if the fans are not working after the replacement, double-check that you secured the fans correctly in place.
Frequently Asked Questions
Replacing laptop GPU fans can be challenging due to compact designs; consulting a professional or the manufacturer is advisable.
GPU fans typically last several years, but they should be replaced when they become noisy or fail to cool effectively.
Aftermarket fans can be good replacements if chosen carefully, ensuring compatibility and performance similar to the original fans.
More About GPU:
- SOLVED: How To Disable GPU Overclocking?
- How To Vertical Mount Your GPU [Explained]
- How To Lower GPU Temperature? [Ultimate Guide]
- How To Watercool GPU: Everything You Need to Know
Thank you! Please share your positive feedback. 🔋
How could we improve this post? Please Help us. 😔
[How To’s & Guides Editor]
Haddi has been in the Gaming and tech Space for over 10 Years Now; he has worked on notable websites like eXputer, Gamepur, Gear Siege, Gearnuke, and plenty more. He is an expert at Games & PC Hardware; you can expect him to solve any problem. People often joke, that if there is any problem anyone can solve, Haddi can solve it faster. Currently, Haddi writes and manages a Team of Experts at Tech4Gamers.
Contact: Haddi@tech4gamers.com


 Threads
![How Long Does it Take to Build A PC? [SOLVED]](https://tech4gamers.com/wp-content/uploads/2023/03/Error-Fixes-14-218x150.jpg)
![How To Refund A Game On Xbox [All Methods] How To Refund A Game On Xbox](https://tech4gamers.com/wp-content/uploads/2023/08/How-To-Refund-A-Game-On-Xbox-218x150.jpg)
