 Threads

Are you frequently encountering the frustrating issue of your computer getting stuck during a restart? You’re not alone. The problem of a computer stuck on restarting can be a common issue computer users face, causing inconvenience and hampering productivity.
Key Takeaways
- Slow computer restarts are a common issue computer users face and can be frustrating and disruptive to productivity.
- Causes of restart delays include overloaded startup programs, driver conflicts, outdated software, malware, insufficient RAM or hard drive space, and failing hardware.
- Advanced troubleshooting steps, like adding/upgrading RAM, system restore/recovery, or resetting to factory settings, may be necessary if previous methods fail.
What Happens During A Computer Restart?
During a computer restart, the operating system closes all running programs and saves any unsaved data. The computer then powers off and subsequently powers back on.
During startup, the system loads essential files, initializes hardware components, and starts necessary services and applications.
Once completed, the user is presented with the login screen or desktop environment, allowing them to log in and resume computer usage.
Common Causes Of Restart Delays
Common causes of Computer restart delays include:
- Overloaded startup programs.
- Driver conflicts and outdated software.
- Malware and viruses.
- Insufficient RAM or hard drive space.
- Failing hardware components.
Also Read: PC Restarts While Gaming
Methods To Fix A Computer Stuck On Restarting
To address the issue of a slow computer restart, there are several troubleshooting and optimization techniques you can employ. Here are some recommended steps to follow:
Cleaning Temporary Files And Cache
Various applications and processes generate temporary files and cache during regular computer usage. Over time, these files accumulate and can significantly impact system performance, including restart times.
Here are the steps to perform this task:
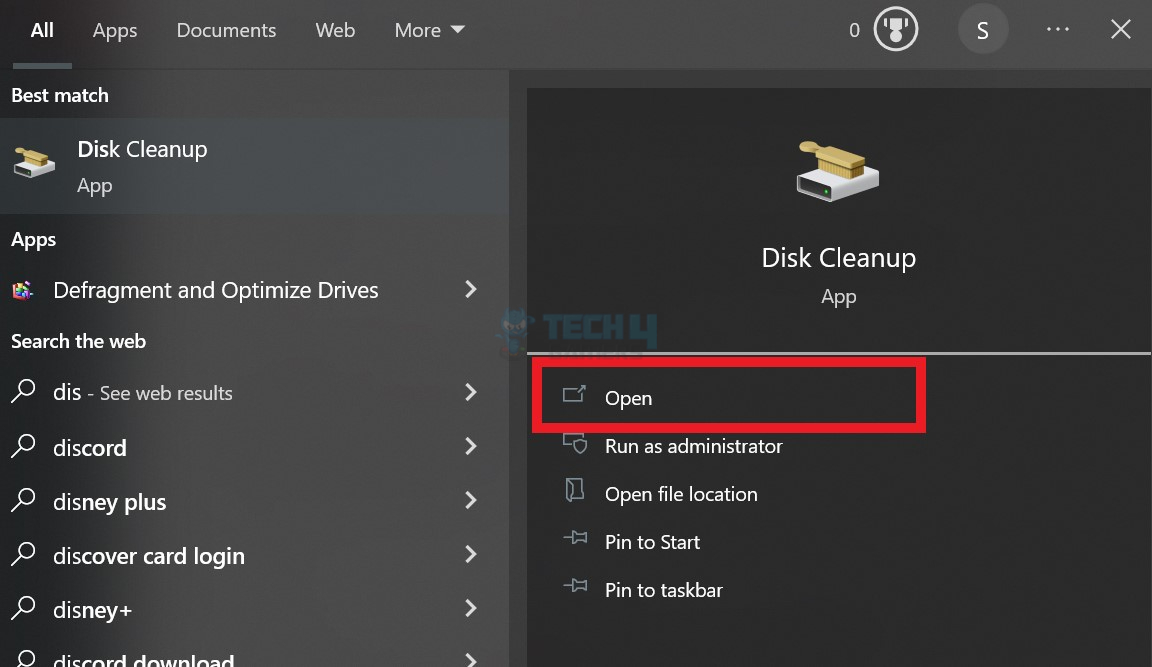
- Open The Disk Cleanup Utility: On Windows, click on the Start button, search for “Disk Cleanup,” and select the appropriate result from the list.

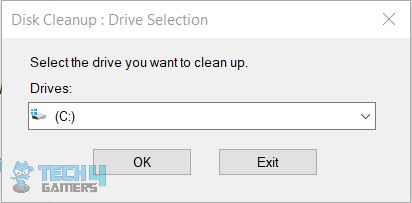
Opening Disk Cleanup – Image Credits [Tech4Gamers] - Choose The Disk To Clean: If you have multiple disks or partitions, select the one where your operating system is installed. Typically, this will be the “C” drive on Windows machines.

Select Drive – – Image Credits [Tech4Gamers] - Scan For Temporary Files: The software will examine your disk and provide you with a comprehensive list of file categories that can be safely removed.
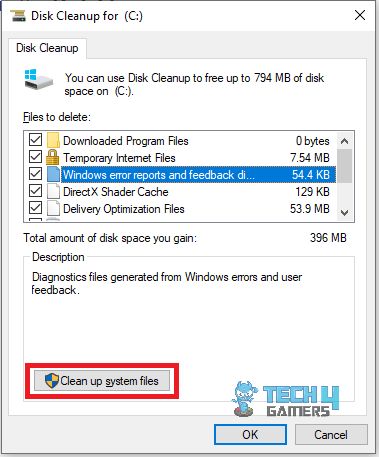
- Select File Categories To Clean: To optimize space and speed up restart, review the file categories and choose “Temporary files” and “Cache” or similar options for cleaning.

Disk Cleanup Utility – Image Credits [Tech4Gamers] - Initiate The Cleanup Process: Now, click on the “OK” button to start the cleanup process. Confirm any prompts that appear to proceed with the deletion.
- Wait For The Cleanup To Complete: The utility will delete the selected files, which may take some time depending on how much data is removed.
- Restart Your Computer: Upon completion of the cleanup process, it is advisable to restart your computer to ensure that all the modifications are implemented successfully.
Optimizing System Settings
Optimizing system settings is crucial for faster computer restarts. Configuring specific settings can streamline the restart process and minimize unnecessary delays.
Here are the steps to optimize your system settings:
Disable Unnecessary Startup Programs
Many programs are configured to launch automatically when your computer starts up, which can significantly slow down the restart process.
Follow these steps:
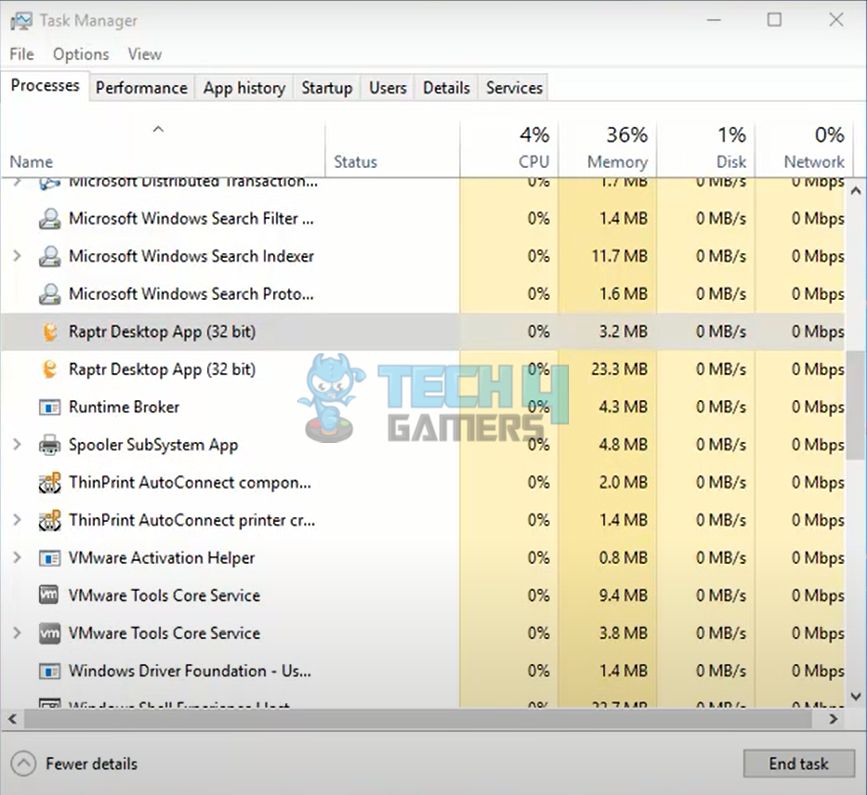
- Open the Task Manager.

Task Manager- Image Credits [Tech4Gamers] - Navigate to the “Startup” tab.

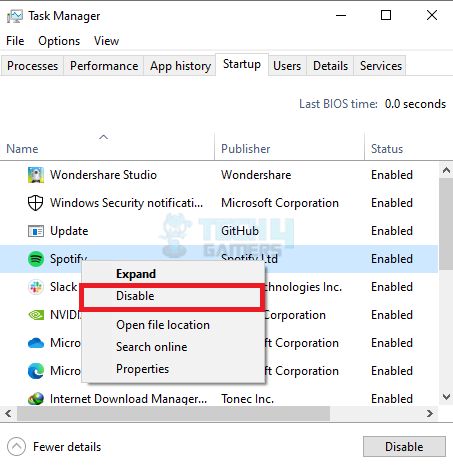
Task Manager Startup – Image Credits [Tech4Gamers] - To prevent unnecessary programs from launching during startup, simply right-click on the programs you no longer require and choose the “Disable” option.

Disable Startup Program- Image Credits [Tech4Gamers]
Also Read: FIXED: The Computer Has Rebooted From A Bugcheck
Manage Startup Services
Along with startup programs, various services also start running during system startup. You can free up system resources and speed up the restart process by reducing unnecessary services.
Follow these steps:
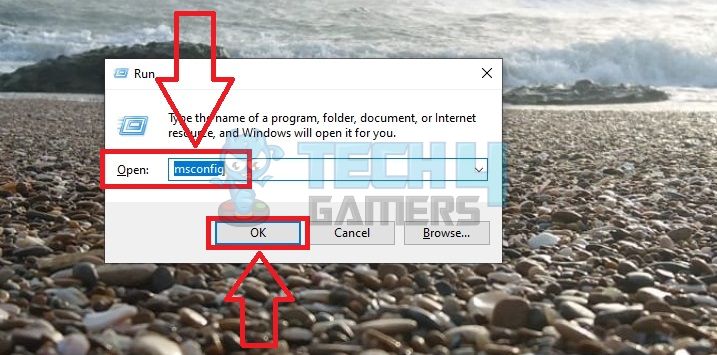
- Open the Run dialog box.
- Type “msconfig” in it.

msconfig – Image Credits [Tech4Gamers] - A window will open.
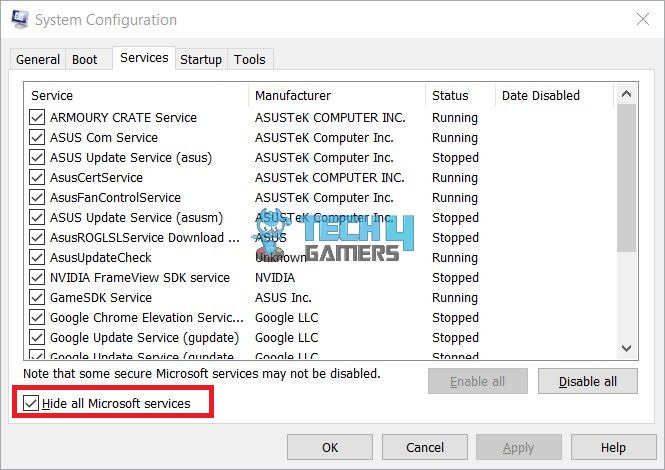
- In the “Services” tab, ensure that you check the “Hide all Microsoft services” box not to disable essential services.

Hide All Microsoft Services – Image Credits [Tech4Gamers] - Disable the services that are not essential for your computer’s operation.
Adjust Power Settings
Modifying power settings can help optimize system performance during restarts.
Here’s what you can do:
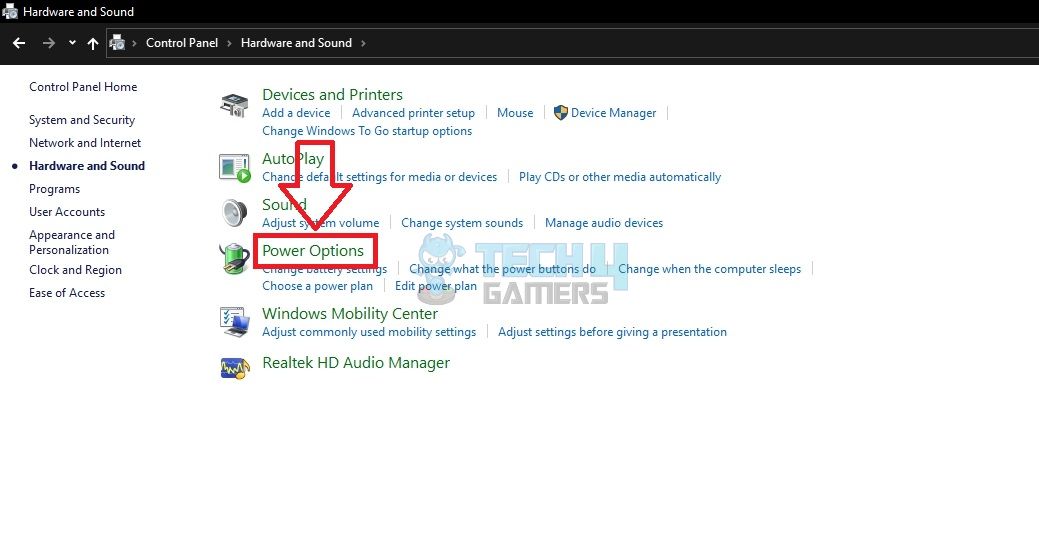
- Go to “Power Options” in the control panel.

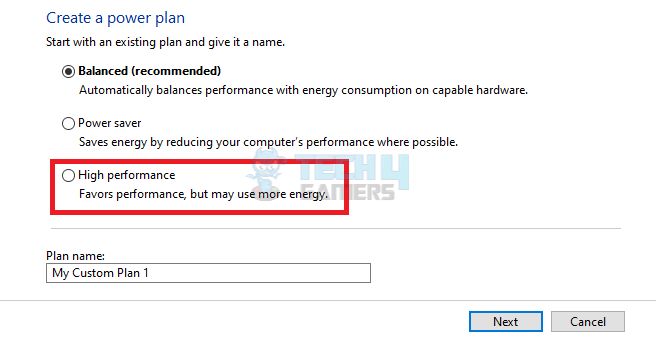
Power Options – Image Credits [Tech4Gamers] - Select the power plan you are currently using or create a custom plan.

Power Plan – Image Credits [Tech4Gamers] - Click on “Change plan settings.“
- Adjust the settings to maximize performance rather than energy saving.
- Make sure to save the changes.
Also Read: Why Is My Computer So Slow All Of A Sudden? [Answered]
Optimize Virtual Memory
Virtual memory, also known as the page file, is a part of the hard drive used as additional RAM. You can enhance restart performance by adjusting the virtual memory settings.
Follow these steps:
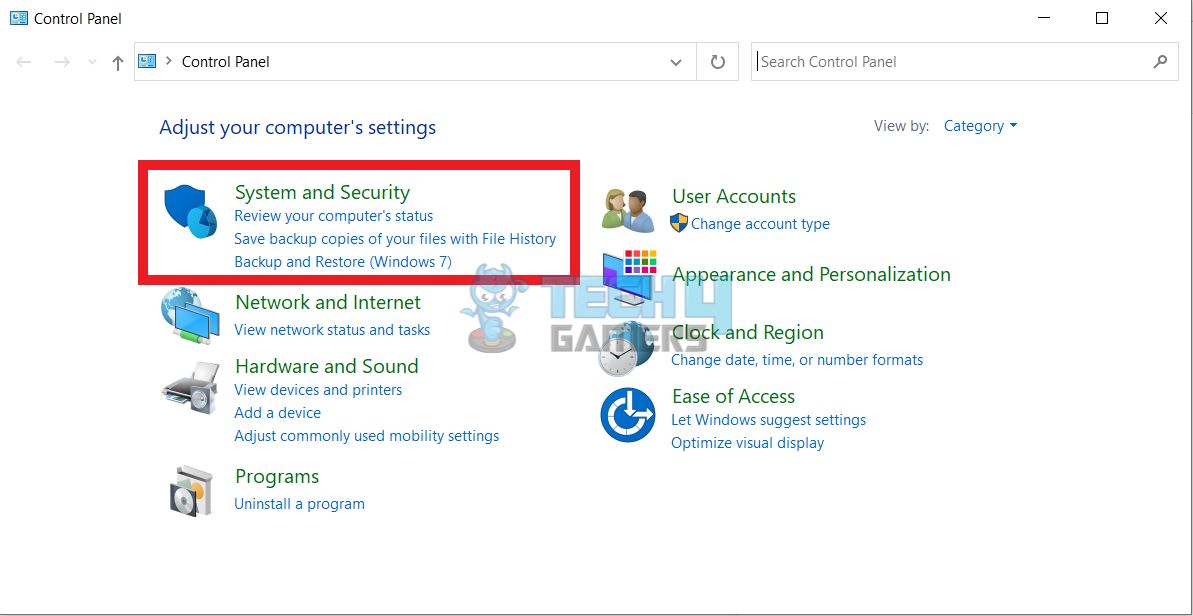
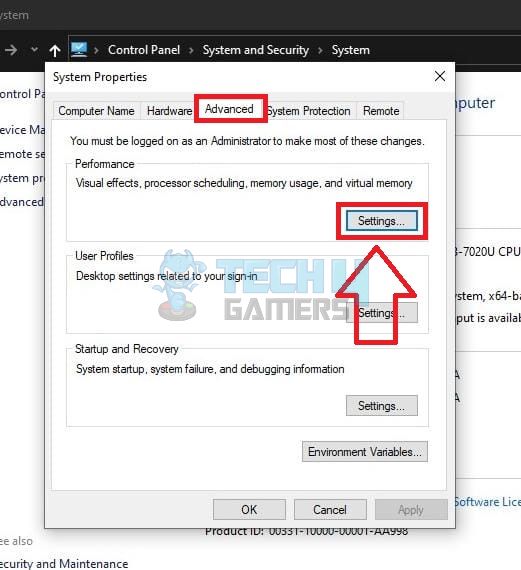
- In Control Panel, go to “System and Security.“

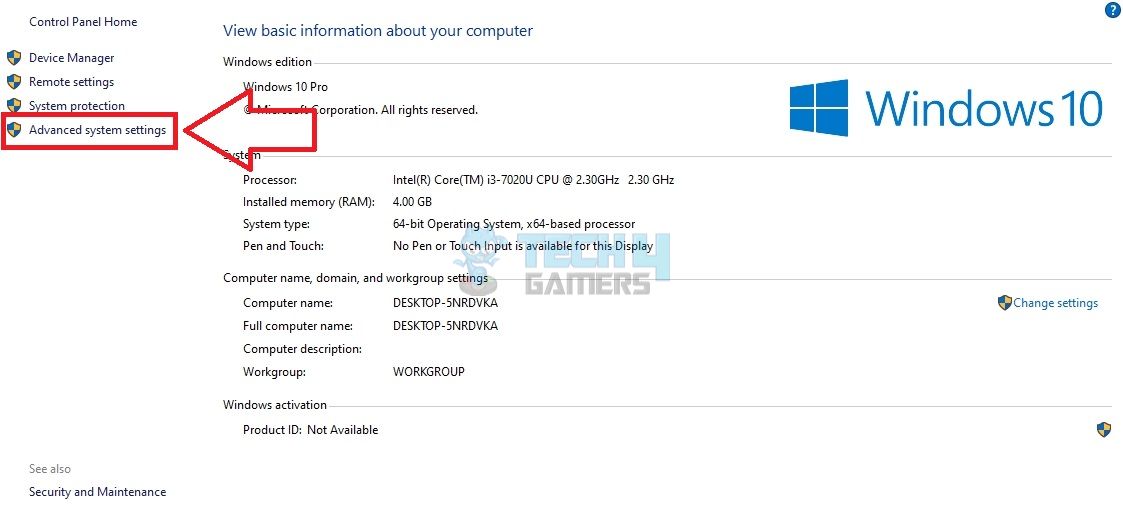
System And Security In Control Panel – Image Credits [Tech4Gamers] - Select “System” and click on “Advanced system settings” in the left-hand panel.

Advanced System Settings – Image Credits [Tech4Gamers] - Now, navigate tof the “Advanced” tab.
- Under the “Performance” section, click on the “Settings” button.

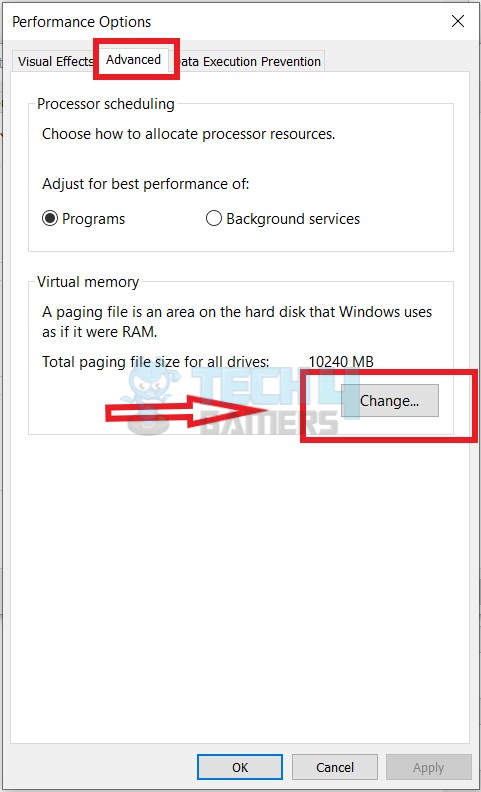
Settings – Image Credits [Tech4Gamers] - Proceed to the “Advanced” tab within the Performance Options window.
- Click on the “Change” option in the Virtual Memory section.

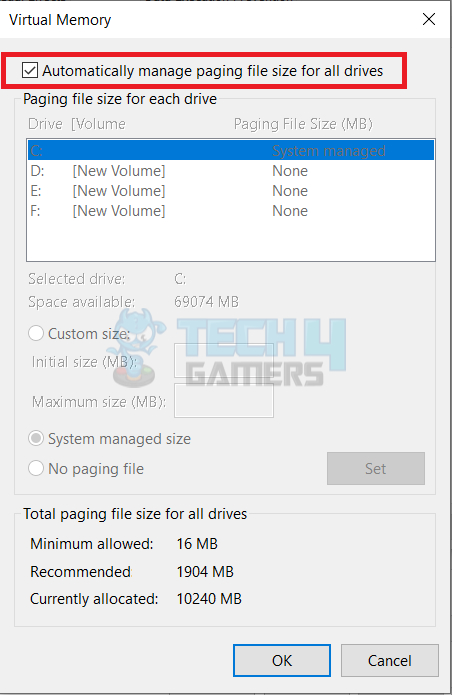
Change Virtual Memory – Image Credits [Tech4Gamers] - Uncheck the “Automatically manage paging file size for all drives” box.

Uncheck – Image Credits [Tech4Gamers] - Choose the drive where your window is installed.
- Choose the “Custom size” option, then choose the minimum and maximum sizes per your system’s disk space guidelines.
- Now, click “Set” and then “OK.”
Updating Drivers And Firmware
Outdated or incompatible drivers can lead to various issues, including restart problems. Keeping your drivers updated is crucial to ensure your system runs smoothly.
Update Windows
When troubleshooting a computer stuck on restarting, one crucial step to consider is updating Windows. Keeping Windows updated can help resolve compatibility issues, software glitches, and security vulnerabilities that may be contributing to the problem.
Disk Defragmentation
Disk defragmentation is essential maintenance for optimizing your computer’s hard drive performance. This process helps organize data on the disk, solving the computer’s problem of taking too long to restart.
To perform disk defragmentation, follow these steps:
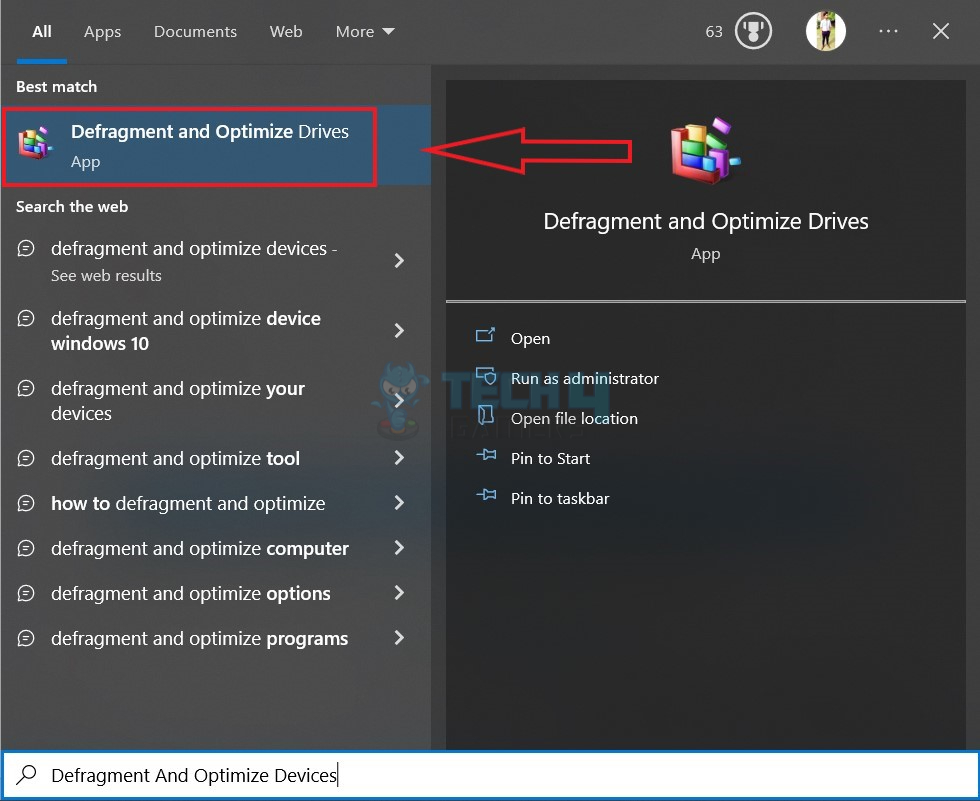
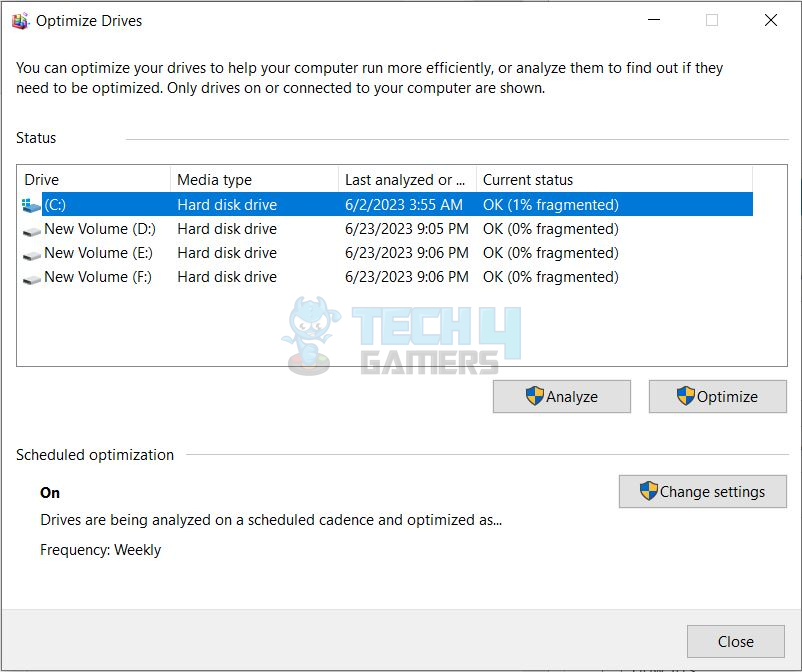
- Go to the Start menu, search for “Defragment and Optimize Drives,” and open the application.

Defragment And Optimize Devices – Image Credits [Tech4Gamers] - Choose the drive you want to defragment (typically the C: drive).

Disk Defragmenter - The utility will analyze the level of fragmentation on the selected drive.
- Click the “Optimize” button to initiate defragmentation.
- The utility will rearrange the fragmented files and optimize the data placement on the disk.
- Once the process is finished, you can view a report summarizing the results.
Also Read: PC Ran Into A Problem And Needs To Restart
Ensuring Proper Cooling And Ventilation
Ensuring proper cooling and ventilation is crucial for maintaining optimal computer performance and preventing overheating.
Here are some steps to follow:
- Ensure that the computer is positioned in a well-ventilated area.
- Regularly clean the air vents and fans to remove dust and debris.
- Maintain proper cable management to avoid blocking airflow.
- Consider implementing additional cooling solutions such as case fans or CPU coolers if necessary.
- Monitor temperature levels using software tools.
Advanced Troubleshooting Steps
Advanced fixes are needed if previous troubleshooting steps haven’t solved slow restarts or the computer gets stuck. These methods provide comprehensive solutions to persistent issues by analyzing the system more deeply.
Adding Or Upgrading RAM
RAM plays a crucial role in temporarily storing data that your computer requires quick access to, including running applications and operating system processes.
Insufficient RAM can result in slow restarts and overall sluggish system performance. Upgrading or adding more RAM can enhance your computer’s performance and restart speed.
System Restore And Recovery Options
System Restore and Recovery Options can also fix the problem of the computer stuck on restarting. They address software issues by reverting settings or restoring the computer to its current or factory state. Let’s explore these options for troubleshooting.
Using System Restore
System Restore is a Windows feature that enables you to revert your computer’s settings to a previous point in time.
Here’s how you can perform it:
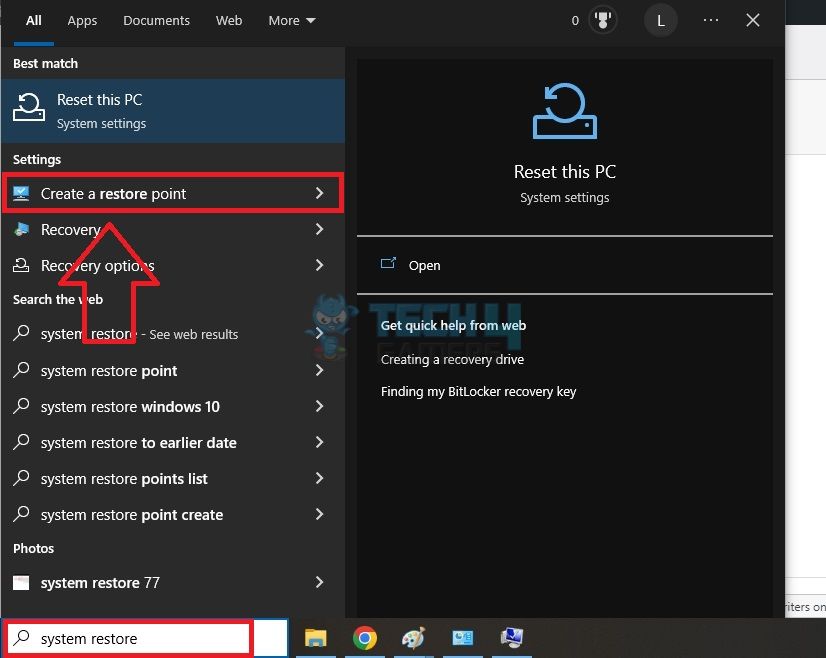
- Search “Create A Restore Point” in the search bar.

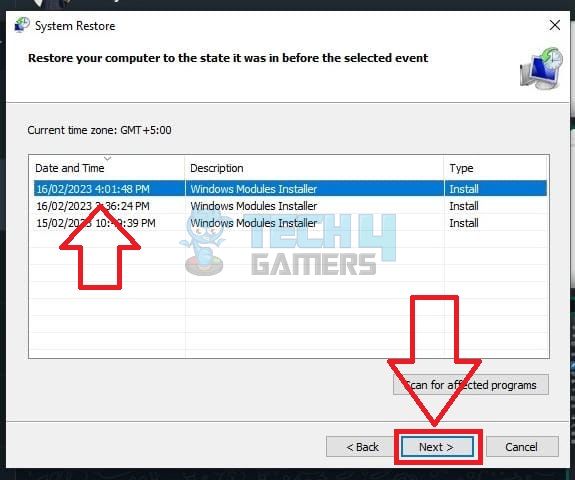
System Restore – Image Credits [Tech4Gamers] - Select a restore point (choose a point after which the issue starts occurring).

Select Restore Point – Image Credits [Tech4Gamers] - To start the restoration procedure, adhere to the directions shown on the screen.
- Then, after waiting for the procedure to be finished, restart your computer.
Performing A System Recovery
System recovery options provide a more drastic solution by restoring your computer to its factory default settings.
To perform a system recovery:
- Depending on your computer’s manufacturer, different methods exist to access the system recovery tools (refer to the manufacturer’s website).
- Boot your computer into the recovery environment.
- Follow the provided instructions to initiate the system recovery process.
- Please note that conducting a system recovery will result in deleting all your files, applications, and settings. It is essential to back up your crucial data before proceeding.
Also Read: Your PC Can’t Project To Another Screen
Resetting The Computer
Resetting your computer is a powerful option that allows you to restore your system to its original state, effectively resolving persistent issues like your computer stuck on restarting.
Here’s a step-by-step guide on how to reset your computer:
- Click on the “Start” button located on the Windows taskbar.
- Open the Windows Settings.
- Choose the “Update & Security” option.
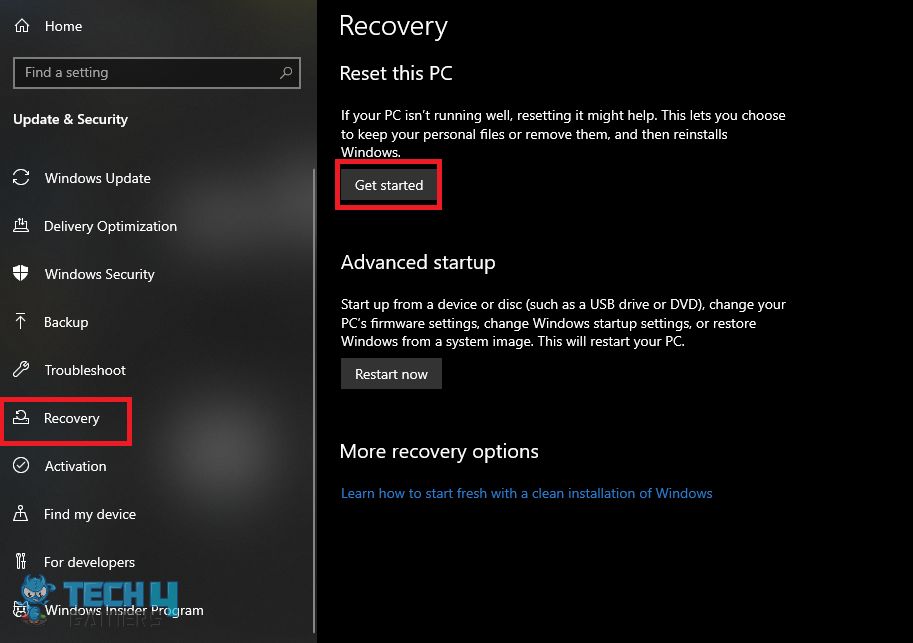
- Now, click on the “Recovery” option.

Recovery – Image Credits [Tech4Gamers] - In the “Reset this PC” section, select the “Get started” button.

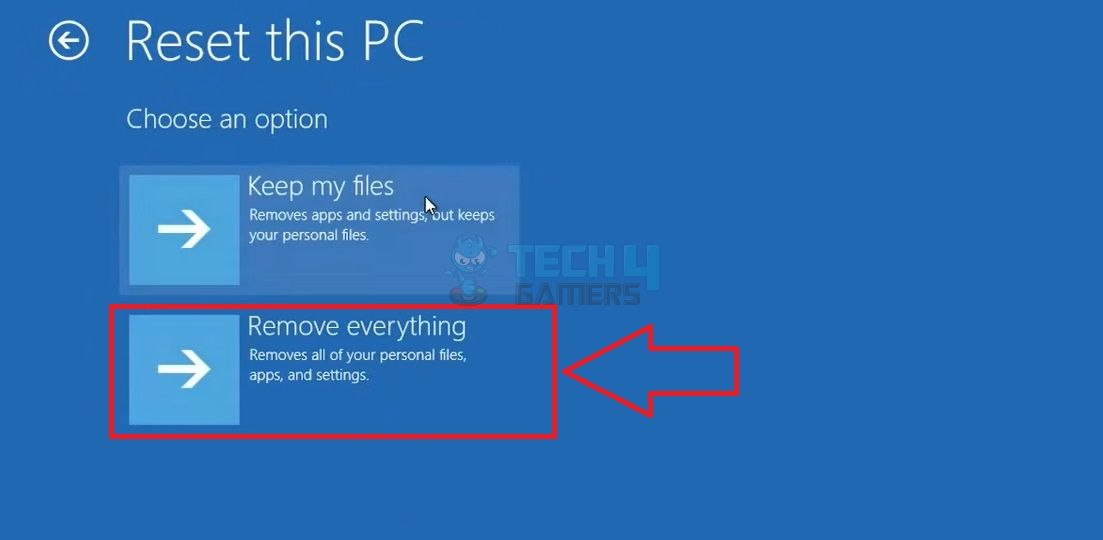
Resetting Your PC – Image Credits [Tech4Gamers] - You will have two options: “Keep my files” and “Remove everything.” Choose your desired reset method accordingly.

Choose From The Options – Image Credits [Tech4Gamers] - After choosing your preferred reset method, follow the on-screen instructions.
- You may be asked to confirm your decision and provide additional details about how you want the reset to be performed.
- Depending on your computer’s configuration, you may need to insert installation media or connect to the internet to download the necessary files.
- Confirm the reset process.
- After the reset process is finished, you will be guided through the initial setup, similar to when you first purchased the computer.
- Follow the prompts displayed on the screen to configure your language preferences, user account, and privacy settings.
- You can reinstall your apps and, if necessary, restore your personal files from backups when the setup is complete.
Frequently Asked Questions
A slow internet connection should not significantly affect restart time unless your computer depends on network resources during startups, such as network drives or cloud-based services.
Overclocking your CPU can potentially affect restart times if the overclocked settings are unstable. Ensure proper cooling and stability testing to avoid issues impacting restart performance.
Viruses or malware can cause slow restarts by consuming system resources or interfering with critical system processes.
Thank you! Please share your positive feedback. 🔋
How could we improve this post? Please Help us. 😔
[Comparisons Expert]
Shehryar Khan, a seasoned PC hardware expert, brings over five years of extensive experience and a deep passion for the world of technology. With a love for building PCs and a genuine enthusiasm for exploring the latest advancements in components, his expertise shines through his work and dedication towards this field. Currently, Shehryar is rocking a custom loop setup for his built.
Get In Touch: shehryar@tech4gamers.com


