Wondering how to switch to HDMI on a PC in Windows 11? The process is quite simple and should only take a few minutes. However, if your PC still can’t switch to HDMI, check for any connection issues or alter some display-related configurations of your PC.
How Can I Switch To HDMI On PC In Windows 11?
The process is as simple as it sounds. I only needed to make the connections and then move on to the settings to set the second output display. Here are the steps you need to follow:
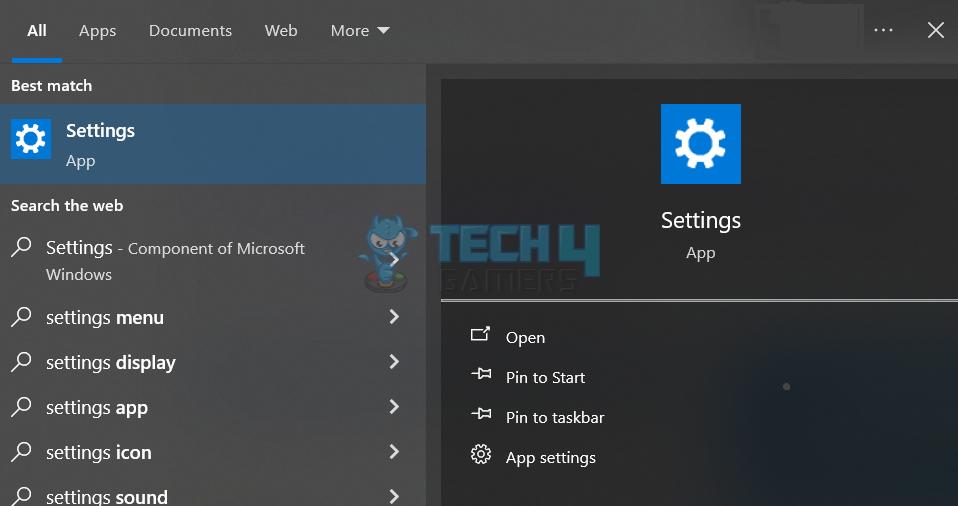
Open Settings: Plug your HDMI cable into your computer on any of the given ports > Plug another end to your monitor or TV > Go to the Windows search option > Search for Settings.
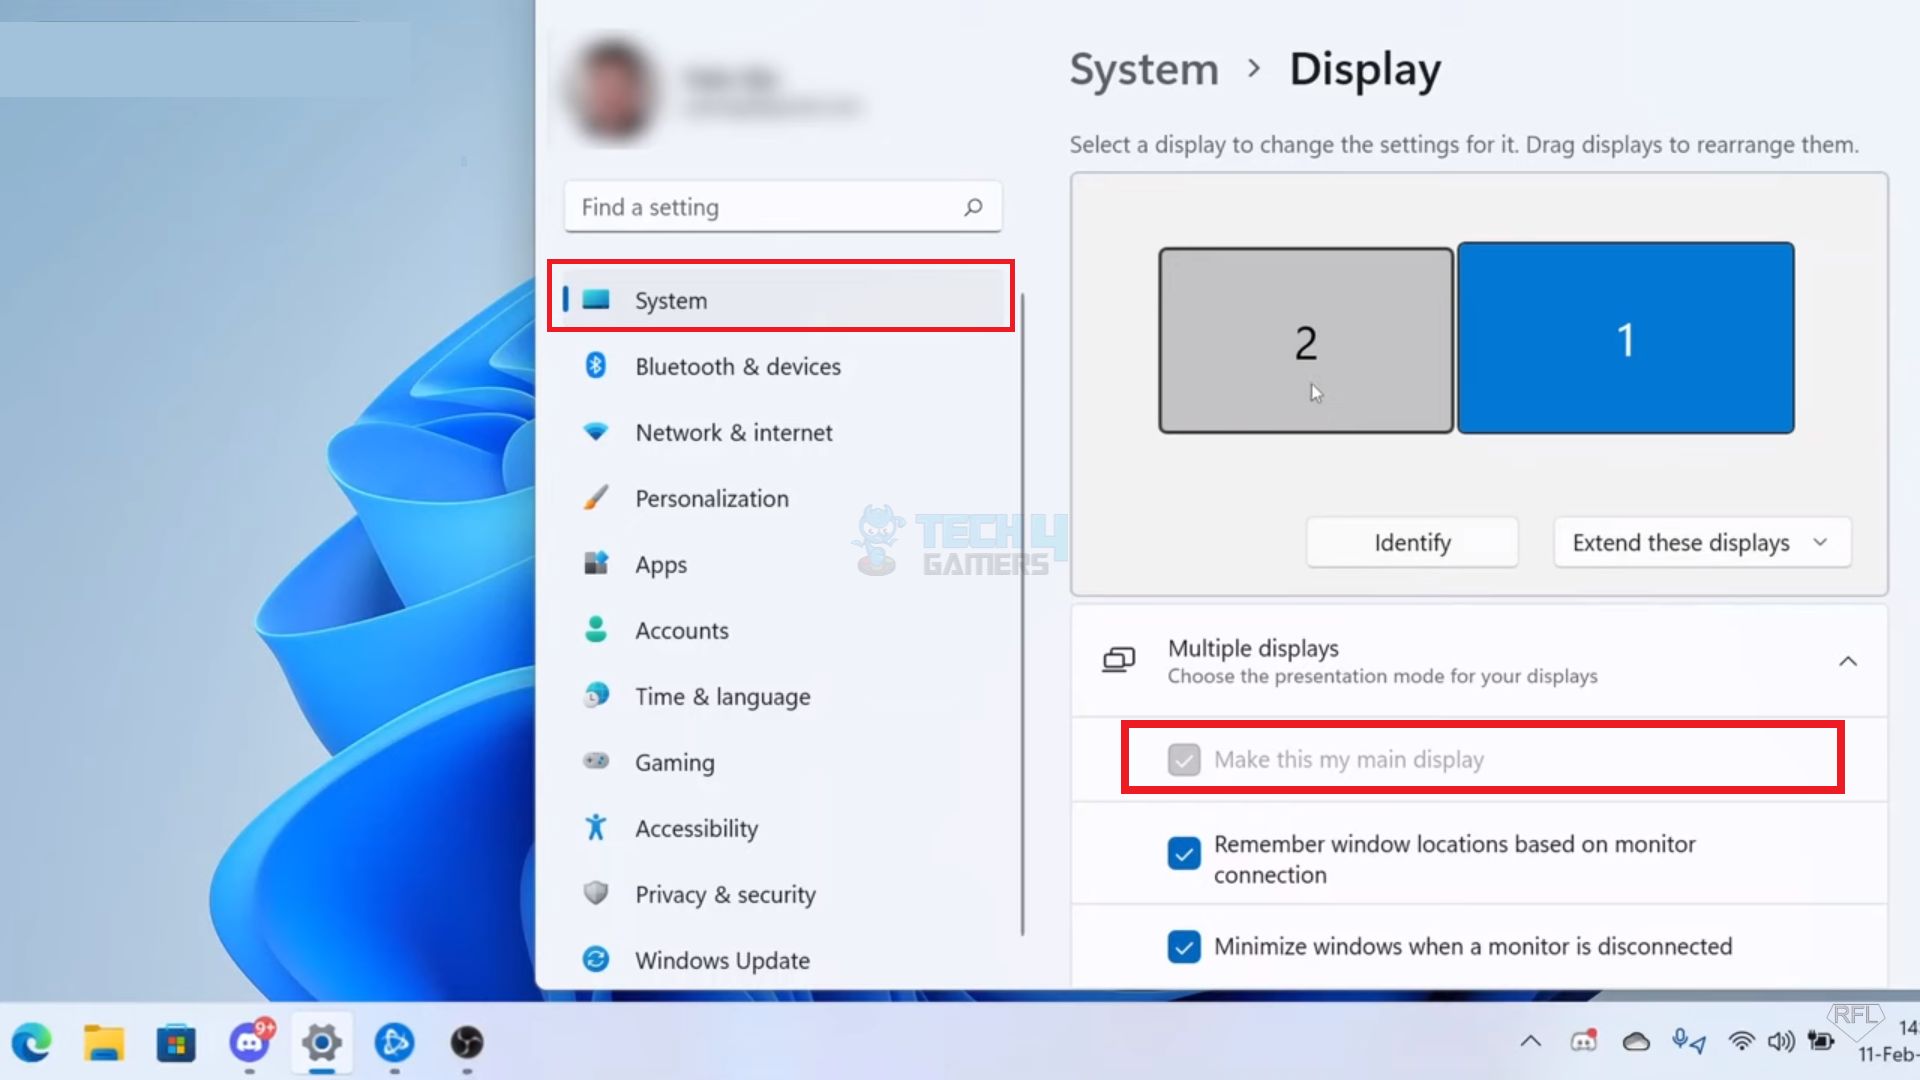
Select Options: Settings > Click on Systems tab > Display option > Multiple Devices > Make this my main display option for your second screen > Apply > OK to finish the setup.
Connect PC to a TV
If you want to enjoy something on a big screen like TV, lucky you, that is also possible. To connect my PC to a TV, some additional steps helped me. After doing the setup, just as explained above, follow these:
HDMI Setup: Turn on your TV > Press the HDMI channel button on your TV’s remote > Available HDMI channels will pop up > Select the one you have plugged the HDMI cable > You will see your computer screen on the TV.
If you followed the above procedure correctly, you should have no issues as they are personally tried and tested. However, a few things might cause HDMI not to work properly. The indication is that you won’t get either the audio or the video. Or maybe the content is distorted. You can try these easy troubleshooting tips. Switching to HDMI on a PC in Windows 11 gives the user a visually enhanced multimedia experience. After reading the article, you learned that you don’t have to change the cords on your PC every now and then. Connecting HDMI to your PC is now a piece of cake for you, right? Got myself an HDMI-to-VGA adapter so I didn't have to keep switching the HDMI cord on my monitor for PC constantly. Definitely lowers the resolution a tad bit, but it gives off a 2000's vibe. Also makes N64 games a more nostalgic treat. pic.twitter.com/m2jzWTYLv3 — RETRONOMIKON (@RETRONOMIKON) March 29, 2022 For the optimum output, you only need to configure the display settings and adjust the resolution of your system. If you face any trouble during the process or fail to connect to HDMI for any reason, the article provides enough troubleshooting tips to get rid of it easily. Connect your PC and secondary monitor through an HDMI cable, and set the second screen as your primary display. Try cleaning the cable and your ports and replugging the cable again. If that doesn’t work, try the troubleshooting methods discussed above. Yes, switching to HDMI on a PC that doesn’t have a built-in HDMI port is possible, but you will need a VGA to HDMI converter. Related Articles Thank you! Please share your positive feedback. 🔋 How could we improve this post? Please Help us. 😔 [How To Guides Specialist] Dayan Shahid is a skilled mechanical engineer passionate about technology. With certifications in various programming languages and subjects ranging from microcontrollers to aerial robotics, Dayan can effortlessly present complex technical topics in an engaging way. His ability to bridge the gap between theory and practical applications sets him apart as he continues to inspire others through their insightful content.
Troubleshooting Tips
Final Thoughts
FAQs
![]()