")


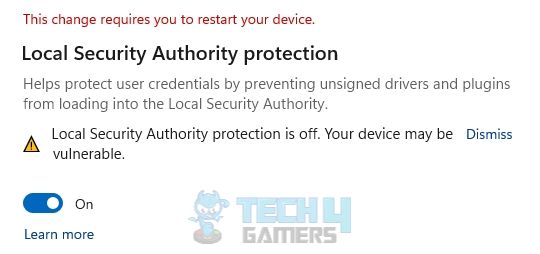
The message “Local Security Authority Protection Is Off” on Windows 11 may indicate potential security vulnerabilities due to corrupt Windows updates, inaccurate LSA configurations, and more. On the other hand, repairing and resetting the Windows Security app and updating the Windows are quick ways to resolve the issue.
The issue in Windows 11 may stem from various causes, including faulty or corrupt Windows updates, system file corruption, temporary glitches or bugs, malware or virus presence, and others. Addressing these potential issues can help resolve the problem.
- You may face problems due to incorrect settings, corrupt data, glitches within the Windows Security app, and more.
- Enable the LSA via Local Group Policy or Registry Editor, undo faulty Windows updates, or scan for threats to eliminate the warning.
- Ensure you have backed up important files and created System Restore Points before troubleshooting this issue.
Those who face the issue will see the following message on the screen:
Method Difficulty Rating
Rated: 6/10
Rated: 7/10
Rated: 7/10
Rated: 7/10
Rated: 8/10
Verify The Warning
We found that sometimes, this message may be a false warning about LSA being turned off. Hence, we need to verify if the problem exists. Users on Kaspersky Foum used this method. These are the steps to verify the warning:
- Go to Applications And Services Logs: Launch the “Event Viewer” app > navigate to “Applications And Services Logs.”

Applications And Services Logs (Image By Tech4Gamers) - Go to Windows: Select “Microsoft” > “Windows.”
- Local Security Authority: Proceed to find “Local Security Authority.”
- Event ID: Look for the Event ID 5004. Its presence means that LSA is enabled, and you get a false warning.

Enable Local Security Authority
Before trying anything, ensure that the LSA is enabled and you did not mistakenly turn it off on your system. If you are getting the error message despite LSA being active, we advise you to ignore it. On Windows Eleven Forum users enabled and double-checked their LSA status using the following steps:
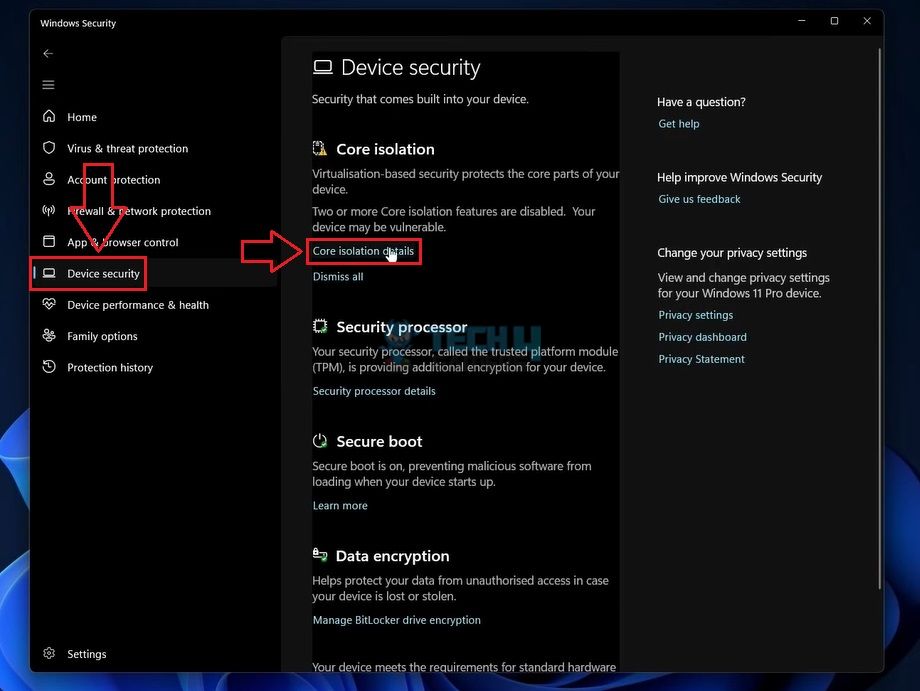
- Device Security: Search “Windows Security” in Windows Search and open the results > Go to “Device Security” on the left pane.
- Core Isolation: Click the “Core Isolation Details” button under the “Core Isolation” heading.

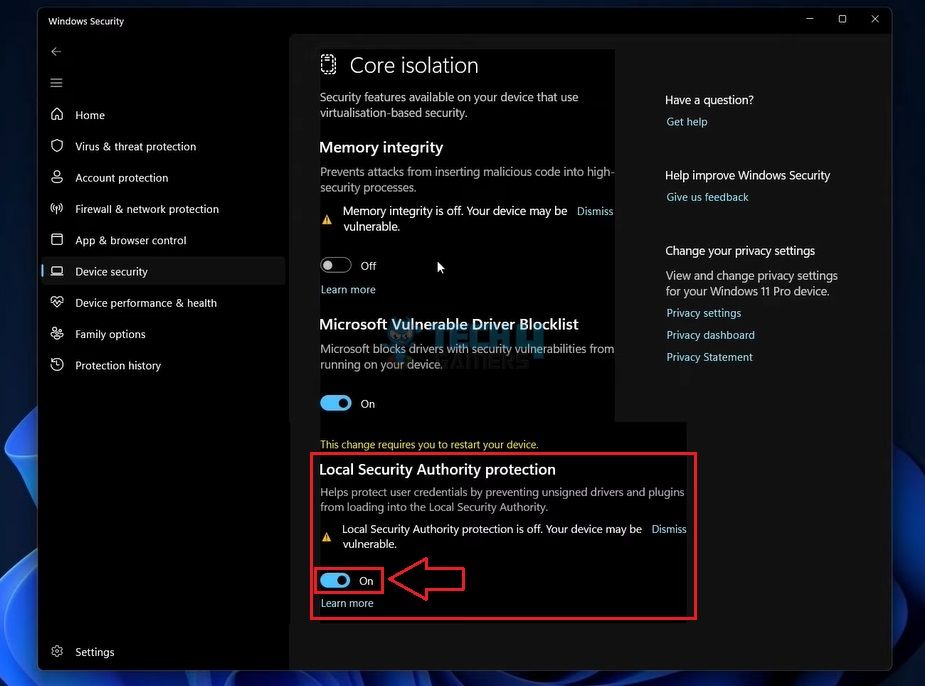
Core Isolation Details (Image By Tech4Gamers) - Local Security Authority Protection: Turn on “Local Security Authority Protection” via the toggle switch.

Enable LSA (Image By Tech4Gamers) - Yes: Hit “Yes” in the UAC dialog box.
Use Local Group Policy Editor
Alternatively, we used the Local Group Policy Editor to enable LSA and configure the correct settings. The interface lets you configure crucial Windows processes and services. Hence, we noted the error message was gone after activating the LSA Group Policy, and users on the Malware Tips forum reported it. Follow the steps below for this fix:
- Windows+R: Access the “Run” menu with the “Windows+R” keys.
- Search: Search for “gpedit.msc.”
- Go To System: Click on “Administrative Templates” under “Computer Configuration” > “System.”
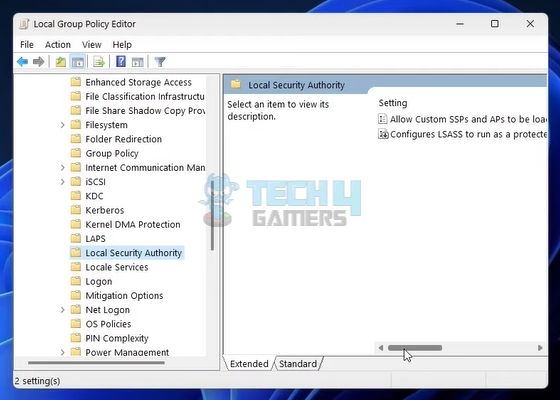
- Local Security Authority: Pick “Local Security Authority.”

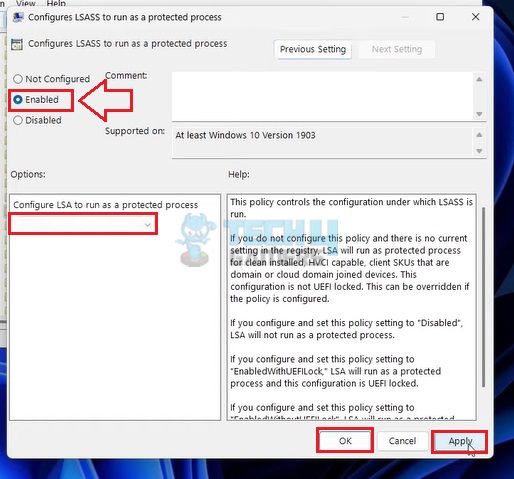
Local Security Authority (Image By Tech4Gamers) - Configure: Come to the right side of this screen and right-click > “Configure LSASS To Run As A Protected Process.”

Configure LSASS (Image By Tech4Gamers) - Choose Enabled With UEFI Lock: Choose “Enabled” > In the “Options” drop-down, > “Enabled With UEFI Lock.”
- Apply: Go with “Apply” > “OK.”

Change Registry Settings
One more technique of turning on the Local Security Authority is via the Registry Editor. However, vigilantly deal with each step to avoid any system malfunctions. This technique was used by different users on the SuperUser Forum. These are the exact steps you should perform:
- Execute Code: Go to the “Run” box > Execute the code “regedit”
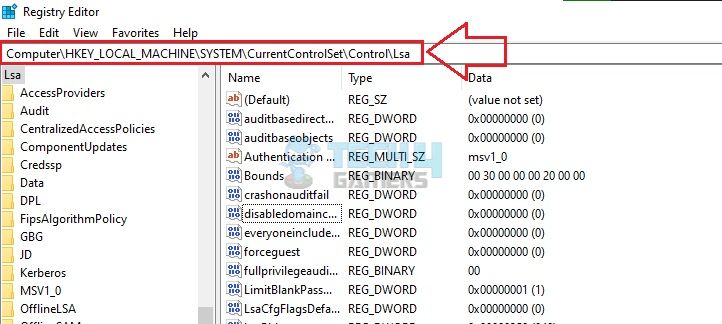
- Type: Type the address “Computer\HKEY_LOCAL_MACHINE\SYSTEM\CurrentControlSet\Control\Lsa” in the “Address Bar.”

LSA Search (Image By Tech4Gamers) - Select New: Now, right-click on the black part of this screen > “New.”
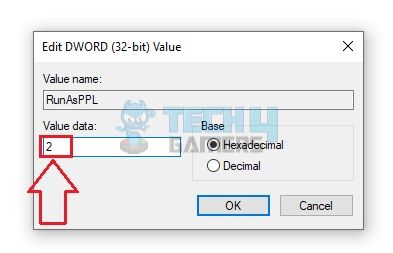
- Name Folder: Pick “DWORD (32bit) Value” from the following mini-menu > Name the folder “RunAsPPL.”
- Repeat: Repeat this to create another folder, “RunAsPPLBoot.”

Create DWORD (Image By Tech4Gamers) - Pick Value Data: Next, click on these folders and pick “2” in the “Value Data” section.

Change Value Data (Image By Tech4Gamers) - Restart: Restart your computer.

Undo Windows Updates
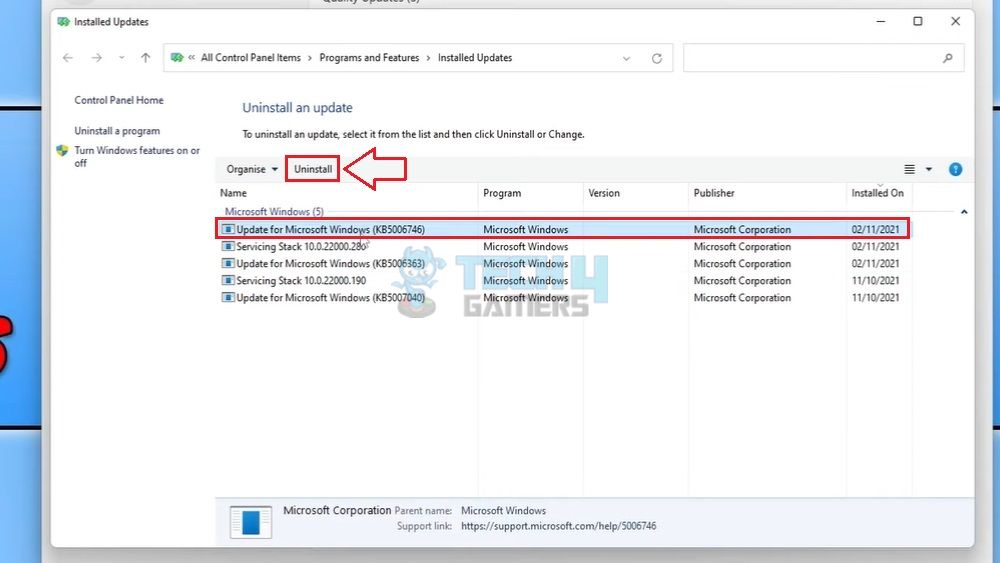
Faulty Windows updates can also interfere with LSAs running on the system. Besides, some users reported receiving the error message after installing Windows updates, so we tested undoing those updates, and it seemed to work. Users on the Tech Support Forum told each other to undo the updates to avoid this problem. Use these instructions to uninstall Windows updates:
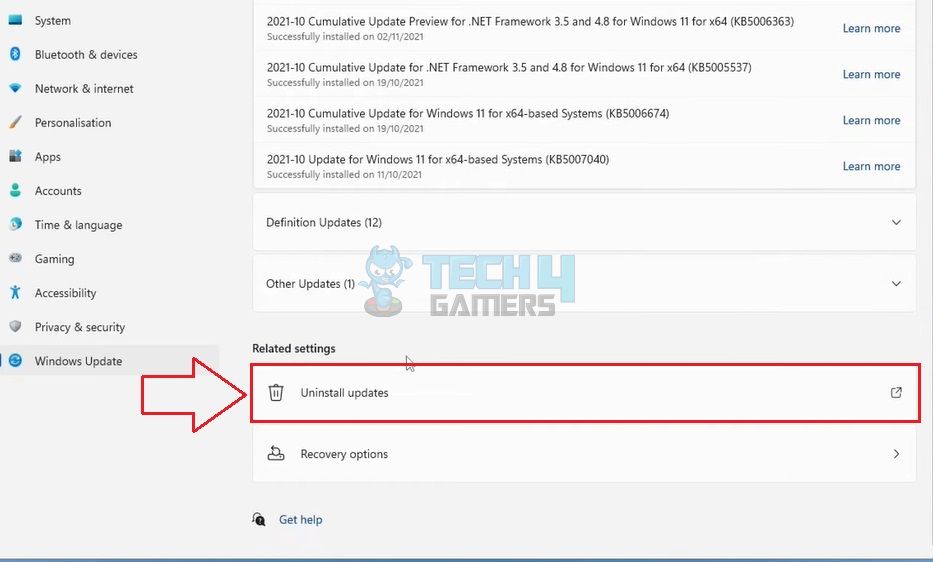
- Go To Update History: Head to the “Settings” > “Windows Update” tab > “Update History.”
- Uninstall Updates: Scroll down and pick “Uninstall Updates.”

Uninstall Updates (Image By Tech4Gamers) - Uninstall: Right-click the topmost Windows update > “Uninstall.”

Uninstall Windows Update (Image By Tech4Gamers) - Restart: Process with the uninstallation with “Yes” > Lastly, pick “Restart Now.”
- reg add HKLM\SYSTEM\CurrentControlSet\Control\Lsa /v RunAsPPL /t REG_DWORD /d 2 /f;reg add HKLM\SYSTEM\CurrentControlSet\Control\Lsa /v RunAsPPLBoot /t REG_DWORD /d 2 /f;
Final Thoughts
After detailed research, I found that, to avoid the “Local Security Authority Protection Is Off” issue in Windows 11, promptly address causes such as corrupt updates, system files, malware, or incorrect configurations. Users have been reporting this issue on different forums, mainly Twitter.
Windows 11 incorrectly warns Local Security Authority protection is off !!! @MicrosoftStore @Windows @MicrosoftHelps @Windows pic.twitter.com/8TCumI5YJf
— souchik joardar (@joardar_souchik) May 5, 2023
Regularly updating Windows is crucial to maintaining system security and stability, ensuring a seamless computing experience. Hopefully, windows come up with something through which this issue no longer arises. Until then, you will have to work around the error using this guide.
Related Articles:
- How To Solve Windows Security Certificate Error
- How To Fix Windows Update Error 0xc1900204
- How To Fix Windows Update Error 0x800f0922
- How To Get Into BIOS [Windows 11]
- Windows 11: Choose Where To Get Apps Missing
Thank you! Please share your positive feedback. 🔋
How could we improve this post? Please Help us. 😔
[Error Fix Expert]
Hello, I’m Uzair Shabir, a tech enthusiast pursuing a Bachelor’s in Electrical Engineering. At Tech4Gamers, I’m an Error Fix Expert, crafting articles on different issues and how to fix them. With a Google IT Support Certificate, I navigate tech complexities to deliver insightful perspectives.
Get In Touch: UzairShabir@tech4gamers.com