


Encountering a frustrating issue where the PS4 won’t turn on can quickly ruin your gaming experience. This issue may be caused due to hardware issues, software glitches, etc. This common problem can leave users puzzled and seeking solutions.
- The PS4 might not turn on due to power supply issues, hardware malfunctions, software glitches, or overheating problems.
- The issue is relatively common among users around the world.
- You can solve the issue by checking the power connection, verifying the power indicator light status, and powering off and on again.
- If the basic checks and troubleshooting steps don’t resolve the issue, it may be necessary to implement advanced troubleshooting, seek professional help, or consider repair or replacement options.
Method Difficulty Rating
Rated: 5/10
Rated: 6/10
Rated: 4/10
Rated: 6/10
Troubleshooting The Internal Power Supply
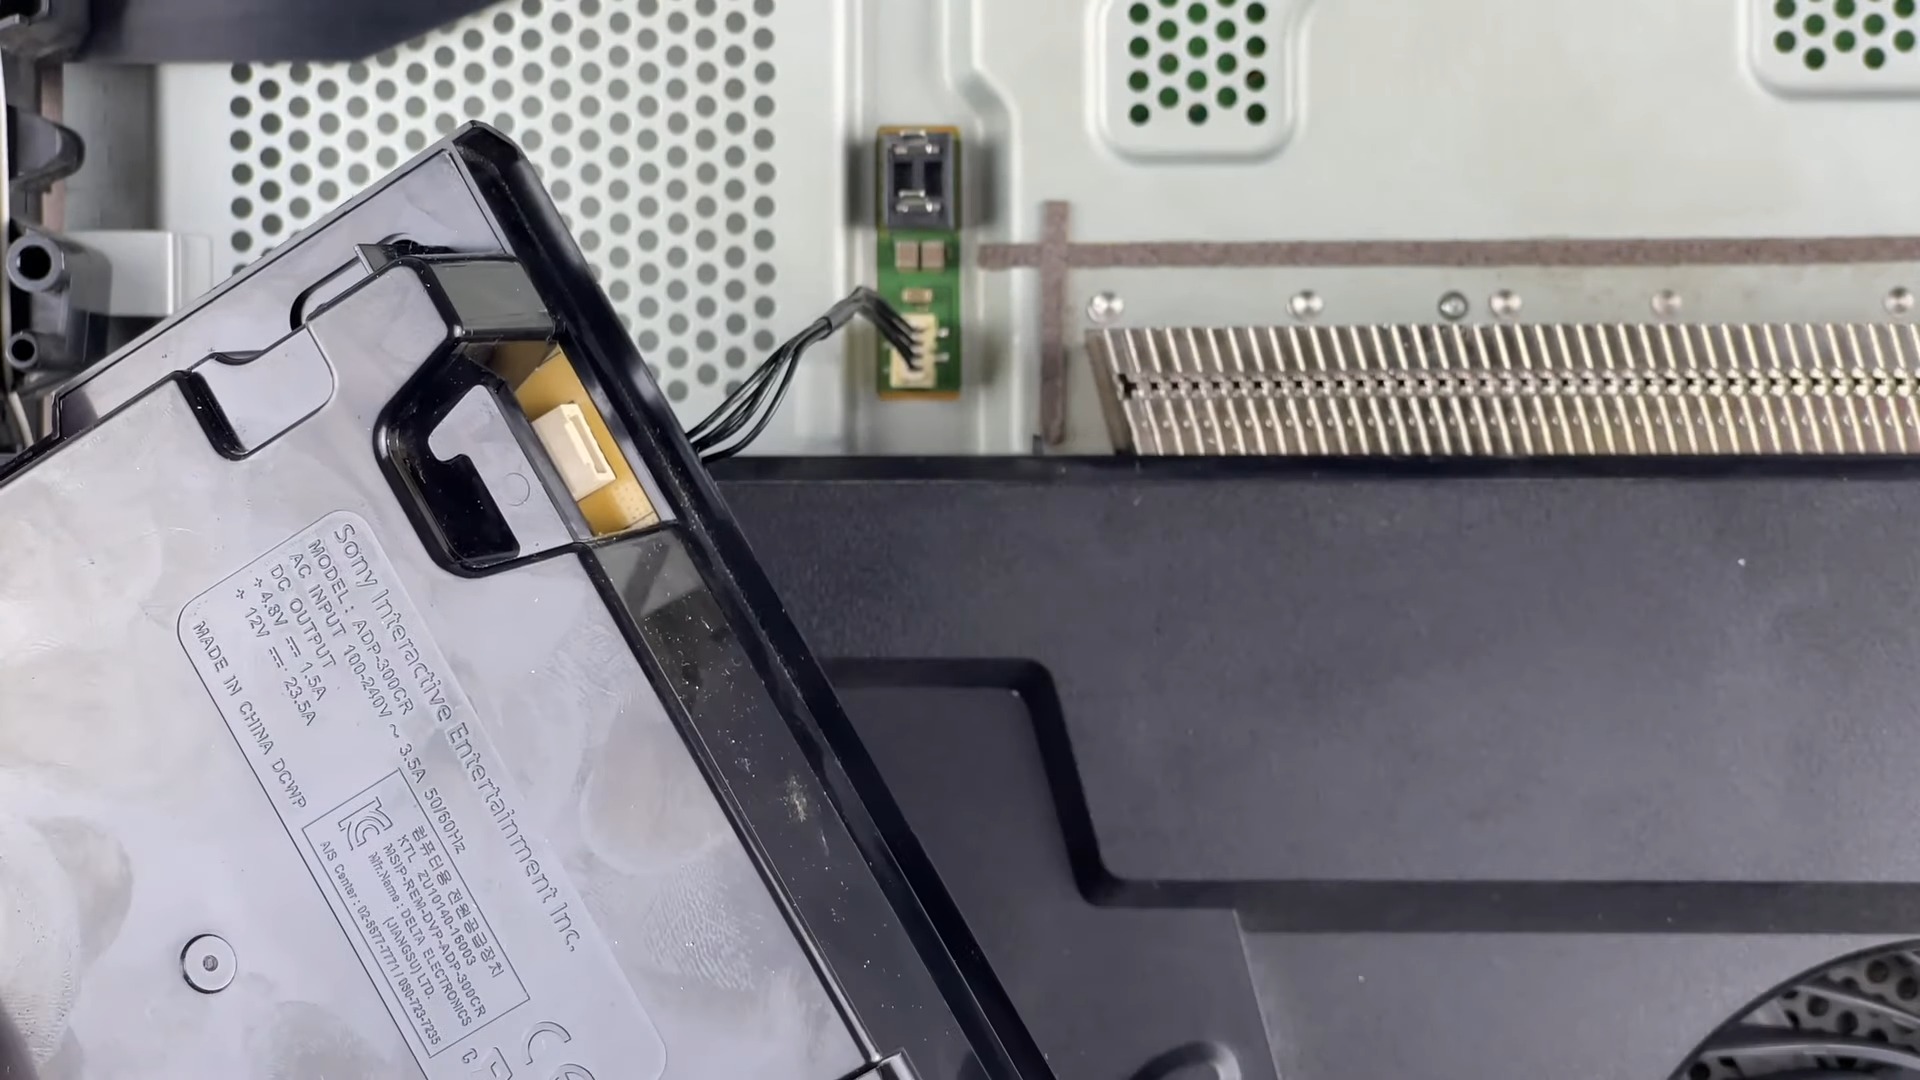
One of the primary reasons for this problem is a power supply issue. Opening the PS4 console and working with its internal components should be done cautiously and only by those comfortable with electronics. Verifying and repairing the power supply addressed the problem for both us and online users. To troubleshoot the internal power supply, take the following steps:
- Check For Damage: Power off the PS4 > Unplug the power source > Open the PS4 console > Inspect the power supply unit for visible damage.

Inspect The Internal Power Supply Carefully – Image Credits [YT/How-FixIT] - If Damaged: Consult a professional for repair or replace the power supply unit.
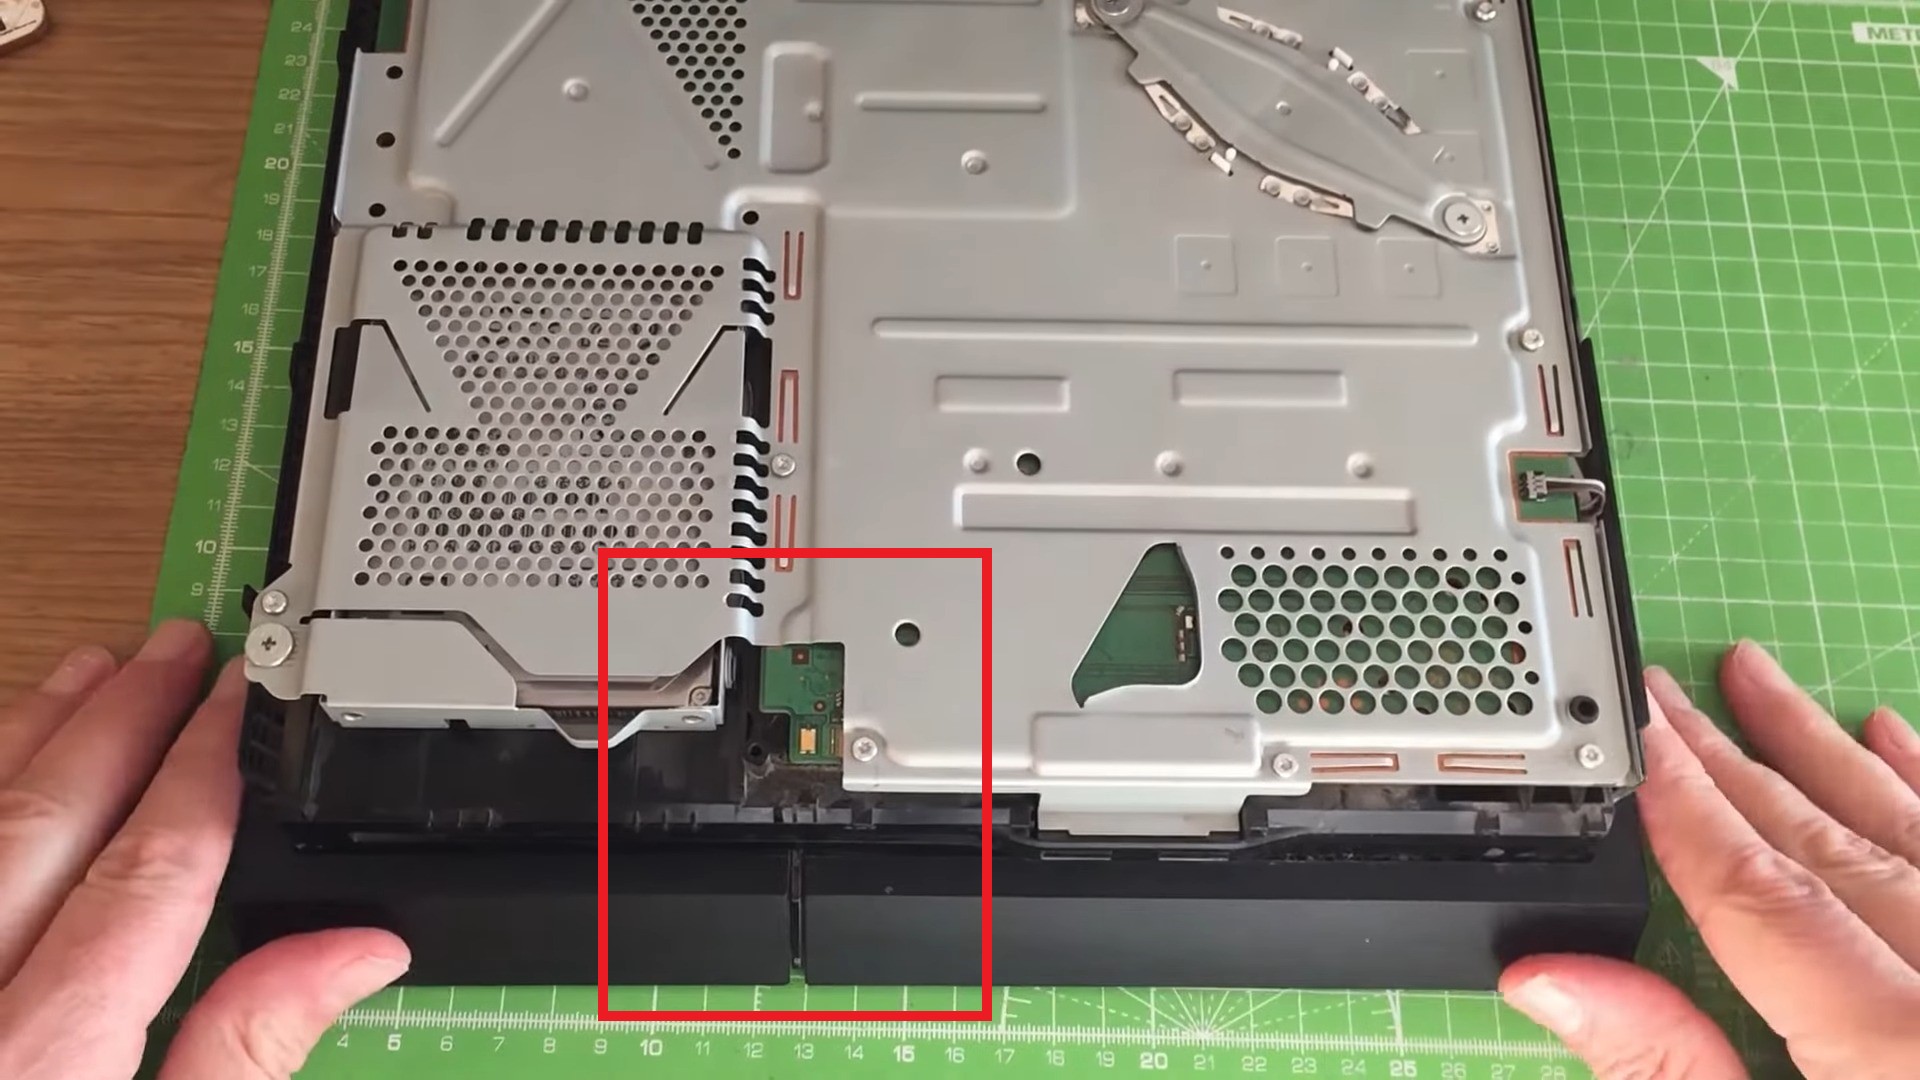
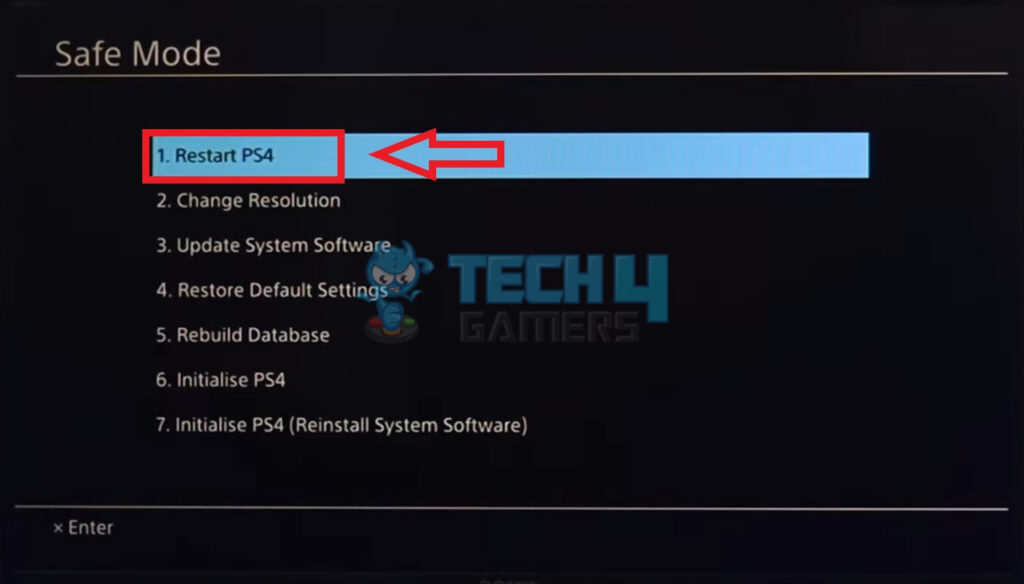
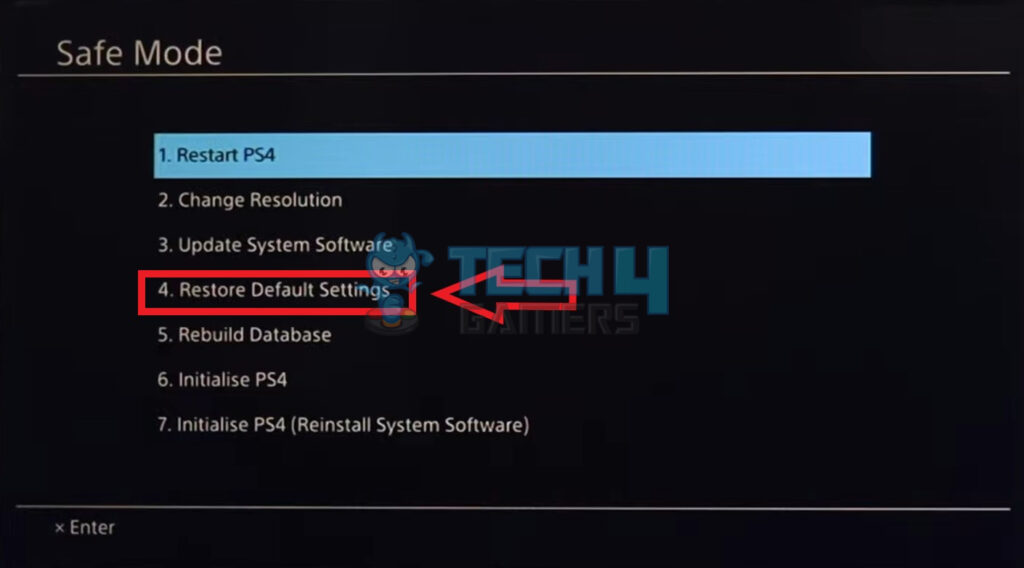
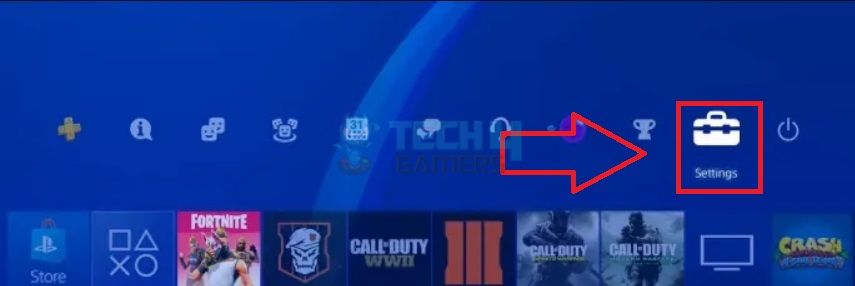
During our testing, we found out that a malfunctioning power button can also cause the PS4 to have difficulty turning on. We advise you to inspect the power button for any indications of damage or debris that could impede its correct operation. To inspect the power button, follow these steps: If the power button exhibits signs of damage or fails to operate properly, it may necessitate repair or replacement. PS4 Safe Mode is a diagnostic mode that allows users to troubleshoot and fix issues with their PlayStation 4 console. Fixing the “PS4 won’t turn on” issue through safe mode helped us a great deal and additionally was recommended by users on the Ifixit forum. To access Safe Mode and potentially resolve the “PS4 not switching on” issue, follow these steps: Outdated system software can sometimes lead to compatibility issues and disrupt optimal performance. Whenever your console powers on, it’s advisable to prioritize updating its software. We found that this simple action greatly expedited issue resolution on our end. To update the PS4 system software, follow these steps: In gaming, the frustration of a PS4 that refuses to turn on can be disheartening. However, armed with the knowledge and steps outlined in this article, you have the tools to tackle the problem head-on and reignite the gaming experience. To check if your PS4 is still under warranty, visit the official Sony PlayStation support website and enter your console’s serial number. The website will provide information regarding the warranty status of your PS4, indicating whether it is still covered or expired. It’s best to update your PS4 system software regularly, at least once a month, to ensure optimal performance, bug fixes, security enhancements, and compatibility with the latest games and features. Related Articles Thank you! Please share your positive feedback. 🔋 How could we improve this post? Please Help us. 😔 [Errors Troubleshooting Expert] Arsalan Shakil (aka GuyThatDoesEverything on YouTube) is a PC Tech Enthusiast and Electronic Geek. With over 10+ years of experience in Electronics, he then decided to explore Software Engineering to design embedded products and automate existing hardware solutions. When he started tearing down old cameras to understand how they worked, he was shocked (literally, when he got zapped by a flash discharge capacitor), giving him the power (debatable) to fall in love with videography/photography. He also started making some fun videos that later became YouTube tech reviews. Skills: In his local region, he’s known to expose cheap PSU brands, often claiming fake certification or false claims on the box. He’s a true nerd and needed some friends in his life. Then he met some guys who work at Tech4Gamers, and they also came out to be equal nerds who suggested he join Tech4Gamers as a Hardware Expert.
Inspecting The Power Button
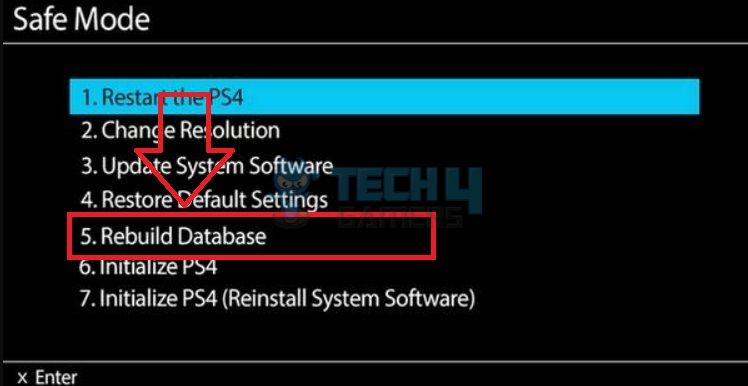
Fixing Through Safe Mode
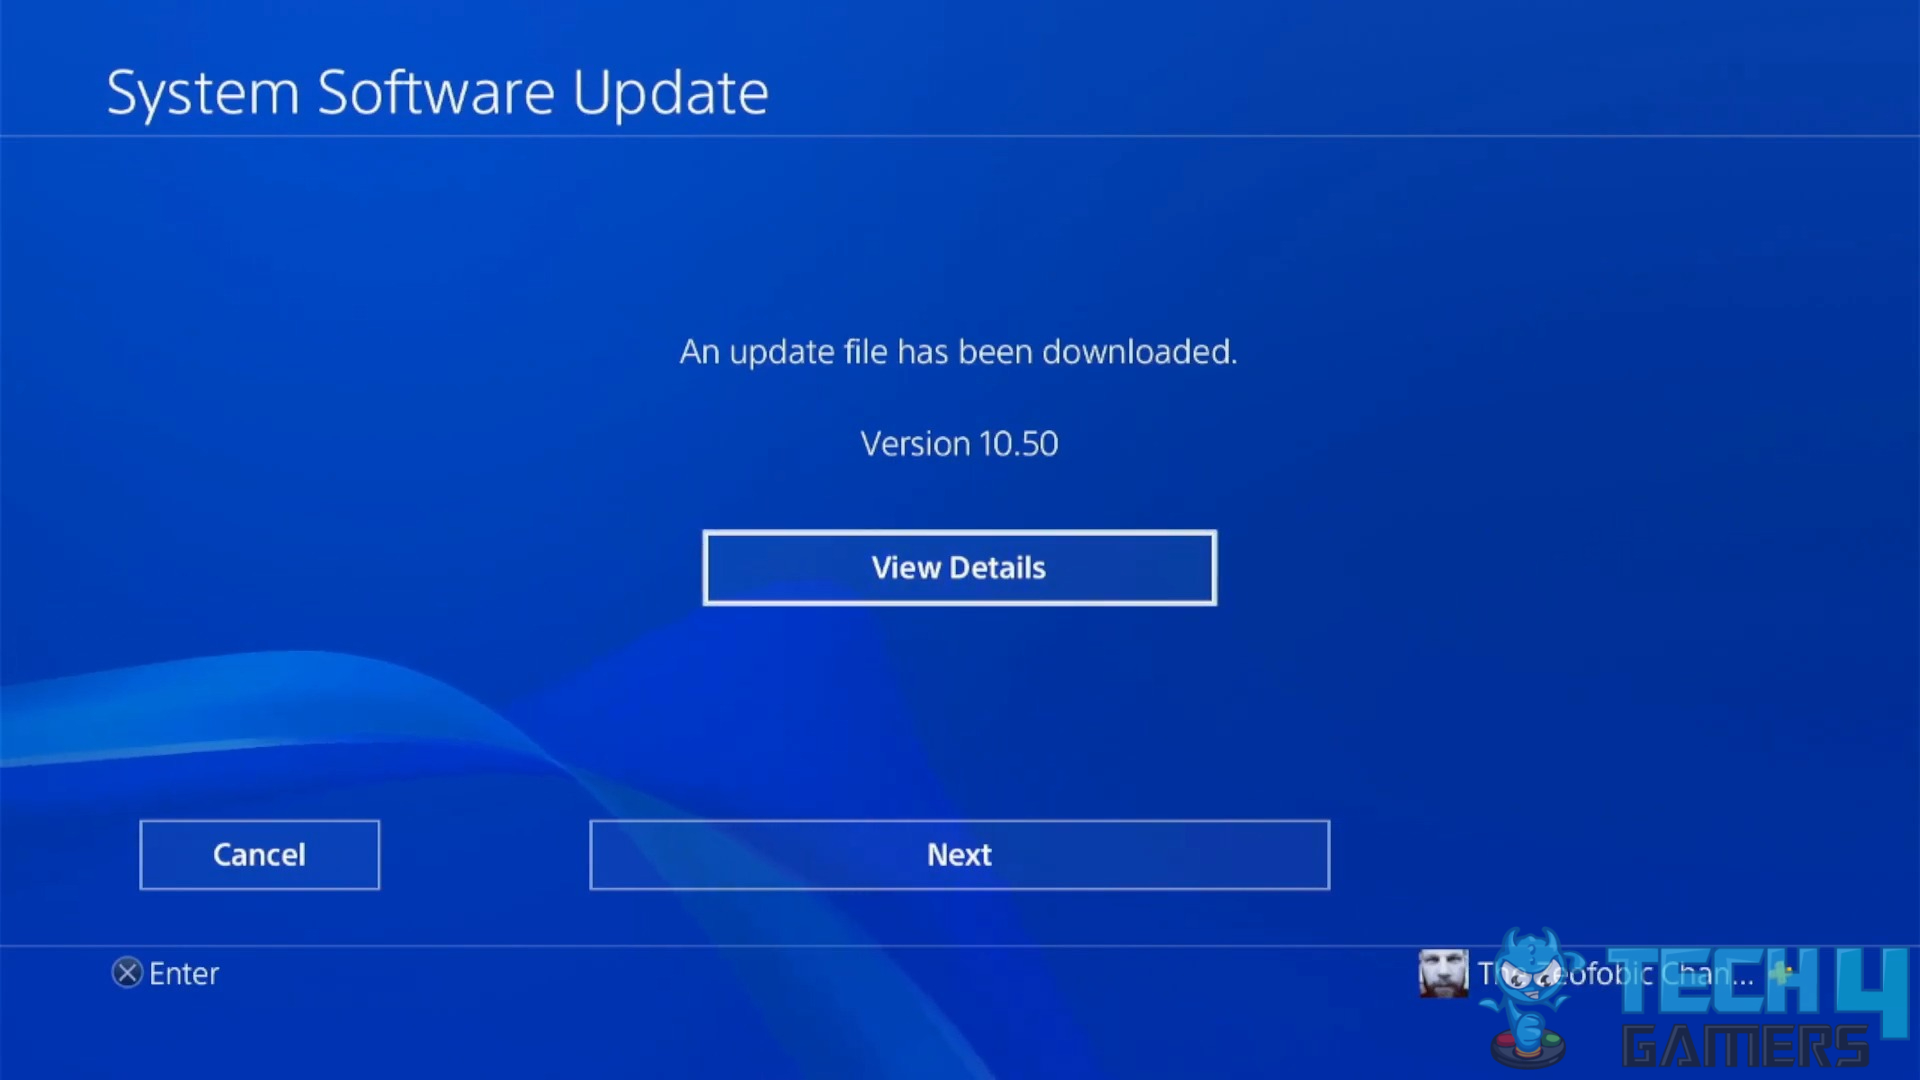
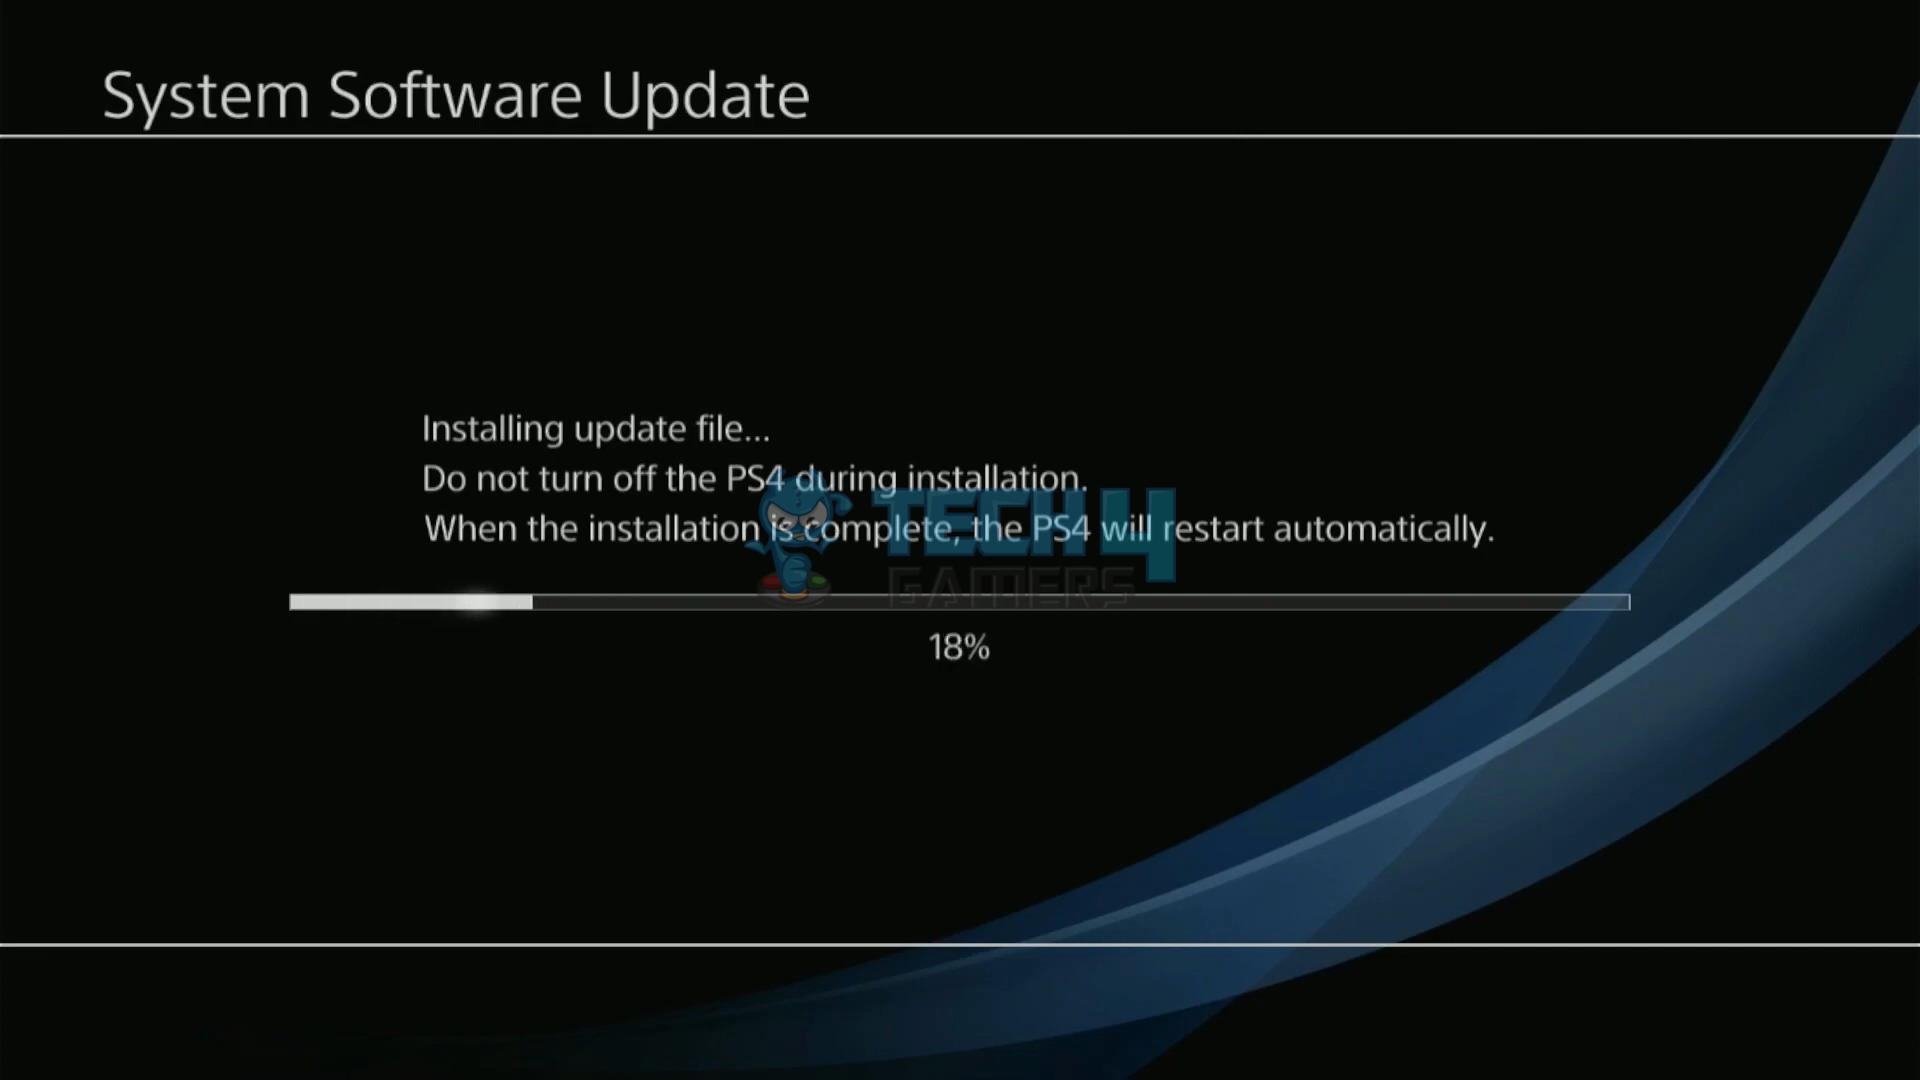
Updating The PS4 System Software
Last Words
Frequently Asked Questions
![]()


