 Threads

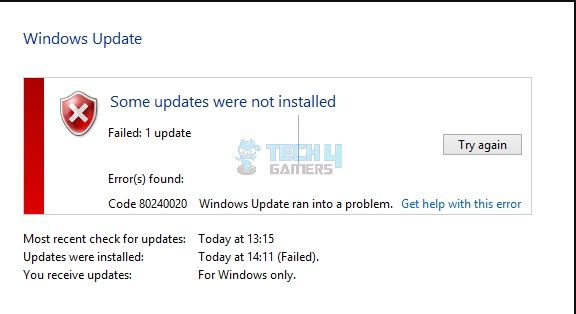
The Windows 10 Update error 80240020 appears when a driver or program already installed is incompatible with the feature upgrade or Windows 10 installation files are not properly downloaded. You might see the error on your computer for various reasons, such as a corrupt or faulty system, installation files, or Windows update components. Some third-party software can also conflict with the system processes.
When met with the error, you’ll see the following message on the screen:
Key Takeaways
- The error 80240020 may arise when you accidentally download incomplete Windows files, or there are compatibility issues with the drivers after installation.
- The causes behind the error could be corrupted installation files or Windows update components, low space on the disk, or conflicts with other software.
- First, try editing the System Registry, deleting components from the download folder, or resetting your PC.
Disable Antivirus
Pause all the antivirus protection enabled on your computer before the Windows updates. Third-party antivirus software, like Avast or McAfee, might prevent your computer from updating smoothly. Therefore, stop the protection. However, resume it after a successful Windows update to prevent malware and viruses from affecting your system.
Edit System Registry
Make sure to carry out this process if you have enough knowledge regarding the process; otherwise, consult an expert. Also, create a backup of essential data just to be safe. However, this method was successful when I attempted it and was also suggested on the Microsoft forum.
Use these steps to modify the System Registry:
- Press Windows+R > Run > Type regedit > Yes to grant relevant permissions.
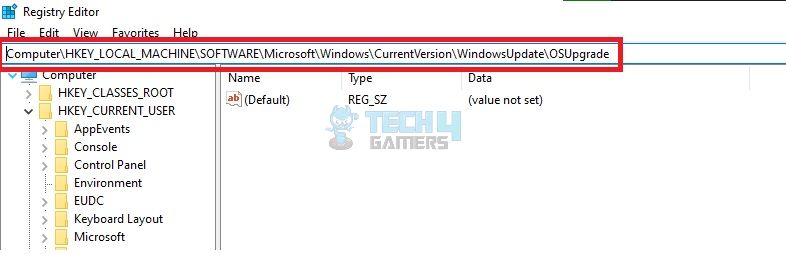
- Copy and paste the following address and Enter
Computer\HKEY_LOCAL_MACHINE\SOFTWARE\Microsoft\Windows\CurrentVersion\WindowsUpdate\OSUpgrade

Address (Image By Tech4Gamers) - However, if the OSUpgrade folder is not available in the System Registry, you can go to the WindowsUpdate section from the left pane.
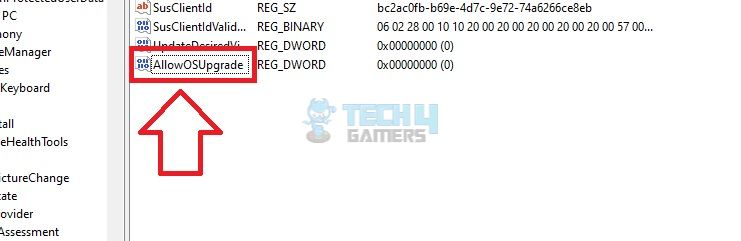
- Once there, Right-click screen > New > Choose DWORD (32-bit) Value > Folder name AllowOSUpgrade.

Name The Folder (Image By Tech4Gamers) - Now, keep the value as 0x00000001 > Exit Registry > Restart PC.
- Check if you can install the updates.
Delete Contents In The Downloads Folder
Reinstall the Windows Update components to eliminate corrupt data or glitches. This method worked for the Reddit user, as you can find in the thread, and other users also found it helpful.
Important: Remember only to delete the contents within the Downloads folder and not the folder itself.Access and delete the files with this method:
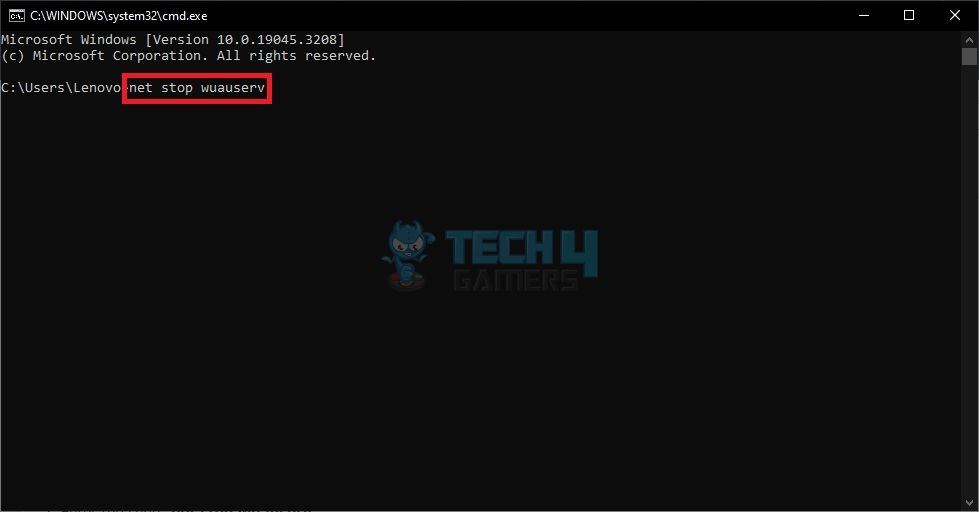
- Search Bar > cmd > Command Prompt > Run as administrator.
- Enter the command:
net stop wuauserv

Stop Service (Image By Tech4Gamers) - Go to Desktop > This PC > Local Disk: C > Windows folder > Software Distribution > Downloads.
- Next, select all the files in this folder and delete them.
- Return to Software Distribution > DataStore.
- Delete everything in this folder as well.
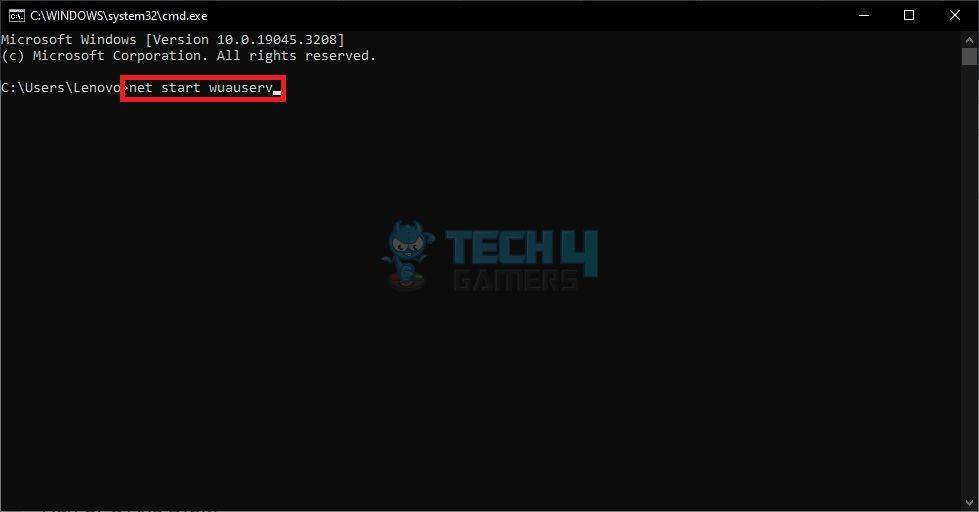
- Again, open Command Prompt and run the code:
net start wuauserv
Start Service (Image By Tech4Gamers)
Use Command Prompt
Continuing from the method above, you need to run an update command in the Command Prompt after deleting files from the Downloads folder to start the Windows update, as shown by the YouTuber Mr. RemoveVirus.
Here’s how:
- Go to Windows search > Type cmd > Enter.
- Open Command Prompt > Run as administrator.
- Open Control Panel > Windows update.
- Copy and paste the following code into cmd and Enter:
wuauclt.exe /updatenow
- The update process starts automatically on the Control Panel window as soon as the above command runs.
Disable Windows Defender Firewall
Another option is to disable the Windows Firewall on the connected network so that nothing interrupts the update process. However, make sure to turn it back on as soon as you’ve tested the method.
Windows Media Creation Tool
A wizard for installing the Windows operating system is called the Windows Media Creation Tool. You may also use it to update your current version of Windows. I’ll walk you through upgrading Windows successfully using MCT and beating the Windows update error.
This strategy addressed the problem and was also suggested by MDTechVideos on YouTube.
Following are the steps to update Windows:
- Click on the link to download the Windows Media CreationTool.
- Select Download Now > Yes when prompted by User Account Control (UAC).
- Choose Accept for the Terms & Conditions > Upgrade This PC Now > Next.
- A Window will appear to select an option from installing Windows from scratch or upgrading the existing version.
- Click Next without making any changes.
- Watch for the updates to install as the problem will be fixed.
Reset PC
Resetting the computer will undo all the customizations and delete the installed apps and media to restore the system to its factory default state. Once you restart the PC after the reset, it will automatically install the Windows.
Related Articles
- How To Fix Windows 10 “Diagnosing Your PC” Error
- Windows Wireless Service Is Not Running On Computer
Thank you! Please share your positive feedback. 🔋
How could we improve this post? Please Help us. 😔
[Errors Troubleshooting Expert]
Arsalan Shakil (aka GuyThatDoesEverything on YouTube) is a PC Tech Enthusiast and Electronic Geek. With over 10+ years of experience in Electronics, he then decided to explore Software Engineering to design embedded products and automate existing hardware solutions.
When he started tearing down old cameras to understand how they worked, he was shocked (literally, when he got zapped by a flash discharge capacitor), giving him the power (debatable) to fall in love with videography/photography. He also started making some fun videos that later became YouTube tech reviews.
Skills:
- 10+ years of experience in Electronics design, embedded solutions, and prototyping
- Majored in Software Engineering
- Research paper publication in IEEE for Embedded Military Uniform & LoRa WAN wireless technology
- Specialized in IoT Solutions
- PC Enthusiast & PC Modder
In his local region, he’s known to expose cheap PSU brands, often claiming fake certification or false claims on the box. He’s a true nerd and needed some friends in his life. Then he met some guys who work at Tech4Gamers, and they also came out to be equal nerds who suggested he join Tech4Gamers as a Hardware Expert.


