


Having multiple GPUs can enhance the graphical performance of your PC. However, there can be times when Windows does not detect the second GPU. For this reason, we tested some methods, like updating BIOS, Windows, and GPU drivers, to help you eliminate this headache.
- You can use two GPUs on your computer if the motherboard offers dual-GPU support with dedicated slots for each.
- Windows may not perceive the second GPU due to an outdated Windows/graphics card driver, incorrect display settings, and incompatibility between the GPU and the motherboard.
- You can try updating the graphics card driver, Windows, and BIOS to fix this problem.
Method Difficulty Rating
Update Graphics Card Driver
Rated: 3/10
Update Your Windows
Rated: 3/10
Update BIOS
Rated: 4/10
Update Graphics Card Driver
If Windows is not detecting your second GPU, we suggest you update your drivers. Updating the drivers timely ensures everything functions smoothly on your computer. Furthermore, this technique also helped several users on the Steam community forum. Here’s how you can update your GPU drivers:
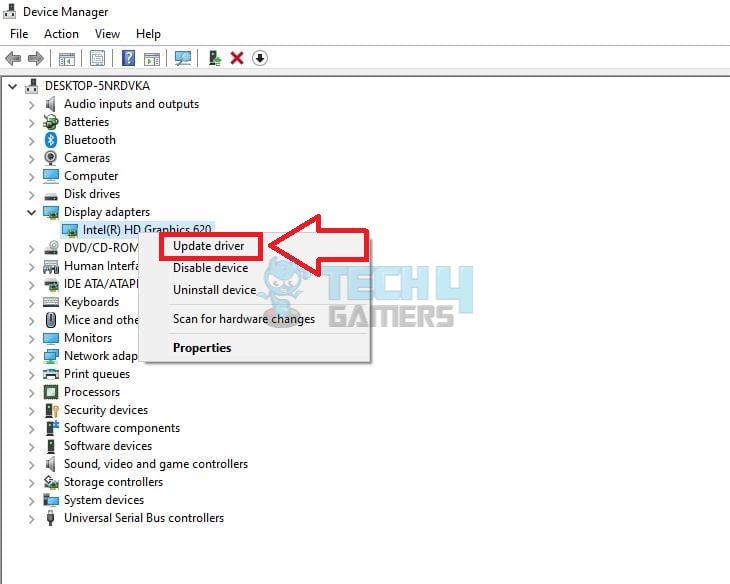
- Go To Display Drivers: Press Windows+X keys > Select “Device Manager” > Right-click on the graphics card driver > Select “Update Driver.”

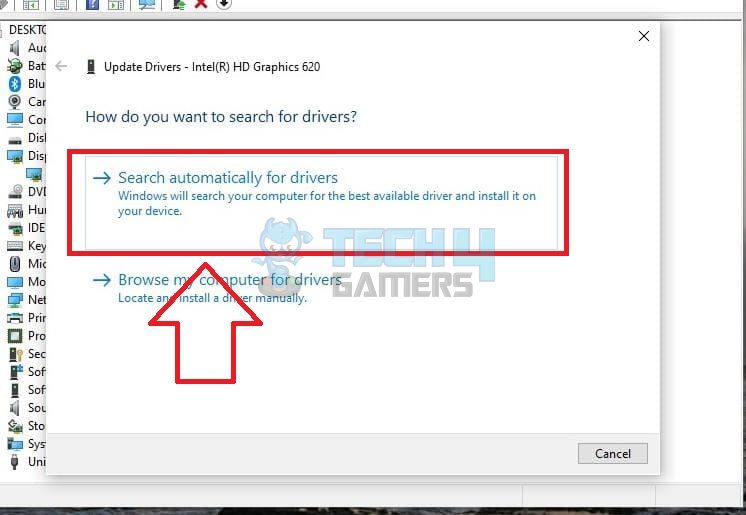
Click On Update Driver (Image By Tech4Gamers) - Select The First Option: Pick “Search Automatically For Drivers” from this window.

Select The First Option For Searching Drivers (Image By Tech4Gamers) - Restart PC And Verify: Reboot your computer and see if the solution works.
Update Your Windows
Because this error is directly related to Windows, you must look for relevant updates for your operating system and install them. We have covered all the instructions on updating Windows for the commonly used versions. Moreover, users on the Windows 7 forum claimed that updating Windows resolved this issue. Let me walk you through this process:
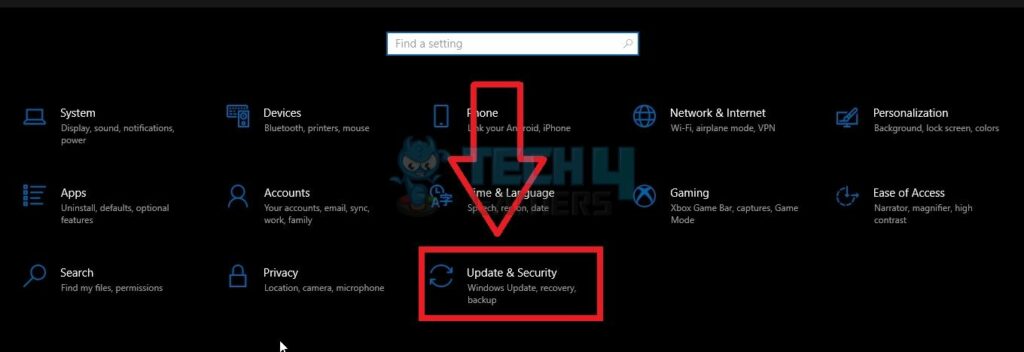
- Open Settings: Go to “Settings.” > Select “Update And Security.”

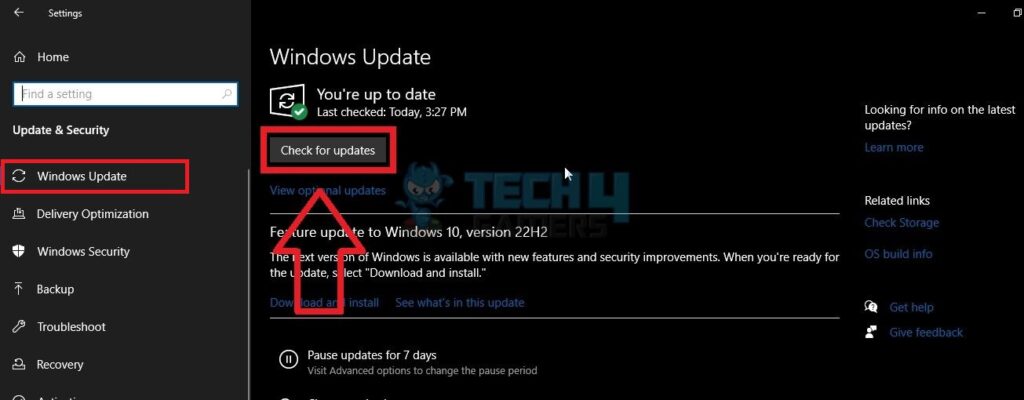
Go To Update And Security (Image By Tech4Gamers) - Check For Updates: Highlight “Windows Update” from the left panel > Press the “Check For Updates” button.

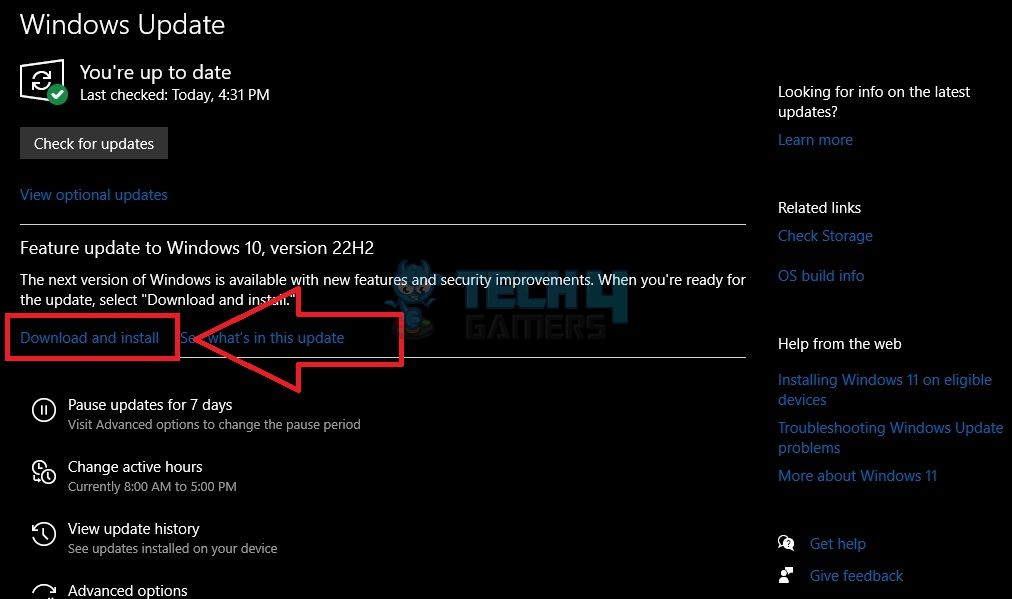
Click On Check For Updates (Image By Tech4Gamers) - Install Latest Updates: “Download And Install” any latest updates recommended for your computer.

Click On The Download And Install Option (Image By Tech4Gamers)
Update System BIOS
Updating BIOS can optimize your computer by fixing bugs, cleaning corrupt data, and improving its security. Moreover, the process is also helpful in making your computer compatible with new hardware, such as graphics cards that were not supported before.
This technique also fixed the issue for many users on the Nvidia forum. You can update the BIOS by following these steps:
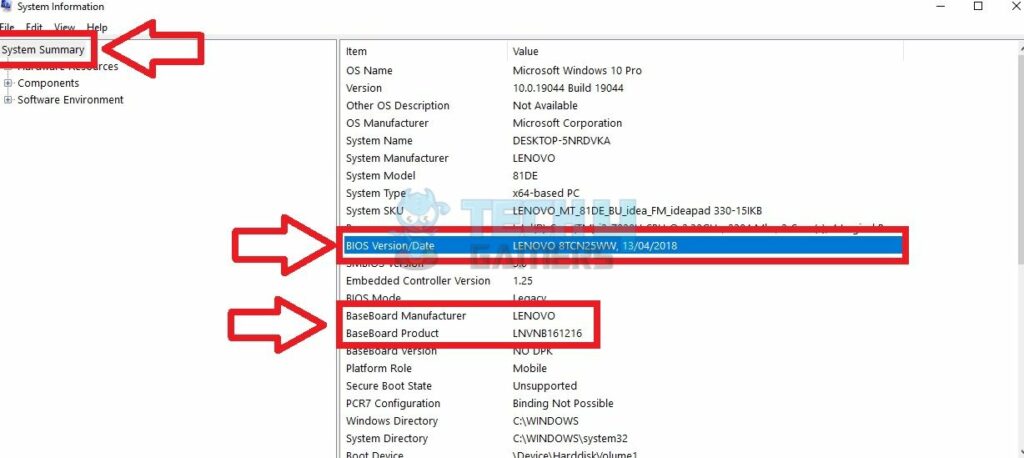
- Open System Information: Search “System Information” > “Open” the app > Pick “System Summary” from the set of options on your left.
- Note BIOS Version: Find “BaseBoard Manufacturer” and “BaseBoard Product” and note down the details, including the “BIOS Version/Date.”

Note The BIOS Details (Image By Tech4Gamers) - Download Latest BIOS: Go to your manufacturer’s website > Download the latest BIOS version > Install the new BIOS.
Final Words
This is a wrap-up of our fixes if your PC can’t detect the second GPU. On an end note, inspect if the motherboard is compatible with two GPUs before purchasing a second graphics card for your computer.
Comment
byu/Patient_River_3478 from discussion
inbuildapc
If none of the solutions could fix the problem, you may have bought a faulty graphics card. Try inserting it into another PC to inspect its functioning. If the second PC is also unable to detect it, you will have to replace the GPU.
Related Articles
- Windows Standalone Installer Searching For Updates [FIXED]
- Unusual Traffic From Your Computer Network [FIXED]
- How To Fix Grey Screen On Windows 11
- FIXED: The Computer Did Not Resync, No Data Was Available
- Potential Windows Update Database Error Detected [FIXED]
Thank you! Please share your positive feedback. 🔋
How could we improve this post? Please Help us. 😔
[Errors Troubleshooting Expert]
Arsalan Shakil (aka GuyThatDoesEverything on YouTube) is a PC Tech Enthusiast and Electronic Geek. With over 10+ years of experience in Electronics, he then decided to explore Software Engineering to design embedded products and automate existing hardware solutions.
When he started tearing down old cameras to understand how they worked, he was shocked (literally, when he got zapped by a flash discharge capacitor), giving him the power (debatable) to fall in love with videography/photography. He also started making some fun videos that later became YouTube tech reviews.
Skills:
- 10+ years of experience in Electronics design, embedded solutions, and prototyping
- Majored in Software Engineering
- Research paper publication in IEEE for Embedded Military Uniform & LoRa WAN wireless technology
- Specialized in IoT Solutions
- PC Enthusiast & PC Modder
In his local region, he’s known to expose cheap PSU brands, often claiming fake certification or false claims on the box. He’s a true nerd and needed some friends in his life. Then he met some guys who work at Tech4Gamers, and they also came out to be equal nerds who suggested he join Tech4Gamers as a Hardware Expert.


