


The error message “No such interface supported” arises in Windows 11 when an application or software attempts to utilize an interface that is either unsupported or unrecognized by the operating system. It can lead to the failure of the selected app to launch properly. However, if the error suddenly appears for an app that was functioning correctly before, troubleshooting steps such as re-registering DLL files can be helpful.
- The selected app or file may not launch if you
- Corrupt system/DLL files, incompatible or outdated drivers, conflicts due to other active applications, or bugs in the OS are some of the reasons for this error.
- Fix the error by repairing and resetting the application, re-registering the DLL and system files, and scanning for malware and viruses.
Uninstall Updates
Rated: 2/10
Re-Register DLLs
Rated: 3/10
Repair And Reset
Rated: 1/10
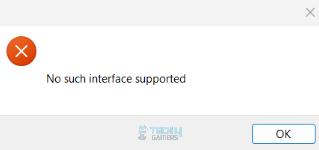
You’ll see the following message for the error:
Uninstall Windows Updates
Newer Windows patches sometimes come with glitches or bugs that can tamper with the performance of Windows apps and the system. It was reported in the Microsoft Community by multiple people that the error appeared after installing the Windows updates.
Luckily, Windows offers you the option to uninstall these updates in case they lead to faulty functioning or errors. Here are the complete steps you can use.
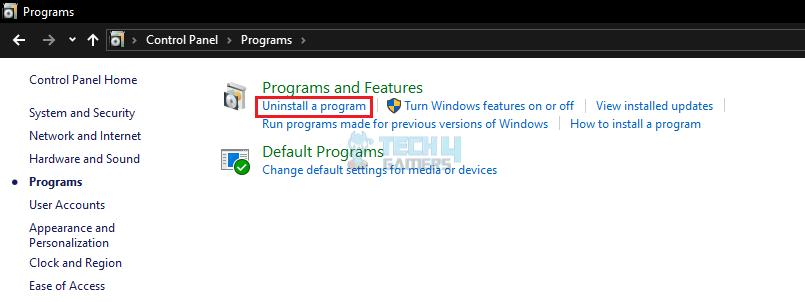
- Select Programs: Open Control Panel > Programs > Select Uninstall A Program.

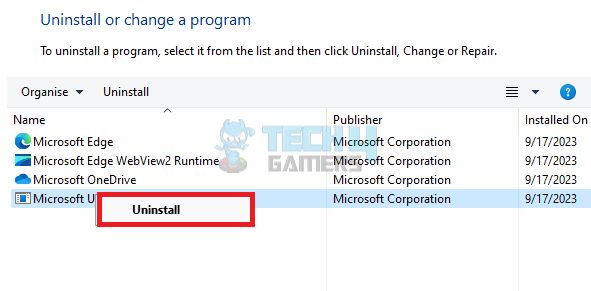
Select Uninstall In Programs And Features (Image By Tech4Gamers) - Remove Update: Find the most recent update patch > Right-click > Uninstall.

Uninstall Program (Image By Tech4Gamers)
Re-Register DLLs
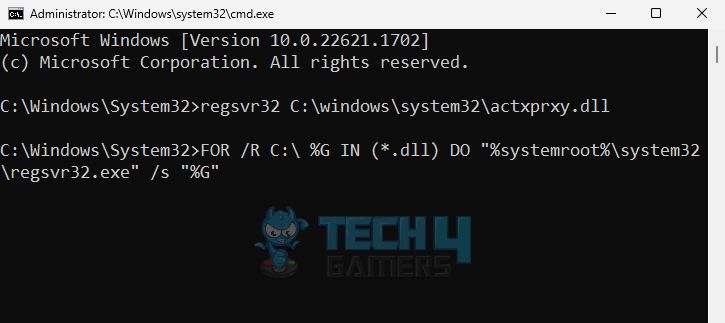
Dynamic Link Library (DLL) contains the codes and data used by programs for their execution. A single code can be used simultaneously by multiple programs for efficient memory usage. However, the apps may malfunction at execution if the DLL files become corrupt or misaligned.
One way I tackled this is by re-registering the DLL files to troubleshoot any existing issues within the Library. After running the command, I restarted the system and the app launched smoothly.
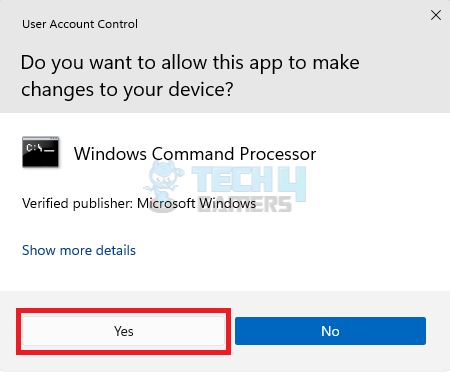
- Open Run Box: Use Windows + R to launch the Run box > Type cmd > Enter > Yes.

Allow Windows Command Processor UAC (Image By Tech4Gamers) - Enter Code: Execute the following command:
FOR /R C:\ %G IN (*.dll) DO "%systemroot%\system32\regsvr32.exe" /s "%G"

Execute The Code (Image By Tech4Gamers)
Users on TechPowerUp Forums also found this method helpful when they encountered the same error on Windows.
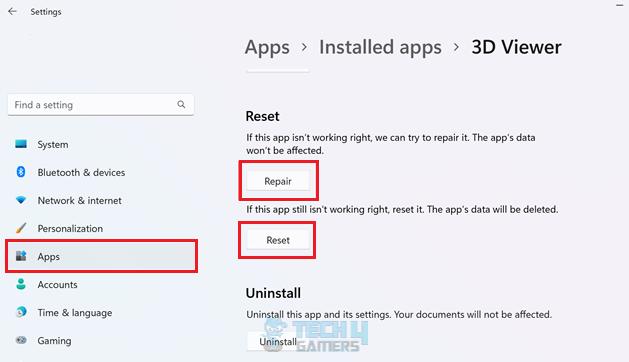
Repair And Reset The App
The data within the app can become corrupt or come in conflict with other data present on your system, thus causing unexpected crashes and errors. A simple way I use to fix any malfunctioning app is to first, Repair the app, and then Reset it to eliminate any glitches or bugs in the app. Using the same fix on the error at hand, I made the pop-up go away with the following technique.
- Launch App List: Go to Windows Settings > Select Apps on the left pane > Installed Apps.
- Go To Advanced Settings: Navigate to the problematic app in the list > Click on the three dots in front of it > Advanced Options.
- Repair And Reset: Click Repair > Press the Reset button.

Repair And Reset An App (Image By Tech4Gamers)
Last Words
The error, “No such interface supported” has existed since the previous versions of Windows, as also noted in the Seven Forums and Ten Forums. Despite direct addresses to Microsoft Support, the developers failed to resolve the issue in Windows 11.
paint 3D “No Such Interface Supported” error
byu/Valuable_Entrance_77 inWindowsHelp
While the error is mostly reported for Media Player, Photos, and 3D Viewer apps, it is not limited to these. Furthermore, the fixes discussed above were quite simple and useful for me in getting rid of the error box.
Related Articles
- Windows 11: Computer Won’t Wake Up From Sleep
- Windows 11 Stuck On Restarting Screen
- Windows Cannot Create A Homegroup On This Computer [FIXED]
- Your PC Did Not Start Correctly: Our Proven Fixes [2024]
- [FIXED] You Do Not Have Permission To Open The Application
Thank you! Please share your positive feedback. 🔋
How could we improve this post? Please Help us. 😔
[Errors Troubleshooting Expert]
Arsalan Shakil (aka GuyThatDoesEverything on YouTube) is a PC Tech Enthusiast and Electronic Geek. With over 10+ years of experience in Electronics, he then decided to explore Software Engineering to design embedded products and automate existing hardware solutions.
When he started tearing down old cameras to understand how they worked, he was shocked (literally, when he got zapped by a flash discharge capacitor), giving him the power (debatable) to fall in love with videography/photography. He also started making some fun videos that later became YouTube tech reviews.
Skills:
- 10+ years of experience in Electronics design, embedded solutions, and prototyping
- Majored in Software Engineering
- Research paper publication in IEEE for Embedded Military Uniform & LoRa WAN wireless technology
- Specialized in IoT Solutions
- PC Enthusiast & PC Modder
In his local region, he’s known to expose cheap PSU brands, often claiming fake certification or false claims on the box. He’s a true nerd and needed some friends in his life. Then he met some guys who work at Tech4Gamers, and they also came out to be equal nerds who suggested he join Tech4Gamers as a Hardware Expert.


