 Threads

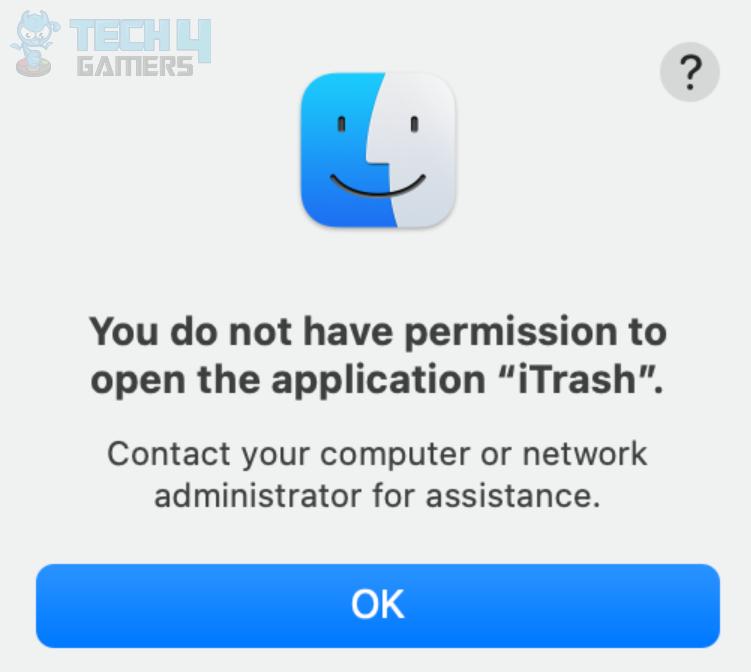
The message, “You do not have permission to open the application (contact your computer or network administrator for assistance),” appears on macOS Big Sur when trying to launch applications or files. It can be because the app is not signed or verified by Apple. Several solutions can counter this error. For instance, changing the file’s privacy settings, forcing signing the app, or removing the app from the quarantine list.
Key Takeaways
- The error means you cannot open or install apps on your macOS system.
- It may occur due to restricted access, incorrect system configurations, or disabled app settings.
- Several solutions for this error include removing the app’s quarantine, changing access privileges, and allowing everyone access to the app.
You will see the following message on your screen when the error occurs:
Method Difficulty Rating
Rated: 4/10
Rated: 4/10
Rated: 4/10
Rated: 4/10
Force Sign The App
Signing an app with a credible Developer ID Certificate enhances the app’s security to run on your system. Be careful to execute the command accurately. Otherwise, it may lead the app to malfunction. Furthermore, this method has also worked for many Mac users on the Apple developer forum.
The steps below can help you force sign-in the app:
- Enter Command: Open Terminal > Execute the command:
codesign--force--deep--sign "Developer ID Application:(Your Developer Name)"/path/to/your/app.
2. Execute Command: Press the Enter key to run the command.
In the code, replace the Developer’s Name with your name and /path/to/your/app with instructions to reach the app.
Verify Sharing and Permissions
You can allow different users on your Mac device to read and access different files and apps owned under your user profile. If the app you try to open has “Read Only” privileges, changing it to “Read & Write” may do the job. This method has also been discussed on the Apple Community Forum and has been proven useful to several users.
Follow the steps below to change read and write privileges:
- Select App: Select the app you want to open > Choose “File” > “Get Info.”
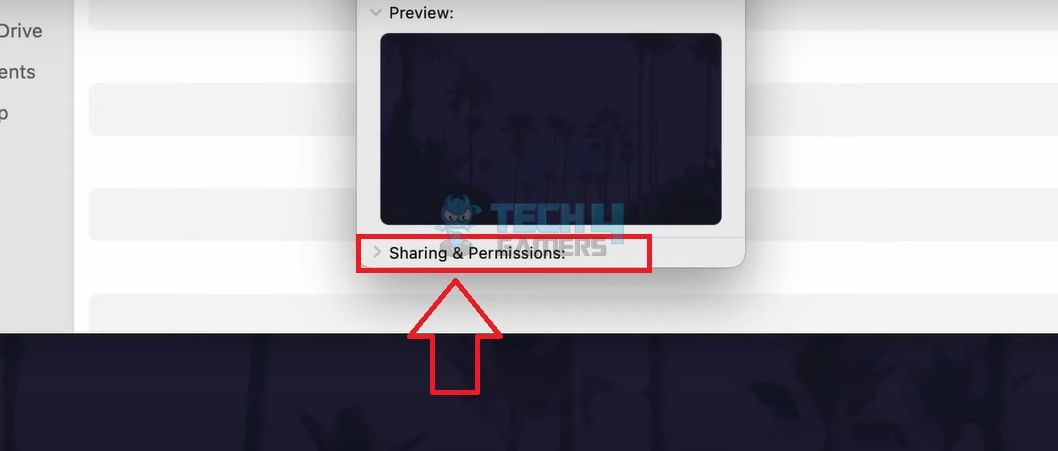
- Unlock The App: Select “Sharing & Permissions” on the bottom > the lock symbol > Enter your password.

Click On The “Sharing & Permissions” Option To Expand It (Image By Tech4Gamers) 
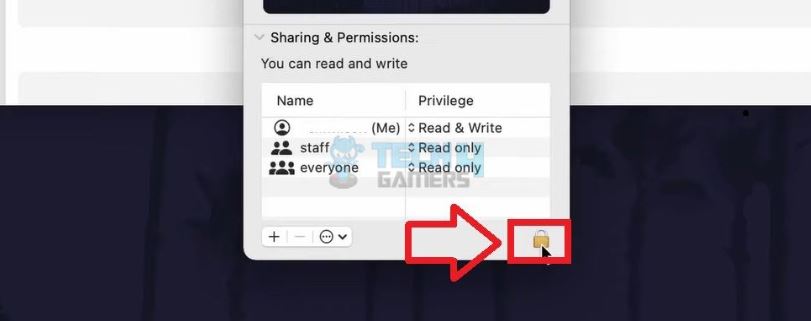
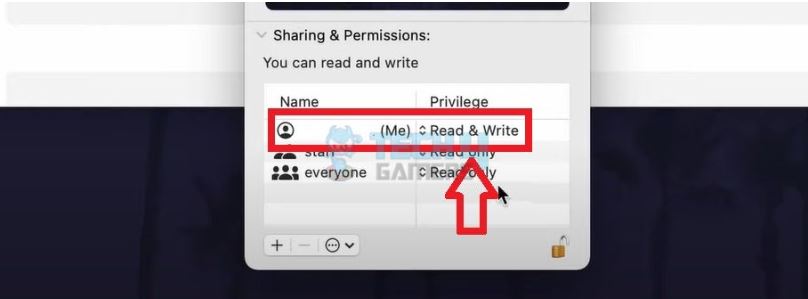
Click On The Lock Symbol To Unlock The File For Changing Privilege (Image By Tech4Gamers) - Change Privilege Settings: Click next to your username > “Read & Write” option.

Change The Privilege Settings To Read And Write (Image By Tech4Gamers)
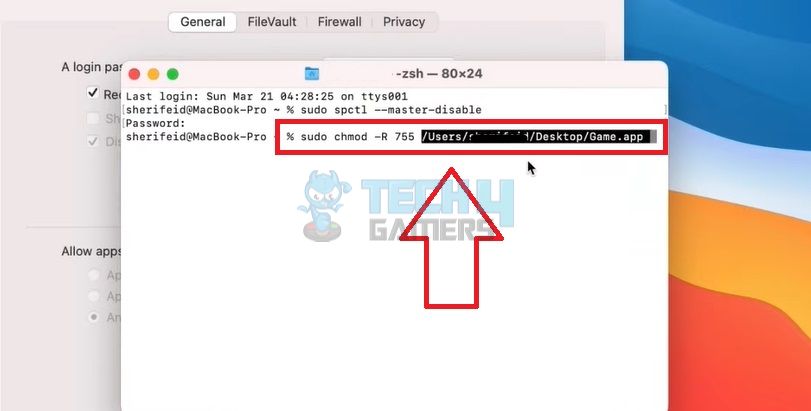
Read And Execute Access For Everyone
This command will allow read and execute access for everyone on your system. Therefore, anyone can read and access the file, while the owner can also write it. This technique worked for many other users as well on a forum post on Ugetfix.com.
Launch “Terminal” on your Mac computer and type:
sudo chmod -R 755 /path/to/your/file
Remove The Quarantine
The system may quarantine newly installed apps on your macOS as a security prevention to ensure it is safe for the device. Therefore, you can un-quarantine the app after installation. Plus, the method resolved this error message for several users on a forum post on Stackoverflow.com who encountered the same issue.
Open Terminal on your macOS PC and type:
"xattr -r -d com.apple.quarantine /path/to/your/app"
Replace path/to/your/app with the location of the problematic app, then hit Enter to remove quarantine from the app.
Final Thoughts
Summing up, you can enable various settings for the concerned app when you come across the message, “You do not have permission to open the application (contact your computer or network administrator for assistance),” on your macOS computer. According to my research, force signing the app is the most effective way to fix this error as it proved useful to most of the users. If it doesn’t work, try changing the read and write privileges or removing the quarantine as discussed above.
Related Articles:
- Mac: Your Computer Restarted Because Of A Problem [FIXED]
- Fixed: Unable To Recover Your PC; System Drive Is Too Small
- How To Fix NVIDIA User Account Is Locked
Thank you! Please share your positive feedback. 🔋
How could we improve this post? Please Help us. 😔
[Errors Troubleshooting Expert]
Arsalan Shakil (aka GuyThatDoesEverything on YouTube) is a PC Tech Enthusiast and Electronic Geek. With over 10+ years of experience in Electronics, he then decided to explore Software Engineering to design embedded products and automate existing hardware solutions.
When he started tearing down old cameras to understand how they worked, he was shocked (literally, when he got zapped by a flash discharge capacitor), giving him the power (debatable) to fall in love with videography/photography. He also started making some fun videos that later became YouTube tech reviews.
Skills:
- 10+ years of experience in Electronics design, embedded solutions, and prototyping
- Majored in Software Engineering
- Research paper publication in IEEE for Embedded Military Uniform & LoRa WAN wireless technology
- Specialized in IoT Solutions
- PC Enthusiast & PC Modder
In his local region, he’s known to expose cheap PSU brands, often claiming fake certification or false claims on the box. He’s a true nerd and needed some friends in his life. Then he met some guys who work at Tech4Gamers, and they also came out to be equal nerds who suggested he join Tech4Gamers as a Hardware Expert.


