 Threads
Enough For Your Thunderbolt 4 Needs?
Review Summary
The GIGABYTE GC-Maple Ridge Thunderbolt 4 Add-In card harnesses the power of Thunderbolt 4.0 and brings powerful functionality to the disposal of the user without requiring a change in the existing hardware (provided motherboard’s compatibility). It does what it is supposed to do and comes recommended by us.
Hours Tested: 5

Overall
-
Design - 9/10
9/10
-
Performance - 9/10
9/10
-
Features - 9/10
9/10
-
Value - 8/10
8/10
Pros
- Thunderbolt 4.0 speeds
- Extensive device and display support
- High-speed charging
Cons
- Limited motherboard compatibility
- Setup complexity
- Pricey


“One cable to rule them all”. Yes, I am a big fan of the Lord of the Rings series, and that one ring is a perfect analogy to the Thunderbolt 4.0 cable connection interface and GIGABYTE’s GC-Maple Ridge Add-In card is based on this interface. It is taking over the Titan Ridge Add-In card which is based on Thunderbolt 3.0. The GC-Maple Ridge is backward compatible with Thunderbolt 3.0 as well.
Key Takeaways
- The card is good for users seeking lightning-fast data transfer, multiple device connections, and high-resolution displays.
- This card is not for individuals with incompatible motherboards or those seeking a budget-friendly option for connectivity solutions.
- Stand-out features include Thunderbolt 4.0 with 40Gbps transfer rate, support for up to 10 devices, 2 displays, and a 97W charging capability, making it a versatile and high-performance add-in card.
- Why you can trust Tech4Gamers: Our reviews are based on dedicated hands-on testing by our team of experienced hardware experts. Find out more about how we test.
Let’s start with the specifications.
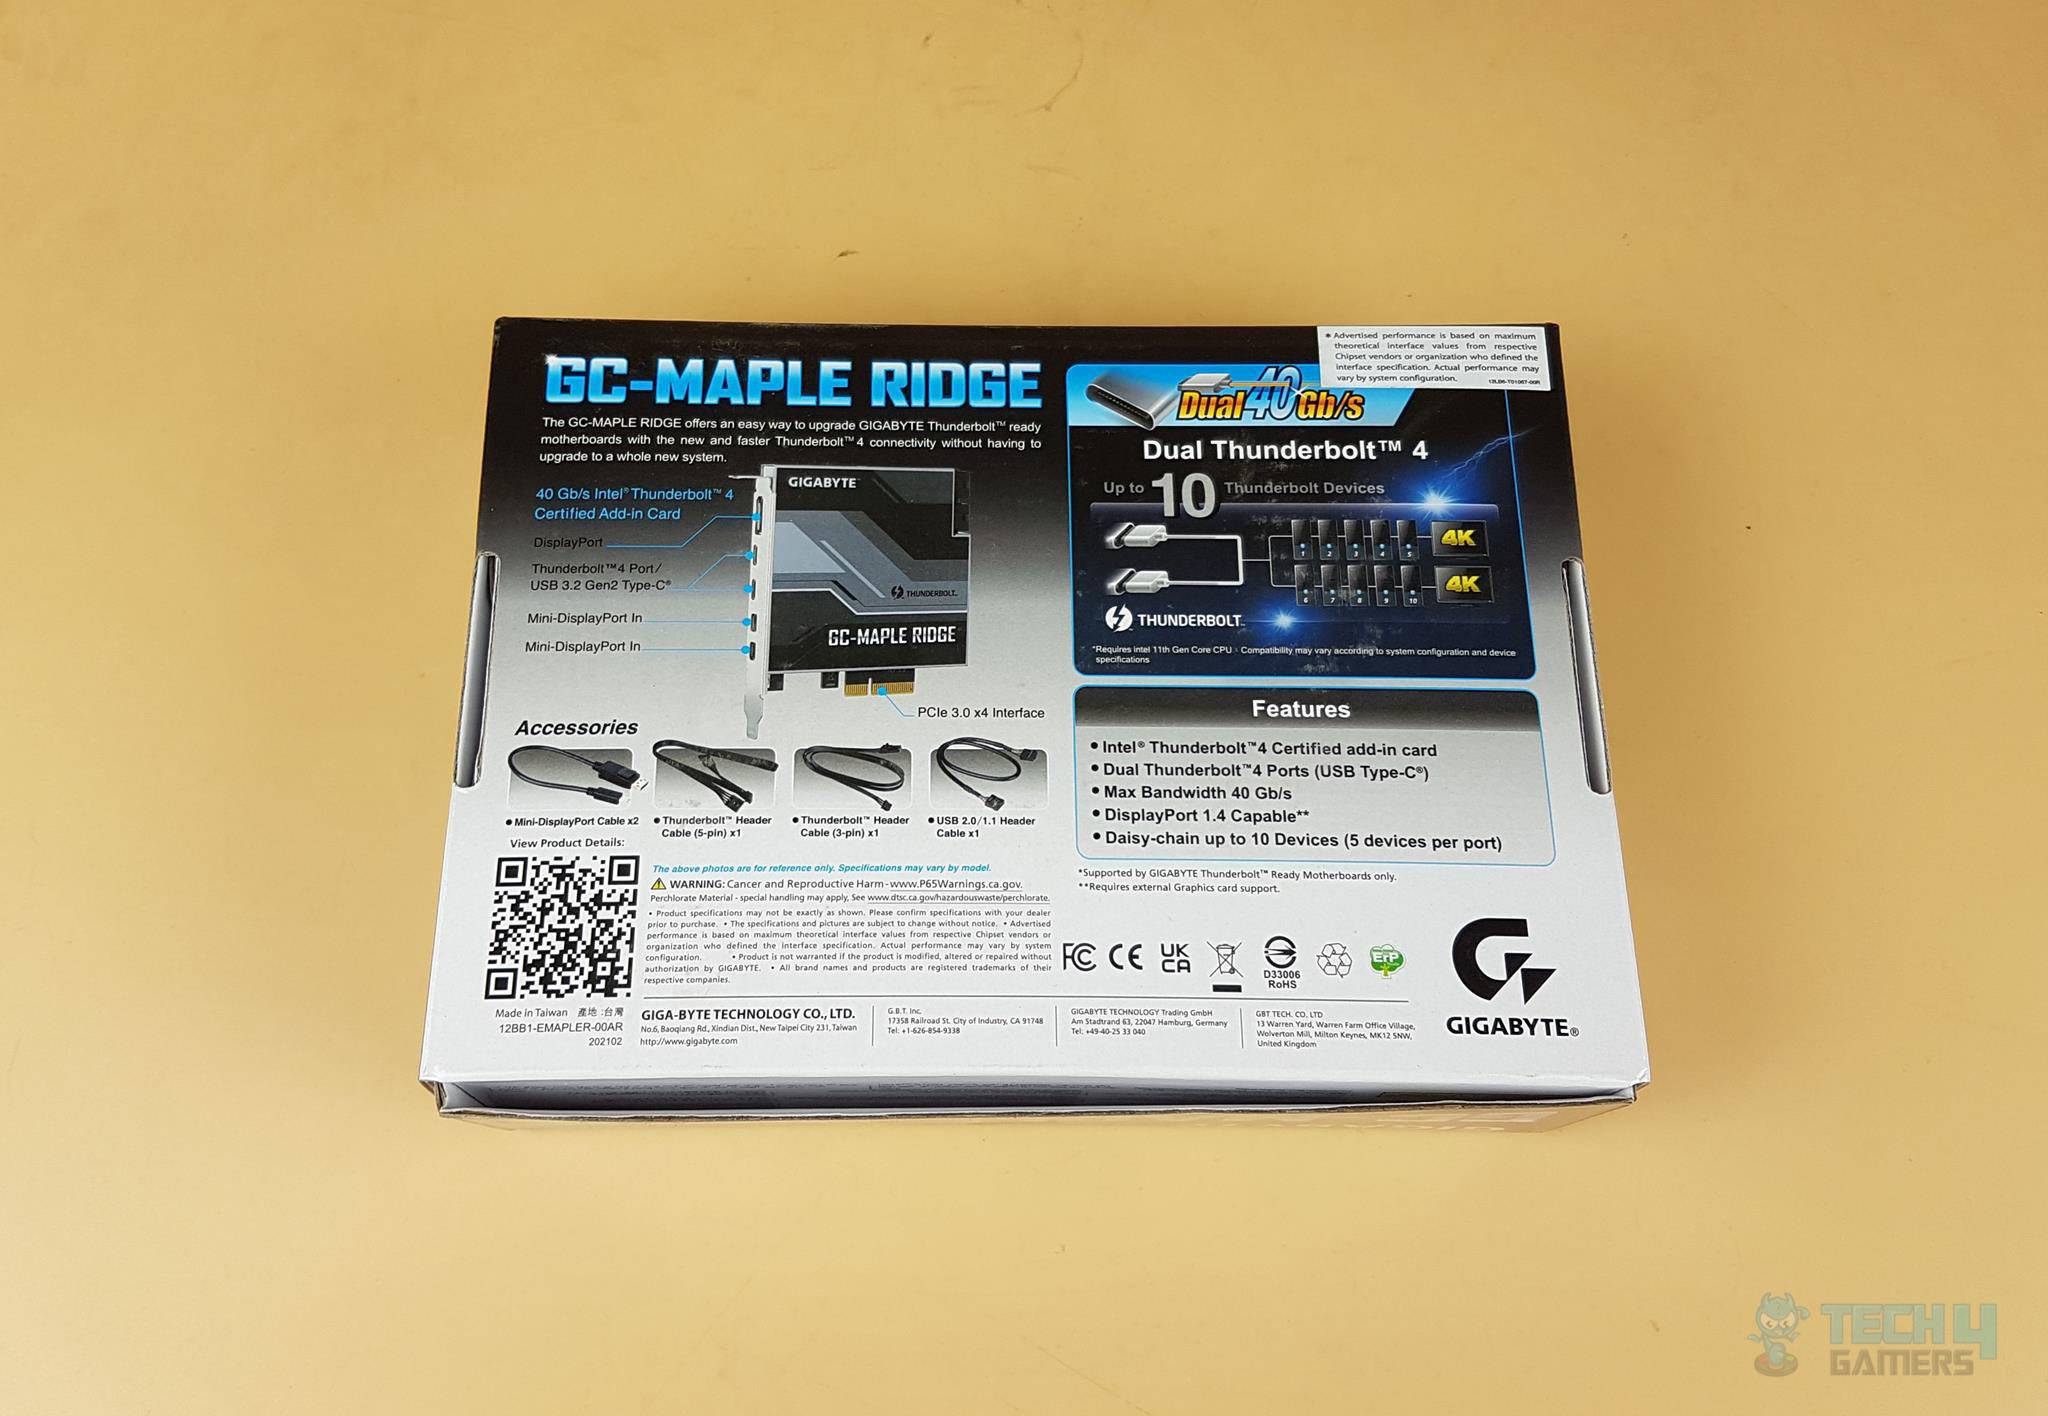
| Chip | Intel® JHL8540 Thunderbolt™ 4 Controller |
| Back Panel Connectors | 1x DisplayPort, supporting a maximum resolution of 8K Connectors (7680×3840)@60 Hz 2x Mini-DisplayPort In ports (DP_IN1/DP_IN2) |
| Internal Connectors | 2×6-pin PCle power connectors 1xUSB 2.0/1.1 header 1x 5-pin Thunderbolt™ header 1x 3-pin Thunderbolt™ header |
| Interface | PCle 3.0 interface (PCle x4) |
| Data Transfer Rate | 40 Gbps Bi-directional per port |
| Supported Operating Systems | Windows 10 (64-bit) with RS3 or later |
| Compatible Motherboards | Check Product Page |
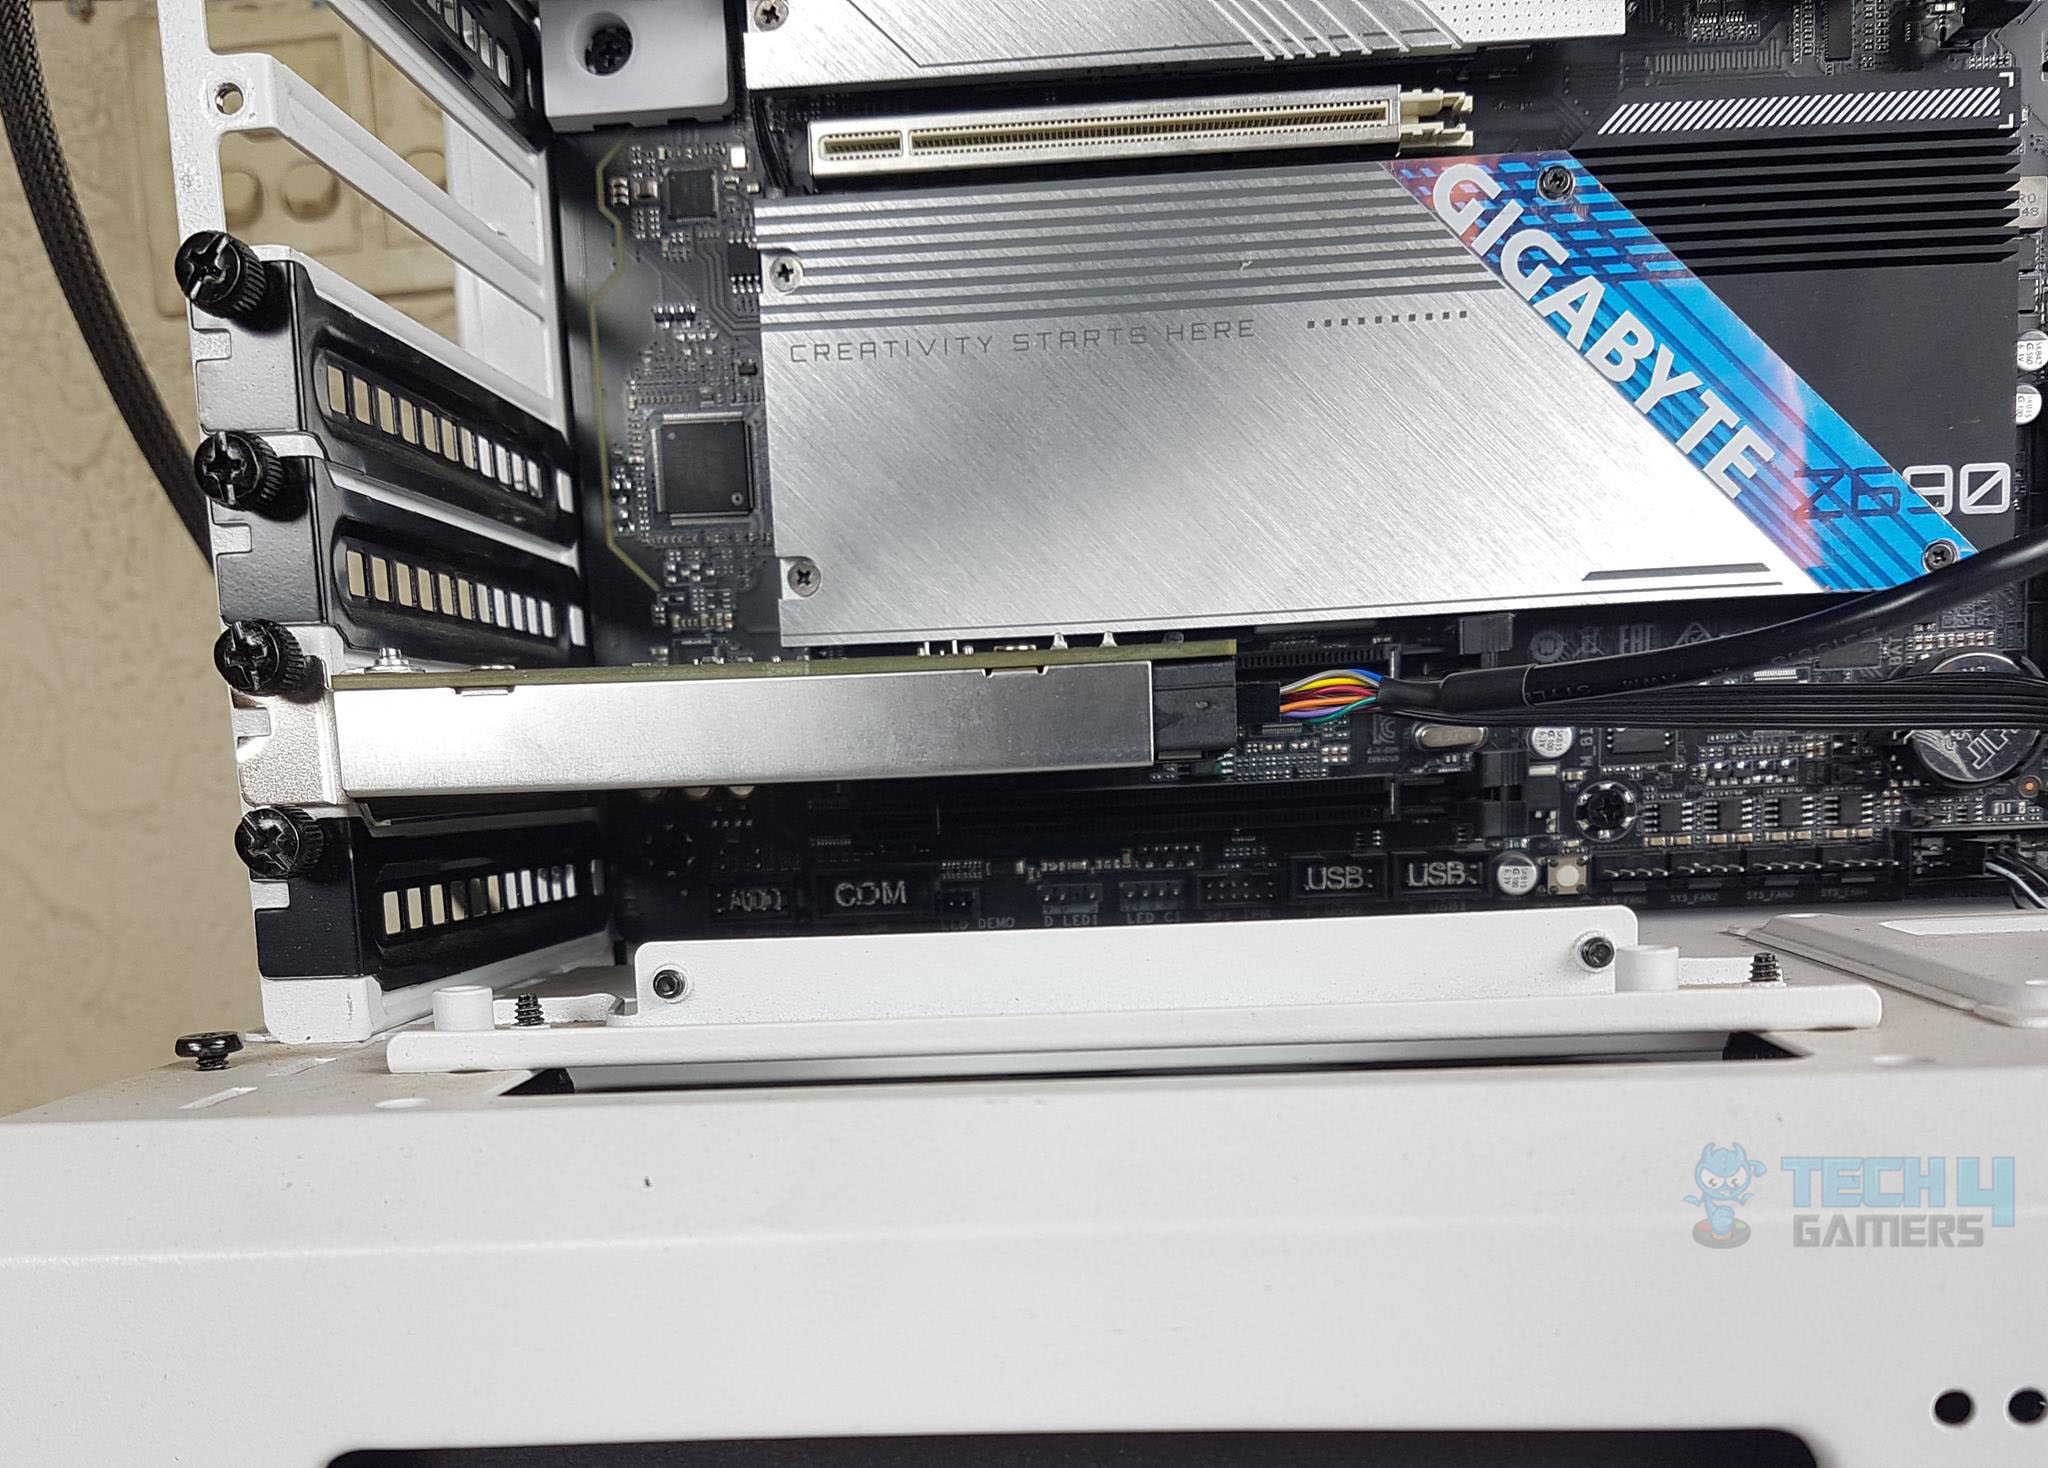
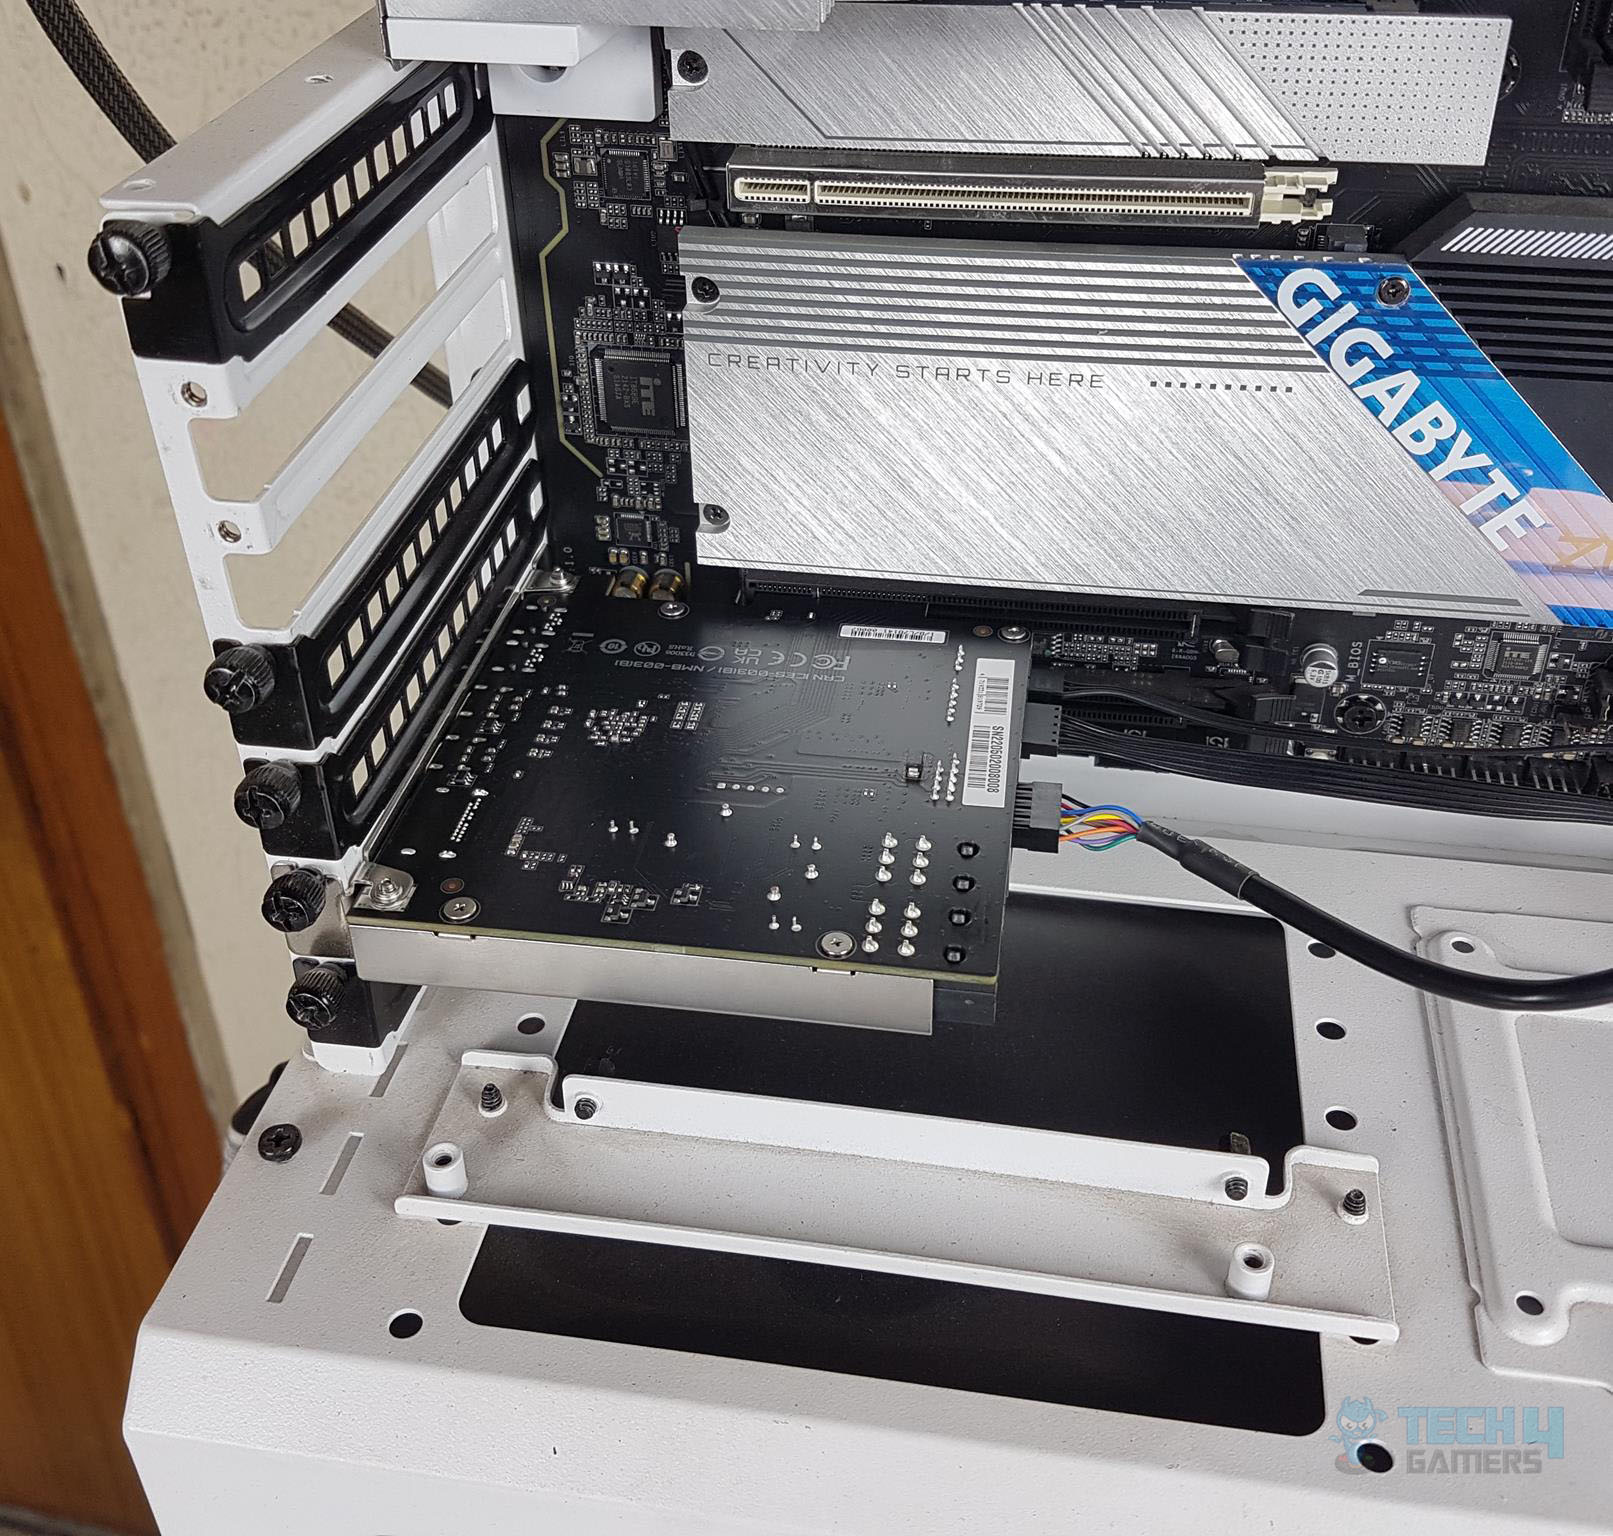
The card is only compatible with Z590/B560 and Z690/B660 chipset series listed motherboards. The 1x PCIe 3.0 x4 slot wired with PCH would be needed on which the card will be installed.
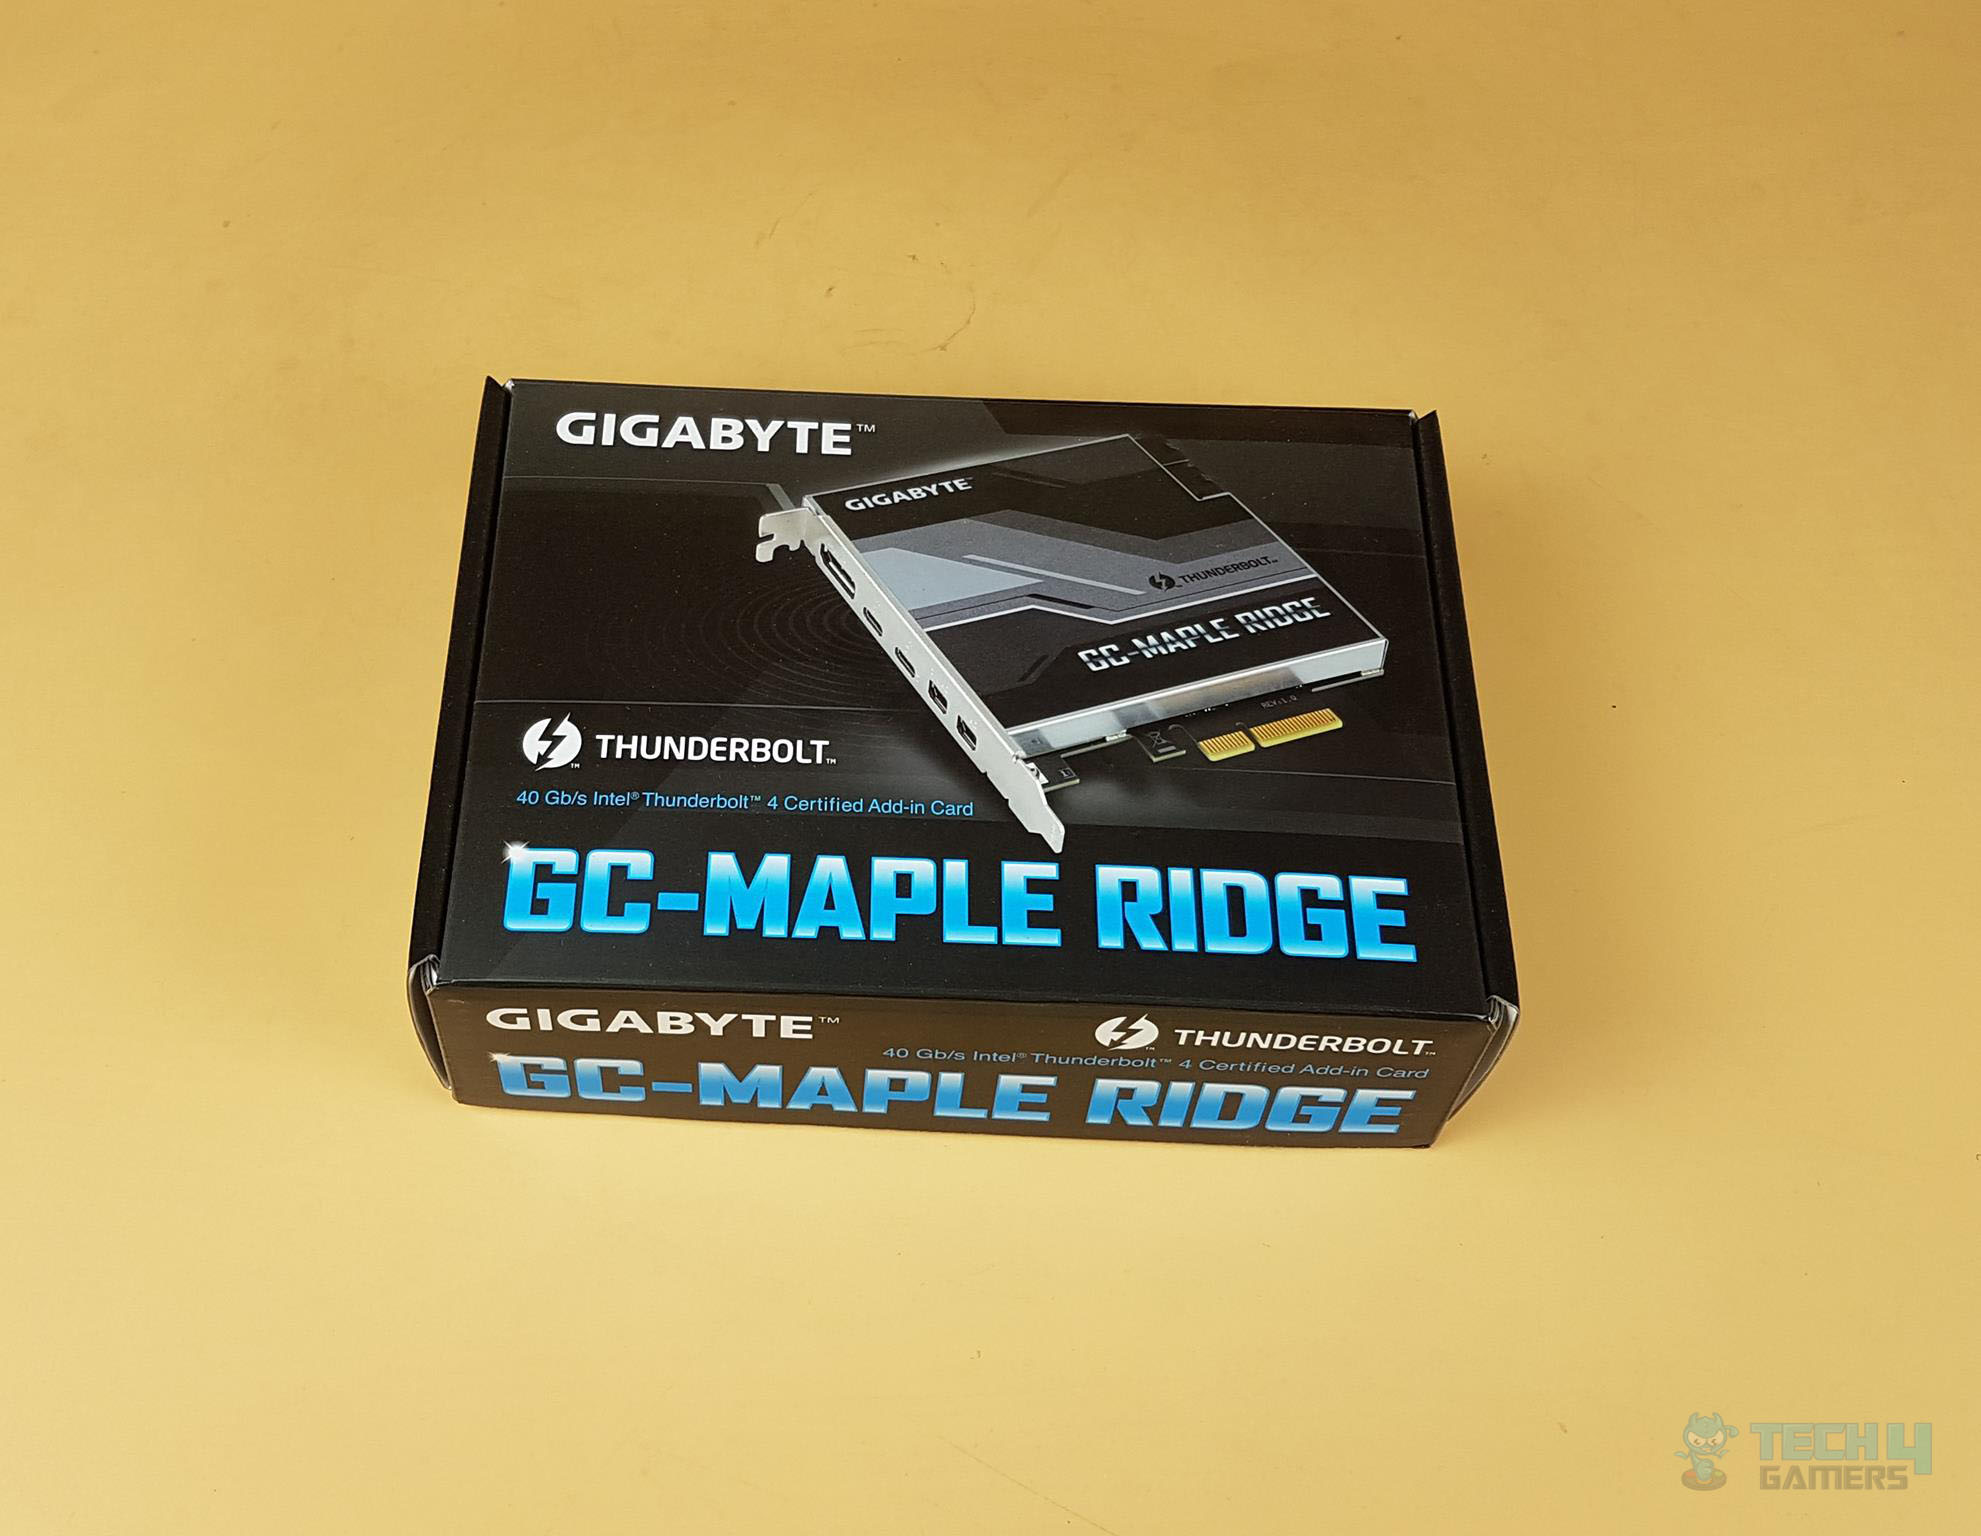
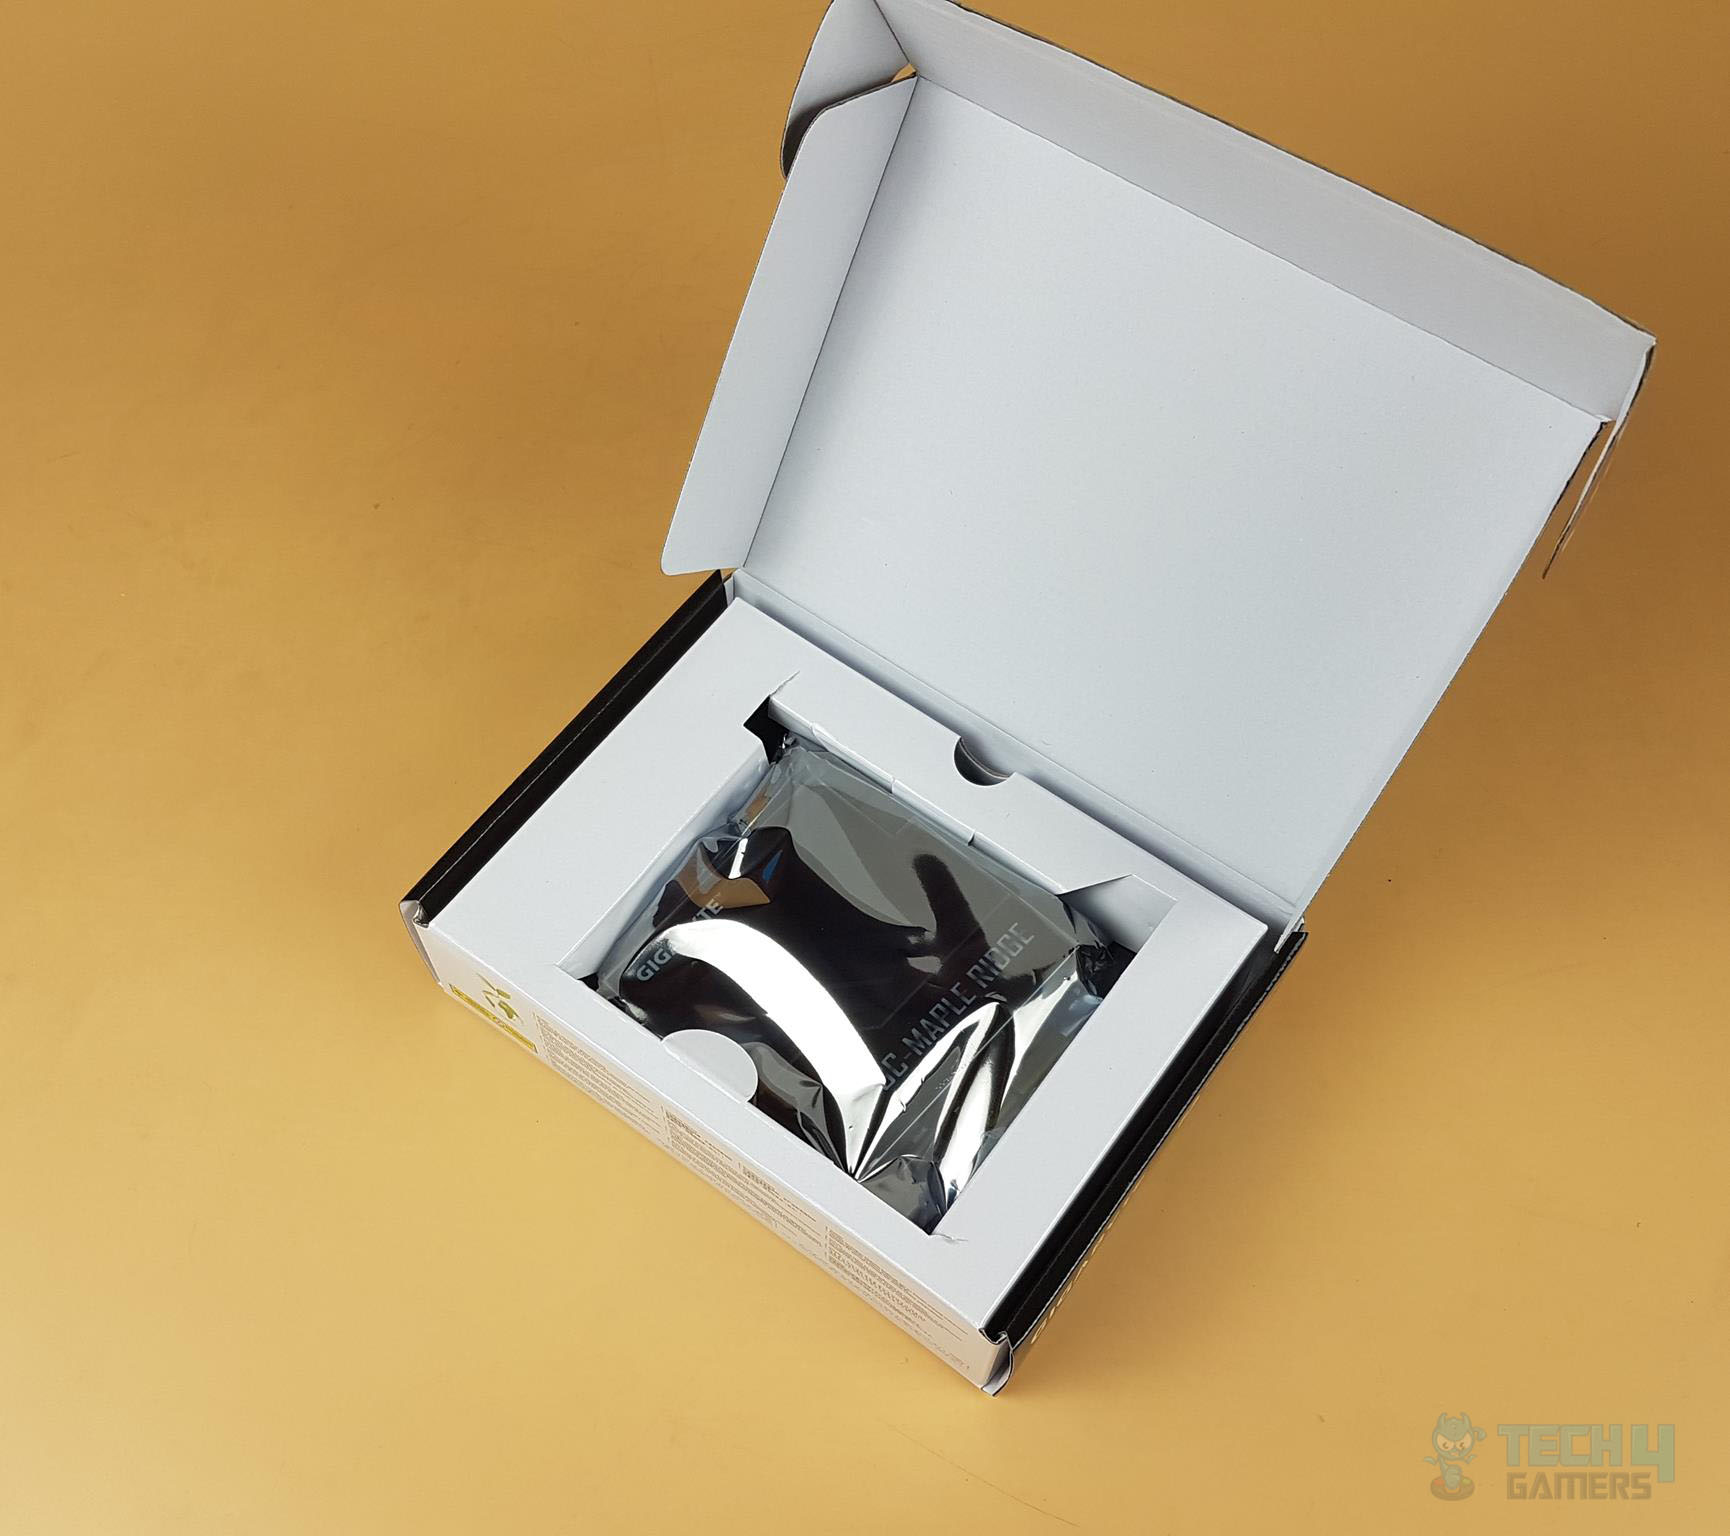
Packaging and Unboxing
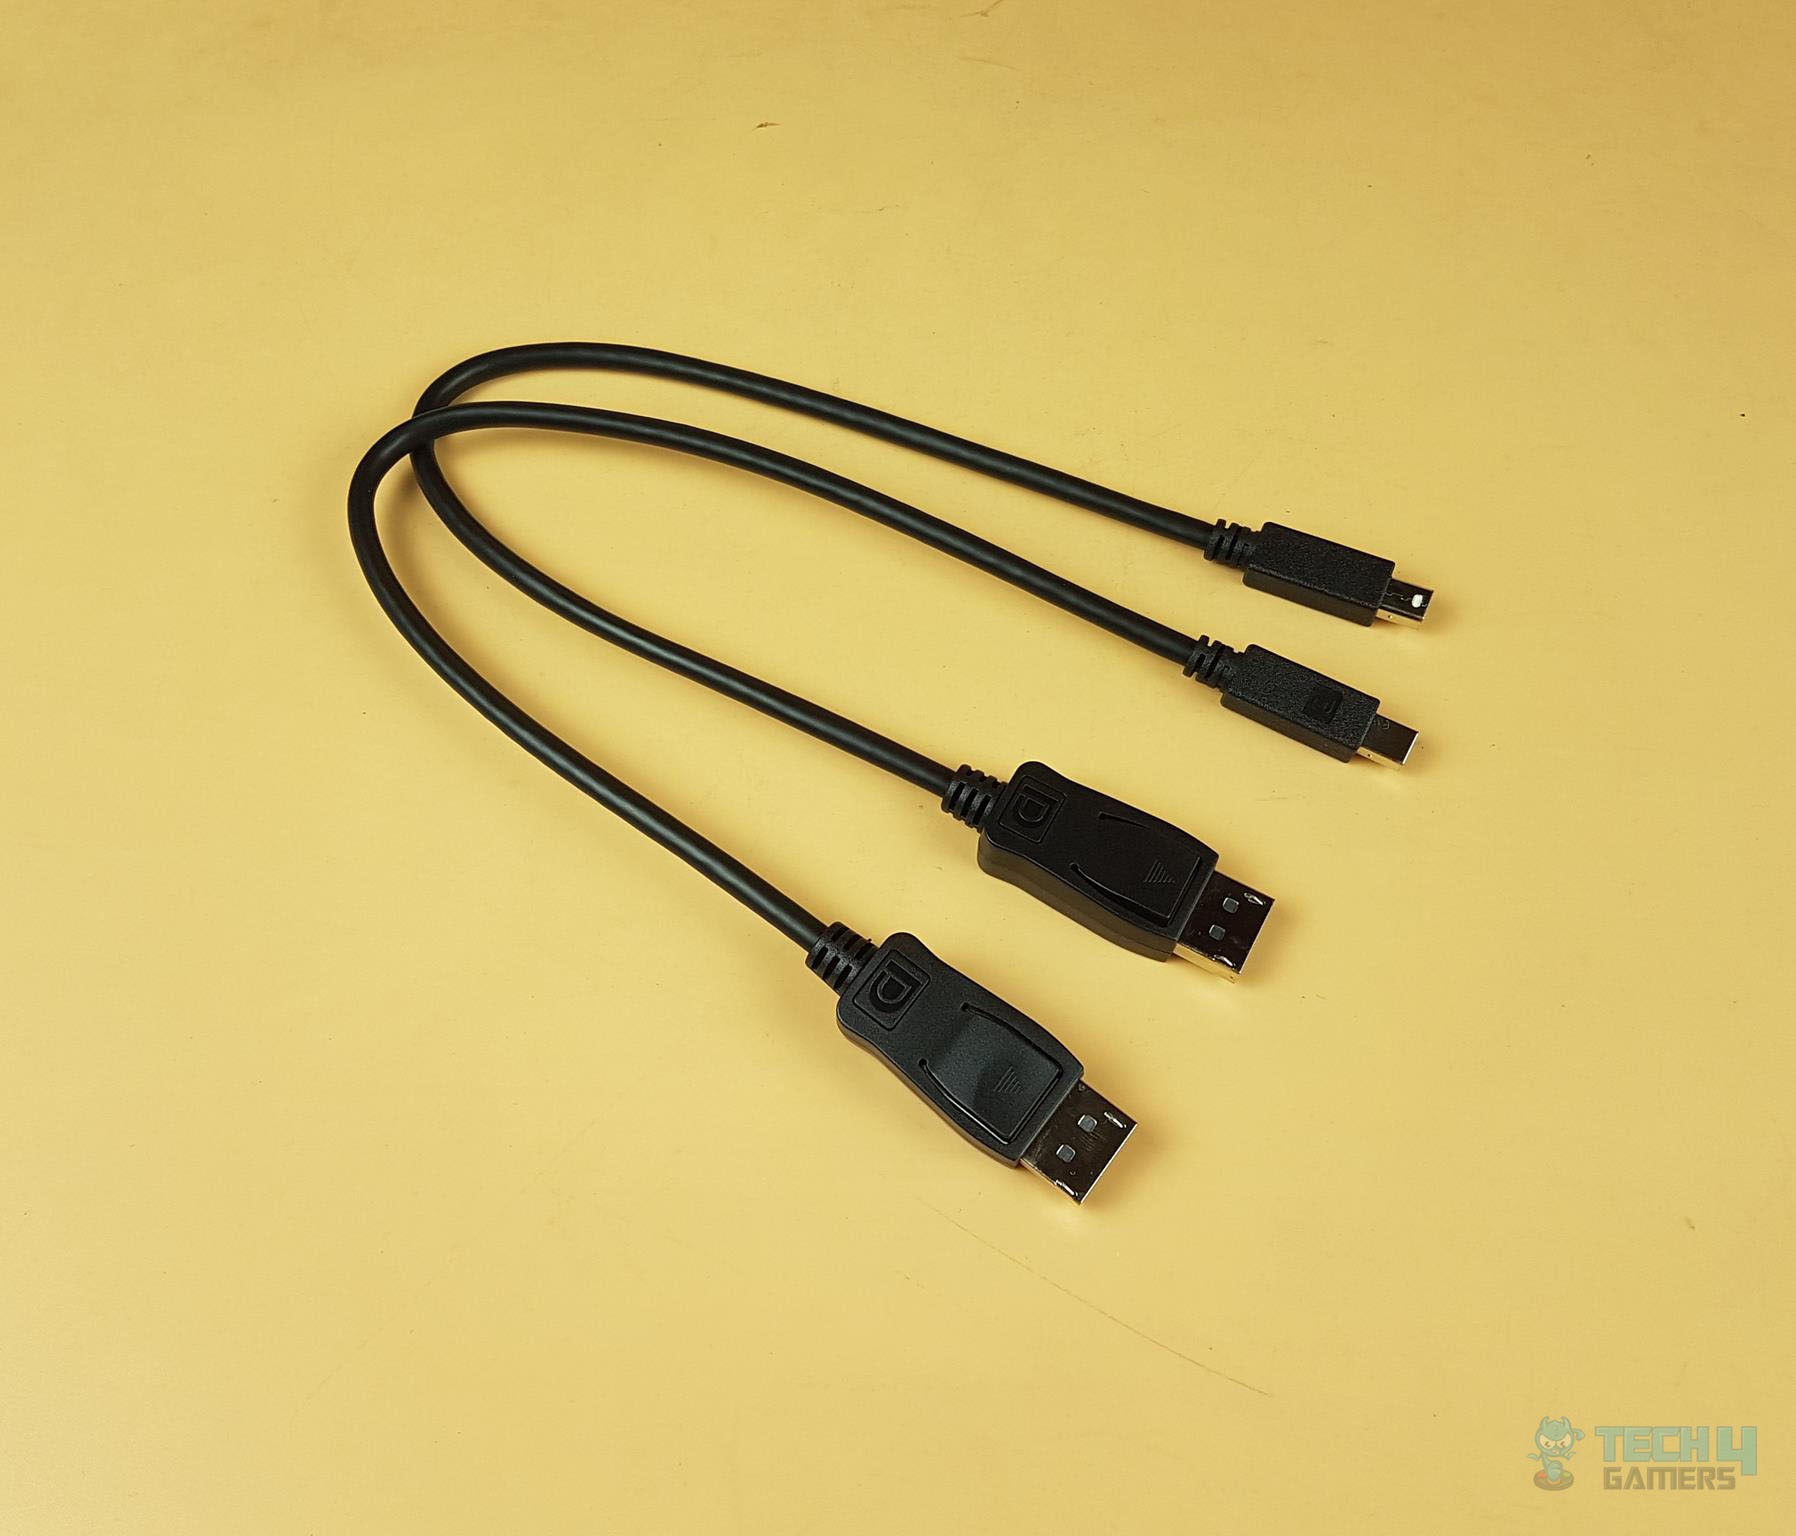
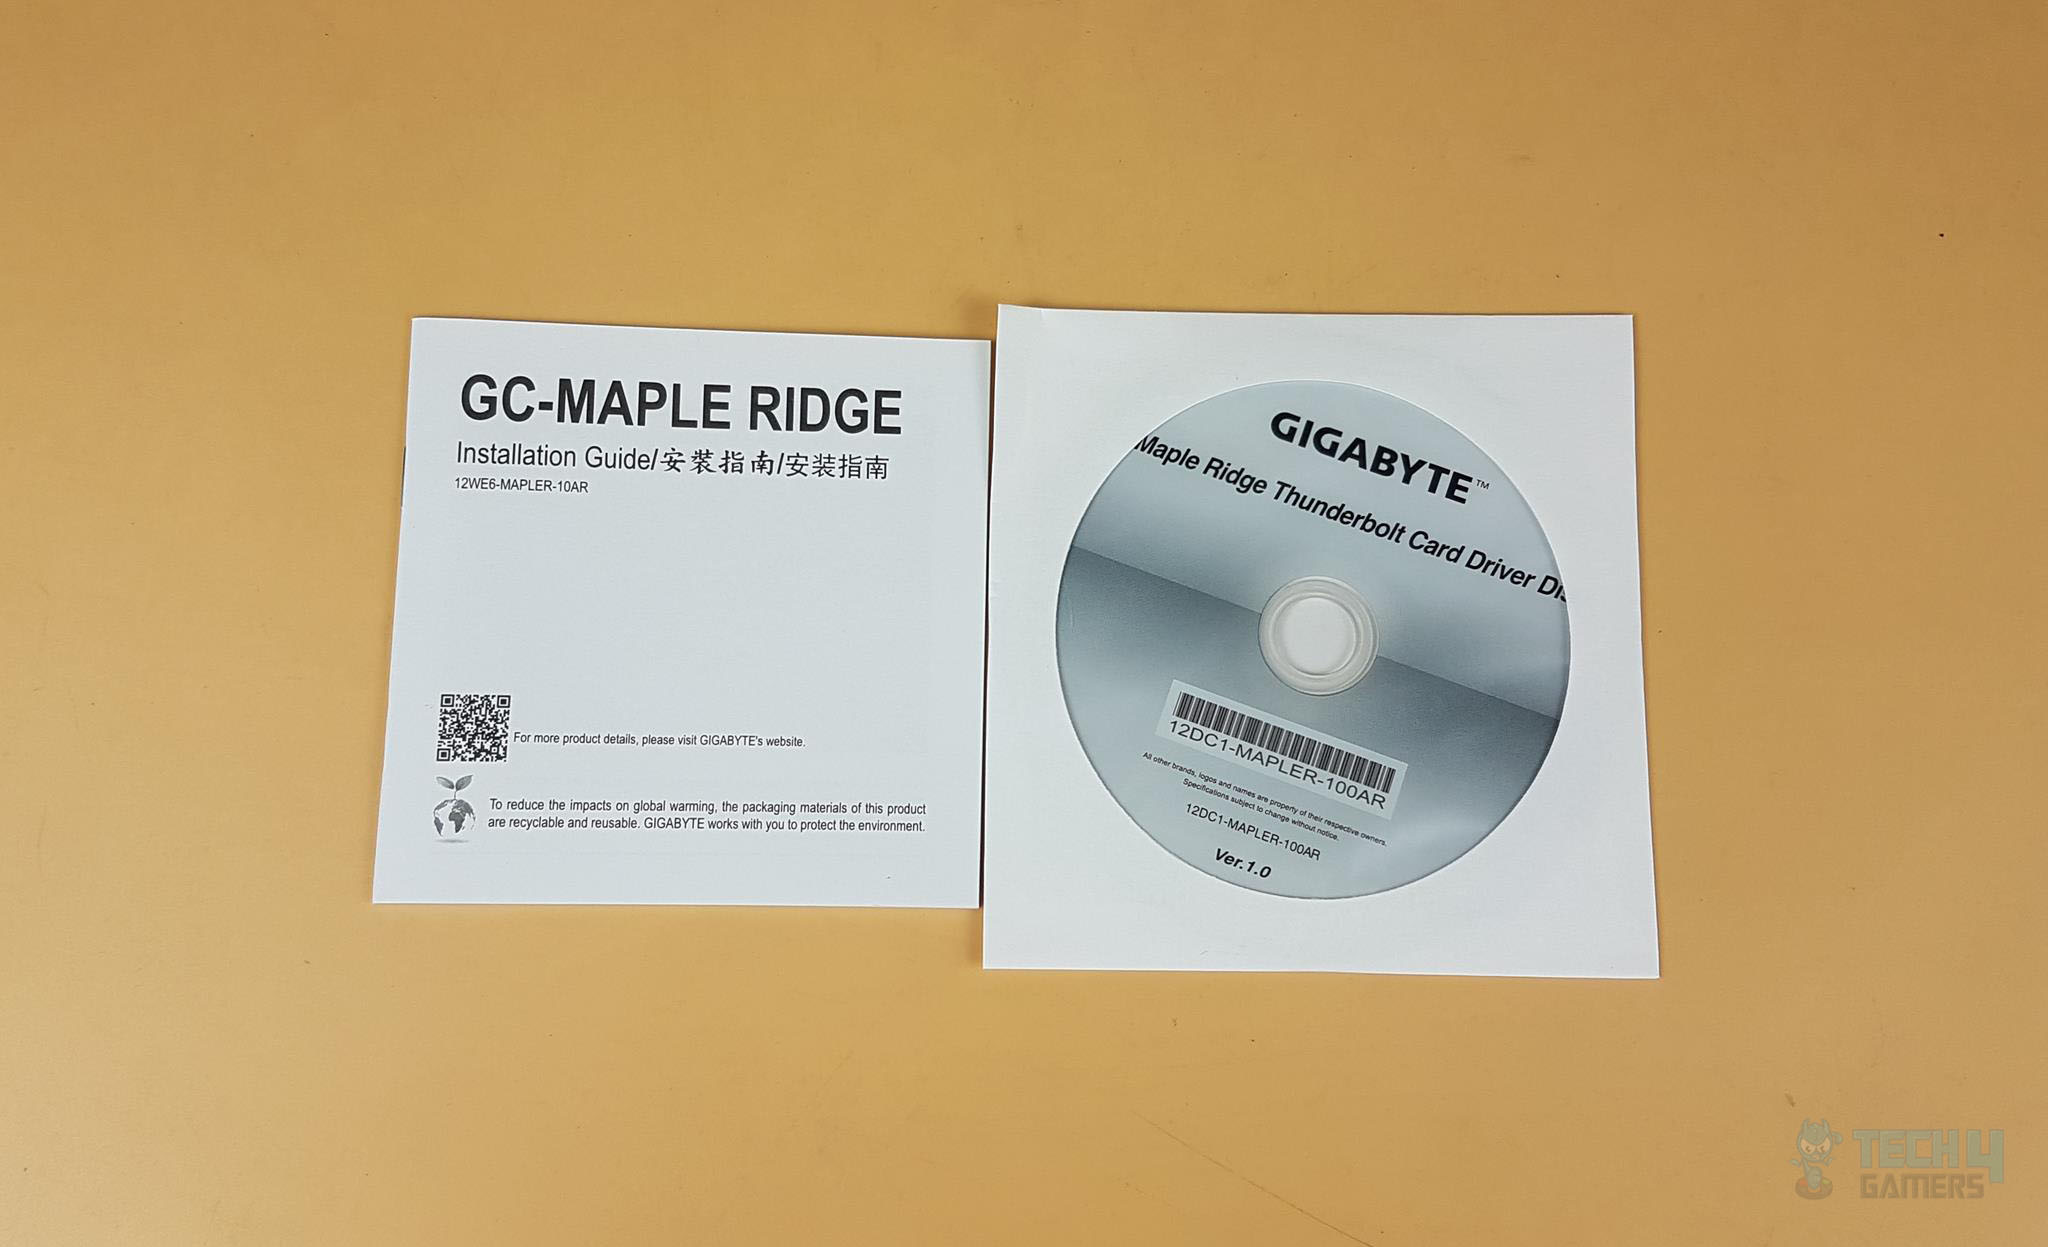
Accessories
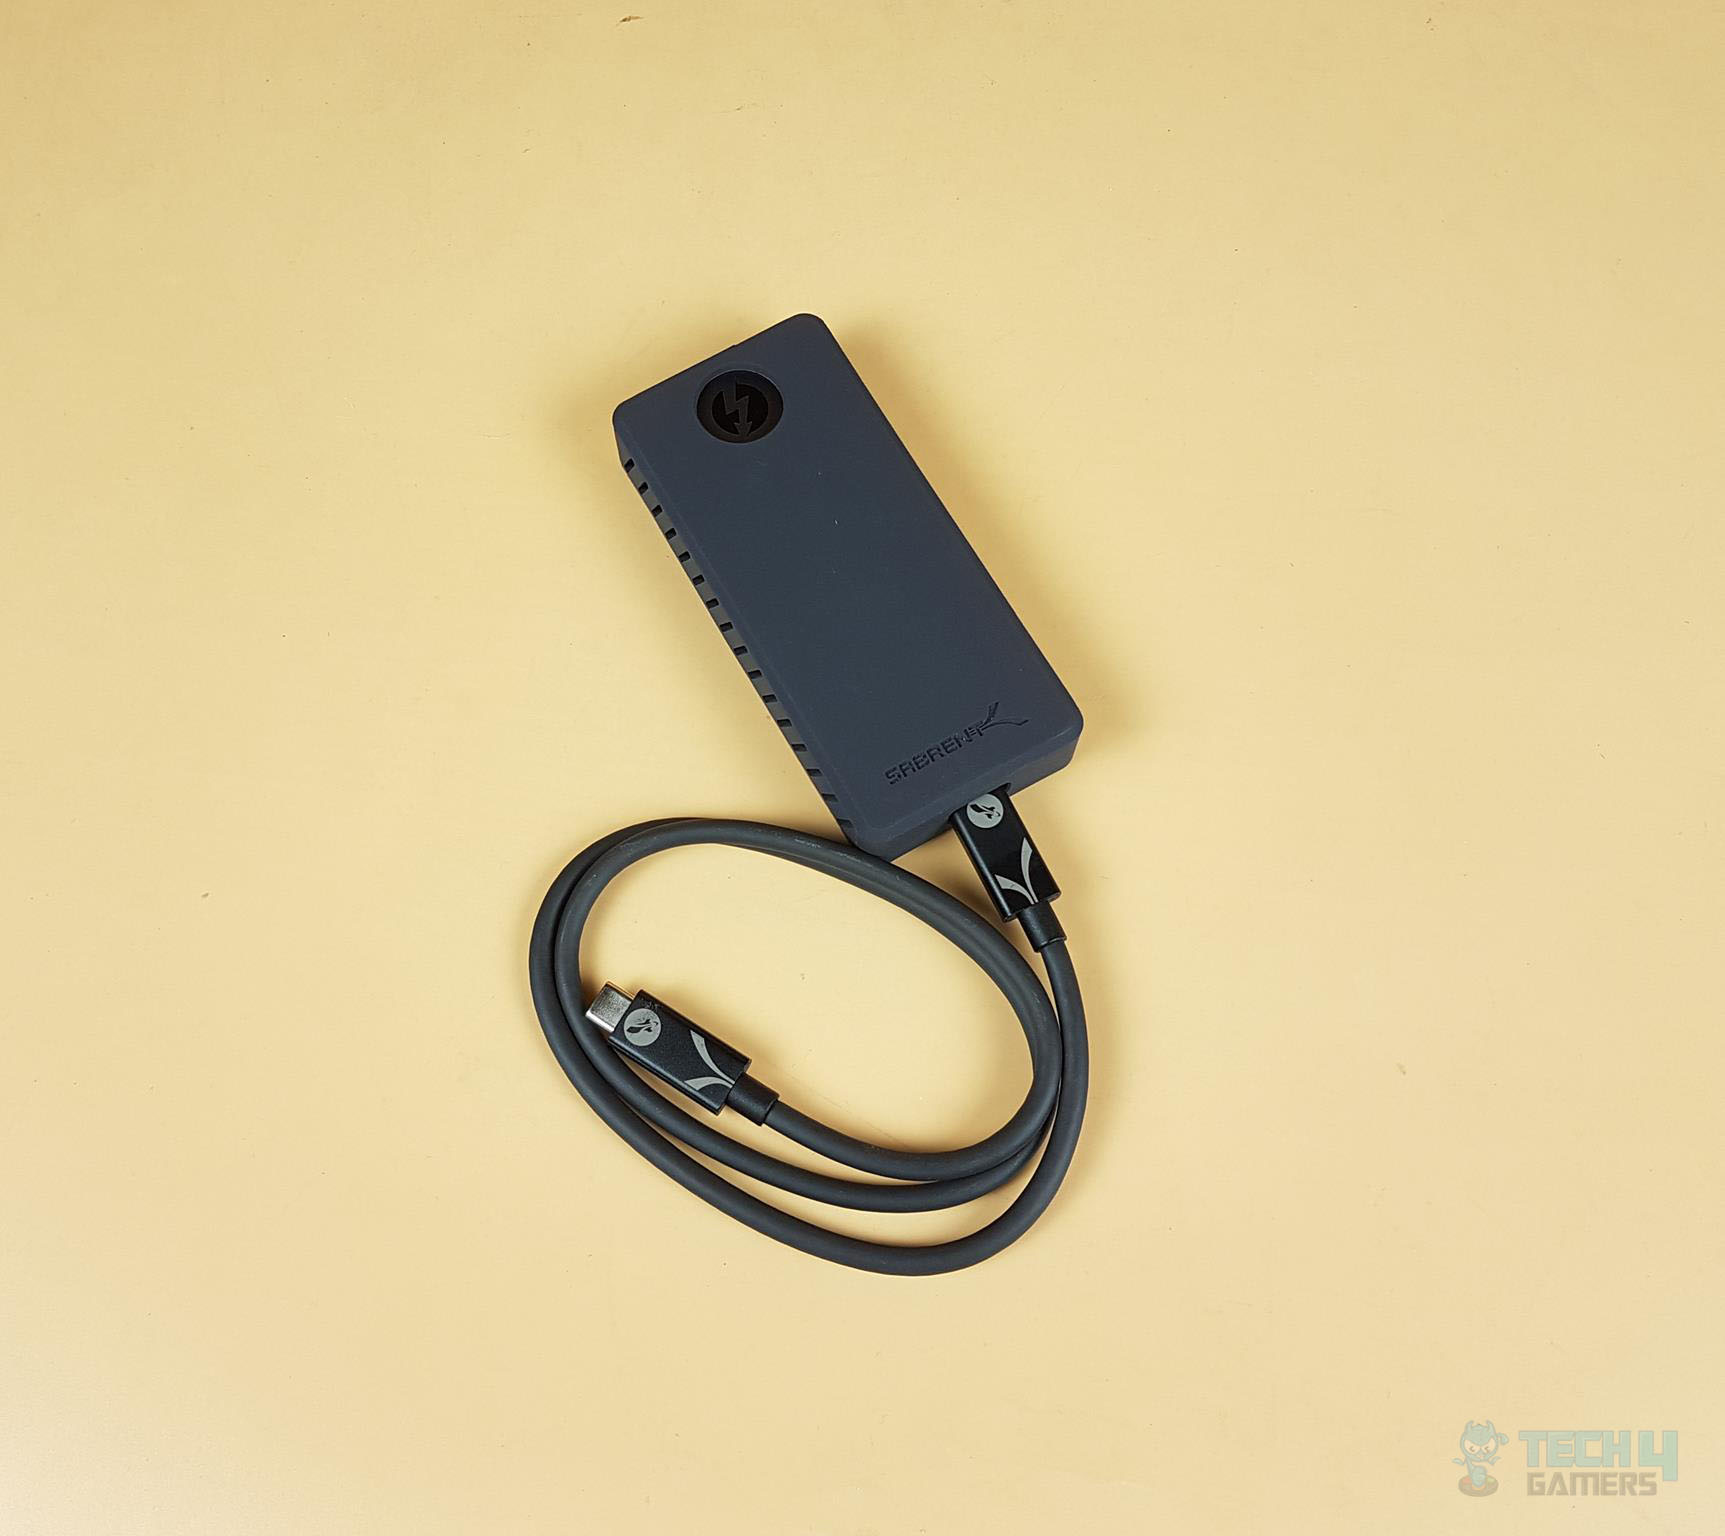
In terms of accessories, GIGABYTE has provided all necessary cables required to set up the card and a user guide. Let’s take a look.

Closer look
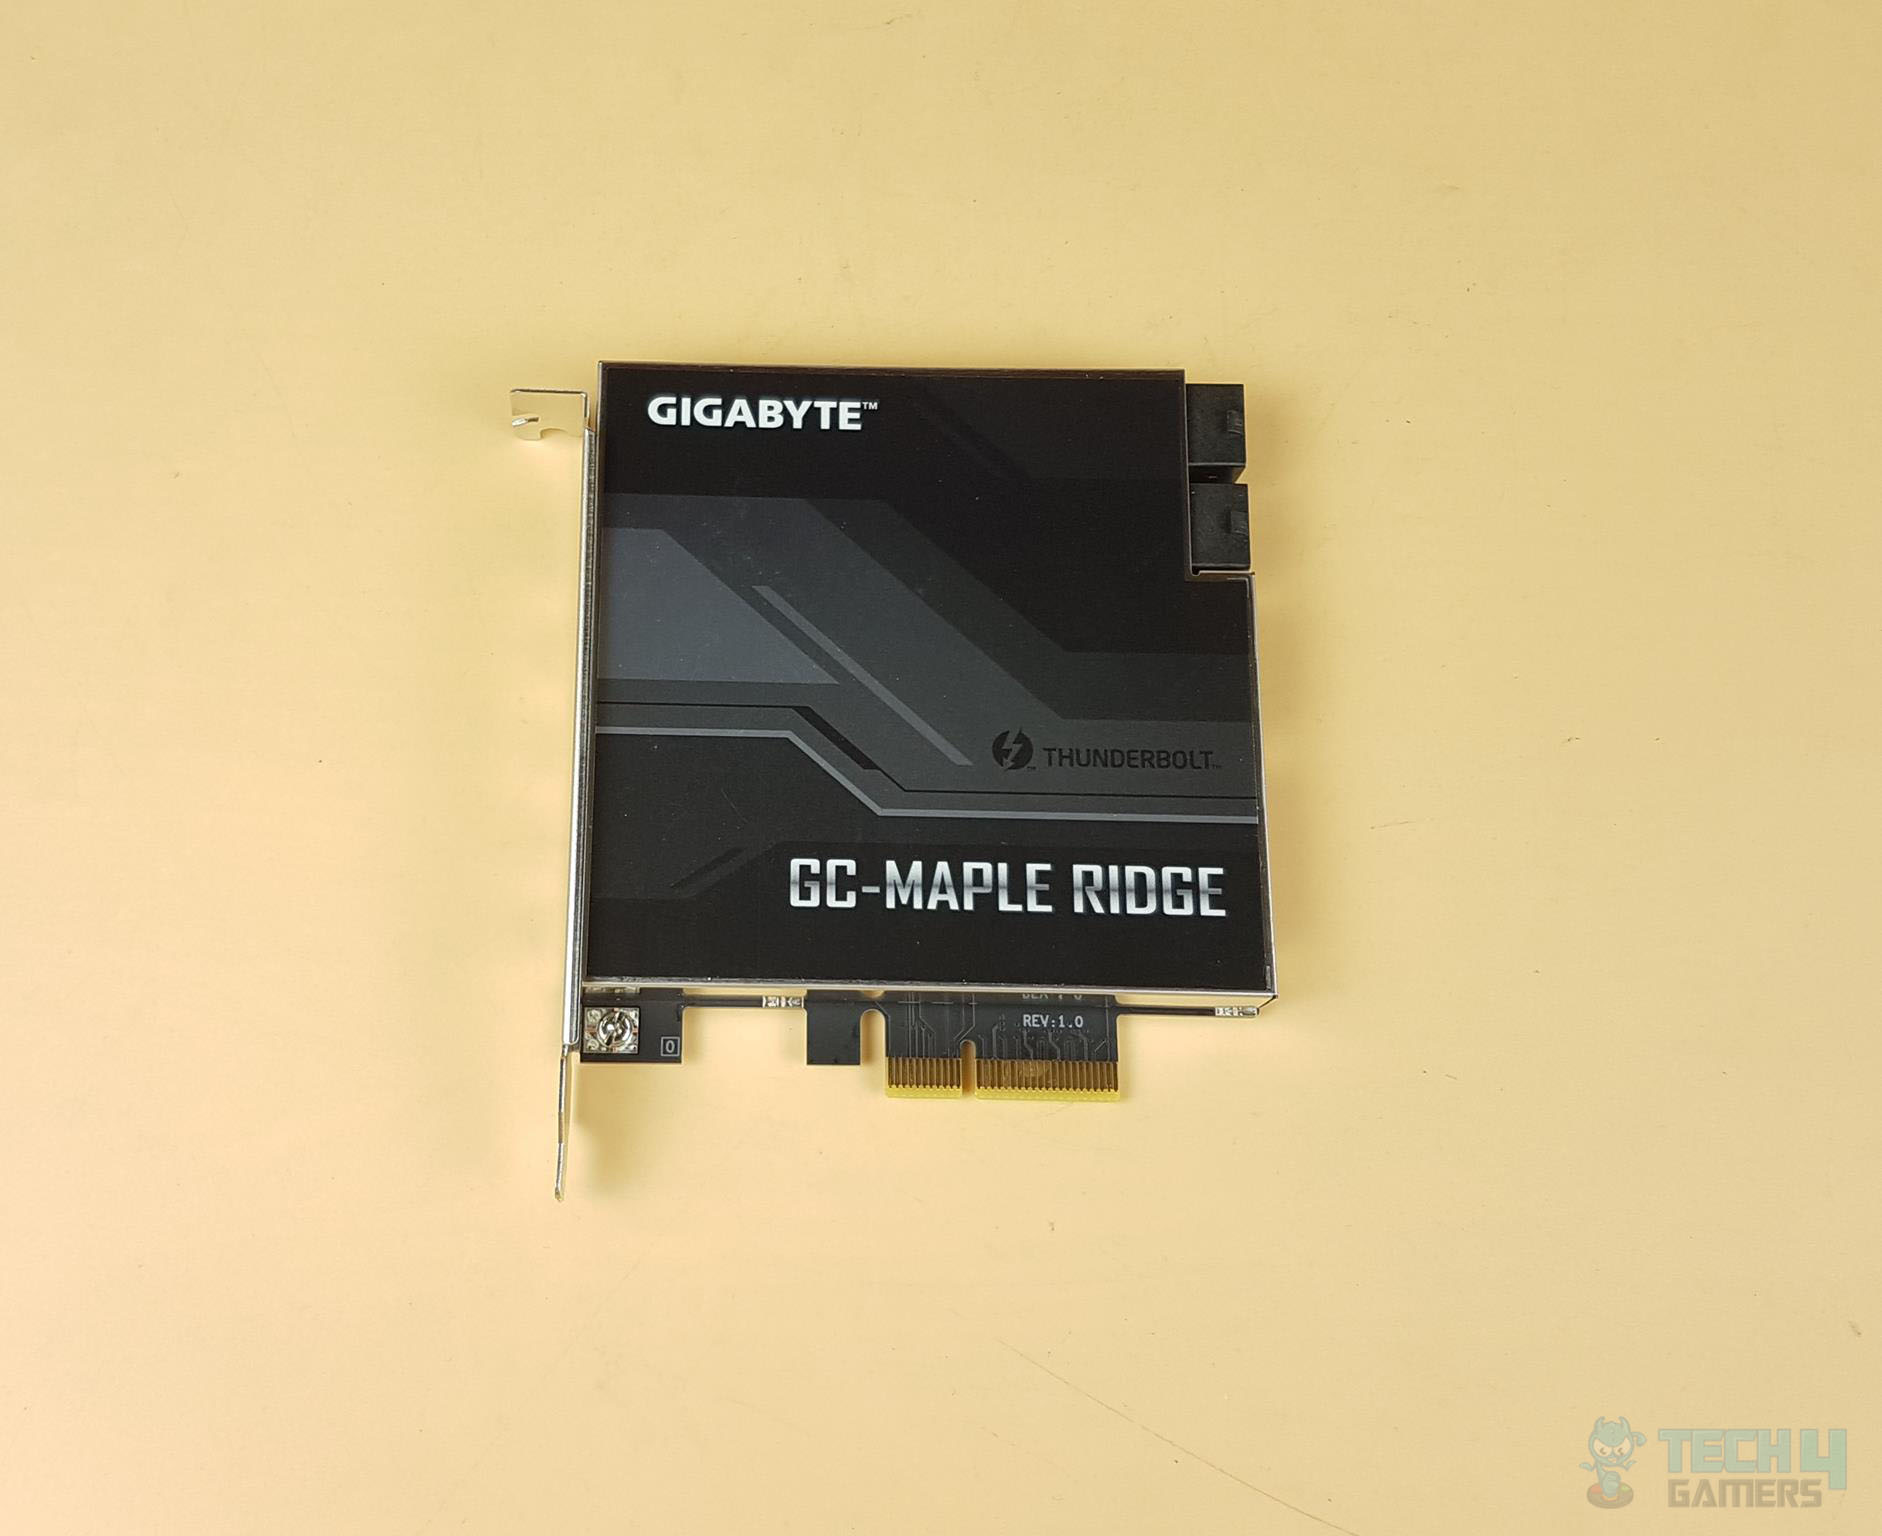
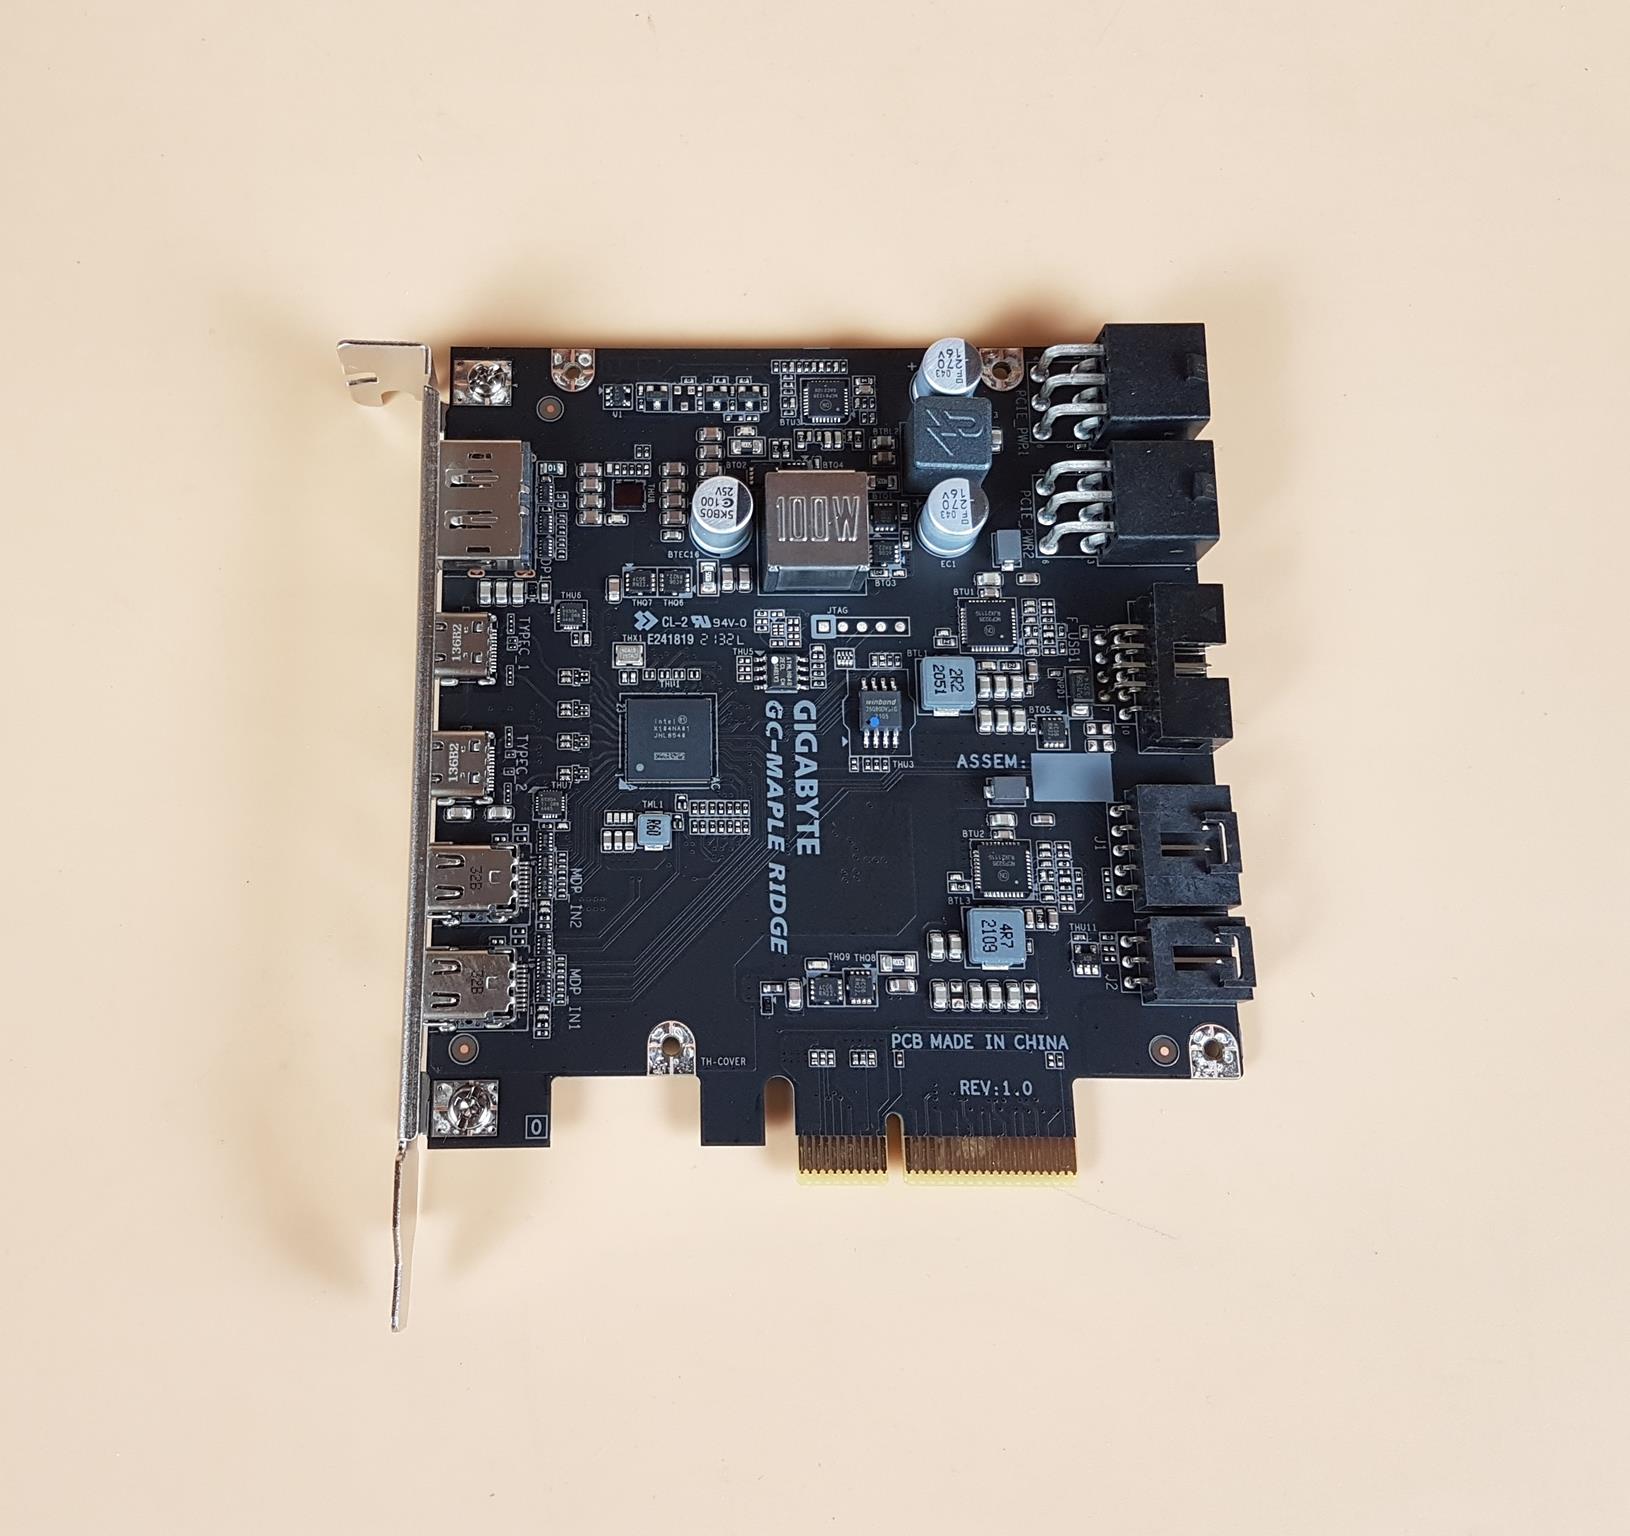
The left picture shows the add-in card. We have black and gray stenciling on the cover. The top cover is made of aluminum material. There is a Thunderbolt marking and branding on the cover. The product name is printed in the white color at the base.
The right picture shows the PCB of the card. It is in the black color with well-soldered components.
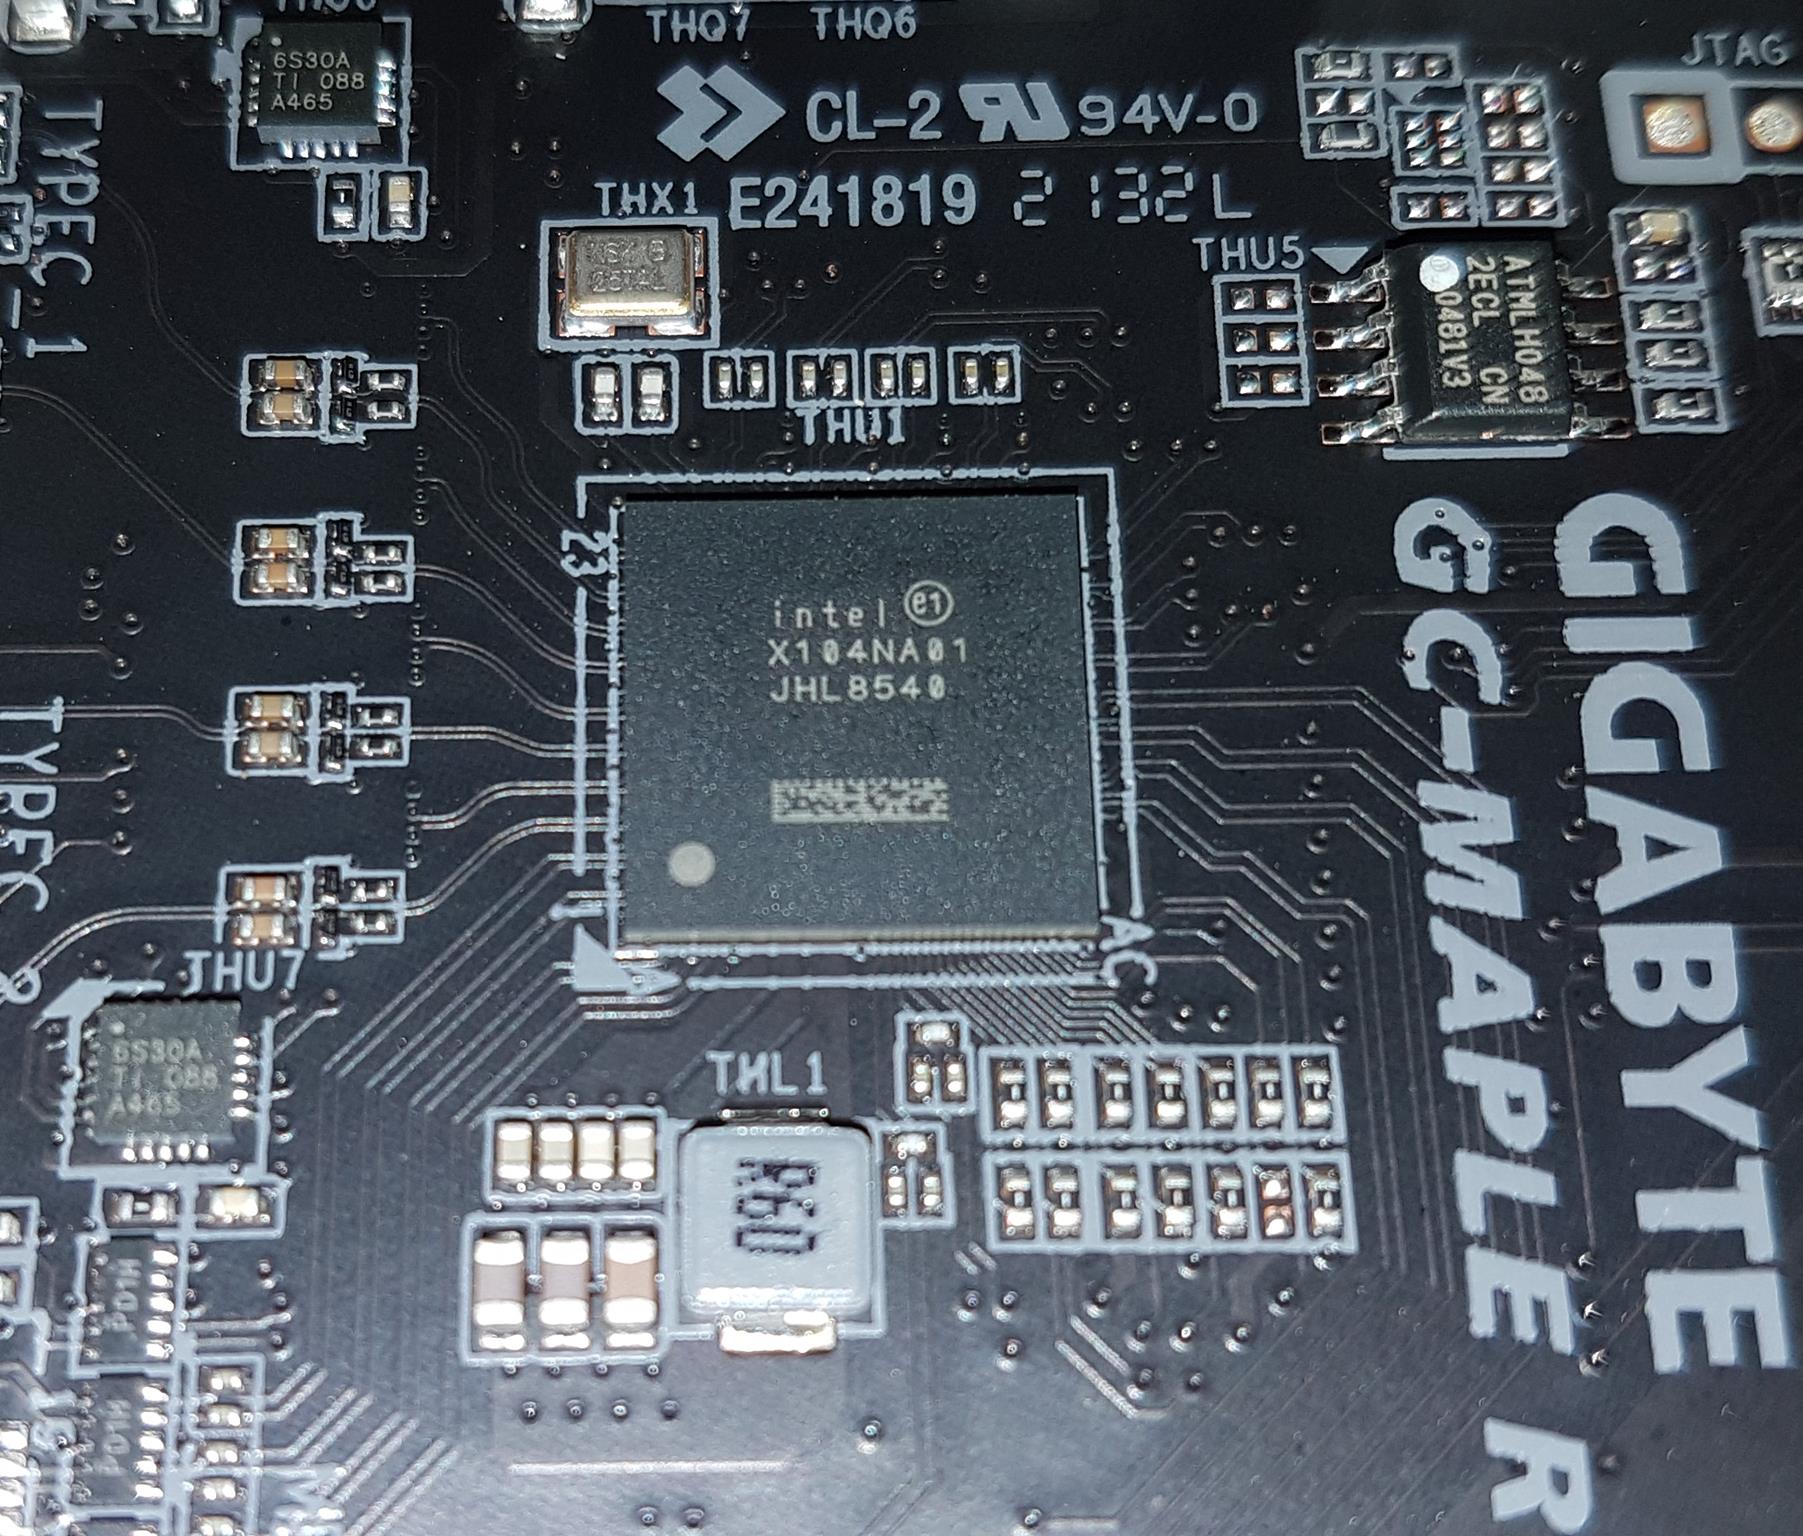
The main chip driving this add-in card is Intel JHL8540 Thunderbolt 4 Controller. This controller features dual ports with PCIe 3.0 x4 interface having capabilities of ACS (Access Control Services), FPB, PTM (Precision Time Measurement), P2P (Peer-to-Peer), and 128b payload. The controller supports 2 DP Sink, 1 DP SRC, and DP1.4a tunnel/re-drive at x1/x2/x4 using 1.62/2.7/5.4/8.1.
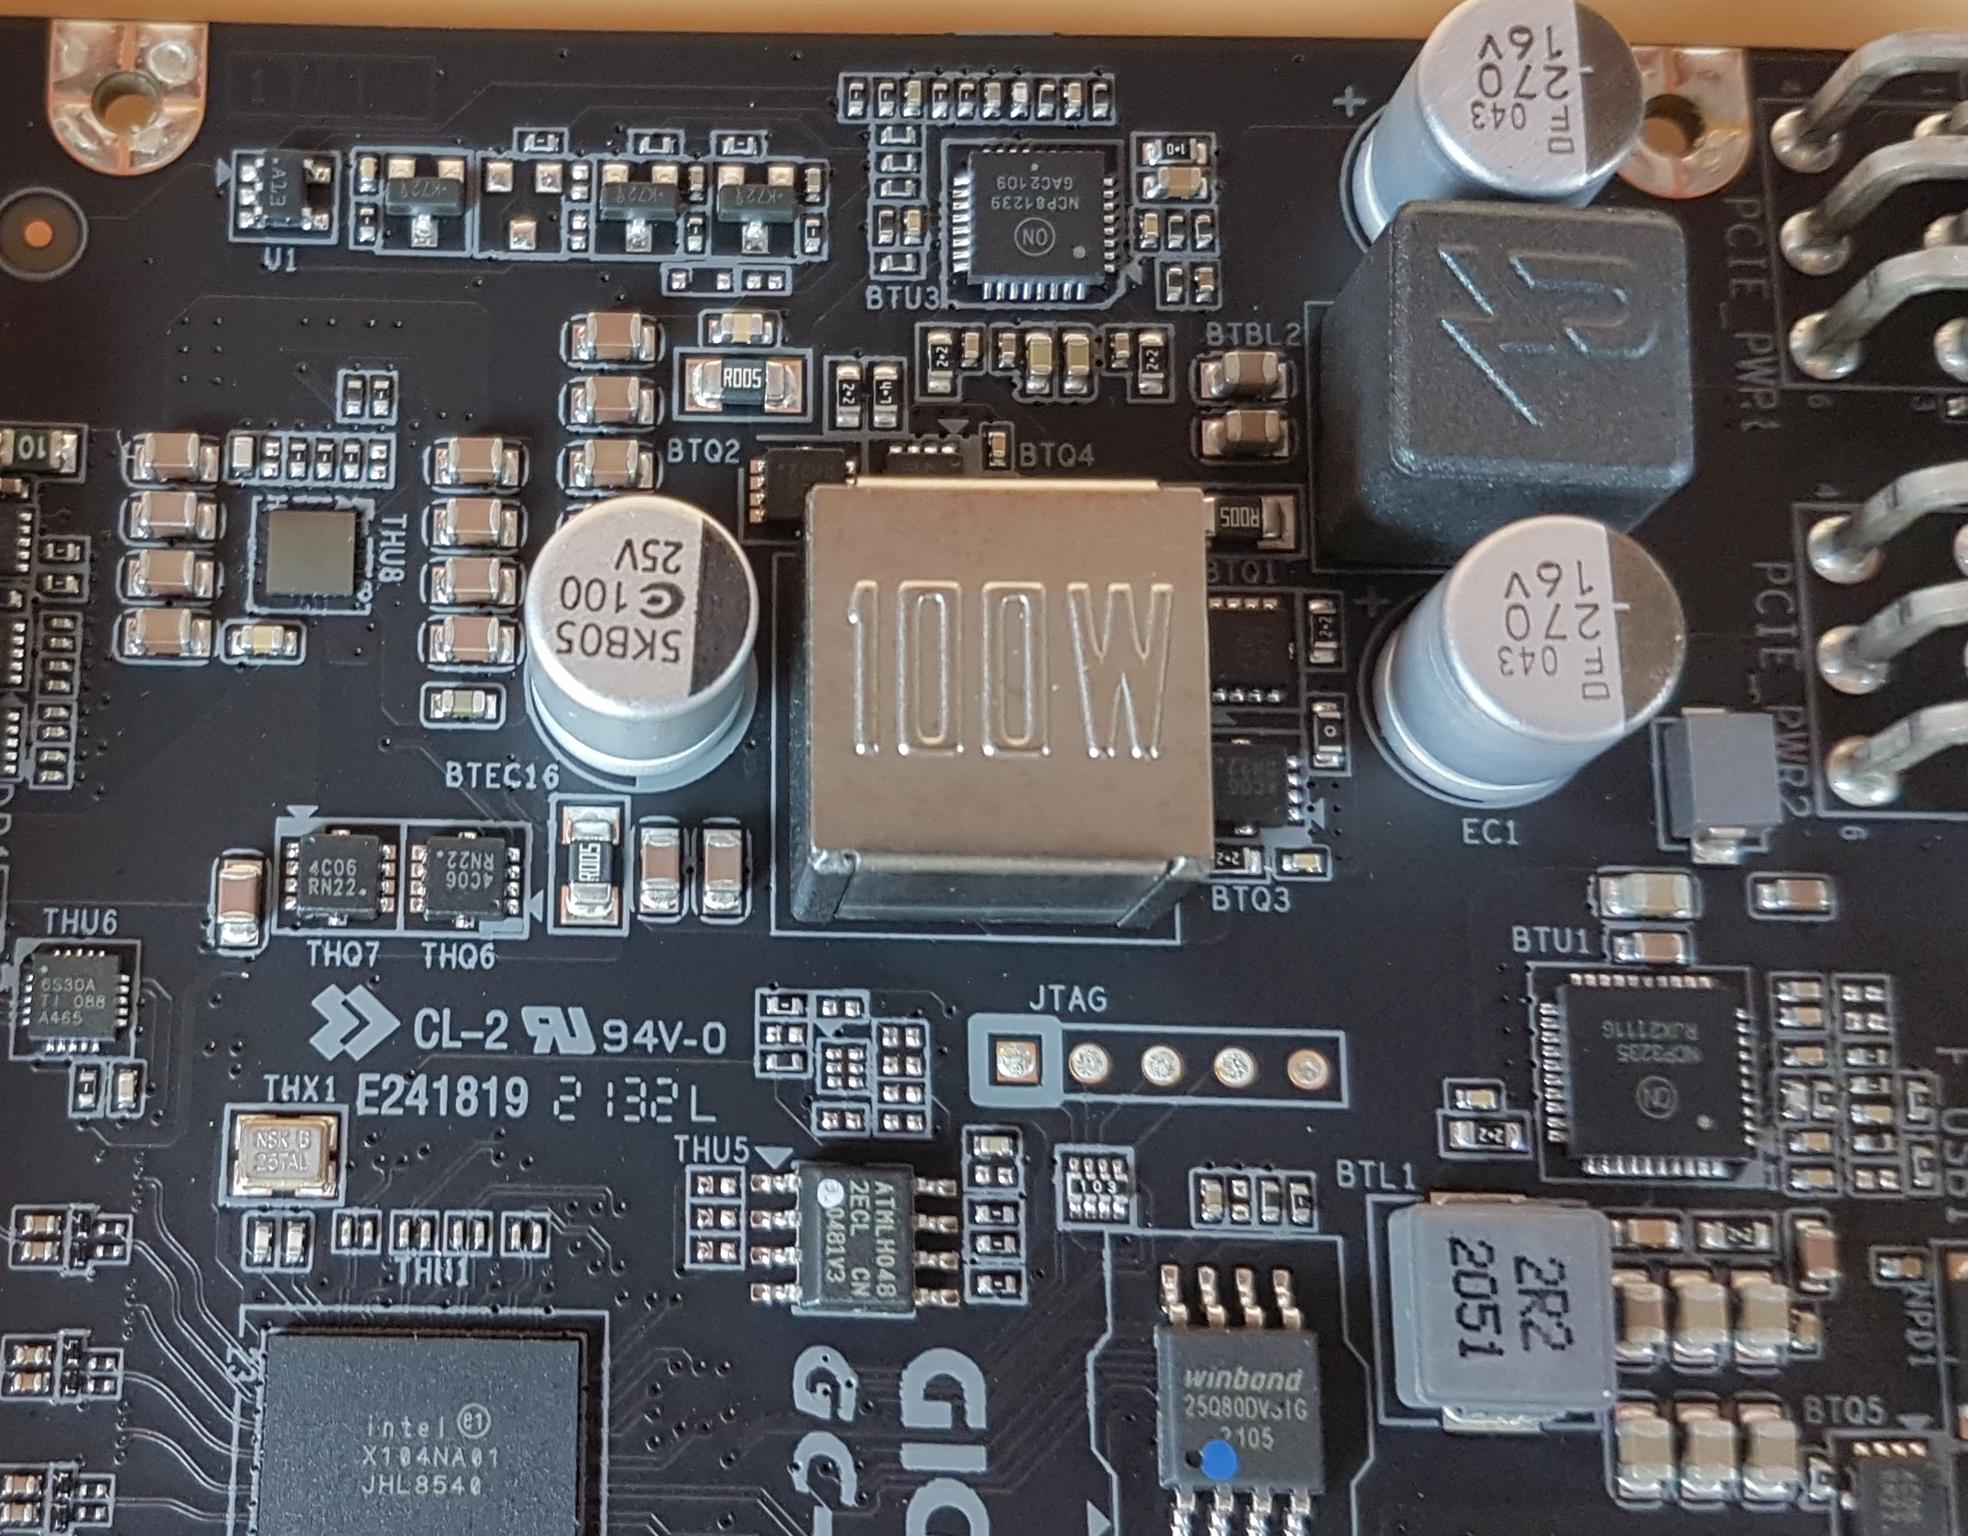
On the right, we can see what seems to be responsible for the provision of a fast charge function on the Thunderbolt ports.
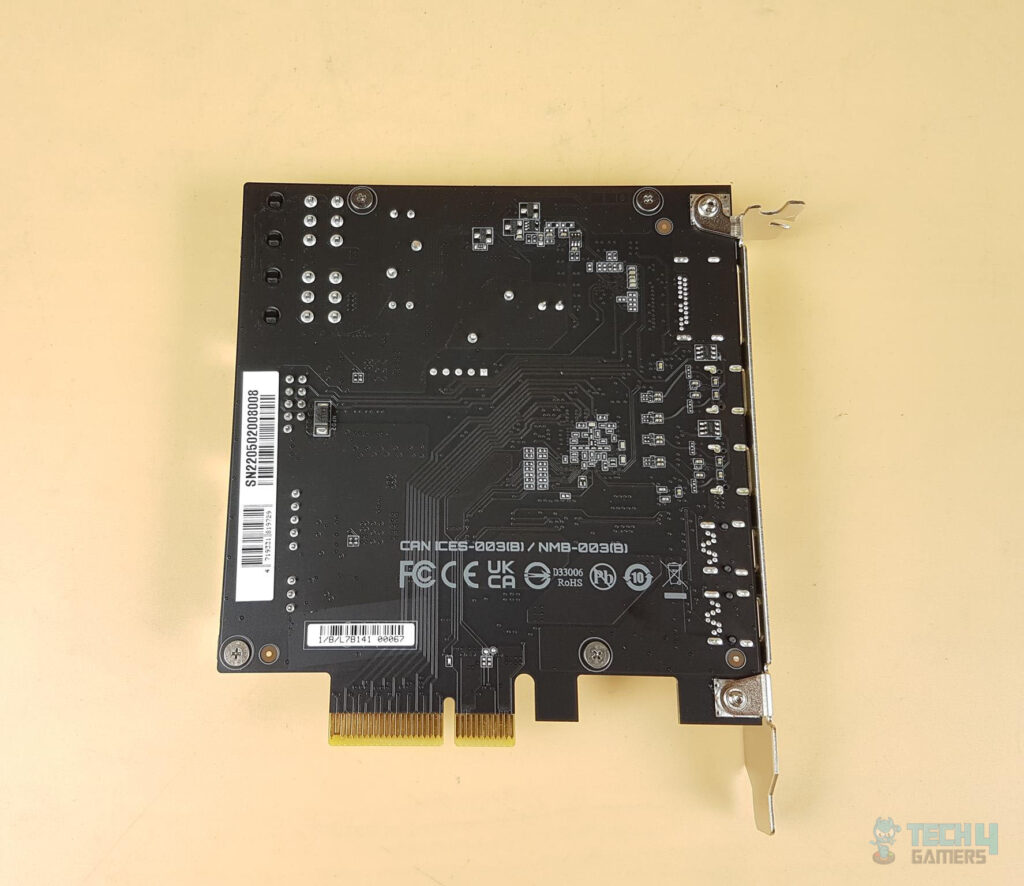
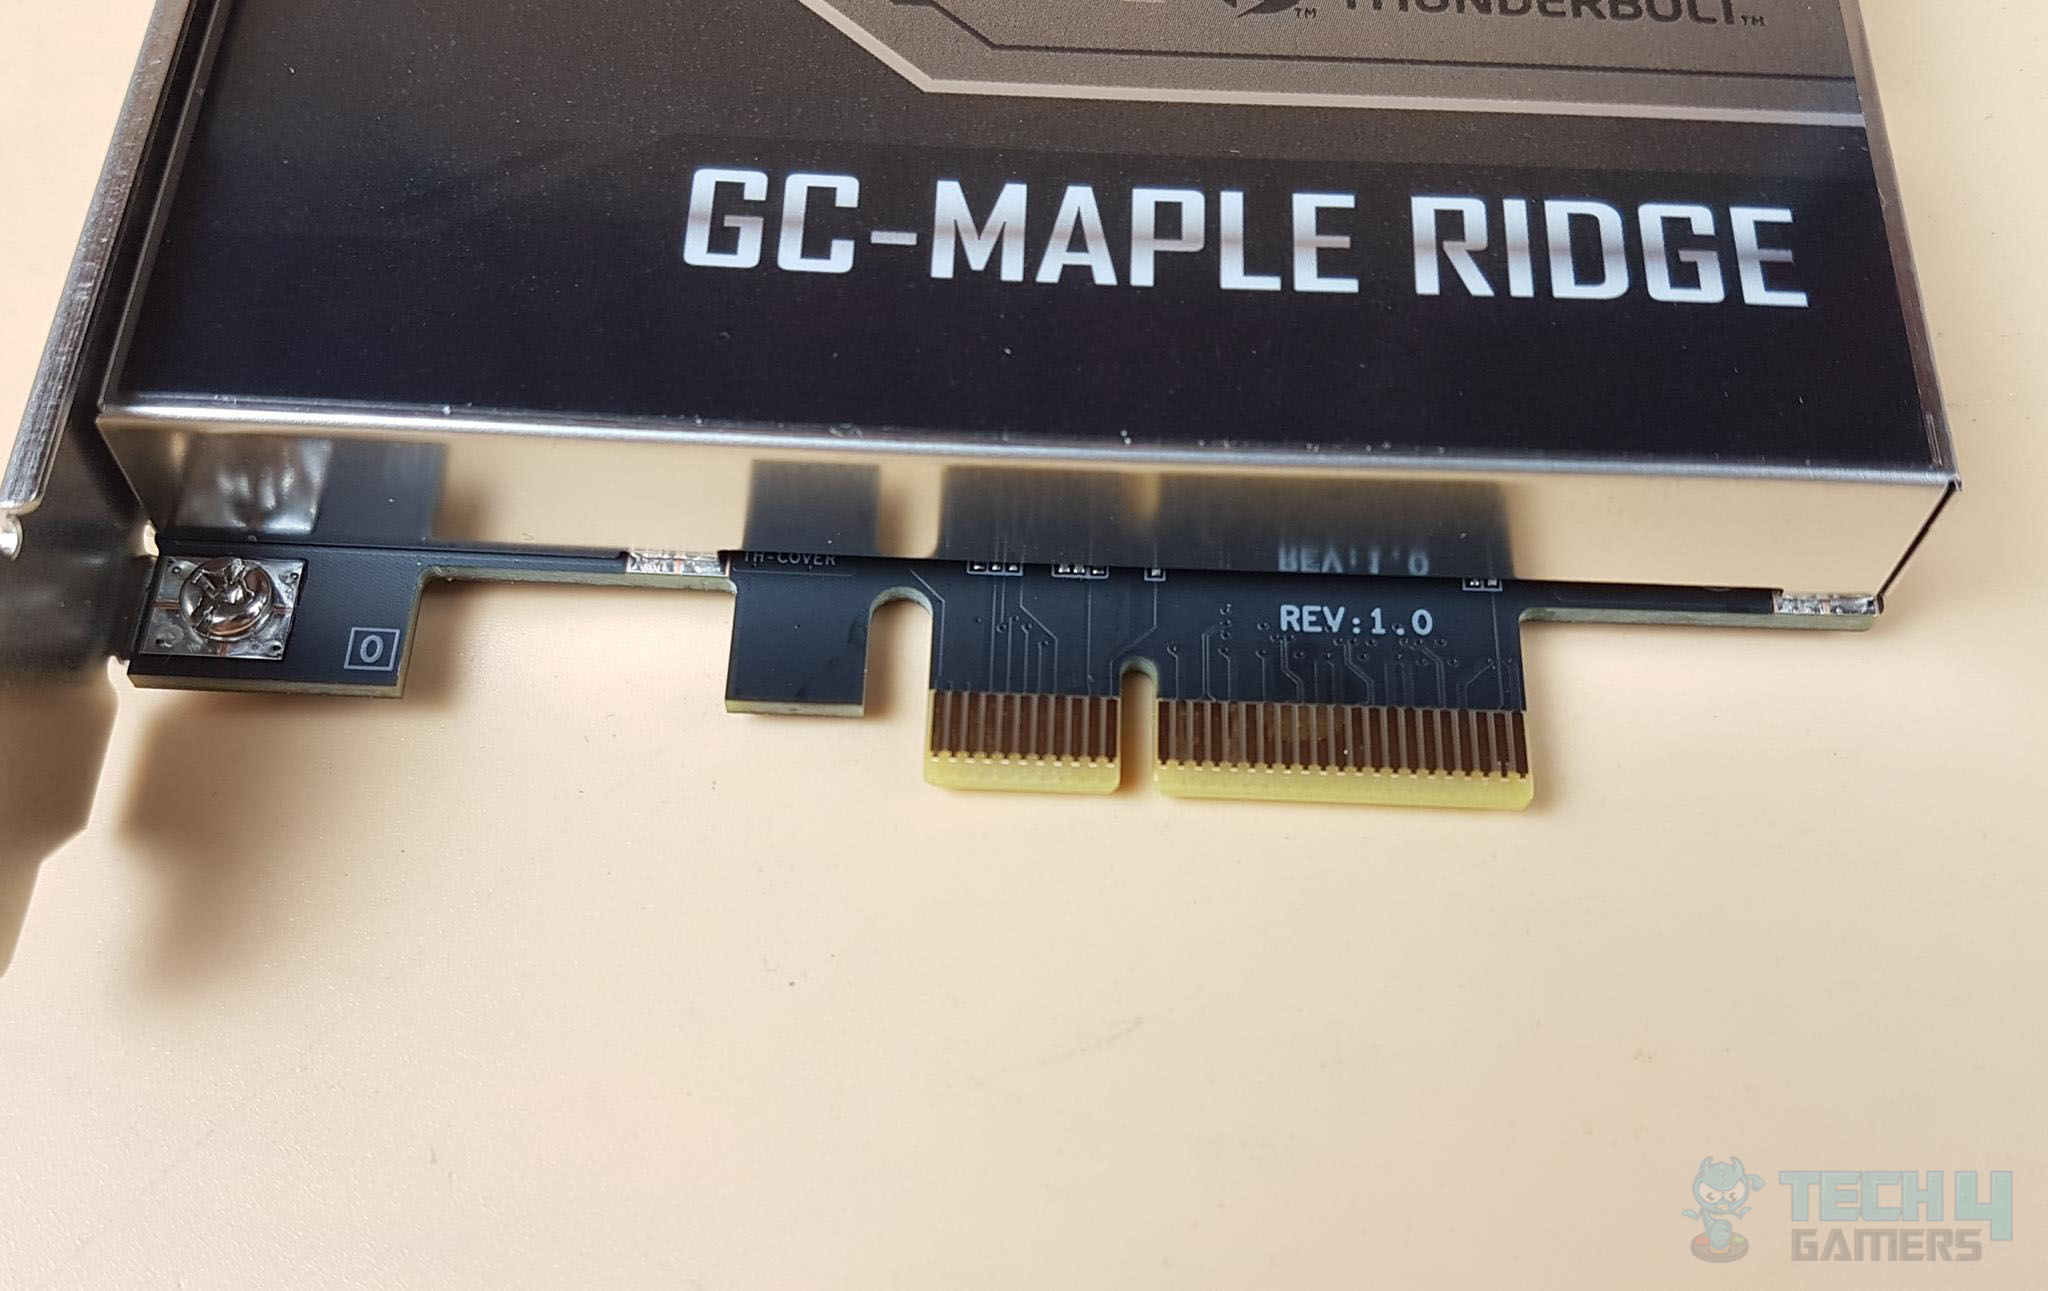
The card has a black color PCB which is exposed on the backside. There is a serial no sticker pasted on the front connectors’ side.
Thunderbolt 4 demands vendors to use a PCIe 3.0 x4 interface for certification. Unlike Thunderbolt 3, which often uses x2 PCIe lanes, this ensures a full 40Gbps bandwidth for both upstream and downstream connectivity. Without meeting this requirement, certification won’t be granted by Intel.
In Thunderbolt 3, the 18Gbps out of total 40Gbps is reserved for video regardless of DP tunneling and the remaining 22 Gbps were for the data transfer. Thunderbolt 4 has addressed that by increasing the minimum PCIe data requirement from 16Gbps to 32Gbps.
This was only possible if the full-length x4 interface is used. The GIGABYTE GC-Maple Ridge Thunderbolt 4 Add-In card is implemented using PCIe 3.0 x4 interface.
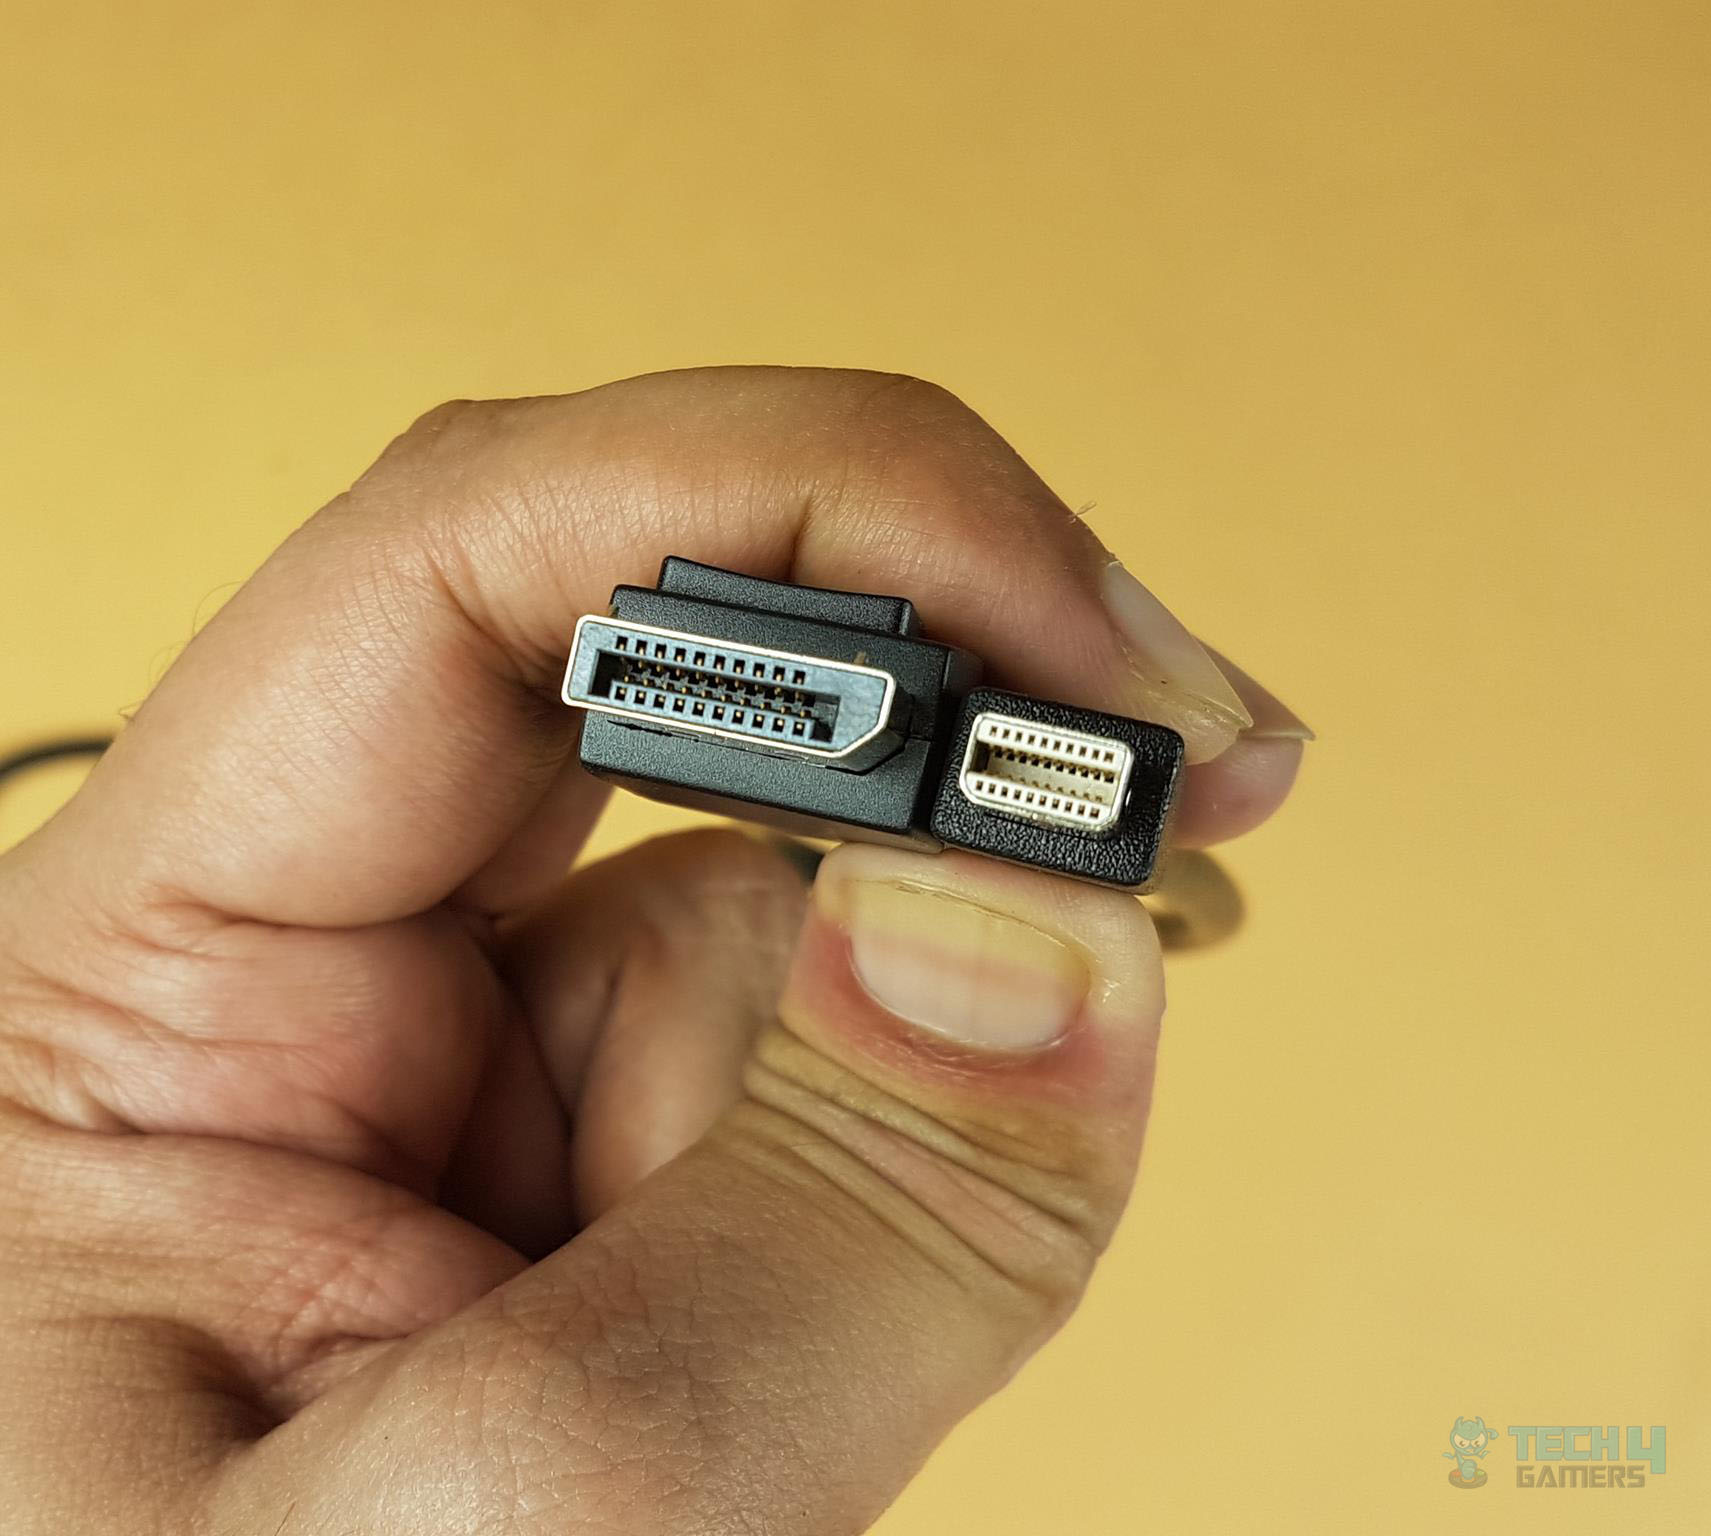
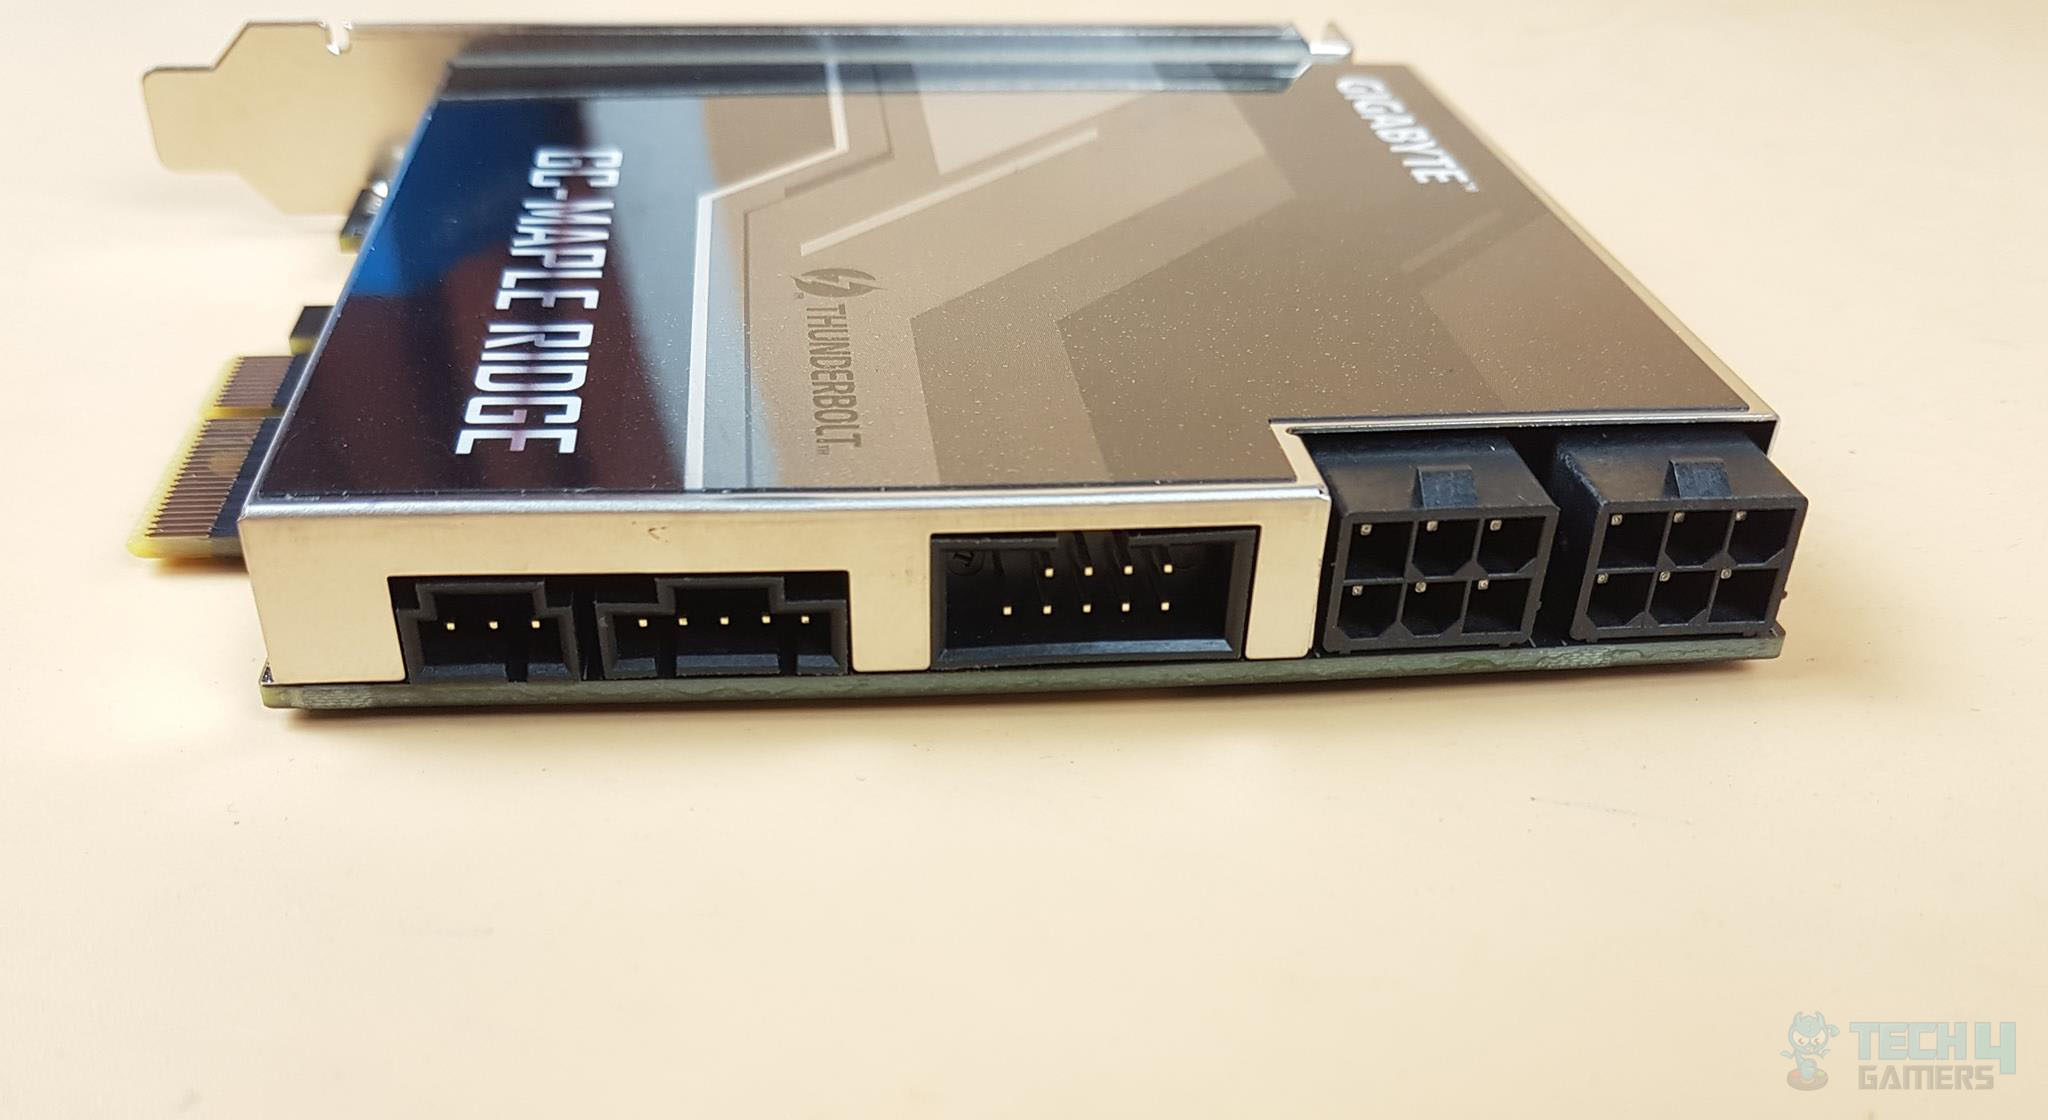
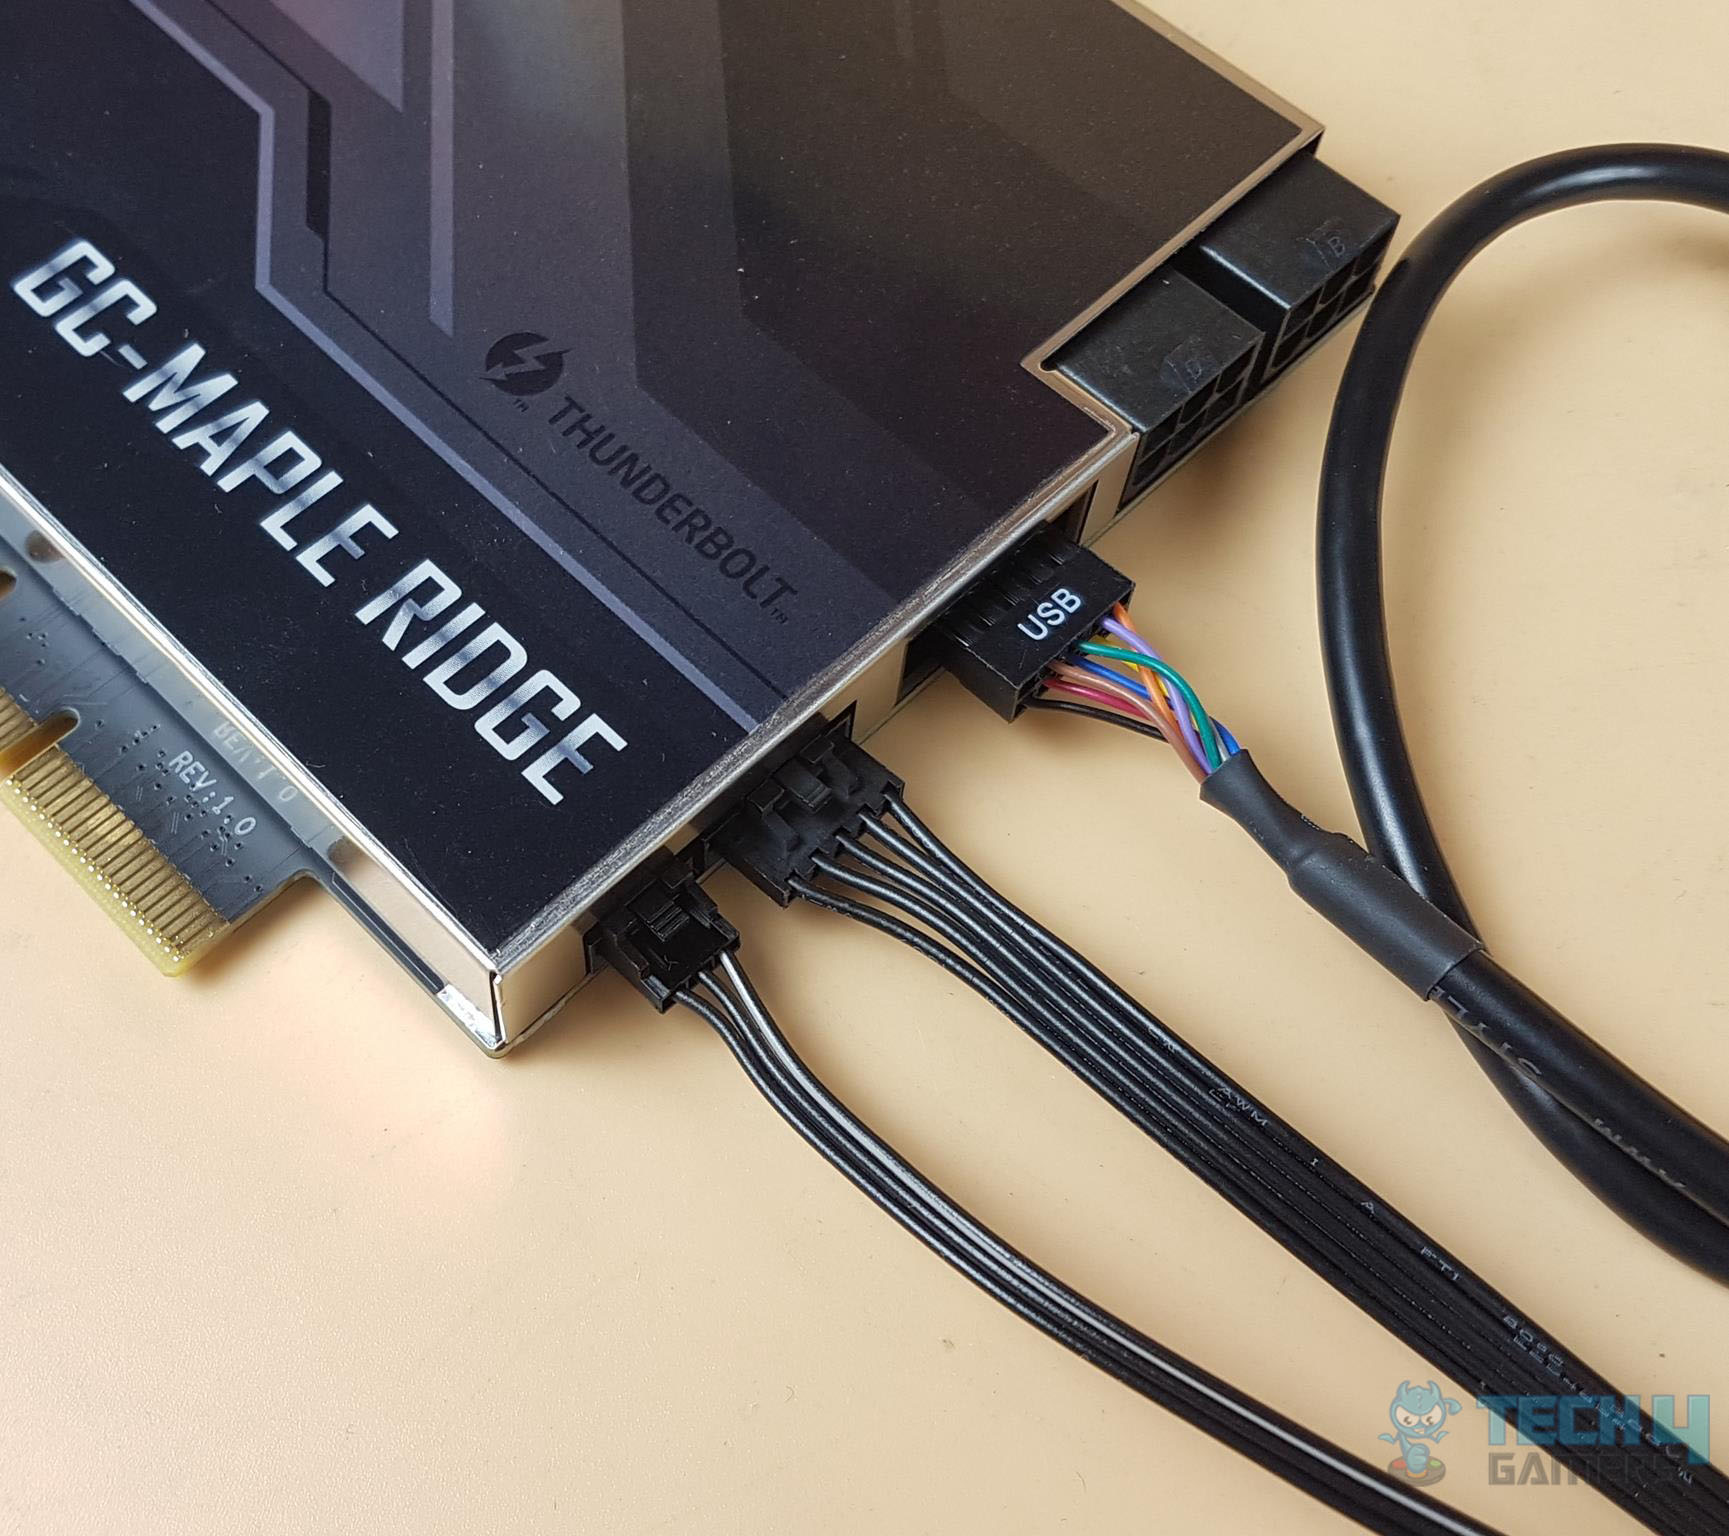
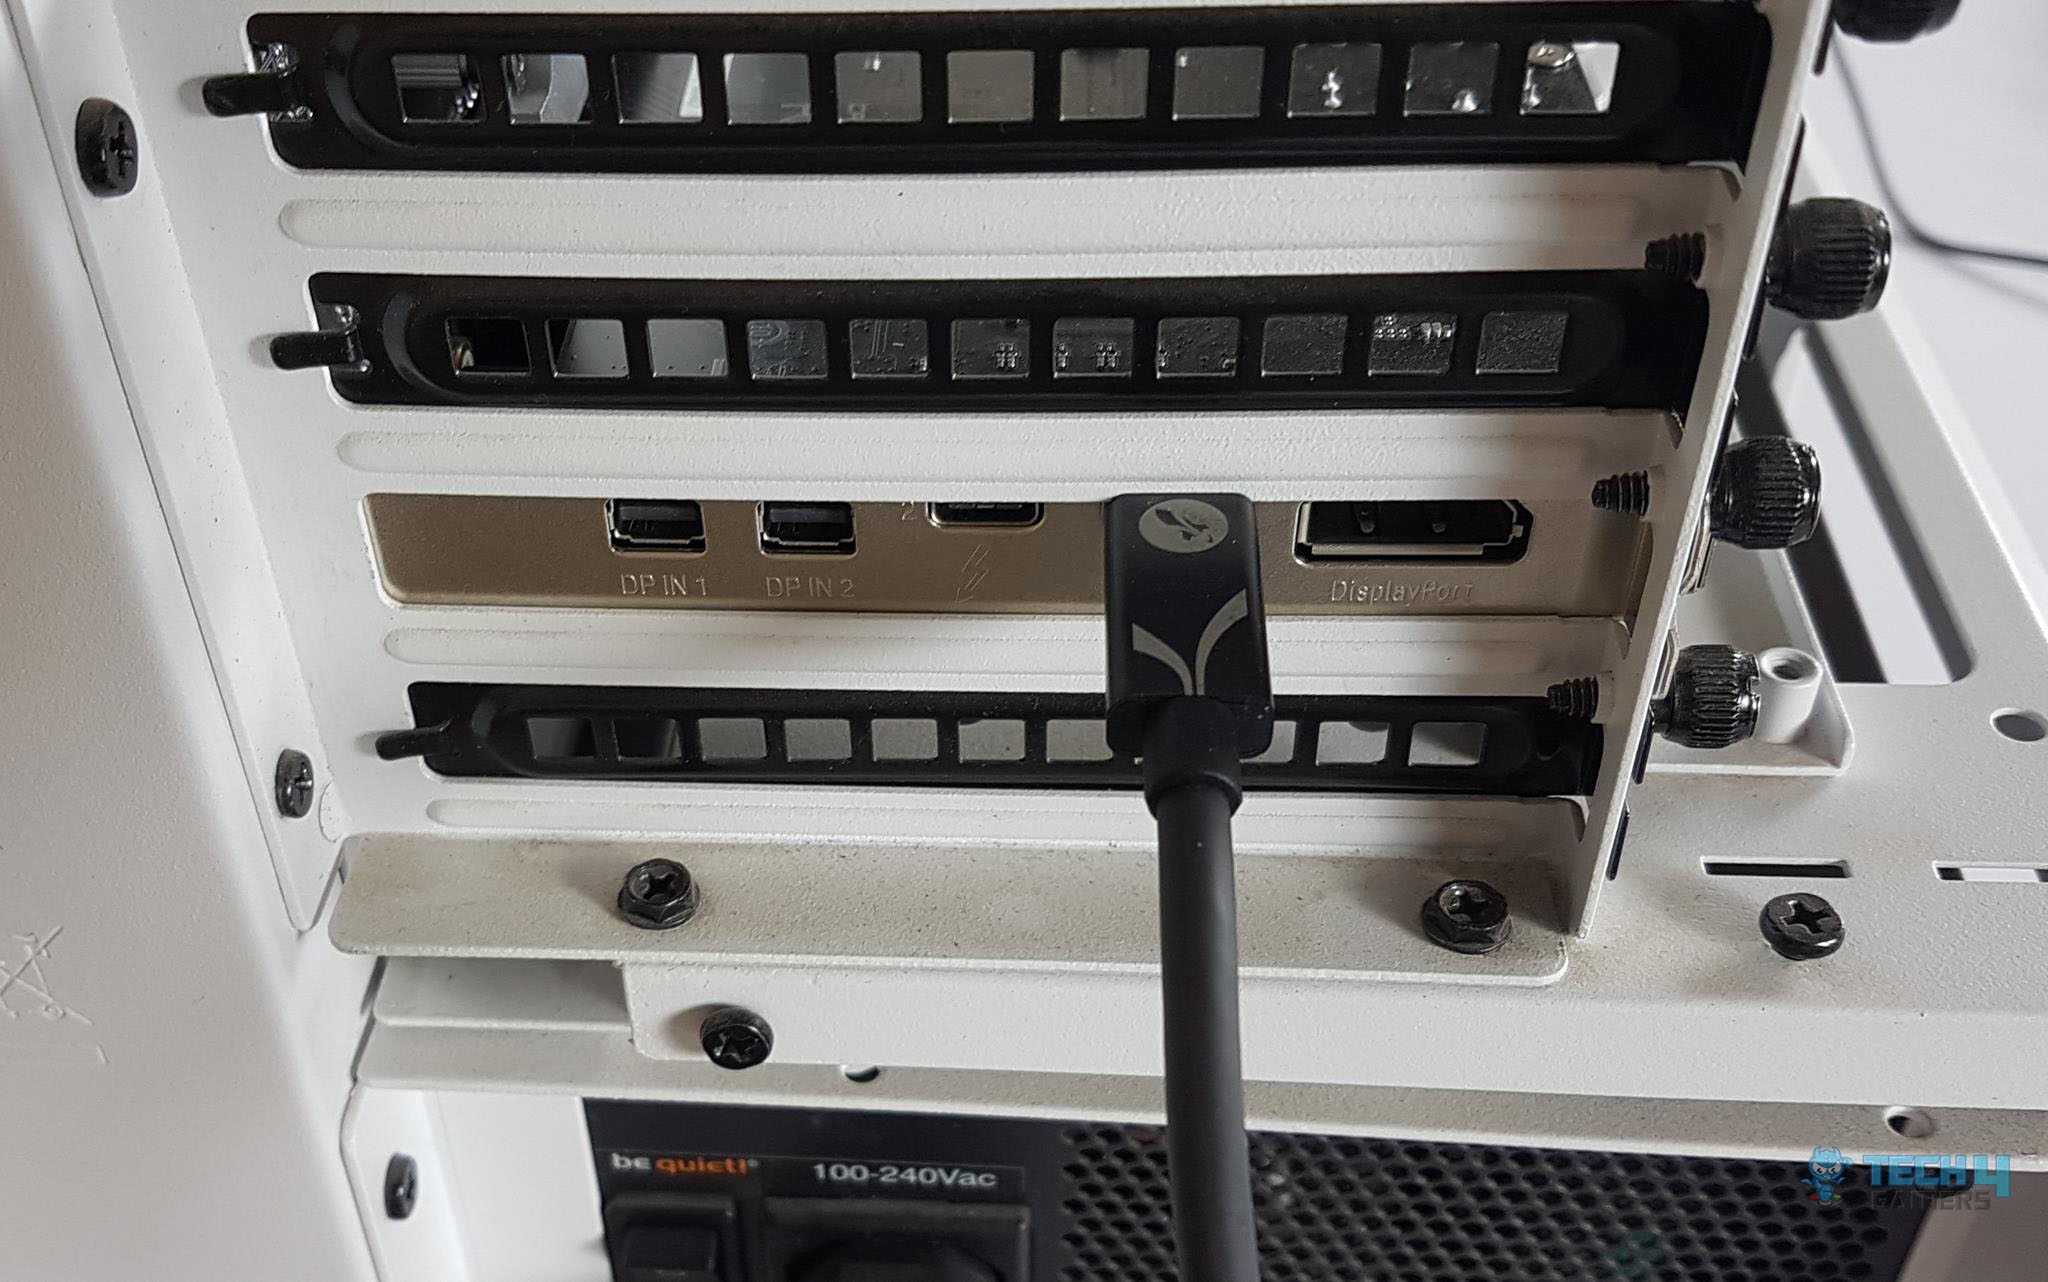
The GIGABYTE GC-Maple Ridge Thunderbolt 4 Add-In card has tons of connectors on the front. We will cover them one by one.
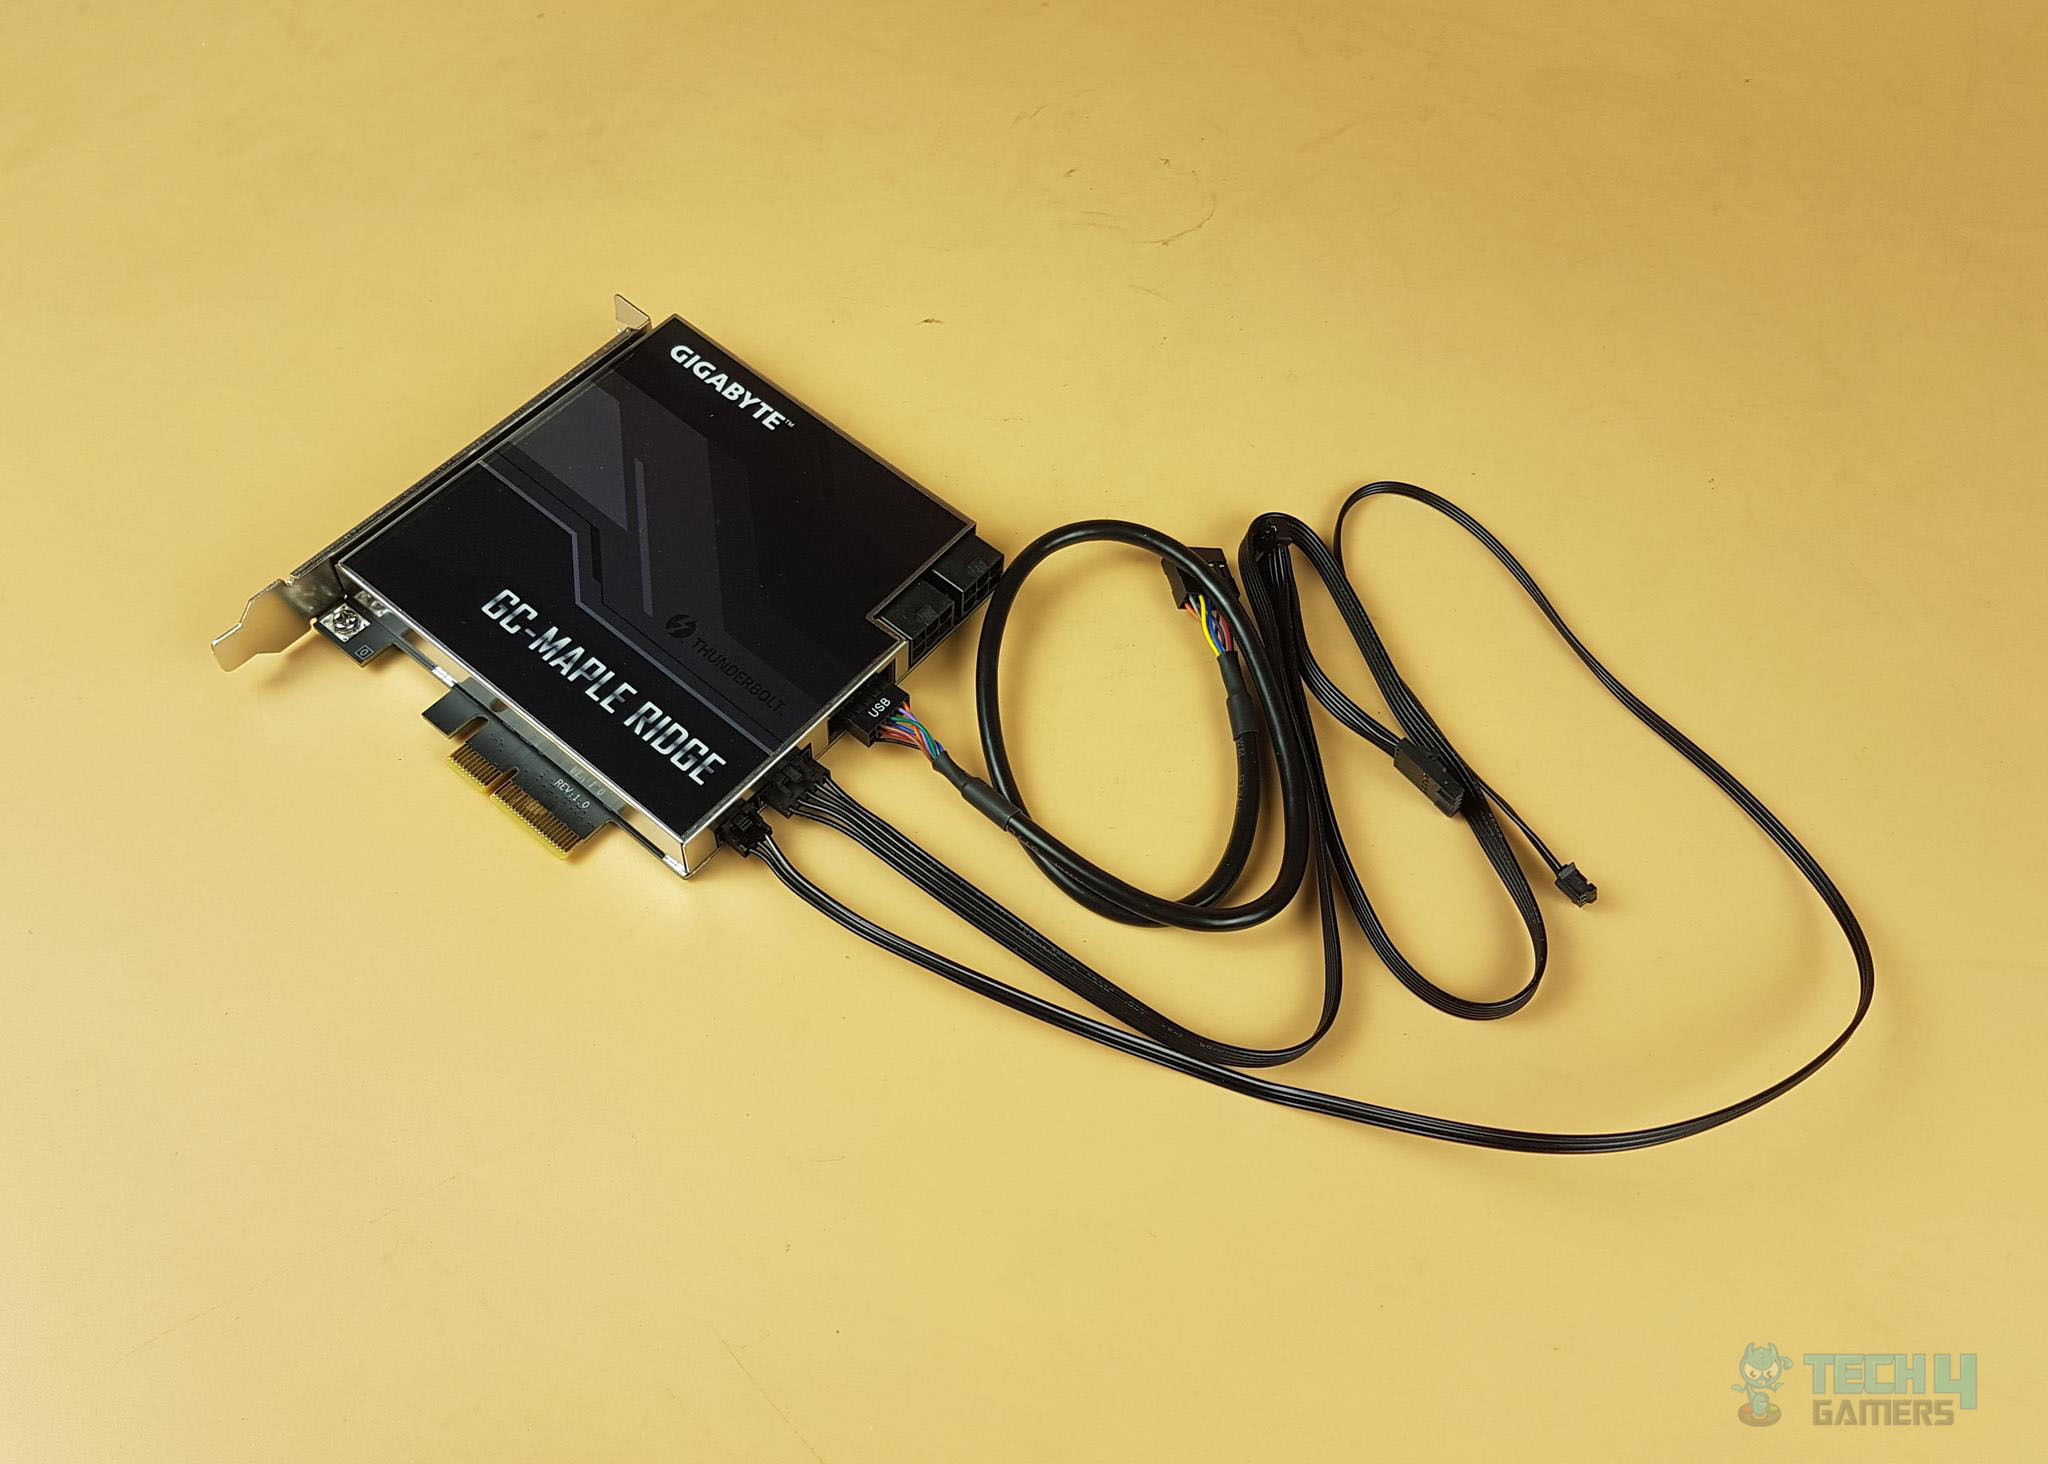
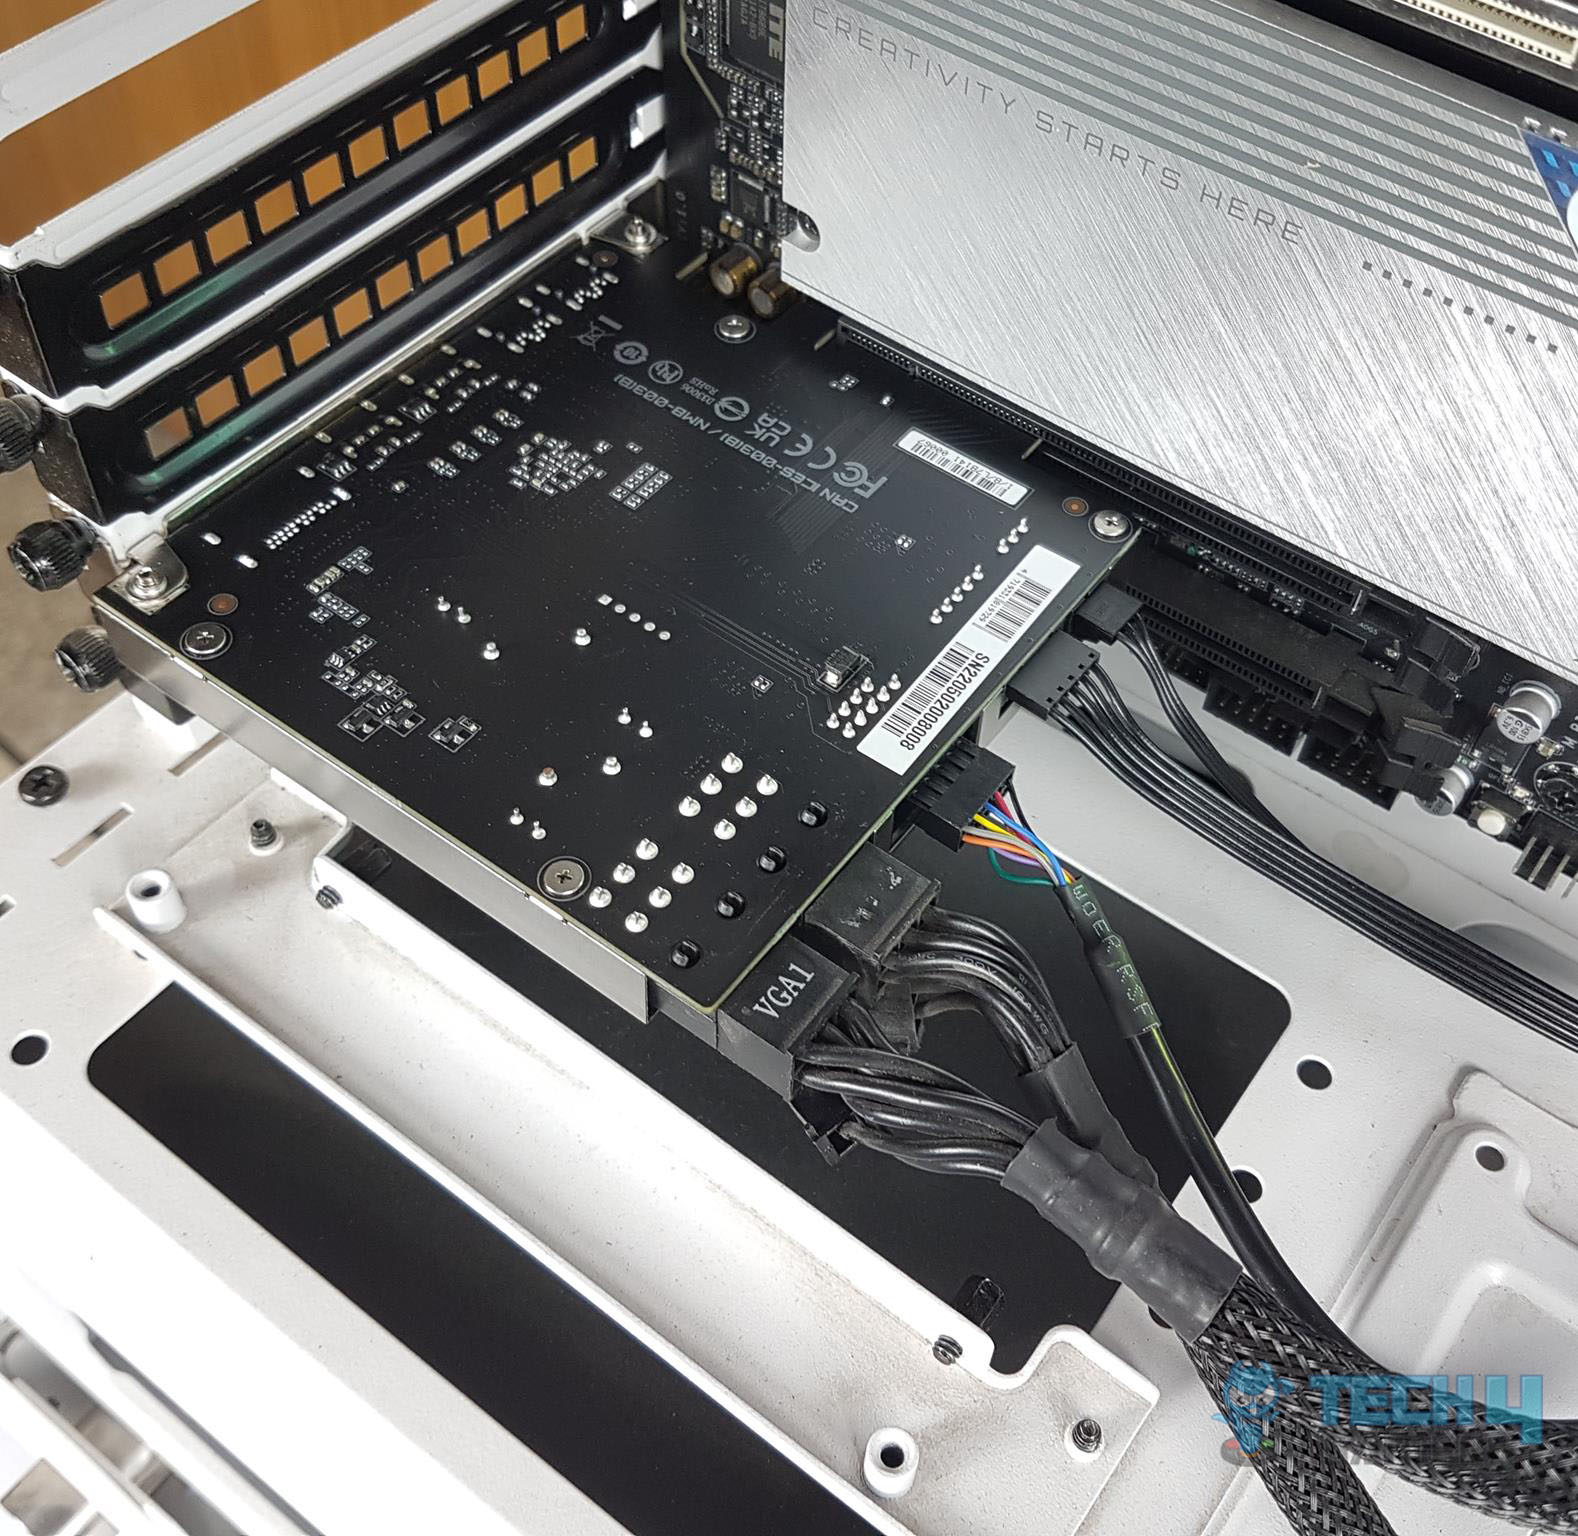
One caveat with this design is that we have to deal with the plenty of cables on the motherboard and the Add-In card which could make a cable management task more challenging.
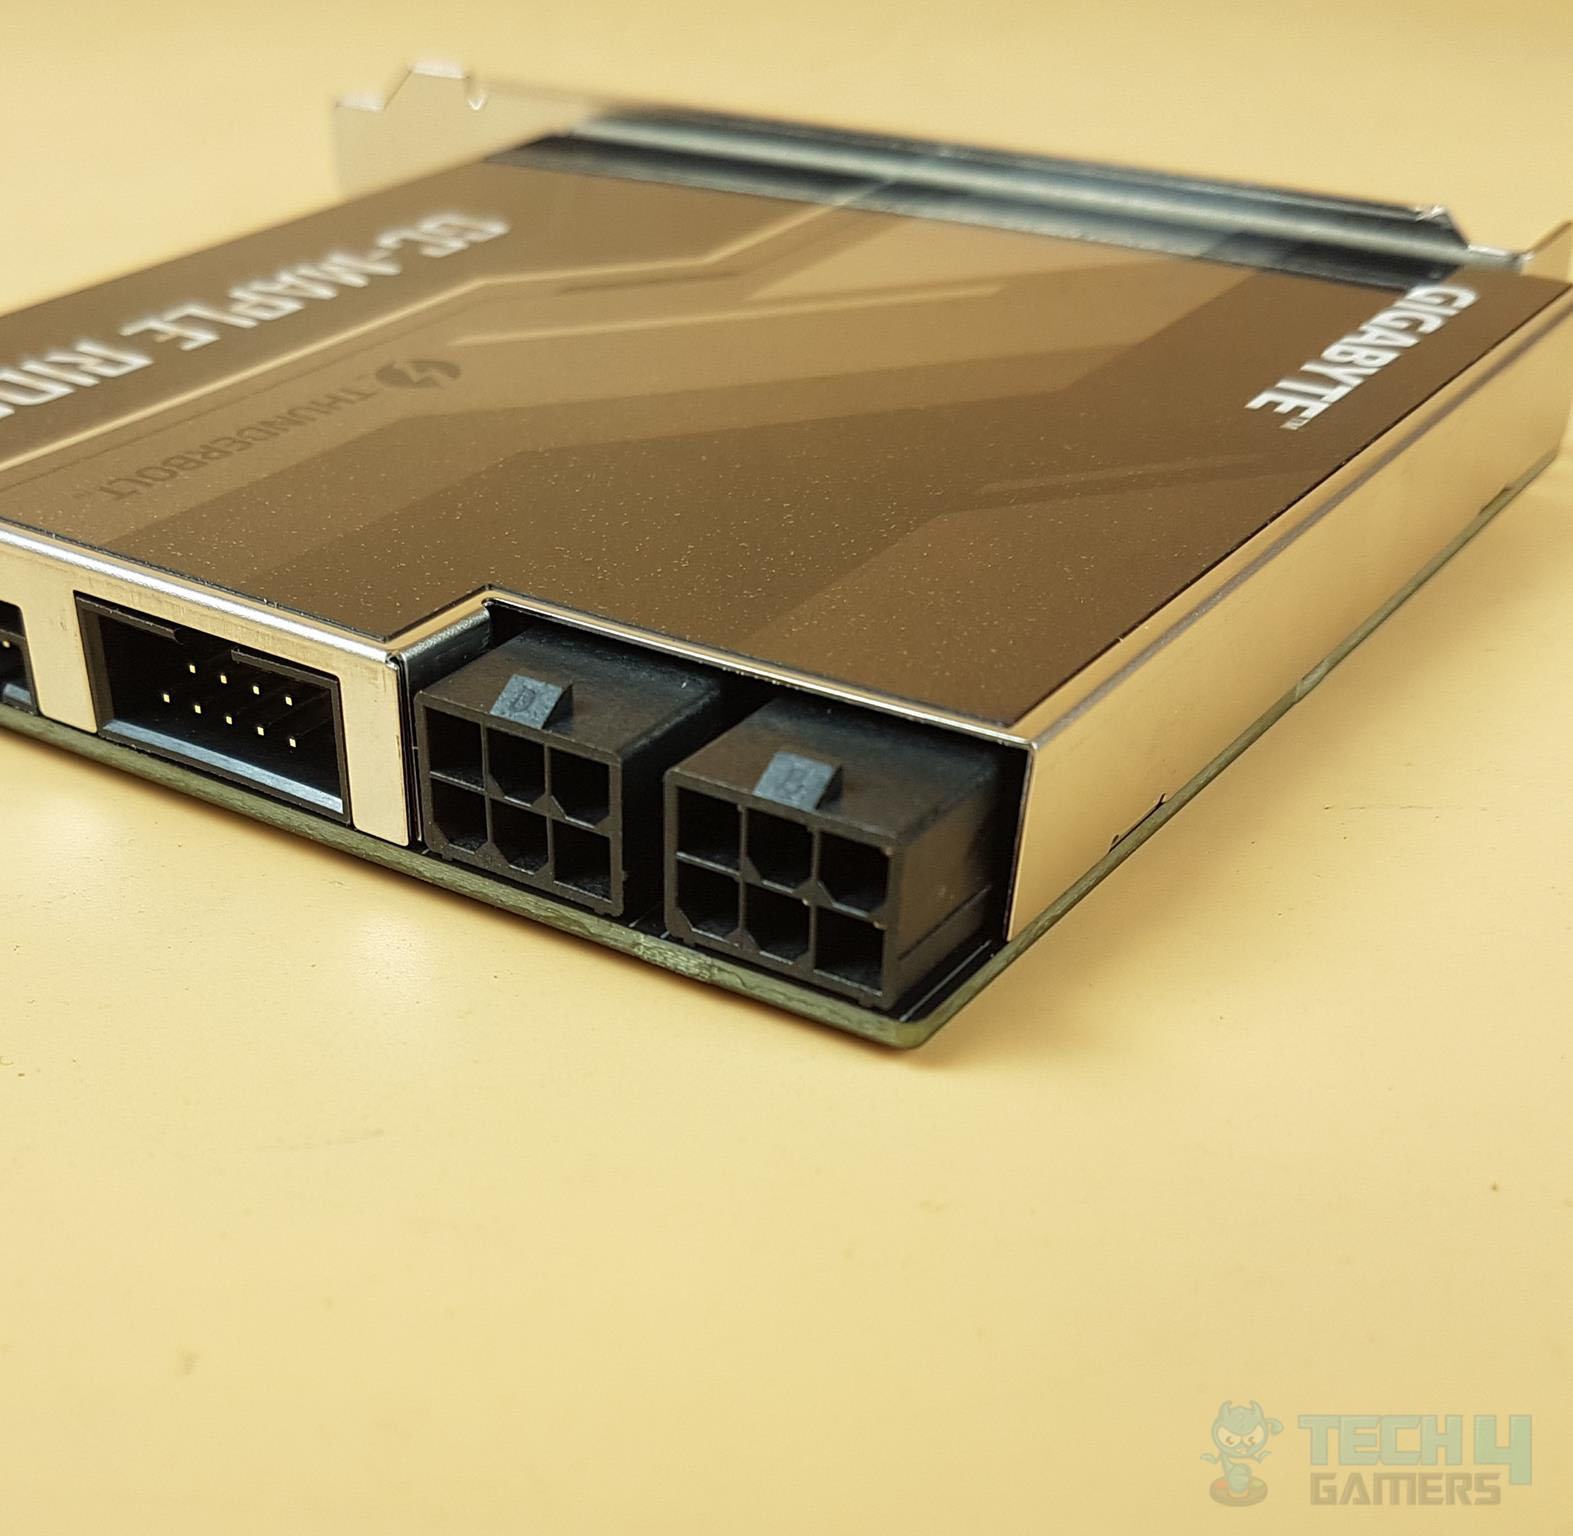
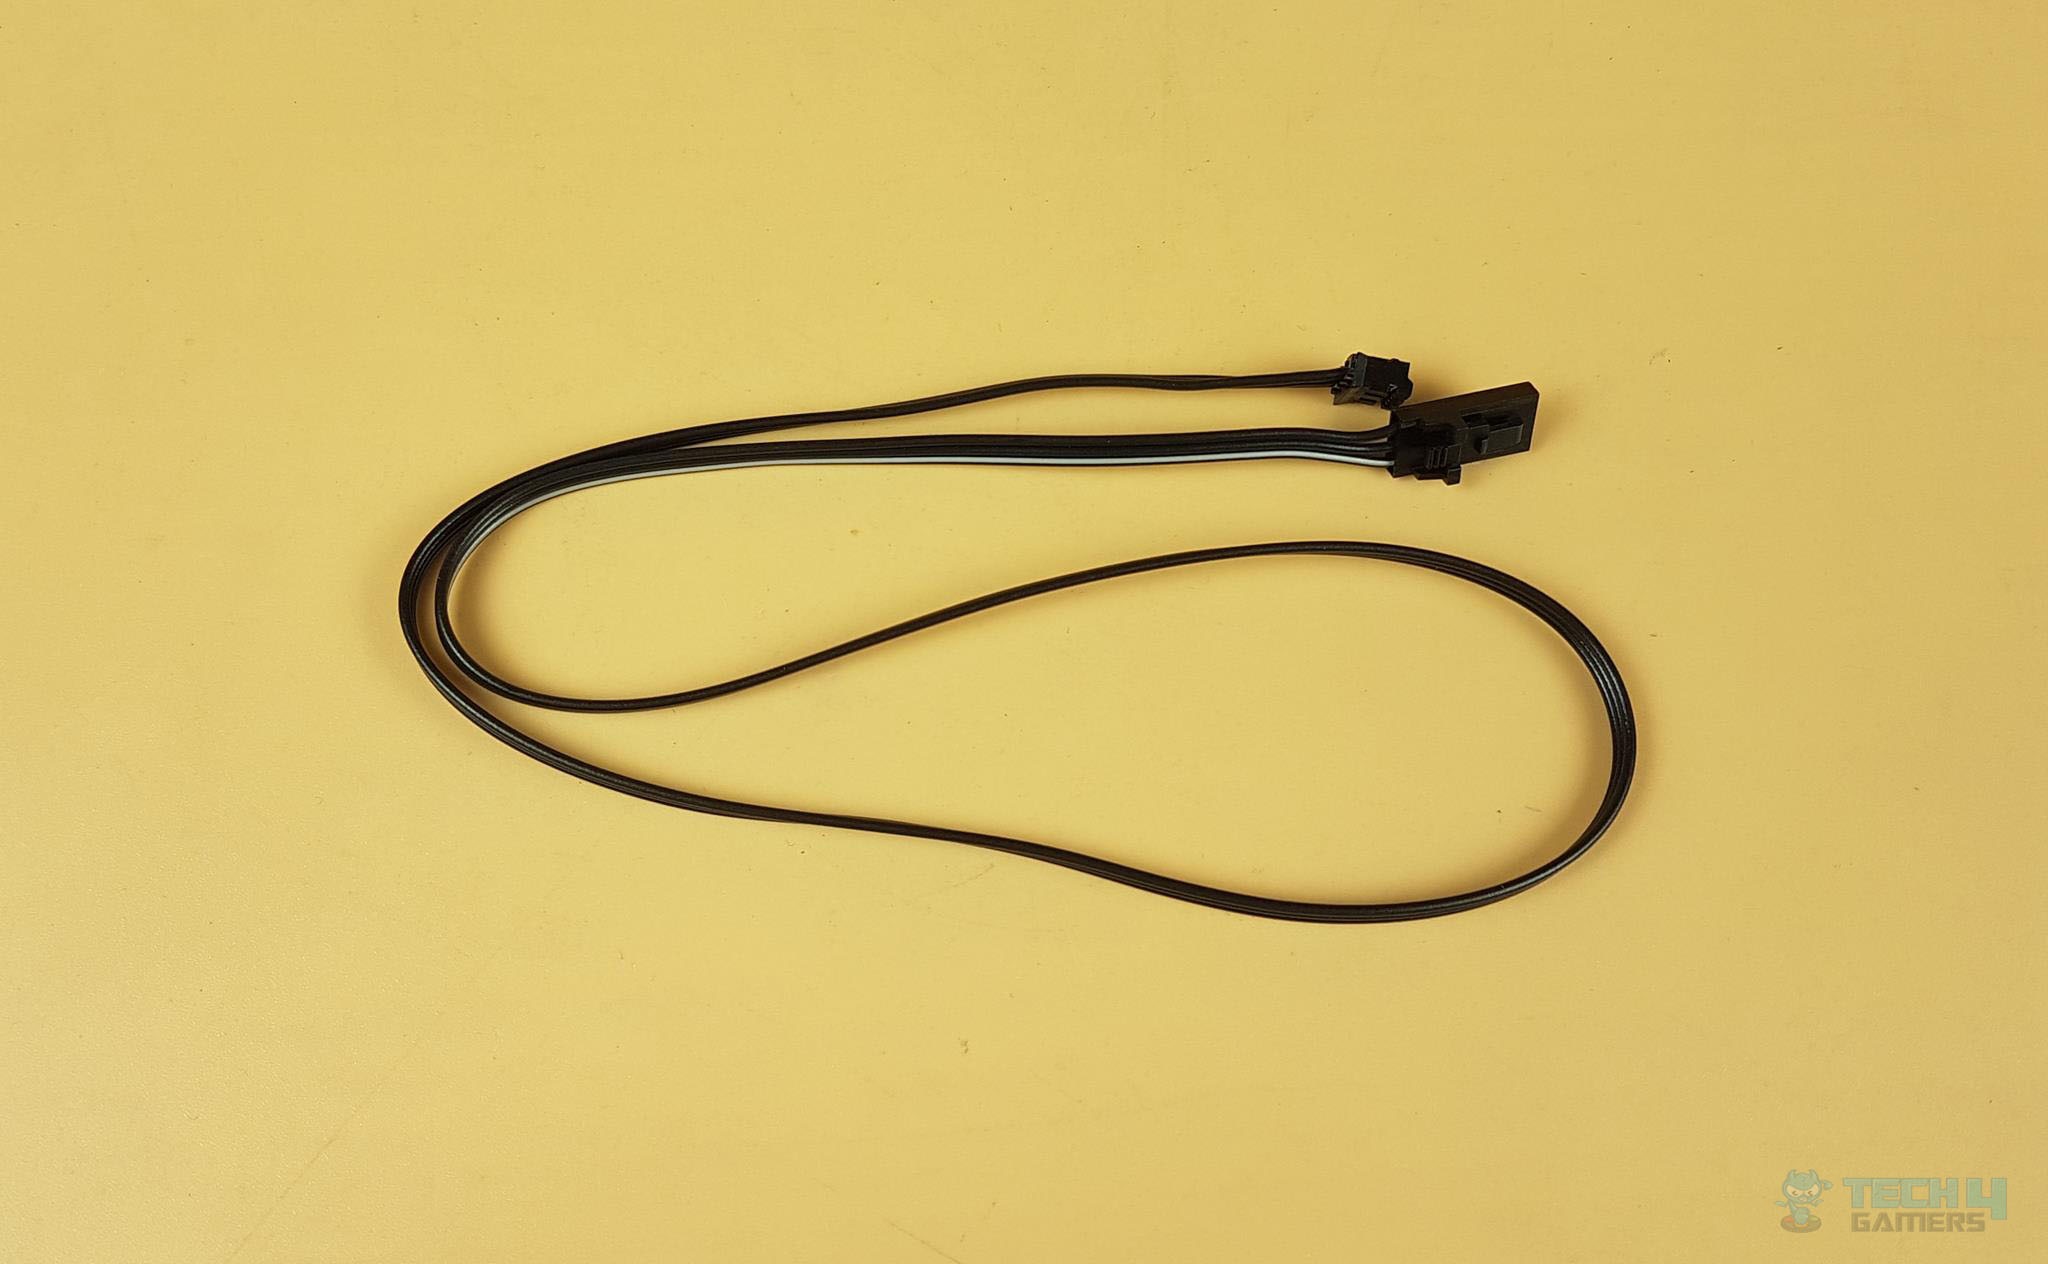
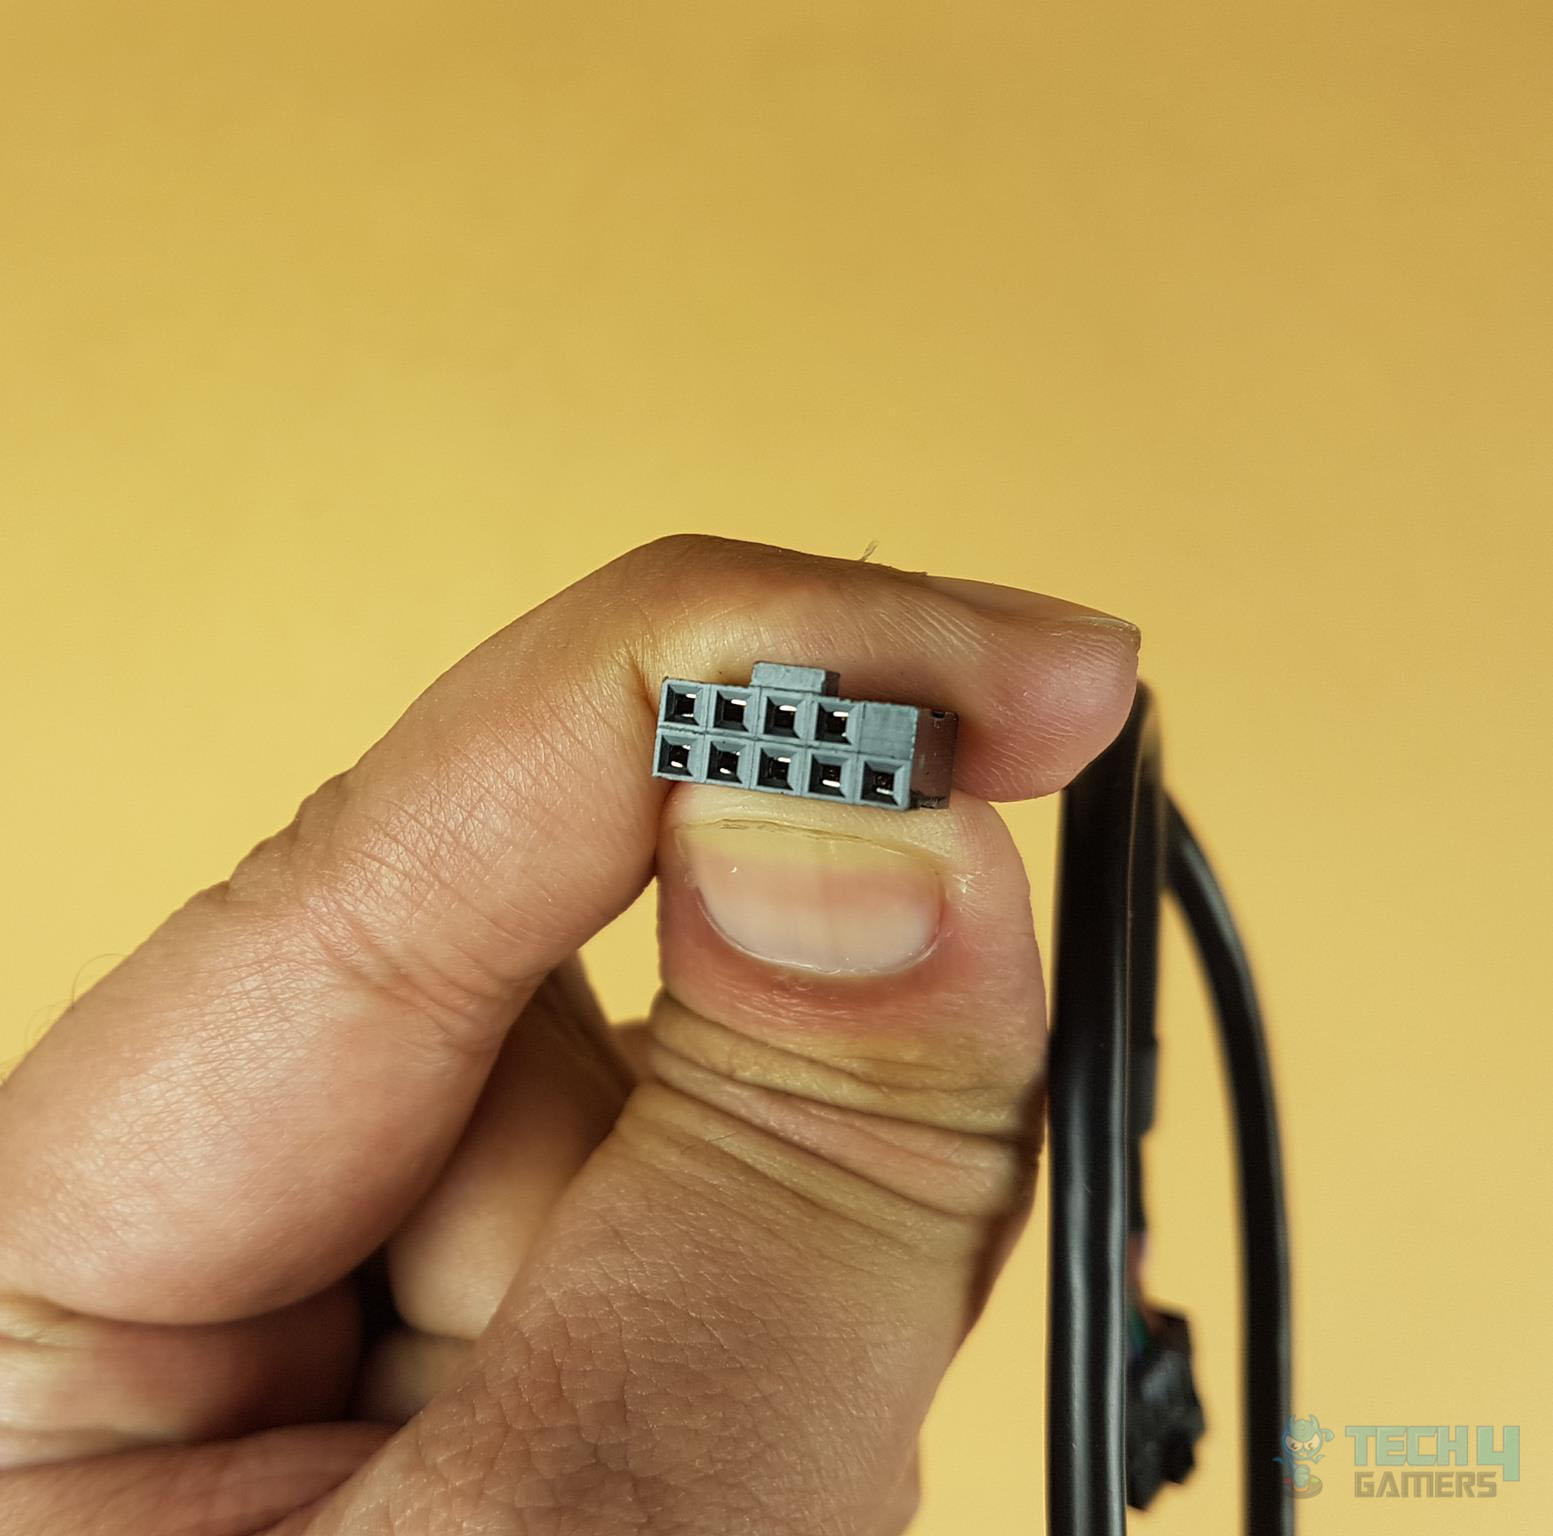
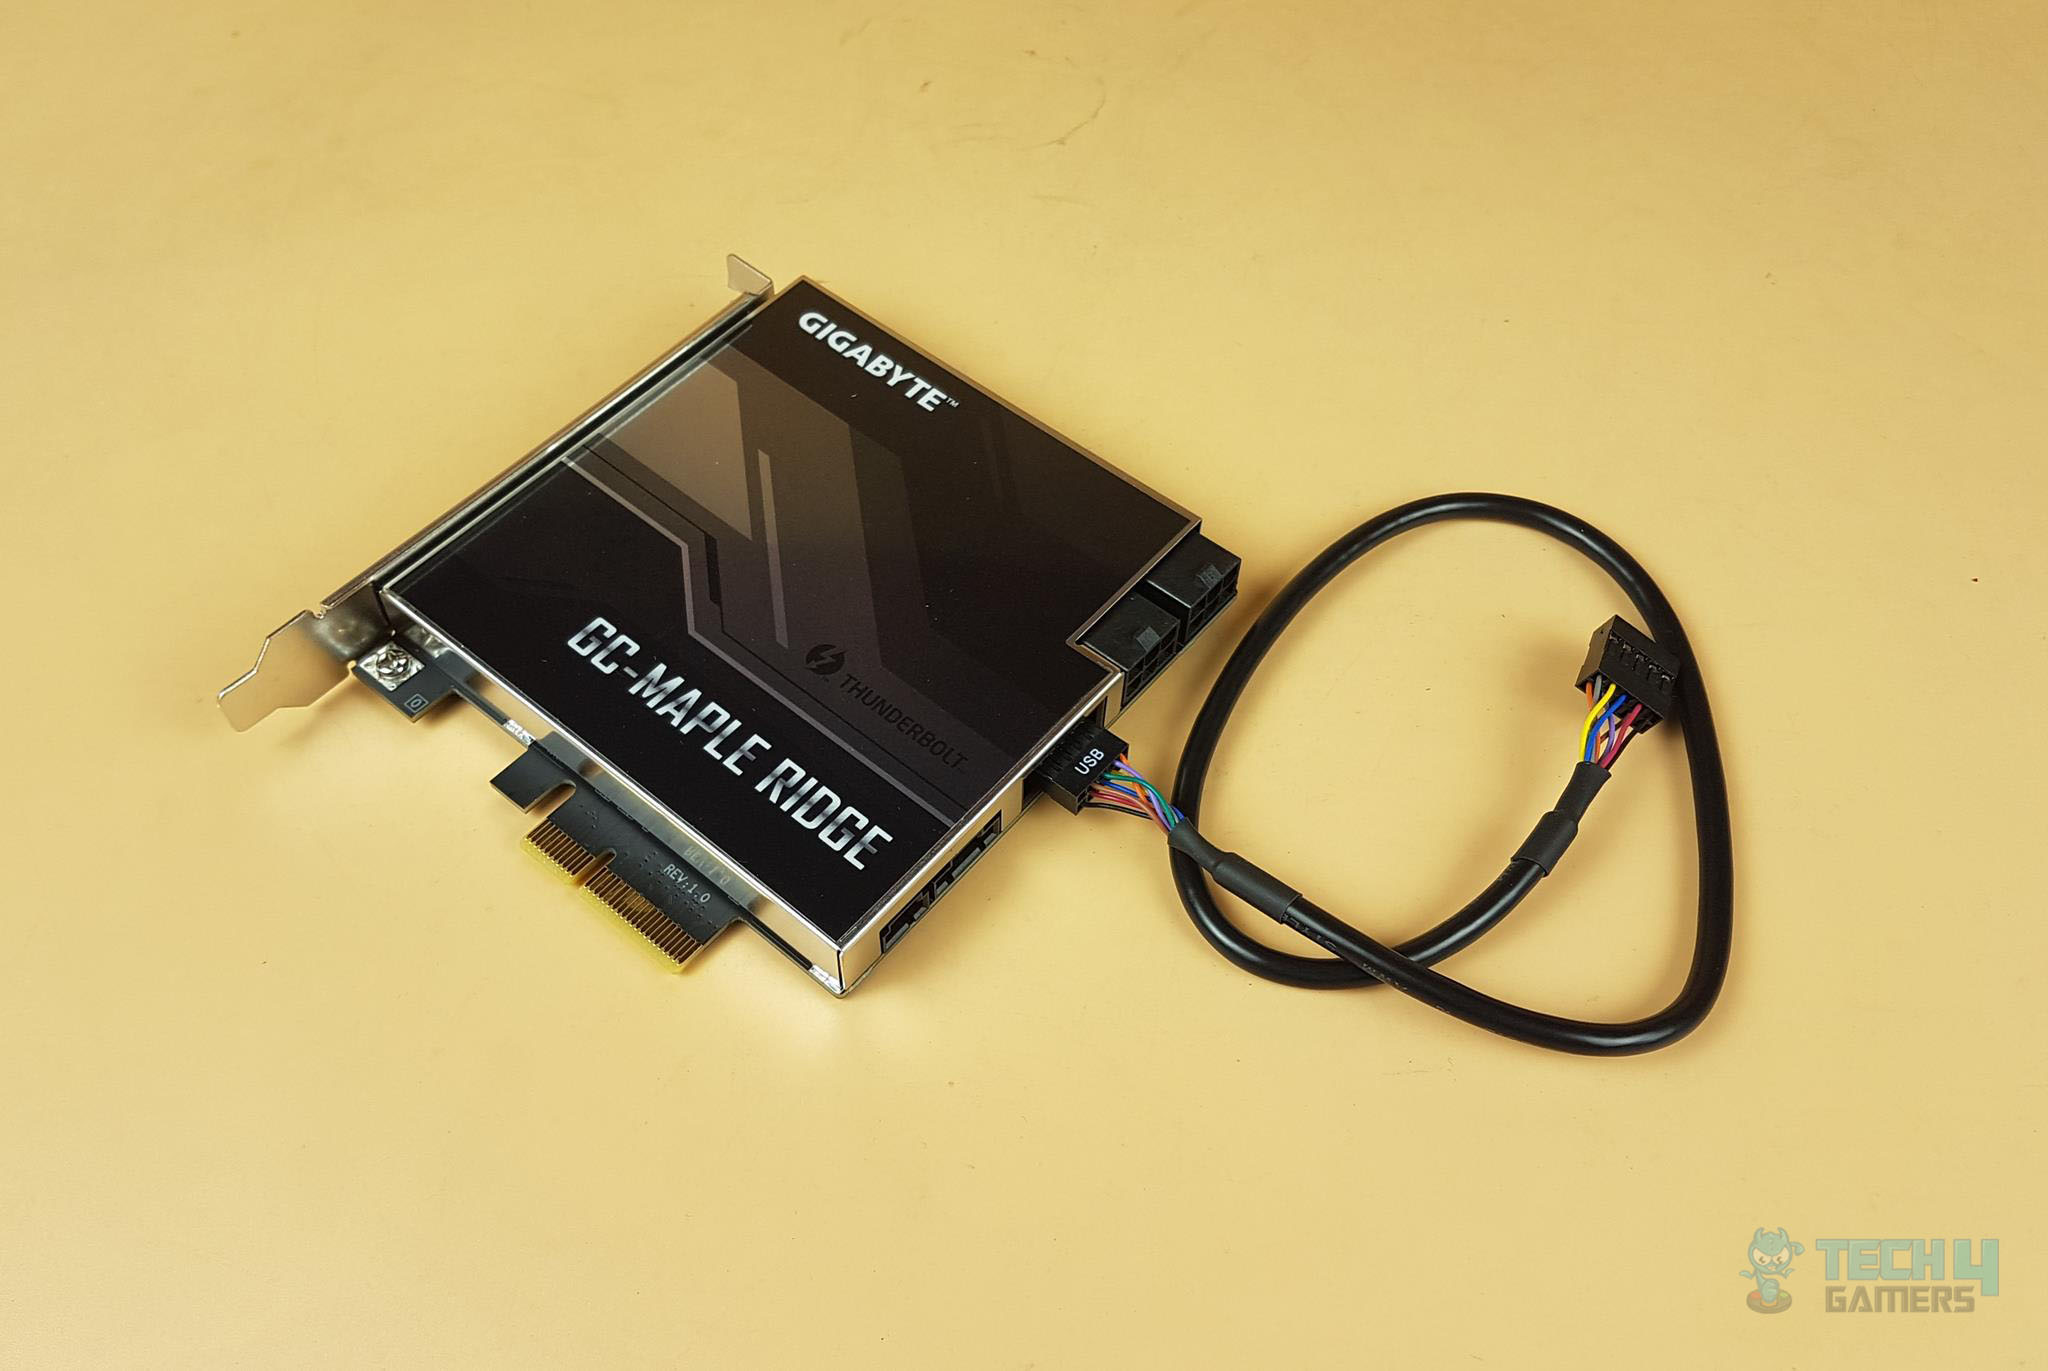
There are 2x 6-pin PCIe connectors on the top. The 6-pin PCIe connector can provide up to 75W power. Combined, we are talking about the 150W of power delivery using two 6-pin connectors.
If you are wondering why these power connectors when the PCIe slot on the motherboard can provide up to 75W power, these two connectors would provide power when the Add-In card is used for PD 3.0 operations i.e when the Add-In card is used to provide power to the connected and enabled device for its charging.
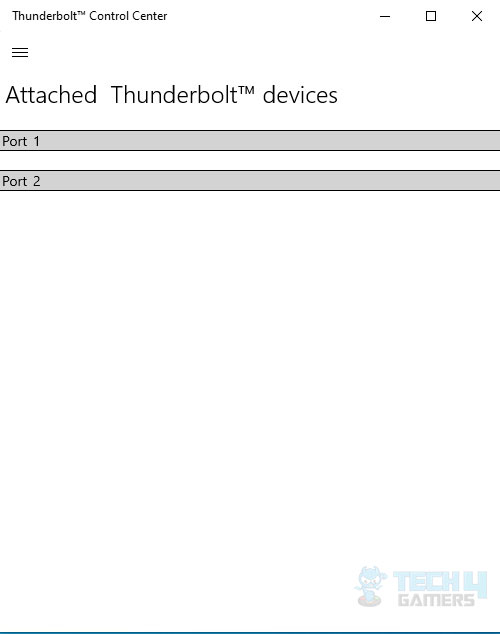
- Port 1 : Support 5V/3A 9V/3A 15V/3A 19V/5A Power Delivery Spec
- Port 2 : Support 5V/3A 9V/3A Power Delivery Spec
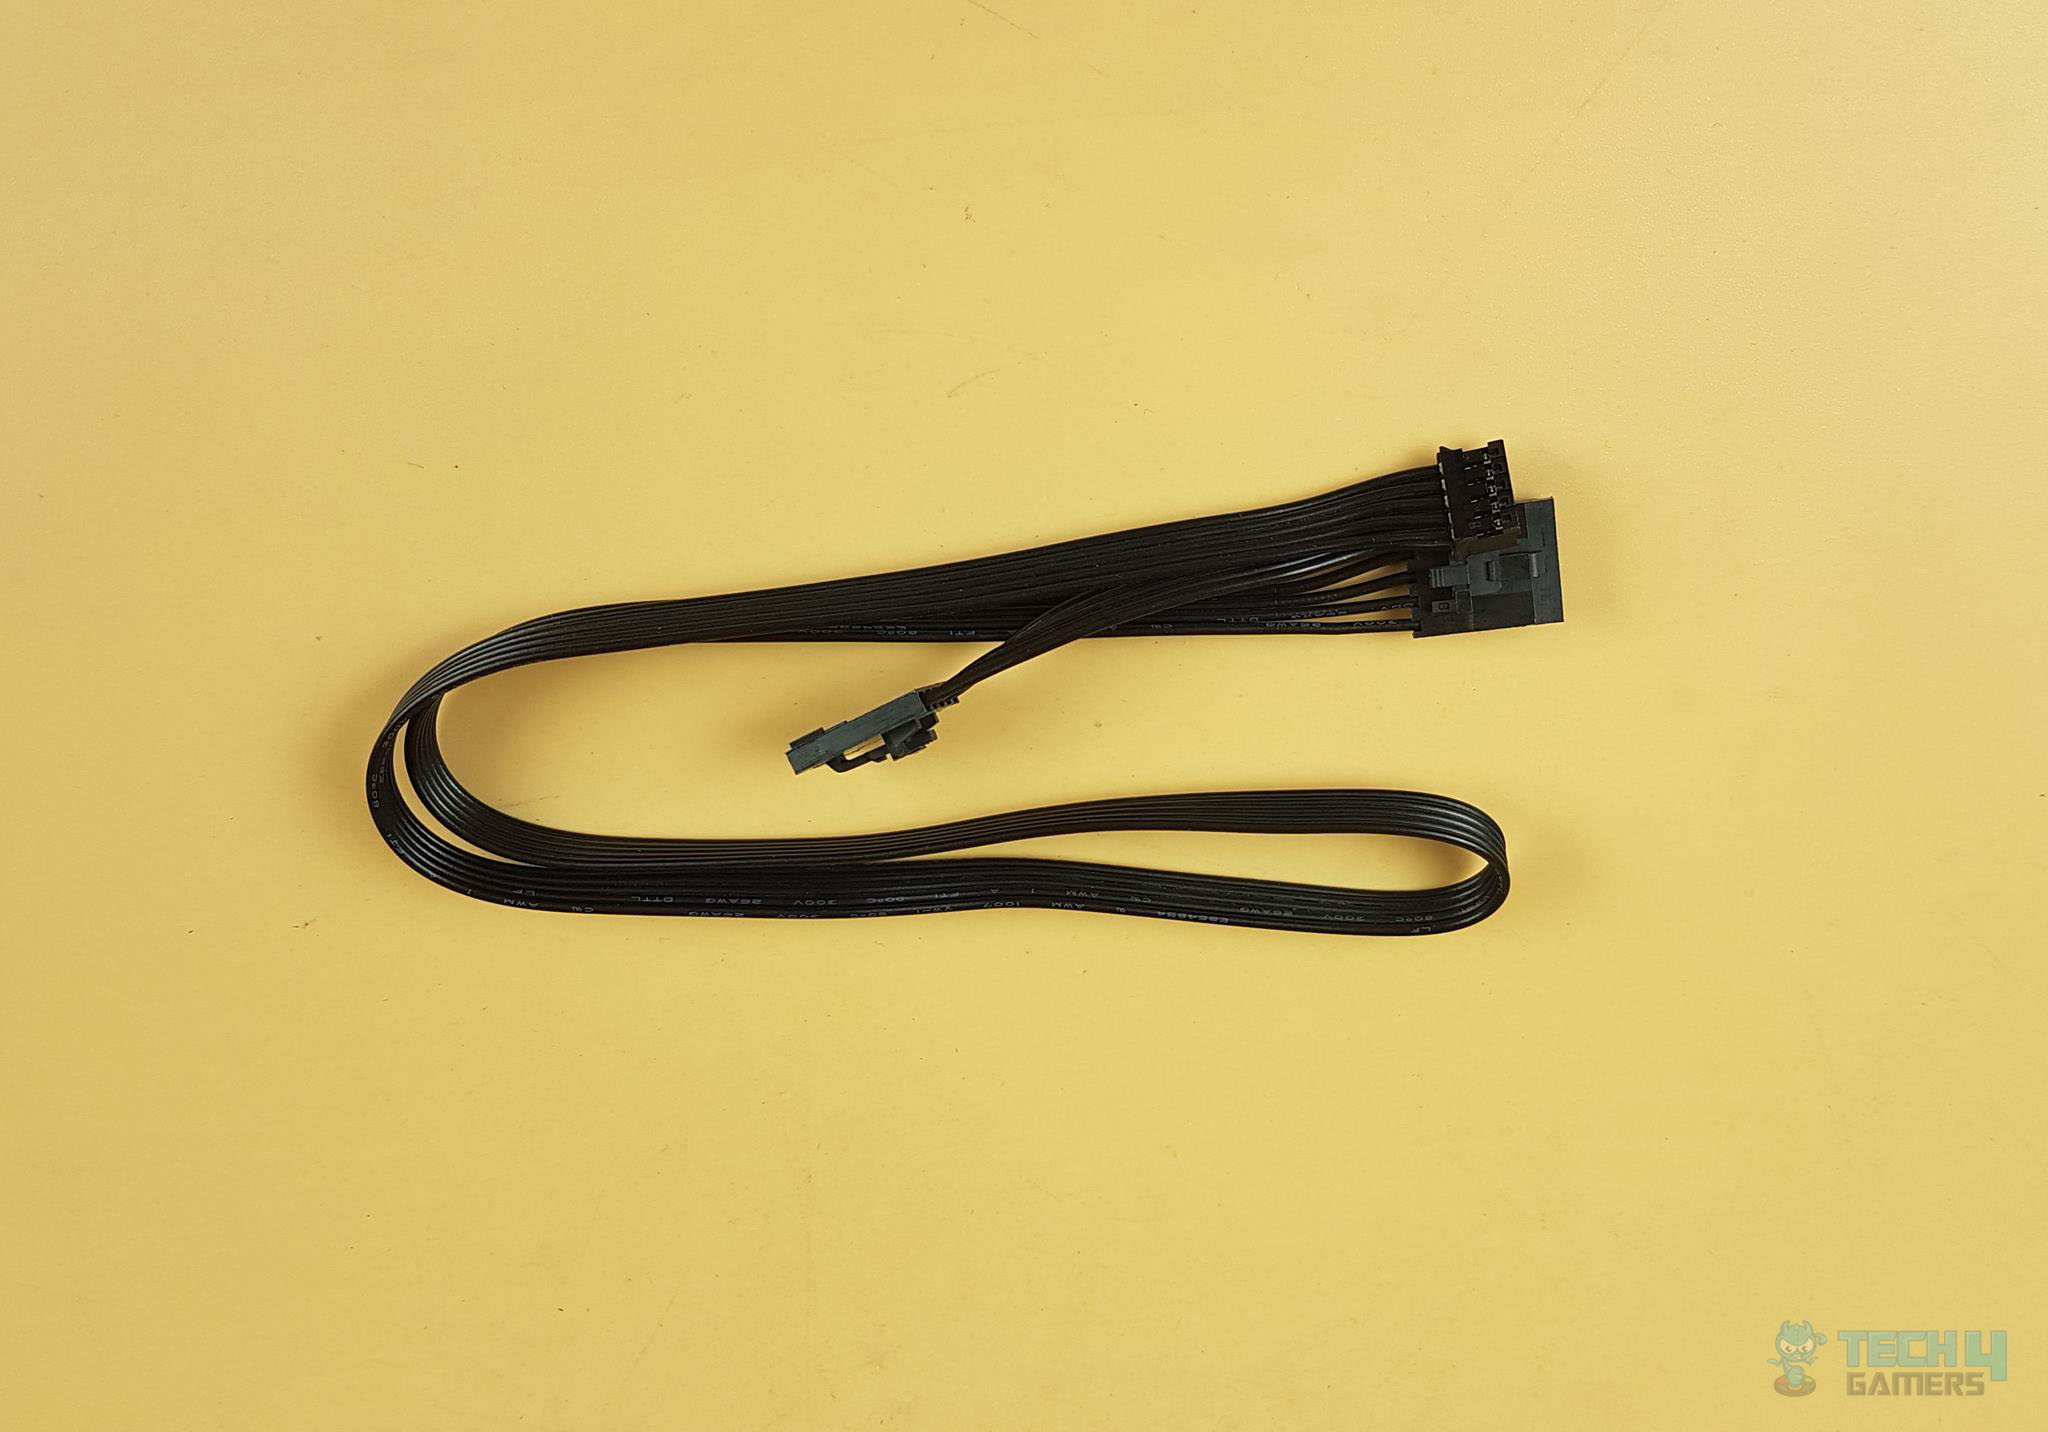
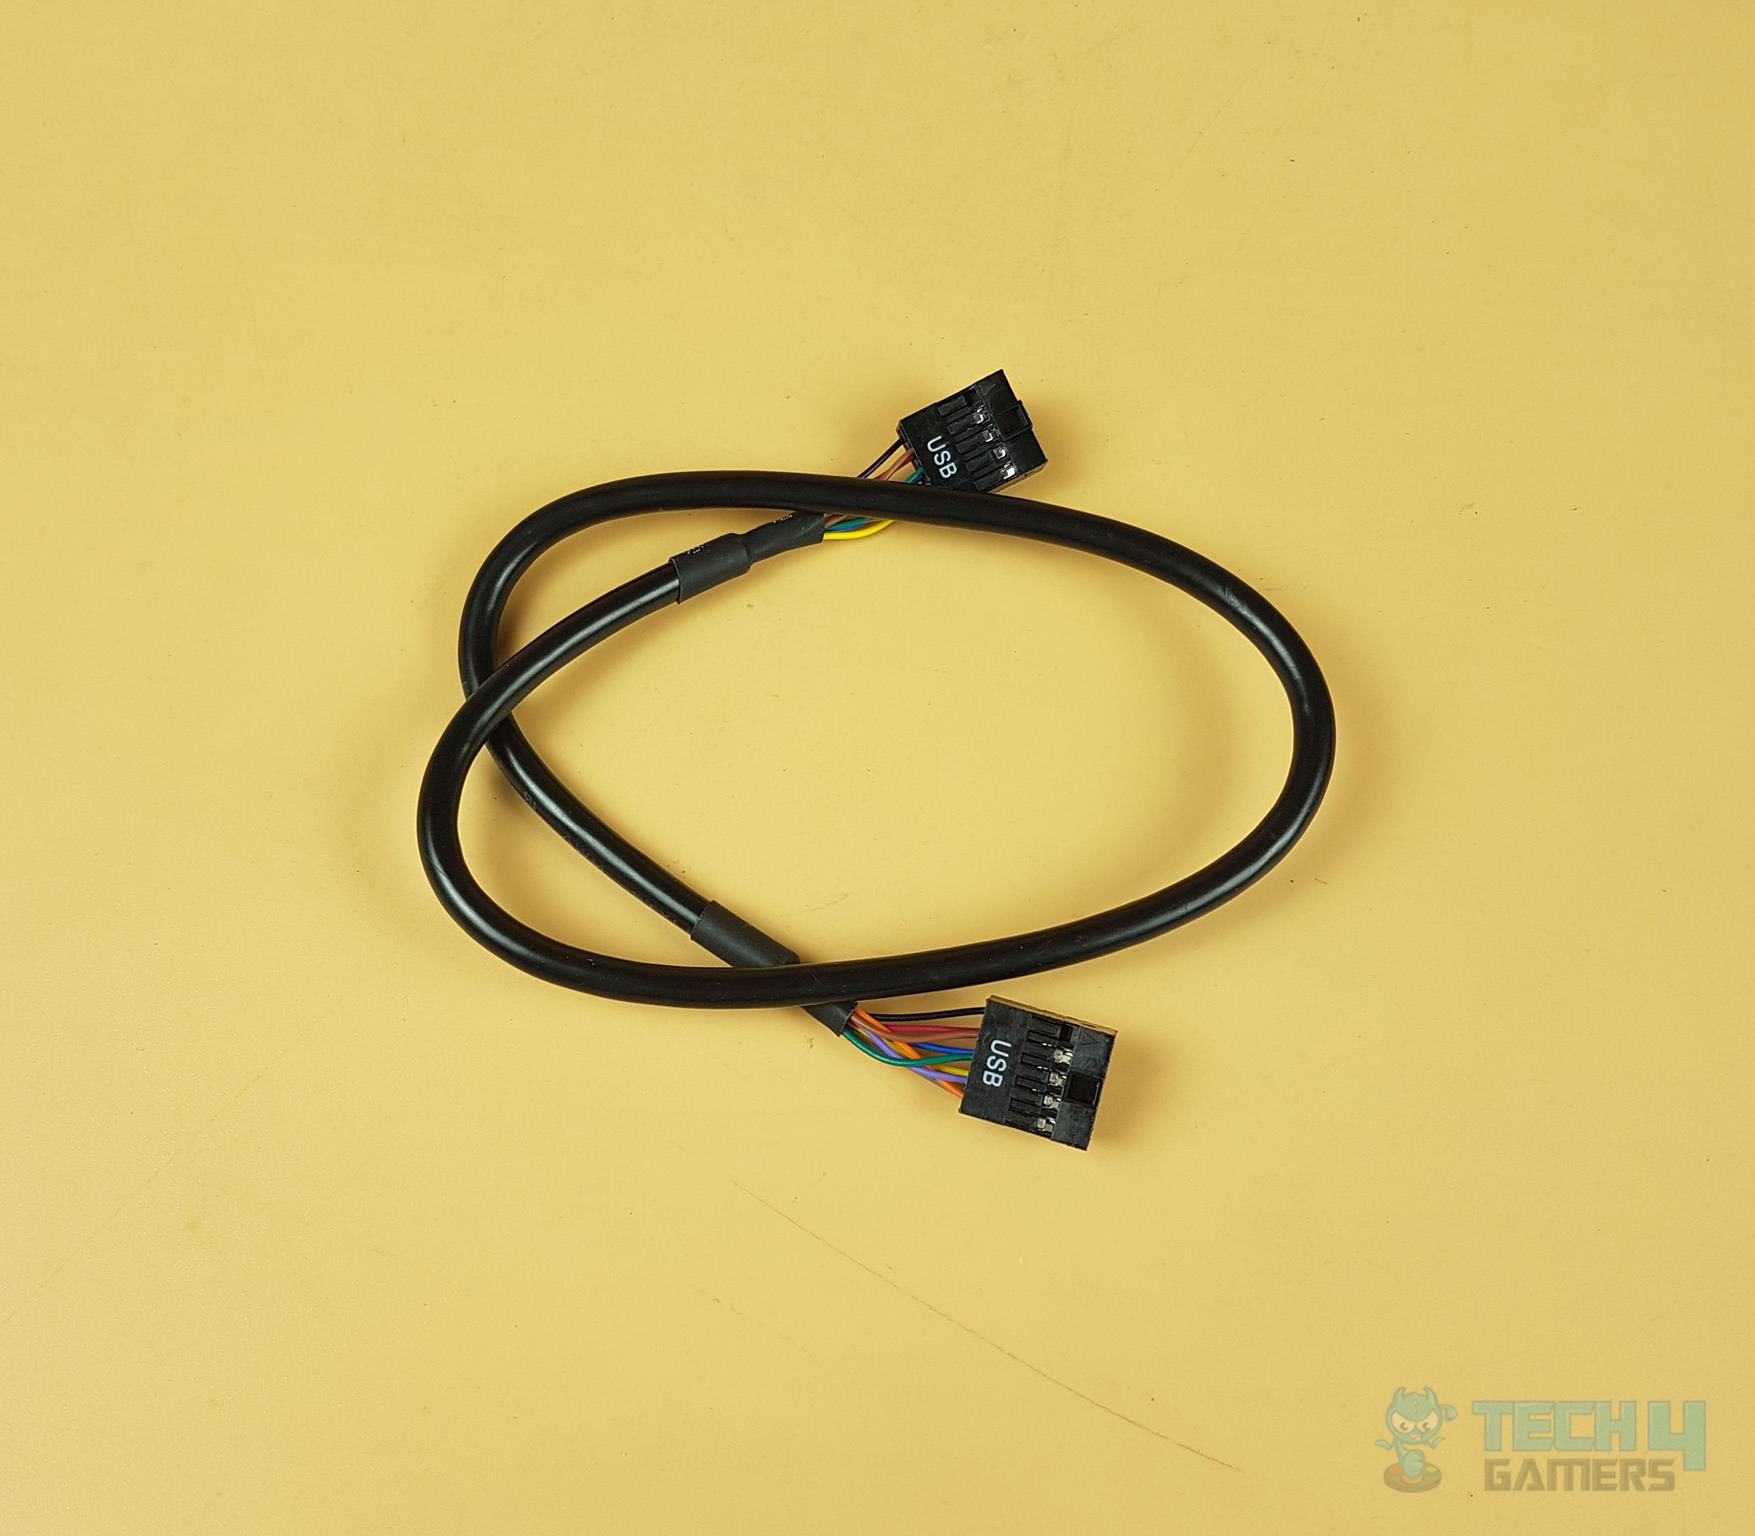
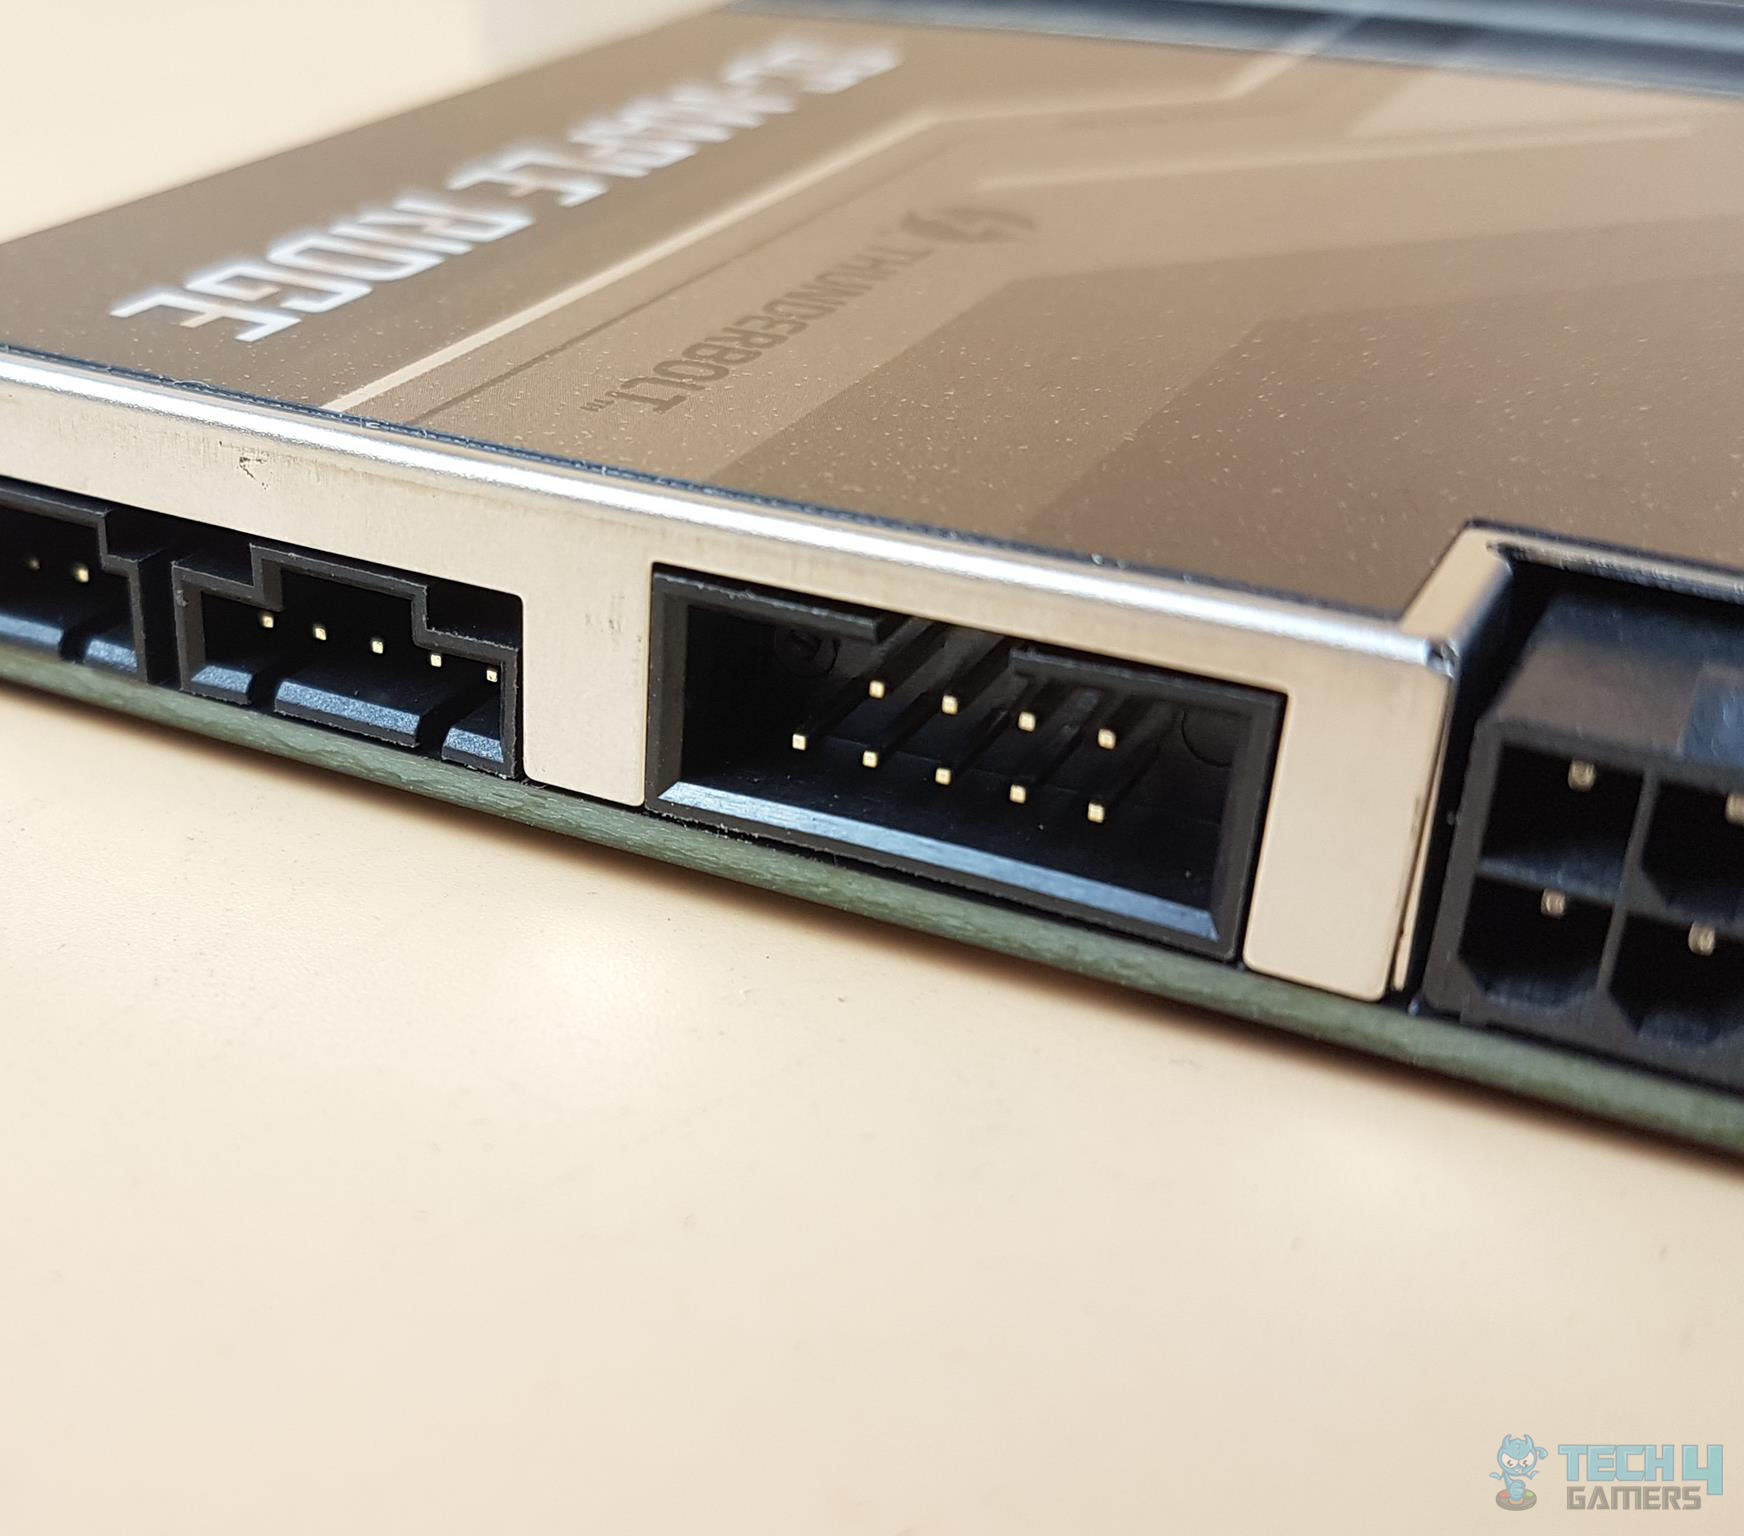
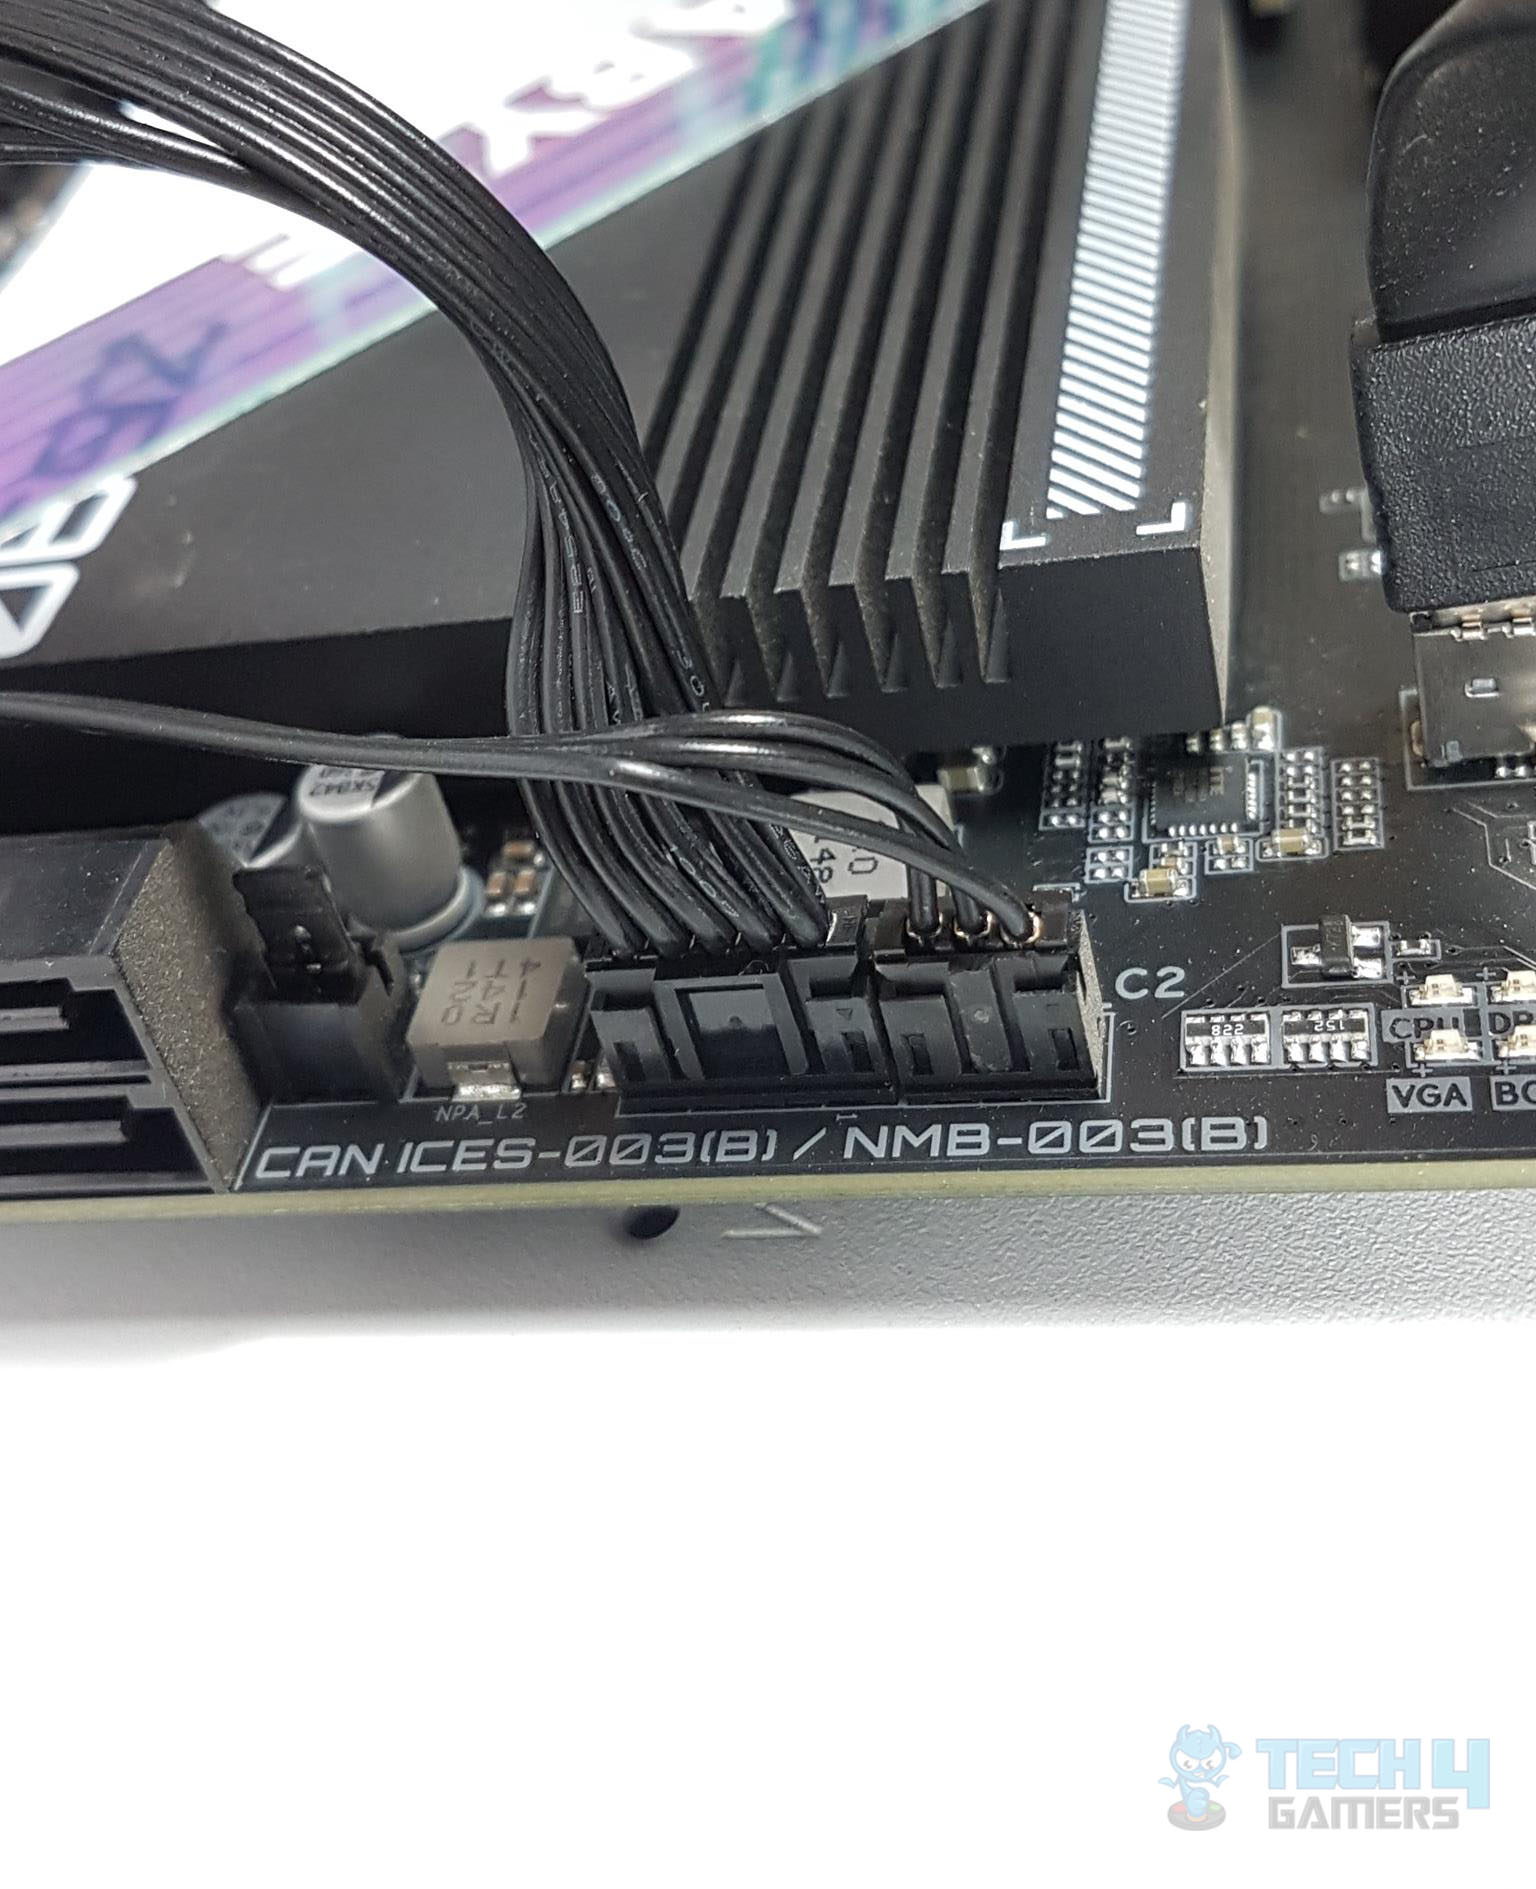
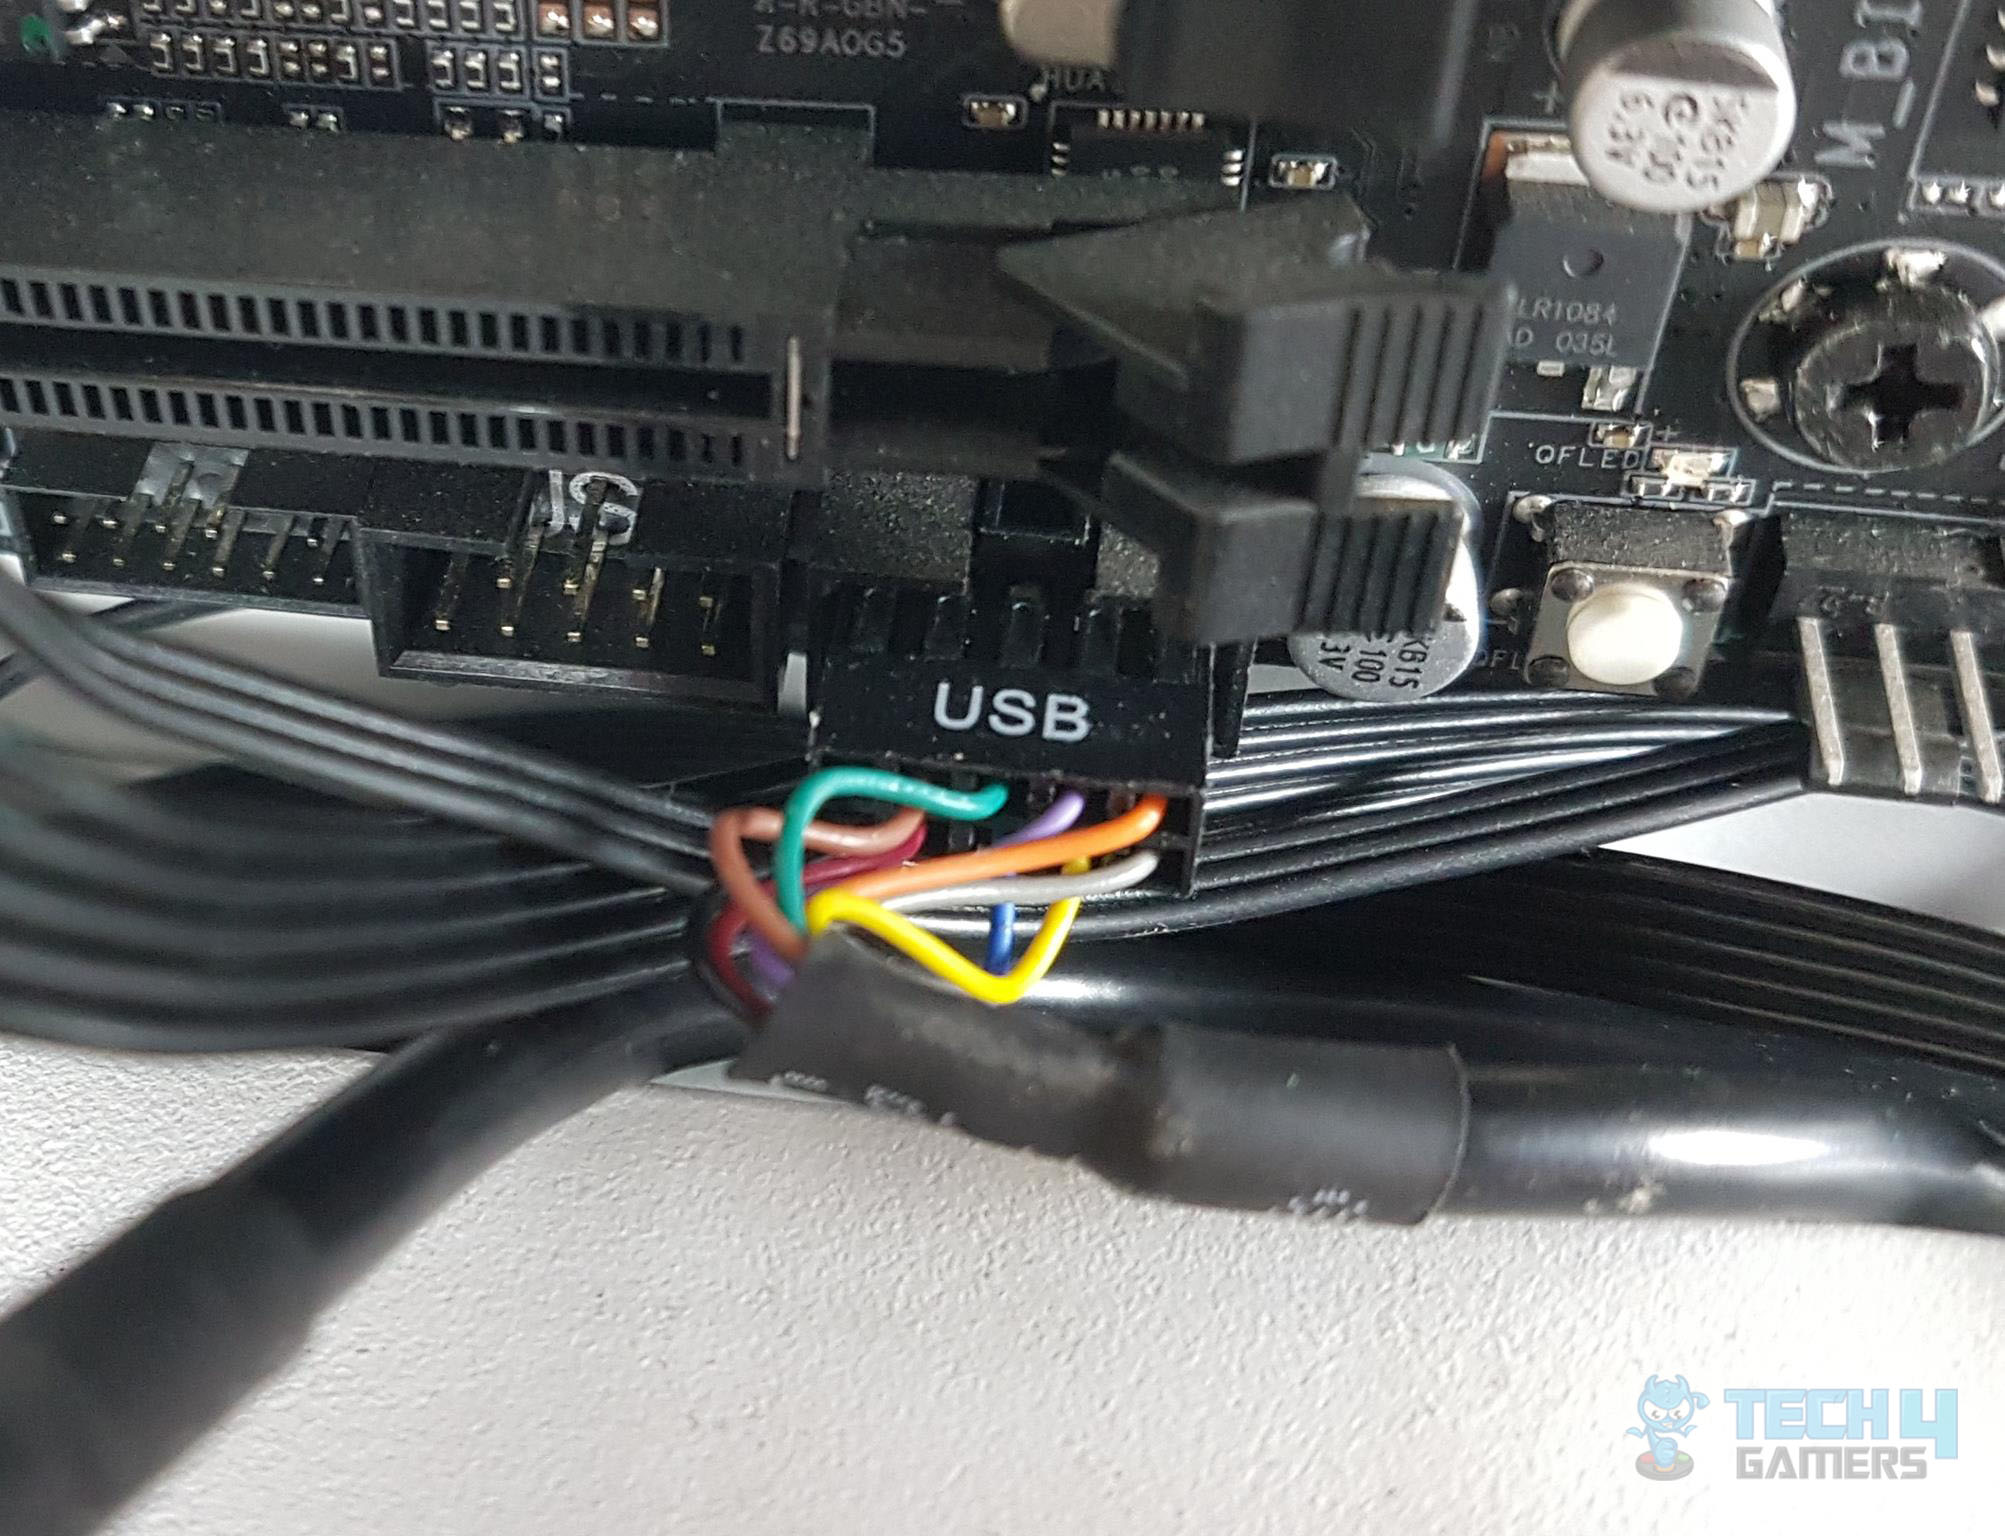
Next, we have a 9-pin USB 2.0 connector. A bundled cable is used to connect the add-in card on the USB 2.0 header on the motherboard.
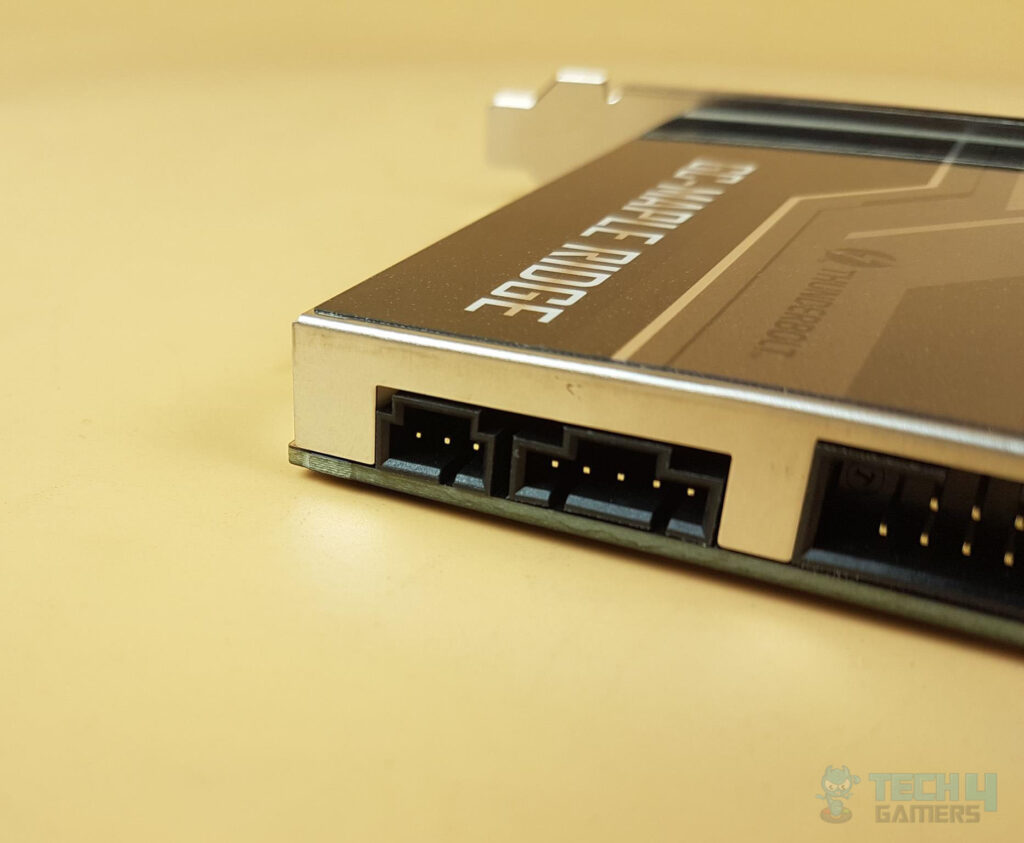
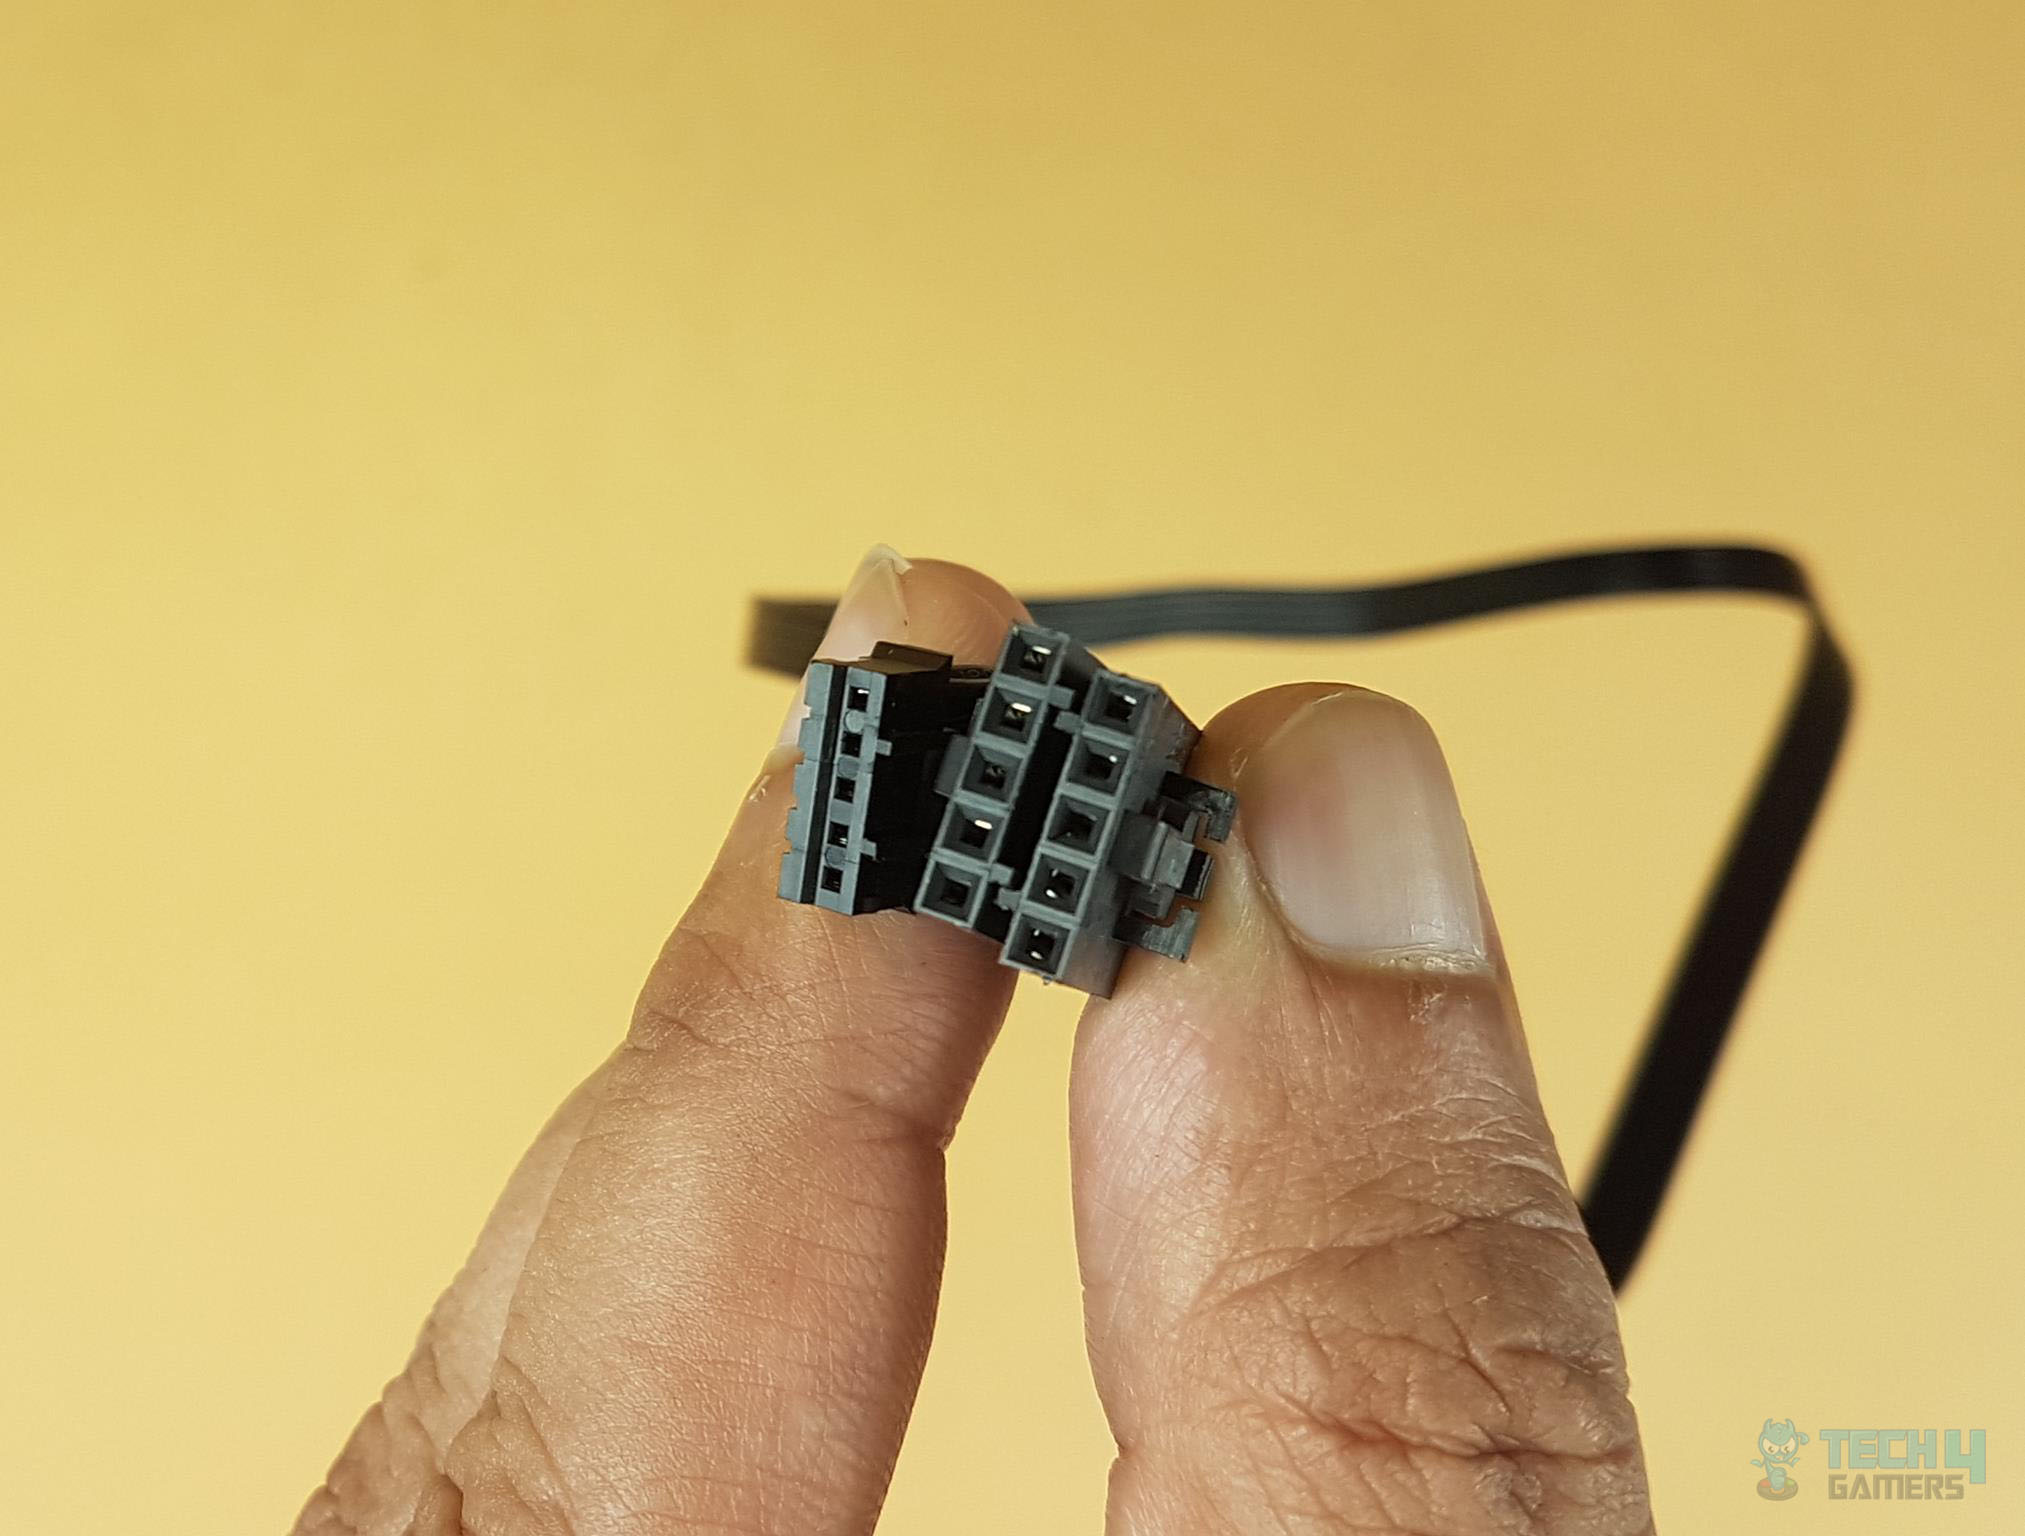
Next, we have 5-pin and 3-pin connectors. GIGABYTE is using proprietary connectors on their motherboards for the Thunderbolt cards.
This would mean, only the GIGABYTE Thunderbolt add-in cards can be installed on the GIGABYTE motherboards unless you can mod the wires!
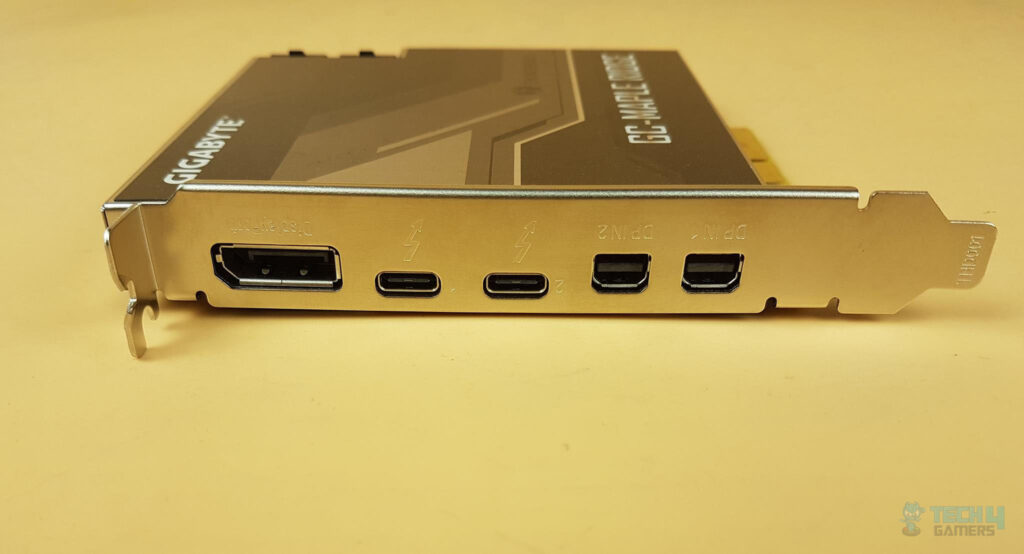
The main connectivity options are:
- 1x DisplayPort
- 2x Thunderbolt 4 Ports utilizing USB 3.2 Gen2 Type-C
- 2x Mini DisplayPort In
Set Up
Now that we have taken a look at the Add-In card and the bundle cables. It is time to set up the card.
Hardware Set Up
Let’s start with the hardware.


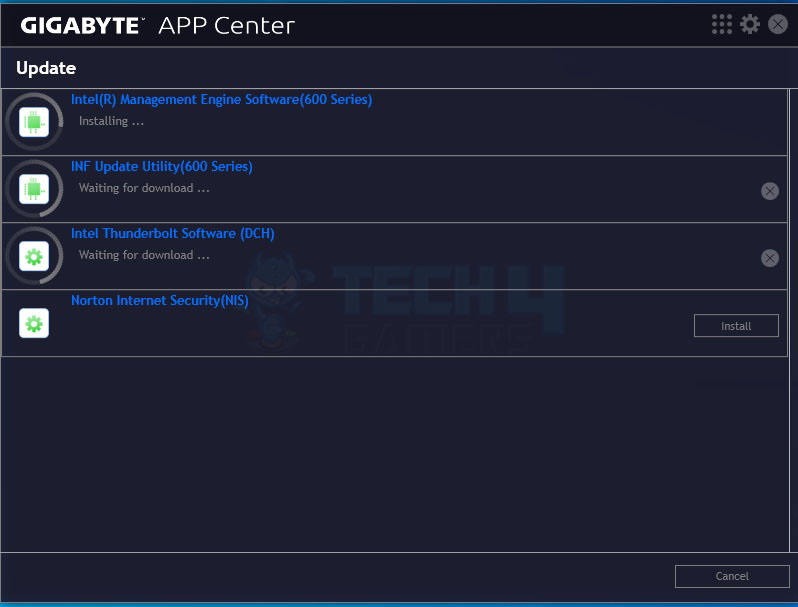
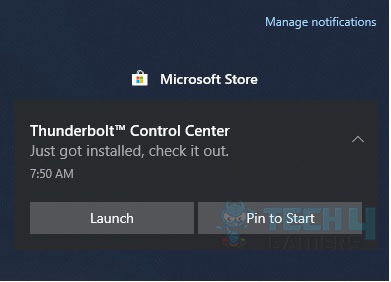
Software Set Up
We’ve installed the card now and are moving to the software side of things now.

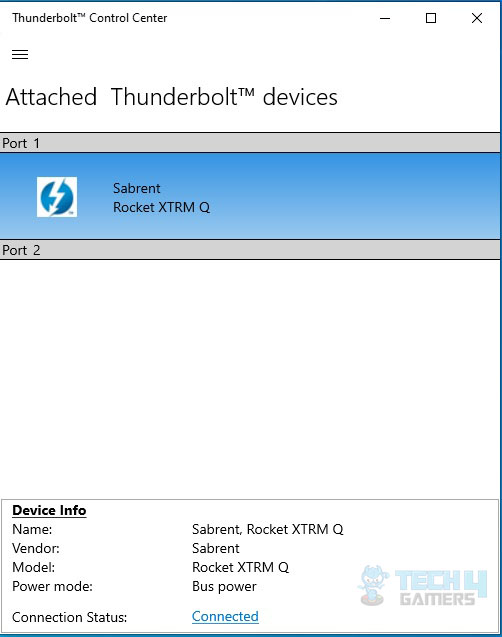
The user can daisy chain and connect up to 5 Thunderbolt devices (Must have Thunderbolt In and Out ports) and a compatible display to a single Thunderbolt port on the Add-In card. This would mean we can have up to 10 devices and 2 displays connected to the Add-In card using its two Thunderbolt 4 ports.
GIGABYTE has also specified that a user can connect up to 5 devices in a daisy chain and 3 DisplayPort monitors to a single port on the Add-In card provided that a discreet graphics card with DisplayPort ports is attached.
Moving on, let’s set up the software and the drive.
Note:
- When connecting one DisplayPort monitor, please connect the Mini-DisplayPort cable to the DP IN 1 connector, then connect the monitor’s cable to the DisplayPort connector or Thunderbolt™ 4 connector 1.
- When connecting two DisplayPort monitors, please connect one of the Mini-DisplayPort cables to the DP IN 1 connector and connect the monitor’s cable to the DisplayPort connector or Thunderbolt™ 4 connector 1. Then connect the other Mini-DisplayPort cable to the DP IN 2 connector and the monitor’s cable to Thunderbolt™ 4 connector 2.
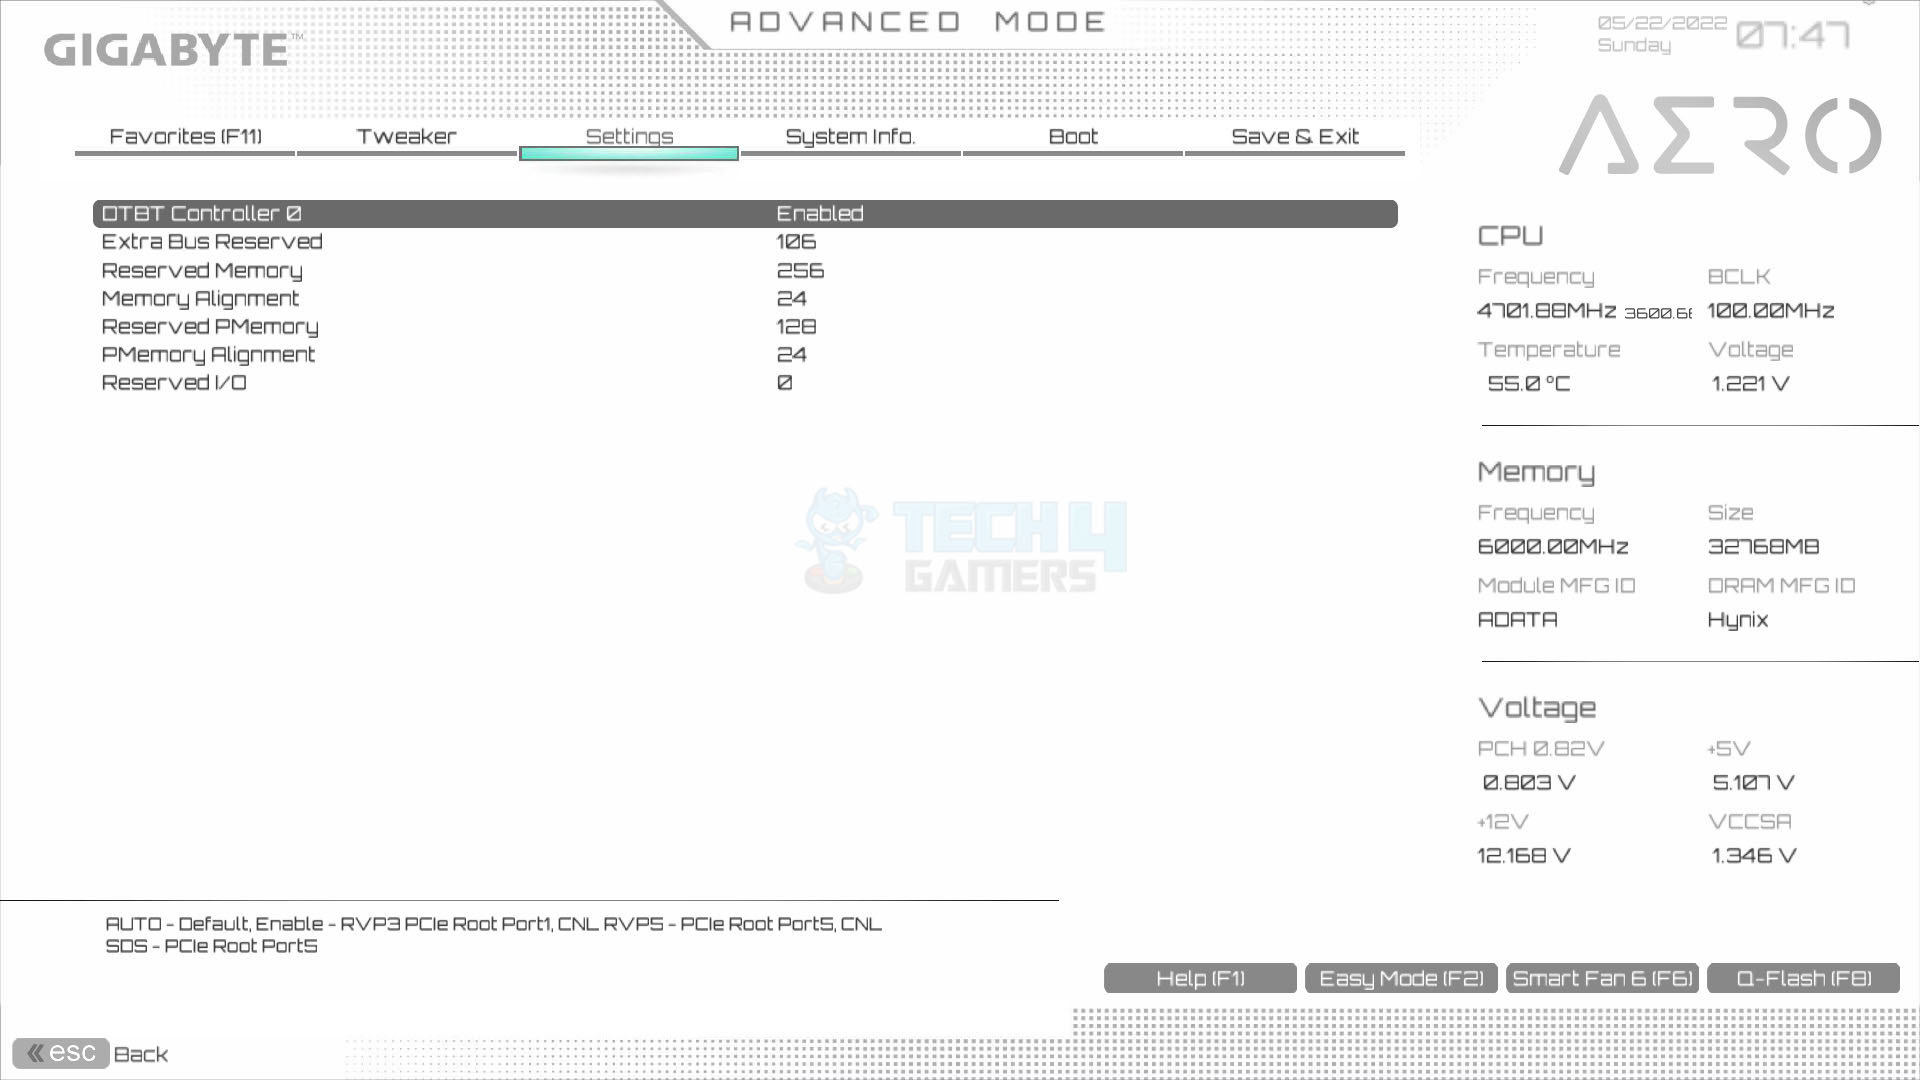
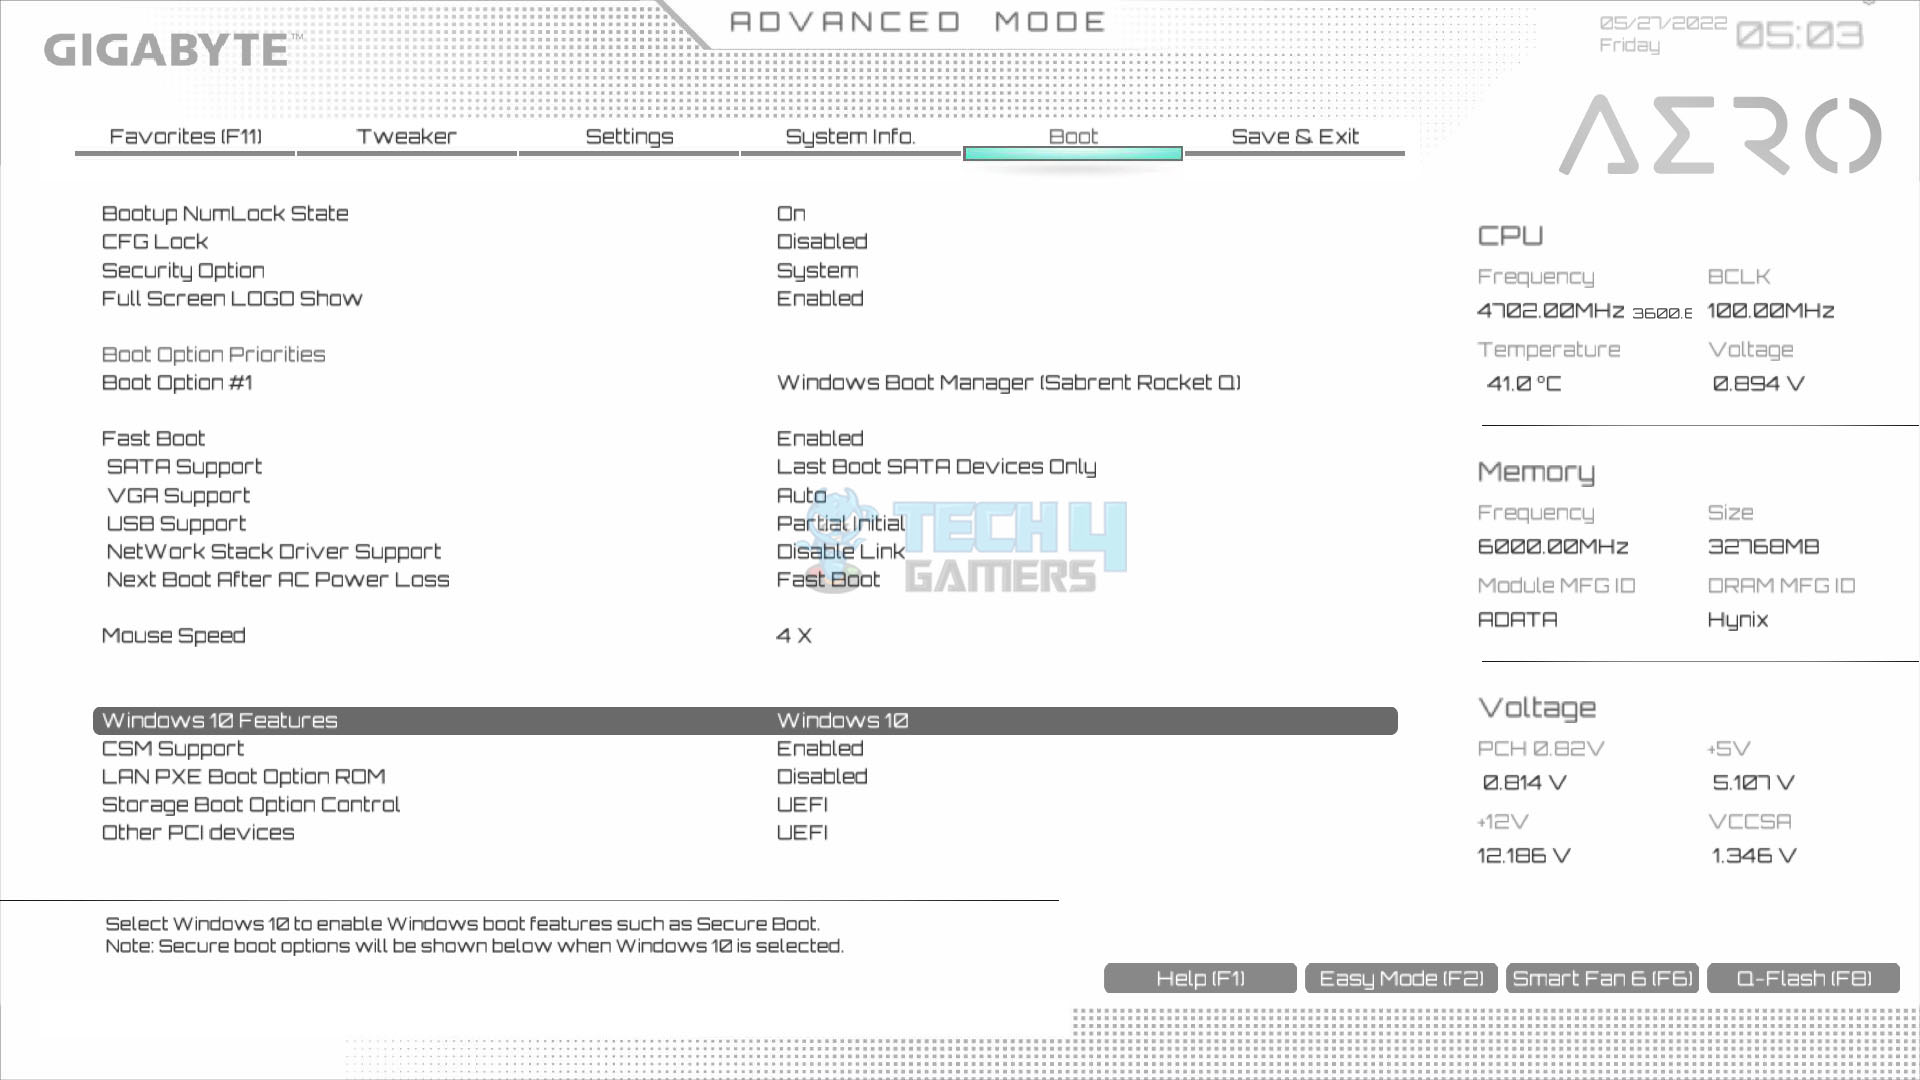
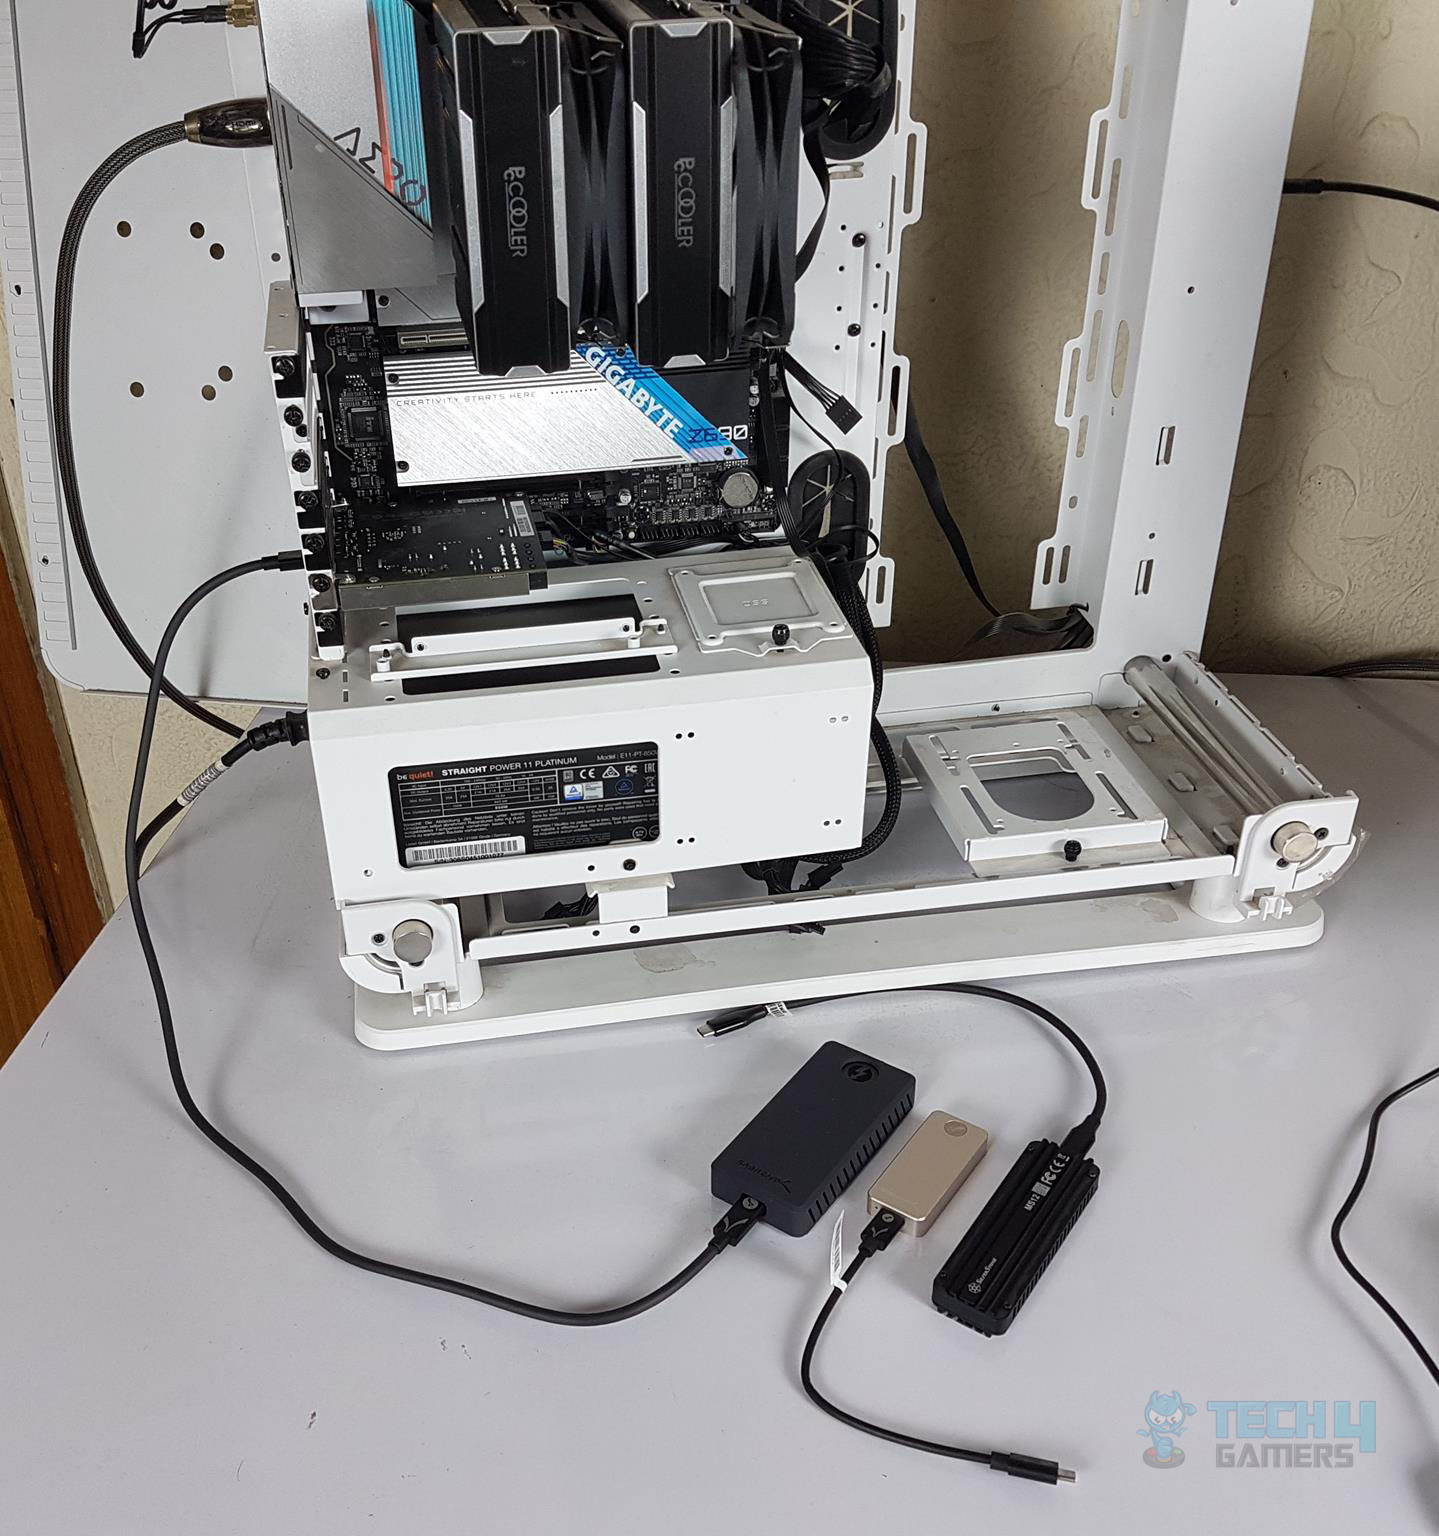
Testing
The following configuration is used for the testing:
- Intel i7 12700k [Auto, Stock]
- PCCOOLER PALADIN S9 Cooler
- GIGABYTE Z690 AERO-G
- XPG Lancer RGB 6000 32GB DDR5
- Sabrent Rocket Q 500GB NVMe Drive for OS
- be quiet! Straight Power 11 1000W Platinum PSU
- Thermaltake Core P6 TG Snow Edition in an open frame layout.
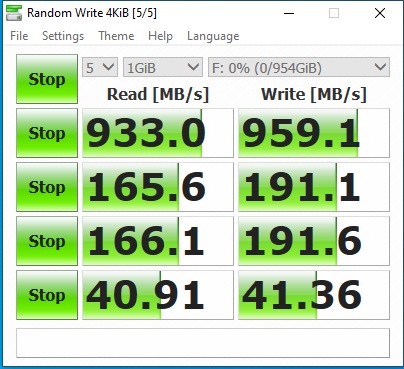
We ran the ATTO and CrystalDiskMark benchmarks on the drive. The drive is rated for up to 2700 MB/s in sequential read.
Here are the results:
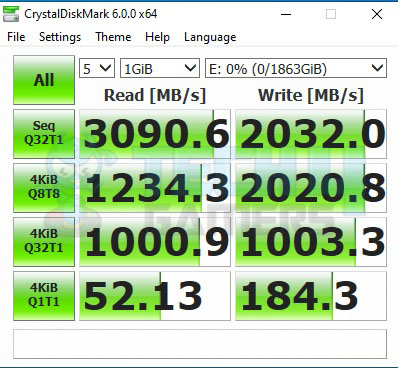
Impressive performance from the Sabrent drive! The sequential read speed hits up to 3000 MB/s and the writes speed hits up to 2000 MB/s. The 4K random read/write speeds are also good.
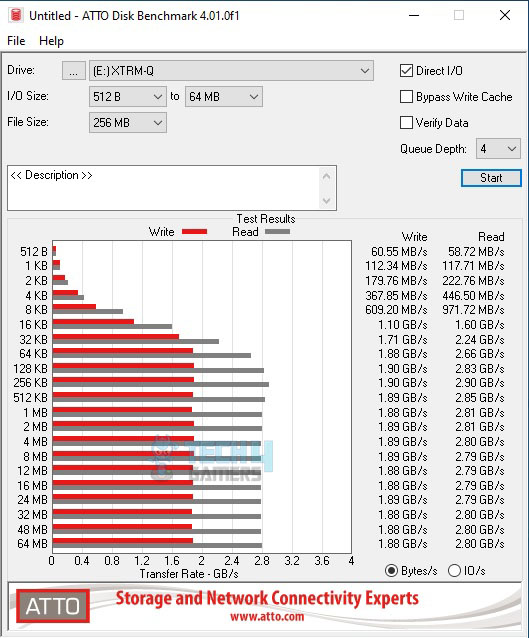
In the ATTO Disk Benchmark, the maximum read speed was 2.90GB/s or roughly 2900MB/s which again validates the rated sequential read speed. The write speed was capped at 1.88GB/s or roughly 1880 MB/s.
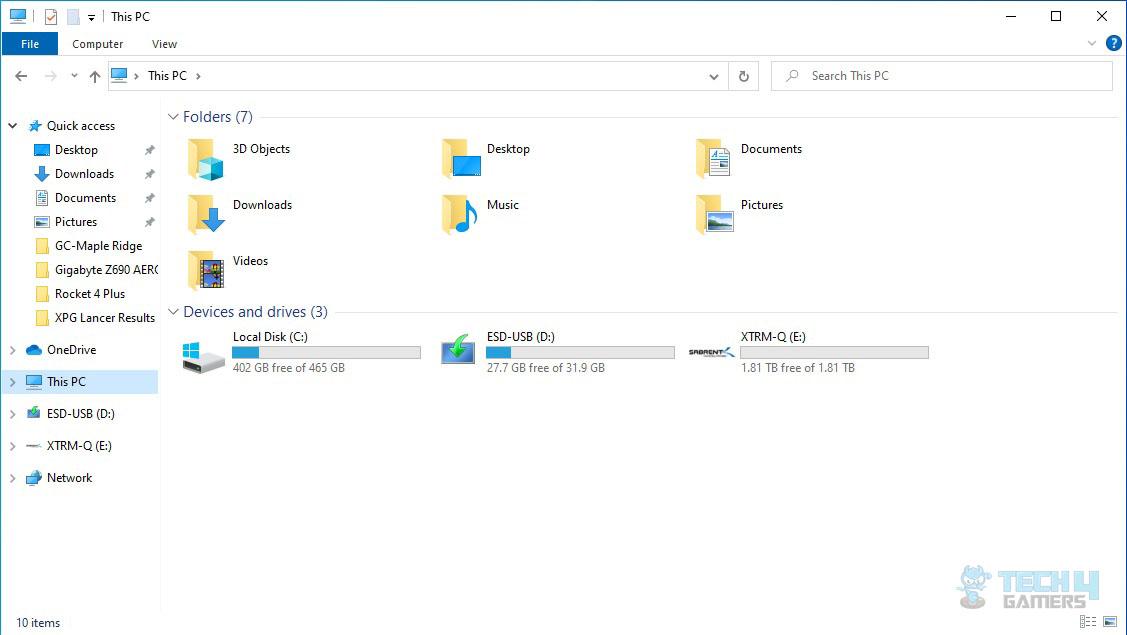
Next, we connected the XPG S50 Lite 1TB PCIe 4.0 NVMe SSD enclosed in SilverStone MS12 enclosure. This enclosure provides the USB 3.2 Gen2x2 over the USB Type-C connector. The idea was to determine which USB standard does this Add-In card supports in the USB mode.
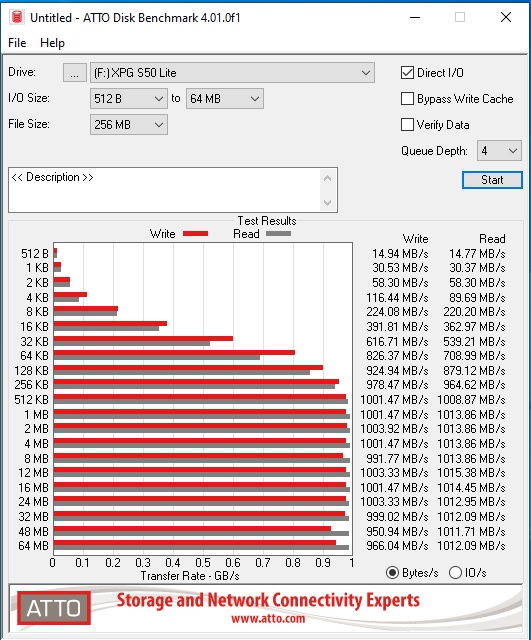
It is clear that the GIGABYTE GC-Maple Ridge Thunderbolt 4 Add-In card supports USB 3.2 Gen2 interface for the USB mode.
Should You Buy It?
The Gigabyte GC-Maple Ridge, as great as it is, isn’t for everyone.
Buy It If
✅ You Need Blazing Speeds: If you rely on ultra-fast data transfer, especially for large files or high-quality media, the 40 Gbps rate is a significant advantage over Thunderbolt 2.0 and USB 3.x standards.
✅ You Demand Versatile Connectivity: If you require extensive device connections and multiple displays without extra hubs or switches, the daisy-chaining capacity of up to 10 Thunderbolt devices and 2 displays using just 2 ports is a massive convenience.
✅ High-Power Device Charging Is A Priority: If you use power-hungry devices and require swift charging (up to 97W), especially when convenience and speed matter, this card’s capability can be a game-changer.
Don’t Buy It If
❌ You Have Limited Compatibility and Setup Complexity: If your system lacks specific requirements (e.g., spare USB 2.0 header or Thunderbolt 4 support), the setup process might be complex or even impossible.
❌ You Have Minimal Device Utilization: If you don’t have multiple Thunderbolt devices or displays to connect simultaneously, the card’s extensive connectivity might be excessive for your needs.
❌ Charging Feature Is Unnecessary: If you don’t need high-speed charging or lack devices that can utilize it, connecting PCIe cables solely for this purpose might not justify the effort or cost.
Final Words
We have taken a spin on the GIGABYTE GC-Maple Ridge Thunderbolt 4 Add-In card. This module conveniently adds the functionality of Thunderbolt 4 to your PCs without needing to change the motherboard. It is only compatible with the GIGABYTE listed motherboards in Z590/B550 and Z690/B660 chipsets. This controller boasts dual ports with PCIe 3.0 x4 interface, supporting ACS, FPB, PTM, P2P, and 128b payload. It’s significantly faster than Thunderbolt 2.0 and USB 3.0, delivering 40 Gbps on a single-wire connection.
We are grateful to GIGABYTE for providing the Thunderbolt Add-In card for the test and setup.
Recent Updates
- December 30, 2023: Few text changes to improve readability. Also added image galleries.
Thank you! Please share your positive feedback. 🔋
How could we improve this post? Please Help us. 😔
[Hardware Reviewer & Editor]
Meet Nauman Siddique, a highly experienced computer science graduate with more than 15 years of knowledge in technology. Nauman is an expert in the field known for his deep understanding of computer hardware.
As a tech tester, insightful reviewer, and skilled hardware editor, Nauman carefully breaks down important parts like motherboards, graphics cards, processors, PC cases, CPU coolers, and more.
- 15+ years of PC Building Experience
- 10+ years of first-hand knowledge of technology
- 7+ years of doing in-depth testing of PC Hardware
- A motivated individual with a keen interest in tech testing from multiple angles.
- I majored in Computer Science with a Masters in Marketing
- Previously worked at eXputer, EnosTech, and Appuals.
- Completed Course in Computer Systems Specialization From Illinois Tech
Get In Touch: nauman@tech4gamers.com


