")


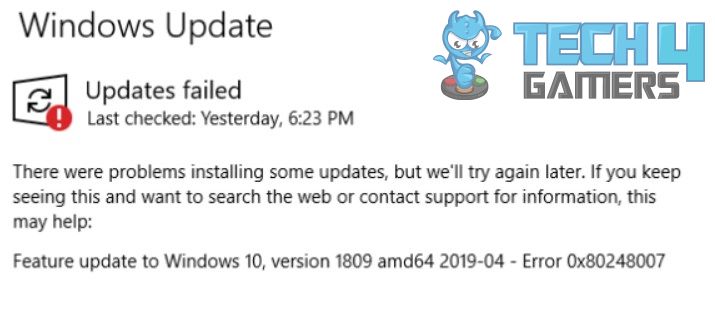
When managing and maintaining an operating system like Windows, you might come across certain errors, such as the Download Error 0x80248007. This error can occur mainly during the download phase of a Windows update, causing disruptions to your system’s smooth operation. The download error can happen for many reasons, which include missing files errors in the update, or unidentified and unknown Microsoft software license terms.
- The Download Error 0x80248007 can arise from missing files or unidentified software license terms.
- This error can be resolved through various techniques, including the use of Command Prompt and troubleshooters.
- Regular system maintenance and checks for updates can prevent such errors, ensuring a seamless computing experience.
The following message appears when users face the error:
Method Difficulty Rating
Installer Service
Rated: 6/10
Distribution Folder
Rated: 6/10
SFC/DISM Scan
Rated: 5/10
Manual Update
Rated: 5/10
Manually Starting The Windows Installer Service
To address download errors, it’s essential to manually initiate the Windows Installer Service, which plays a crucial role in software management. When encountering issues like the discussed error, manually starting this service becomes necessary. Justin K. from Microsoft Learn provided insightful guidance to users on how this action can effectively resolve the issue.
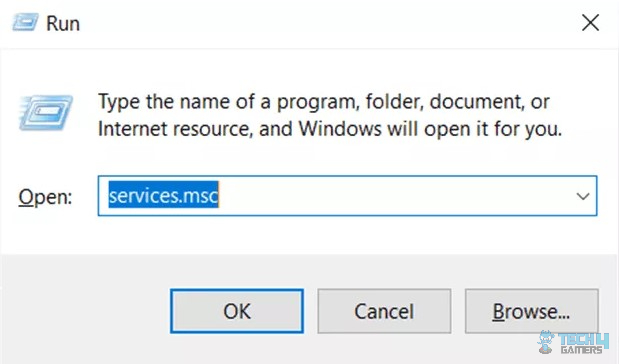
- Run Dialog Box: Initiate the Run dialog box by pressing the combination of Windows key + R on your keyboard > Next, key in “services.msc” into the available text box, then press Enter > OK.

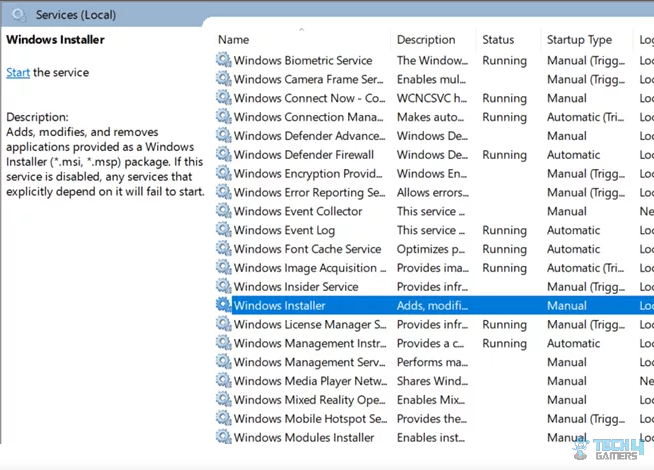
Write services.msc and click OK – (Image by Tech4Gamers) - Locate the Windows Installer service: From the list of services presented, navigate your way through until you locate the Windows Installer service.

Locate the Windows Installer service – (Image by Tech4Gamers) - Start: Find Windows Installer service > Right-click > If ‘Start’ is not greyed out, select ‘Start.’
Remove The Software Distribution Folder
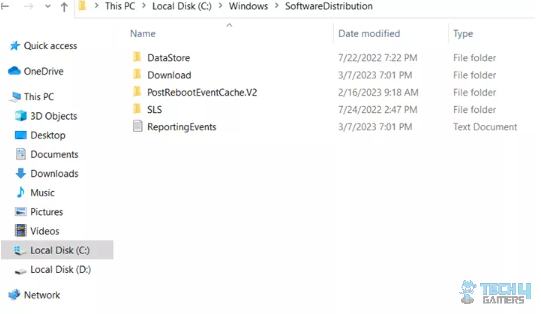
The Software Distribution folder in Windows stores temporary update files. Sometimes, corrupted files in this folder cause the 0x80248007 error. Removing the distribution folder is a viable solution as it deletes the unnecessary files from the folder and users on Windows 11 forum expressed how it can be beneficial for users to try this method.
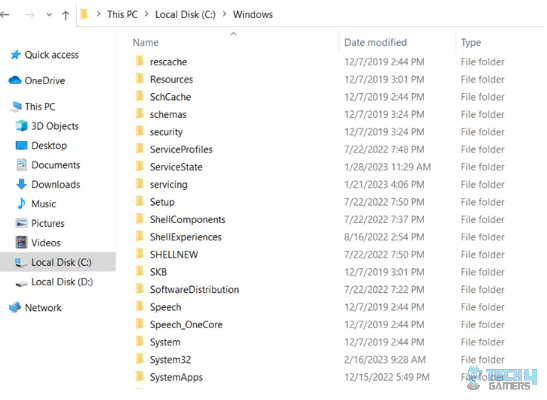
- Find SoftwareDistribution Folder: Open ‘My Computer’ or ‘This PC’ > Navigate to the C drive (or Windows installed drive) > Open the ‘Windows’ folder’ > ‘SoftwareDistribution’ folder within.

Find the SoftwareDistribution folder – (Image by Tech4Gamers) - Find DataStore Folders: Within the Software Distribution folder, find and open the ‘Download’ and ‘DataStore’ folders.

Go to DataStore and Download folders – (Image by Tech4Gamers)
7. Delete: Right-click on the selected items, then choose ‘Delete’ from the dropdown menu to remove all the files.
Run SFC and DISM Scan
System File Checker (SFC) and Deployment Image Servicing and Management (DISM) are two strong tools for scanning and repairing any issues with your Windows system files. Users on the Lenovo Forums discussed this possible solution to get over this very error as it has been very useful for many other users.
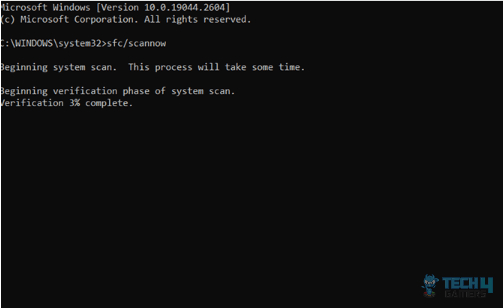
- Command Prompt: Press the Start button > Type “cmd” in search > Right-click matching result > Select “Run as administrator”.
- Enter the command: In the Command Prompt, type
sfc /scannow> Hit Enter.
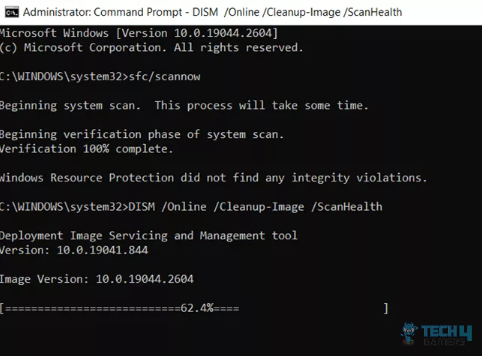
Type ‘sfc /scannow` – (Image by Tech4Gamers) - Enter the command: In the same Command Prompt window, type the command `DISM /Online /Cleanup-Image /ScanHealth` > Enter.

Type command “DISM /Online /Cleanup-Image /ScanHealth,” – (Image by Tech4Gamers) - Reboot when Completed: Again, let the process complete. The DISM tool is now scanning for damaged files in your system image and will automatically repair them. Upon completion, reboot your system.
Manually Installing Windows Update
I manually installed Windows Update to bypass some errors. I went to the Microsoft Update Catalog and downloaded the required files directly. Here’s how you can manually install Windows updates:
- Update Catalog: Begin by visiting the Microsoft Update Catalog website at https://www.catalog.update.microsoft.com/. Search for the desired update using its KB number.
- Search Correct Version: Select the correct version for your system (e.g., 32-bit or 64-bit) and click “Download” > Open the .msu file from your downloads folder.
- Install: Follow the on-screen instructions to install. Backup work and restart if prompted.
- View Update History: To confirm successful installation, navigate to “Settings,” > “Update & Security,” > “View update history.” The installed update should appear in this list with a status of “Successful.”
It is important to know that windows update does most of the error rectification on its own, so it is always encouraged to keep the system updated and you should consider it too.
Final Thoughts
Users face widespread challenges during the update process, impacting system performance. Reports indicate diverse causes, from missing files to unidentified license terms.
How do I get rid of this update error!@Windows
Download error – 0x80248007
— Toastman from Philly (@Toastmanpa) June 8, 2023
Users have come across this mainly when they were performing Windows Update. One user turned to Reddit seeking solution.
Seeing error 0x80248007 when trying to perform windows updates. Any ideas?
byu/Chazq2012 inROGAlly
My journey involved successfully resolving the issue through methods like restarting services, using troubleshooters, and manual installations.
Frequently Asked Questions
The “Download Error 0x80248007” typically appears during a Windows update process and can be caused by a range of issues, such as missing files, bugs in the update, or unidentified Microsoft Software License Terms.
Yes, users can manually install Windows updates as an alternative method to bypass various update errors, including the “0x80248007”. This involves directly accessing the Microsoft Update Catalog and downloading the necessary files.
If typical solutions don’t work, consider manually installing updates via the Microsoft Update Catalog or using the Windows 11 Setup to install updates. This process can often bypass conventional issues causing the error.
Related Articles:
- Windows Update Error 0x800f0922
- Local Security Authority Protection Is Off In Windows 11
- How To Fix Unmountable Boot Volume Error In Windows 11
- Quick Fixes For Kernel Security Check Failure in Windows 11
- M.2 SSD Not Showing Up Windows 11
Thank you! Please share your positive feedback. 🔋
How could we improve this post? Please Help us. 😔
[How To Guides Specialist]
Dayan Shahid is a skilled mechanical engineer passionate about technology. With certifications in various programming languages and subjects ranging from microcontrollers to aerial robotics, Dayan can effortlessly present complex technical topics in an engaging way. His ability to bridge the gap between theory and practical applications sets him apart as he continues to inspire others through their insightful content.