")


Microsoft has recently rolled out the new Windows 11, but since it is still new, many users are running into common errors. One such issue on Windows 11, is device settings not migrating properly, often encountered during device migrations. The error signals that hardware settings failed to transfer correctly during installation. It’s commonly caused by driver compatibility, outdated or corrupt drivers, unsupported hardware, and configuration changes.
- Windows updates may cause Device Settings Not Migrated errors, signaling hardware settings transfer issues during updates.
- Driver compatibility, outdated/corrupt drivers, unsupported hardware, and hardware configuration changes trigger Device Settings Not Migrated error.
- To address the Device Settings Not Migrated error on Windows 11, use: uninstalling and reinstalling drivers, rolling back to previous driver versions, and have the latest updates.
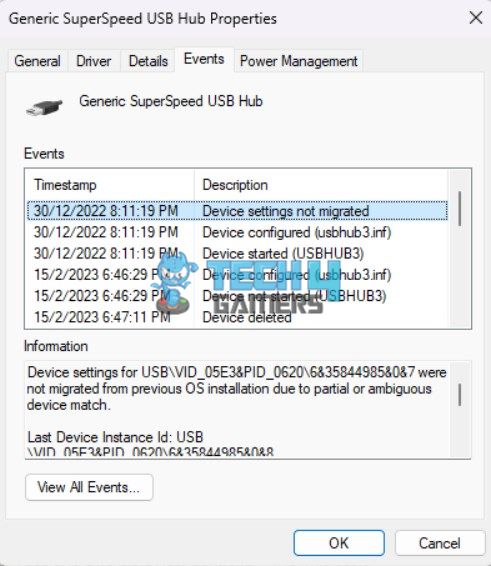
Users who face the issue will see the following error message:
Method Difficulty Rating
Update Drivers
Rated: 4/10
Reinstall Drivers
Rated: 4/10
Roll Back Drivers
Rated: 5/10
System Restore
Rated: 5/10
Updating Device Drivers
One of the most common reasons for the device settings not migrating on Windows 11 is due to having outdated drivers. I’ve encountered it firsthand—when drivers fall behind, hardware can start behaving unpredictably. R Cord, an independent advisor from Microsoft explained that too. Here are the steps that you can use to update the respective drivers:
- Open Start Menu: Press the Windows Key > open the Start Menu.
- Open Device Manager: Now, look for Device Manager by typing it in the search bar. Once it appears, open it.
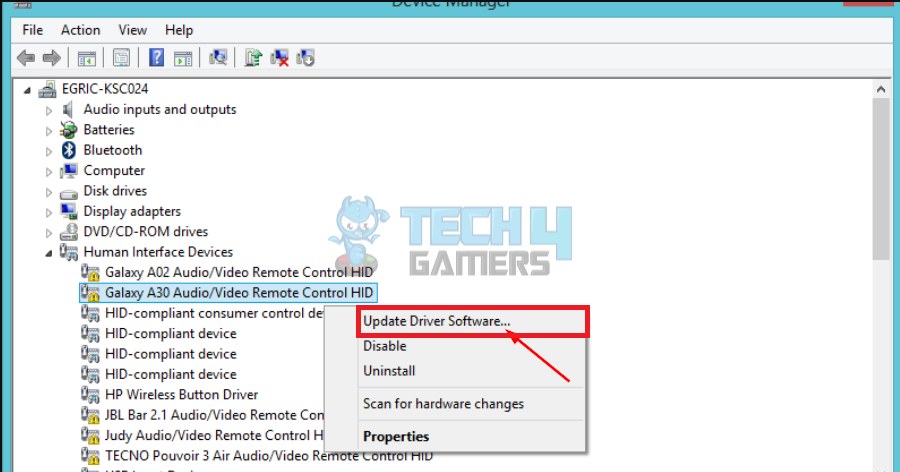
- Update Driver Software: Locate the specific driver you want to address > right-click on it > select Update Driver Software.

Update Drivers (Image By Tech4Gamers) - Complete the Process: Reboot your PC to complete the process.
Uninstalling and Reinstalling Drivers
In certain situations, drivers may encounter glitches or issues that can affect the performance of your devices. With even a slight suspicion of driver issues, I address this by considering uninstalling and then reinstalling any problematic drivers. Below are the steps to perform this action:
- Open Device Manager: Open Device Manager by pressing the Windows key > searching for Device Manager, > clicking to open it.
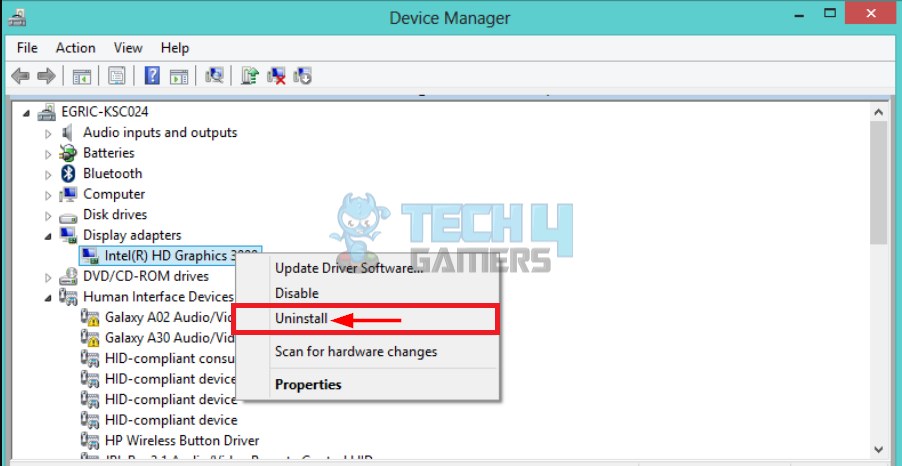
- Uninstall Drivers: Find the driver you want to address > right-click on it > choose Uninstall.

Uninstall Drivers (Image By Tech4Gamers) - Restart PC: Now, simply Restart your PC. Once done, Windows will automatically reinstall the driver.
Rolling Back to Previous Drivers
If you’ve started encountering issues after a recent driver update, it’s likely that the problem originates from that update. In such cases, the first step that I do is to roll back the drivers to a previous version. Fortunately, Windows offers users the option to roll back updates.
- Open Settings: Open the Windows search bar > type Settings > open it.
- Go to System and About: Within the Settings menu > go to System > on the right pane select About.
- Go to Device Manager: Find and click on Device Manager.
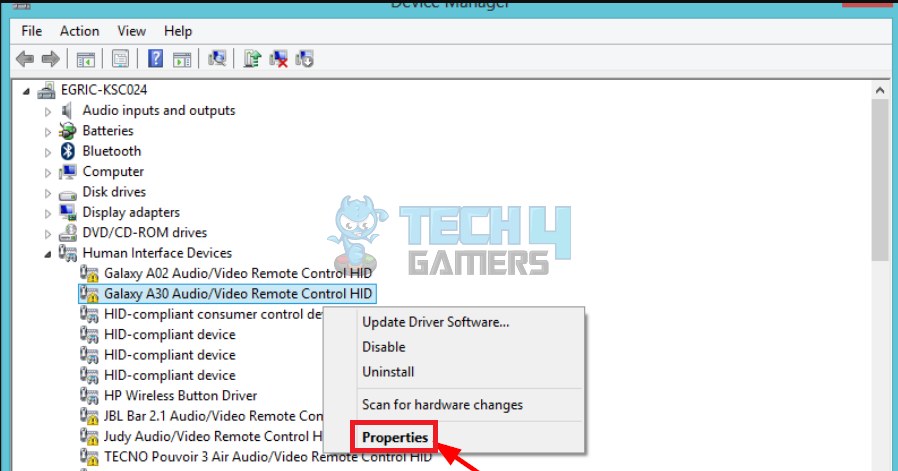
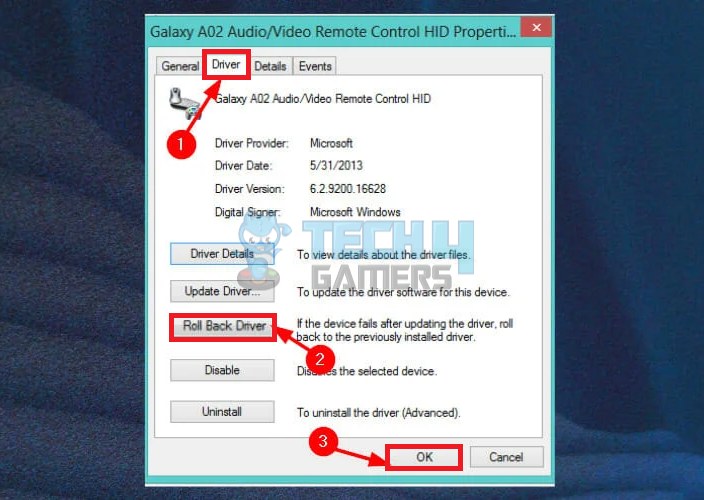
- Select Properties: Expand the list of device drivers > right-click on the one you want to address > select Properties.

Head To Driver Properties (Image By Tech4Gamers) - Go to Driver: In the Properties window, head to the Drivers tab > Locate and click on Roll Back Driver, > confirm by clicking OK.

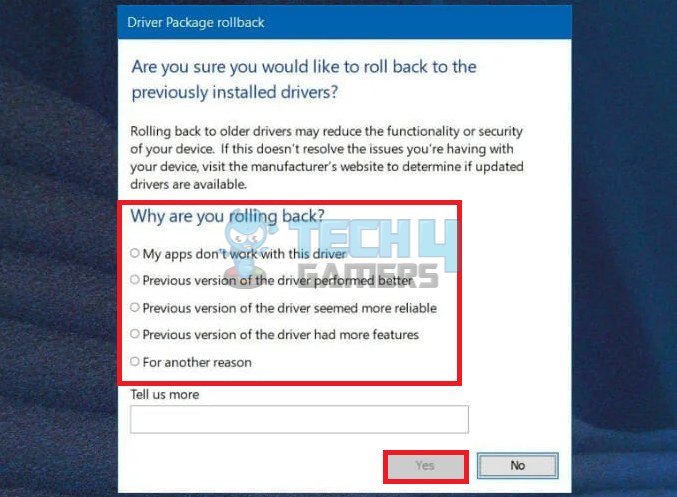
Roll back Drivers (Image by Tech4Gamers) - Click Yes: Provide a reason for the rollback if prompted > click Yes.

Provide Reason (Image By Tech4Gamers) - Restart PC: To apply the changes, Restart your PC.
Use System Restore
An additional approach is to restore your system to a date before encountering a troublesome error. I used this System restore in solving Critical Process dying issue as well. By doing so, you can resolve the issue and resume working smoothly on your Windows 11 system. The steps for executing a system restore are as follows:
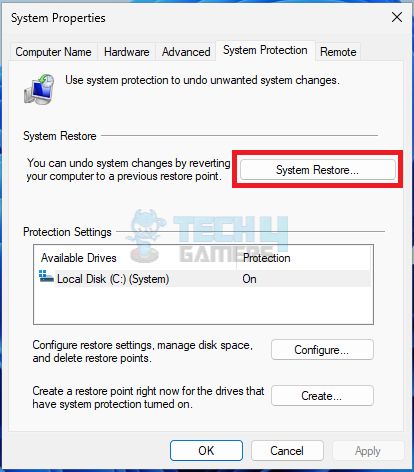
- Go to System Restore: Hit Start > Search bar > Type restore > Create a restore point > System Restore > OK.

System Restore (Image by Tech4Gamers) - Select Date or Event: To restore the system to the error-free point > select a date or event before the error.
- Hit Scan: To learn about the drivers and programs affected by the restoration hit the Scan for affected programs button or click Next > Finish.
Final Thoughts
Windows 11 users, mostly those who are trying to shift from Windows 10 may face this error of Device Settings not migrated to Windows. This error occurs mostly because of drivers being corrupt, or drivers are not installed correctly or it may be because the windows is not up to date.
Users who face this error try to find the solution to this on different forums like Microsoft Community or they ask for suggestions from each other on X. One example is given below:
@Maono_Global My Maono PM461 is not working after Windows 11 upgrade.
Event log tells Device settings not migrated. Refer image.
Please suggest what’s the fix. The device is under warranty. pic.twitter.com/mnekKU2HUA— Nishant (@TheNicheant) April 30, 2022
Solutions to this very problem are related to Drivers, so try Reinstalling the drivers, updating drivers, or updating Windows as well.
FAQs
The device settings not migrated on Windows 11 error occurs when users are not able to migrate their hardware data while completing a major update on their Windows operating system.
The device settings not migrated on Windows 11 can be caused by different reasons, including driver compatibility issues, outdated or corrupted drivers, unsupported hardware or devices, and configuration changes.
Some of the methods that can fix the device settings not migrated on Windows 11 error include updating, reinstalling, rolling back drivers, and keeping Windows up to date.
Related Articles:
- How To Fix Cursor Moving On Its Own In Windows 11
- Windows 11 Stuck On Restarting Screen
- Windows 11: Computer Won’t Wake Up From Sleep
- How To Fix Google Drive Not Syncing On Windows 11
- How To Fix Windows 11 Screen Saver Not Working
Thank you! Please share your positive feedback. 🔋
How could we improve this post? Please Help us. 😔
[How-To Guides Expert]
Laiba, our tech guru at Tech4Gamers, simplifies and crafts How-To Guides with a Google IT Support Certificate. Beyond tech, she captures the city’s aesthetics through her lens. Join her journey where tech meets creativity!
Get In Touch: Laiba@tech4gamers.com


