Threads

The “Microsoft-Verified App” is a security feature in Windows 11 that restricts app installation from third-party sources or those apps that Microsoft does not verify in terms of safety. Consequently, you might not be able to install your desired apps on the computer if it does not meet the Microsoft safety checklist. Hence, knowing how to turn off “Microsoft-Verified App” in Windows 11 is essential.
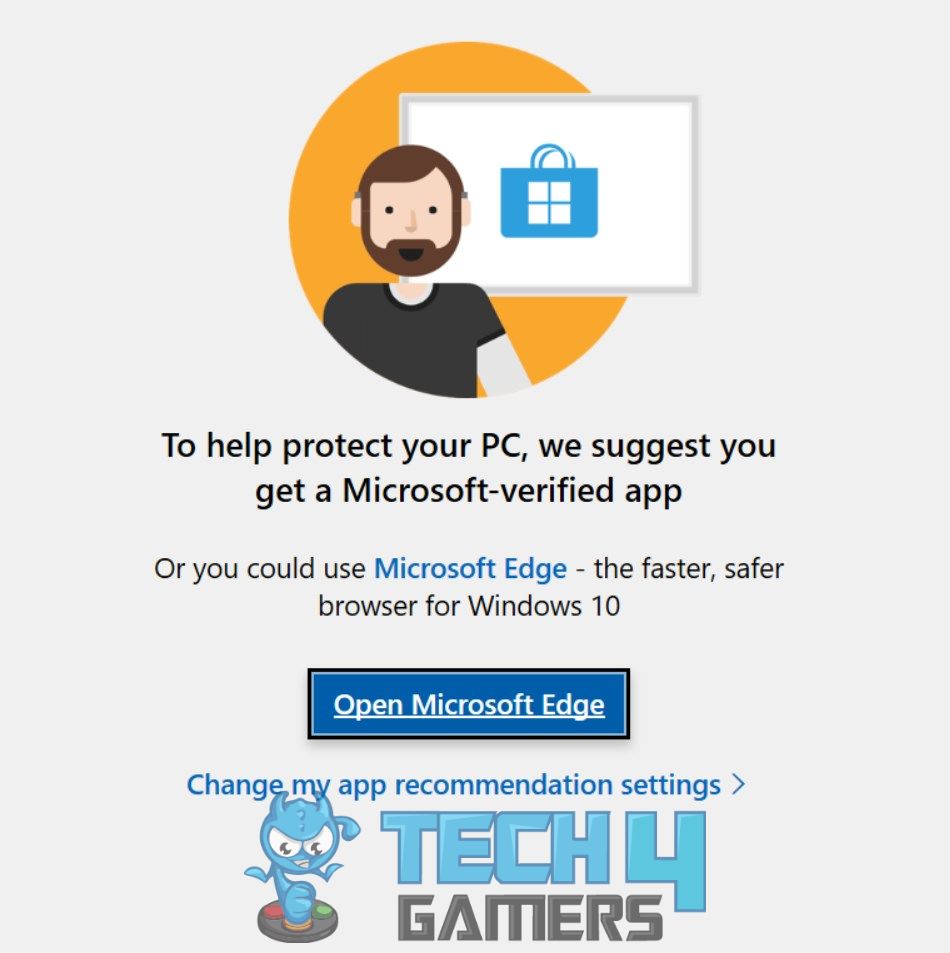
Here is the exact message you will see:
Key Takeaways
- The “Microsoft-Verified App” feature protects your system against the installation of shady or unsafe apps that could harm your computer.
- To deactivate the “Microsoft-Verified App” feature, you can lift installation restrictions, enable the “Configure App Install” policy, and more.
- You can completely disable the Microsoft Store on your Windows 11 computer.
Enable Anywhere Option
Tweaking a few settings in my Windows 11 computer allowed the system to install the apps from any source. However, learn what to do if “Choose Where To Get Apps” is missing in Windows 11.
Given are the steps to change Windows 11 settings:
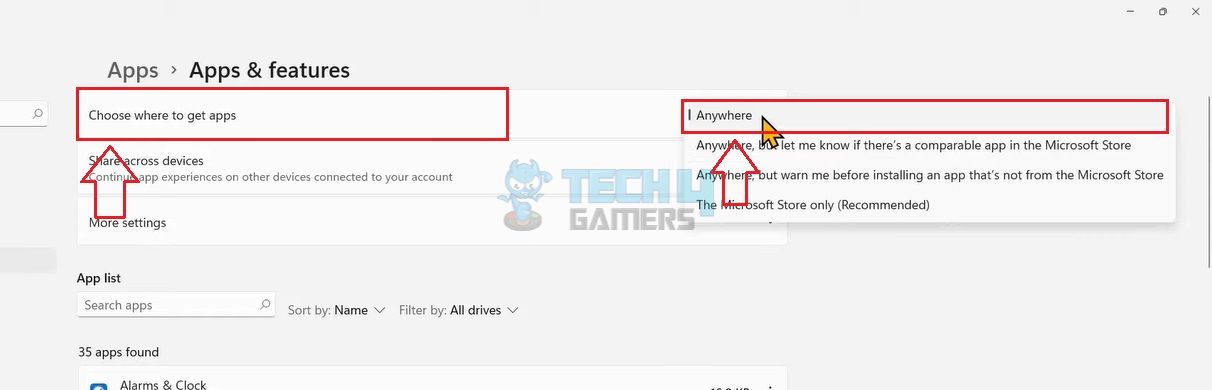
- Head to Settings > Apps > Advanced App Settings.
- Click Choose Where To Get Apps > In the drop-down, pick Anywhere.

Choose Anywhere (Image By Tech4Gamers)
Many users in the comments of a YouTube video also used the same solution to eliminate this pop-up.
Modify Group Policy
The Group Policy Editor also lets you change the installation-related permissions on your system. Hence, disabling the Configure App Install Control Policy will allow the system to install apps from sources other than the Microsoft Store.
Follow this simple process to modify Group Policy:
- Press Windows+R keys to access Run > Type gpedit.msc > Enter.
- Expand Computer Configuration > Administrative Templates > Windows Components.
- Double-click on Windows Defender SmartScreen > Explorer > Click Configure App Install Control.

Configure App Install Control (Image By Tech4Gamers) - Mark Disabled > Click on Options drown-down > Turn Off App Recommendations > Apply > OK.

Disable Microsoft Store
Moreover, disabling the Microsoft Store entirely is another way to restrict the “Microsoft-Verified App” feature. However, from my experience, I would not recommend doing so since Microsoft Store is an essential Windows app and a go-to platform for getting safe and verified apps.
Disable Microsoft Store on your computer using these instructions:
- Open Run > Execute regedit.
- Type this address in the Address Bar:
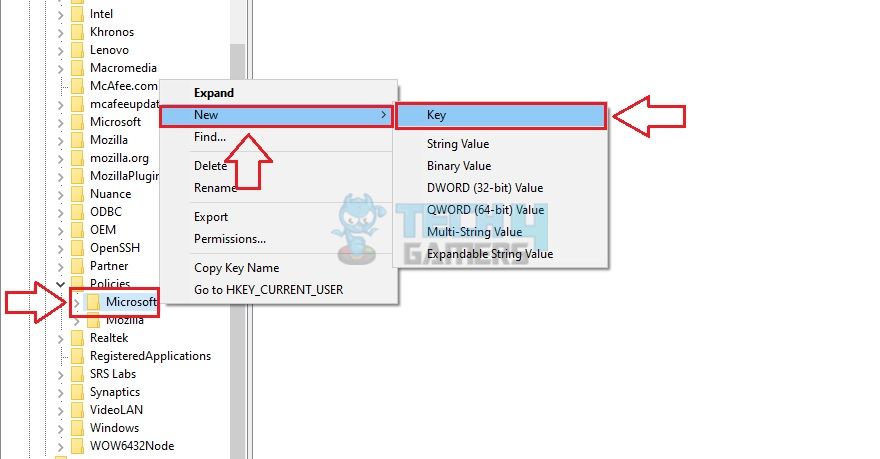
HKEY_LOCAL_MACHINE\SOFTWARE\Policies\Microsoft\
- On the left, right-click Microsoft > Choose New > Key.

New Key (Image By Tech4Gamers) - Rename this key to WindowsStore.
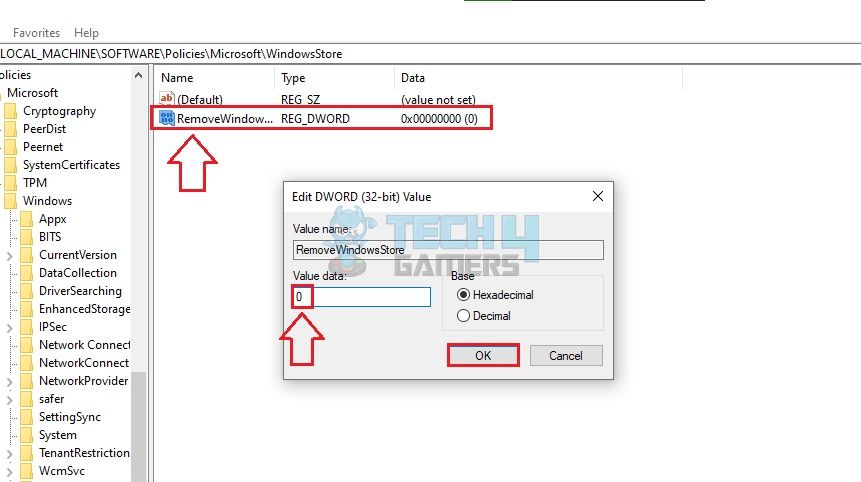
- Right-click anywhere on the white screen > Hover over New > DWORD (32-bit) Value.
- Rename it to RemoveWindowsStore > Double-click on it > Enter 0 in the Value section > OK.

Change Value (Image By Tech4Gamers)
Use Command Prompt
Like most Windows 11 configurations, you can modify these controls in the Command Prompt. It is a quick method; just ensure to insert the correct code.
Run the correct code in the Command Prompt as stated below:
- Open Run > Enter cmd.
- Execute the code:
reg add HKEY_LOCAL_MACHINE\SOFTWARE\Microsoft\Windows\CurrentVersion\Explorer /v AicEnabled /t REG_SZ /d Anywhere.
- If it asks for permission to overwrite values, press the Y button to grant the necessary permissions > Restart the system once done.
Use Local Security Policy
The Local Security Policy contains all the security settings of your Windows 11 and allows you to modify them as per the requirements. Thus, I disallowed the security policy related to the Microsoft Store to turn off the “Microsoft-Verified App” in Windows 11.
Carefully proceed with each of these steps:
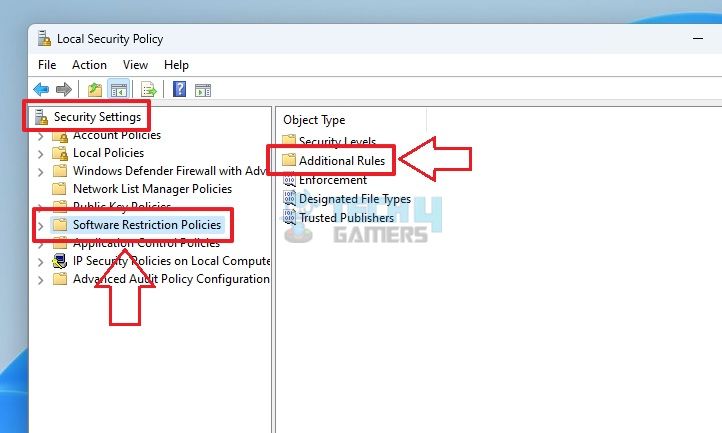
- Select Search Box > Search for Local Security Policy > Open it.
- Expand Security Settings > Software Restriction Policies > Additional Rules.

Additional Rules (Image By Tech4Gamers) - Right-click anywhere on the white area > Chosee New Path Rule.
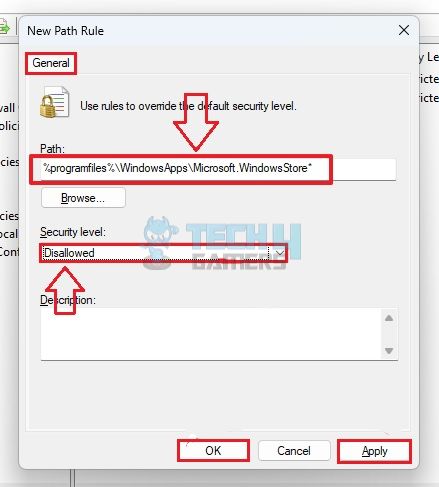
- Enter this in the Path section:
%programfiles%\WindowsApps\Microsoft.WindowsStore*
- Set Security Level to Disallowed > Apply > OK > Restart PC.

Change Settings (Image By Tech4Gamers)
Disable S Mode
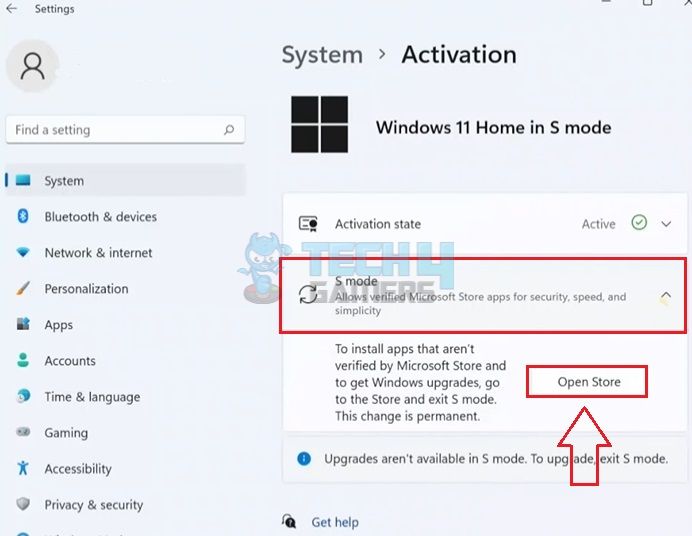
S Mode is a security mode in Windows 11 that protects your computer against suspicious and harmful threats by restricting downloads from any other source than the Microsoft Store. Disabling S Mode lifts off installation restrictions, so I tried the method, and it worked well. If you do not see the S Mode box, note that your computer is already switched out.
Follow these steps to get out of S Mode:
- Navigate to Settings > System > Activation.
- If present, click S Mode > Open Store > Hit the Get button.

Open Store (Image By Tech4Gamers)
Final Words
While researching, I found that this particular pop-up prevented several users from downloading their favorite apps outside the Microsoft Store, as noted in the Microsoft Community. As per my testing, the feature can be disabled easily, as indicated in the above-mentioned methods. After turning off the “Microsoft-Verified App” in Windows 11, I installed multiple apps from sources other than the official Store. However, you can contact Microsoft Support if the problem is still unresolved.
Related Articles
- How To Turn Off Mouse Acceleration In Windows 11
- How To Turn Off Efficiency Mode In Windows 11?
- How To Remove PIN From Windows 11?
Thank you! Please share your positive feedback. 🔋
How could we improve this post? Please Help us. 😔
[How To Guides Specialist]
Dayan Shahid is a skilled mechanical engineer passionate about technology. With certifications in various programming languages and subjects ranging from microcontrollers to aerial robotics, Dayan can effortlessly present complex technical topics in an engaging way. His ability to bridge the gap between theory and practical applications sets him apart as he continues to inspire others through their insightful content.