Your Xbox Series X console won’t turn on? Many users face this issue during their gaming. There can be many causes of the error, like power supply failures and motherboard damage. Additionally, the console’s hardware needs to be fixed or has old or corrupt firmware. However, many users just sent their consoles to the device service centers to get them repaired as a solution.
- The Xbox consoles sometimes stop responding, turn off completely without warning, and do not turn back on.
- The key factors behind this issue can be a lack of display for the console’s output, power supply cord issues, power supply outages or damages, and motherboard damages.
- Several solutions can be changing the power supply cord, checking the display device connections, or changing the motherboard for the console.
Method Difficulty Rating
Console Cleaning
Rated: 9/10
Changing Cables
Rated: 3/10
Changing Socket
Rated: 3/10
Changing PSU
Rated: 8/10
Cleaning/Dusting The Console Properly
Accumulated dust and dirt within an Xbox console can lead to overheating, impeding the efficient functioning of internal components. This can result in system slowdowns or hangs as the excess heat compromises the console’s performance and may trigger safety mechanisms to prevent damage.
The excessive dust in the console may obstruct the display and power connections. The solution I employed to counter this situation is to open the console and clean and blow air on its connections and components to clean it every week to eliminate dust. I followed this method, which proved helpful for me and numerous other users as well. Follow these simple steps:
- Remove all cables: Shut off your console> Remove all the connecting cables (power cord, auxiliary connections).
- Open cover: Open your Console’s cover.

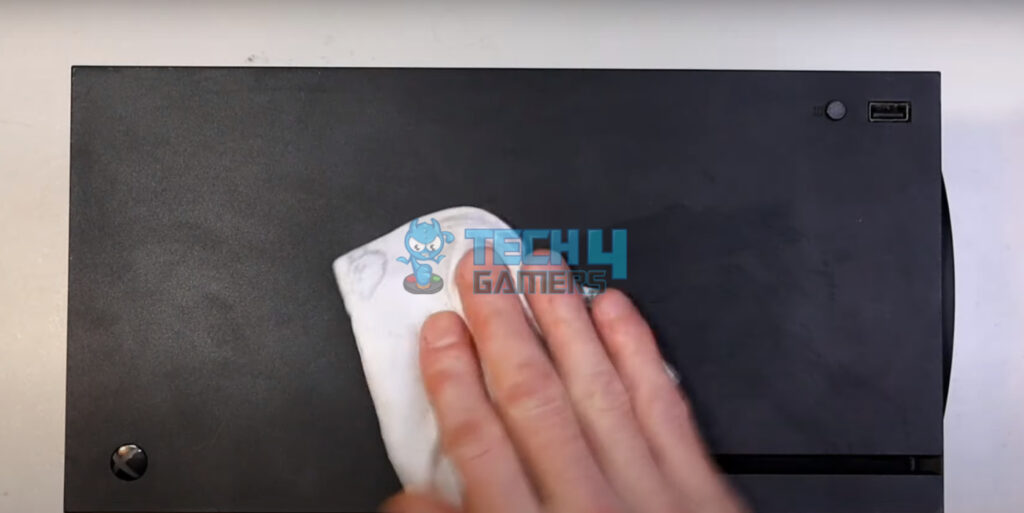
Removing Cover (Image By Tech4Gamers) - Clean the cover: Clean the outer dust with a clean and dry cloth or a brush.

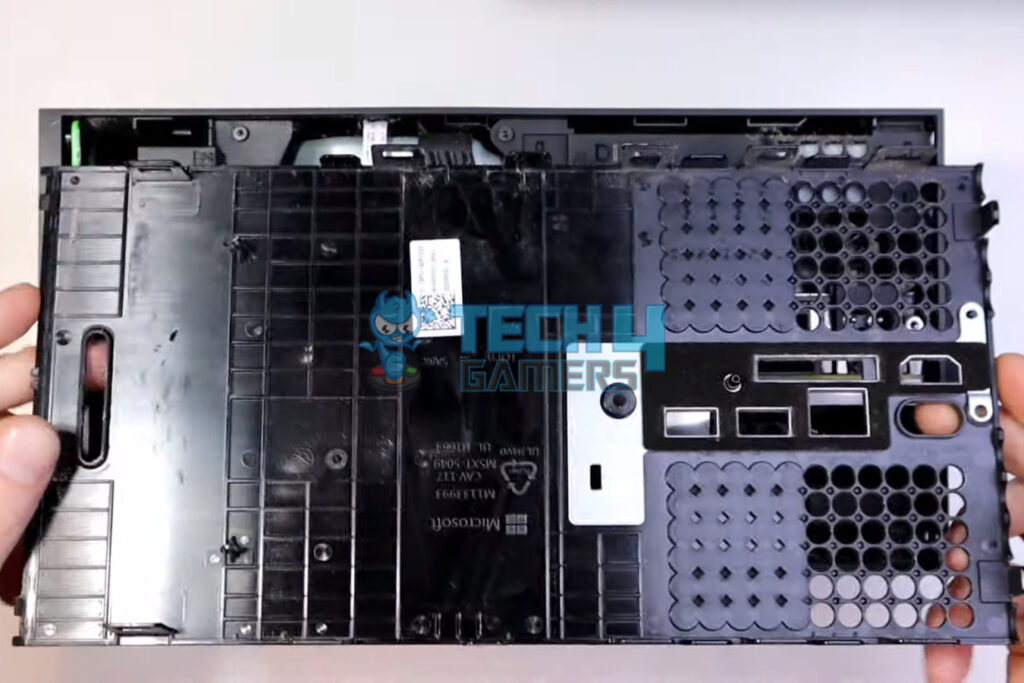
Cleaning Console With Console (Image By Tech4Gamers) - Clean the interior: Clean the inner settling dust in the ports with an air blower.

Cleaning inner dust with an Air blower (Image By Tech4Gamers) - Reconnect Console: Close the console casing > Reconnect the power cord and display cable to the console.
Checking/Changing The Display Device Cables
Another factor behind this problem is improper or damaged display connection. The monitor or LED is connected to the console through an HDMI or VGA cable. The cable may be improperly connected, damaged, or burnt, causing the display to go out like this.
I always check and change any damaged or burnt display cables in case of an error like this. This method has worked out the problem for me. While researching, I discovered that this method also helped several online users. Follow the steps below to rectify the situation:
- Turn off your Console: Turn off your console> Remove all the connections (power cord, USB connections, and display cable).
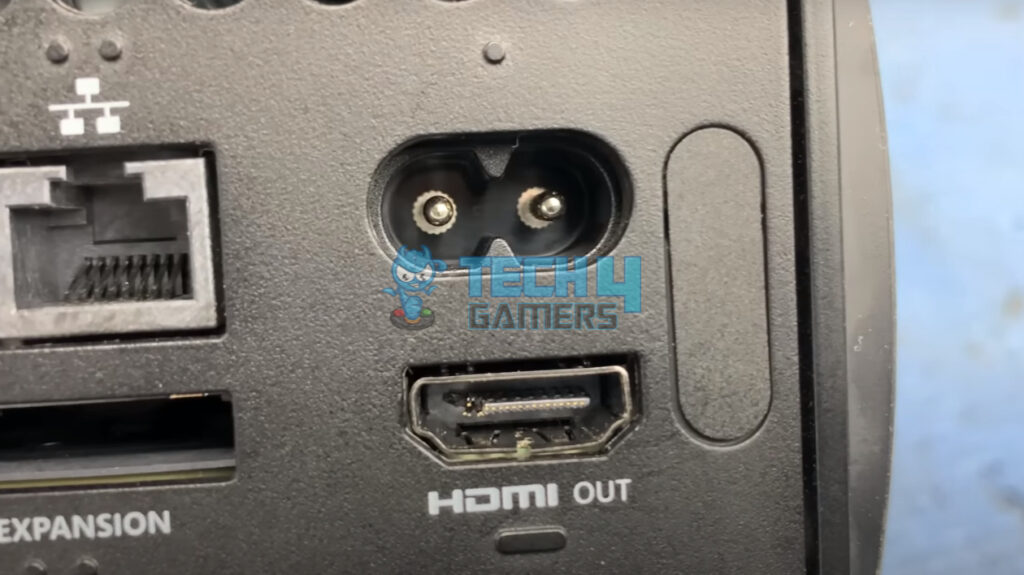
- Examine the cable: Closely examine the cable to see if it is damaged or if a burning smell is coming from it.

Checking console cables (Image By Tech4Gamers) - Check the ports: Check the consoles’ ports to see if they are damaged or give out a burning smell.

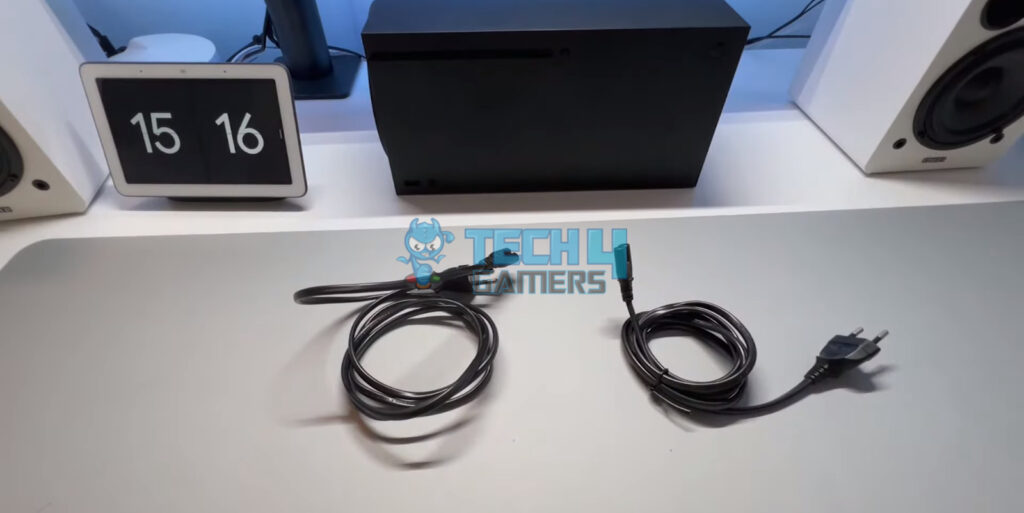
Checking Console Ports (Image By Tech4Gamers) - Change the cable: If the cable is damaged, change the cable > If not, properly insert the cable into the port > Reconnect all the other connections.
Getting A New Cable (Image By Tech4Gamers)
Changing/Repairing The Wall Socket Outlet
A significant factor behind this problem can be a damaged wall socket or power outlet. Power outlets often malfunction or lose their place, resulting in abrupt power outages or cable burnouts.
I resolved this issue on my console by repairing or changing the power outlets of the respective console/appliance. This method also helps many users on Xbox Forums. Follow the steps below to check your wall outlet functionality:
- Disconnect Console: Shut off the Xbox entirely > Disconnect its power supply cable.
- Change the power cord: Change the power cord with another one > Connect it back to the console and power socket.
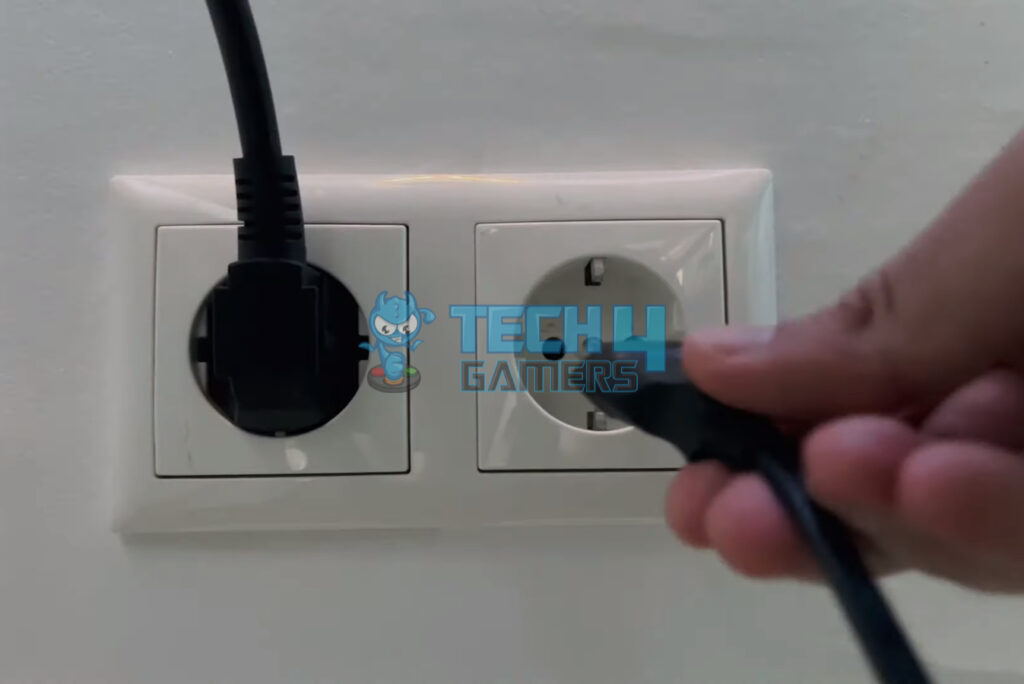
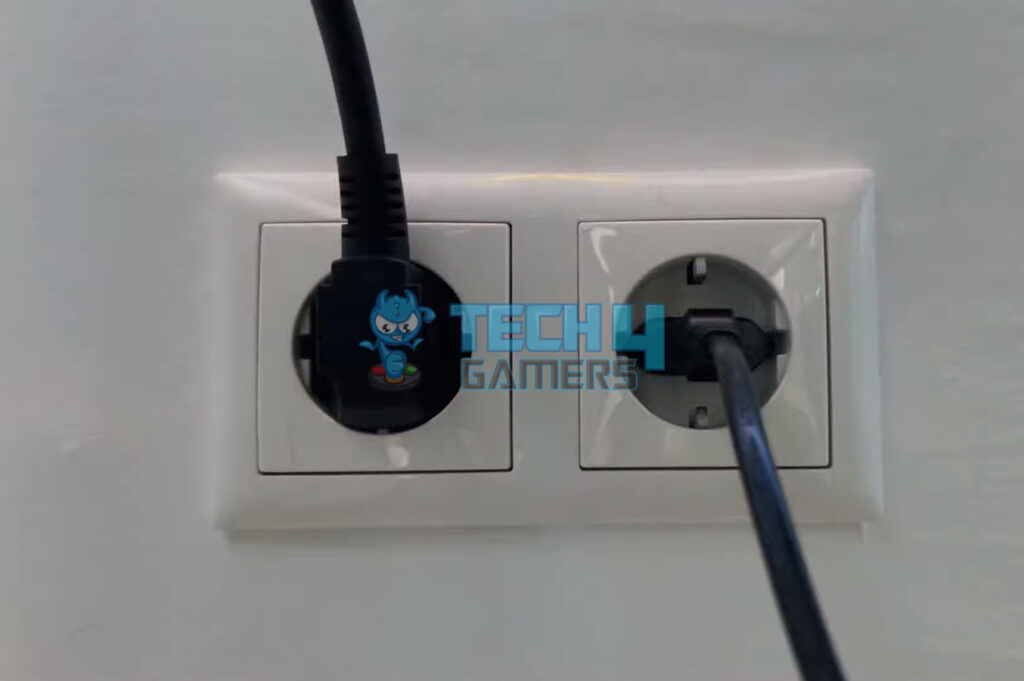
- Remove the power cord: If the error persists > Remove the power cord from the power outlet again.

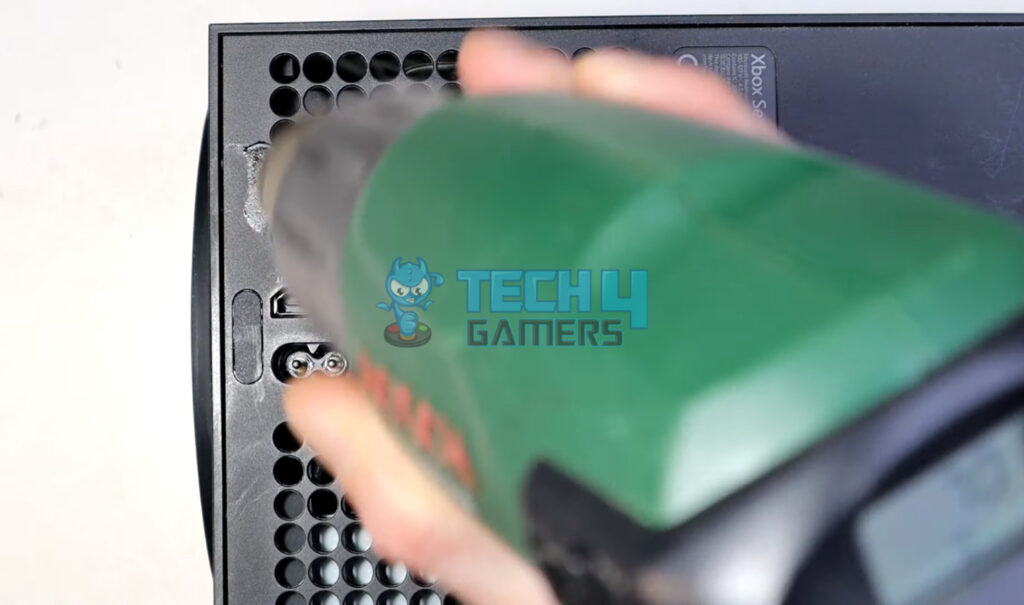
Taking Power cord out (Image By Tech4Gamers) - Change power outlet: Change the power cable connection by connecting it to a different power outlet.

Changing Power Outlets (Image By Tech4Gamers)

Checking/Changing The Power Supply Of The Console
A damaged or insufficient power supply can contribute to the situation under discussion. It might be possible that the power supply has blacked out, causing the console to behave unresponsively as it is not getting enough power to start.
A common fix for resolving this issue can be repairing or changing the console’s power supply. I used this method on my console to eliminate the issue, which succeeded. Moreover, I observed the positive reviews of users online about this method. Implement the following steps to identify and rectify this problem:
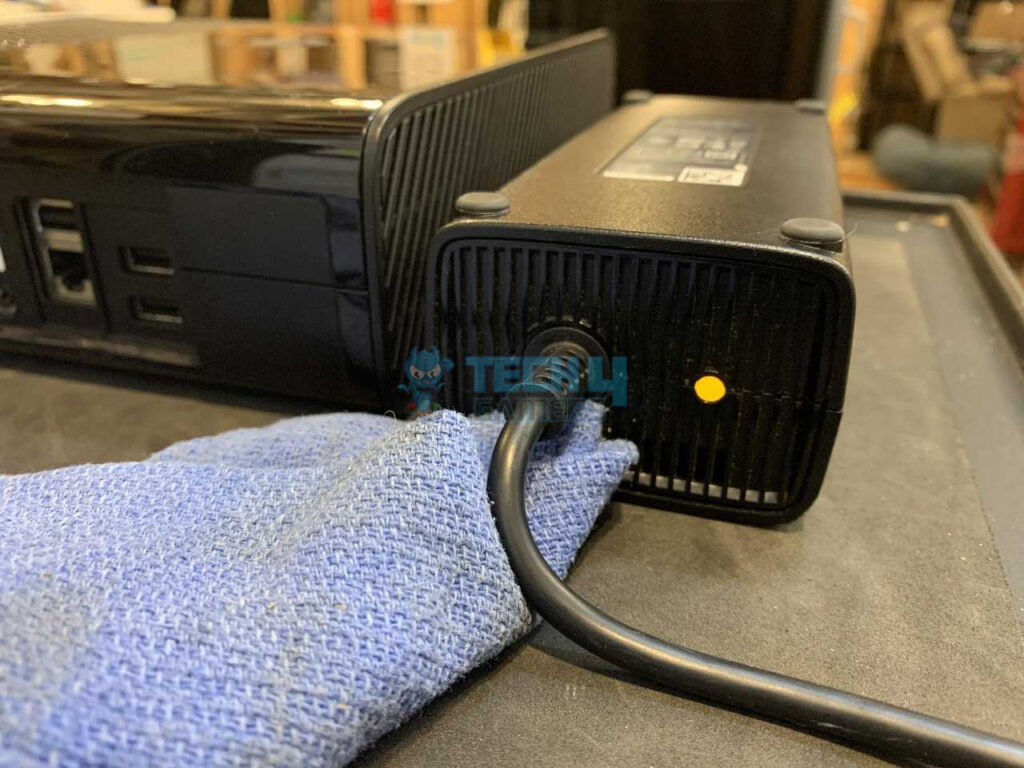
- Check the console’s light: Check the light on the Xbox console’s power supply > If the power supply gives out pure white or orange light,> Power supply is okay > Otherwise, you must change the console’s power supply.

Console Lights Indications (Image By Tech4Gamers) - Disconnect the power cable: Turn off the console> Disconnect the power cable from the console and wall socket.
- Wait: Wait for a while (about 30 seconds) > During this duration, the power supply and console capacitors will lose all the power.
- Connect the power cable: Connect the power cable to the power supply and outlet back.

Reconnecting Power cord (Image By Tech4Gamers)
Final Words
In troubleshooting the Xbox Series X console’s unresponsiveness, I explored various effective methods to address power supply failures and motherboard damage. Regular cleaning to eliminate dust accumulation, checking and changing display cables, ensuring the integrity of power outlets, and addressing power supply concerns proved instrumental in resolving the problem. These practical steps restored my console’s functionality and provided valuable solutions for others encountering similar challenges, showcasing the effectiveness of these troubleshooting techniques.
Relevant Articles:
- How To Quickly Solve Xbox Error Code 0x80830003?
- 10 Ways To Fix Xbox Error 0x801901f7
- Xbox Error Code 0X80190190 [9 FIXES]
Thank you! Please share your positive feedback. 🔋
How could we improve this post? Please Help us. 😔
[Error Fix Expert]
Hello, I’m Uzair Shabir, a tech enthusiast pursuing a Bachelor’s in Electrical Engineering. At Tech4Gamers, I’m an Error Fix Expert, crafting articles on different issues and how to fix them. With a Google IT Support Certificate, I navigate tech complexities to deliver insightful perspectives.
Get In Touch: UzairShabir@tech4gamers.com