


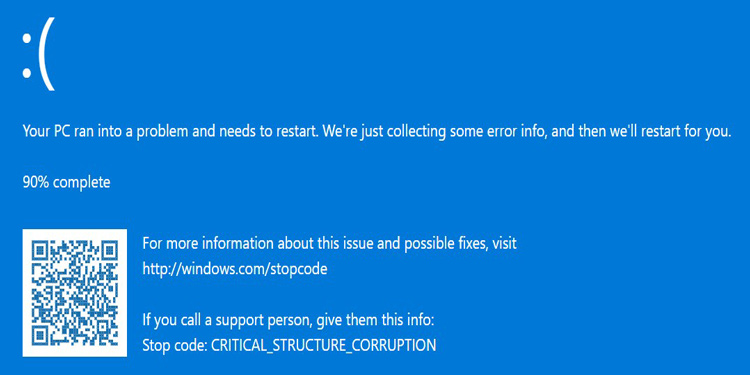
Critical Structure Corruption error indicates some corrupted data in your system. This occurs when the kernel discovers corrupted system files or drivers. A few people over at Steam Forums have reported this issue. However, this Critical Structure Corruption error can be fixed very easily.
- This error is not widely spread as the chances of data corruption are pretty low unless you’re attacked by malware.
- The causes behind the error are critical kernel code, malfunctioning memory modules or hardware components, and corrupted data or drivers.
- Fix the error by running the Memory Diagnostic Tool, updating drivers, scanning the system, or updating BIOS to the latest version.
- Although this Critical Structure Corruption error is rare, we experienced several inconveniences when facing this issue, such as random reboots and data loss.
The Critical Structure Corruption error will be displayed as:
Method Difficulty Rating
Rated: 7/10
Rated: 5/10
Rated: 7/10
Rated: 4/10
SFC and DISM Scan:
The SFC (System File Checker) and DISM (Deployment Image Servicing and Management) are common commands that can fix many errors and bugs. By running these commands, it will perform a complete system scan to discover faults and mistakes.
These commands are well-known for troubleshooting and fixing various errors, so this error is no different. An independent advisor on an authentic Microsoft Forum has also recommended this method, which has helped many users facing this error. Here’s how:
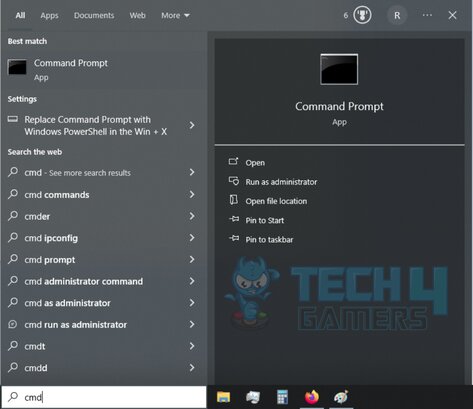
- Open Command Prompt: Go to Windows Search Bar > Type cmd > Click on Run as Administrator.

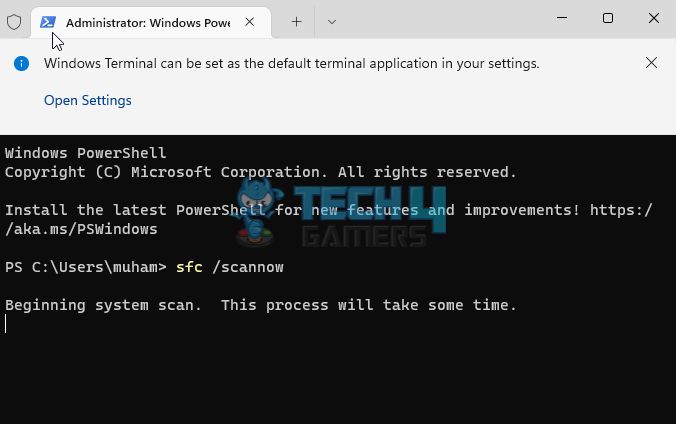
Command Prompt Search – Image Credits [Tech4gamers] - Running the Scan command: Type sfc /scannow > Hit Enter.

SFC Scanner – Image Credits [Tech4gamers] - Running the Repair command: Now type DISM /Online /Cleanup-Image /RestoreHealth > Hit Enter.

DISM Repair Command – Image Credits [Tech4gamers] - Exiting and restarting system: Close Command Prompt > Restart your system.

Run Memory Diagnostic Tool:
The Windows Memory Diagnostic tool is handy for troubleshooting when the computer begins running slowly, displays a blue screen, or reboots on its own. It can help detect problems with applications installed and memory errors.
This utility is widely used to discover problems in the memory modules. Since failing memory is one of the causes of this error, we tried this method for your convenience, and it worked. Follow the steps below:
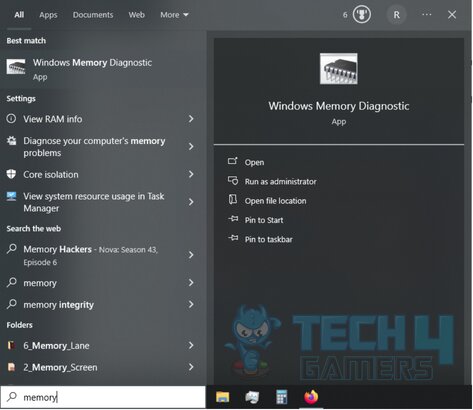
- Opening the Memory Diagnostic Tool: Go to Windows Search Bar > Type memory > Click on Windows Memory Diagnostic.

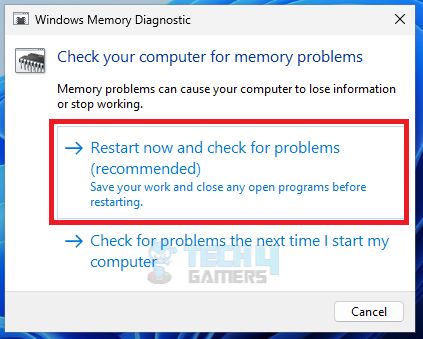
Windows Memory Diagnostic Search – Image Credits [Tech4gamers] - Running the Memory Diagnostic Tool: Click the “Restart now and check for problems” option.

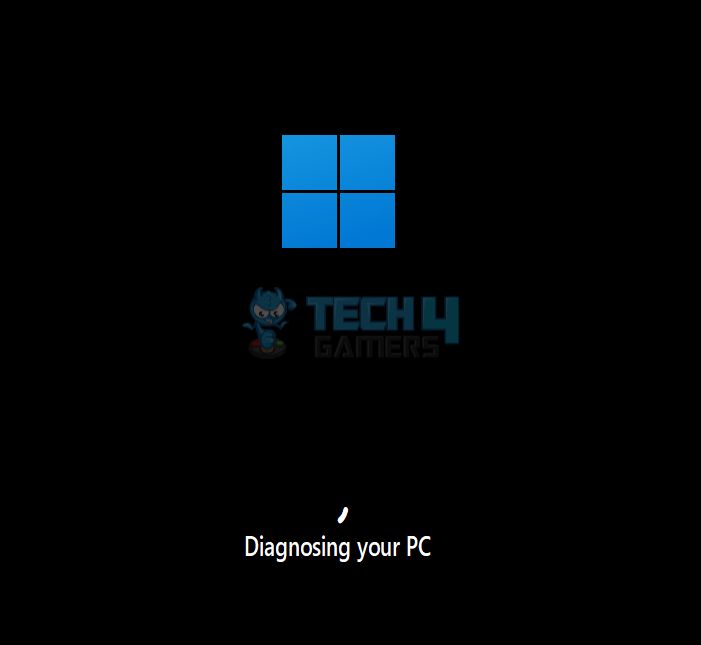
Diagnose Restart Now – Image Credits (Tech4Gamers) - Restarting and Diagnosing System: Your system will restart and run the diagnostics.

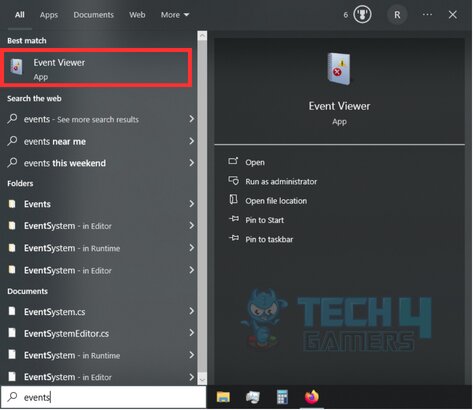
Diagnosing Your PC – Image Credits (Tech4Gamers) - Opening Event Viewer: When your system boots, go to the Windows Search Bar > Type event > Click on Event Viewer.
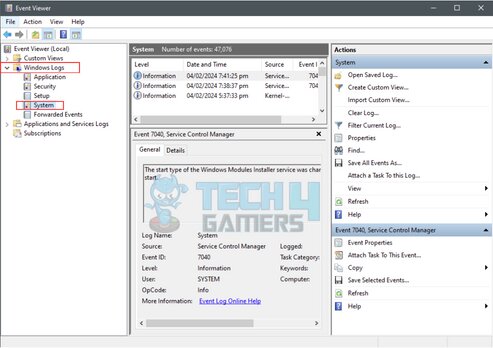
Event Viewer Search – Image Credits [Tech4gamers] - Checking for Events after diagnosis: In the left panel, double-click on Windows Logs > click on System > View all recent occurrences to the system.

Event Viewer Recent Events – Image Credits [Tech4gamers]
Update BIOS:
BIOS, also known as Basic Input/Output System, is a program that your microprocessor uses to control the I/O of the system after it is powered on. It also contains the data flow between the connected I/O devices and the Operating System. Although you shouldn’t mess with the BIOS, if the error persists, you should update it.
The latest BIOS update will have patches and hotfixes for your system. We have found this method to solve this error on the AMD Community Forum. Therefore, we believe it to be a credible solution. Since different manufacturers have different steps to update BIOS, we have covered the generalized steps:
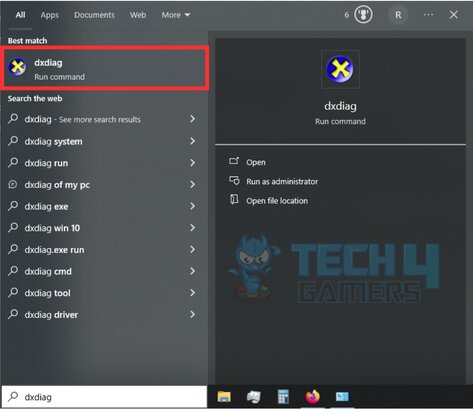
- Open DirectX utility: Go to Windows Search Bar > type dxdiag > Click on the dxdiag program.
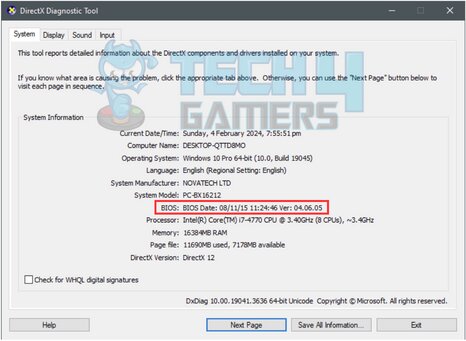
DxDiag Search – Image Credits [Tech4gamers] - Check your BIOS version: Search for your BIOS version labeled by Ver.

DxDiag displaying BIOS version – Image Credits [Tech4gamers] - Download BIOS Update: Find your motherboard’s website > Navigate to your motherboard’s BIOS page > Download the latest version.
- Make A Bootable USB Drive: Plug a formatted USB Drive > Extract BIOS update into the USB.
- Open BIOS Update Utility: Restart your system> Press delete during reboot > Go to Utilities > Click on M-Flash.
- Update BIOS: Choose your USB Drive > Select the BIOS file > Confirm any prompt.
Uninstalling FACEIT Anti-Cheat Software:
FACEIT Anti-Cheat is a third-party matchmaking software for many multiplayer games with a powerful and robust anti-cheat system. Gamers prefer to use this software to play their favorite video games in a safe and fair environment. Many skilled players are shifting to FACEIT servers rather than the game’s matchmaking server.
However, this software is known to cause Critical Structure Corruption errors as it runs complete system scans to detect any cheating software. As a result, it messes with the Operating System and causes the error. Uninstalling FACEIT has helped many users recover from this jarring error. If you have FACEIT installed and do not use it, it’s best to uninstall it from your system. Here’s how:
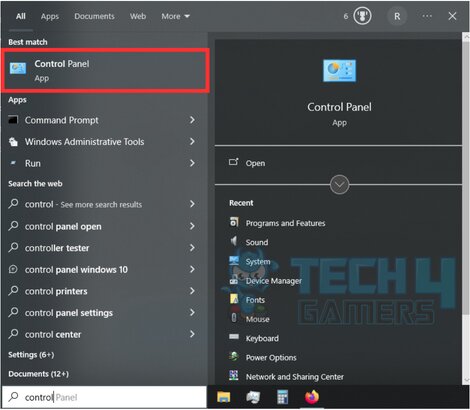
- Open Control Panel: Go to Windows Search Bar > Type control > Click on Control Panel.

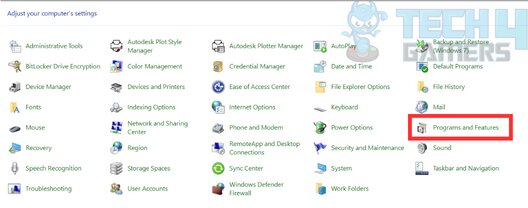
Control Panel Search – Image Credits [Tech4gamers] - Navigate to Programs and Features: Click on Programs and Features.

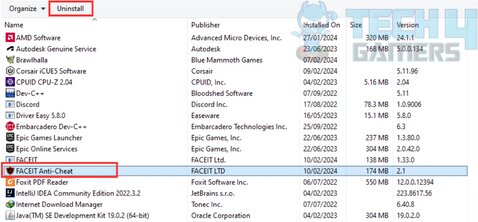
Programs and Features – Image Credits [Tech4gamers] - Uninstalling FACEIT Anti-Cheat: Click on FACEIT Anti-Cheat software > Click on Uninstall > Follow the steps to uninstall FACEIT Anti-Cheat software.

Uninstalling FACEIT – Image Credits [Tech4gamers]
Final Words:
Corrupted system files, drivers, or critical kernel code are the major causes of this Critical Structure Corruption error. Twitter users have mentioned that this error keeps occurring frequently.
Anyone have any idea why I keep getting this Blue Screen Crash on my PC!? It’s driving me nuts! Happens every few days :S “Critical_Structure_Corruption” pic.twitter.com/H5ZwXt7gIm
— Josh (JSkeleton) (@JSkeleton92) January 25, 2019
Although Microsoft has not officially patched this error, we encountered a detailed thread addressing this issue on Microsoft Forums. However, the abovementioned methods will fix the problem and bring your system back to normal!
FAQ's
Critical Structure Corruption error entails that your system may have corrupt data or a failing memory module. As a result, A Blue Screen Of Death will pop up on your screen, and it will reboot your system. You might encounter this while using any app, surfing through the internet, or while Windows is starting up.
The Critical Structure Corruption error occurs due to critical kernel code. Furthermore, it also occurs if the hardware fails or the driver’s data is corrupted.
Methods mentioned above can fix your problem. They include updating your BIOS, running the memory diagnostic tool, scanning the system using the command prompt, and many more.
Related Articles
- How To Fix Unmountable Boot Volume Error In Windows 11
- How To Fix “WHEA_UNCORRECTABLE_ERROR”
- FIXED: Critical Process Died In Windows 11
- Windows Update Error 0x800f0922
- How To Fix “KMODE_EXCEPTION_NOT_HANDLED” Error?
Thank you! Please share your positive feedback. 🔋
How could we improve this post? Please Help us. 😔
[Errors Troubleshooting Expert]
Arsalan Shakil (aka GuyThatDoesEverything on YouTube) is a PC Tech Enthusiast and Electronic Geek. With over 10+ years of experience in Electronics, he then decided to explore Software Engineering to design embedded products and automate existing hardware solutions.
When he started tearing down old cameras to understand how they worked, he was shocked (literally, when he got zapped by a flash discharge capacitor), giving him the power (debatable) to fall in love with videography/photography. He also started making some fun videos that later became YouTube tech reviews.
Skills:
- 10+ years of experience in Electronics design, embedded solutions, and prototyping
- Majored in Software Engineering
- Research paper publication in IEEE for Embedded Military Uniform & LoRa WAN wireless technology
- Specialized in IoT Solutions
- PC Enthusiast & PC Modder
In his local region, he’s known to expose cheap PSU brands, often claiming fake certification or false claims on the box. He’s a true nerd and needed some friends in his life. Then he met some guys who work at Tech4Gamers, and they also came out to be equal nerds who suggested he join Tech4Gamers as a Hardware Expert.


