 Threads
Remarkable Performance!
Review Summary
The ViewSonic XG2703 GS stands out as a high-performance gaming monitor, offering features like a high refresh rate, low response time, and G-Sync support, along with a sleek design and vibrant AHVA IPS display. It’s ideal for serious gamers and content creators who need responsive gameplay and color accuracy. Although its packaging ensures safe delivery, its high cost and hardware requirements make it less suitable for casual users or those on a budget, as well as for those with limited hardware. Overall, it’s a top choice for those seeking an immersive gaming experience and have the necessary hardware.
Hours Tested: 10

Overall
-
Design - 9/10
9/10
-
Display - 9.5/10
9.5/10
-
Performance - 8/10
8/10
-
Features - 7/10
7/10
-
Value - 7.5/10
7.5/10
Pros
- High refresh rate and low response time.
- Vibrant colors with 99% sRGB coverage.
- G-Sync support for smoother gameplay.
- Ideal for competitive gaming and content creation.
- Sleek and understated design.
- Good color accuracy and wide viewing angles.
- 2K resolution for clear and detailed images.
- Comprehensive OSD settings for customization.
Cons
- High cost
- Bulky design


The market for high-end gaming displays is filled with various panels made by different vendors, from budget 1080p panels to ultra-high refresh rates, low response time, and 2K and 4K panels with 99% sRGB coverage. But which features cater to what a gamer needs and wants in a gaming monitor?
We’ll answer the above questions and others in today’s ViewSonic XG2703 GS 165Hz 2K IPS gaming monitor review. Viewsonic has been pioneering in display technologies since the company’s inception in 1987, specializing in LCDs, high-resolution displays, projectors, etc. The XG2703-GS is the modern rendition of Viewsonic’s historic excellence in making monitors, so let’s start the review, and we’ll see how it stacks up.
This review will mostly focus on the experience of using the monitor rather than discussing the many technical aspects of the hardware used. However, we have done some testing in that regard as well.
Key Takeaways
- The ViewSonic XG2703 GS is a high-performance gaming monitor with a sleek and understated design, featuring a high refresh rate, low response time, G-Sync support, and vibrant colors provided by its AHVA IPS display.
- The ViewSonic XG2703 GS is ideal for enthusiastic gamers and competitive players who prioritize responsive gameplay and smooth graphics. Content creators requiring accurate colors will also benefit. The monitor caters to those with the hardware to fully exploit its advanced features.
- Casual users or those on a budget should not eye this monitor, as the high cost may not be justified for those who don’t engage in competitive gaming or content creation. Users with limited hardware capabilities may not fully utilize the monitor’s potential.
- Why you can trust Tech4Gamers: Our reviews are based on dedicated hands-on testing by our team of experienced hardware experts. Find out more about how we test.
Overview
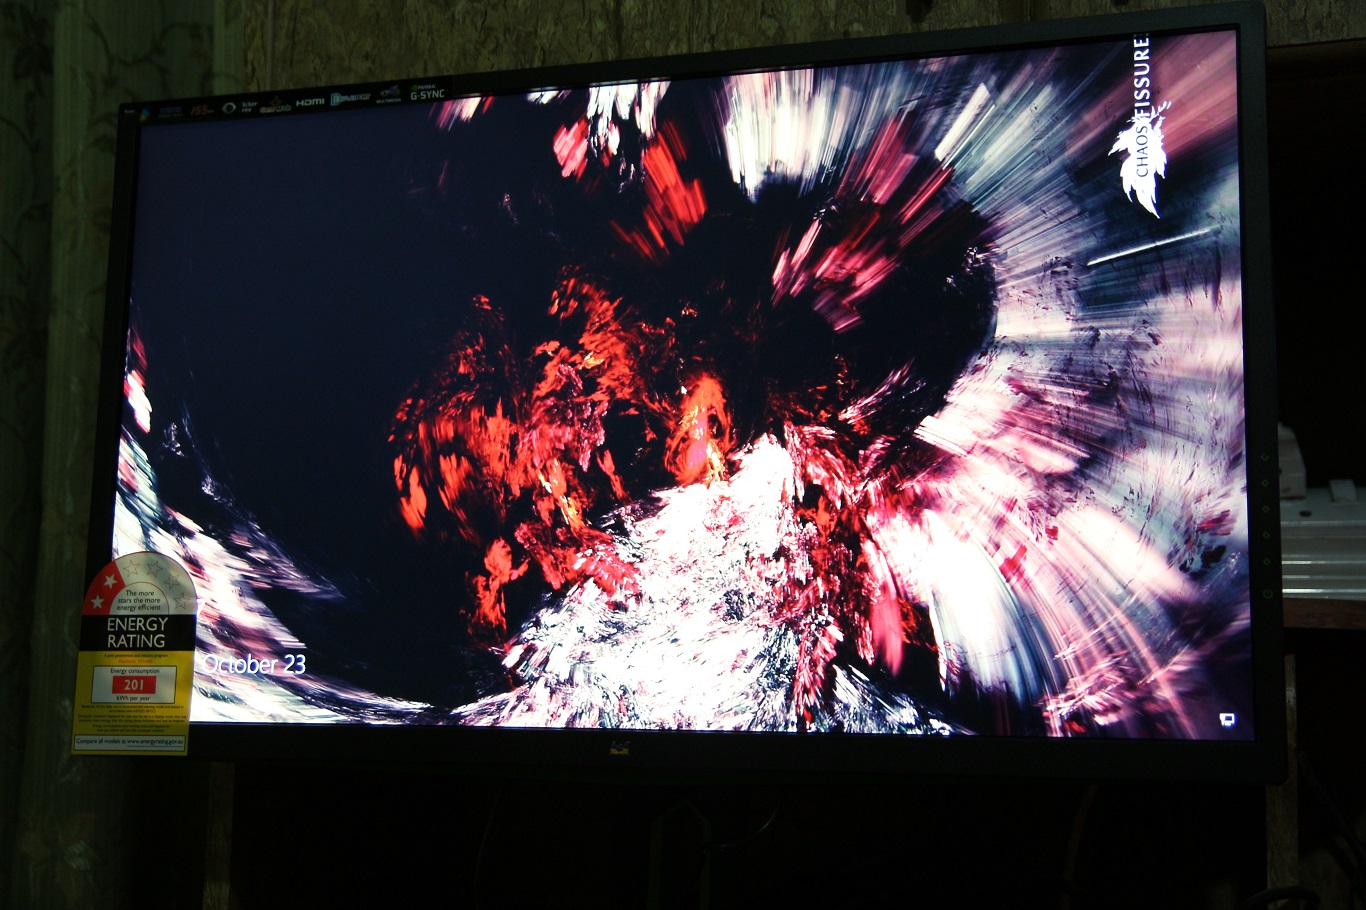
The XG2703-GS 165Hz 2K IPS monitor is extreme in every sense of the word. It’s a high-end, premium-tier product directly catered to gamers who want a no-compromise display to give them the absolute edge over their competition in every regard possible. It has a very high refresh rate, an excellent panel with great viewing angles and colors, a relatively low response, and a 2K resolution at a screen size that makes sense and requires no Windows scaling of the text to be legible (unless you are myopic). And as the cherry on top, you have support for G-Sync, Nvidia’s proprietary screen tear reduction technology.
The complete specifications list is as follows:
| Screen size | 27 inches |
| Panel type< | AU Optronics M270DAN02.3 AHVA (Advanced Hyper Viewing Angle) LCD |
| Native resolution | 2560 x 1440 |
| Typical maximum brightness | 350 cd/m² |
| Color support | 16.7 million (8-bits per subpixel without dithering) |
| Response time (G2G) | 4ms |
| Refresh rate | 165Hz (variable, with G-SYNC) |
| Weight | 7kg |
| Contrast ratio | 1,000:1 |
| Viewing angle | 178º horizontal, 178º vertical |
| Power consumption | 48W |
| Backlight | WLED (White Light Emitting Diode) |
All of this sounds very compelling; to be frank, it truly is. But all of this mouth-watering tech has a price, and you need a fairly beefy system to use this monitor to its full potential and to get the most out of it. So, cost is also a deciding factor.
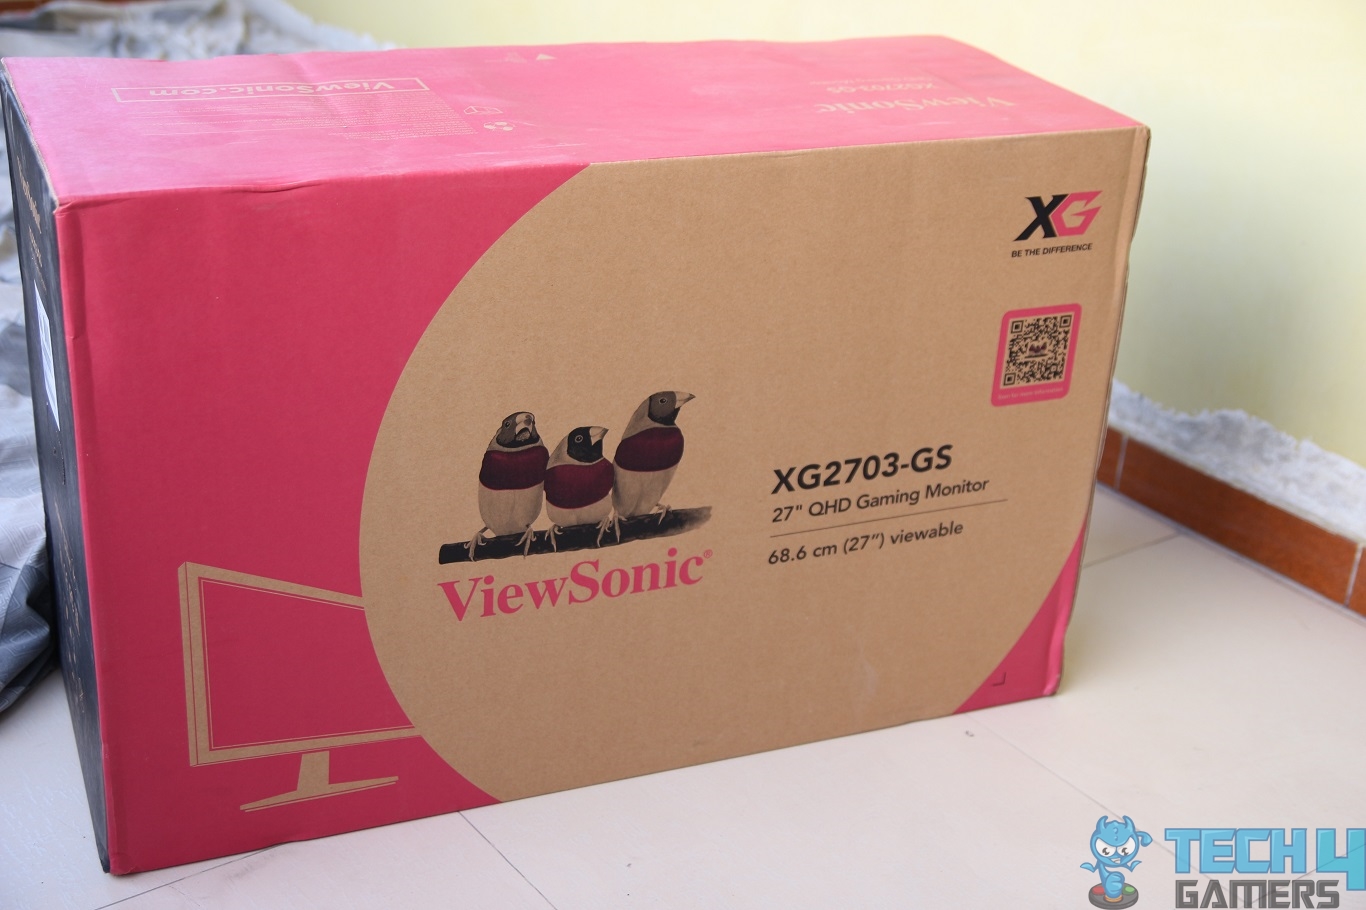
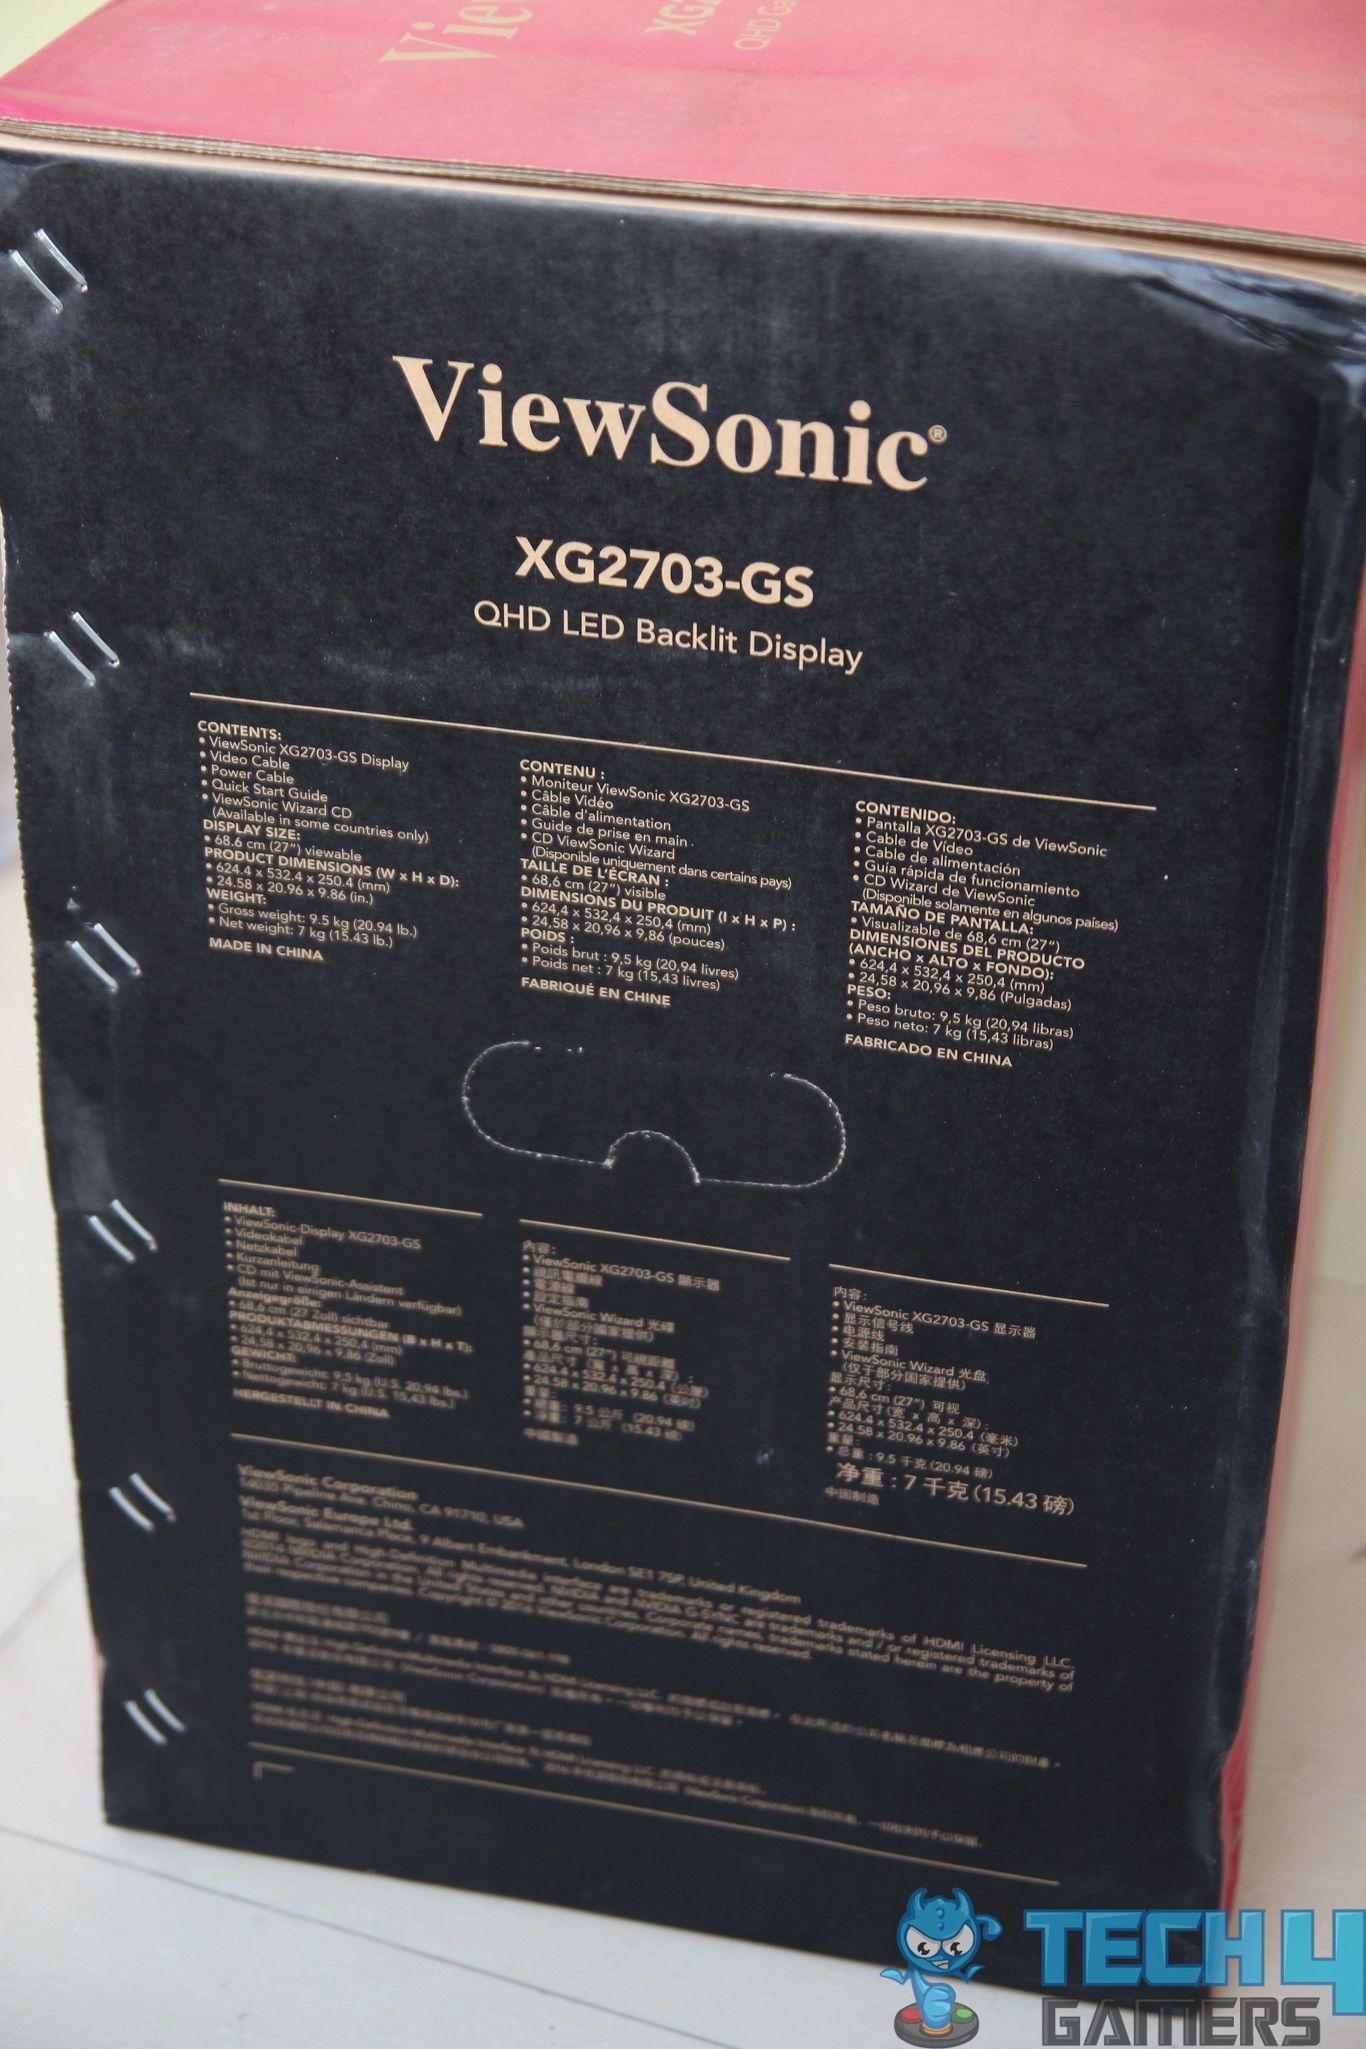
Packaging And Unboxing
I received the Viewsonic XG2703 GS in a large, generic, sturdy cardboard box. Mine arrived in pretty much pristine condition except for a few drinks.
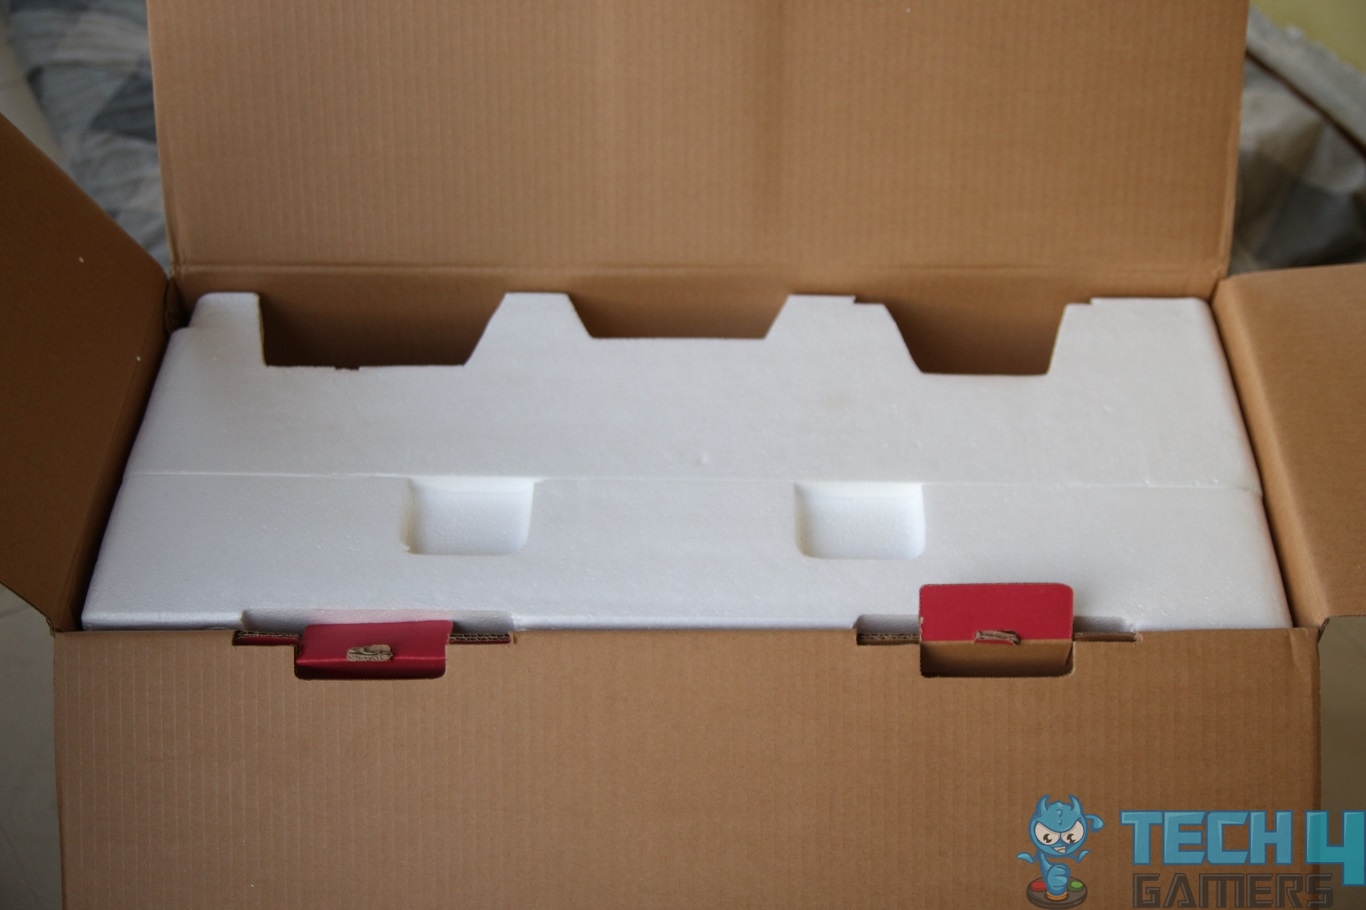


Before diving into the details, join us in the glorious experience of peeling the plastic off the display.
Design

I’m impressed with the ViewSonic XG2703 GS gaming monitor. Its sleek, understated design sets it apart from flashy alternatives. The large base, while stable, occupies a significant desk space. The matte-finished screen eliminates glare, and the well-placed input buttons make navigation easy.
USB ports for charging and varied display inputs enhance functionality. While practical, the green accents and headset stand could be more discreet and accessible, respectively. Despite minor quirks, the XG2703 GS combines style and functionality, making it a solid choice for a sophisticated gaming setup.
Performance and Features
Using the ViewSonic XG2703 GS gaming monitor revealed its impressive color reproduction and high refresh rate experience. In my experience, FPS2 struck the best balance among the preloaded modes, offering optimal brightness and contrast.
The OSD provides convenient access to various settings, including game modes and advanced options like ULMB for reducing motion blur and Dark Boost for enhanced visibility in dark environments. Overall, the monitor offers a customizable and immersive gaming experience.
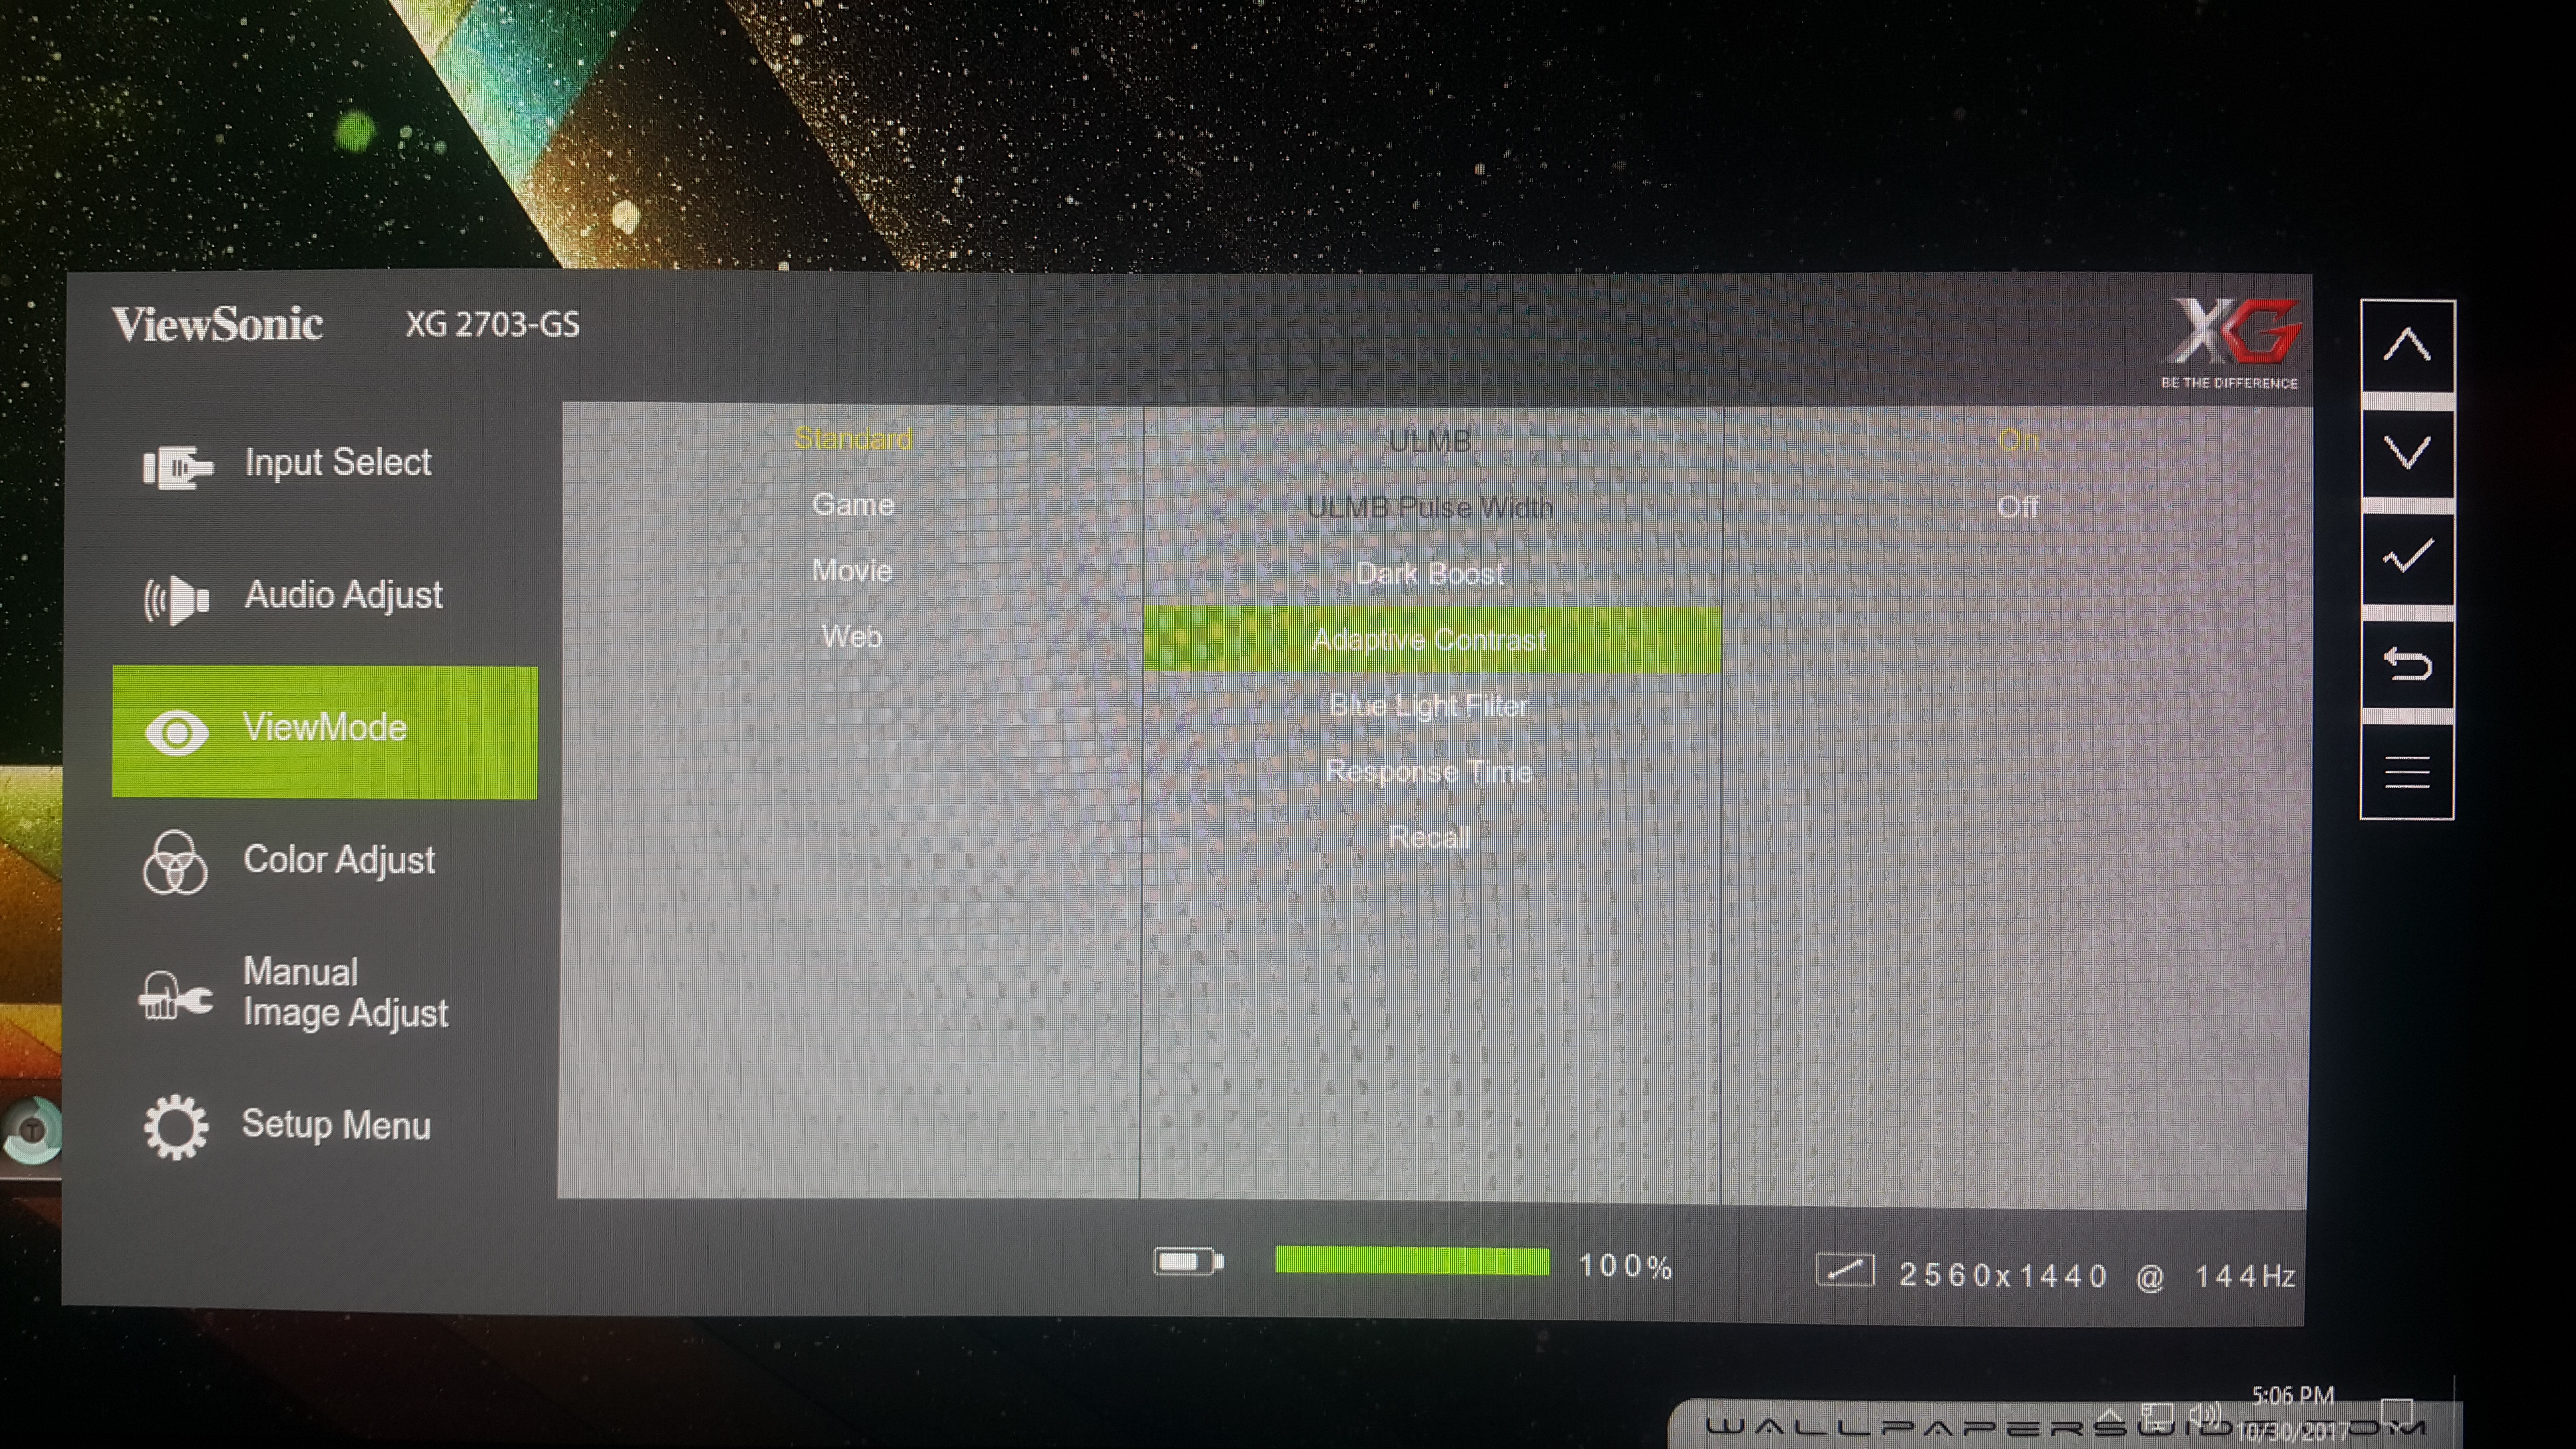

Adaptive contrast, as the name suggests, allows the monitor to adjust the contrast level based on what image background you’re looking at currently. The change is subtle, and you may not notice it, but it’s there. The blue light filter allows you to set the monitor’s warmth and counteract the effects of harsh blue light.
By default, at 0 and FPS2 profile, the monitor appears very neutral, maybe slightly warm, which is great for long periods of use. But this setting may be helpful if you primarily work with blue backgrounds. At the max settings, the whites on the monitor appear to be very yellow, almost brown. I kept this at 0.
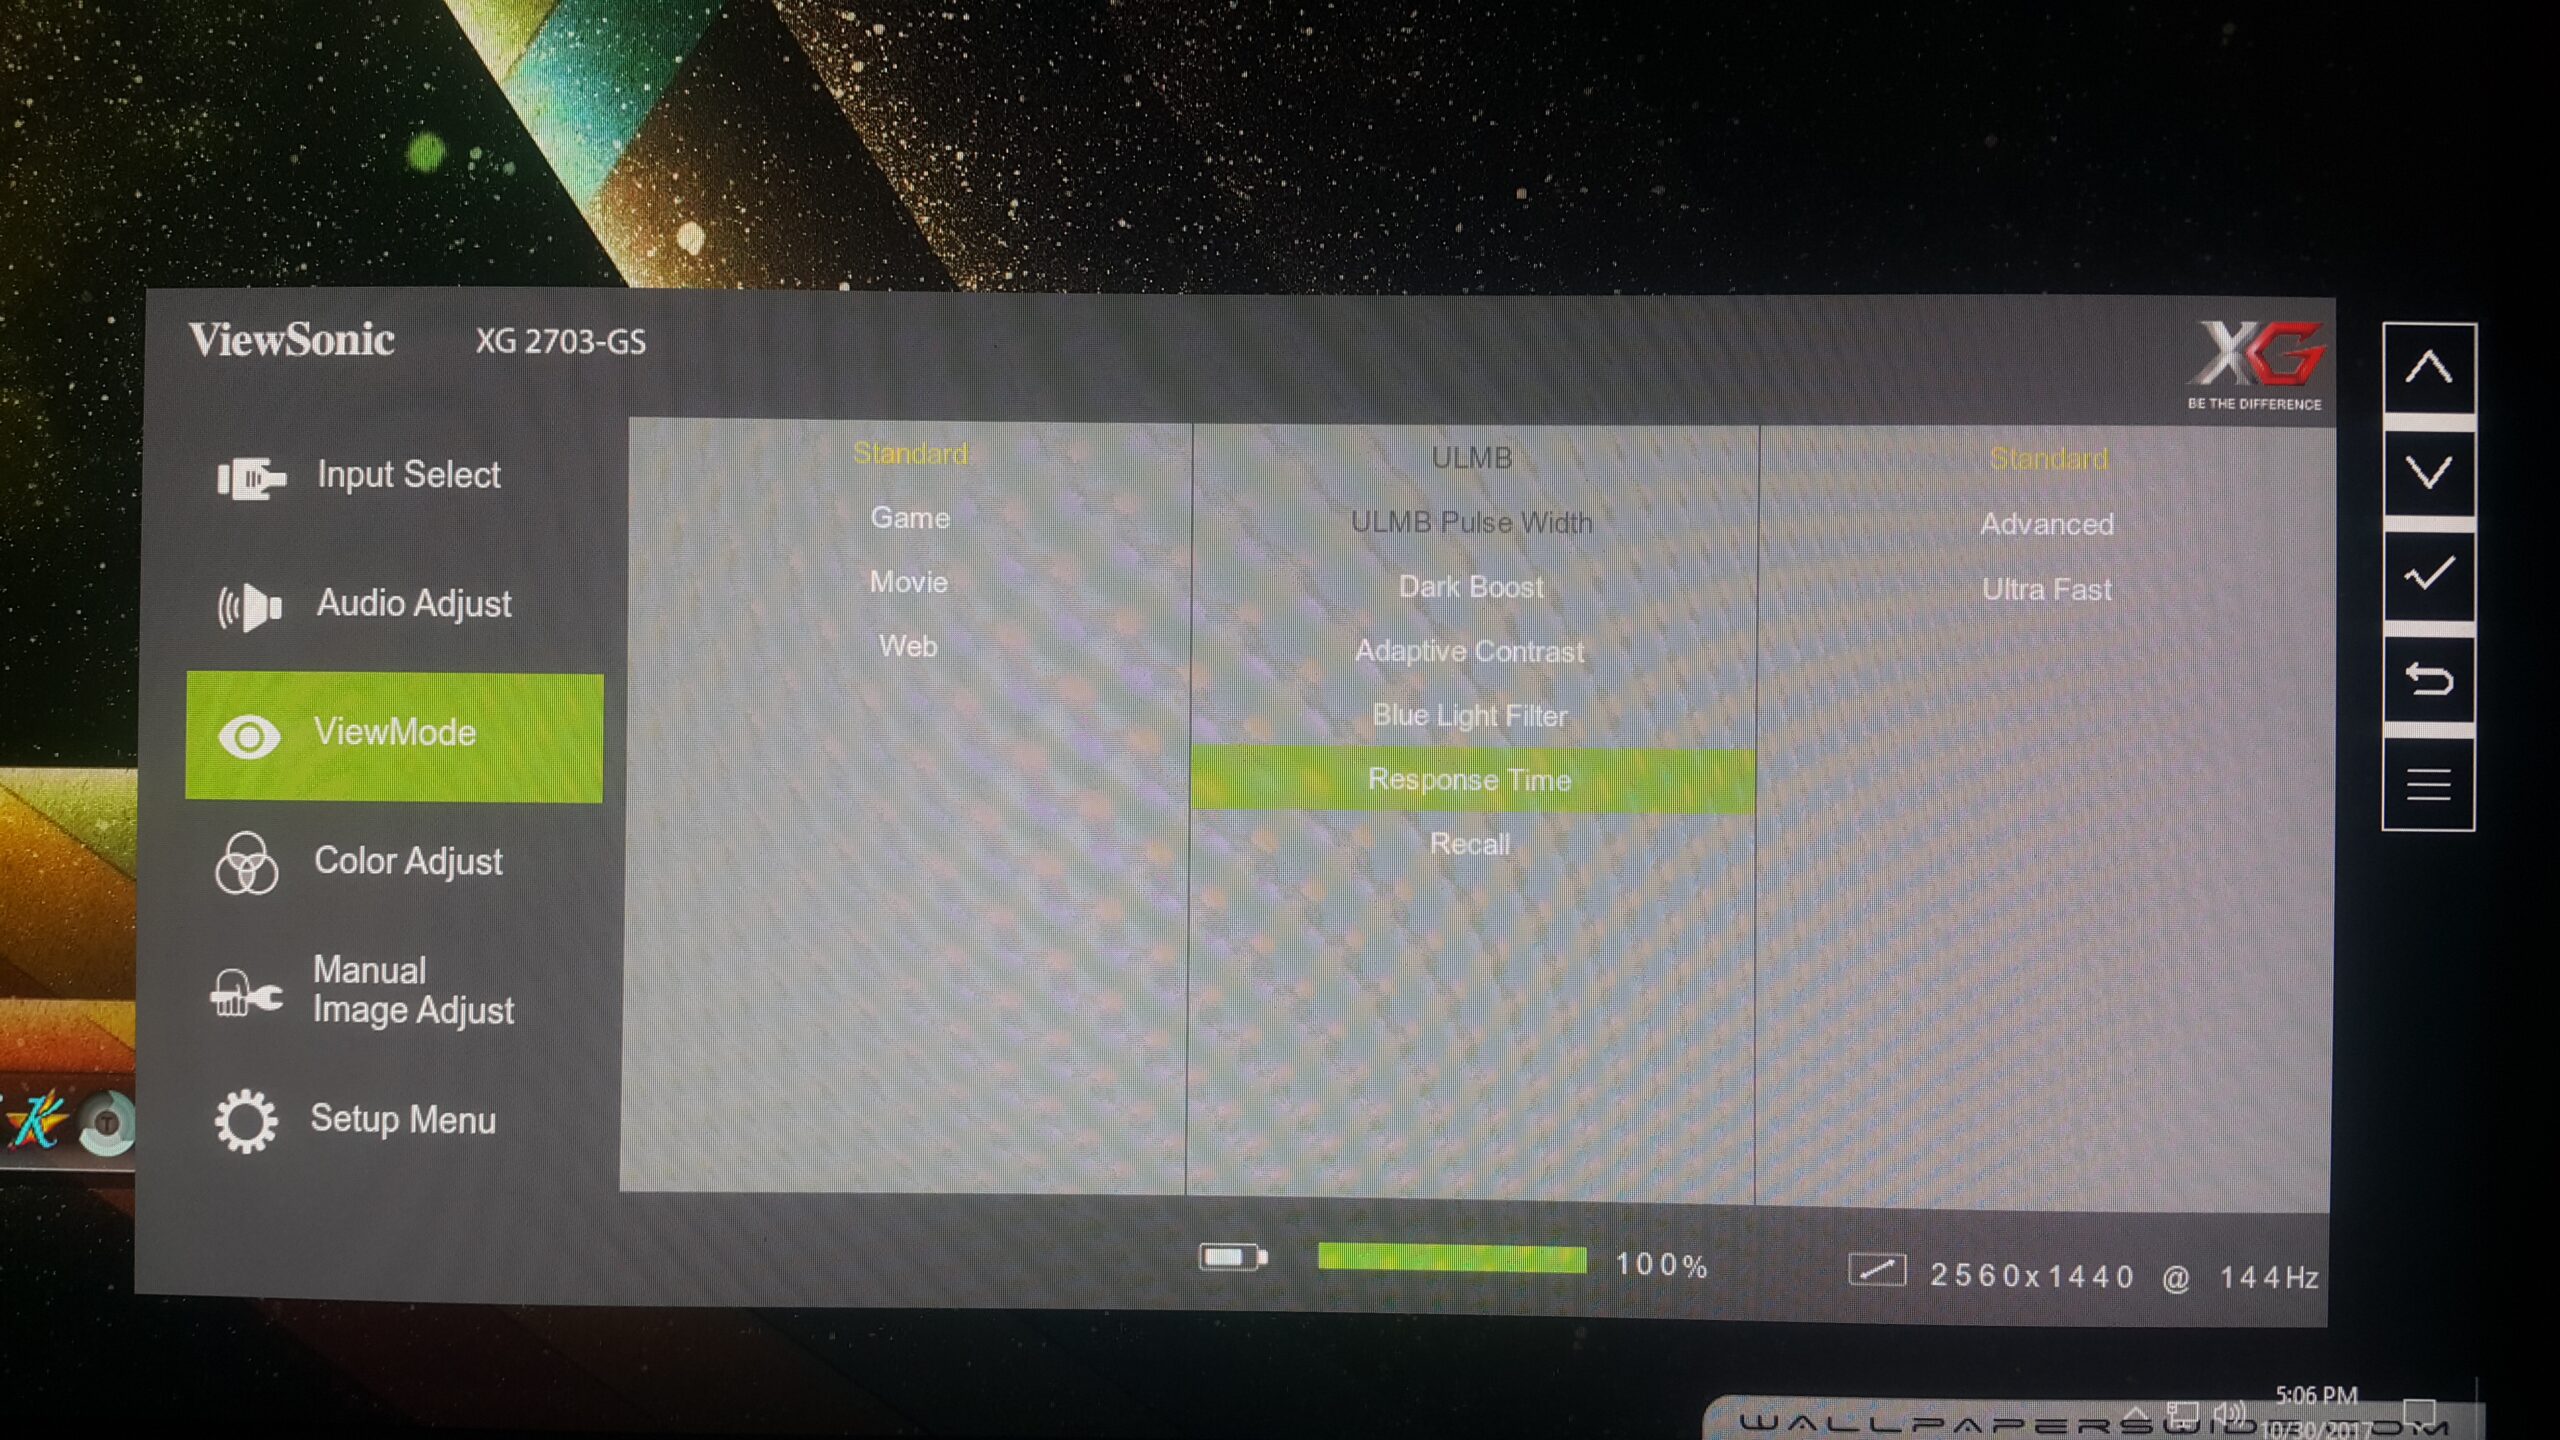
The ViewSonic XG2703 GS provides three response time settings—standard, advanced, and ultra-fast—with subtle differences that may be challenging for the average user to discern. While hardcore gamers might notice distinctions in specific scenarios, the overall impact remains doubtful.
The recall option resets changes to default settings. The color adjust menu allows adjustments to contrast, brightness, saturation, 6-axis color, color temperature, input range, and gamma.
Another option I explored is the manual image adjust submenu, which enables easy overclocking to the maximum 165Hz and offers scaling options. The setup menu covers various aspects such as language, sleep time, USB charging mode, ECO mode, and sleep mode, providing comprehensive customization for users.
Color Gamut, Color Accuracy, And Monitor Rating
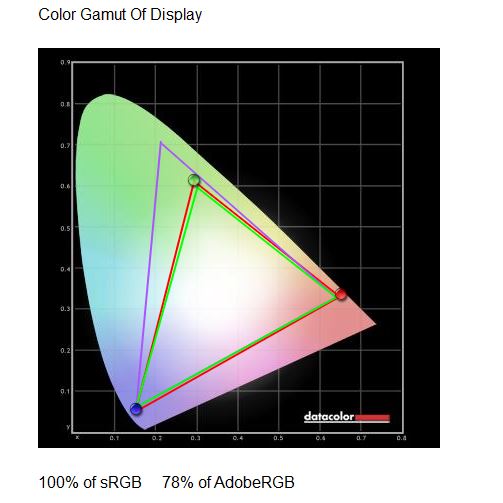
The ViewSonic XG2703 GS review panel covers 100 percent standard sRGB color gamut, which means that the monitor provides extremely good vibrancy and accuracy out of the box. However, the panel only achieves 78% of the Adobe RGB.
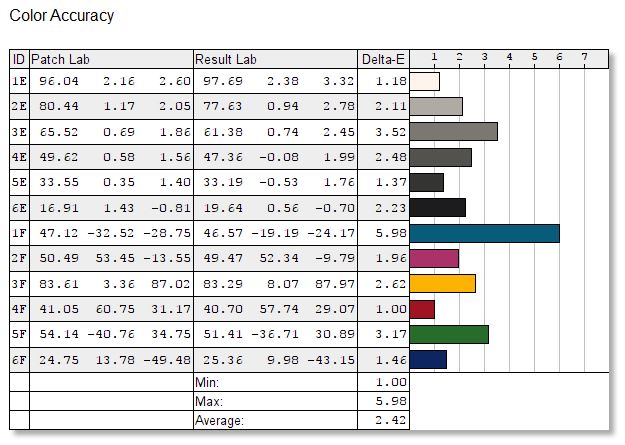
The ViewSonic XG2703-GS panel color accuracy is looking good from the above chart. Let me tell you that you only need to look at the Delta-E of two or less. The accuracy goes awry in Blue, but after screen calibration, the color reproduction should be good for movies, photos, and gaming.
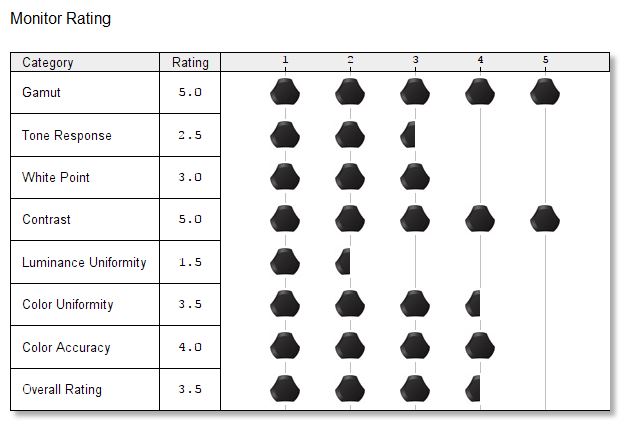
From the above chart, you can see the ratings of the panel. The low ratings like Tone response, Luminance uniformity and white points can be fixed via manual or Datacolor Spyder5ELITE calibration.
Speaking of the backlight bleed, my particular unit did have some bleed, mainly localized to the bottom left corner and some near the top right corner. It isn’t that severe, and you won’t notice it unless you’re in a completely unlit room with no image on screen. Also, your mileage may vary with the panel you purchase.
User Experience
After checking all the various menus and options and checking what changes they make and how I set it up, what is it like to use? Once you’ve enabled the overclocked refresh rate of the monitor, you will forget everything you’ve used before. If you think motion at 60fps looks amazing, you’ll be completely blown away when you experience 165Hz for the first time.
Switching from 60Hz to 165Hz is very noticeable if you have perfect vision. Something as small as moving the mouse cursor will be completely different than before. Virtually no motion blur or mouse trails will be observed. Even navigating your OS and switching through various applications and windows will feel much more fluid and smooth. But what about games, you ask? Well, let me tell you…
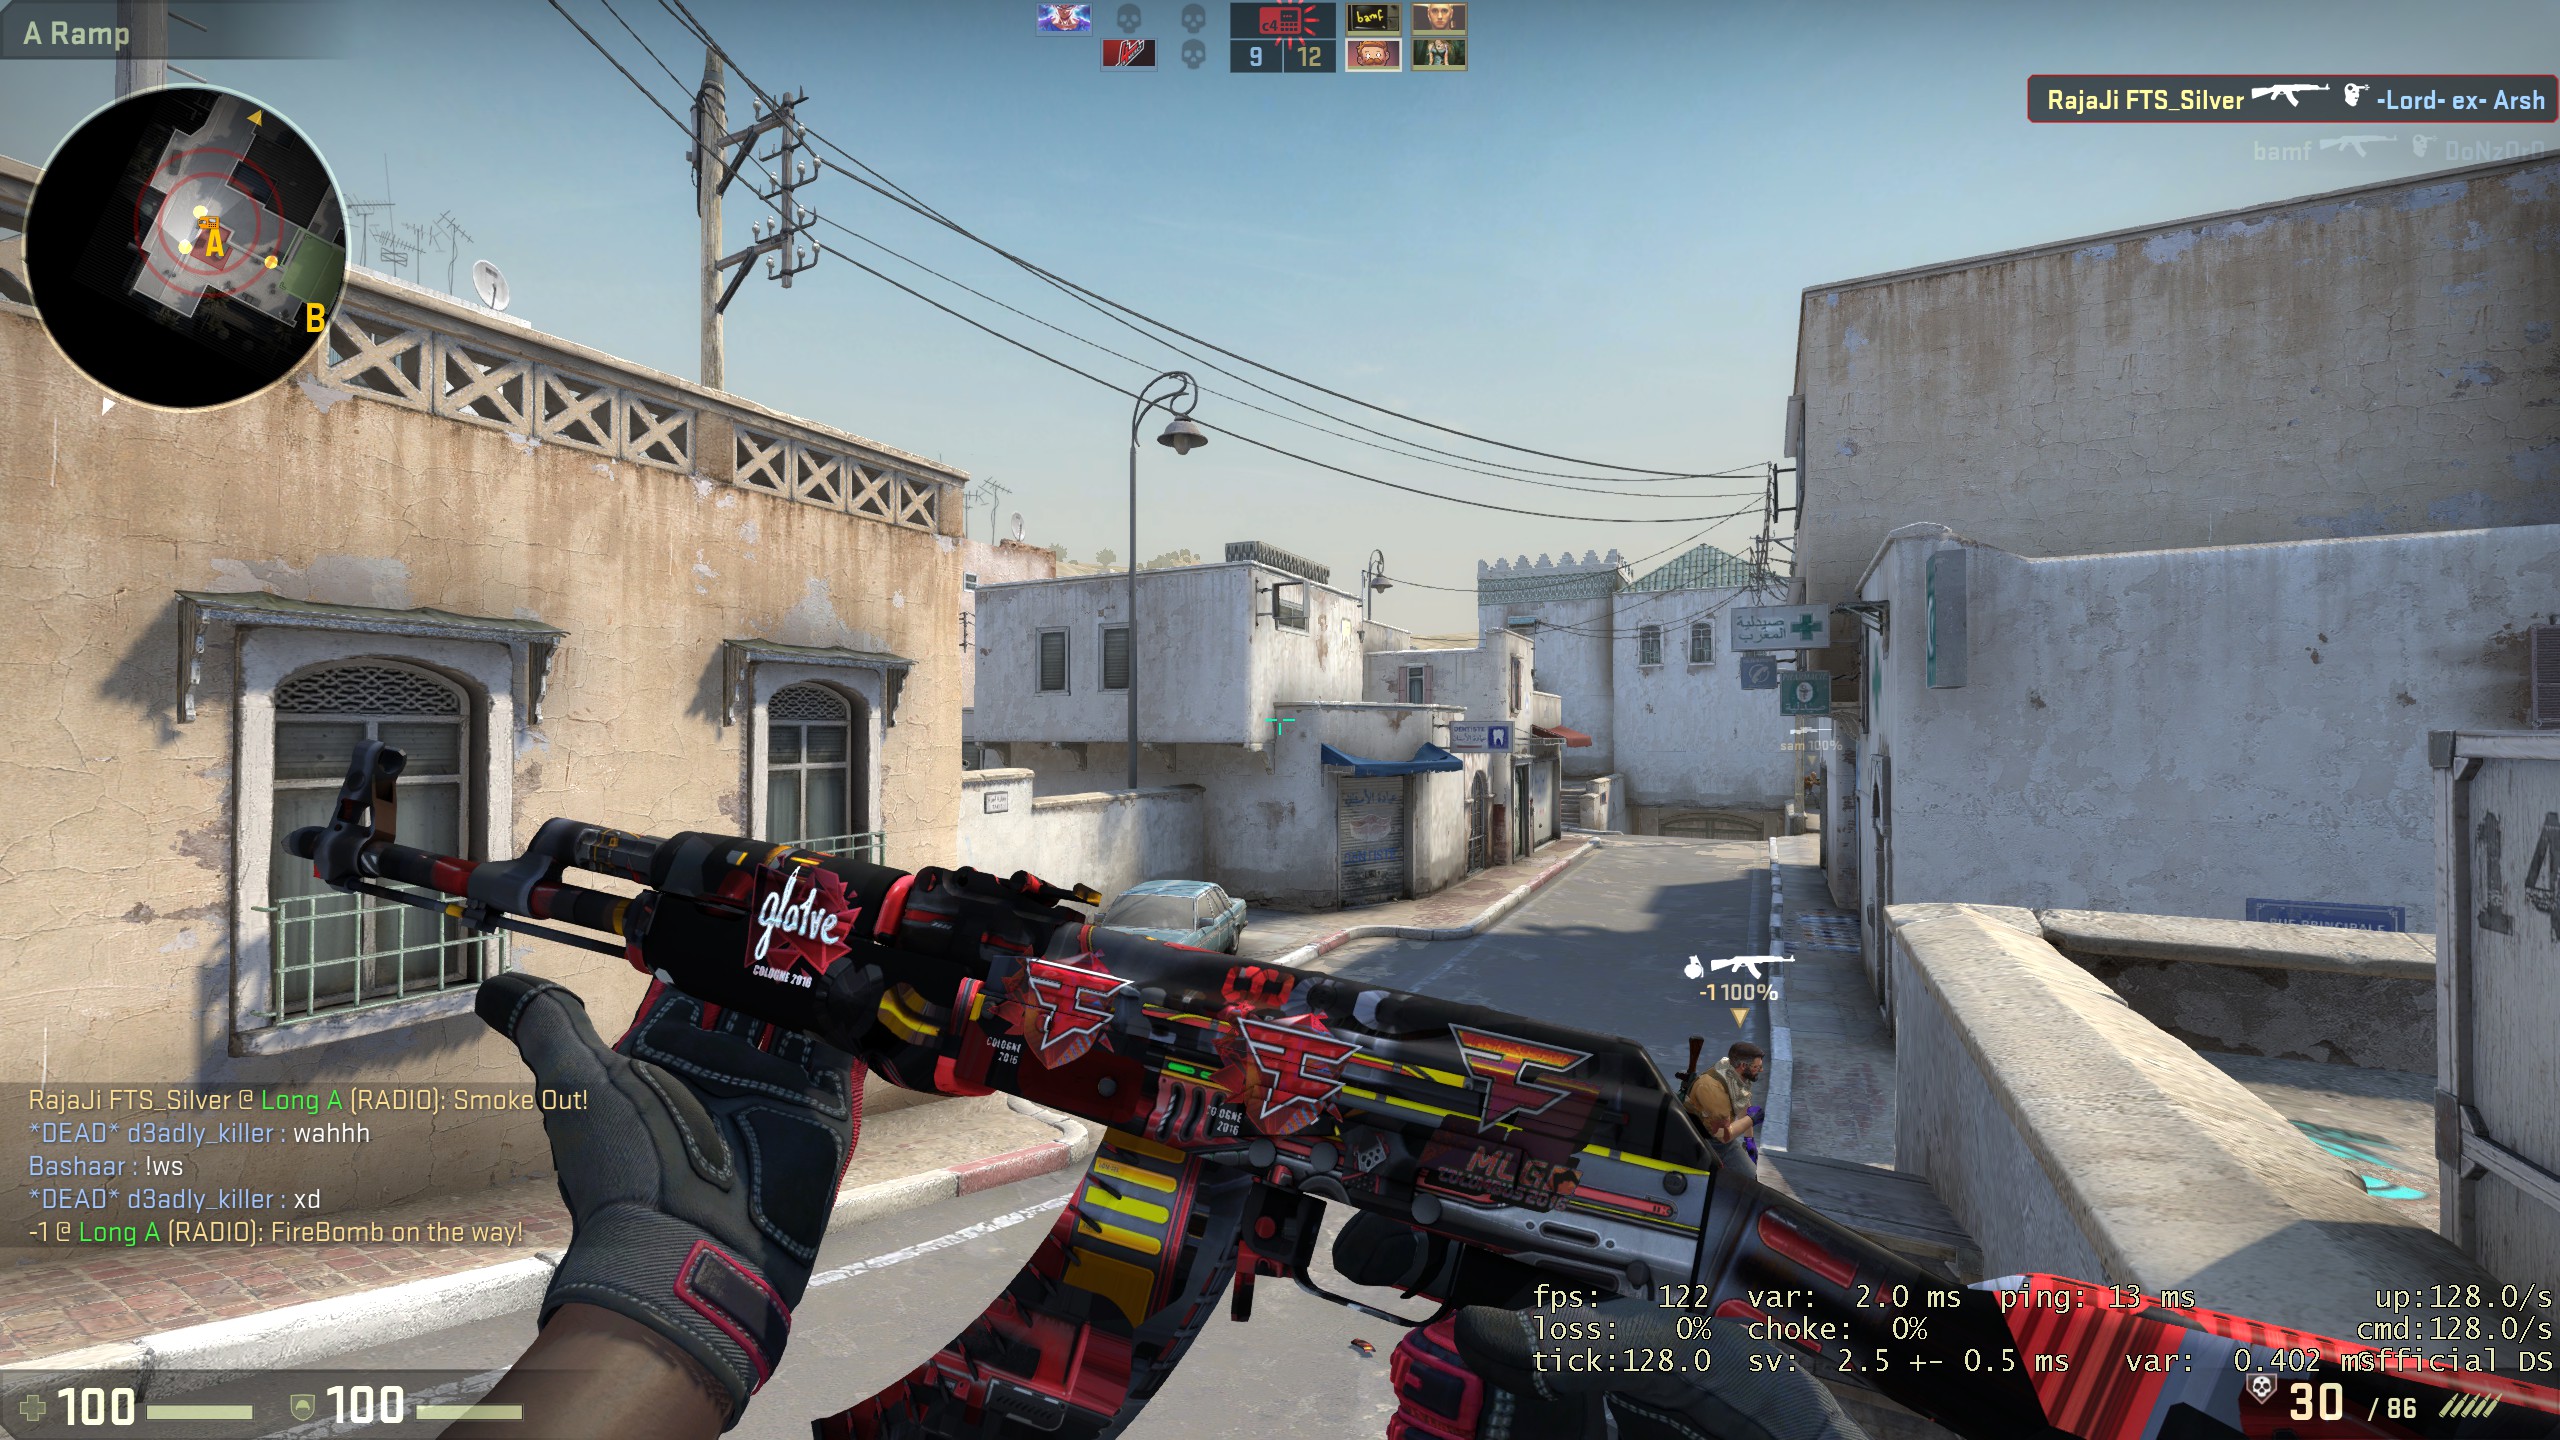
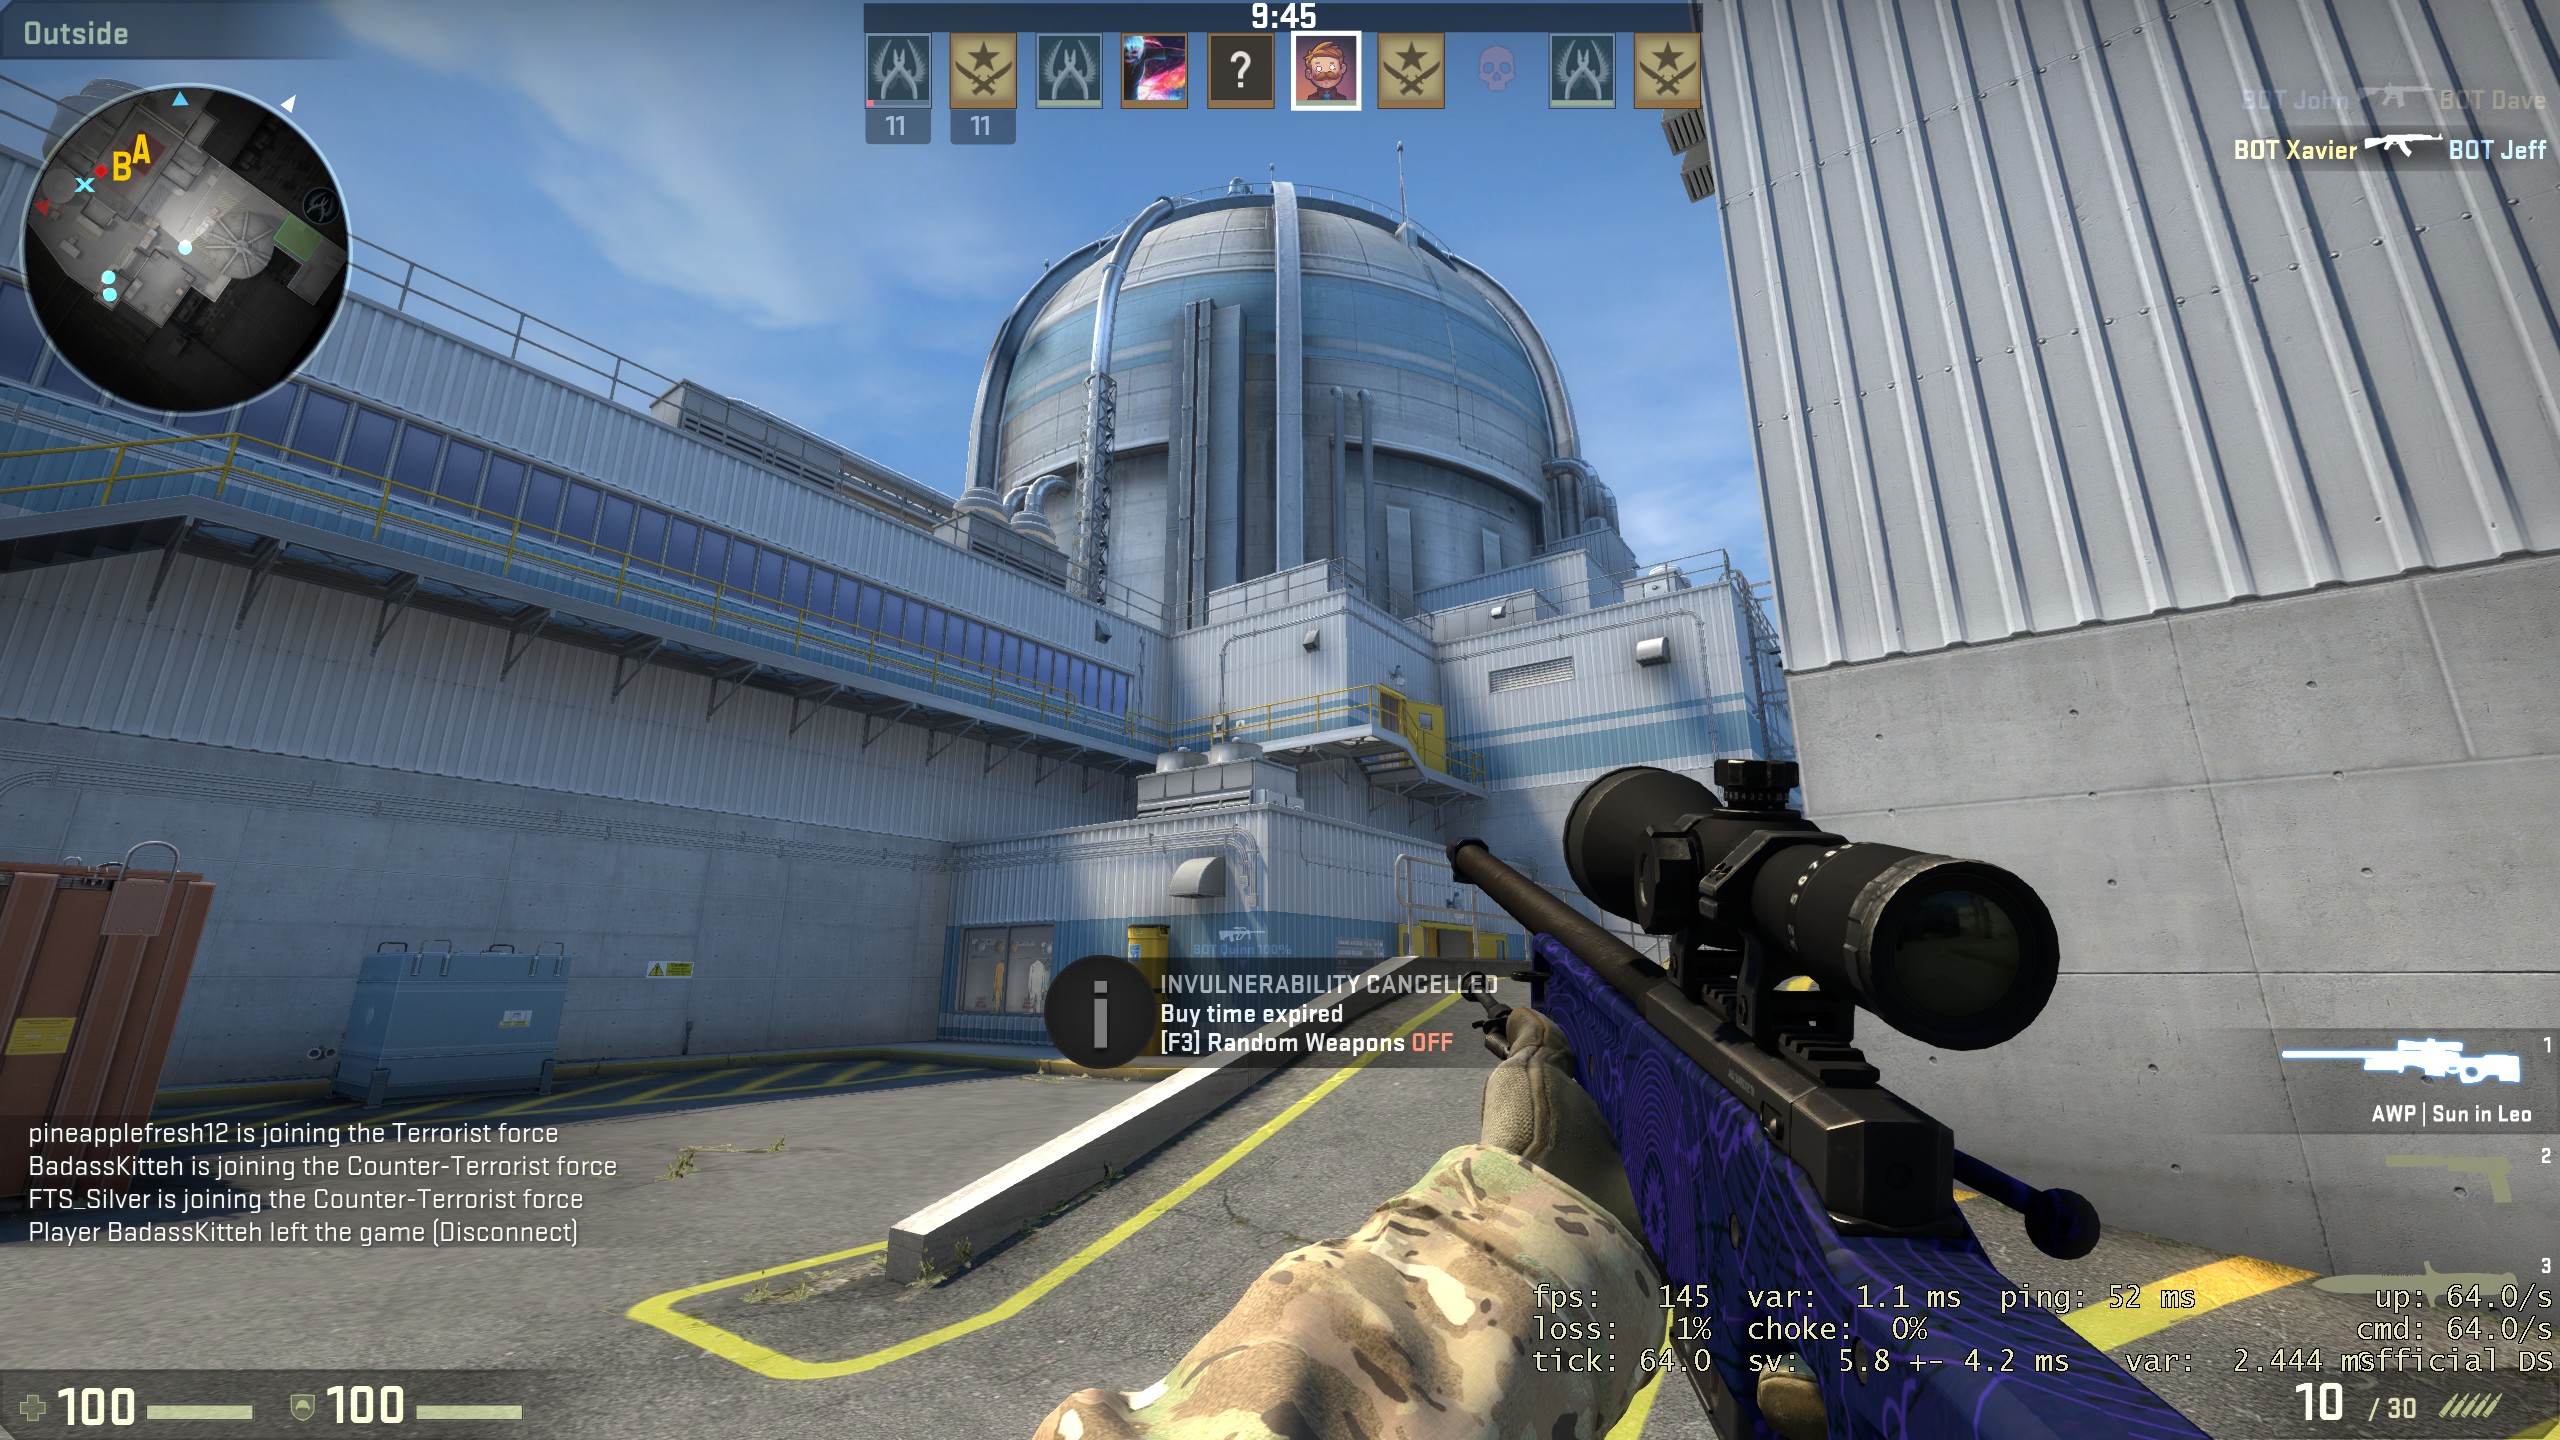
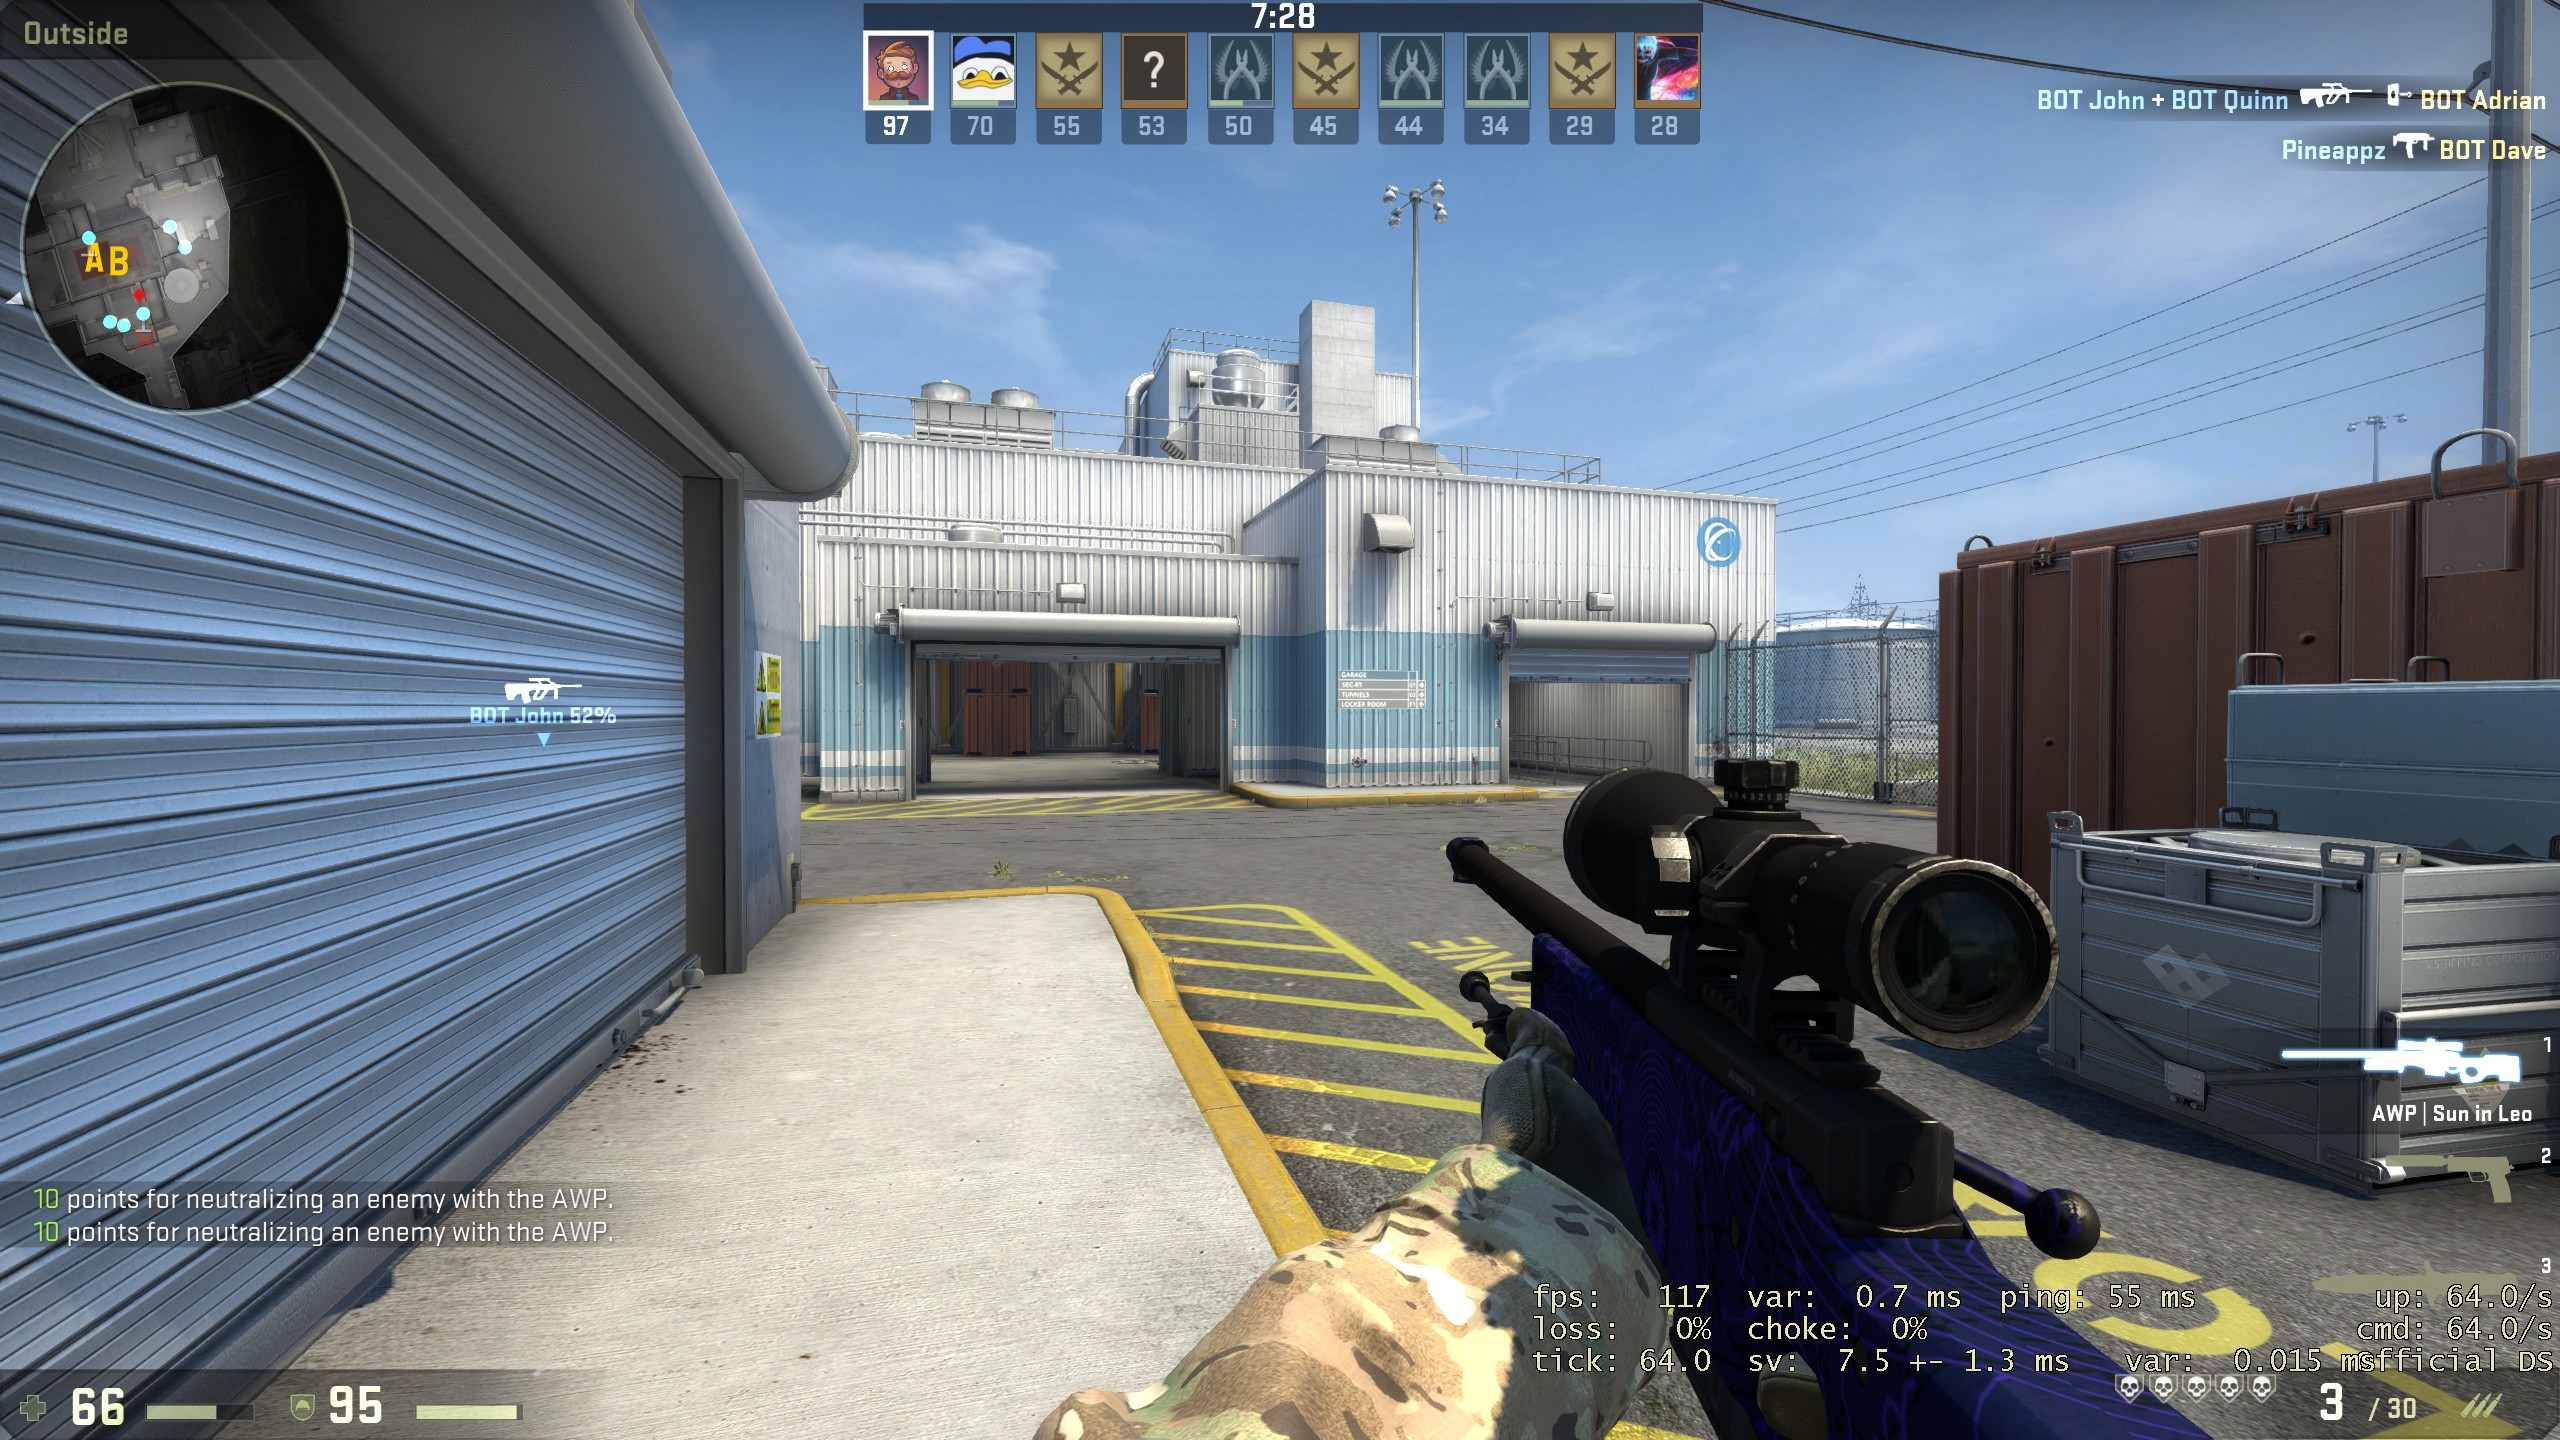
For fast-paced games like CS: GO and Overwatch, the ViewSonic XG2703 GS is a game-changer, provided your system can handle it. With high refresh rates and rapid response times, I experience intuitive and engaging gameplay.
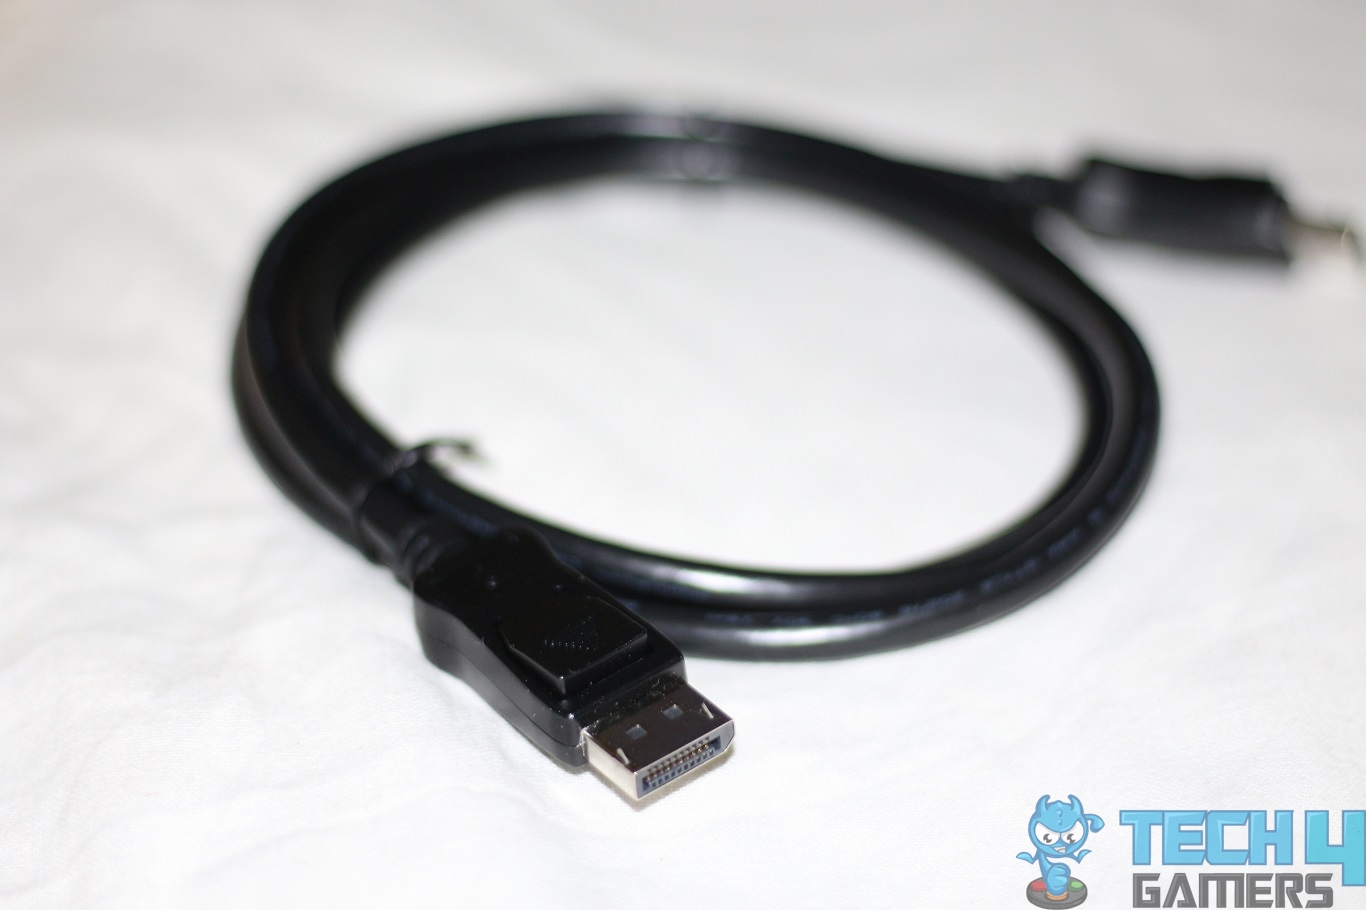
The spacious display enhances visibility and features like Dark Boost, and G-Sync gives me a competitive edge by ensuring smooth graphics and eliminating tearing. Use the provided DisplayPort cable and ensure a G-Sync-capable GPU for optimal performance.
All this, paired with the beautiful and accurate AHVA IPS panel, makes visuals appear stunningly gorgeous on the large AHVA IPS panel. You get close while blacks may not appear as deep as an LED. Photos, videos, and games will all appear vibrant and bright without oversaturation. Movies will also benefit from the extraordinary colors, feeling much more immersive.

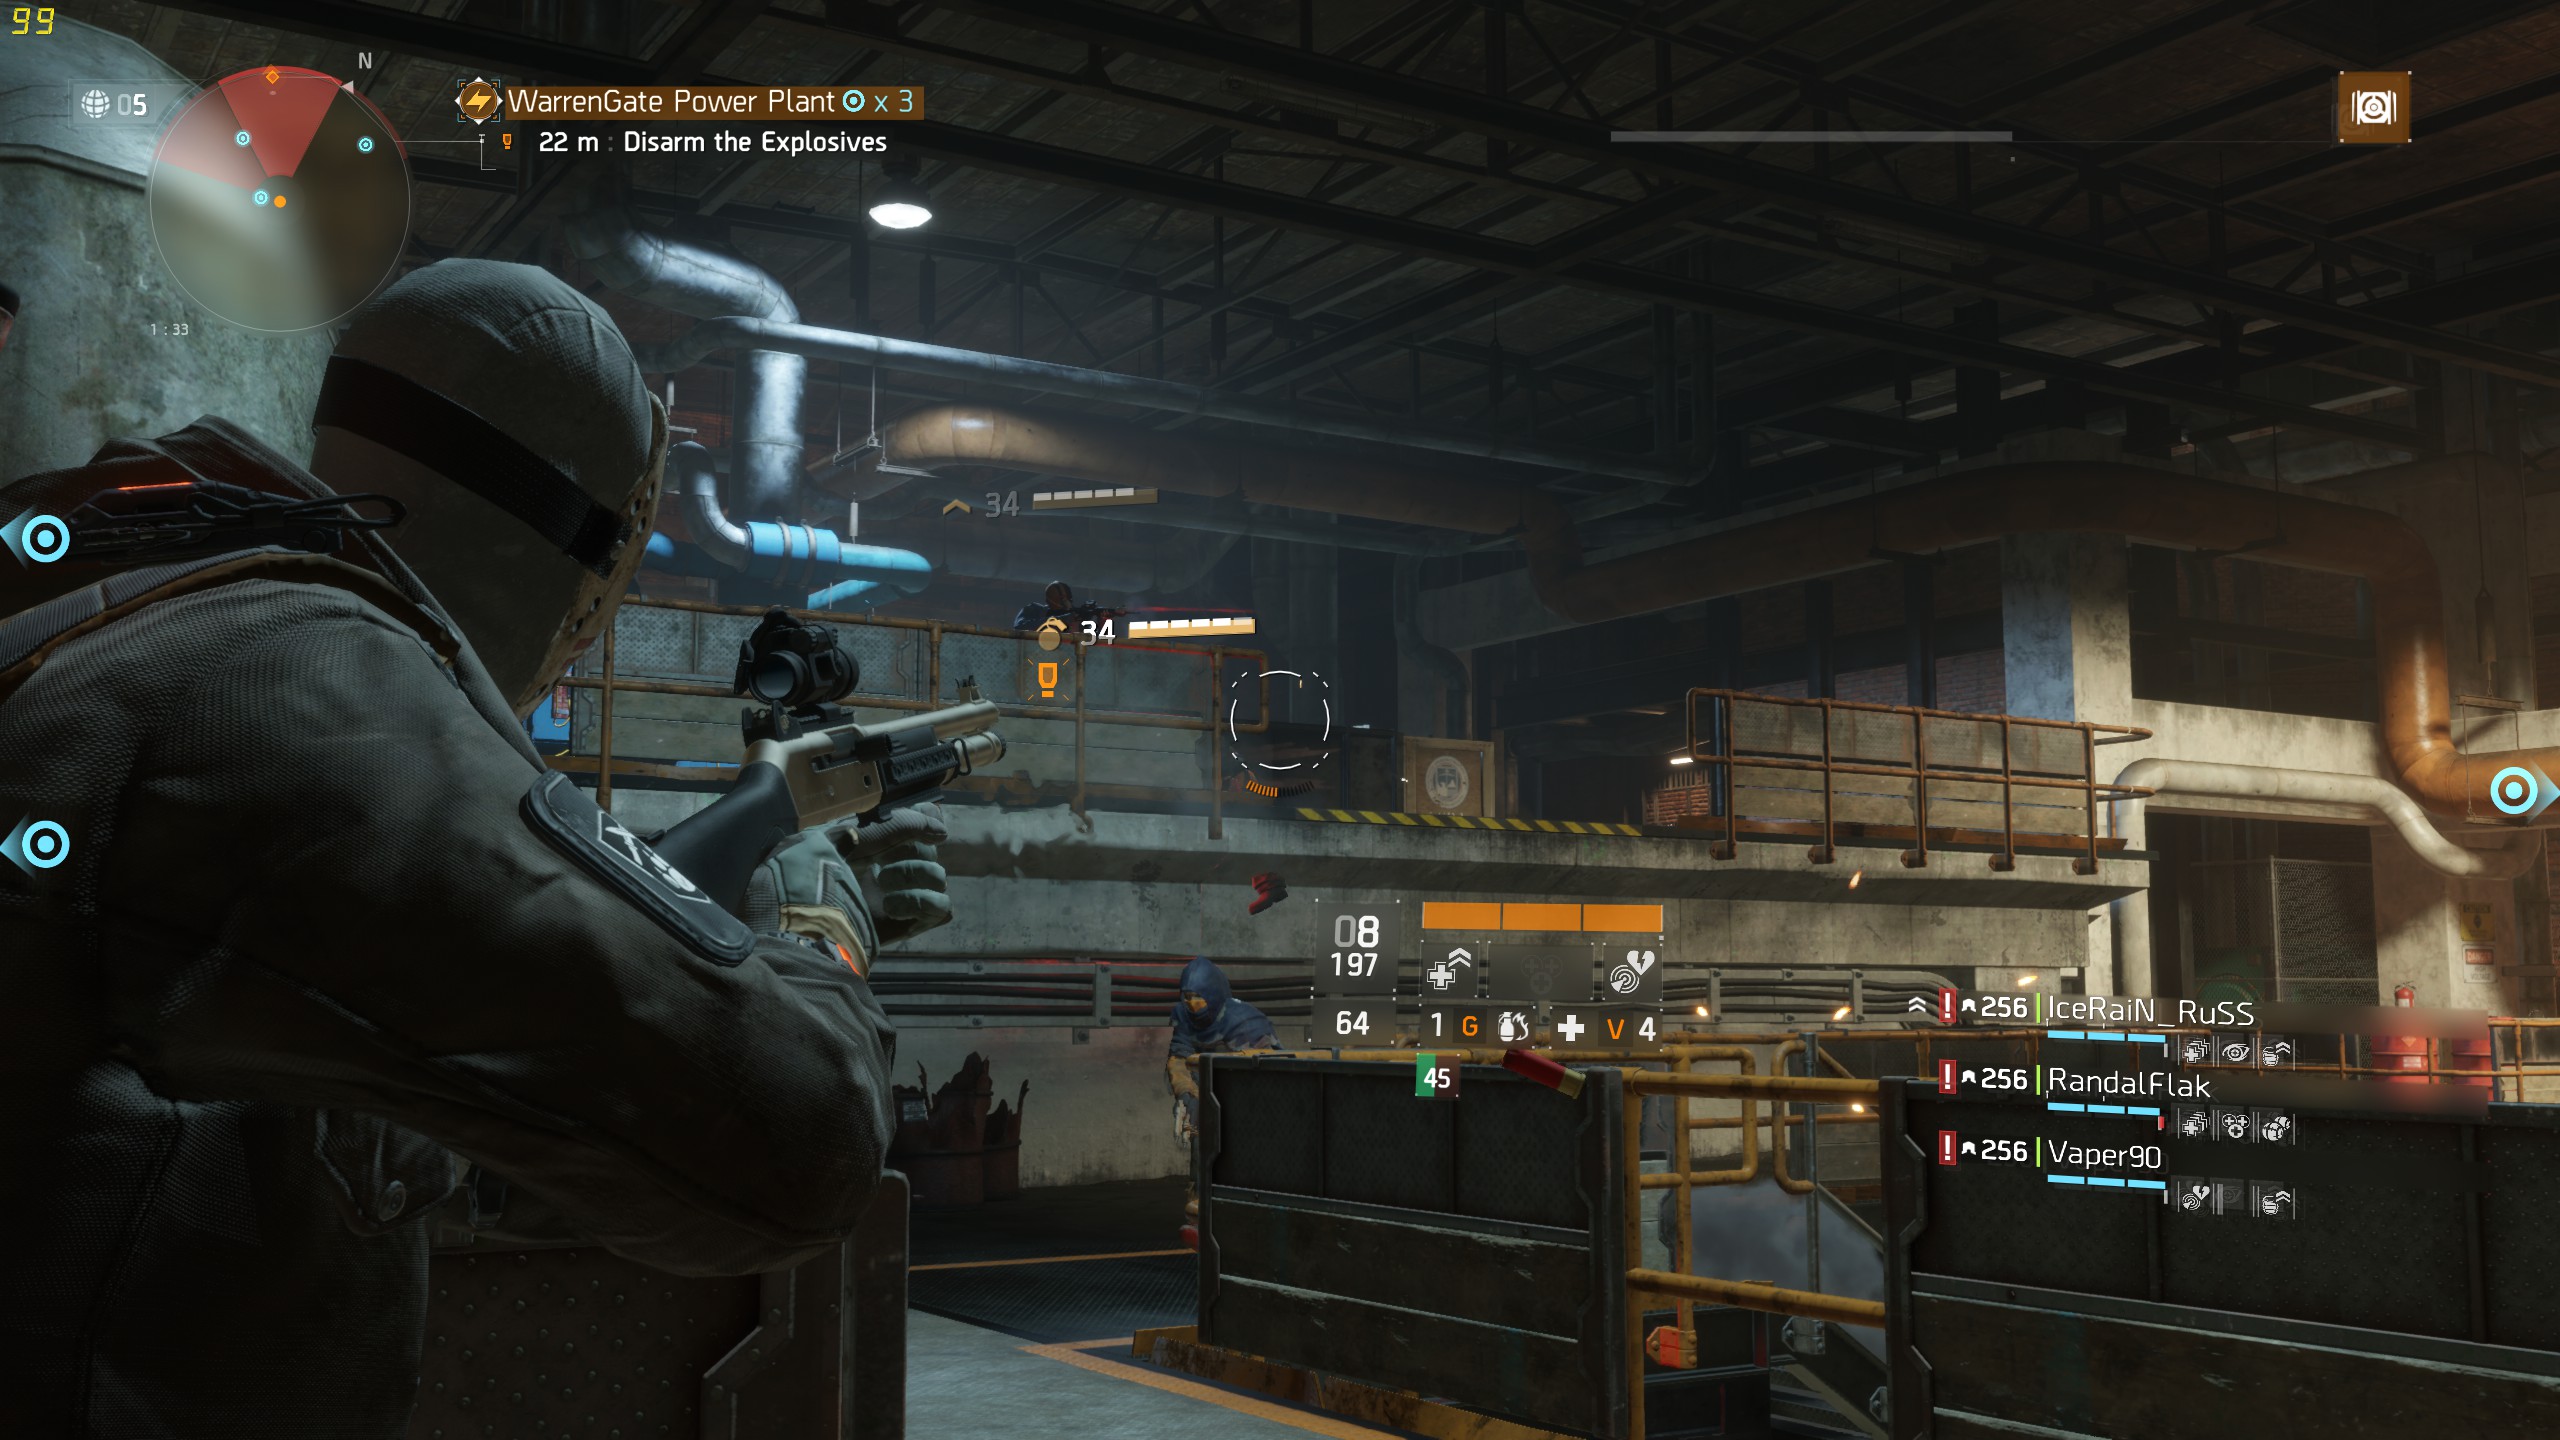
The panel’s matte coating also gives you the best experience possible. No glare or reflections can be seen, even under direct lighting. The vibrant colors and smooth motion were particularly noticeable while playing The Division. The falling snowflakes, the moving winds, and large explosions all looked glorious and silky. Every single strand of thread on clothes and the smallest details in the environment could be made, making the experience of using this much more immersive and joyful. Overall, the experience of using such a beastly display is amazing, and the effect won’t wear off soon.
Should You Buy It?
After my detailed review, I will answer the final question: Who should buy this monitor, and who should avoid it?
Buy It
✅ Enthusiastic Gamers: The ViewSonic XG2703 GS is an excellent choice for gamers eager for features like G-Sync, high refresh rates, and low response times.
✅ Competitive Players: Those engaged in competitive gaming will benefit from the monitor’s quick response times in fast-paced games like CS:GO and Overwatch.
✅ Content Creators: Video and photo editors who require accurate colors and a wide color spectrum (99% sRGB coverage) will appreciate the monitor’s AHVA IPS display.
Don’t Buy It
❌ Casual Users: If you’re a more casual user who doesn’t engage in competitive gaming or use your PC for professional content creation, the ViewSonic XG2703 GS is not for you.
❌ Budget-Conscious Consumers: For those on a tight budget or looking for a more cost-effective monitor, alternative options offer decent performance at a lower price point.
❌ Users with Limited Hardware: If your PC hardware doesn’t match the monitor’s capabilities, such as a G-Sync-capable GPU, the ViewSonic XG2703 GS isn’t the best choice.
Conclusion
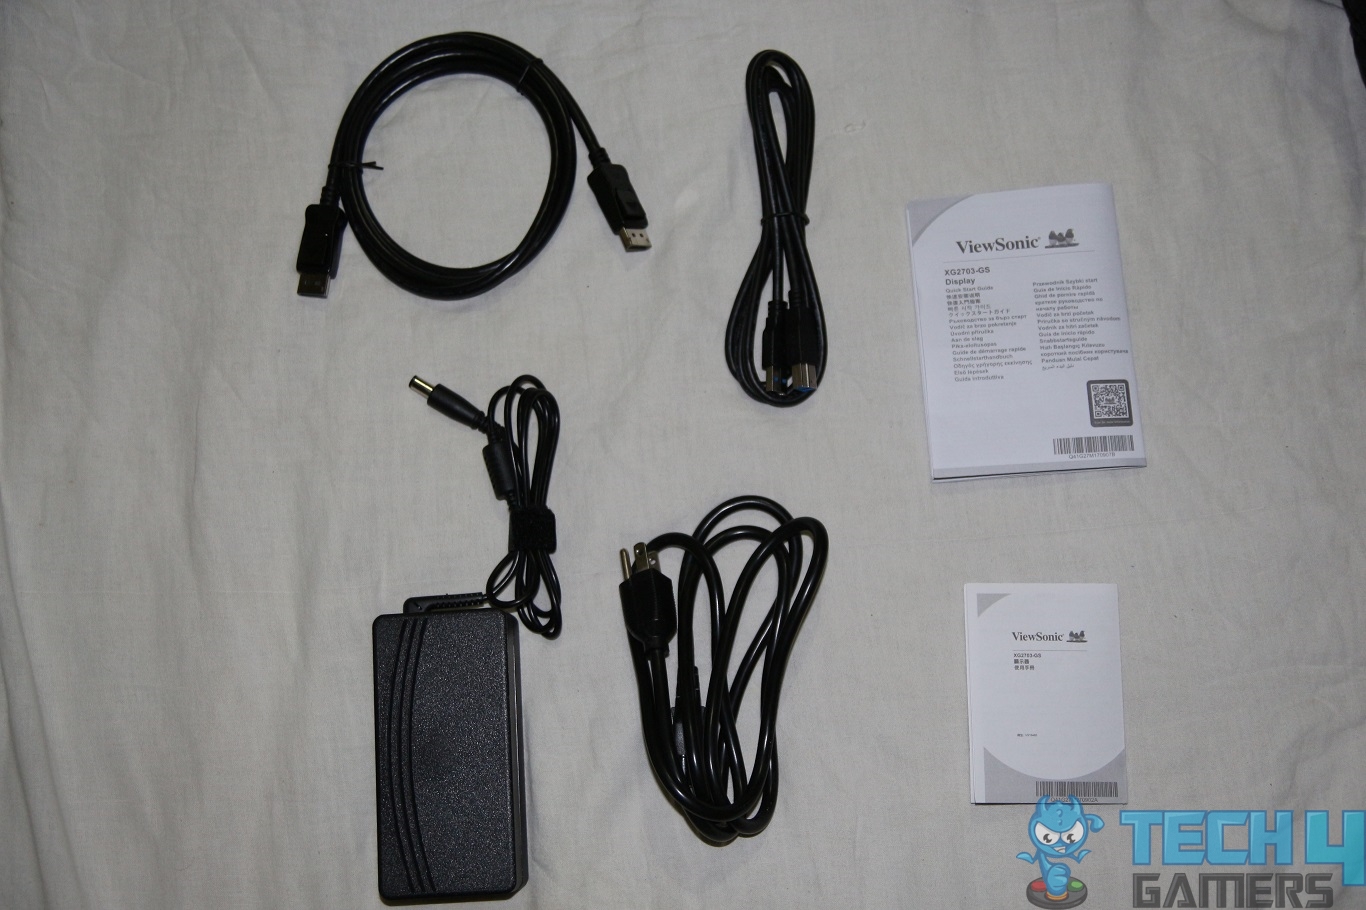
Based on my testing and personal usage, I would positively grade the ViewSonic XG2703 GS. The packaging ensures excellent protection during transit, and the accessories are sufficient. The monitor’s design is attractive, although the green accenting could be more neutral or removed in future updates.
The panel delivers vibrant colors and images, creating a mesmerizing and immersive gaming experience with its high refresh rate, low response time, and G-Sync support. The upgrade is significant from a 60Hz panel, offering minimal blur and sharp, defined pictures.
It is suitable for gaming and productivity with its 99% sRGB coverage and IPS technology for color accuracy.However, the decision to buy depends on your usage. The high cost may not be justified for casual users who don’t play competitively or use their PCs for workstation purposes.
On the other hand, if you’re a power user who takes competitive gaming seriously and values every FPS, or if you engage in video and photo editing requiring accurate colors, this monitor is a worthy investment, provided you have the necessary hardware to exploit its capabilities fully.
Recent Updates
- December 16, 2023: A few text changes to improve readability. Also added image galleries.
Thank you! Please share your positive feedback. 🔋
How could we improve this post? Please Help us. 😔
[Hardware Expert]
With a major in Computer Science, Sameed is a tech enthusiast who puts his passion for gadgets into words and creates informative blogs. From comparing different hardware to reviewing the best RAMs, motherboards, and graphics cards for your next build, Sameed has covered a wide spectrum of topics that have given him a special insight into every nook and cranny of the tech world. Sameed is also a certified expert at Computer Hardware & Networking.
Get In Touch: sameed@tech4gamers.com


