 Threads
Perfect For 1440p Gaming?
Review Summary
The GIGABYTE M27Q P is a feature-rich, high refresh rate, IPS panel gaming monitor at 1440P resolution. It has a wide color gamut with 135% sRGB saturation (98% DCI-P3). The monitor is equipped with AMD FreeSync Premium, which is compatible with Nvidia GSync (using GSync Enabled) on this display. Hence, the variable refresh rate is in play. The provision of USB Type-C, KVM, Sidekick, and multiple other features make it one complete solution for buttery smooth gameplay at 1440P resolution.
Hours Tested: 6-9

Overall
-
Design - 8.5/10
8.5/10
-
Display - 9.5/10
9.5/10
-
Performance - 9/10
9/10
-
Features - 9/10
9/10
-
Value - 9/10
9/10
Pros
- High Refresh Rate and Quick Response
- Quality Display
- Built-in KVM Switch
- Good Factory Calibration
- FreeSync Support
- Versatile Connectivity
- User-Friendly OSD
Cons
- Basic HDR Support
- Limited Ergonomic Adjustments
- Potential Brightness Lock in sRGB Mode
- Not Ideal for Color-Critical Work


The GIGABYTE M27Q has been the popular choice for the 1440P high refresh rate gaming panel. However, its BGR sub-pixel technology was not the brightest area of the overall specifications. This time, GIGABYTE has released M27Q P, which has taken the M27Q P game to the next level by addressing a few quirks in the previous model. We are taking a spin on the GIGABYTE M27Q P this time around. Please remember that specialized tools and software exist to test the given display for accurate data and representation.
This includes specialized cameras to record the frames at a very high speed so that slow-motion playback can be viewed to identify ghosting, tearing, or any related aspect. This would be particularly helpful when comparing two or more displays. Similarly, there is calibration and gamut range identification hardware. Cutting it short, the real testing of the monitor involves more time and investment. After using the monitor for some time, we will give an overview of the specifications, design, and our experience-based result.
Key Takeaways
- The GIGABYTE M27Q P is a 27” gaming monitor featuring a 165Hz (overclockable to 170Hz) LG SS IPS panel with vibrant colors, 1ms GTG response time, and a built-in KVM switch, offering versatility for gamers and productivity enthusiasts.
- The GIGABYTE M27Q P is perfect for Productivity enthusiasts managing dual PC setups with the convenience of the KVM switch. Moreover, Gamers seeking high refresh rates and responsive gameplay should consider this product.
- The GIGABYTE M27Q P is not recommended for HDR enthusiasts expecting an enhanced visual experience beyond basic HDR400 support. Users needing extensive ergonomic adjustments beyond height and tilt options should avoid this monitor.
- Why you can trust Tech4Gamers: Our reviews are based on dedicated hands-on testing by our team of experienced hardware experts. Find out more about how we test.
Packaging and Unboxing
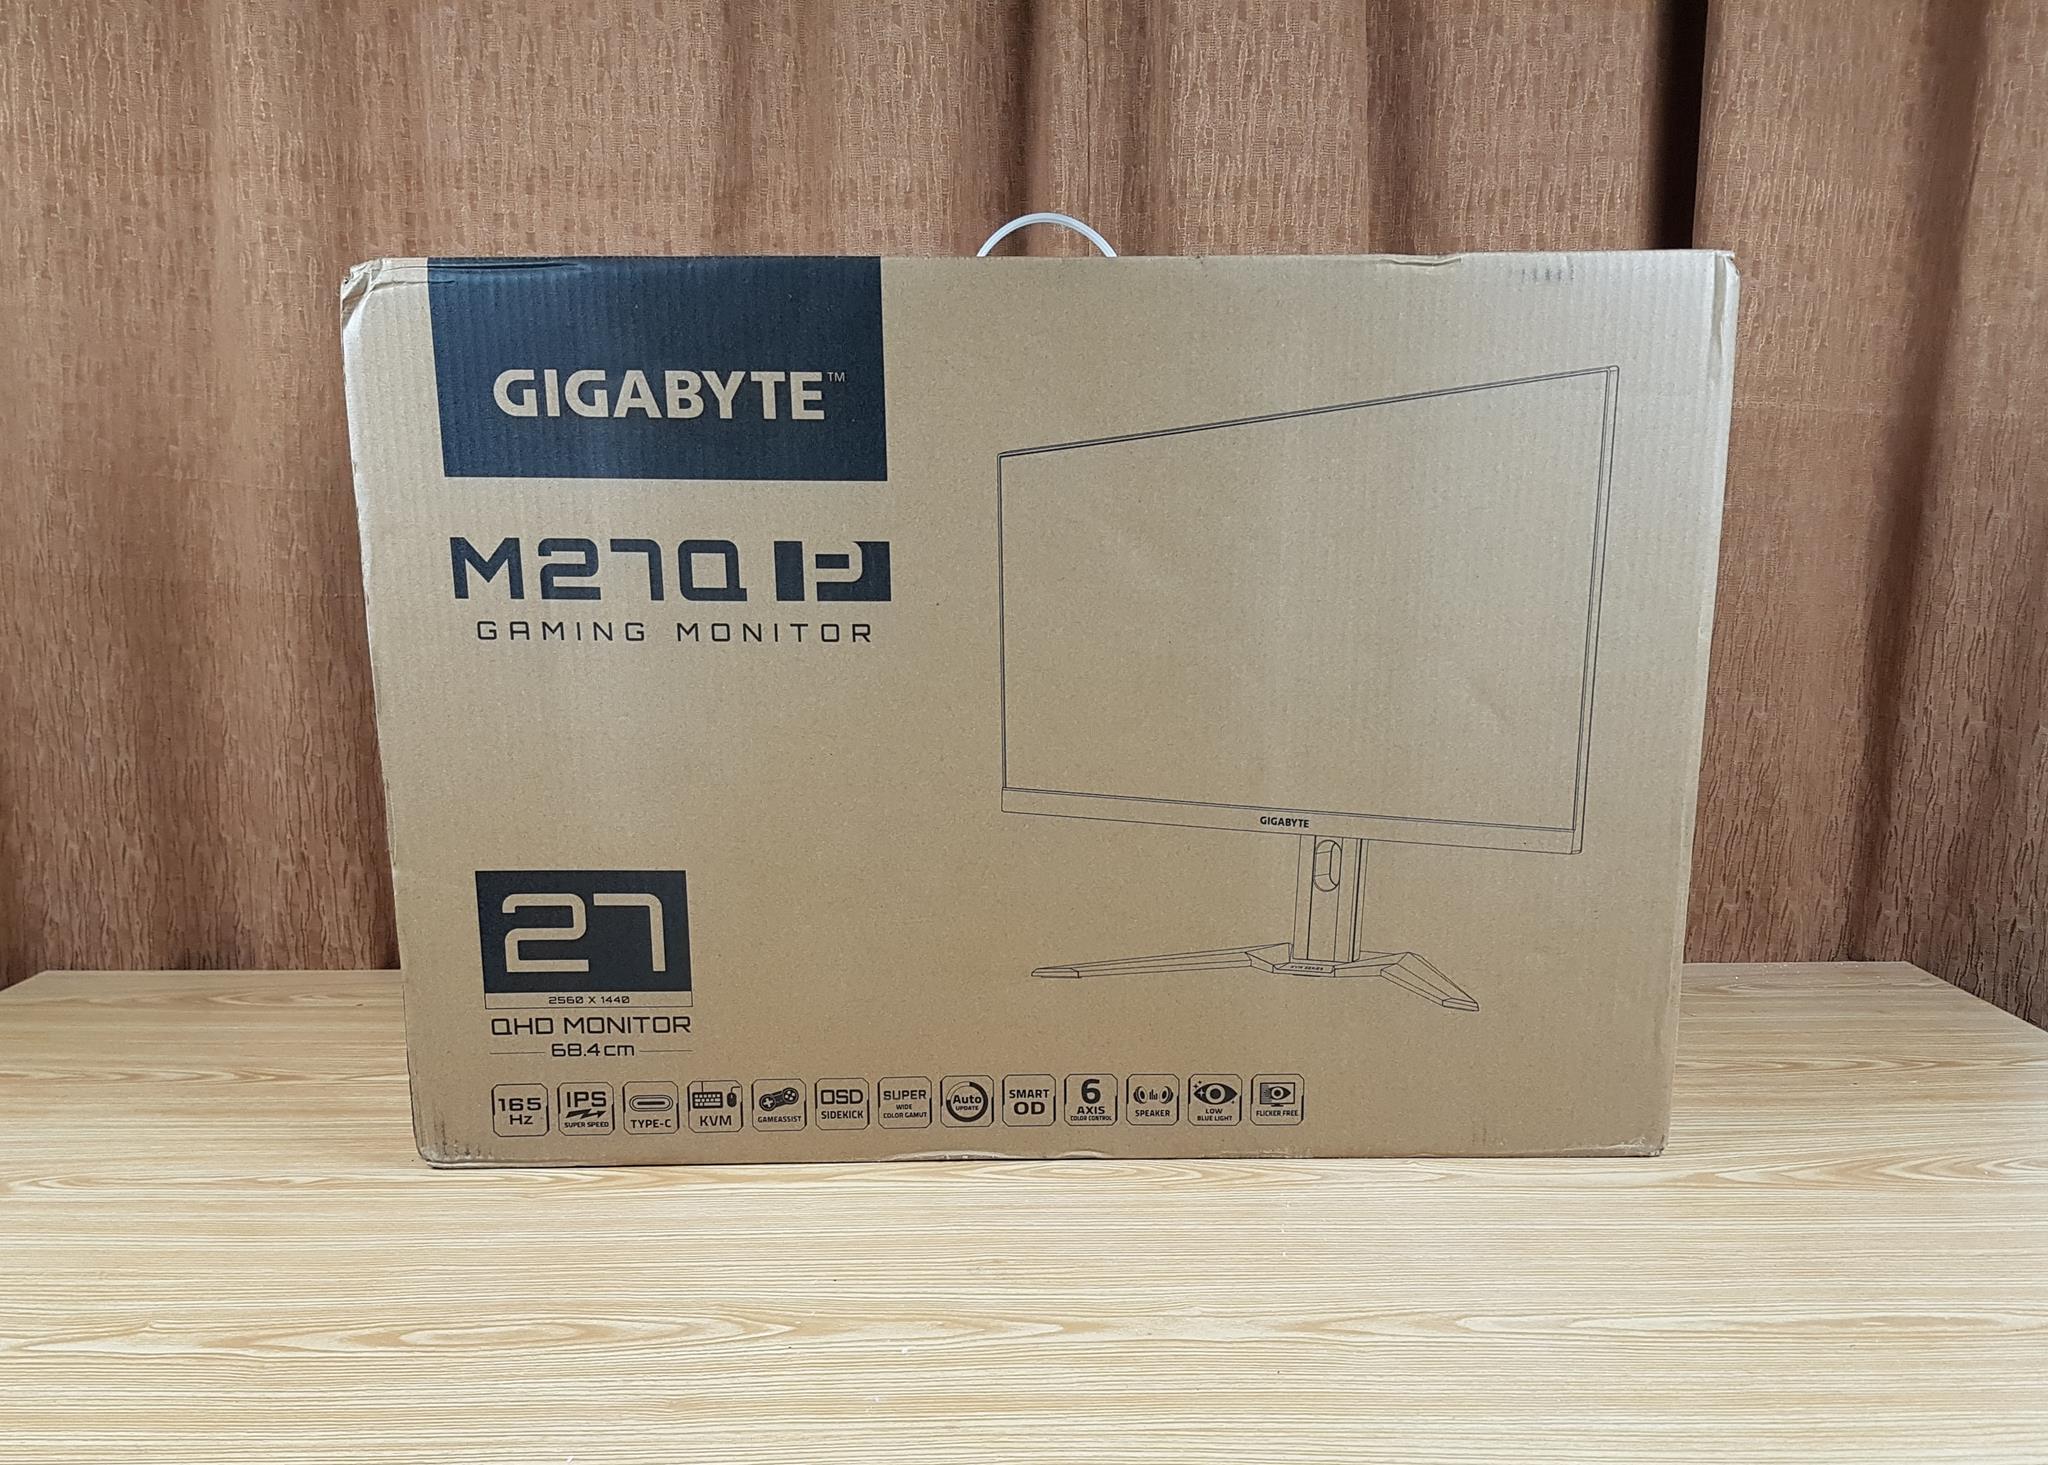
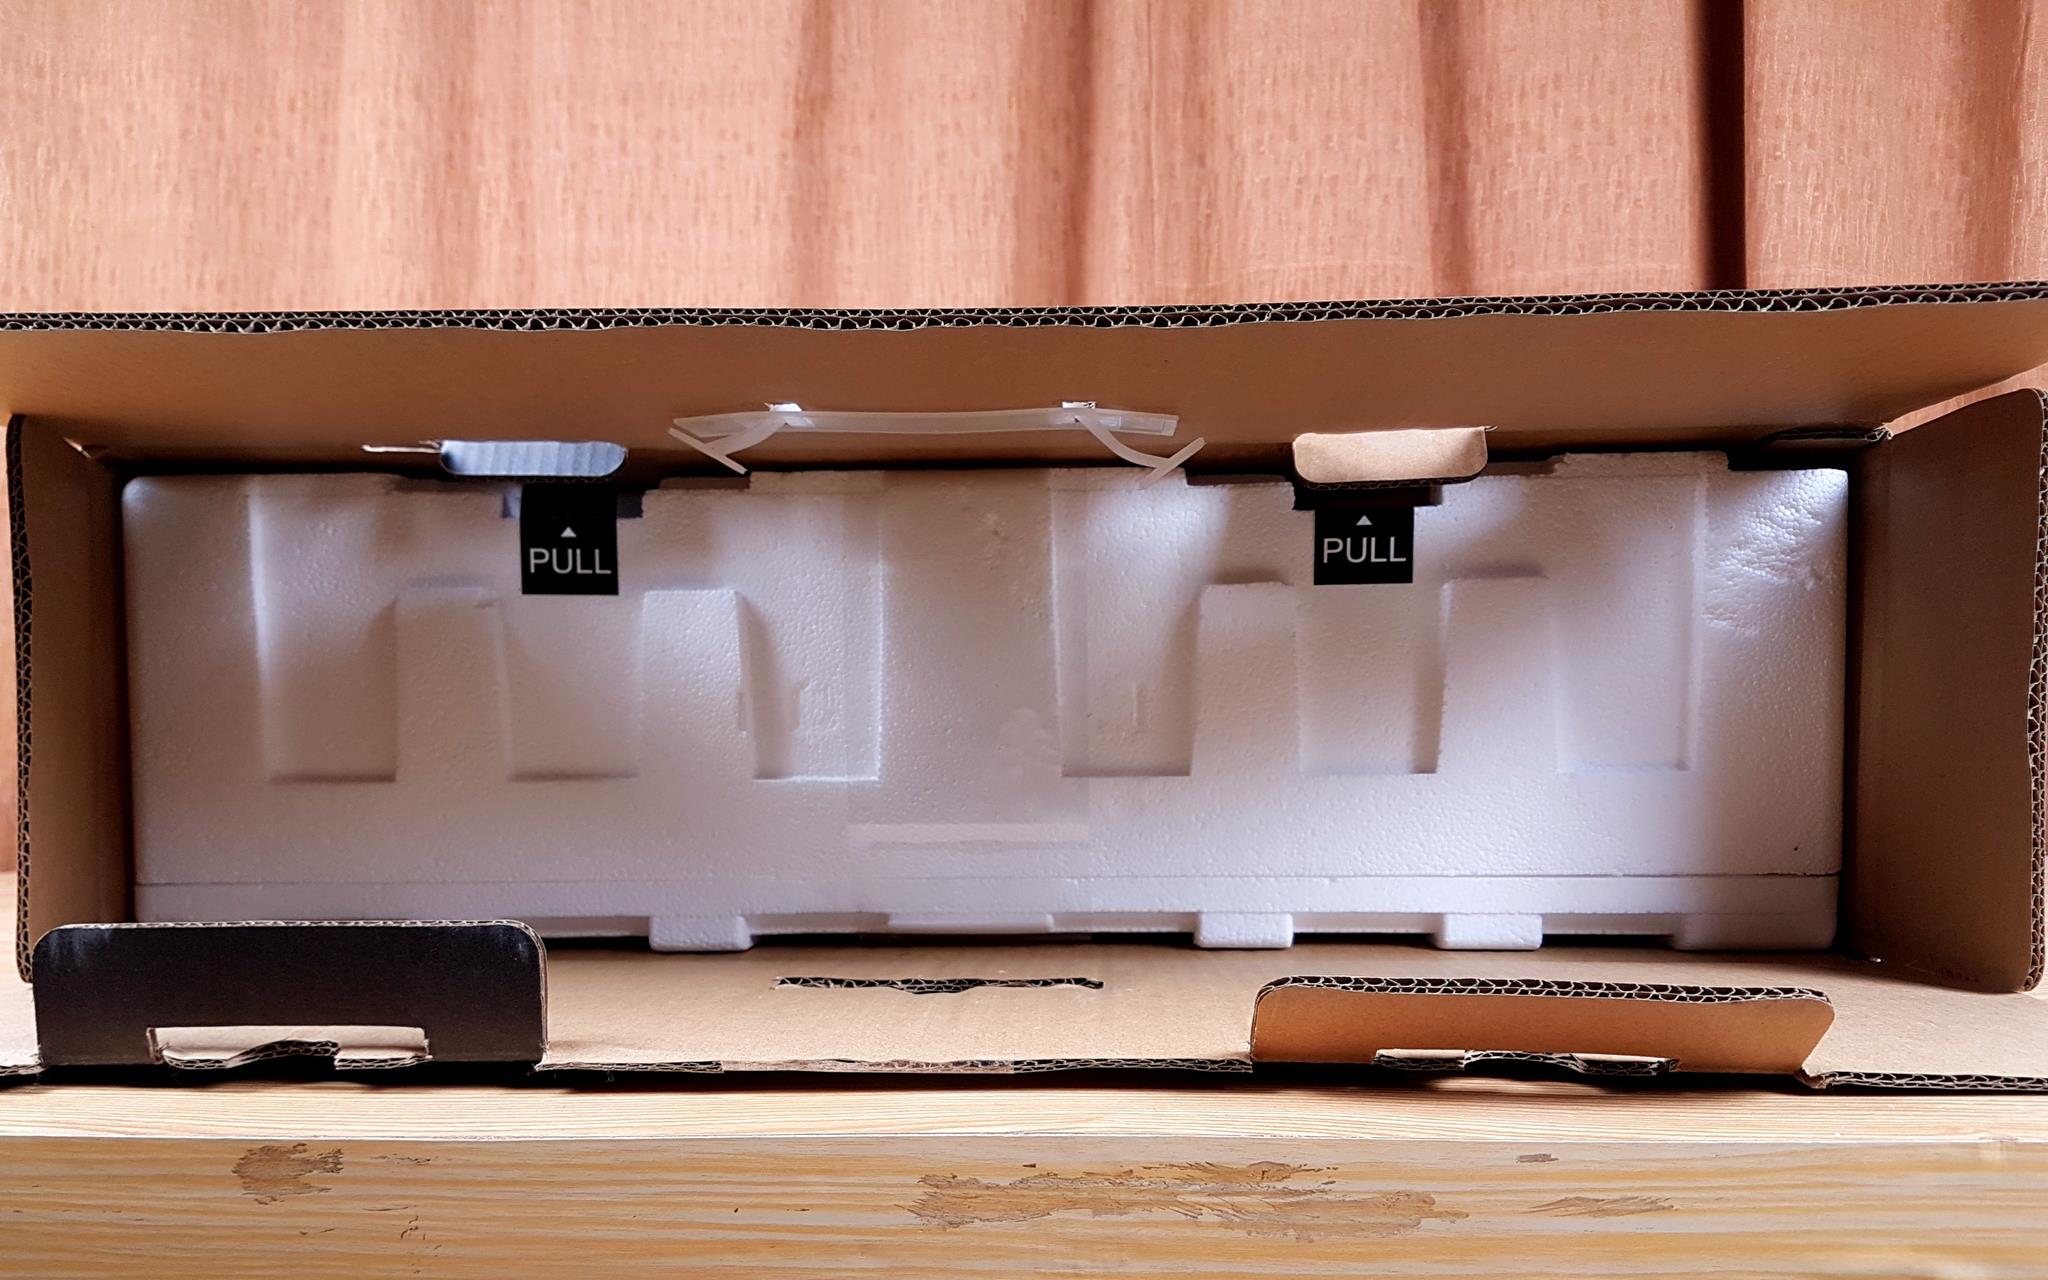
The monitor is shipped inside a brown color cardboard box. The box is relatively thicker.
Contents
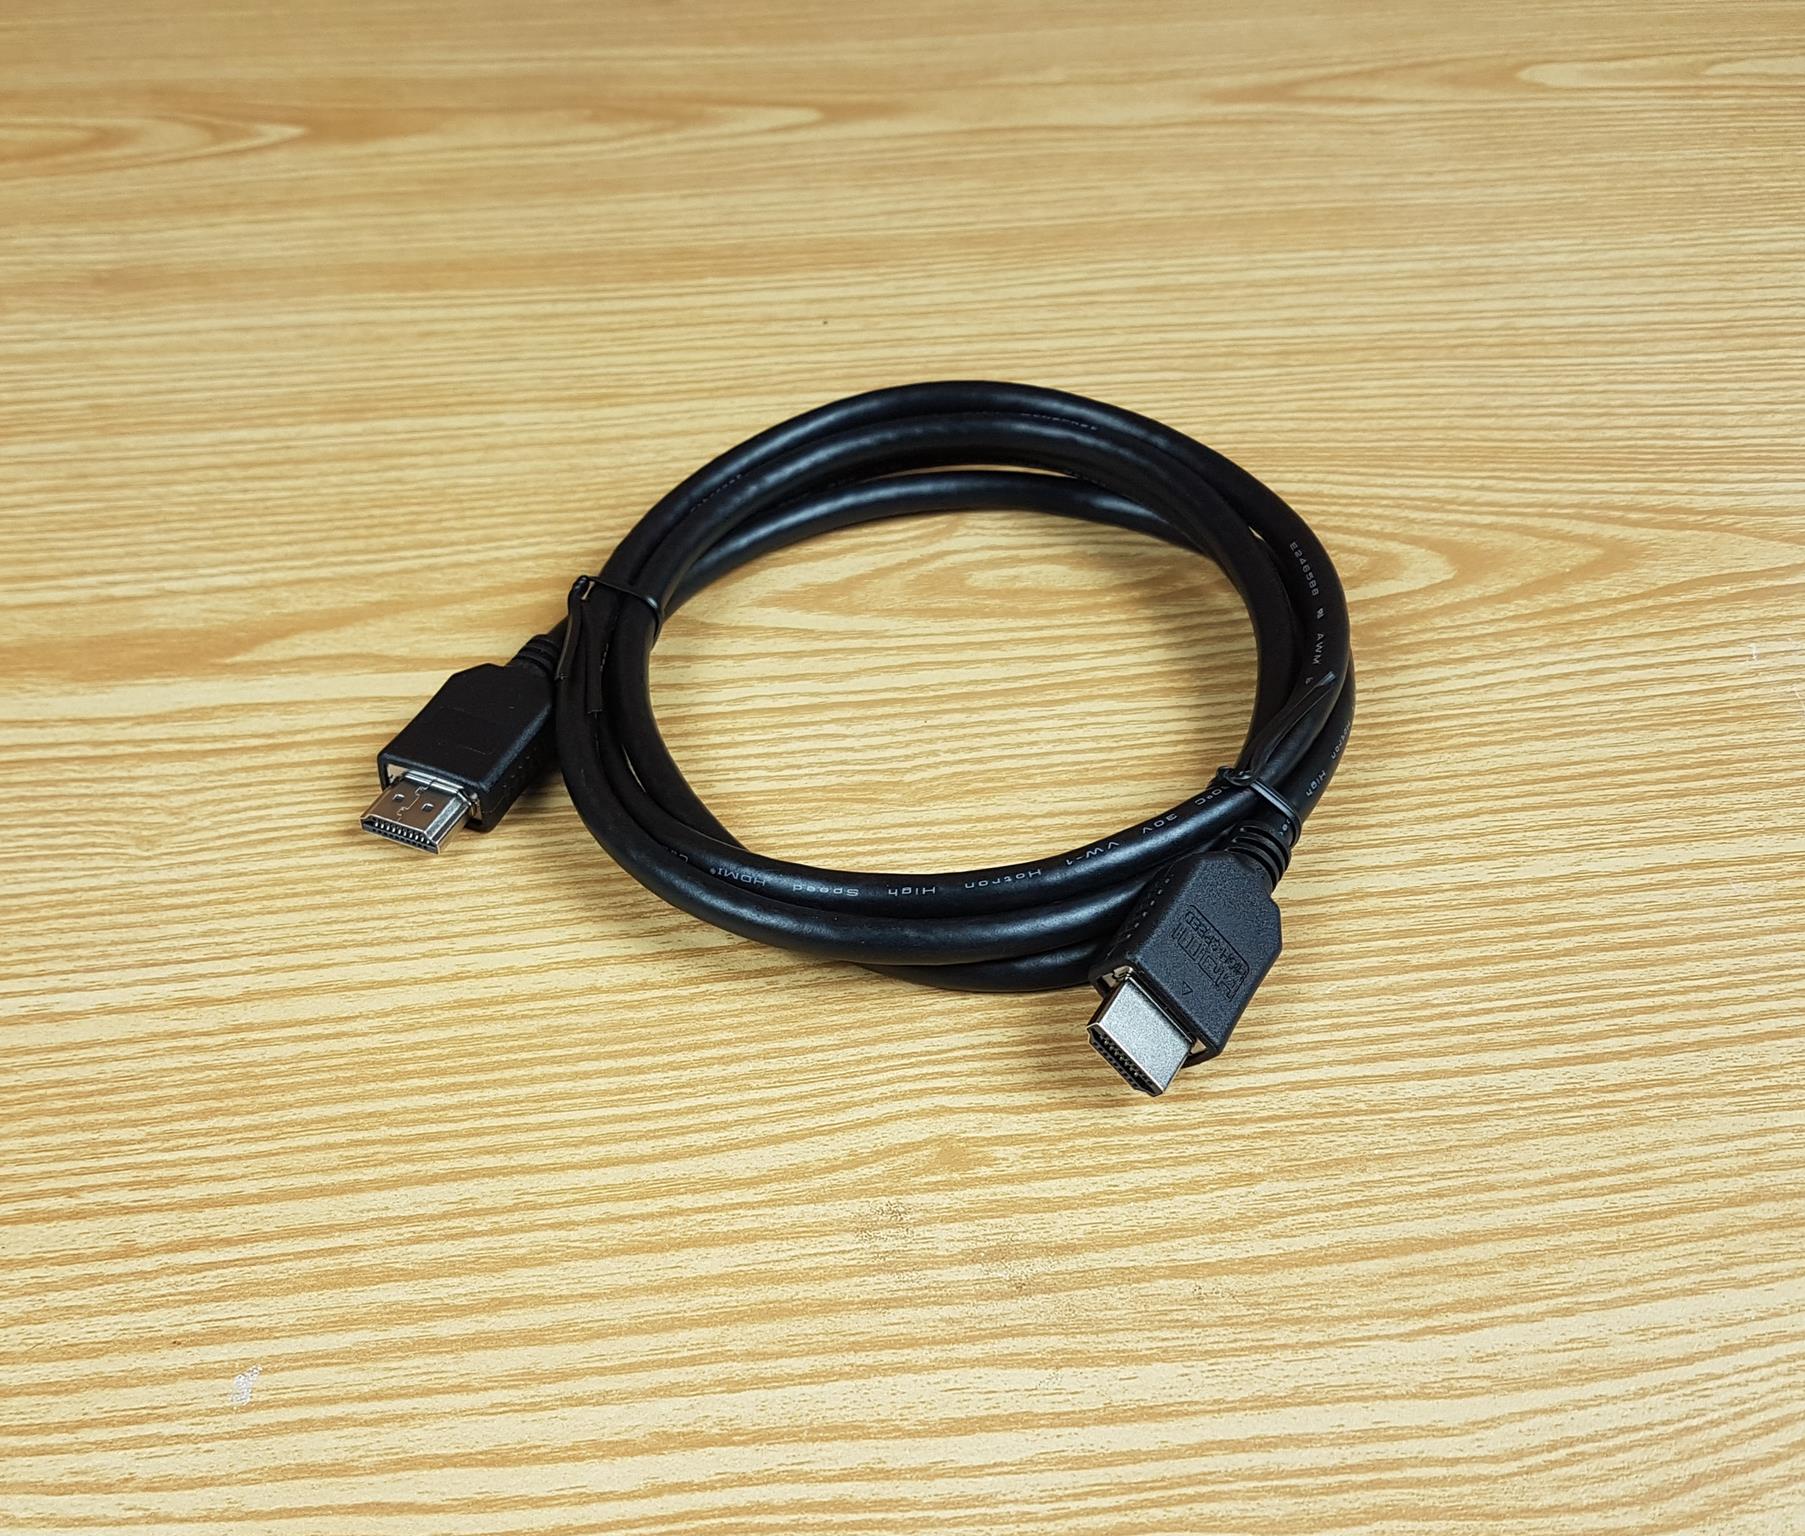
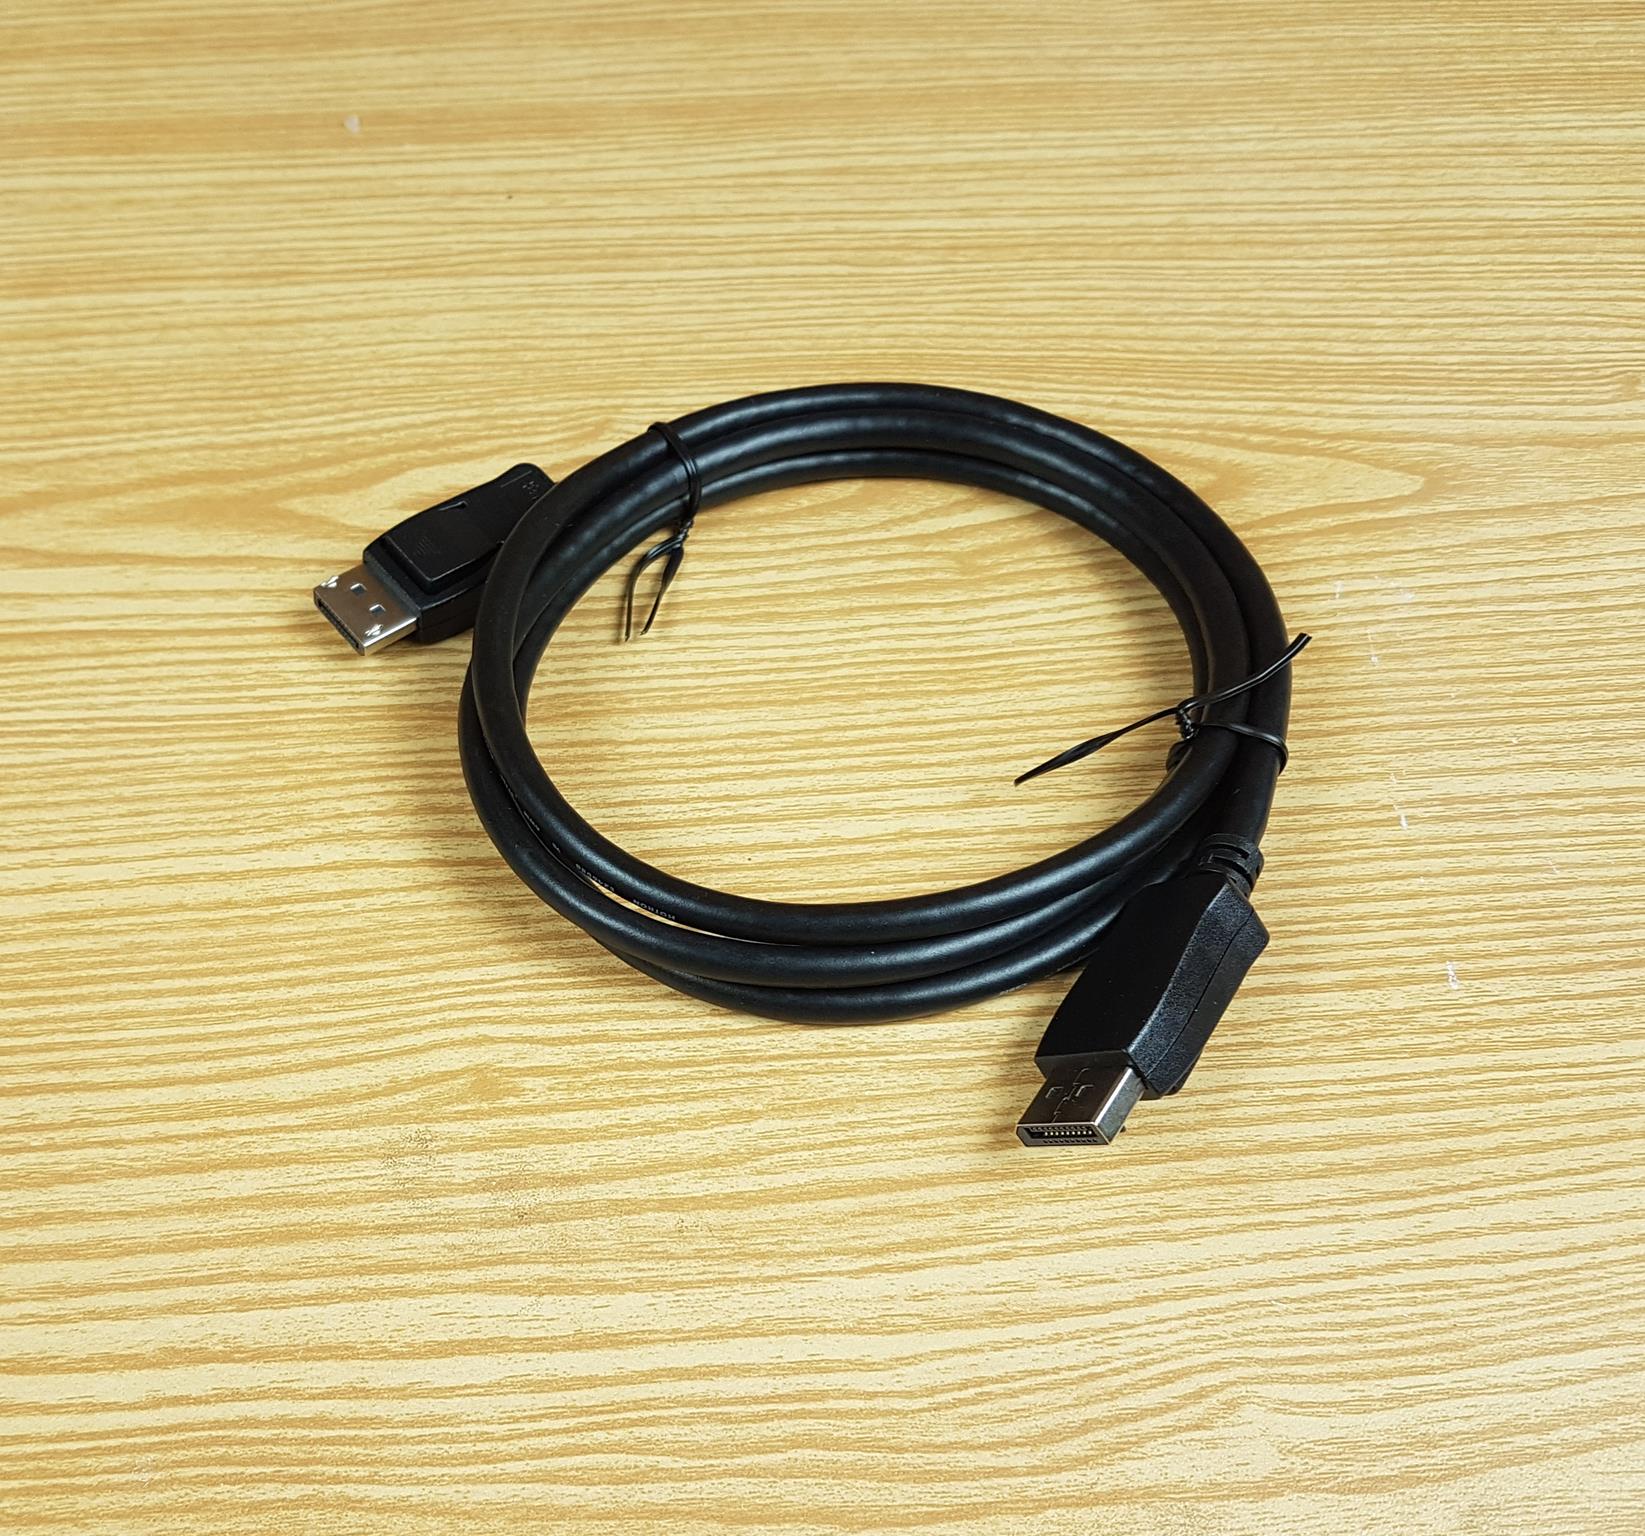
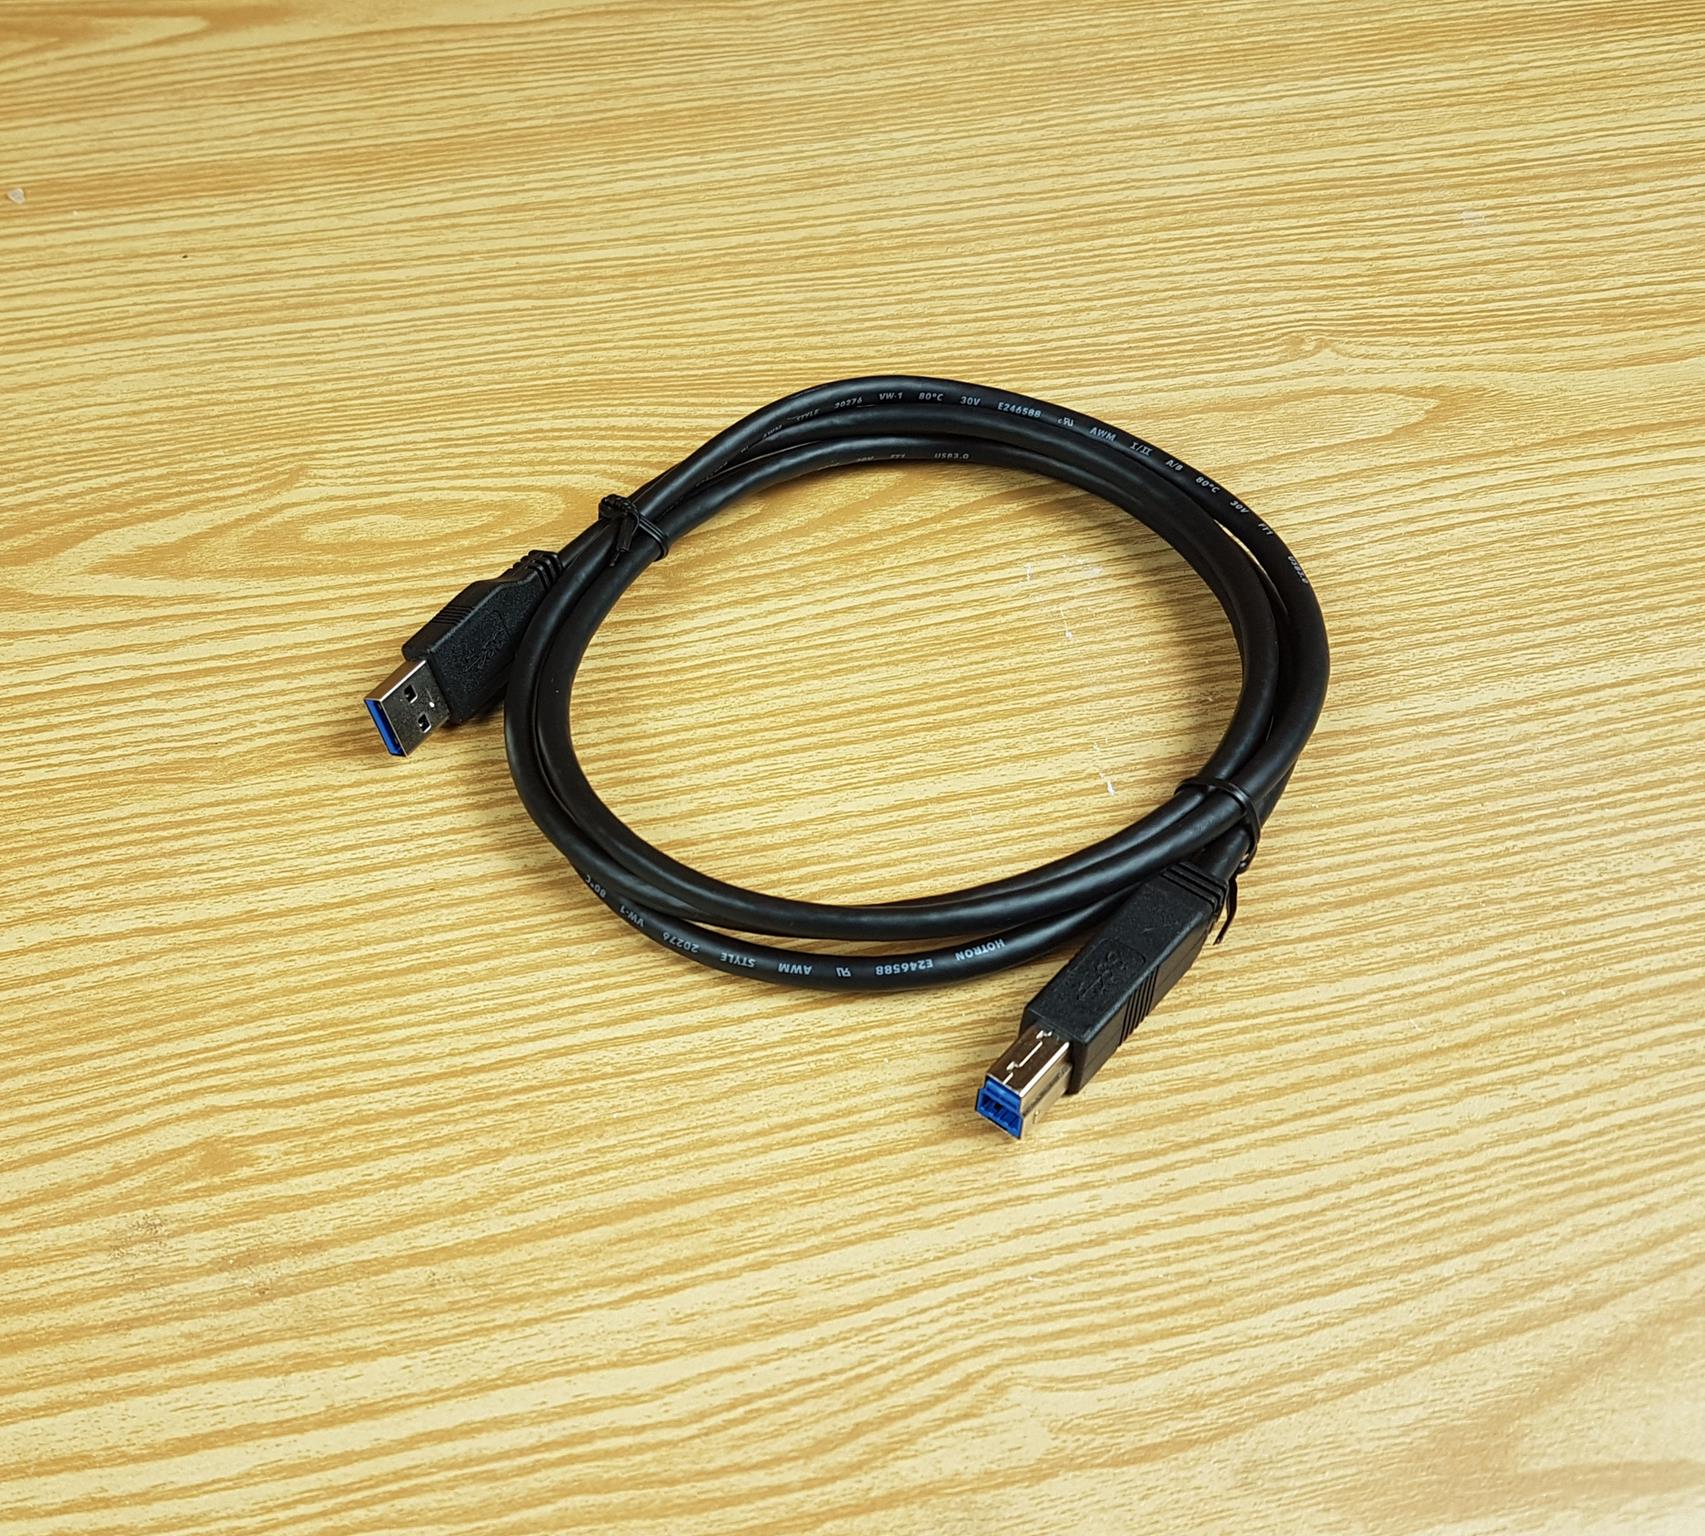
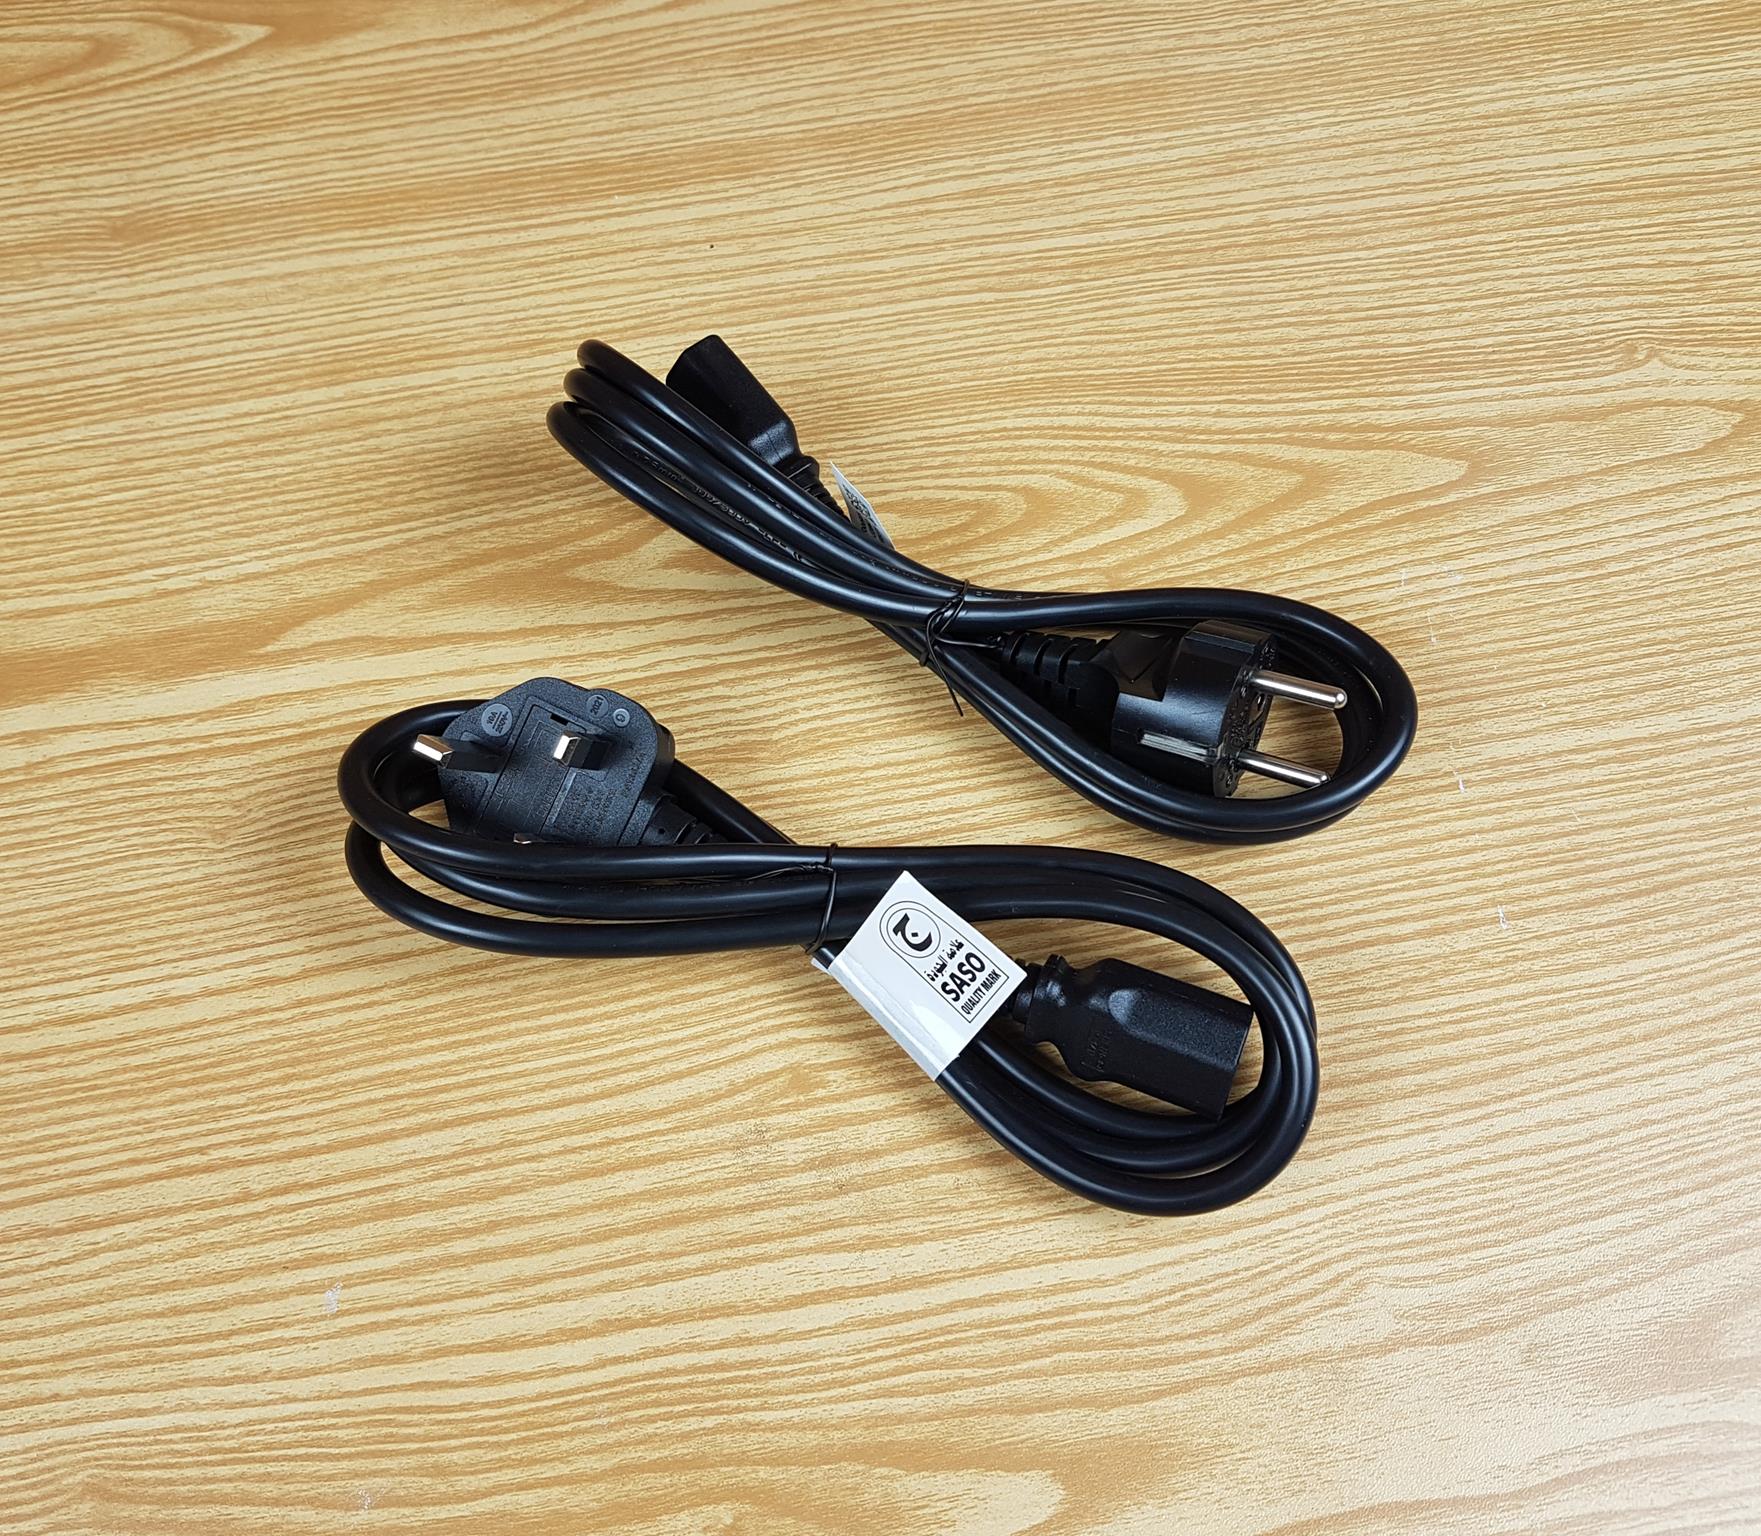
The following is included in the box:
- 1x GIGABYTE M27Q P Monitor
- 1x DisplayPort Cable
- 1x HDMI Cable
- 2x Power Cable
- 1x User Manual
- 1x Base Stand
Design
The GIGABYTE M27Q P is a 1440P (QHD) 165Hz refresh rate gaming monitor. The refresh rate is overclockable further to 170Hz. This is an IPS-SS panel. Compared to the M27Q, this time around, GIGABYTE is using an LG panel with an RGB sub-pixel layout, so expect some good-quality output on this display. Given that the panel is IPS, the viewing angles are up to 178°. The panel size is 27” with an aspect ratio of 16:9.
Let’s start with the design of the monitor:
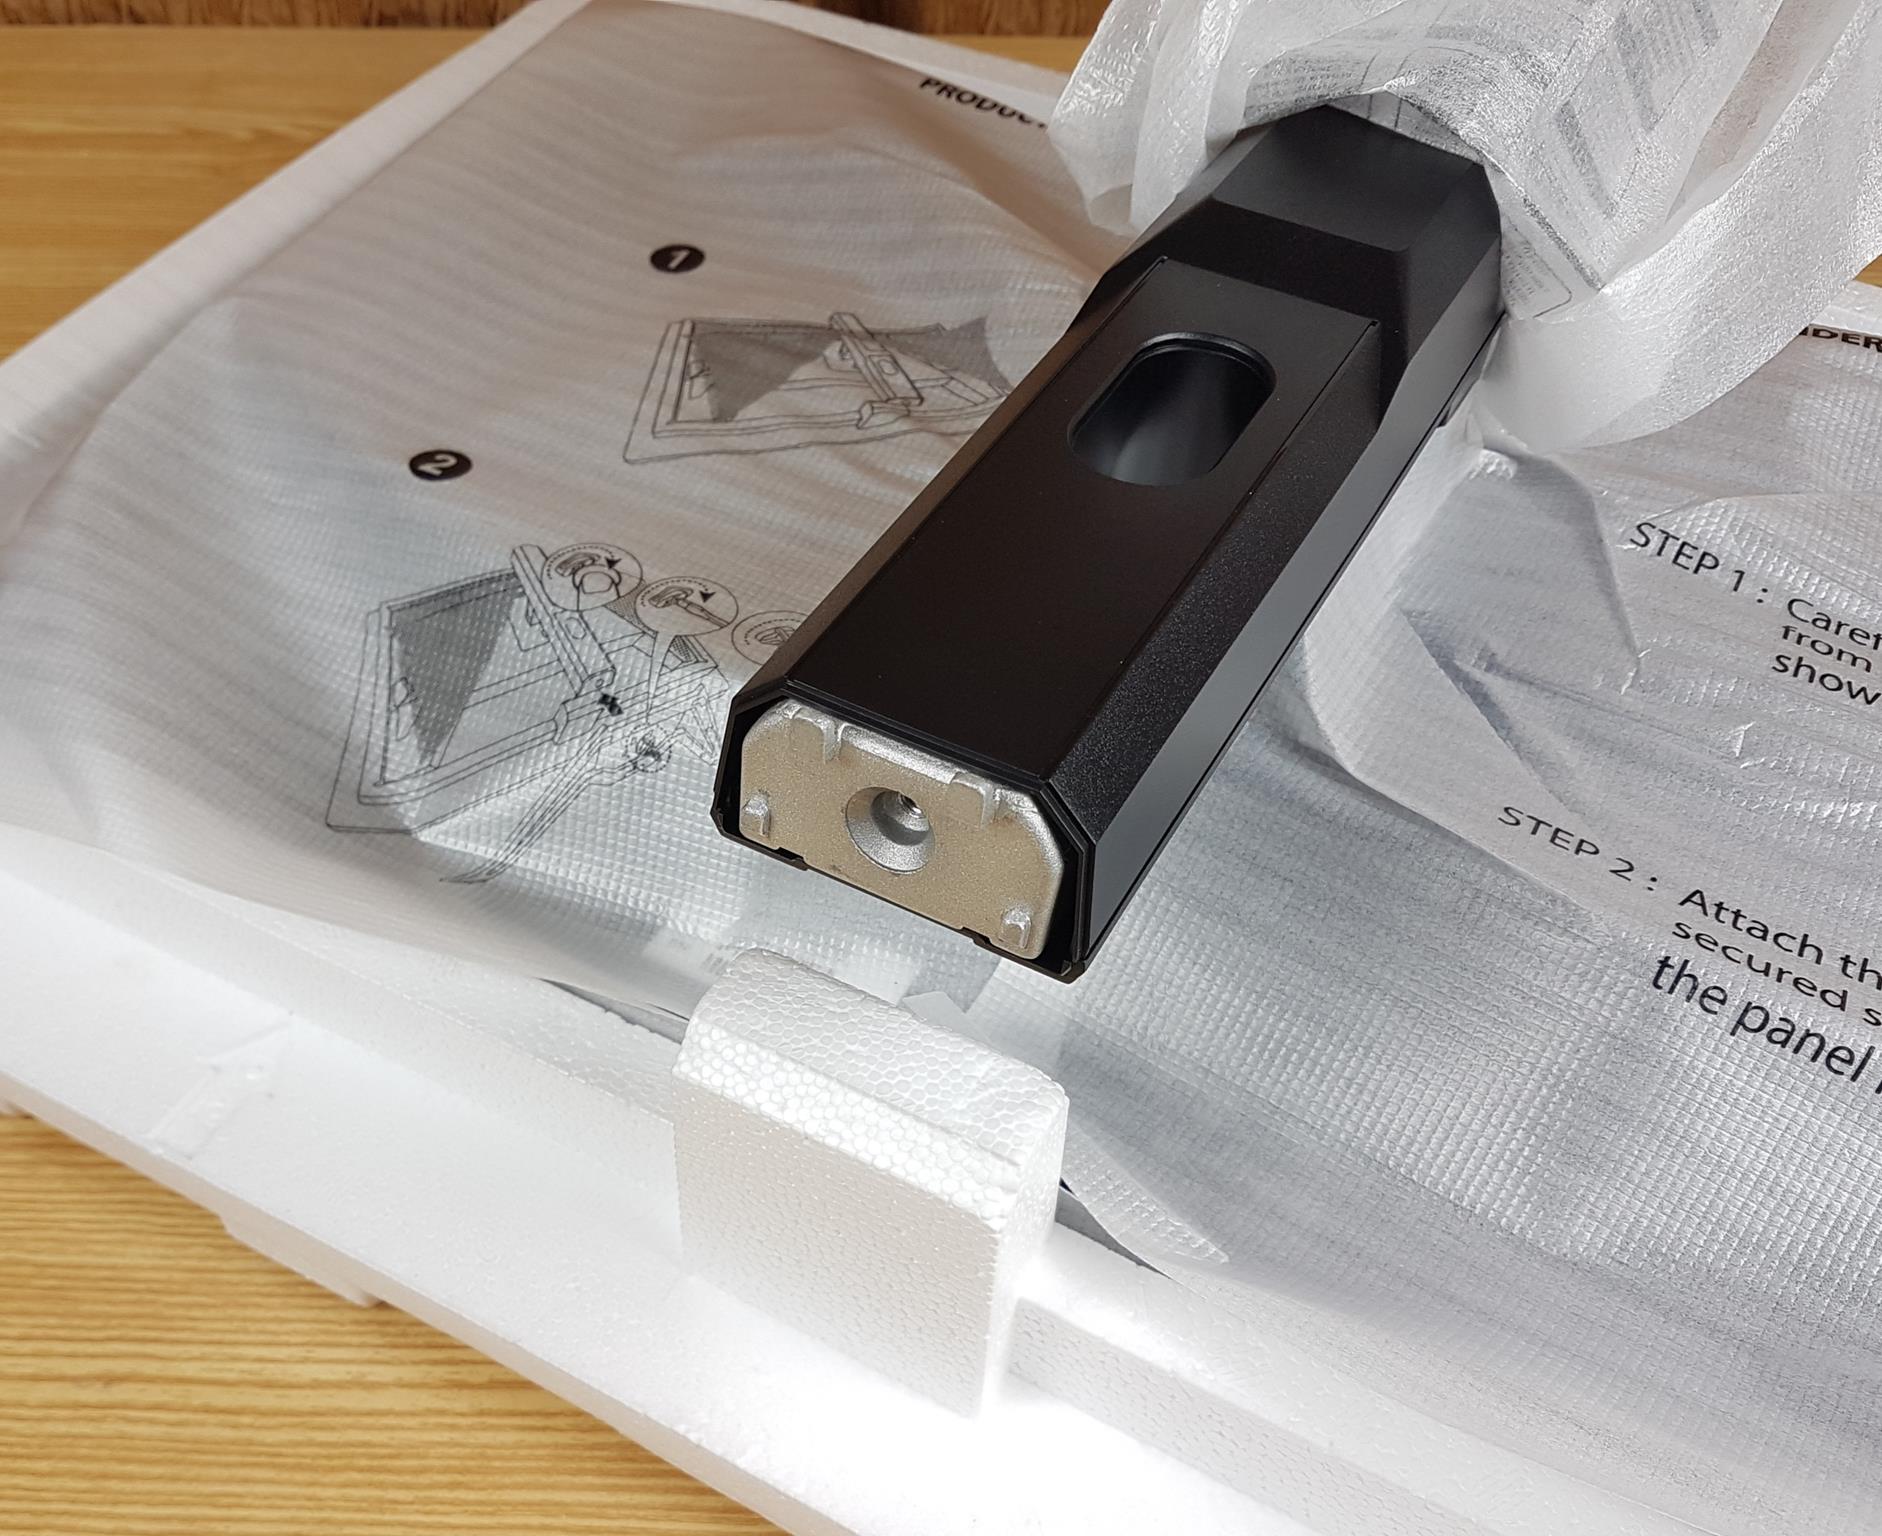
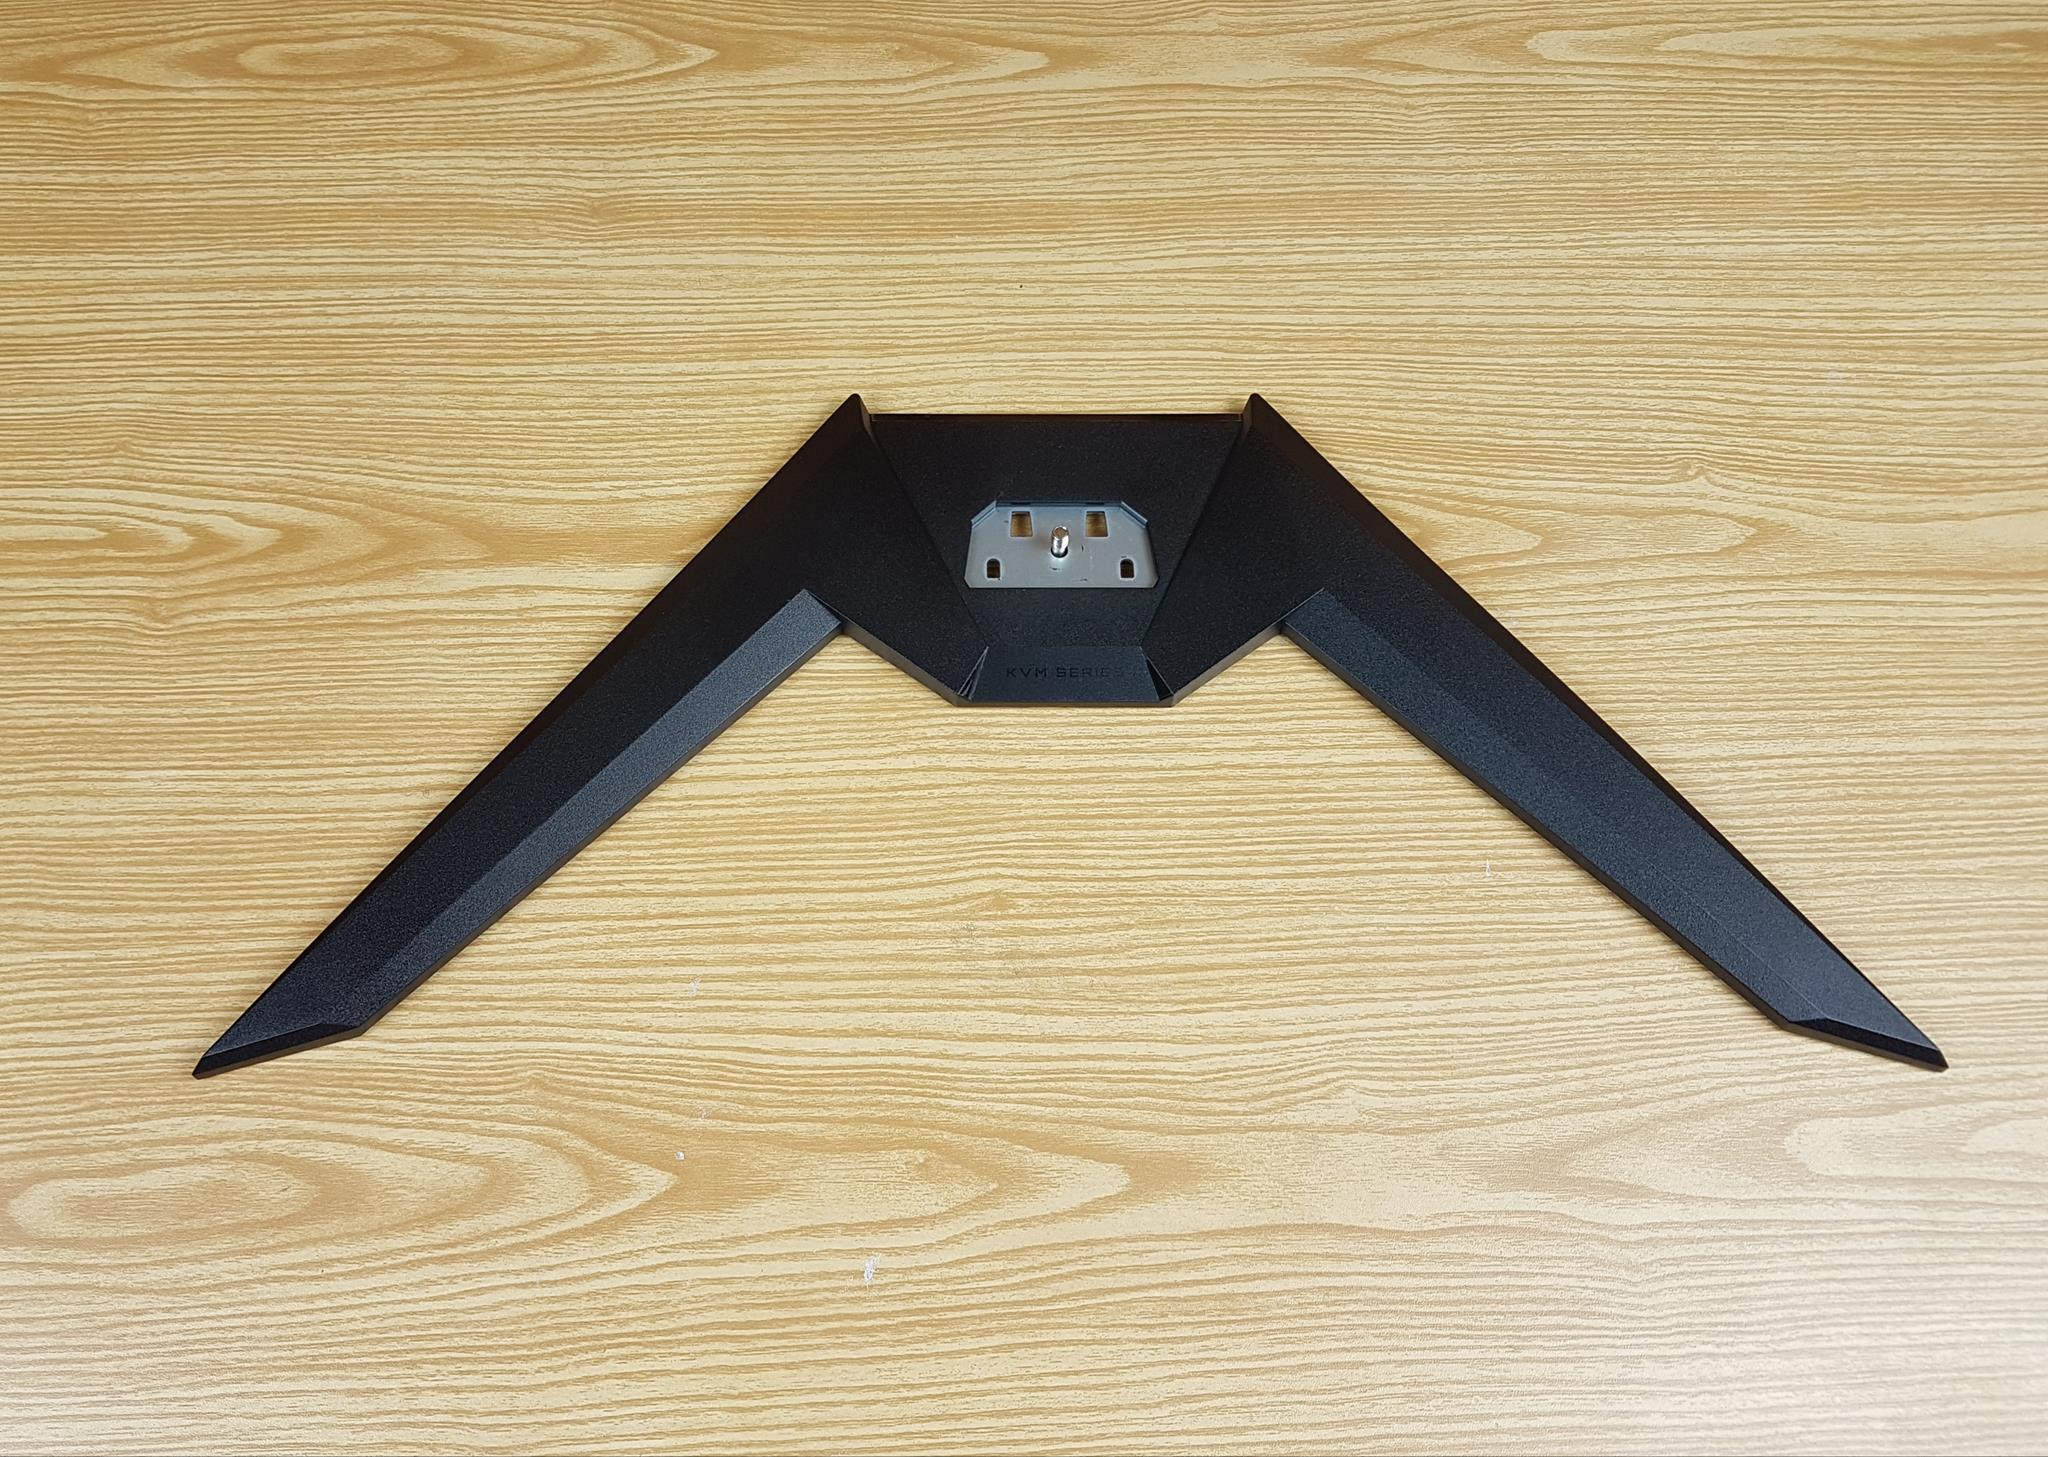
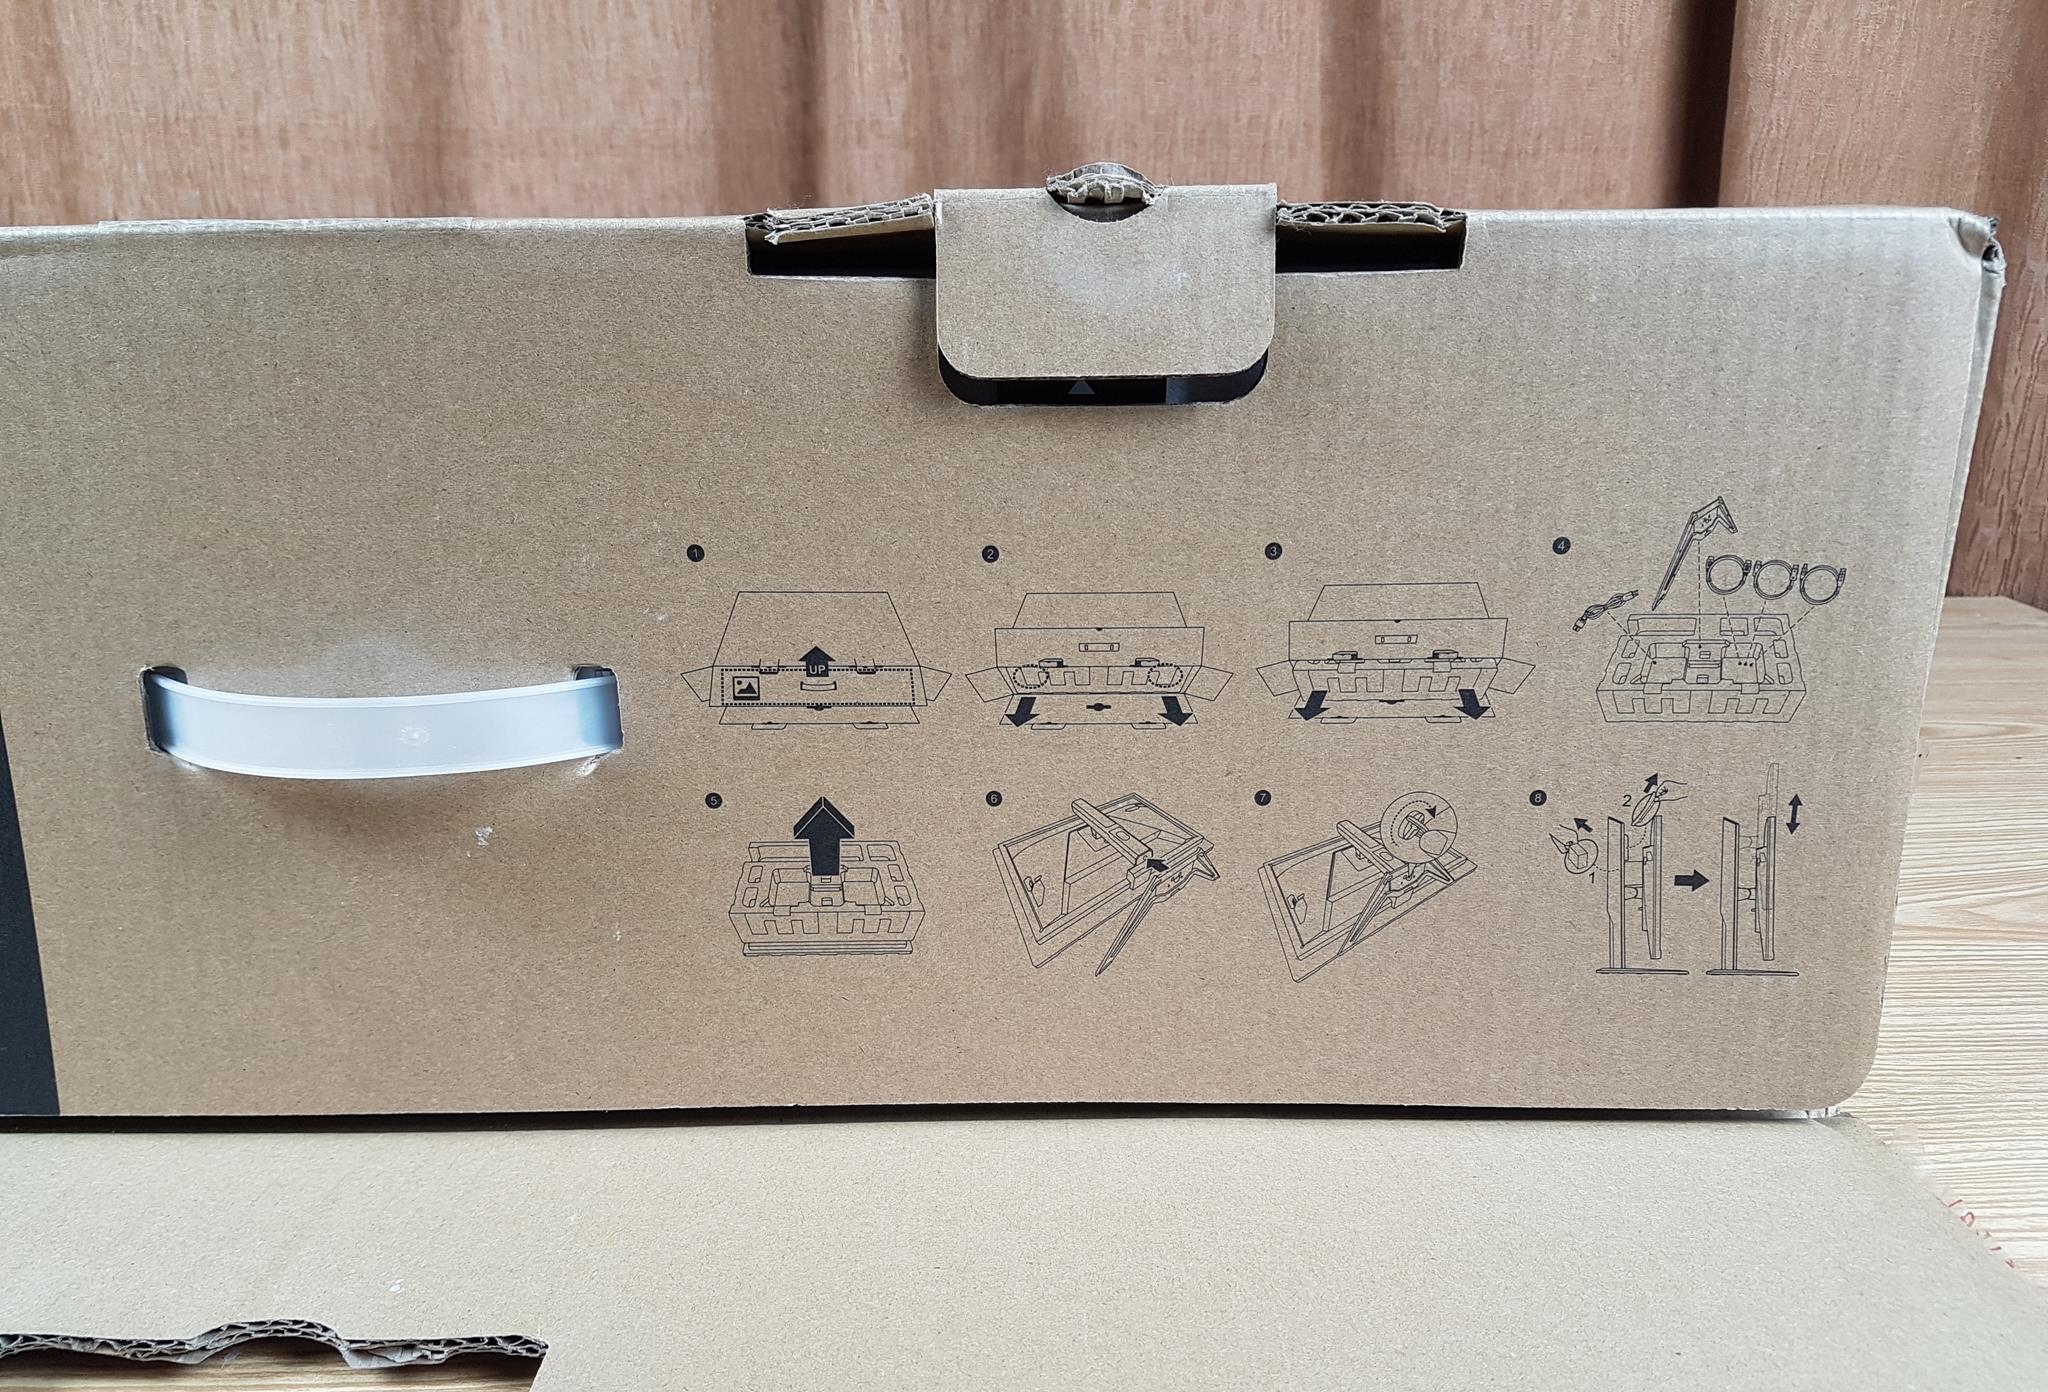
The very first thing that you would need to do is to attach the stand base to the monitor. There is a hole in the base of the arm, as shown in the above picture. This is where the base will be connected. There are raised tabs and two catchers that contact the stand base. The above picture shows the top view of the base. We can see a screw tip in the center. This screw goes inside the base of the arm on the monitor. The top cover is made of plastic material finished in black color.
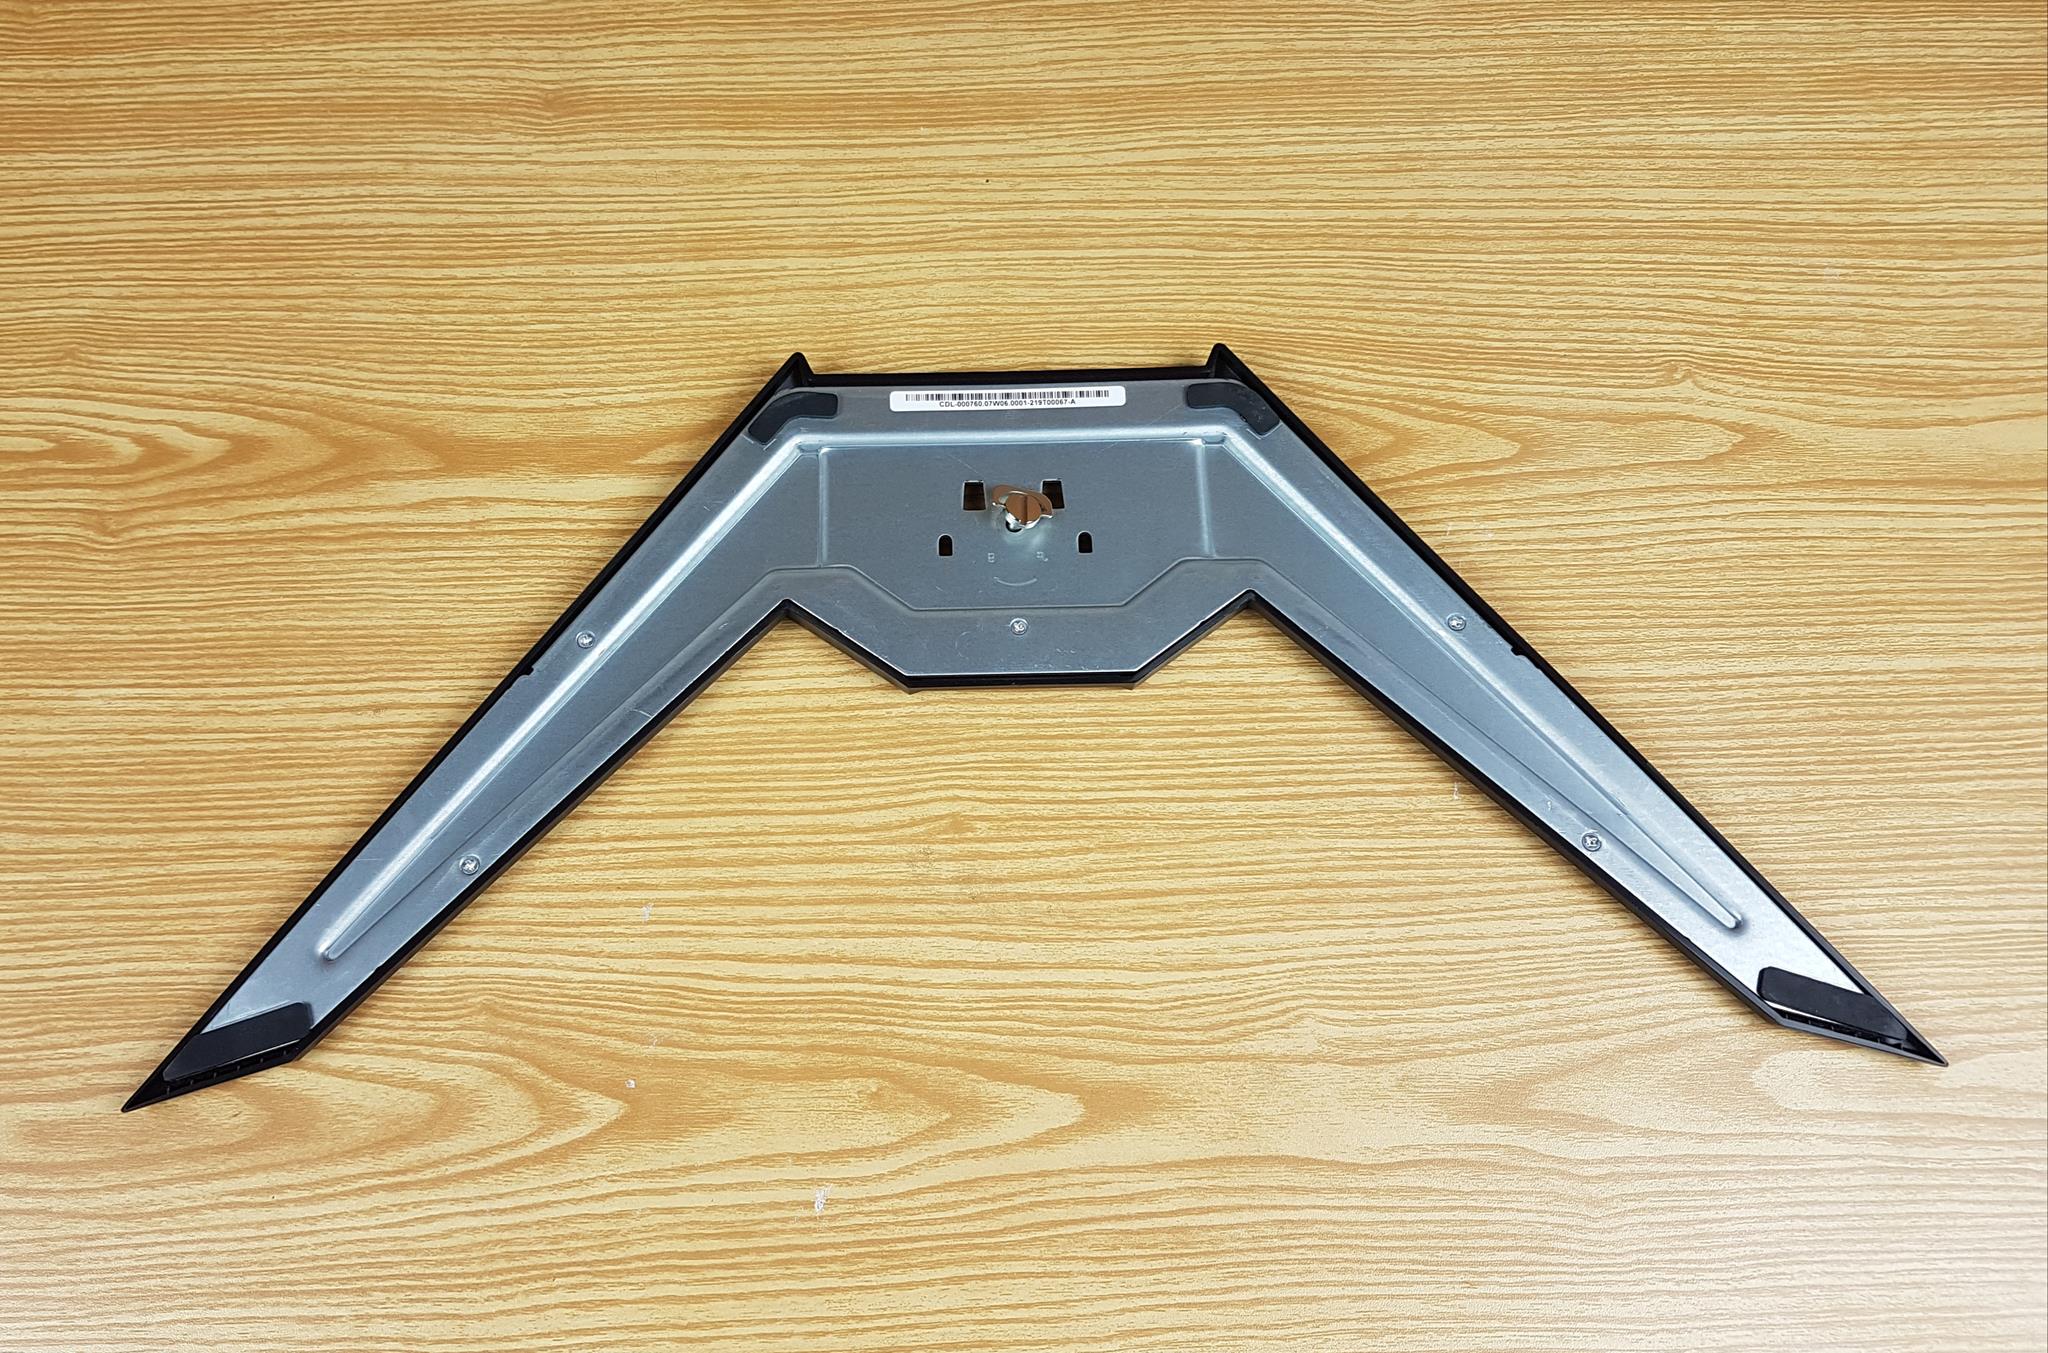
There is a steel plate under the stand base. It has pads on the ends. These are there to avoid scratching the surface on which the monitor is placed. The above picture shows the base stand connected to the monitor.
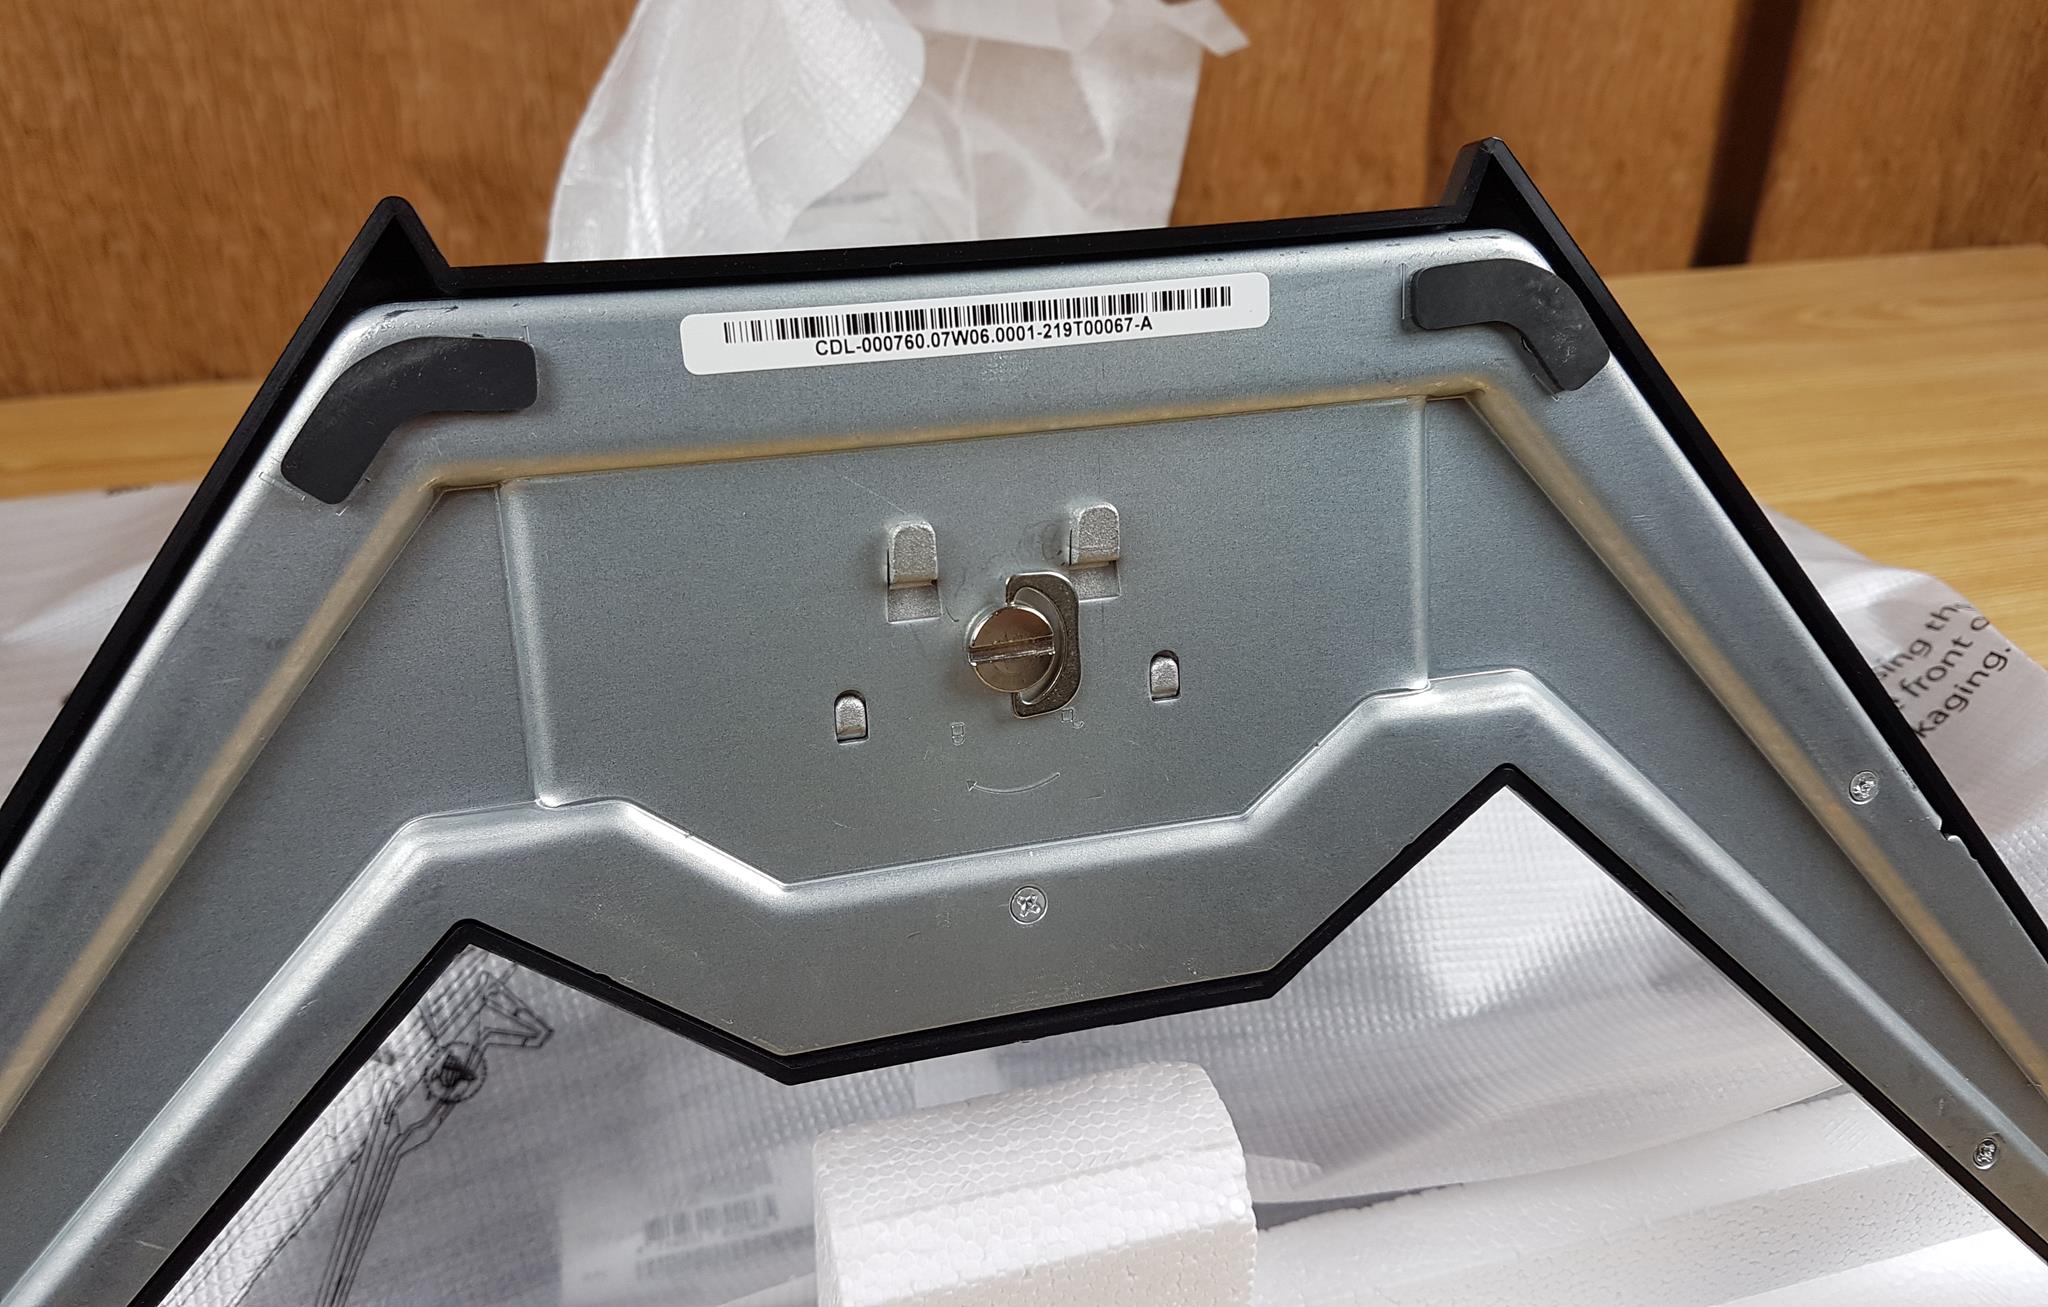
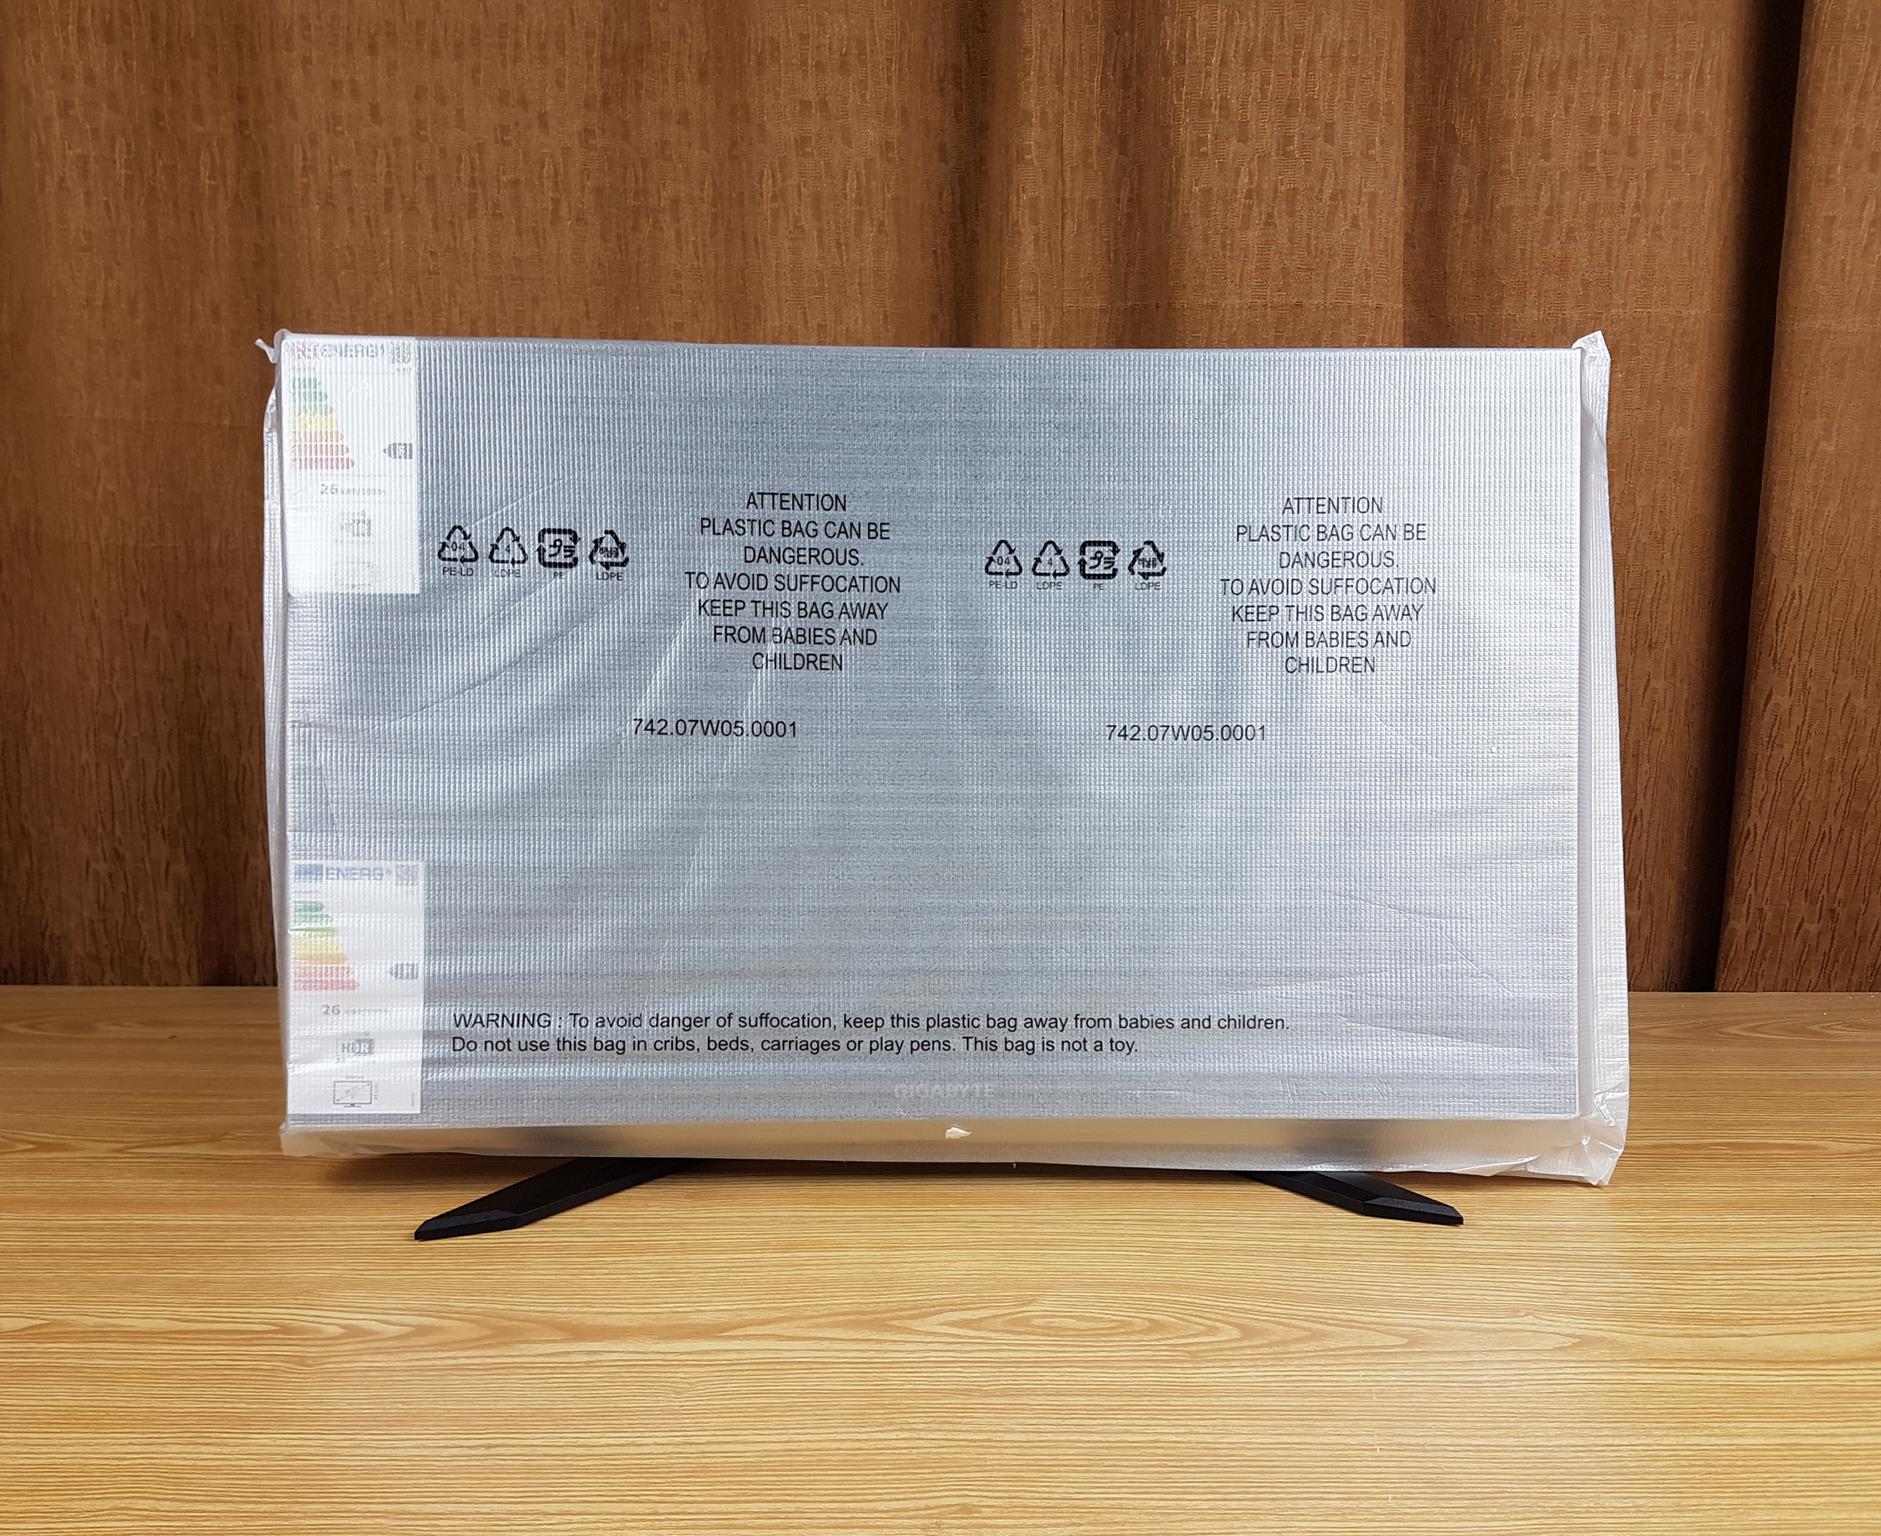
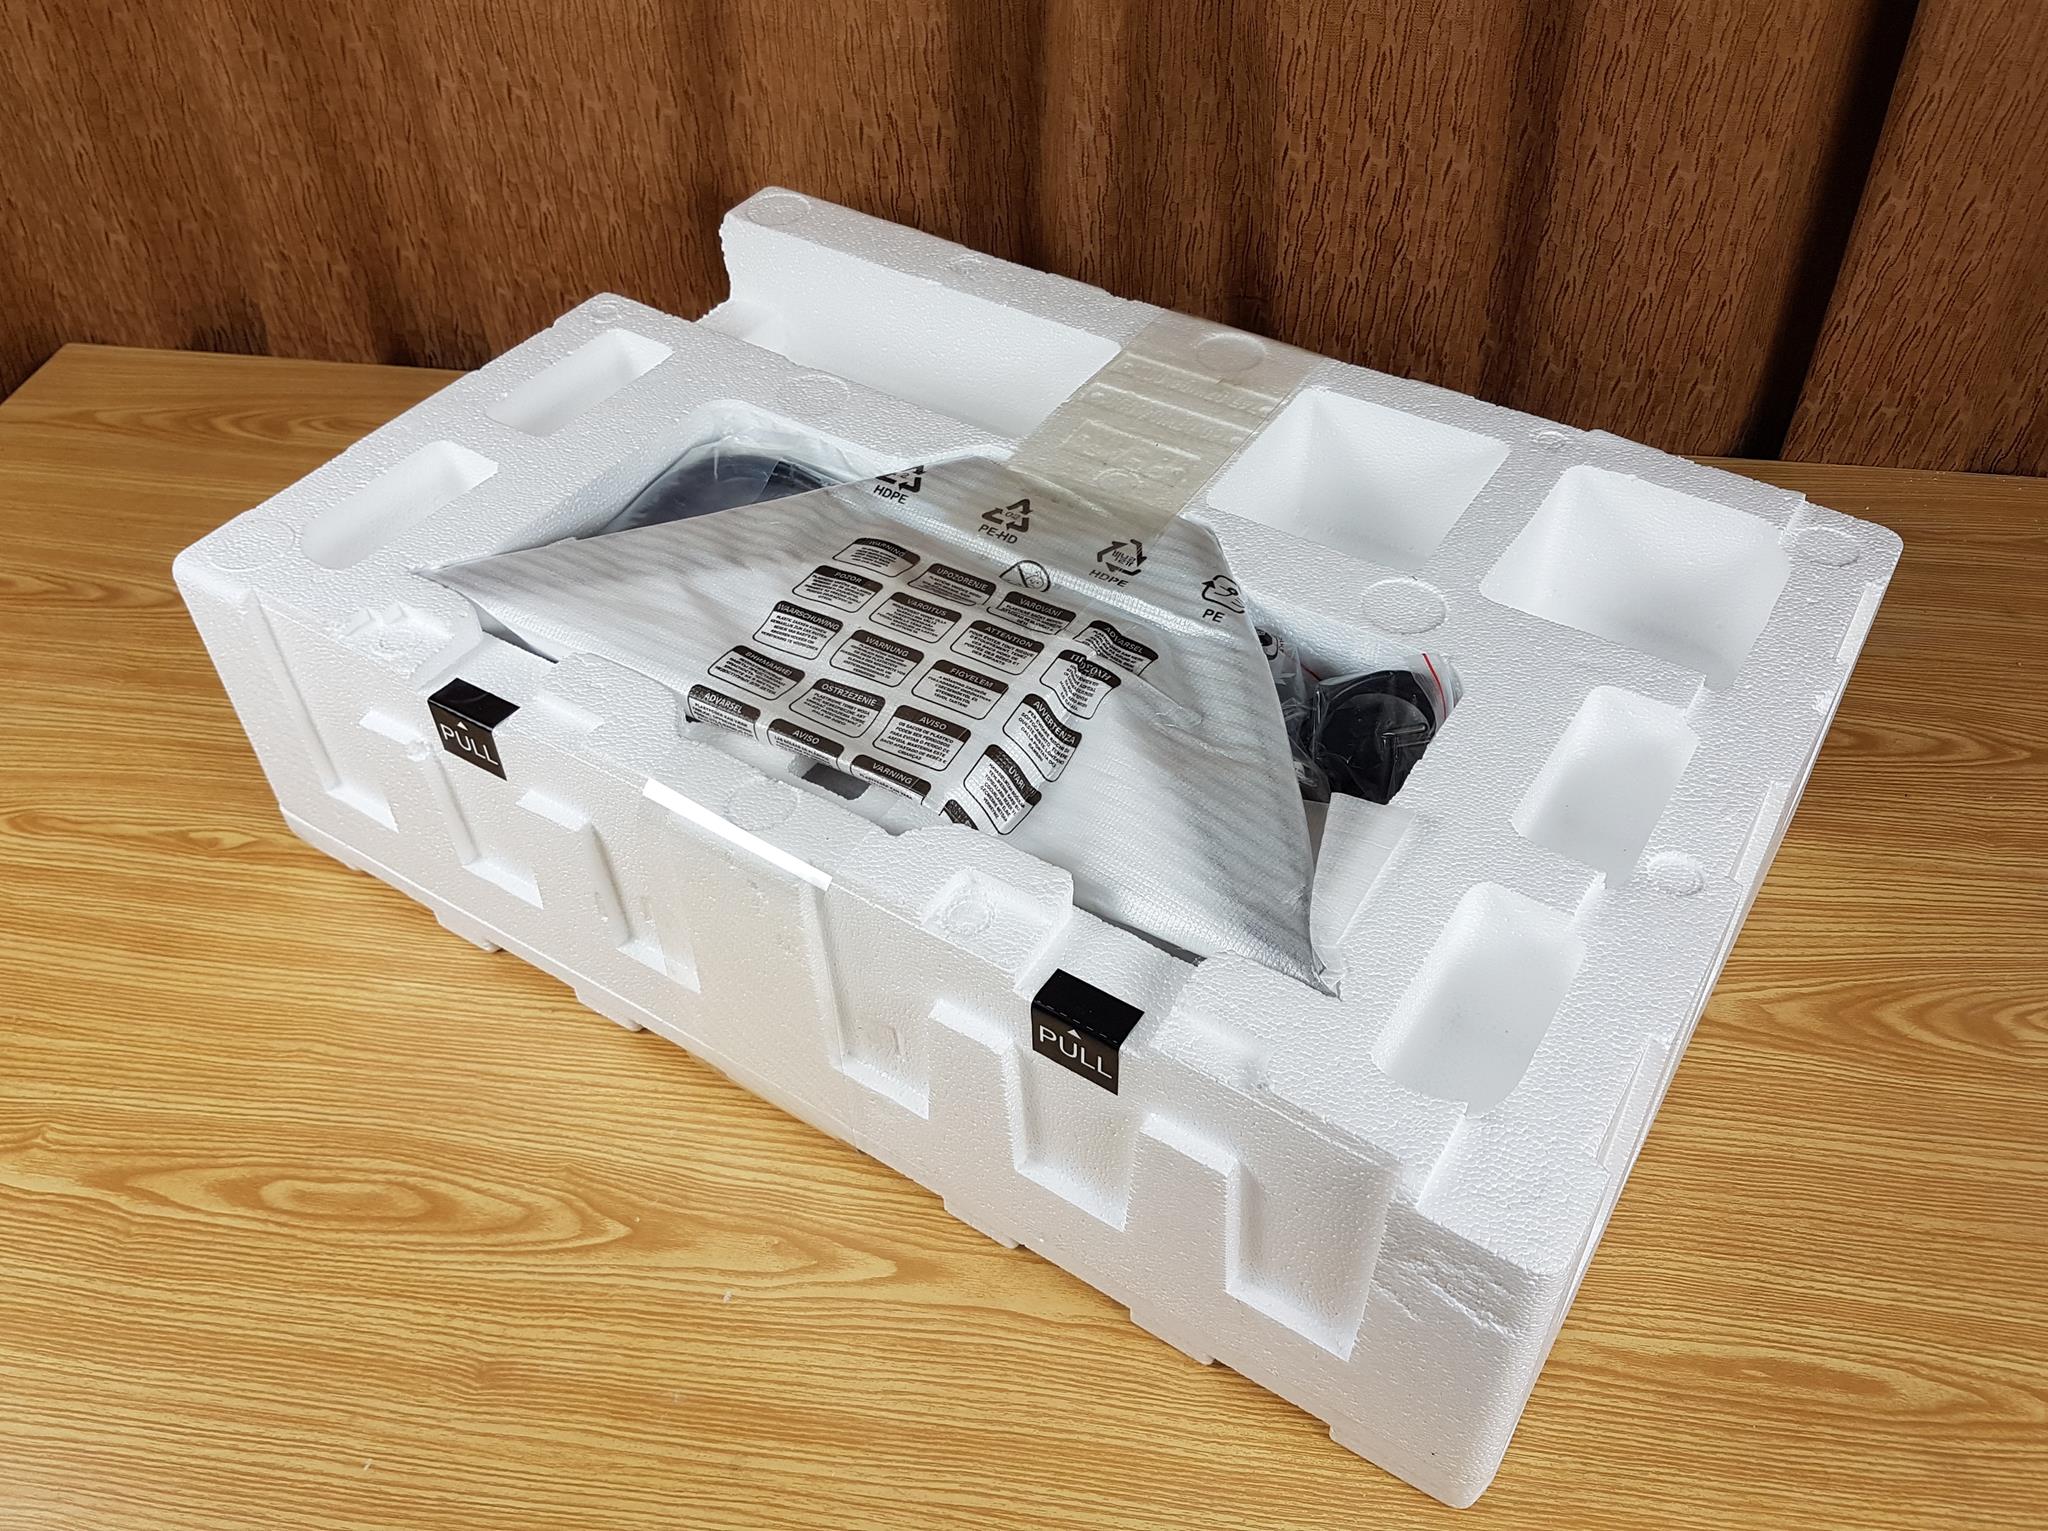
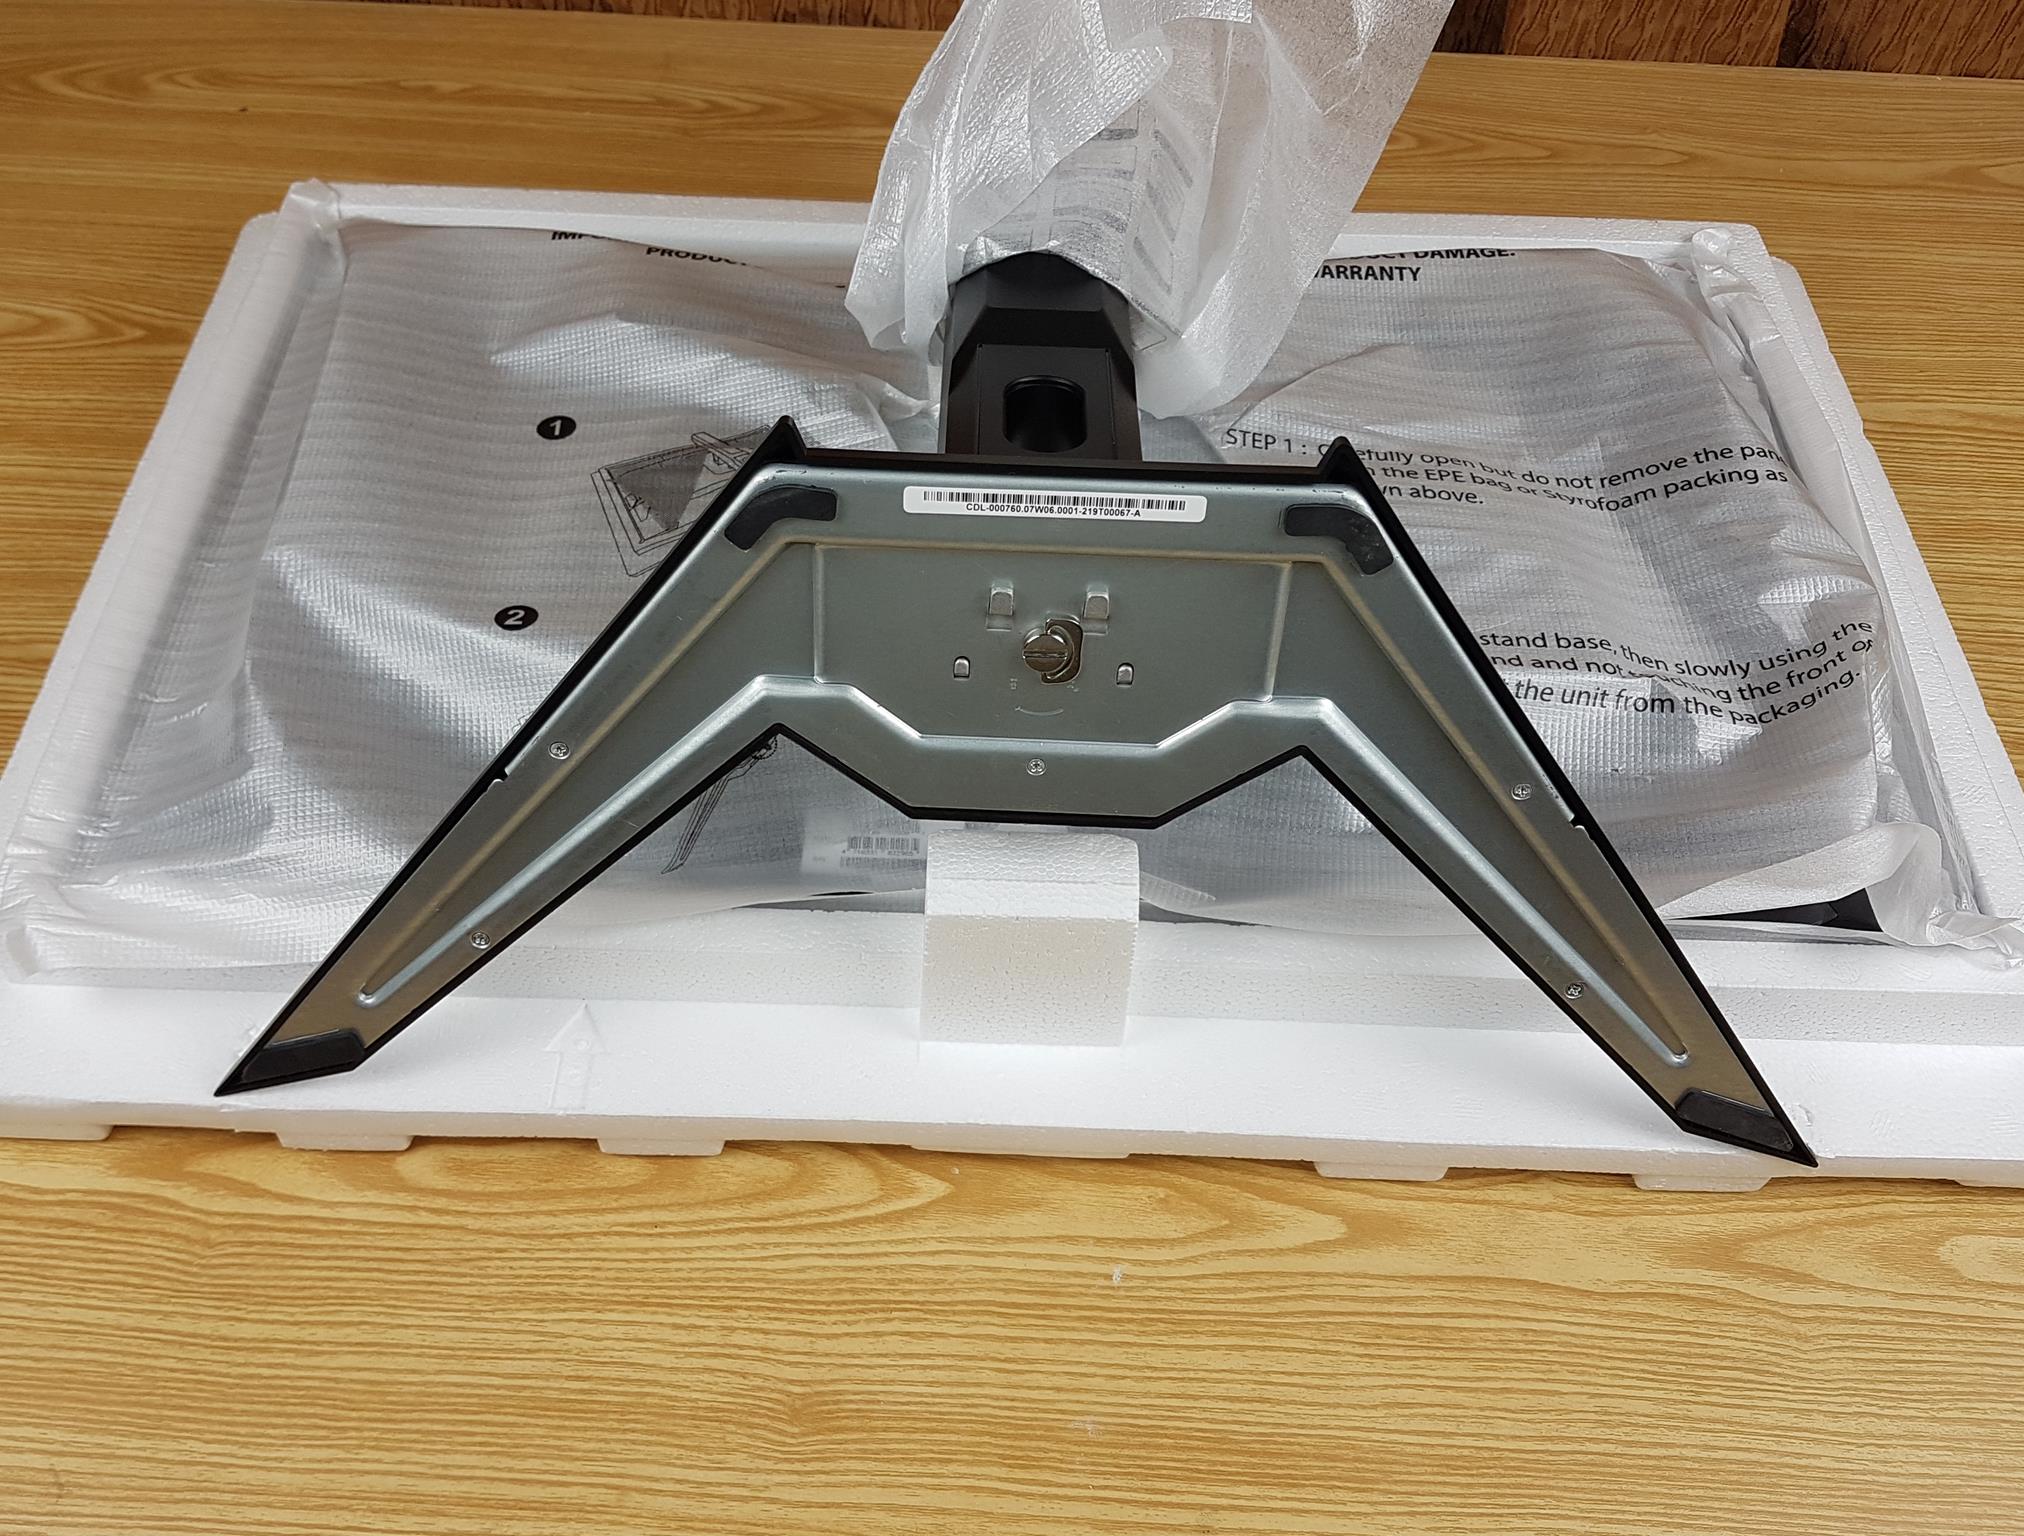
The above picture shows a close-up view of the properly installed stand with the monitor. The raised tabs are inserted in the cutouts, whereas the lockers are passed through the cutouts and are in the locking position. There is a head on the screw which can be used to tighten the screw. There is an arrow symbol showing the direction in which the screw can be rotated to install or remove the stand. The above picture shows the monitor with the screen still covered. The safety caution is printed on the bag.
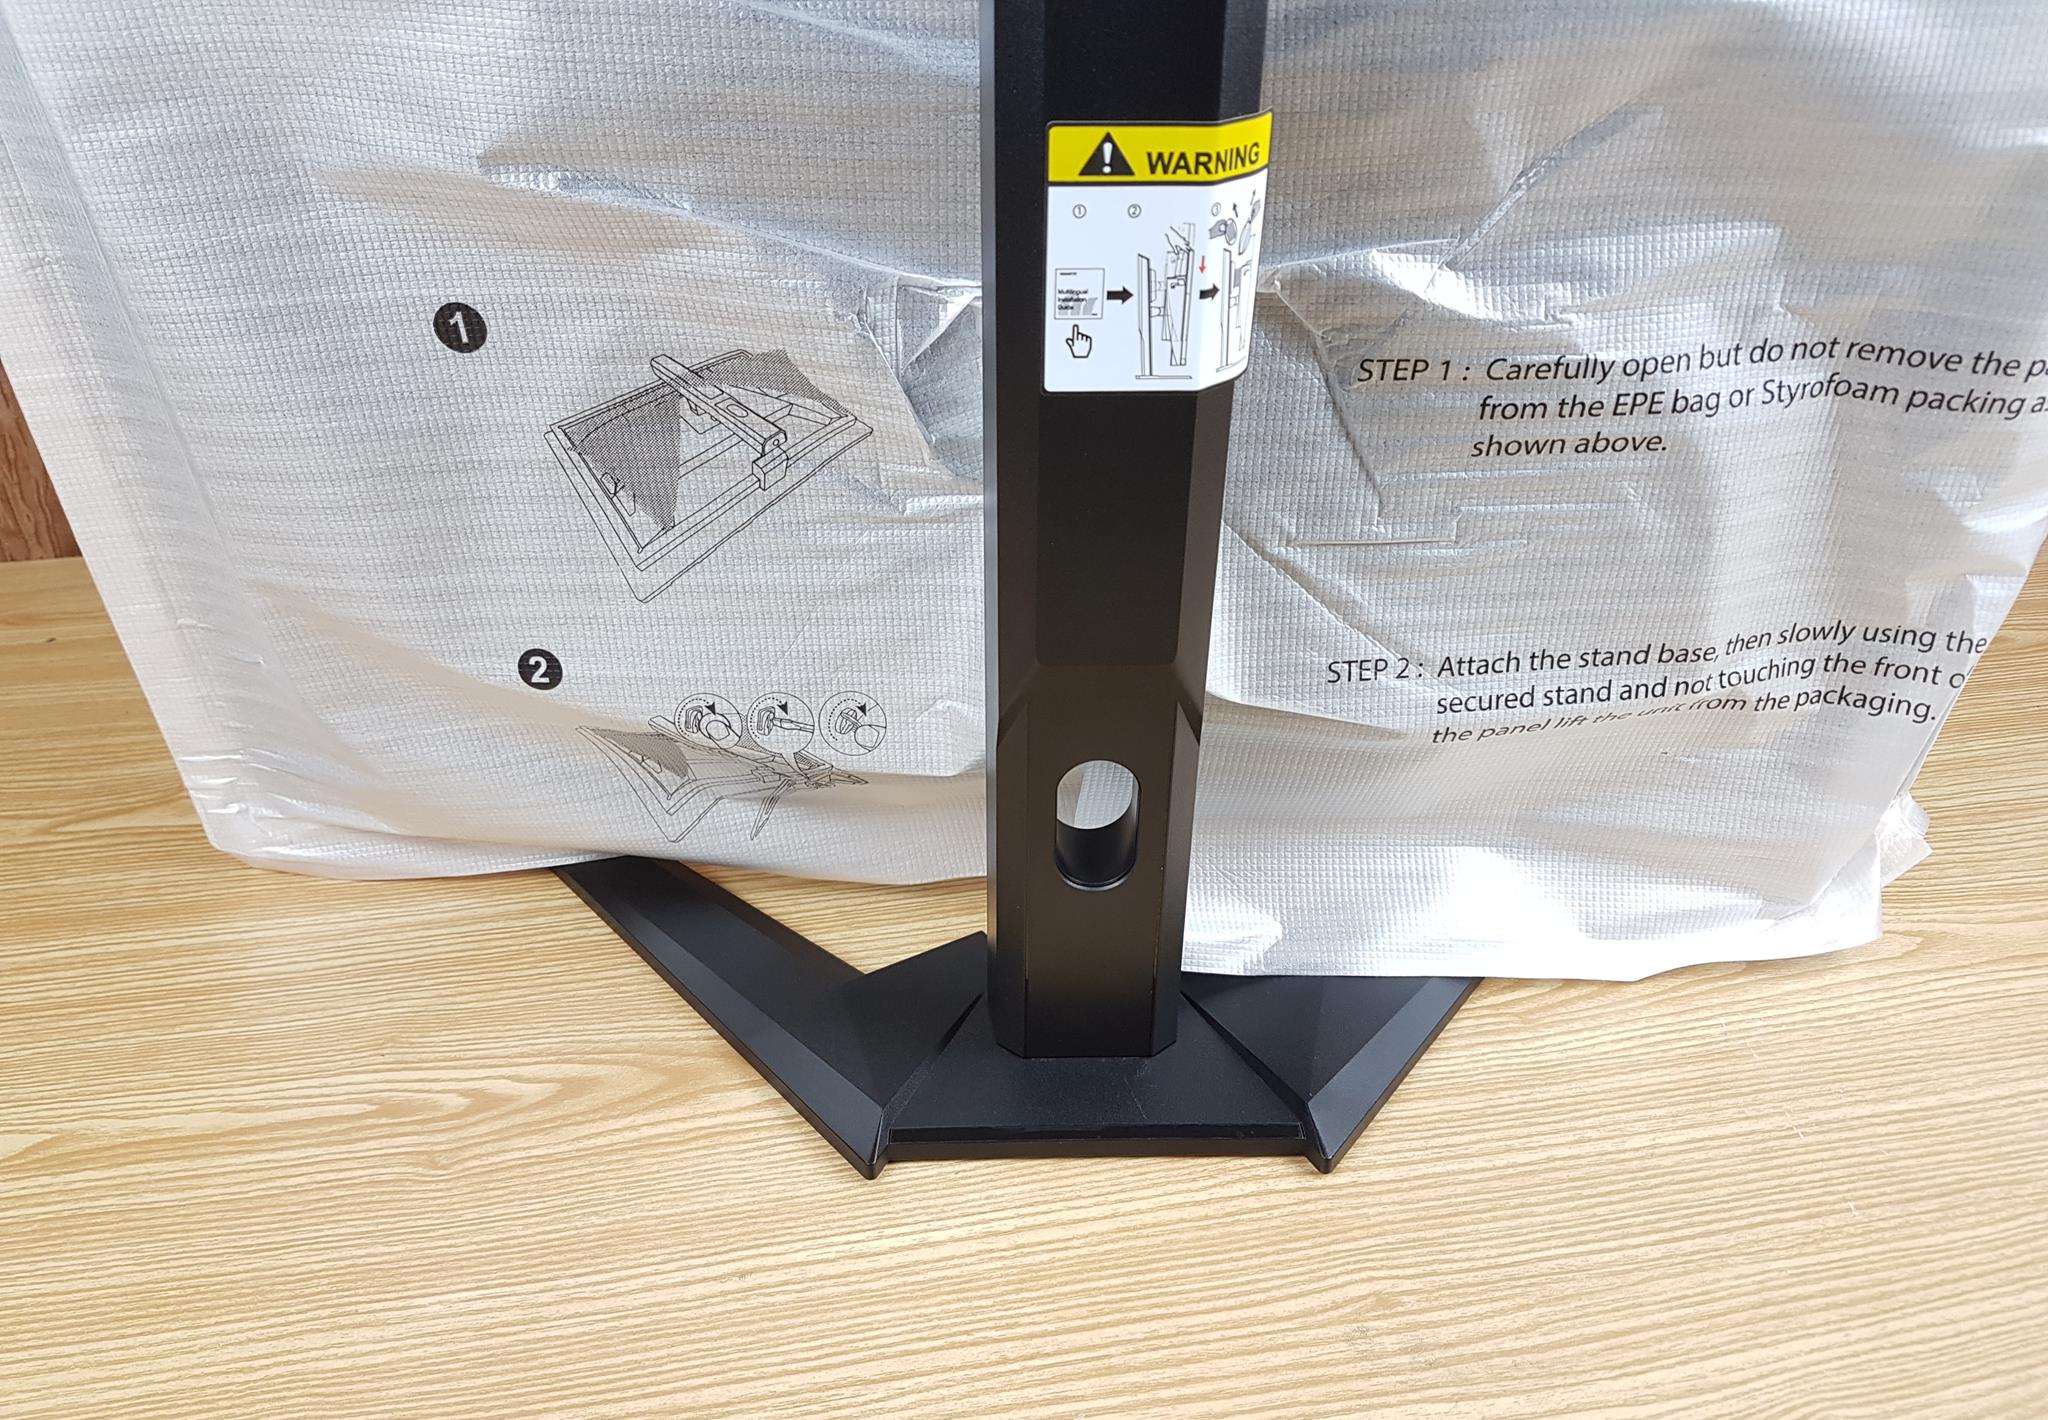
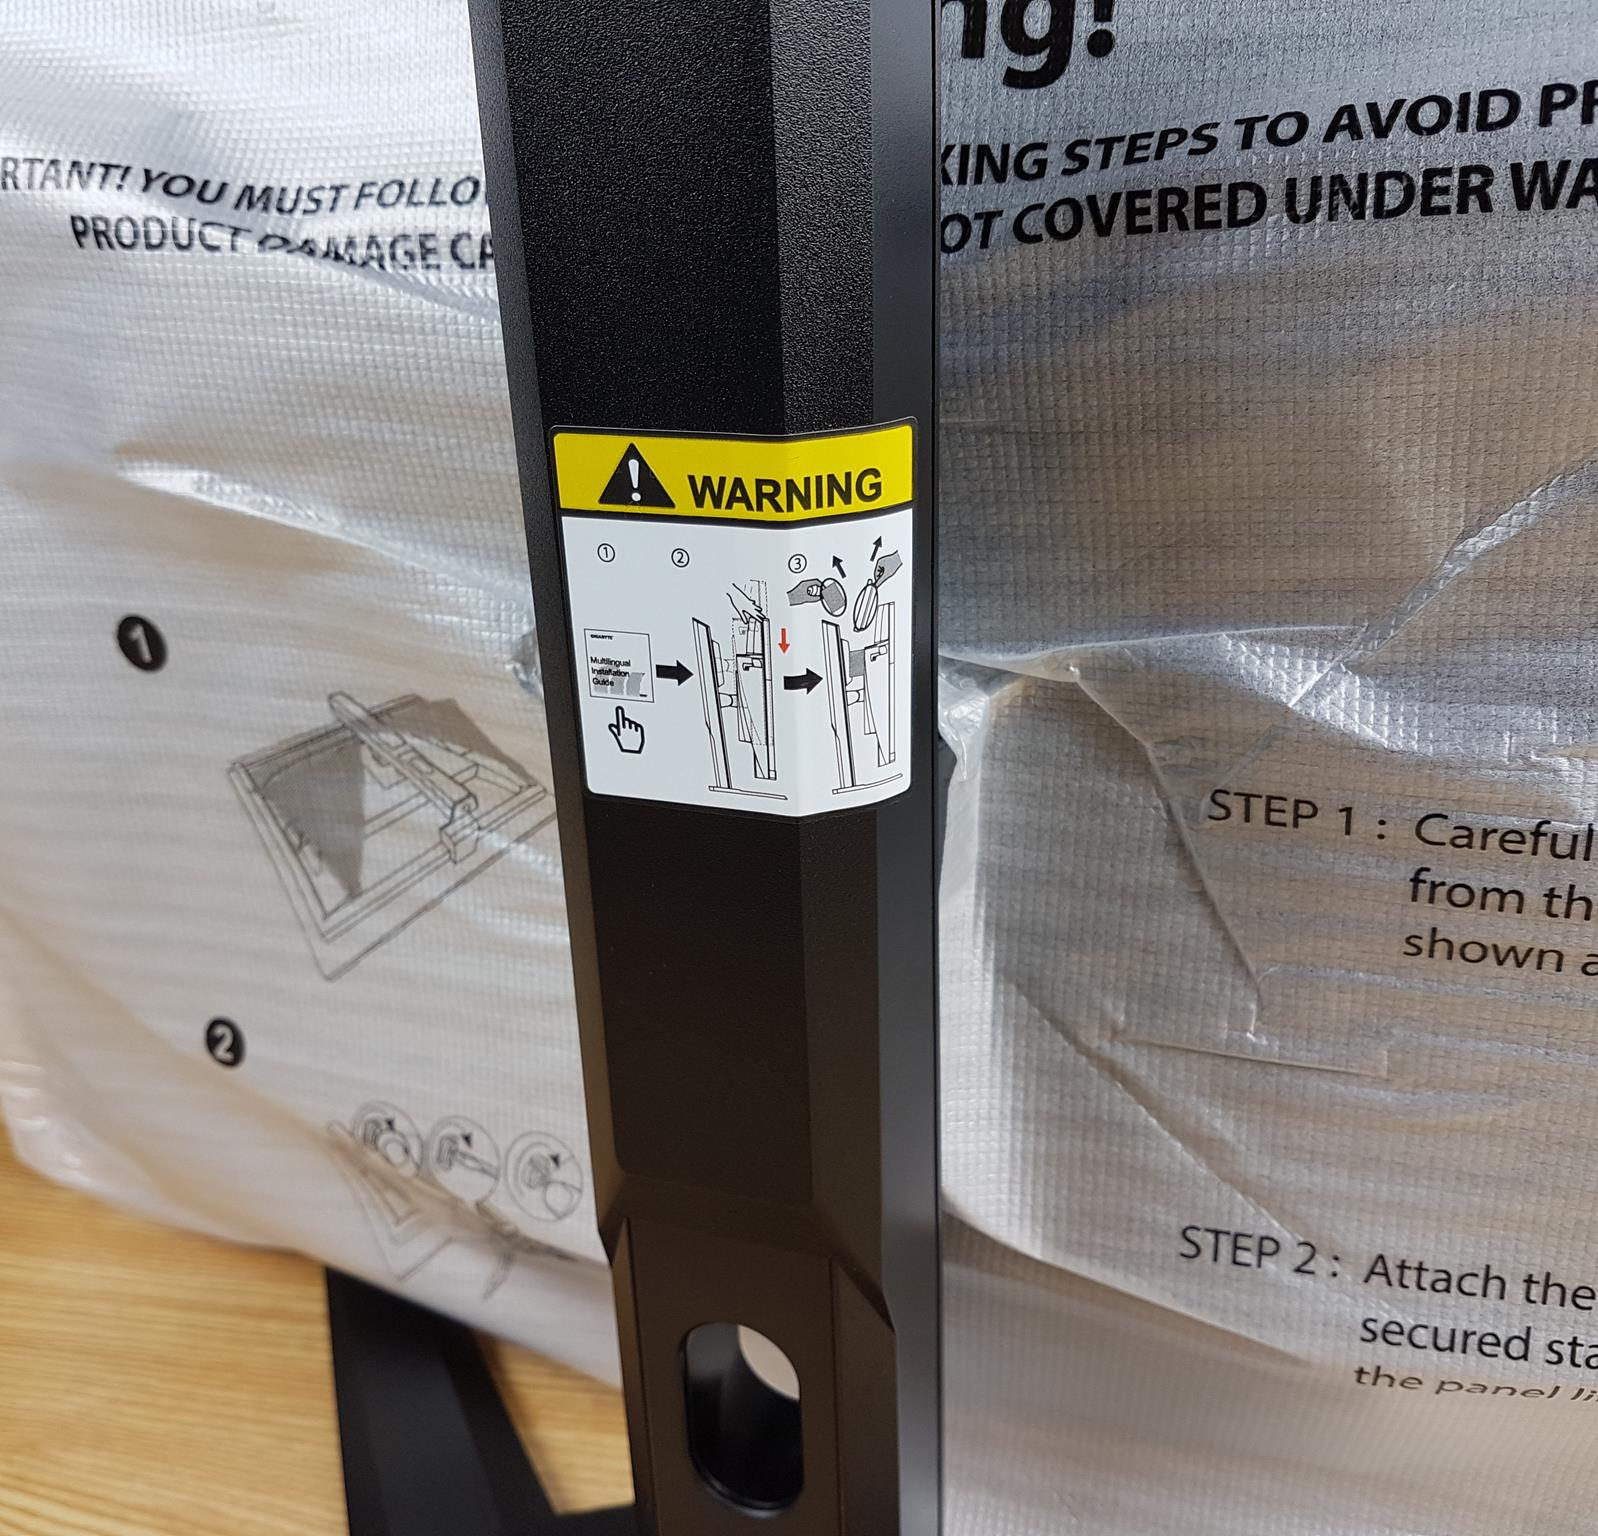
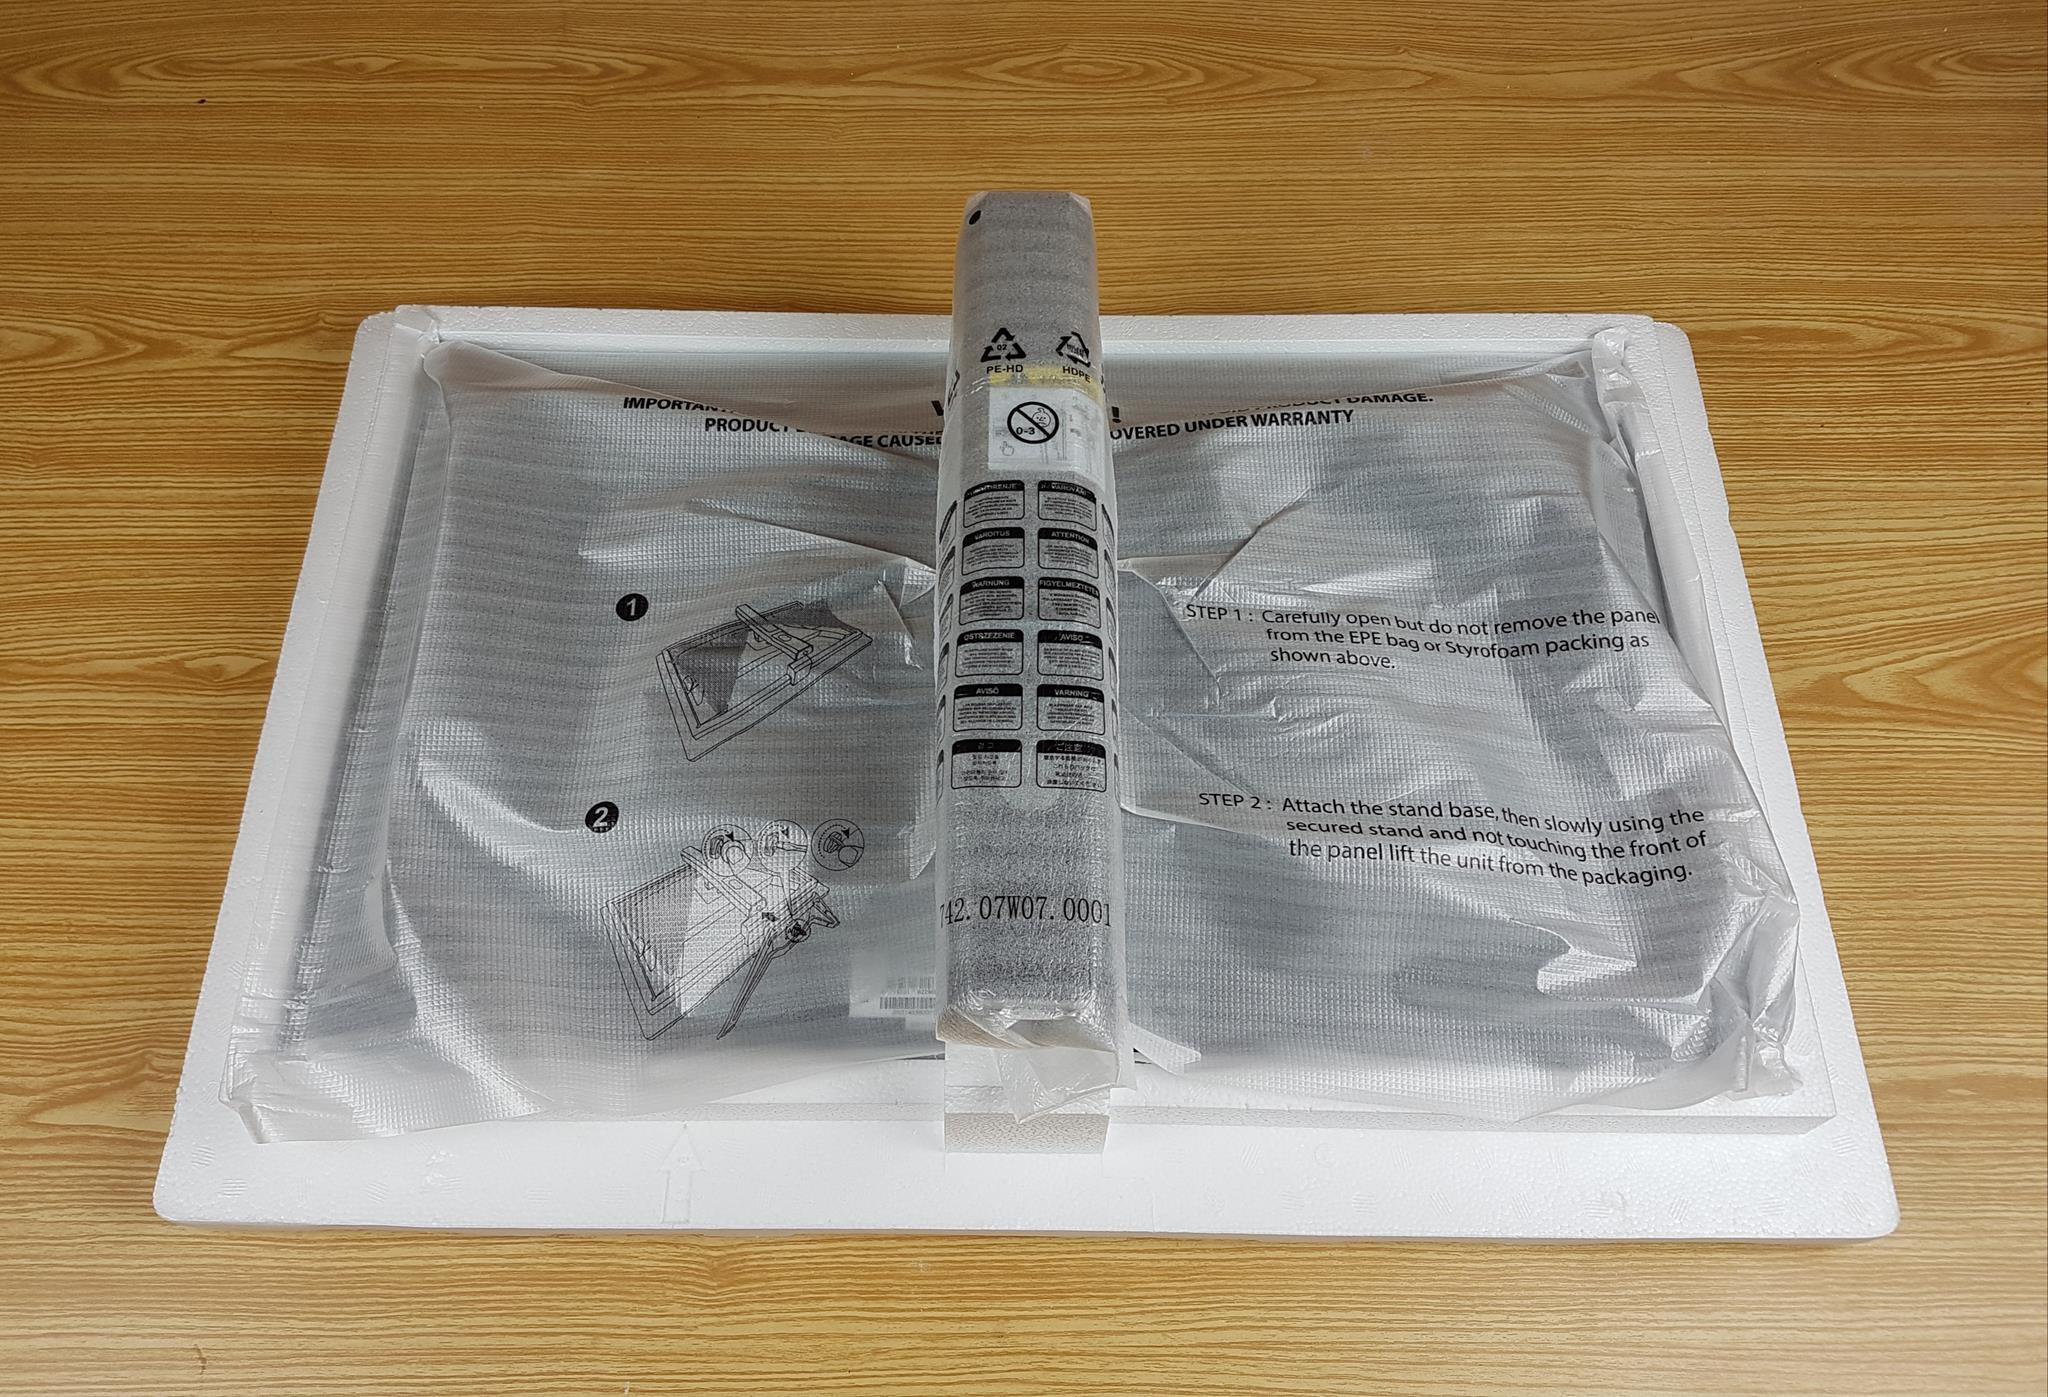
The above picture shows the backside view of the monitor with the protective bag still on. There are two pictures with text to help the user properly install the stand base on the monitor. The next picture shows a close-up of the stand label. The user must remove the protective foam between the stand and the monitor.
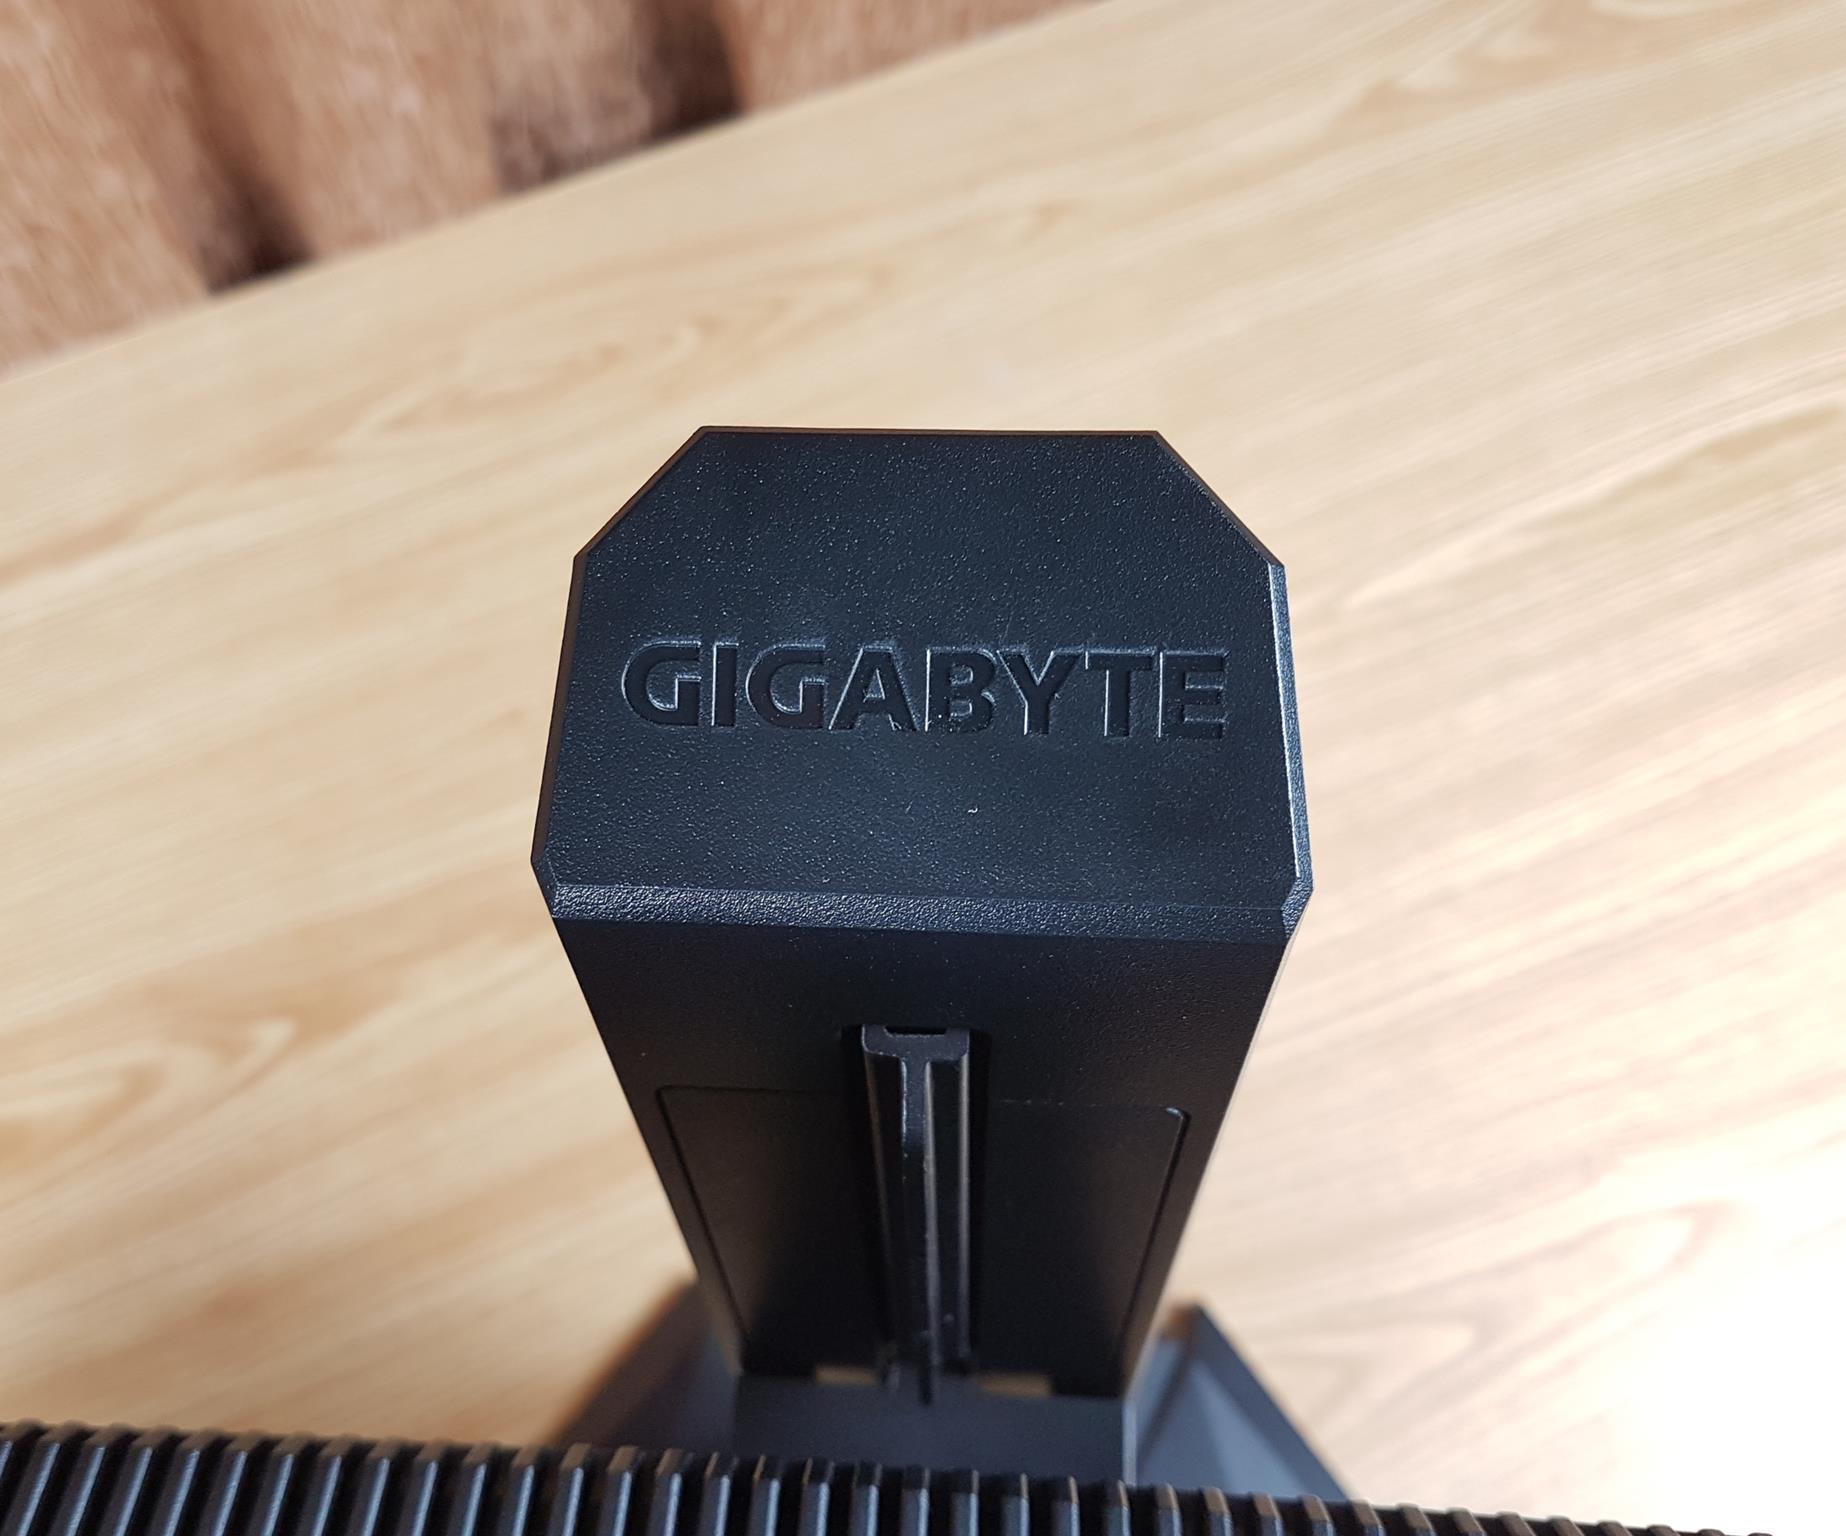
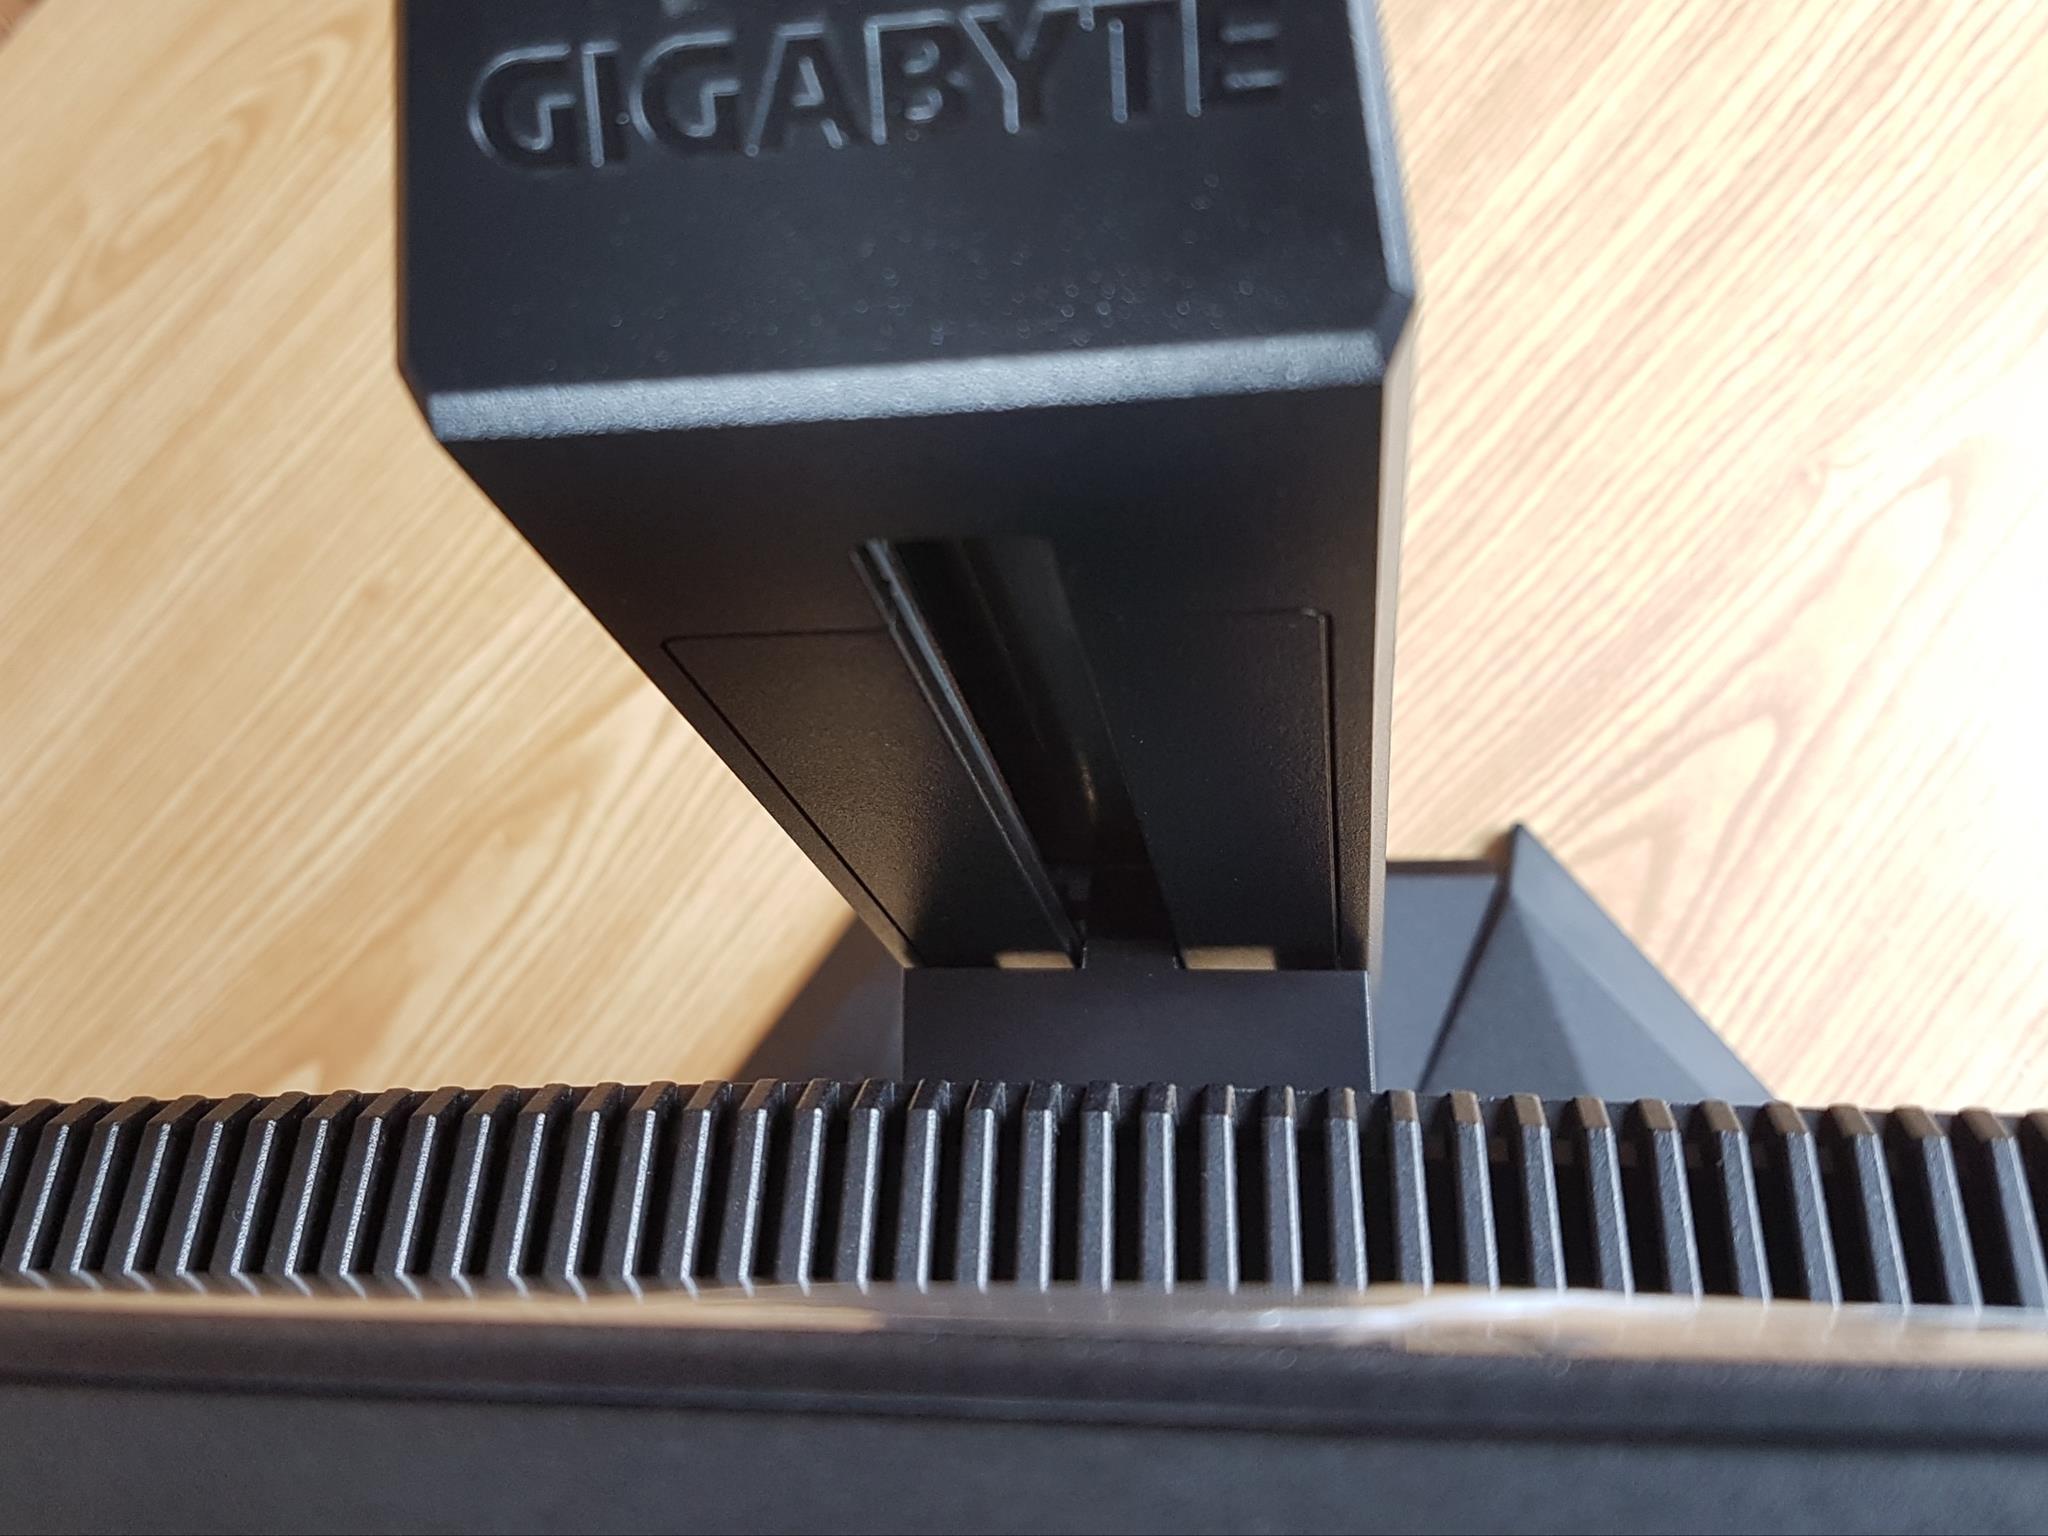
There is a GIGABYTE branding on the top of the stand. Look closely. You will see a plastic-made dual stick protruding from the stand. This has to be removed as well. This is used for the safe shipping of the monitor as it avoids the movement of the screen on the stand. The second picture shows the stand-inset where the screen can move up and down.
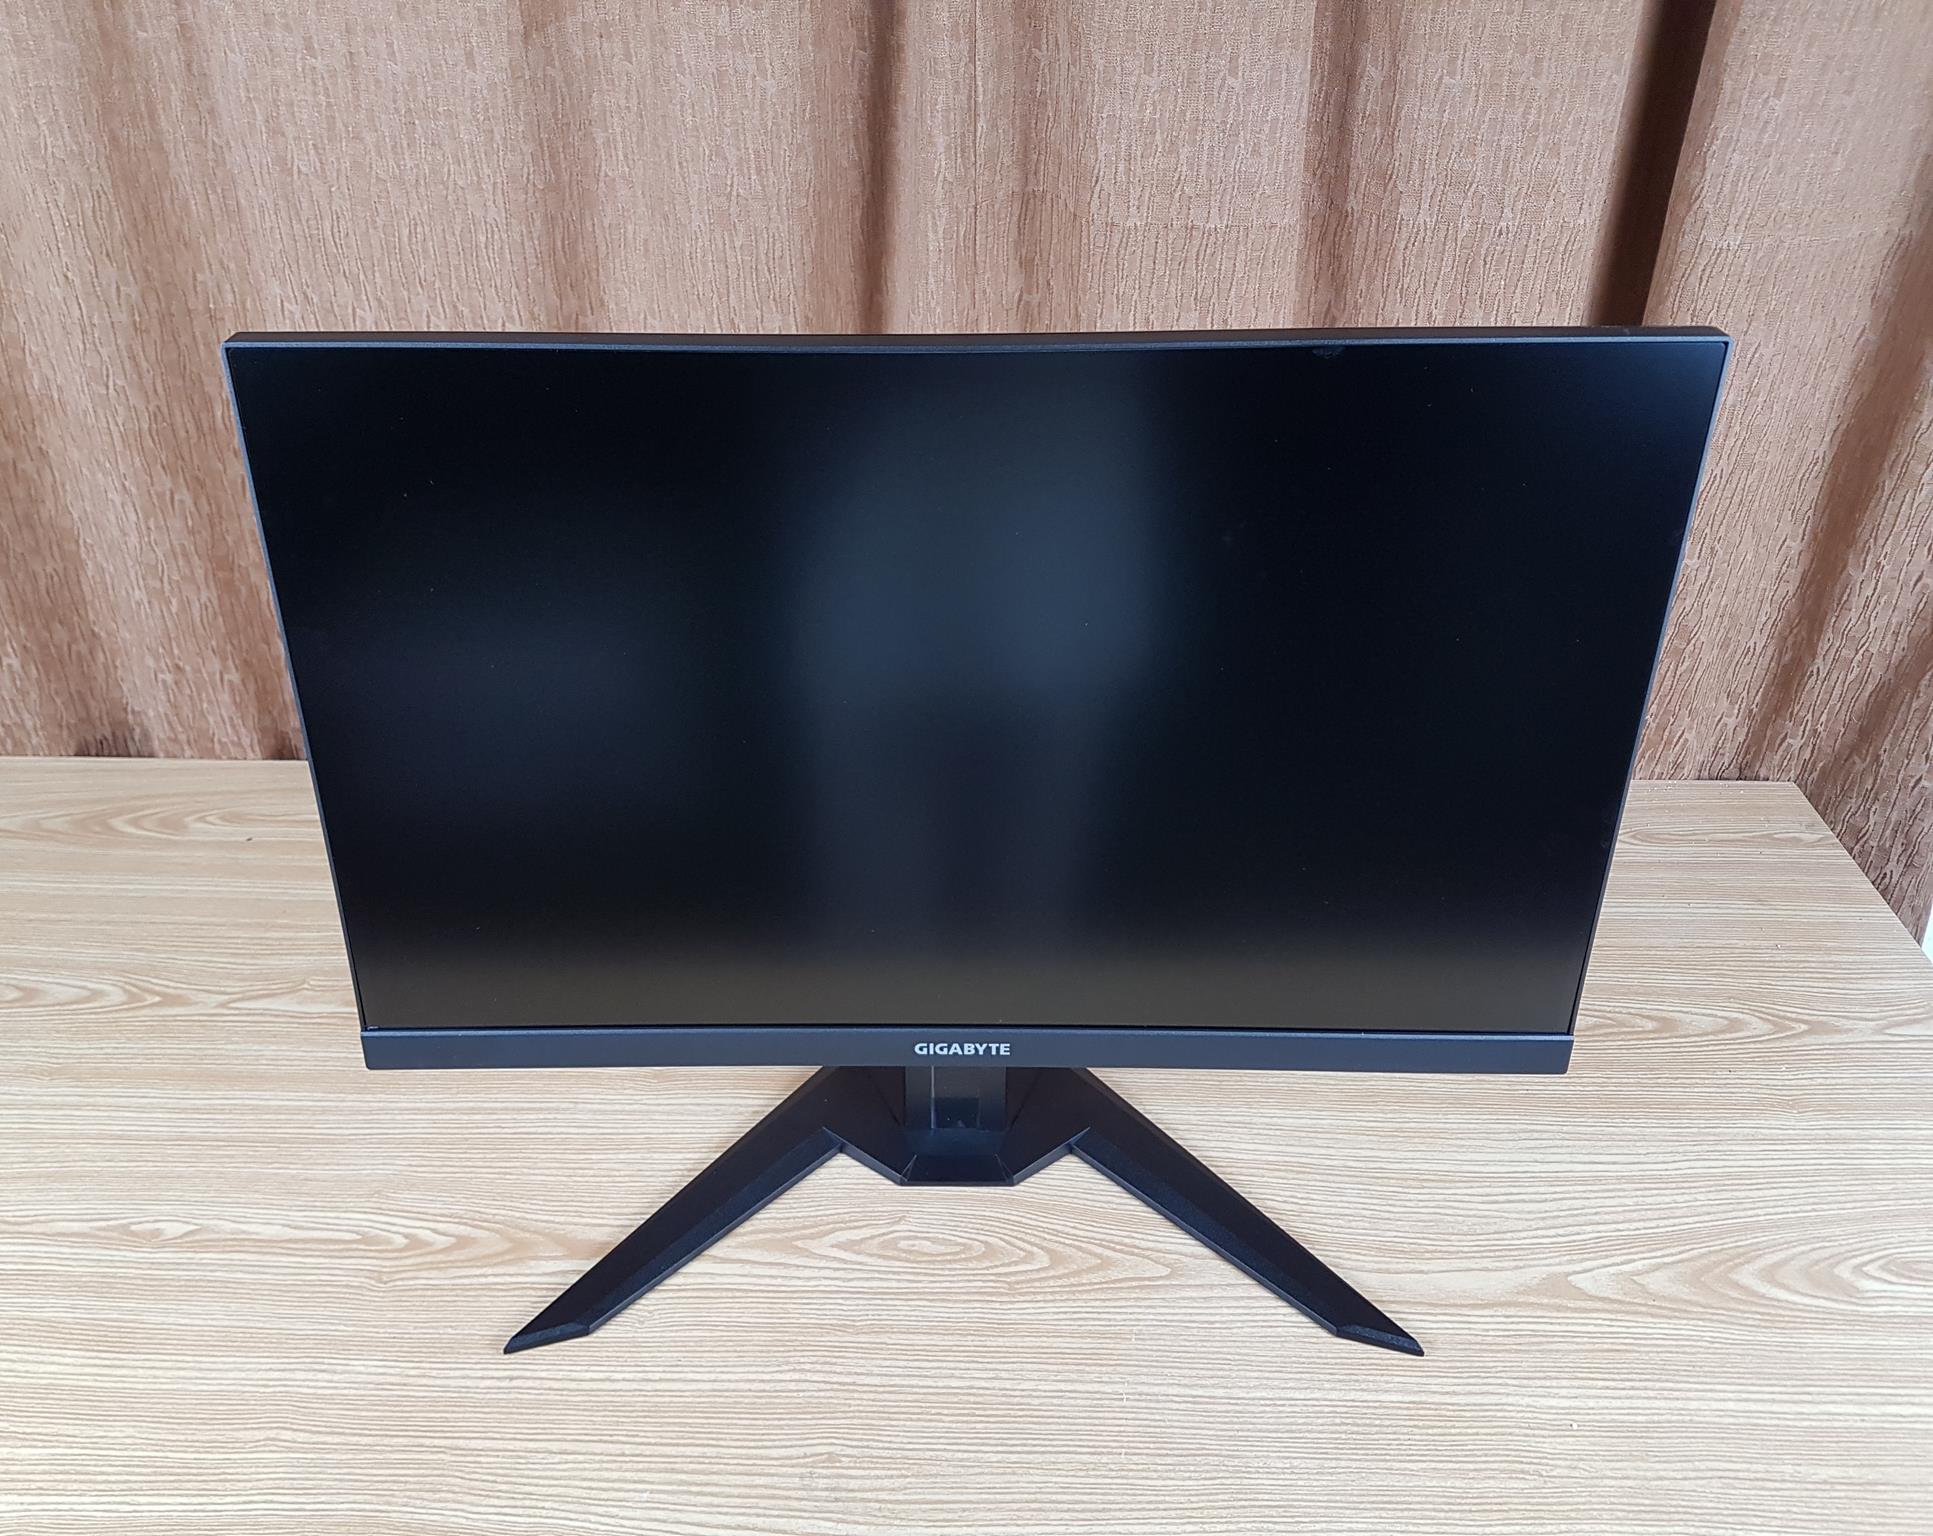
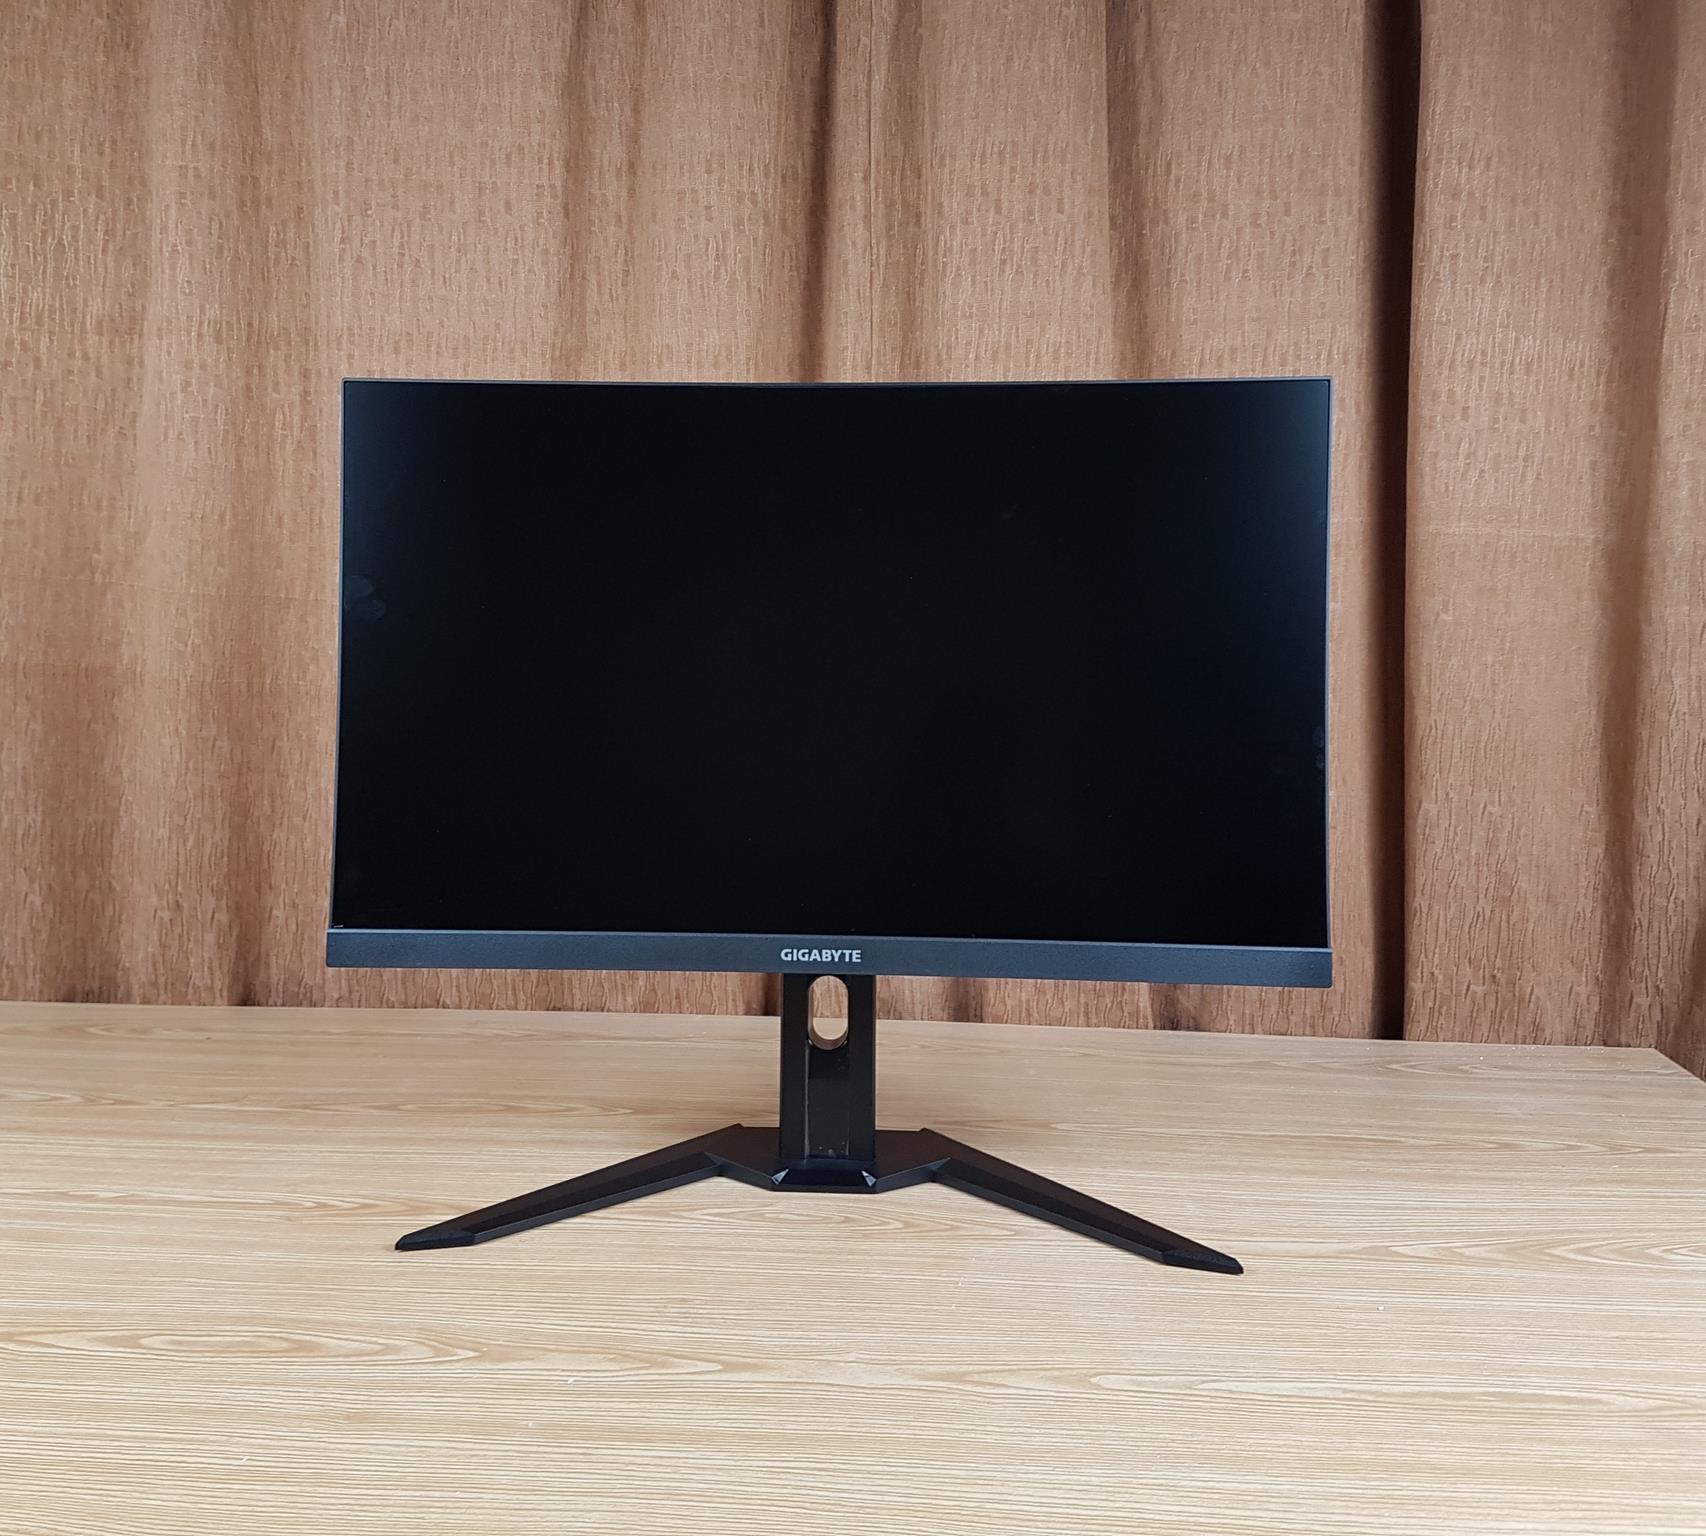
The above picture shows the fully assembled and ready monitor. We have an elegant and stylish look on the monitor. The design outlook of the stand base looks better in this position. However, if the screen is moved down fully, it may look odd, though I doubt that a much lower height adjustment would be needed anyway.
The GIGABYTE M27Q P features a 27” LG SS IPS panel with 400 cd/m² brightness and 1000:1 contrast. Notably, it covers blacks well for an IPS display, with 98% DCI-P3 color saturation. This 10-bit color monitor with 1ms GTG response time supports basic HDR400 VESA mounting and consumes 28W with a voltage range of 100~240V.
Before moving further, here are the unique features of the monitor:
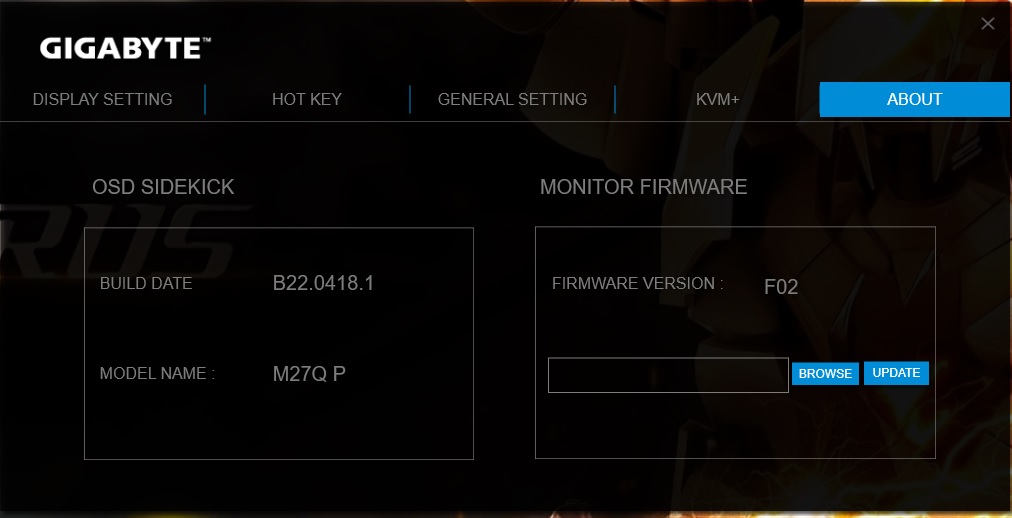
- OSD Sidekick
- Aim Stabilizer Sync
- Black Equalizer
- Dashboard
- Crosshair
- Timer Counter
- PiP/PbP
- Auto-Update
- KVM
- 6-axis Color Control
- Smart OD
- HDMI CEC
- Picture Mode
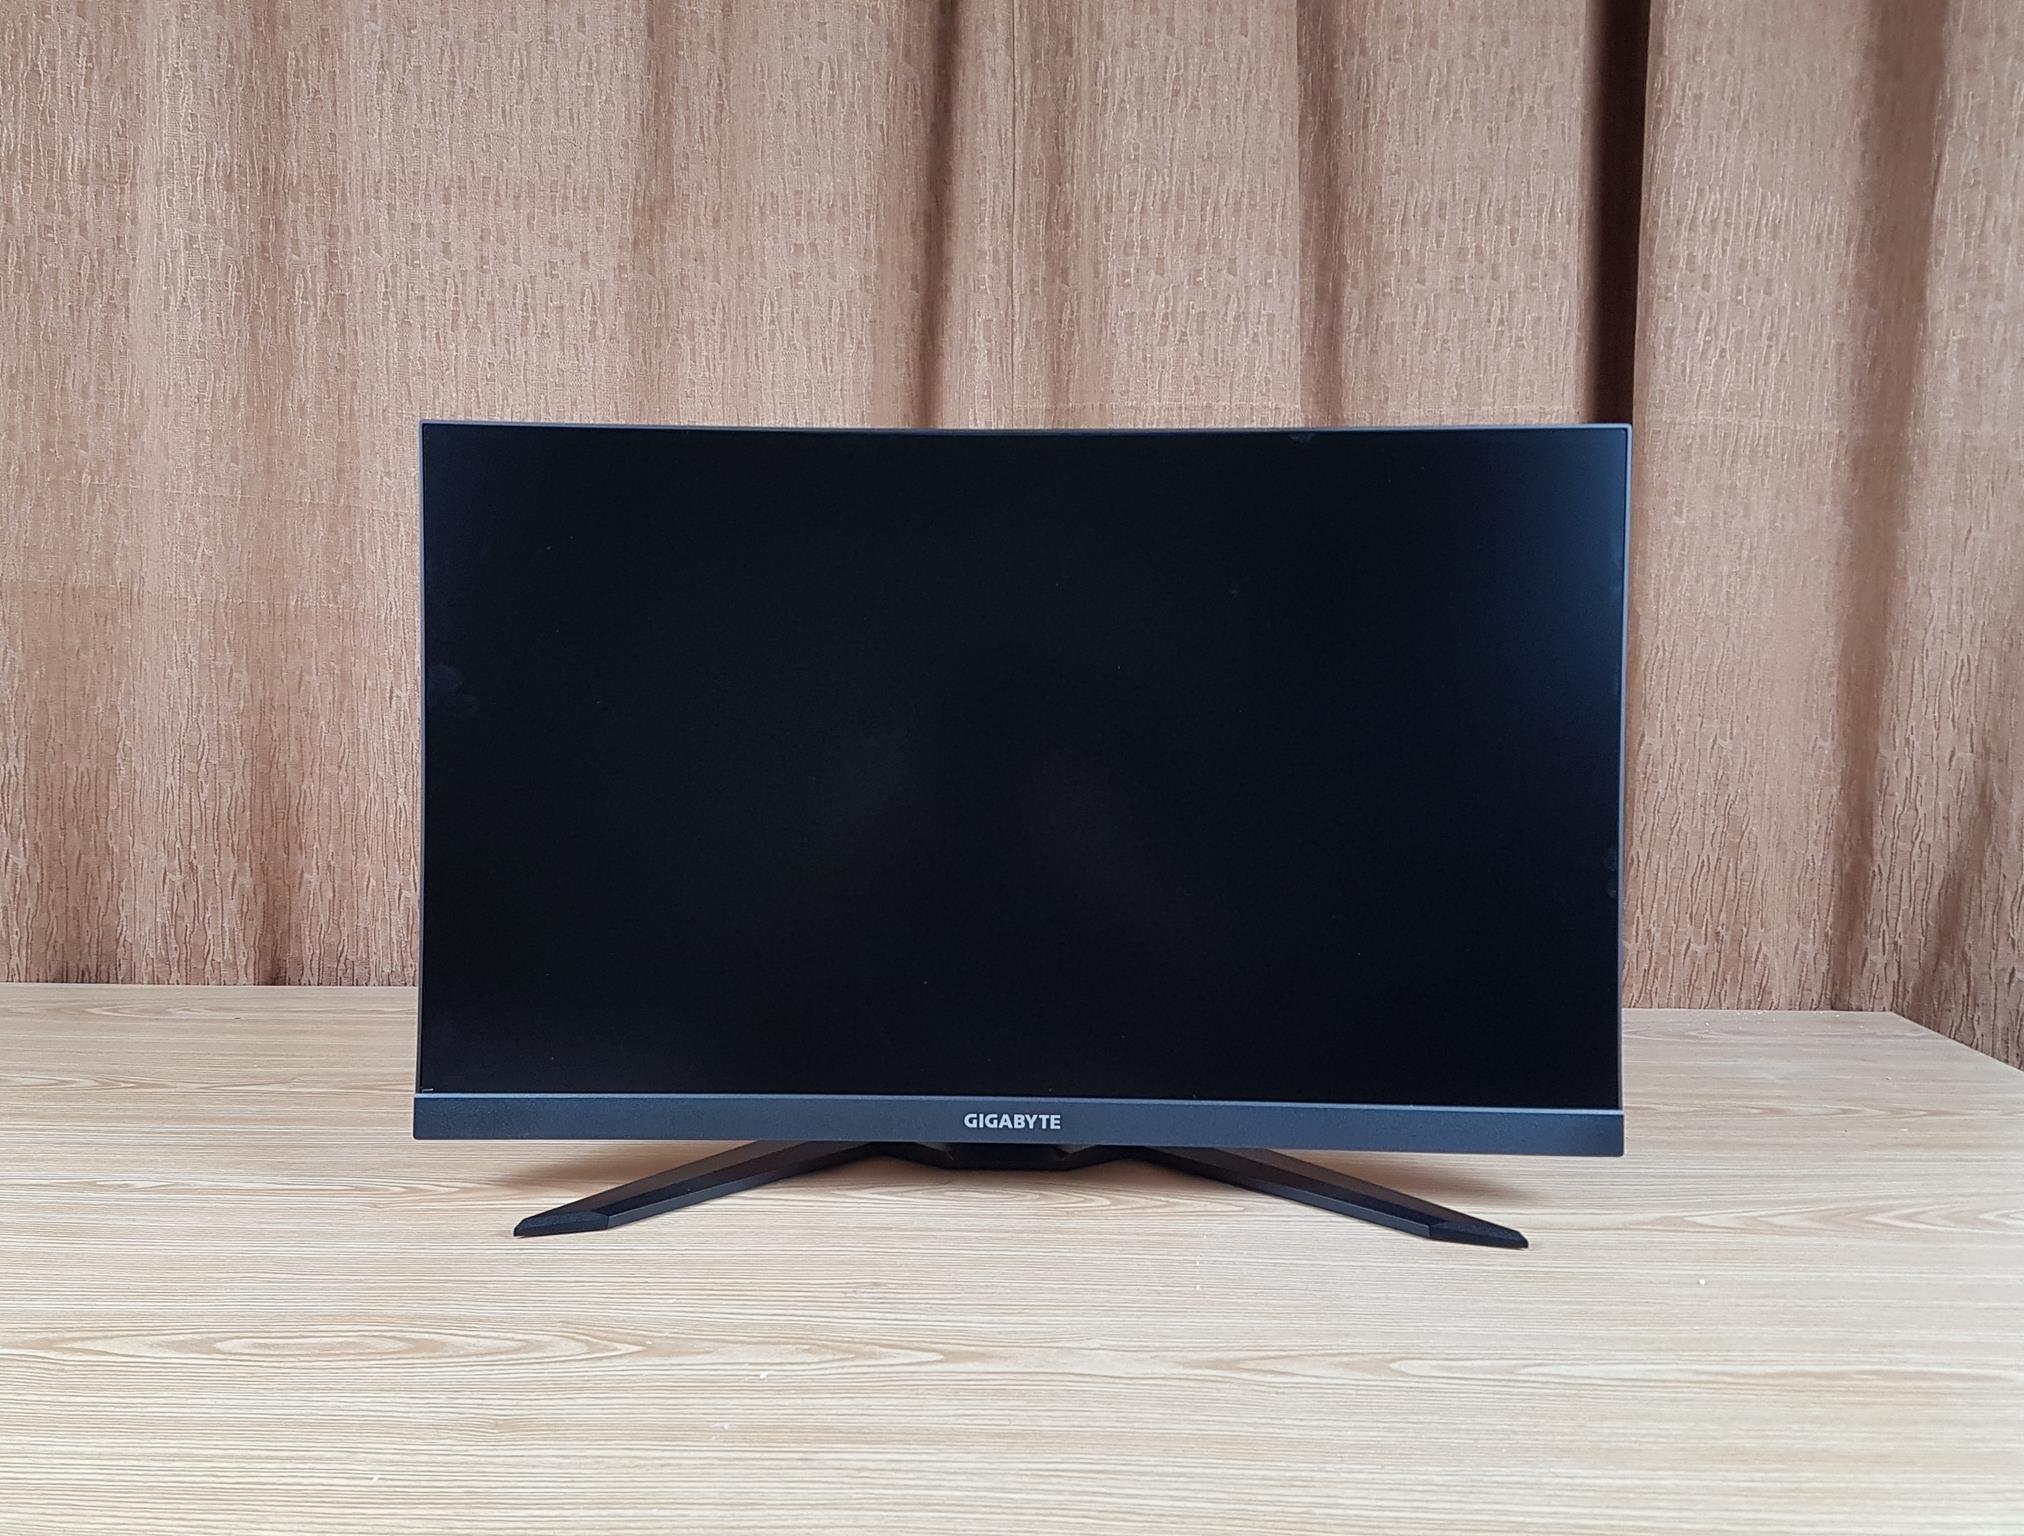
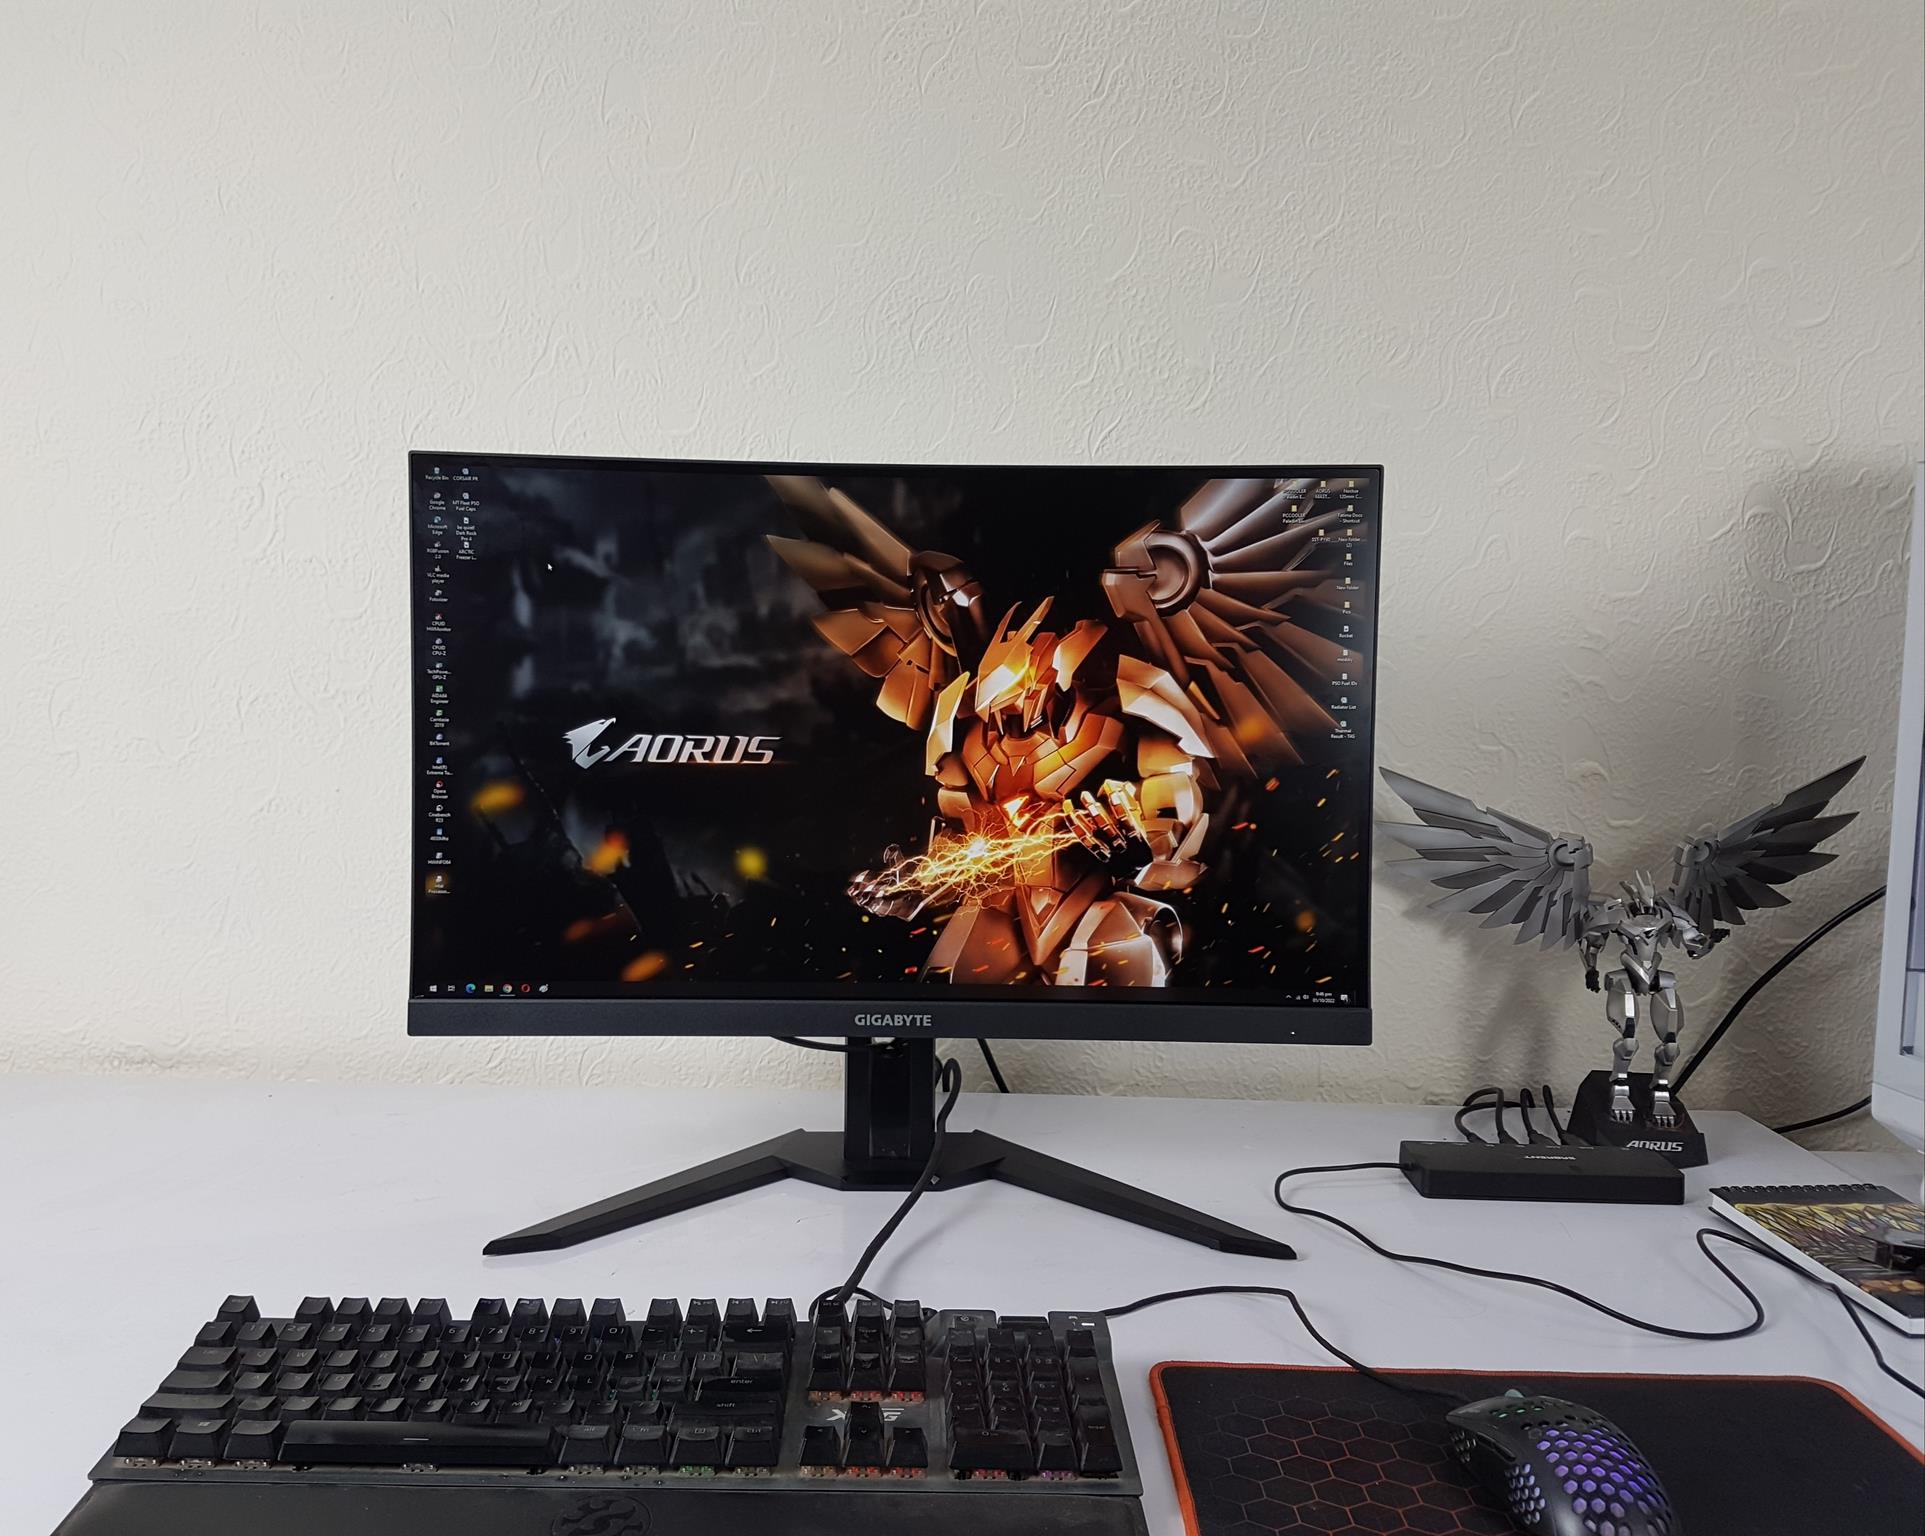
The GIGABYTE M27Q P allows 130mm height adjustment. The above picture shows the monitor at its full height. There is a GIGABYTE branding on the base of the display. The overall looks are quite pleasing and elaborative. GIGABYTE has done a good job. The screen is black all around. The screen can easily catch fingerprints upon touching it, so handle it carefully.
The dimension of the monitor without the stand is 615.7×371.15×59.9mm. The dimension of the stand is 615.7×517.49×229.3mm. The net weight without a stand is 4.9 kg. It is 7.6 kg with a stand. The above picture shows the monitor at its lowest height. The stand base gives away the monitor with a slight margin at this height.
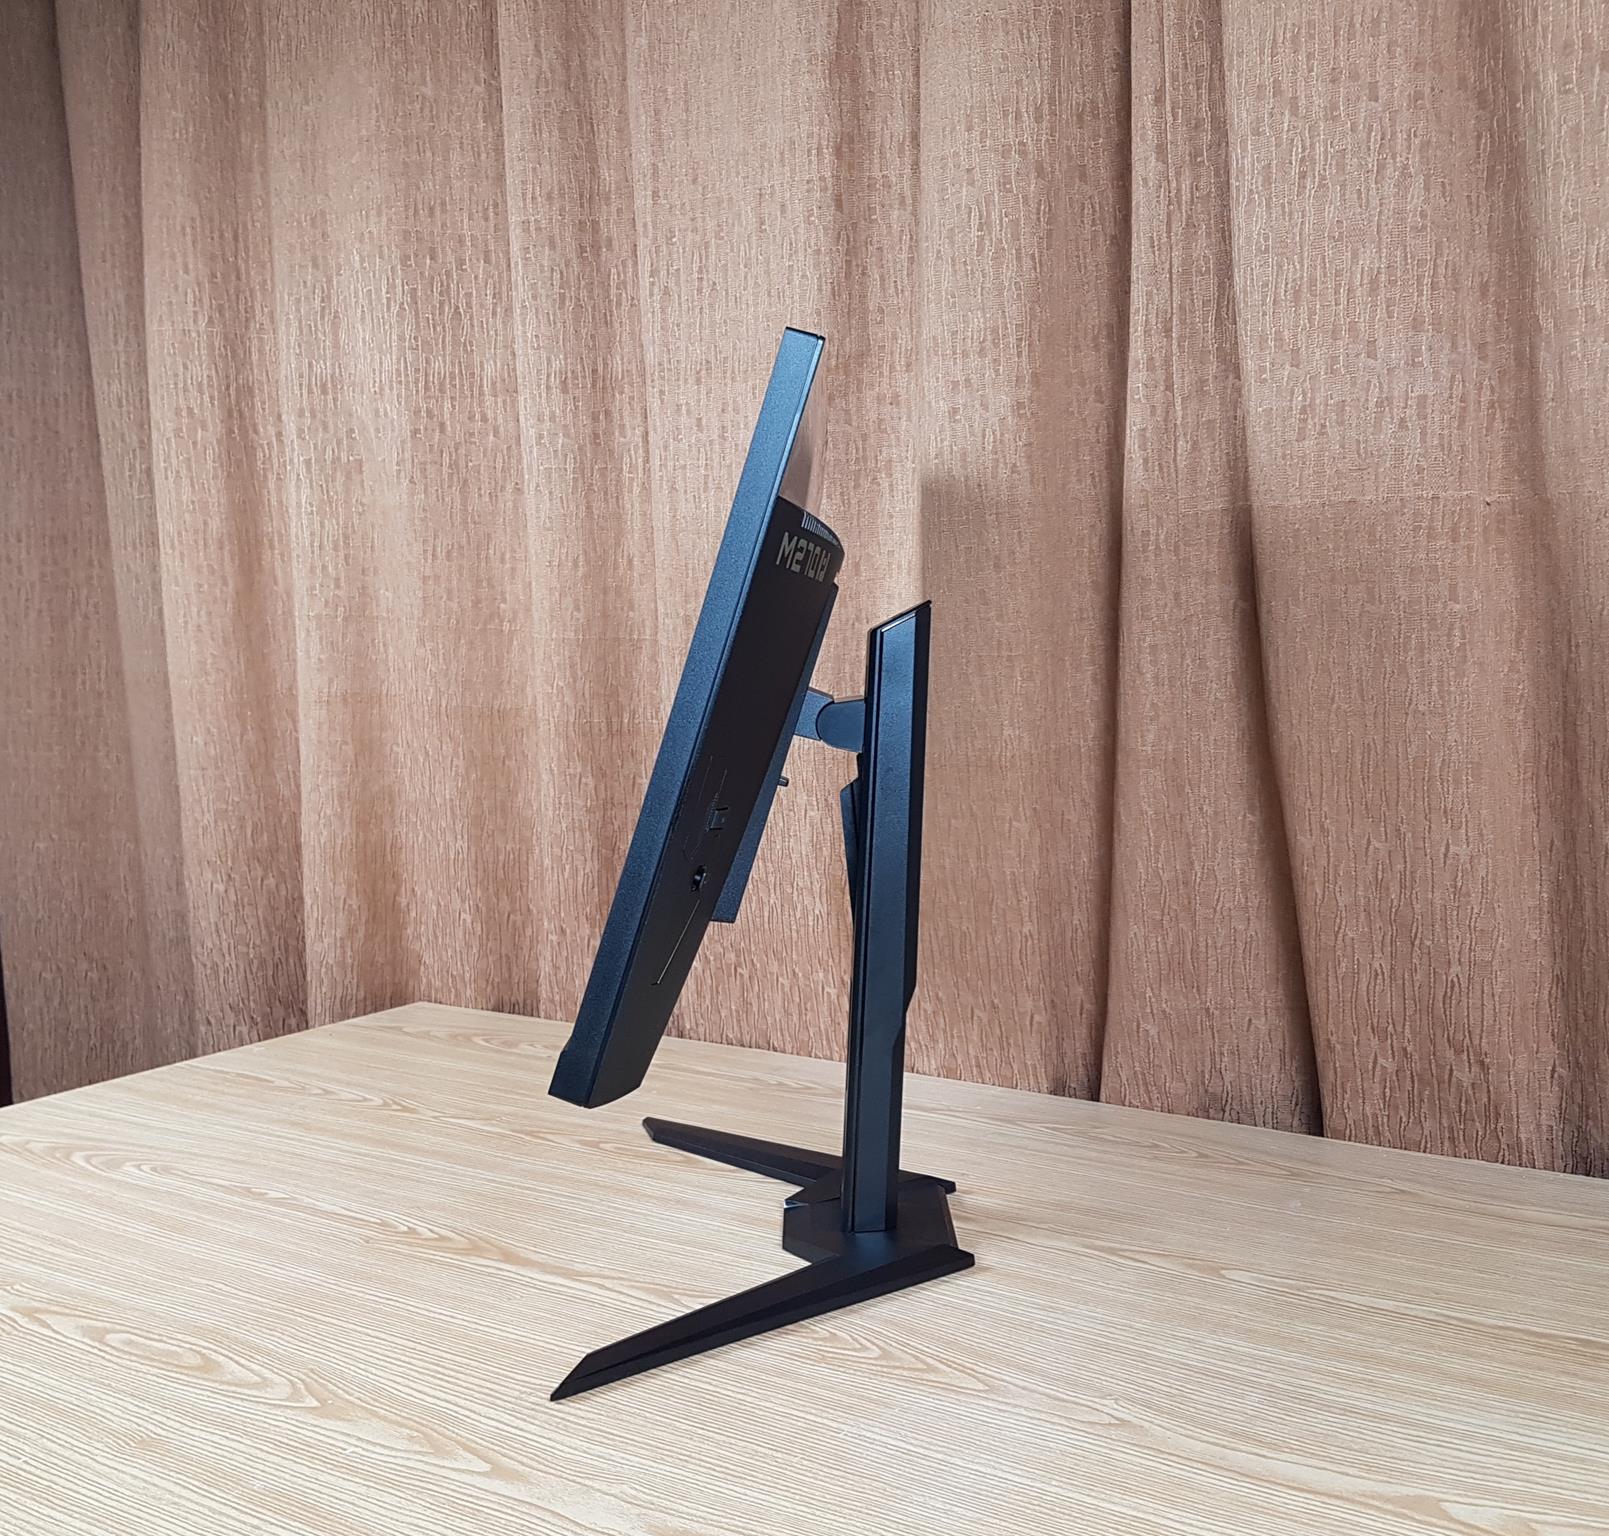
The above and below pictures show the range of Tilt movement that this monitor supports. Its range is -5°~+20°. A tilt range with height adjustment will do the most for the users.
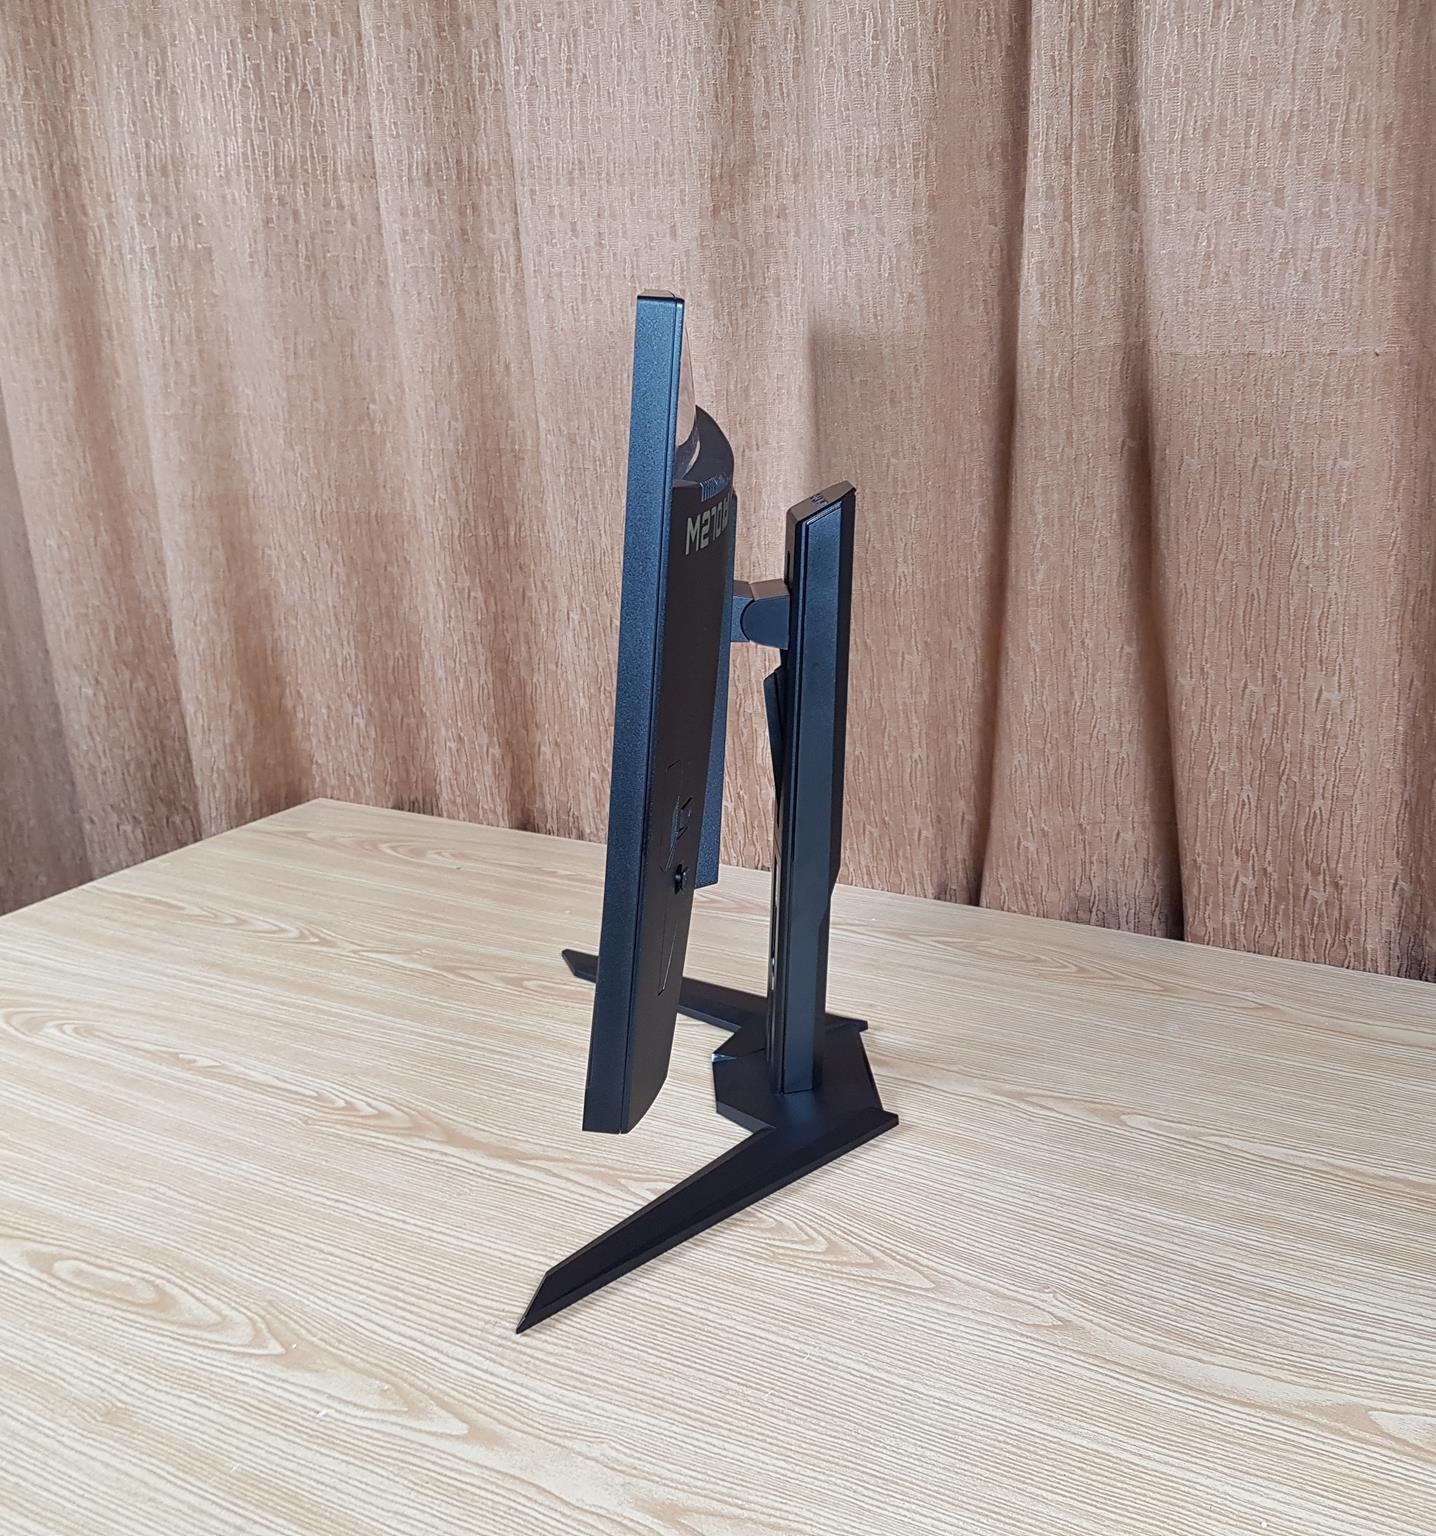
Unfortunately, this monitor does not support pivoting and Swiveling. In other words, we can’t rotate the monitor (no angle control and no direction control).
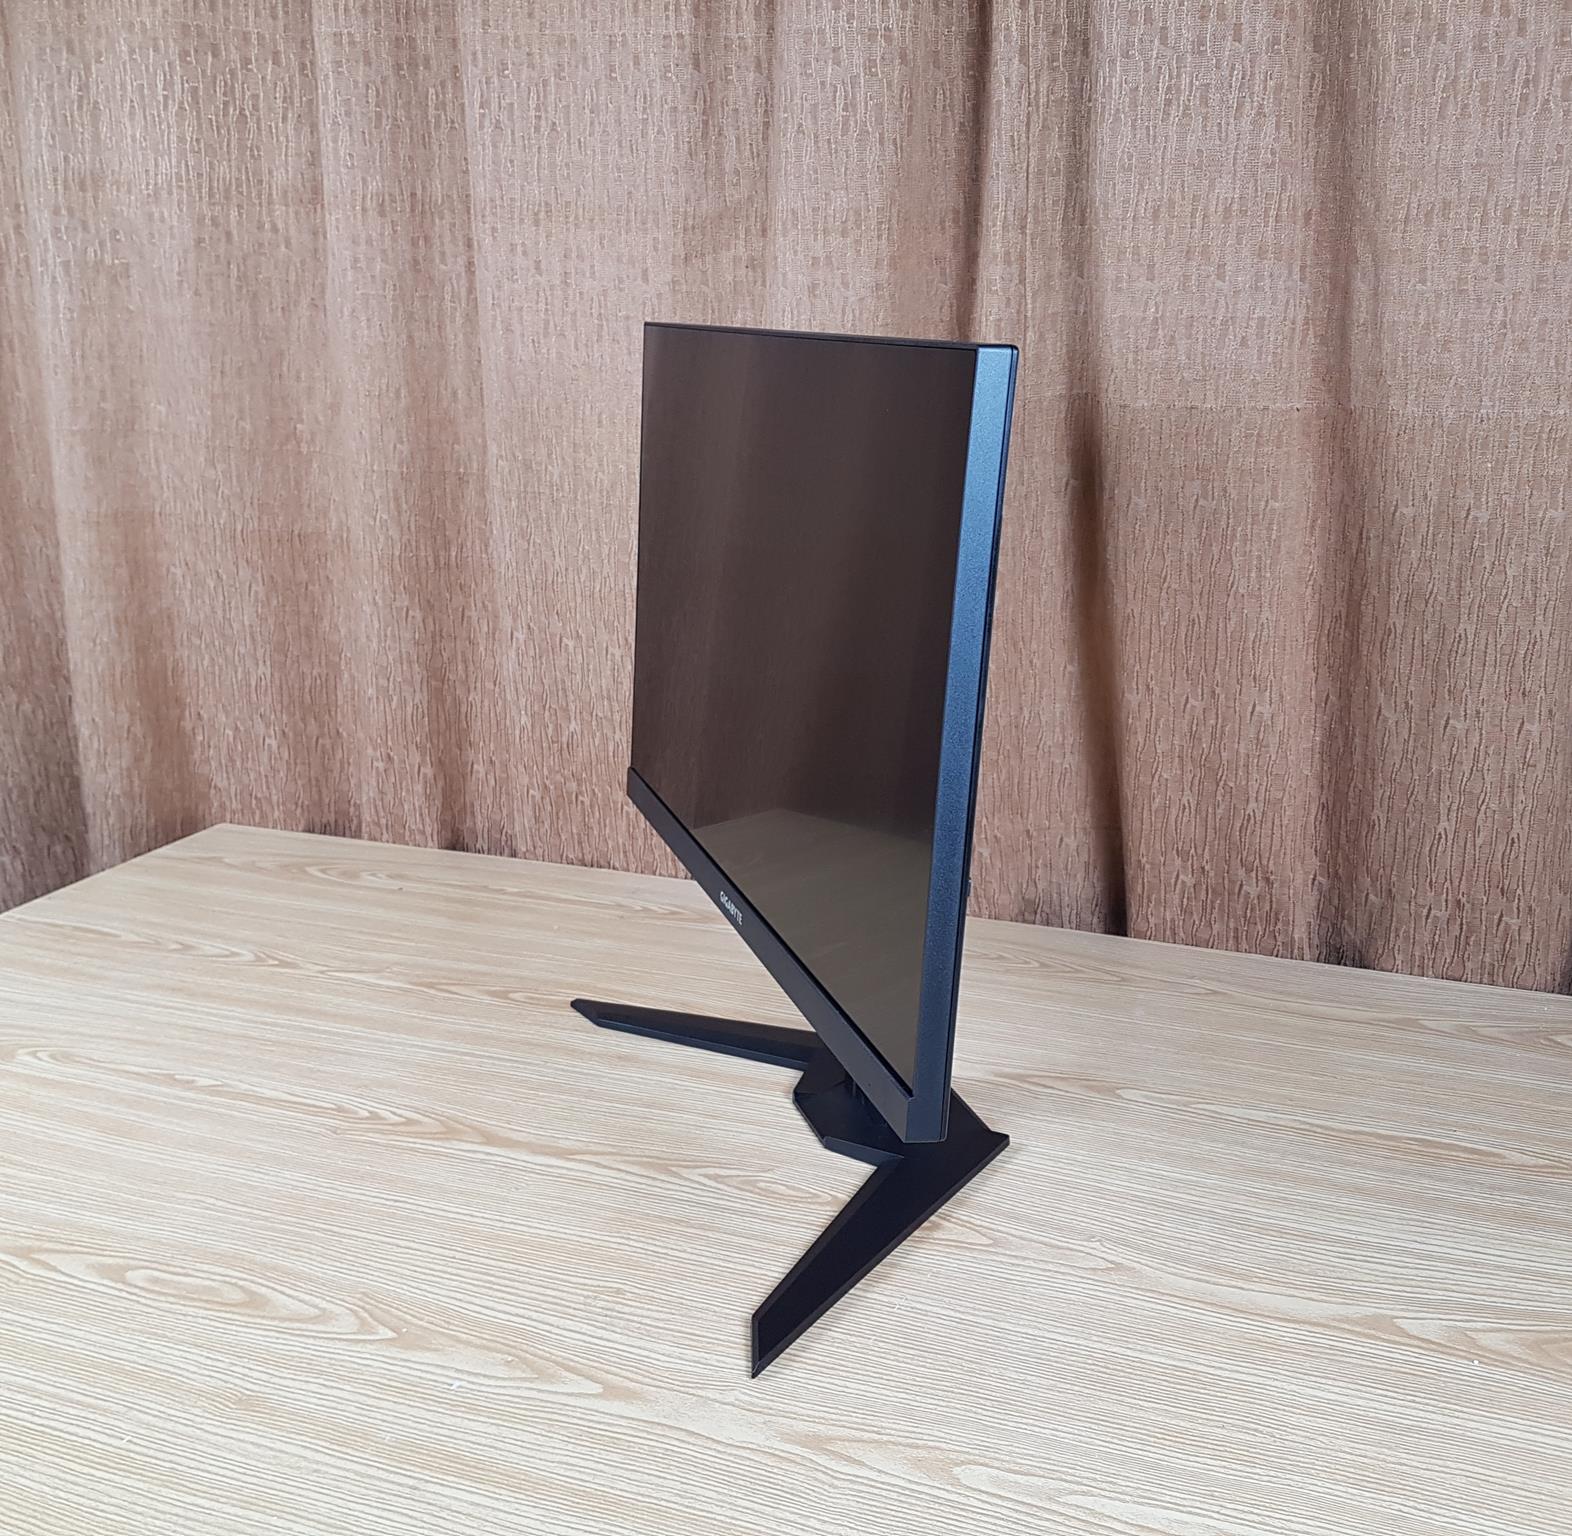
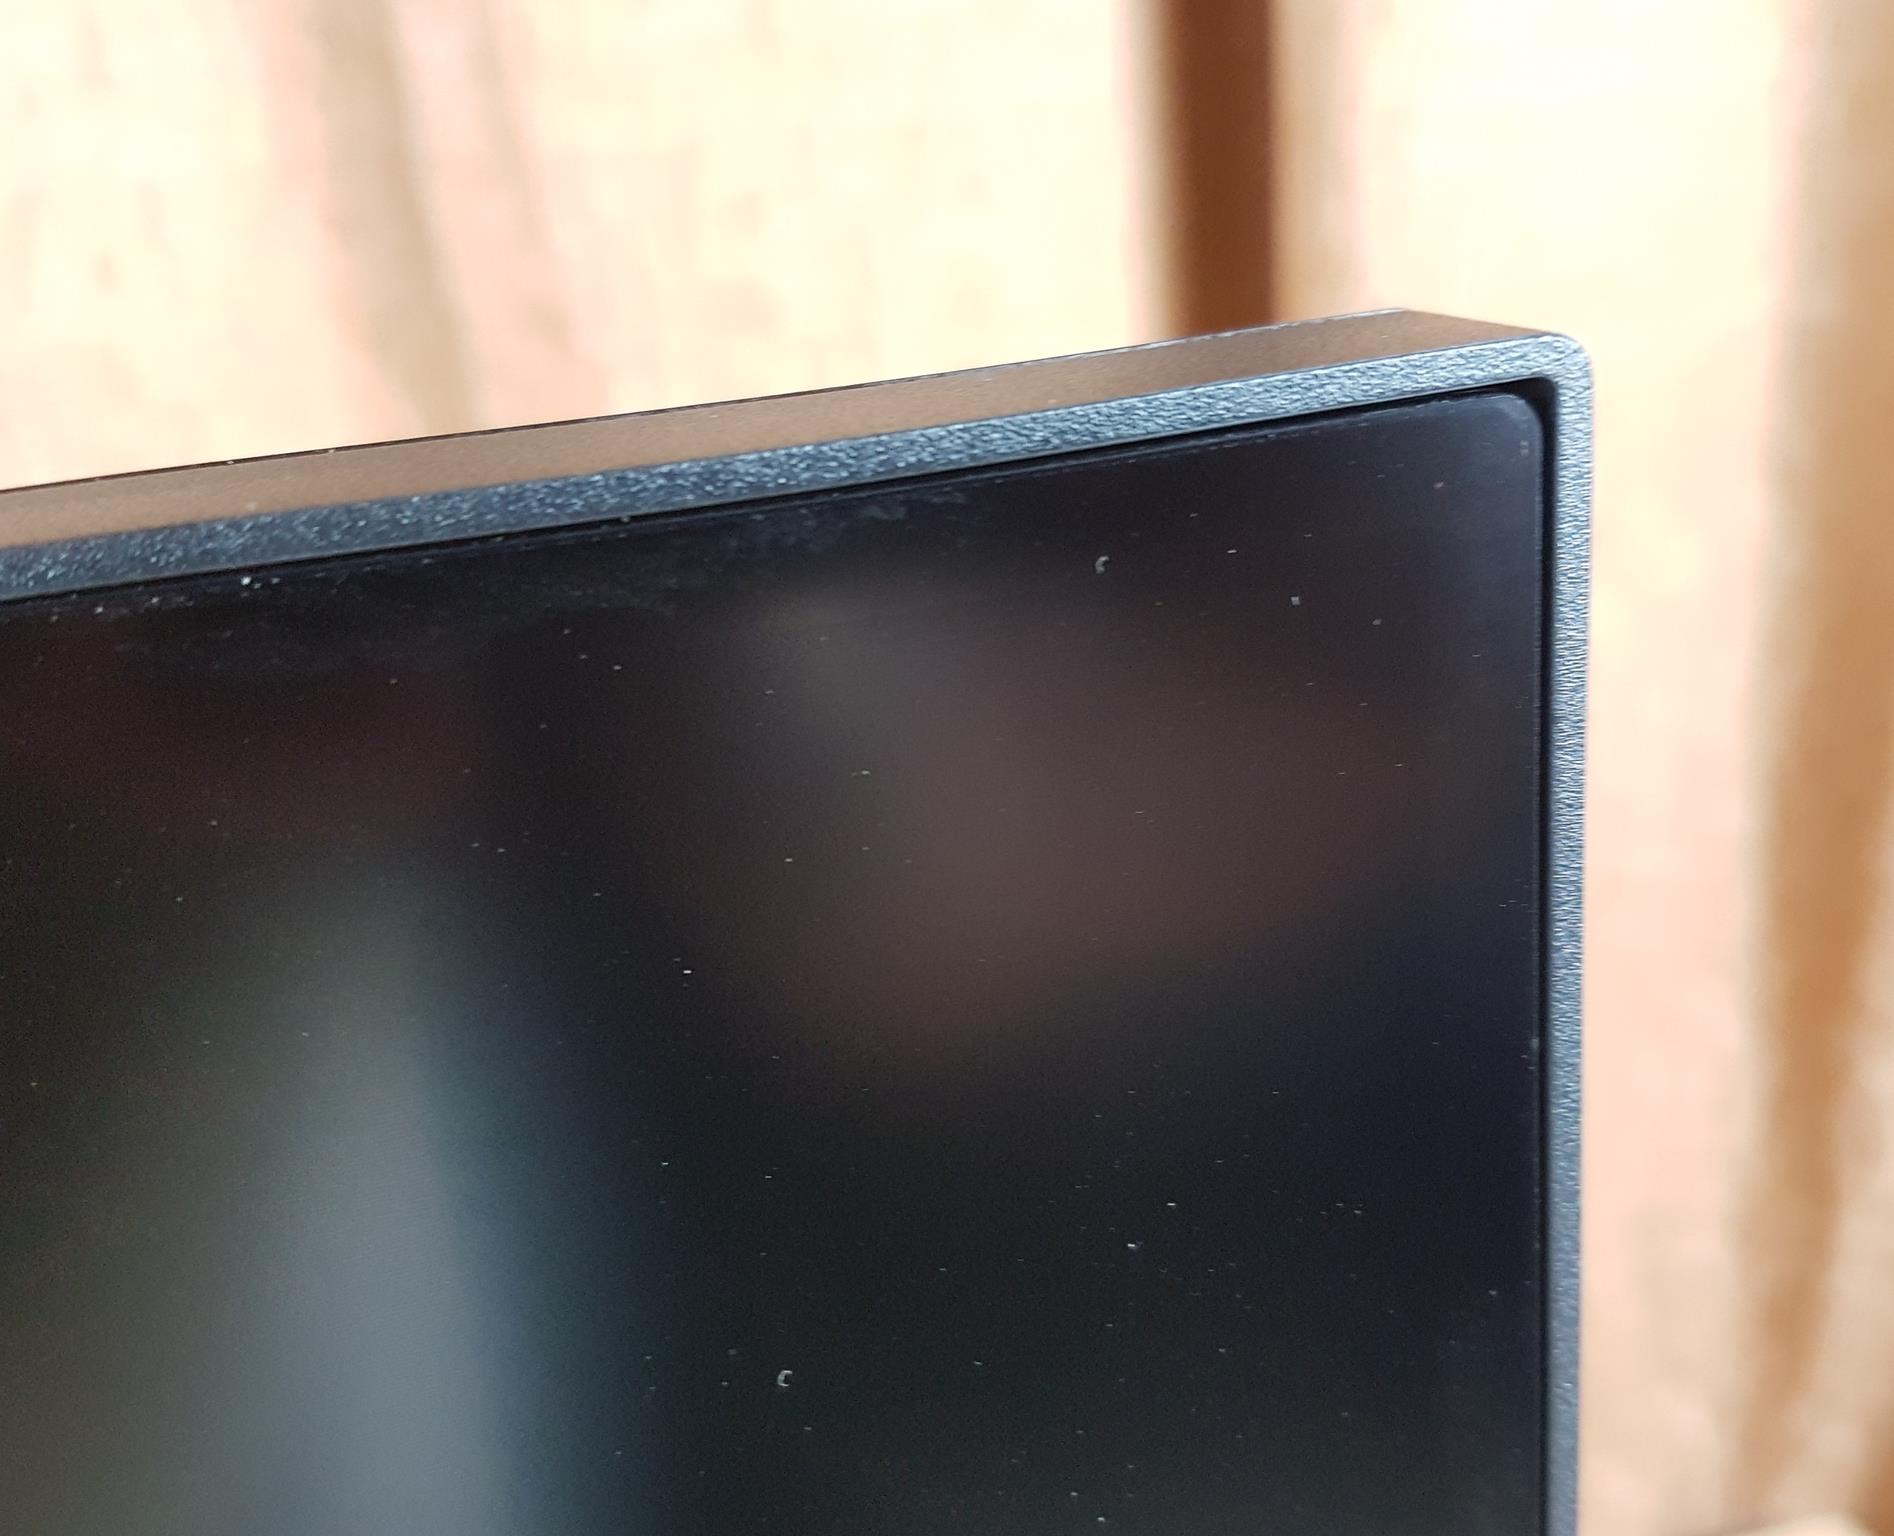
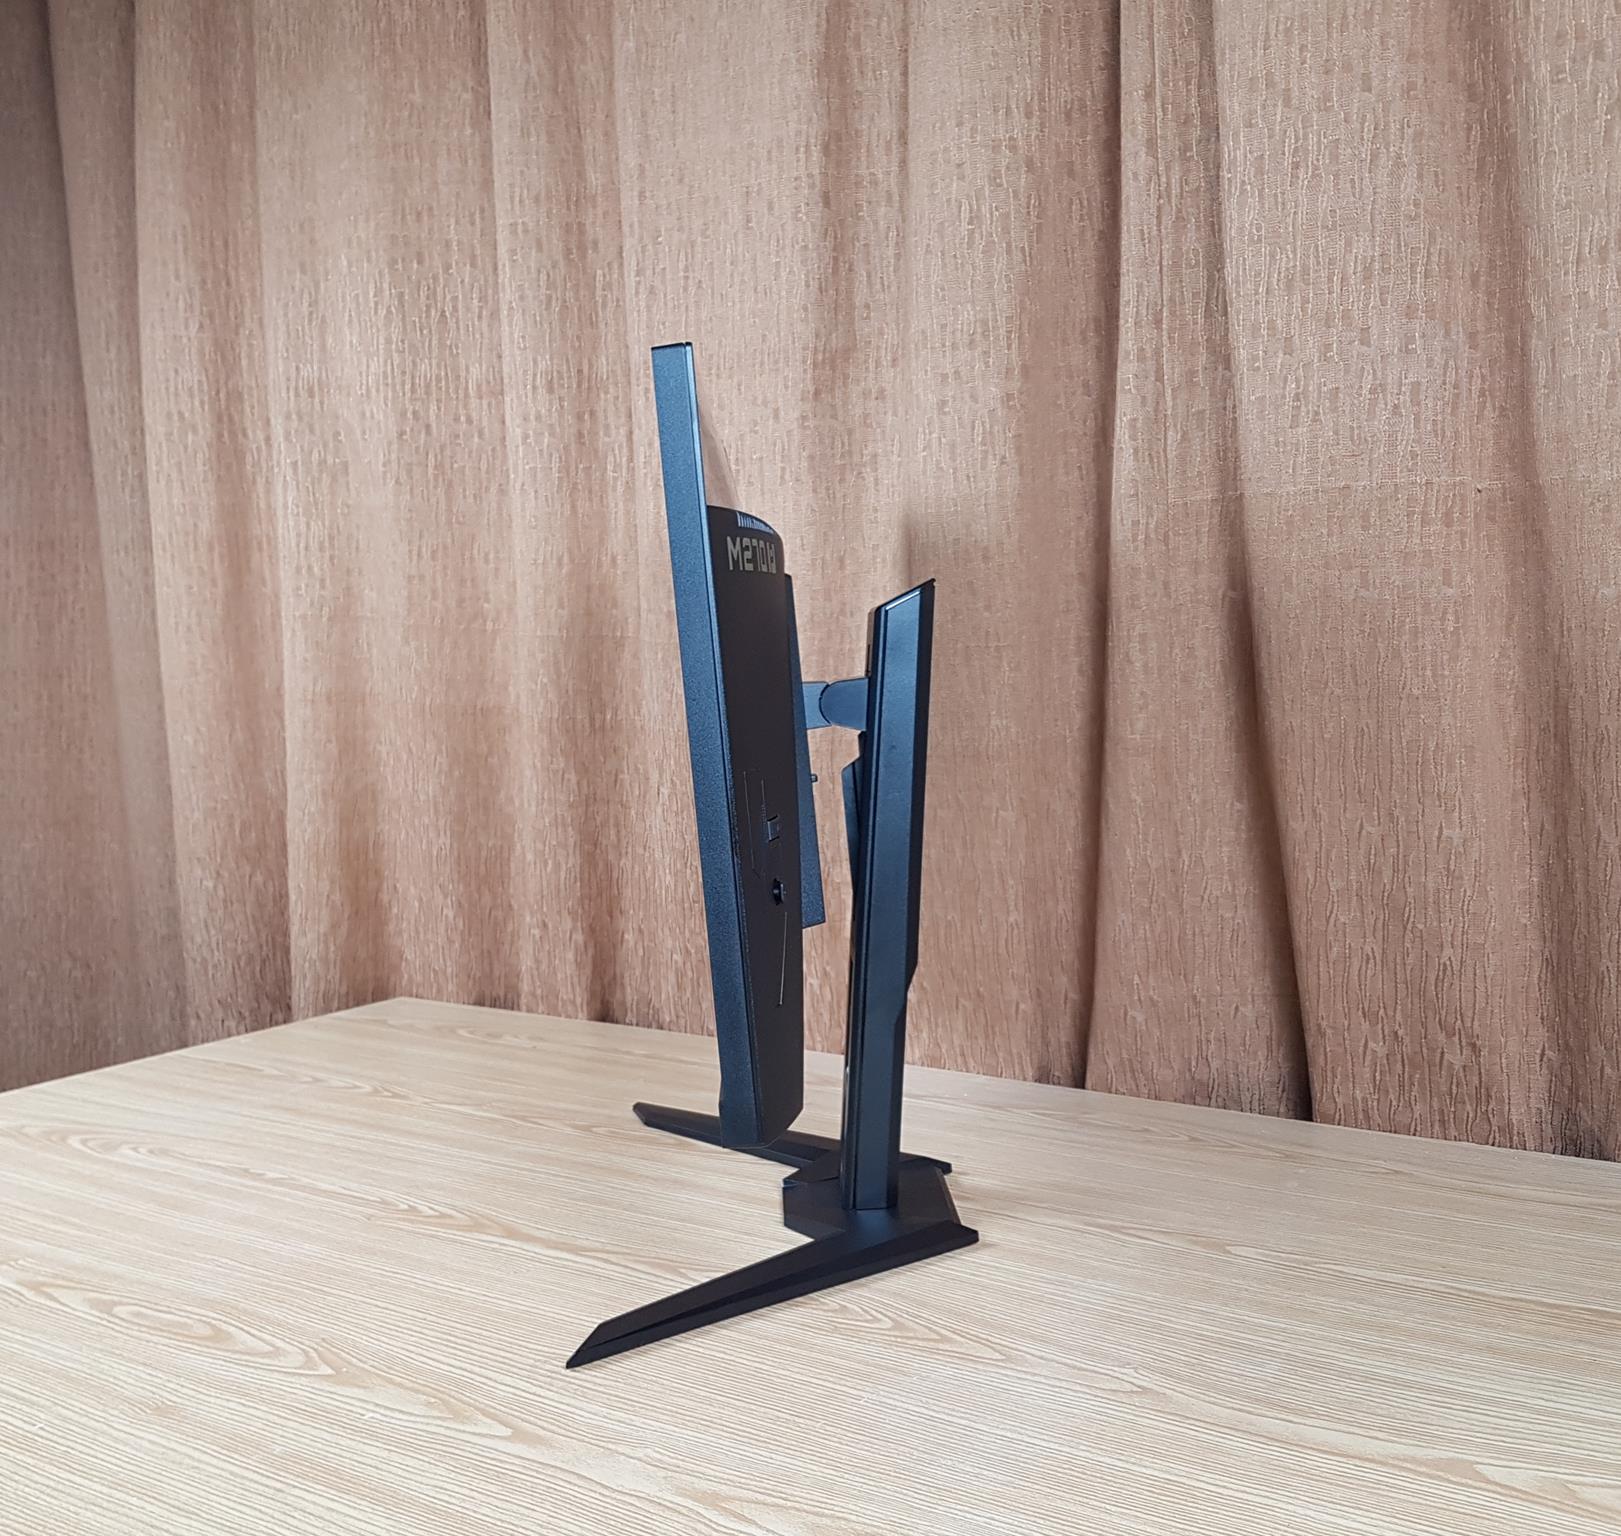
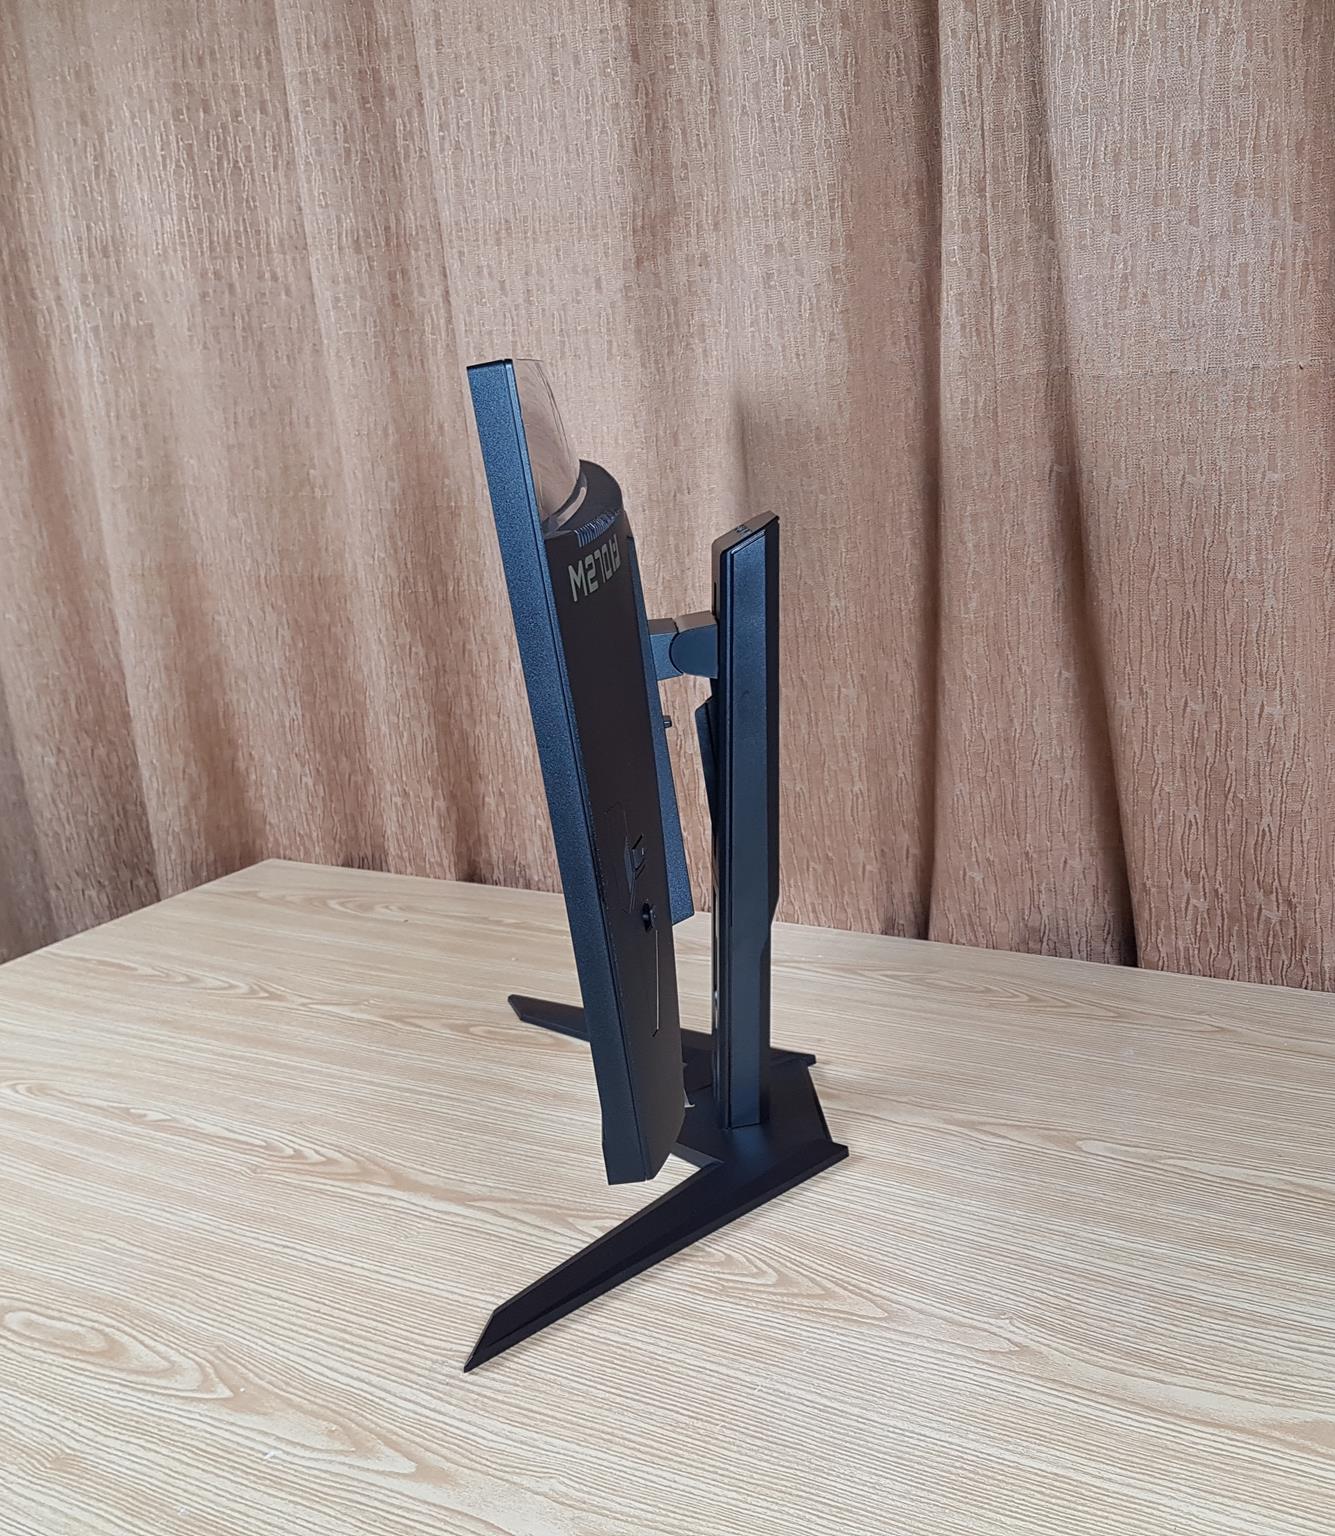
The above picture shows the side view of the monitor. The overall thickness of the monitor makes it a non-slim outlook, but that is understandable. There is more to this monitor than meets the eye. You will see when we will take a look at the backside of the monitor. The monitor has a thin bezel.
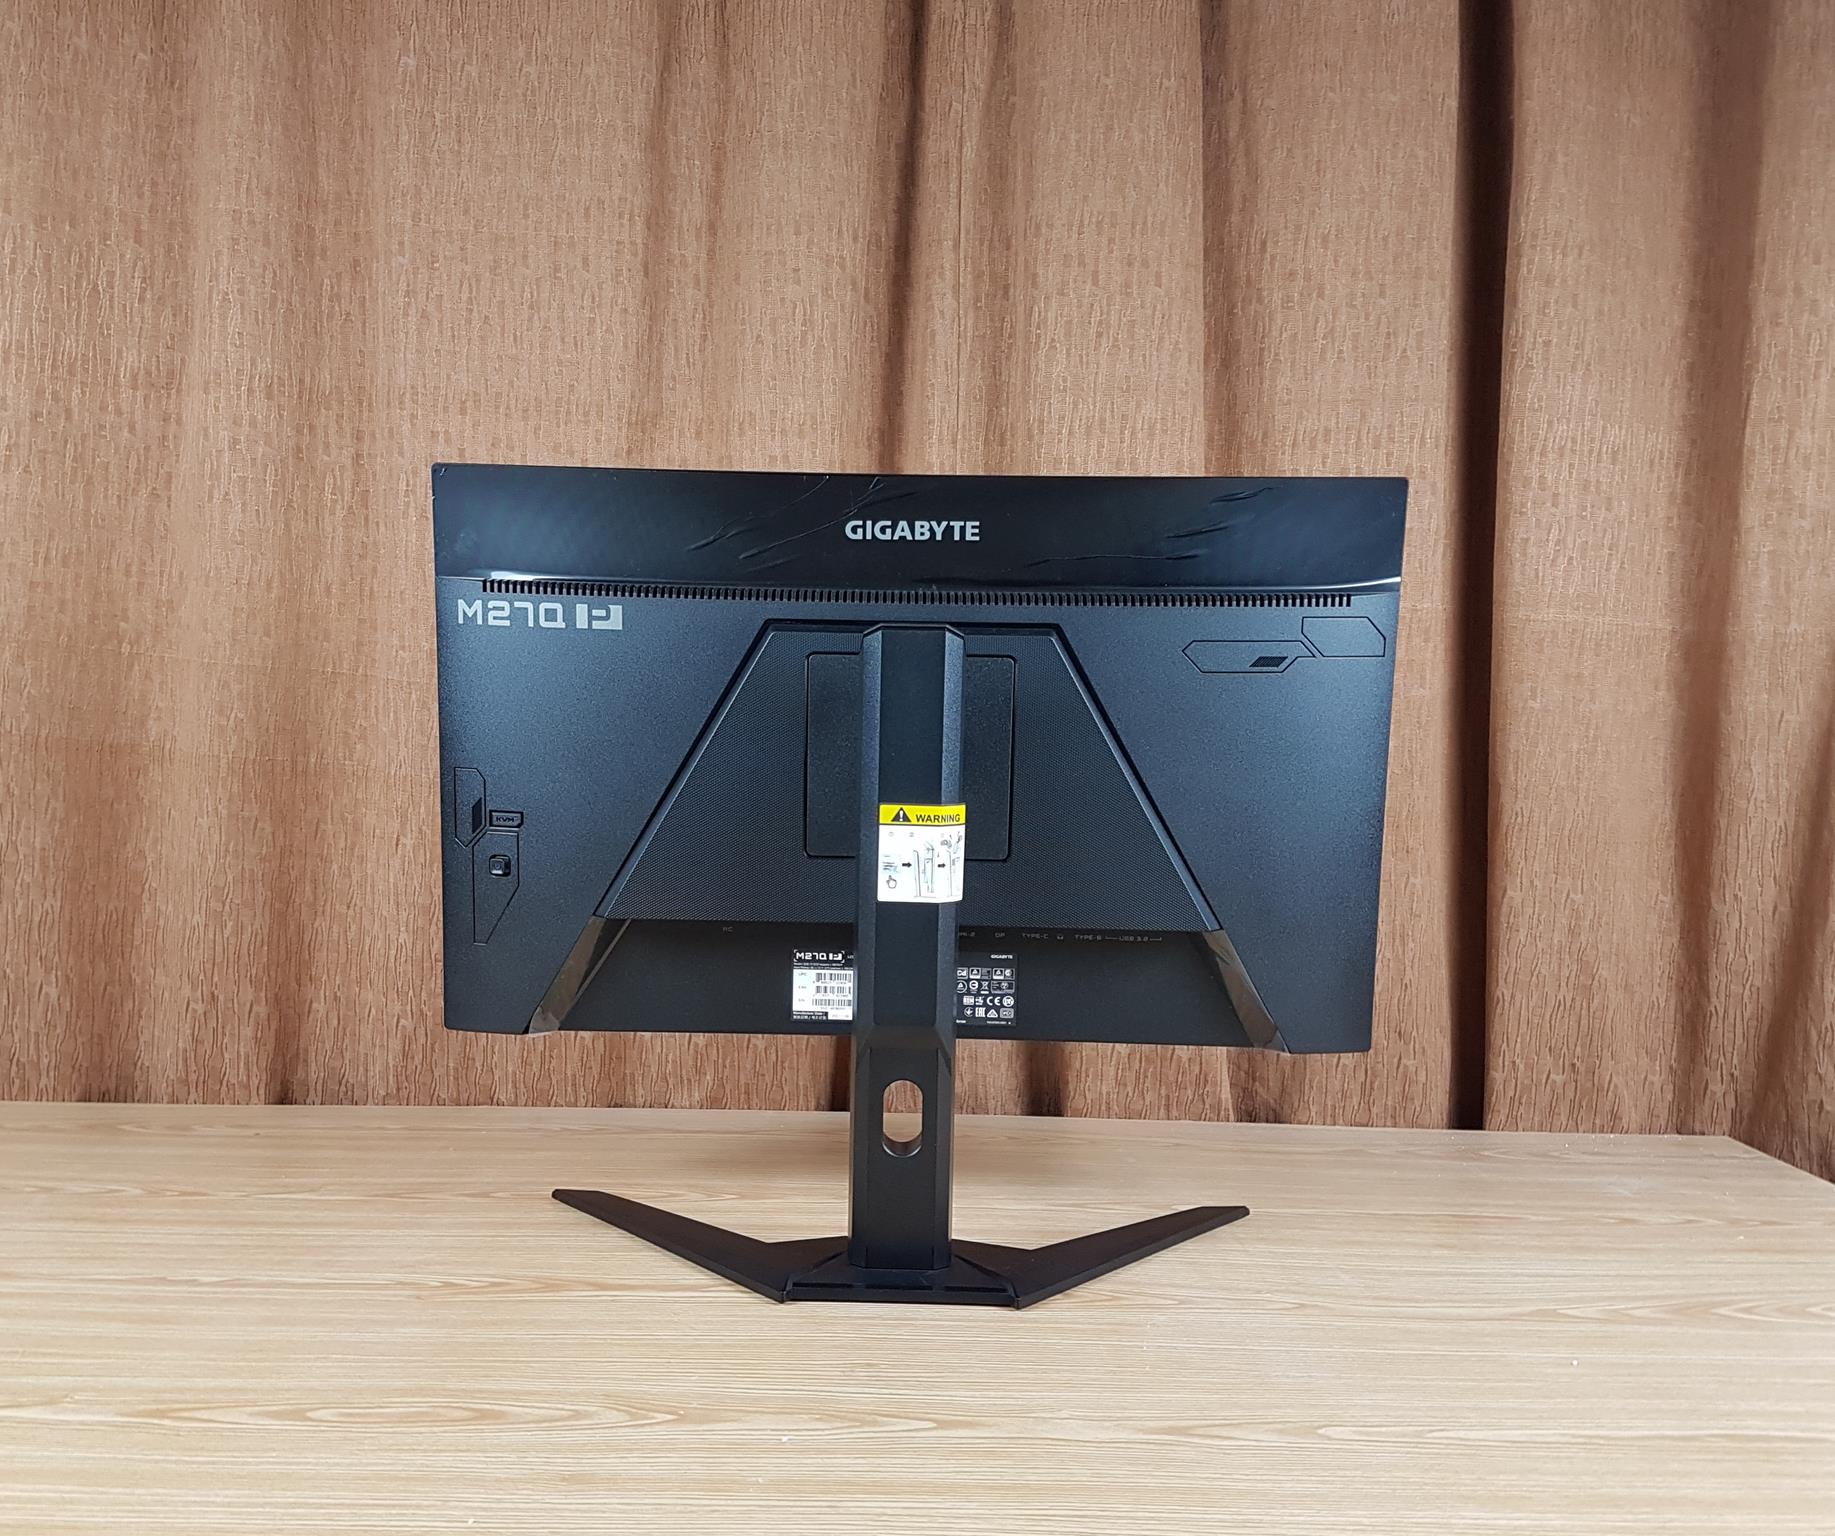
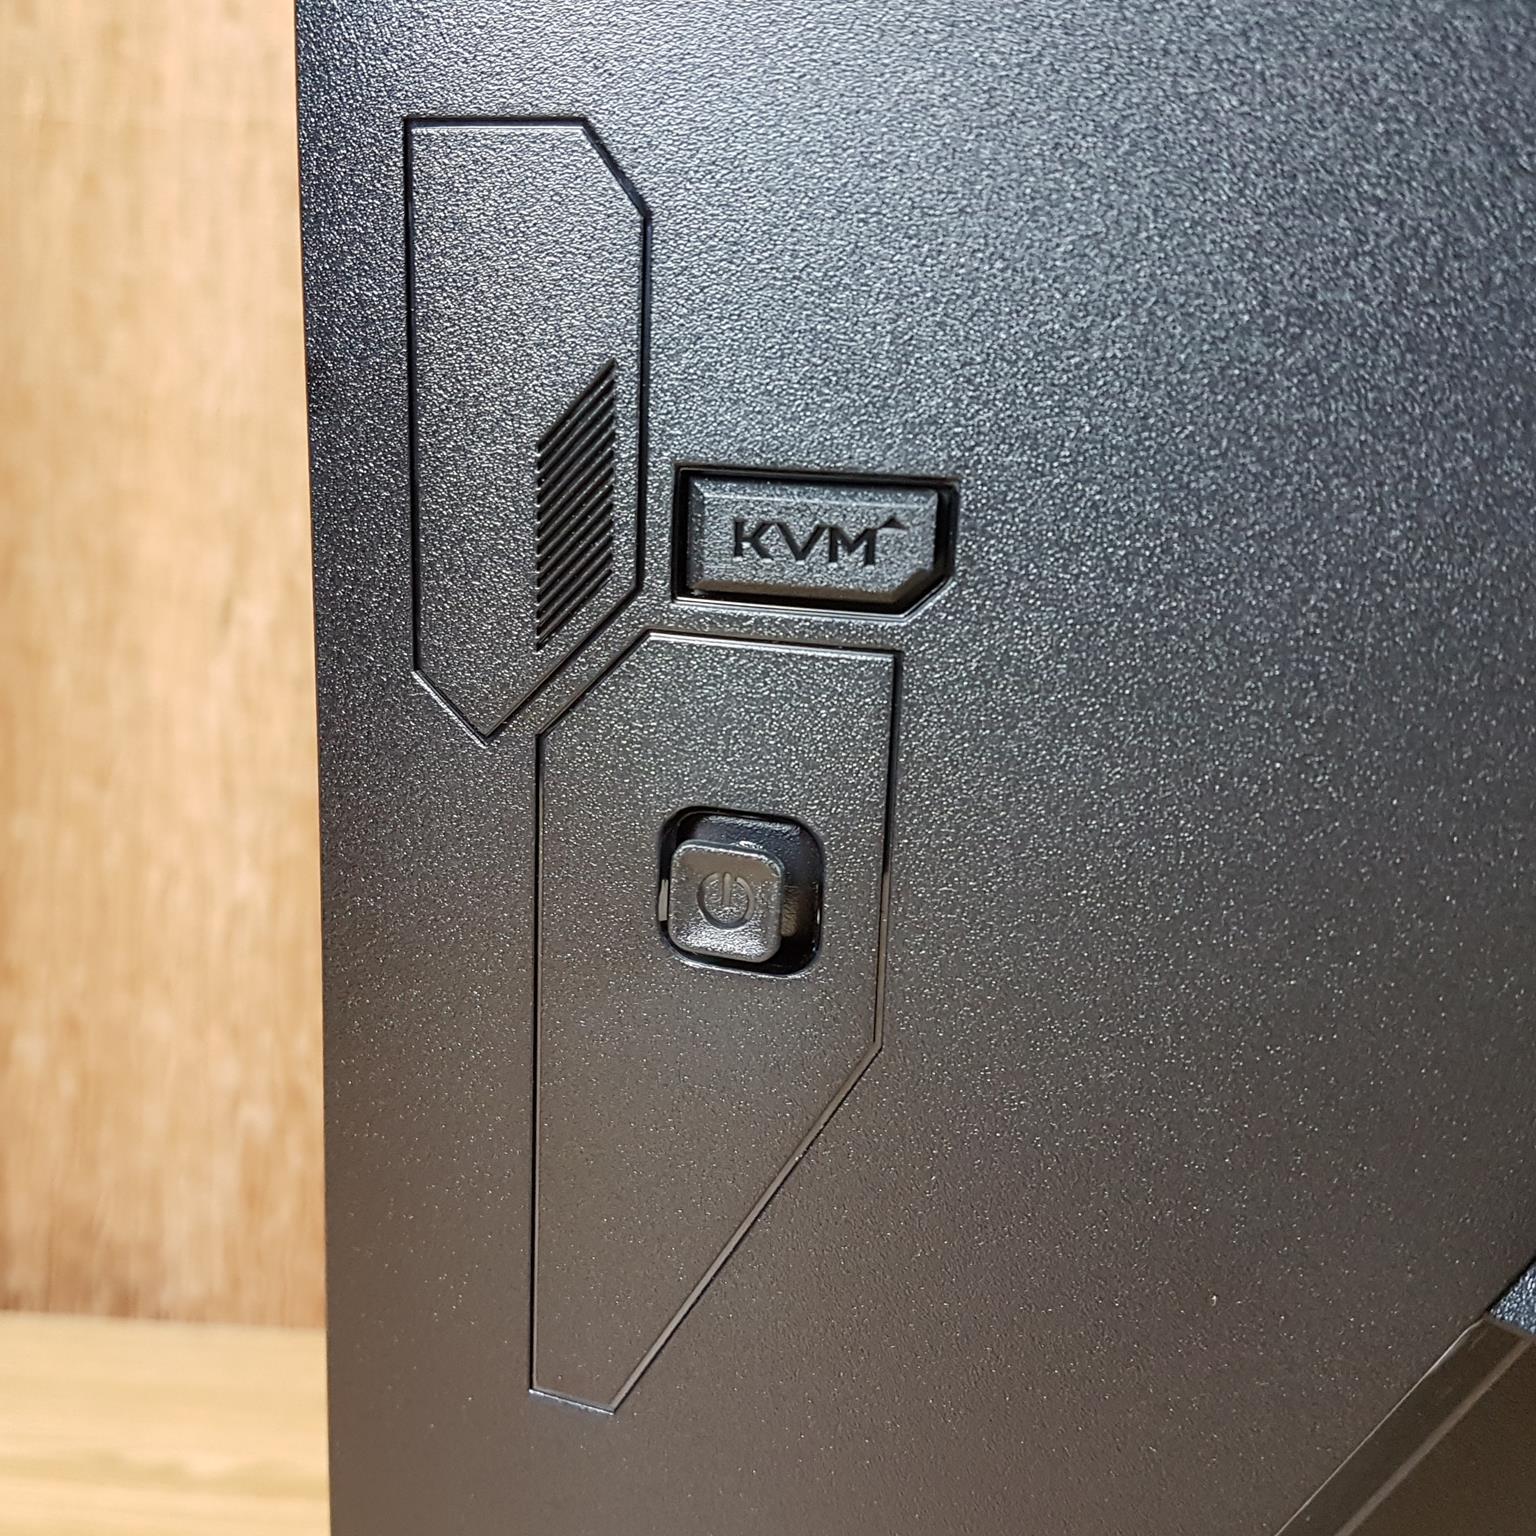
We have got quite some bold and aggressive looks on the backside. Too bad that it will remain hidden from the eye! There is a nice touch of matte and glossy black. The top portion is in deep black with a glossy finish. The main section is made of plastic material and matter black/gray color tone. The left side has two important buttons, which we will cover shortly. The monitor VESA mount as well.
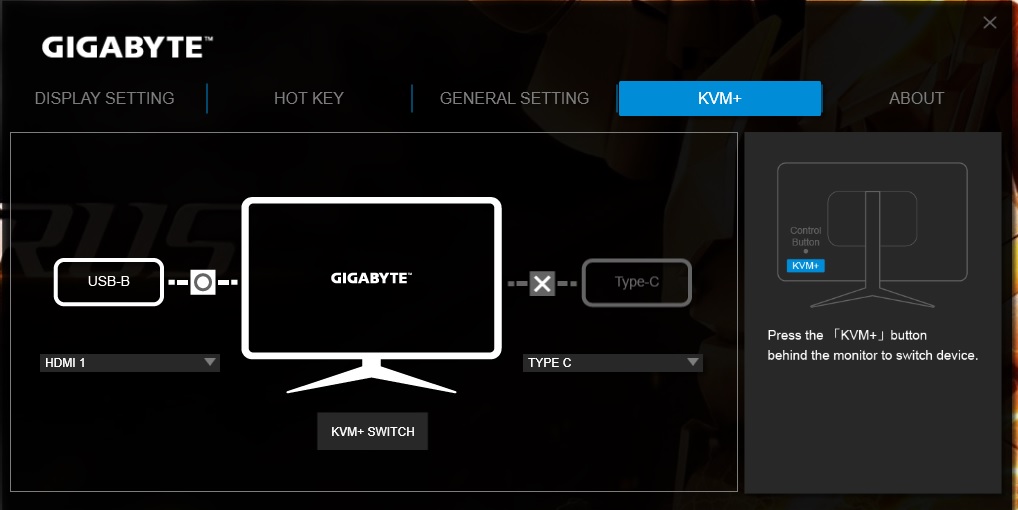
The GIGABYTE M27Q P’s KVM button allows effortless switching between two connected devices and peripherals, simplifying dual PC setups with a single display. While contributing to the monitor’s higher price, this feature offers users a convenient and direct solution. Then, there is a joystick below the KVM button. The user can use it to access the OSD menu of the monitor and configure the settings as per the user’s requirement. This stick is easy to access because it protrudes from the base and works like a charm.
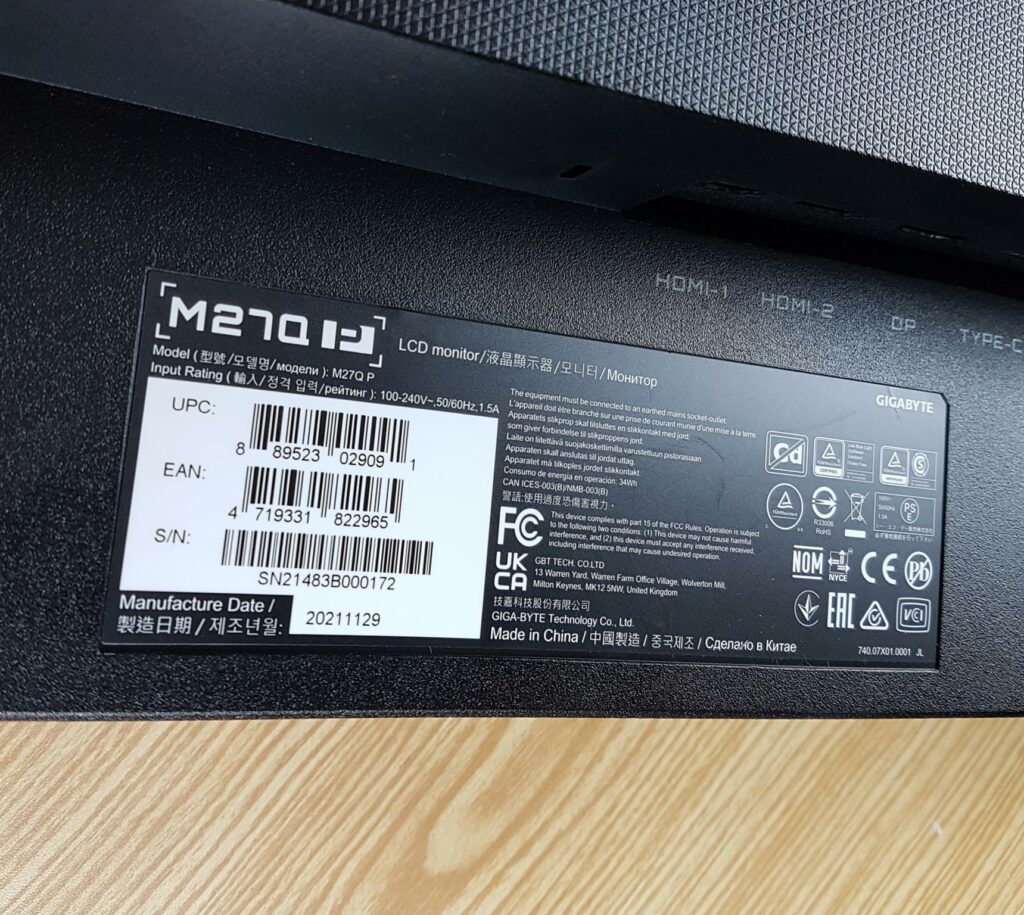
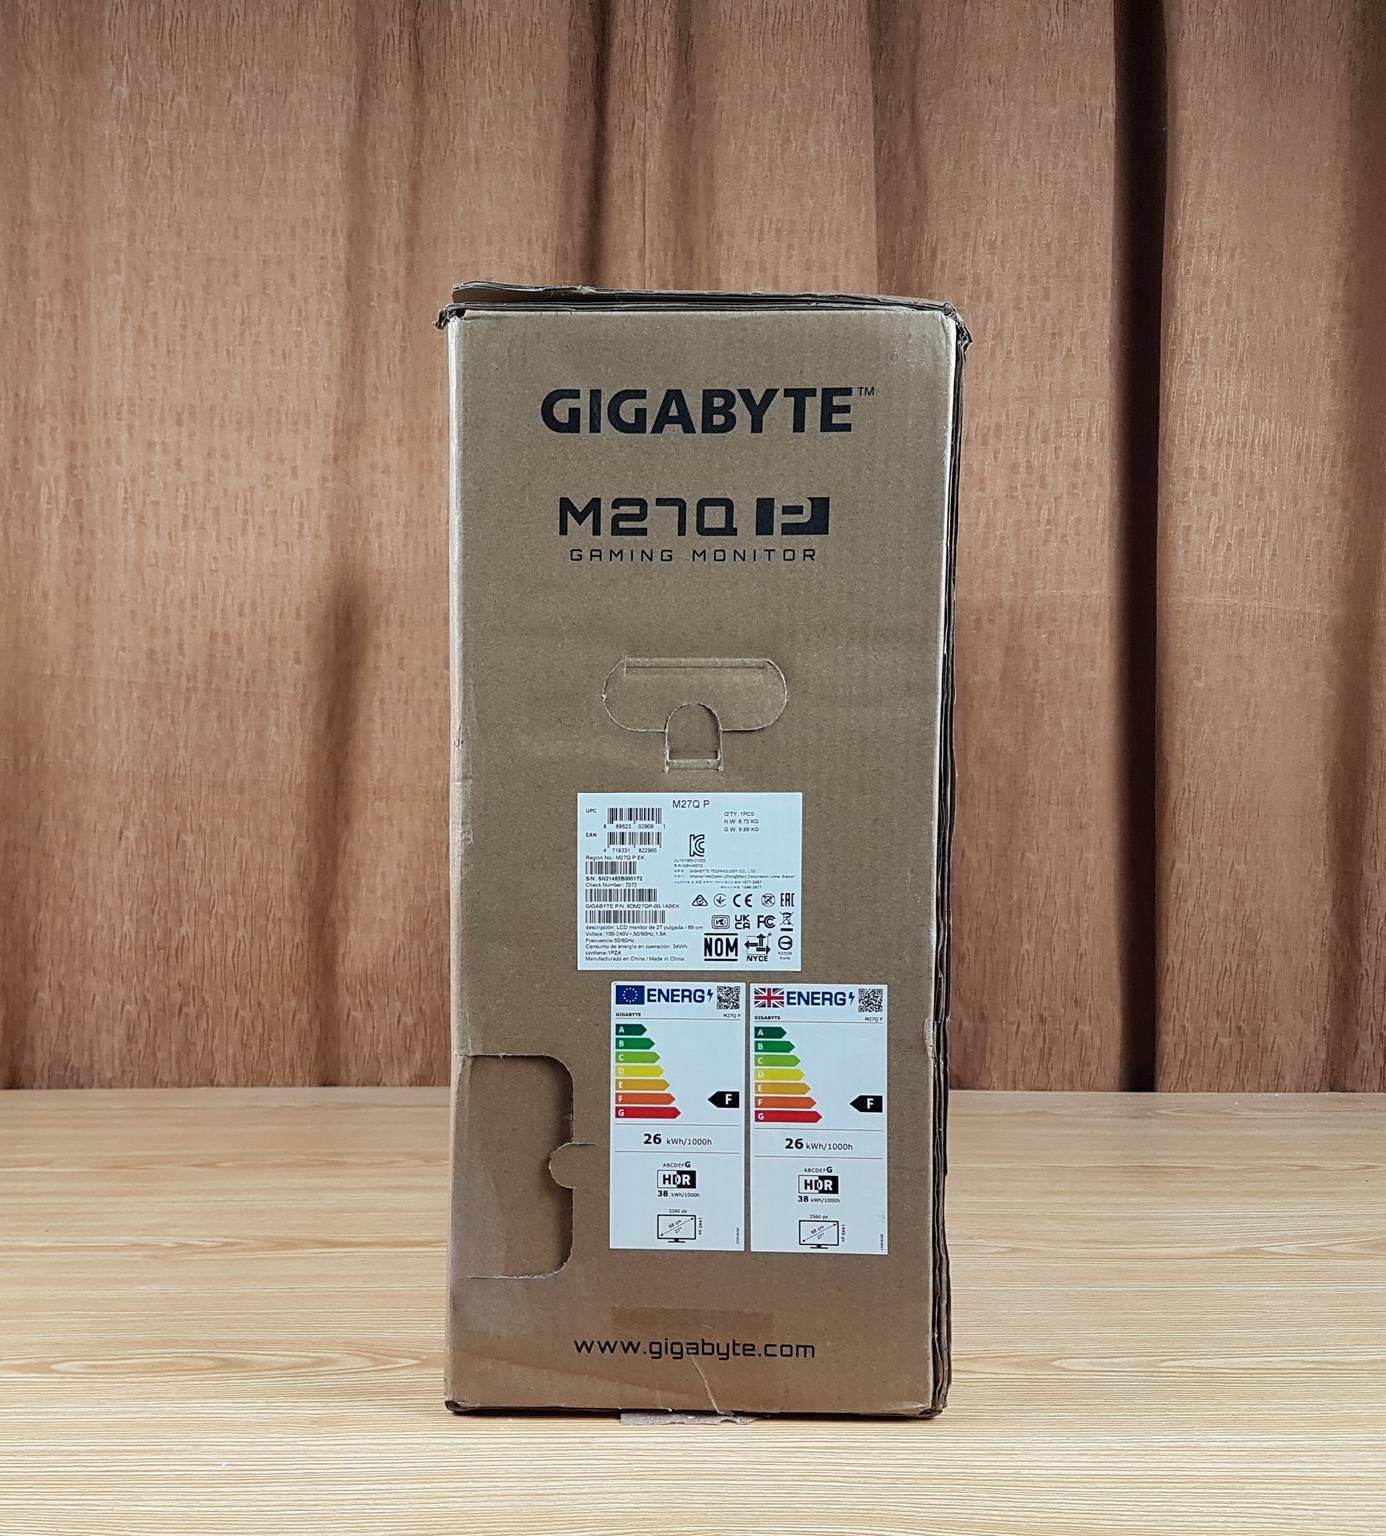
There is an info label on the base of the unit. It has UAN/EPC labels as well as the serial number of the unit. The manufacturing date is 29-11-2021.
Connectivity
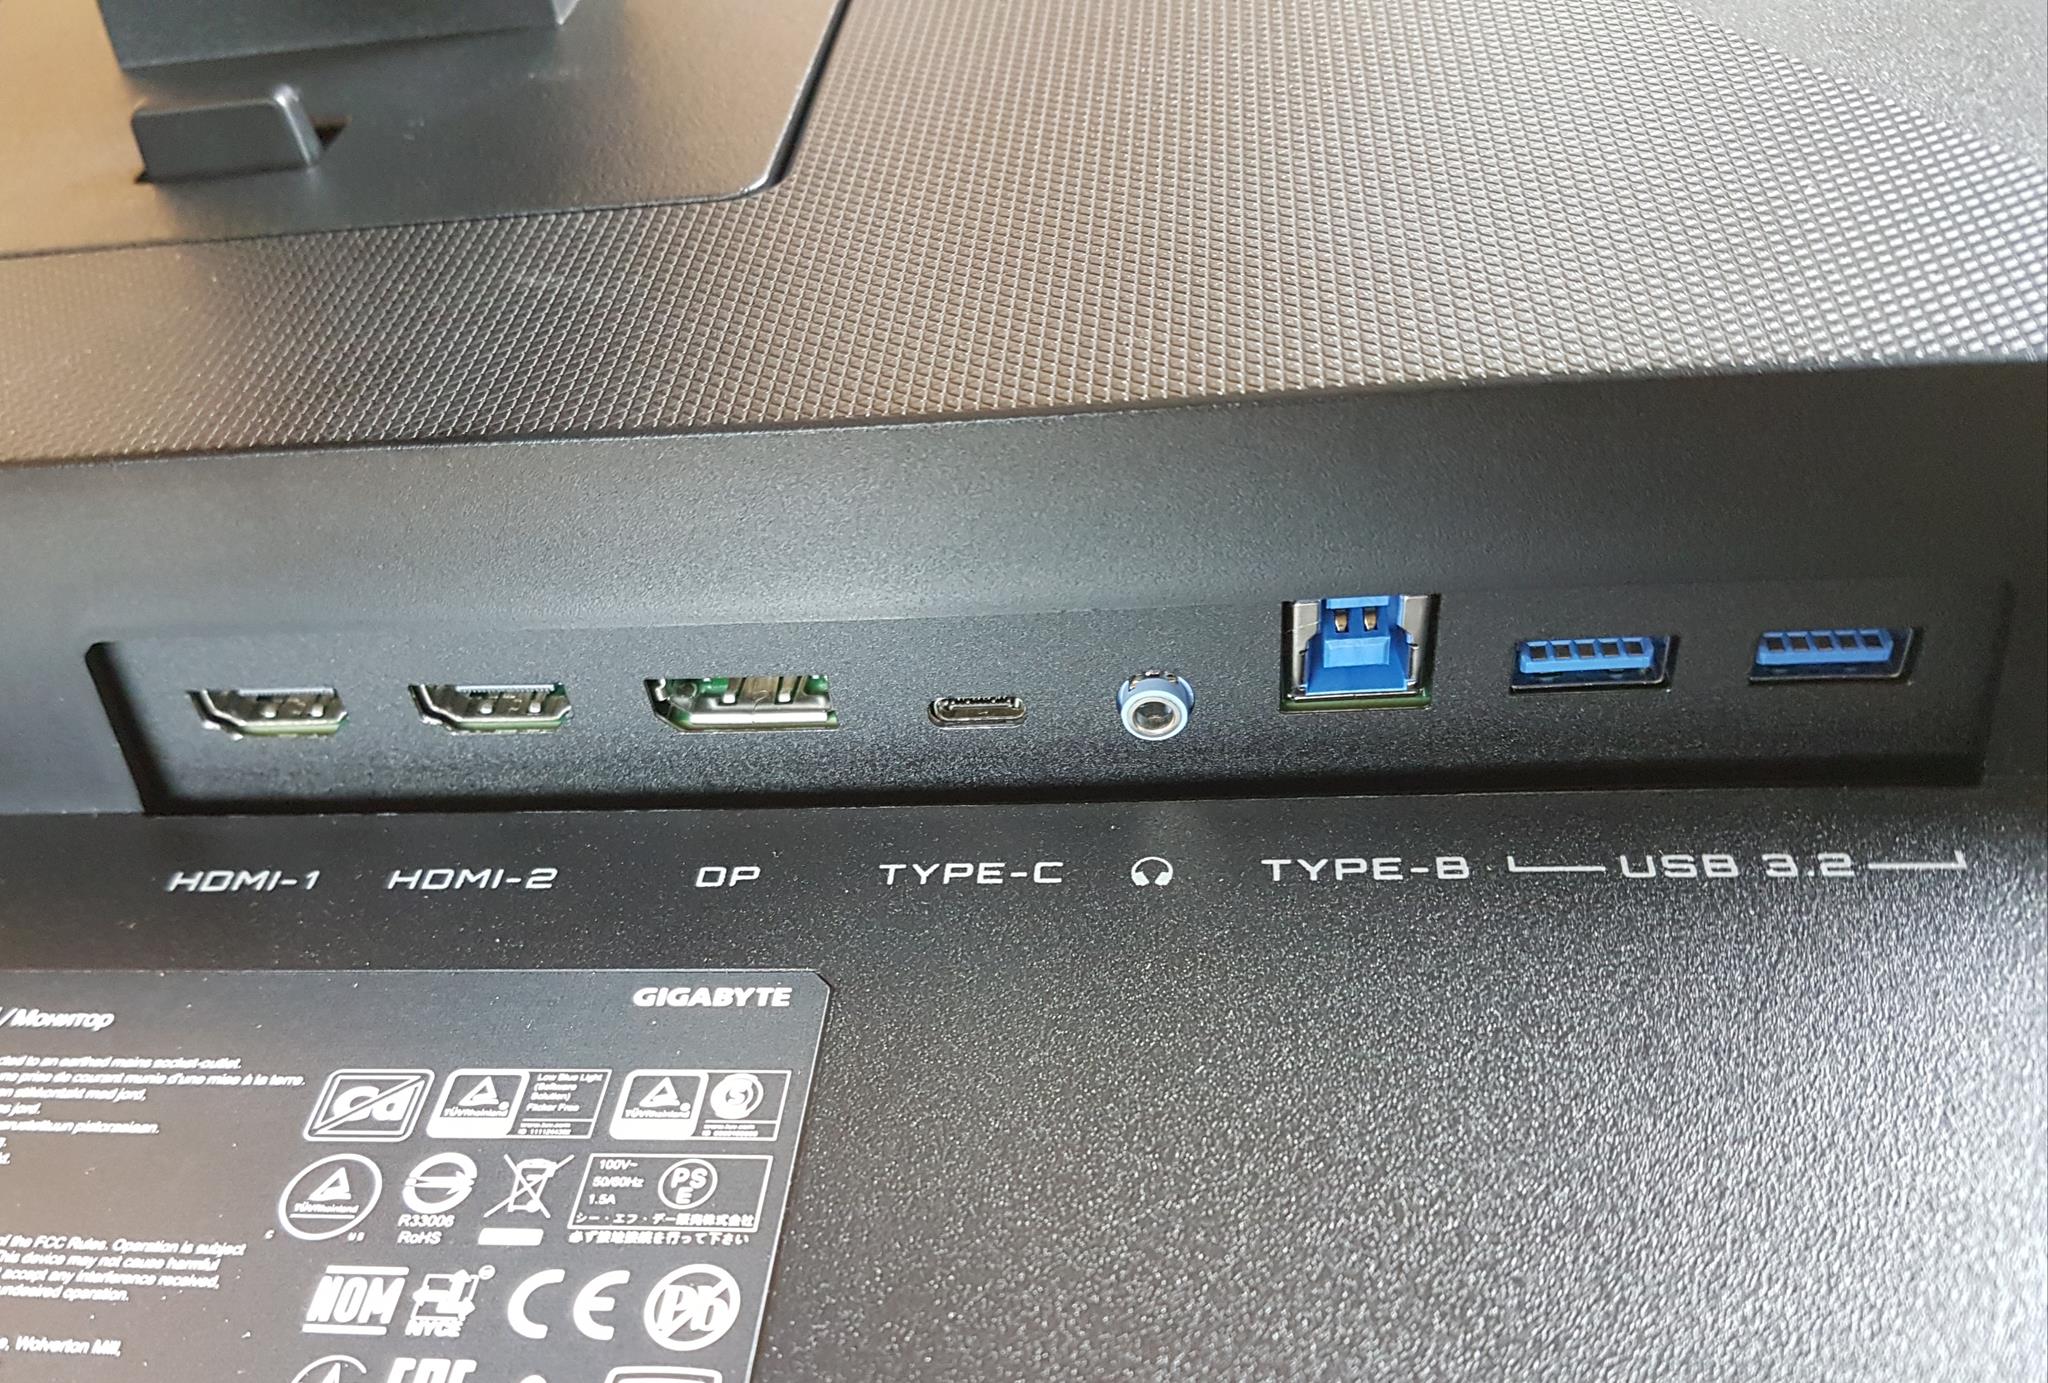
This monitor has some rich connectivity options for the users. These include:
- 2x HDMI 2.0 ports
- 1x DP 1.4 port
- 1x USB Type-C Alt Mode Port
- 1x Audio Jack
- 1x USB Type-B port
- 2x USB Type-A ports
These ports are located inside the monitor’s base on the backside and installed vertically.
Features
We have already covered some of the main features. Let’s quickly review the prominent features before discussing the monitor’s performance.
- Fluid Gaming: The GIGABYTE M27Q P is well equipped to provide a buttery smooth gaming experience at a high refresh rate, i.e., 165Hz with 1ms GTG response time. The goal of this monitor is gaming performance; though it can be used in a few other segments, rich content creation (based on pictures and videos) is not in its domain.
- Black eQualizer: The monitor comes with black eQualizer technology. This feature can be accessed from the OSD for its level adjustment. What black eQualizer does is to increase or enhance the visibility in the darker scenes. They have ensured that this does not overexpose the already brightened areas.
- Color Vibrance: The Color Vibrance features allow the users to adjust the color tone and grading easily. The color vibrance can be accessed from the OSD menu of the monitor. We have up to 6-axis control to define the color gamut.
- Flexible Viewing Angles: Thanks to the IPS panel, the viewing angles are up to 178° from any side.
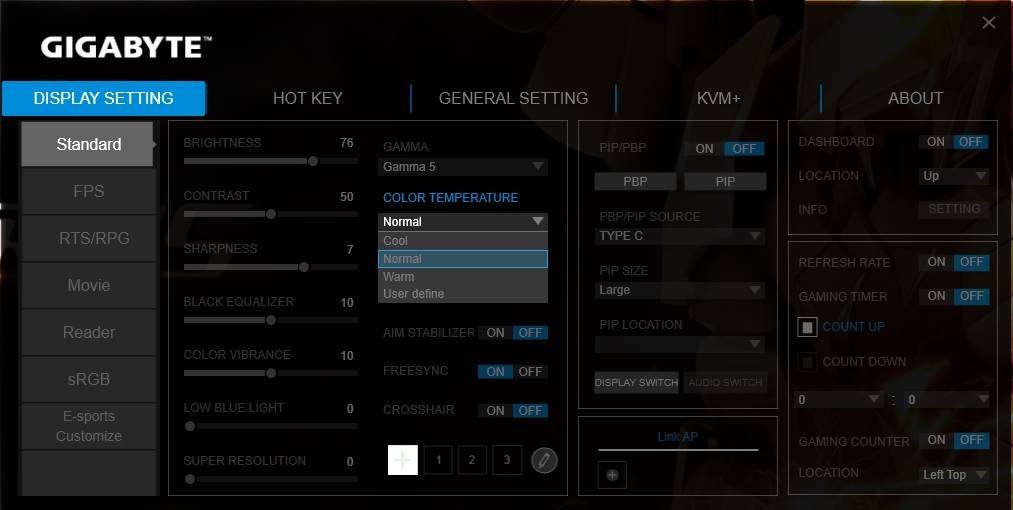
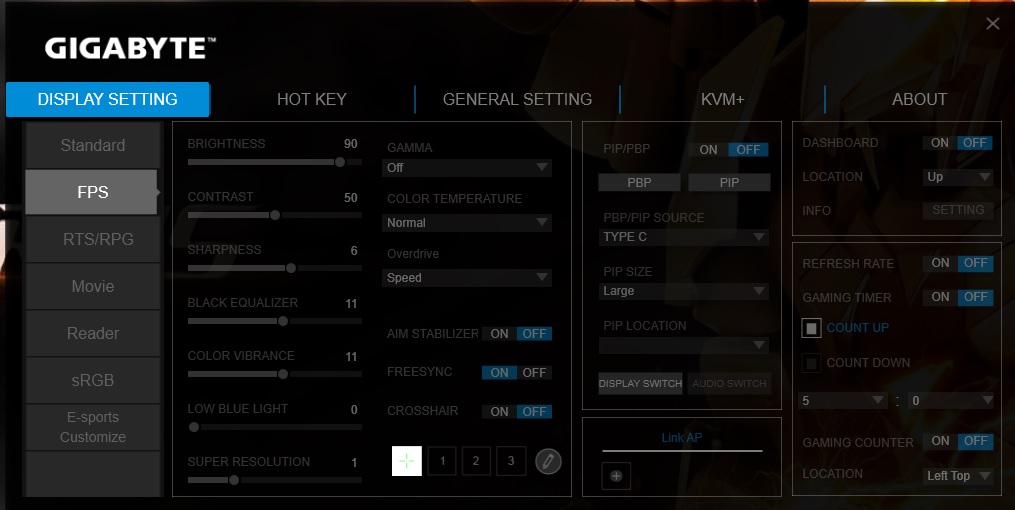
- Gaming Modes: The monitor comes with a Picture preset that includes customized settings for the different game genres.
- Flicker Free Technology: One of the important aspects of these days’ displays is their ability to let the user game on it for an extended time without putting strain on the eyes. This monitor supports Low Blue Light.
- FreeSync: The GIGABYTE M27Q P comes with AMD FreeSync technology. This enables effective communication between the display and the rendering device to provide near-accurate graphics using a variable refresh rate or the native refresh rate of the panel.
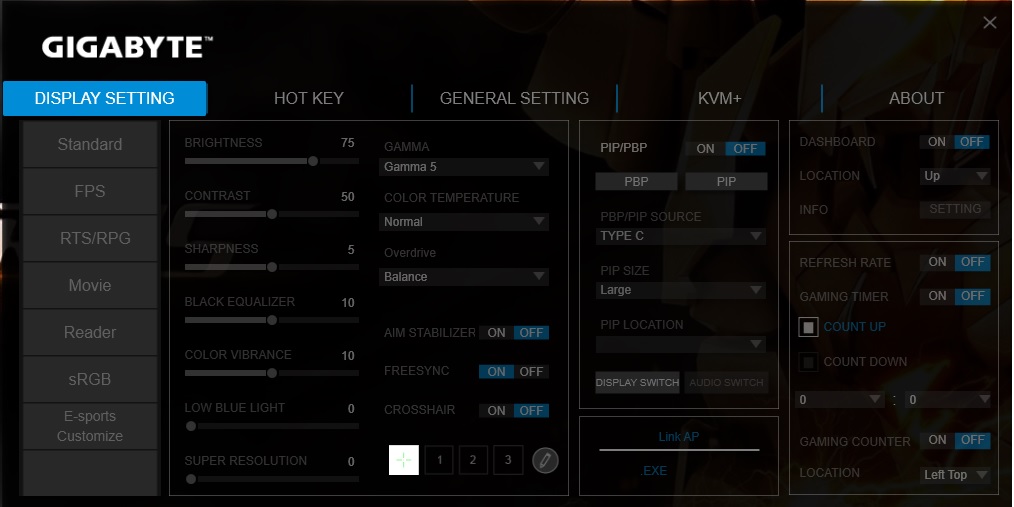
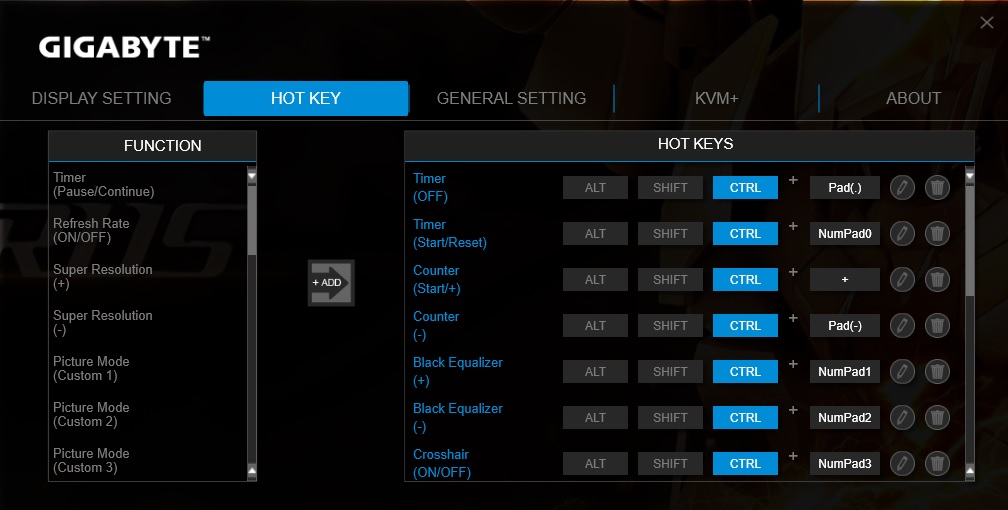
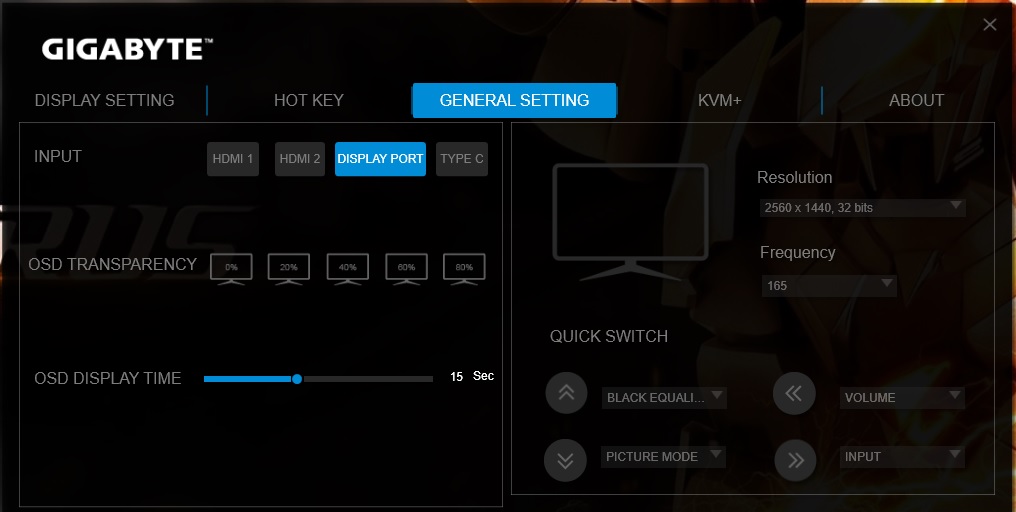
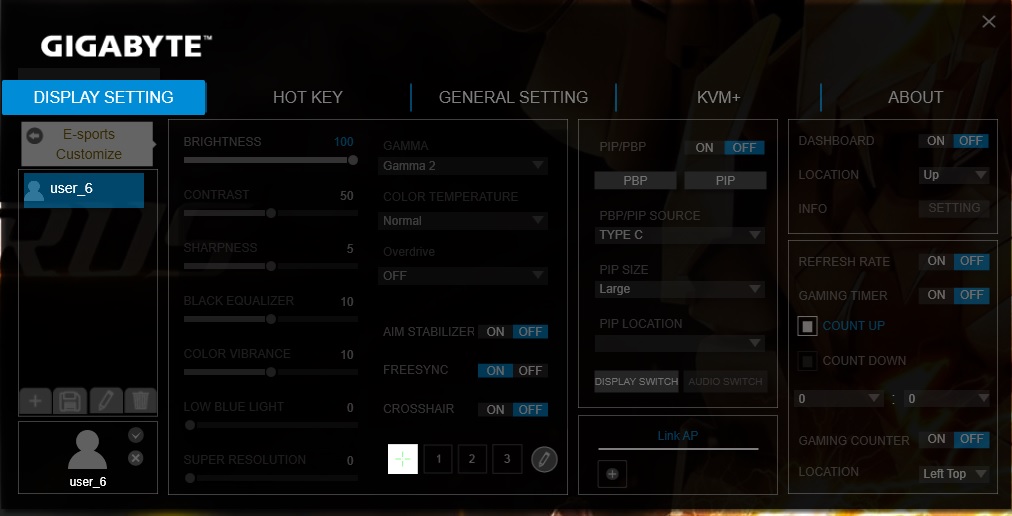
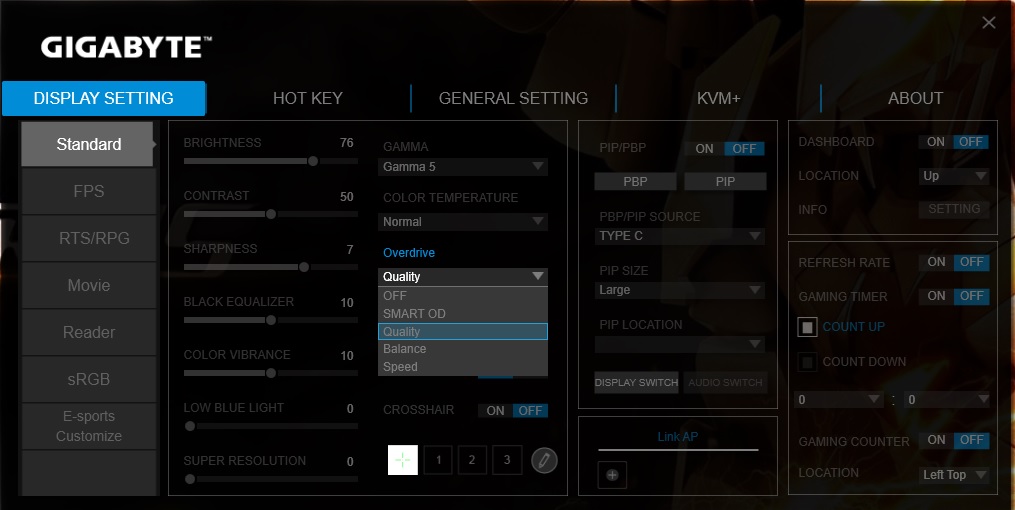
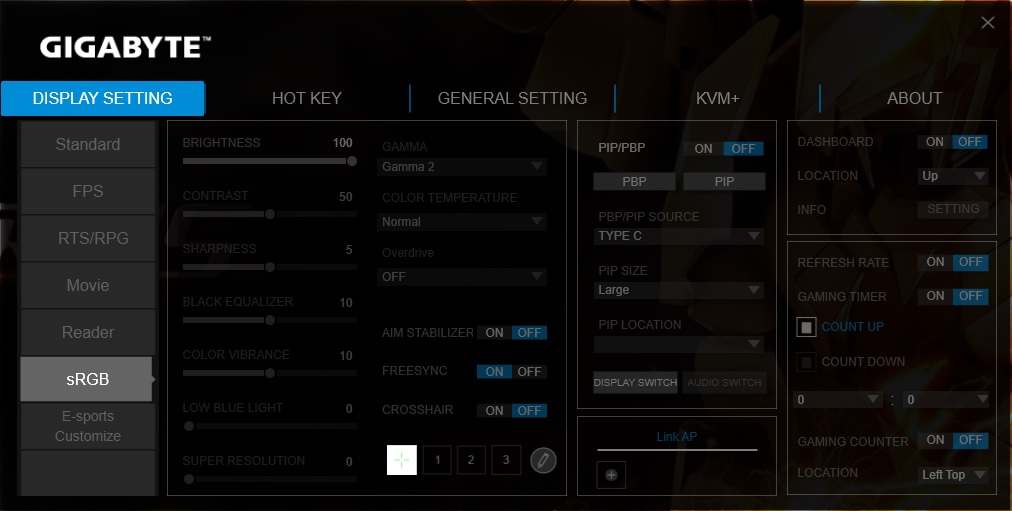
- OSD Menu: The user can use the joystick on the back of the monitor to access the OSD or the Sidekick utility, for which a USB connection is a must. Both options provide a similar interface and all the required settings. We show the OSD Sidekick interface here and will review some key features.
Performance
Now, it is time to discuss the actual performance of the display as seen by our eyes and our experience after using this monitor for some time.
I recently got my hands on the GIGABYTE M27Q P, and it’s been quite a mixed bag. The 165Hz refresh rate and 1ms GTG response time promise a smooth experience, and the 10-bit display with 98% DCI-P3 saturation delivers vibrant, albeit oversaturated, colors out of the box. Props to GIGABYTE for decent factory calibration, but tweaking brightness and contrast is necessary under full lighting. The 400 nits brightness is good, but the sRGB profile dims the screen at a locked 100% brightness.
HDR gaming was a letdown, causing eye strain with oversaturated graphics. On the upside, the overdrive feature helps with response time, and the IPS panel surprisingly delivers deep blacks. It’s FreeSync-enabled and even works with Nvidia graphics cards when you enable GSync Compatible in the control panel. Overall, it’s got its quirks, but with some adjustments, it’s holding up well for my gaming needs.
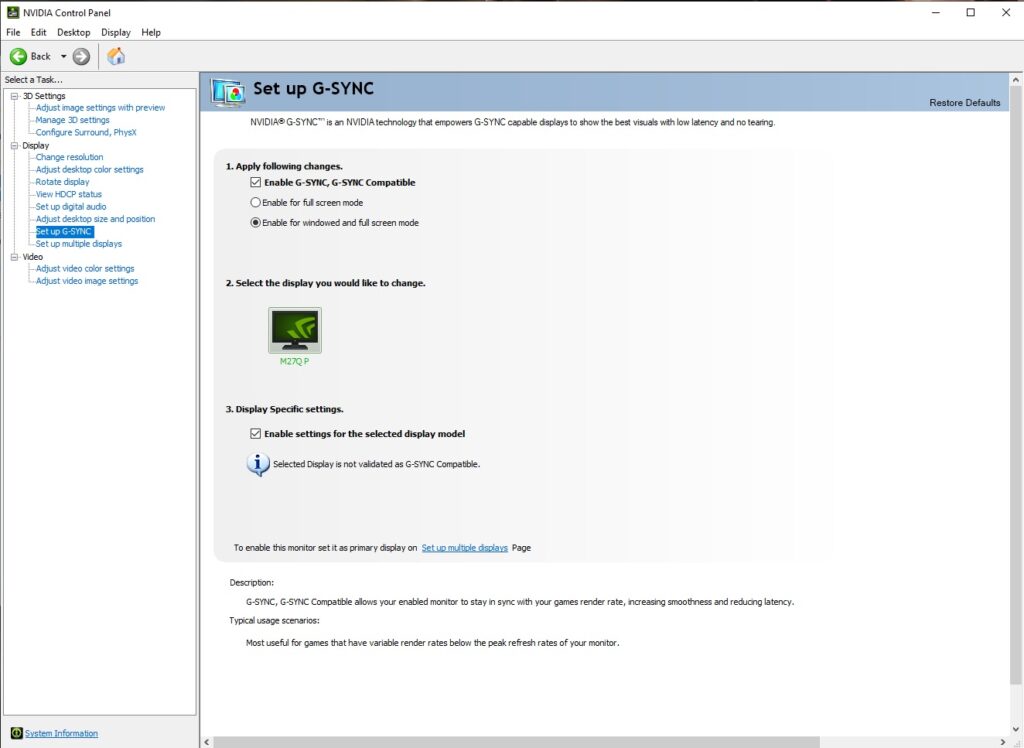
The above picture shows Nvidia’s control panel settings to enable GSync.
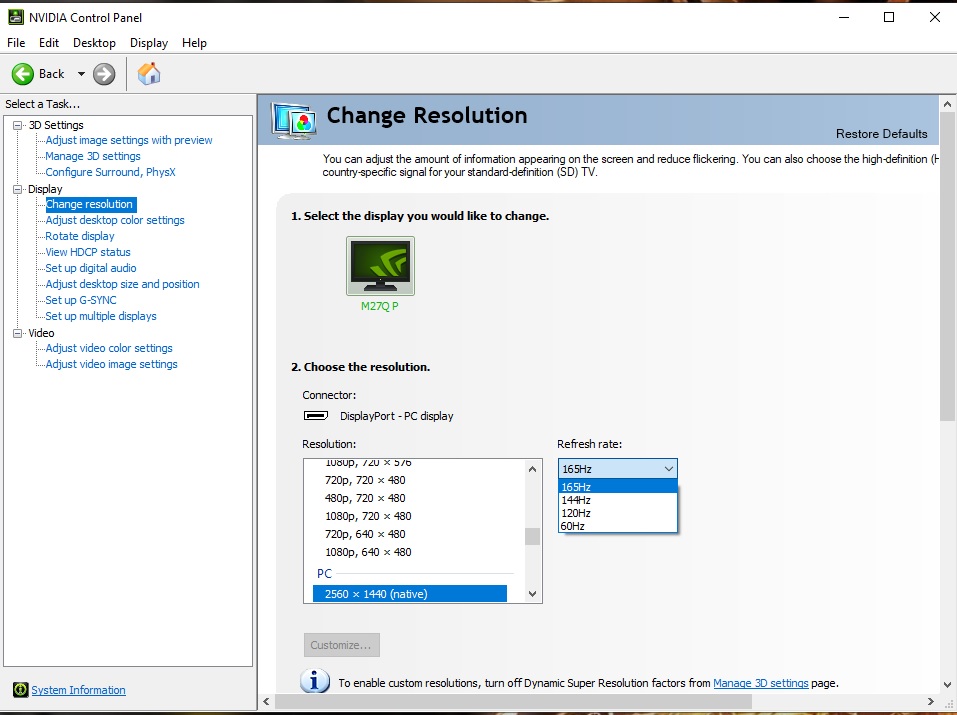
Up to 144Hz is possible using HDMI 2.0 cable, so we have used the DisplayPort 1.4 cable to achieve a full 165Hz. The above picture shows the listed refresh rates of this panel. The monitor also supports 10-bit color depth and has 178° wide viewing angles. This helps in near to accurate and consistent image rendering on the screen. This panel is unsuitable for color-related workload, so keep that in mind.
Overall, we had a pleasant and satisfactory experience with the GIGABYTE M27Q P 1440P 165Hz Nano IPS panel. The provision of AMD FreeSync Premium with HDR400, VBR, and MBR makes it more compelling. In contrast, providing KVM functionality increases the cost and value to a certain segment.
Should You Buy It?
Buy It If:
✅ You Seek High Refresh Rates: The GIGABYTE M27Q P, with its 165Hz (overclockable to 170Hz) refresh rate and 1ms GTG response time, caters to gamers prioritizing smooth and responsive gaming experiences.
✅ You are a Productivity Enthusiast with a Dual PC Setup: For users juggling between two working PCs, the built-in KVM switch offers a convenient solution, allowing seamless switching between devices and peripherals with a button press.
✅ You are among Content Consumers and Creators: With a 27” LG SS IPS panel boasting 98% DCI-P3 color saturation, the monitor suits those who appreciate vibrant colors and a wide color gamut, making it ideal for content consumption and creation.
Don’t Buy It If:
❌ You are a Color-Critical Content Creator: Despite its vibrant display, the GIGABYTE M27Q P may not be the best choice for professionals requiring precise color accuracy, as it may fall short for color-critical tasks.
❌ You crave HD Resolution in your Display: If HDR is a significant factor in your display preferences, the basic HDR400 support on this monitor may not deliver the enhanced visual experience you seek, making it less suitable for HDR enthusiasts.
❌ You Need Extensive Ergonomic Adjustments: Those who prioritize a wide range of ergonomic adjustments, such as pivot and swivel functions, might find the limited adjustments (height and tilt) on the M27Q P less accommodating for their preferences.
Conclusion
My experience with the GIGABYTE M27Q P gaming monitor has been a solid upgrade from its predecessor. The 165Hz LIG Nano IPS SS panel with a 1ms GTG response time delivers a smooth gaming experience, and the overclockable 170Hz is a nice touch. I appreciate the support for AMD FreeSync Premium, and with some tweaking, it works well with my Nvidia graphics card by enabling GSync. The IPS panel’s 1000:1 contrast ratio provides decent deep blacks, and the 400 nits brightness is satisfactory.
I’ve found the factory calibration good, except for the locked brightness in the sRGB profile. The overdrive settings effectively tackle ghosting in gaming, and the onboard KVM switch has been a game-changer for managing multiple setups. Connectivity options are abundant, and the OSD, controlled by a joystick, is user-friendly. While lacking a pivot and swivel, the ergonomic design and VESA support suit my needs. It’s a reliable gaming monitor, though content creators might want to look elsewhere for color-critical work.
Recent Updates
- December 26, 2023: A few text changes to improve readability. Also added image galleries.
Thank you! Please share your positive feedback. 🔋
How could we improve this post? Please Help us. 😔
Feedback By:
[Hardware Reviewer & Editor]
Meet Nauman Siddique, a highly experienced computer science graduate with more than 15 years of knowledge in technology. Nauman is an expert in the field known for his deep understanding of computer hardware.
As a tech tester, insightful reviewer, and skilled hardware editor, Nauman carefully breaks down important parts like motherboards, graphics cards, processors, PC cases, CPU coolers, and more.
- 15+ years of PC Building Experience
- 10+ years of first-hand knowledge of technology
- 7+ years of doing in-depth testing of PC Hardware
- A motivated individual with a keen interest in tech testing from multiple angles.
- I majored in Computer Science with a Masters in Marketing
- Previously worked at eXputer, EnosTech, and Appuals.
- Completed Course in Computer Systems Specialization From Illinois Tech
Get In Touch: nauman@tech4gamers.com


