Big Improvements?
Review Summary
Lucky65 V2 is the best budget custom keyboard out there, bar none. It does 99% of what even its higher-priced competitors, like the ND75, do for less. With the same great build quality, sound, stabs, and performance as its predecessor, the Lucky65 V2 is yet another home run for Weikav. Now, with the ball-catch assembly and VIA support, there are no real complaints left anymore.
Hours Tested: 1 week
Overall
-
Value - 9.5/10
9.5/10
-
Design - 9/10
9/10
-
Build Quality - 10/10
10/10
-
Performance - 8.5/10
8.5/10
-
Typing Experience - 9.5/10
9.5/10
-
Features - 9/10
9/10
Pros
- Great build quality and design
- Perfect stock stabilizers
- Deep, rich, satisfying sound
- Screw-less design that’s mod-friendly
- Ball-catch assembly is a massive upgrade
- Magnetic badge stores the USB dongle
- QMK/VIA support that’s not buggy
- Solid wireless performance and battery life
Cons
- Wireless latency is still not good enough for competitive
- No extra layout support, not even ISO
- RGB is not controllable per-key anymore
A couple of weeks ago, we reviewed the Lucky65 and awarded it an Editor’s Choice award because it was the best budget 65% aluminum keyboard we could find. It nailed all the fundamentals without any corner-cutting to reach that price.
Fast forward to October and Weikav is back with its successor: Lucky65 V2. Equipped with a bunch of quality-of-life improvements and some new colors while maintaining the same price, can the board that was already the best get even better?
Key Takeaways
- Lucky65 V2 is a worthy upgrade from V1 refining a board that was already great with features that make it even easier to use and work with.
- Buy the Lucky65 V2 if you want a solid, no-frills aluminum keyboard with no compromises that don’t break the bank.
- Avoid the Lucky65 V2 if you’re looking for a wireless keyboard for competitive gaming or if you need a volume knob/screen.
| Specification | Details |
|---|---|
| Case Material | CNC 6063 Aluminum |
| Surface Finish | Anodized or electrophoresis (cream white only) |
| Mounting Style | PCB gasket mount with silicone beans |
| Layout | ANSI, ISO upon special request |
| Switch Compatibility | Hot-swappable 5-pin sockets |
| Stabilizers | Plate-mounted stabilizers (XinMeng V2), factory lubed |
| Plate Material | FR4 with no flex cuts |
| PCB Features | 1.2mm thickness with flex cuts; supports split spacebar and split shift layouts |
| Connectivity | Tri-mode: Bluetooth 5.0, 2.4GHz wireless, and USB-C wired connections |
| Battery Capacity | 3750mAh |
| RGB Lighting | South-facing per-key RGB backlighting |
| Typing Angle | 7 degrees |
| Front Height | 20.5mm |
| Weight | Approximately 1.2 kg (unbuilt) |
| Software Support | Compatible with QMK and VIA for key mapping and lighting customization |
How Is The Lucky65 V2 Different?
The one thing that sets this board apart from others is its ball-catch assembly. No one else is offering such convenience for this low of a price, even its closest competitor is around $30 more expensive. But the best part is that you don’t have to do all this, it’s a great board out of the box that leaves room for enthusiasts to tinker only if they choose to.
With the ball-catch system, taking apart your board becomes effortless. You can try out various different configs, mess around with foams and mod the thing to your heart’s content without having to waste time unscrewing and screwing everything back.
Unboxing Experience
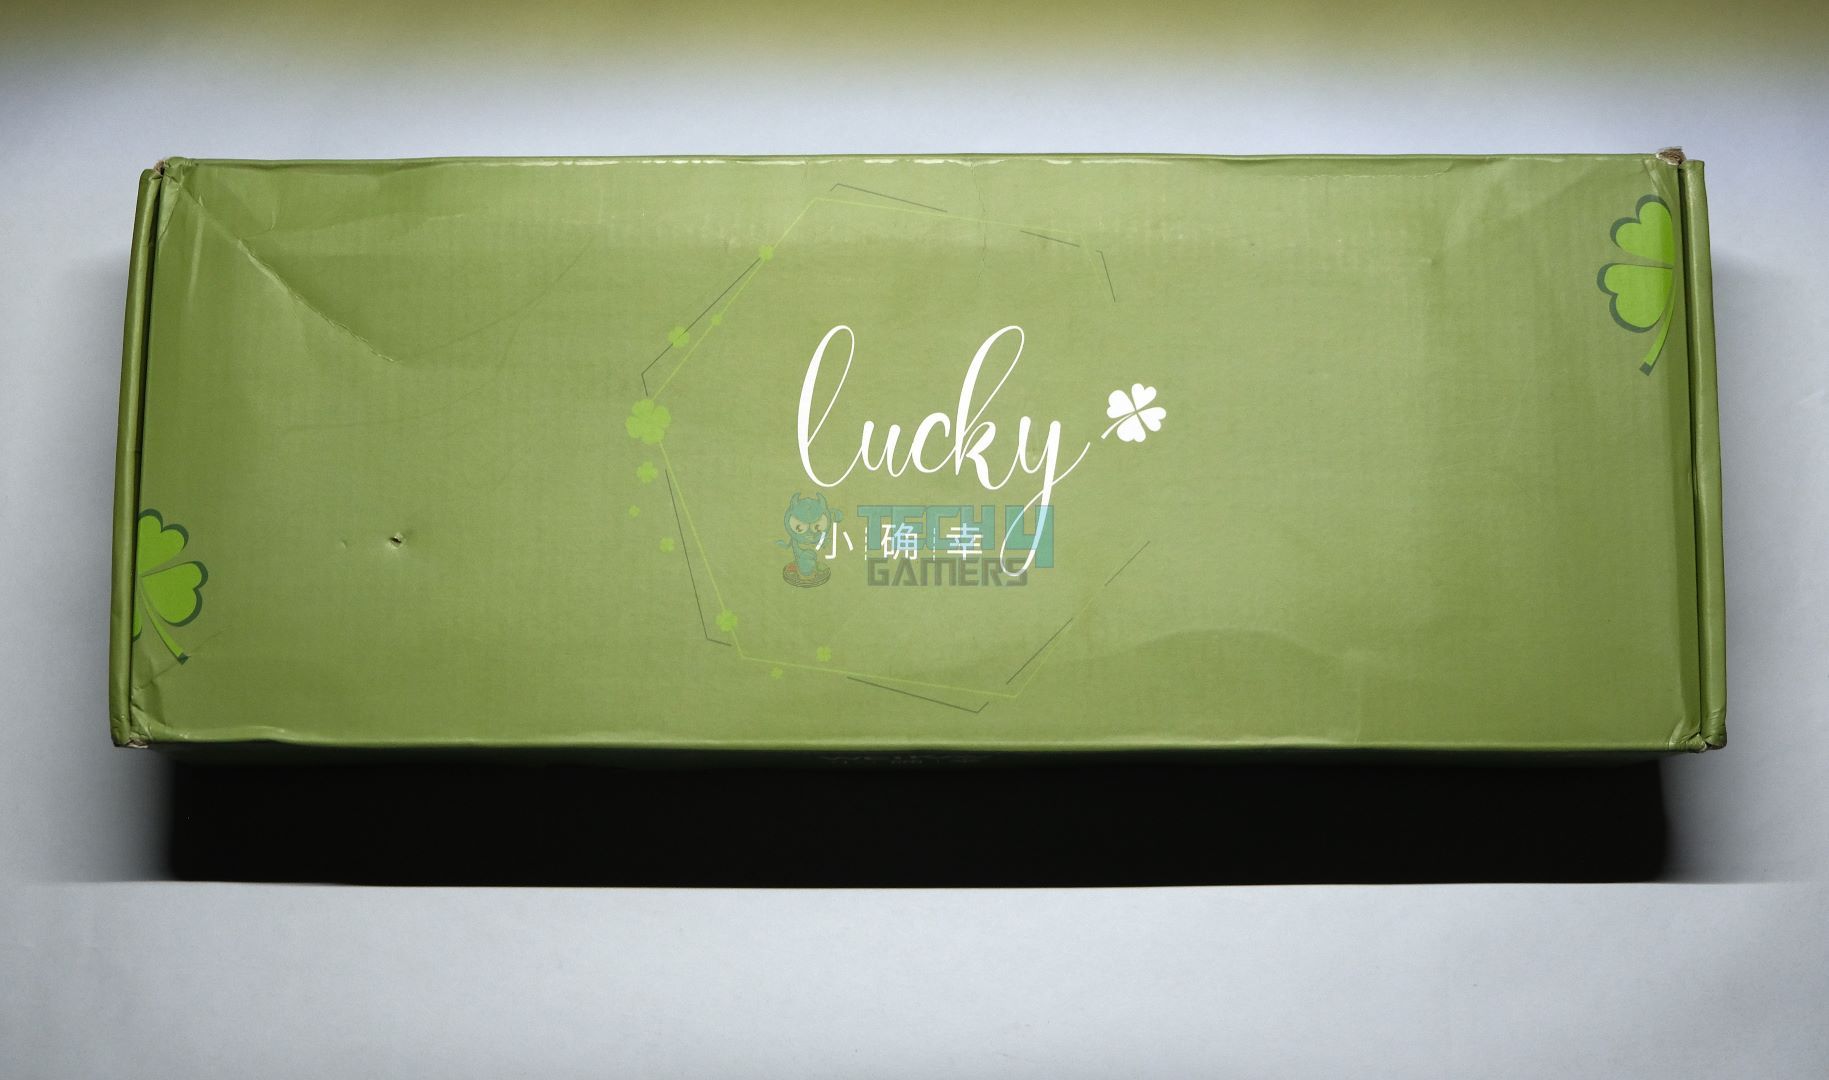
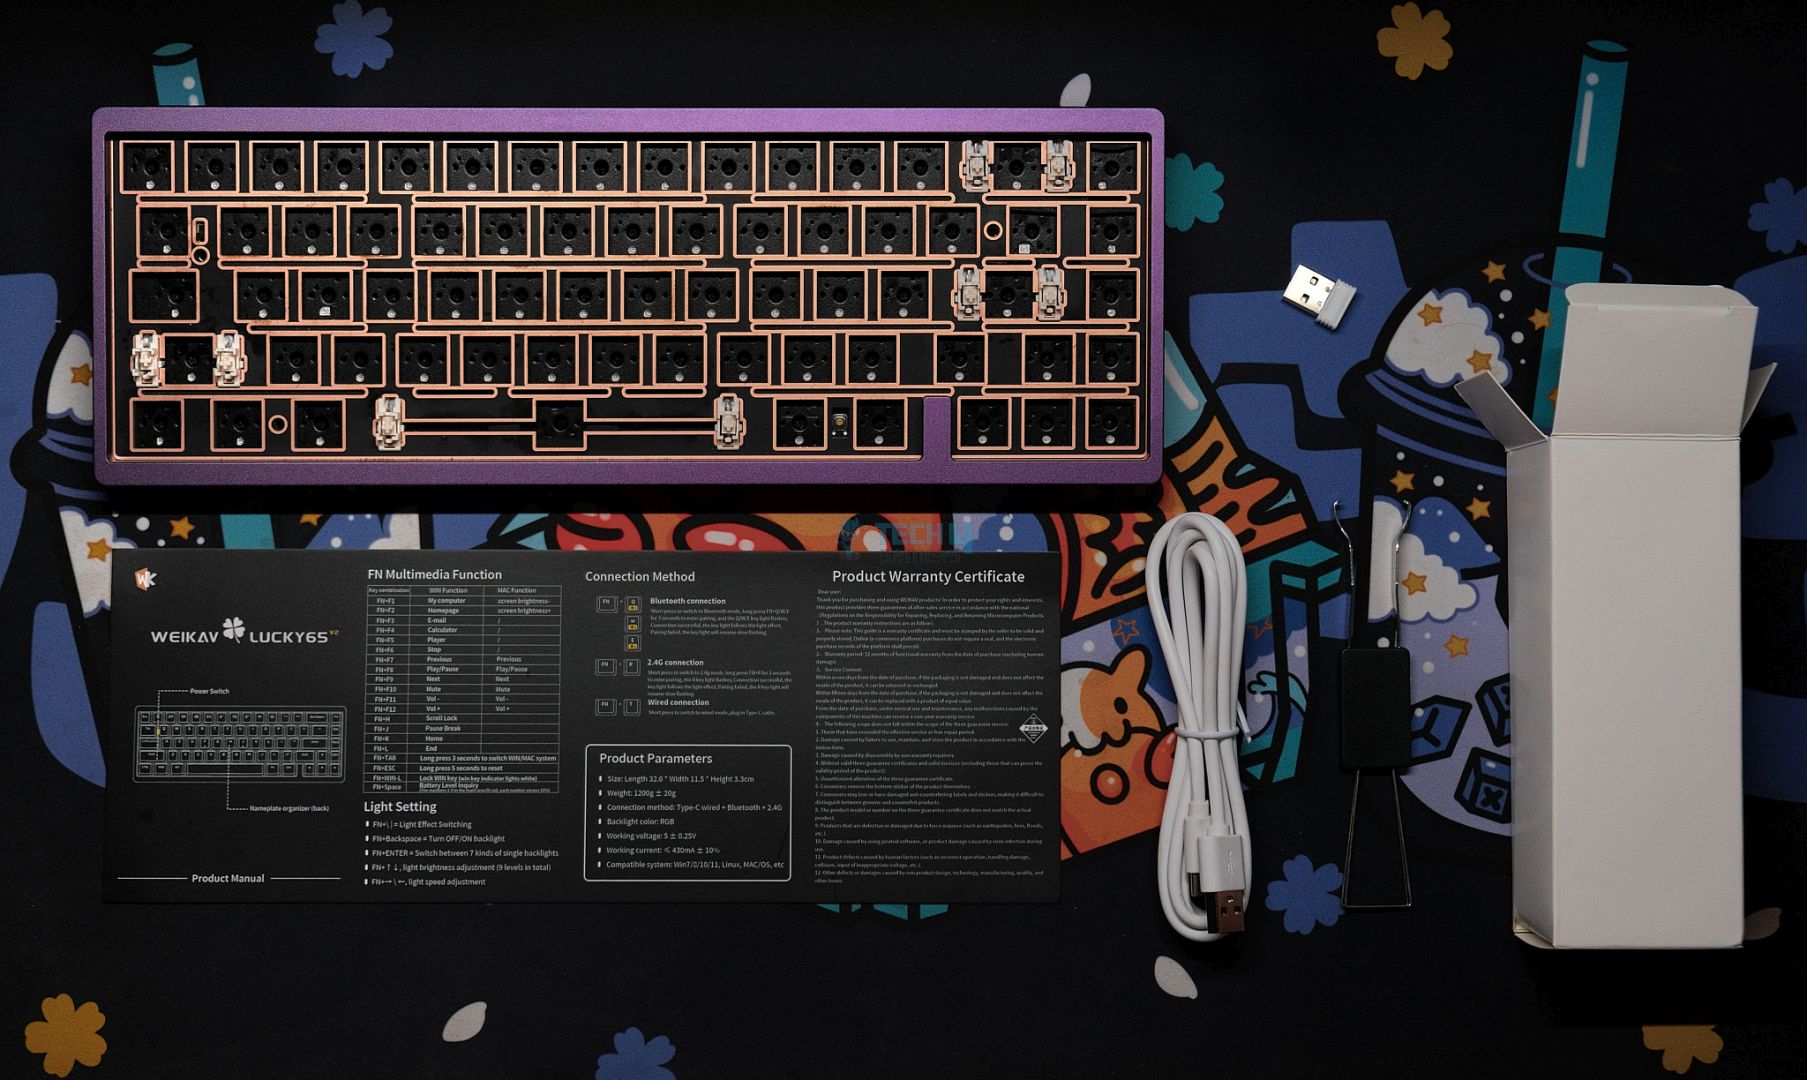
Lucky65 V2 comes in packaging identical to the first one. A simple green box with some clover leaves all around and tabs at the bottom to get inside. Once opened, you’re greeted to the instructions card/manual, underneath which lies the keyboard wrapped in plastic topped with a dust cover.
The accessories are to the side, but this time we don’t get a USB receiver, only the keycap/switch puller and a generic USB-C cable. Like before, no screwdriver is present in the box, but you actually don’t need it this time.
Here’s everything you get in the box:
- 1x Lucky65 V2
- 1x Instructions Card
- 1x Dust Cover
- 1x Keycap/Switch Puller
- 1x USB-C Cable
Design & Build
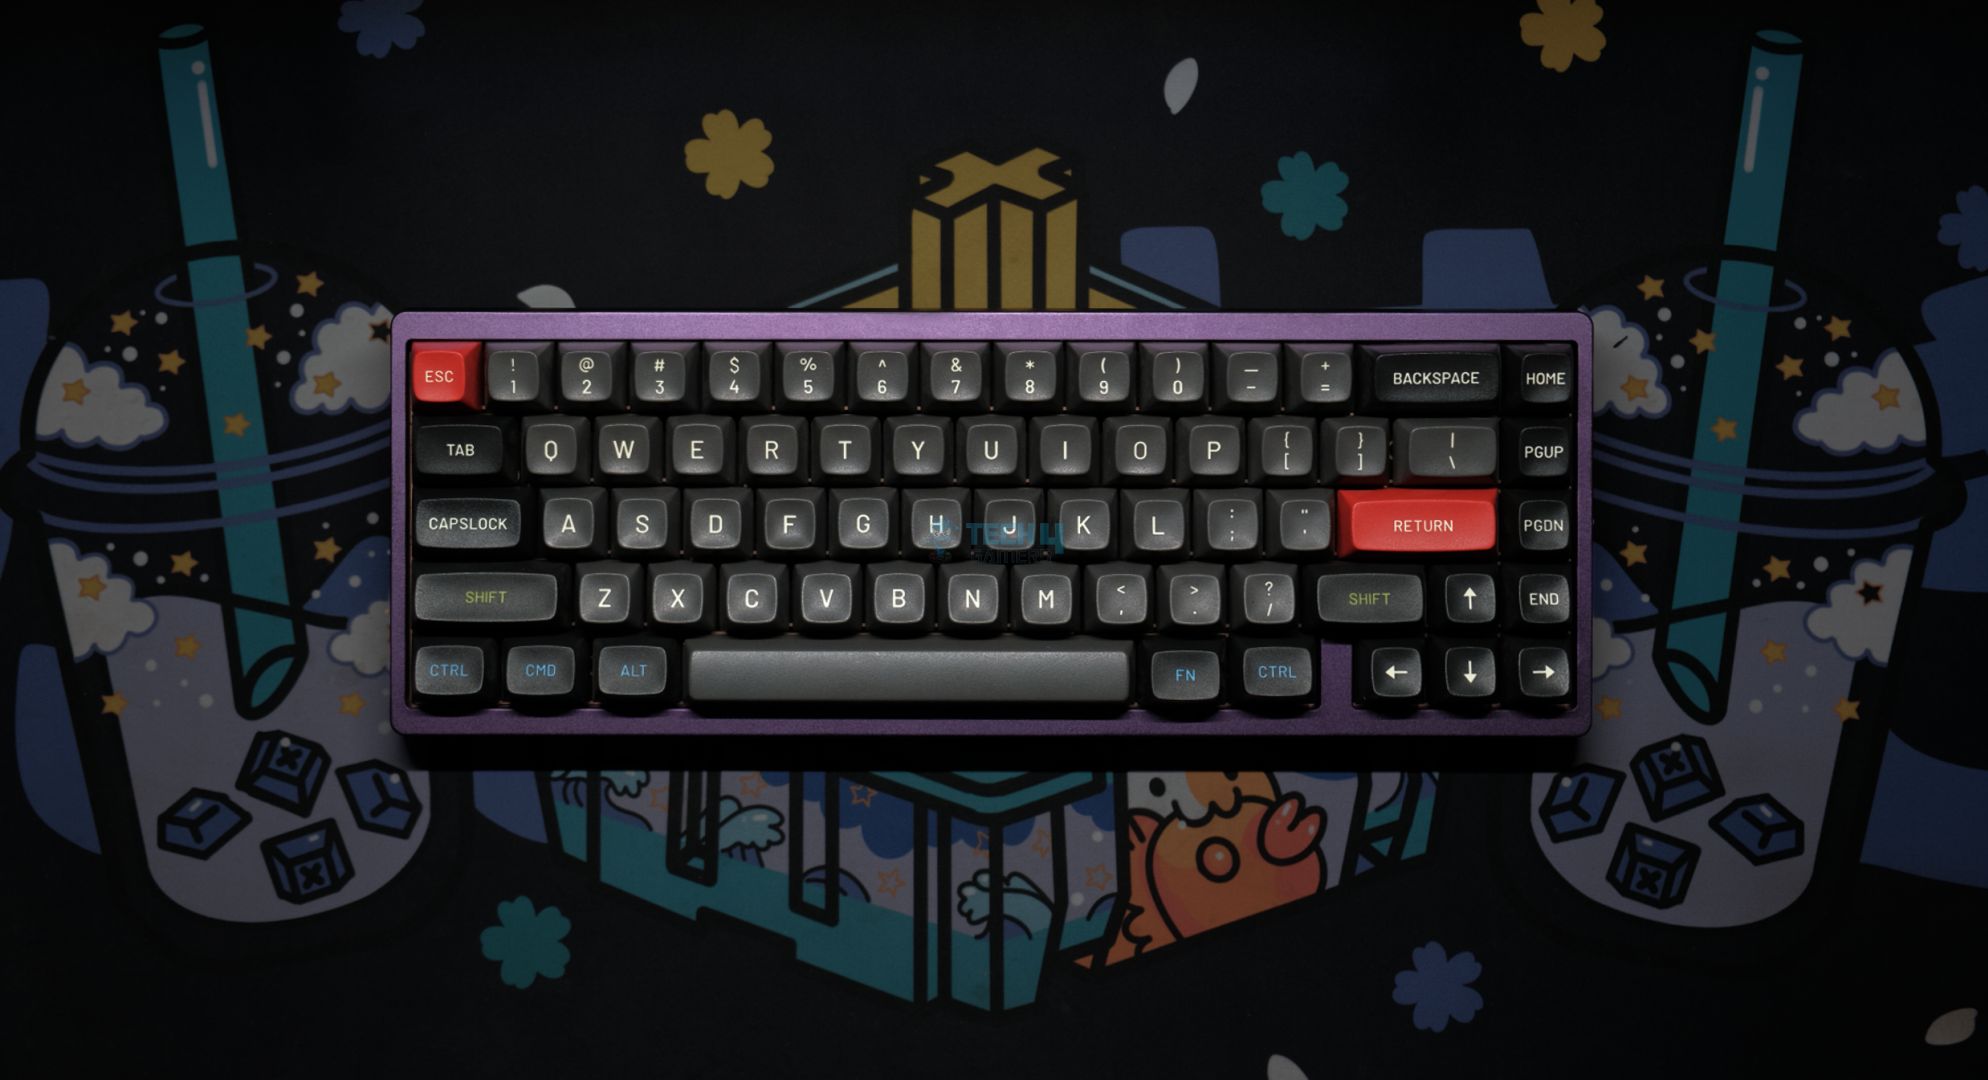
At first glance, there’s almost no difference between the Lucky65 V2 and V1, they have the exact same build quality with the smooth anodization and hefty weight. The colorways are a bit different this time but if you choose, for instance, red, even that looks identical to the previous iteration.
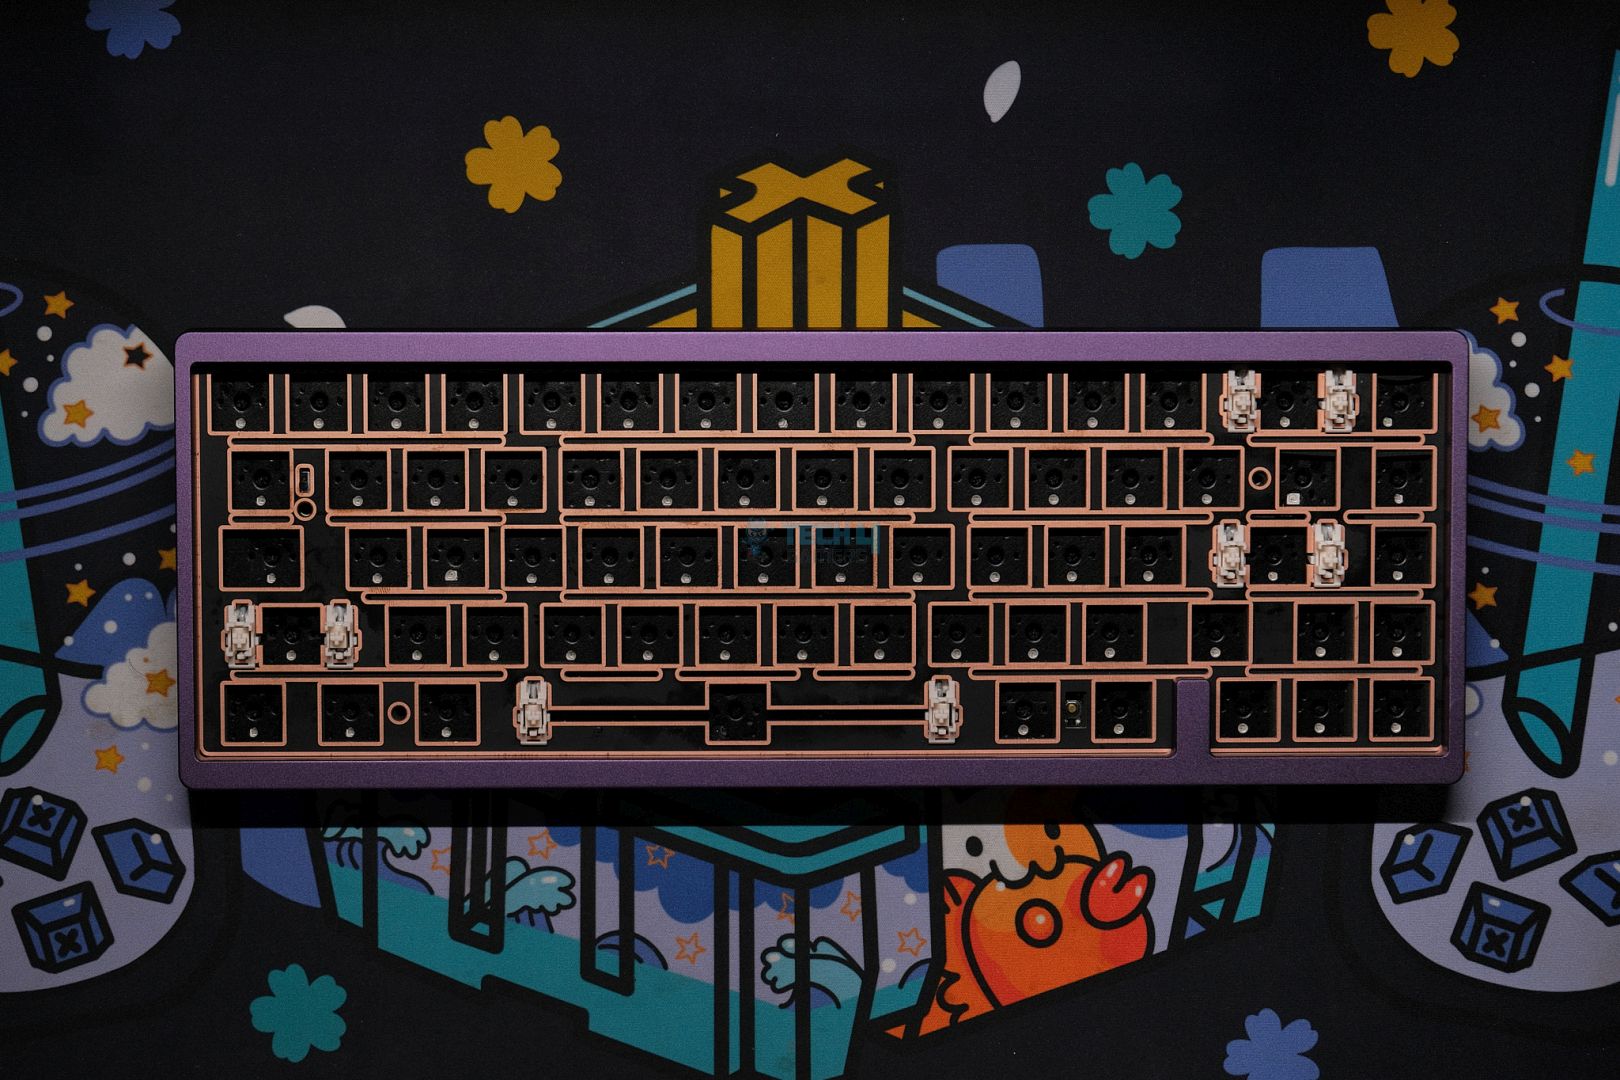
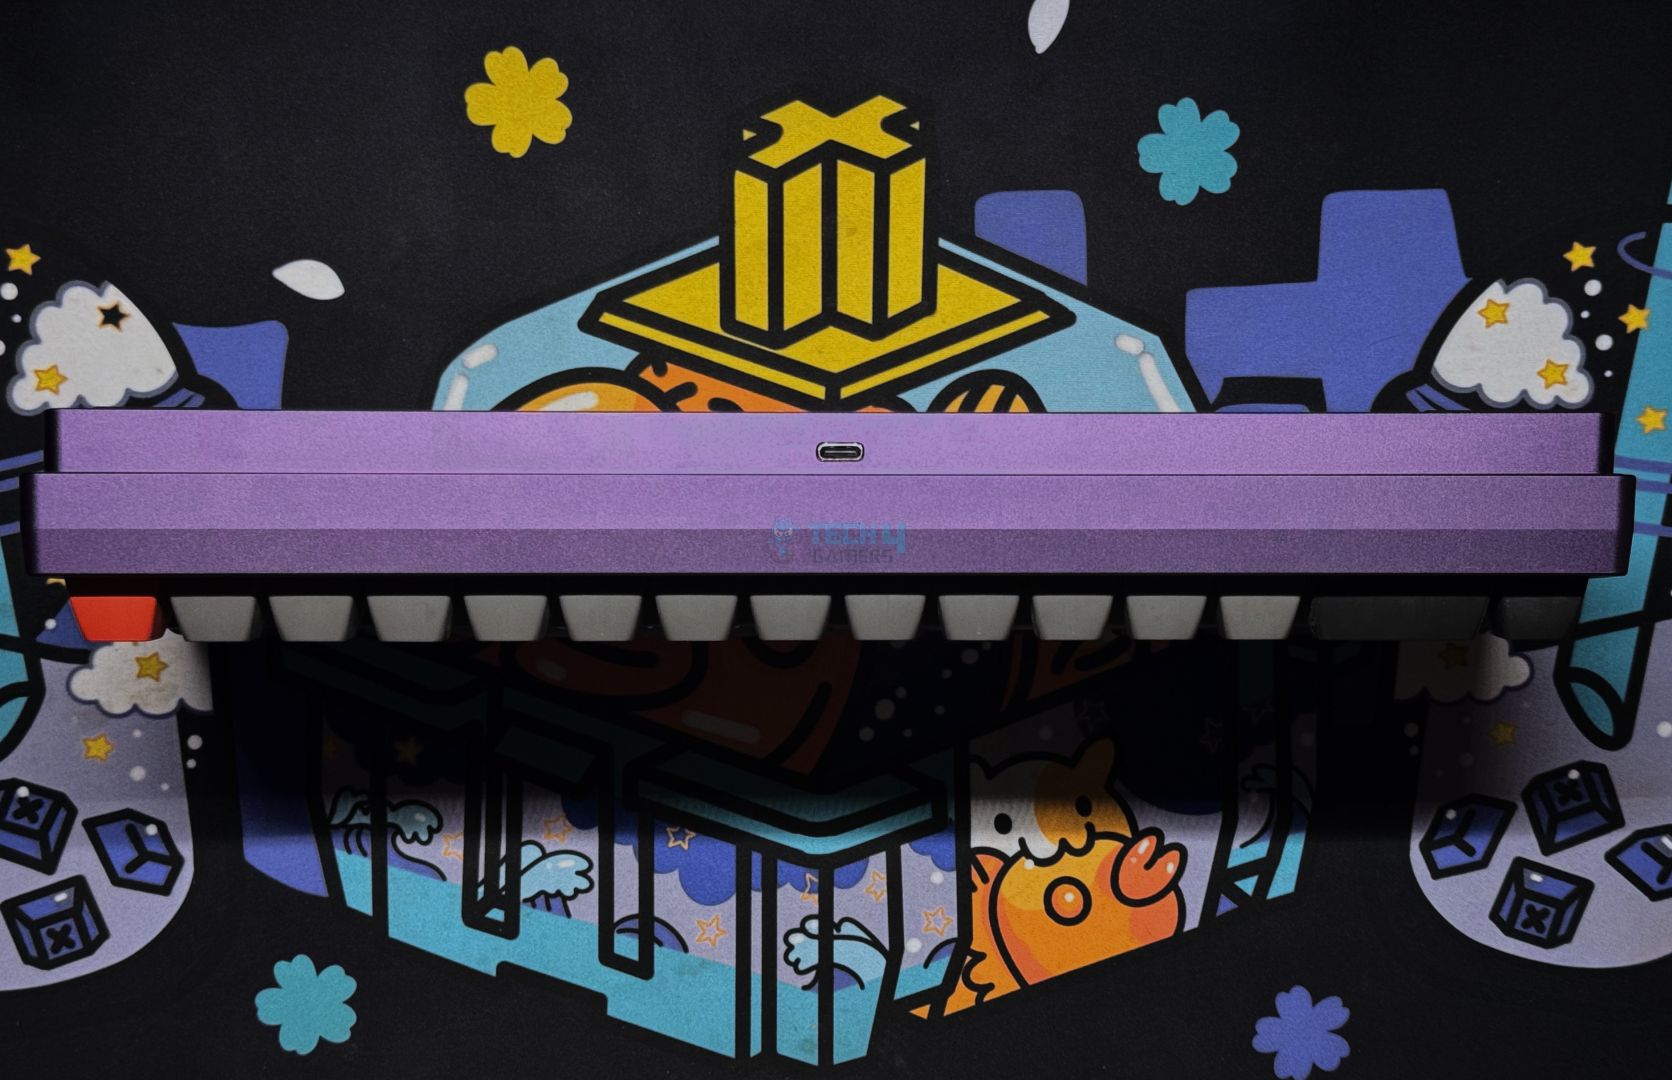
The side profile, the USB port placement, even the bezels are the same otherwise. That is to say, an overall clean, minimal look with no distractions accompanying a simple design. The build quality is up there with the very best in the budget category, with no grittiness or chalkiness, and a solid anno job with perfect curves and chamfering on the inner edges.
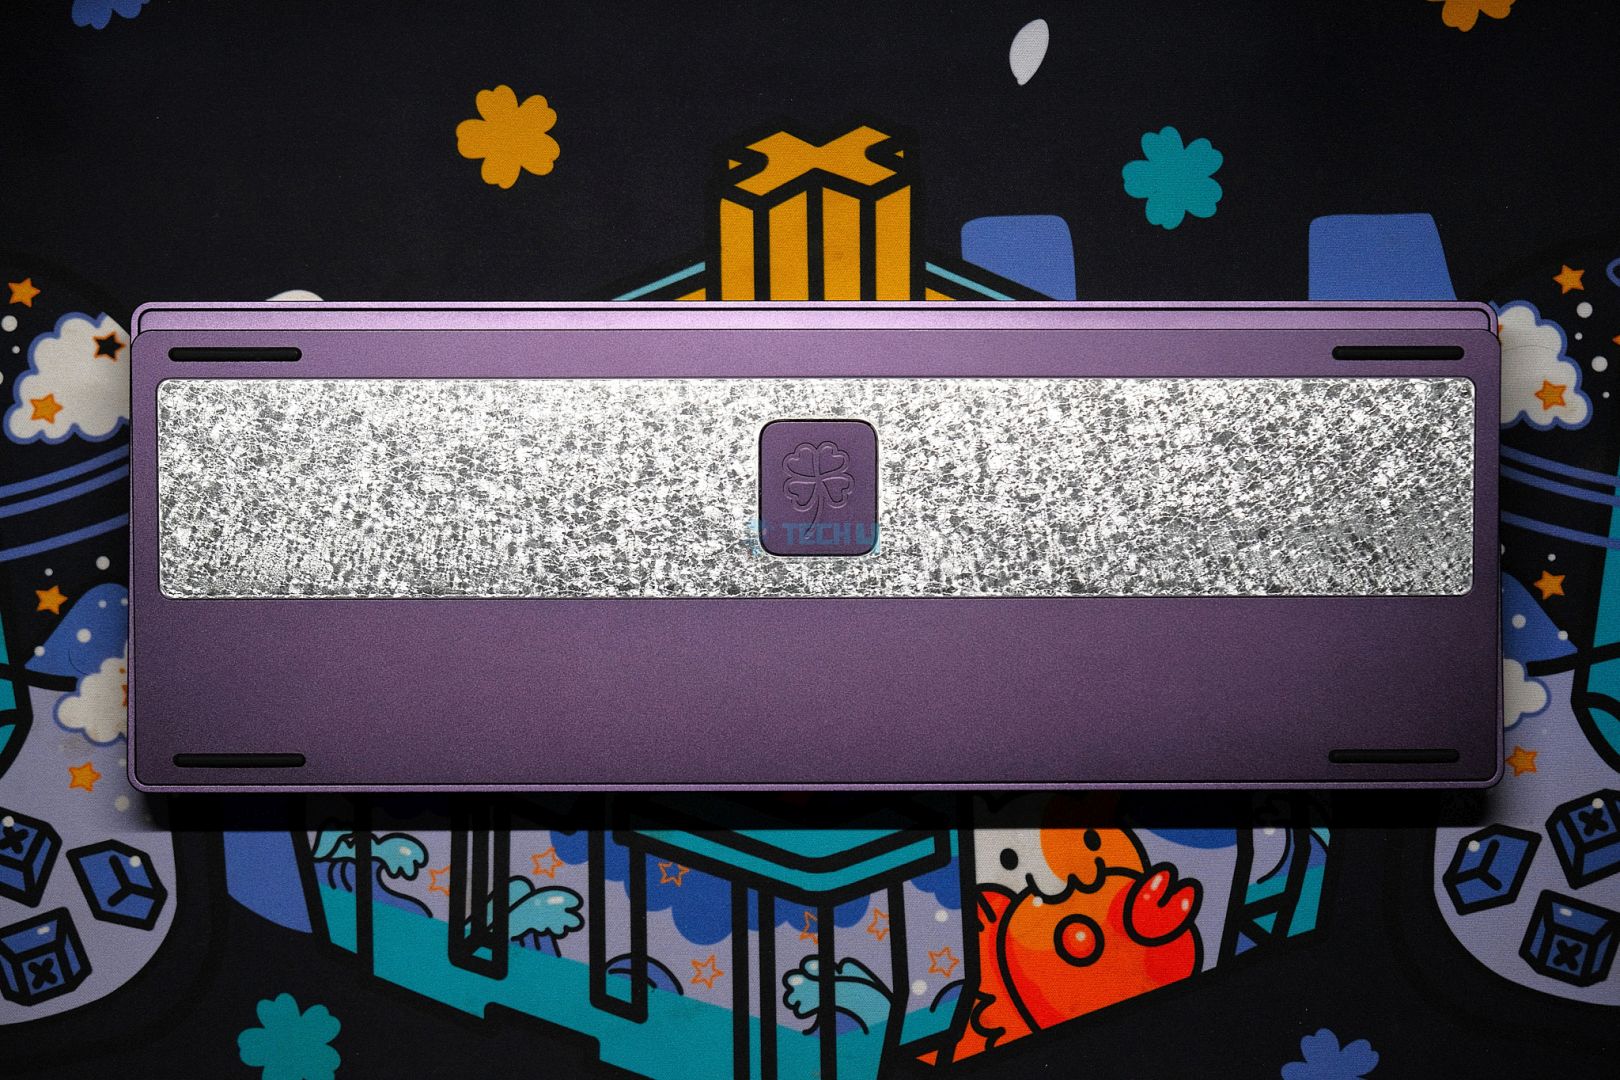
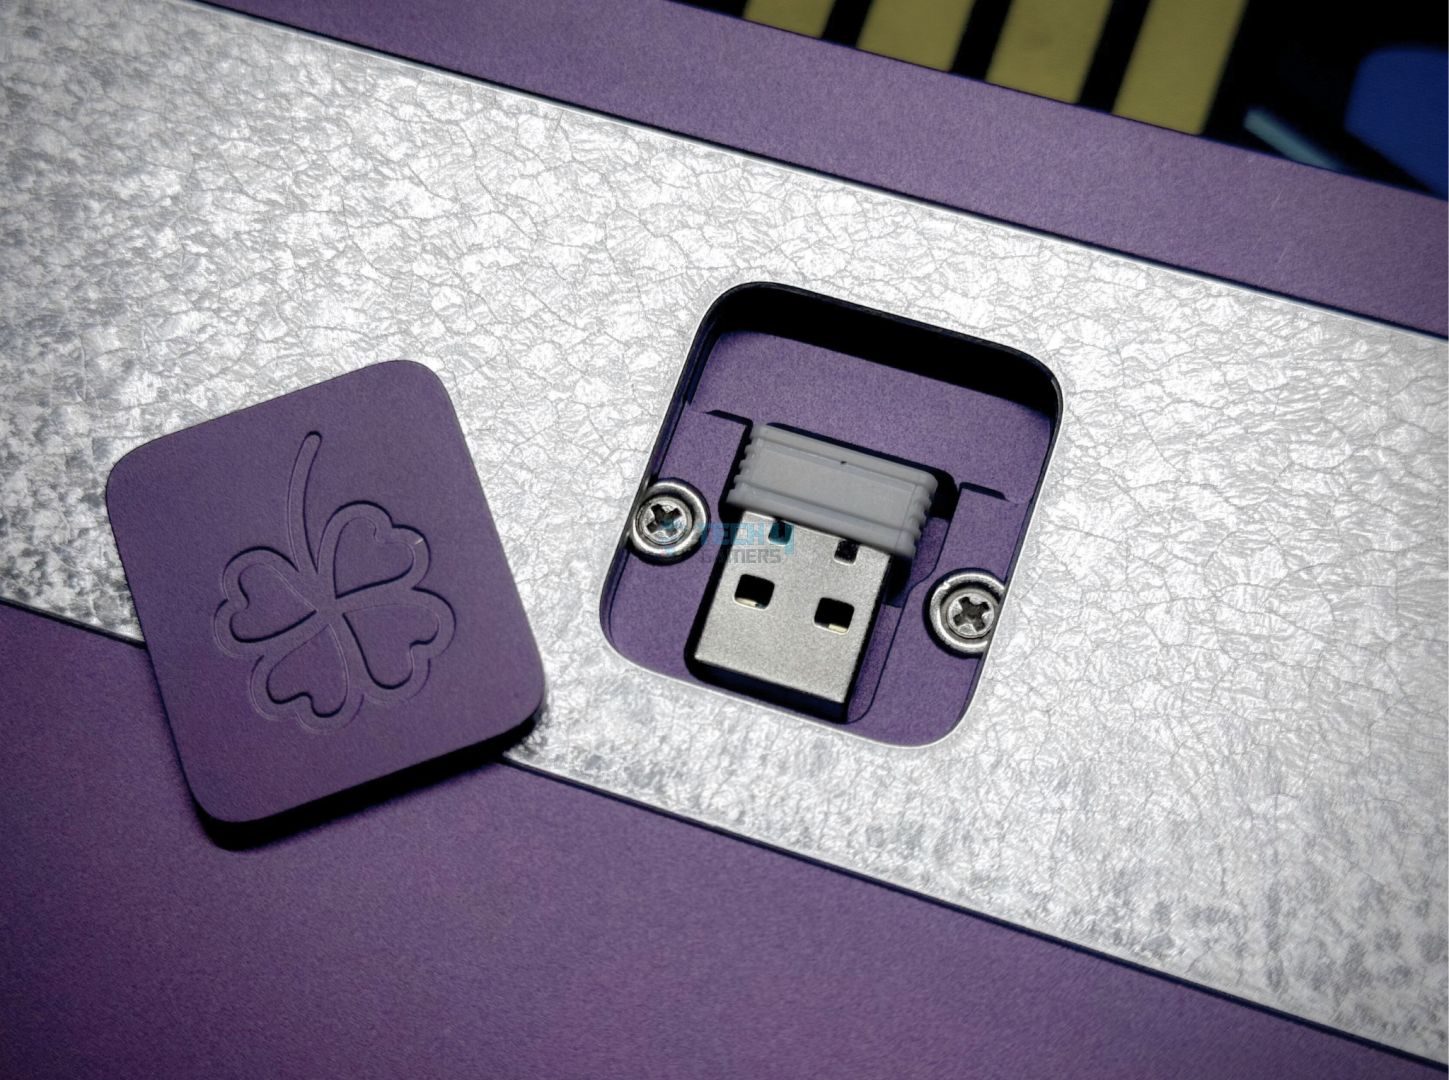
It’s not until you turn the board around that you start to see the difference. The weight on the back is now textured like “ice crystals” and comes in silver instead of gold. The leaf clover has been moved from the bottom corner to the middle on a magnetic badge. It acts as the centerpiece of the entire keyboard, hiding the 2.4GHz dongle underneath.
Likewise, the board has a 7-degree typing angle and 20mm front height that’s comfortable to type on without a wrist rest. It weighs 1.3 kg unbuilt, and that extends to almost 2 kg fully built. Again, it’s similar to the V1, so if it ain’t broken, don’t fix it.
Layout & Features
The Lucky65 V2 shares most of the same features as its predecessor — it’s a 65% mechanical keyboard that comes barebones (no keycaps or switches supplied). It has a 5-pin fully hotswap PCB with south-facing RGB that’s not controllable per-key. This is due to the fact that this board relies on VIA and doesn’t have any dedicated software.
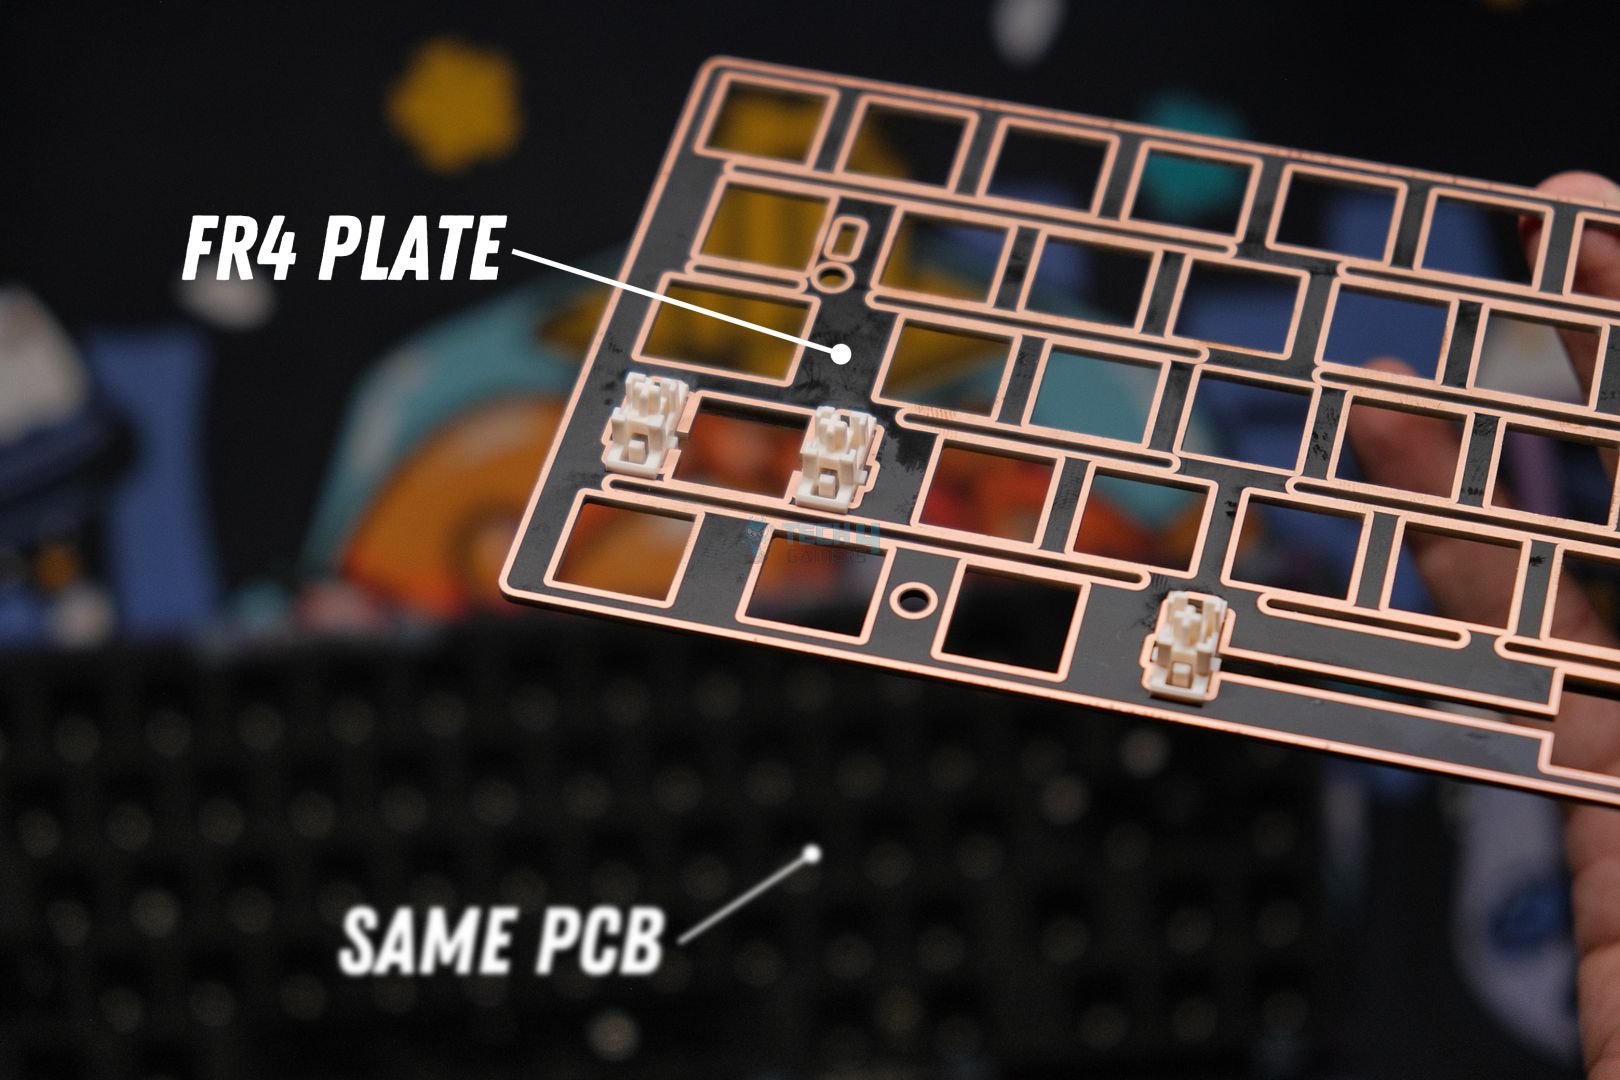
Weikav has kept the same tri-mode support here, so the board is wireless with Bluetooth and 2.4GHz functionality, and wired over USB-C. The 1.2mm PCB looks the same with a lot of flex cuts, but the plate has been updated to FR4 material (still with flex cuts). There is also only ANSI support this time around, but the PCB supports screw-in stabs.
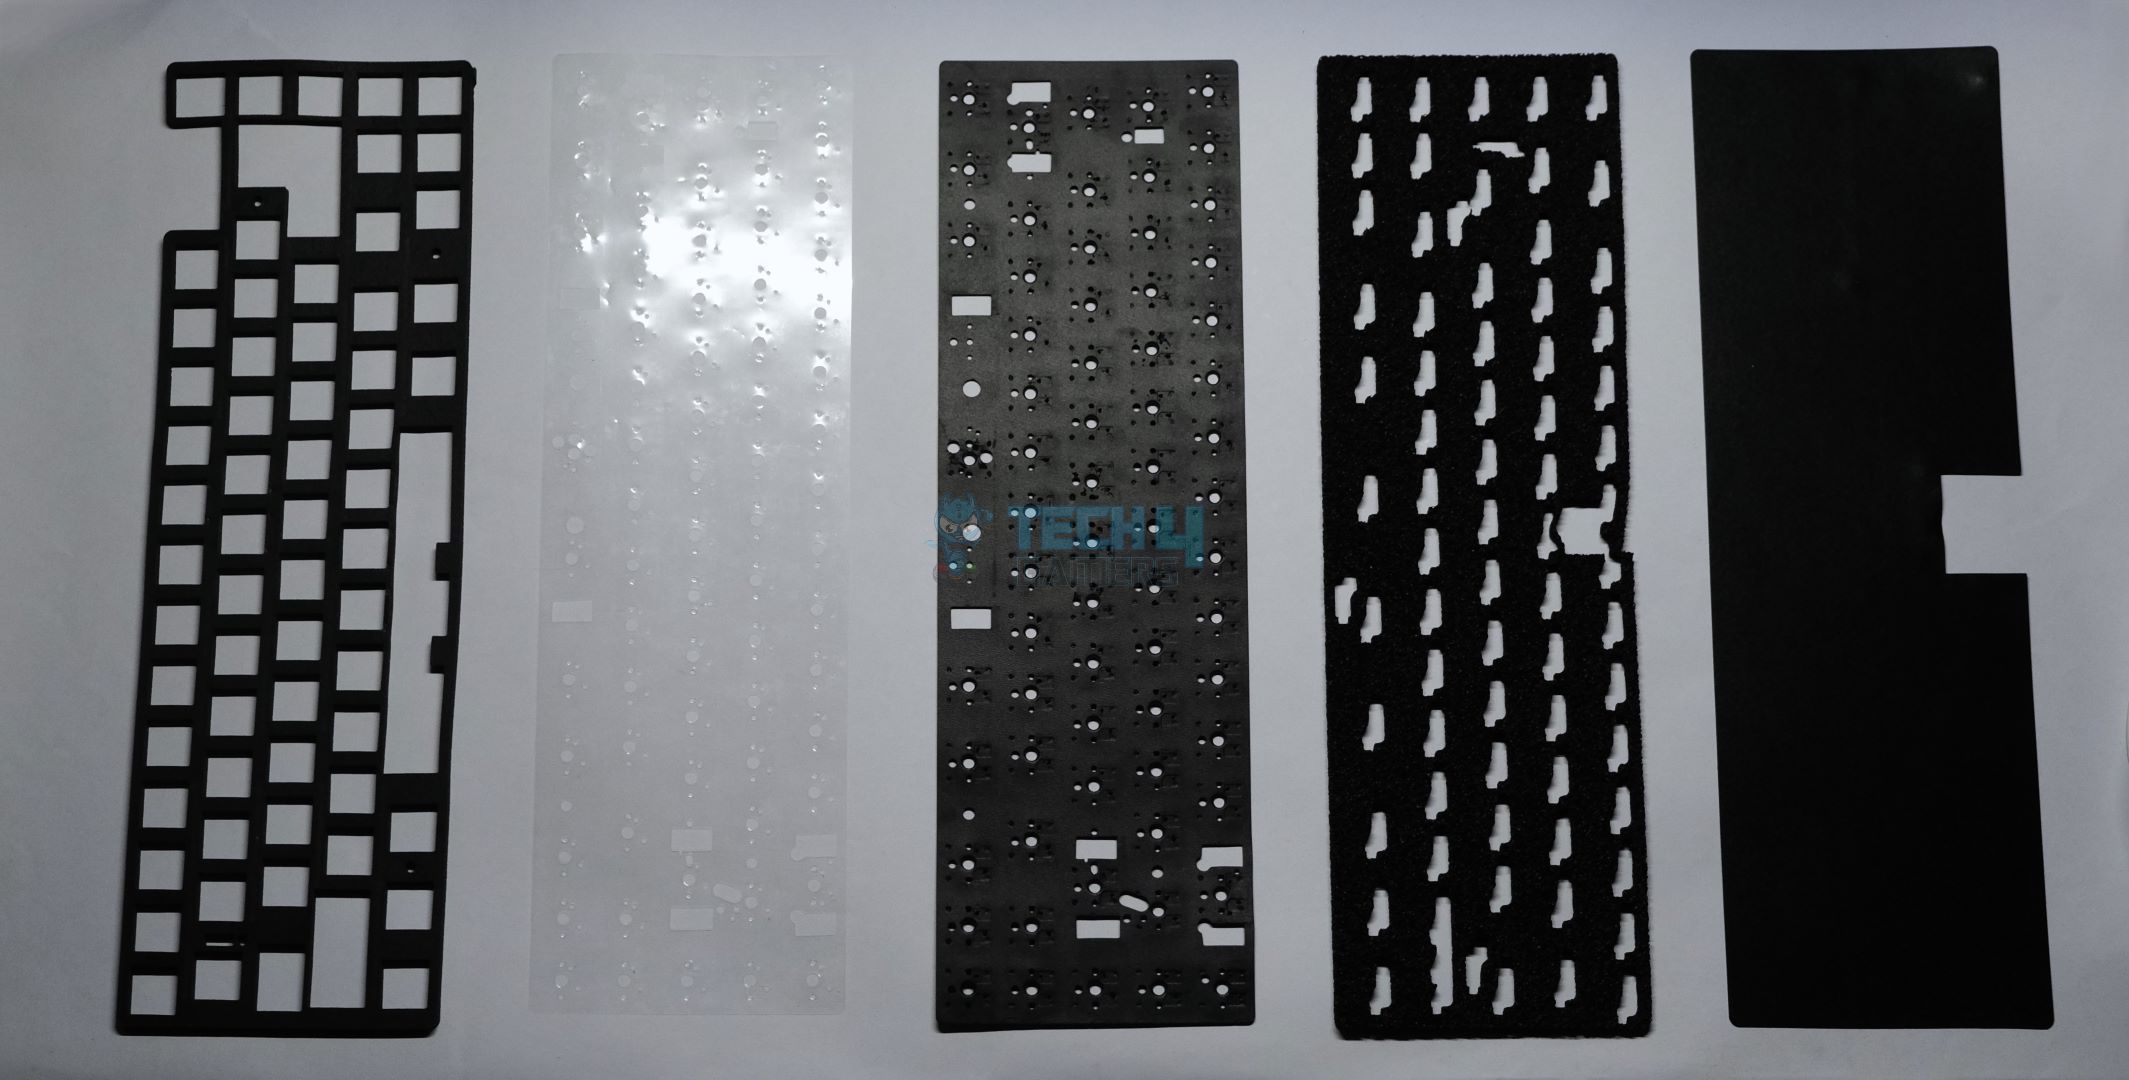
Lucky65 V2 is still gasket-mounted using little silicone gasket beans on the PCB and features five layers of foam: plate foam, IXPE sheet, PET sheet, PCB foam, and an ESD insulation sheet to protect the PCB from shorting if it ever accidentally comes in contact with the bottom case.
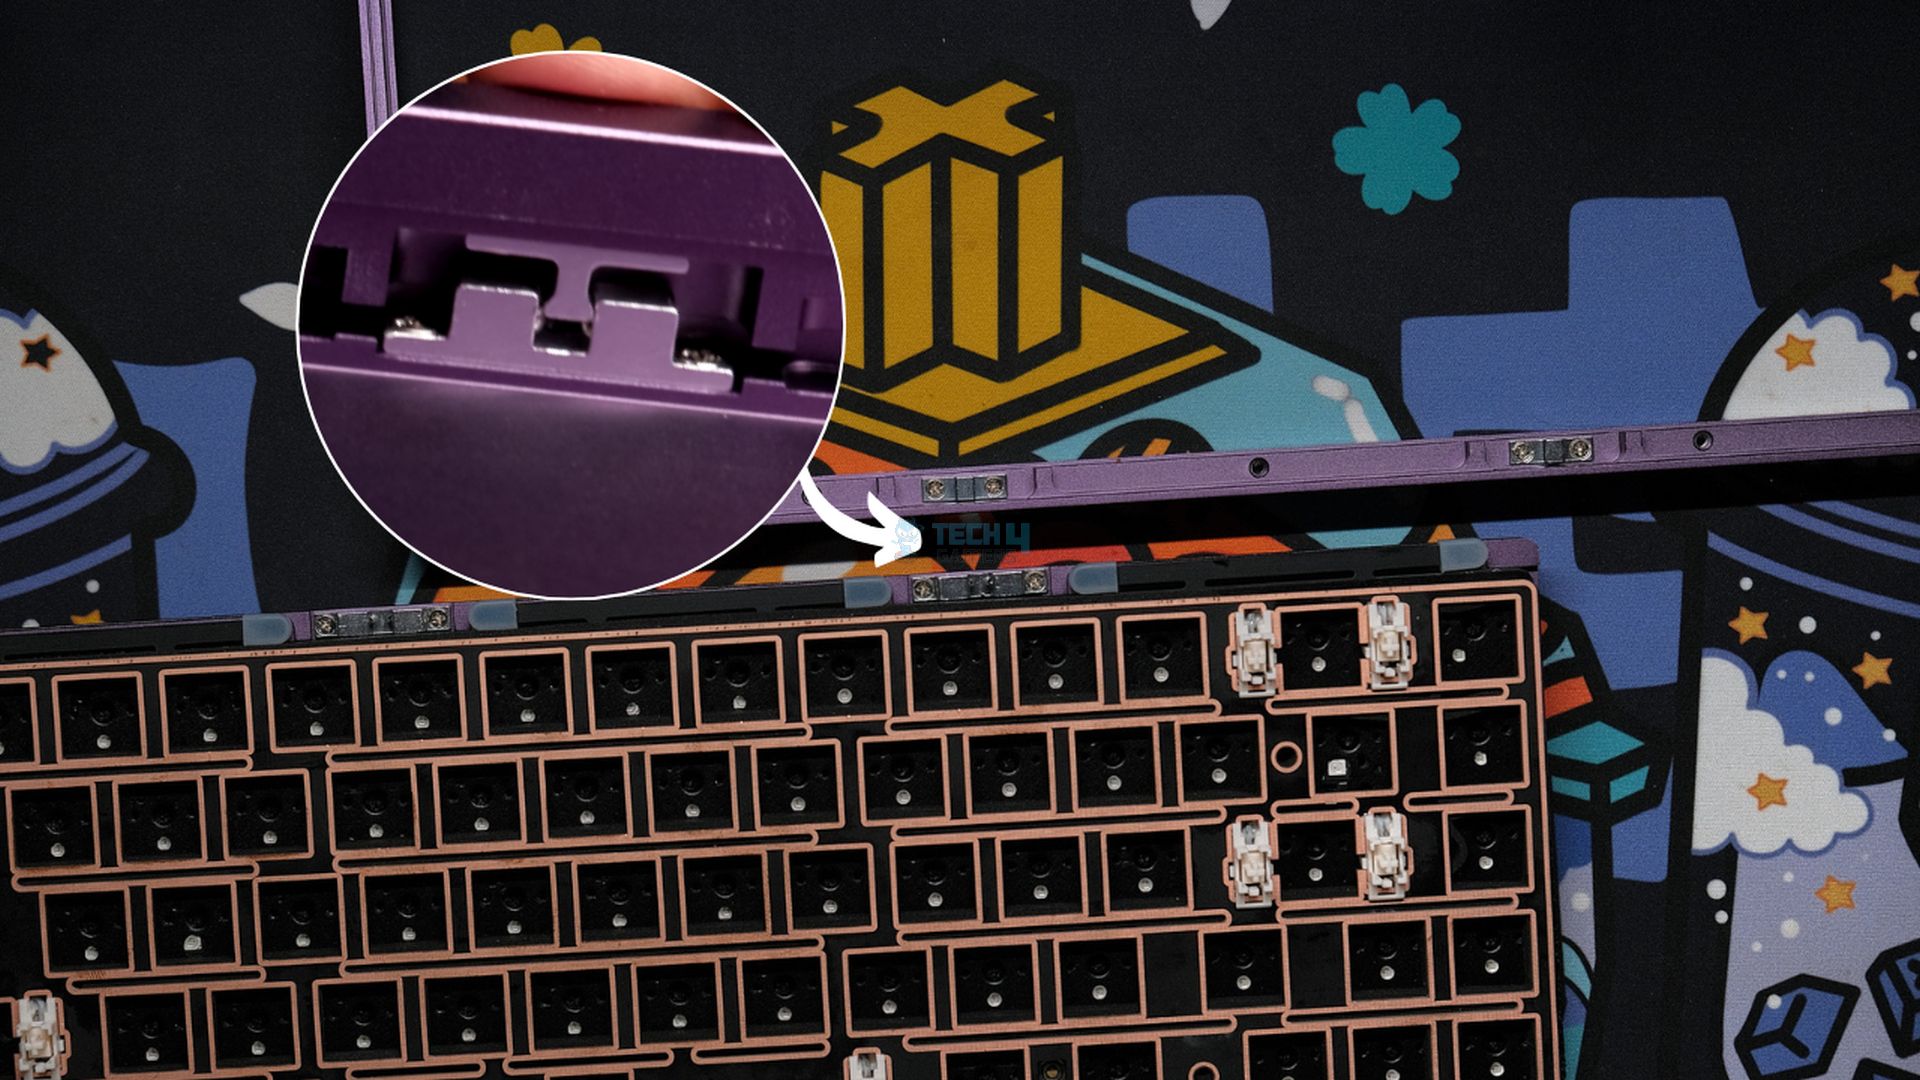
The real improvements come in the form of a new structure joining the top and bottom case. Lucky65 V2 features a catch-ball assembly, meaning the case is completely screwless and all you have to do to open it, is pull it toward you. To close it back, simply apply pressure and the little catch-balls will, um, catch the balls and lock the cases in place.
We saw this first on the TKD Cycle7 last year where they called it “EZ-Assemble”, and this idea has since really taken off. It makes the board much easier to take apart for modding and save time for enthusiasts who like to tinker often. This is the highlight of the Lucky65 V2, more on this later.
Lastly, as I already mentioned in the design section the board has a new magnetic badge at the back that now houses the wireless receiver. The magnets are strong and satisfying, and you can’t accidentally put the badge upside down. A dedicated place to store the 2.4GHz receiver is always appreciated as I’ve already misplaced my Lucky65 V1’s dongle.
Performance & Battery Life
There’s nothing new to say here. The Lucky65 V2 lines up completely with the results of the V1. Performance is solid in wireless modes, but the latency is not low enough for competitive gaming, for that plugging in still recommended. There are no connection issues or random signal drops or anything like that, however.
Battery life is great, it will last you up to a week without RGB and about 2 days with RGB given you have the default auto-sleep settings enabled. The same 3750mAh cell used in the V1 is being used here, and with nothing extra added on top to consume said battery, it was obvious we’d see more of the same.
Typing Experience
I’ll be doing two builds with the Lucky65 V2 to show how much you can customize this board. After all, it is literally screaming to be modded with those catch-balls, but not everyone cares about that, so let’s start off simple.
1. Stock Build
For the first build, I’ll be leaving the board as is and popping in Gateron Lunar Probes, one of the best linears on the market right now if you’re after that deep, marbly sound signature. I’ll top off the board with some XDA Honeymilk Keycaps and yes, I know they don’t exactly go with the purple case, but we’re focused on sound here.
There’s not a significant difference between the overall sound and feel of Lucky65 V2 with V1. This is expected as, apart from the FR4 plate, everything else is the same. We get the same deep, creamy sound with no hollowness or metallic resonance. The stabilizers are perfect out of the box, factory-lubed, and tuned well without any effort.
The board feels a bit stiffer as the FR4 plate doesn’t have the same softness as the polycarbonate and lacks flex cuts. That also helps make the sound fuller, though, as nothing escapes from those flex cuts in the stock config. I experienced a slightly louder sound as the only notable difference here.
The New Ball-Catch Structure
To understand how this new assembly works a bit more, let’s look at the individual parts that make up it. The bottom case has 4 catch-balls that slide into corresponding studs on the top case. These studs are angular, such that they need to push through the balls along their curve and eventually lock in place.
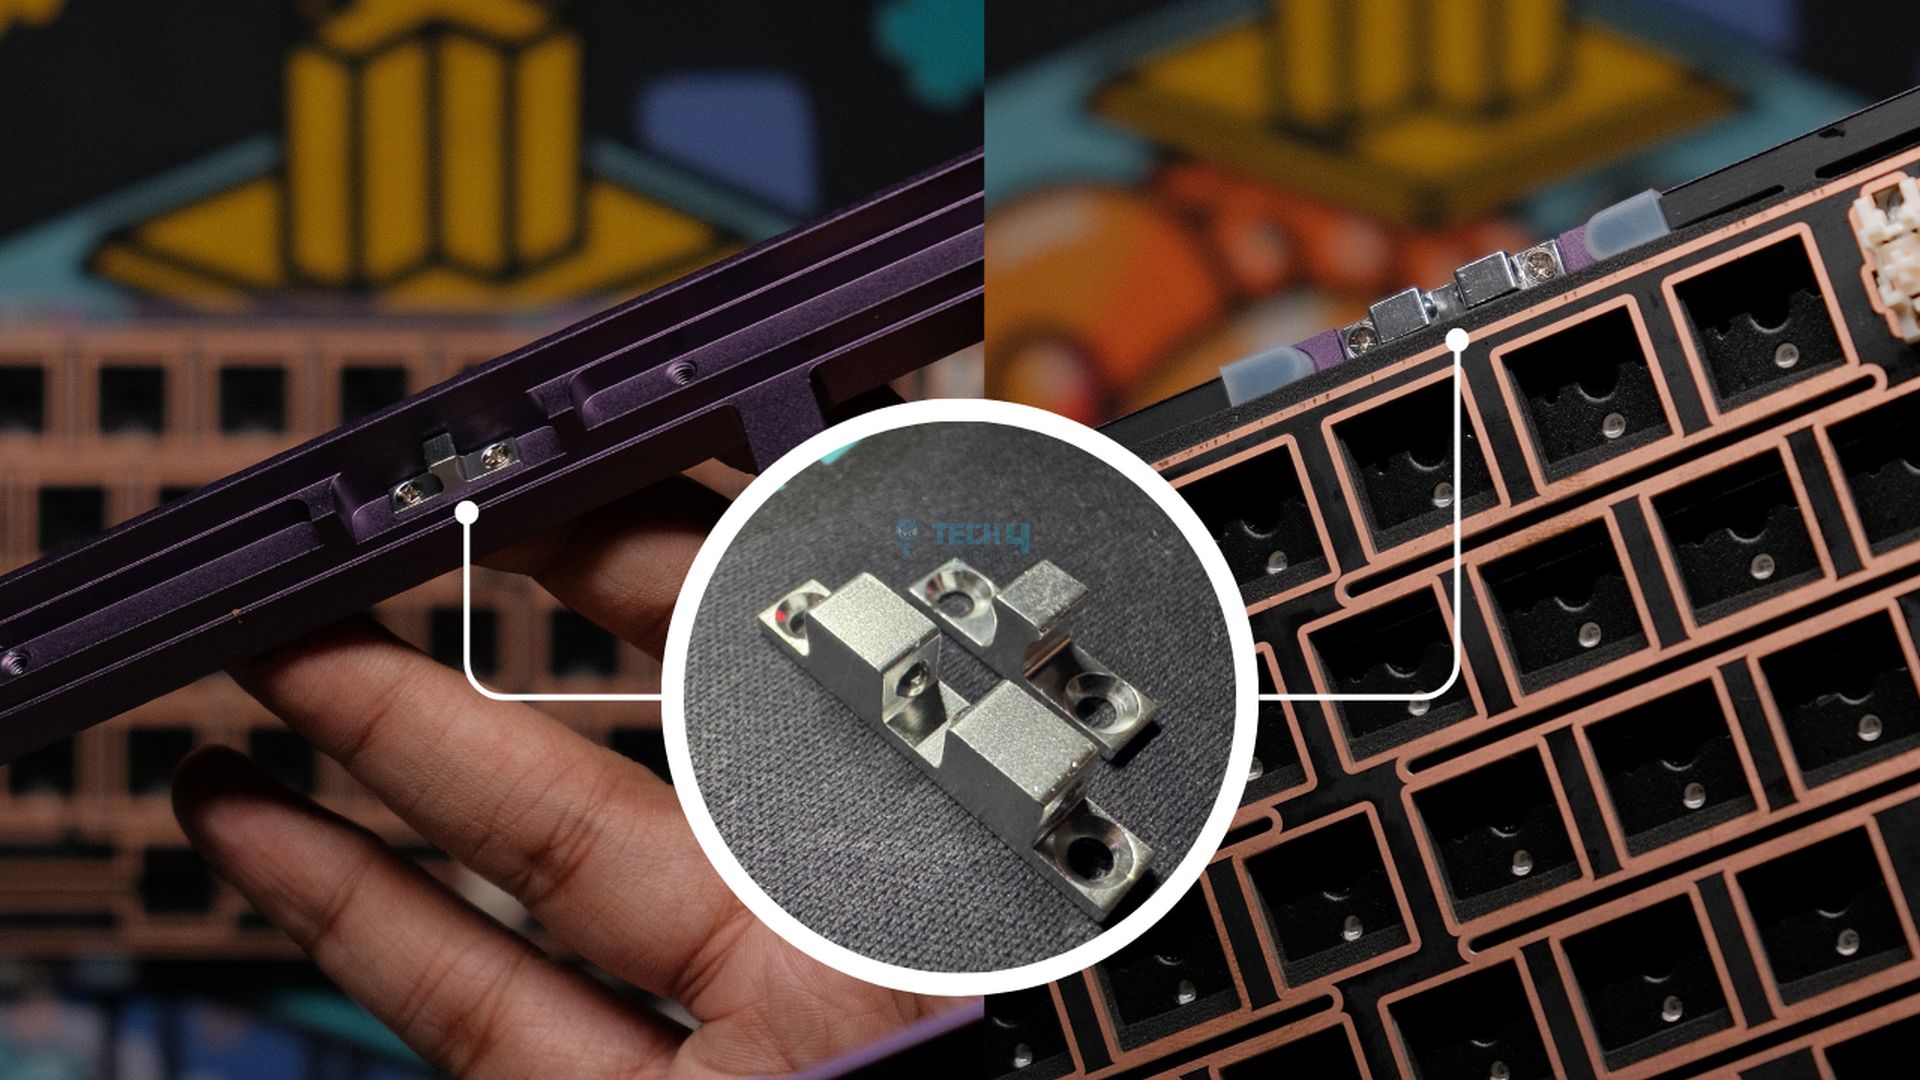
The entire assembly feels robust and satisfying, especially when it clicks back in place. Imagine a spring-loaded pen that you push on top and then release, it feels similar to that. Part of me wishes, though, that they added magnetic connectors for the daughterboard as well to achieve a truly seamless experience.
2. Modded Build
Now let’s move on to a clacky build and for this I’ll be whipping out my GMK Metropolis set paired with the SWK Neon linear switch. Before putting everything together, I’ll pop off the case and remove all foams to see how this board really sounds. I will leave in the PET sheet and also do a single layer tape mod to cover up the flex cuts.
The FR4 plate helps accentuate the higher-end frequencies, making this a great clacky config that doesn’t sound thin foamless. I ended up removing the gasket beans around the spacebar, which added some metalic resonance, so I performed a force break mod, which fixed it. I tried adding polyfill as well, but it was better without it.
The stabs are once again perfect. Moreover, it’s worth noting that putting GMK keycaps also makes a difference here, but it wouldn’t make sense to pair them with a budget board economically, especially for newcomers to the hobby.
Software Experience
The Lucky65 V2 is QMK/VIA compatible, but it’s one of those less official ones that don’t show up on VIA’s website. You need a JSON file to get started that was hard to find, none of the AliExpress listings have it, not even Velocifire, so I had to dig it up on Reddit. Once loaded, though, my experience was pleasant.
First of all, the RGB is properly supported inside VIA, and unlike the Record Alice, it has the correct names at this time. All the modes show up, the color wheel and brightness settings work flawlessly, and the overall implementation feels a touch above the rest.
Everything else you’ve come to expect from VIA, like a clean interface, macros, custom keymapping, and layers, is there and functions as expected. I will say that the VIA illustration shows a knob on the board which means that this exact same PCB might be repurposed for rebranded versions of this board from Womier and the like.
Should You Buy It?
Buy It If:
✅ You want a great custom keyboard that nails all the fundamentals and goes the extra mile with some features.
✅ You’re an enthusiast who likes to tinker with their boards. Trying different configs is effortless with the new ball-catch assembly.
✅ You need VIA/QMK and cannot adjust to any other software that’s not as clean or easy to use.
Don’t Buy It If:
❌ You want the novelty of things like a knob or a screen as the Lucky65 V2 keeps it simple.
❌ You’re a competitive gamer who relies on wireless keyboards; the latency here is higher than recommended.
❌ You want magnetic connectors as well, like the ones present in ND75 or the Neo boards for an entirely seamless experience.
My Thoughts
The Lucky65 V2 does, in fact, succeed in making the best even better. With a new ball-catch assembly, an upgraded weight with the functional magnetic badge and QMK/VIA support, all while hitting that same affordable price point, Weikav has hit yet another home run.
As long as you’re not looking for any gimmicks like a screen or a knob, the Lucky65 V2 has everything. There are no compromises to the build quality, the sound is still great, and those stabs are still perfect out of the box. The fundamentals were already nailed in this board’s first iteration, now it’s just flexing at this point.
What Others Are Using?
Thank you! Please share your positive feedback. 🔋
How could we improve this post? Please Help us. 😔
Born and raised around computers, Huzaifa is an avid gamer and a keyboard enthusiast. When he’s not solving the mysteries of technology, you can find him obsessing over semiconductors, striving to inform the curious.
He’s been modding tech since forever and knows a thing or two about what makes a great typing experience, making him the perfect expert to rely on for your keyboard recommendations! With his IT certification from Google, you can trust him to advise you with deliberation and integrity.
- Favorite Prebuilt: Epomaker P75
- Favorite Budget Option: Tecware Spectre 75
- Favorite Custom Keyboard: TKD Cycle7 / Lucky65 V2


 Threads
![Best White Gaming Mouse [Hands-On-Tested] Best White Gaming Mouse](https://tech4gamers.com/wp-content/uploads/2023/06/Best-White-Gaming-Mouse-.jpg)
