Today, we are going to write on Kingmax Fingerprint Reader Review. iKey is a tiny USB fingerprint reader device that allows the users to store their passwords without worrying to remember them all. That is not all; it also provides the functionality of encrypting/decrypting the important files and the folders. All this using just your fingerprint.
Kingmax iKey USB Fingerprint Reader Review
Item: Kingmax Fingerprint Reader Review
Manufacturer: Kingmax
Price: Check Price on Amazon
IKey Specifications
IKey Unboxing and the Packaging
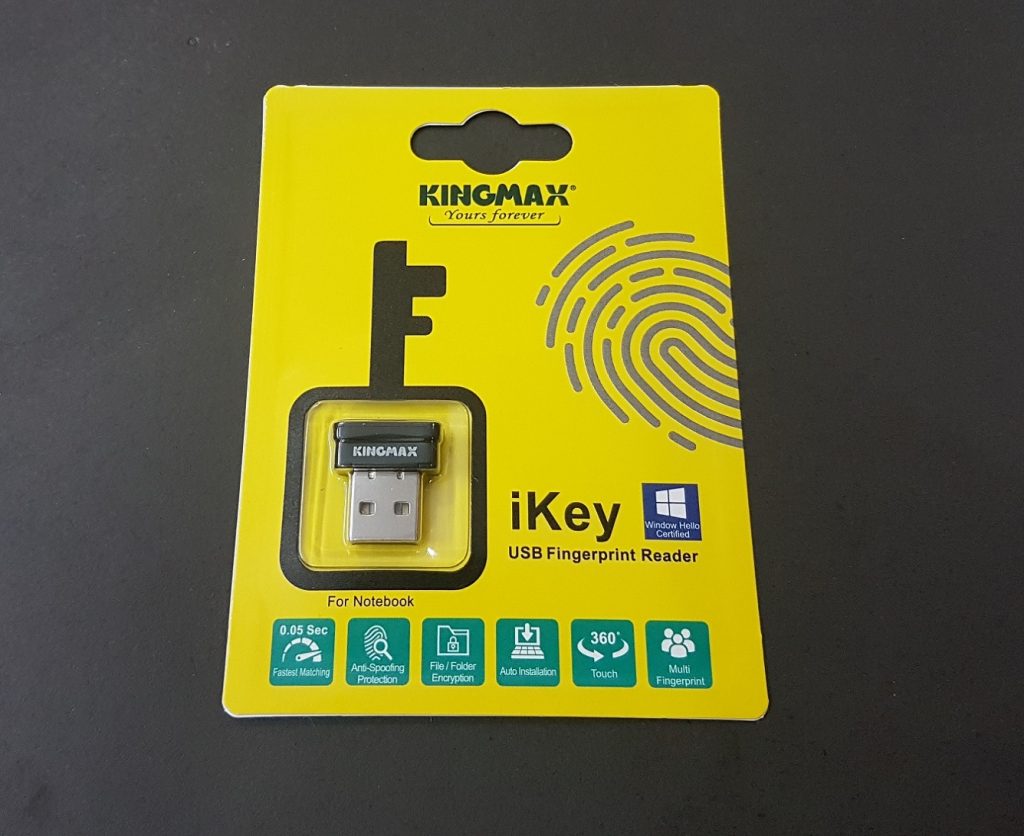
The device comes in a small size retail packing of the dimensions 12.8 x 10CM. The front side has a dark yellow color background. Kingmax brand name is printed on the top side. A fingerprint diagram is printed on the right side highlighting the key feature of the device. There is a diagram of a key with the head part showing the device itself. The iKey USB Fingerprint Reader is printed on the right side of the device location. It is Windows 10 Hello edition certified. This device is recommended for use with the notebook. Important features of the device are highlighted in 6 different pictures located on the bottom side.
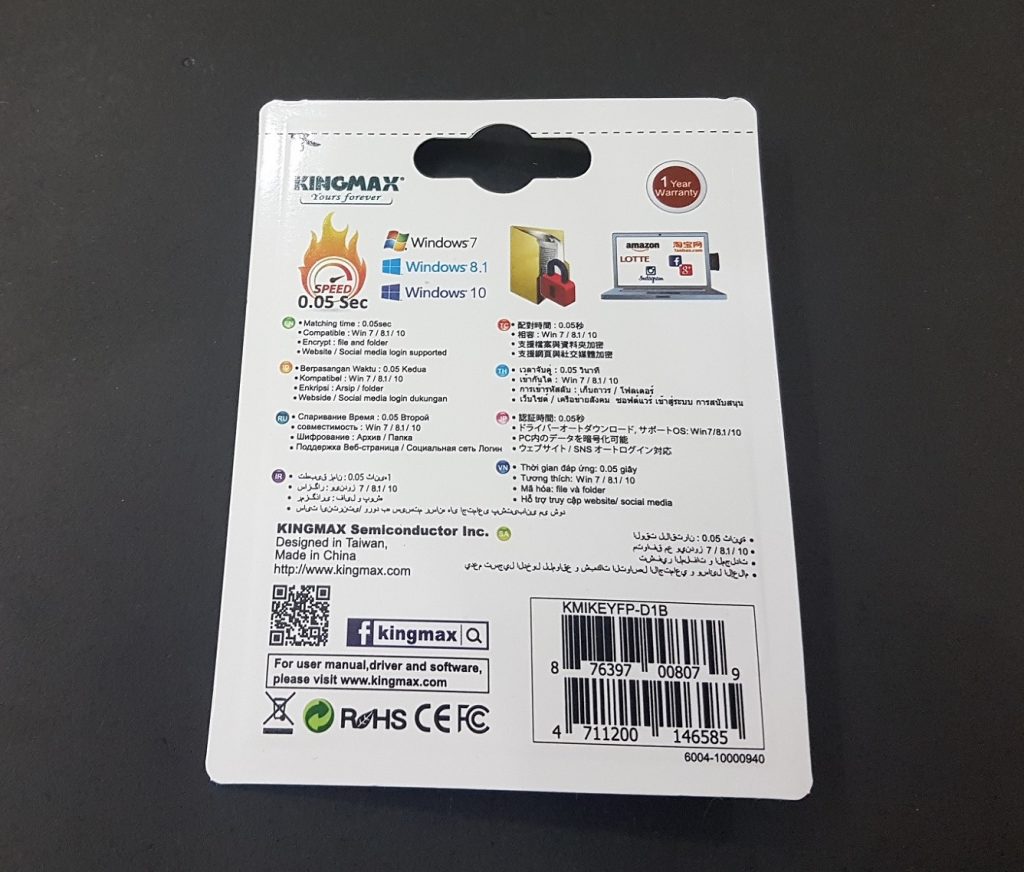
The backside of the packing is plain white in the background. Kingmax brand name is printed on the top left side. The device carries a 1 year warranty, printed on the top right side. It is compatible with the Windows 7, 8.1 and 10 versions. Key highlights are printed in 8 different languages in the middle section of the backside. The info label is printed on the bottom right side.
To open the packing, there is a scissor mark followed by the dotted lines on the top side. Cut it full and take out the device.
Kingmax Closer Look
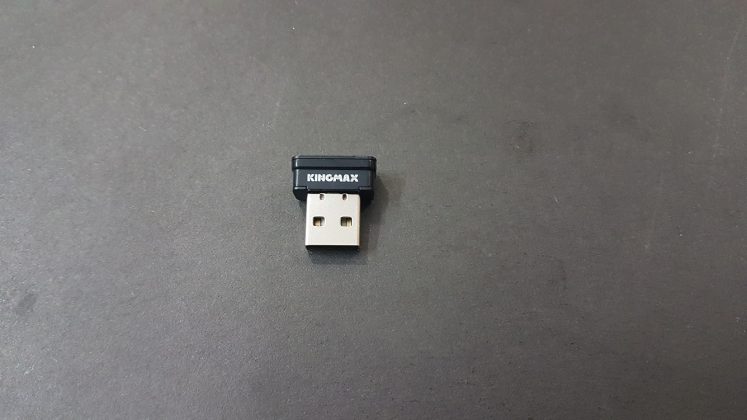
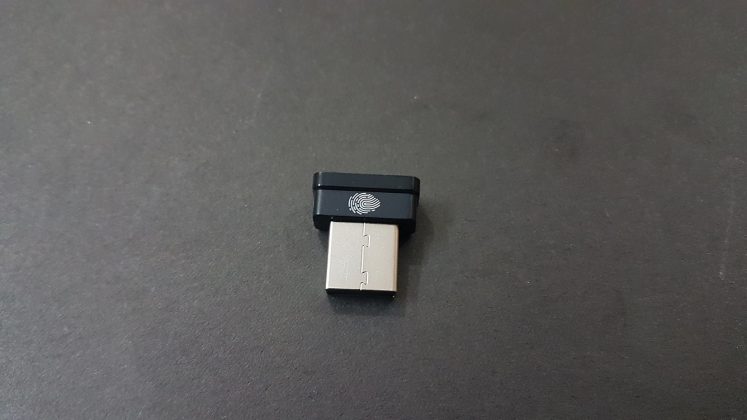
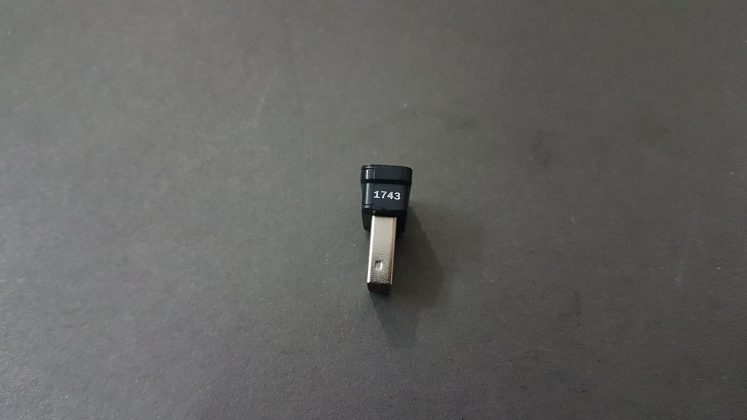
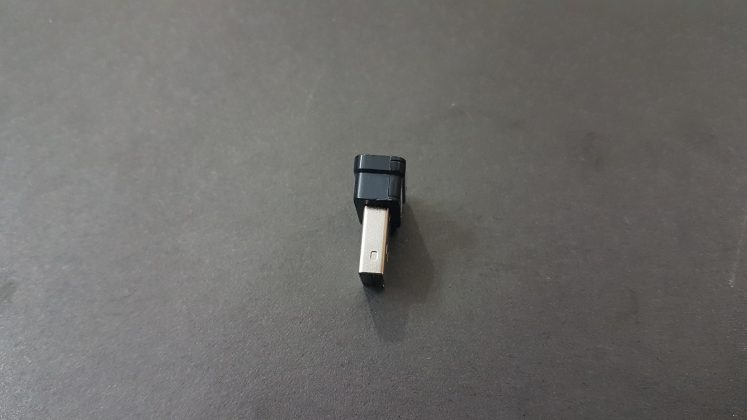
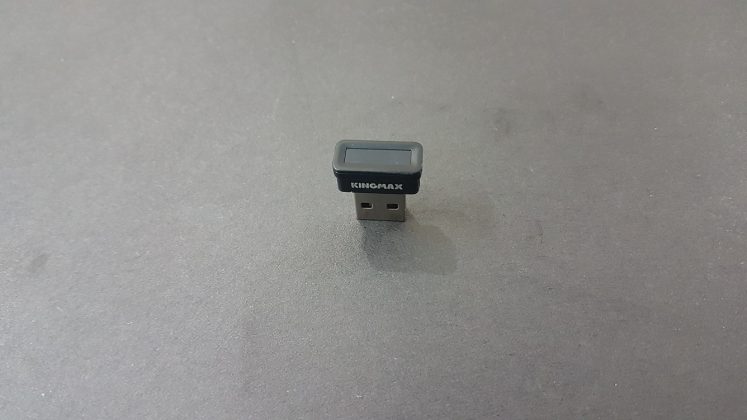
The device is truly tiny, lightweight and easy to carry around. On the front side, the Kingmax is printed in uppercase. The back side has a symbol of the fingerprint. The right side has the no 1743 printed on it. The left side is blank. The controller is located on the head side where all the magic happens. It is in trendy black color.
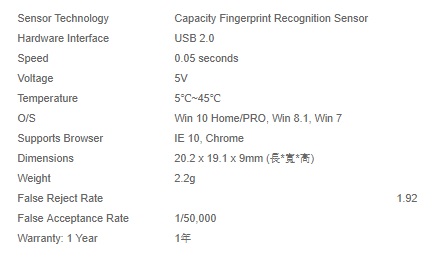
The device has a USB 2.0 interface. It features the capacity fingerprint recognition sensor. The response time is rated at 0.05 sec. Being a USB device, it takes 5V. The dimensions of the device are 20.2 x 19.1 x 9mm. The false acceptance rate is 1 / 50,000 which seems fine. The device carries one year of the warranty. The supported Windows versions are Windows 10 Home/Pro, 8.1 and 7. The weight of the device is the 2.2gm.
The device has anti-spoofing protection out of the box which is a plus for it being a password container device. The basic function of the device is to enable the users to save their login info of the Windows and the various social media sites at one place and use the scanned and recorded fingerprints to access those sites or to login to the password.
In case of multiple failed attempts, the device will ask for the stored password as safe mechanism. In addition to that, the device also allows the users to encrypt/decrypt the important files and the folders using the same fingerprints. It has 360° non-directional finger access as well as ability to scan and record up to 10 fingerprints.
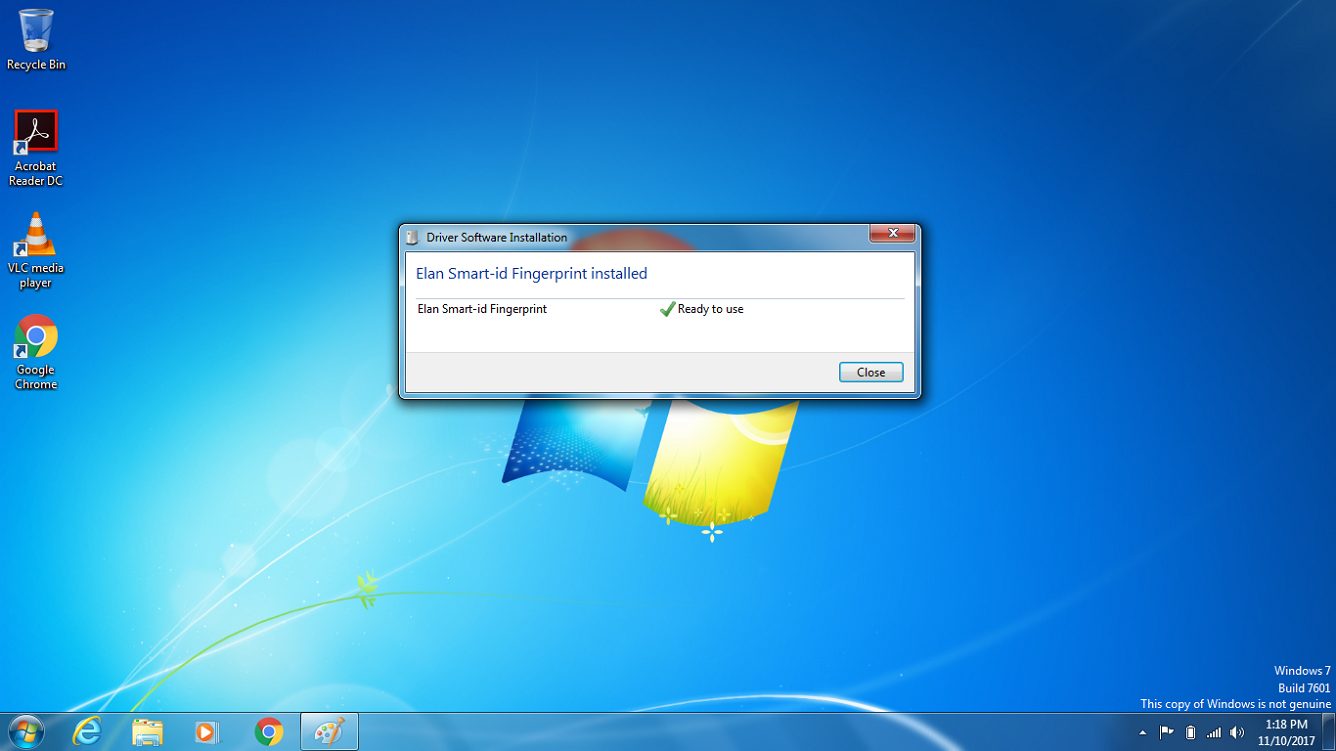
I have tested the device on HP ProBook 4540s using the Windows 7 Professional edition. Here is how to setup the device. Logon to the Windows, connect the device on any available USB port. The Windows will automatically look for the drivers and install them. Please, make sure to enable the Fingerprint Login option in the Windows control panel.
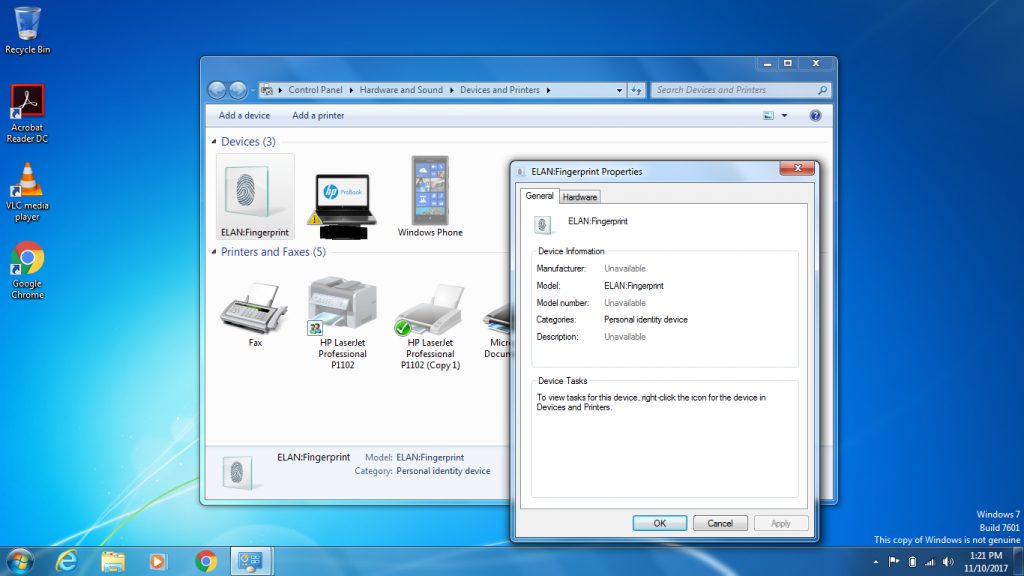
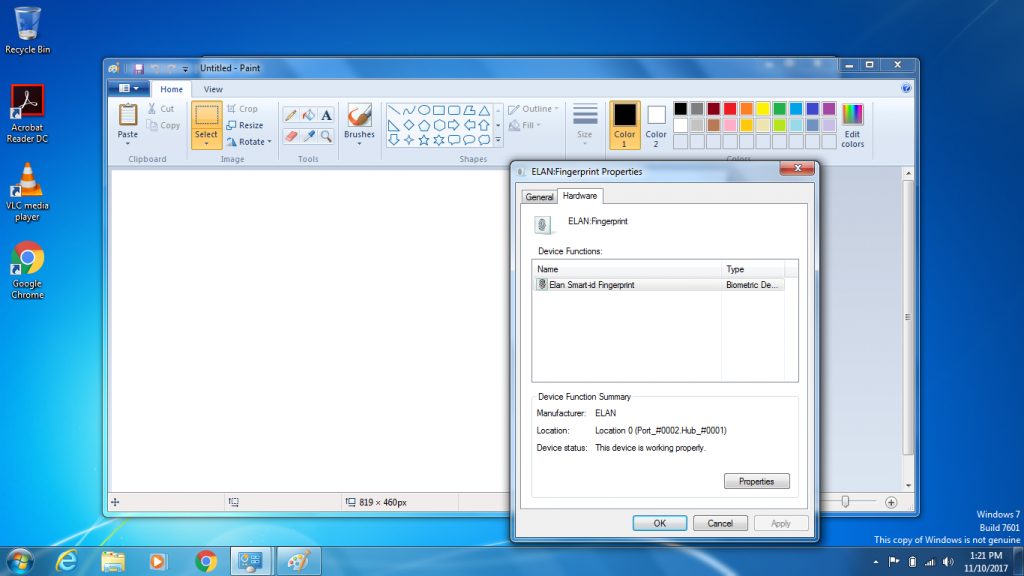
Once done, you can verify the drivers’ successful installation. To do that, go to the Devices and the Printers section of the Control Panel. The device will be available in the list with the name ELAN: Fingerprint. Right click on it and click on the properties. You will the device working status there.
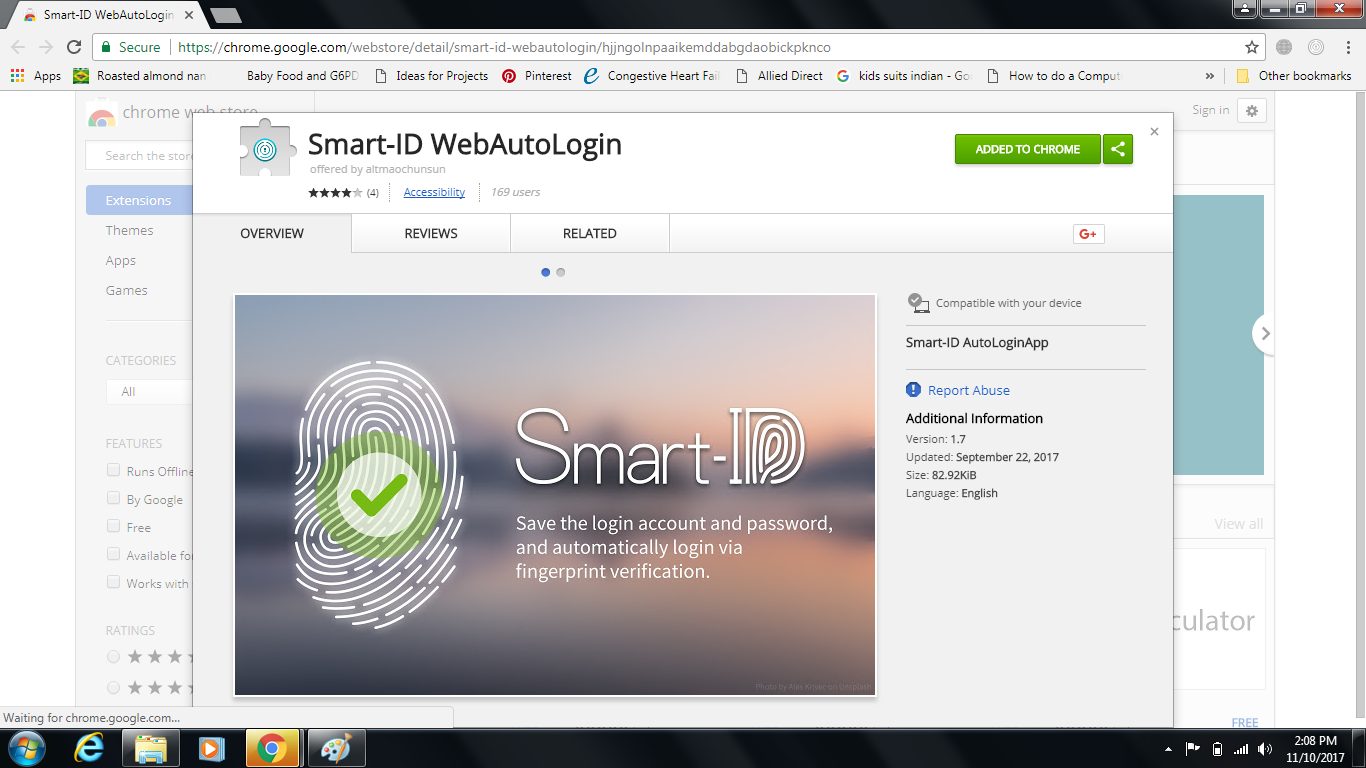
Next, you would need to download the device application software from the Kingmax website. Once installation is completed, it will automatically open the Google Chrome and add the extension to the Chrome. Enable the extension. This device supports IE and Chrome at the moment.
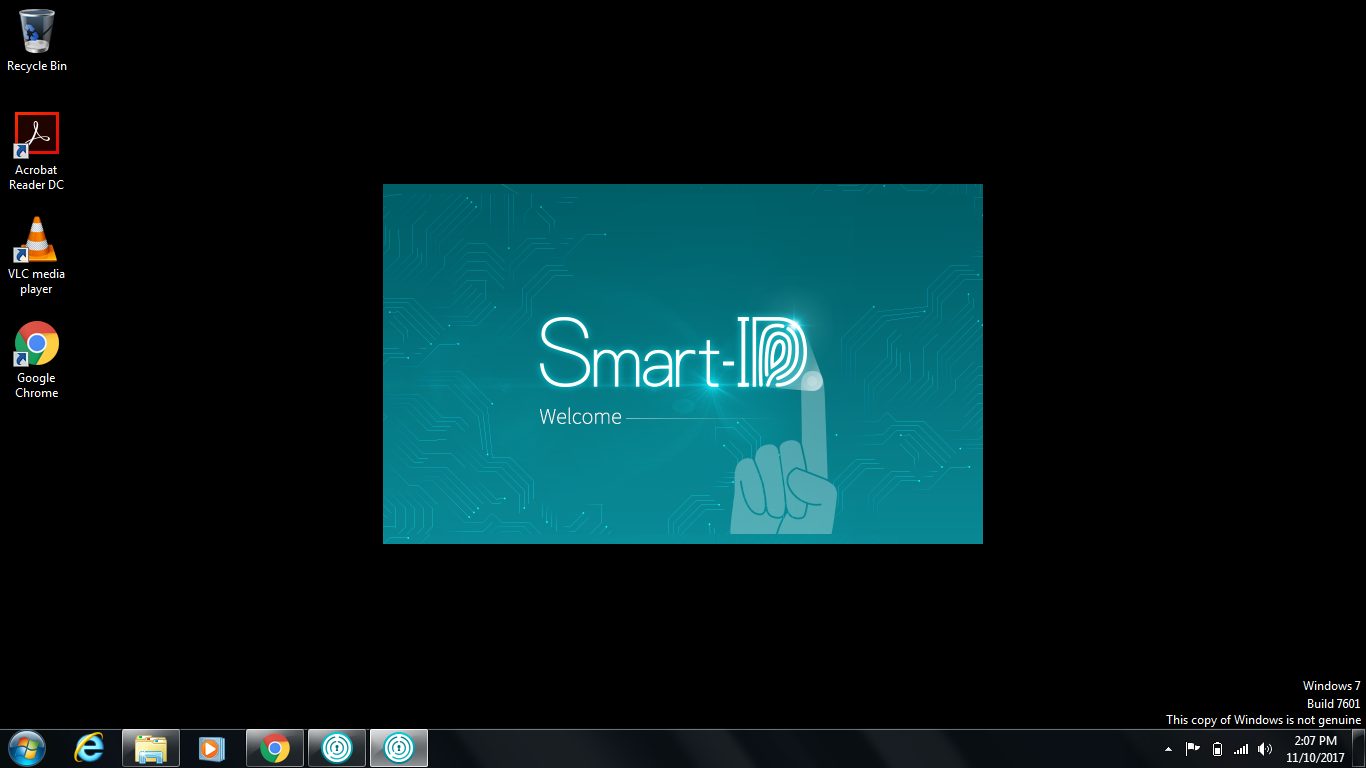
The welcome screen of the software is shown in the below picture.
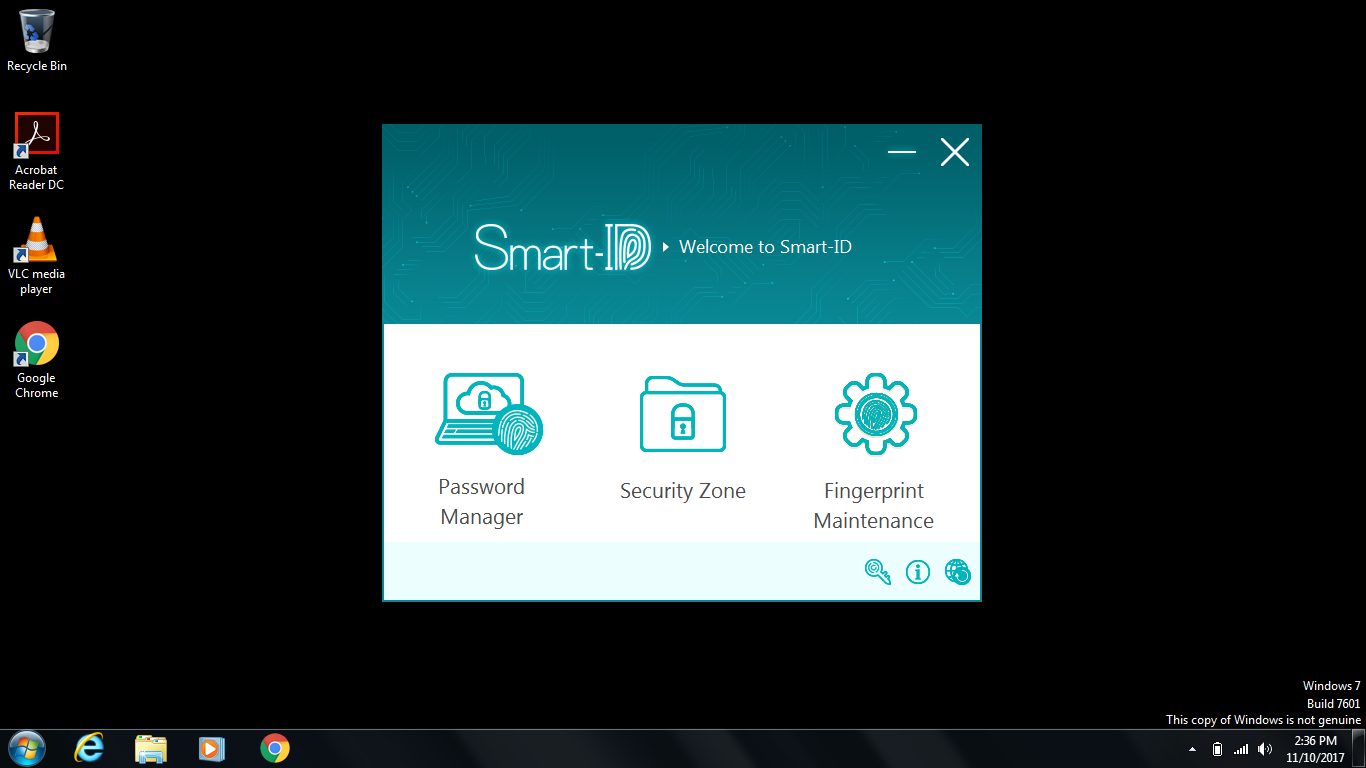
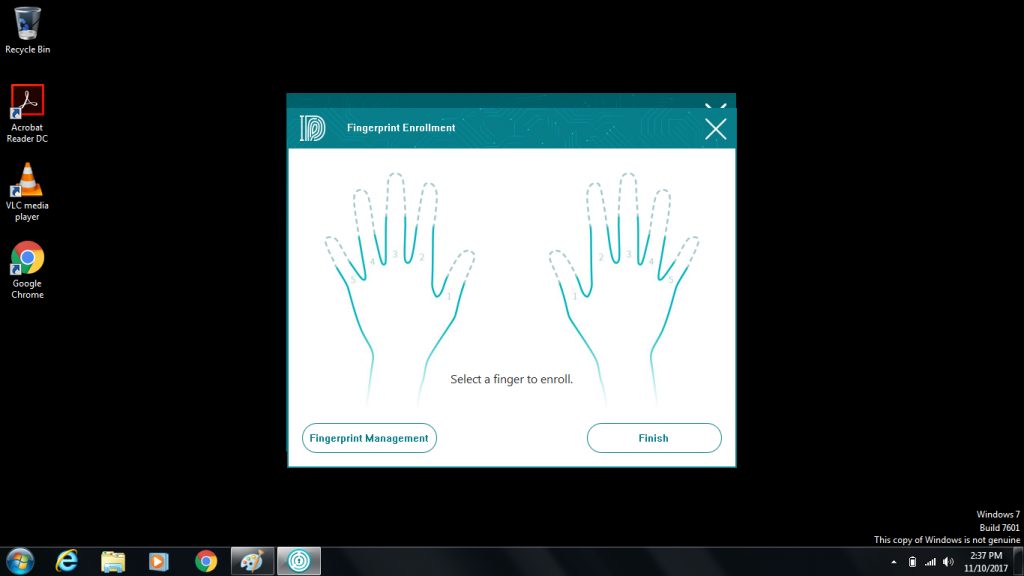
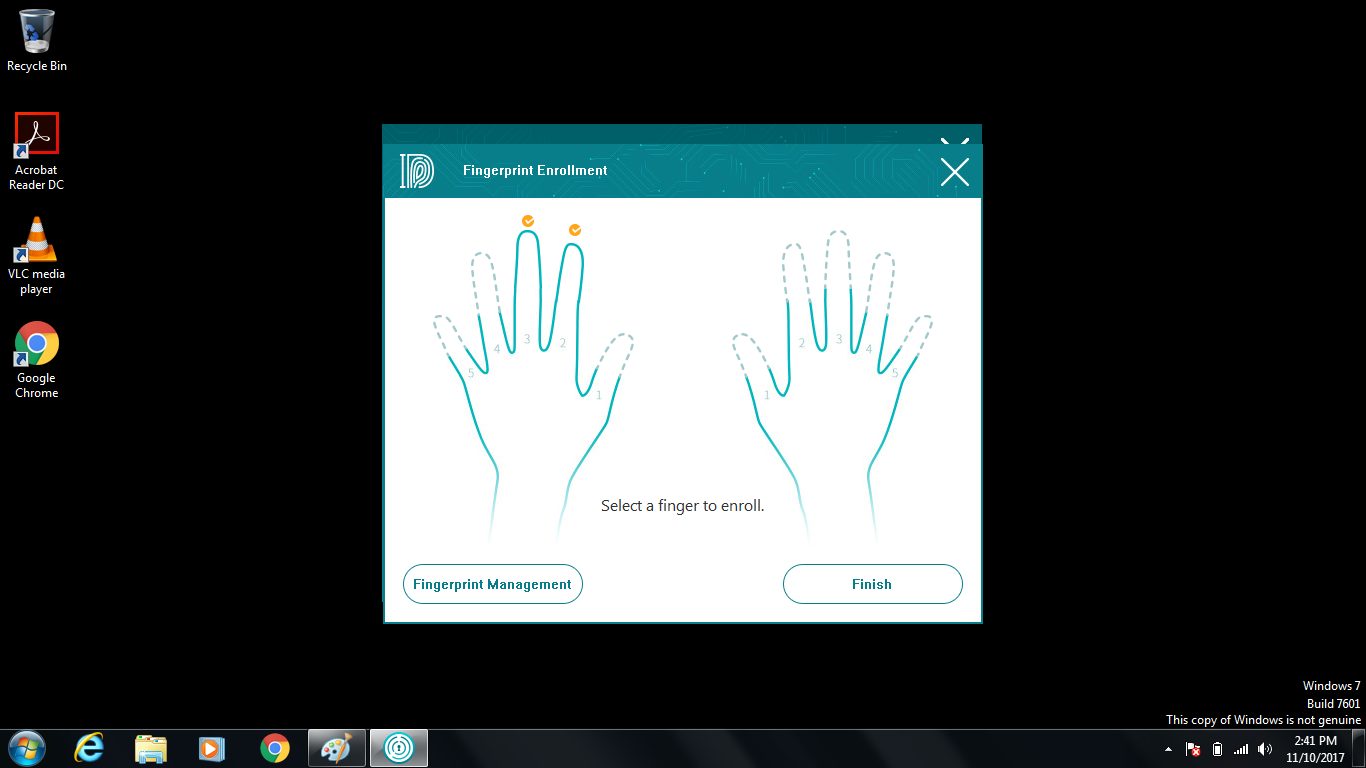
The main interface is plain and simple with 3 options for the users. Let’s explore each one by one below. Clicking on the Fingerprint Maintenance will open another window, called fingerprint enrollment. Here you can see two hands with 10 fingers highlighting the fact that you can set finger of any finger of your hands or even could save finger prints of all the ten fingers including the thumbs. Each finger is numbered.
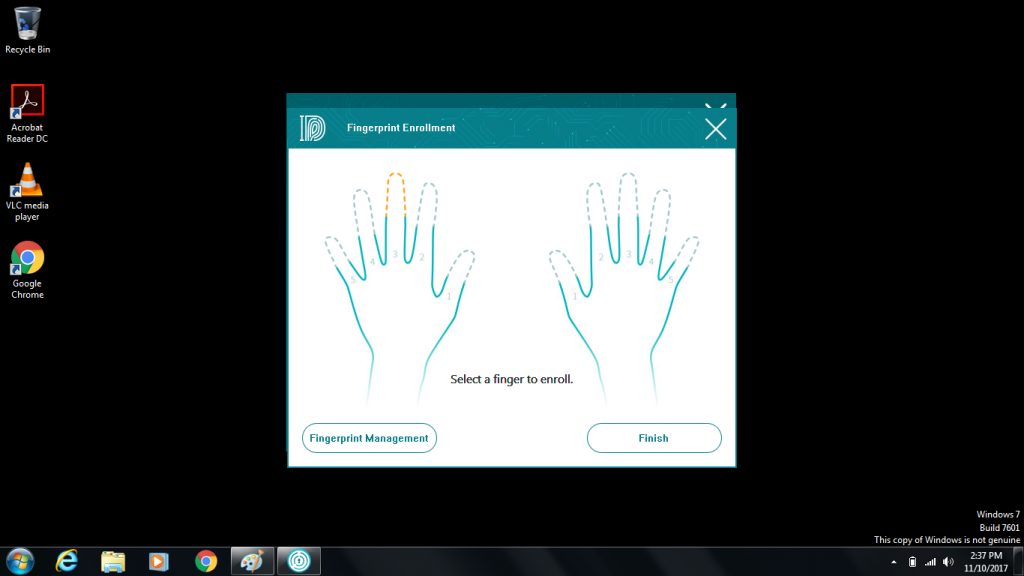
Click on the finger that you would want to scan the fingerprint of. It will highlight the upper section of the finger picture in the brown color.
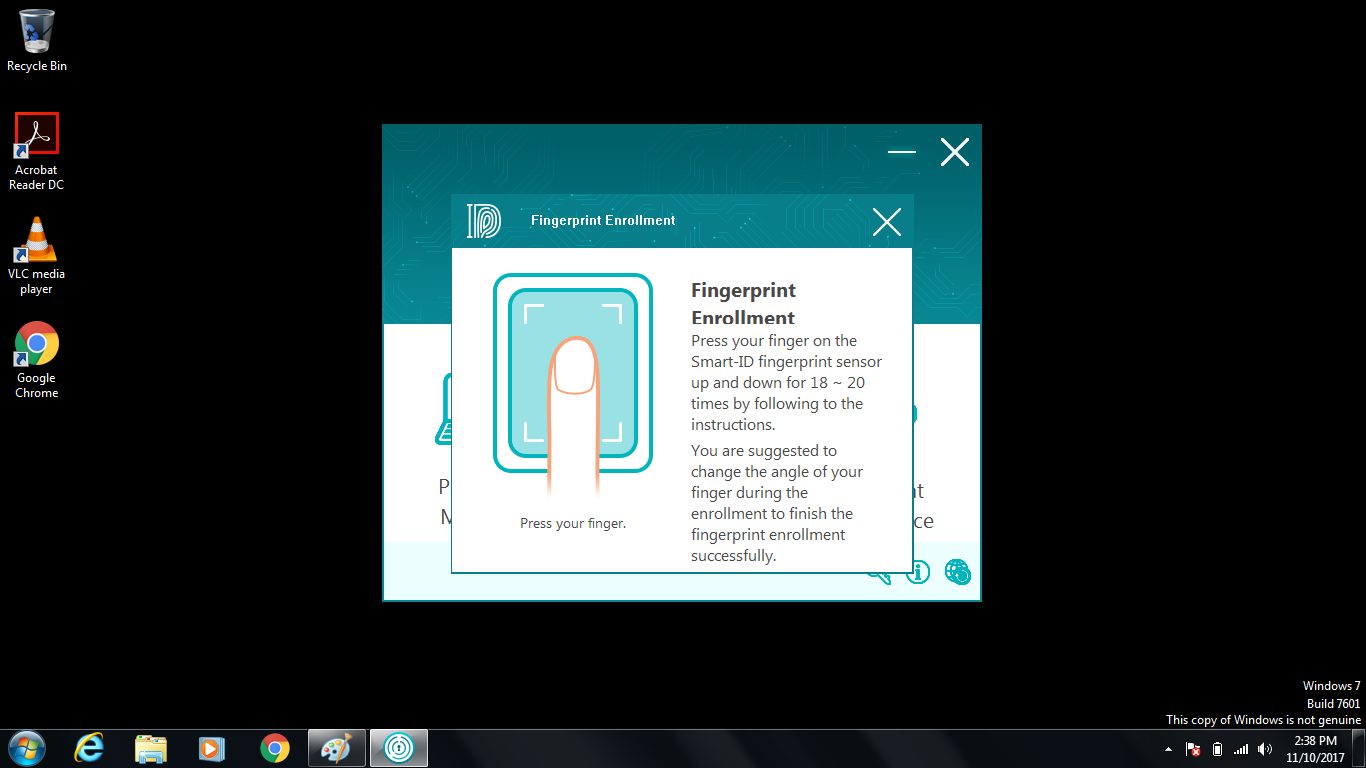
Next window will appear automatically named finger enrollment. Press your finger on the Smart-ID fingerprint sensor up and down for 18 to 20 times. Each time you would place finger on the Smart-ID fingerprint sensor, instruction will appear on the same window along with the filled fingerprint pattern of the touching part of the finger. Follow the instructions. It is suggested to change the angle of the finger during the enrolment to finish the fingerprint enrollment successfully.
Once done, you will be back on the Fingerprint Enrollment window. The successfully scanned and recorded fingers will have check marks on top of them.
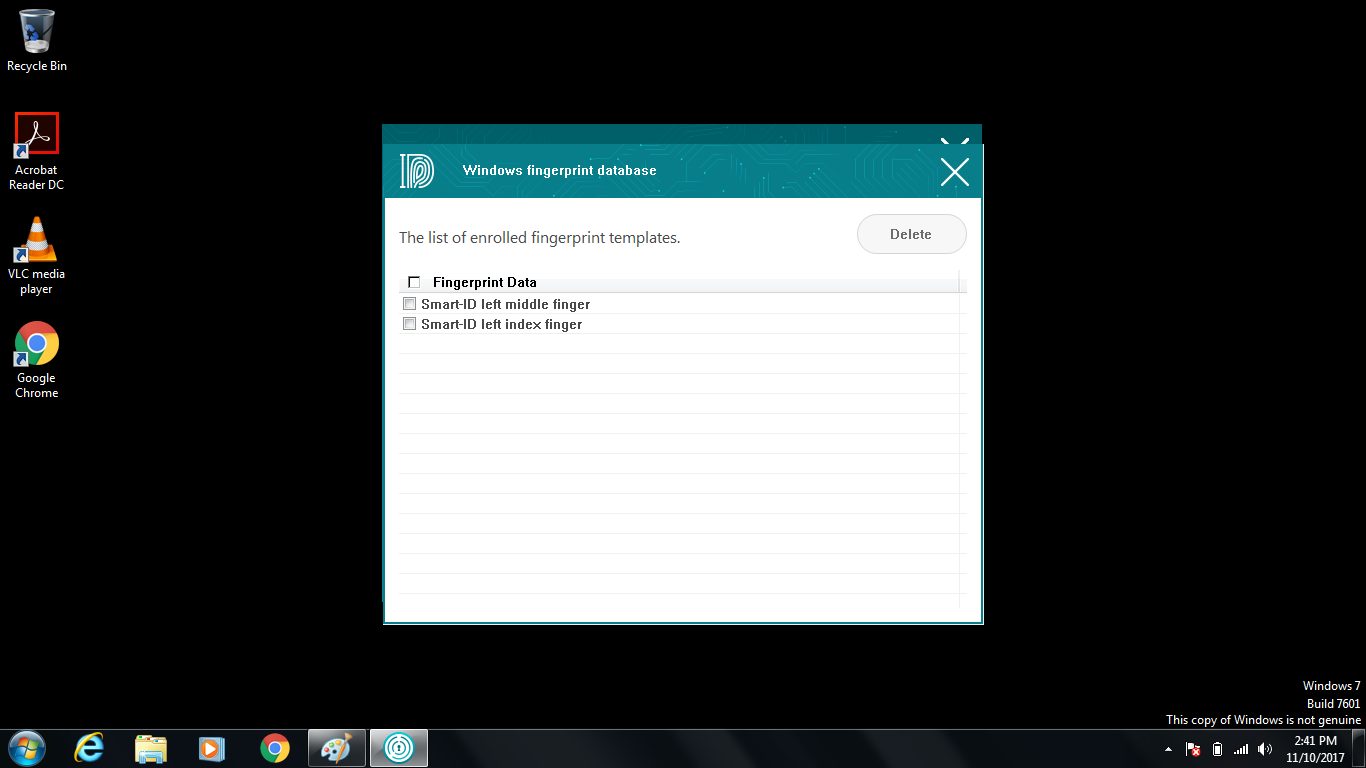
If you want to delete any of all of the recorded fingerprints, click on the Fingerprint Management button on the bottom left side of the window. This will open new window named Windows Fingerprints Database. All the recorded fingers will be shown in the list. Select the ones that you want to delete and click on the Delete button located on the top right side.
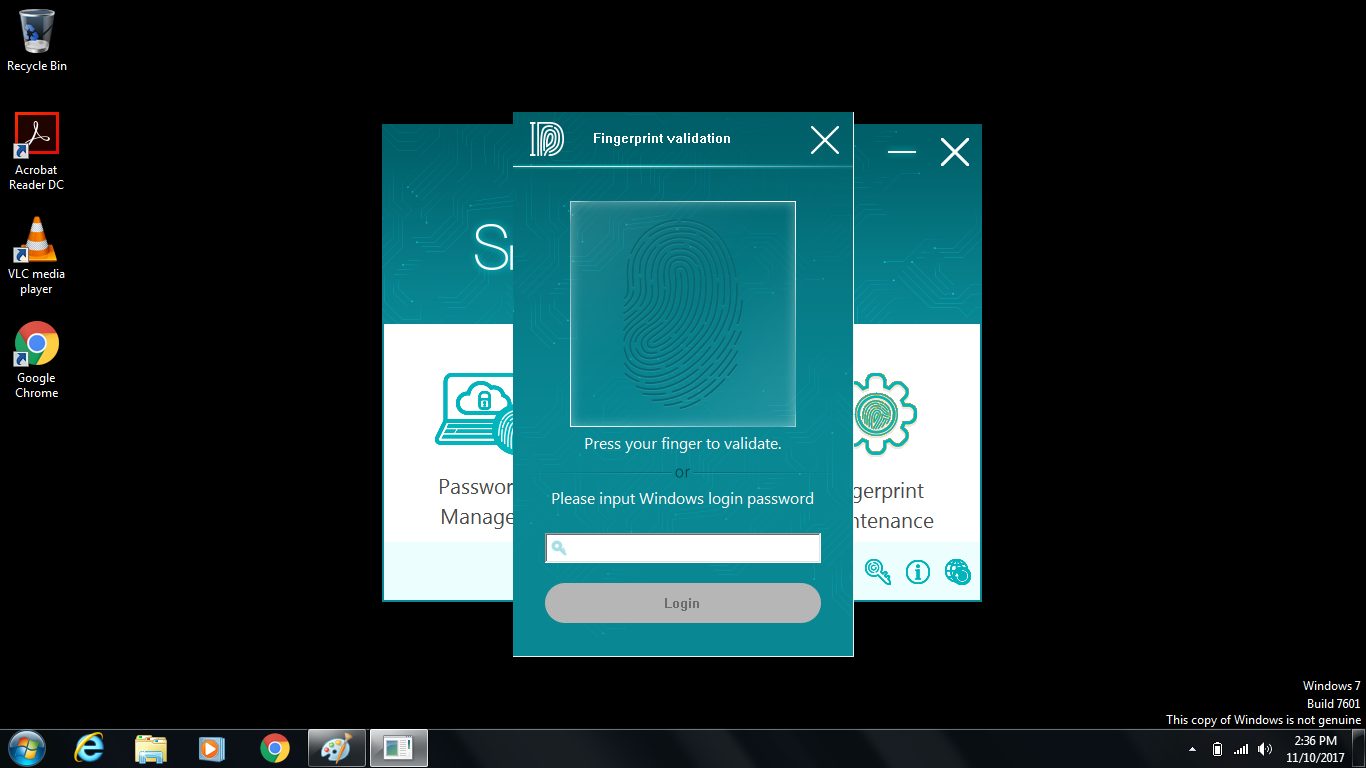
When you are done, you will be back on the main interface window of the Smart-ID. If you would like to change the fingerprints info again, the application will ask for the fingerprint scan to be able to access the fingerprints editing window. Recorded password can also be used for this purpose. Kingmax was definitely thoughtful on safeguarding the users’ interest to the maximum level possible.
Please note that if you are only interested in using the fingerprint option to login in to the Windows then you don’t need the Smart-ID application. You can use the windows built-in fingerprint scanner option. Also, if your notebook happens to have a built-in fingerprint scanner, it may cause conflict with this device. In my case, I had to disable the built-in scanner when using the windows own fingerprint handling.
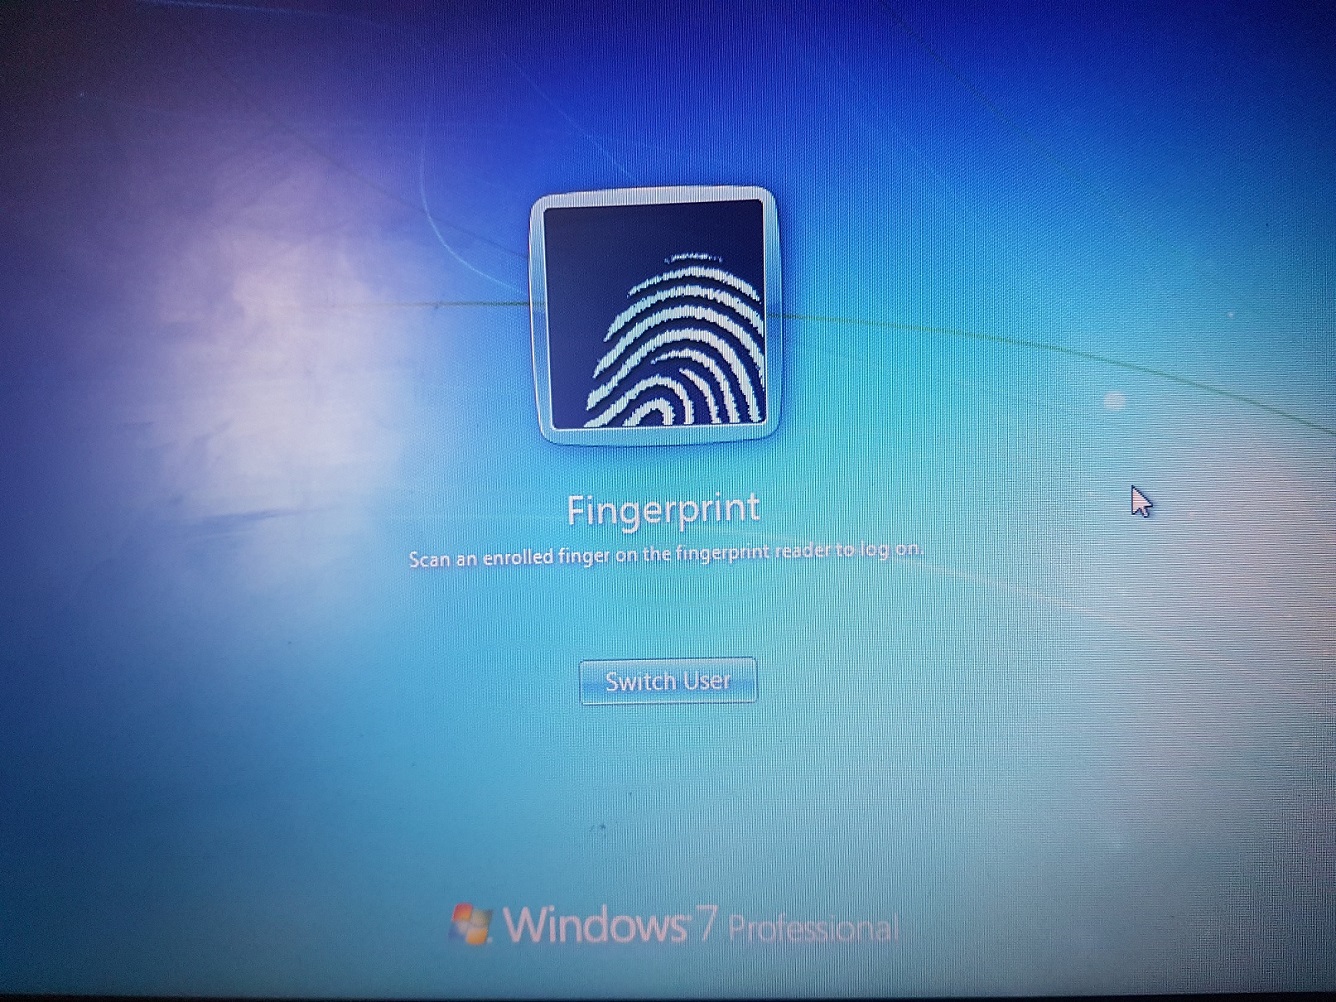
Next time you will want to login to the Windows, it will ask you to scan the finger to check the credentials.
Let’s take a look at the files/folders encryption/decryption functions. Once the Smart-ID software is successfully installed the Encryption/Decryption functions will be automatically available in the Windows context menu.
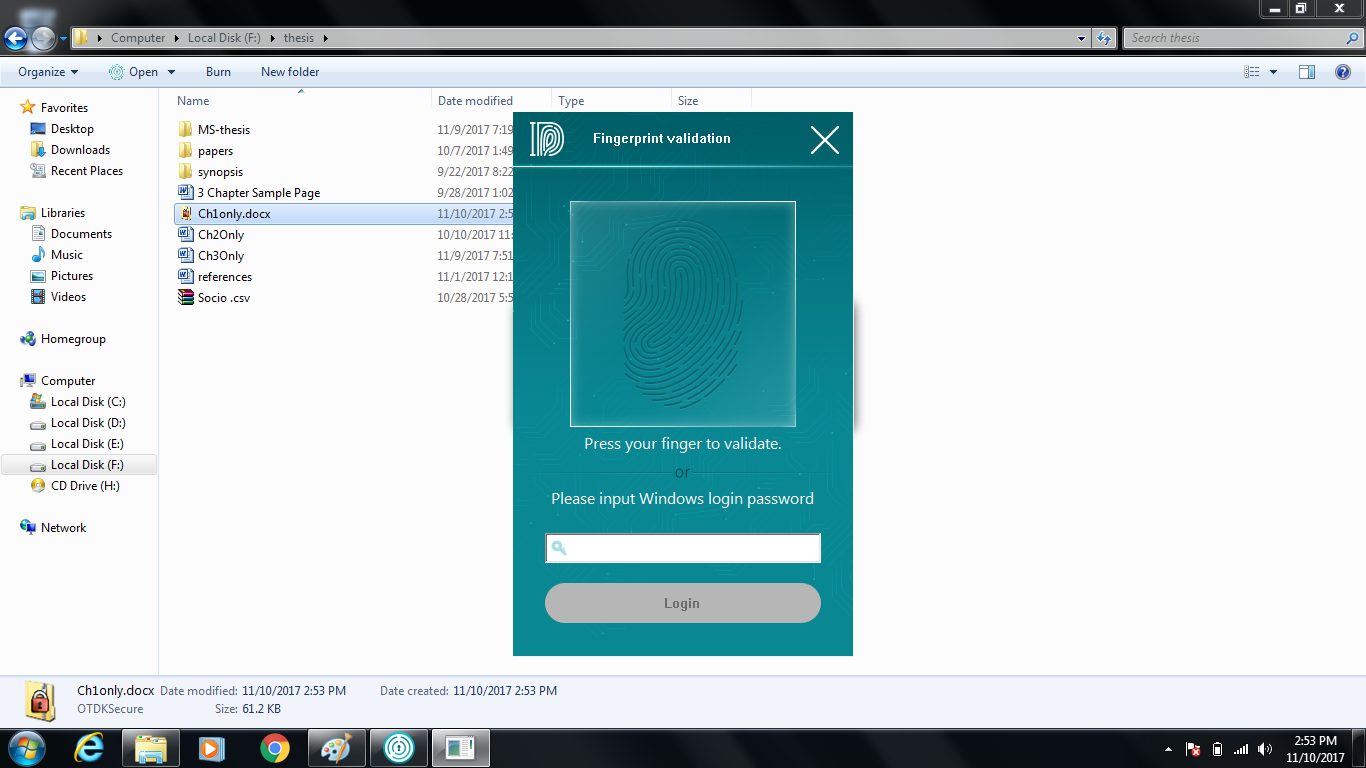
I tested the functionality on the word file. Right click on the desired file/folder and click on the Smart-ID Encryption. It will change the file/folder icon and the type. You will notice the type to be OTDKSecure. In order to access the encrypted file/folder, double click on it. It will automatically ask you to scan the finger to match the fingerprint.
If successful, the corresponding file/folder will be decrypted and opened automatically. Take note here. Should you decide to remove the Smart-ID software, make sure to decrypt all the encrypted files/folders.
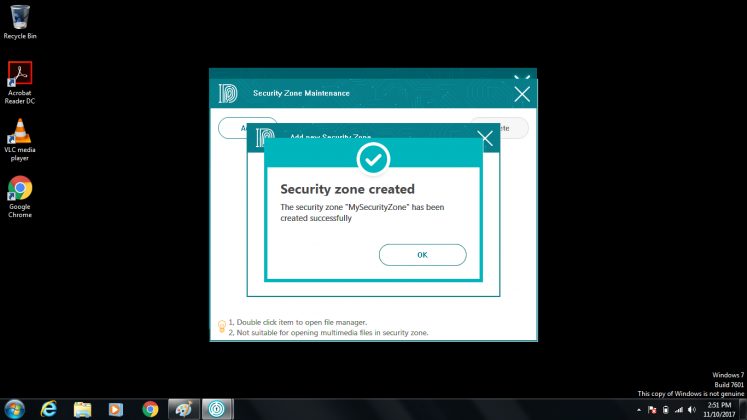
The Smart-ID has another function named Security Zone. The idea is to have a place – a folder; in which all the files and the folders will be automatically encrypted when copied or created there. You can access the file or the folder by double clicking on it. It will automatically decrypted the file/folder and open it up. Once you exit or close the file/folder it will be automatically decrypted. This is definitely a handy feature.
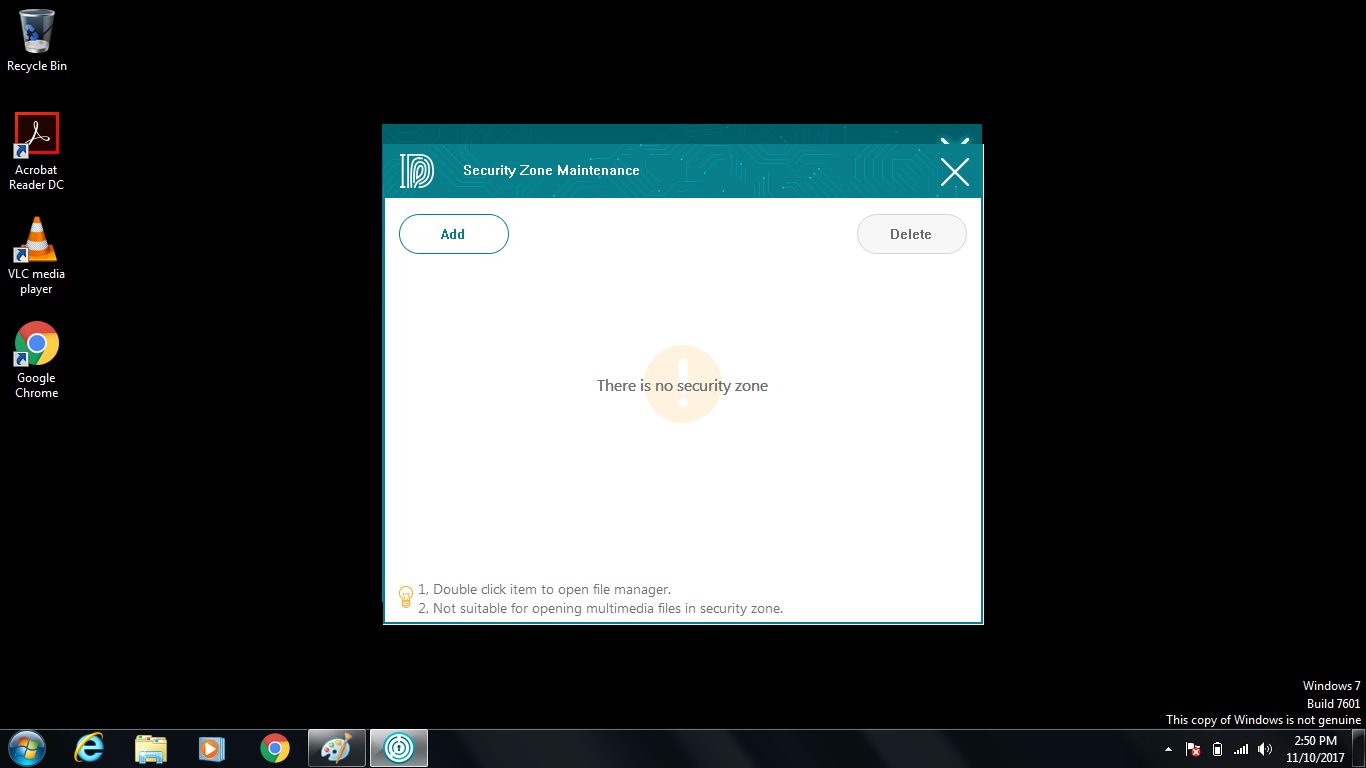
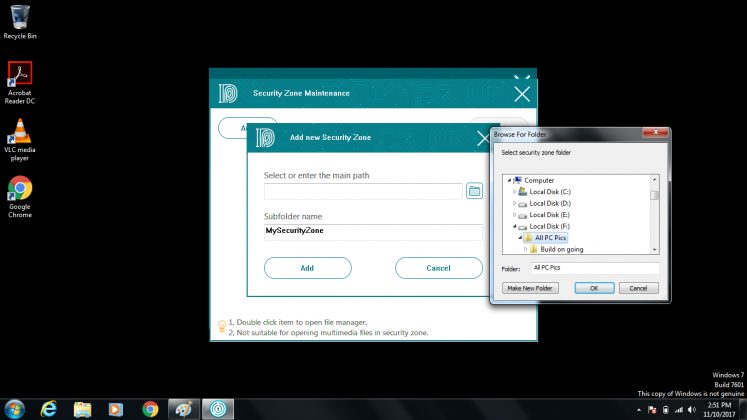
Click on the Security Zone. It will open a new window names Security Zone Maintenance. To add a folder, click on the Add button. It will open another window asking you the path of the desired folder. You can also name the security zone as per your own desire.
In order to delete the exiting security zone, select it and click on the Delete button.
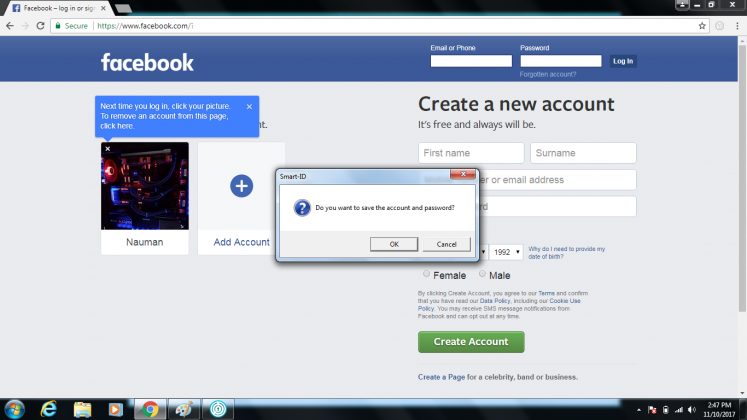
This leaves us with the last section of the software. It is called Password Manager. Click on it to open the new window. This section will allow you to save all the passwords of the social media sites for the Chrome and the Internet Explorer. Make sure that the Smart-ID extension is enabled for the Chrome and/or Add-Ons have the Smart-ID fingerprint scanner added and enabled in the Internet Explorer. I tested the device with the Google Chrome and Facebook.
Click on the new account to add the social media like Facebook website account. Open the browser and login to the desired social media site. In my case I did with the Facebook. If you are already signed-in then sign out first. Type your login credentials and click on Login button. The Smart-ID will ask you if you want to save the account info. Click on yes if you want to. It will save the entry in the LAN window.
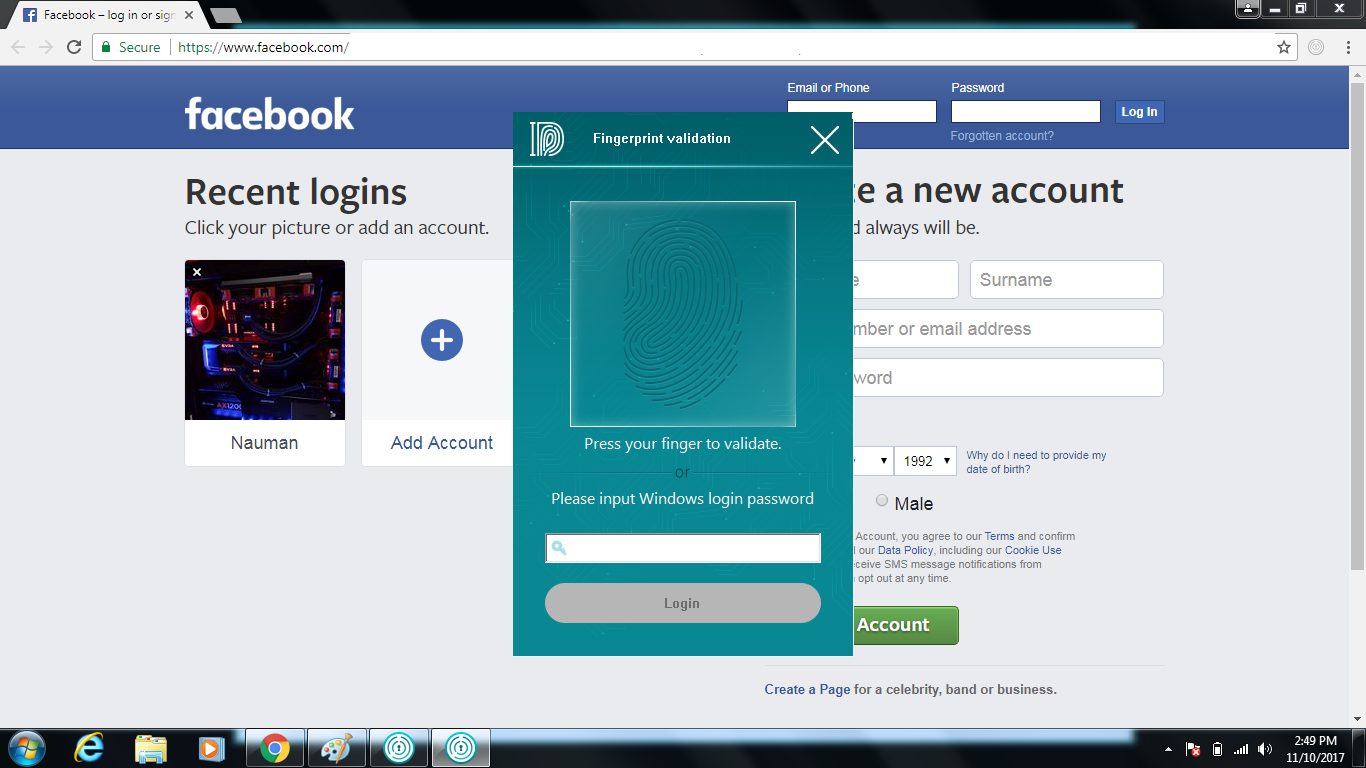
In order to access the saved social media site, double click on the saved entry with its name or right click on it and then click on the Login. It will take you to the corresponding browser and will ask to scan the finger to match the fingerprint so that the site can be accessed. You can also open the browser directly and type in the address of the saved media site. It will still ask you for the finger scanning.
Conclusion
The iKey is a tiny USB device that enables the users to save the Windows password and the social media sites passwords at a single place safe and sound. All that users would need to do to access these sites and windows platform is to scan their fingers that the iKey will try to match with the recorded fingerprints. If match is found the users will be automatically login to the Windows or the social media sites.
In addition to its basic functionality, it also enables the users to encrypt/decrypt their important files/folders using finger prints. A simple finger scan would be doing all the magic on its own thanks to great functionality offered by the iKey. It has response time of the 0.05 seconds. I have found it to be r responding quicker though I could not measure it to take a specific reading.
The device is rated for the Windows 10 but fully backward compatible with the Windows 8.1 and the Windows 7. I have tested the device with the Windows 7 Professional edition on HP ProBook 4540s. The software application is simple and easier to navigate and operate.
Thank you! Please share your positive feedback. 🔋
How could we improve this post? Please Help us. 😔
[Hardware Reviewer & Editor]
Meet Nauman Siddique, a highly experienced computer science graduate with more than 15 years of knowledge in technology. Nauman is an expert in the field known for his deep understanding of computer hardware.
As a tech tester, insightful reviewer, and skilled hardware editor, Nauman carefully breaks down important parts like motherboards, graphics cards, processors, PC cases, CPU coolers, and more.
- 15+ years of PC Building Experience
- 10+ years of first-hand knowledge of technology
- 7+ years of doing in-depth testing of PC Hardware
- A motivated individual with a keen interest in tech testing from multiple angles.
- I majored in Computer Science with a Masters in Marketing
- Previously worked at eXputer, EnosTech, and Appuals.
- Completed Course in Computer Systems Specialization From Illinois Tech


 Threads