Drift No More!
Review Summary
The TMR joystick upgrade is a game-changer for anyone looking to eliminate drift issues and enjoy a premium gaming experience. Its drift-free performance, combined with comfortable KKR thumb-knobs, makes it a standout choice for serious gamers and enthusiasts. However, the mod demands advanced soldering skills and the right tools, which might deter beginners or those seeking an easy, plug-and-play solution. As such, for casual gamers or budget-conscious buyers, it might feel like overkill, but for dedicated players, it’s a solid investment in performance and durability
Hours Tested: Over 2 Weeks
Overall
-
Performance - 9.5/10
9.5/10
-
Comfort - 9/10
9/10
-
Repairability - 5/10
5/10
-
Value - 8/10
8/10
Pros
- Solid Reliability
- KKR thumb knobs are quite comfortable
- Great accuracy and precision
Cons
- Requires advanced soldering skills
GuliKit introduced its TMR (Tunnel MagnetoResistance) technology in 2024, which provides even lower power consumption and much better stability and performance compared to the traditional hall-effect sensors.
I recently got the chance to play around with GuliKit’s TMR sticks for my PS5 DualSense Wireless controller. Even though my controller was pretty new, I still felt some hiccups during gameplay on a few instances.
With that in mind, I dove straight into modding my controller with GuliKit’s TMR joysticks. In this review, I’ll break down why analog joysticks often run into problems and how Hall-effect technology solves them. I’ll also guide you through the installation process step by step, covering everything from removing the original joysticks to installing the new ones, calibrating them, and testing the performance to see the difference before and after the upgrade
Key Takeaways
- The GuliKit TMR Joysticks are a premium, drift-free joystick upgrade designed for serious gamers, offering exceptional durability, precision, and comfort.
- You should buy the GuliKit TMR Joysticks if your controller has the stick-drift issue and you have experience with soldering.
- You should not buy the GuliKit TMR Joysticks if you don’t have a soldering station. You can have a professional do the replacement, but that may increase the modding cost.
The Wear And Tear Of Analog Sticks
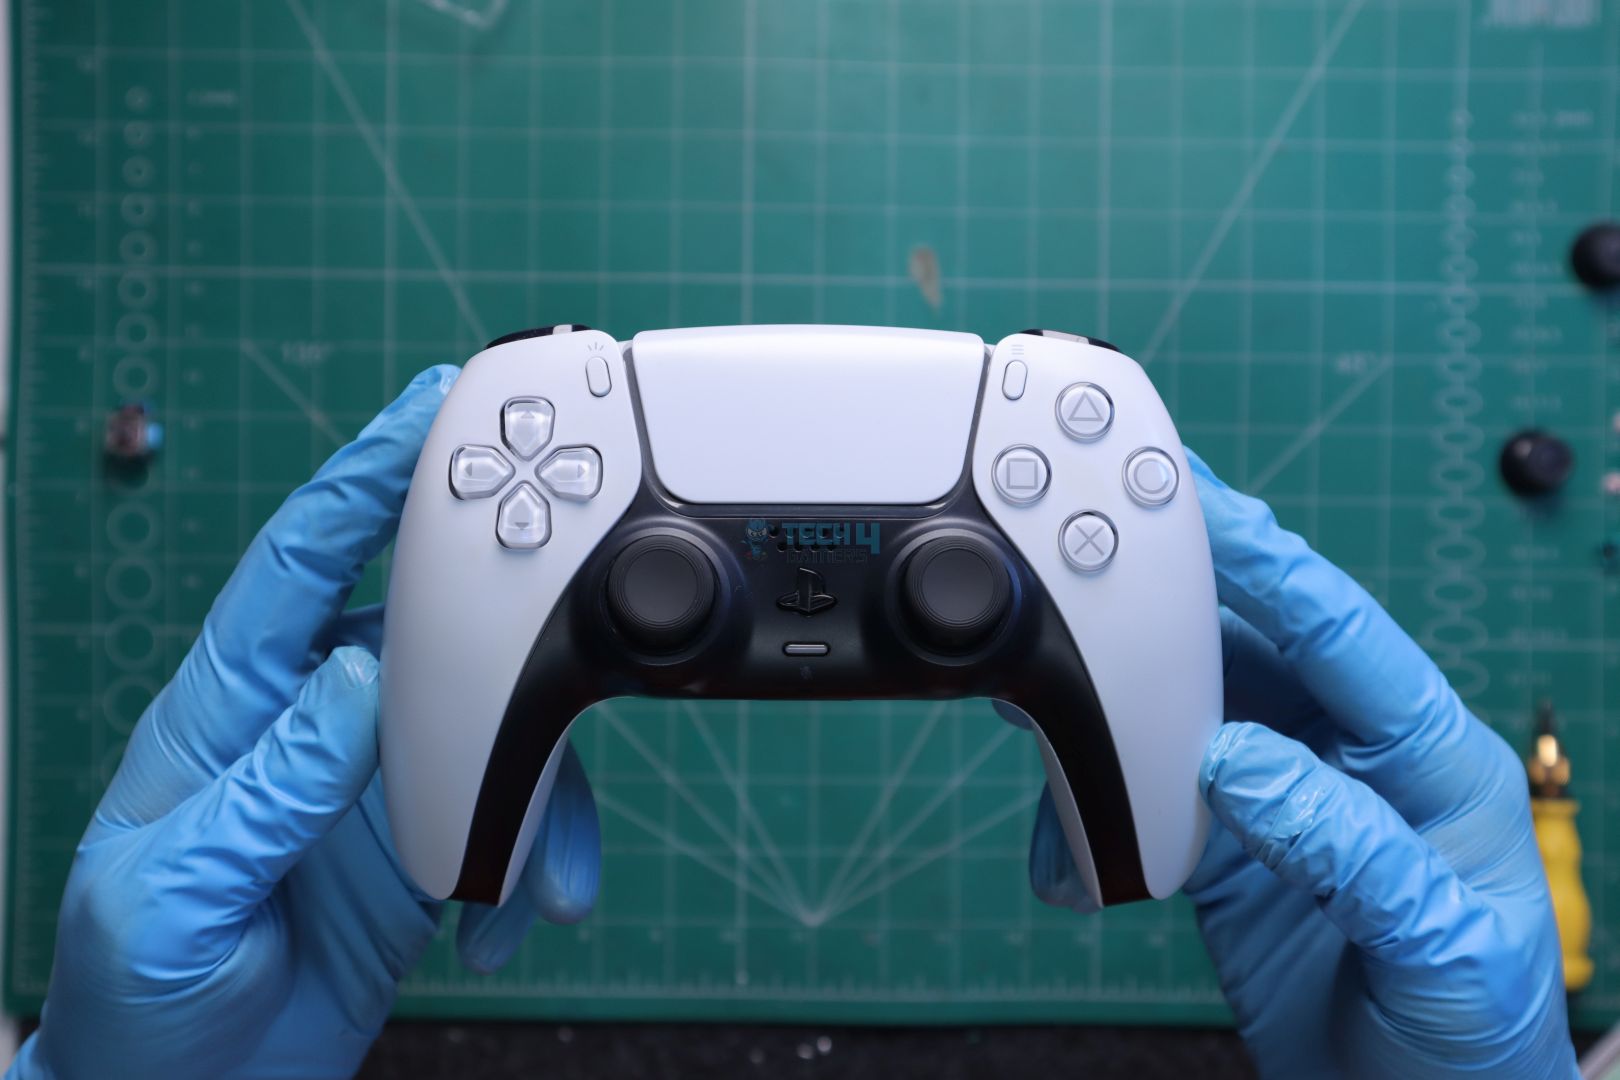
Joysticks for the Game Controllers are the high refresh rate for the Gaming Monitors, which both revolutionized motion fluidity and changed the game forever.
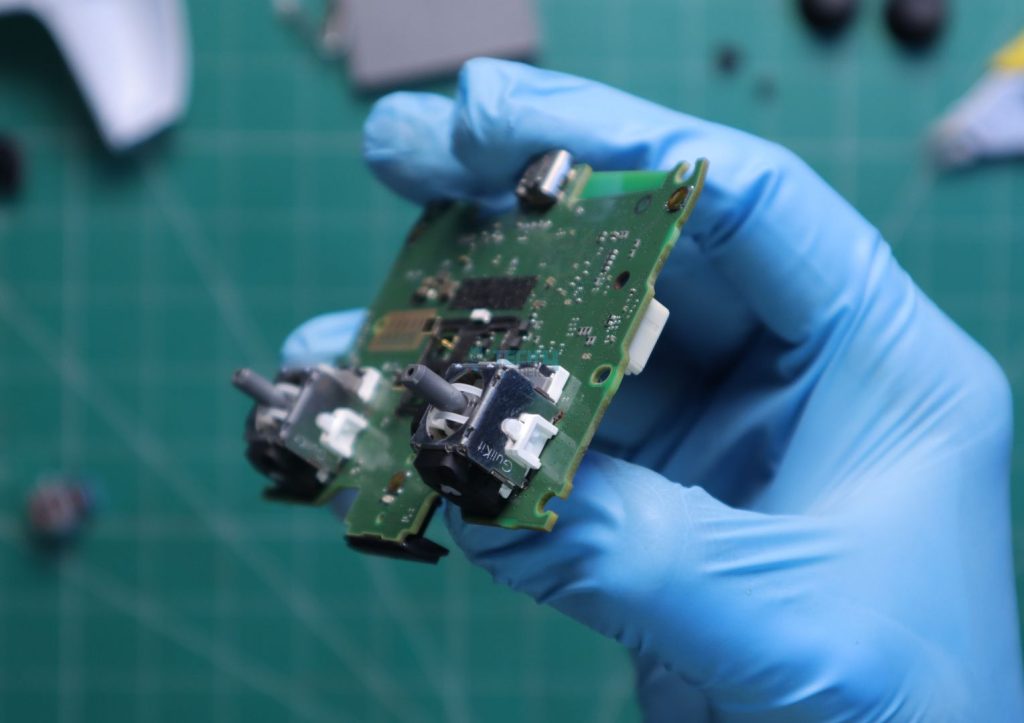
Even the very first Gaming Consoles incorporated analog dials as the games at that time were limited to only horizontal and vertical movements with no other input options. Analog dials or joysticks are basically potentiometers that change their resistance based on their viper position over a thin Carbon film layer. This change in resistance translates into minor voltage changes, which are then converted to digital signals via the ADC (Analog to Digital Converter) of the MCU (Microcontroller Unit).
Because of its mechanical nature with moving parts inside, continuous and prolonged use of such analog sticks eventually wears out the thin carbon film layer, causing abnormalities in actual resistance values. And if you think it’s only you guys, the Gamers, who cry, “I am sick of these sticks”, just for once, think of the sufferings of Audio Engineers with the gazillions of analog dials in their sound mixing controllers!
With the advancement in technologies in almost every industry, where even the switches of Gaming Mice and Keyboards have now shifted to either Optical or Hall-effect switches for superior, extremely fast, and durable performance, similar advancement in analog sticks was destined and pretty much inevitable.
Hall-Effect Sticks: A Tried and Tested Concept
A few readers will find it extremely surprising that the concept and use of Hall-effect sticks/sensors have been around for decades! They were even used in Sega Dreamcast controllers back in the old days, and they would still work fine without any drift issues.
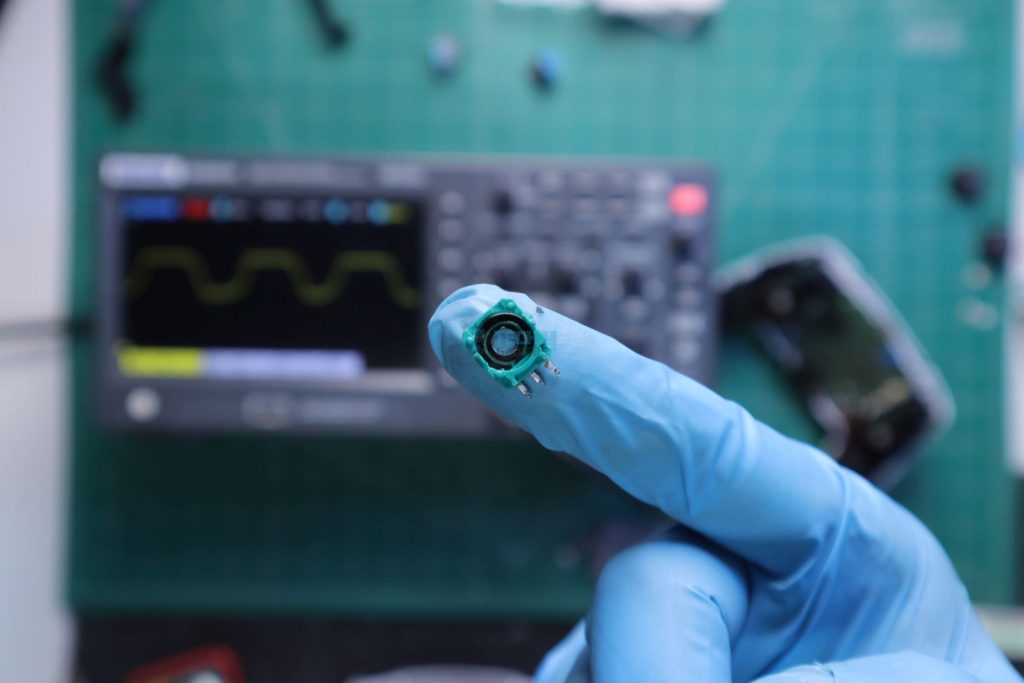
Hall-effect sensors work similarly to potentiometers; where in a potentiometer, the viper’s movement over the thin carbon film changes voltage values, the Hall-effect sensor, on the other hand, changes the voltage levels depending on the proximity of the magnet attached to its viper (via magnetic field principle)
Now, there’s been a myth among Gamers regarding why big manufacturers are not willing to upgrade their controllers with Hall-effect sensor sticks, and it all boils down to “Planned Obsolescence”.
Whereas I believe big manufacturers (due to their insanely high production) tend to have the “if it ain’t FULLY broken, then don’t fix it” attitude, hence why they don’t want to redesign their existing products that often.
Contrary to what many people think, it’s not entirely due to planned obsolescence.
Hall-effect sensor sticks (in their early days) required significantly more current than the analog sticks and had a few operational differences that would require slight design changes. Because of their high power consumption, wired controllers would have had hall-effect sticks, and wireless ones would still have used analog. This difference in design would have required a separate assembly line/production/development, etc, the kind of hassle Sony/Microsoft didn’t really want to get themselves into.
The Rise Of Modern Hall-Effect Sticks
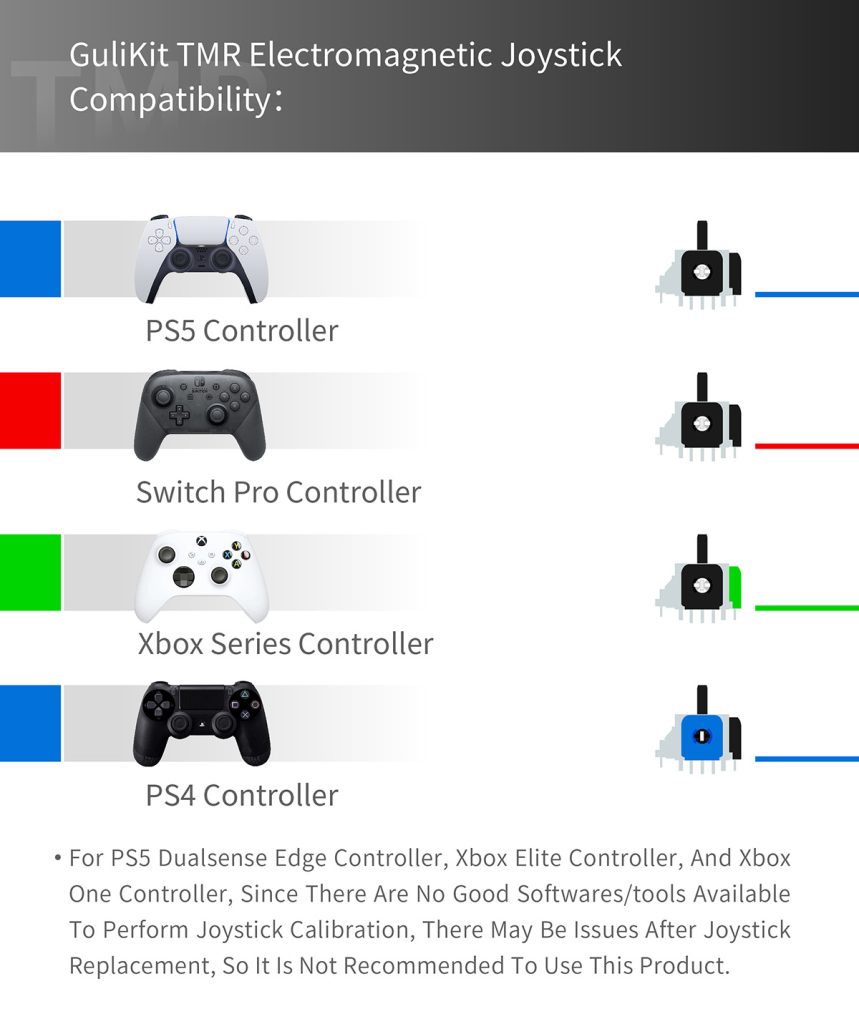
Hall-effect sensors (especially TMR from GuliKit) have matured quite well, but they still require a tad bit more time for companies like Alps to re-engineer their existing analog sticks to Hall-effect ones, and Sony/Microsoft is likely to go with a well-established and reputable brand for their sticks than a newly established from Shenzhen and that’s exactly what happened in the gaming mice industry for their optical switches variants, we only started seeing big mouse manufacturers opting for optical switches only when Omron finally made its own. But Gamers ain’t got time for that, and they want the solution NOW! And thanks to innovative brands like GuliKit, they won’t really have to.
GuliKit first started making replacement Hall-effect sticks for controllers, and with their extensive R&D, they now have Electromagnetic as well as TMR-based sticks. Their commitment to innovation truly reflects their motto
“GuliKit is a design-driven brand of game accessories. Everything we do is for breakthroughs and innovations.”
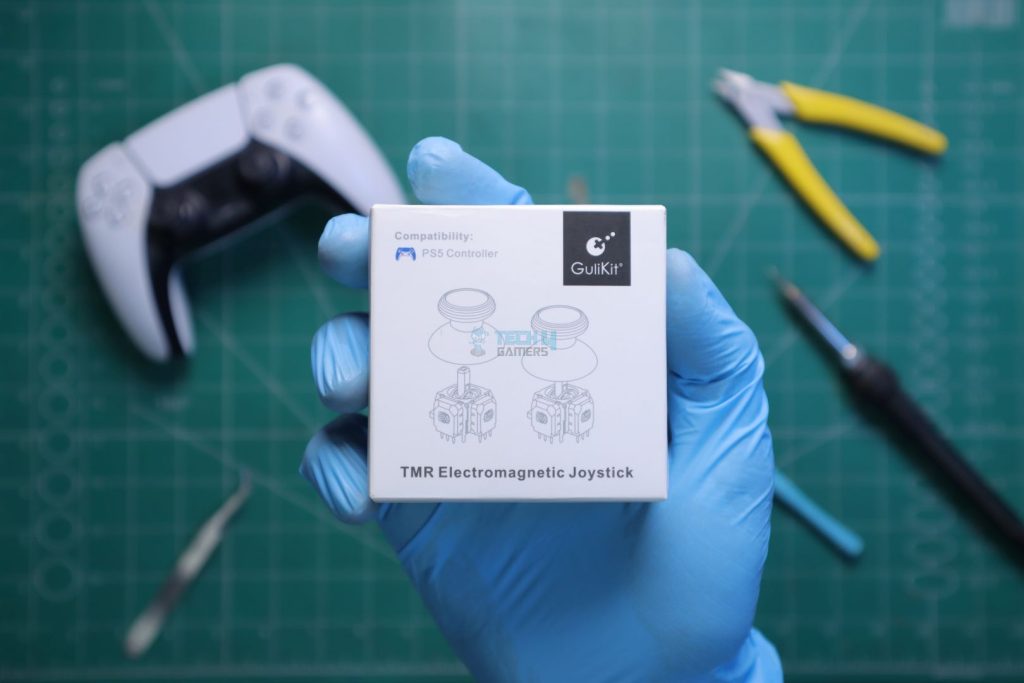
Unboxing The GuliKit’s TMR Joysticks
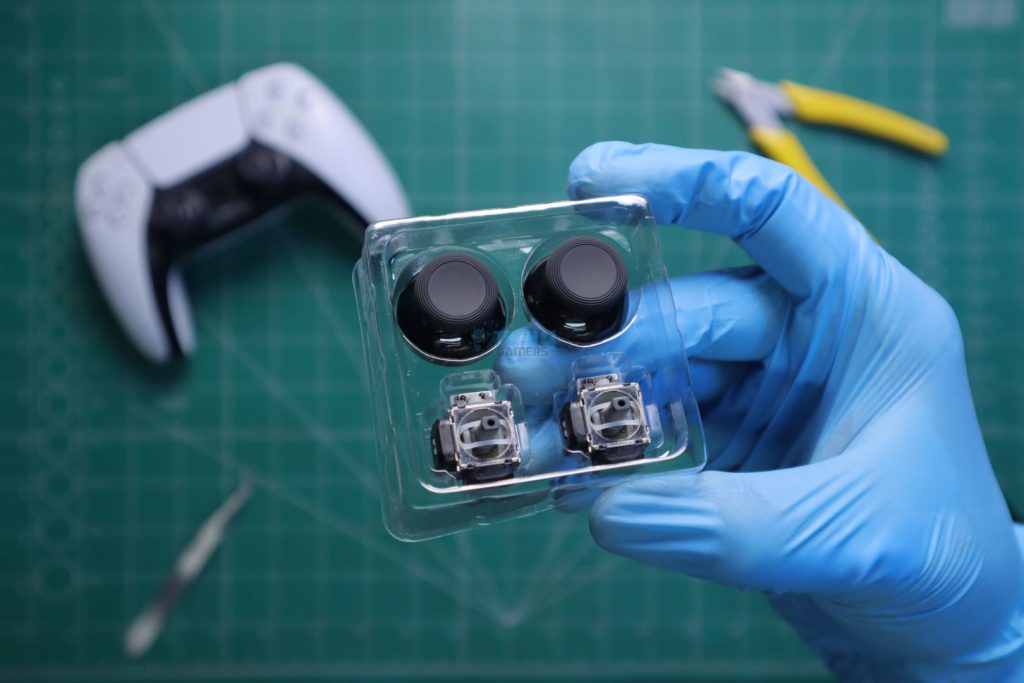
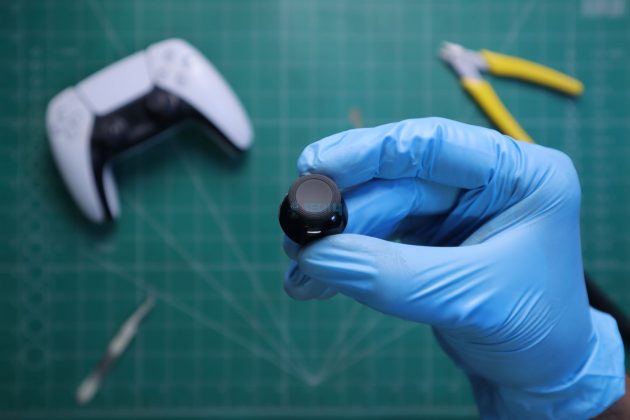
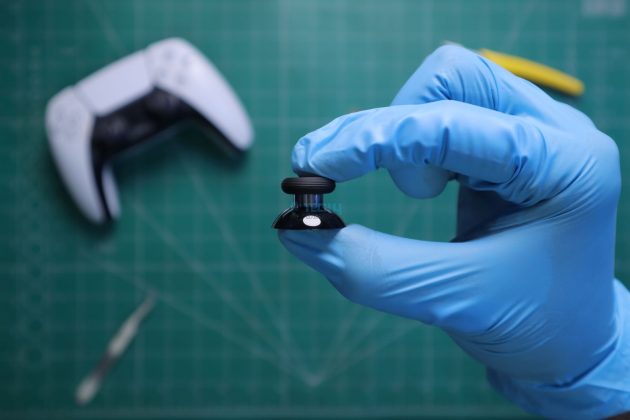
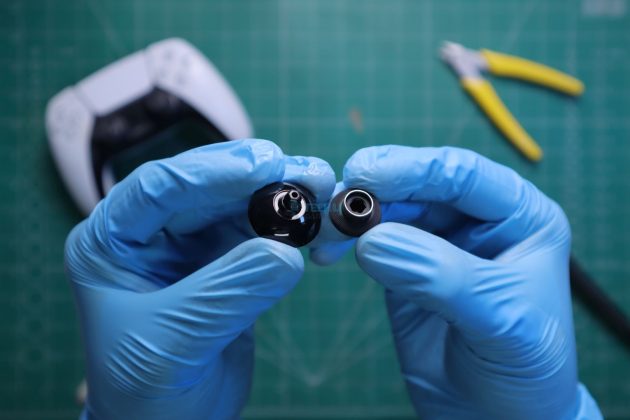
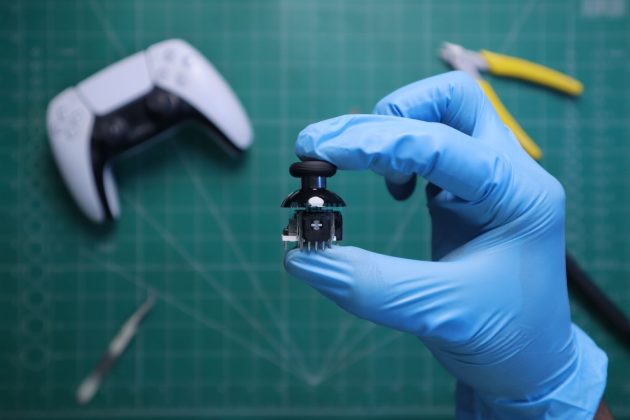
GuliKit’s TMR Joysticks came in a nice and small package with their King Kong Ring anti-slip texture Thumbstick which felt really smooth, even better than the original ones.
The sticks’ movement felt similar to PS5 DualSense’s, so there won’t be any issues in adapting to the GuliKit’s sticks.
Circularity Test Results Before The Mod
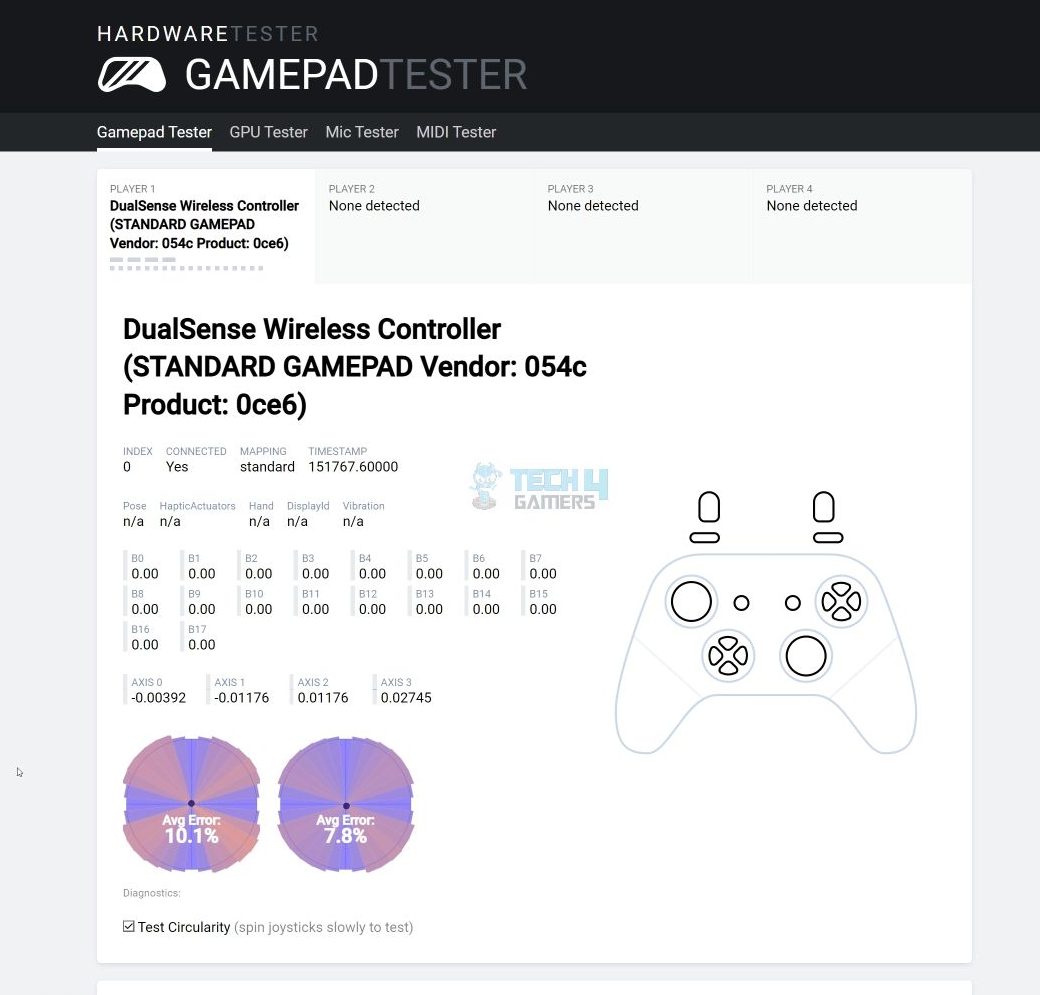
To check how well my PS5 DualSense sticks perform, I went on to test it at HardwareTester’s website, which provides testing of different controllers.
Circularity test results showed why I felt a few hiccups in my joysticks, especially in the left one. Even a newly unboxed controller will still show around a 5% circularity error, but a 10% error is when you start to feel an issue while gaming.
When your RTX 4090 is running fine on an 850W PSU, and you know it’s going to end up BSODing your PC at some point eventually, and out of nowhere, you get a 1000W PSU, won’t you just immediately put it in your PC? Regardless of how cumbersome or time-consuming the entire replacement process will be? Well, that’s exactly what I did, and oh boy, did I not anticipate the challenges it might come with!
Teardown
I highly recommend watching a few teardown and stick replacement tutorials/videos first on YouTube and only taking on this endeavor if you have adequate soldering skills and, more importantly, a decent-quality soldering iron.
Desoldering The Old Joysticks
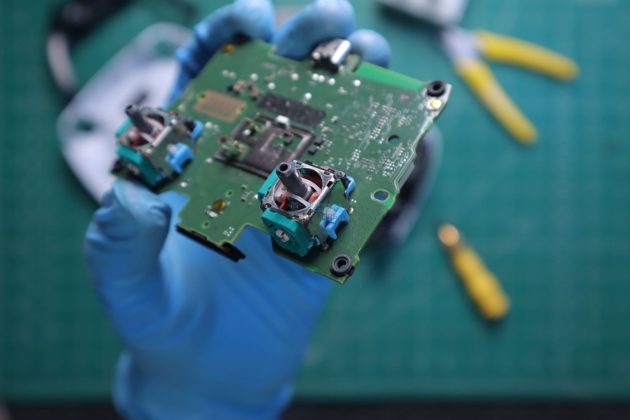
I watched a few tutorials, and though almost all of them warned about how difficult it could be to actually desolder and take the joysticks out of the DualSense PCB, I was still quite confident and had high hopes because of my exceptional soldering skills.
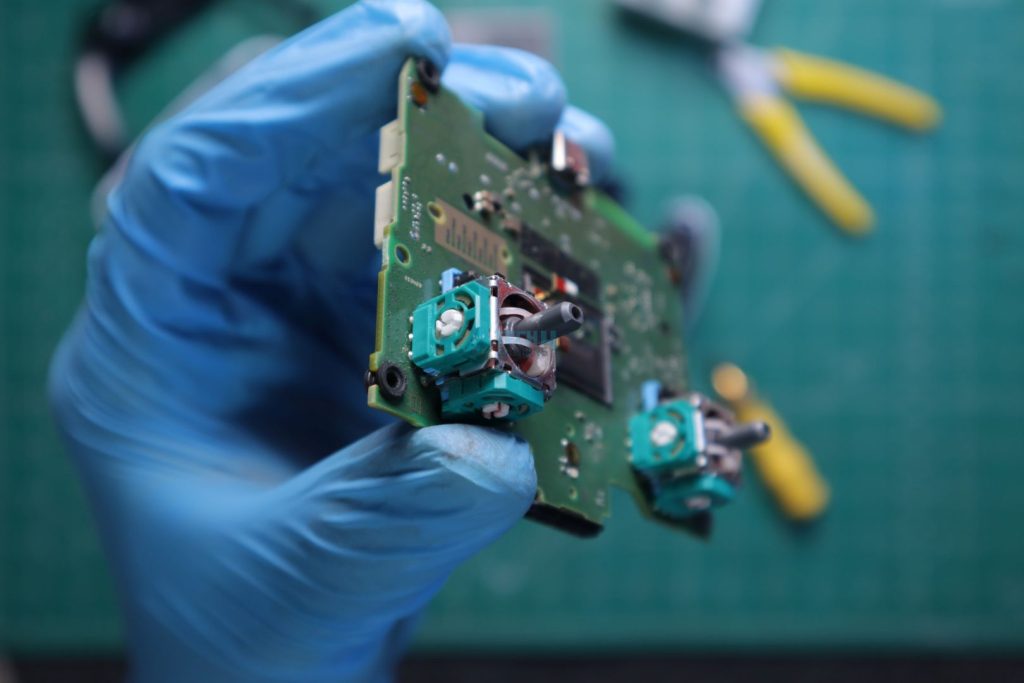
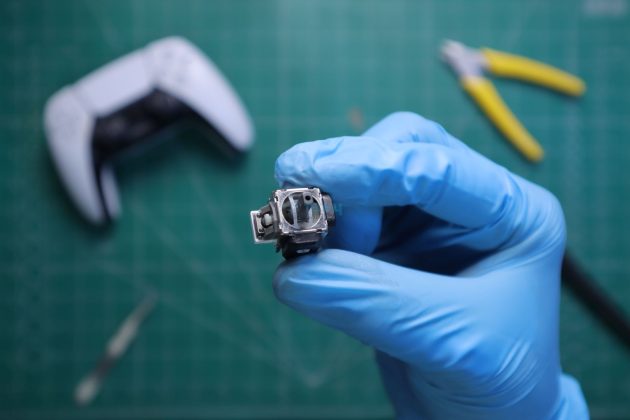
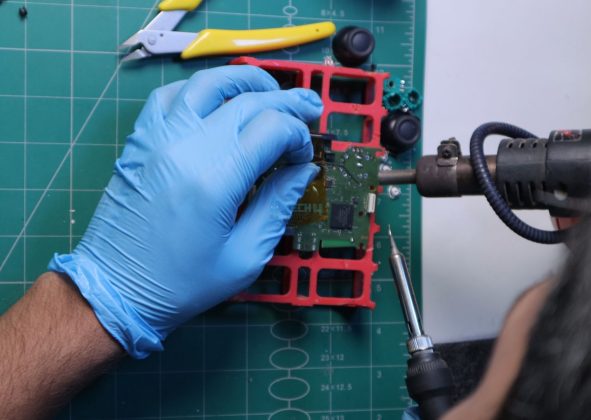
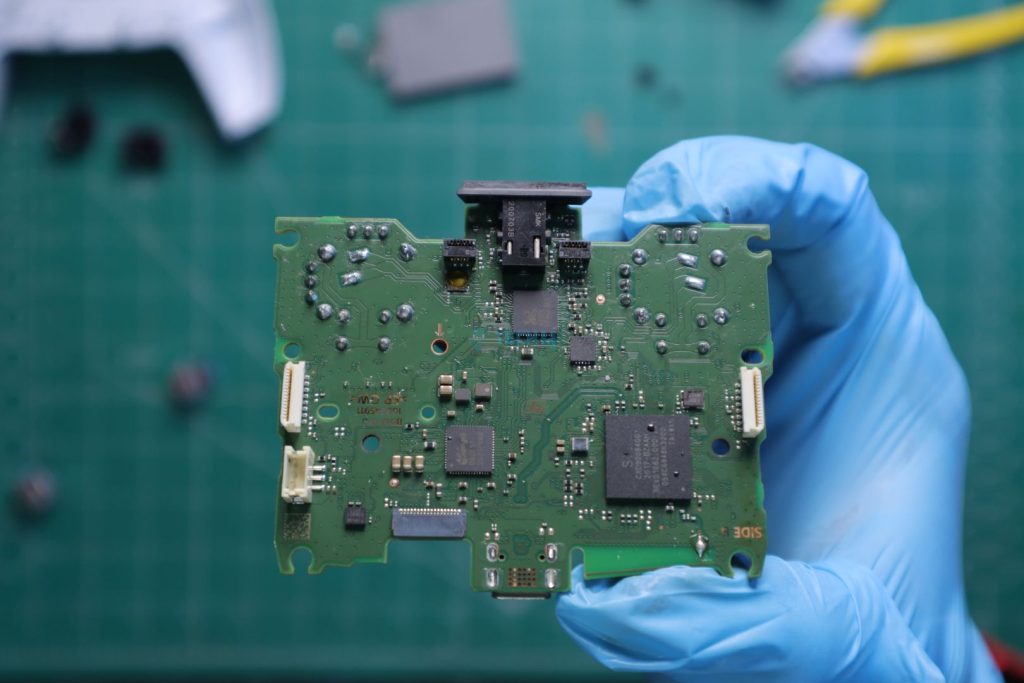
It was only when I finally started to desolder that I witnessed it was not going to end up well. The thick ground copper planes on the PCB and the metal shroud of the stick were soaking in all the heat from the soldering iron and were making it extremely difficult for the solder-sucker to suck in the melted solder and free the stick’s pins from the PCB. I then had to take help from a hot air gun which acted as a catalyst and aided my soldering iron to properly melt the solder, which was effectively sucked in by the solder sucker.
If you don’t have a hot air gun, then a hair dryer will work fine as long as you keep it in close proximity for prolonged periods while desoldering with your soldering iron.
Make sure to apply leaded solder before doing the desoldering process with your iron, as the pre-applied solder paste is lead-free, which is extremely difficult to melt; mixing it with leaded solder will significantly reduce its melting point.
Soldering The GuliKit TMR Joysticks
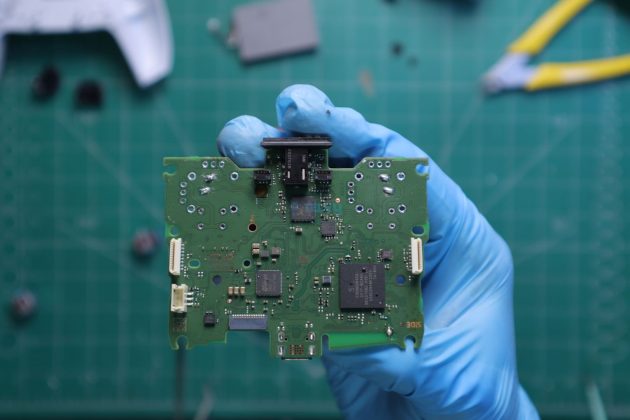
After the sticks were removed, proper cleaning is required from Isopropyl Alcohol wipes. The new replacement sticks from GuliKit are now ready to be installed. The process of soldering the new sticks will also require a hot air gun, but at a much lower temperature (at around 100C) this time; this will help the solder to melt evenly and have a firm connection with the GuliKit’s TMR sticks’ pins.
Everything was put back together in the end, but the fix has still not been done. The final step is to calibrate the new sticks via the DualShock-tools website and then save the calibrated data to the controller’s memory. This step is very important as otherwise, your sticks will go absolutely haywire.
Calibration
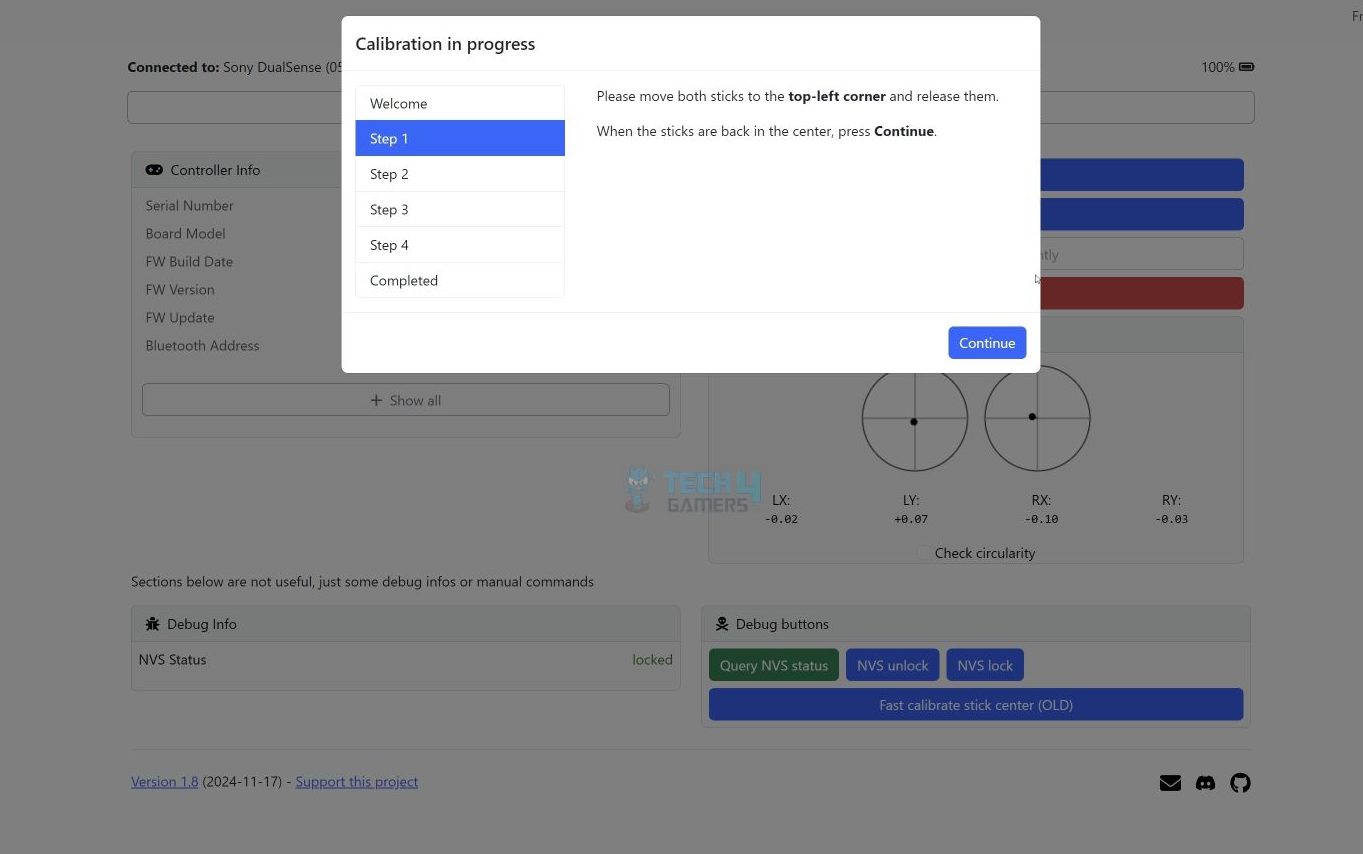
The calibration process is pretty much straightforward and well-guided. After you’re done with the calibration, you can check whether the sticks have been properly calibrated using the HardwareTester tool. If you see some abnormalities in the stick values, you should go back and recalibrate your controller.
Circularity Test Results After The Mod
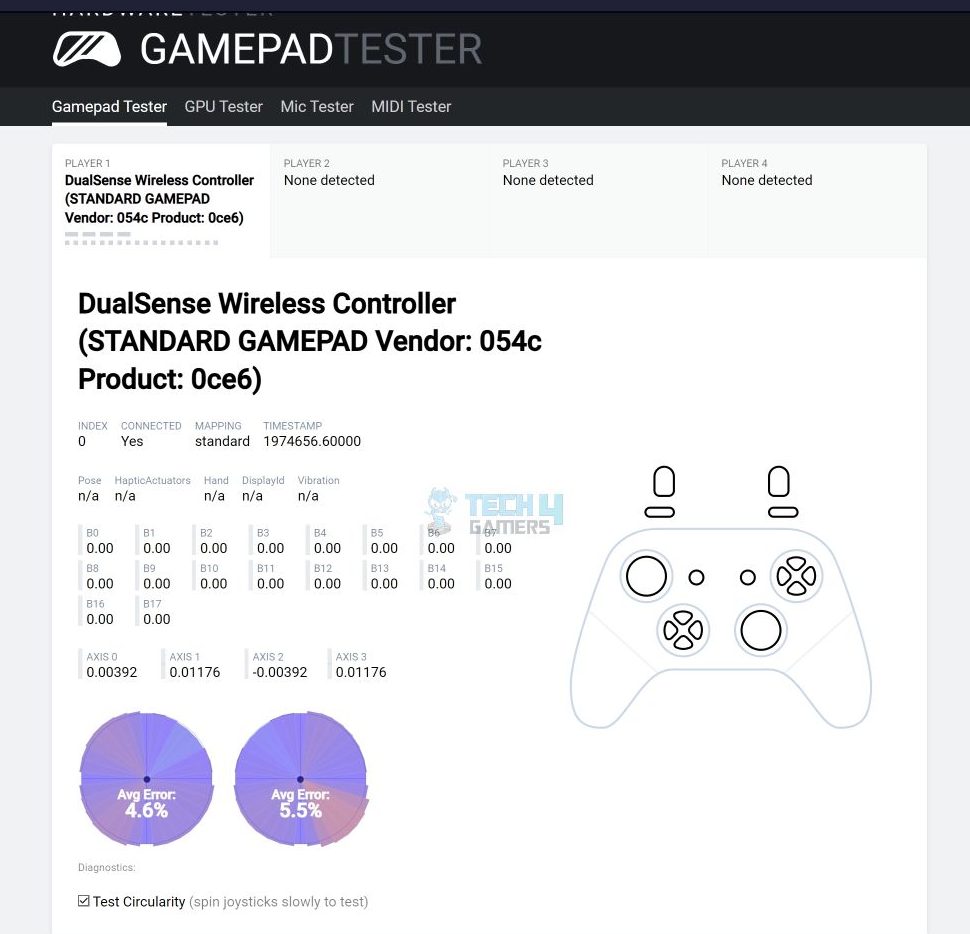
After calibrating my DualSense Wireless controller the 2nd time, I was quite comfortable with the results. 4.6% circularity error for the left stick and 5.5% on the right equates to a brand-spanking new controller.
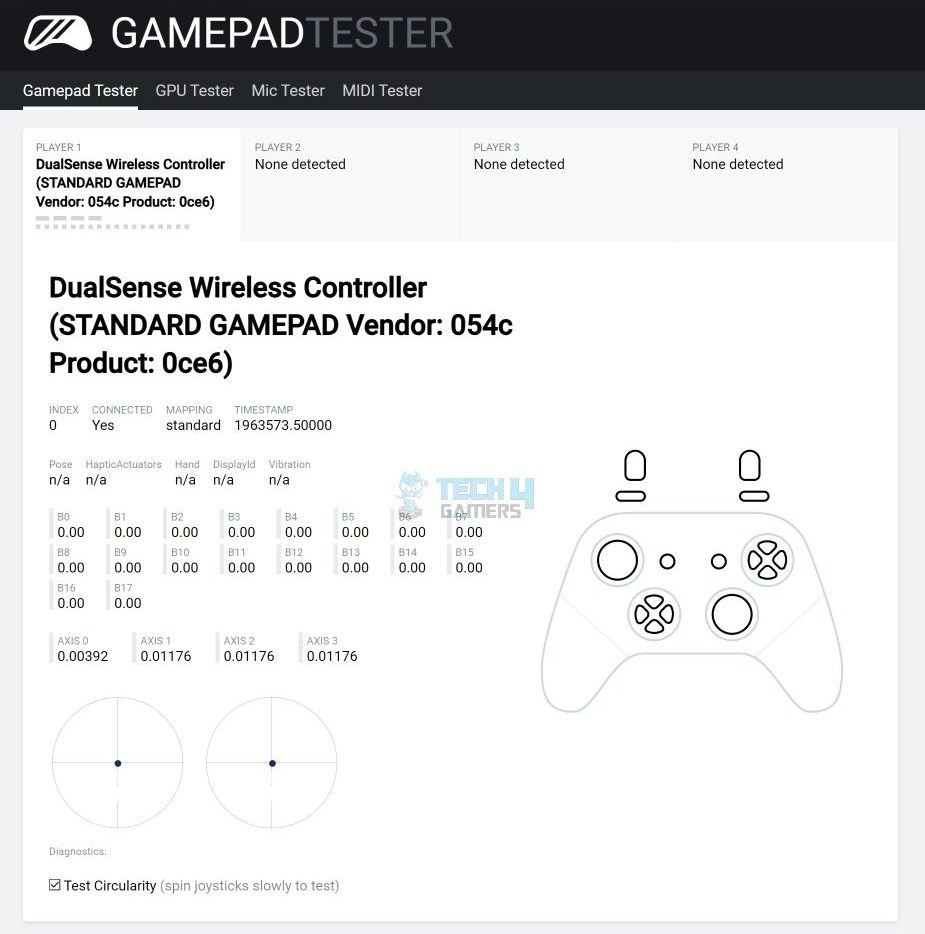
The center point on the sticks wasn’t dead centered (even after multiple recalibrations because of my OCD), but this seems to be not a big issue and doesn’t have any effect when playing games, which I later discovered.
Should You Buy It?
Buy It If
✅You want a drift-free joystick for long-term reliability: If joystick drift keeps ruining your gaming sessions, TMR sticks are a solid fix. Unlike analog sticks, they don’t wear out over time, so you get consistent performance for the long haul.
✅You value comfort during extended play sessions: KKR thumb-knobs are built for comfort and durability, making them ideal for long gaming marathons—even when things get sweaty.
✅You’re serious about gaming and appreciate quality mods: If you’re the kind of gamer who values premium performance and doesn’t mind spending time or money on high-quality upgrades, this mod is a great choice.
Don’t Buy It If
❌You lack soldering skills or the necessary tools: This isn’t a beginner-friendly mod. Without advanced soldering experience or the right tools, you’ll probably need professional help to install it.
❌You prefer a plug-and-play solution: If you’re after a simple upgrade with minimal effort, this mod’s complexity might make it more trouble than it’s worth.
My Thoughts After Two Weeks Of Usage
The GuliKit’s TMR joysticks felt slightly smooth in movements and significantly better in terms of their feel, thanks to their textured and anti-friction thumb-knob design. It’s been around two weeks, and I have not yet encountered any issues or drift in stick values. And because there’s no internal viper in the sticks rubbing against the carbon film layer wearing it down from time to time, I can be absolutely certain that these newer and much-improved joysticks are going to last way longer than any analog sticks in the market. The newer sticks, regardless of how advanced they are, after years of use, are eventually going to wear out in some way because of their mechanical nature (for their movement’s structure). So, I am very optimistic about how future innovation will reshape the design of today’s joysticks.
Thank you! Please share your positive feedback. 🔋
How could we improve this post? Please Help us. 😔
[Errors Troubleshooting Expert]
Arsalan Shakil (aka GuyThatDoesEverything on YouTube) is a PC Tech Enthusiast and Electronic Geek. With over 10+ years of experience in Electronics, he then decided to explore Software Engineering to design embedded products and automate existing hardware solutions.
When he started tearing down old cameras to understand how they worked, he was shocked (literally, when he got zapped by a flash discharge capacitor), giving him the power (debatable) to fall in love with videography/photography. He also started making some fun videos that later became YouTube tech reviews.
Skills:
- 10+ years of experience in Electronics design, embedded solutions, and prototyping
- Majored in Software Engineering
- Research paper publication in IEEE for Embedded Military Uniform & LoRa WAN wireless technology
- Specialized in IoT Solutions
- PC Enthusiast & PC Modder
In his local region, he’s known to expose cheap PSU brands, often claiming fake certification or false claims on the box. He’s a true nerd and needed some friends in his life. Then he met some guys who work at Tech4Gamers, and they also came out to be equal nerds who suggested he join Tech4Gamers as a Hardware Expert.


 Threads
