Worth It?
Review Summary
The Epomaker RT80 is an ambitious keyboard that features dual screens and a unique layout, aiming to stand out in the crowded budget mechanical keyboard market. While it excels in certain areas like build quality and wireless performance, it falls short in others, particularly in the practicality of its features. The touchscreen is tricky to use and, in turn, makes typing on what’s an otherwise excellent stock experience harder than it needs to be.
Hours Tested: 4 Days
Overall
-
Build Quality - 7.5/10
7.5/10
-
Design - 7/10
7/10
-
Features - 8.5/10
8.5/10
-
Typing Experience - 7/10
7/10
-
Performance - 8/10
8/10
-
Value - 8/10
8/10
Pros
- Decent build quality and clean design
- Detachable mini display for aesthetic flair
- Touchscreen with custom app shortcuts
- High-quality keycaps
- Consistent factory-lubed stock stabs
- Excellent battery life
- Solid wireless performance
- Epomaker Driver is a feature-packed software
Cons
- Pseudo-TKL layout takes up more space
- 1U shift key is hard to get used to
- The touchscreen is gimmicky and poorly executed
- Limited software functionality for the screens
Following the widespread popularity of the RT100, Epomaker is back to cash in on the people’s obsession over gimmicks. The company is launching the RT80 and RT65, two boards with the same philosophy but appealing to different crowds that prefer smaller layouts.
We have the RT80 with us today and it carries over the touchscreen and mini display from the RT100 but opts for a 75% layout instead of going full TKL. Does this work in favor of the keyboard or has Epomaker shot for style over substance? Let’s find out.
Key Takeaways
- Epomaker RT80 is a decent budget keyboard ironically held back by its highlight feature, which is otherwise surrounded by great fundamentals.
- Buy the RT80 if you want a unique experience. The dual-screen setup is undeniably eye-catching and functional for certain workflows.
- Avoid the RT80 if you’re looking for the best value, as the price premium for its dual screens doesn’t offer proportional benefits for most users.
Here are the key specs:
| Specification | Details |
|---|---|
| Brand | Epomaker |
| Model | RT80 |
| Number of Keys | 83 |
| Layout | 75% |
| Mount Type | Gasket |
| Stabilizer Type | Plate-mounted |
| PCB Type | 3/5 Pin Hotswap PCB |
| Touch Screen Size | 1.54 Inch |
| Screen Resolution | 240×240 RGB |
| Connection | Wired Type-C, Bluetooth, 2.4G Wireless |
| Backlit | RGB |
| LED Direction | South-facing |
| Case Material | ABS Plastic |
| Position Plate | Flex-Cut PC |
| Keycap Profile | Cherry |
| Keycaps Manufacturing Technique | Dye-sub (Grey White) / Double-shot (Black) |
| Battery Capacity | 5000mAh |
| Anti-Ghosting | NKRO |
| Polling Rate | 1000Hz under Wired & 2.4G Mode; 125Hz under Bluetooth Mode |
| Compatibility | Windows/Mac |
| Dimension | 332 × 130 × 45mm |
| Weight | About 1kg |
What Makes The Epomaker RT80 Different?
The Epomaker RT80 is a pretty run-of-the-mill budget keyboard with all the hallmarks of a custom, like hot-swap sockets, lubed stabilizers, and gasket mounting. What makes it stand out, however, is the inclusion of not one but two screens for both aesthetics and functionality.
You can use the mini display to check on the date and time while enjoying a looping GIF. On the other hand, literally, you have a large touchscreen for media controls and custom macros that can open your favorite apps. They both get plenty bright, too and have little effect on the board’s battery life.
Unboxing Experience
The Epomaker RT80 comes in a standard cardboard box with the keyboard illustrated over the front alongside its name. The sides of the box are bare but there’s some info on the back including the various different features. You get inside by lifting up the single tab in the center.
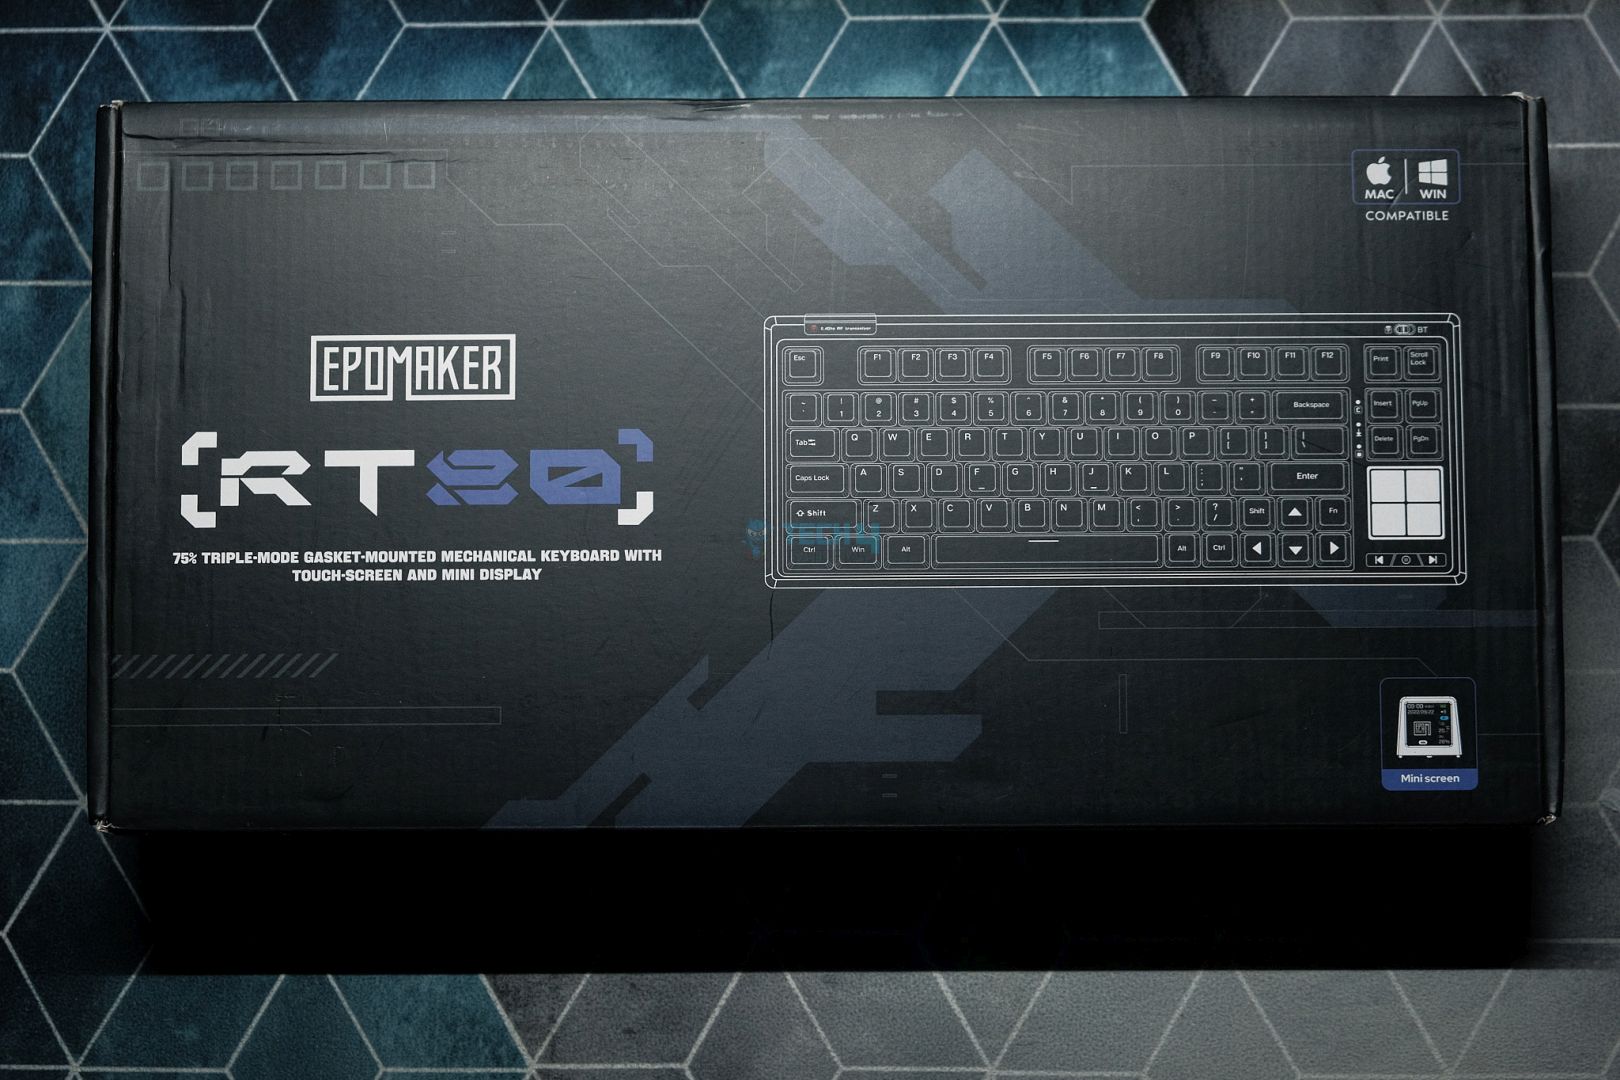
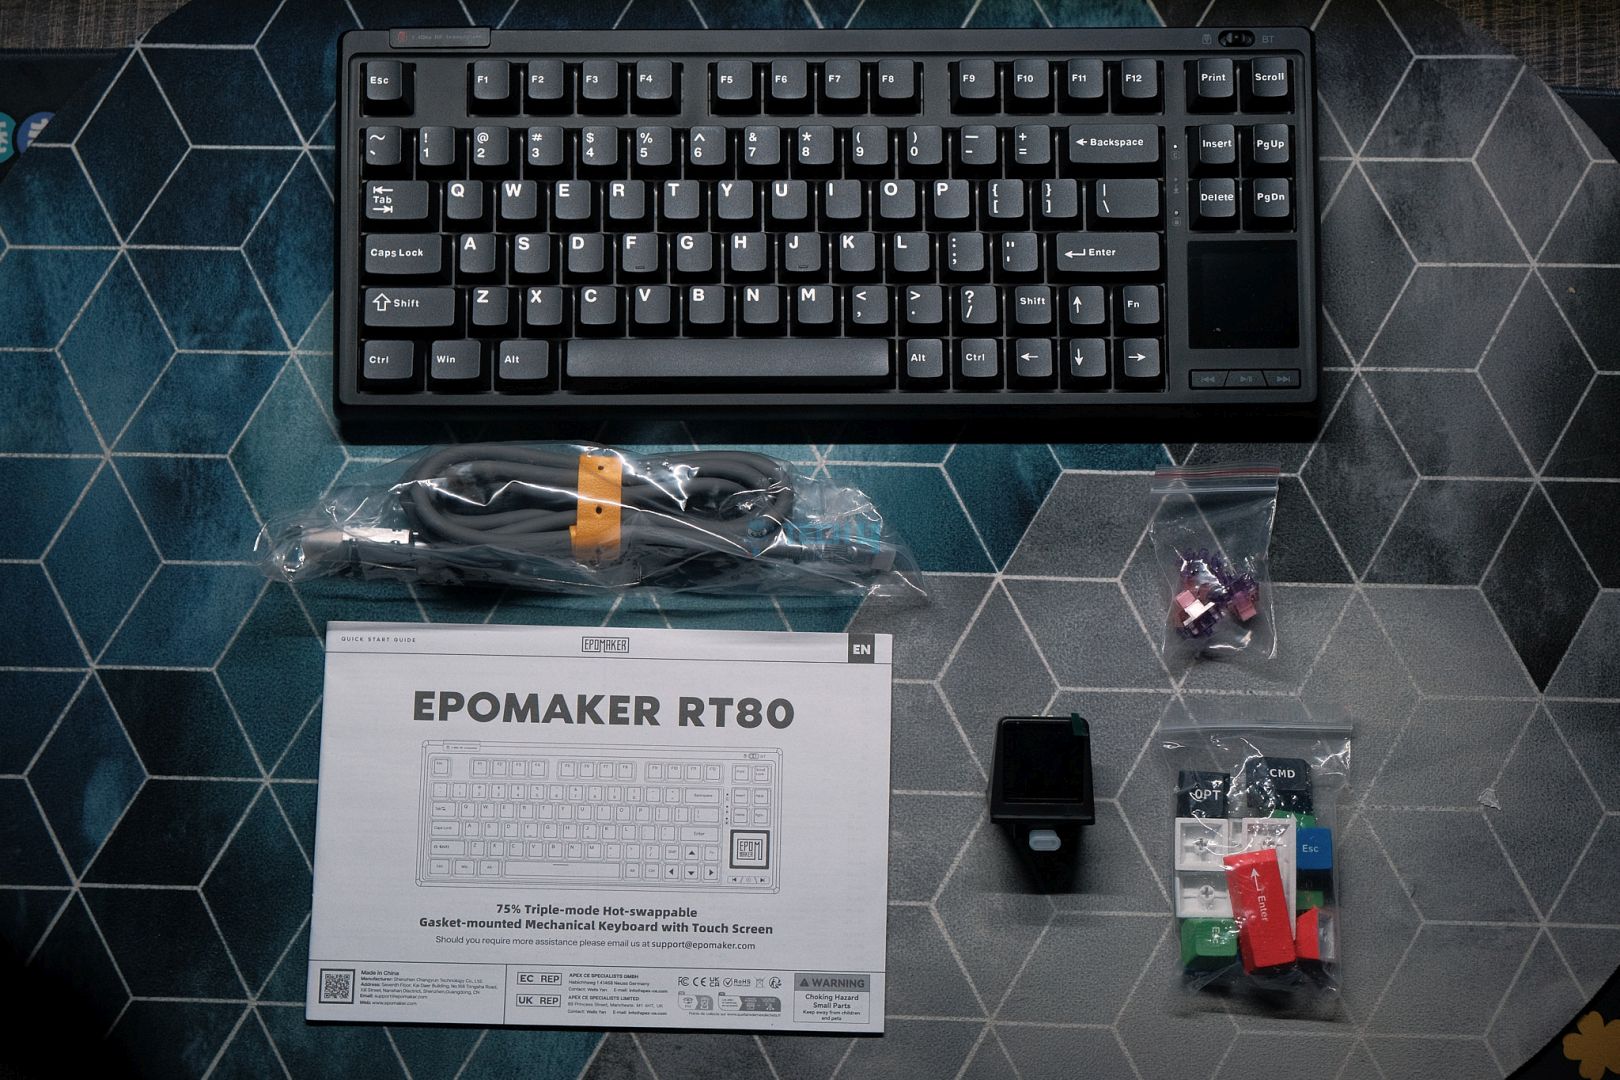
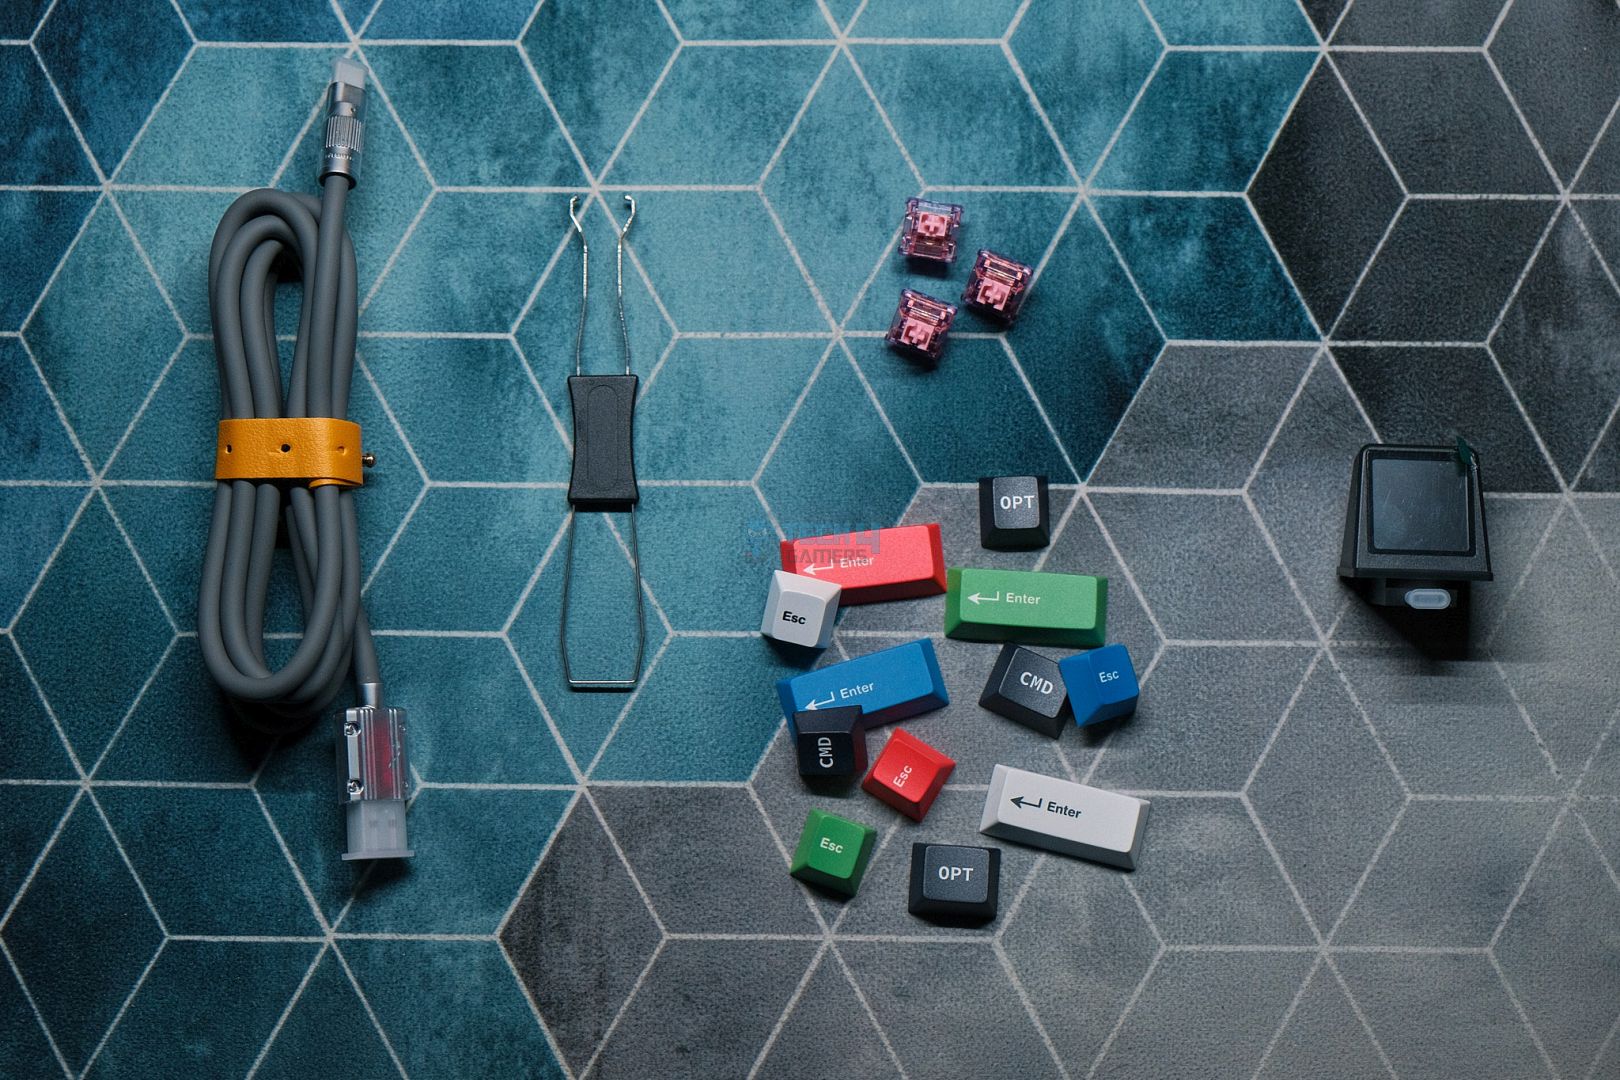
You’ll find the RT80 wrapped in plastic with a manual underneath. The accessories are toward the top and there’s something special in there. You get the usual goodies but in the corner there’s a mini display snuggly fit inside some foam. That’s not all though as Epomaker includes a ton of extra keycaps and a thick USB cable as well with metallic ends.
Here’s everything you get:
Design & Build
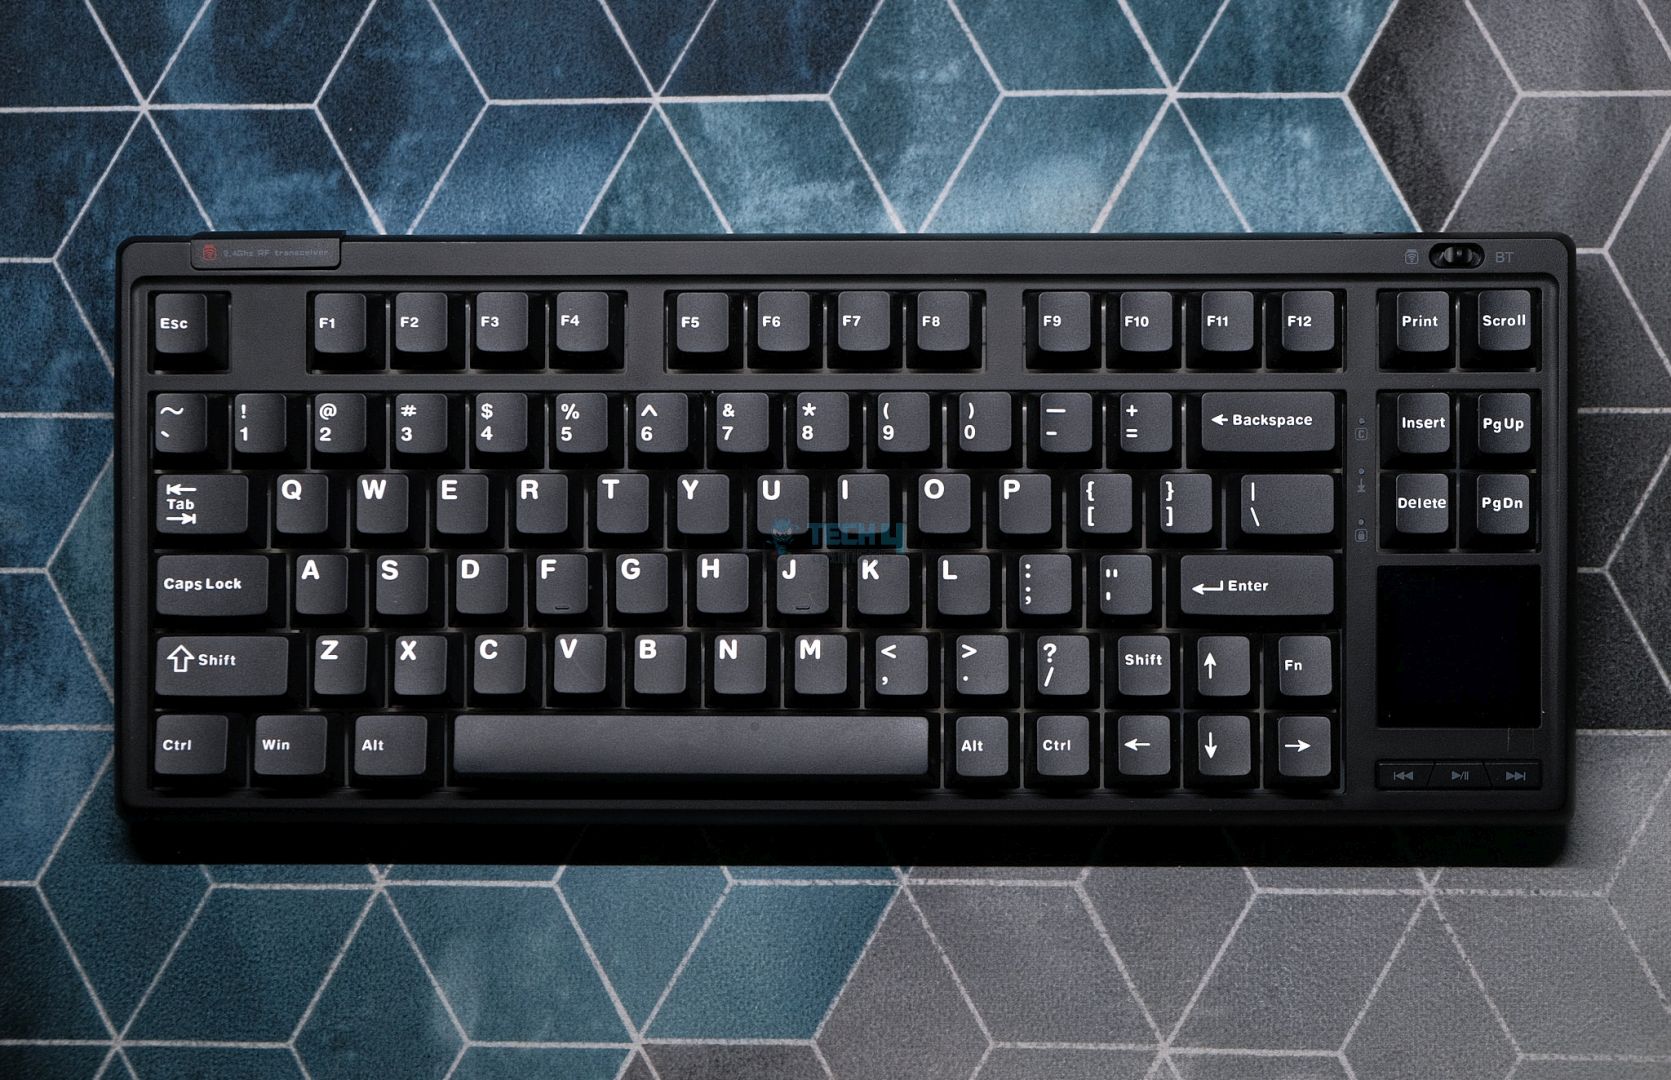
Epomaker has gone for a clean and simple design with the RT80 since there’s already a lot going on feature-wise. From the front, the entire key area is sort of indented that creates a visible forehead and subtle bezels all around the perimeter. The board also has rounded corners, so it looks extra sleek.
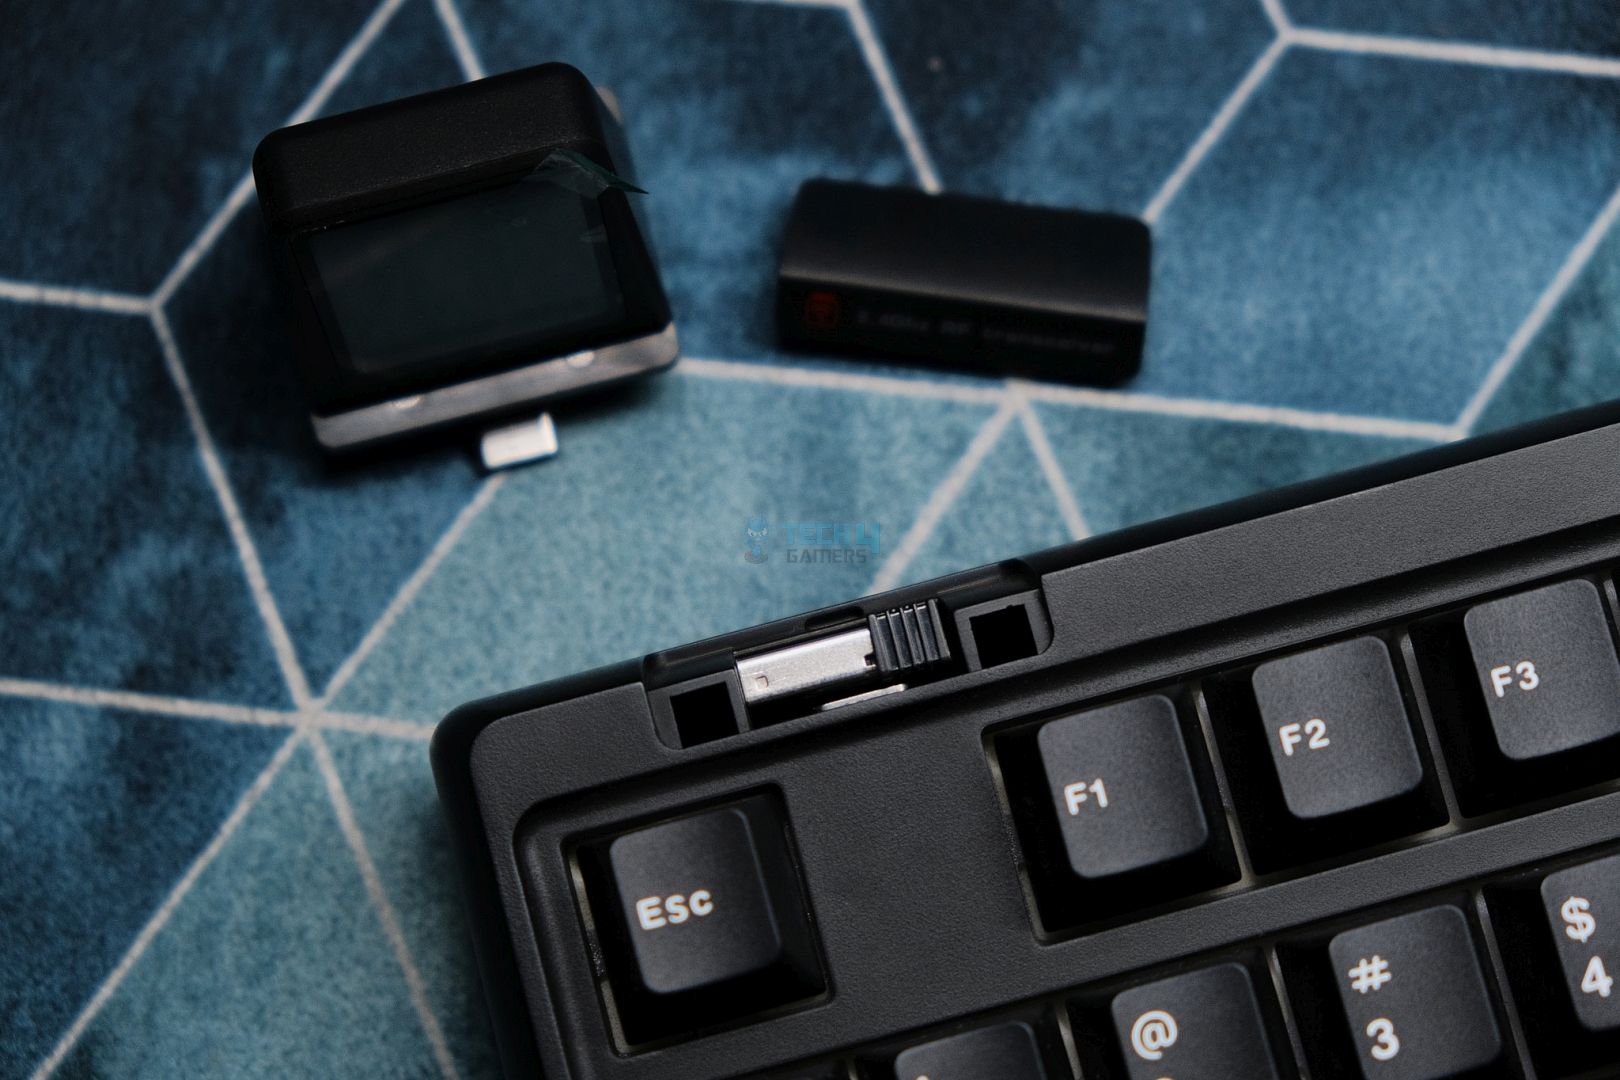
There’s a connection mode switch in the top-right corner, right above the USB port. On the opposite side, we have a dedicated storage space for the wireless receiver. But once you remove the cover, a second USB port is revealed which is used to connect the mini display. Once you’ve connected the display, there is no way to store the dongle or even the cover.
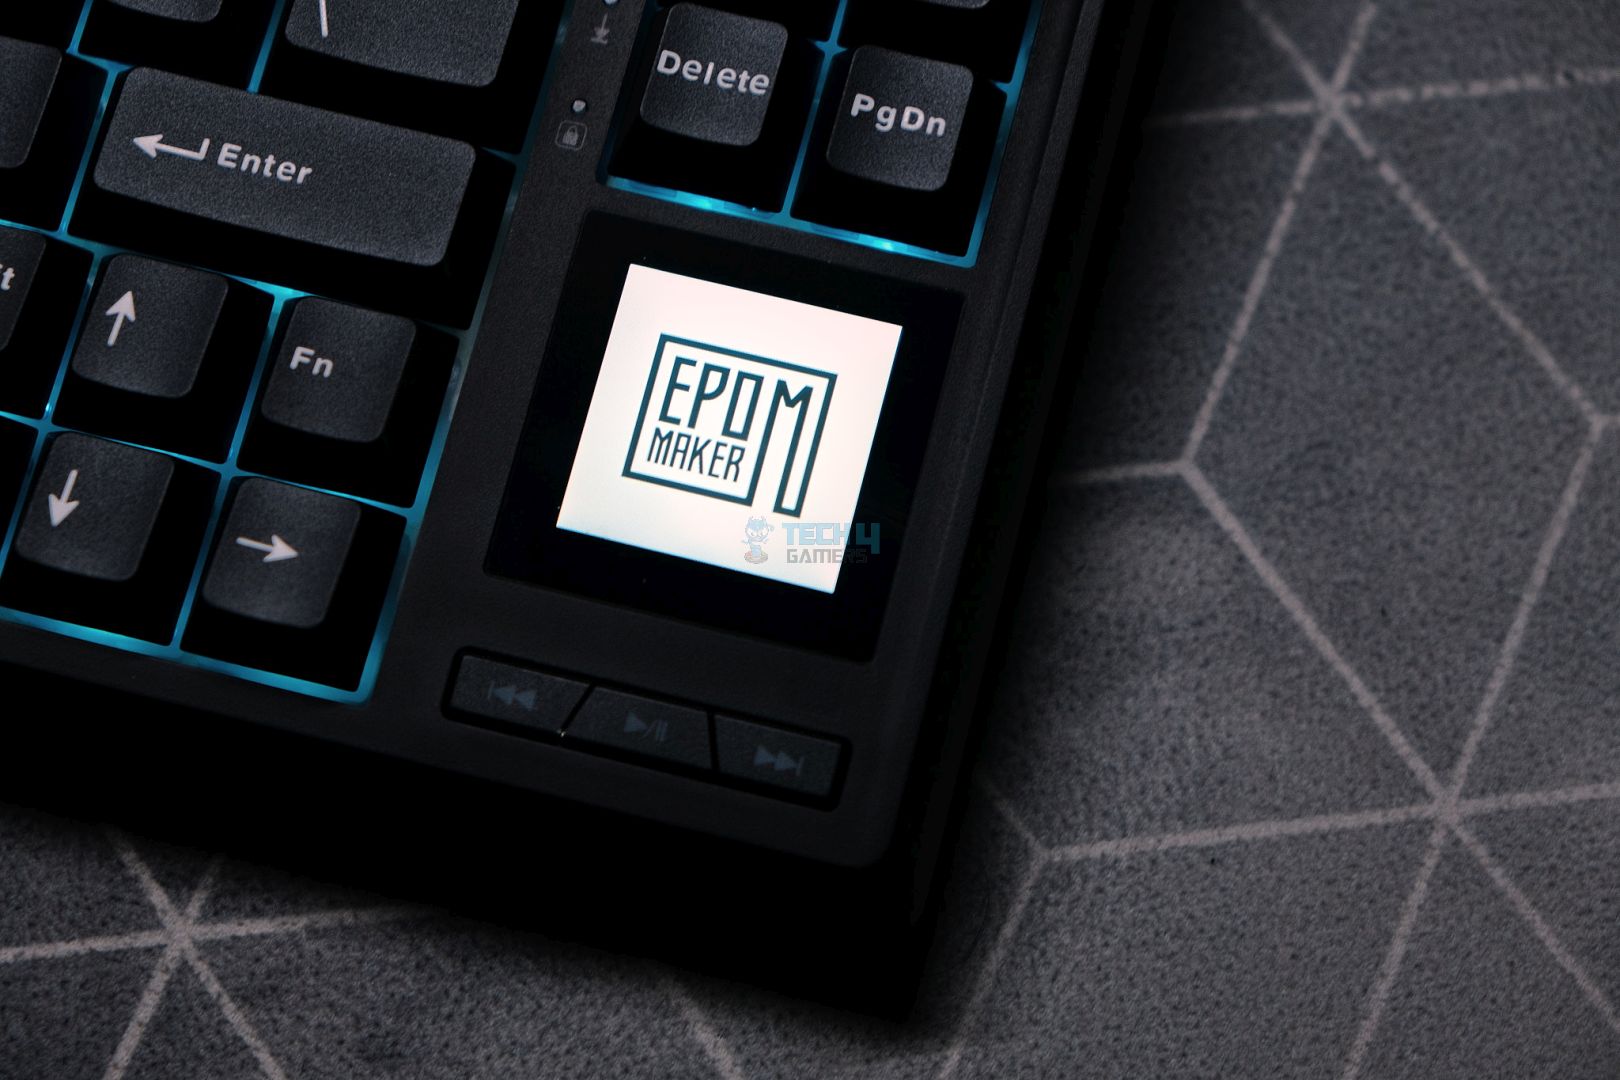
Finally, toward the bottom-right corner, we see a 1×1 inch touchscreen with some media controls below it. These are clicky buttons. The screen is plenty bright and comes with a protector pre-installed. Even though it’s technically a touchscreen you can really only swipe on it and tap on certain spots for it to function. We’ll take an in-depth look at it in the screens section.
The back is interesting, too, with a very angular design. There are two flip-out feet and a metallic badge in the center. The corners of the board taper from the top to bottom where they melt into the side. There are some circular cutouts around the badge to further diversity the design, but I personally feel it veering into tacky territory.
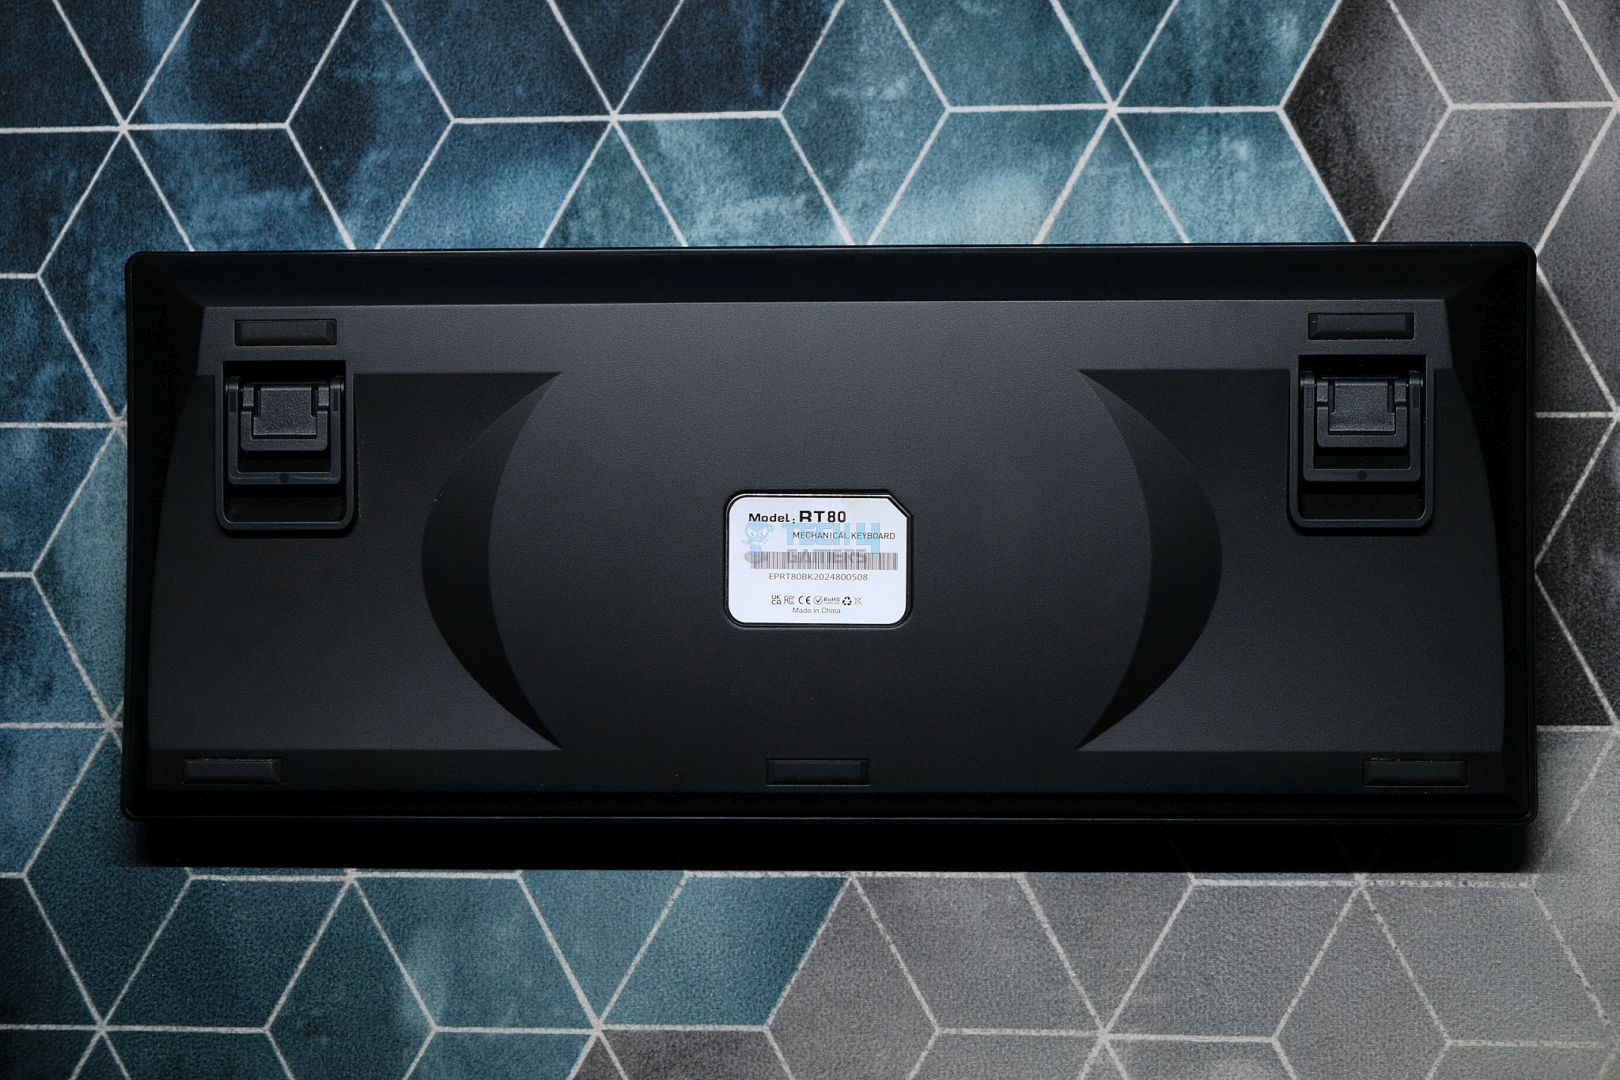
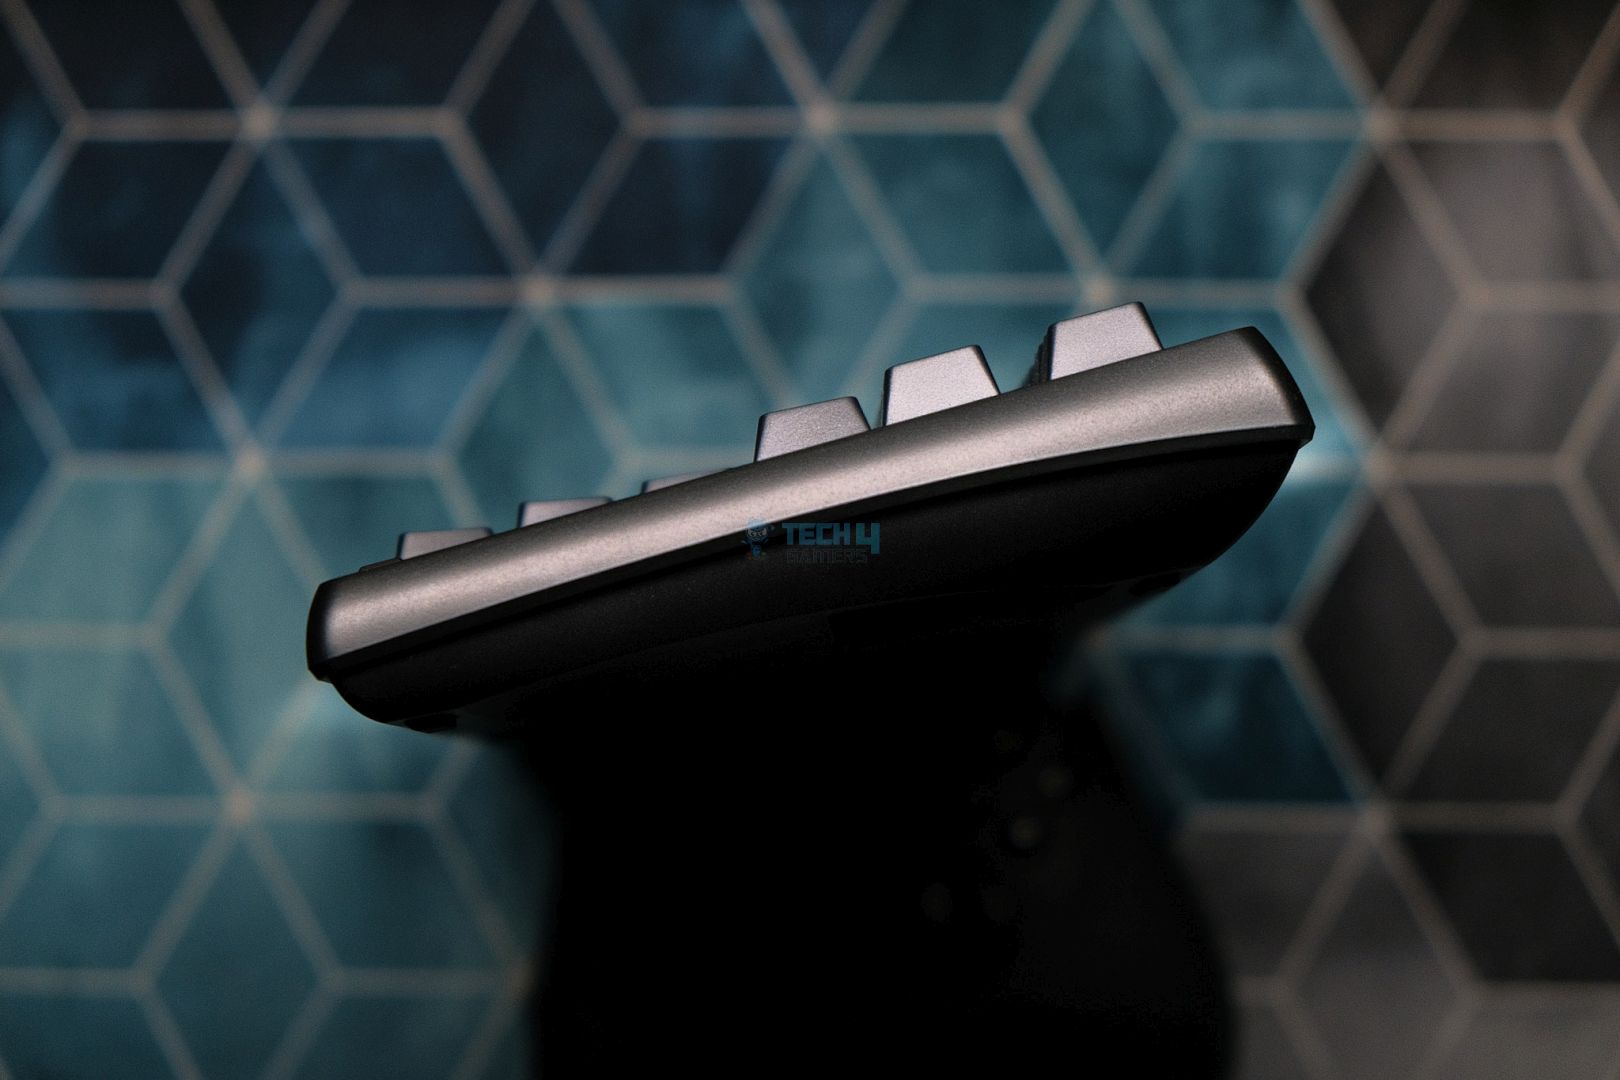
All that makes for an interesting side profile that has a nice curve to it. The board is made out of plastic and feels that way. It’s not cheaply built but there is some flex that comes natural with plastic construction, though the board doesn’t creak at all. It has a matte finish through and through that is quite resistant to fingerprints.
Layout & Features
The Epomaker RT80 has a somewhat unique layout due to it being almost as big as a TKL but still rocking a 75% form factor. It’s similar to the Galaxy70 and even the Wooting 80HE with its 4 navigation keys arranged in a square cluster instead of a vertical row. However, unlike those boards, the RT80 has a whole screen below the nav cluster.
This pushes the arrow keys to the side with the alphas and results in a weird split left-shift layout. It was hard getting used to a 1U shift key as I constantly kept hitting either the up-arrow key or the slash on either side. I even had to look down several times, betraying my touch-typing muscle memory just to make sure I wasn’t missing the shift key this time.
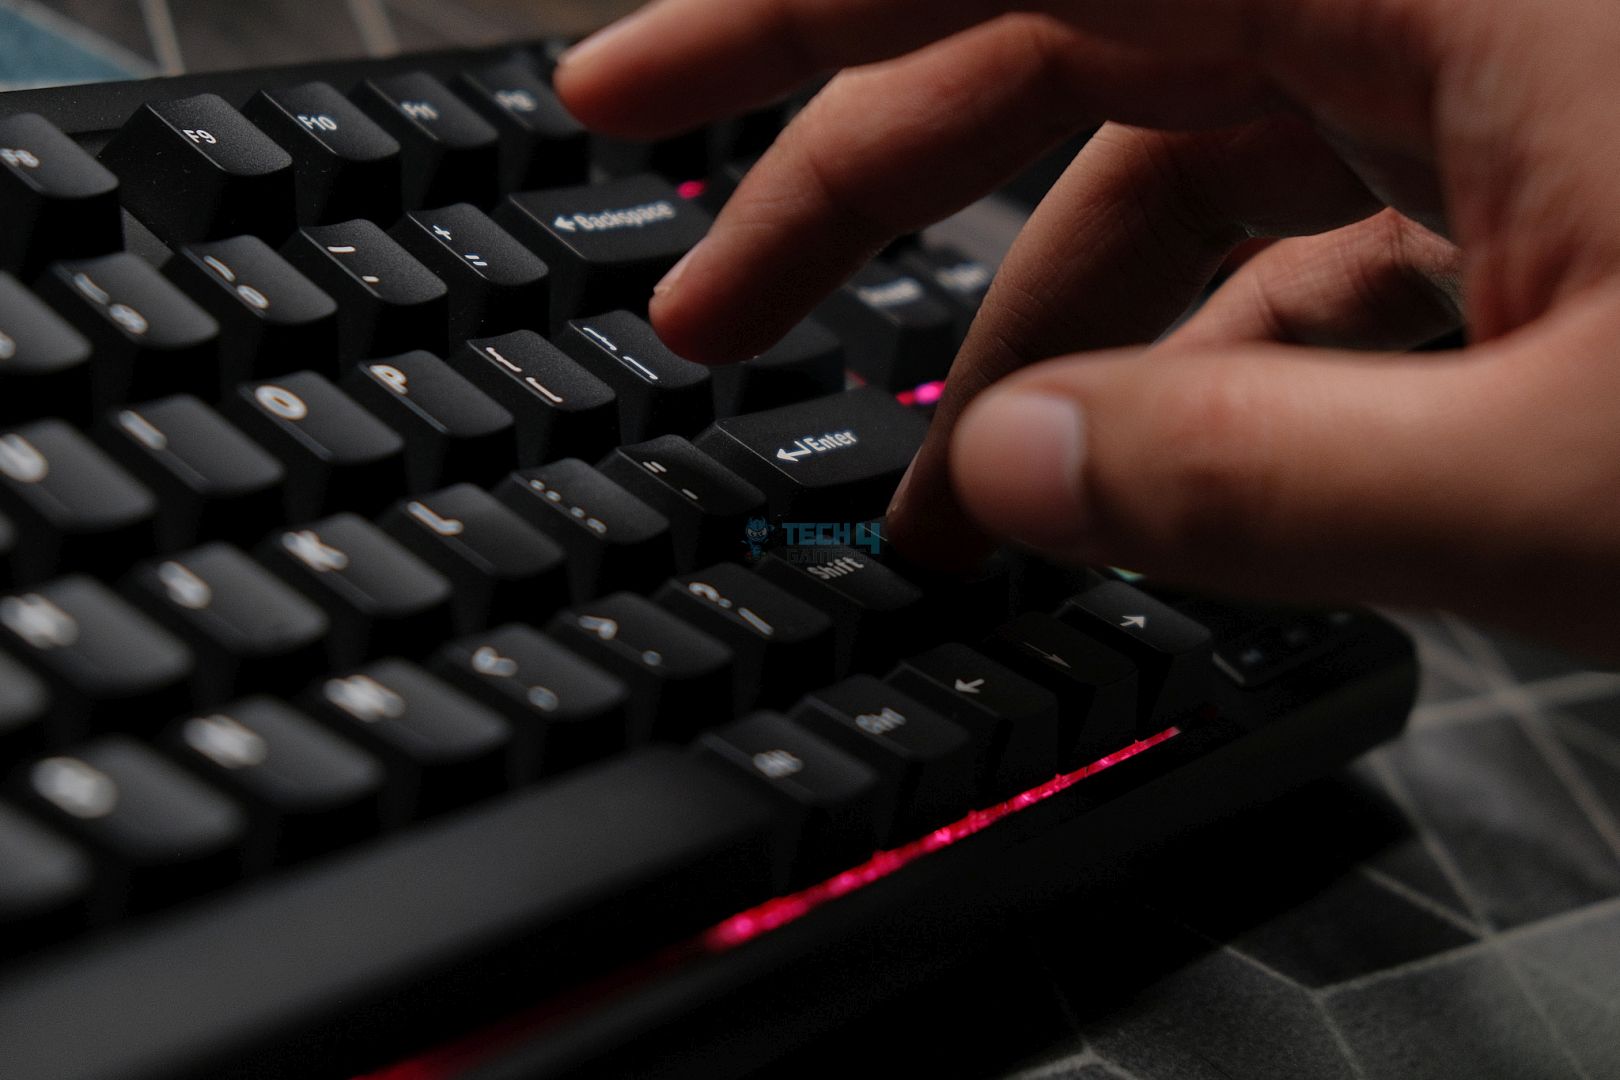
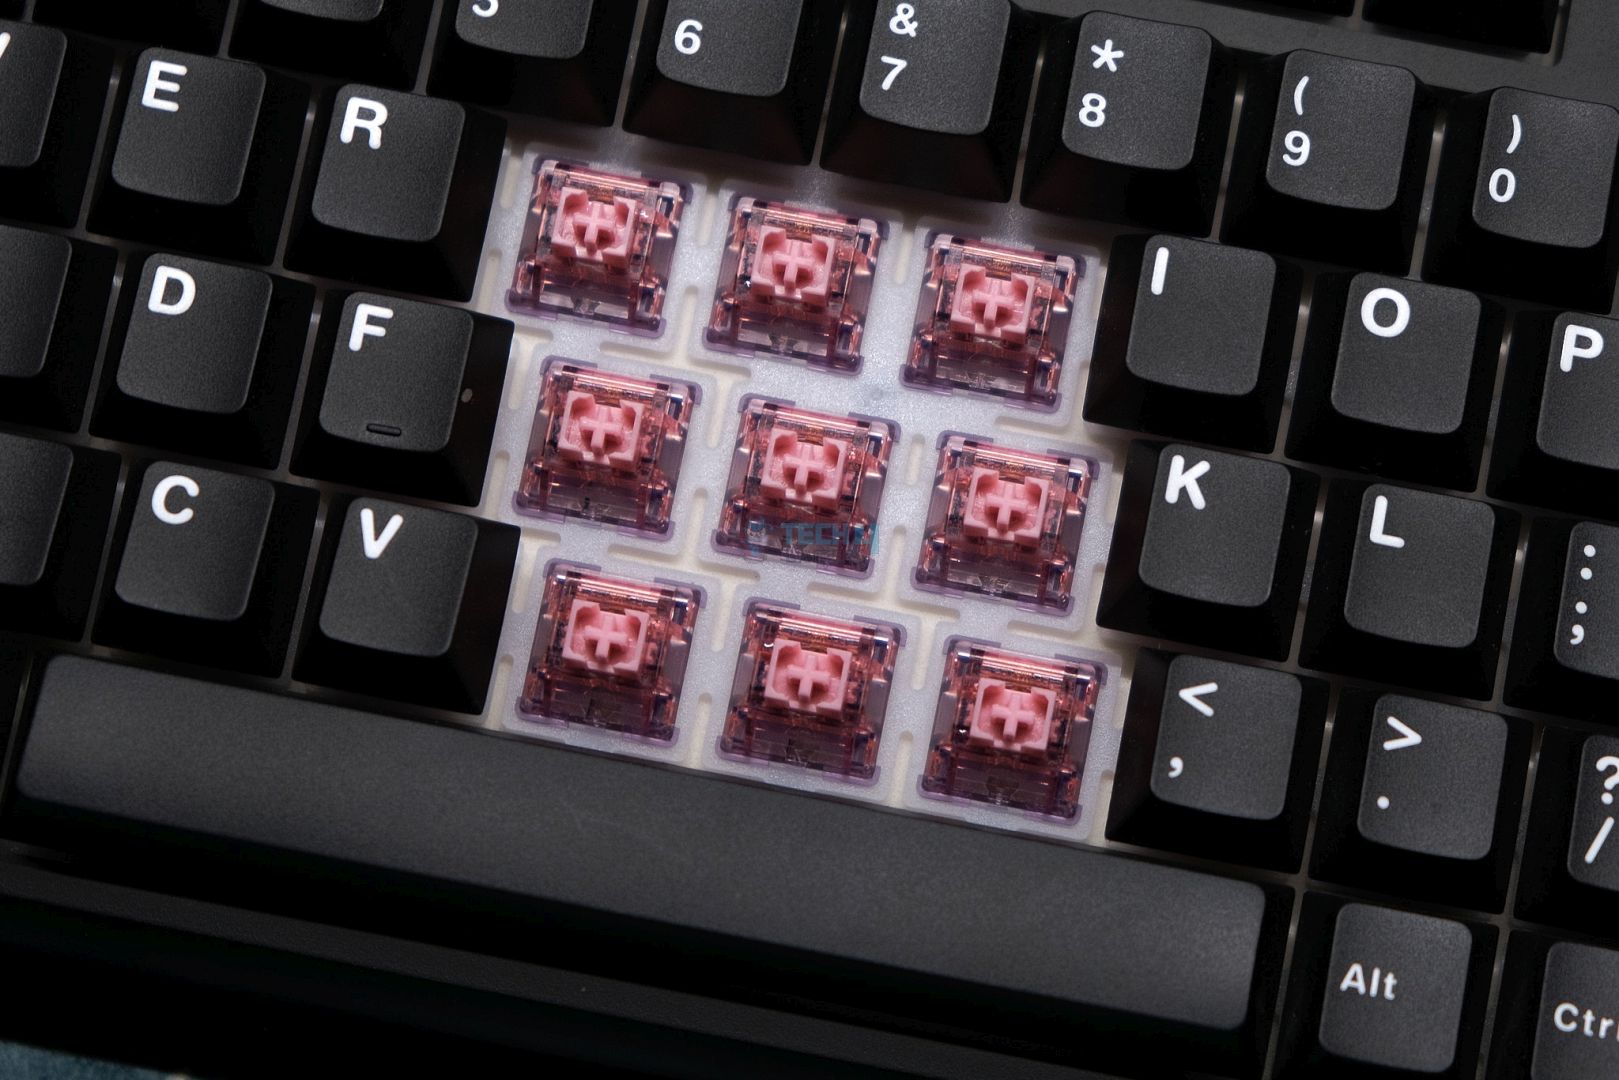
Apart from the layout, the RT80 is otherwise a typical modern budget keyboard. It’s fully wireless with both Bluetooth and 2.4Ghz radio support. It’s gasket-mounted with silicone beans on the plate. There’s 5 layers of foam inside to provide sound dampening through the plate foam, IXPE sheet, PET sheet, PCB foam, and the bottom case foam.
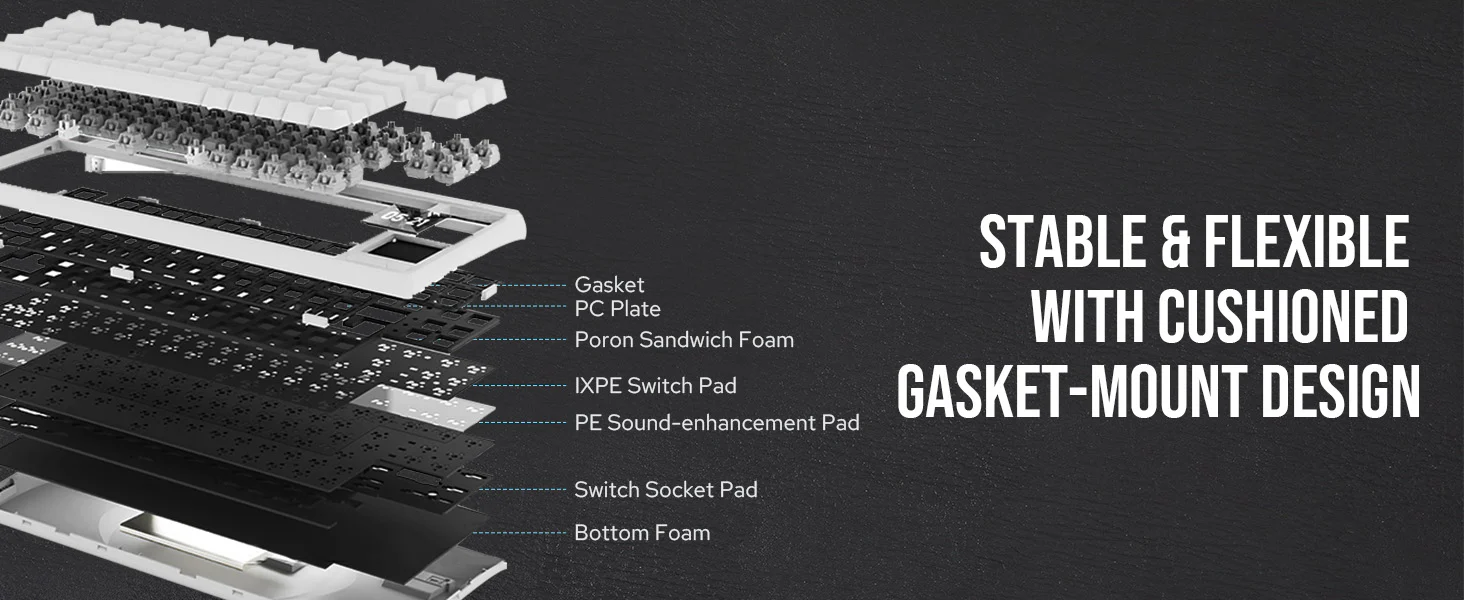
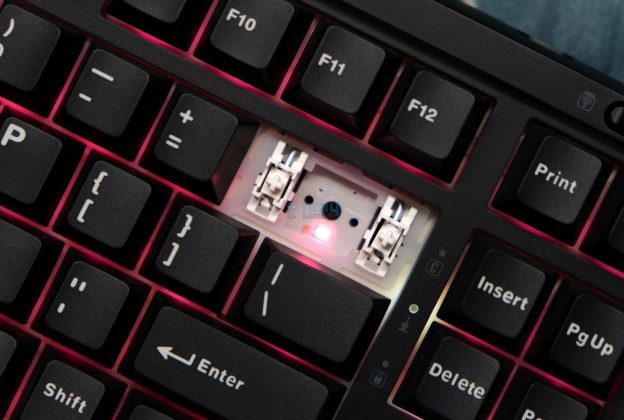
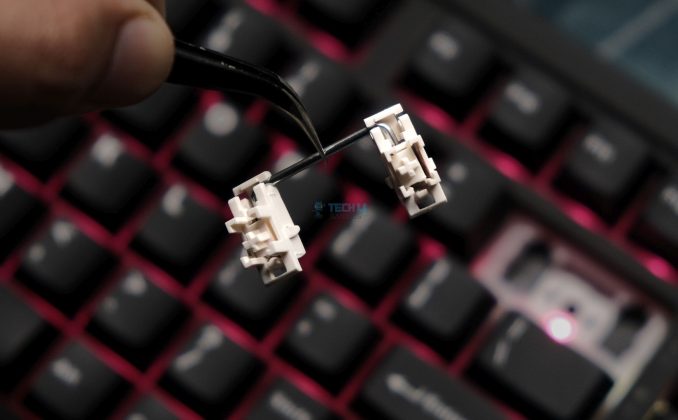
The RT80 is also hotswap with 5-pin south-facing sockets. The PCB has per-key RGB and it’s 1.2mm thick with no flex cuts but the polycarbonate plate does. The touchscreen is connected via a ribbon cable and not directly soldered onto the PCB. The mini display has its own daughterboard that connects it to the PCB as well, just like the main USB port.
The Fundamentals
Keycaps
Epomaker has fitted the RT80 with doubleshot Cherry profile keycaps made out of PBT. Depending on the colorway you get, the fonts are slightly different. We have the more standard typeface on our WOB unit whereas the retro beige one gets a thinner one. Regardless, both look good, but it goes beyond that.
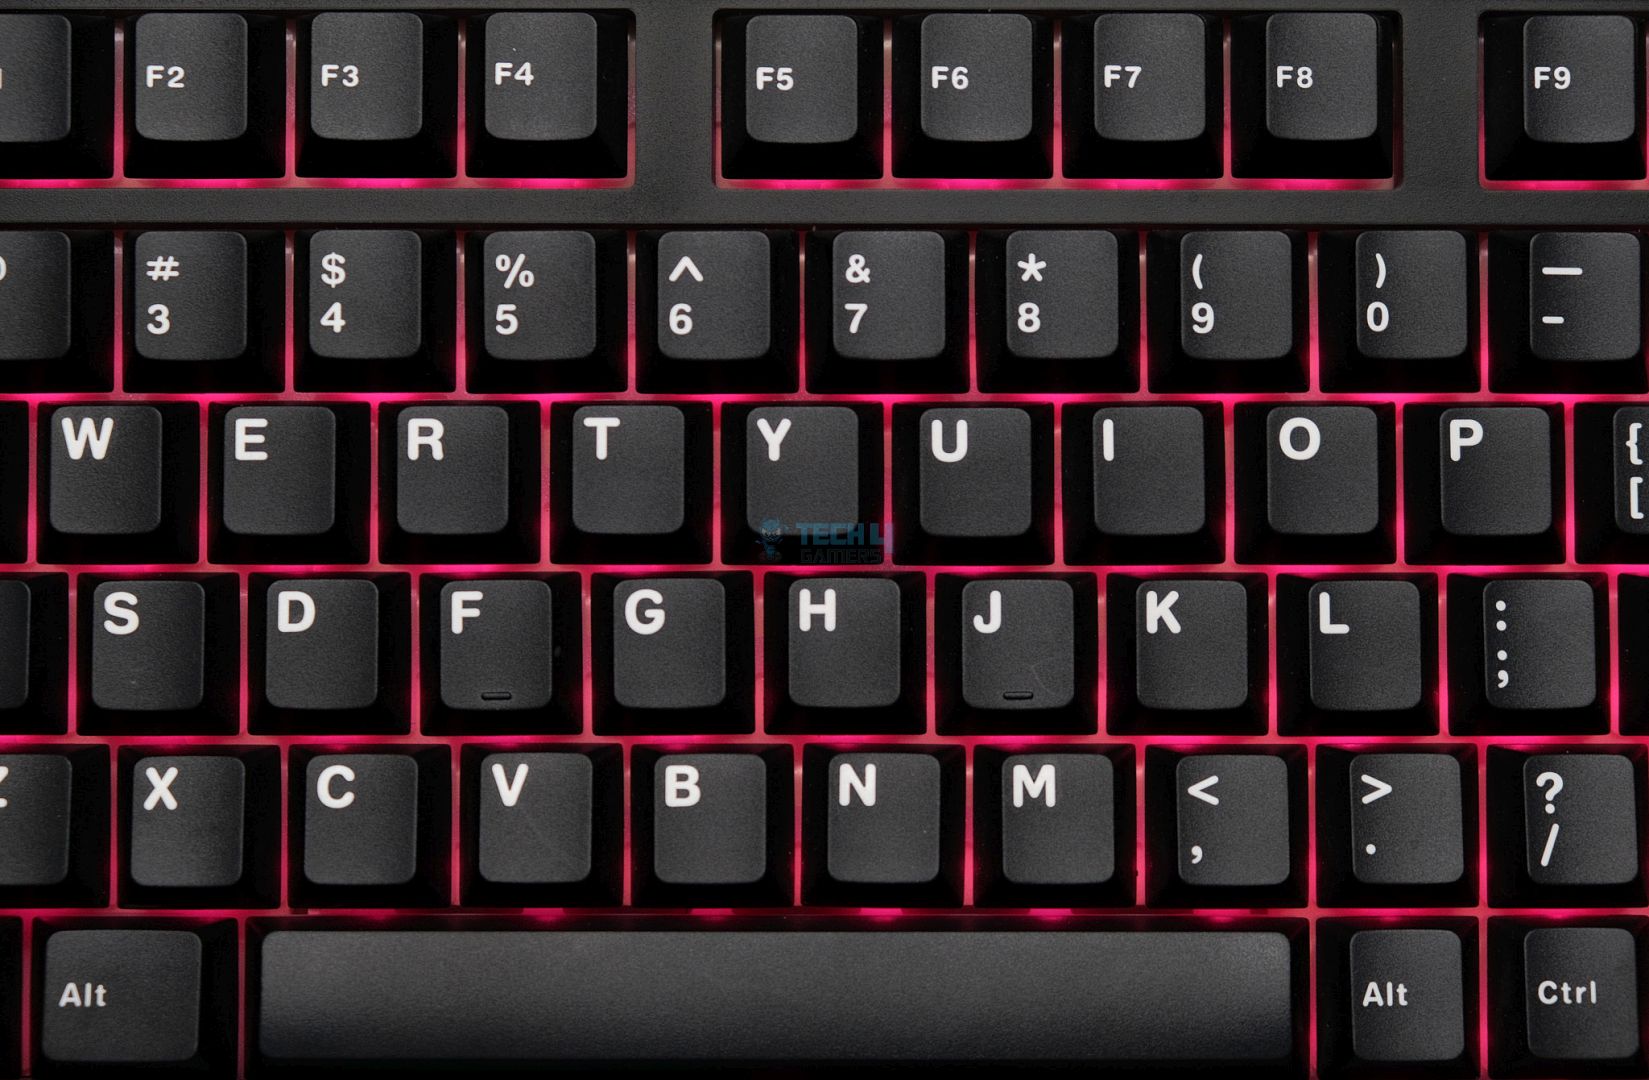
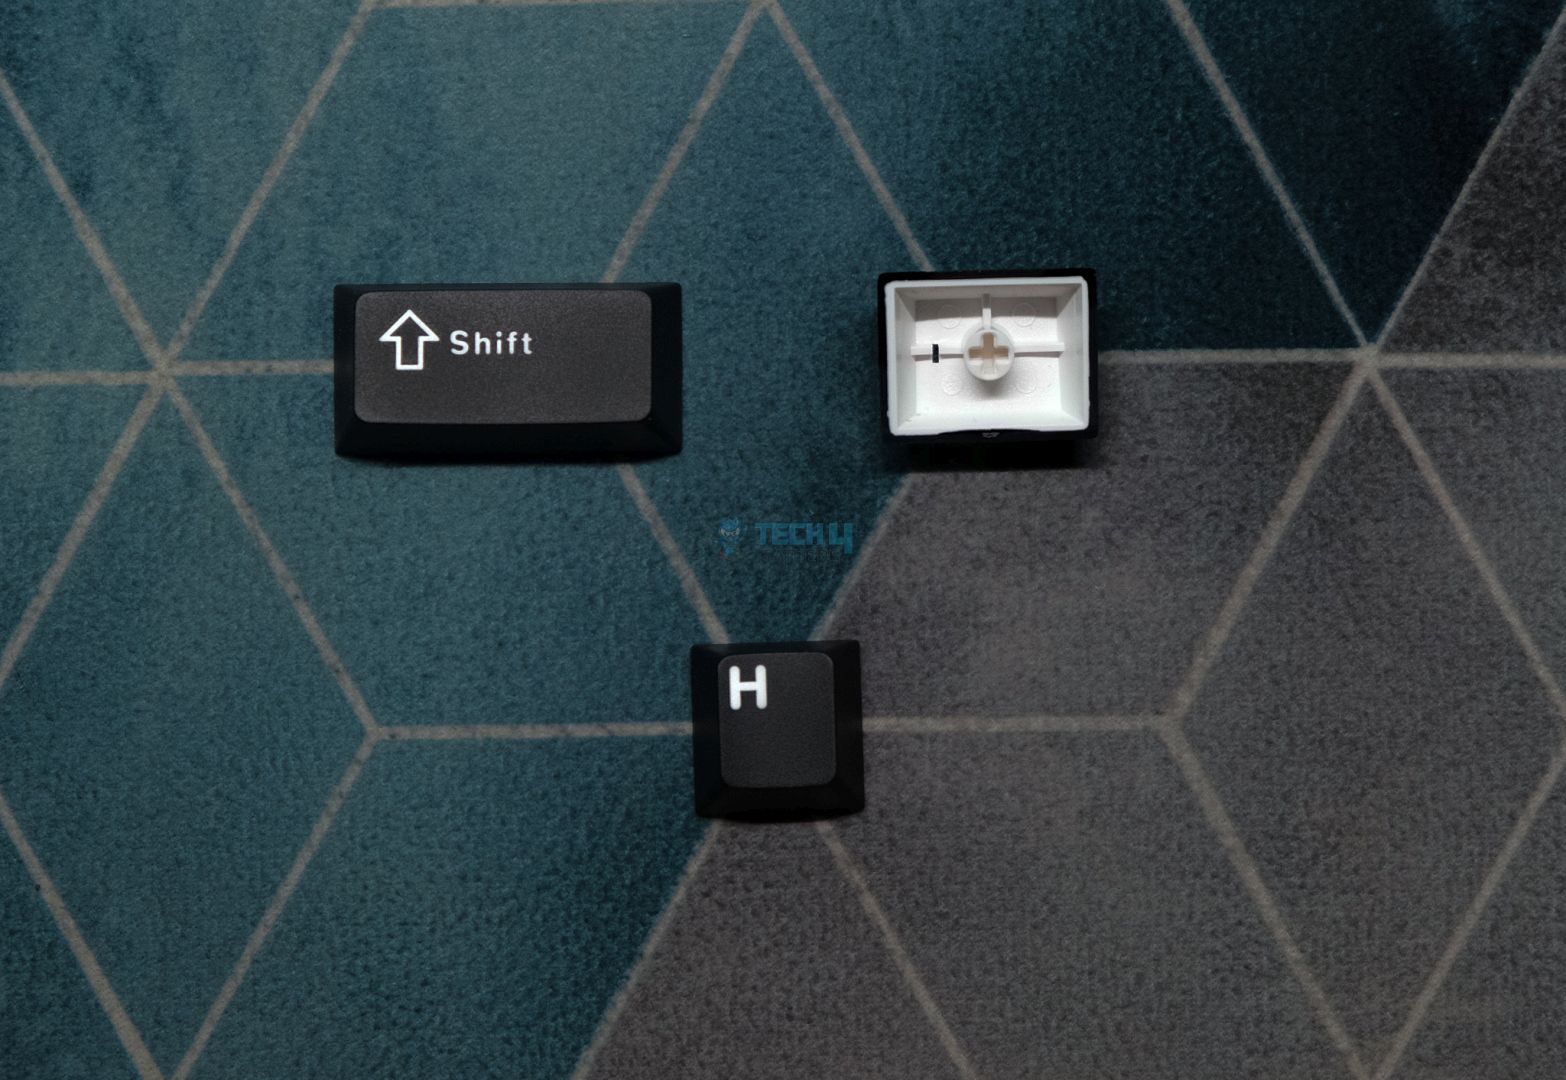
These are pretty high-quality caps with sharp letters and no molding marks. They are thick, have minimal stem wobble and, apart from the left and right shift keys, have consistent modifier legends as well. They have a matte finish with the slightest bit of texture. Same goes for the extra keycaps included in the box that you can use to swap to a Mac layout or just add some accent colors to break up the monotony of white-on-black.
Switches
The RT80 comes with either Epomaker’s Flamingo or Wisteria switches, both linear. We have the Flamingos in our unit, and I’ve already taken a look at these before in the Aula F65. I wasn’t a huge fan of them back then, and the same remains the case now. I would suggest you pick the Wisterias, albeit the difference is not as drastic in this board.
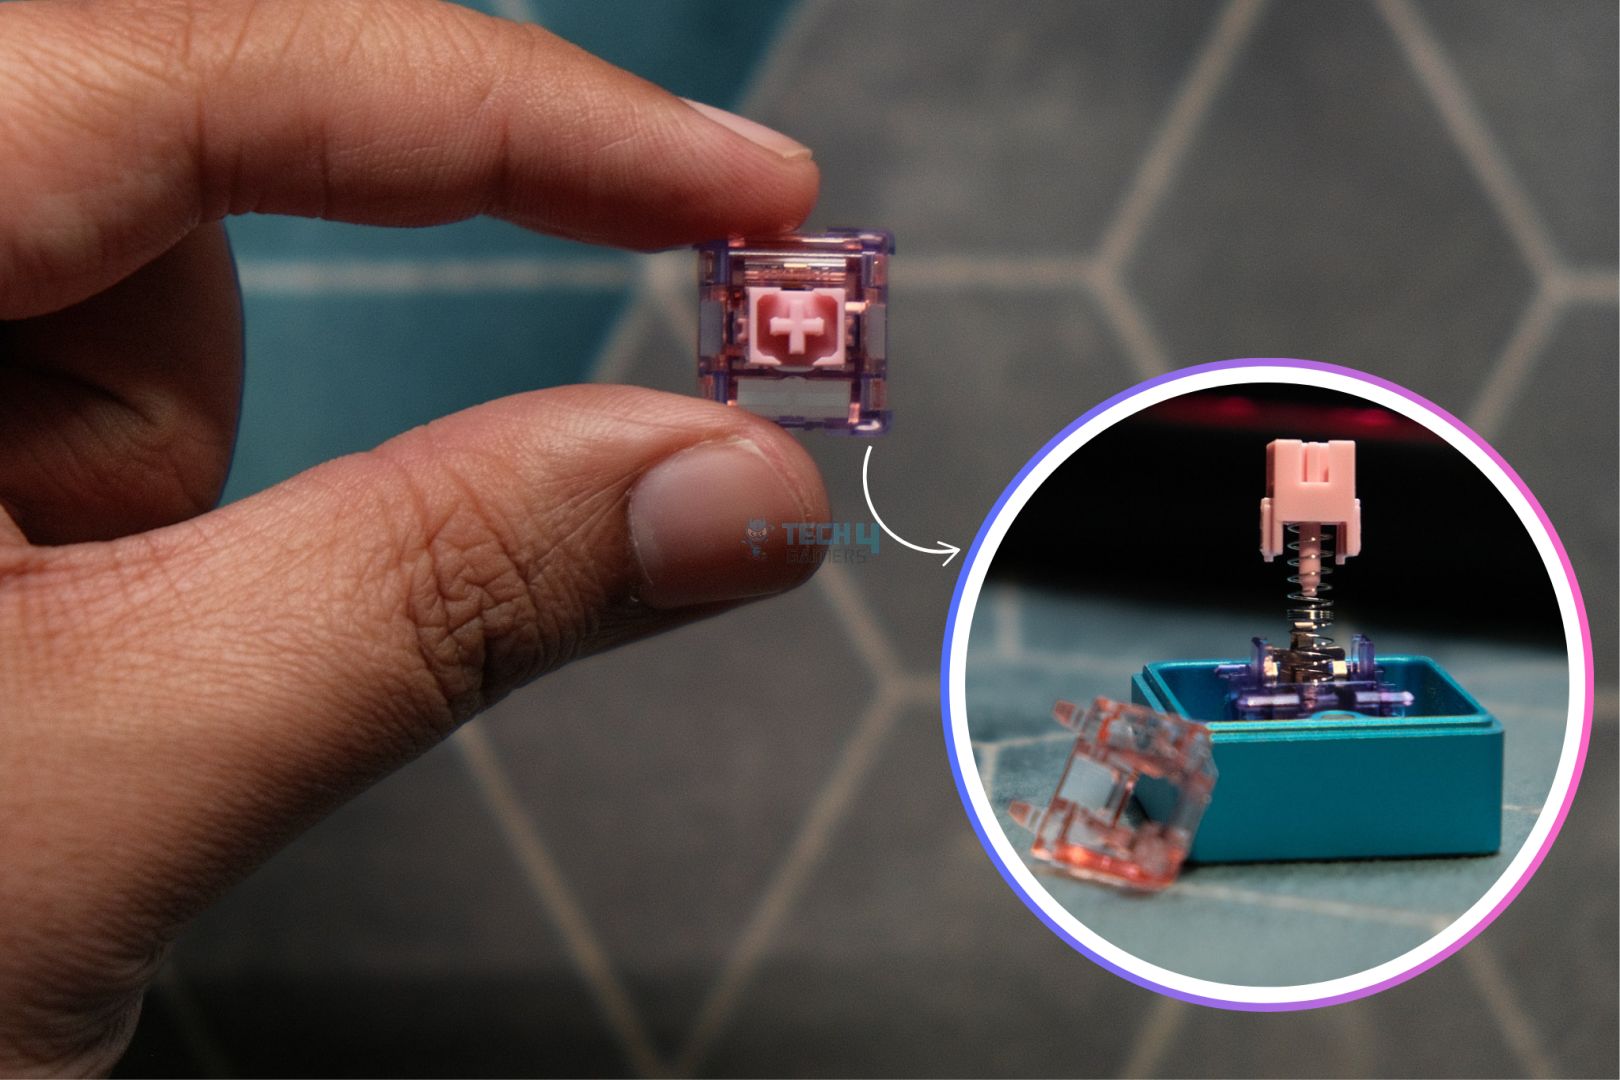
The Flamingos are 45g factory-lubed linears. They feel pretty good to type on, are mostly smooth with little stem wobble. Unfortunately, they do have a slight spring crunch that is especially prominent when you throw in a different switch for comparison. They sound a tad quieter or lower-pitched than the Wisterias as well.
Stabilizers
Epomaker is using standard plate-mount stabs in the RT80 that are prelubed from the factory. Like with most newer releases, these are great out of the box. Their stock performance is adequate; there is no rattling or weird ticking. They are not the best I’ve heard even in the same price range as there is slight inconsistency that you’ll hear in the sound test later. The PCB is also not compatible with screw-in stabs.
The Screens
Let’s talk about the main reason you’d actually buy this keyboard: the screens. The inclusion of a screen on a keyboard is not something new, in fact this concept exists in boards ranging from $50 all the way up to $500 these days. What makes the RT80 special is that it doubles up the fun with an external mini display and makes the on-board display a touchscreen.
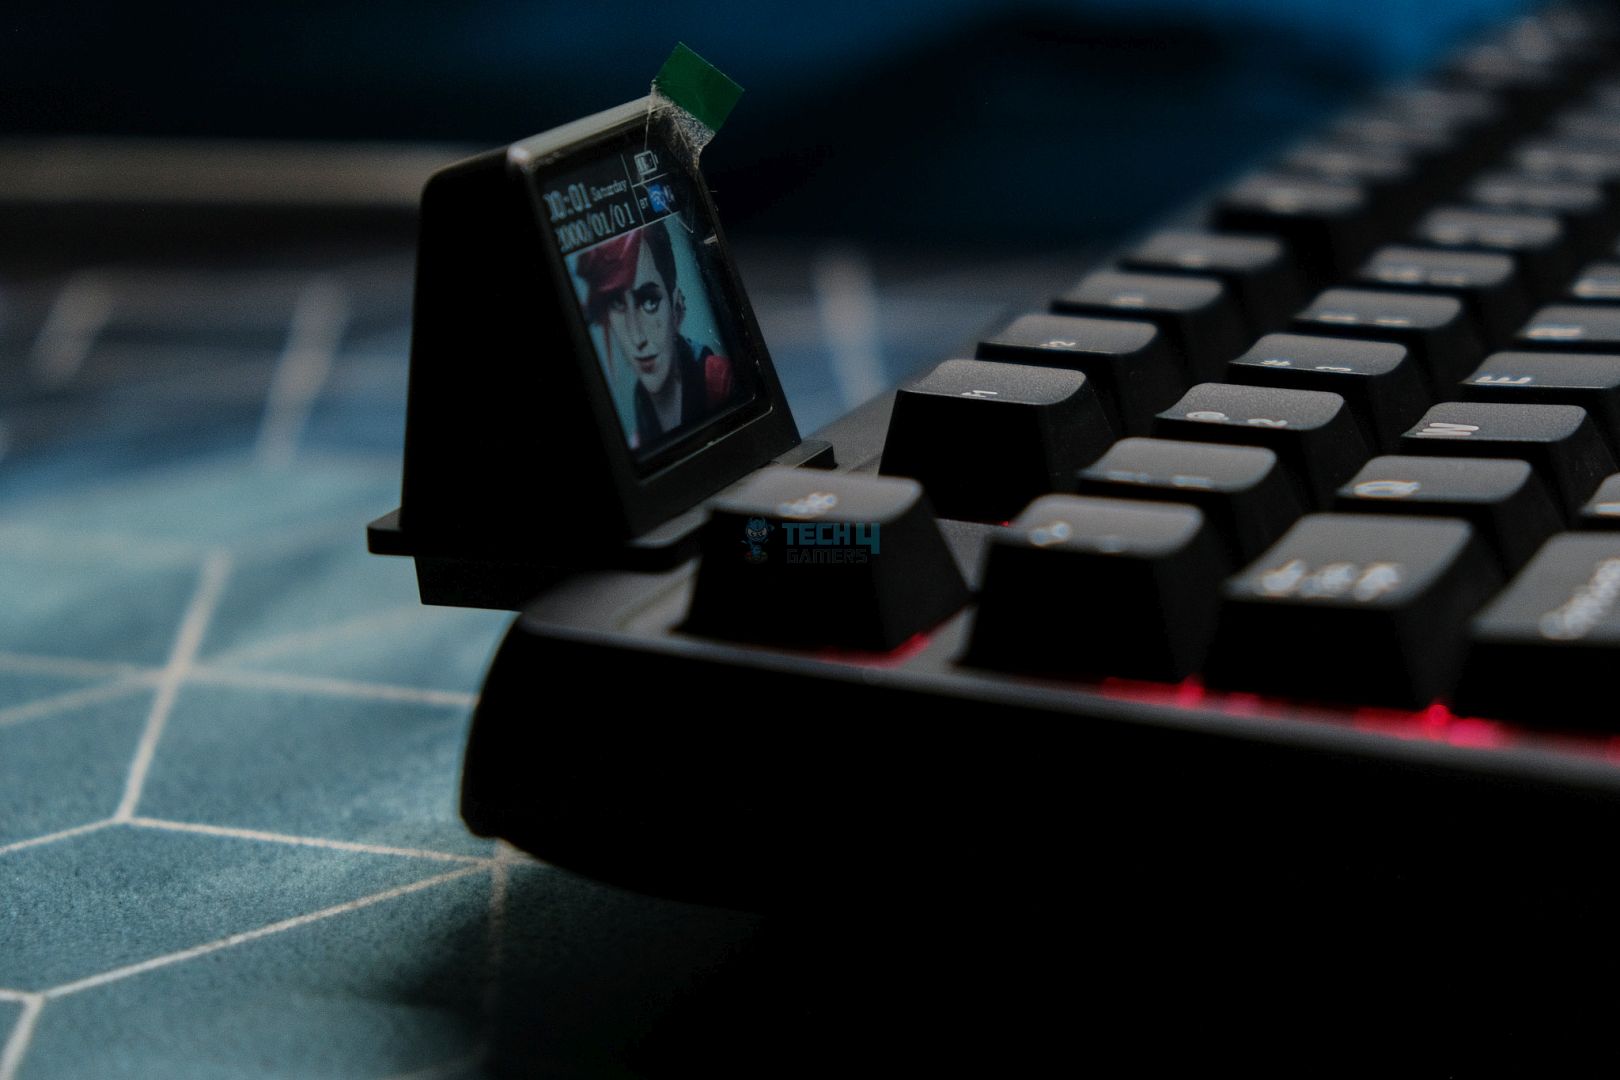
The mini display is a roughly 1-inch detachable screen. The display itself is made out of plastic and feels… alright. It has a USB-C connector poking out of it that plugs into the USB port on the left side of the board. Once powered on, by default, it displays connection mode info with a menu bar on top showing the date and time, along with battery life.

You can go into the Epomaker software and customize this screen to show pictures or GIFs. In my testing, each frame of an animation took around 6.7 seconds to upload to the keyboard, so it’s not exactly fast. You can’t cycle through multiple saved pictures of GIFs, either. Lastly, the software must be running for the date and time to sync on the screen.
The Touchscreen
Moving to the opposite side, the touchscreen cannot play any animations or show pictures. For some reason, it keeps defaulting back to showing the Epomaker logo. You swipe right or left on the screen to get to the controls. There are three total pages, two of which are already set up and one you can customize on your own.
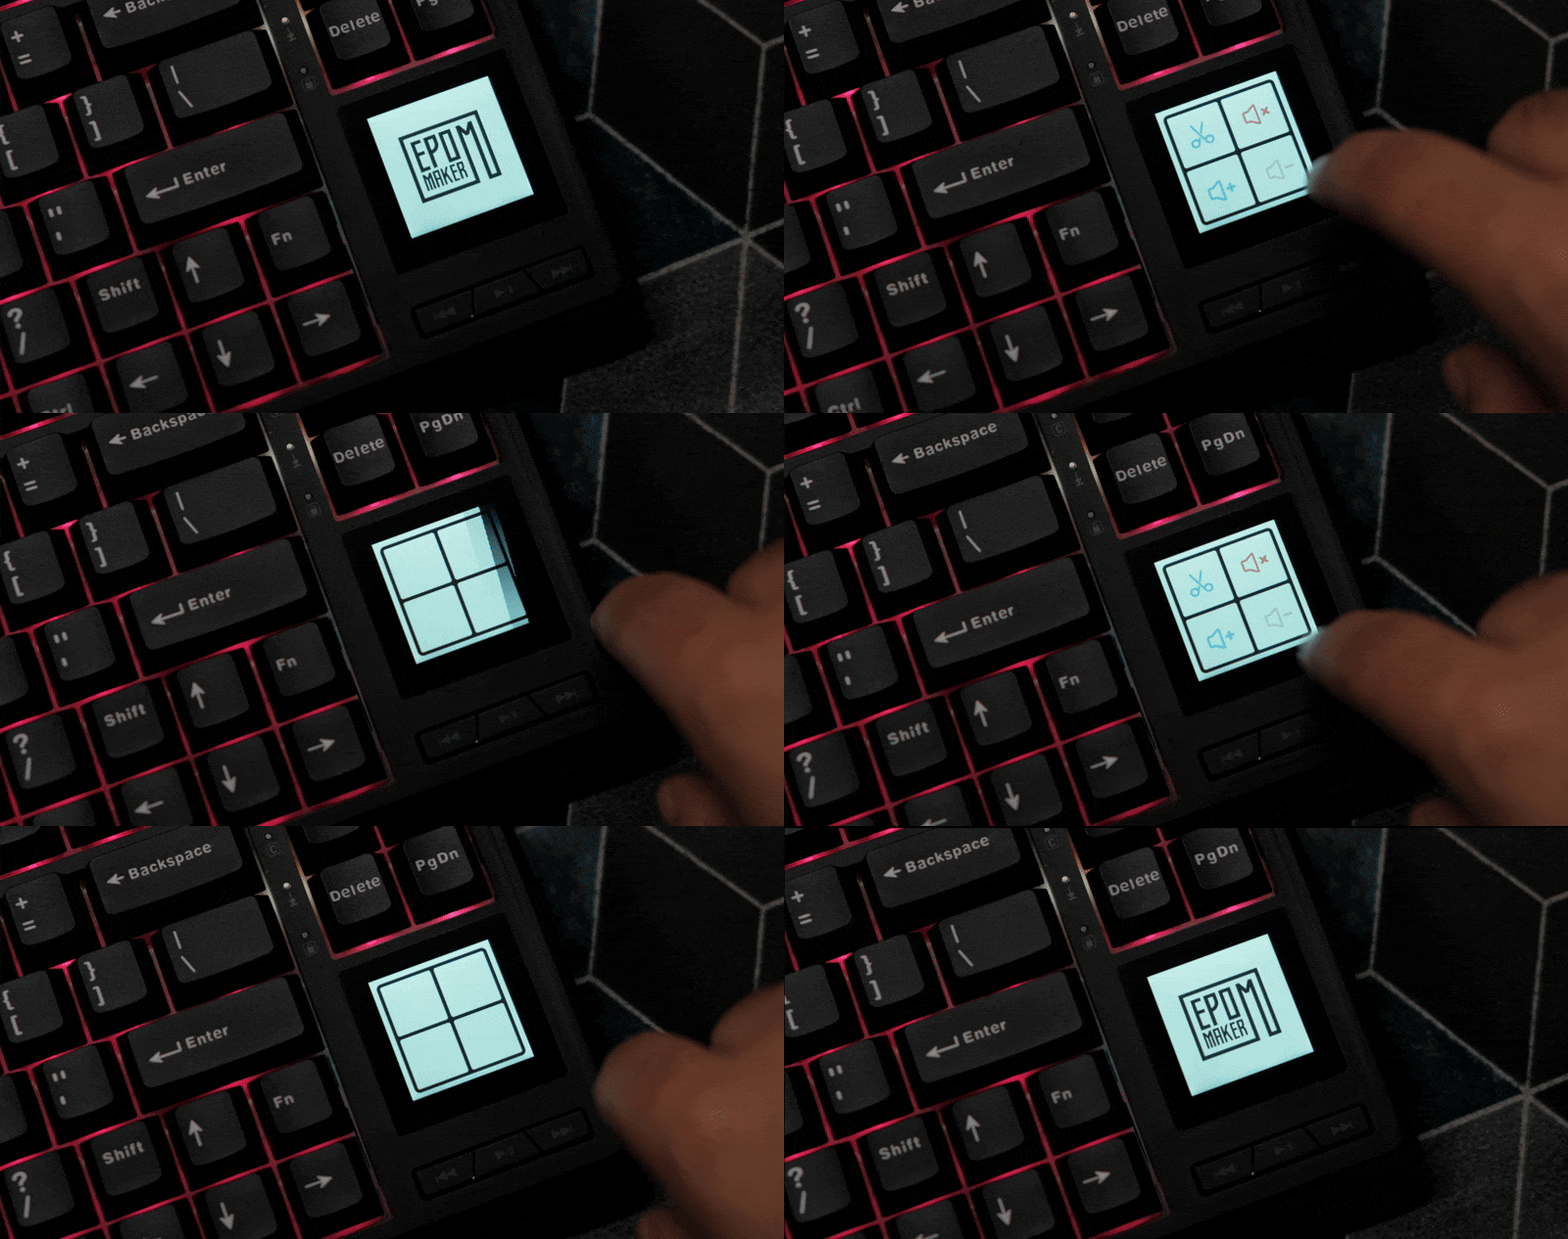
You have options like changing the volume and taking a screenshot which make sense but then weirdly there’re buttons for magnifying your monitor through the Windows Magnifier app. There is a universal search button that opens up the Start Menu on the desktop or goes to your address bar if you’re in a browser.
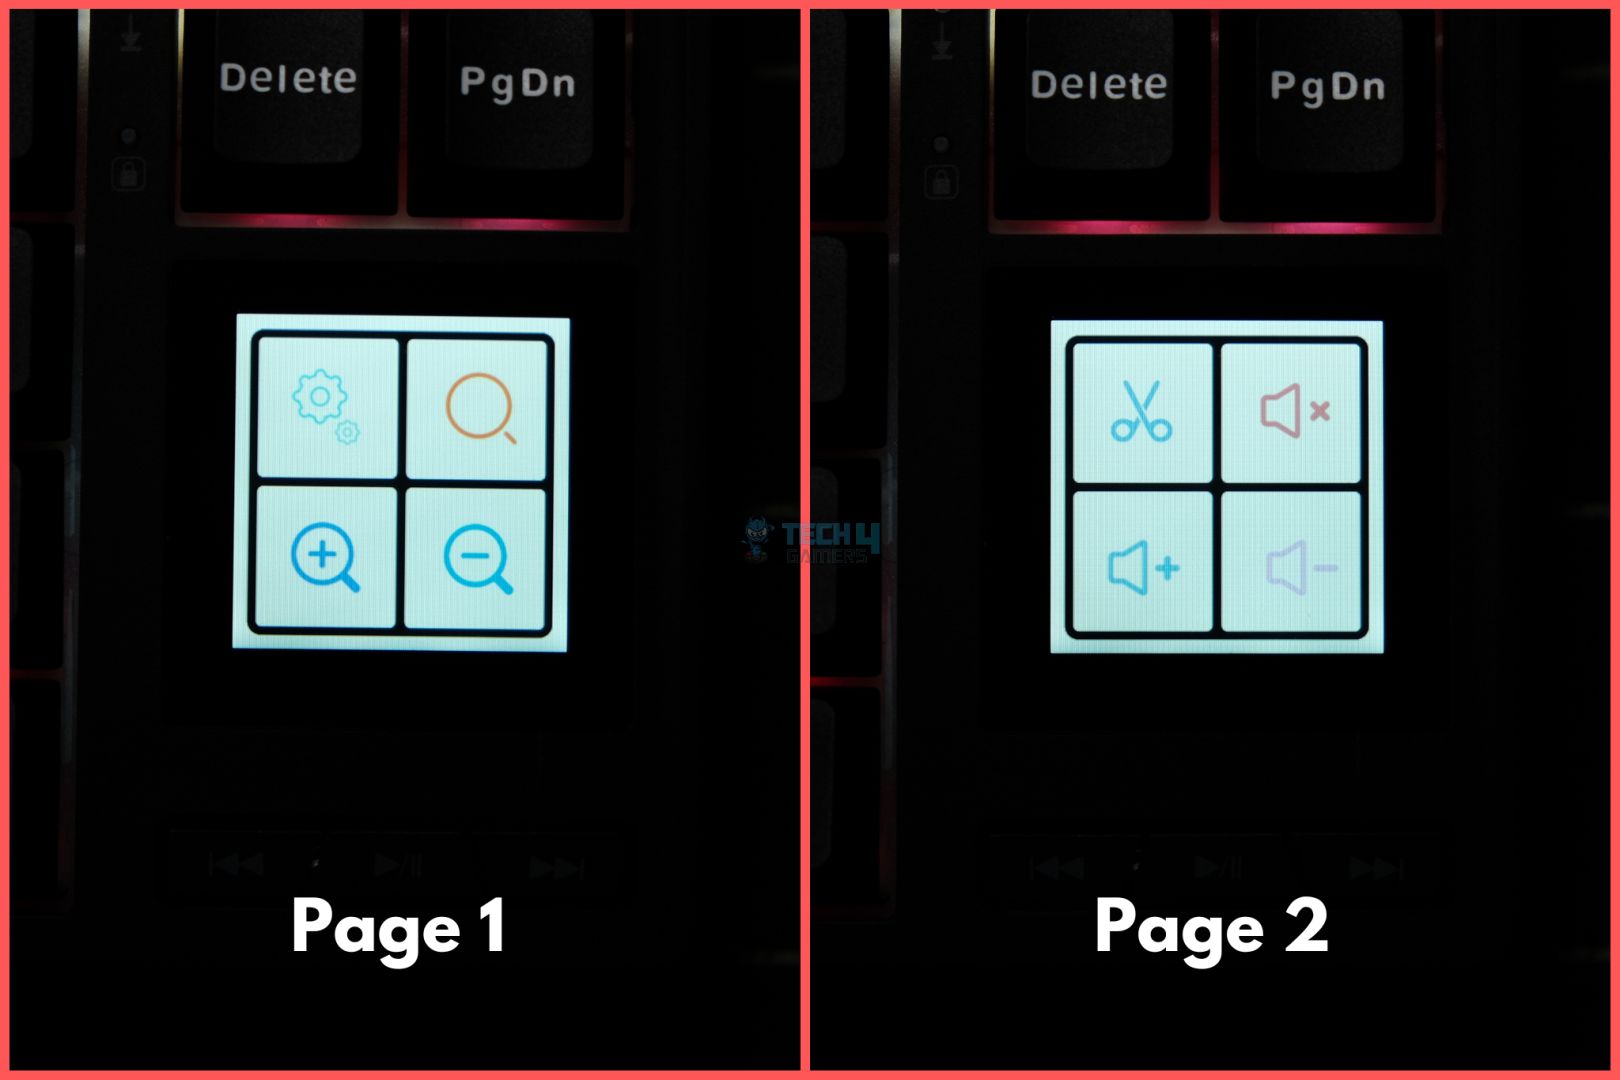
The third page that you can customize with your own actions can only be app shortcuts. In the software, you can choose any executable you want, and its icon will appear as a button on the touchscreen. Tapping it would open that app. You can do this for 4 different apps but that’s it. No custom macros or anything, just app shortcuts.
In my experience, no matter how many times I restarted the keyboard or my computer, I could not get any app icon to actually show on the touchscreen; it would just be blank. Tapping on the designated spot would still launch it, but there’s no point in being unable to see the icons on a screen if I have to remember where I placed them.
Overall, I found this screen to be pretty useless and even controlling the volume with it was a nuisance since I had to swipe from the Epomaker logo homescreen every time to get to the volume macros. I would much rather have a volume knob or just normal keys here because this touchscreen is just a gimmick.
Connectivity & Performance
The RT80 has a monstrous 5000mAh battery to power its wireless capabilities. That number starts to make more sense when you realize there are not one but two screens on the board. Still, even with the RGB and the screens on, I was able to get more than 2 days of usage out of this board on a single charge, over the 2.4Ghz connection.
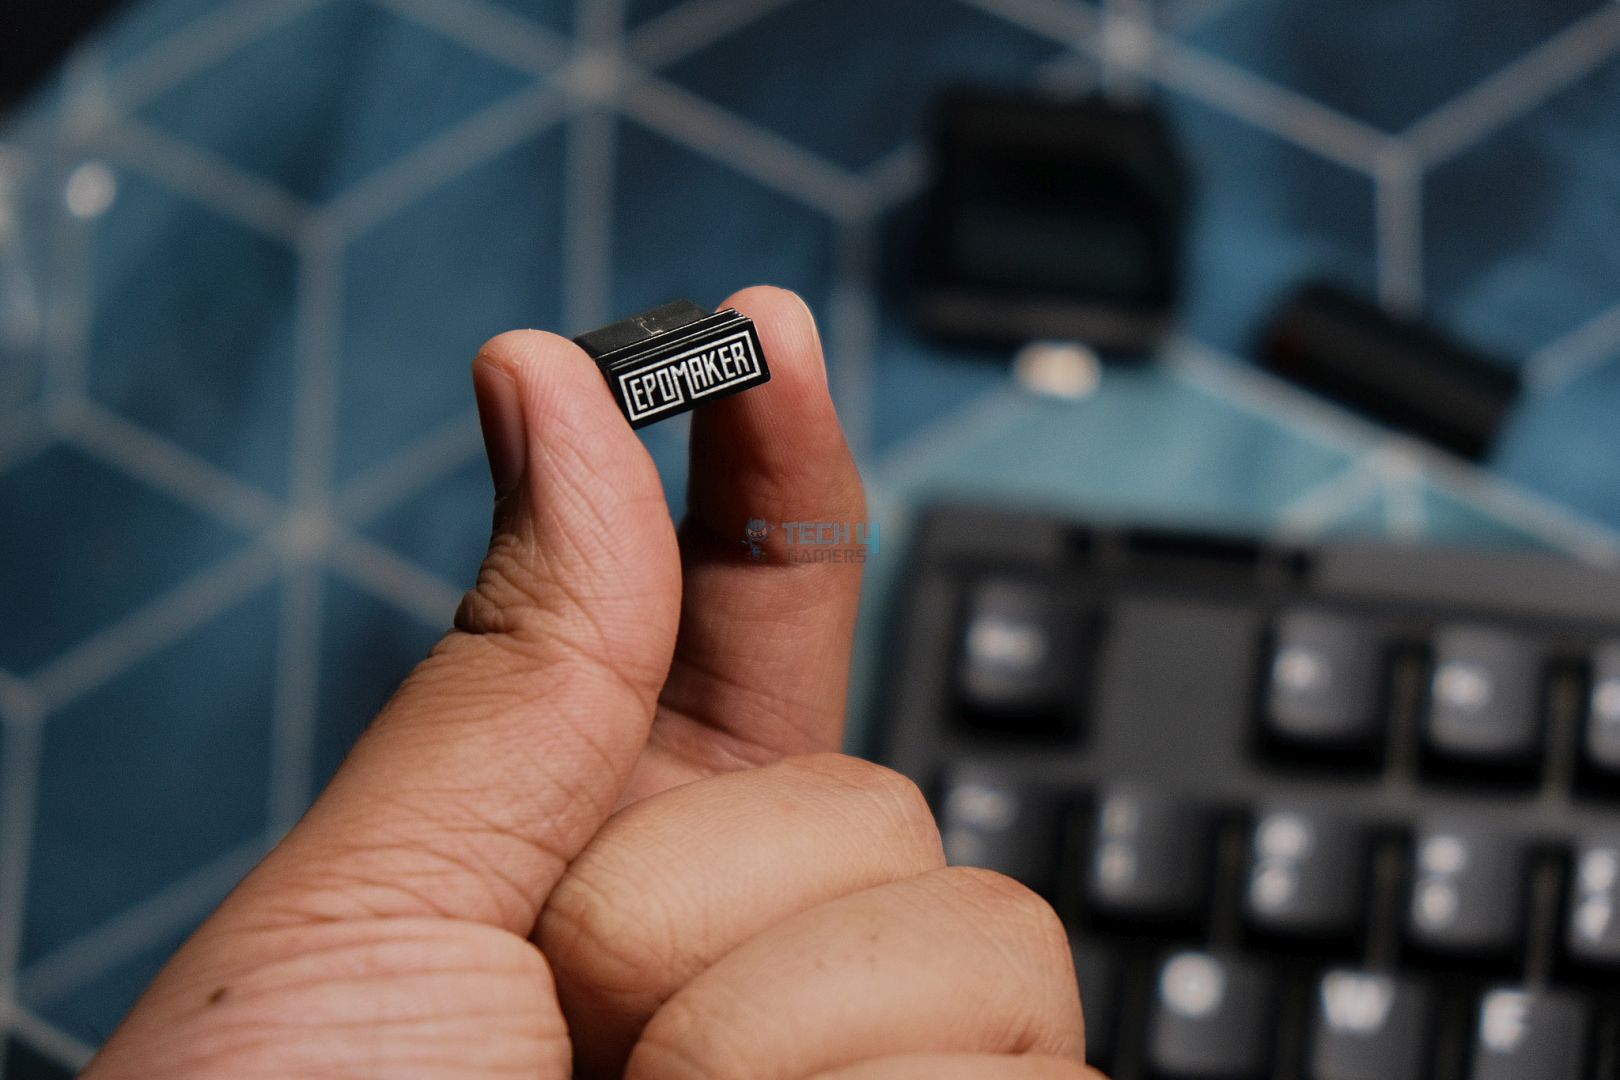
Speaking of which, the RT80 also has Bluetooth, which performed as expected without any connection issues. The same goes for the dongle, which was solid at keeping up in even competitive gaming. I didn’t notice any misinputs or signal dropouts. Epomaker boards are known to have low latency, and this one isn’t an exception.
Typing Experience
I had a pleasant time using the RT80 as the stock typing experience is on par with the best budget plastic prebuilts of today. Even if the switches weren’t exactly my cup of tea, they were never bothersome in their sound signature or feel, and those stabs always made it a joy to hit the spacebar. Mix that with the high-quality keycaps and you’ve got a nice overall package.
The board has a somewhat deep, muted sound that has enough volume to satisfy your ears. It doesn’t sound creamy or marbly, in fact I’d use the “dry” adjective when describing its acoustics. That being said, the inclusion of the touchscreen made it difficult to use the Shift key which hindered my typing quite a bit. I would swap it out in place of a traditional layout in a heartbeat.
The Software
The RT80 is not QMK/VIA compatible as the board uses the Epomaker Driver as its proprietary software. Many other boards, including the Shadow-X, also use this same software, so I felt at home. It’s worth mentioning that the driver works over a wireless connection as well, but you do need to be plugged in to customize either screen.
Inside, everything is laid out in tabs on top and you have all the usual features like custom keymapping, macros, RGB controls, etc. You can also change the background of the program itself, replacing it with a picture or GIF. You can change the function key shortcuts yourself as well and the About tab allows you to upgrade firmware.
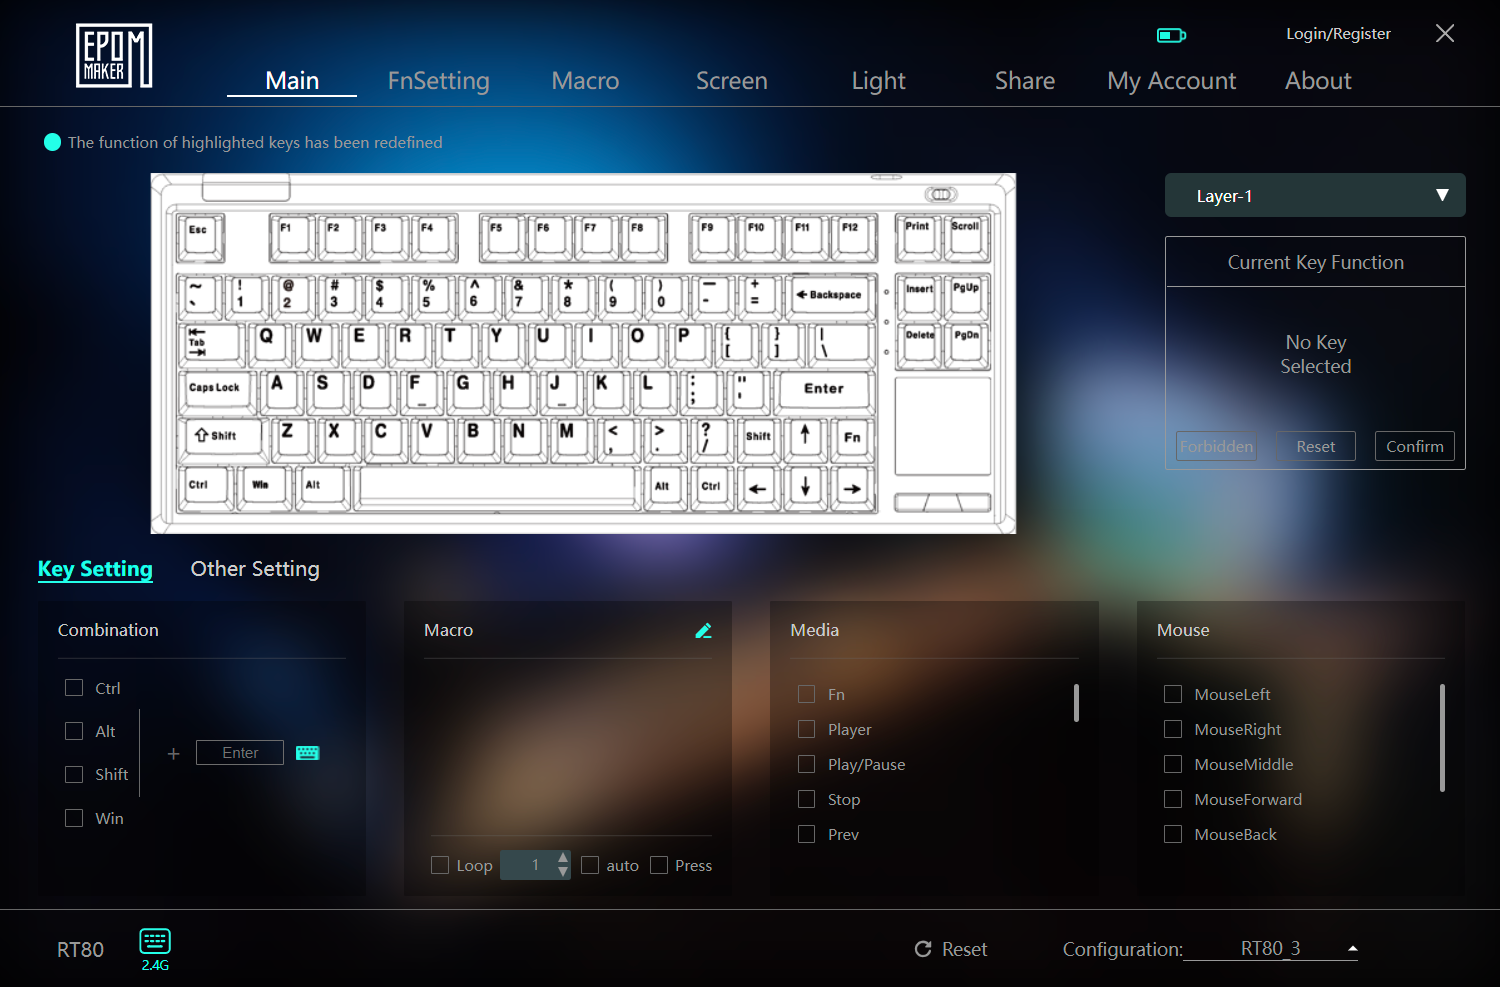
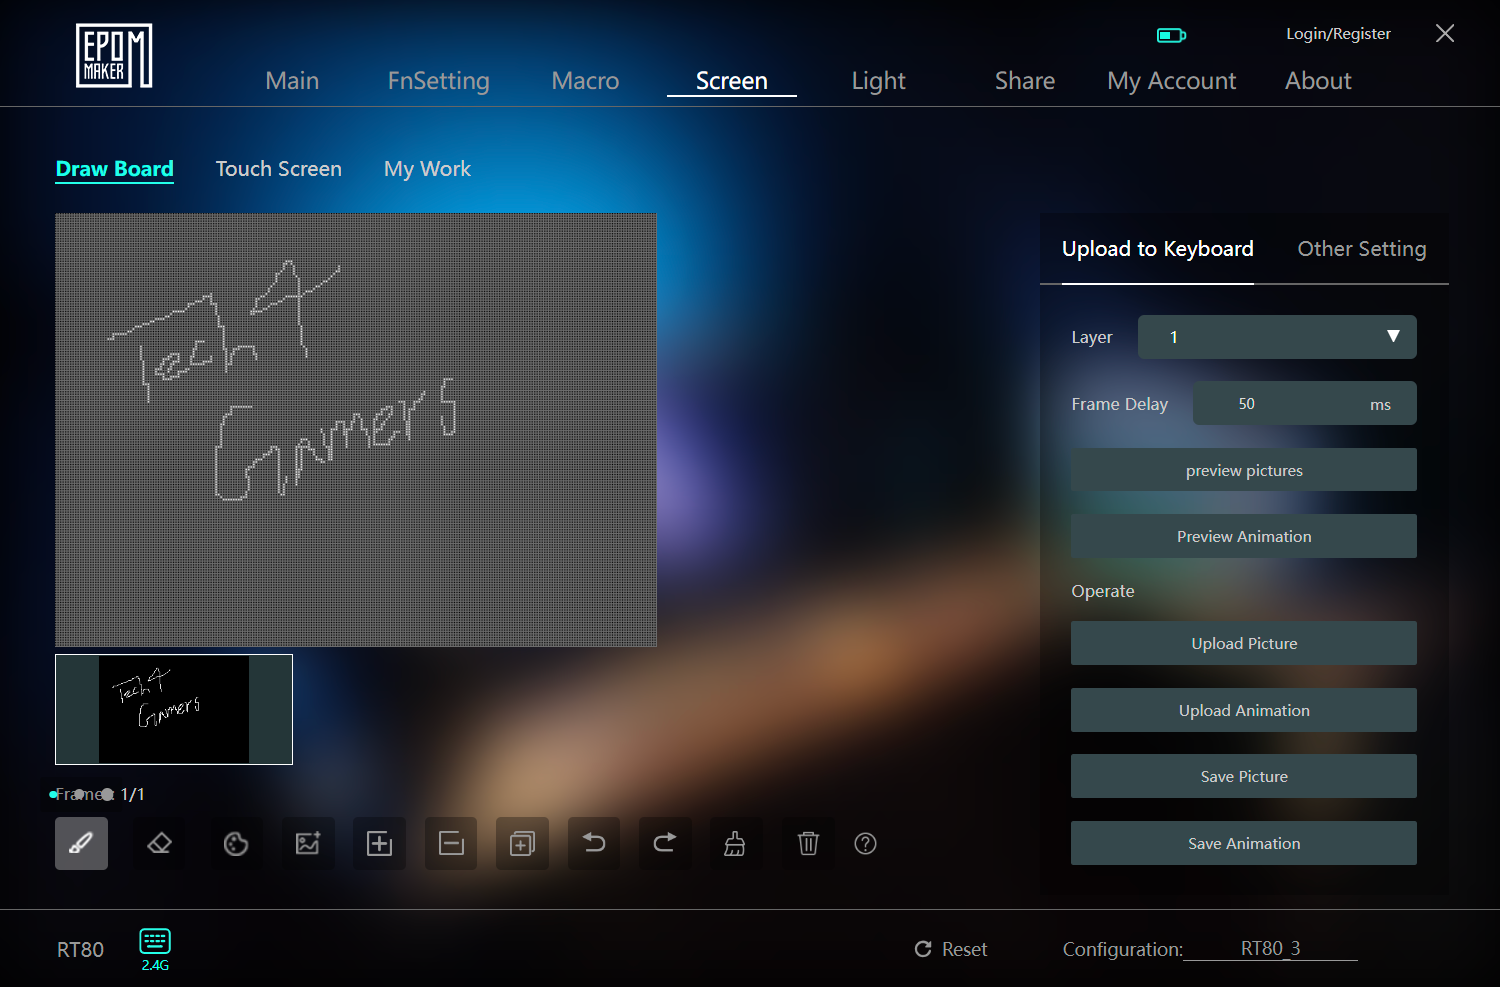
The interesting bit is the Screen tab where you go to customize the touchscreen and the detachable mini display. You can choose any picture to put on the mini display, or you can draw frames yourself to be animated. You can pick things like frame delays, preview the frames before uploading them and save pictures or GIFs for quick uploading later on.
In the Touch Screen section, you can only open File Explorer to choose an application that gets put onto one of the 4 slots. You can preview the icon, draw on top of it and crop it to your heart’s content.
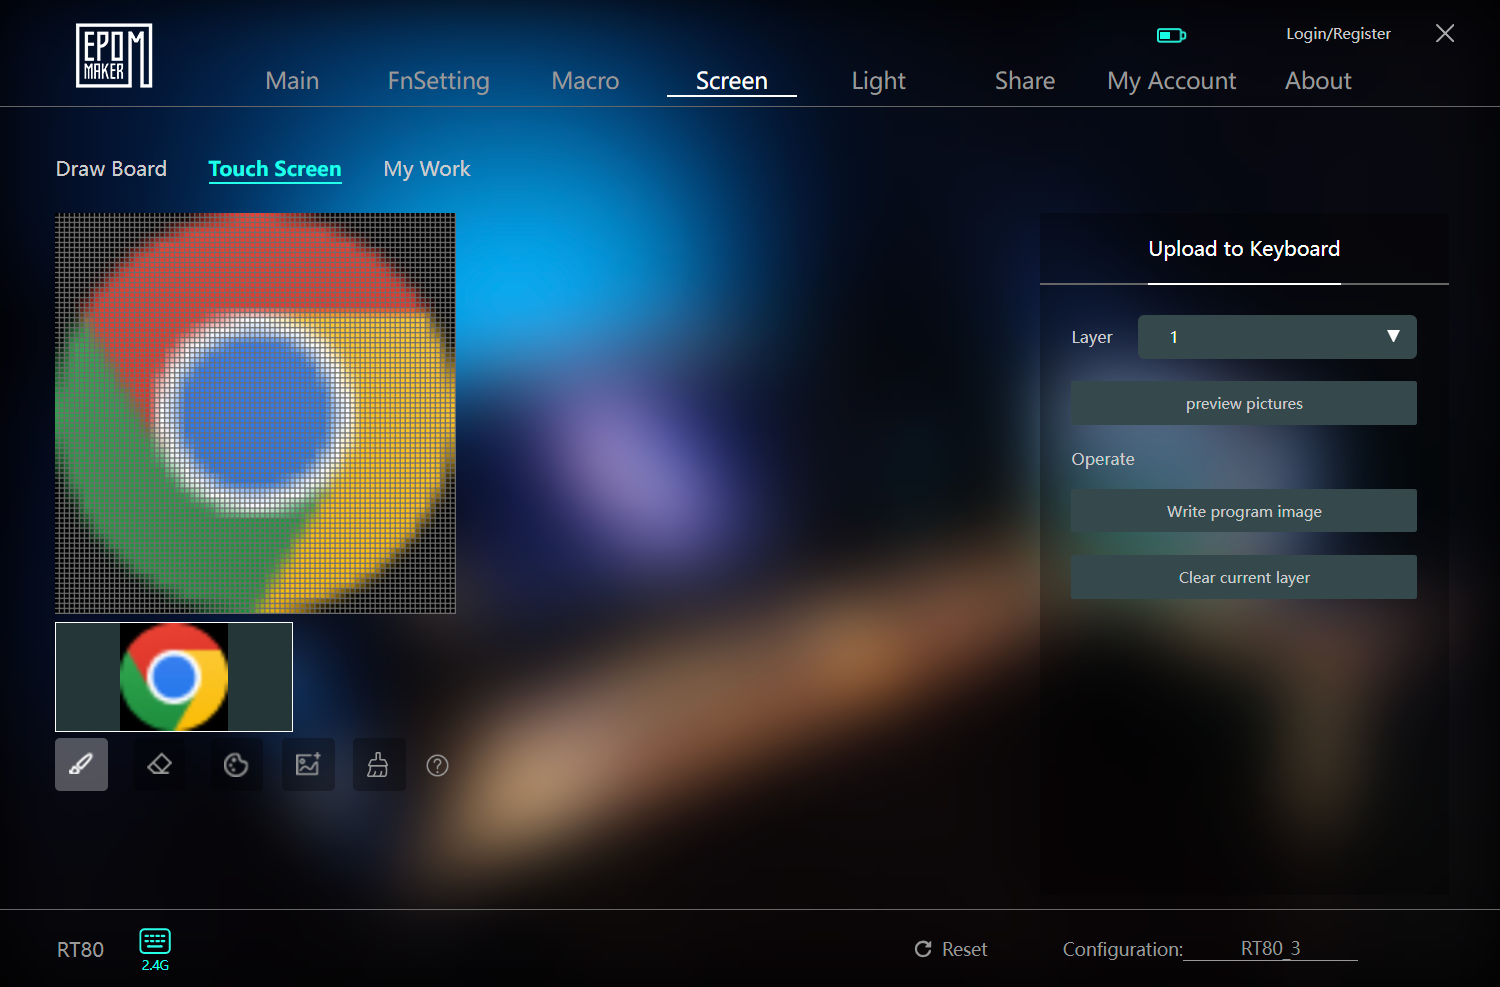
Whenever I selected any app, it would show the progress bar to upload it on the screen, but it would never cross 0% and then go away abruptly. As I mentioned earlier, this would actually upload the executable onto the screen but with a blank icon instead. You can refer back to the video in the Screens section to see this behavior in action.
There is also a Share section that has various user-built RGB profiles and animations that you can directly upload onto your keyboard. If you want to share your own creations with the community then you need to be logged in for this. That being said, none of the RGB effects I tried were smooth enough to look good so just use the static ones.
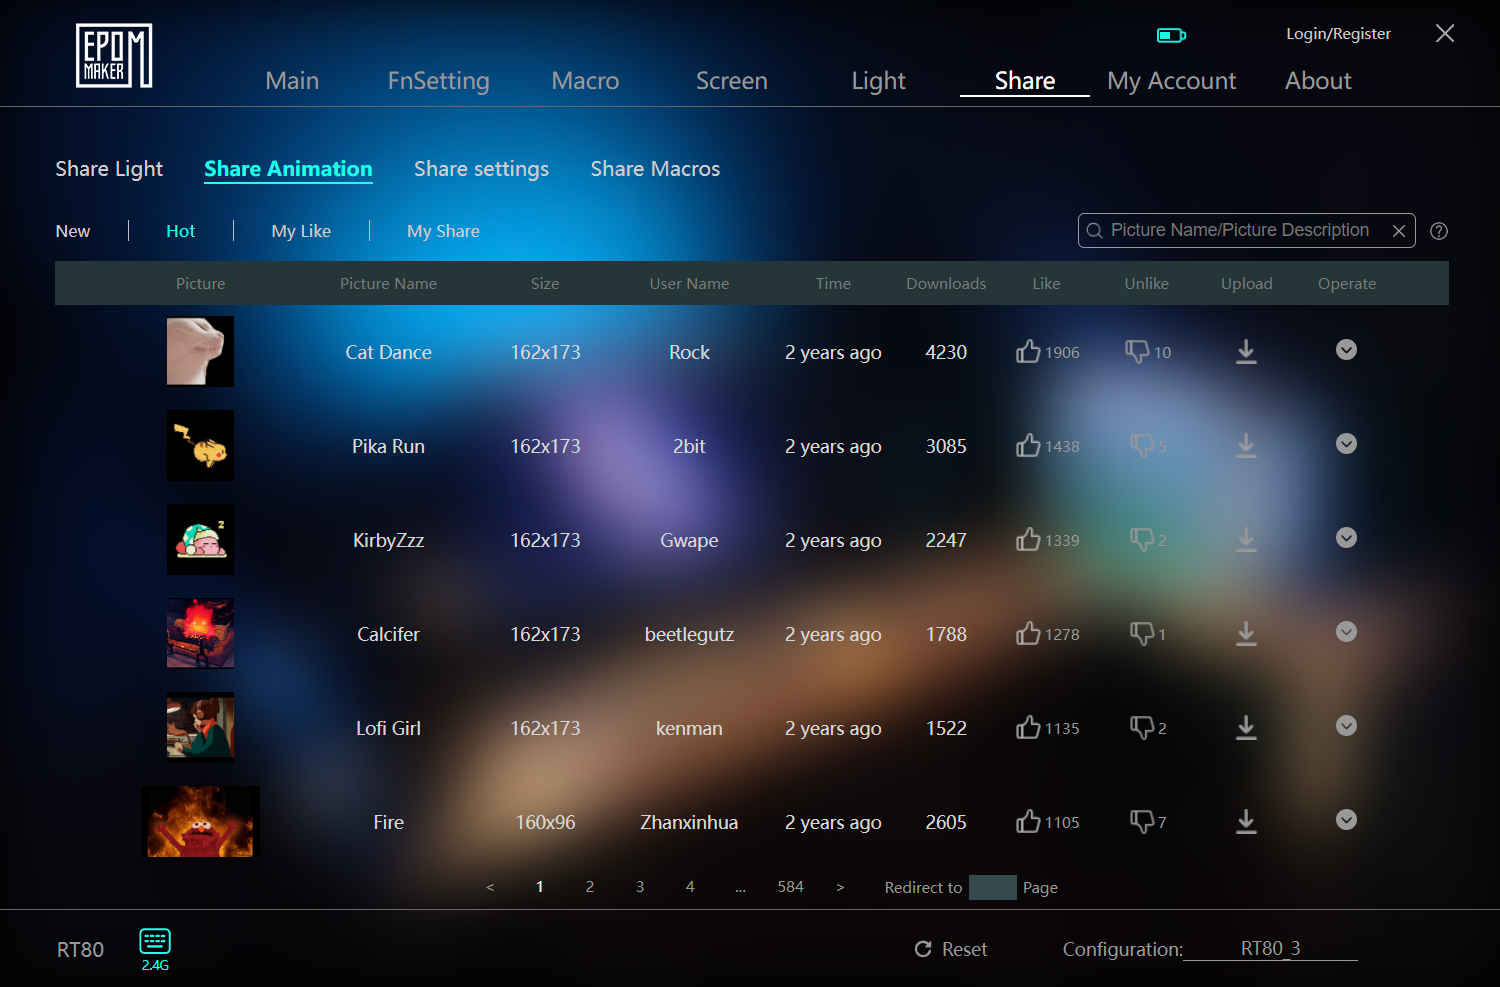
Overall, the Epomaker Driver is a solid piece of keyboard software that has all the features in a neatly organized package. The UI can be faster, especially when it comes to just navigating the pages since I do understand uploading animations isn’t easy. If Epomaker can sort out the screen bugs, then this would be a great software experience.
Should You Buy It?
Buy It If:
✅ You’re looking for a competent budget keyboard that has all the fixings without costing an arm and a leg.
✅ You just love screens on your keyboard, and you can’t get enough of them. With the RT80, you get a screen for both aesthetics and functionality.
✅ You appreciate the extras as Epomaker includes several accent keycaps, a nice USB cable, replacement switches and, of course, the mini display in the box.
Don’t Buy It If:
❌ You’re looking for the best deal on budget keyboards, as there are several options in the same price bracket offering better value by focusing on the basics.
❌ You’re not fond of gimmicks as the two extra screens aren’t very useful, and their novelty would wear off quickly.
❌ You want a standard layout. The RT80 has a 1U shift that’s hard to get used to, and the larger 75% form factor takes up more space.
My Thoughts
The Epomaker RT80 is a good keyboard, all things considered. It essentially nails the fundamentals of switches, keycaps and stabilizers while rocking a decent design and build. Where it falls short is its implementation of the screens, which, unfortunately, is the only reason you’d actually want to buy this board.
It doesn’t help that Epomaker themselves make other budget boards—gimmicks or not—that provide better value. For the same price, you can get the P75, which is legitimately a great keyboard without the downsides of an unusual layout. The RT80 is in no way a bad product, but it just pales in comparison if the screens don’t wow you.
Thank you! Please share your positive feedback. 🔋
How could we improve this post? Please Help us. 😔
Born and raised around computers, Huzaifa is an avid gamer and a keyboard enthusiast. When he’s not solving the mysteries of technology, you can find him obsessing over semiconductors, striving to inform the curious.
He’s been modding tech since forever and knows a thing or two about what makes a great typing experience, making him the perfect expert to rely on for your keyboard recommendations! With his IT certification from Google, you can trust him to advise you with deliberation and integrity.
- Favorite Prebuilt: Epomaker P75
- Favorite Budget Option: Tecware Spectre 75
- Favorite Custom Keyboard: TKD Cycle7 / Lucky65 V2


 Threads