

- If you have spilled soda on your keyboard, your first step should be to unplug and disassemble the keyboard.
- Clean it with a cloth and dry it for a few hours before spraying WD-40 on the keyboard.
- If possible, soak the keycaps in isopropyl alcohol or warm, soapy water for a few hours. Then, remove them and let them rest overnight before assembling the keyboard and testing it thoroughly.
Have you ever been so engrossed in work that you accidentally increased your work rather than being more productive? Something similar happened to me recently while I was working. I accidentally knocked over a can of soda on my keyboard, leaving it drenched in a sticky mess. Fearing permanent damage, I instantly powered off my PC and tried not to panic. So, if you recently spilled soda on your keyboard, here’s how I fixed it.
Immediate Action: Turning Off & Unplugging The Keyboard
After realizing my blunder, I immediately switched off my PC and unplugged my keyboard. Doing so is crucial to ensure no electrical damage to my PC components. Furthermore, after switching off my PC, I tilted my keyboard sideways and drained all the excess soda to make cleaning easier.
By quickly performing these actions, you can help reduce the amount of liquid that seeps inside the internal components. Otherwise, you’d be doomed to witness a dying keyboard.
Removing The Keycaps: A Necessary Step To Deep Cleaning
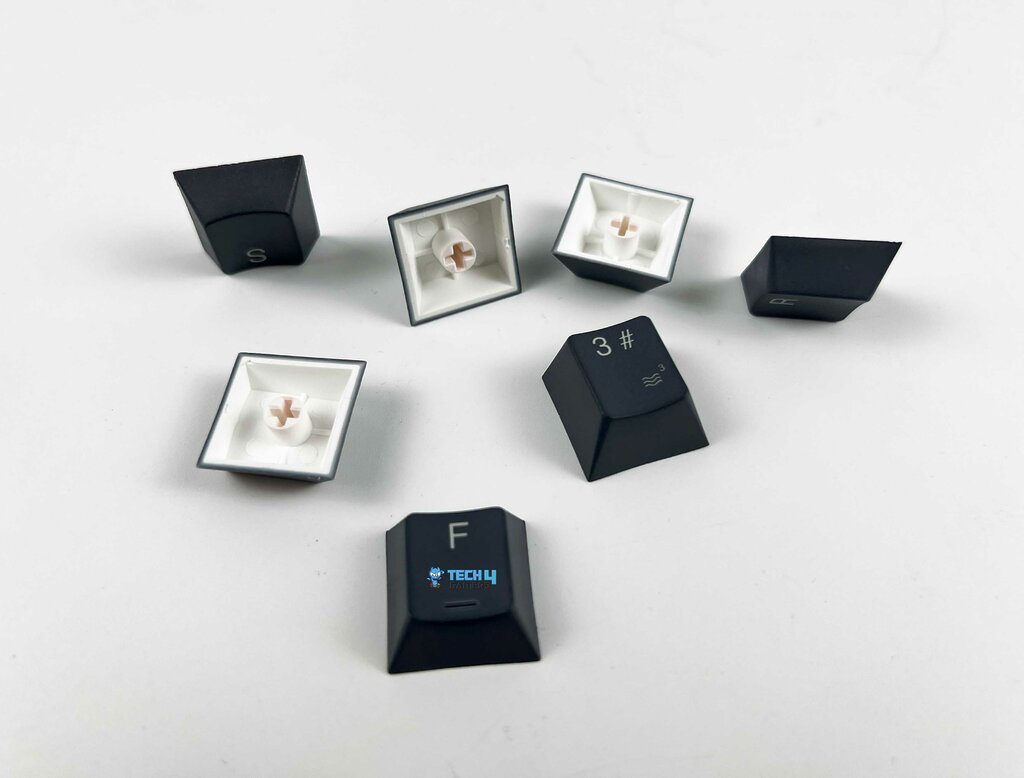
After draining the excess soda, the next step is to remove all the keycaps. Ideally, I recommend removing the keycaps of the affected area only, but if you want to be meticulous, you should remove every keycap on the keyboard. Before disassembling your keyboard, I recommend taking a picture of it so that you can reference the keyboard’s layout later.
Of course, you can only remove the keycaps if you use a mechanical keyboard and have a keycap puller. If you don’t have a keycap puller, you can use a flat tool, but ensure you don’t damage the keys while pulling them out. Removing the keycaps should show you exactly how much damage you have faced and the areas you must deep clean.
Drying Everything Out
With the keycaps removed and the keyboard vulnerable, I used a soft cloth to gently dab away and pat the keyboard dry, removing all the excess moisture. After that, I left it to dry out for a few hours. Generally, you want to leave it alone, but if you have a hairdryer, you can dry the keyboard and the keycaps slightly faster.
However, ensure the keyboard is not heat-prone, as the plastic components can be damaged. While the keyboard is drying, you should go downstairs and buy some WD-40 and isopropyl alcohol, which will be essential for the next phase of the cleanup process.
Once everything is dried out, take a microfiber cloth and gently wipe off all the sticky residual mess from the keyboard and its keycaps. I spent longer on this process and cleaned off all the nooks and crannies so the cloth went to all the sticky areas.
Spraying WD-40 And Using A Toothbrush
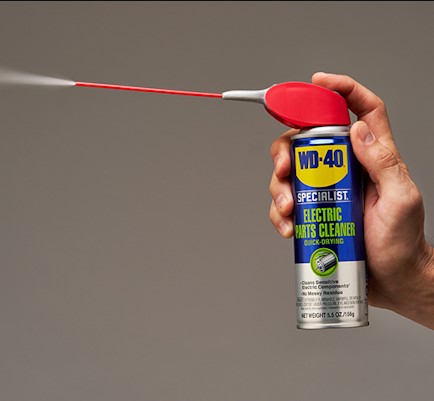
After wiping off the keyboard with a cloth, the next step is to spray WD-40 over all the places where you spilled the soda on your keyboard. You only want to use a small amount of the WD-40 and then use an old toothbrush to scrub away all of the substance from the keyboard. While WD-40 is great for removing sticky substances, always use it sparingly.
After scrubbing with the toothbrush, use another cloth and wipe off the keyboard to remove any excess WD-40 and other substances.
Cleaning The Keycaps
Before spraying WD-40 on the keyboard, you should soak all the keycaps in a bowl filled with isopropyl alcohol to remove all the sticky substances. If you can’t find isopropyl alcohol, the next best option is to use warm, soapy water and let the keycaps soak for a few hours.
After letting the keycaps soak, rinse them off and lay them out on a towel to dry overnight. You can use a hairdryer to speed up the process, but I don’t recommend it, as the stickiness might remain afterward. Ensuring all the keycaps are dried and cleaned is crucial to maintaining the functionality of your keyboard.
Reassembling The Keyboard
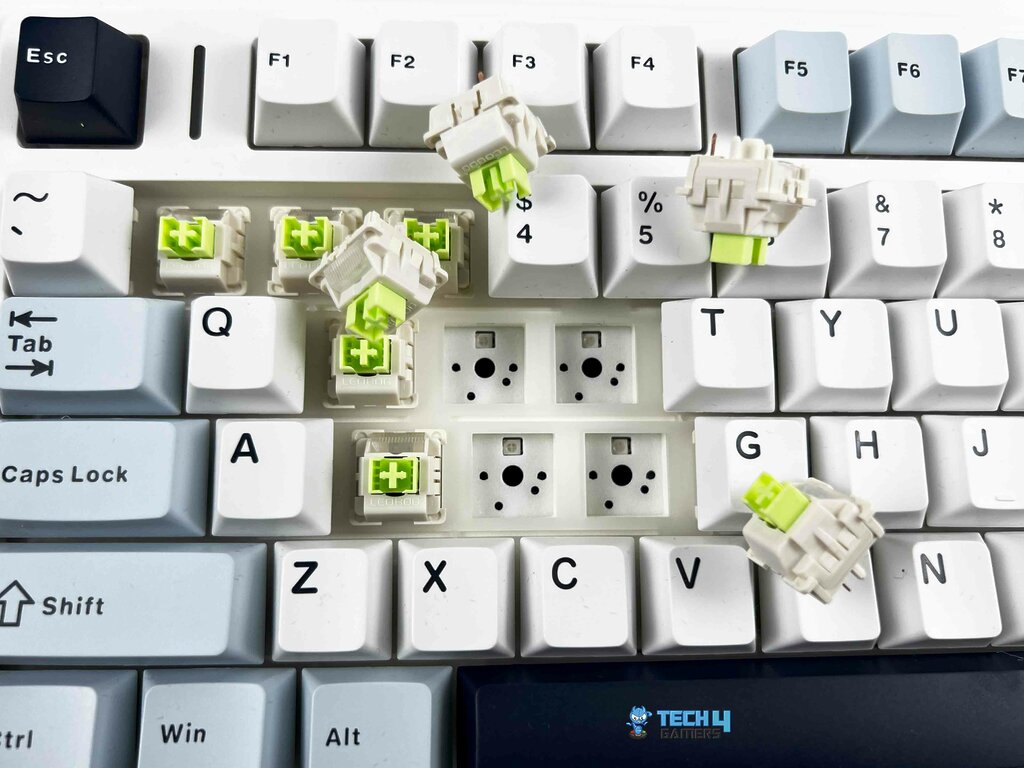
The only thing left to do is reassemble the keyboard. After cleaning the keycaps, wait until the next morning and check all your keyboard components before you start reassembling. Ensure you’re placing the correct keycaps on the proper switches. Take reference from the picture you took before if you don’t remember your keyboard’s layout.
Once reassembled, plug your keyboard back in and test each key thoroughly. I recommend doing a few Monkeytype and Typeracer tests so that you can rest assured your keyboard is working properly again.
Lessons Learned And Preventive Tips
I learned a few lessons after spilling soda on my keyboard. Not only is fixing the keyboard afterward an annoying and painstaking task, but it’s also equally important to know when to take quick action. For the future, I recommend keeping drinks away from your work desk, a practice I will also start following from now on.
Thank you! Please share your positive feedback. 🔋
How could we improve this post? Please Help us. 😔
[Hardware Reviewer & Editor]
After many years of exploiting various pieces of hardware, Abdul Hannan now serves as an editor at Tech4Gamers. He’s been in the PC hardware reviewing industry for almost a decade, and his staff of passionate geeks and reviewers is second to none.
Abdul Hannan is constantly seeking new methods, you will always see him running into New Computer Courses to improve the performance of his computer components since he is an ardent overclocker. He is well-known for providing the most extensive and unbiased analysis of the newest and greatest hardware for PC gaming, including everything from GPUs to PSUs.


